How to Make a Bead Emroidery Tulip Brooch
by eliscety in Craft > Jewelry
1790 Views, 23 Favorites, 0 Comments
How to Make a Bead Emroidery Tulip Brooch
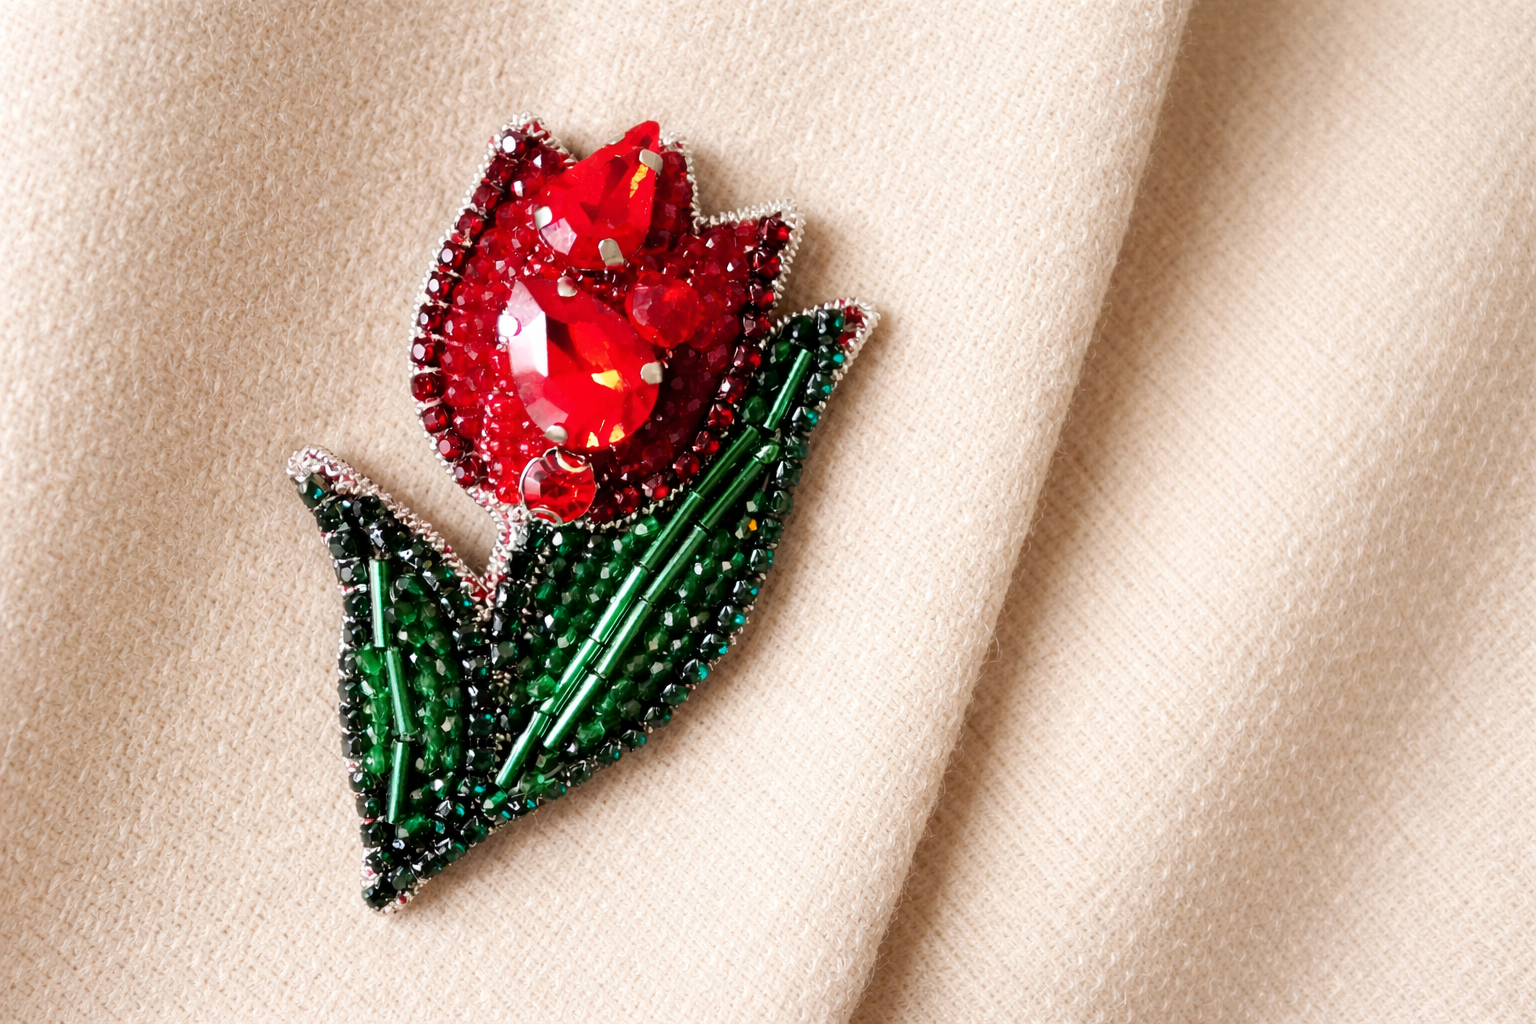
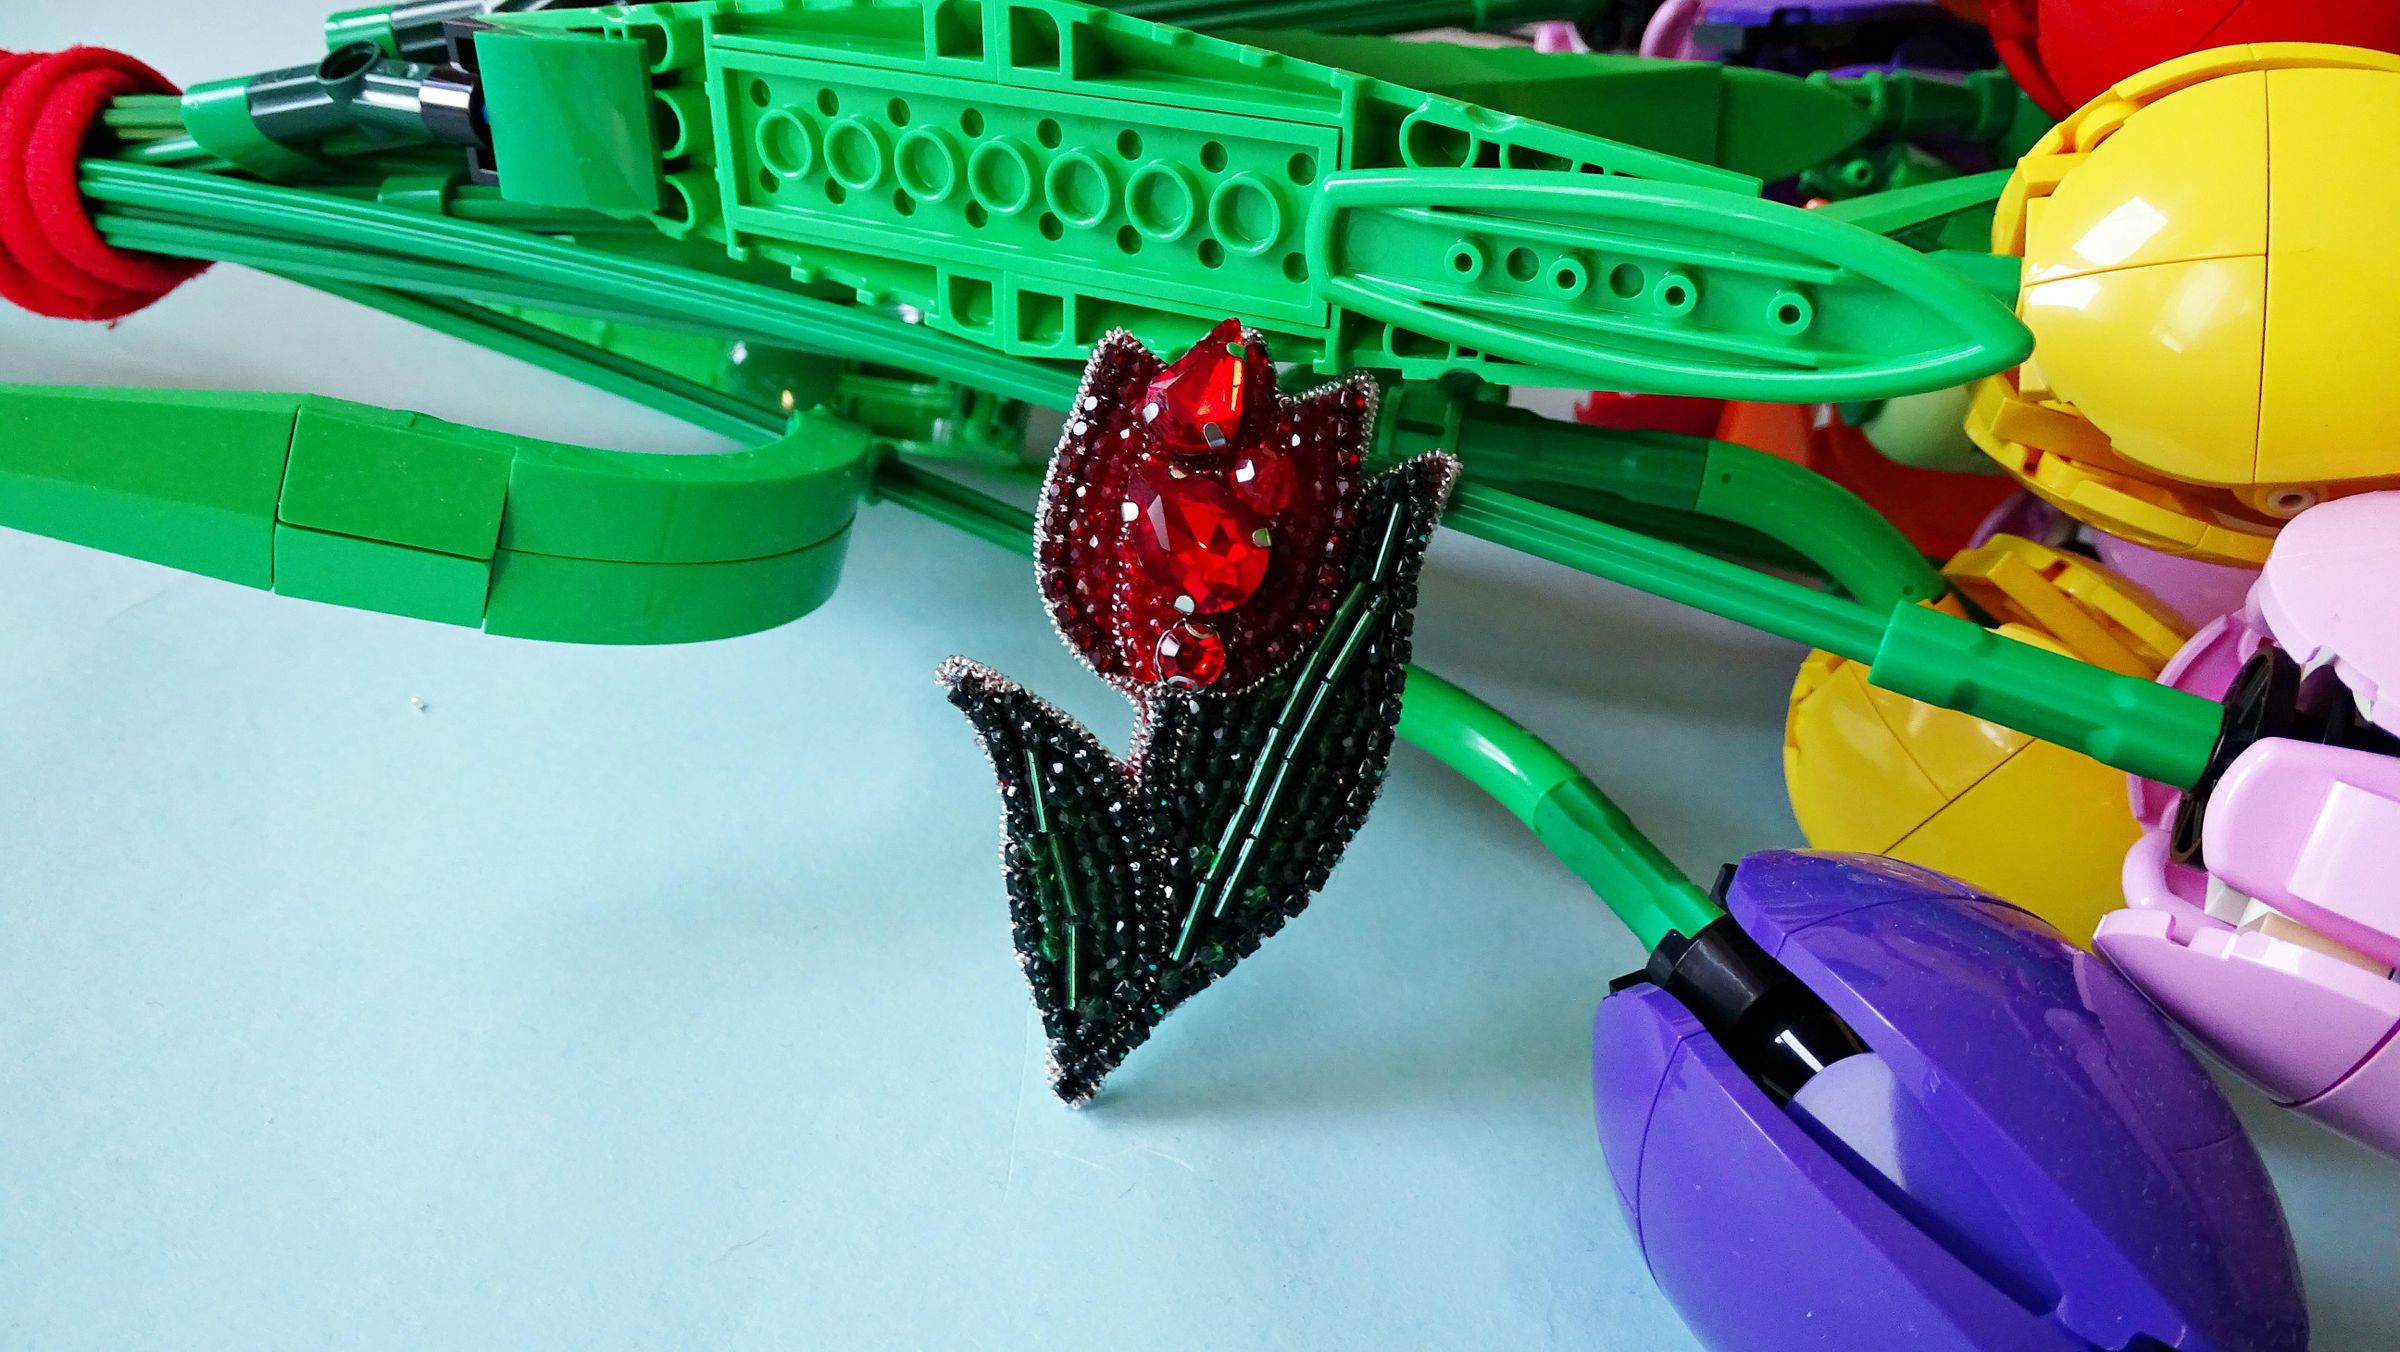
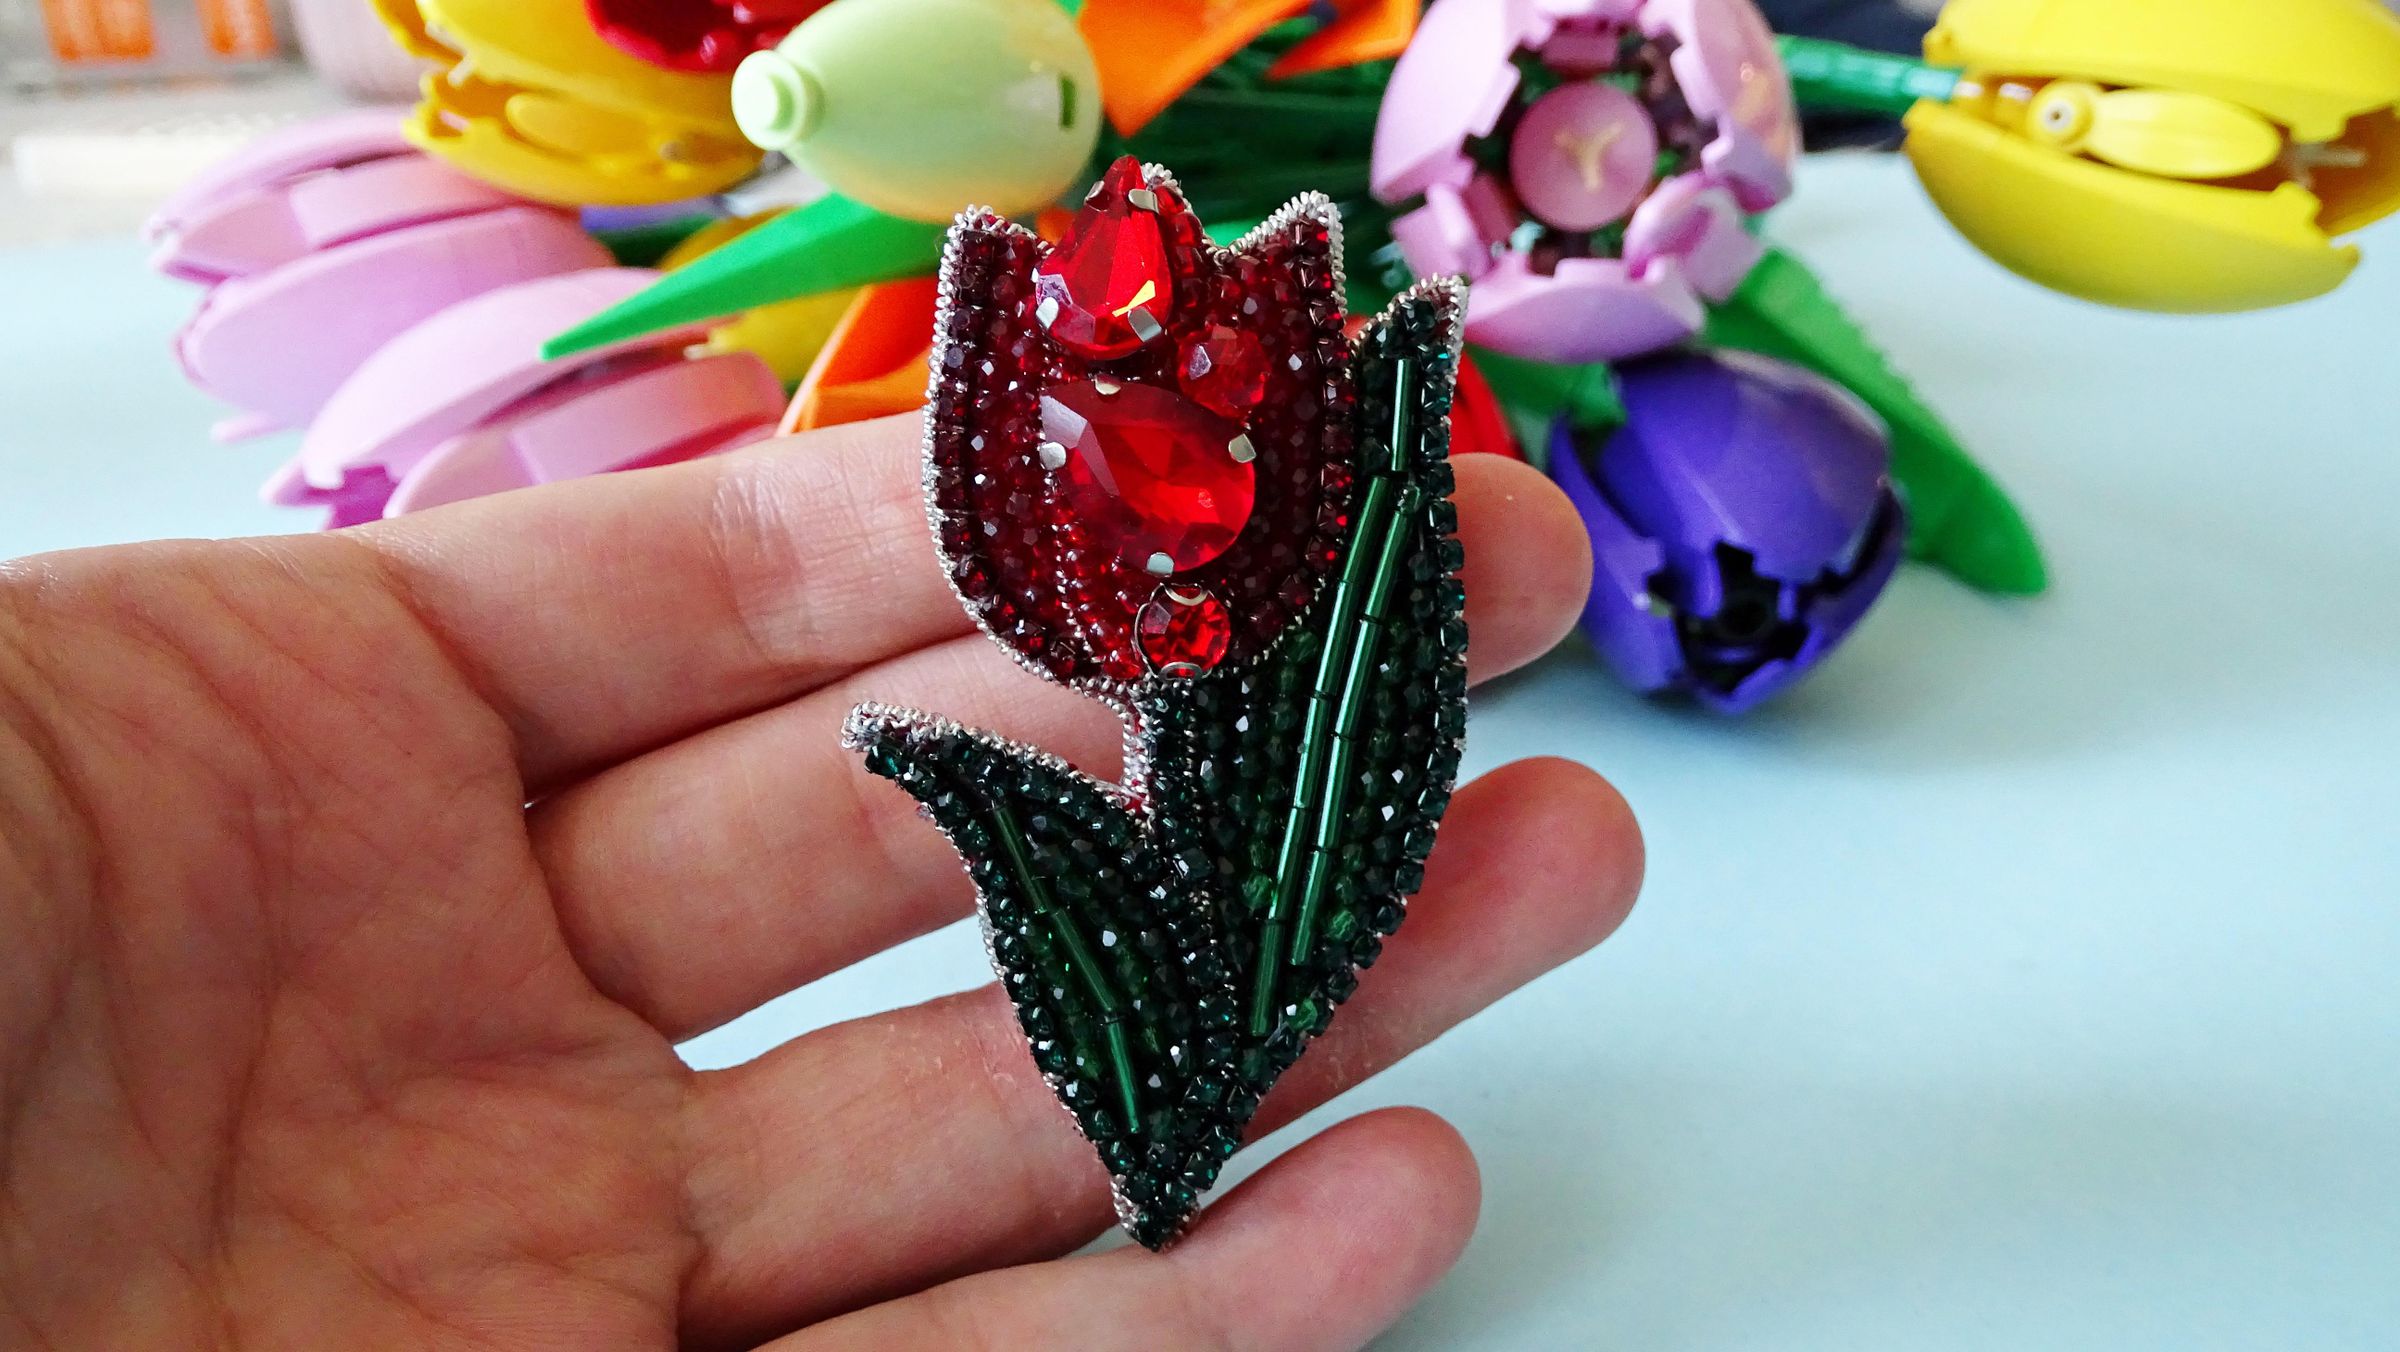
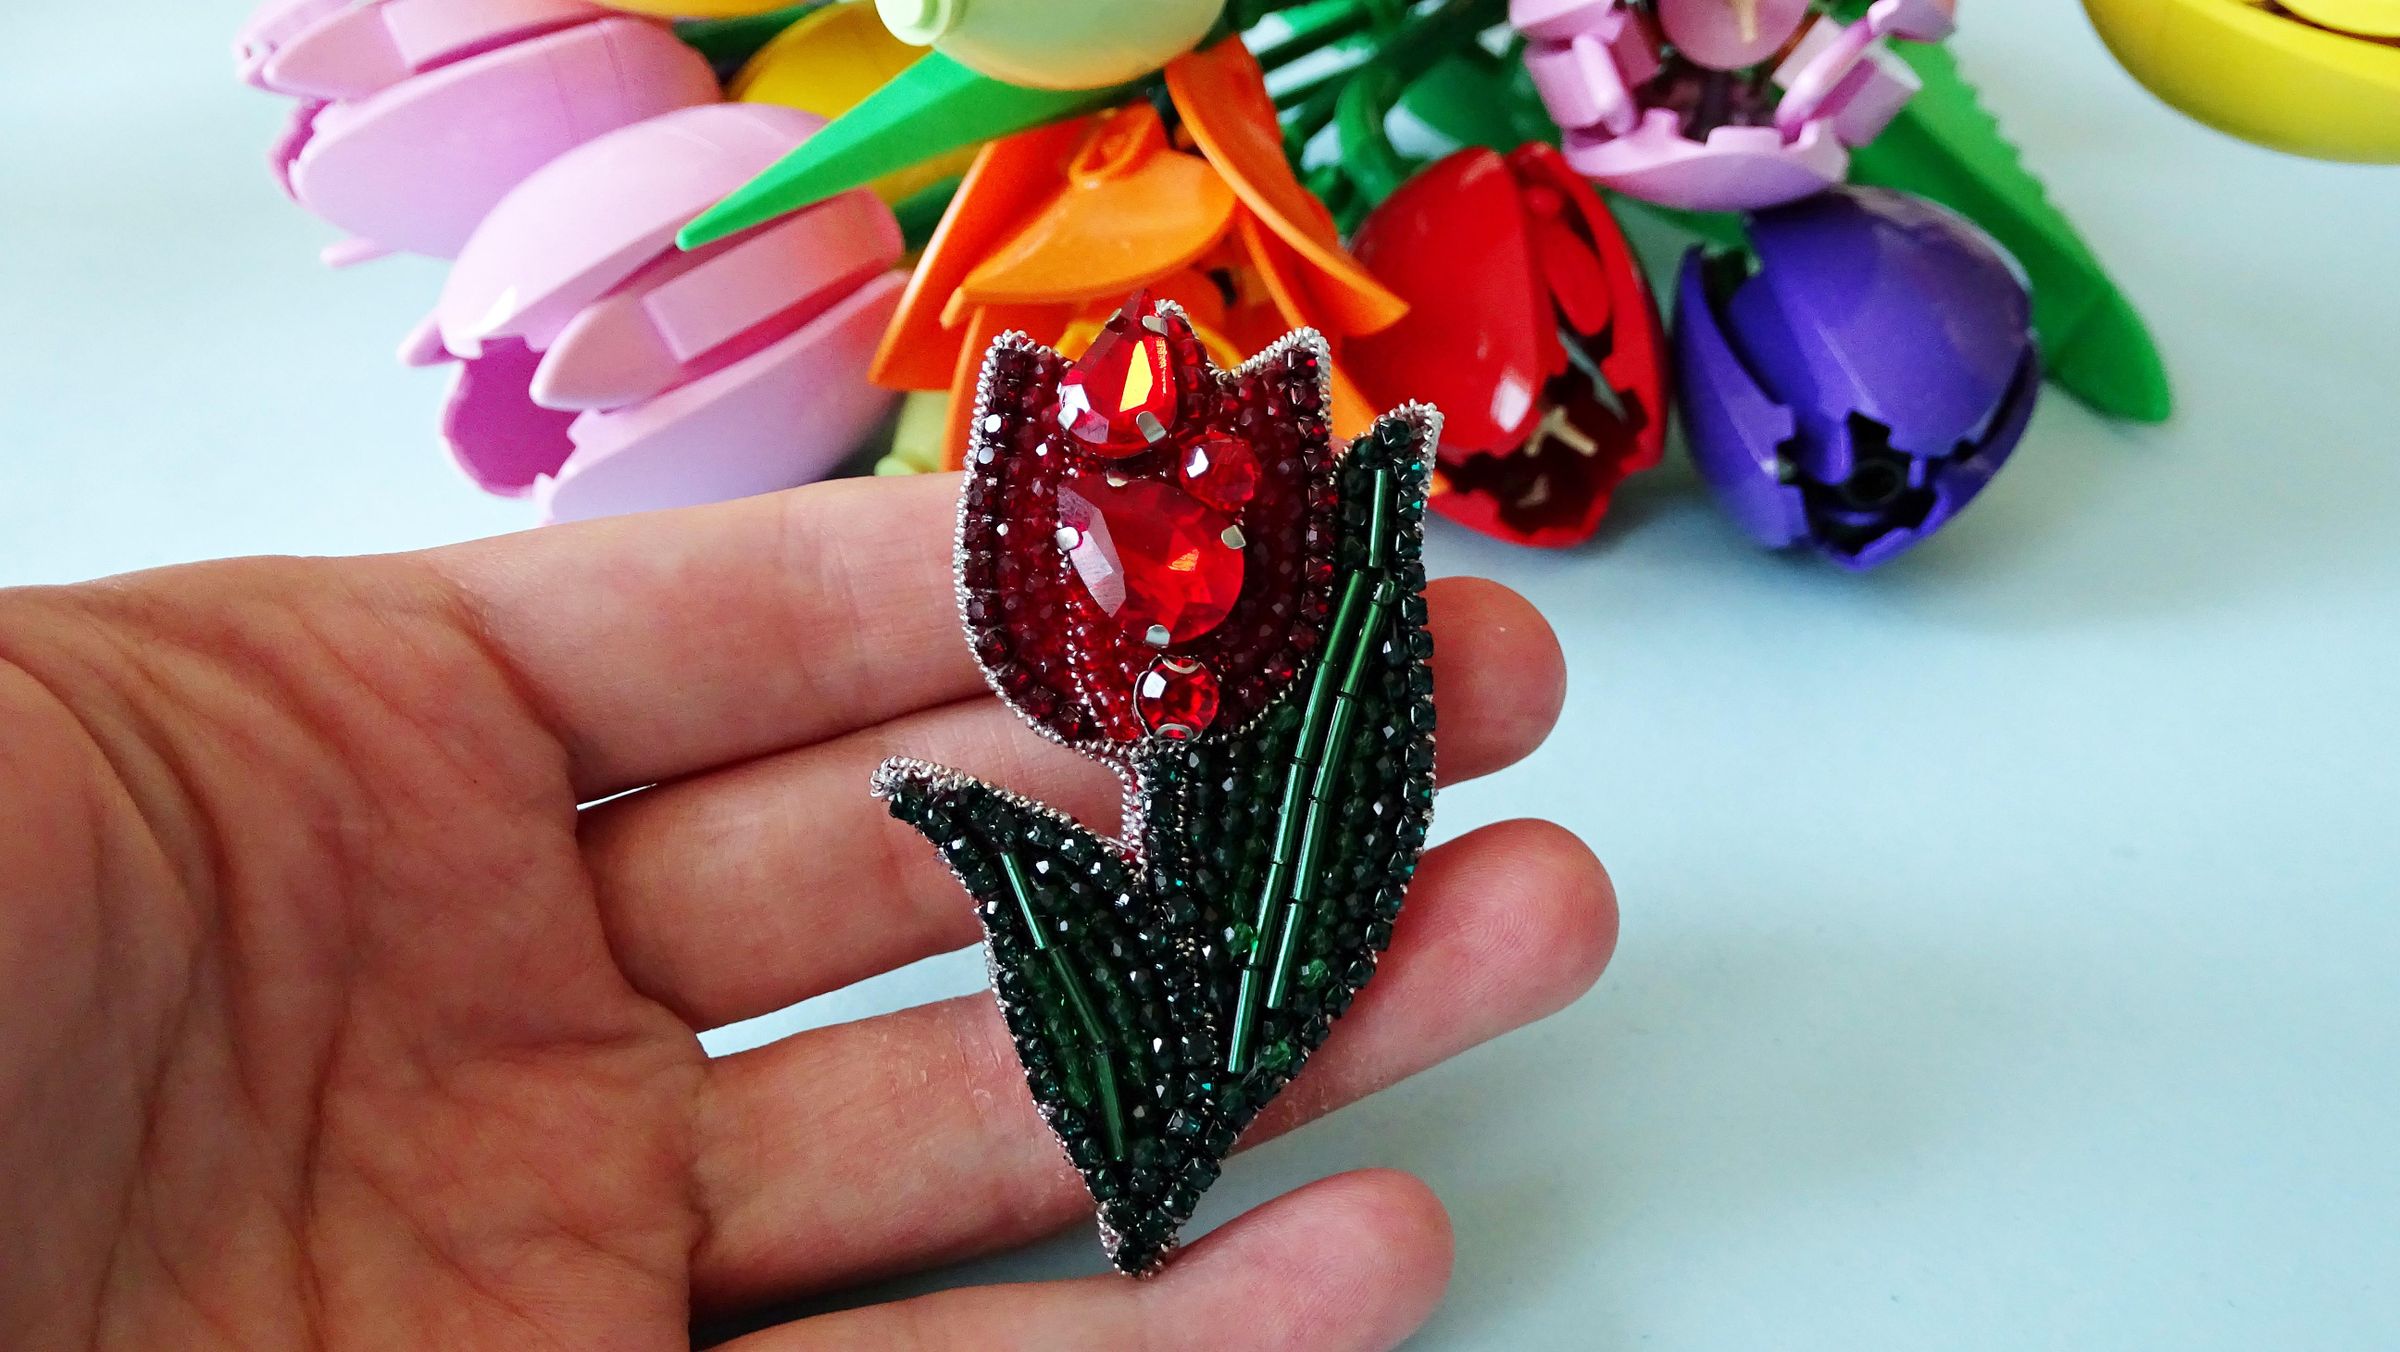
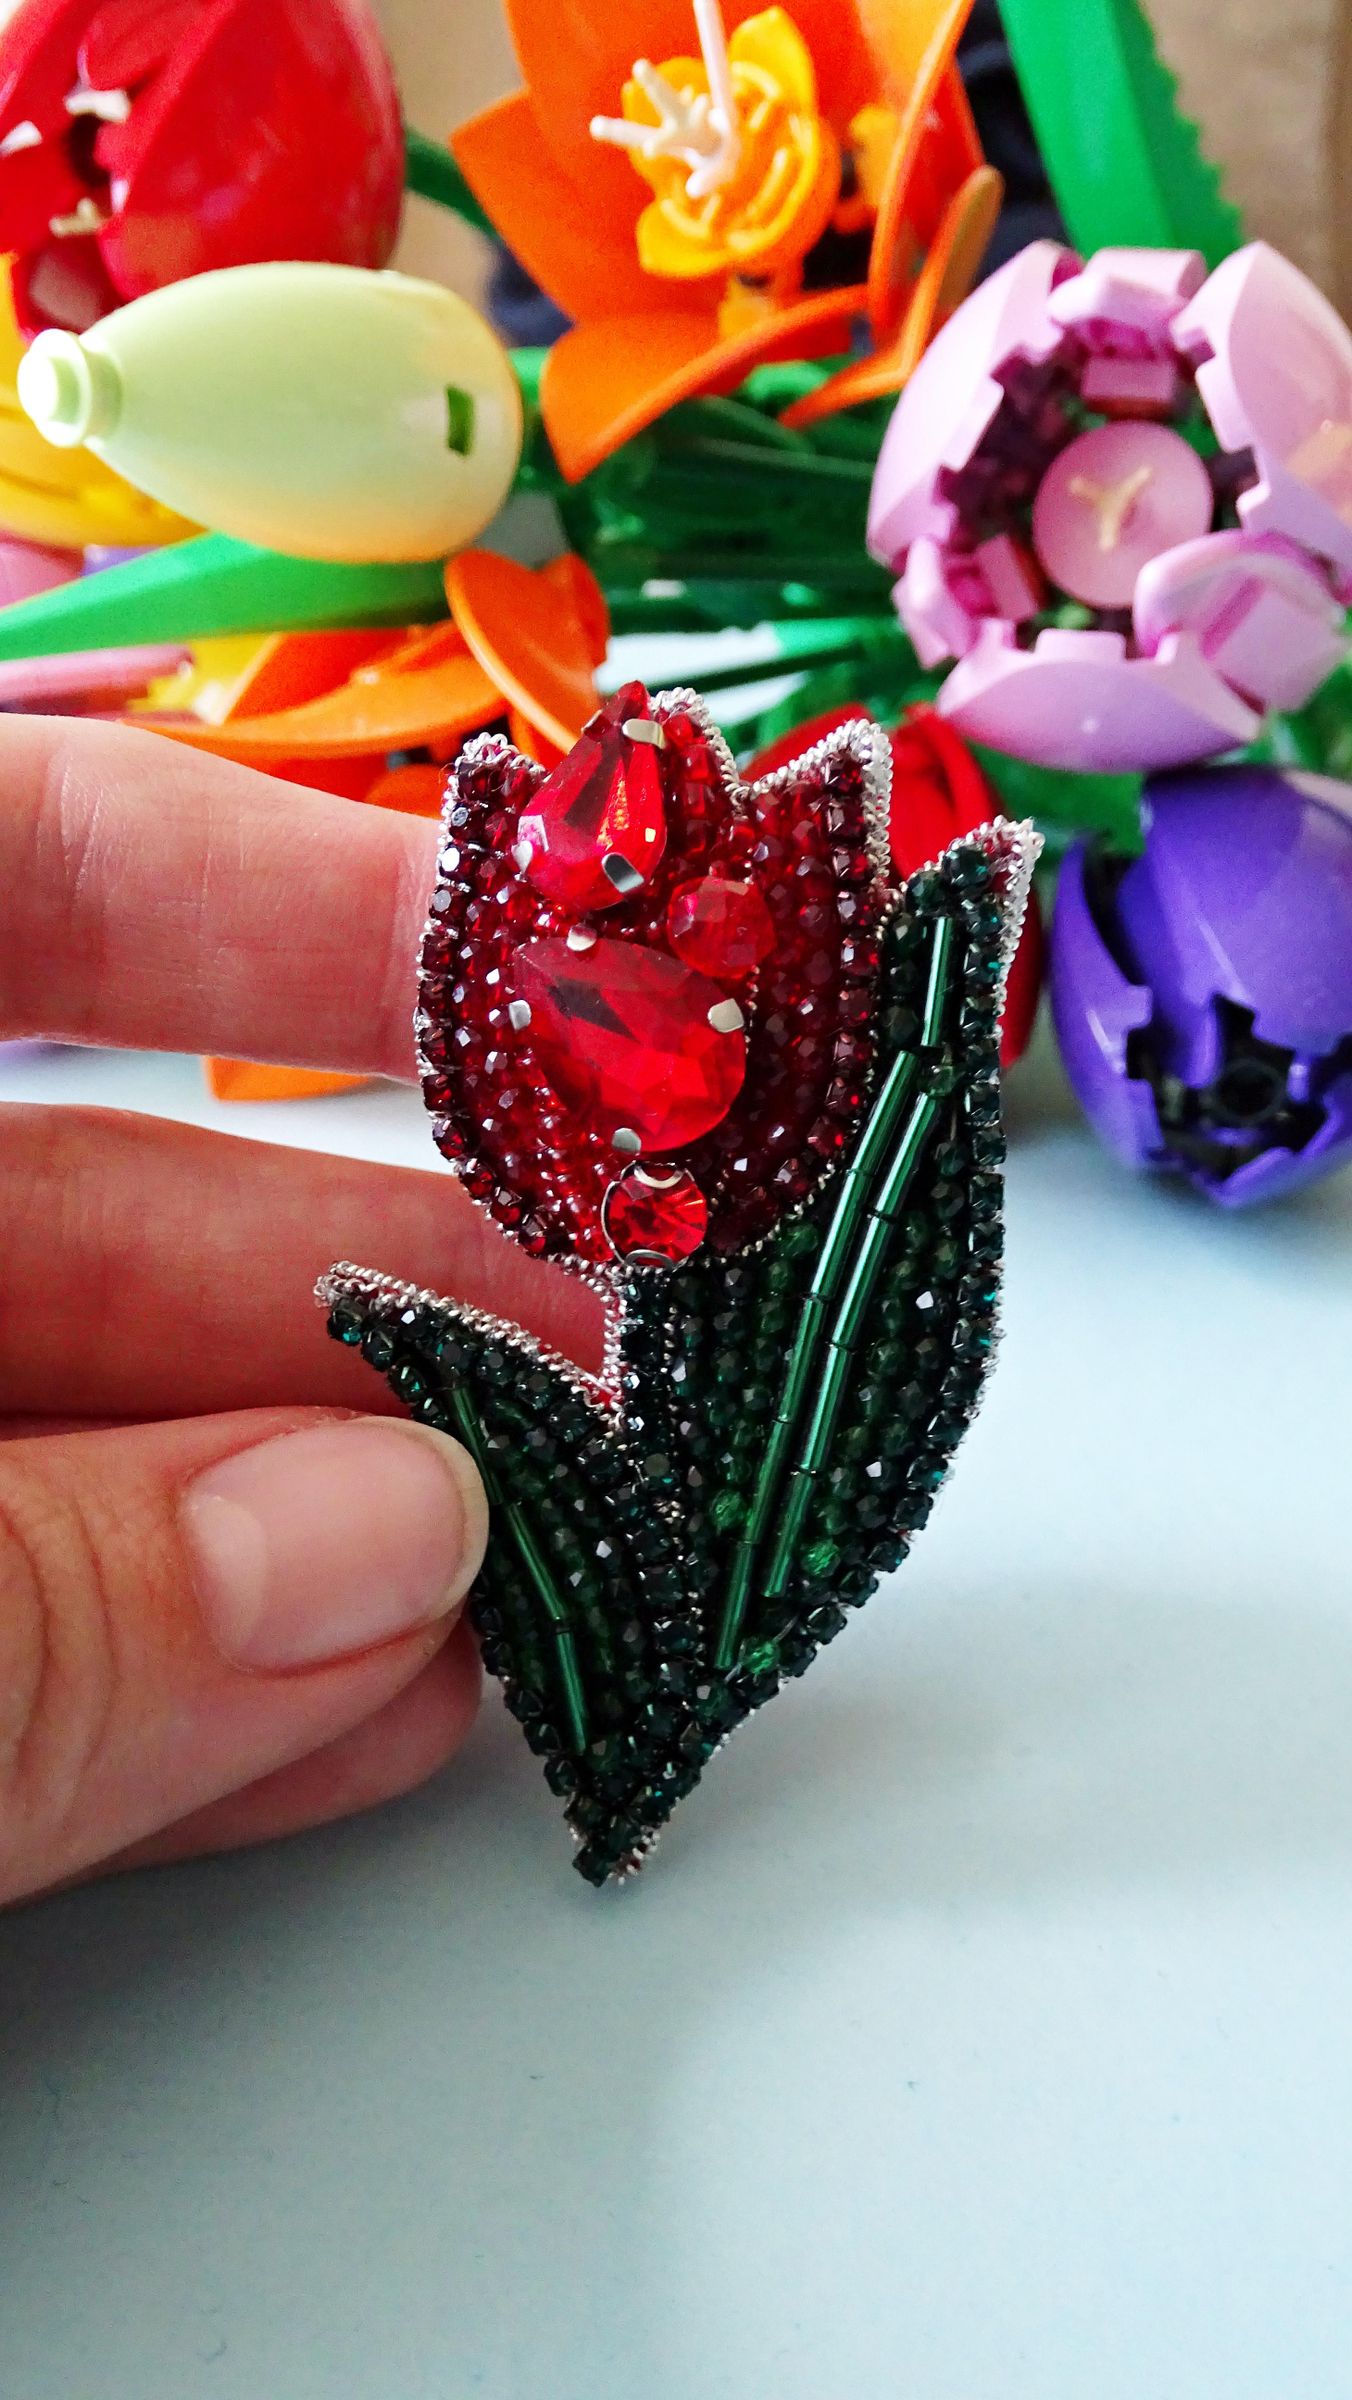
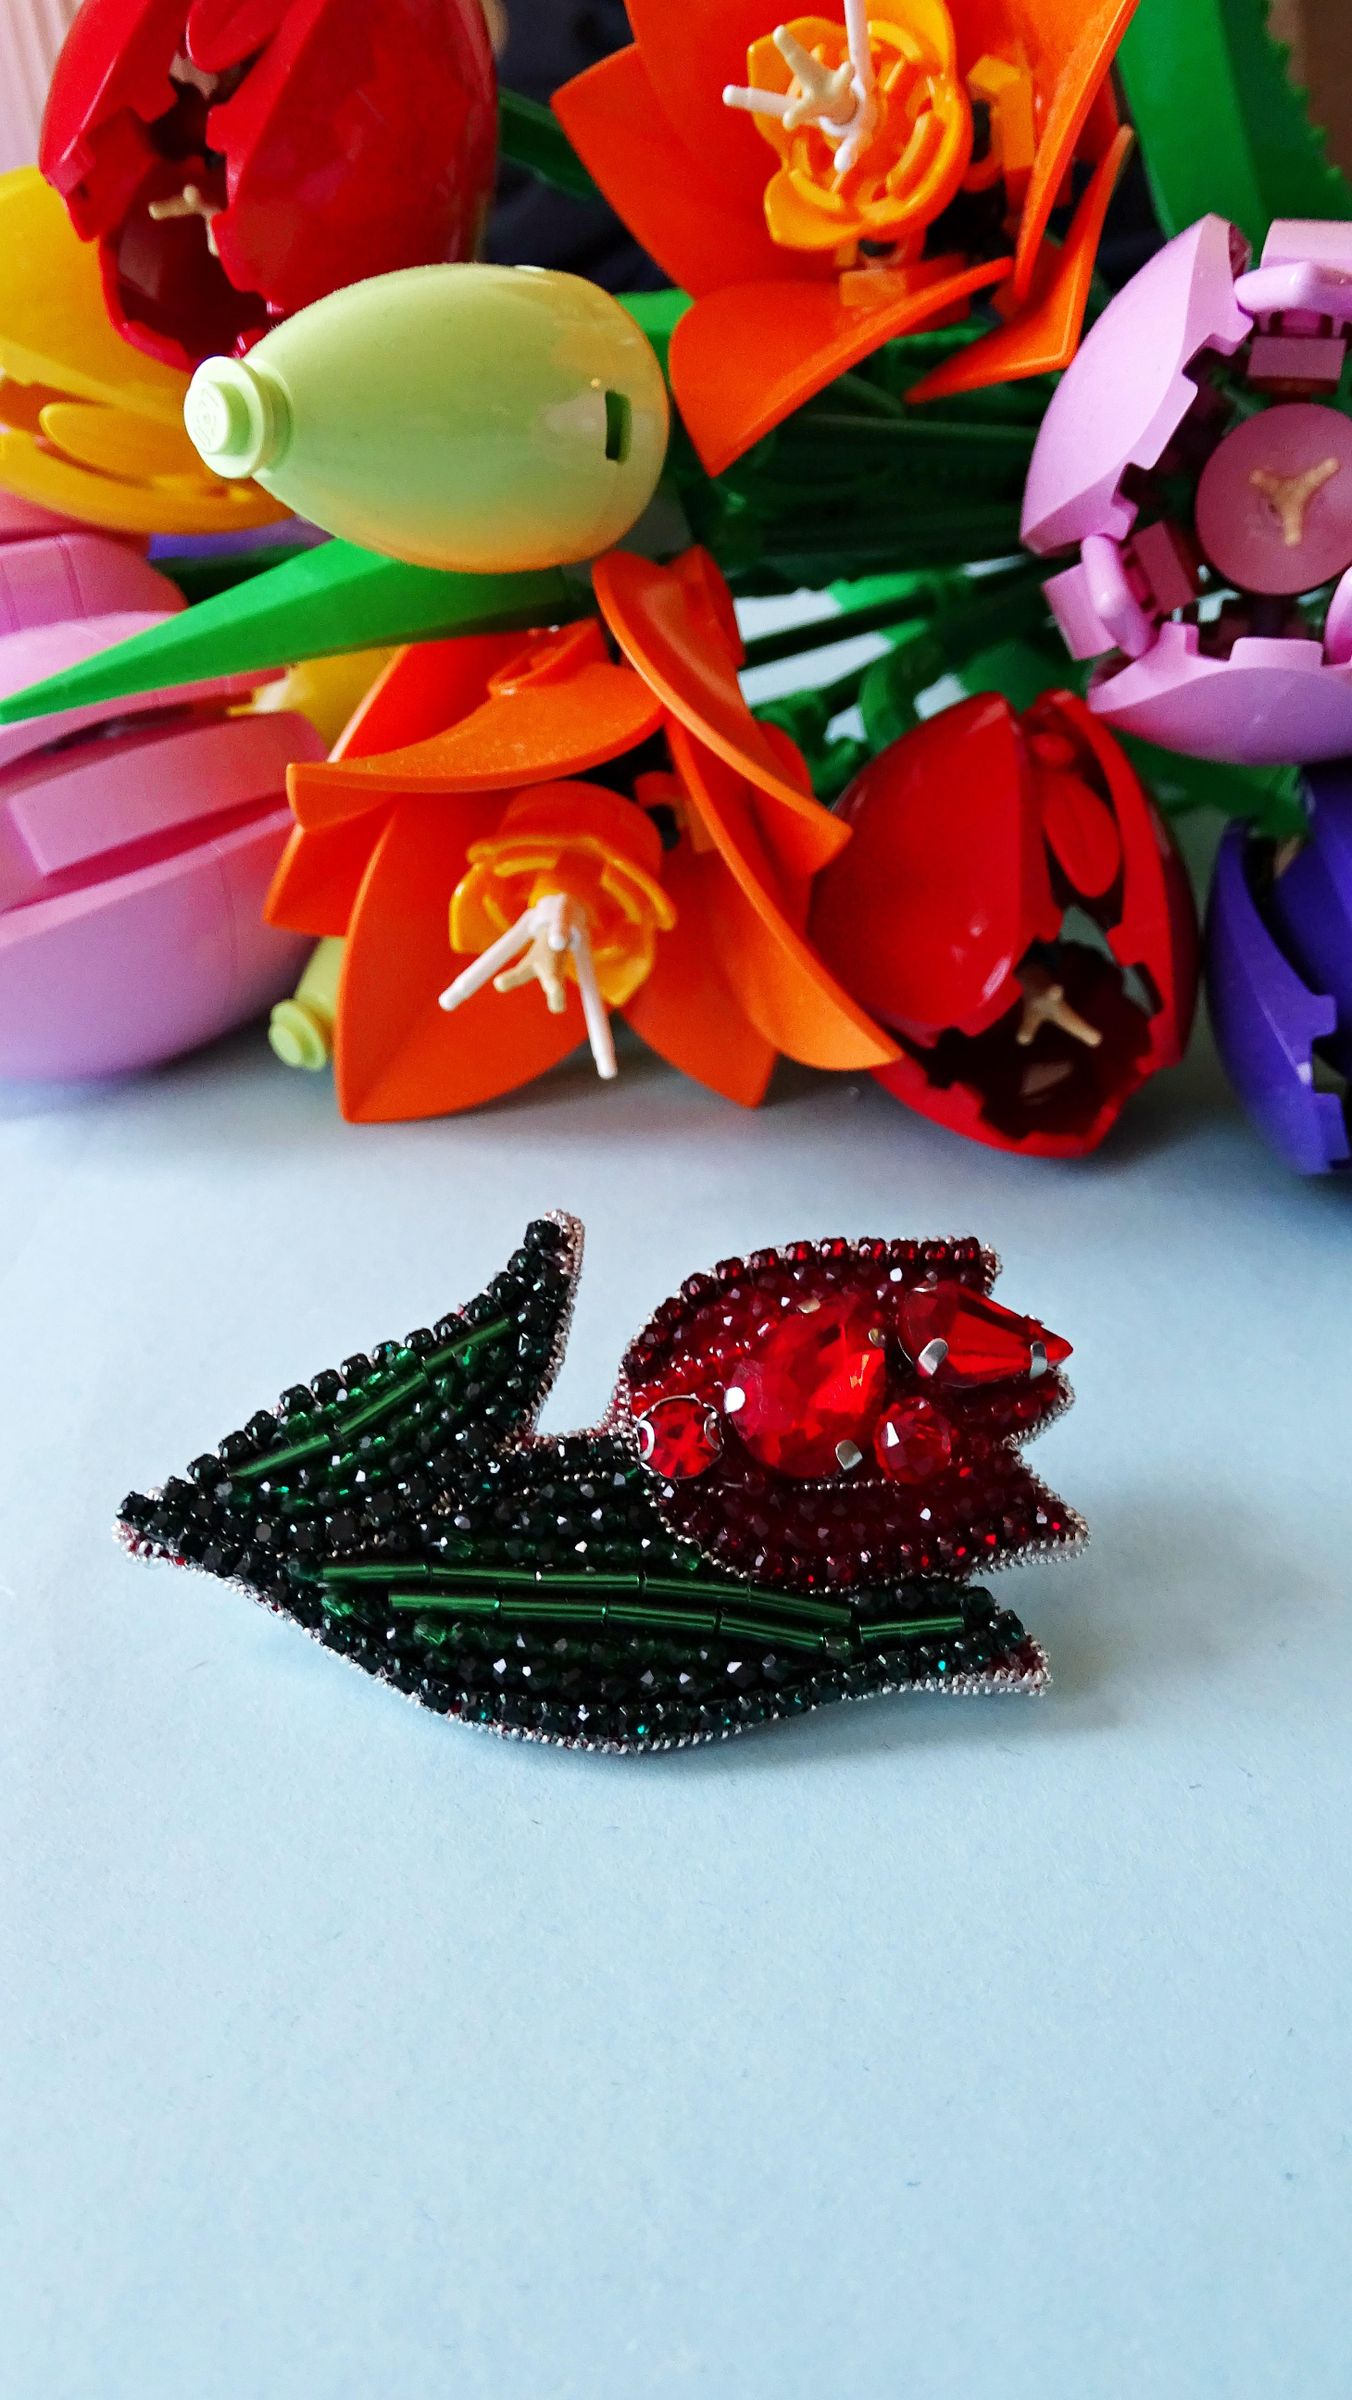
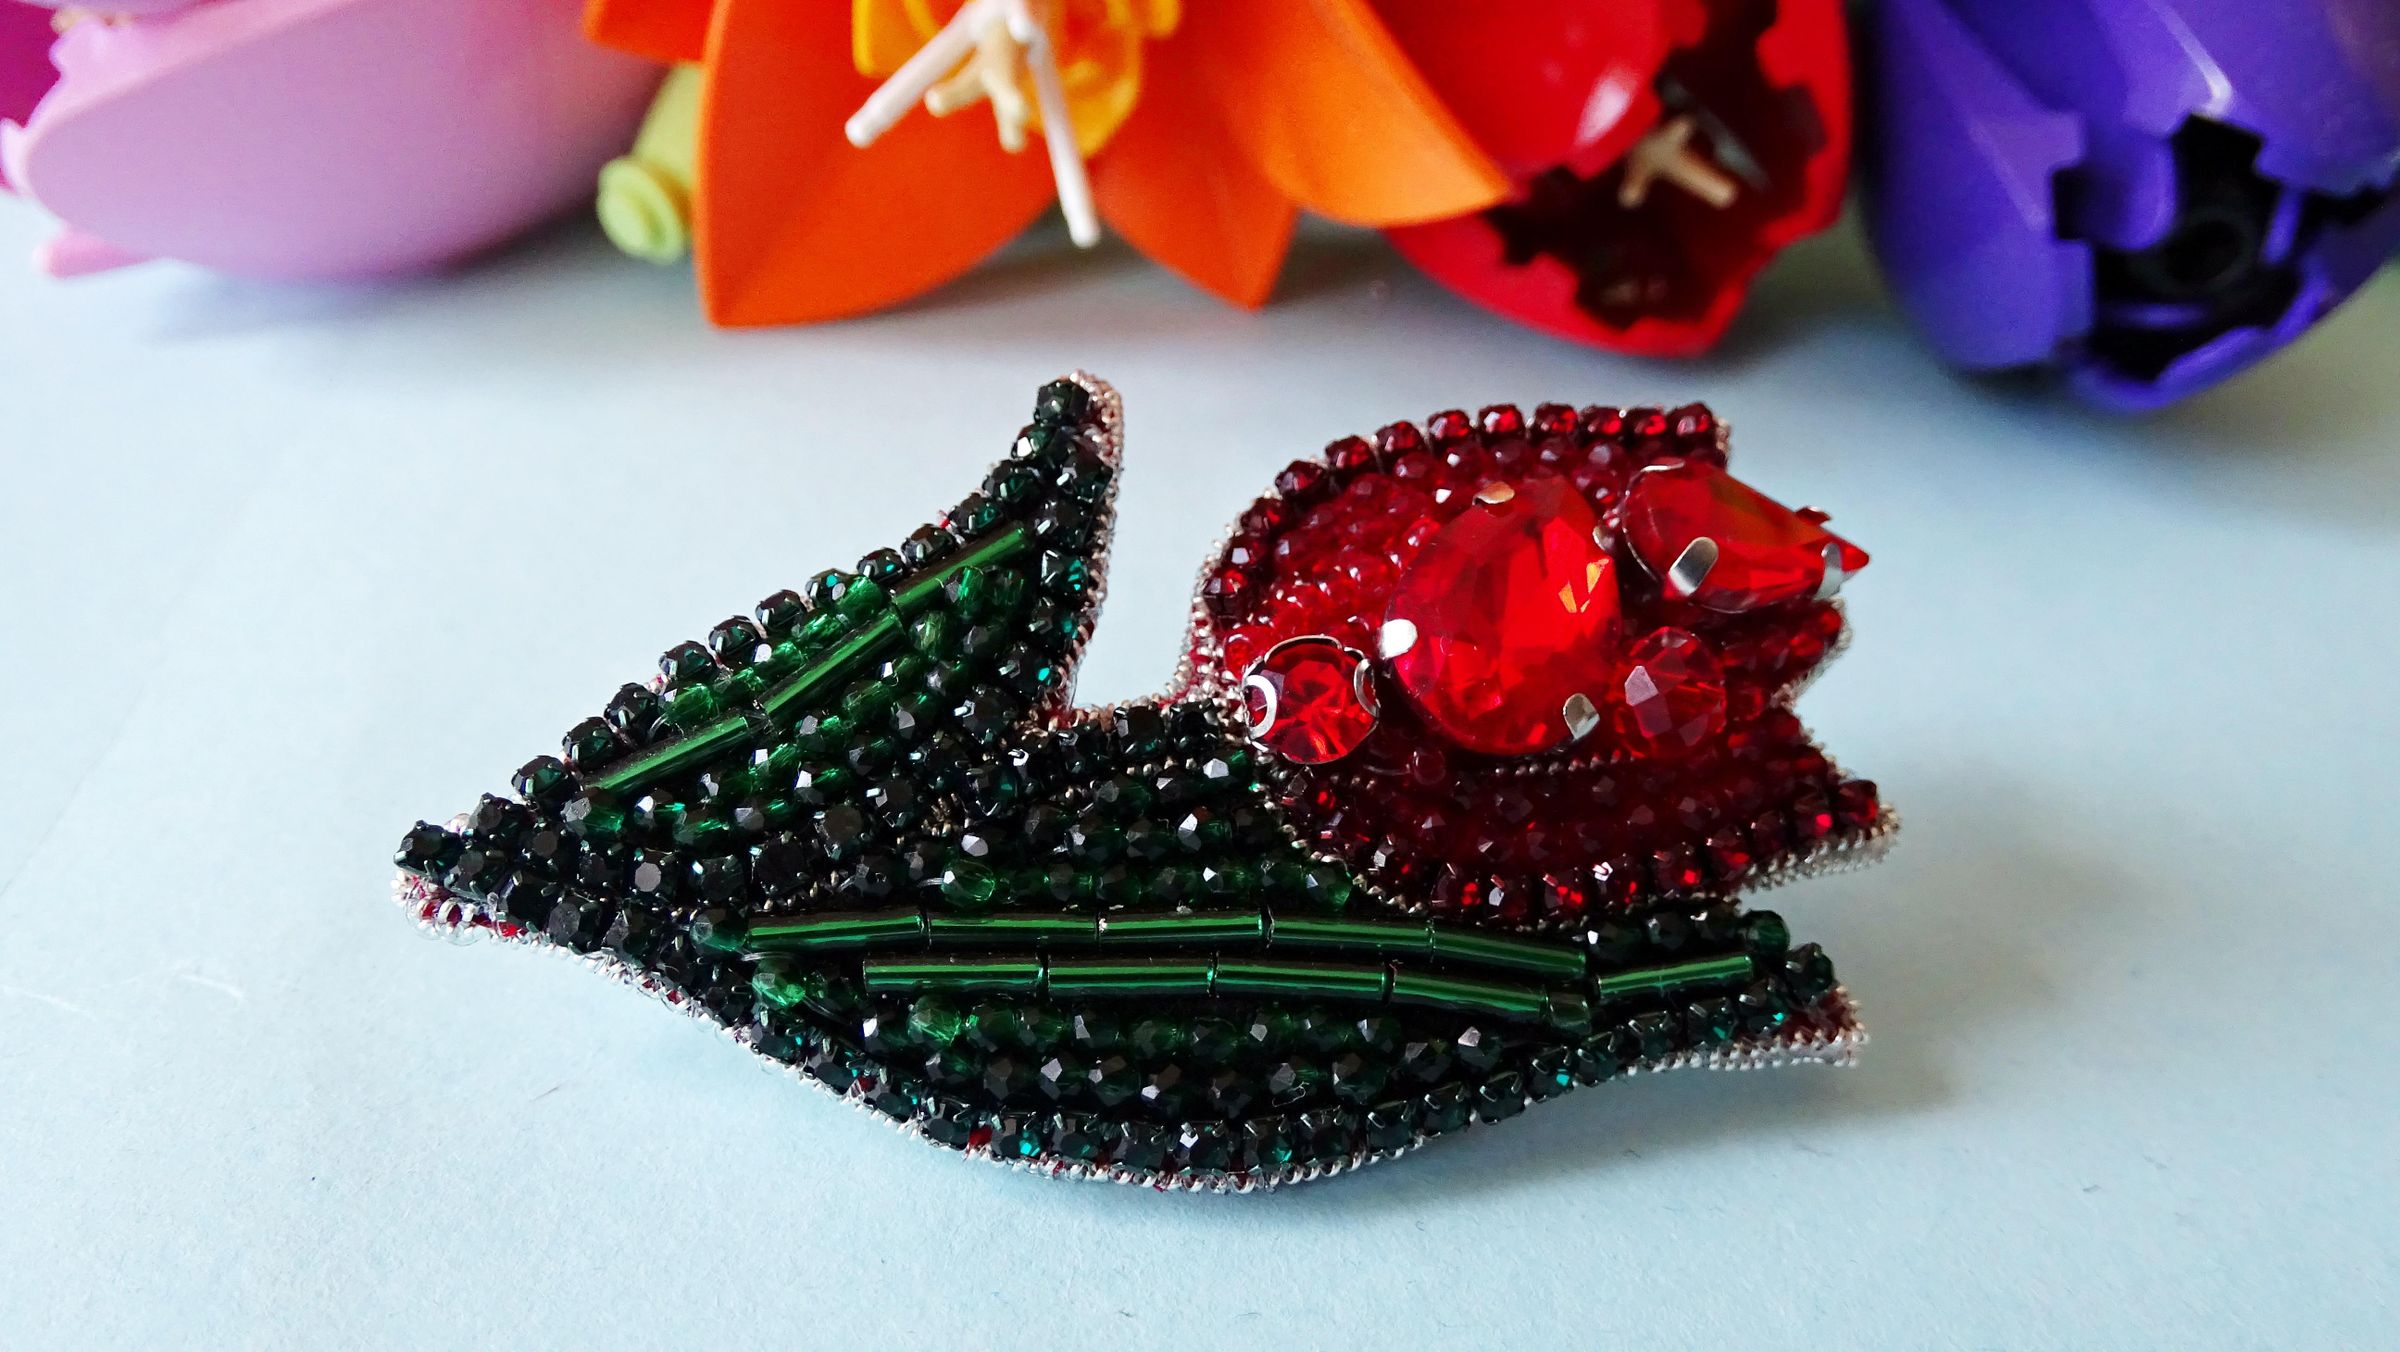
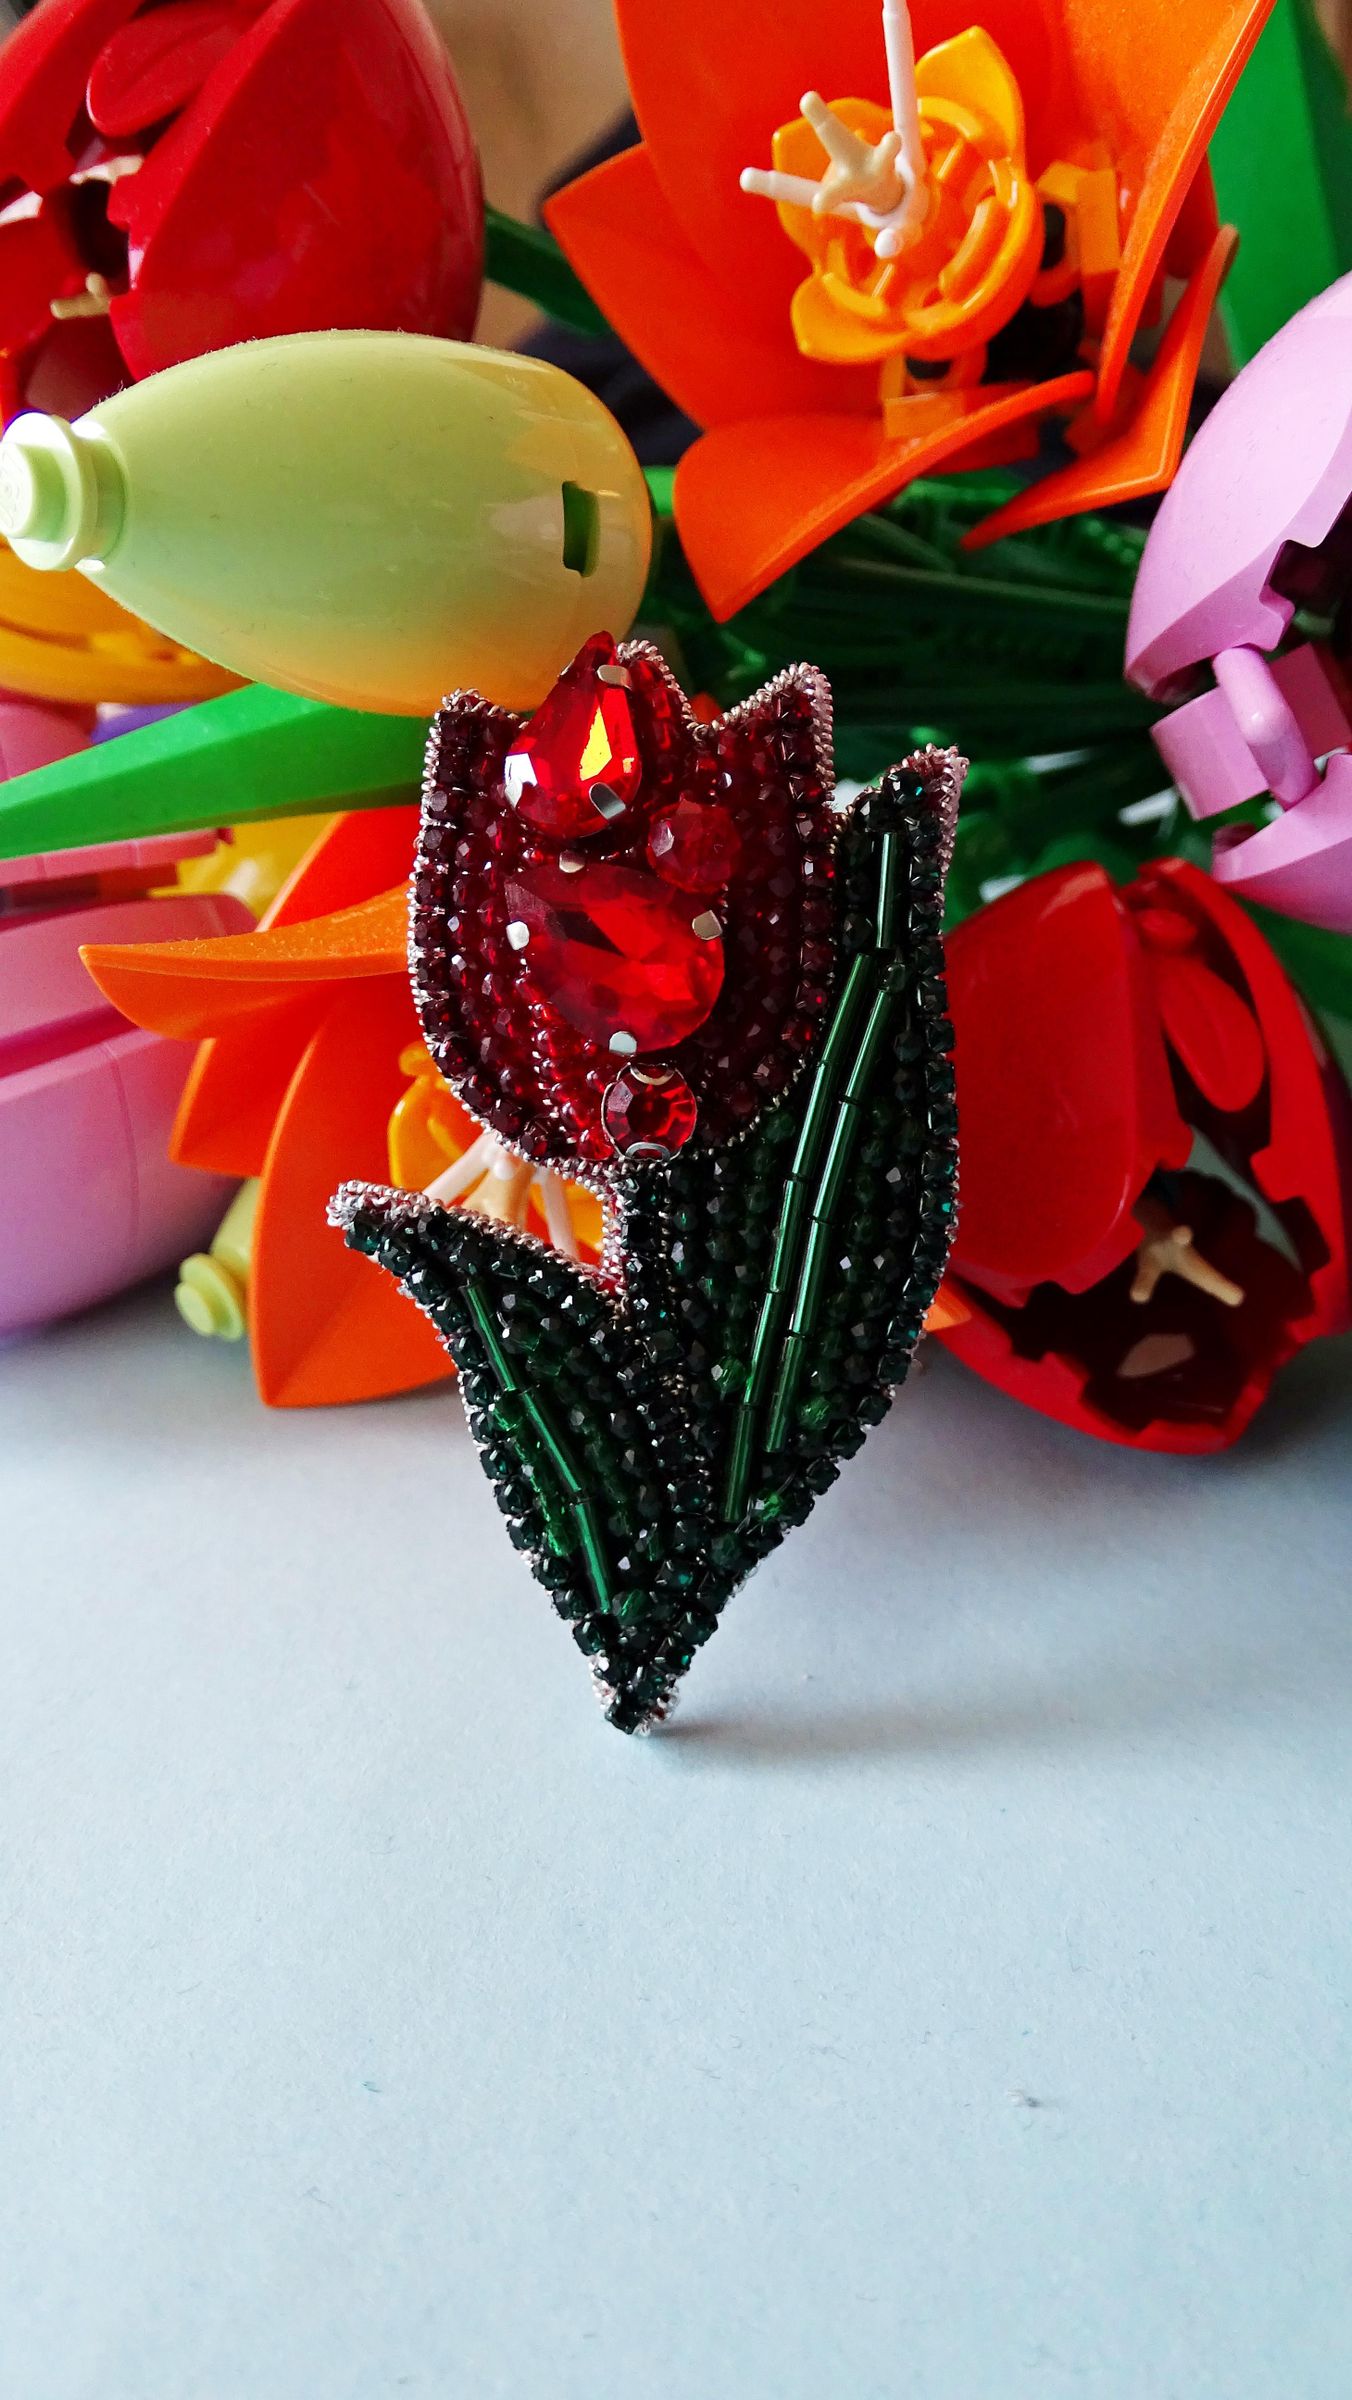
I’ve been wanting to create a bead embroidery brooch for a while.With the arrival of spring the idea of a tulip came to me naturally. Tulips symbolize renewal and elegance, and I wanted to capture their delicate beauty in a wearable piece. This brooch is truly a showstopper, adding a touch of elegance to any outfit.
Let’s get started!
Supplies
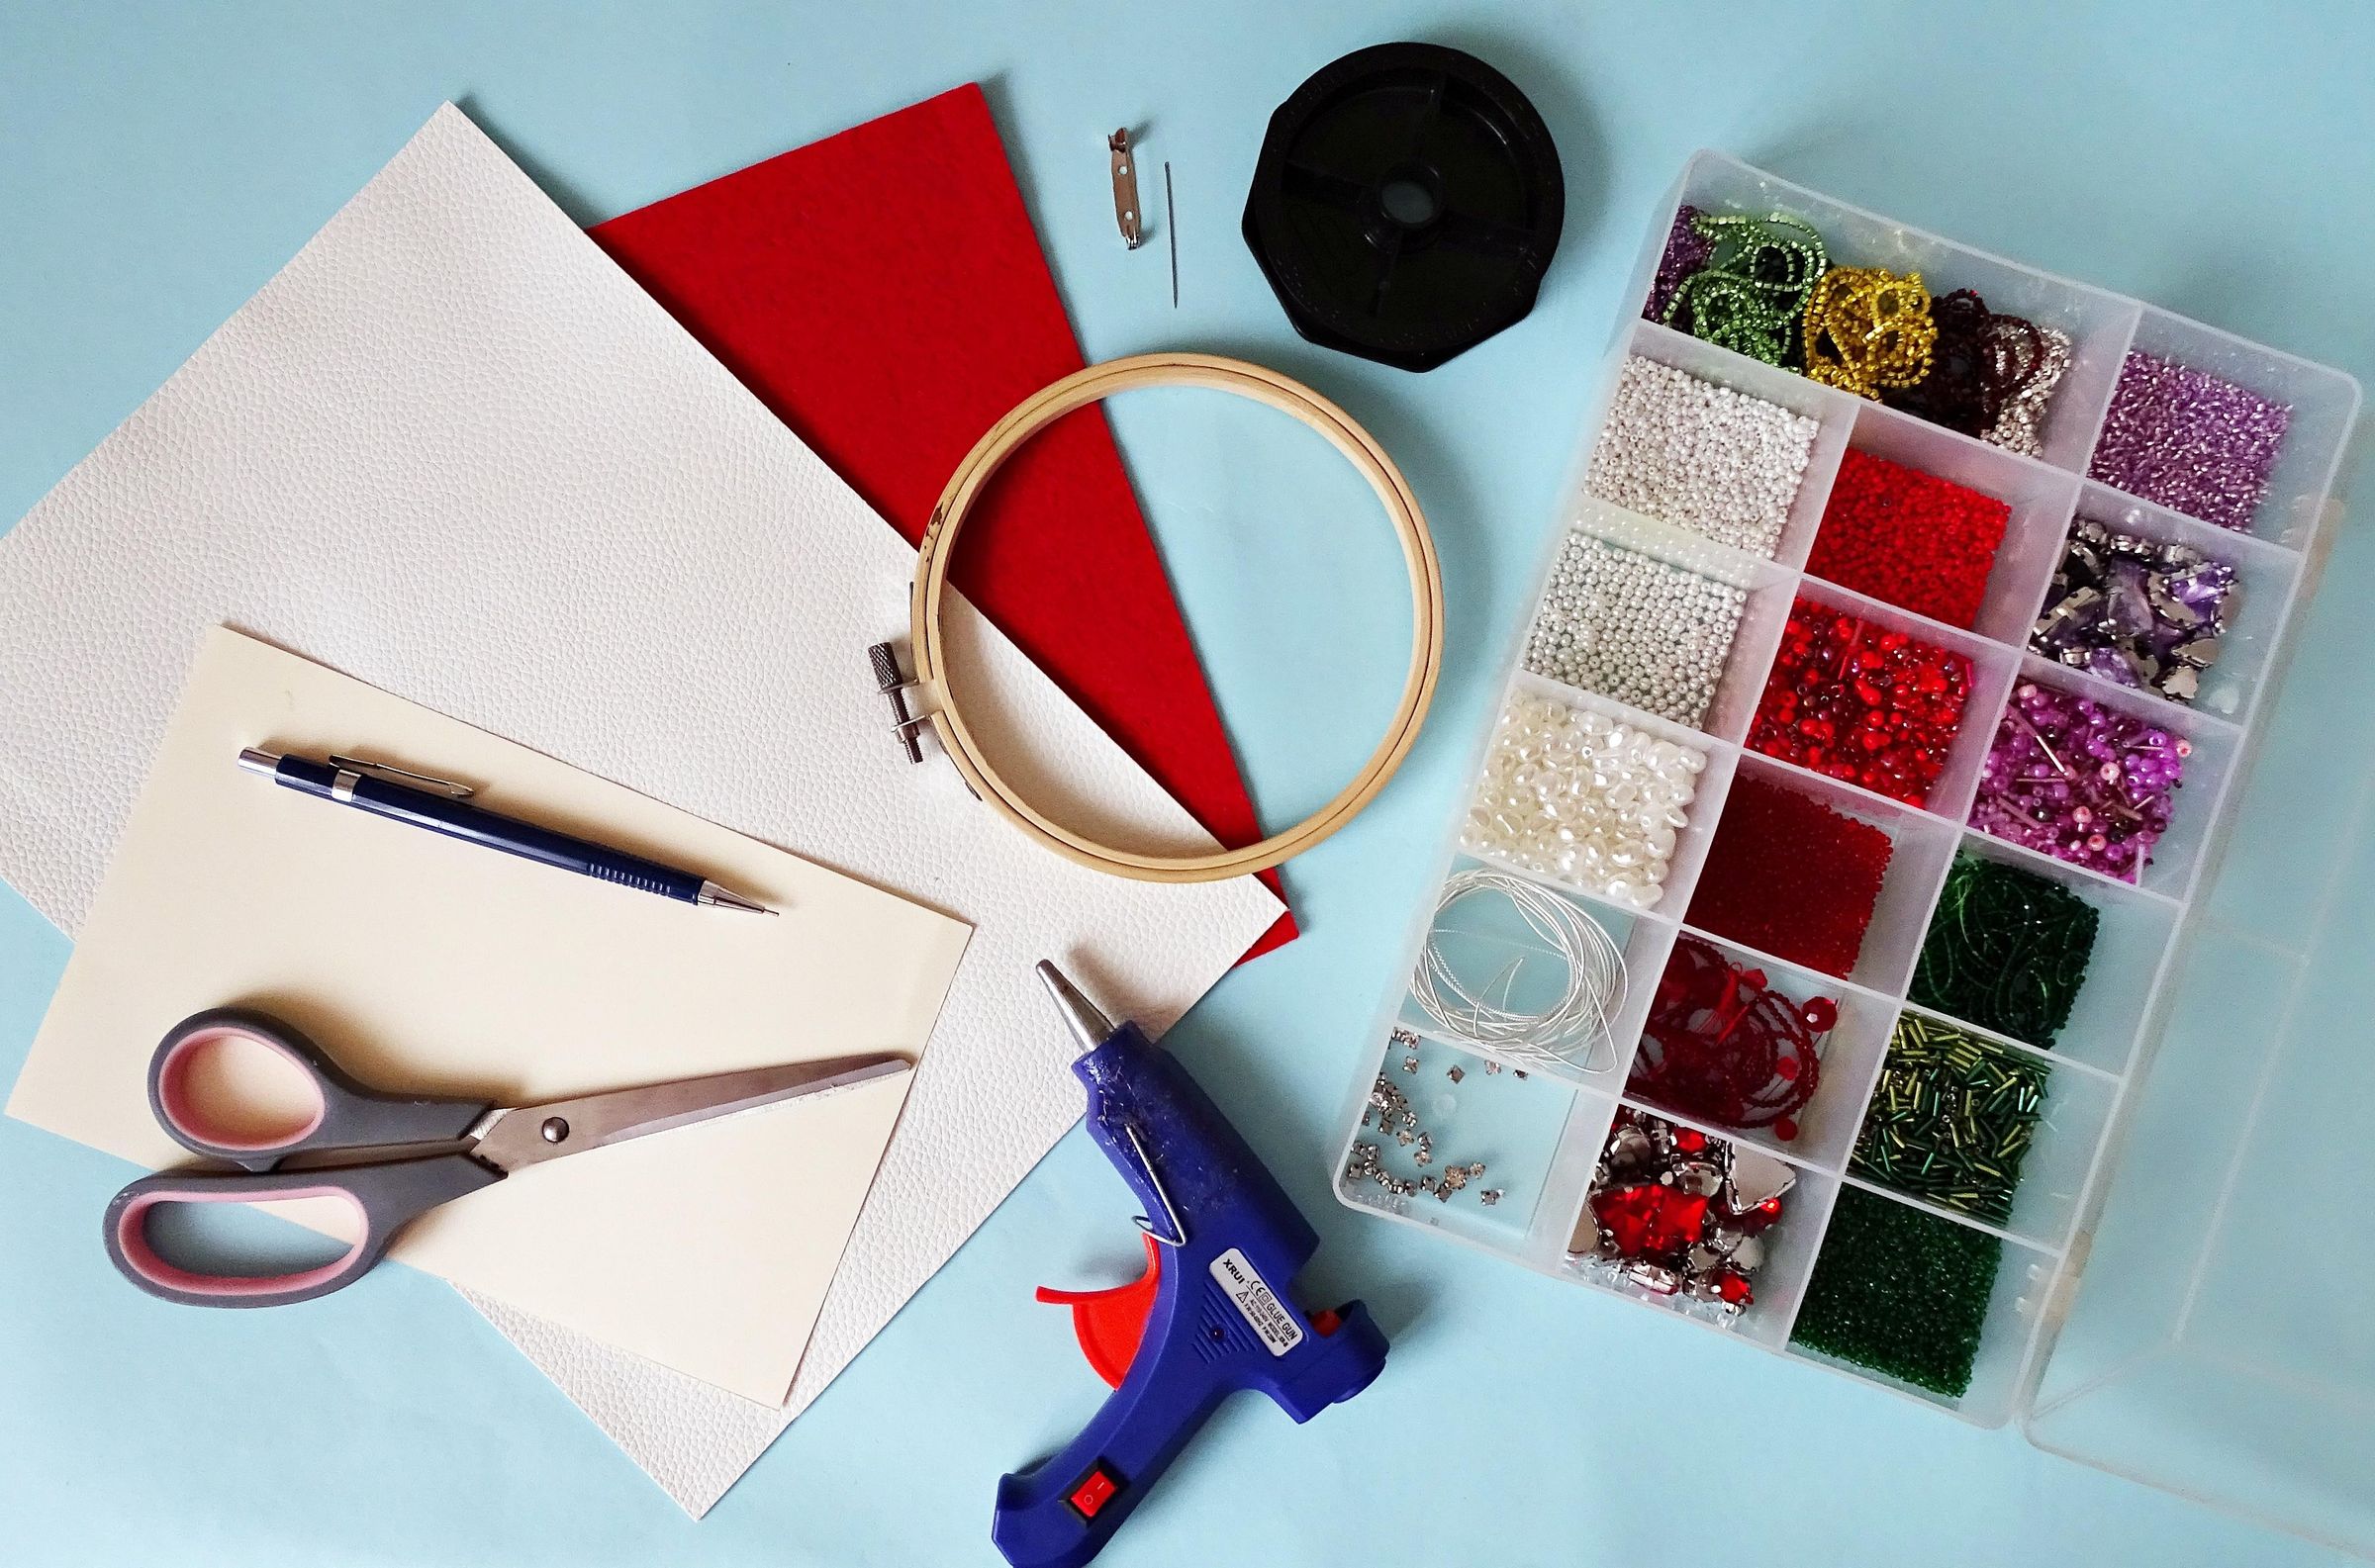
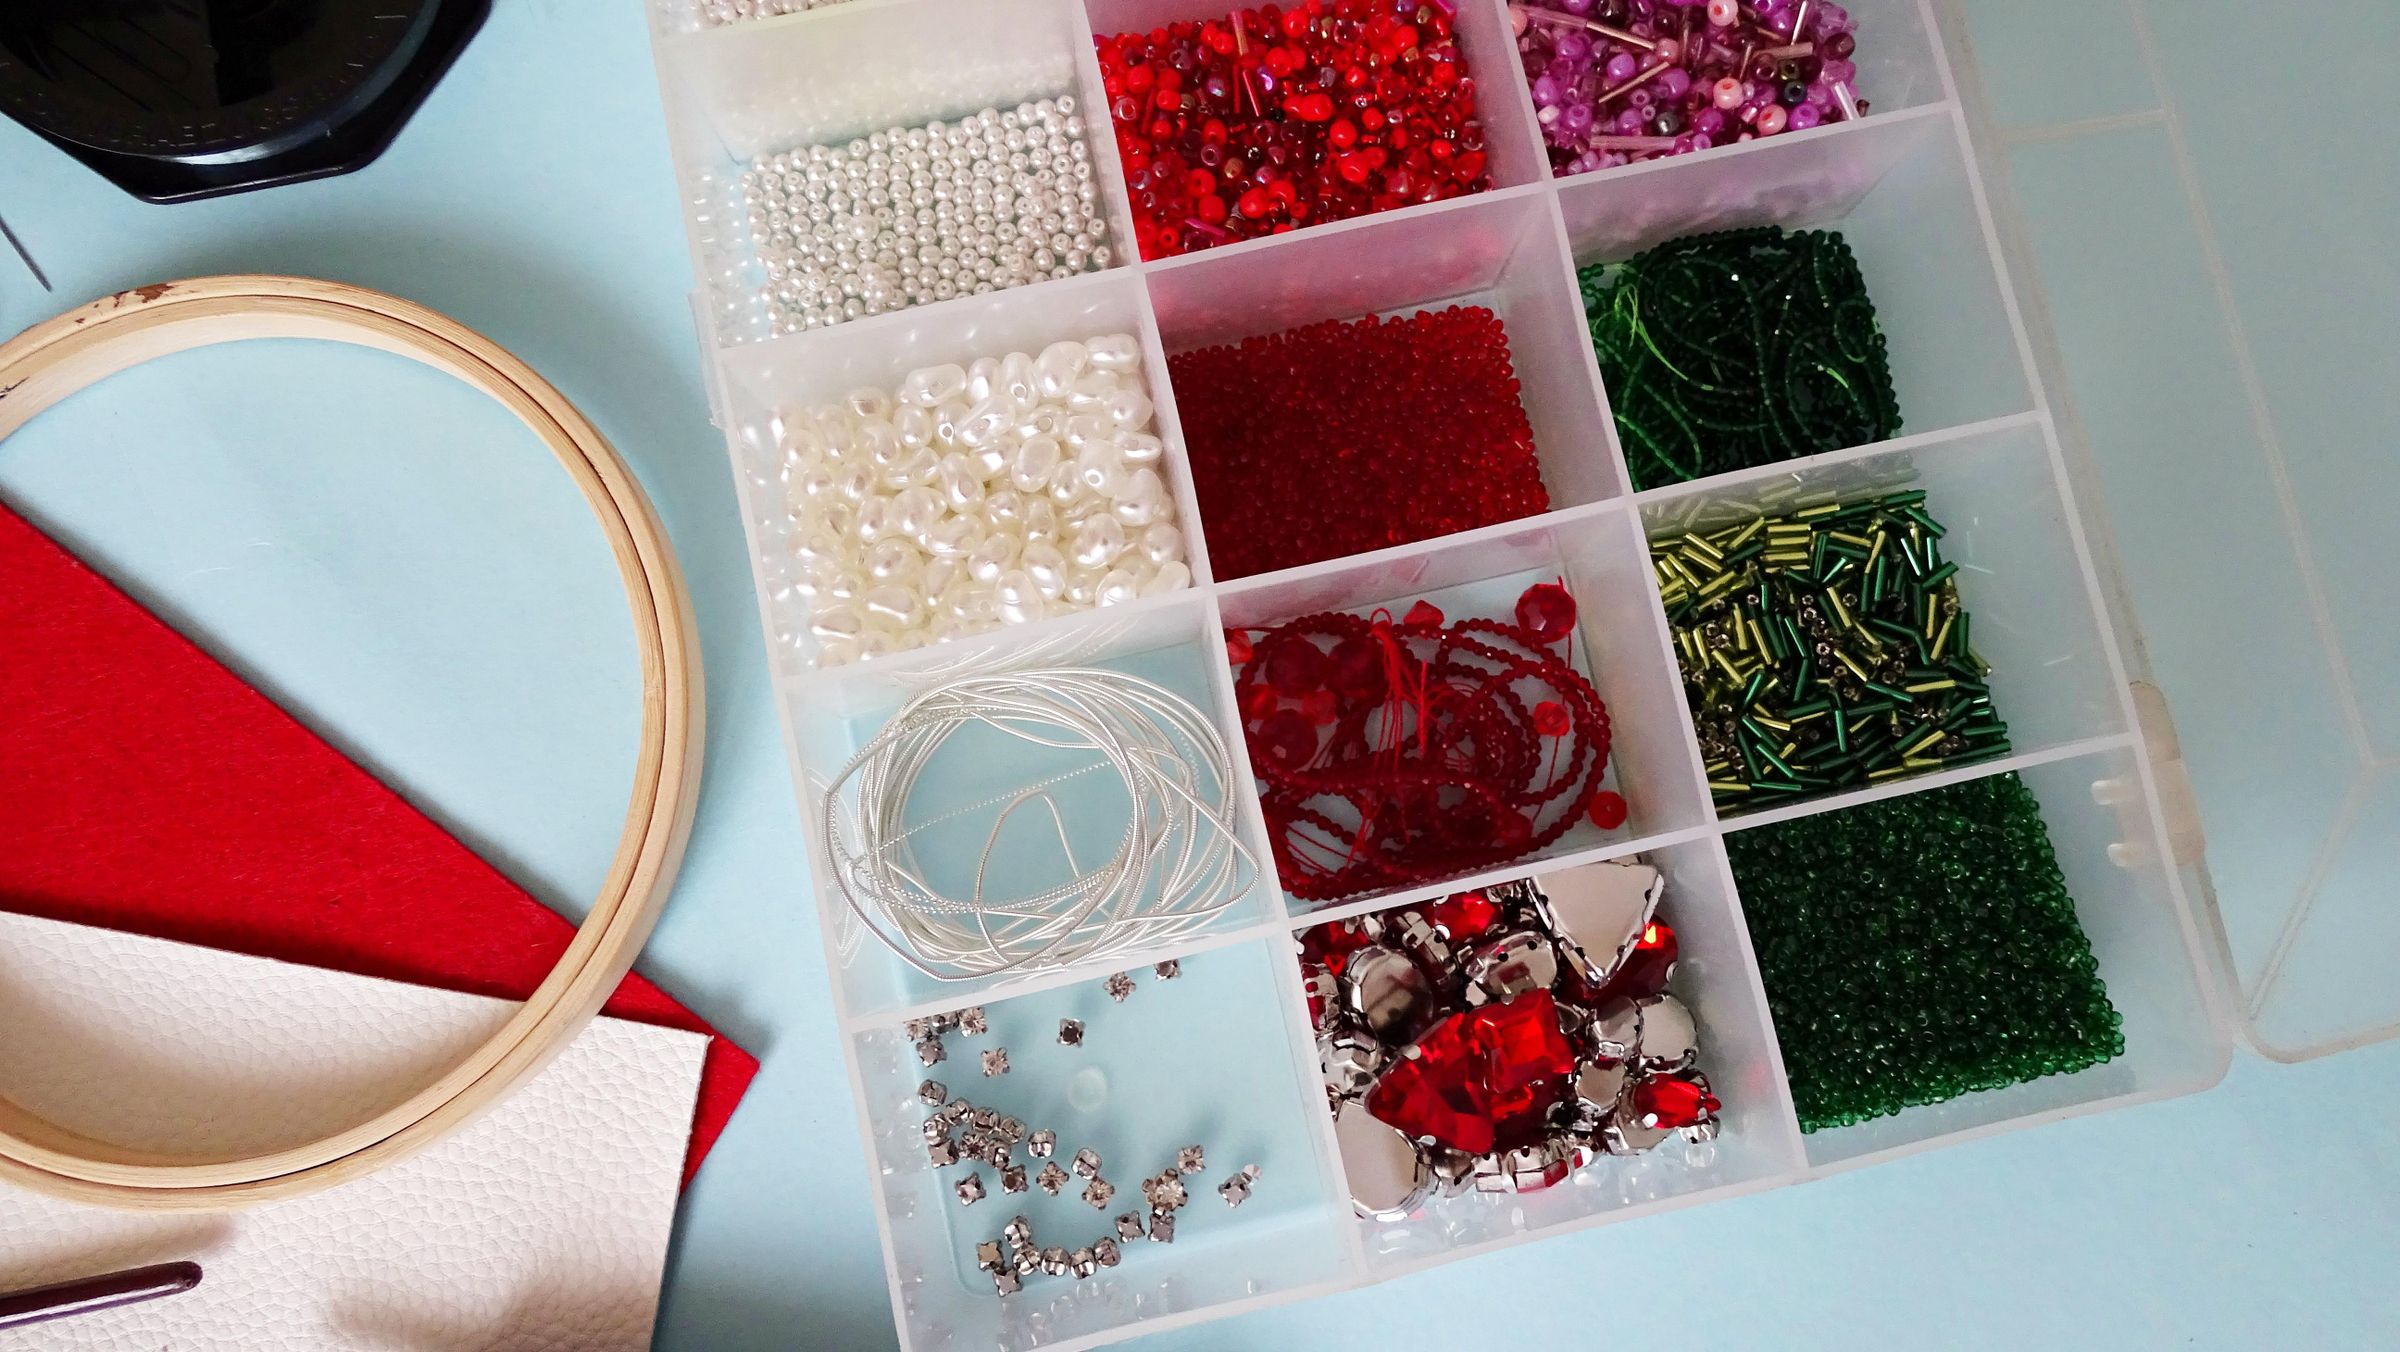
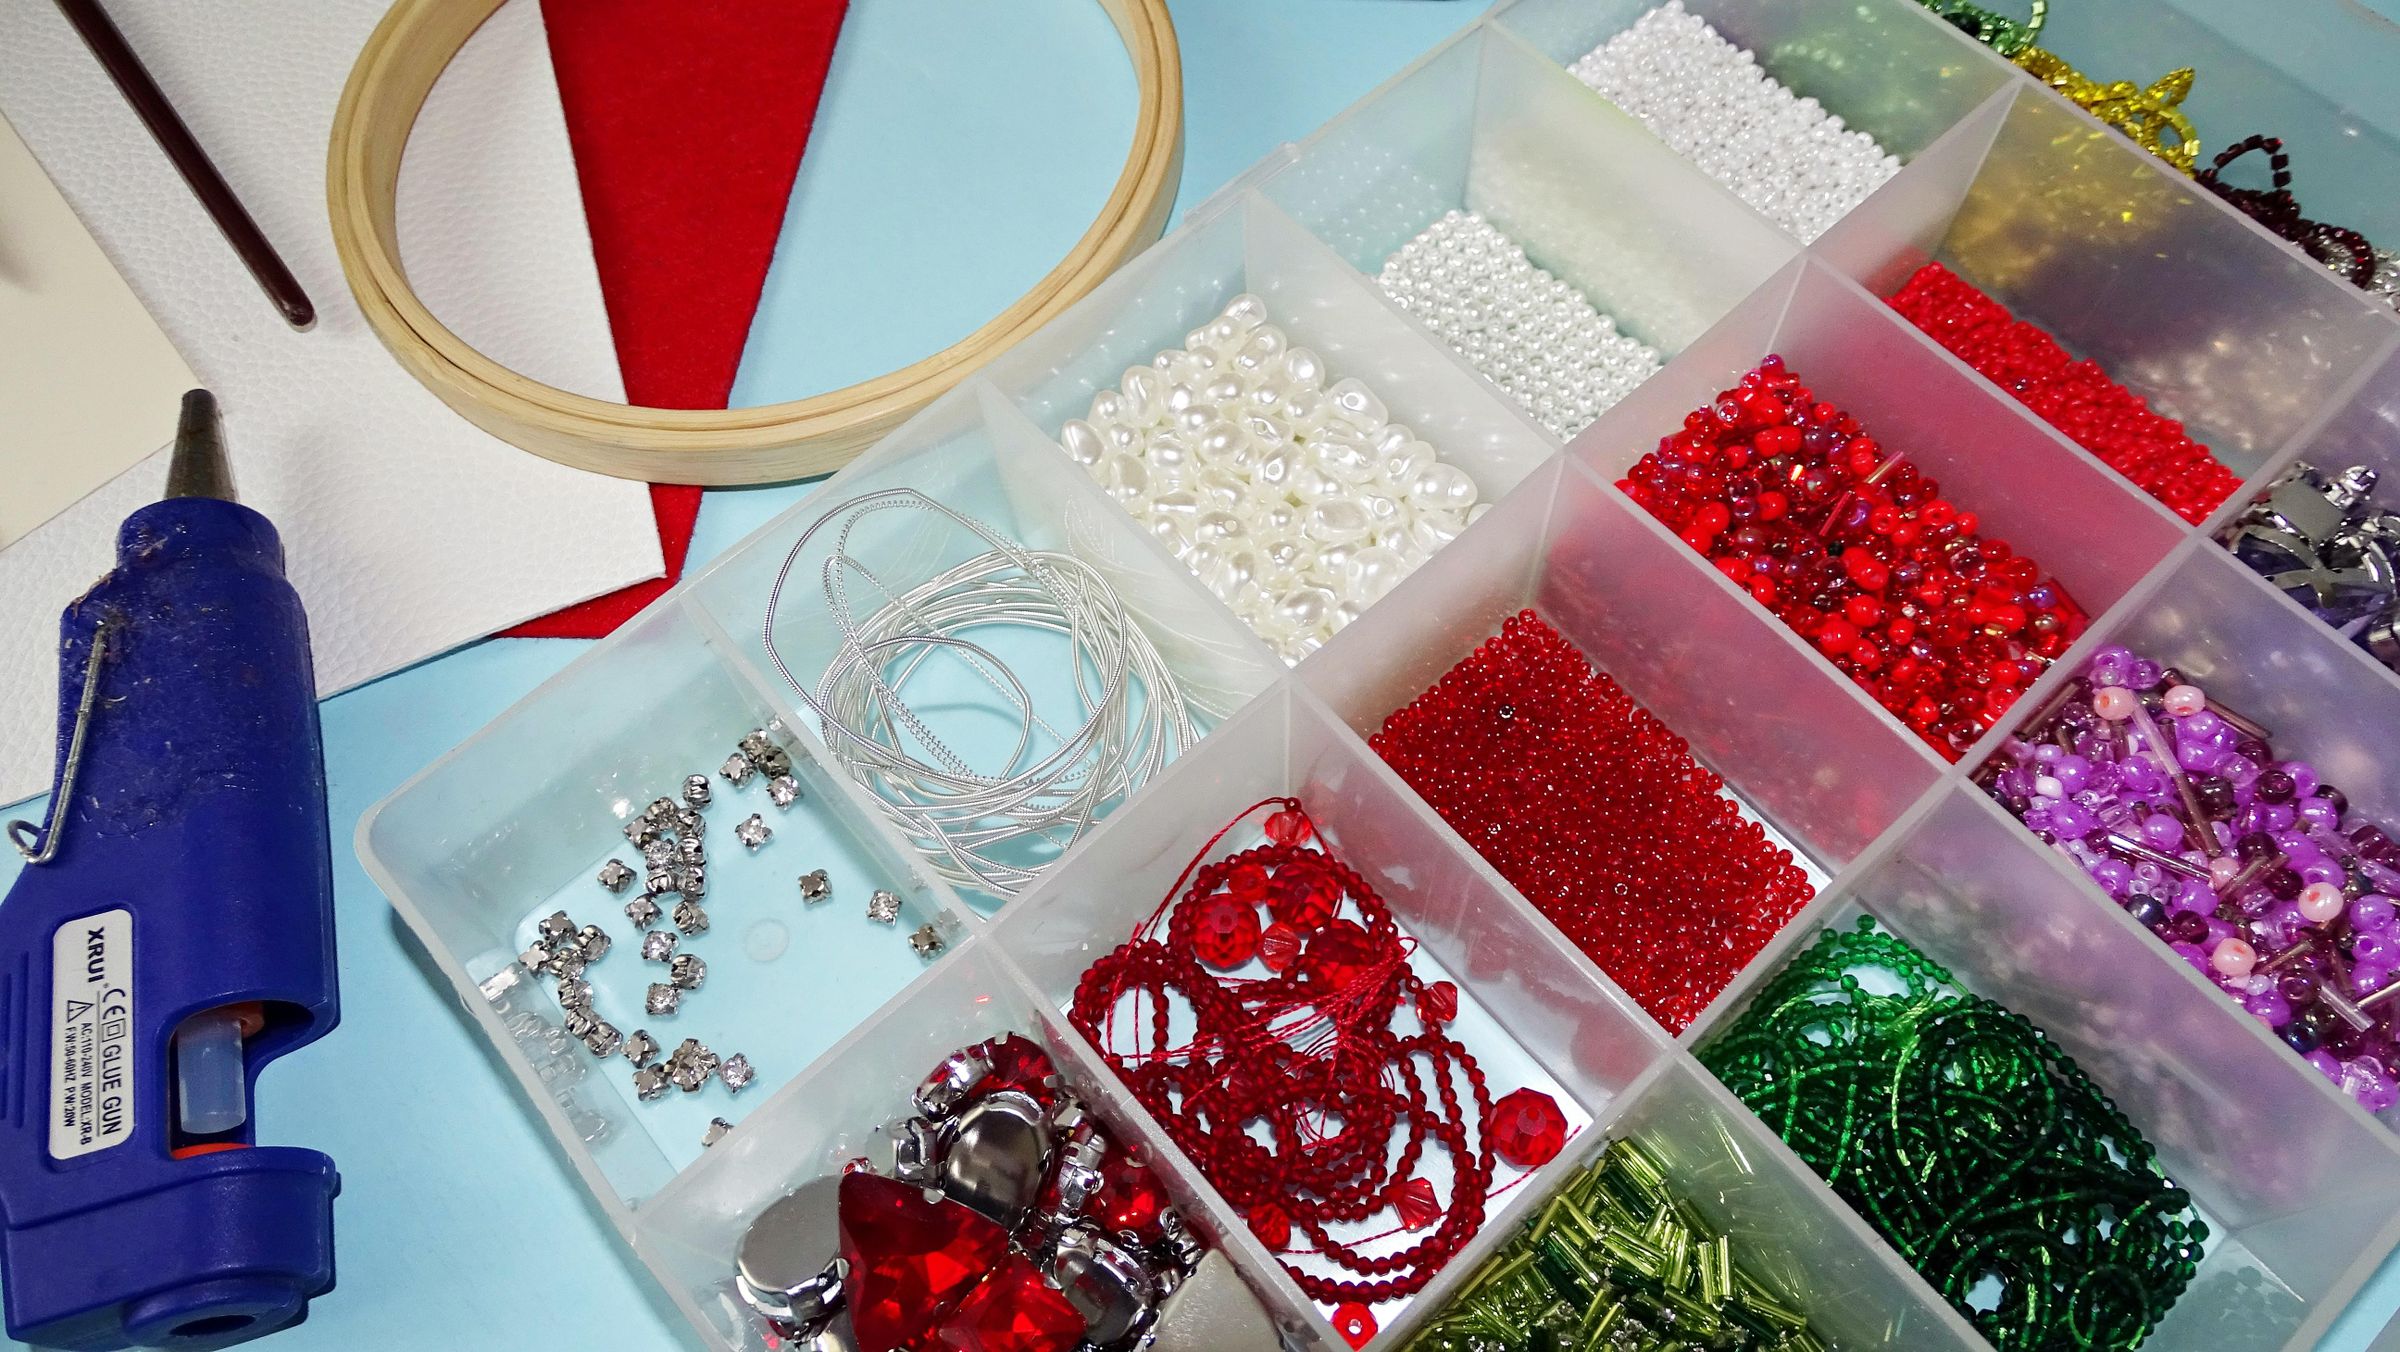
- French Wire
- Beads - 1-2 mm seed beads
- 1-2 mm crystal beads
- Rhinestone chains - red and green
- Red Felt
- Fishing wire
- Embroidery Hoop
- A needle
- Green acrylic paint
- Paintbrush
- Hot glue gun
- Scissors
- A piece of cardstock
- A pencil
- Craft leather
- Brooch needle
Draw the Tulip
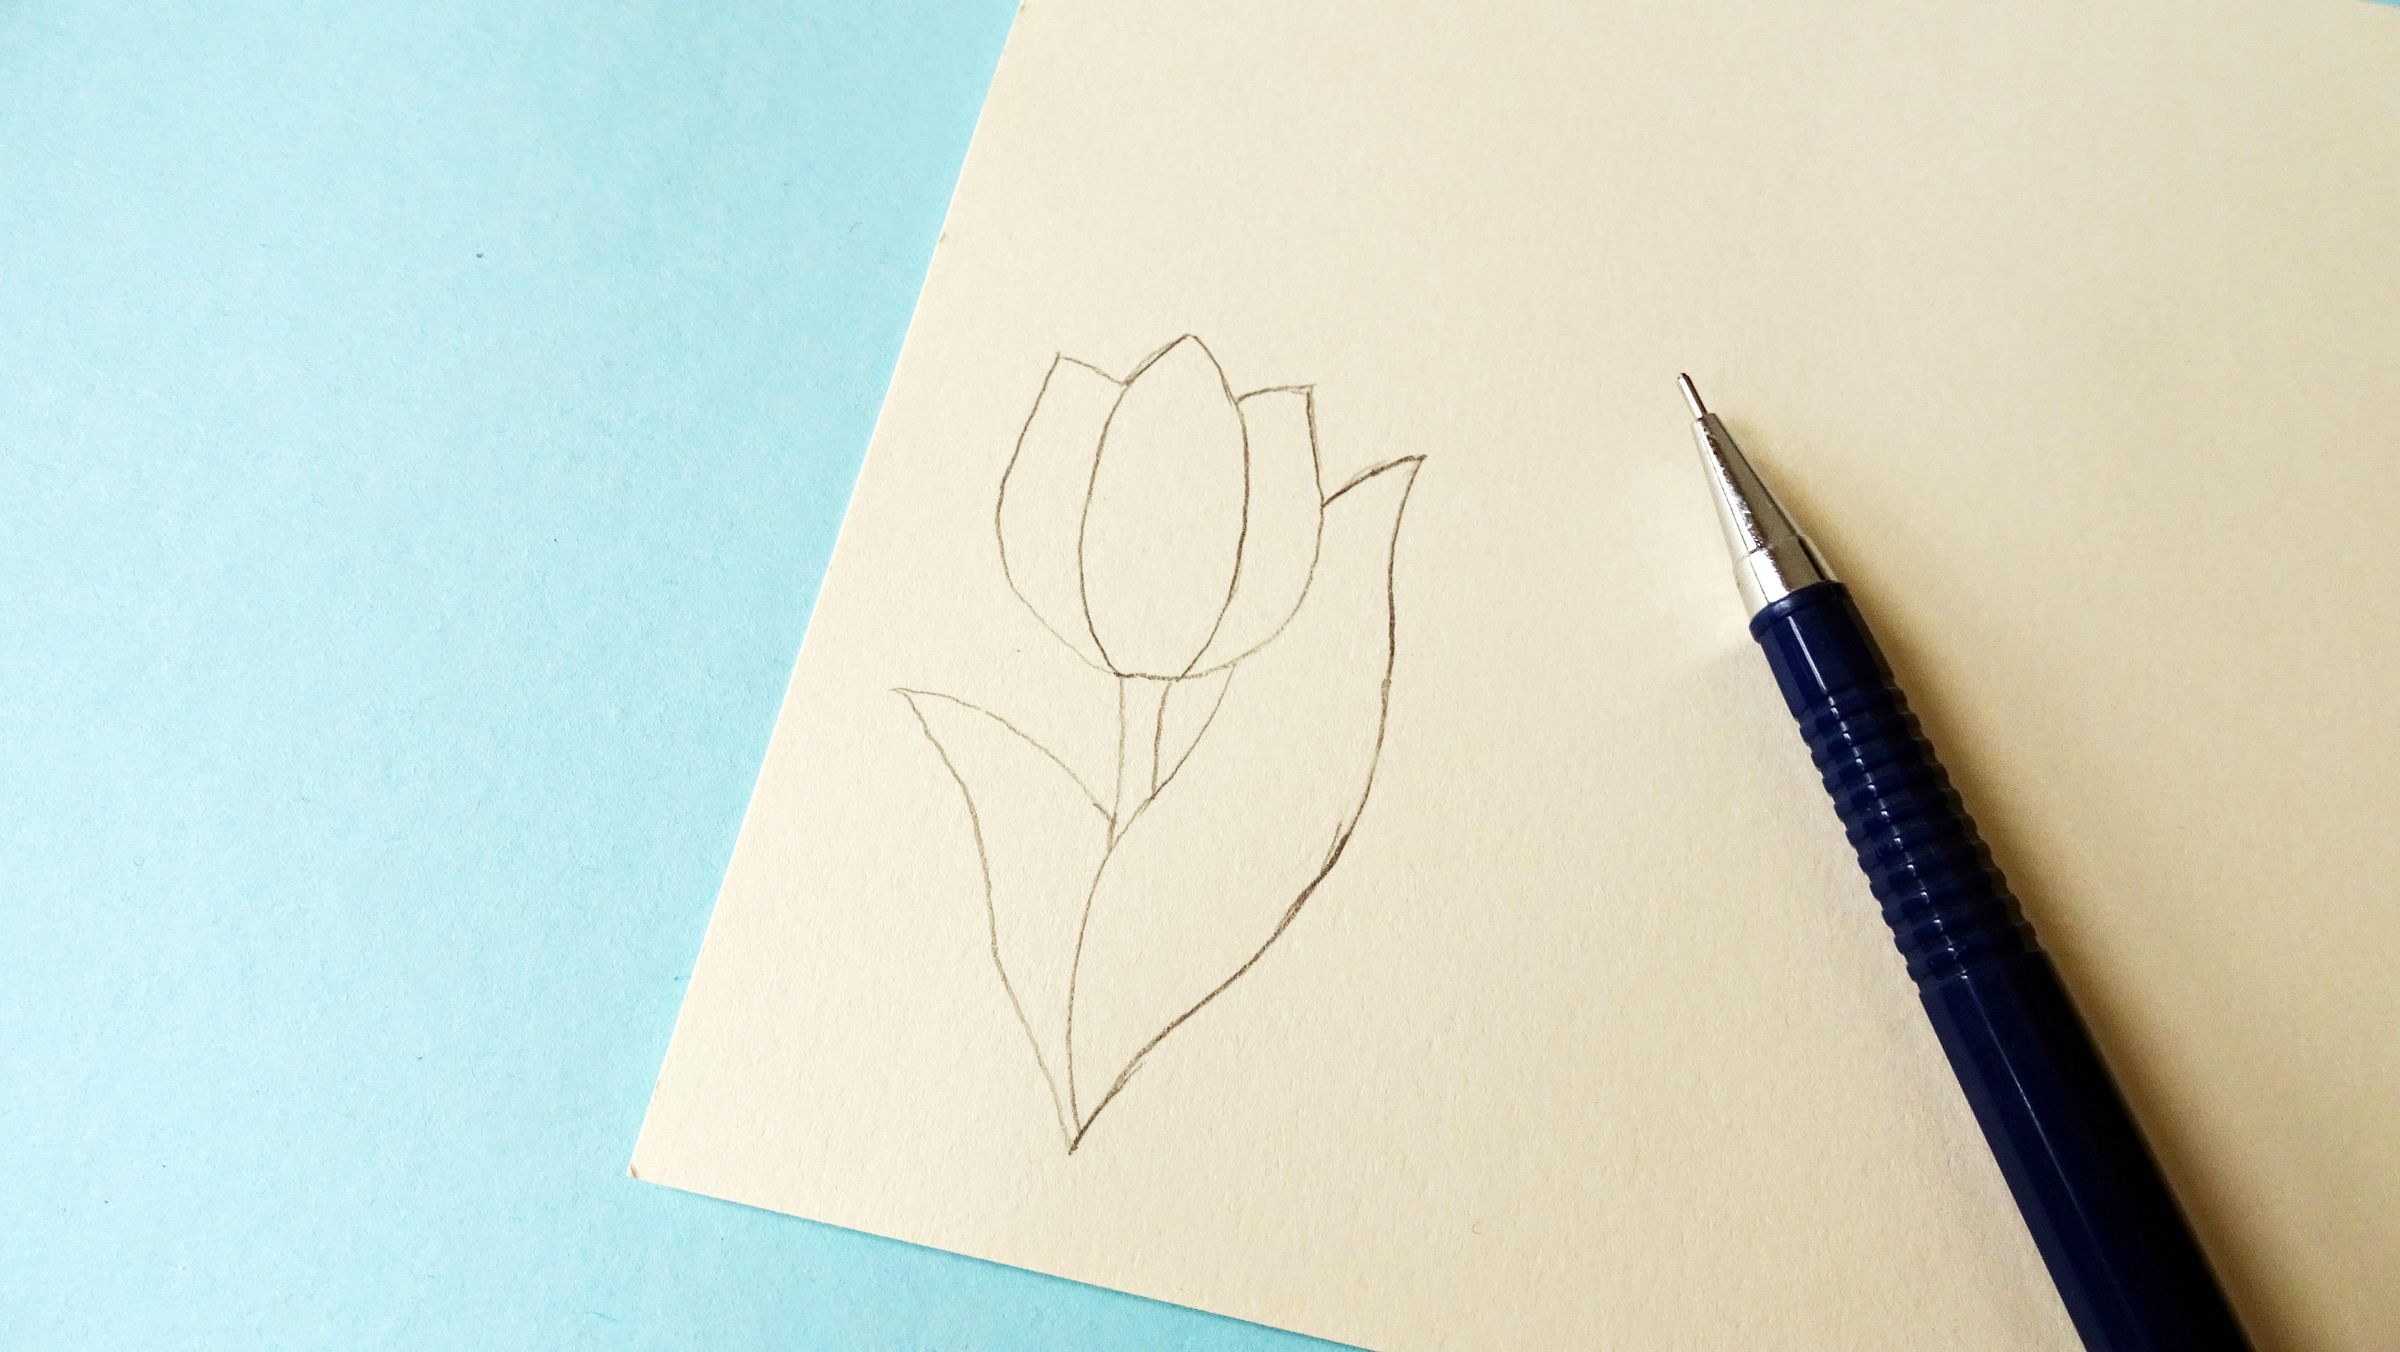
Begin making your brooch by drawing the shape of your choice - in this case a tulip.
You can draw whatever you want - a fruit, vegetable or even a plane - the possibilities are endless.
Once you are happy with your drawing cut it out. You will be using this as a template to trace onto the felt.
Trace the Tulip
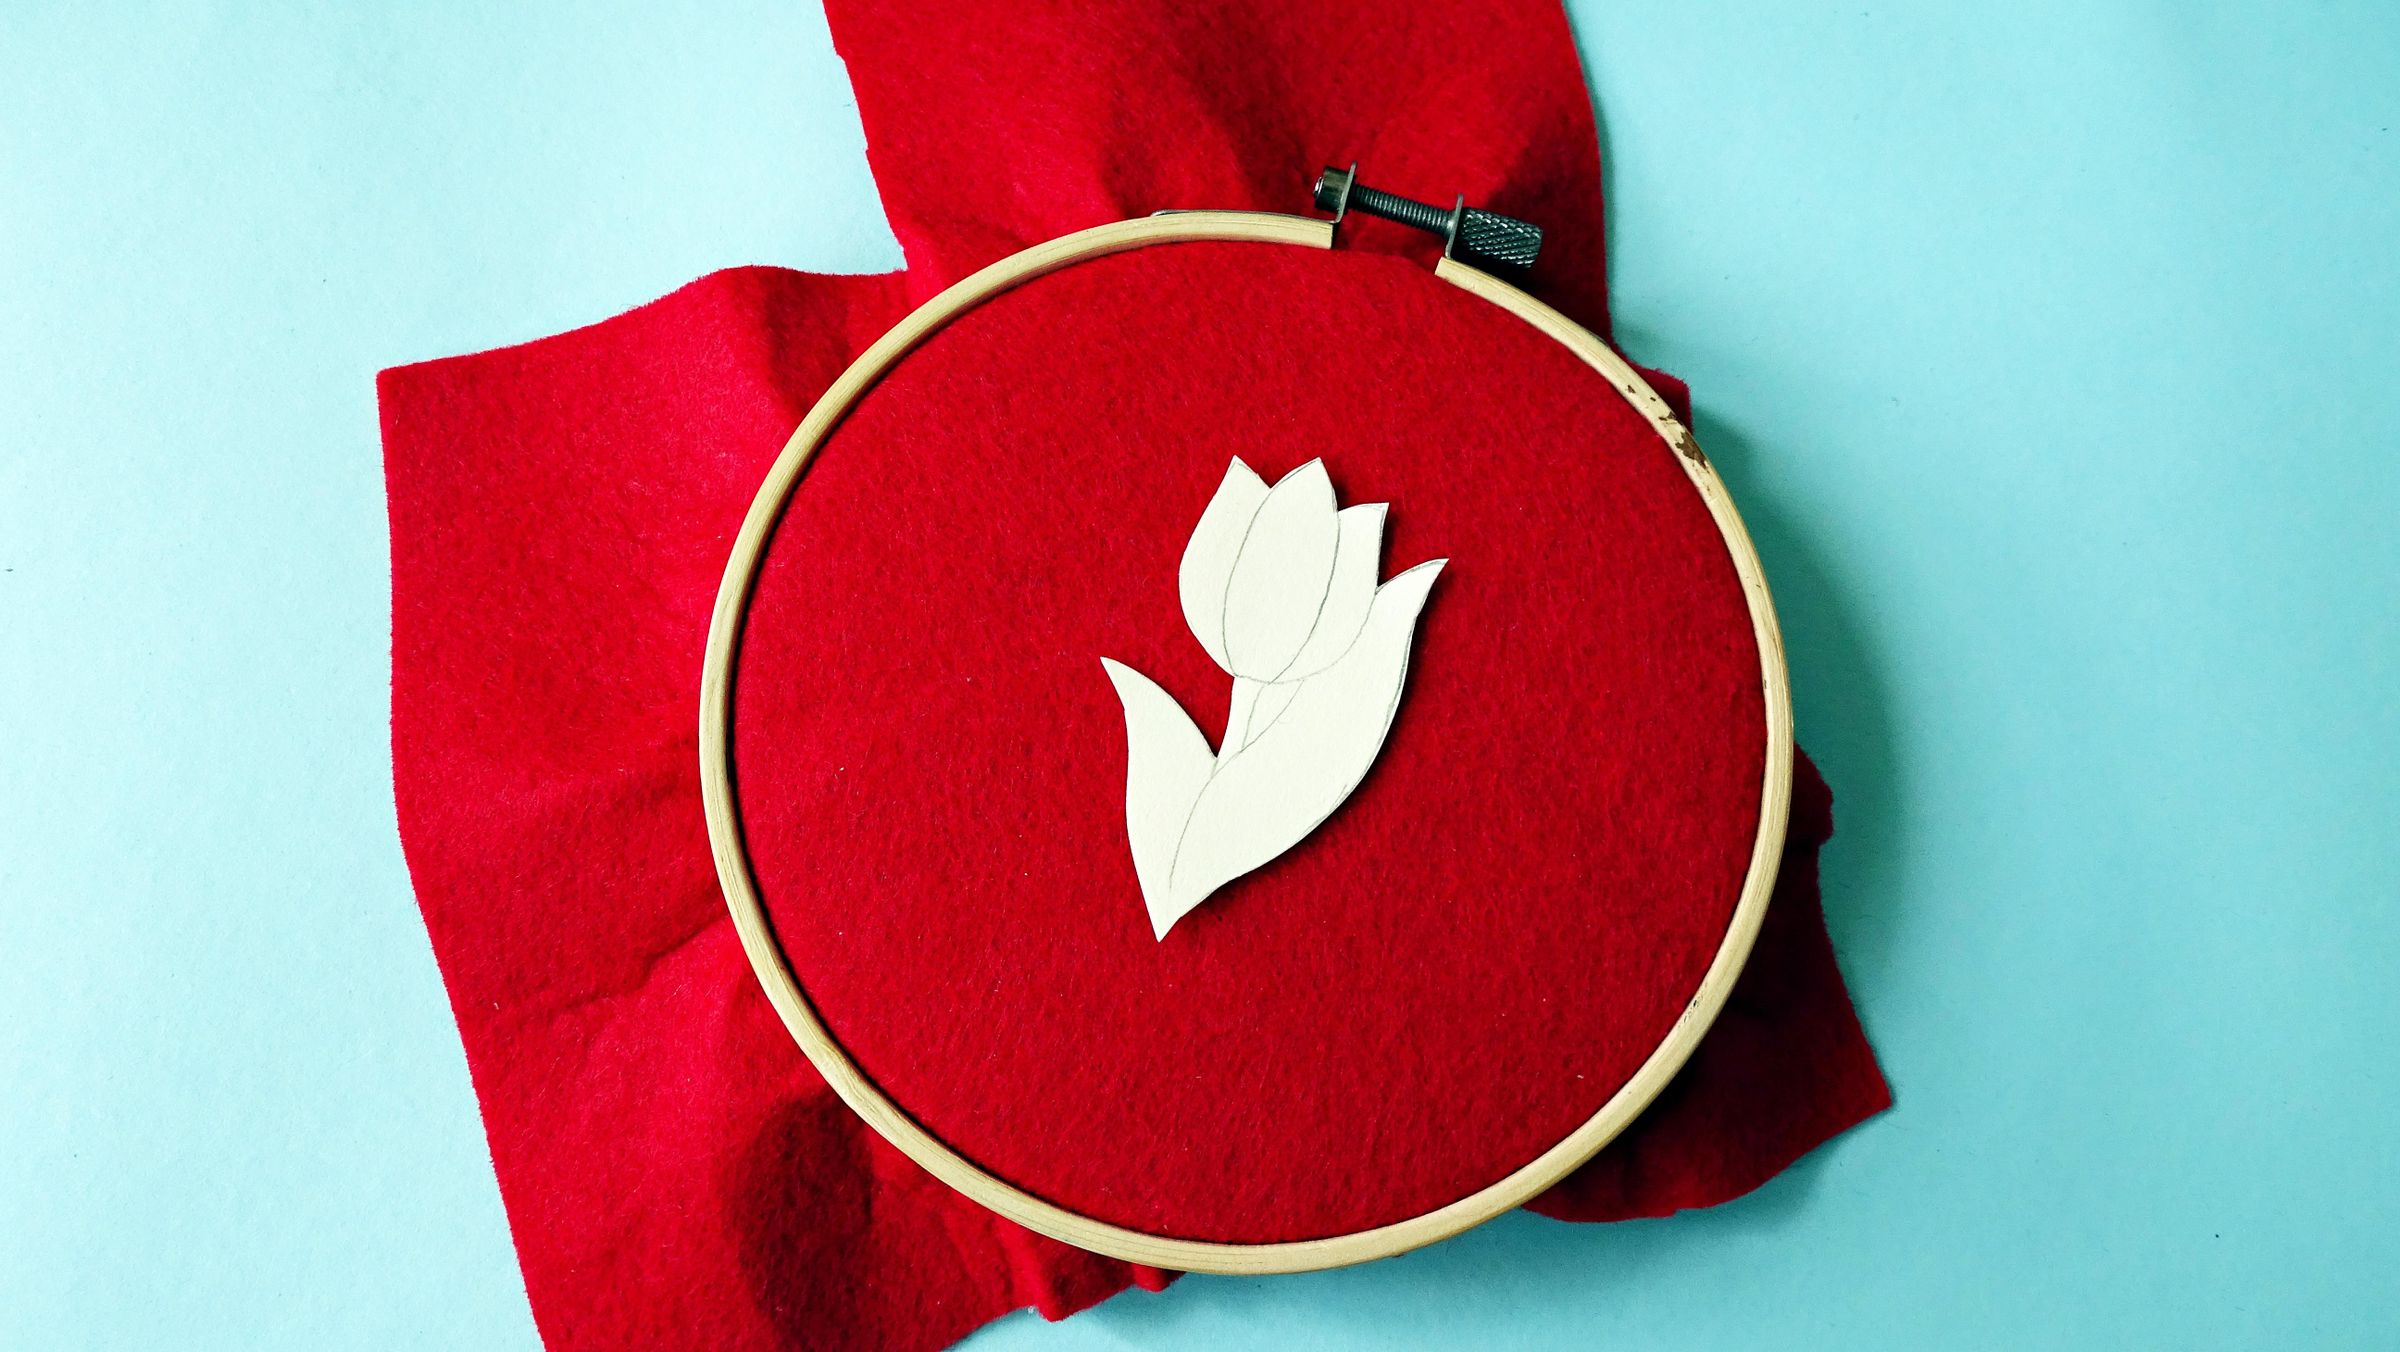
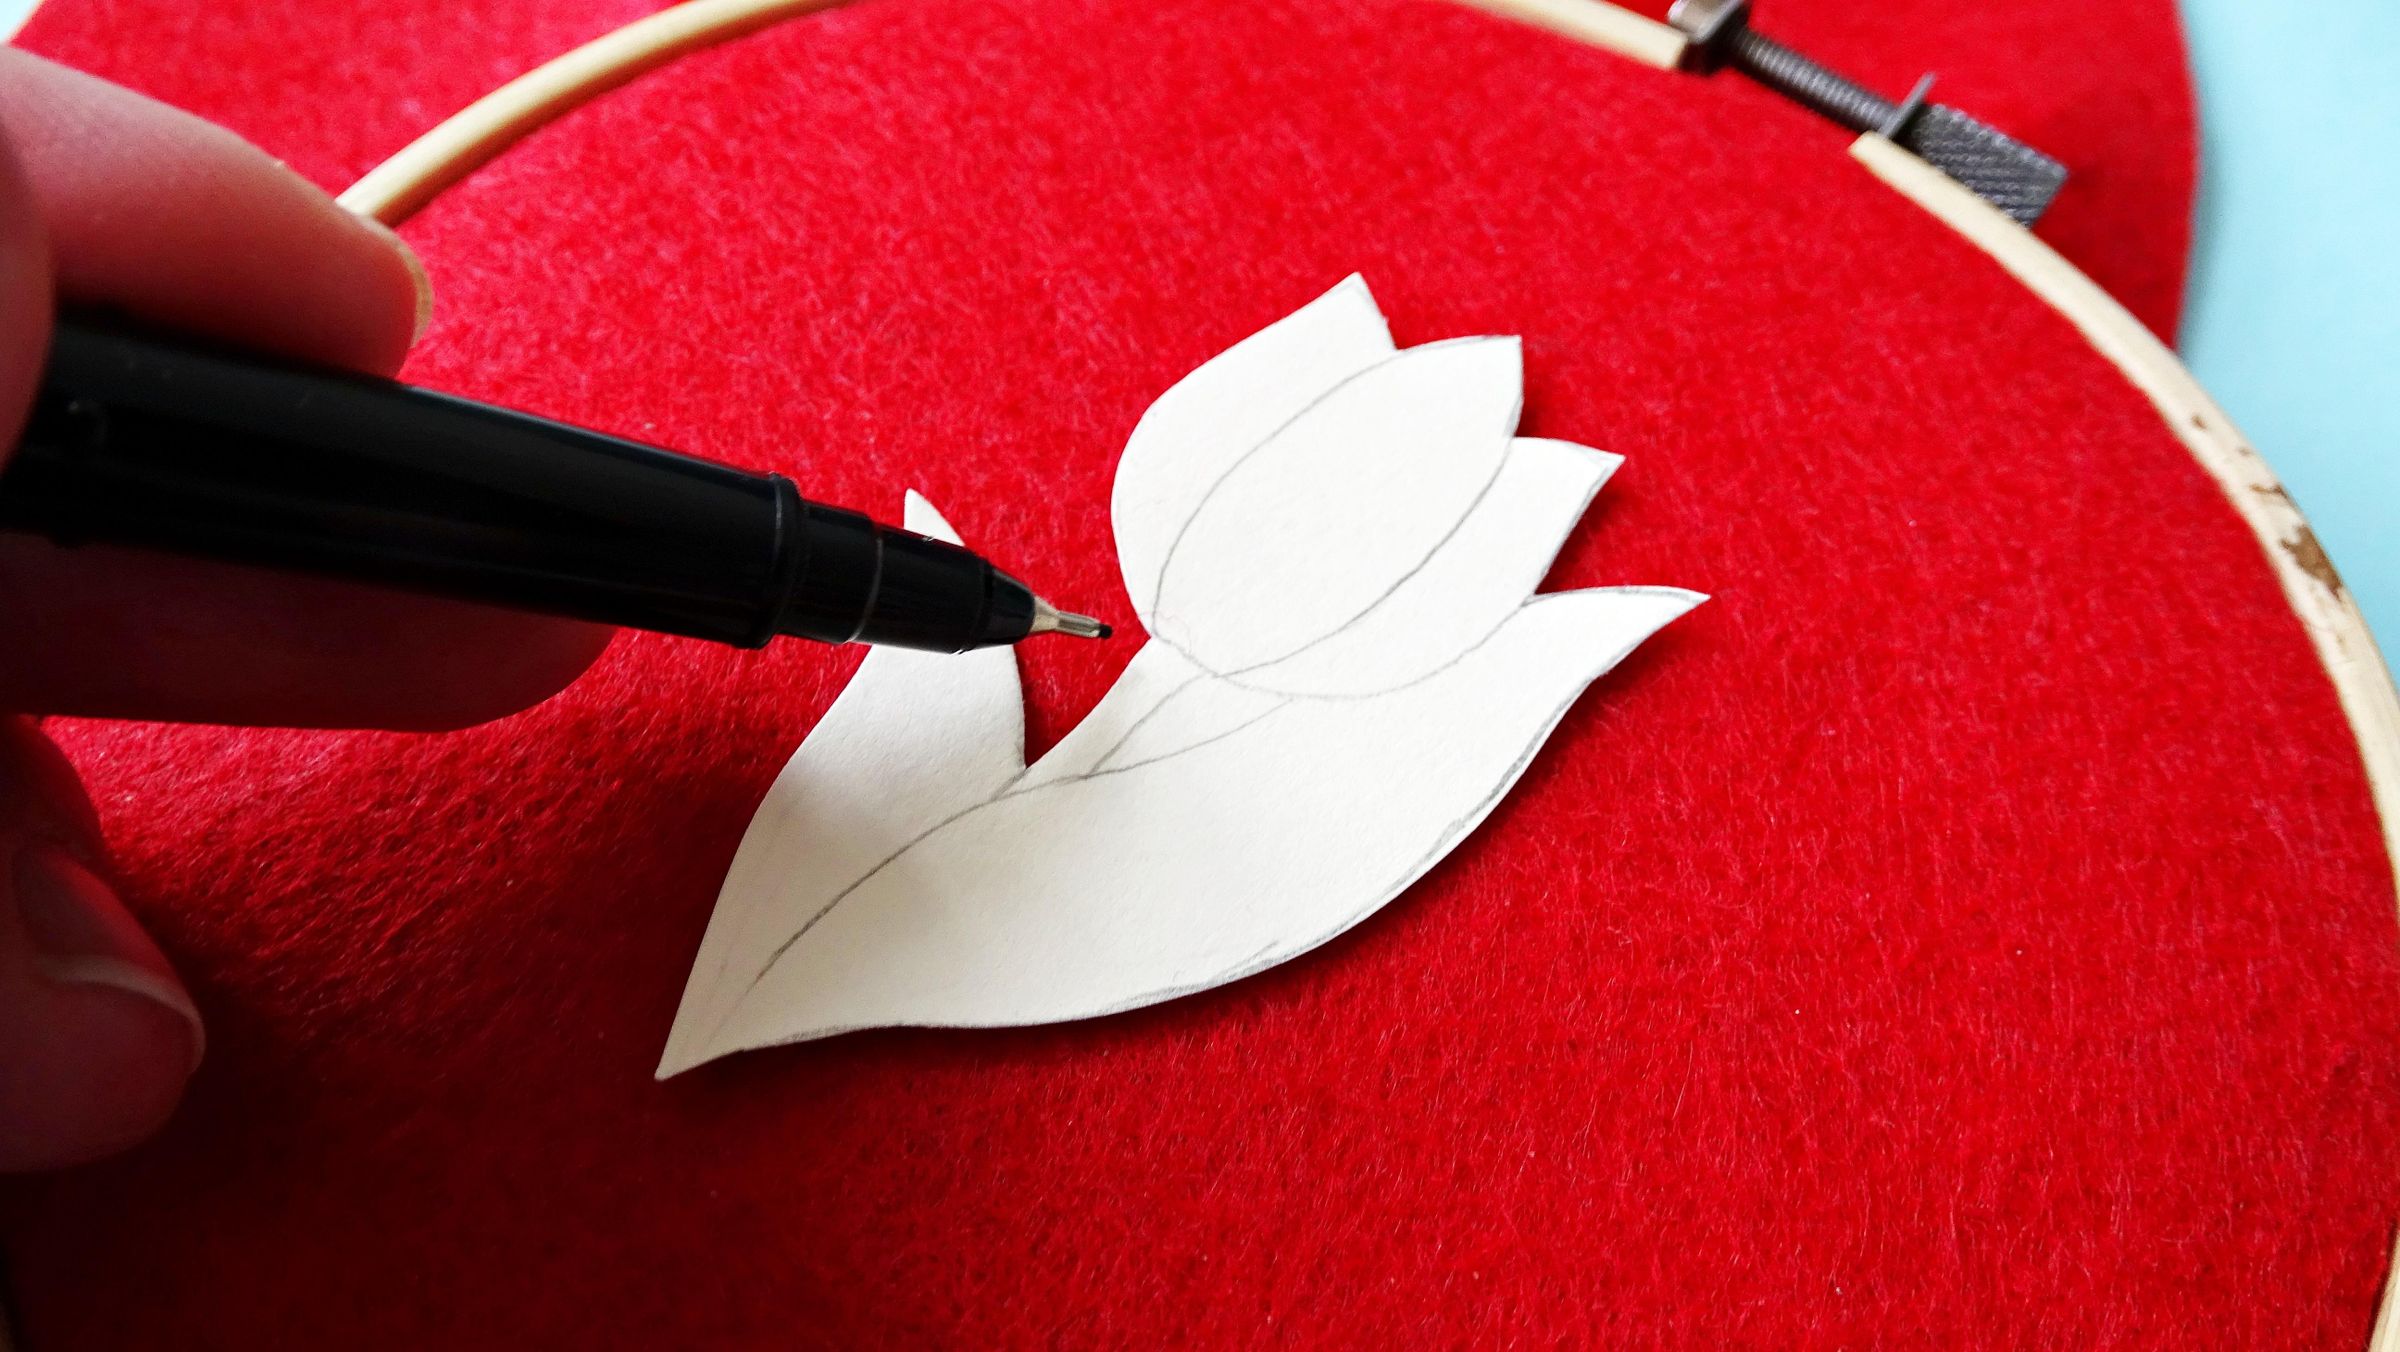
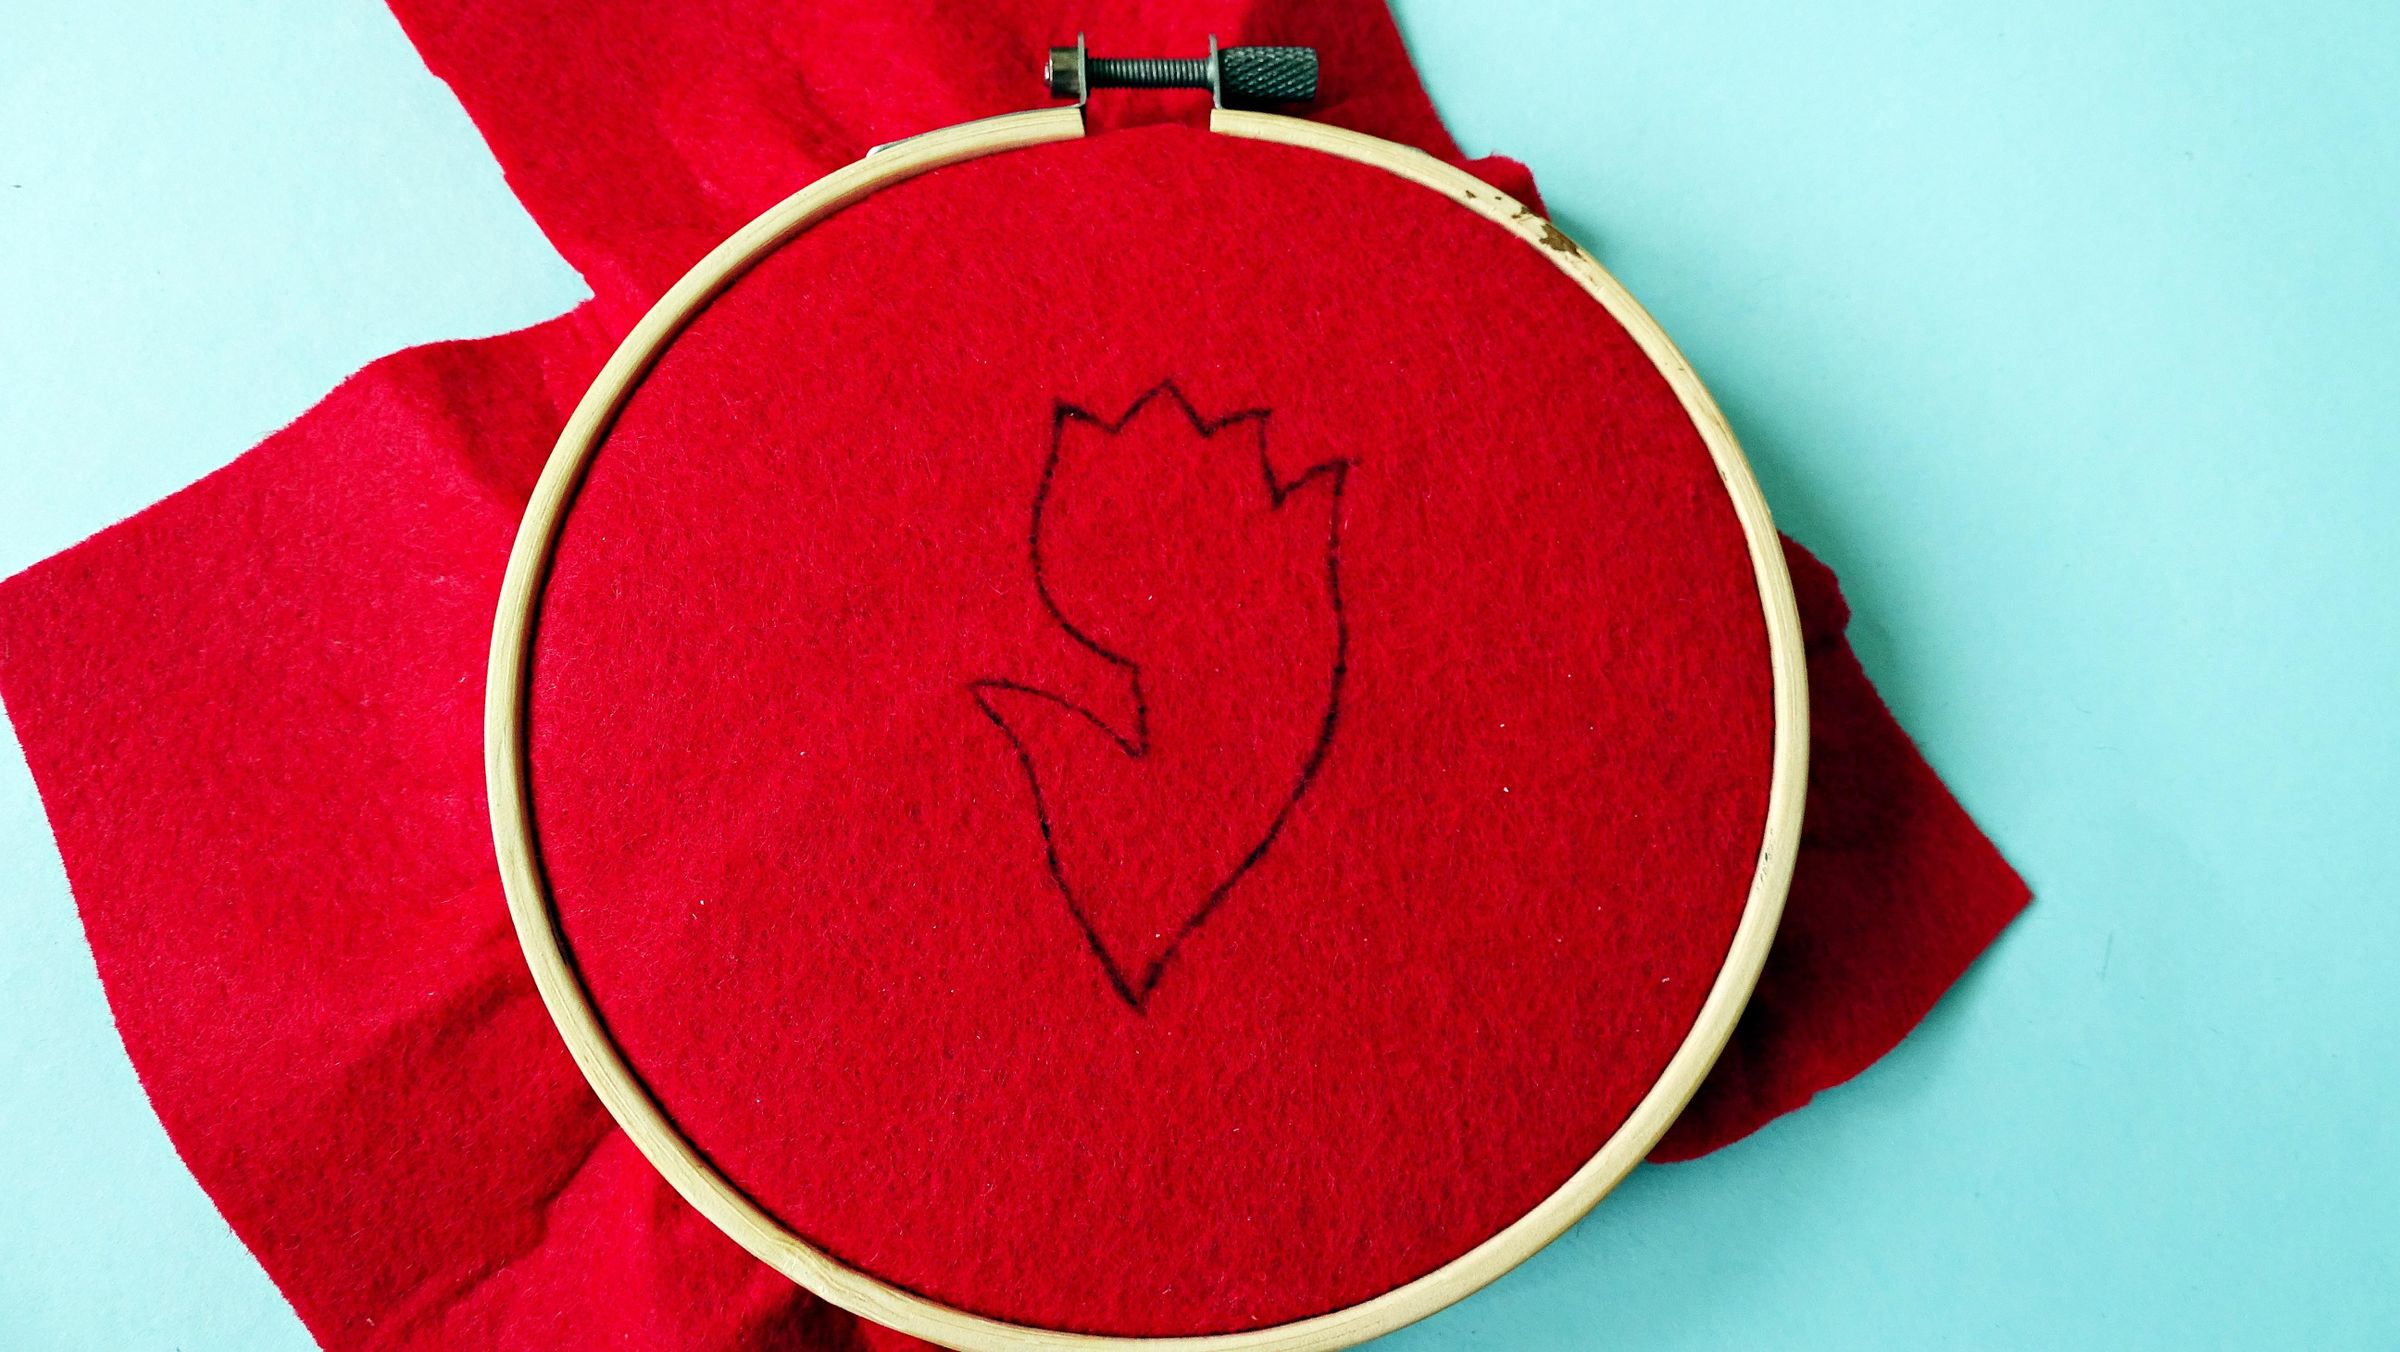
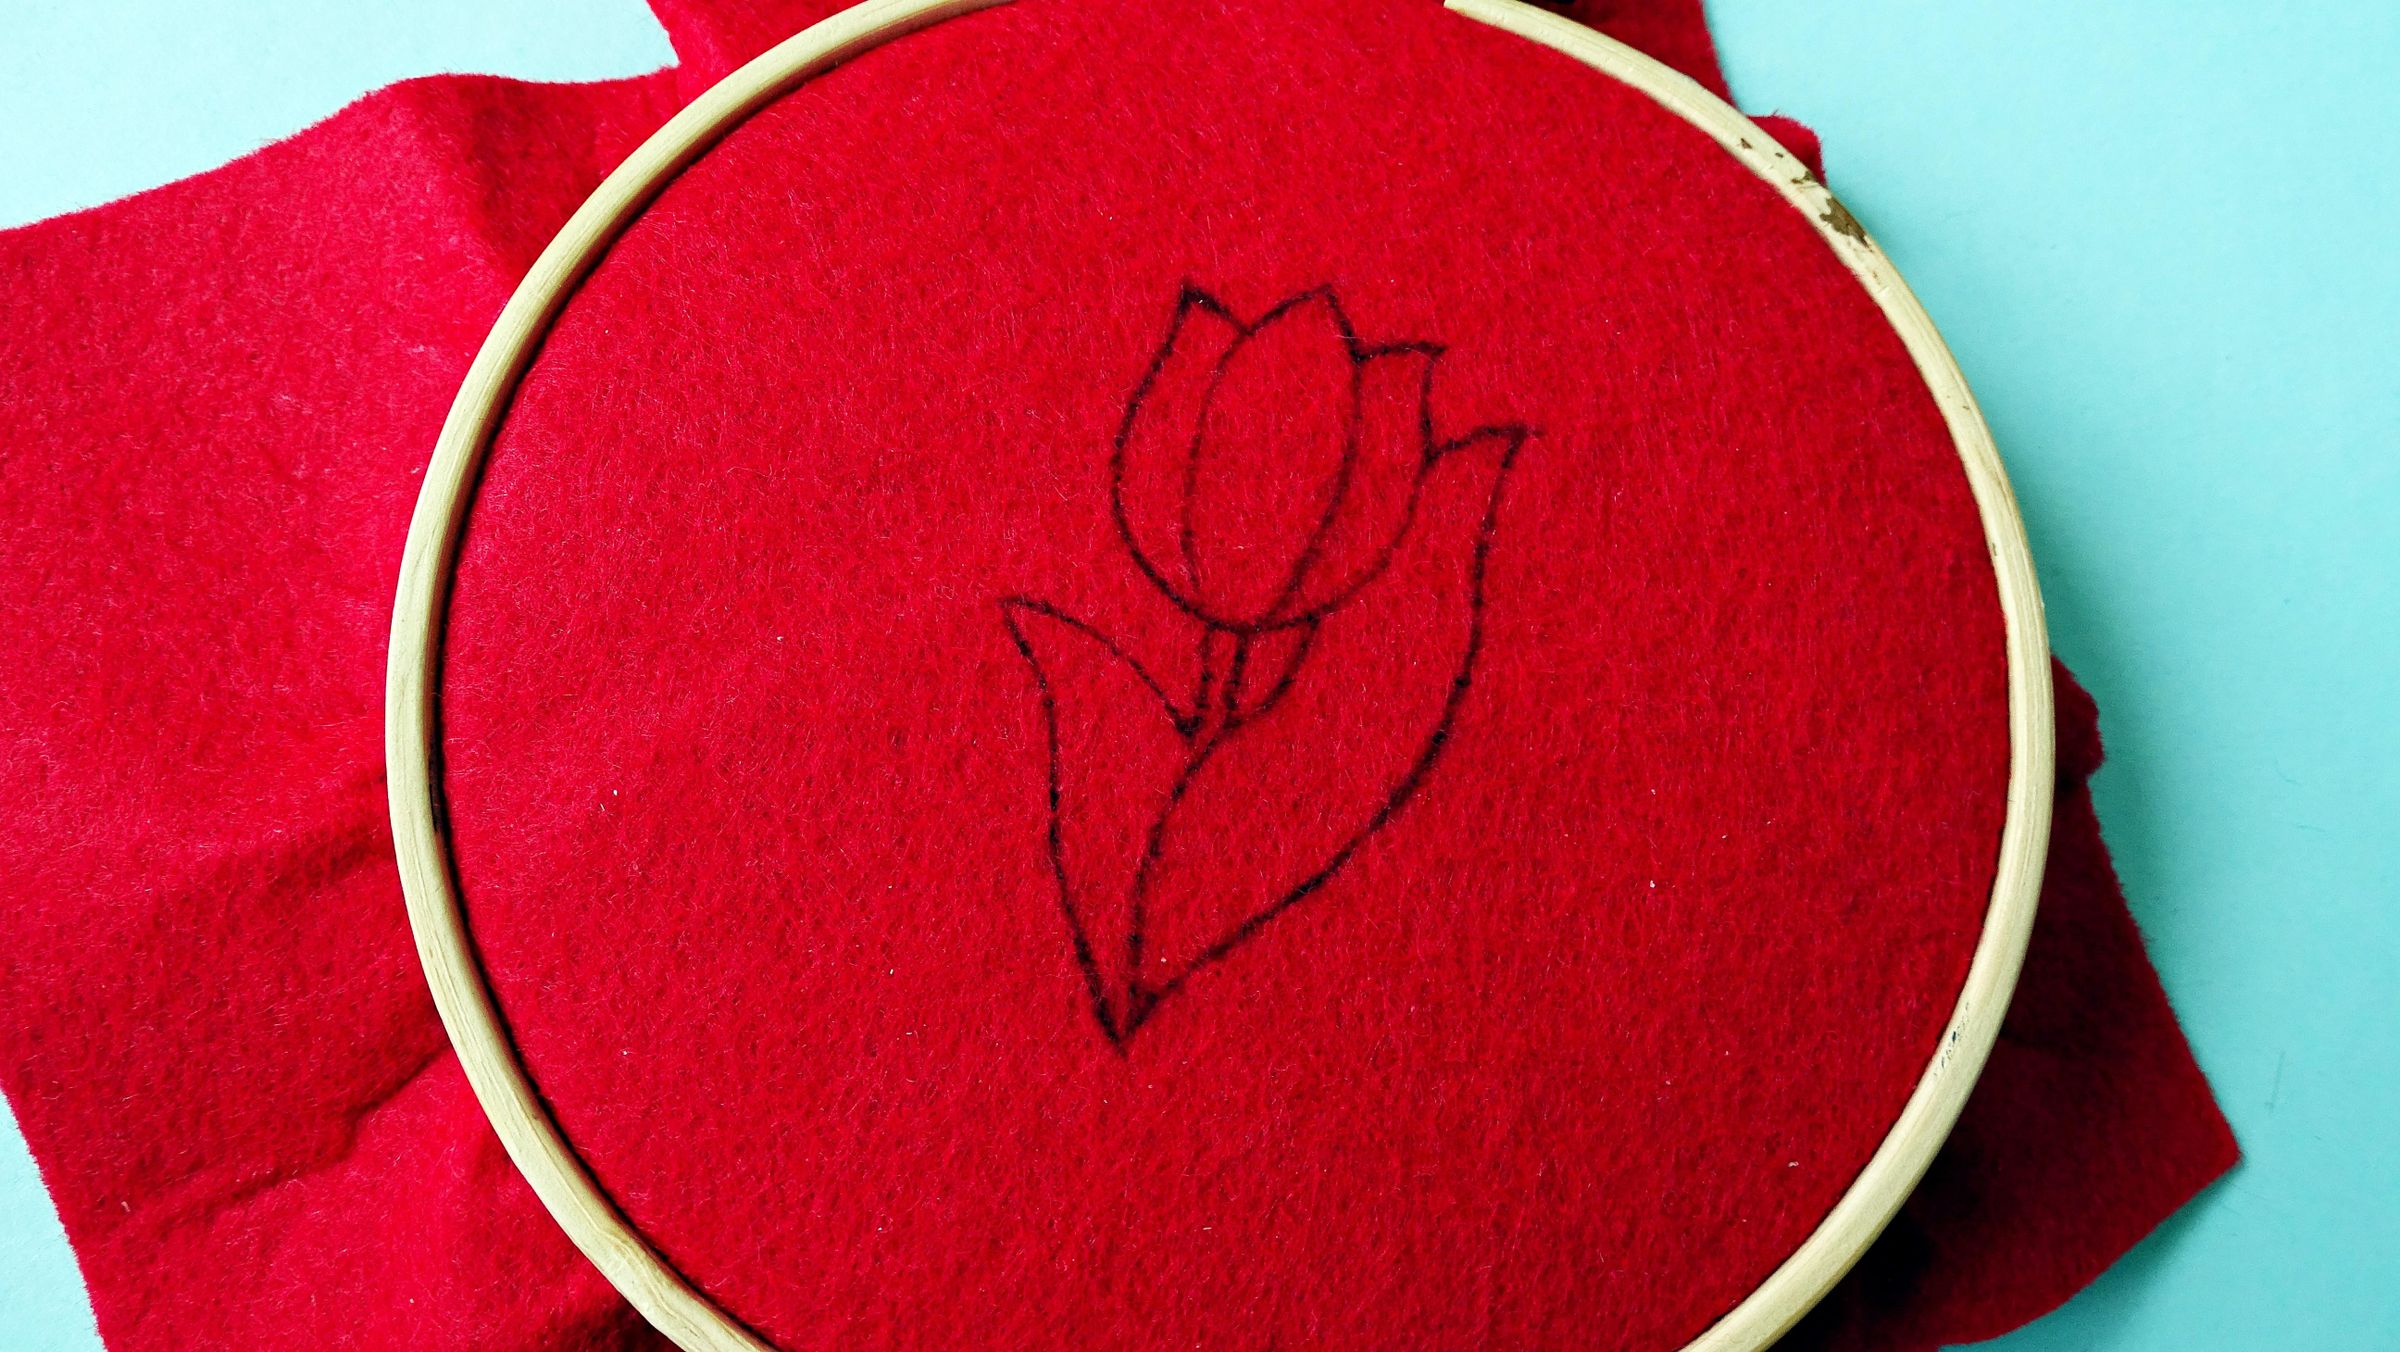
Take your red felt and place it onto the embroidery hoop. This step is not mandatory but it makes the embroidering a lot easier.
Place your template on top of the felt and trace only the outer lines using a black pen.
Set the cardboard tulip aside - you will be using it later.
Paint the Leaves
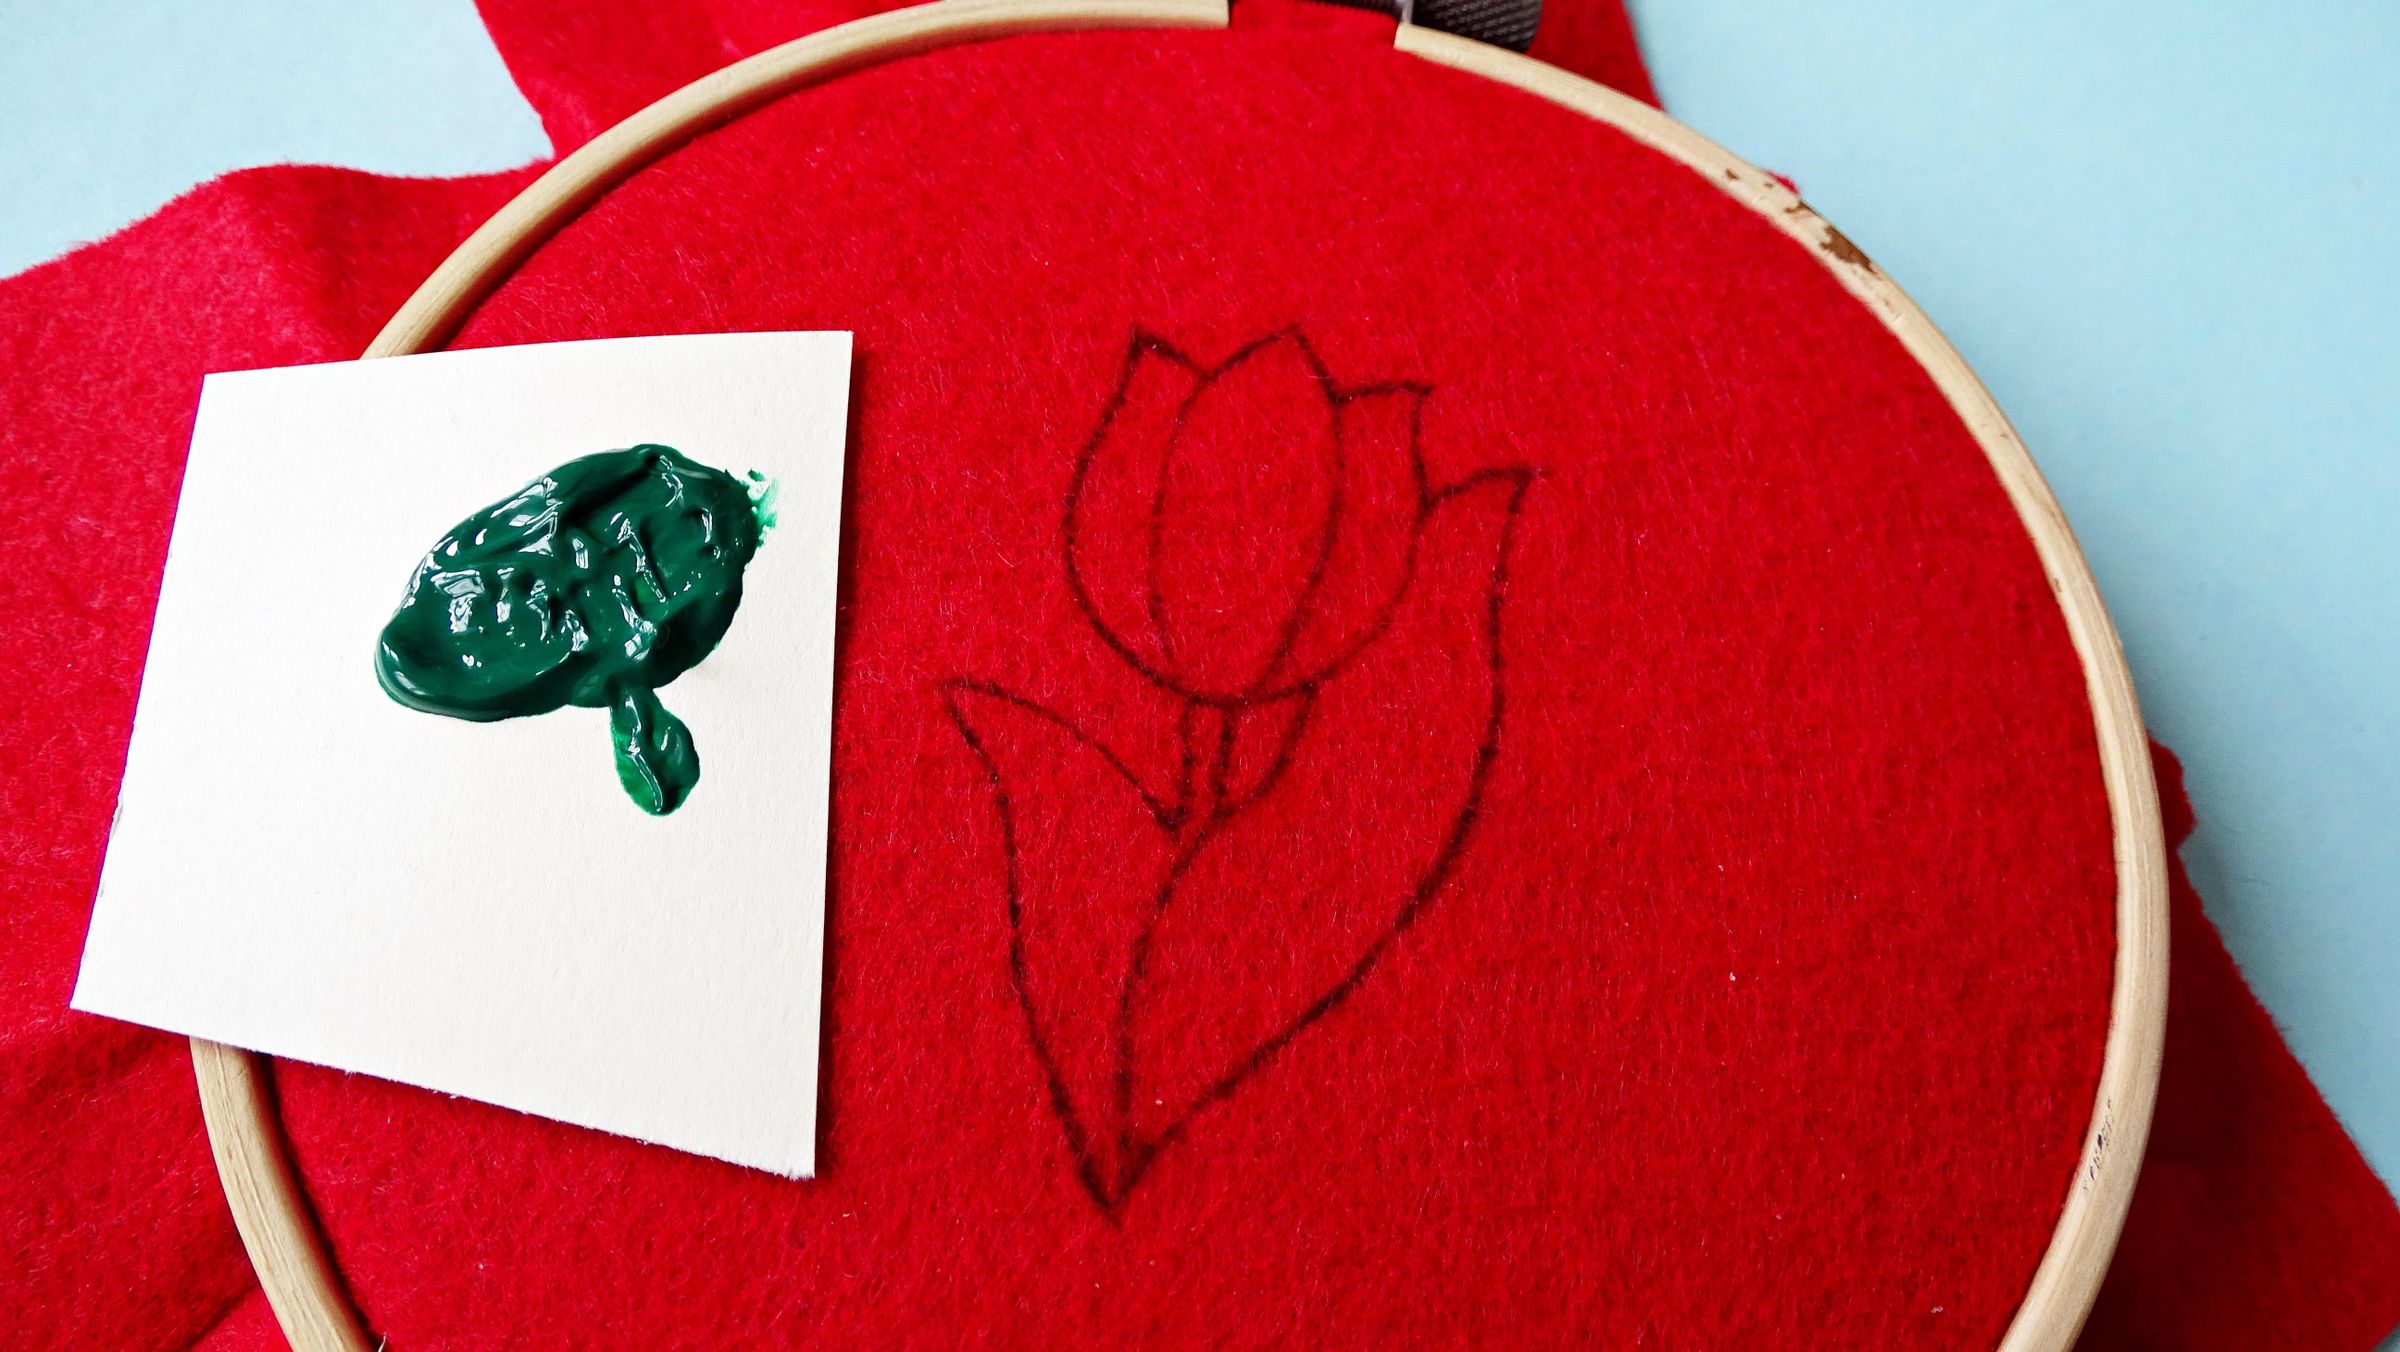
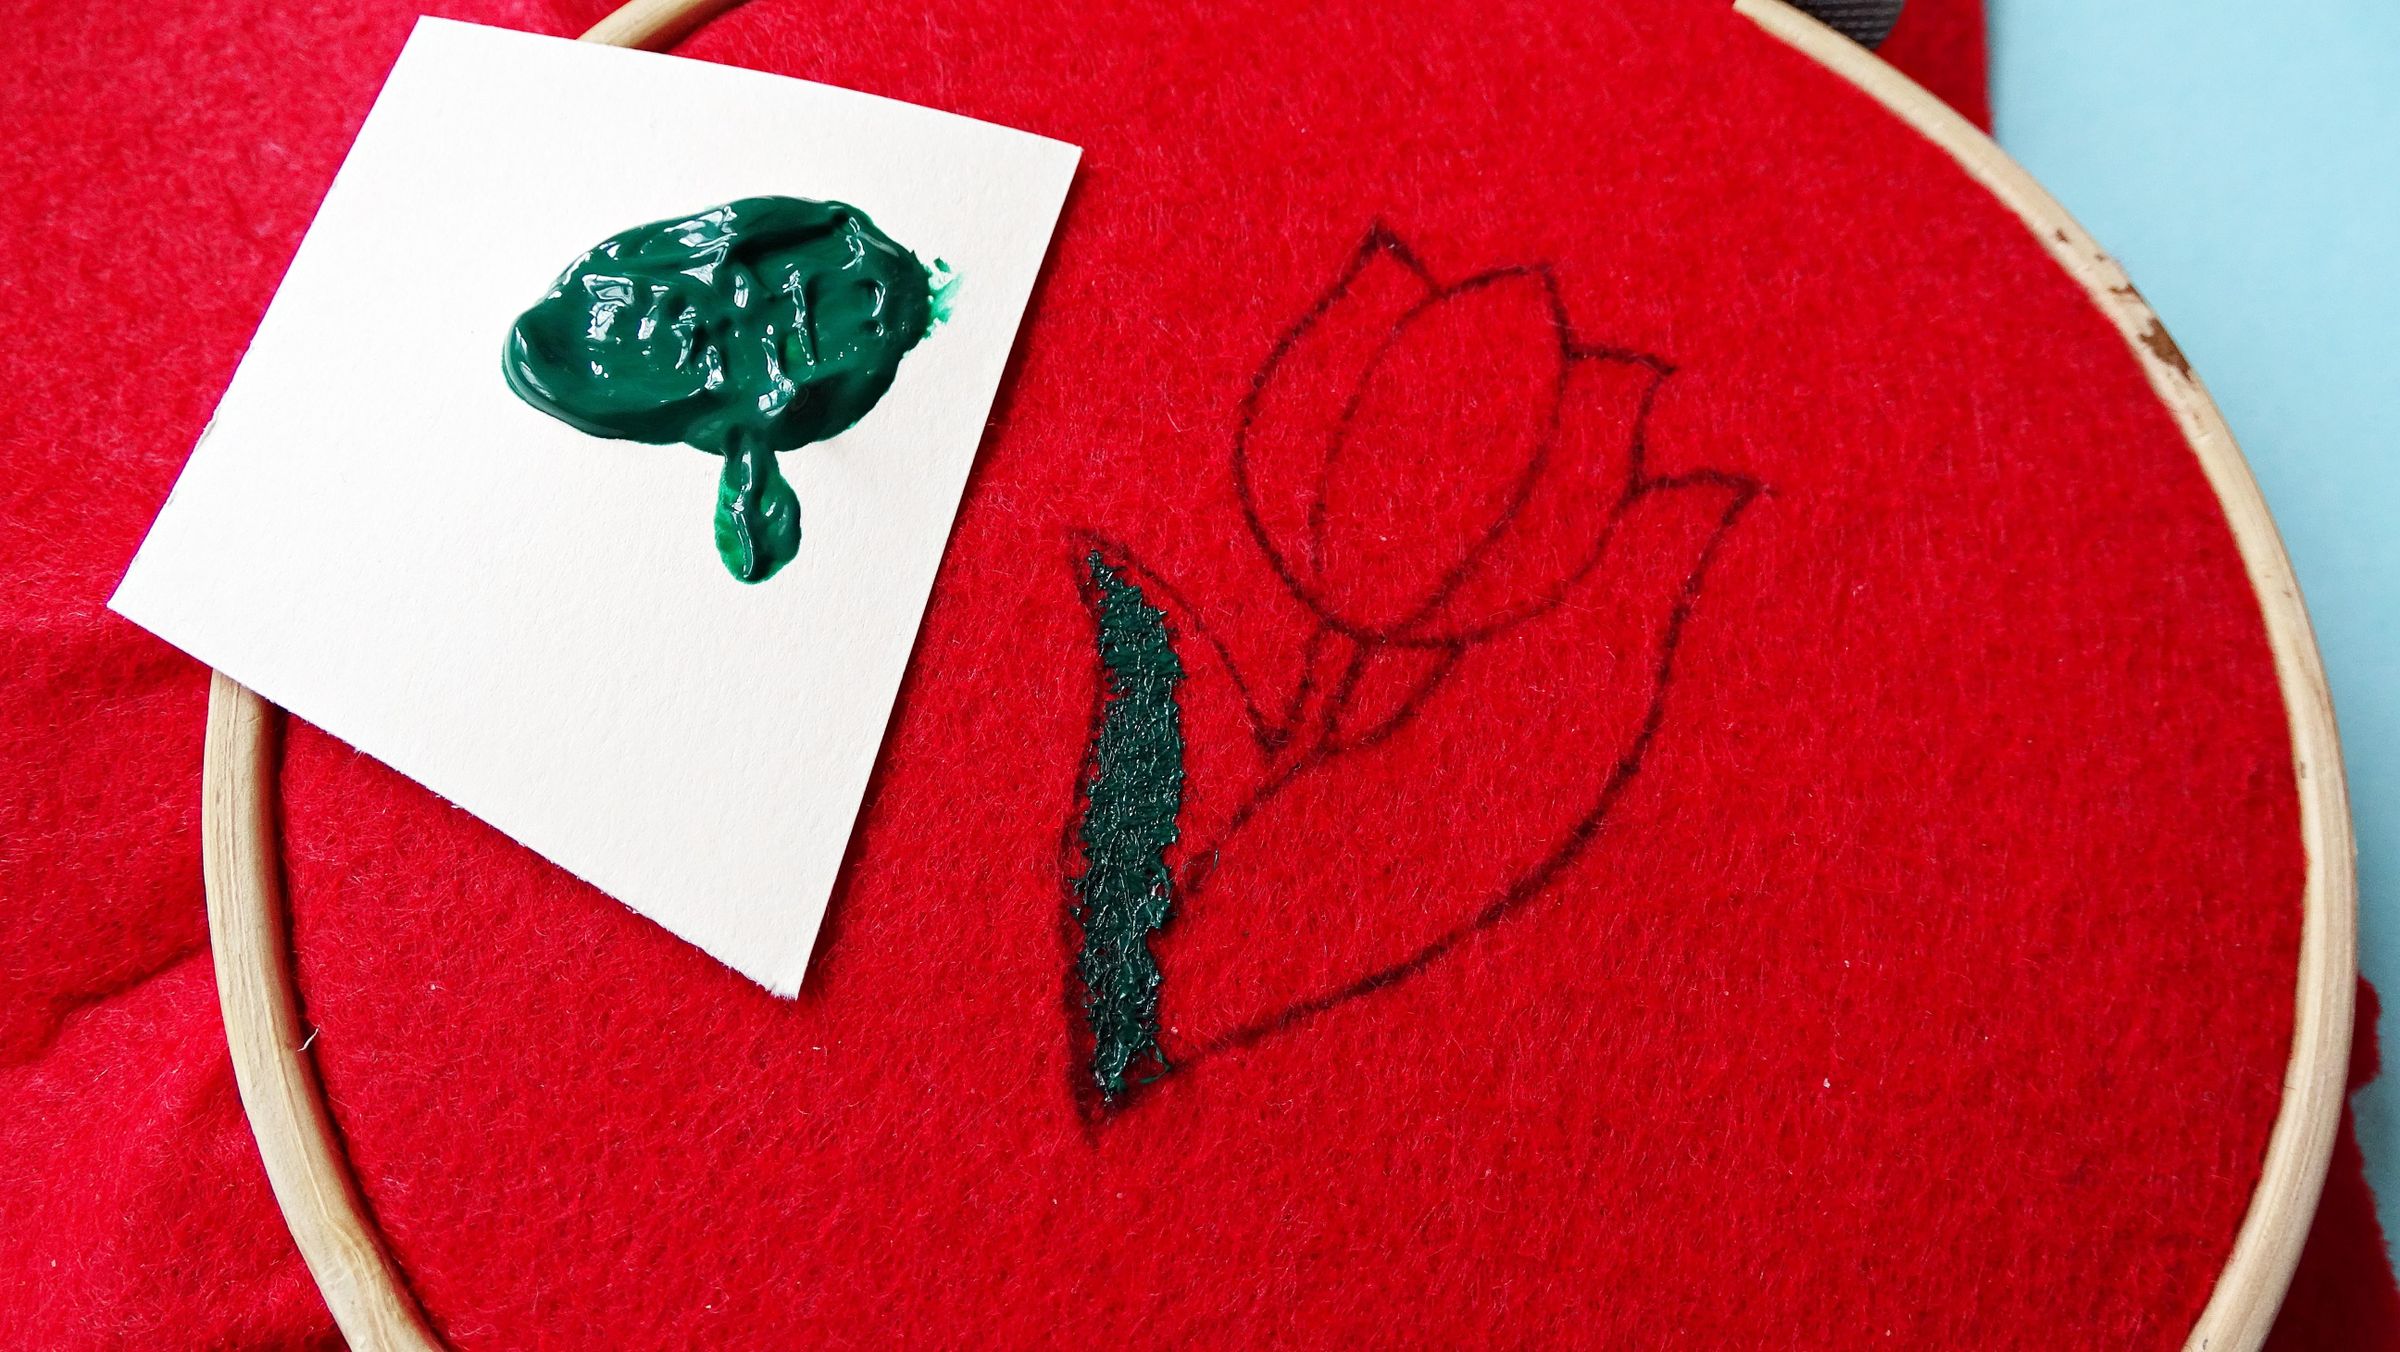
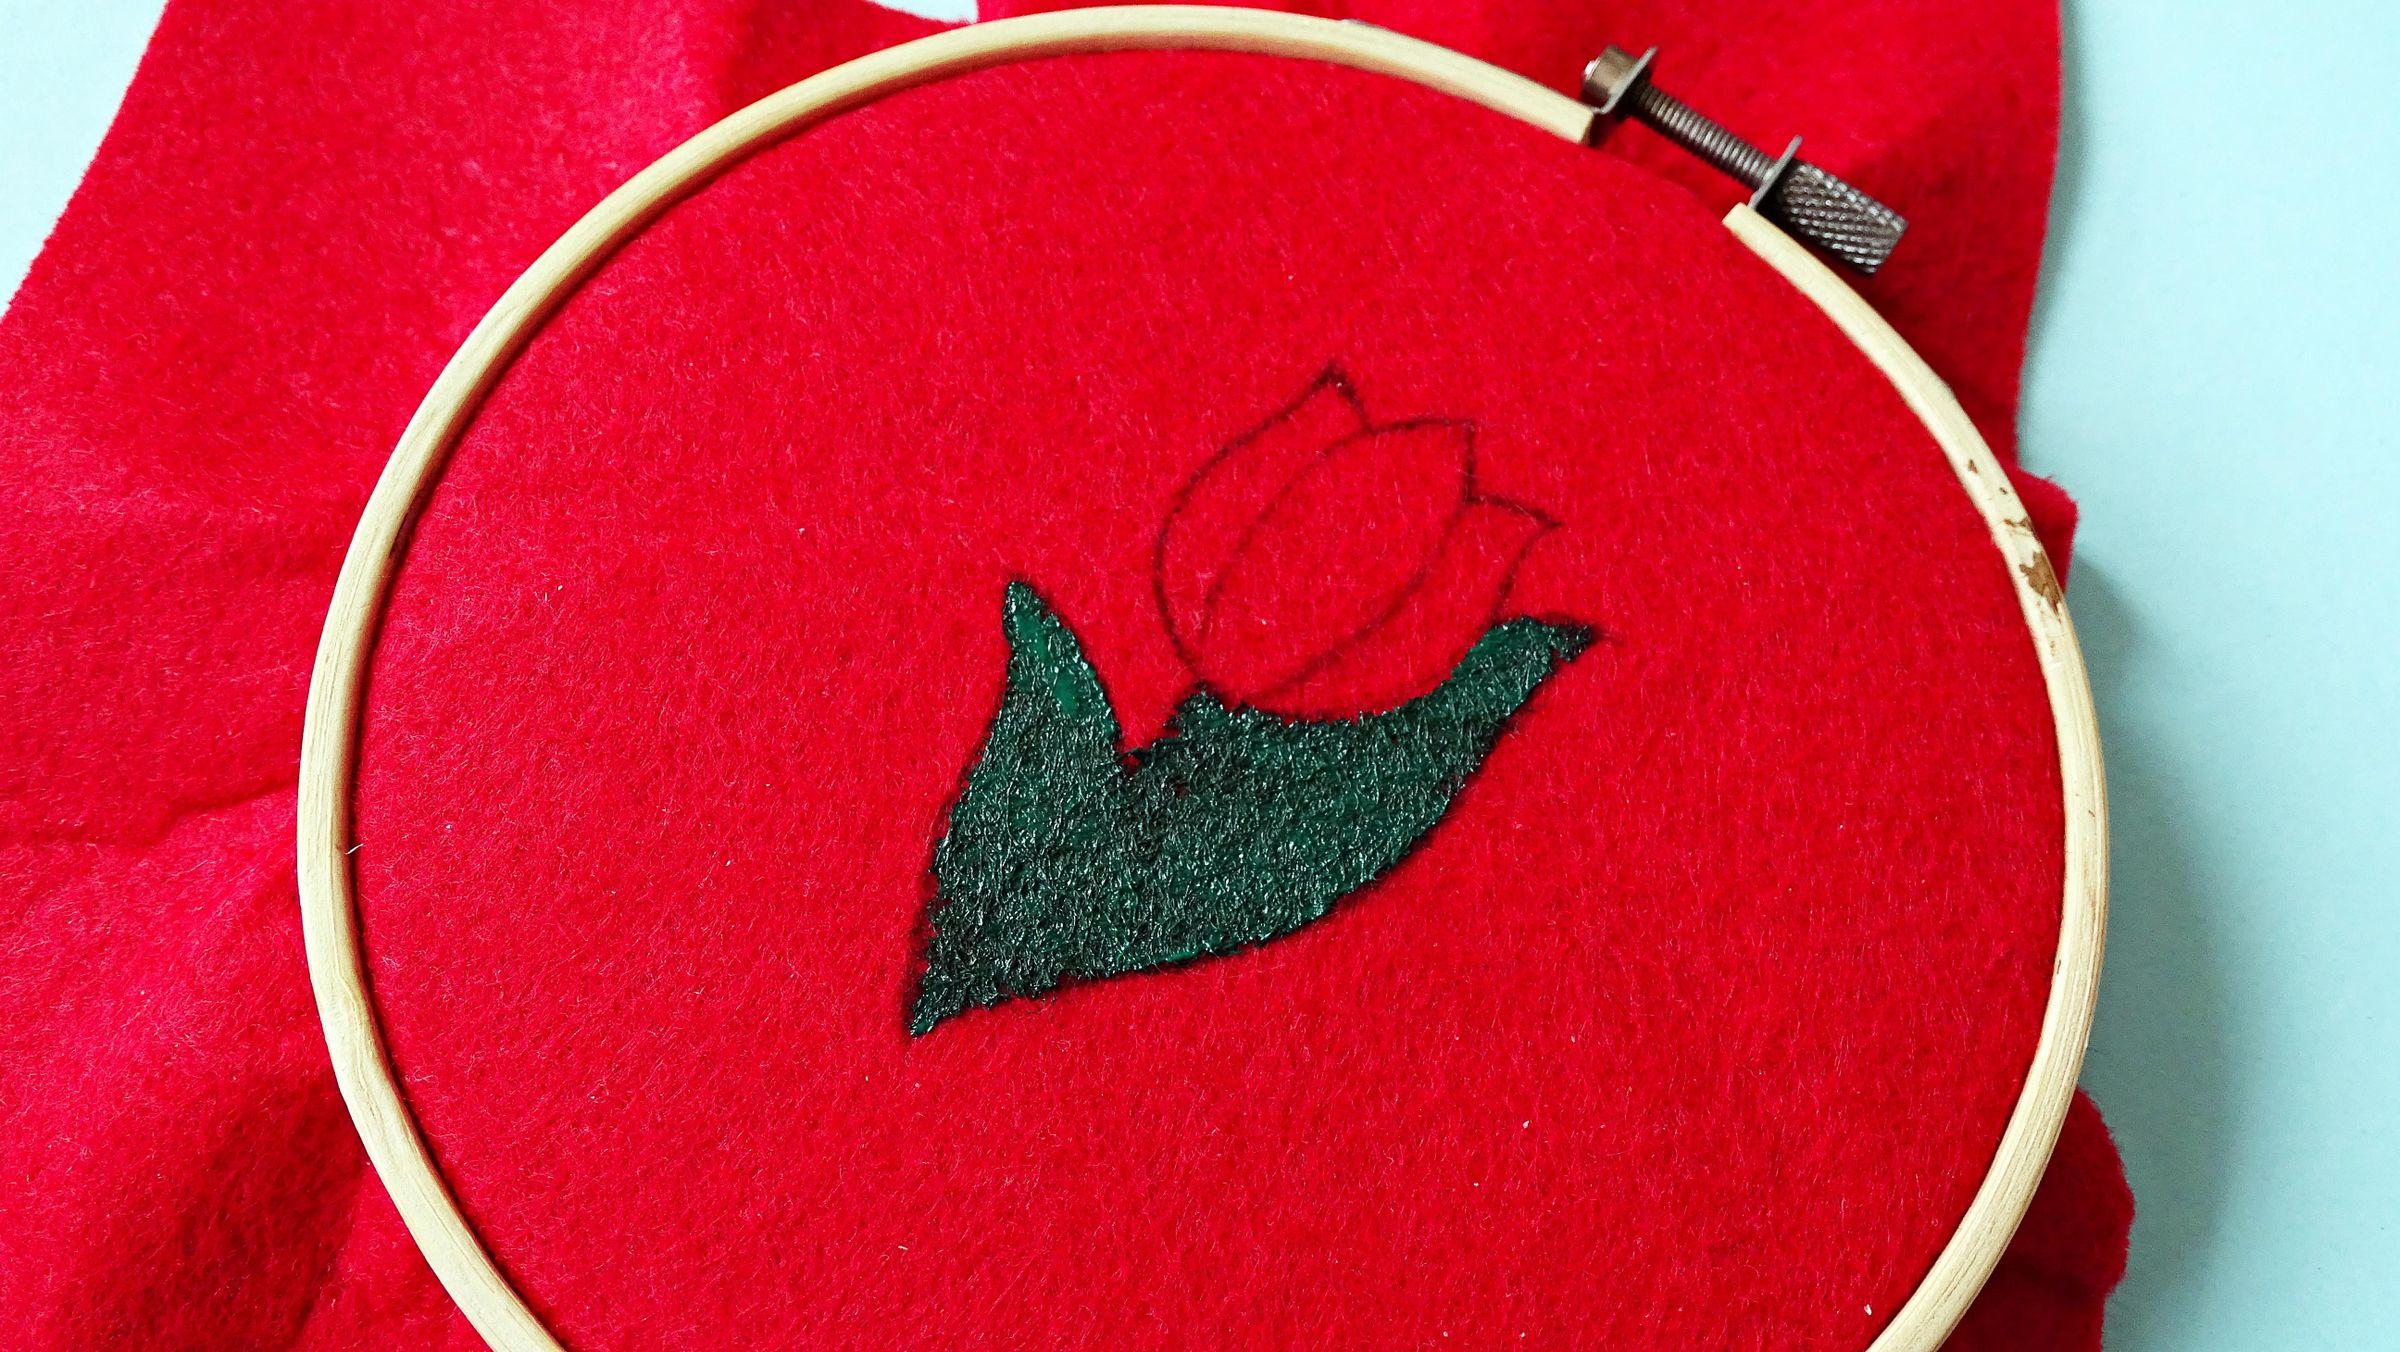
Draw the rest of the flower - the stem, leaves and petals.
Paint the stem and leaves using dark green acrylic paint. This way if the contrast between the beads and the felt will be minimal.
Let everything dry before moving on to the next step.
Outline With French Wire
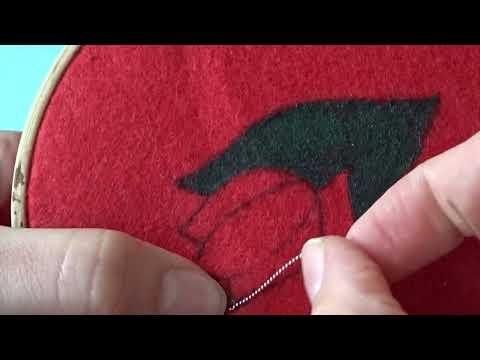
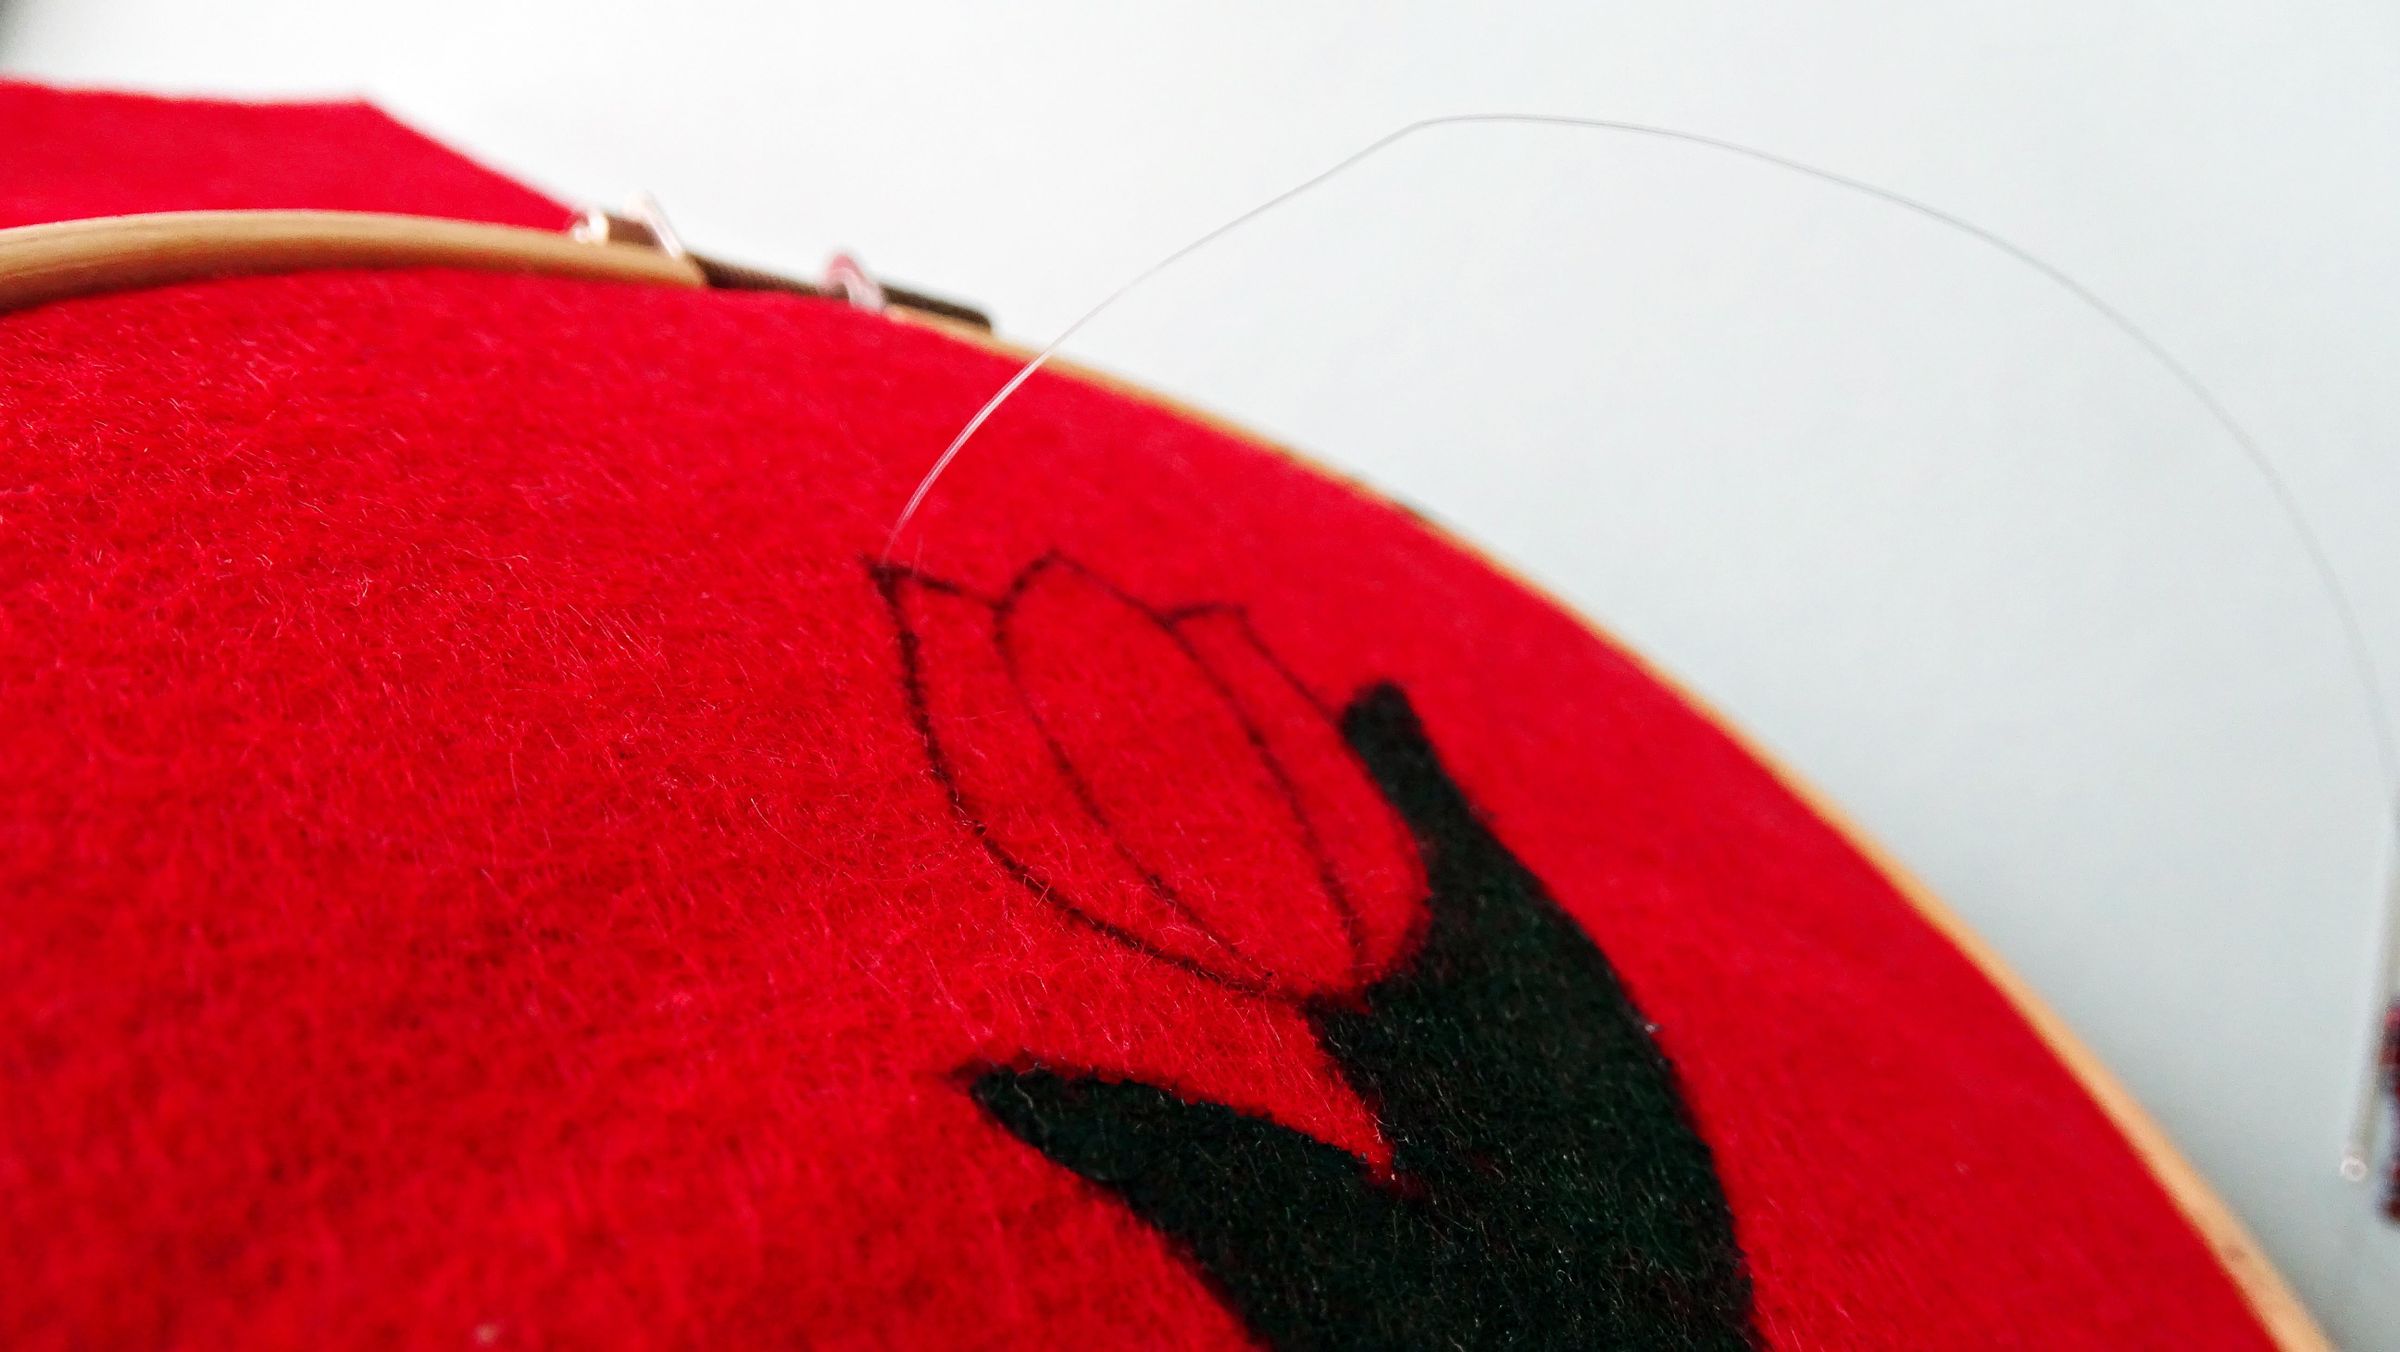
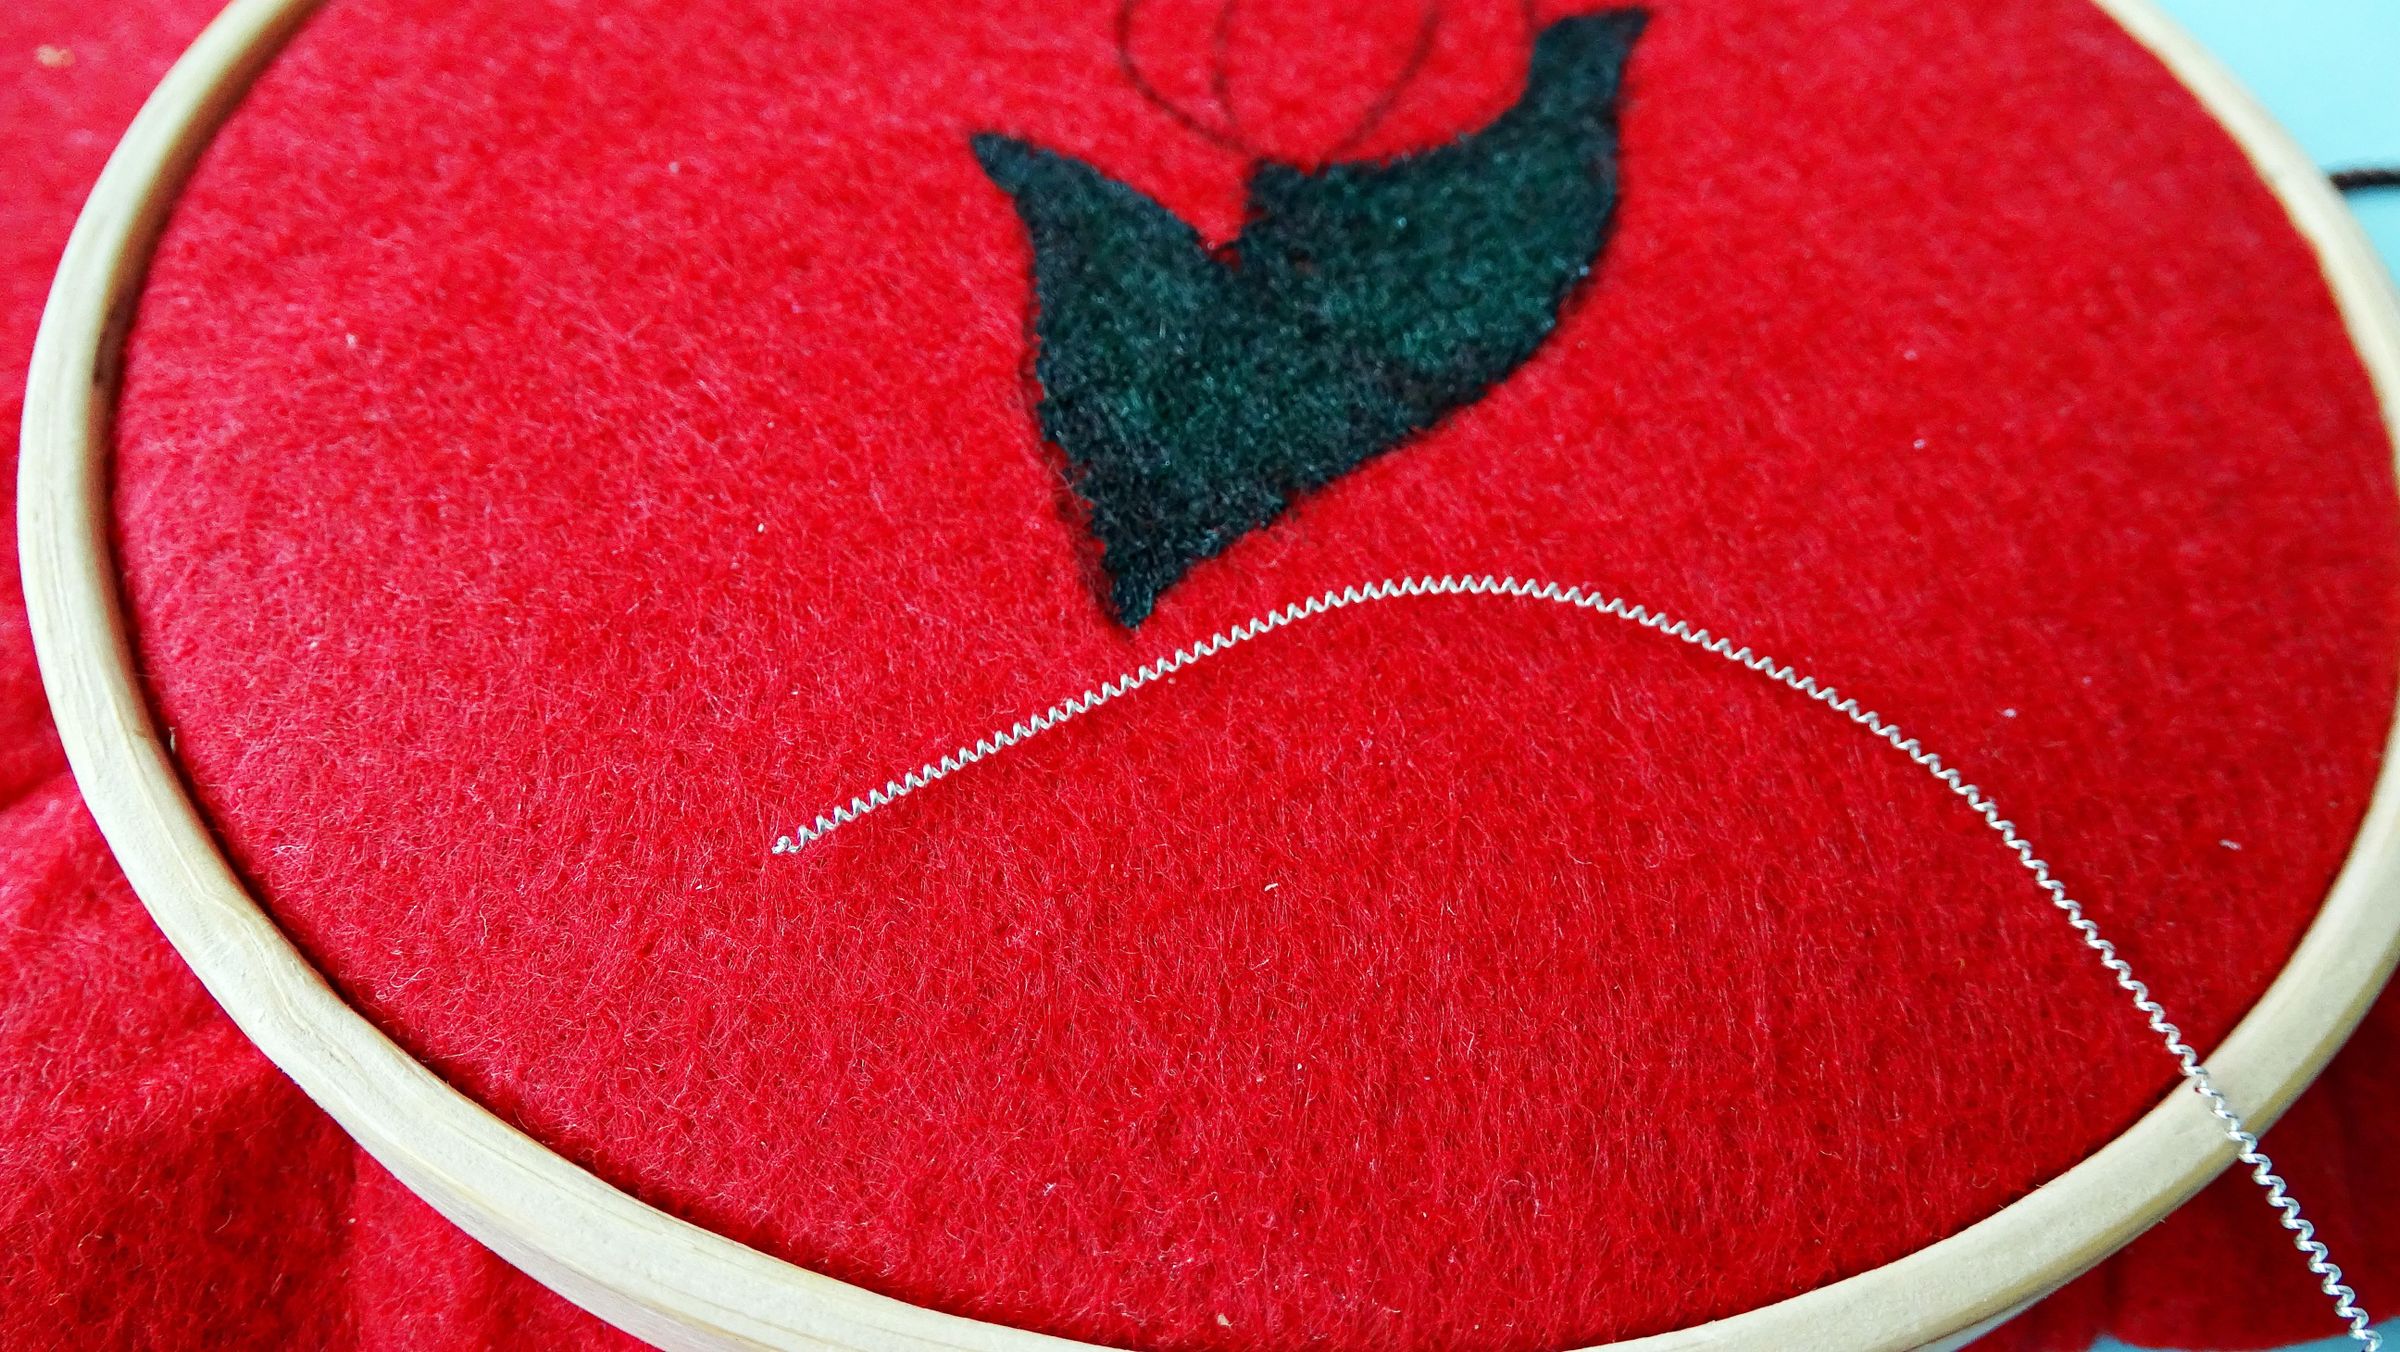
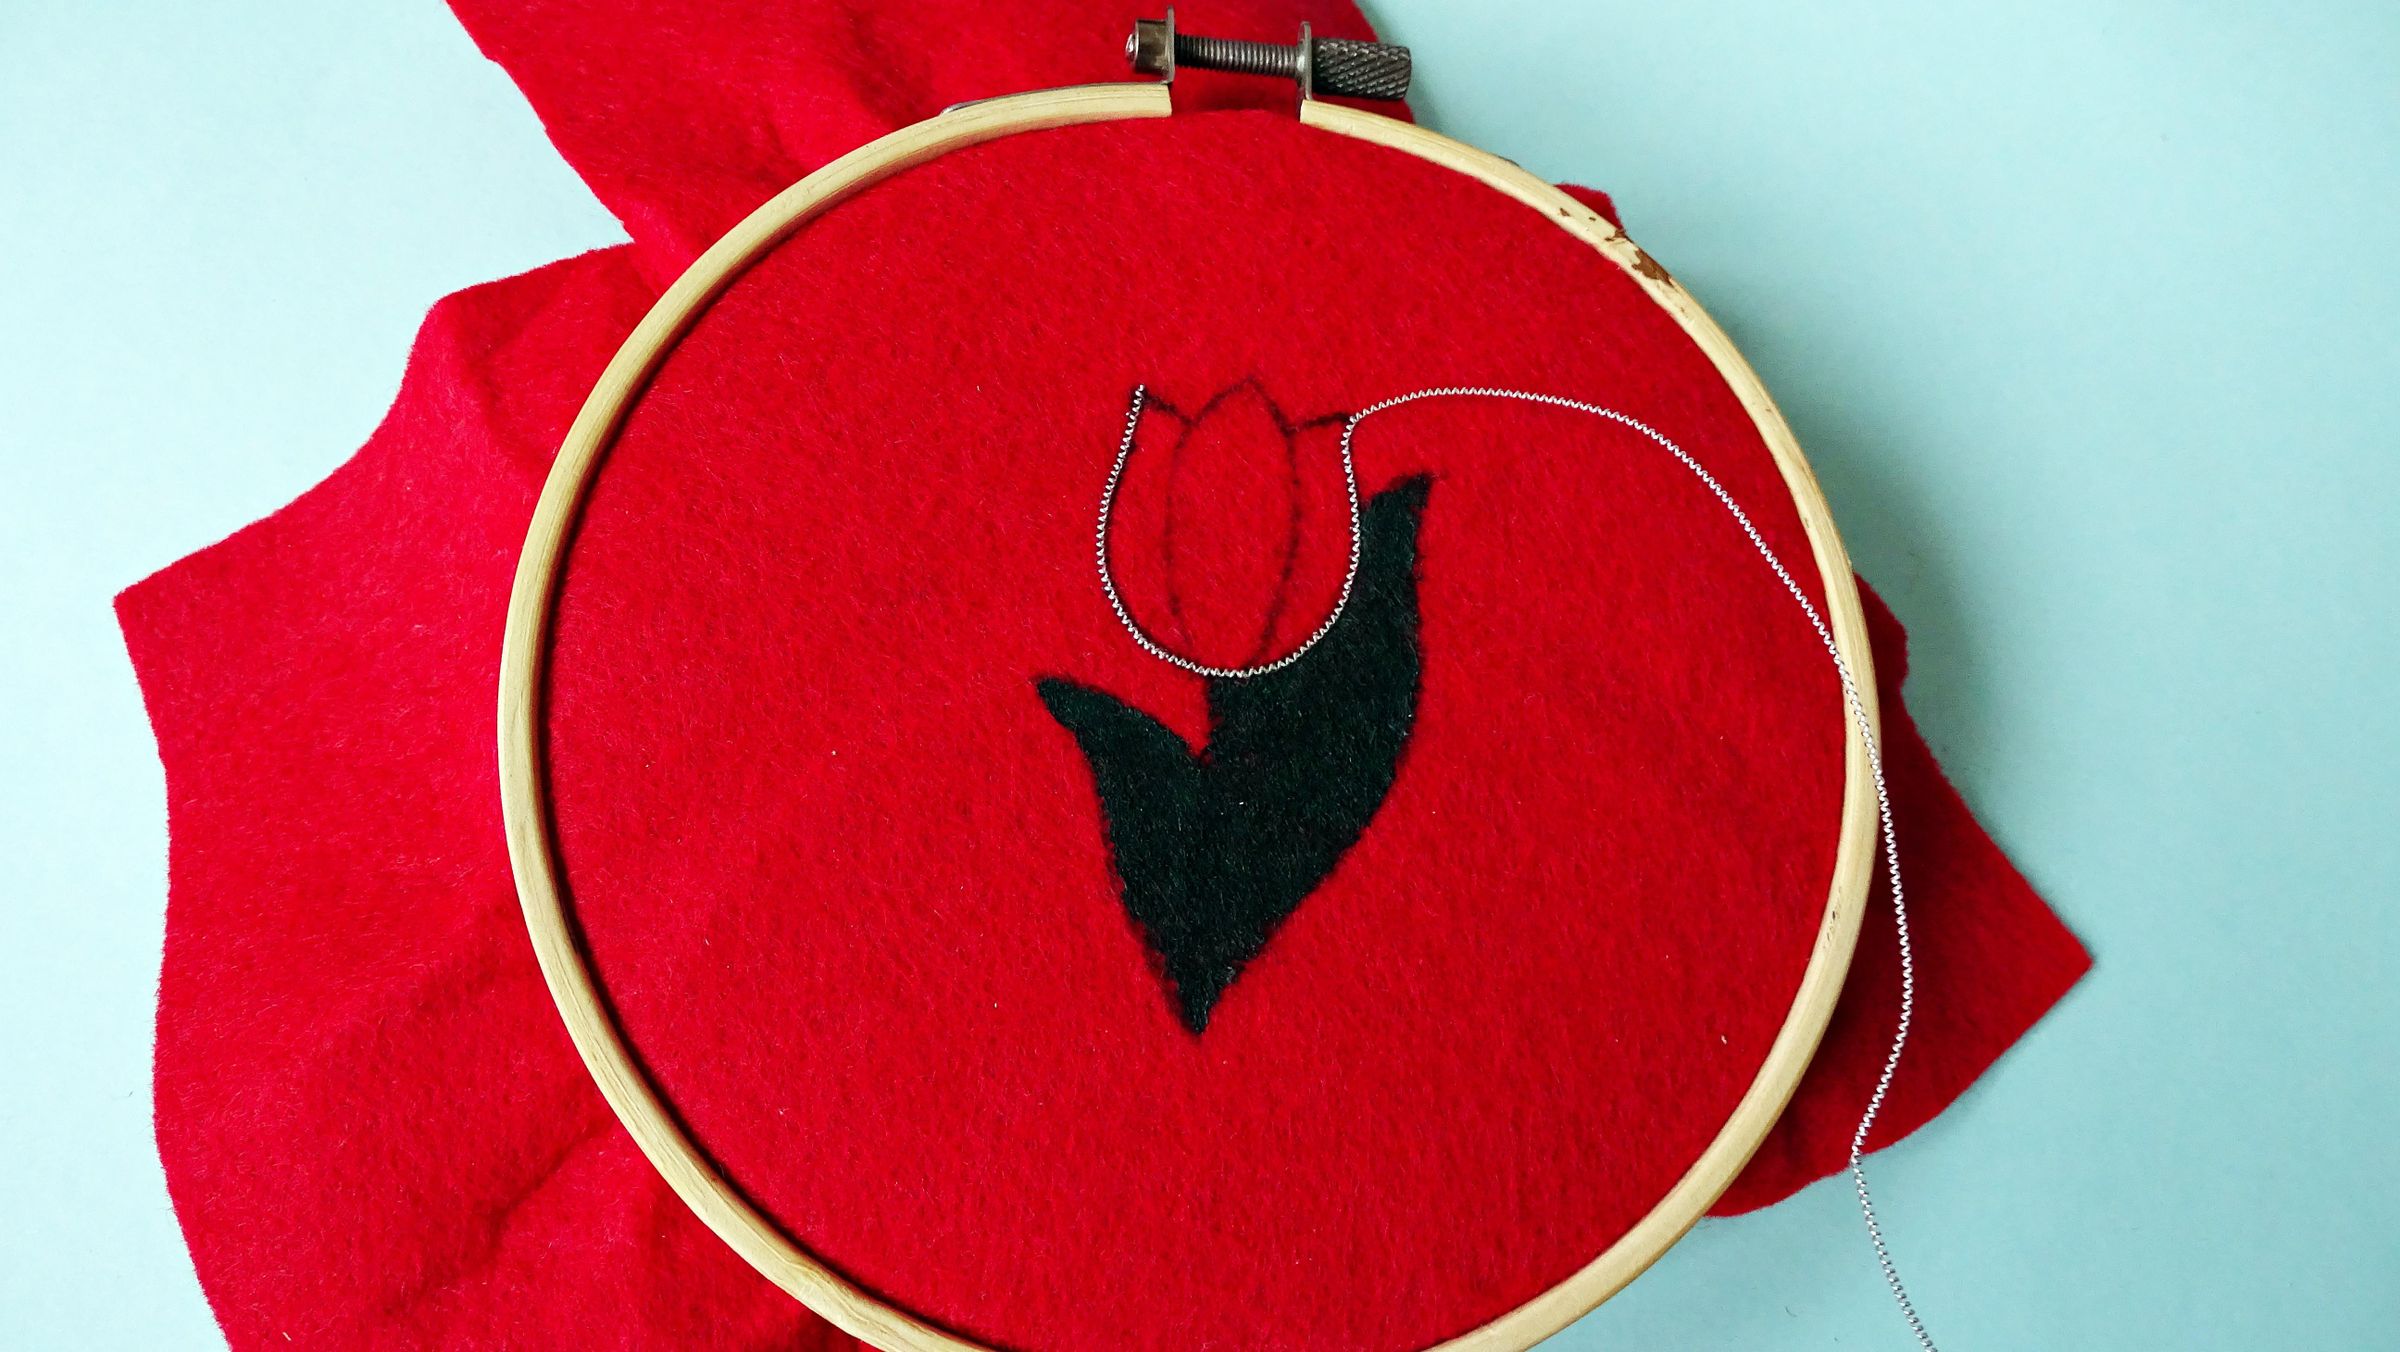
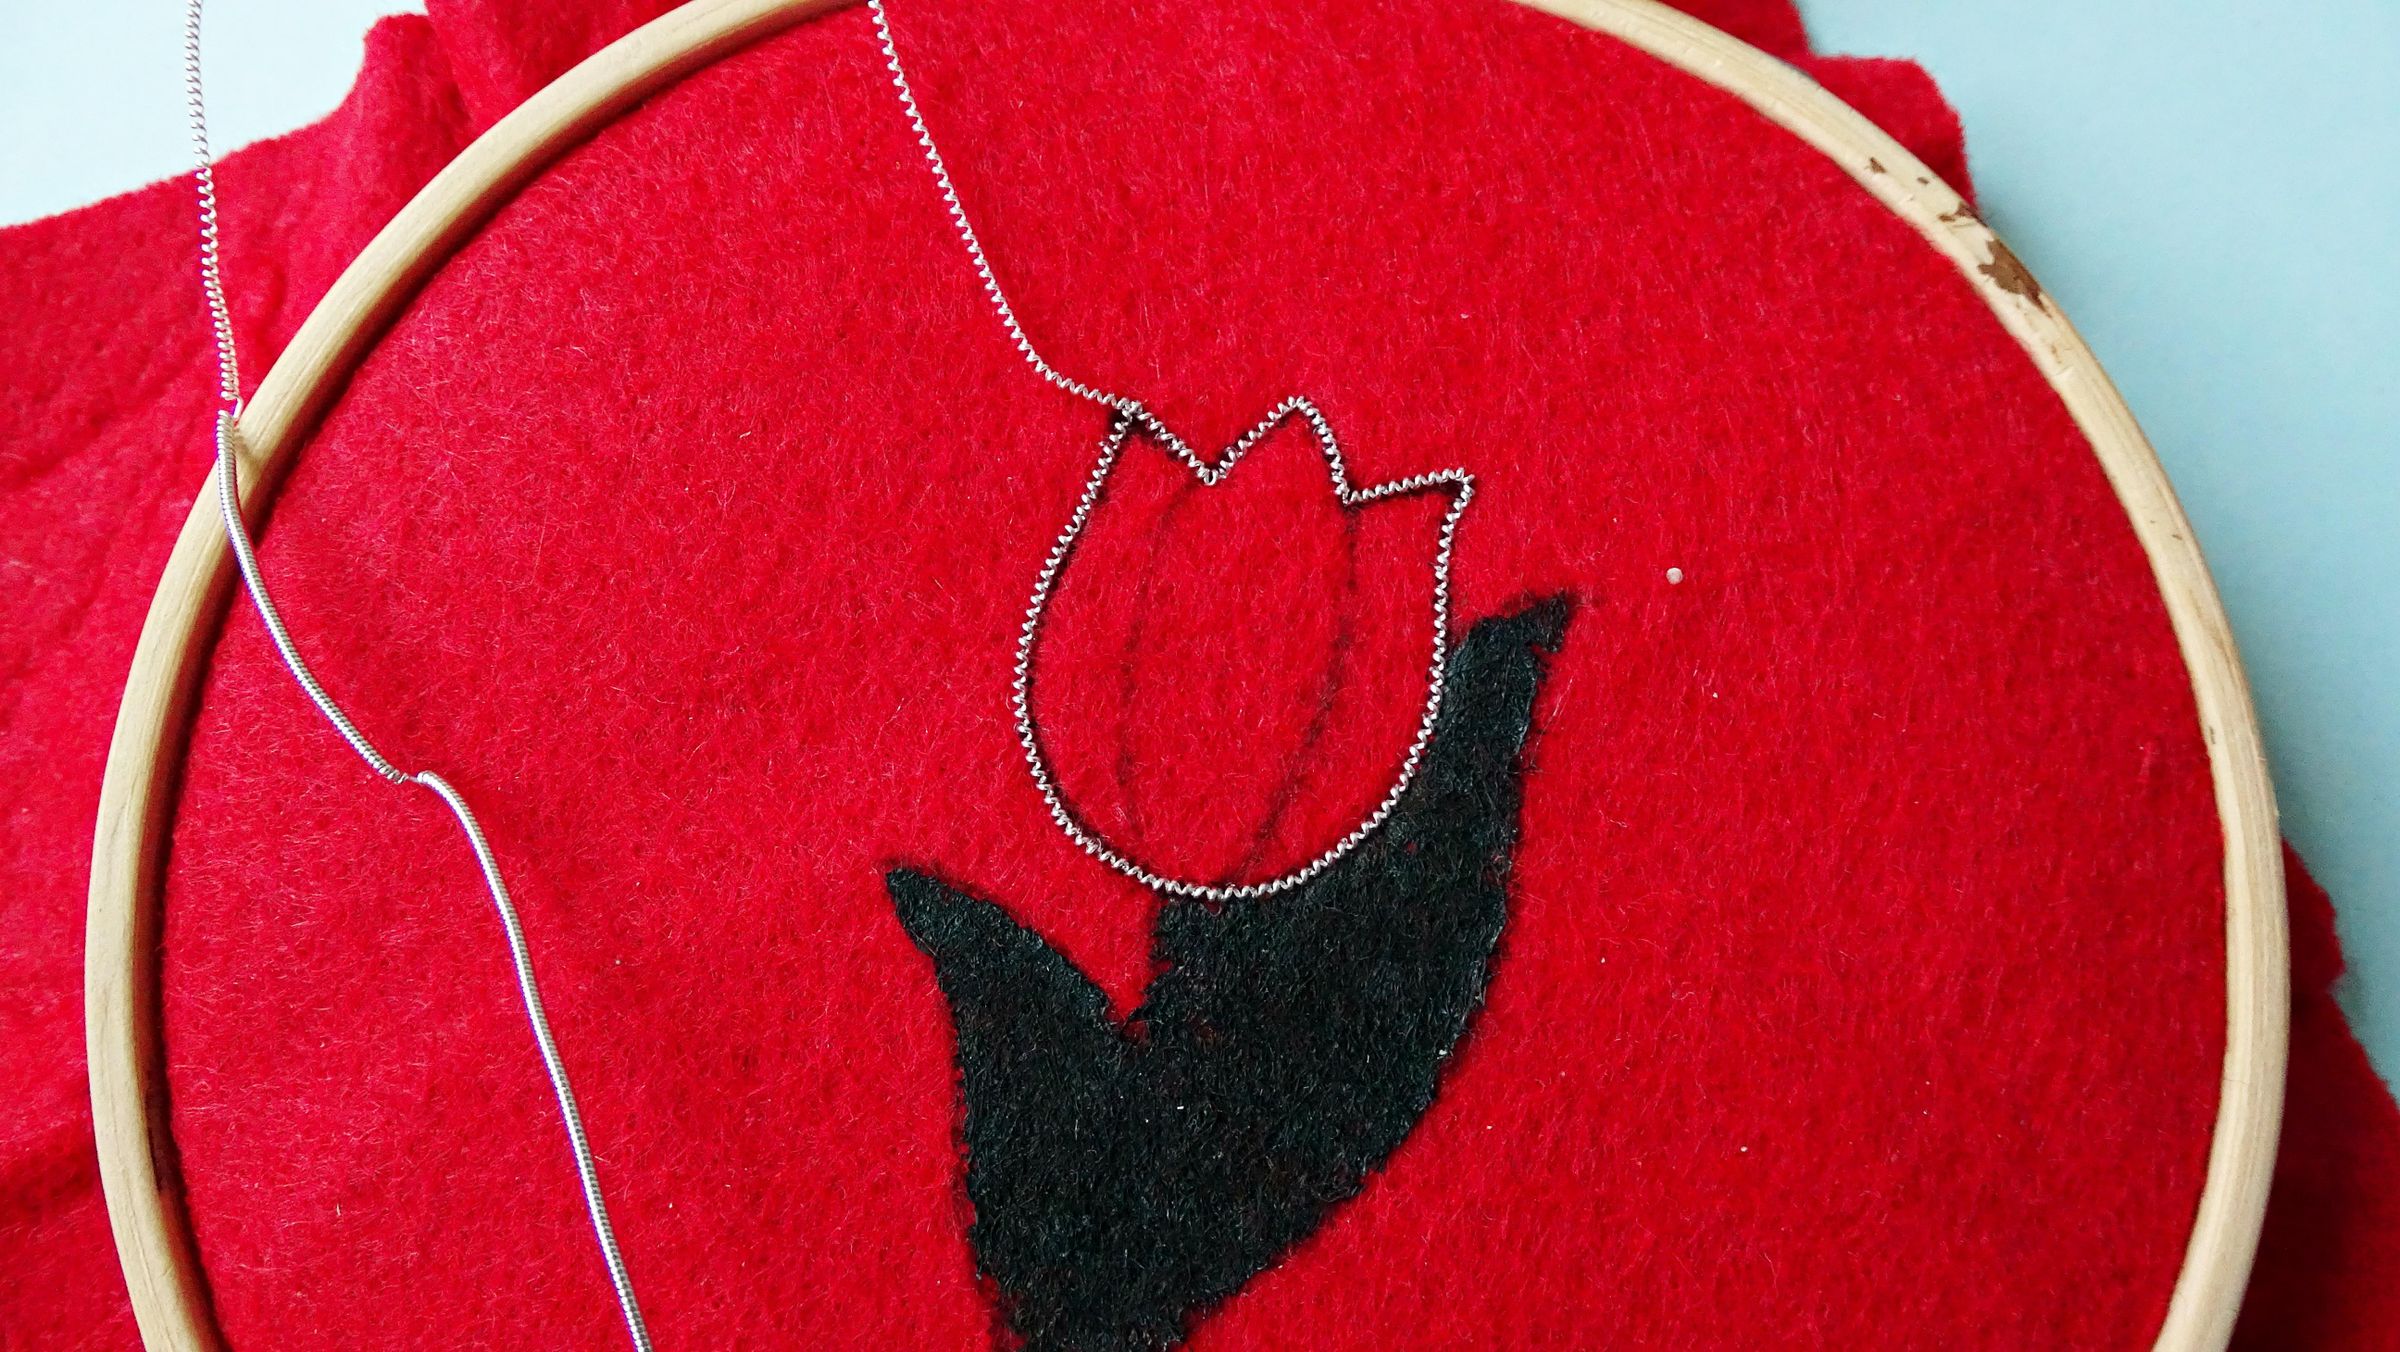
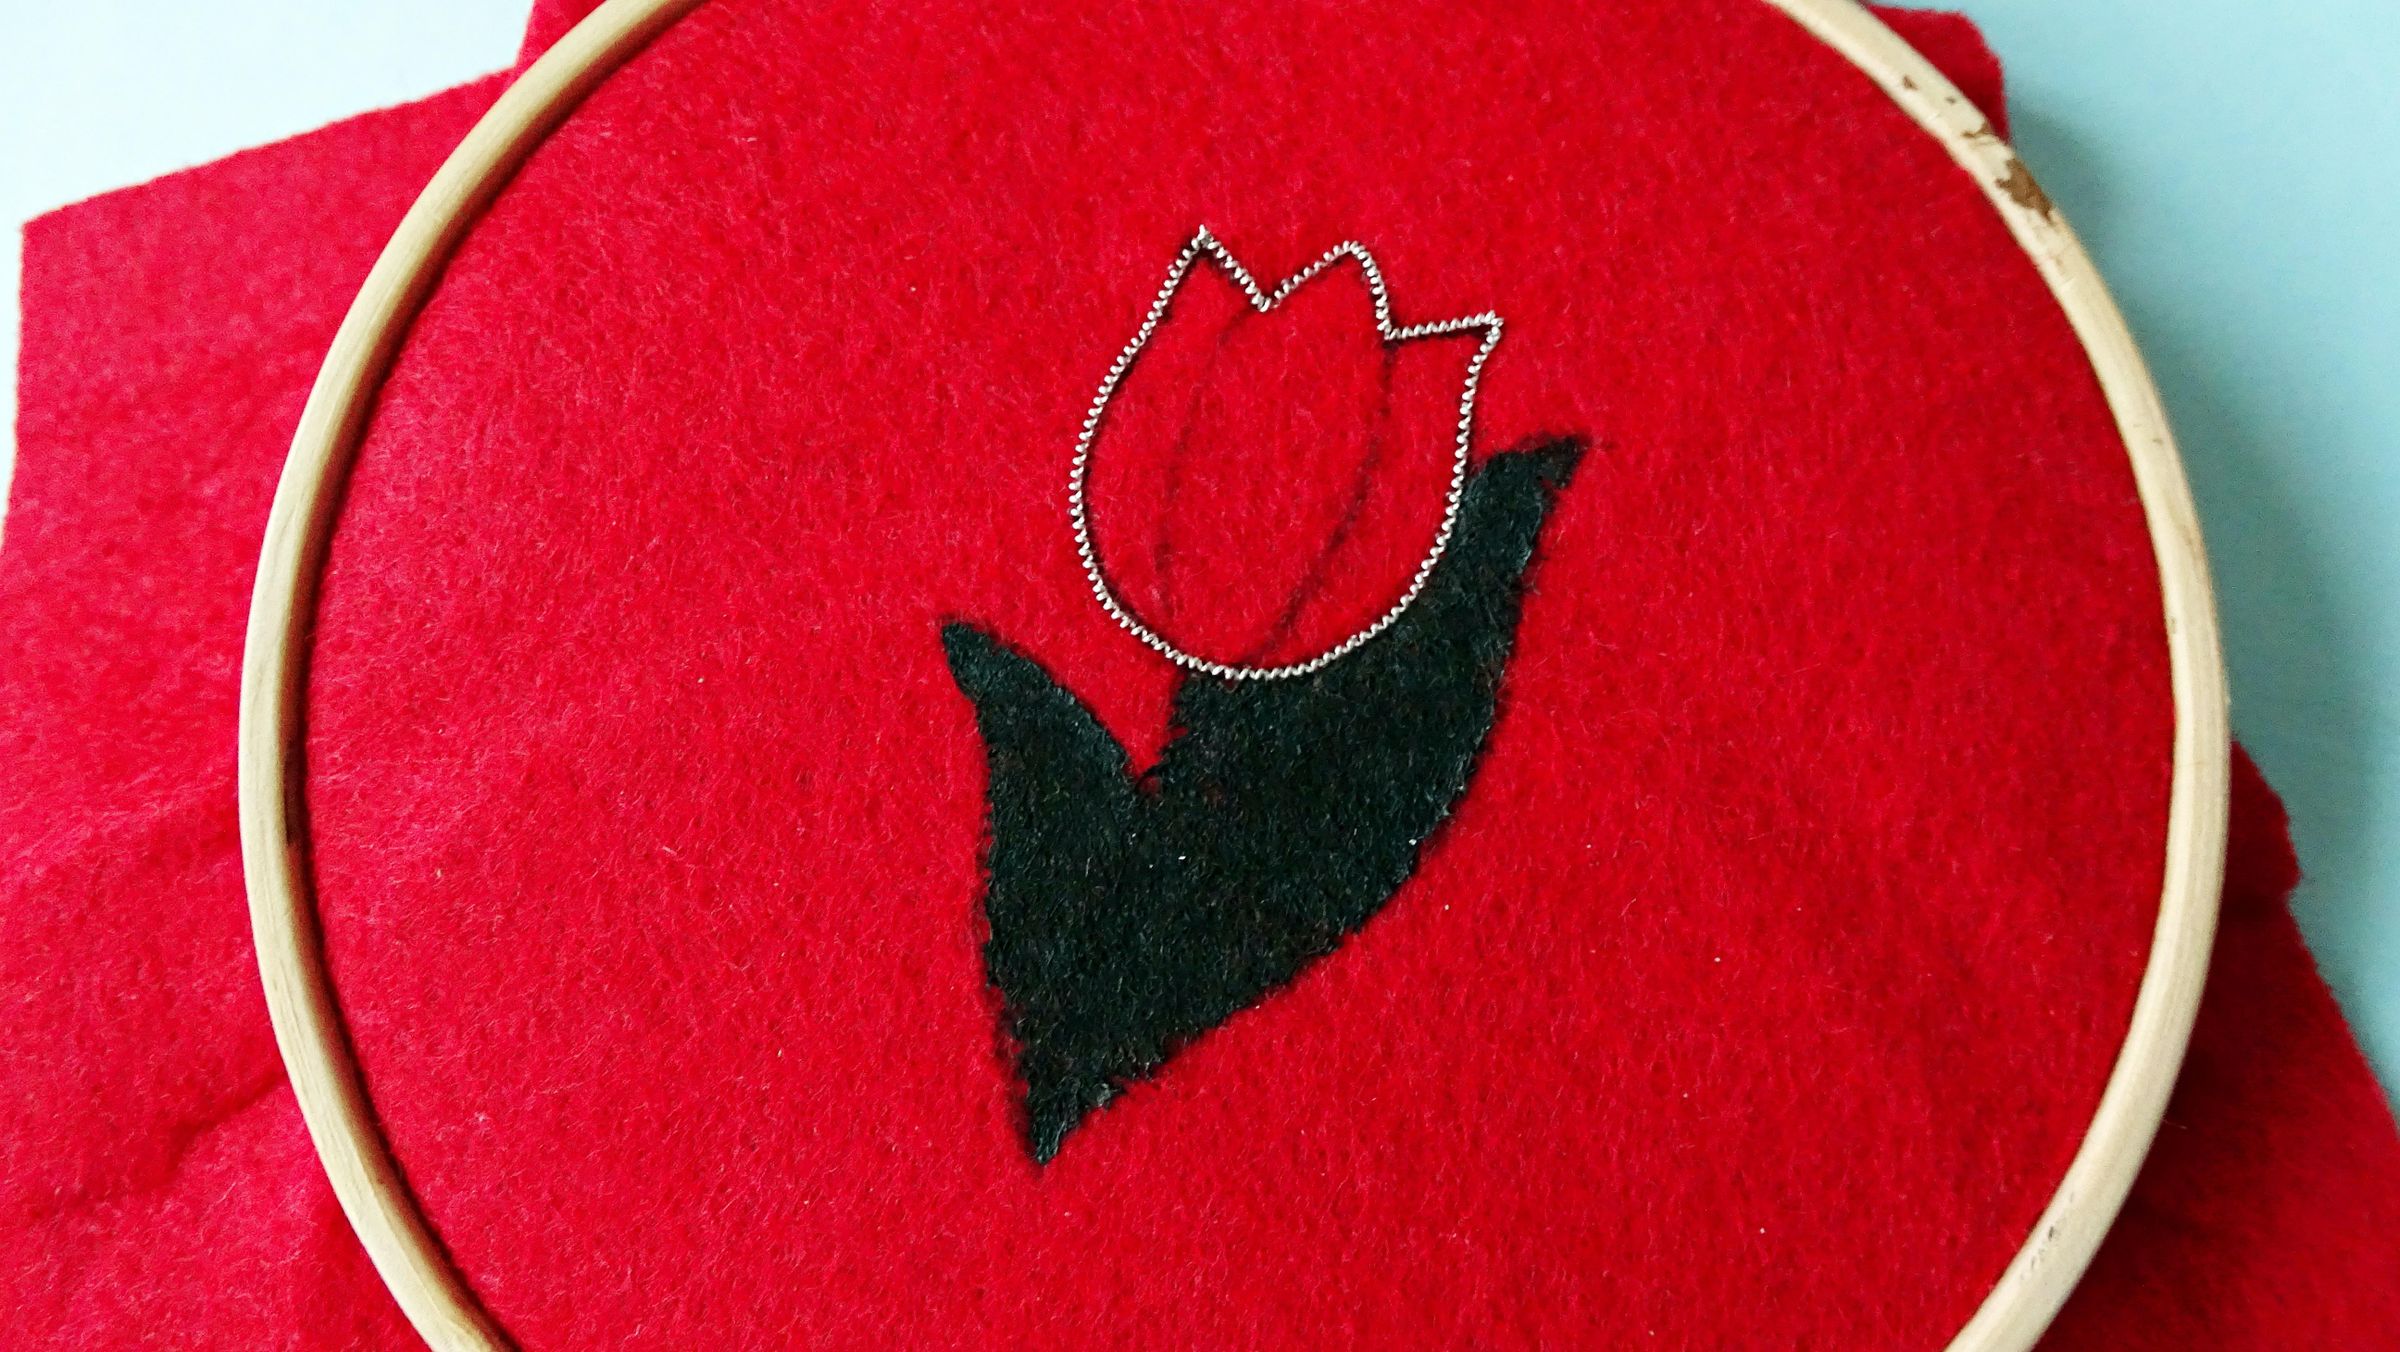
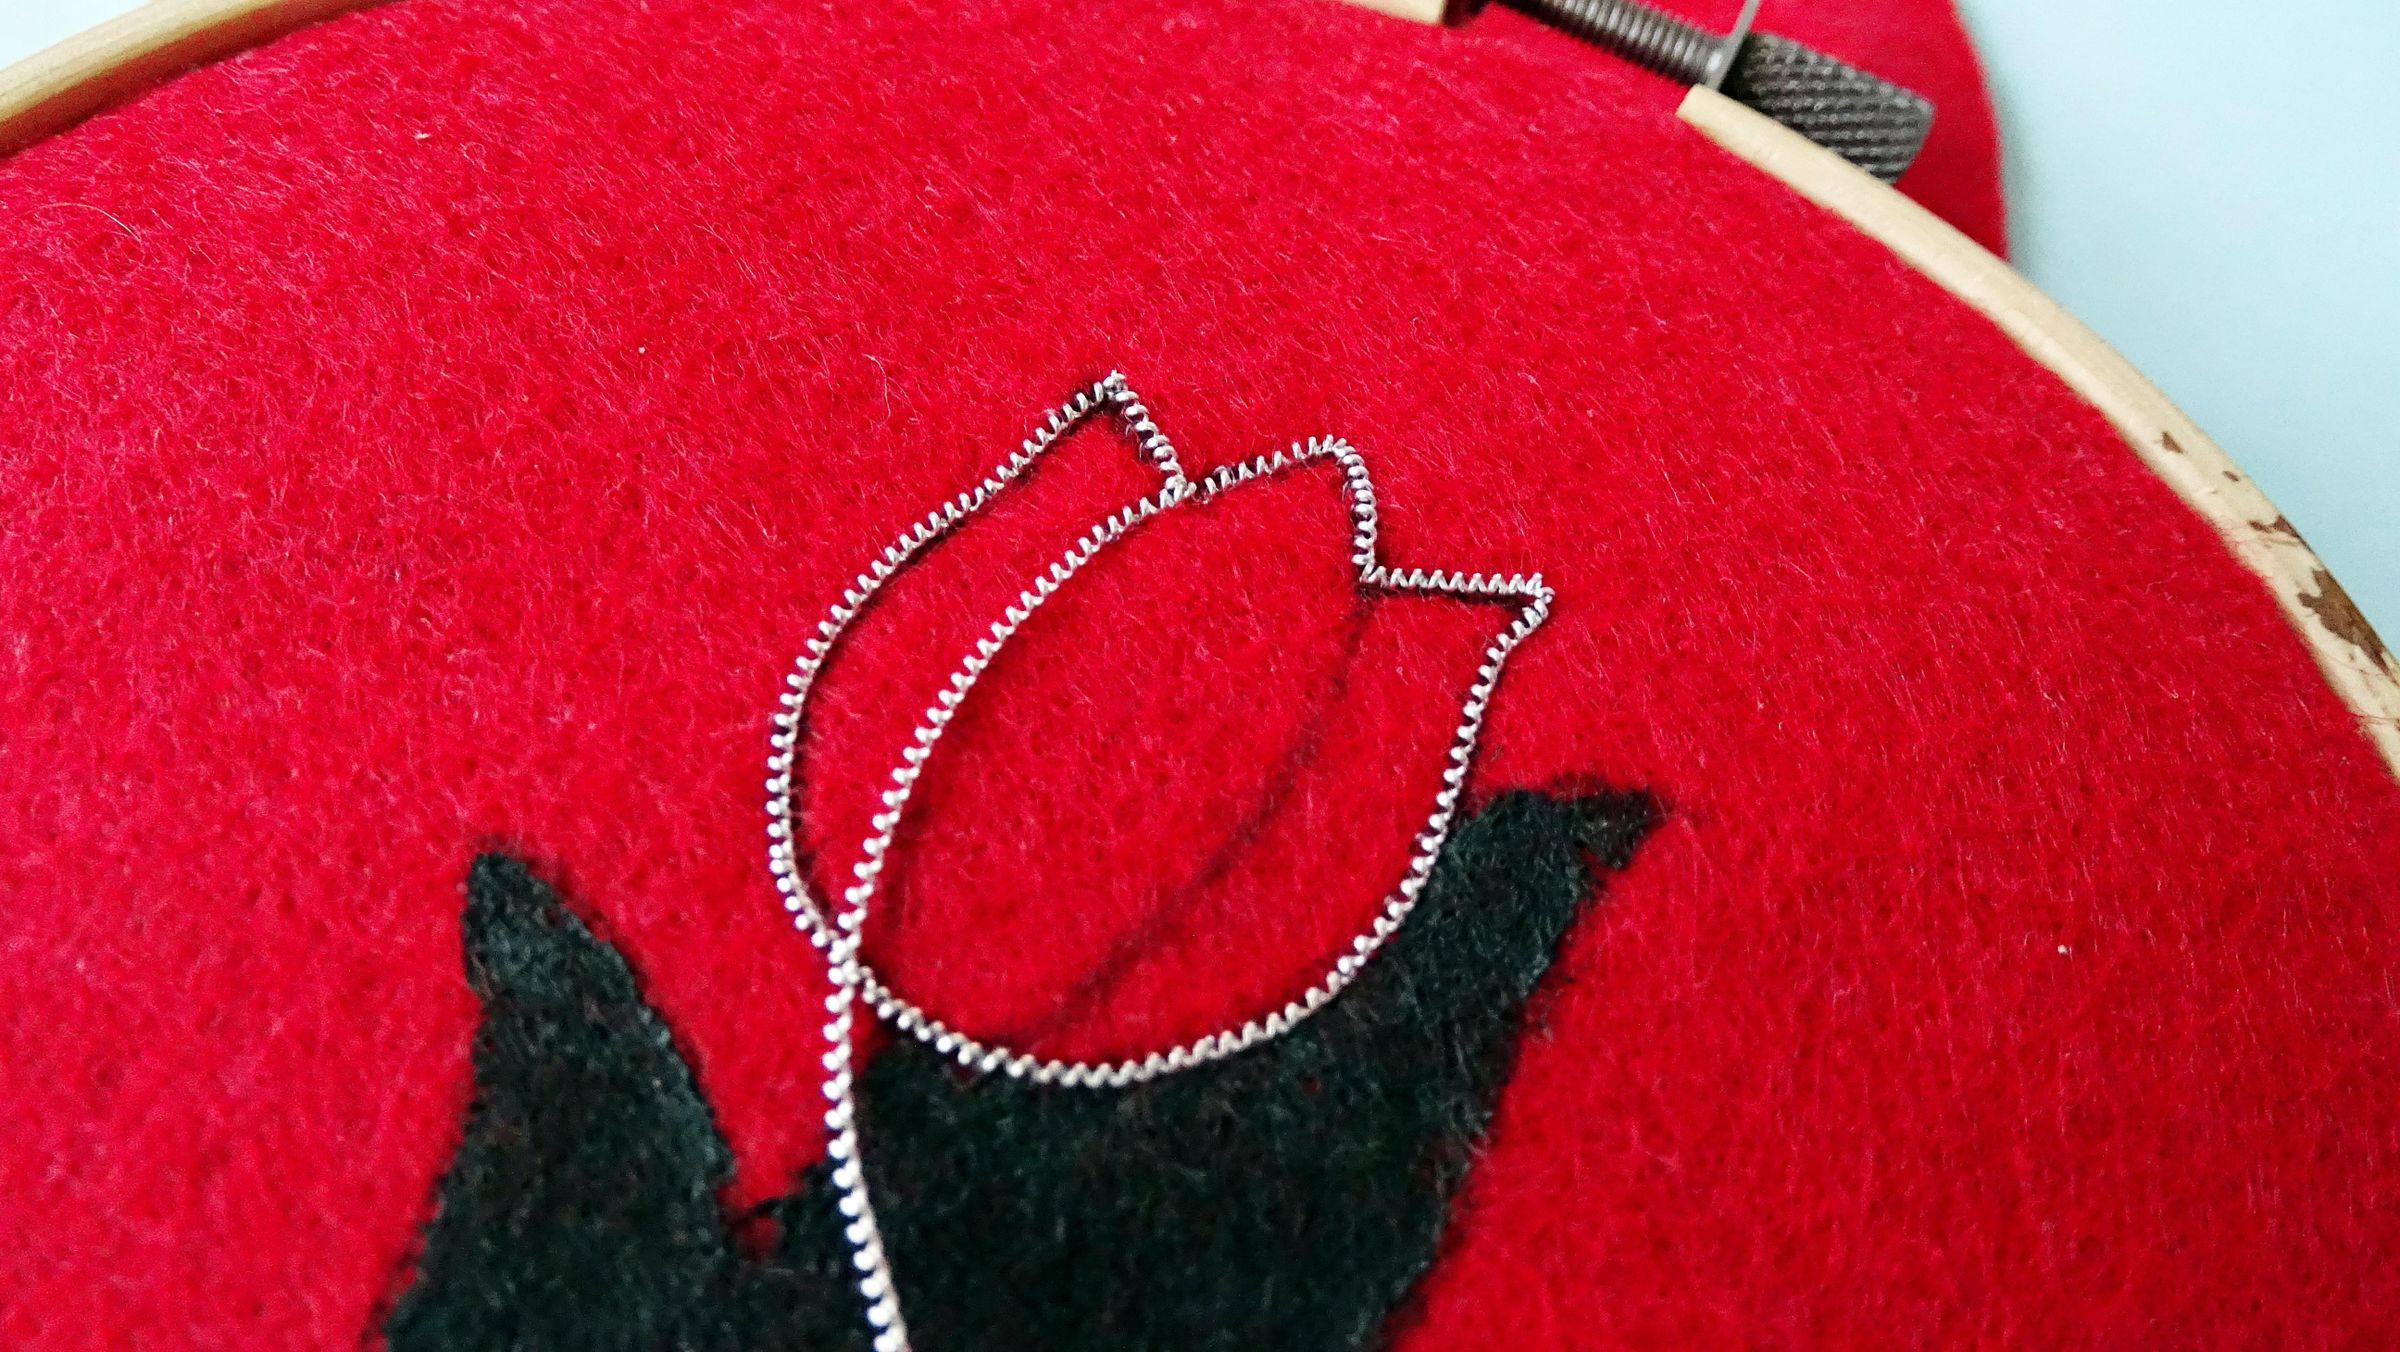
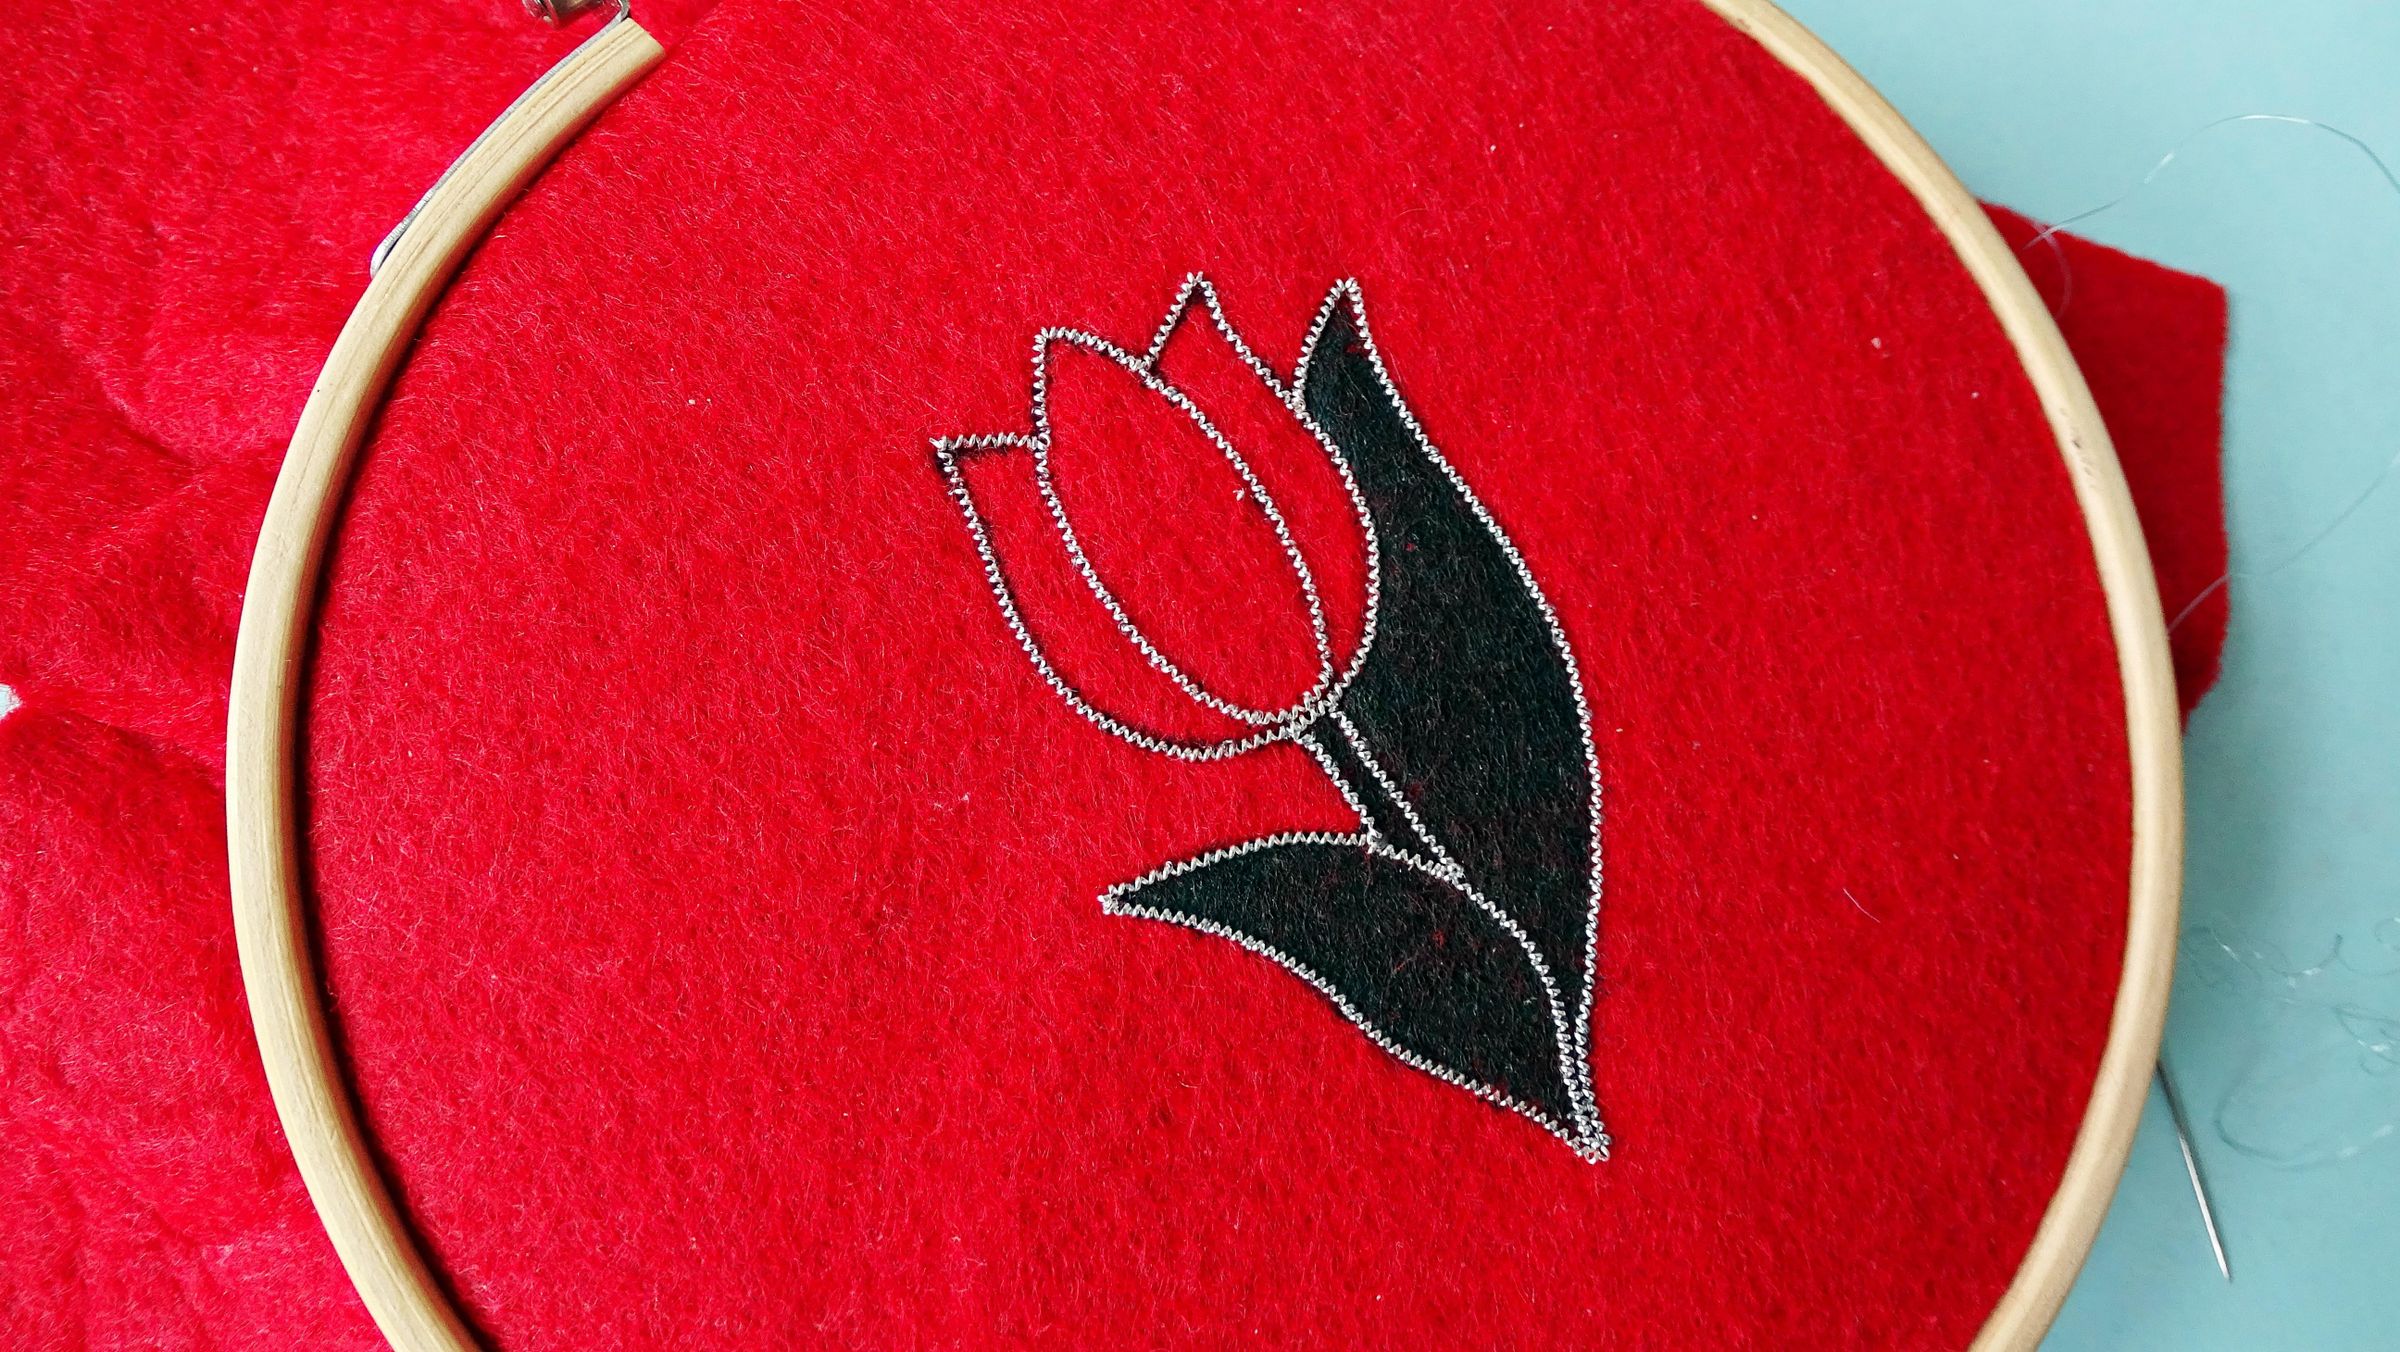
Start outlining the brooch with french wire.
Take some of the wire and stretch it out. Don't stretch too much or too little - there should be some space in between the rolls (that's where the fishing cord will go).
Cut a long piece of your fishing cord and thread it through a needle. Tie two knots at the end of the longer tail to keep the cord from slipping through the felt when embroidering.
Place the wire on top of the outlined petal. Start sewing - pull your needle through the felt and make a stitch on top of the french wire. Curve and shape the wire as you go around the flower. Keep doing this until you have outlined the tulip with the wire.
For the lines inside the flower cut separate smaller pieces of the wire and repeat the sewing process.
Refer to the video for clear instructions of this step.
Decorating the Petals
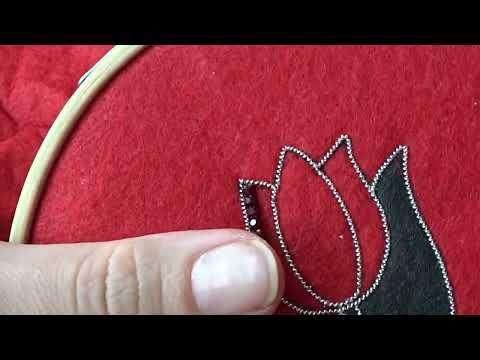
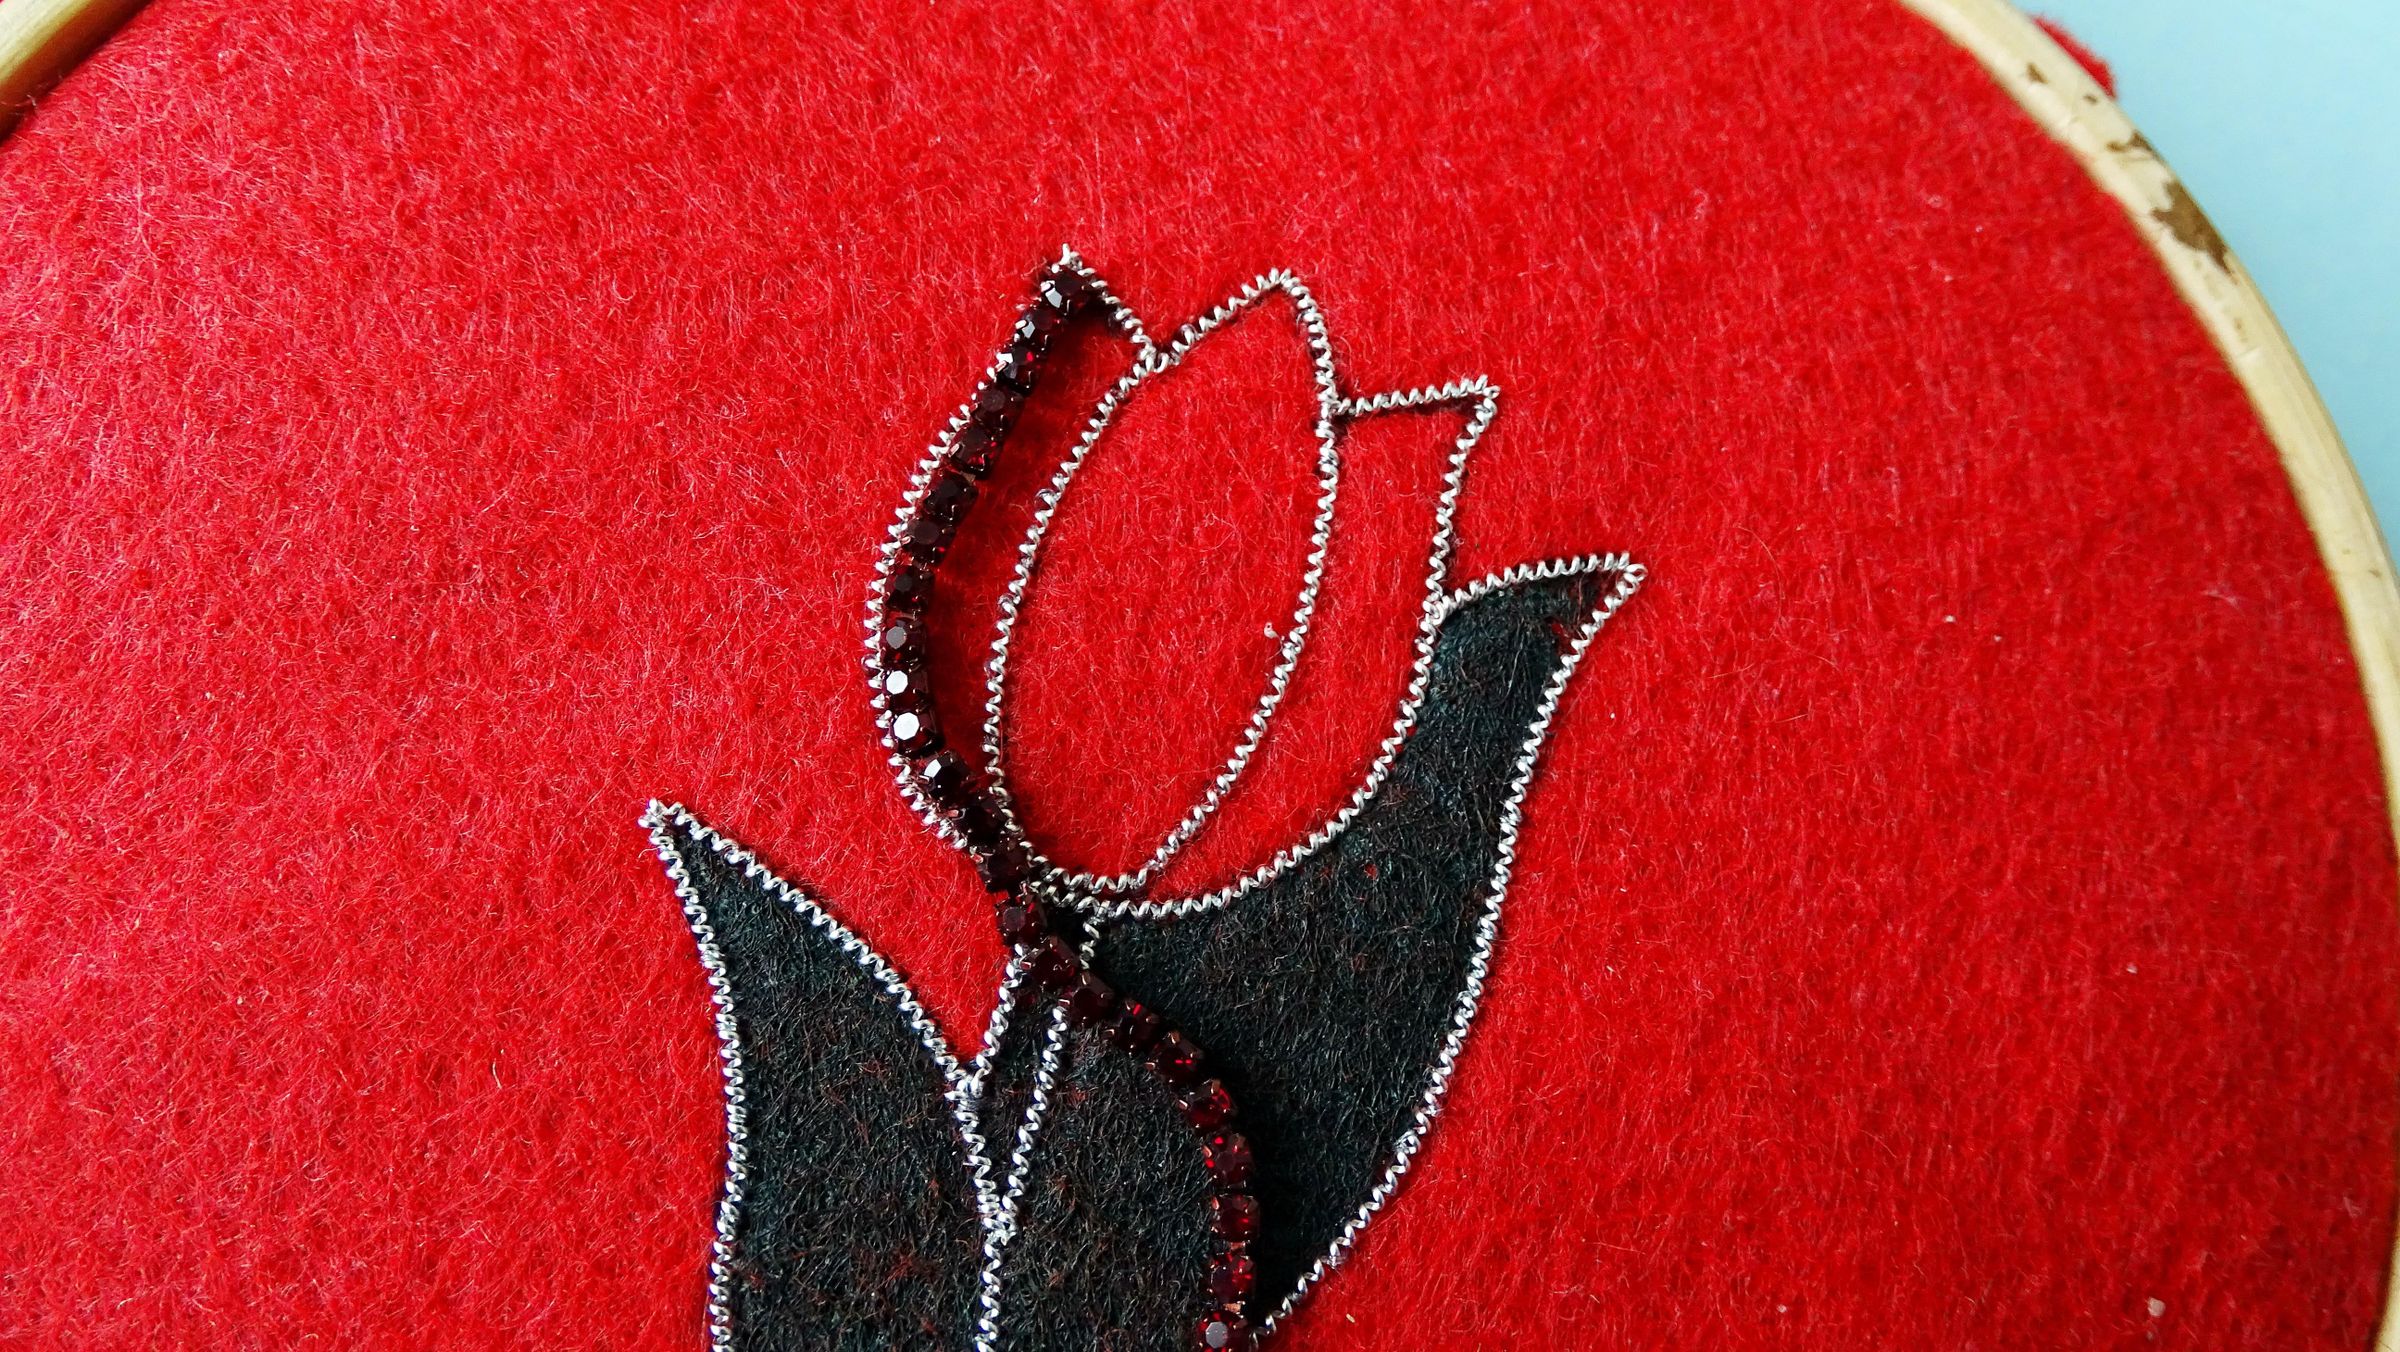
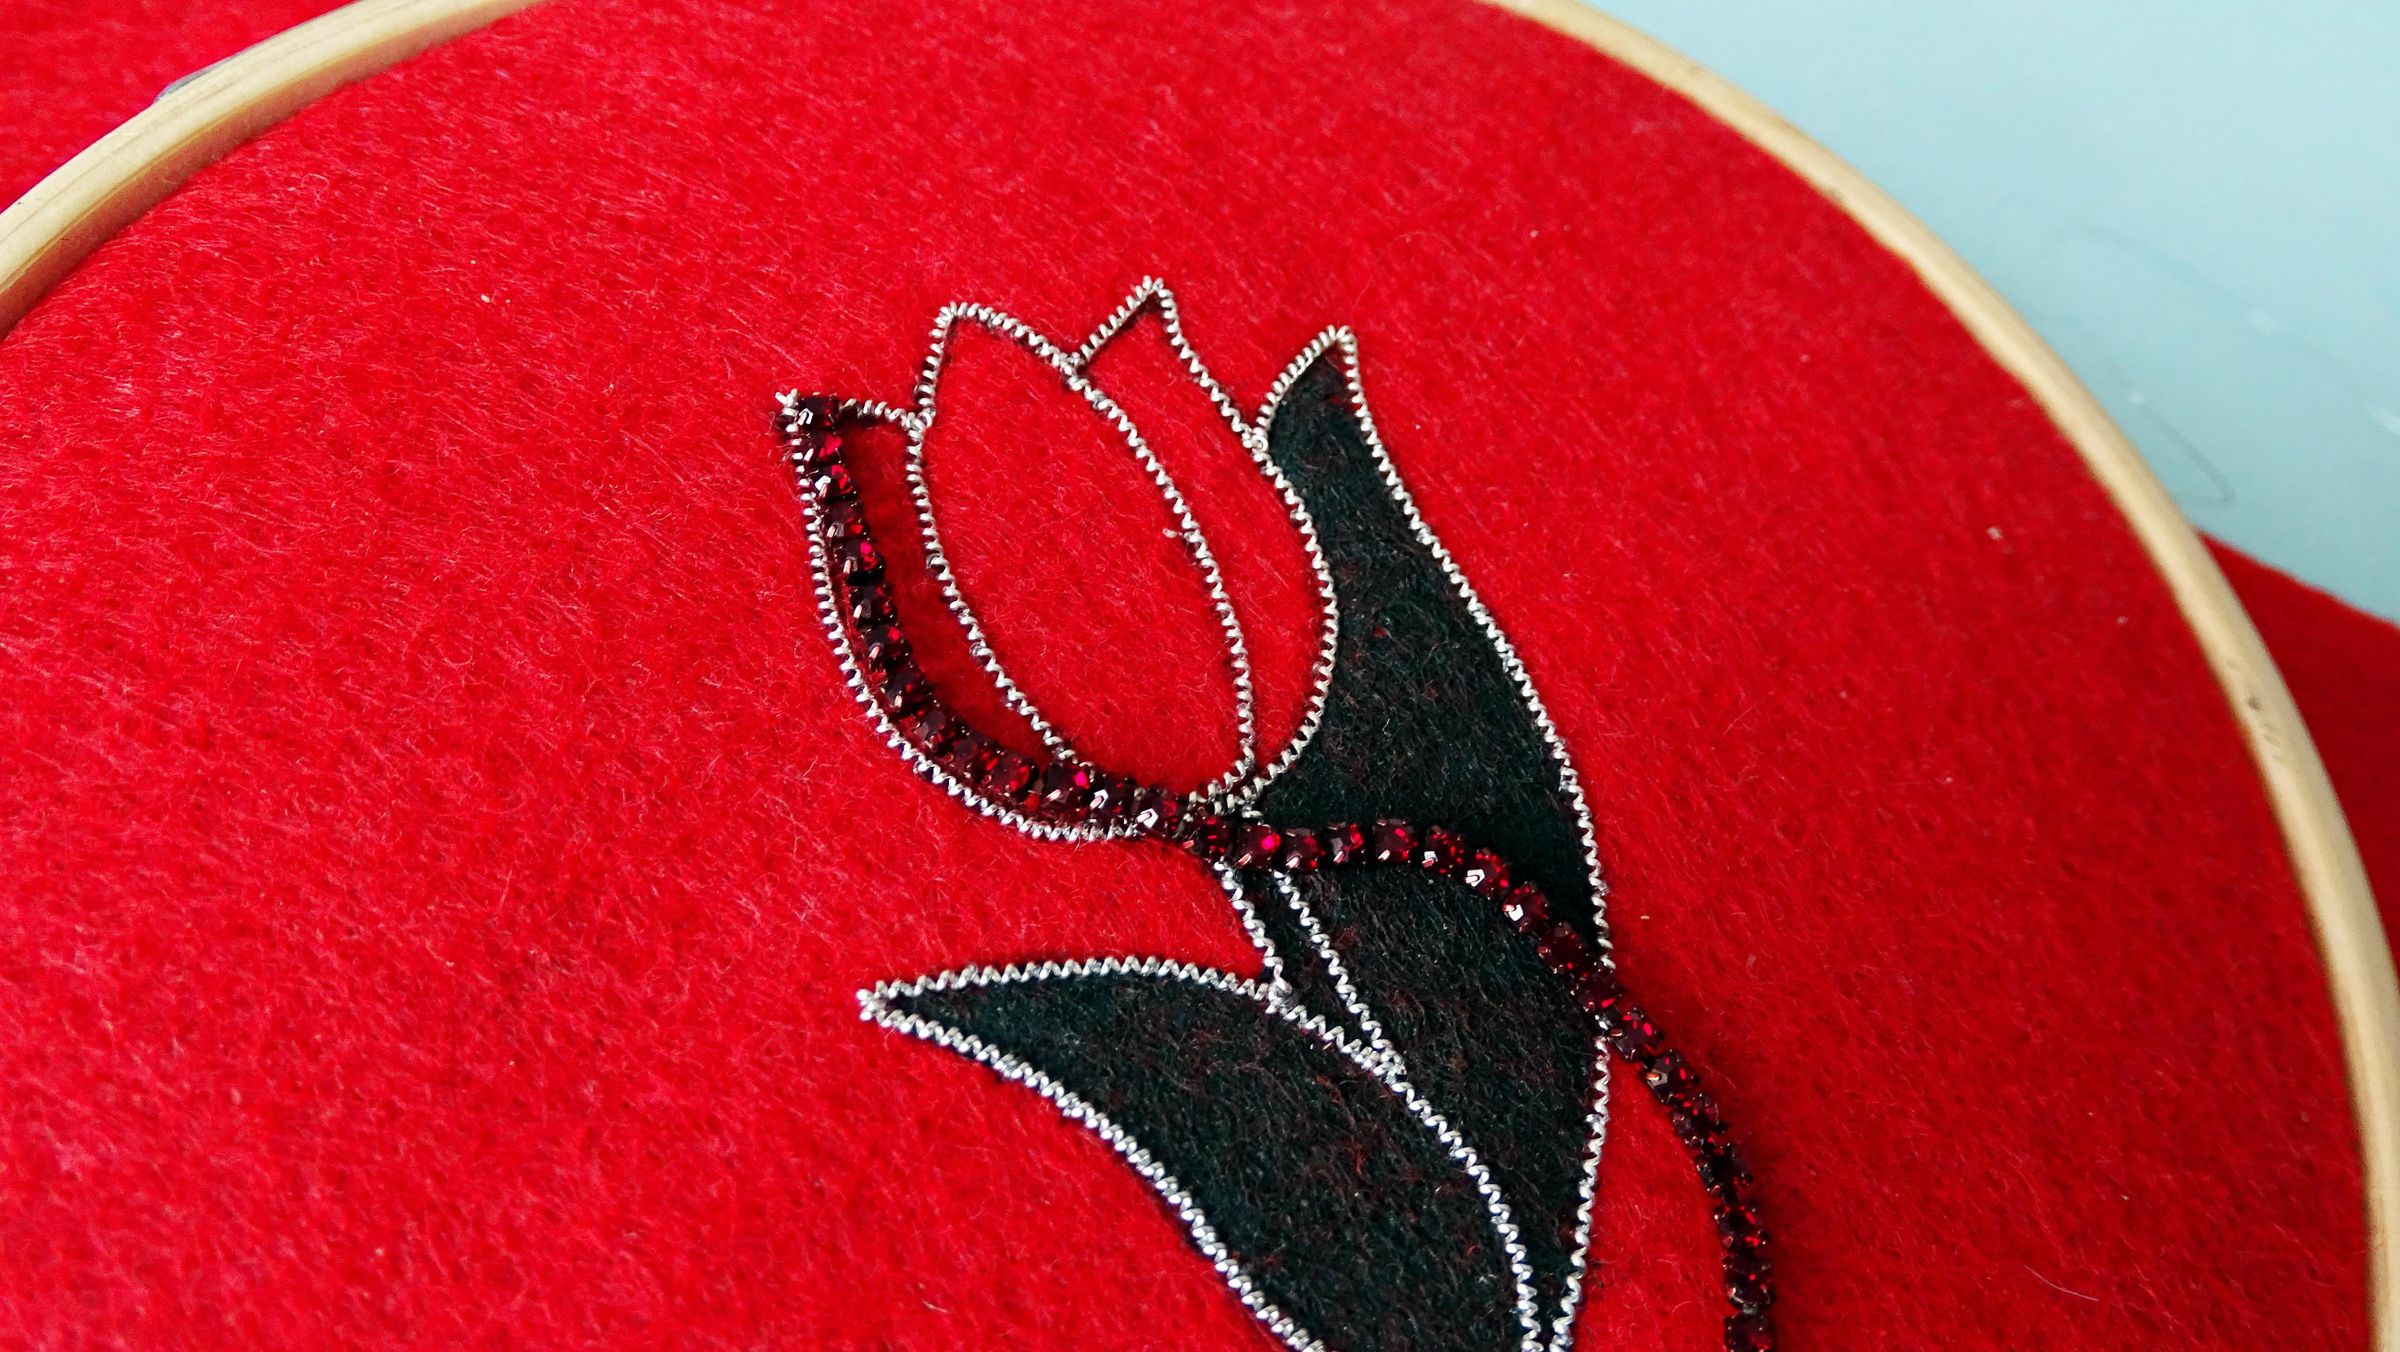
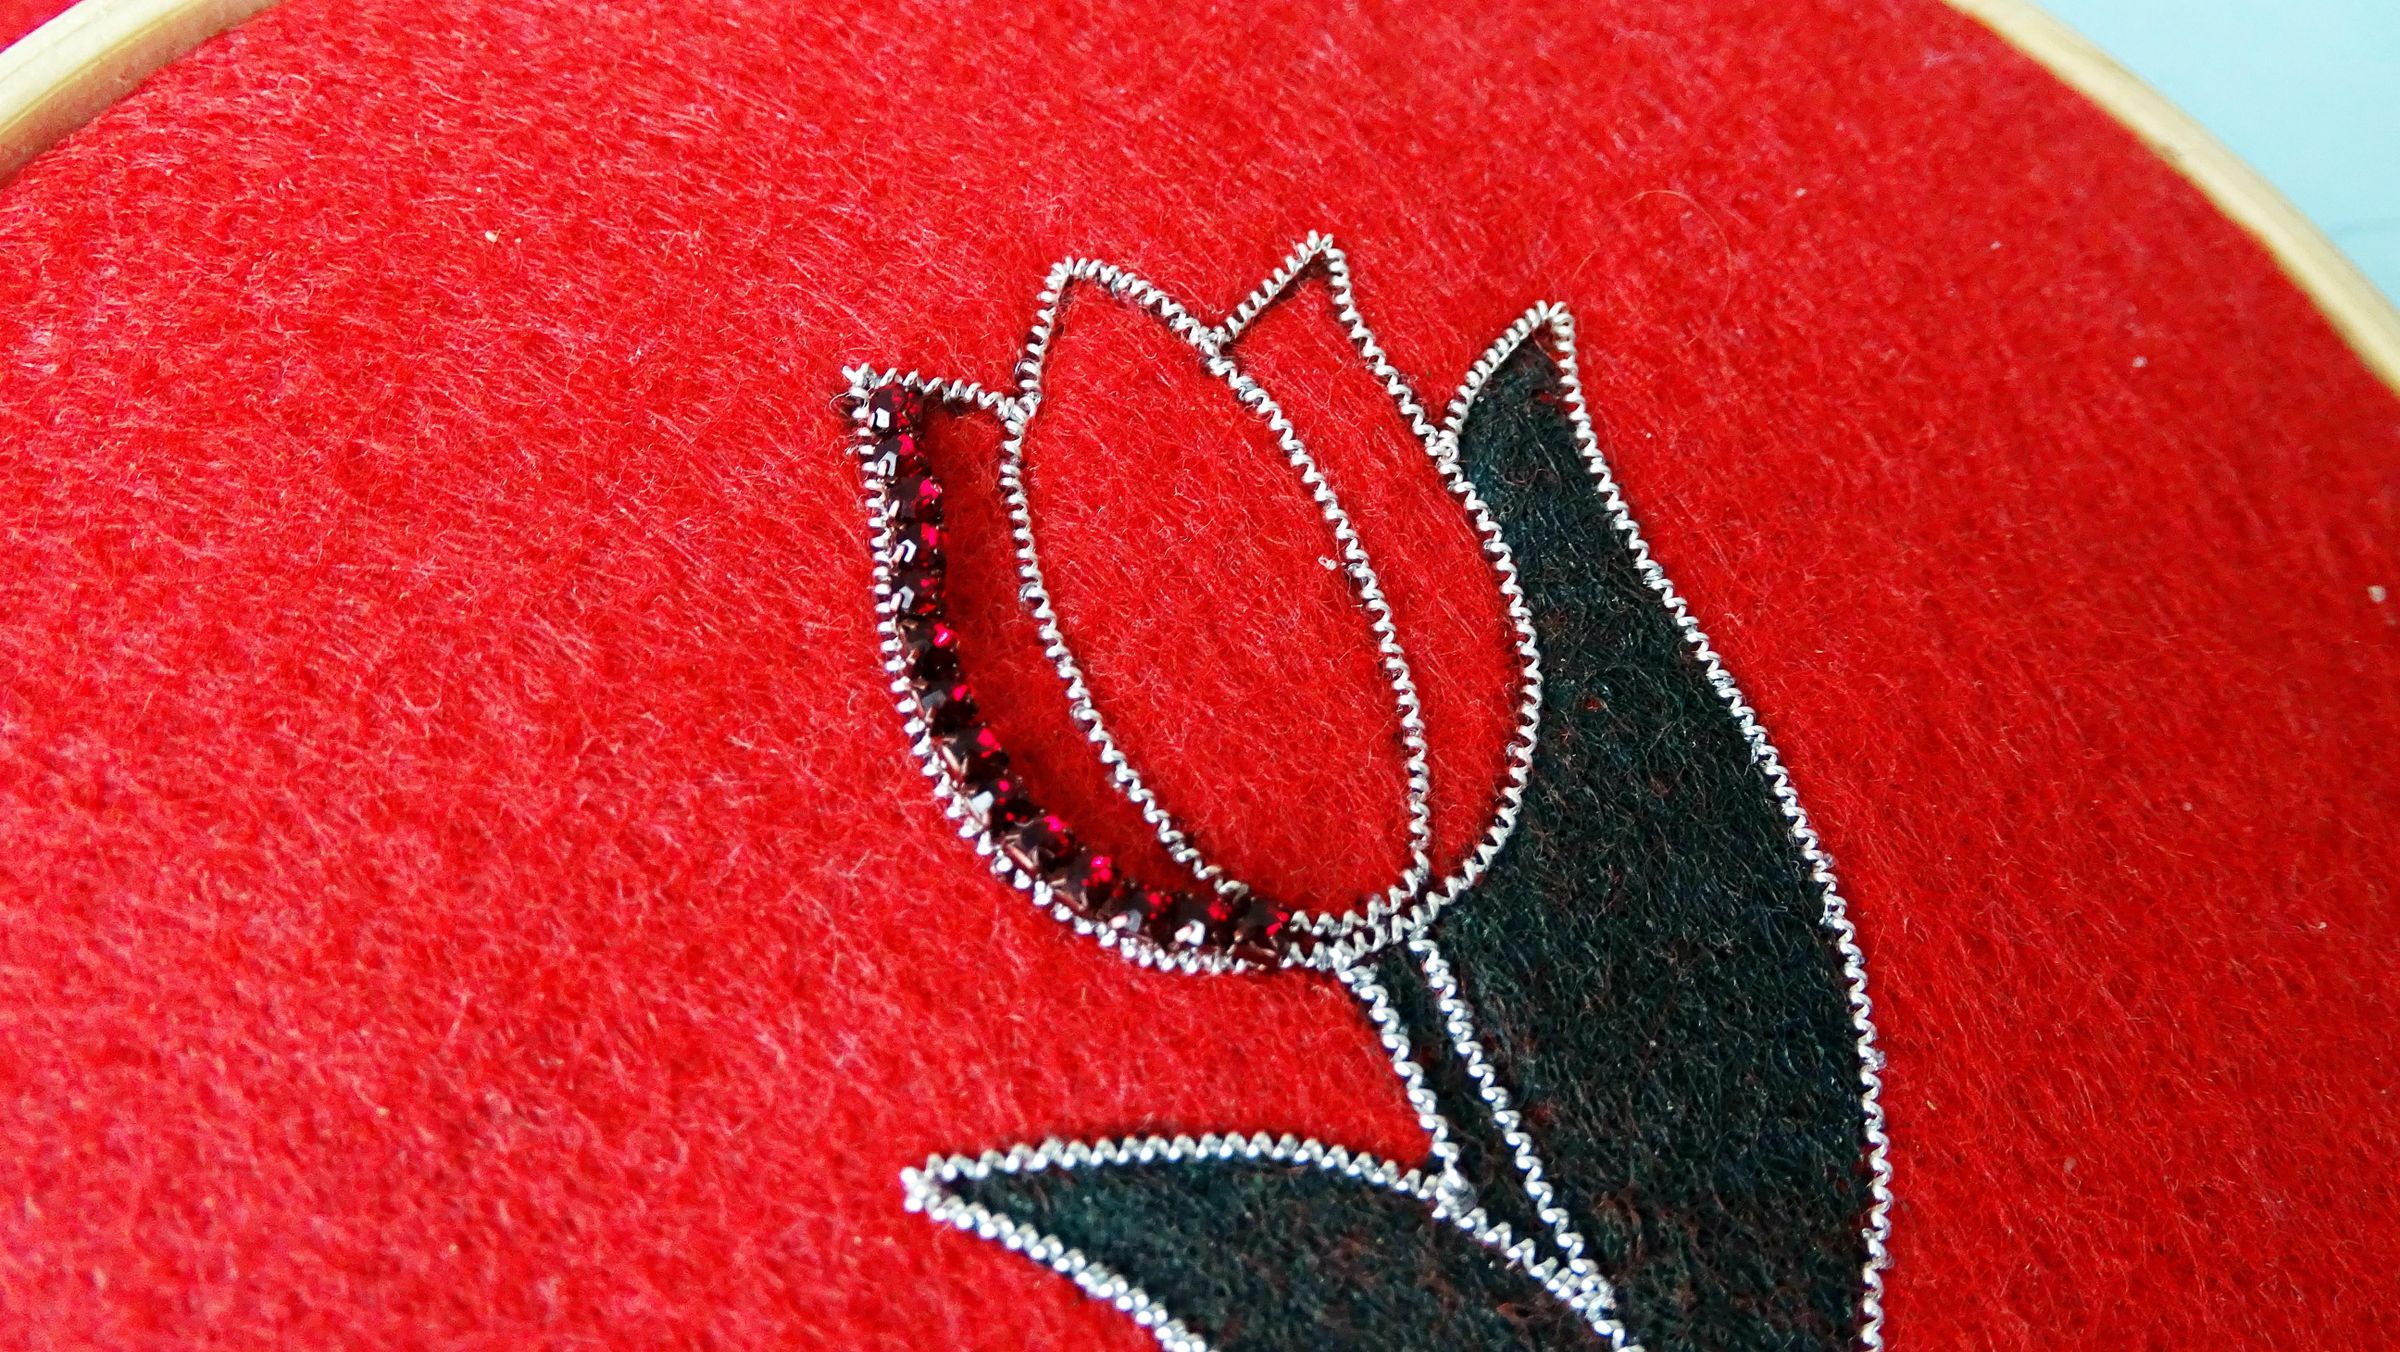
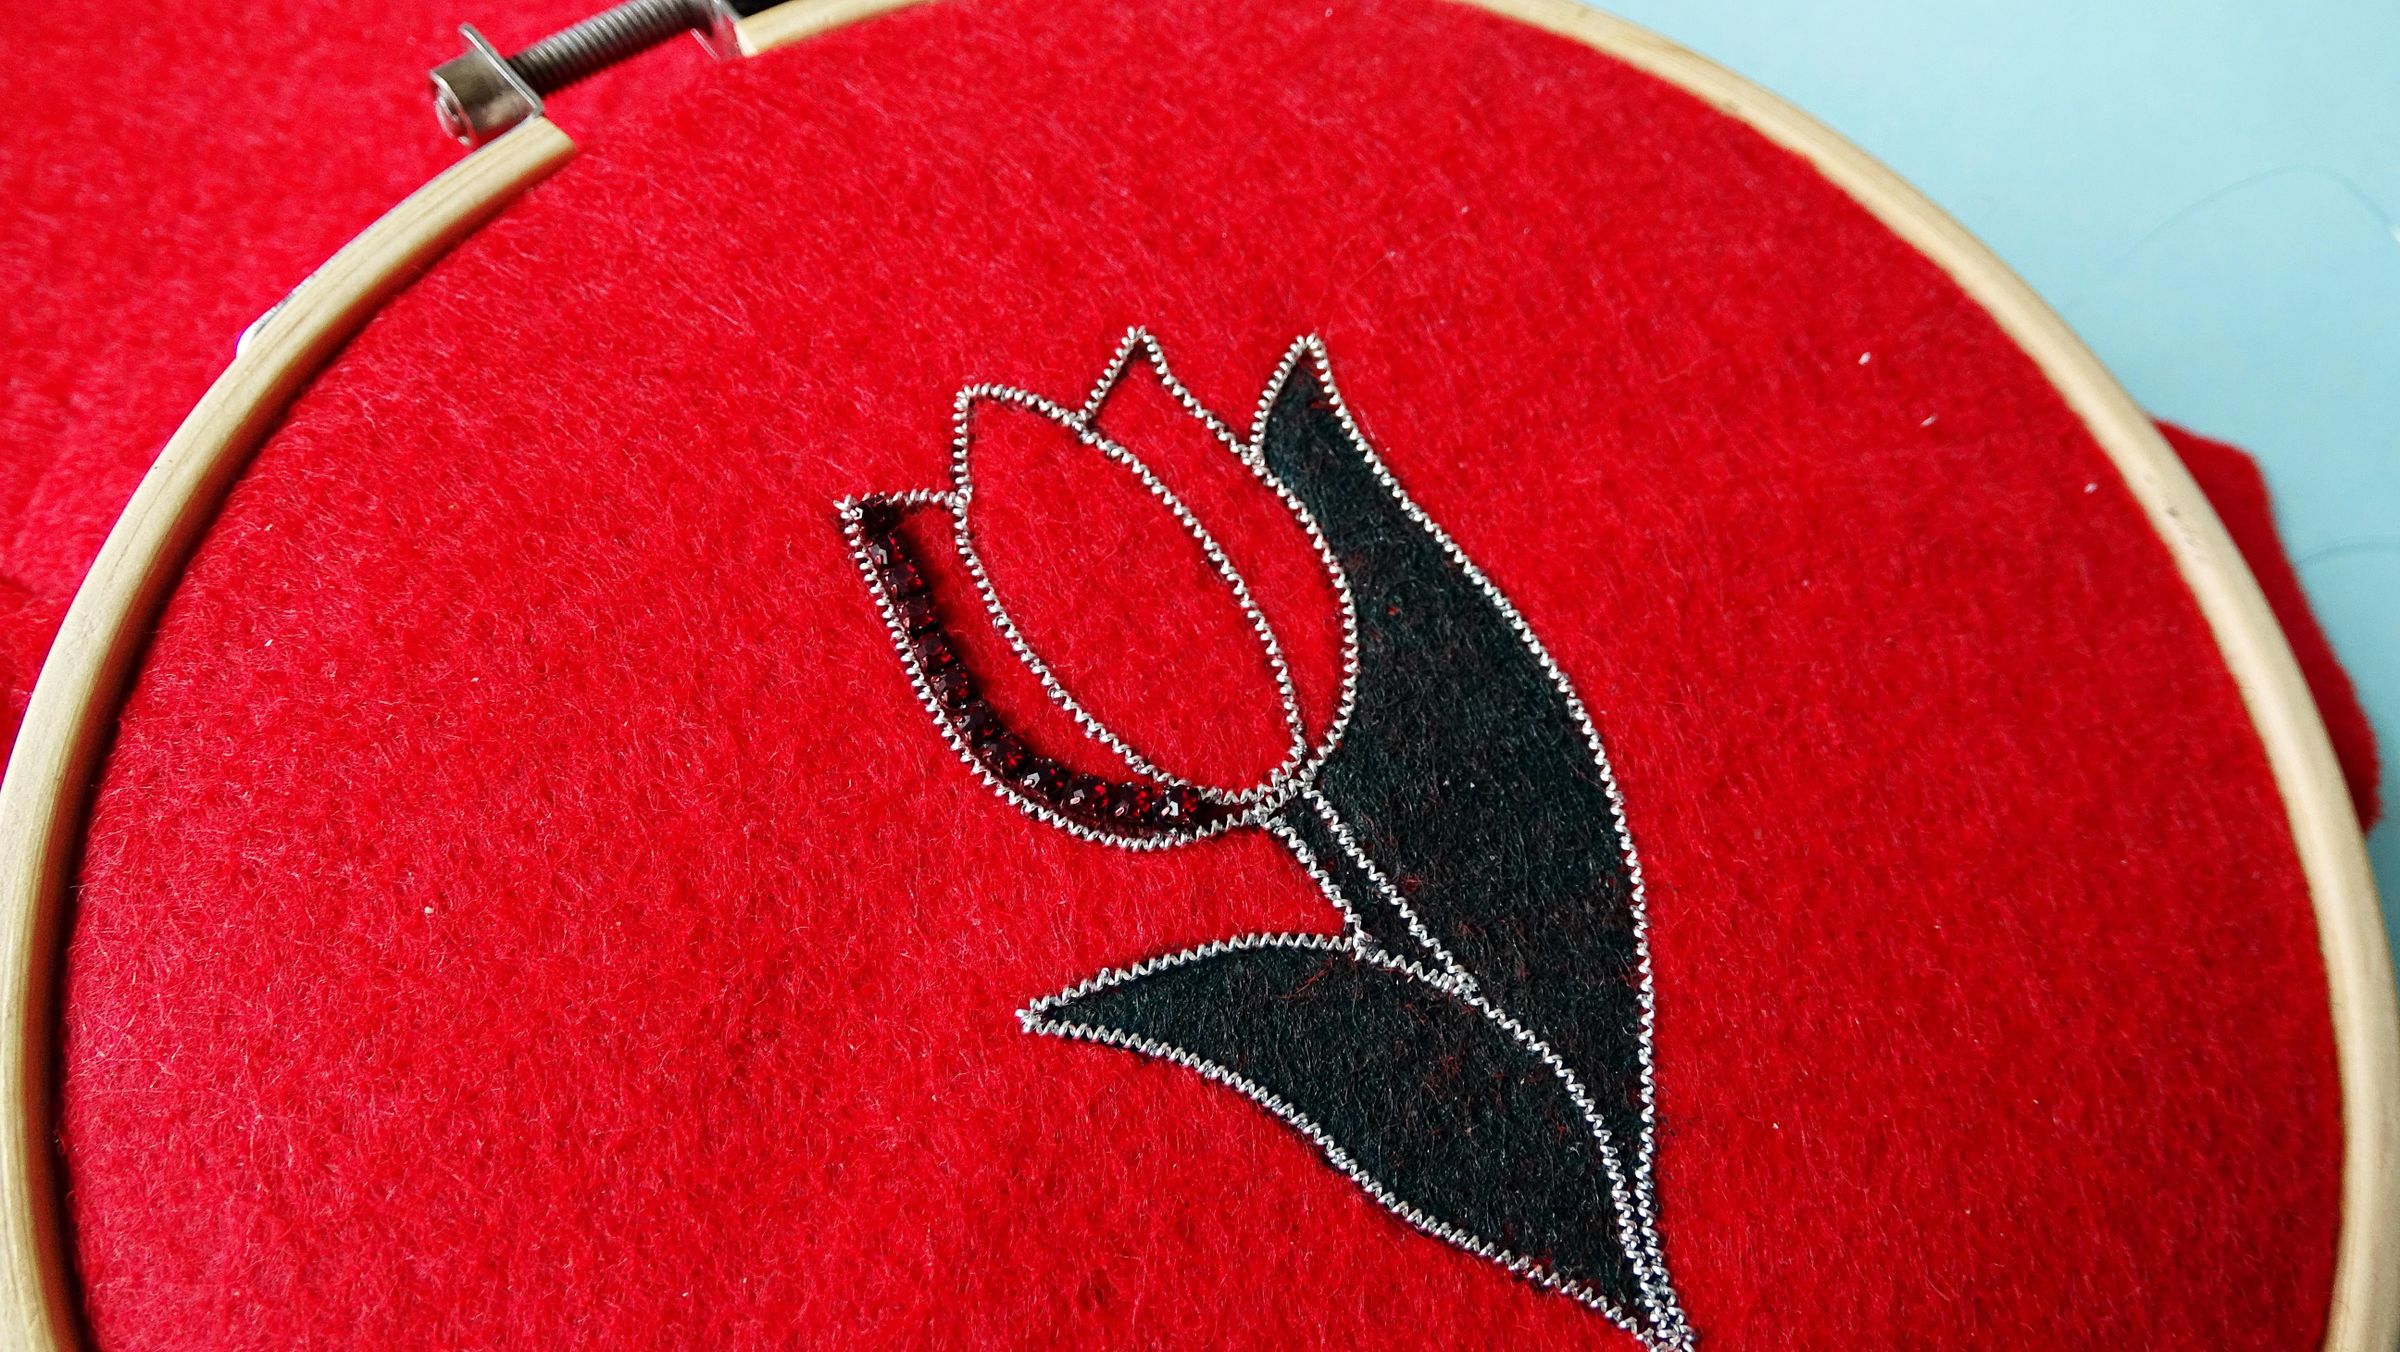
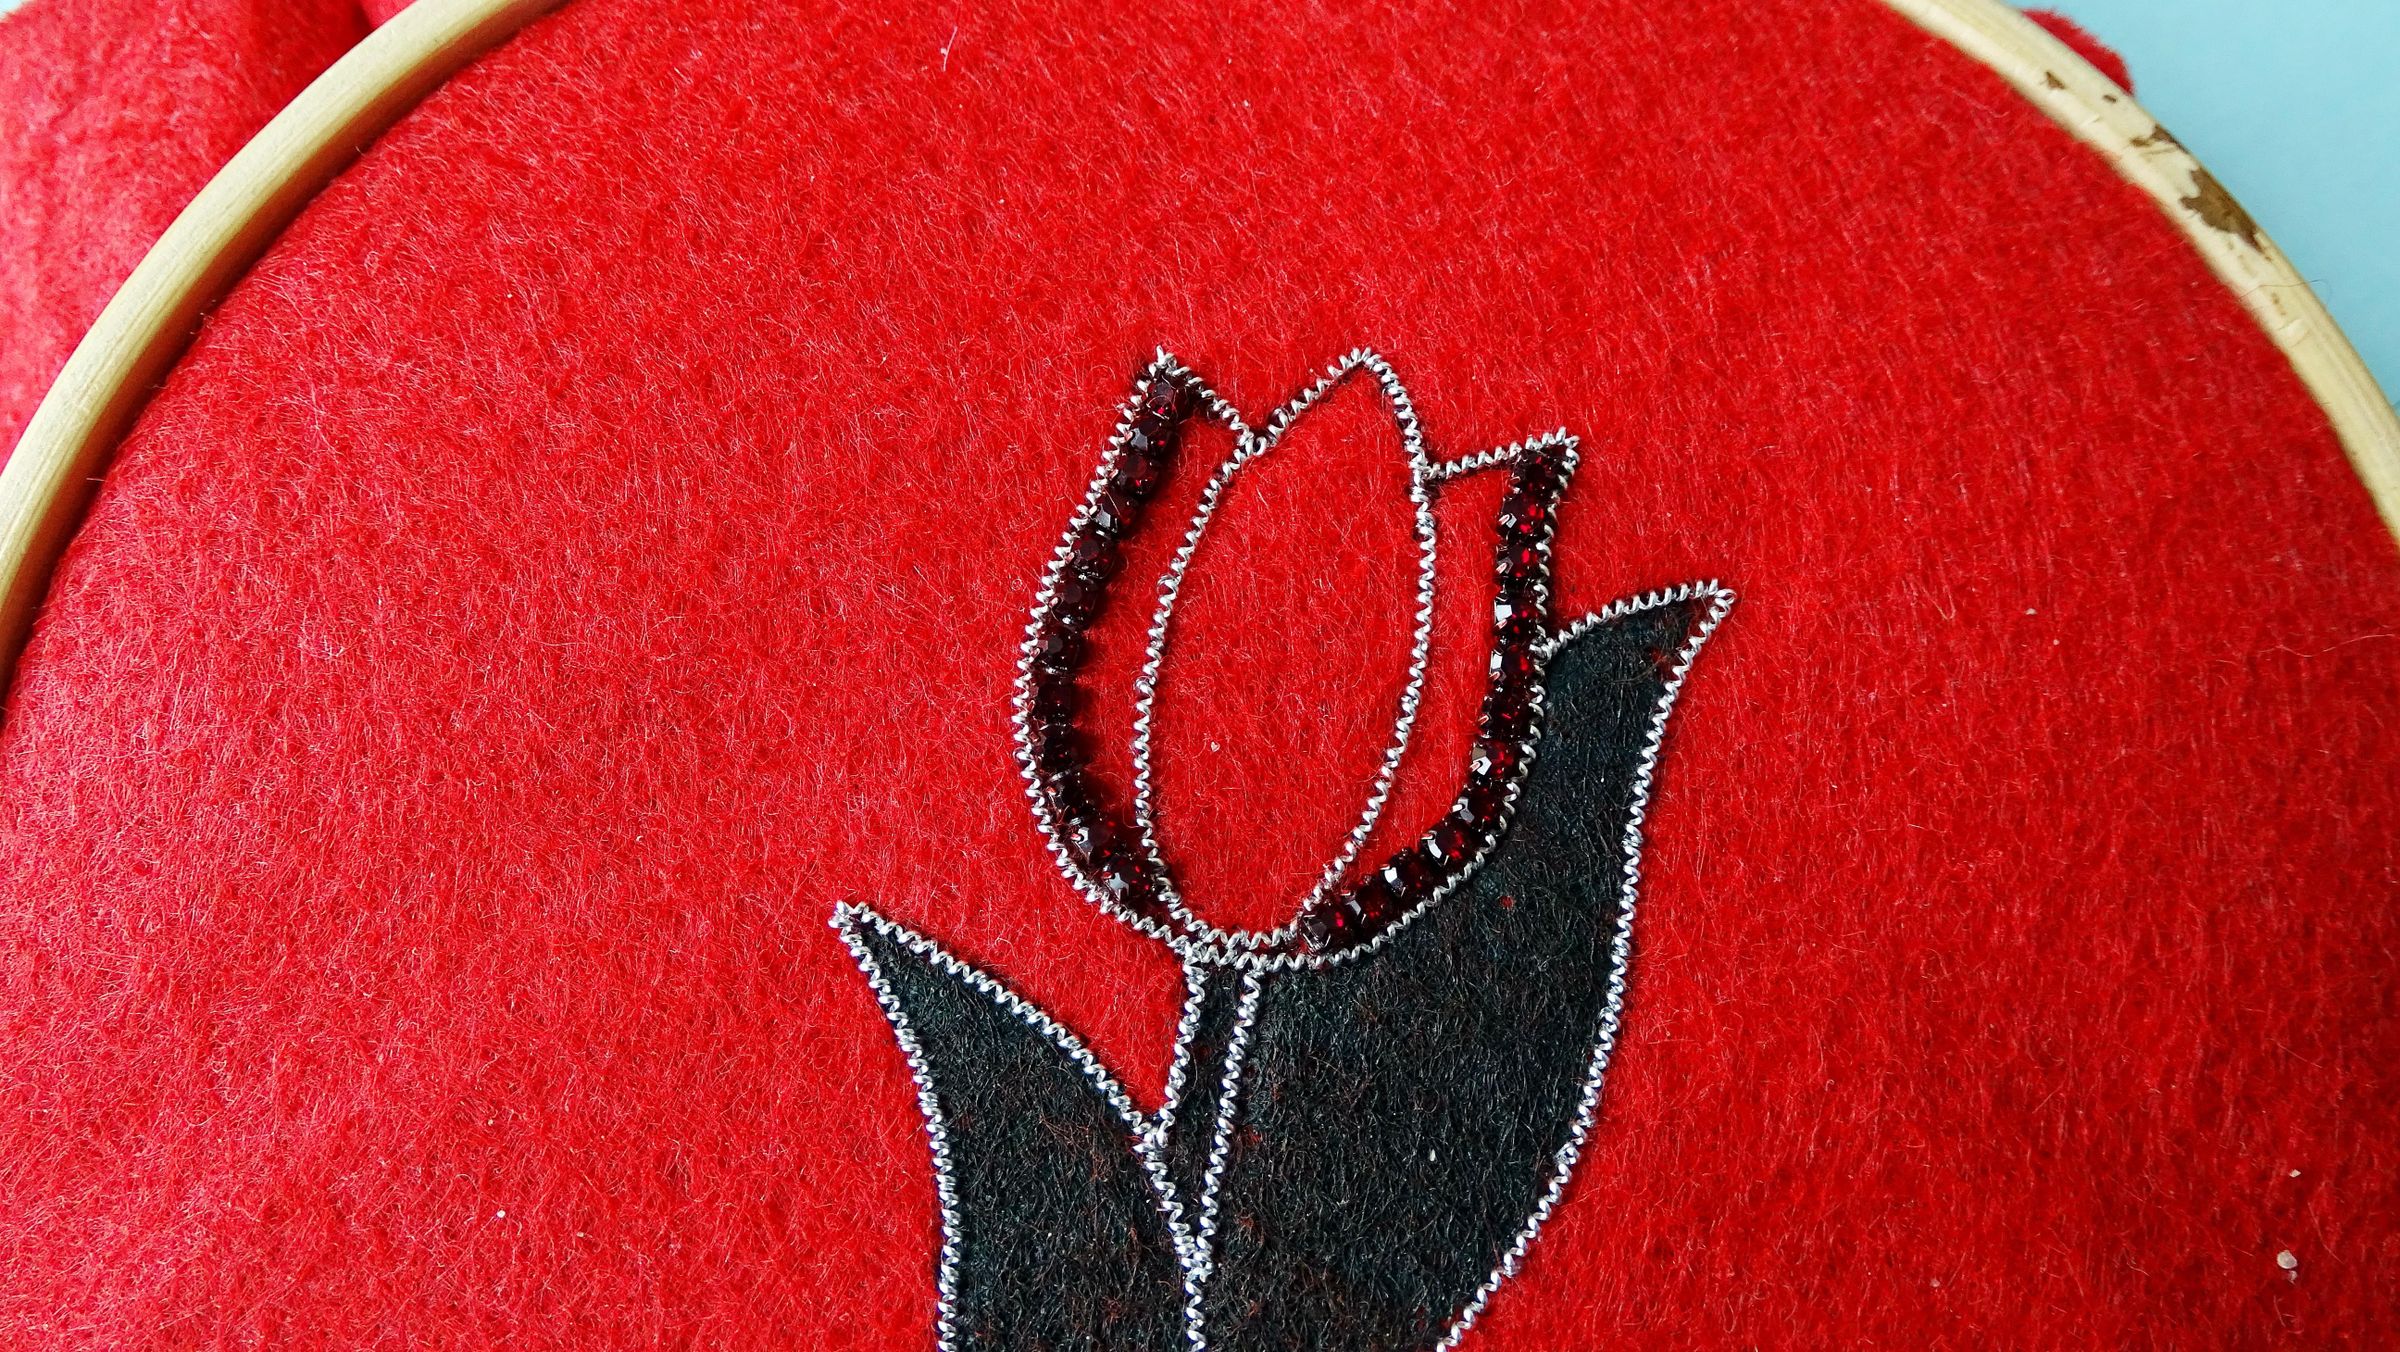
Once your flower is outlined with the french wire you can start the decorating process.
Take your red rhinestone chain and place it on the outer part of each of the petals. Cut the chain and sew it into place using the same method from the previous step.
Refer to the video for a clear demonstration.
Bedazzle
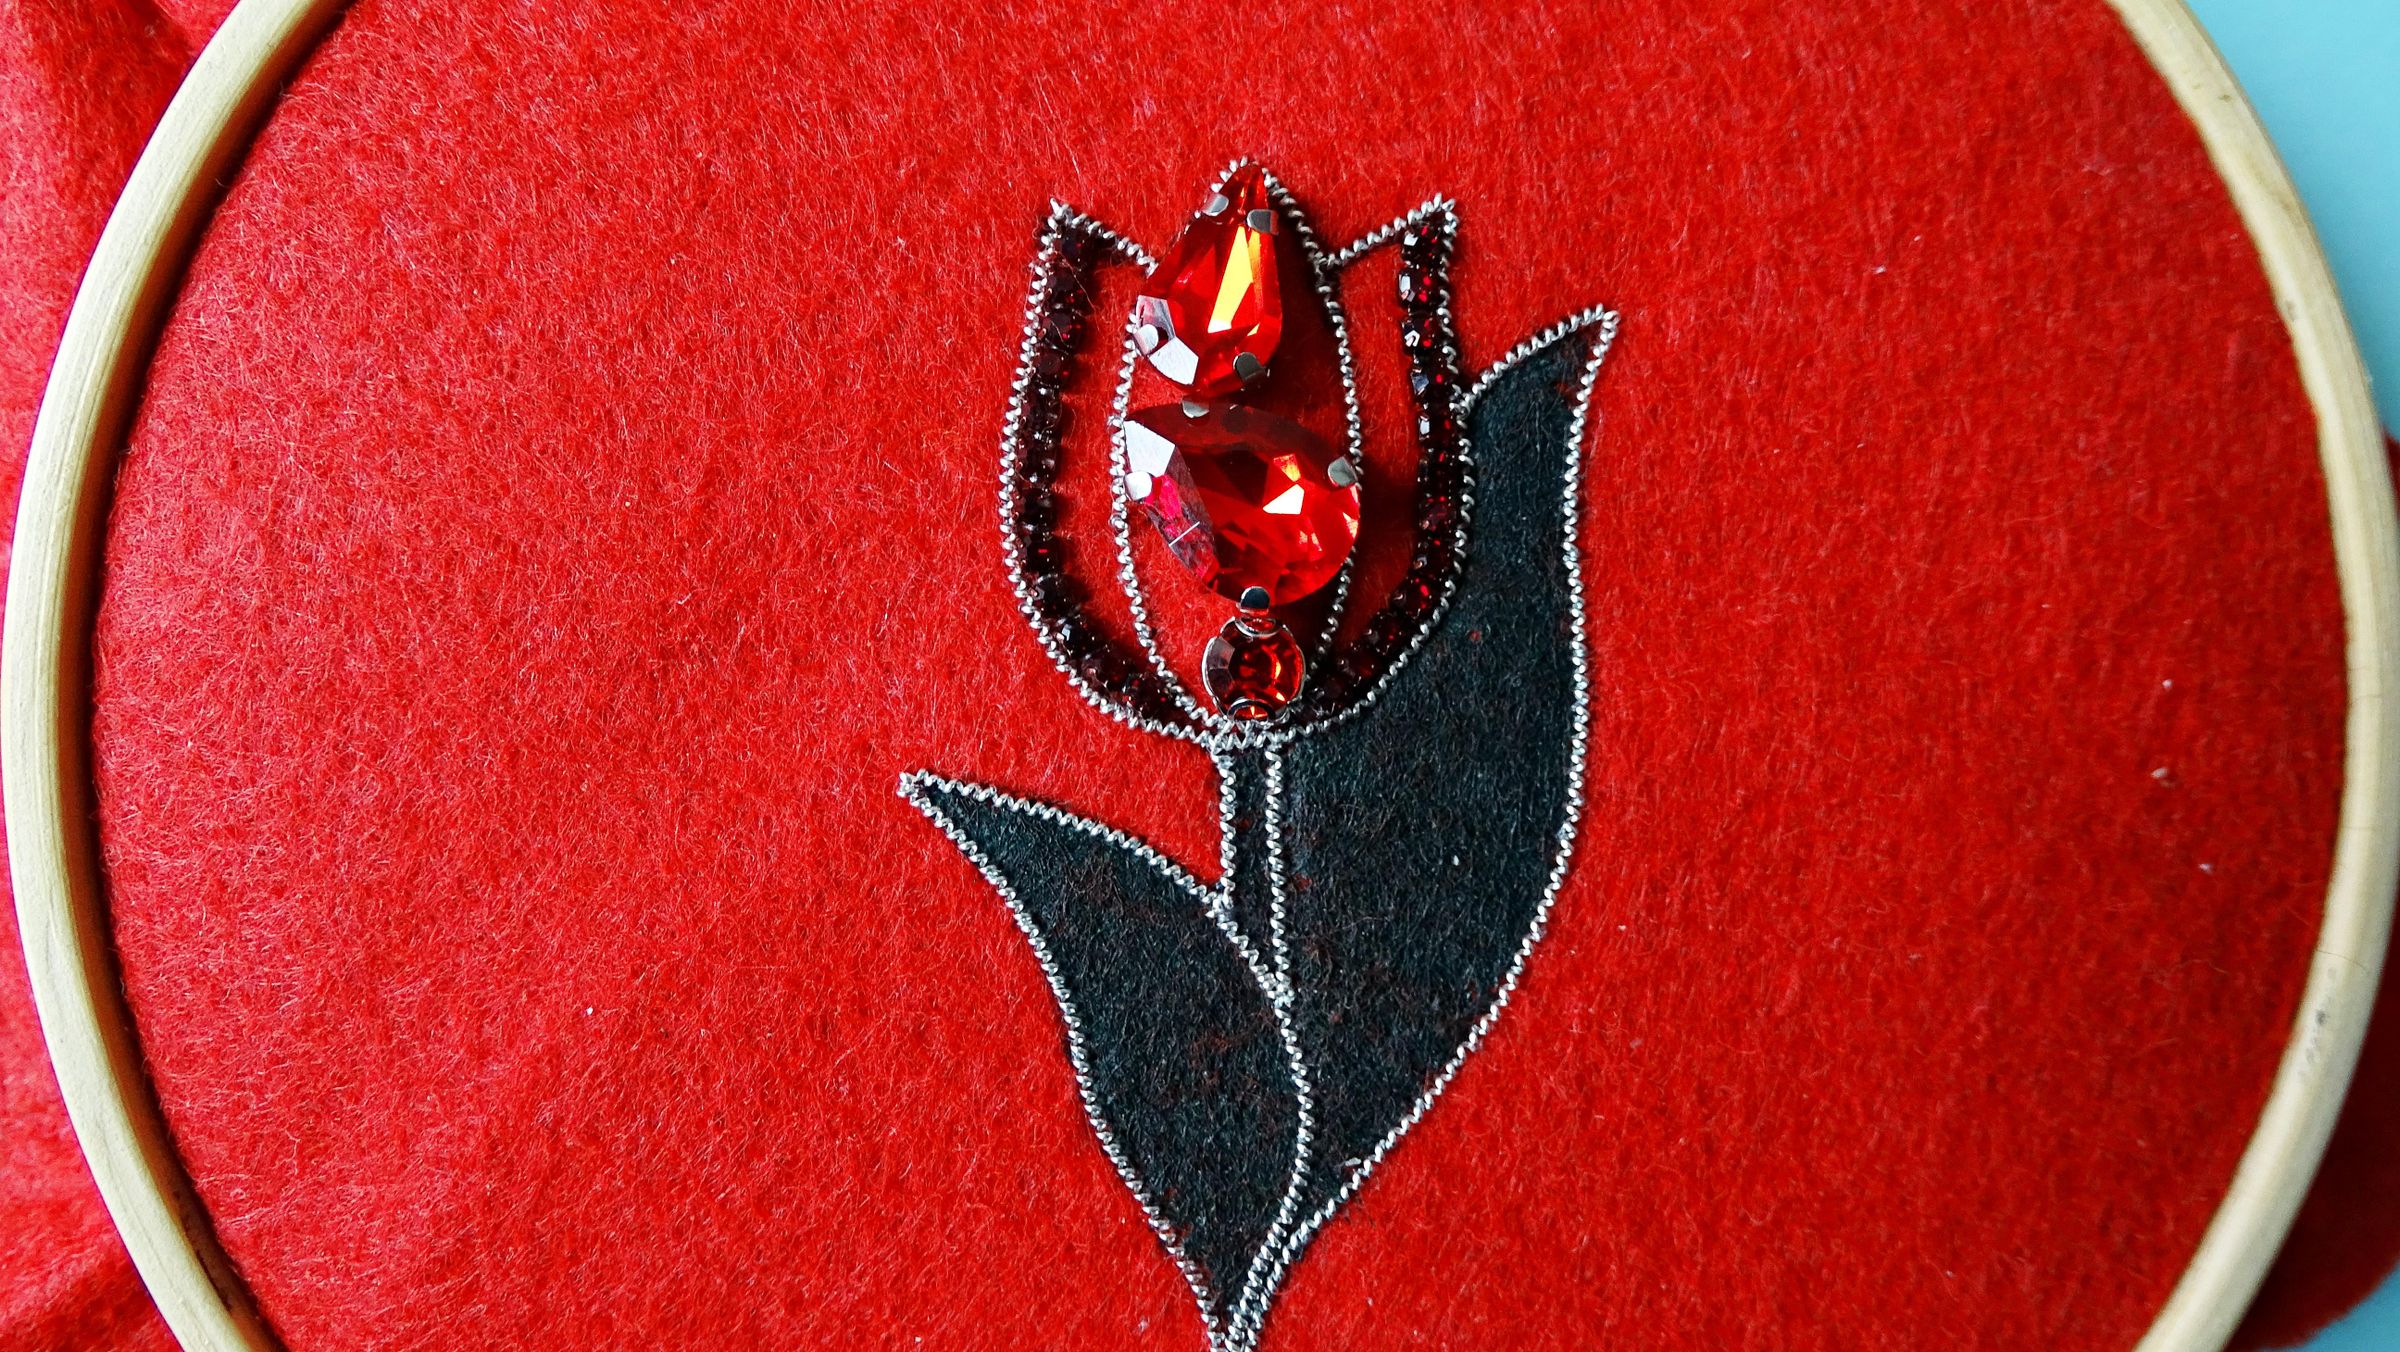
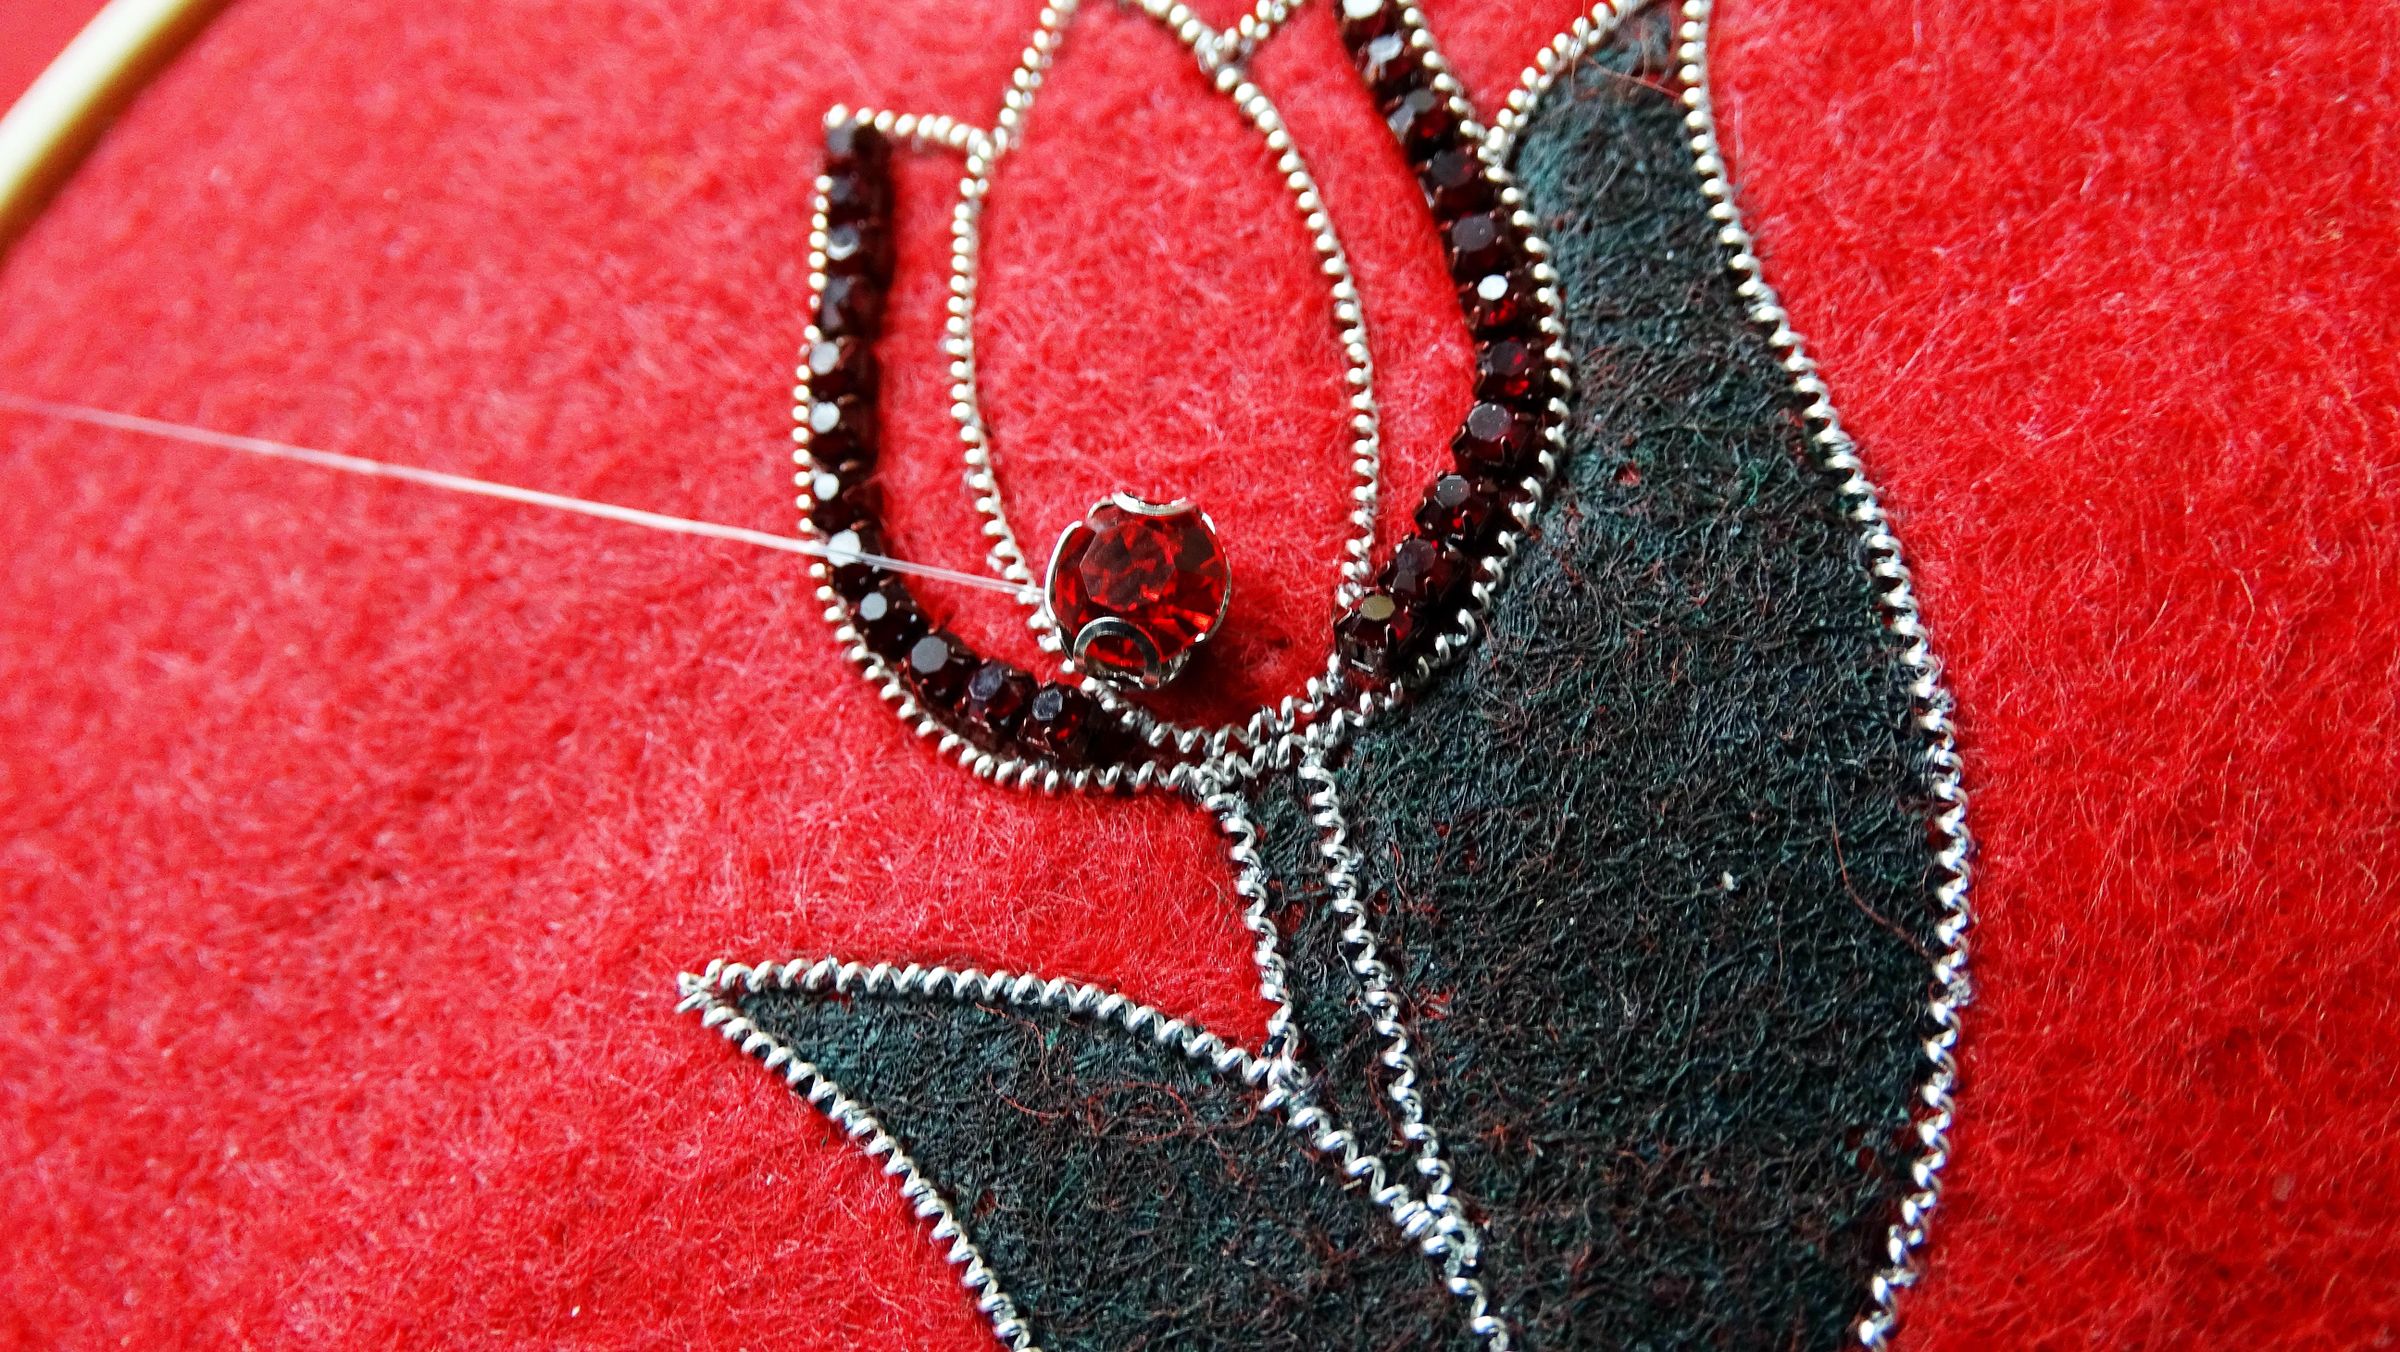
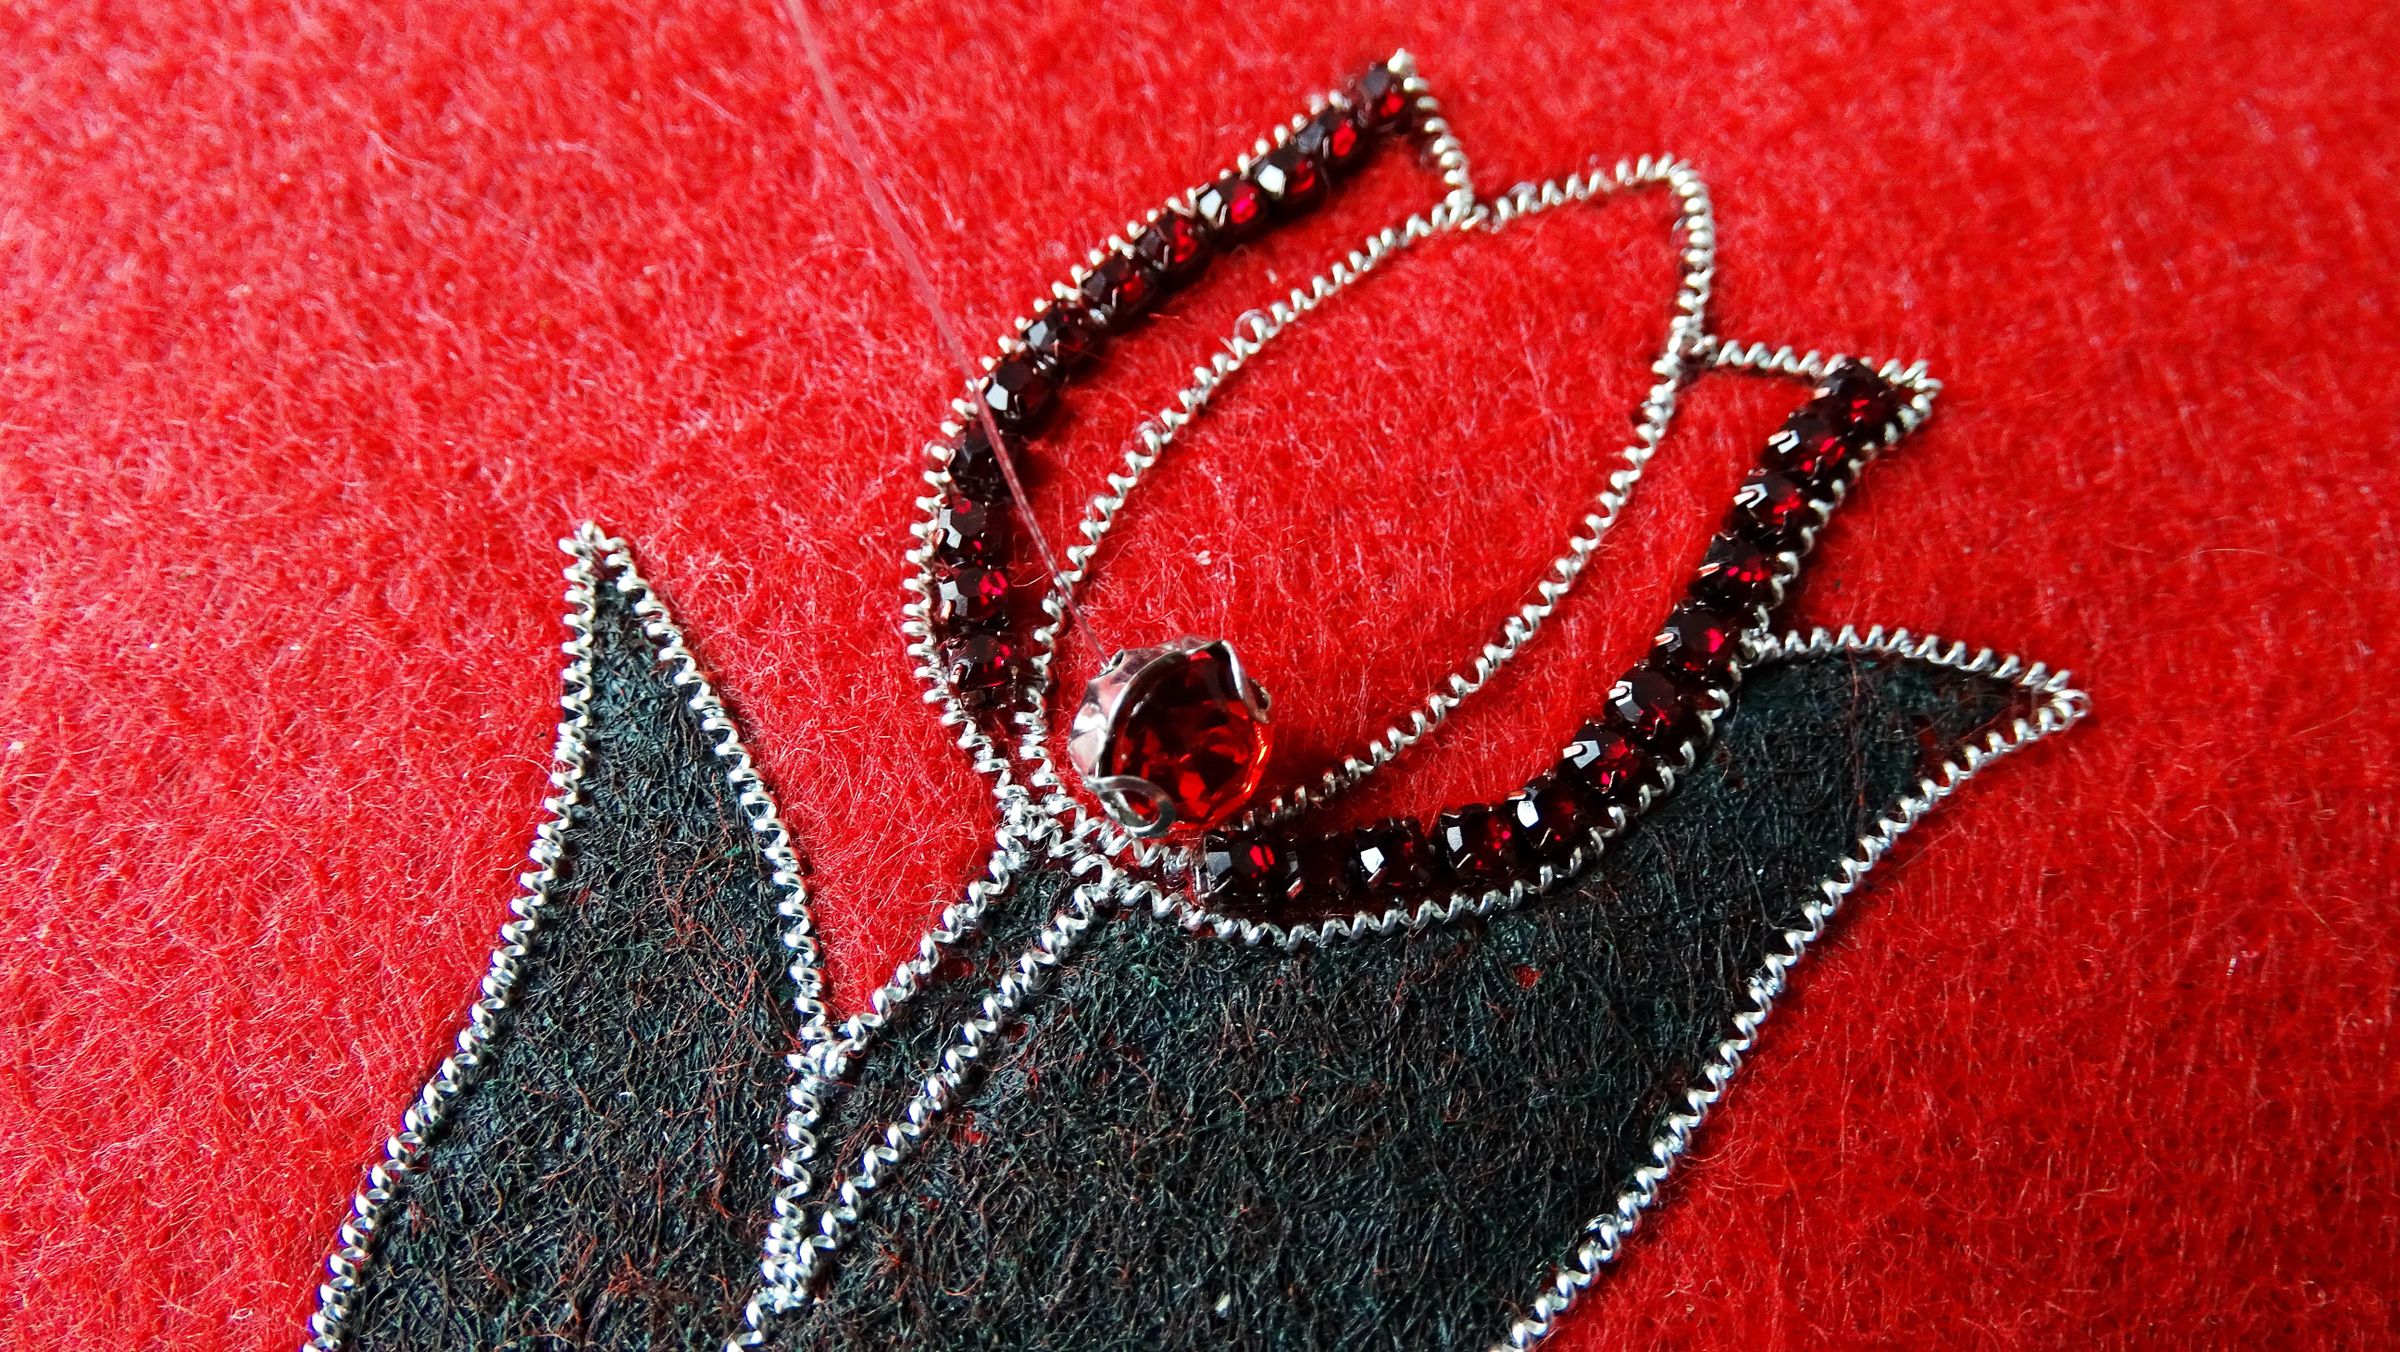
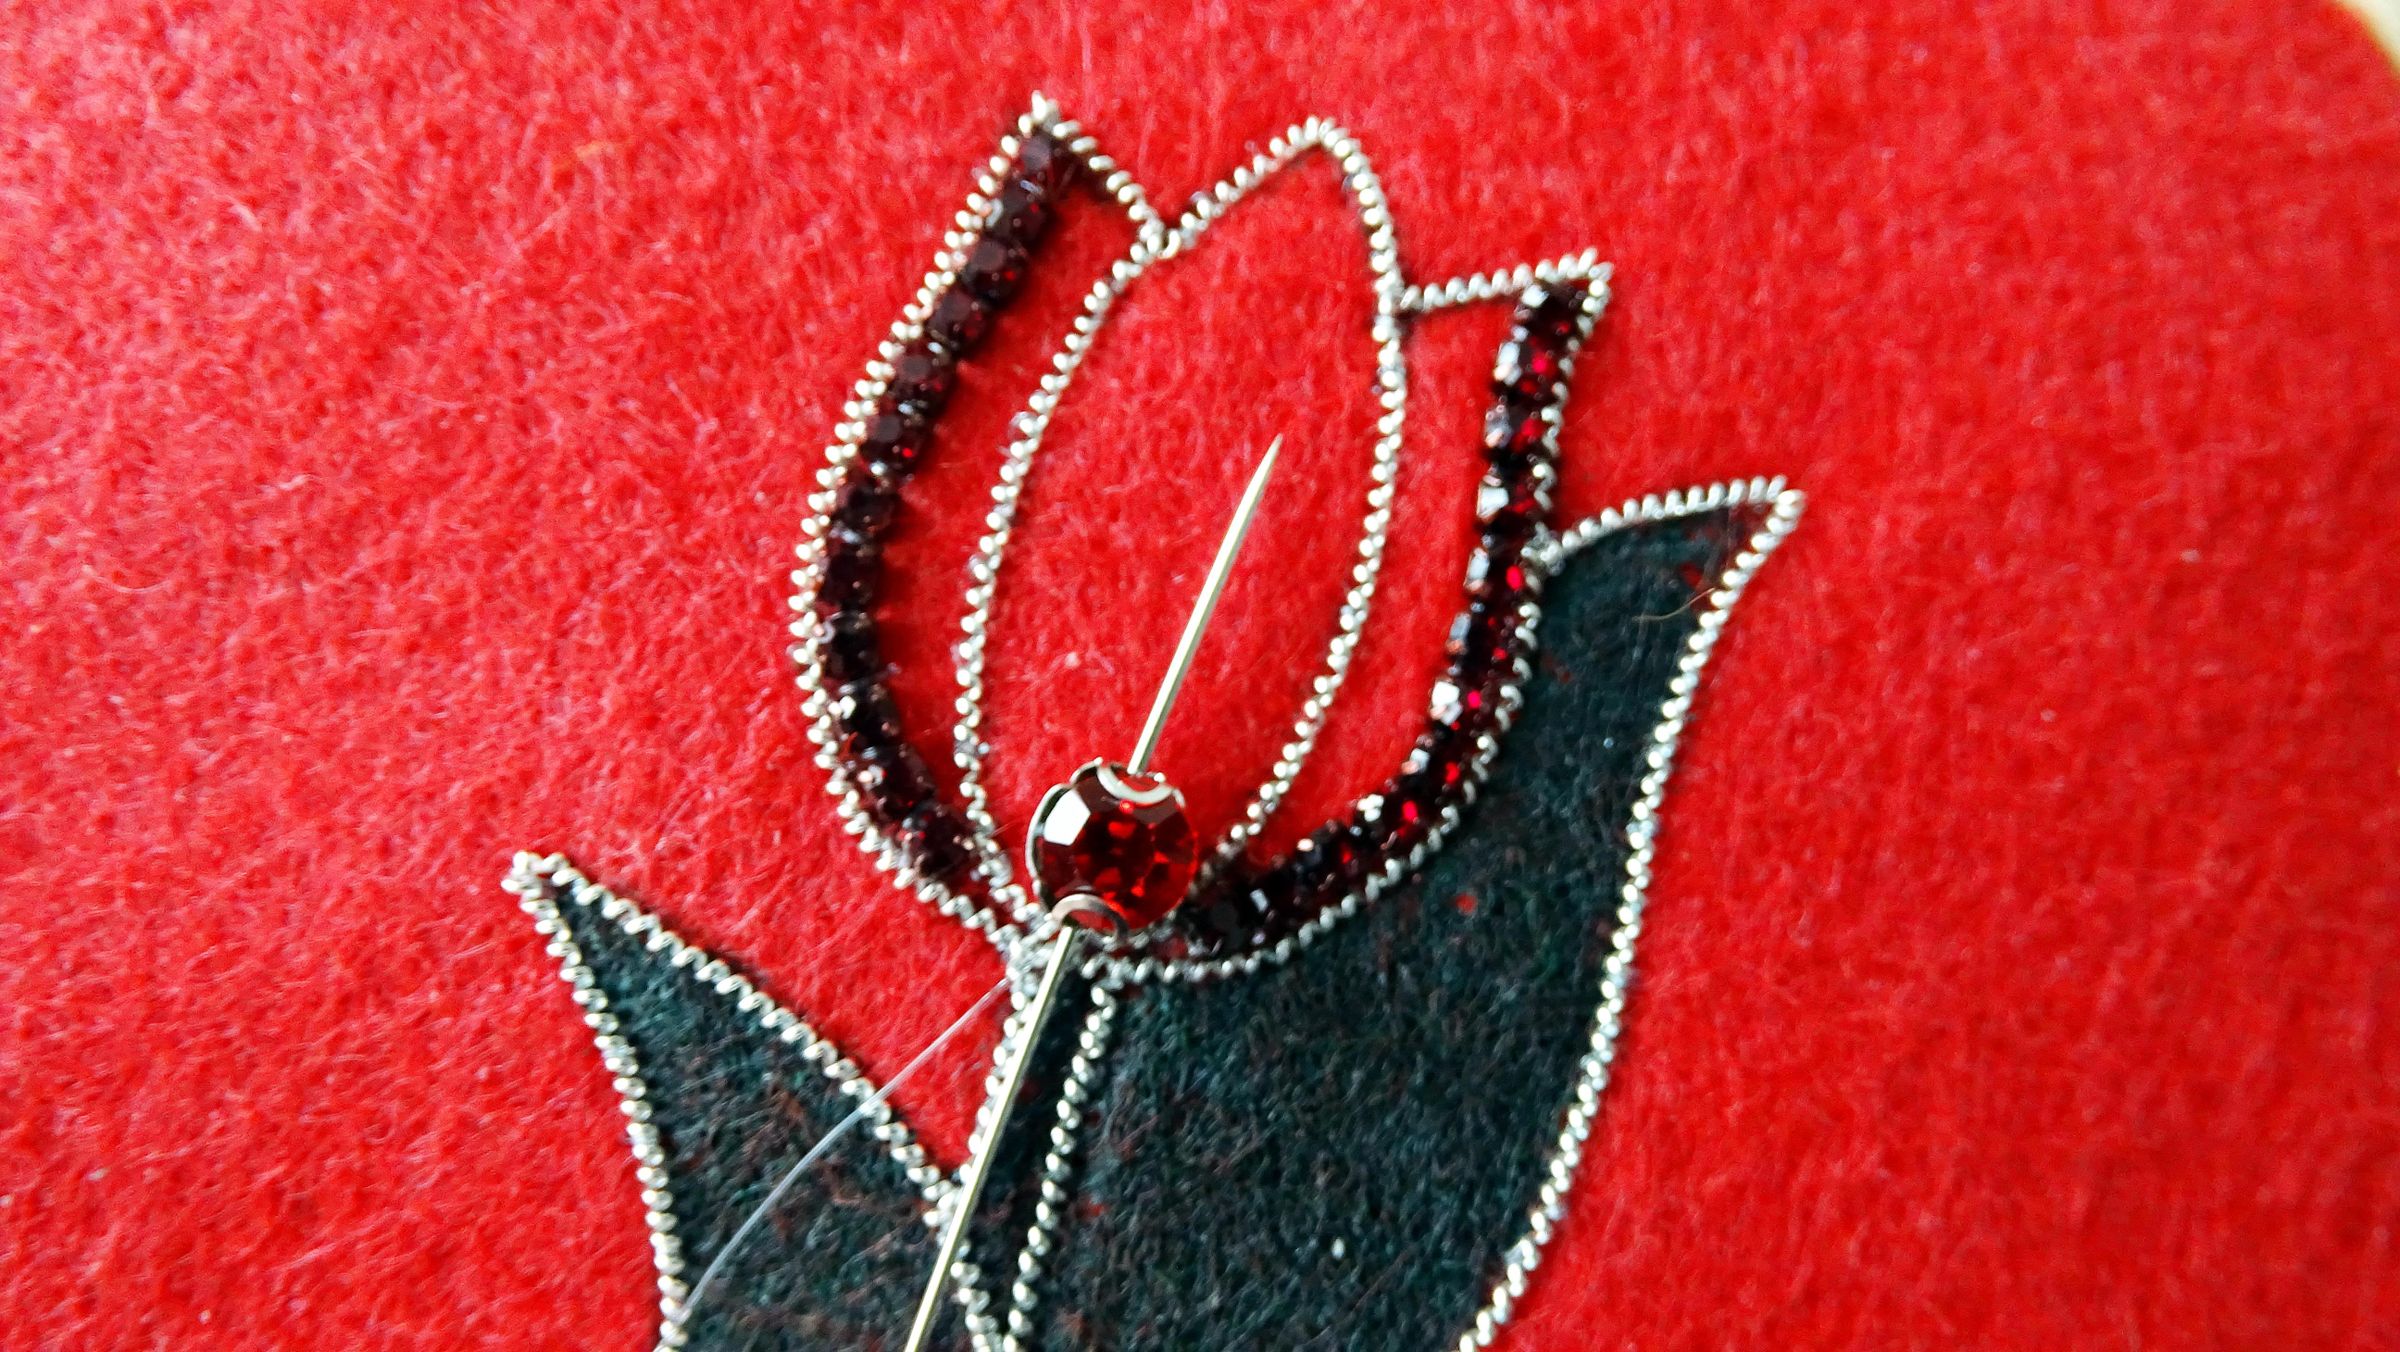
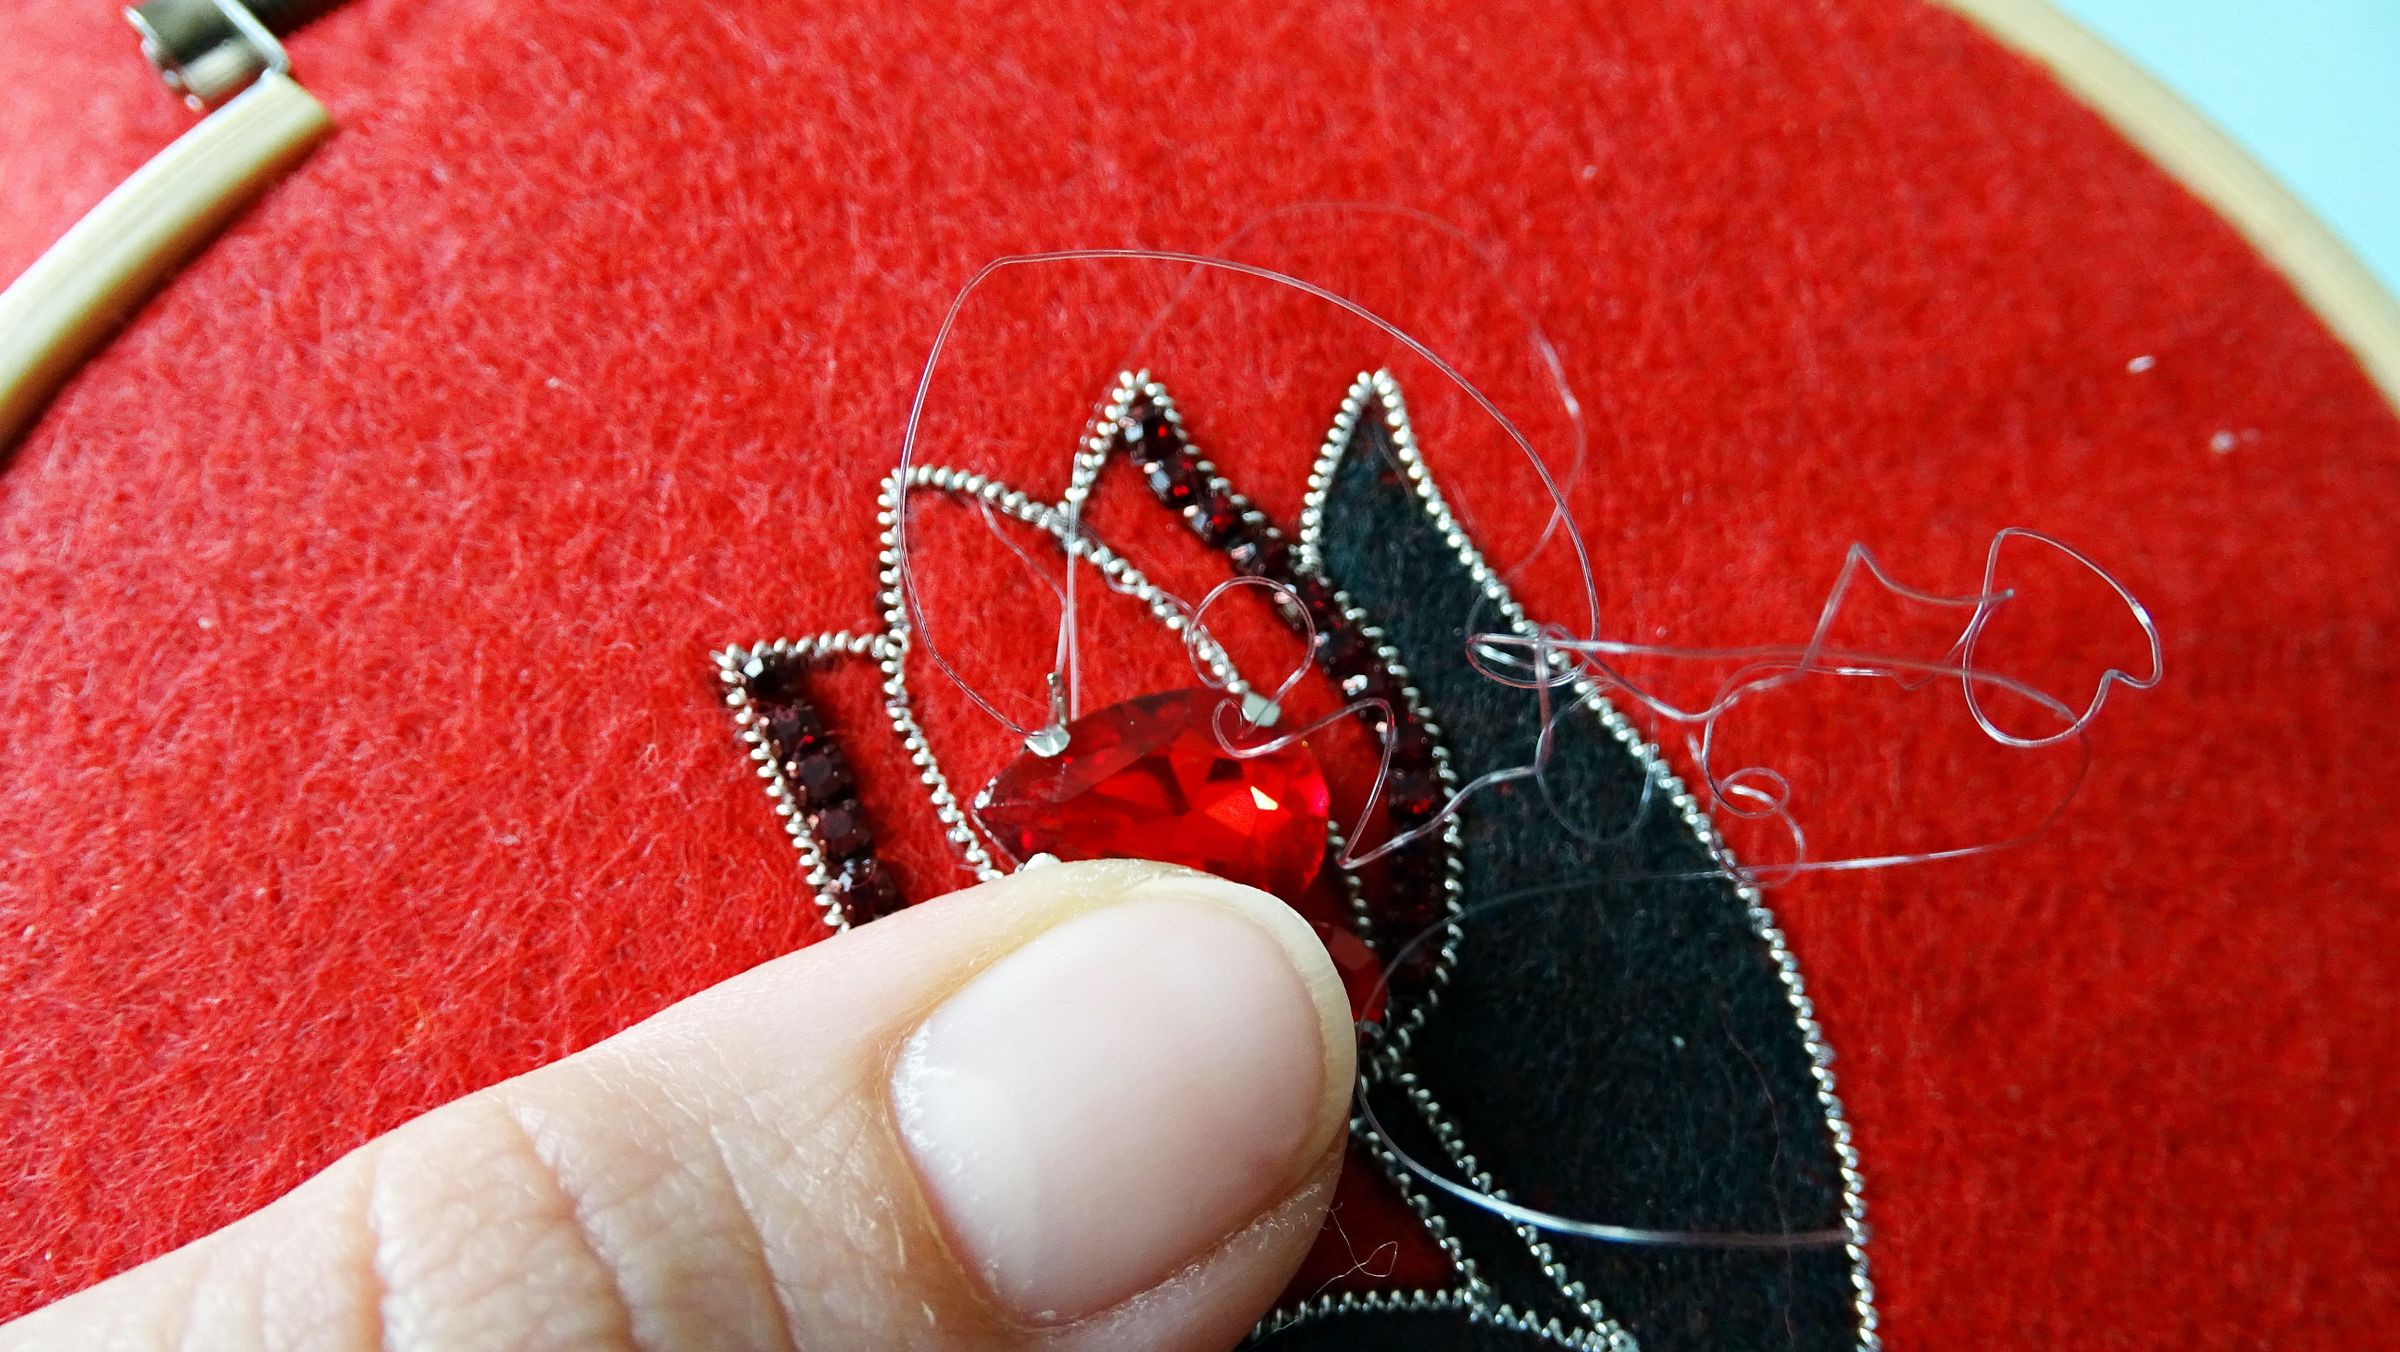
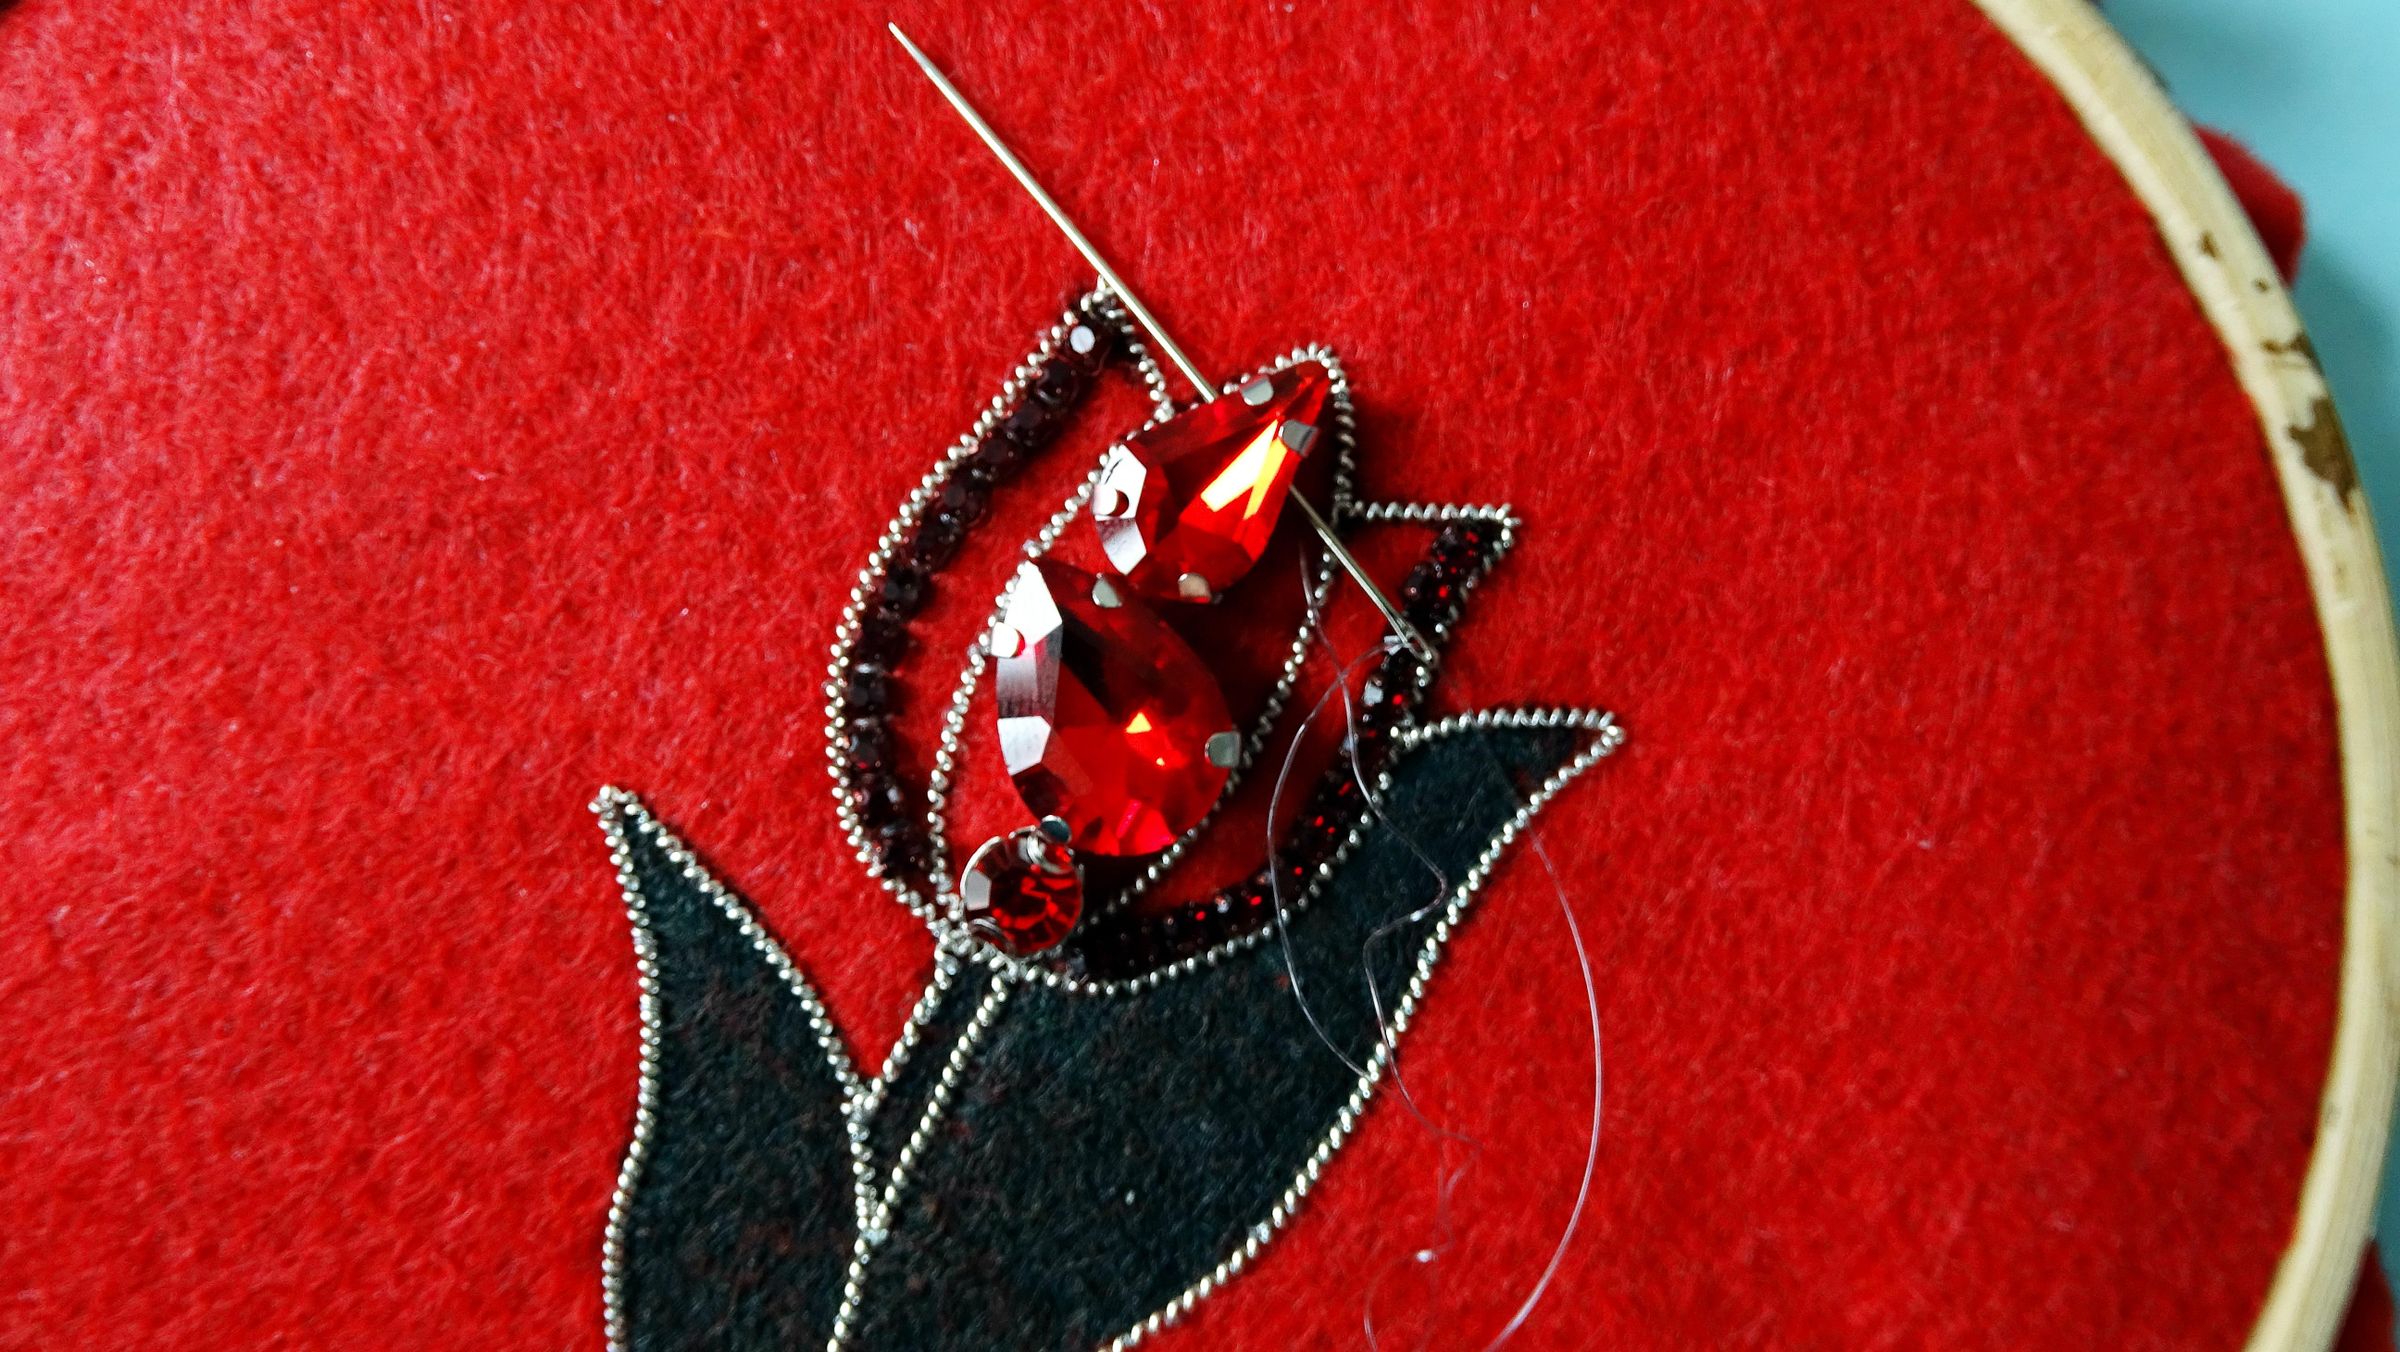
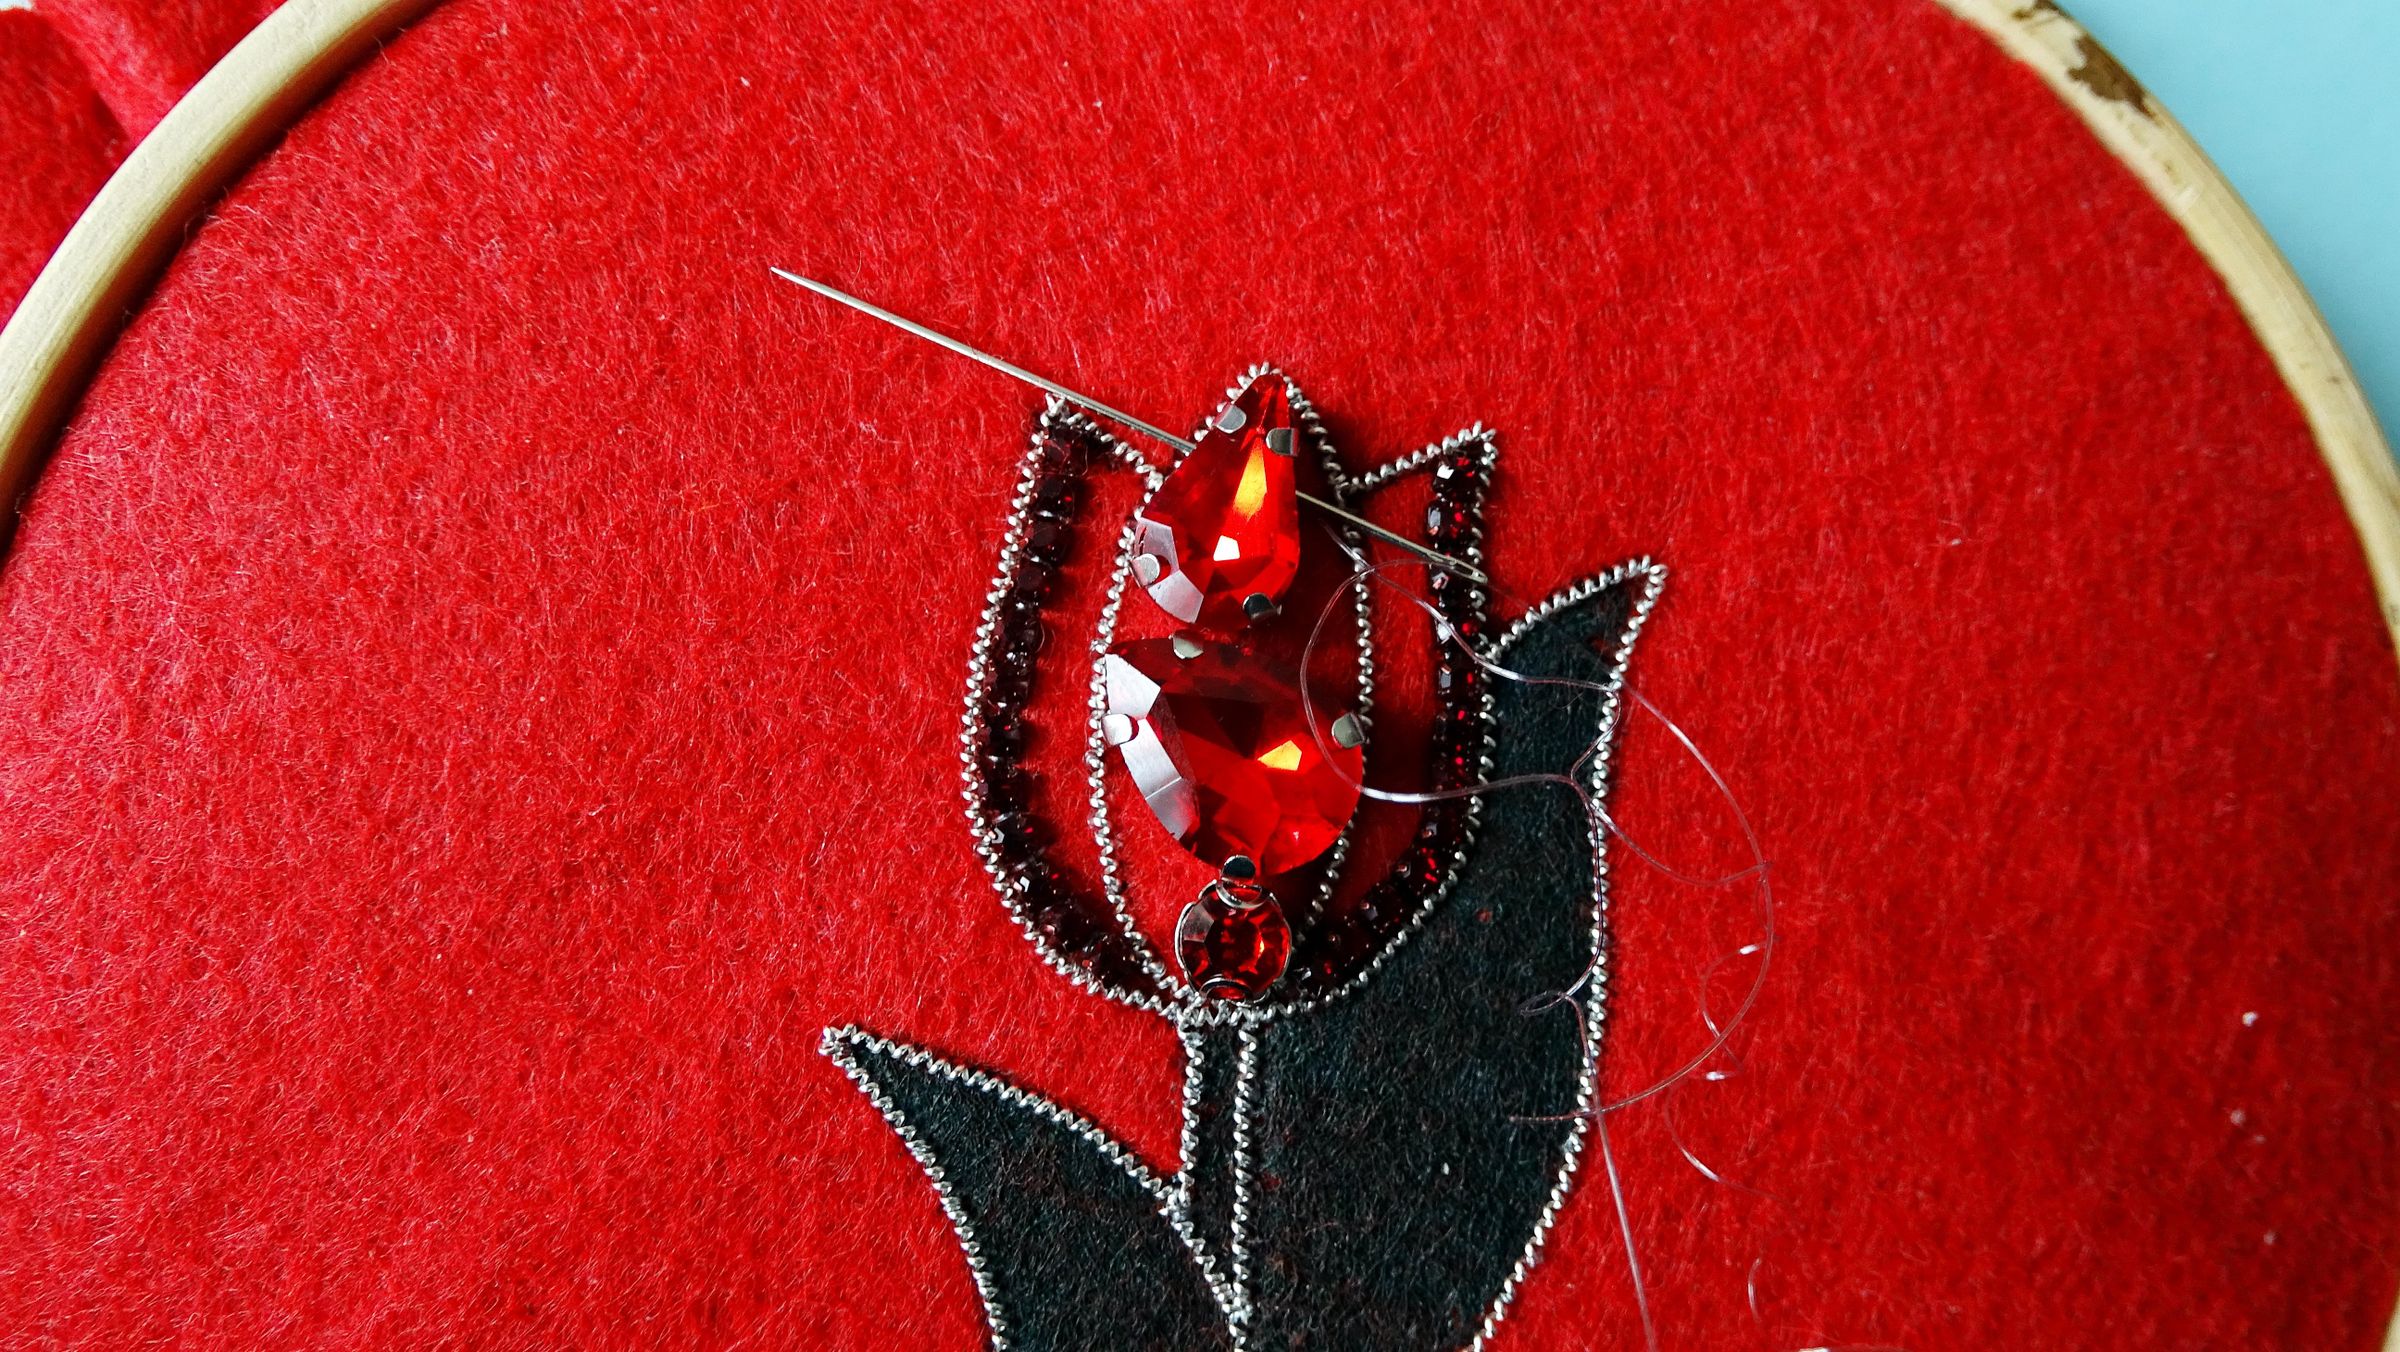
Place a couple of big red rhinestones in the middle of the tulip.
Once you like how they look start embroidering. Each rhinestone has holes at the bottom metal part - thread the fishing wire through the holes and secure everything in place.
When it comes to bead embroidering always start out with the bigger beads and rhinestones and fill any leftover negative space with smaller seed beads. It's always easier to fill with small beads than to add a bigger crystal to an already embroidered space.
Add More Crystals
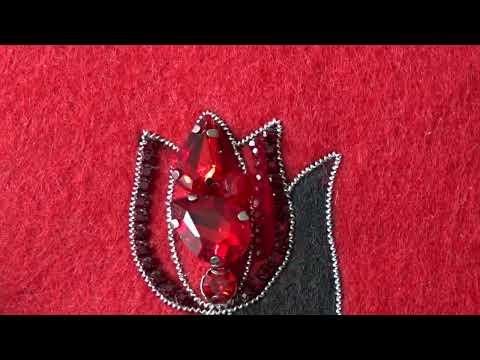
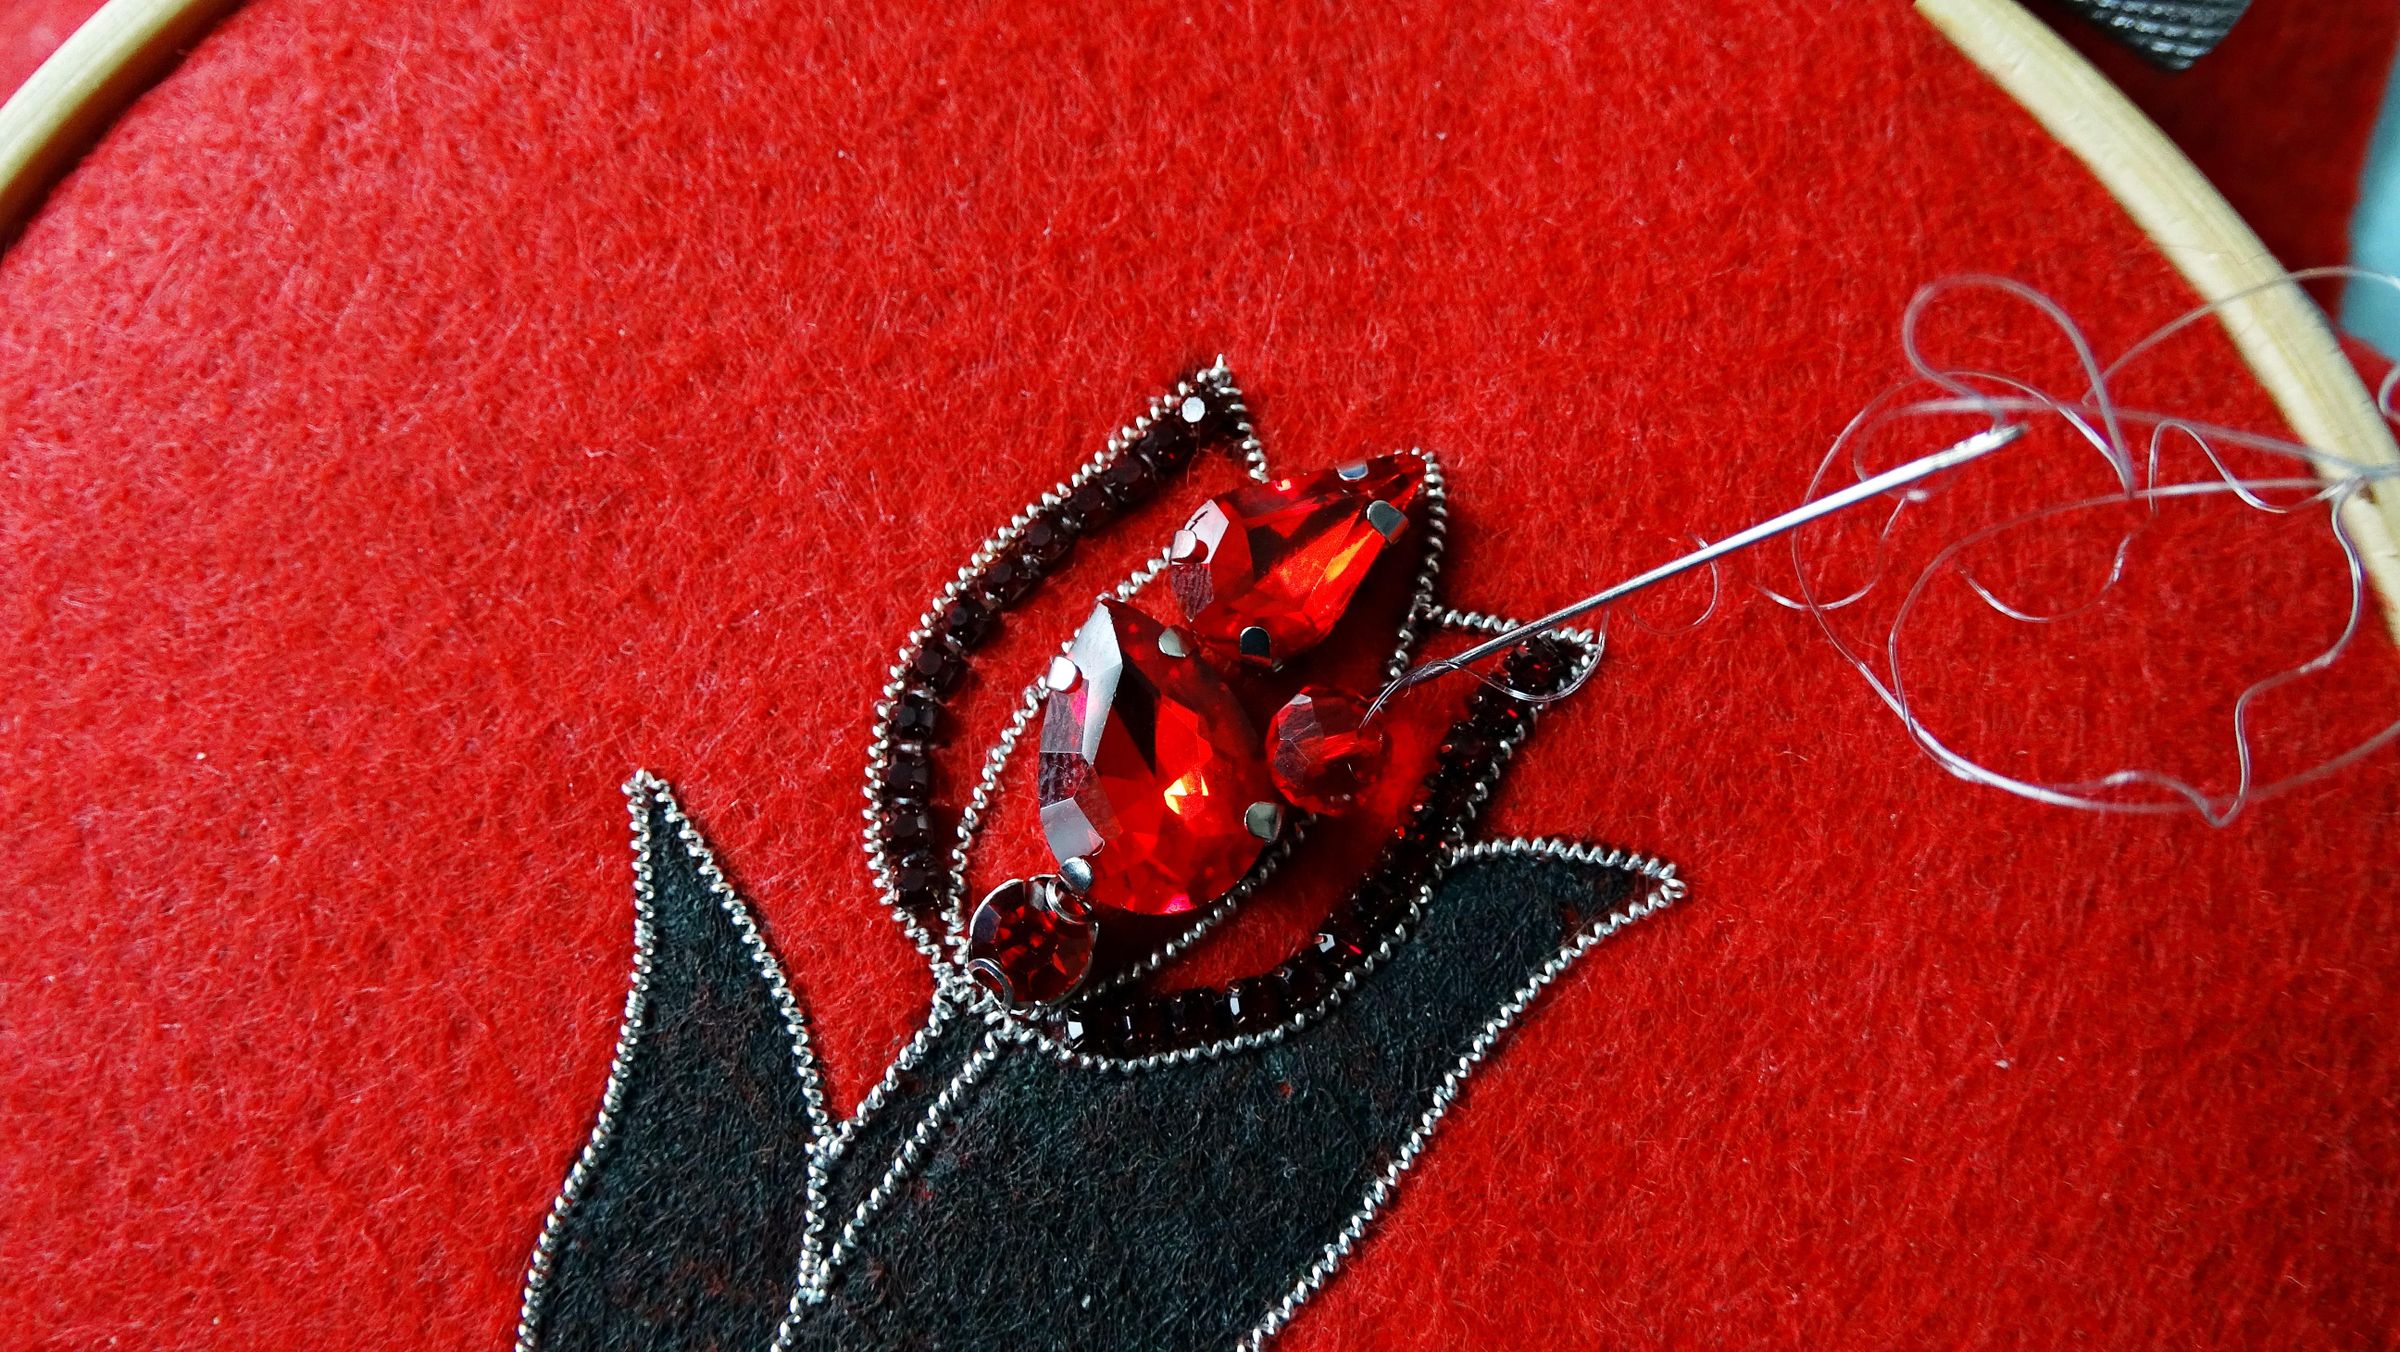
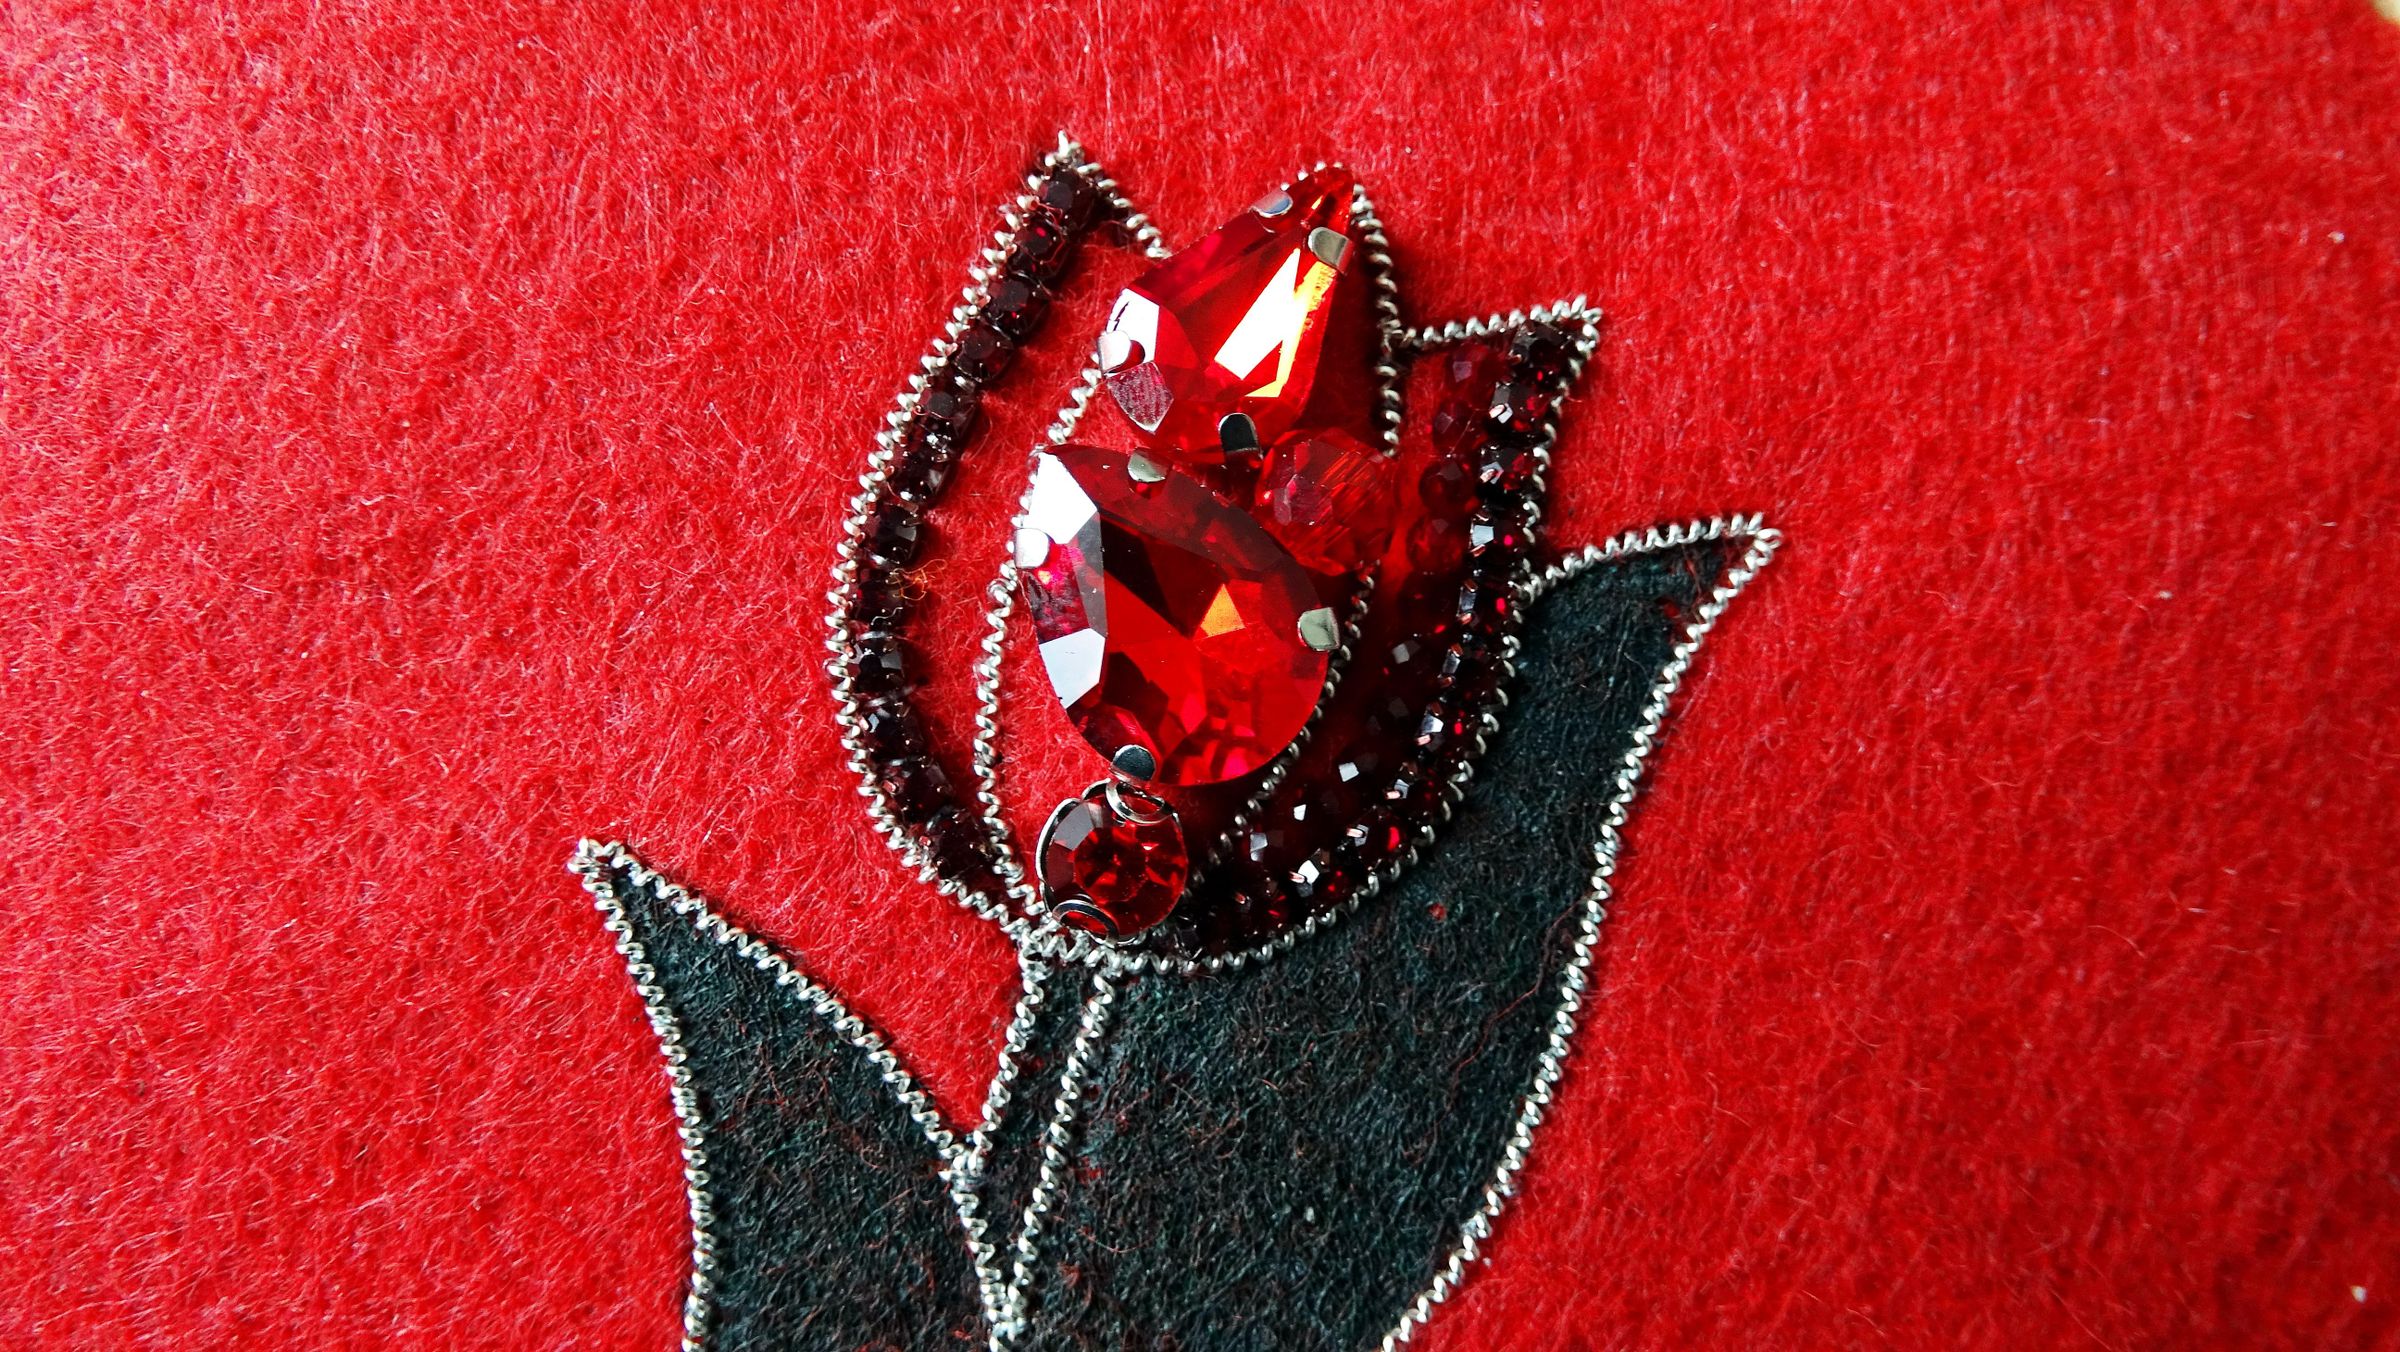
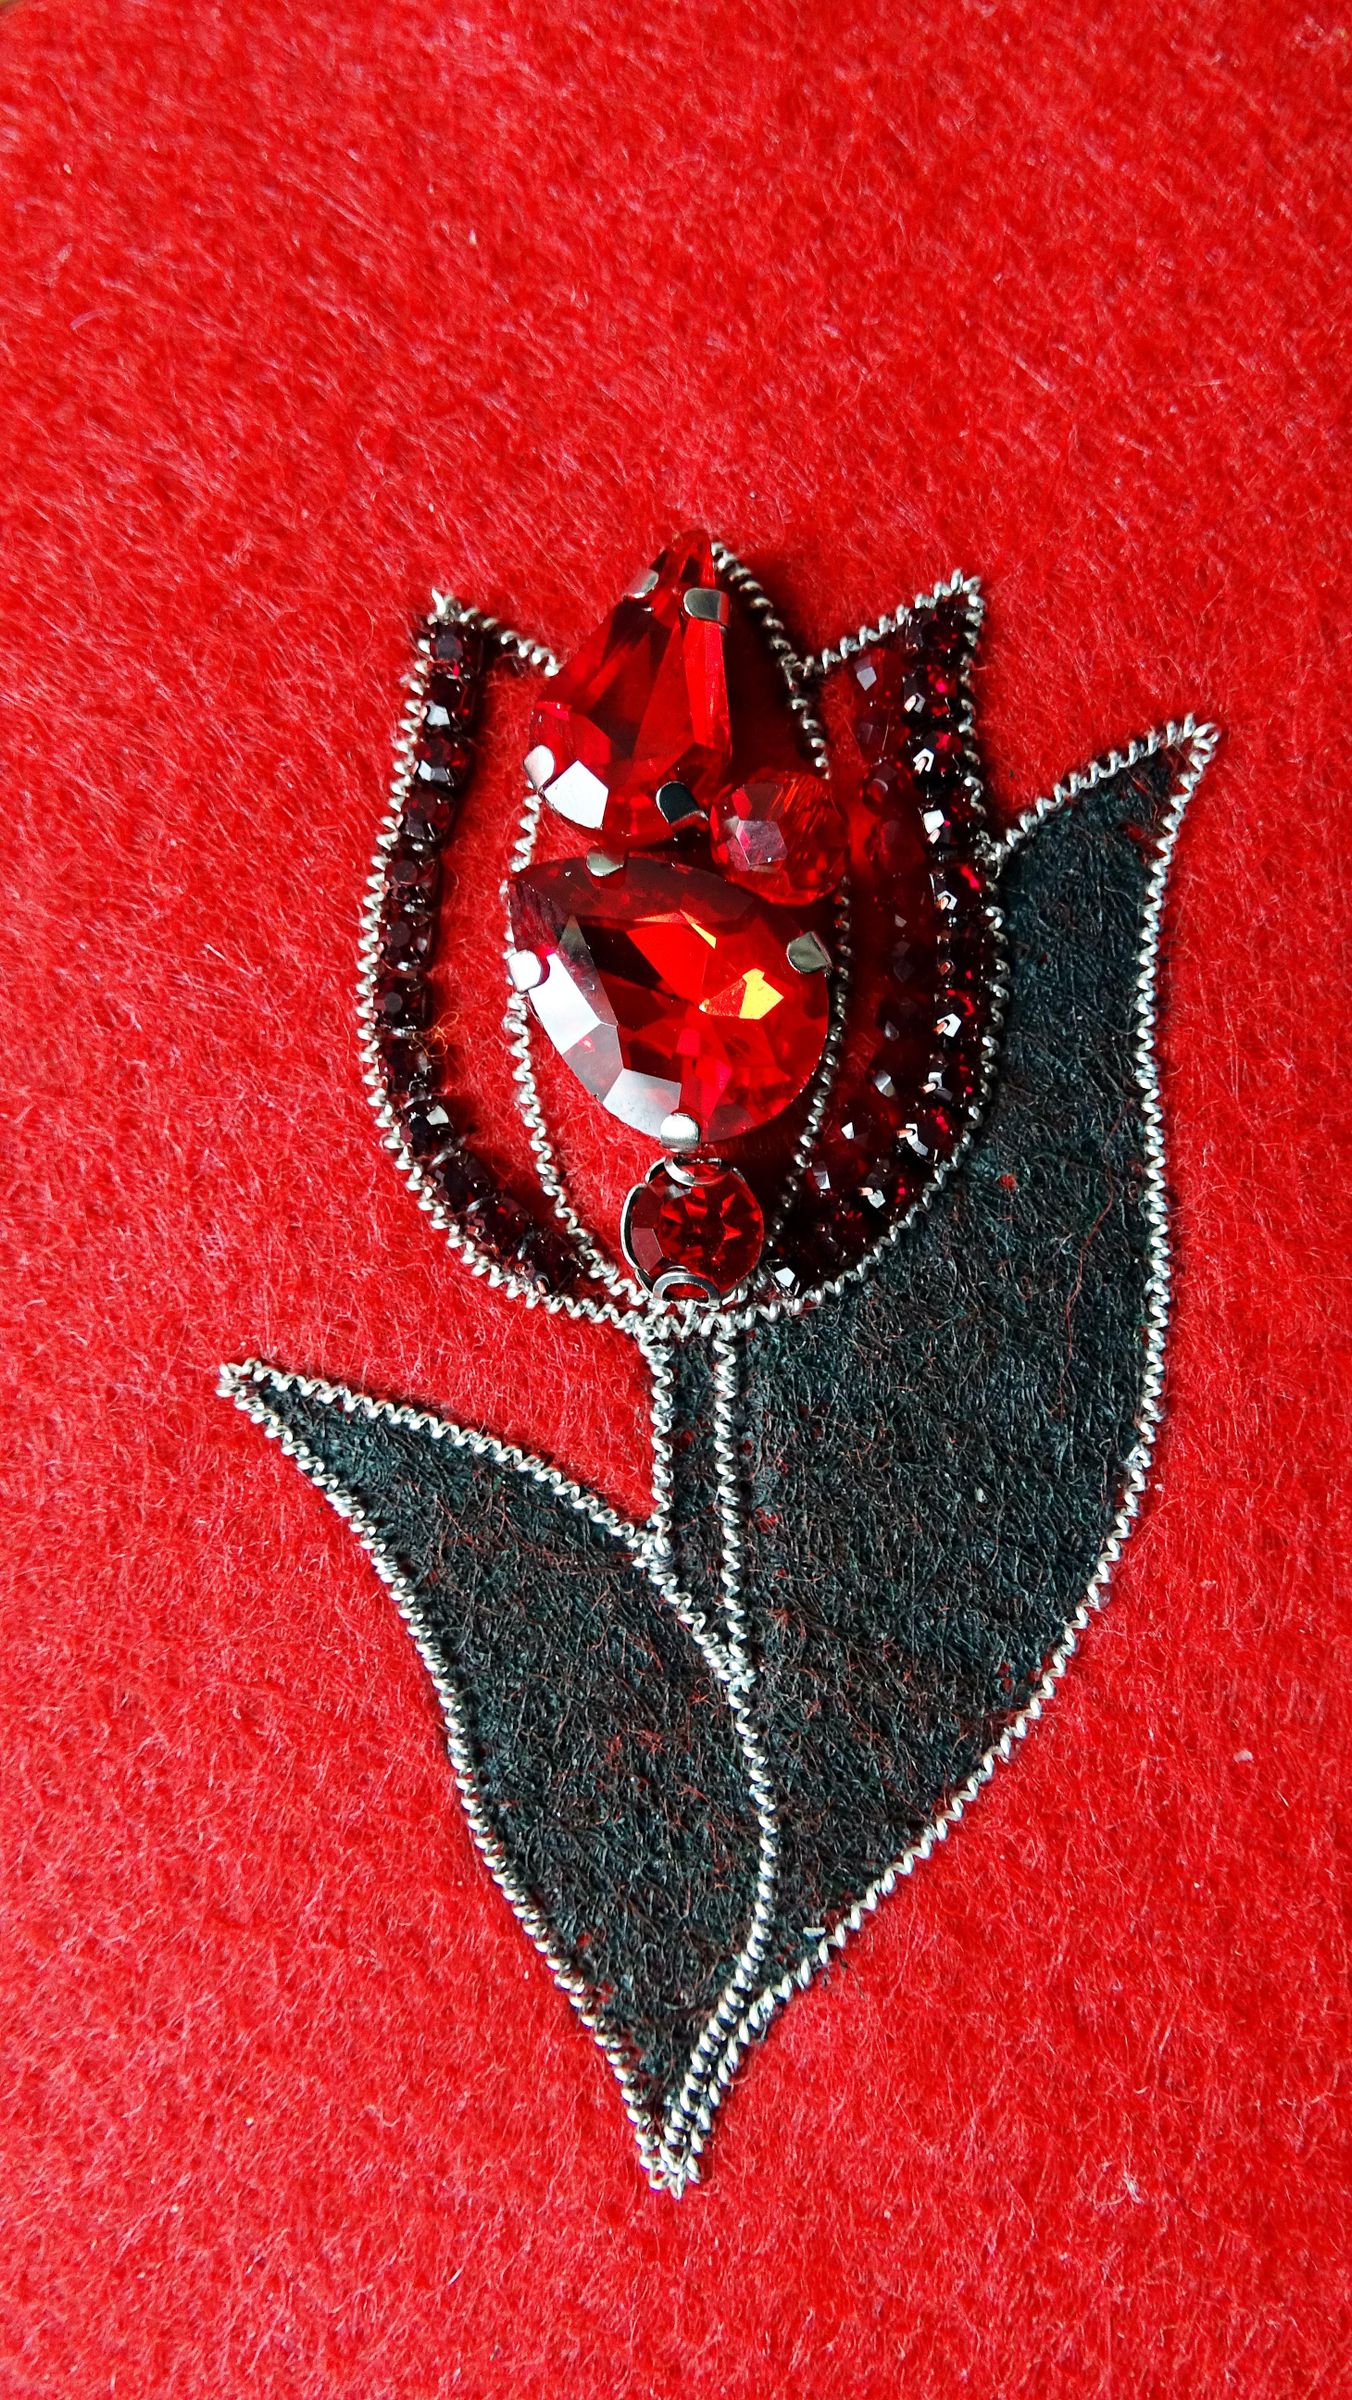
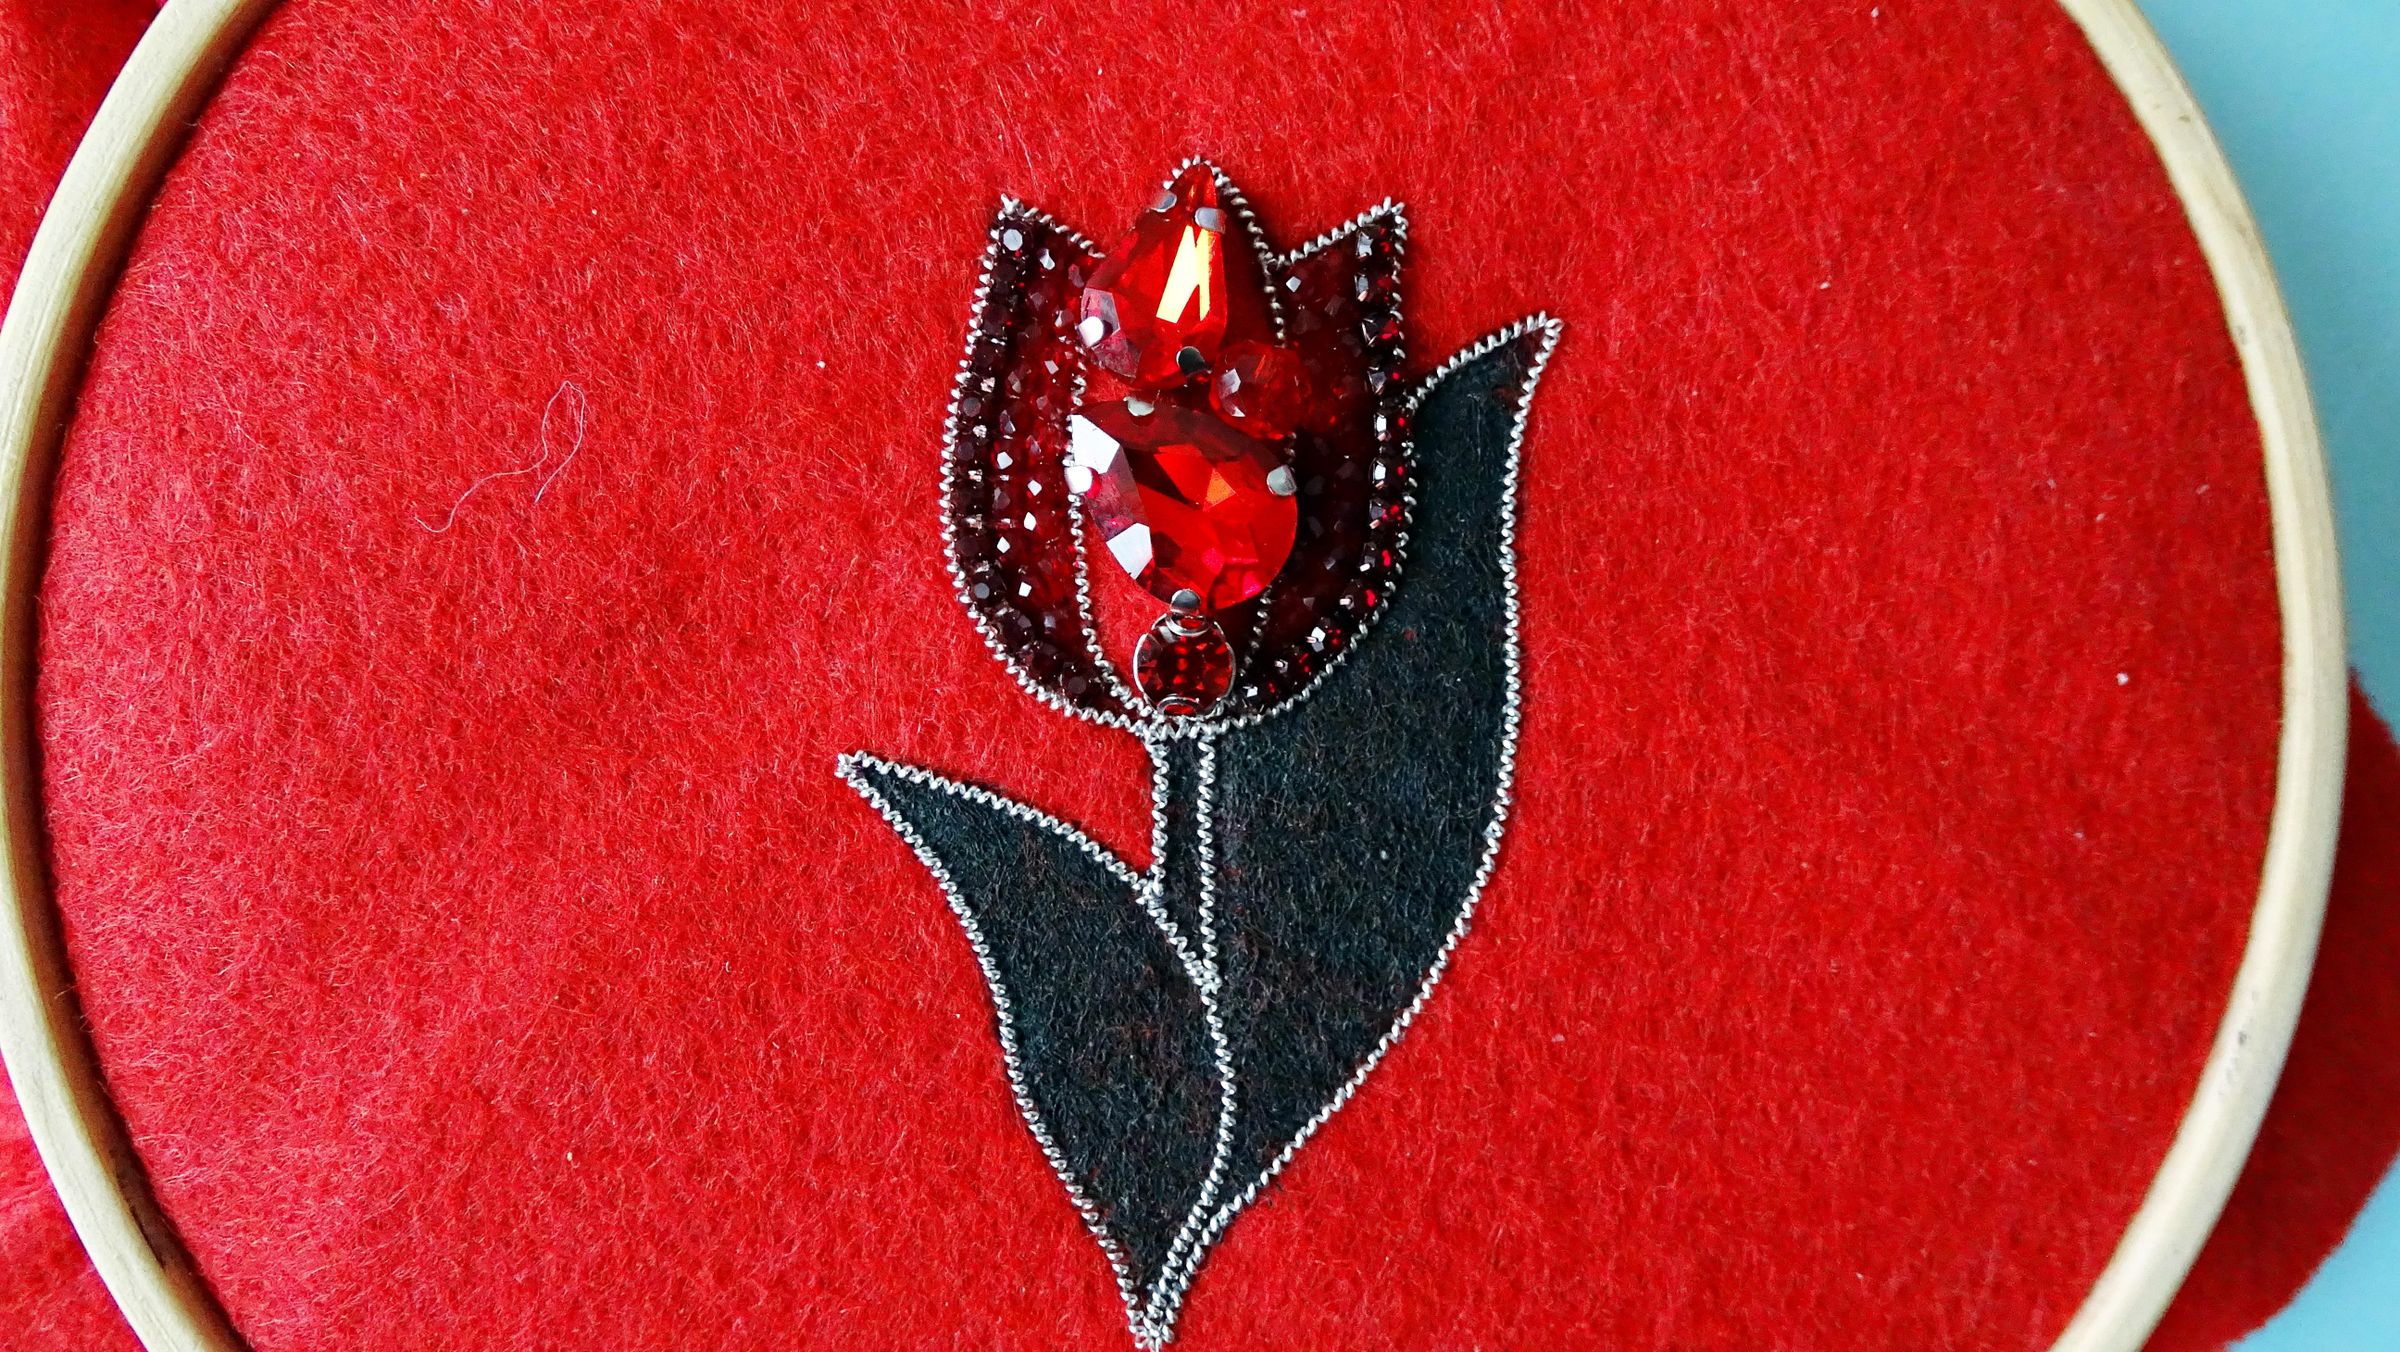
Add another row of crystal beads next to the rhinestone chain.
Push the needle through from the underside next to the rhinestone chain and thread a bunch of red crystal beads. Insert the needle through the felt on the lower part of the petal. Go back up between the first and second bead and sew a stitch to keep everything tightly in place. Repeat this step until you get to the last crystal bead.
Refer to the video for a clear demonstration.
Finish the Petals
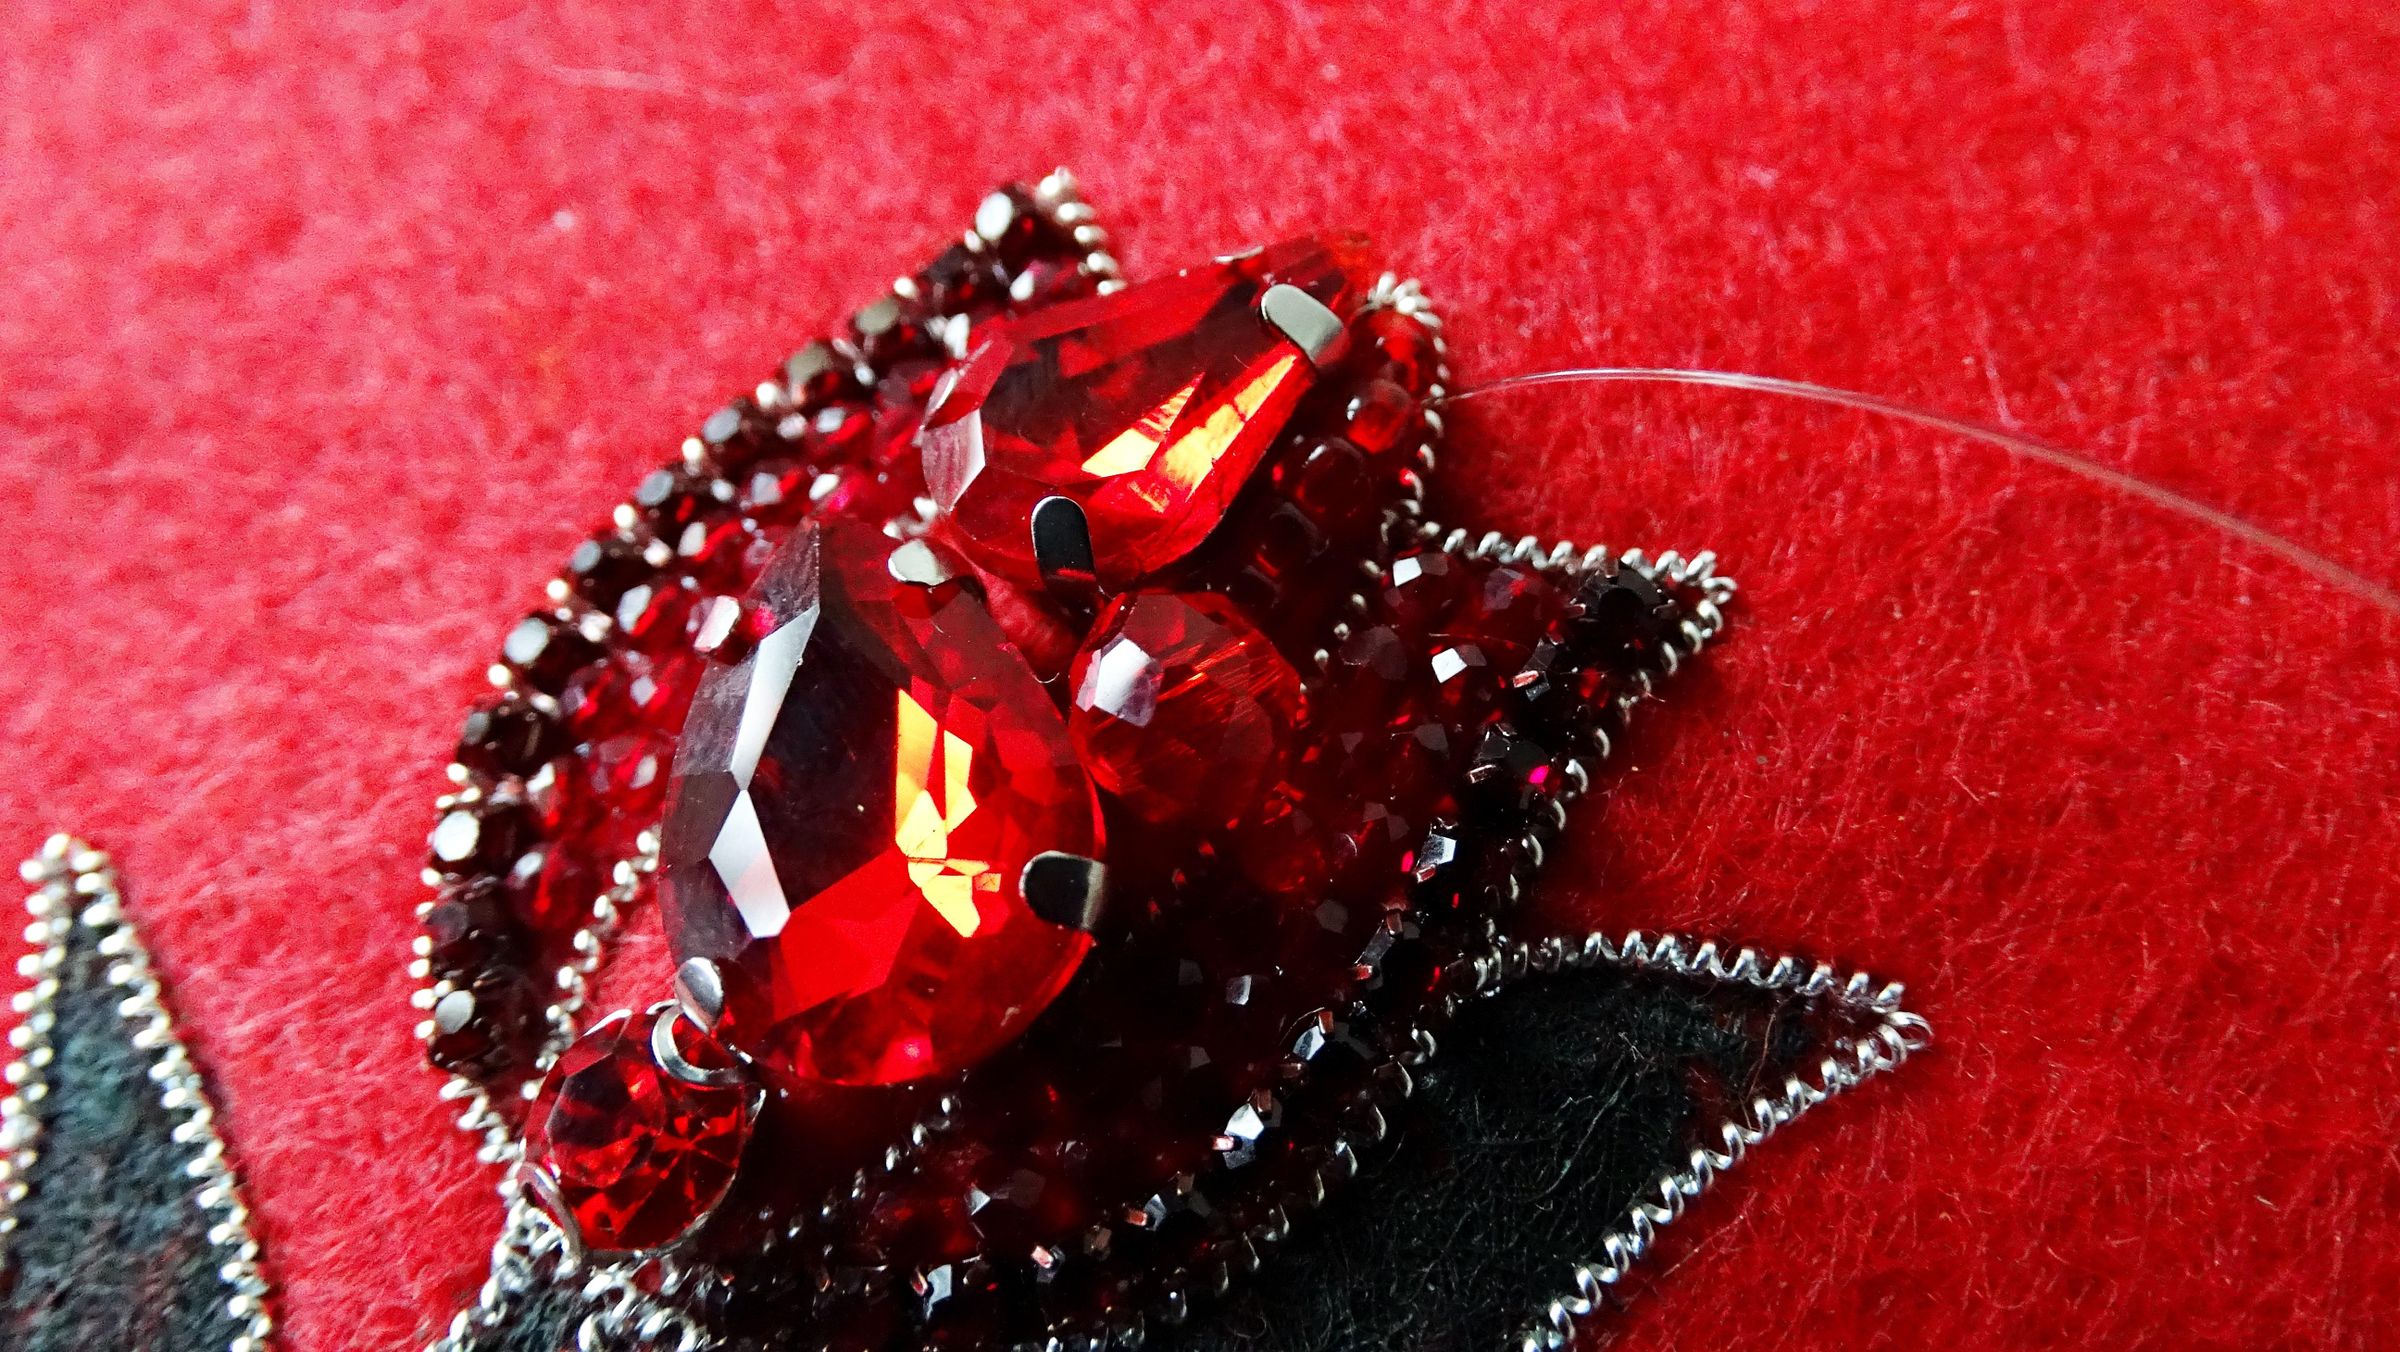
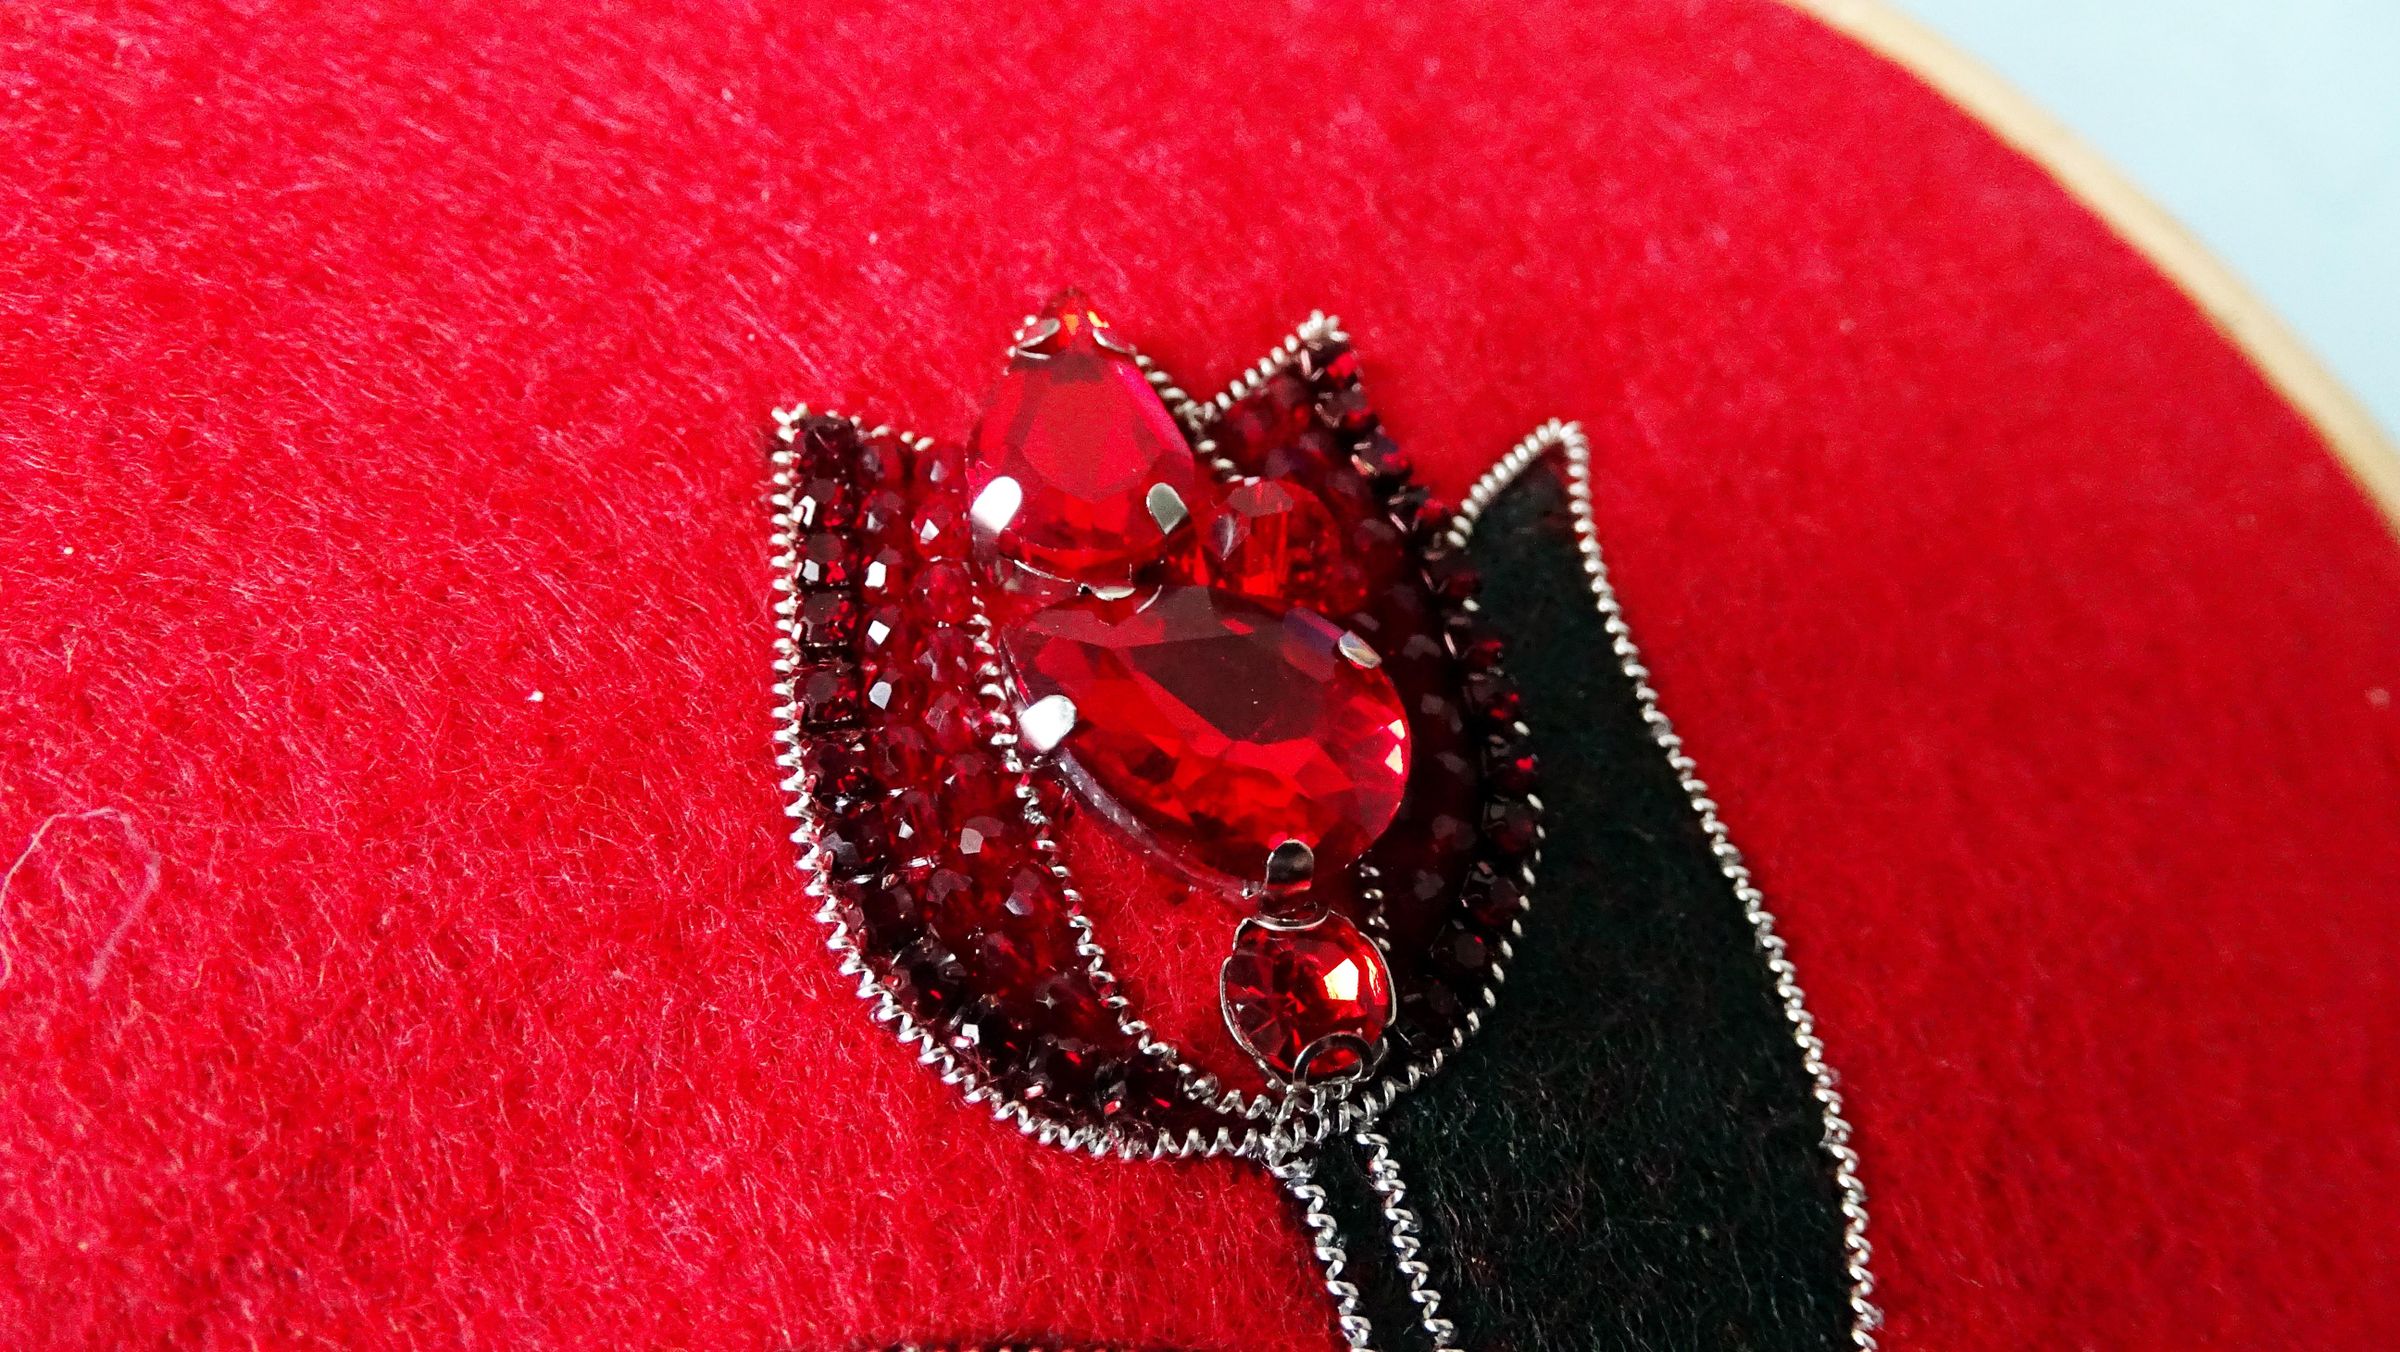
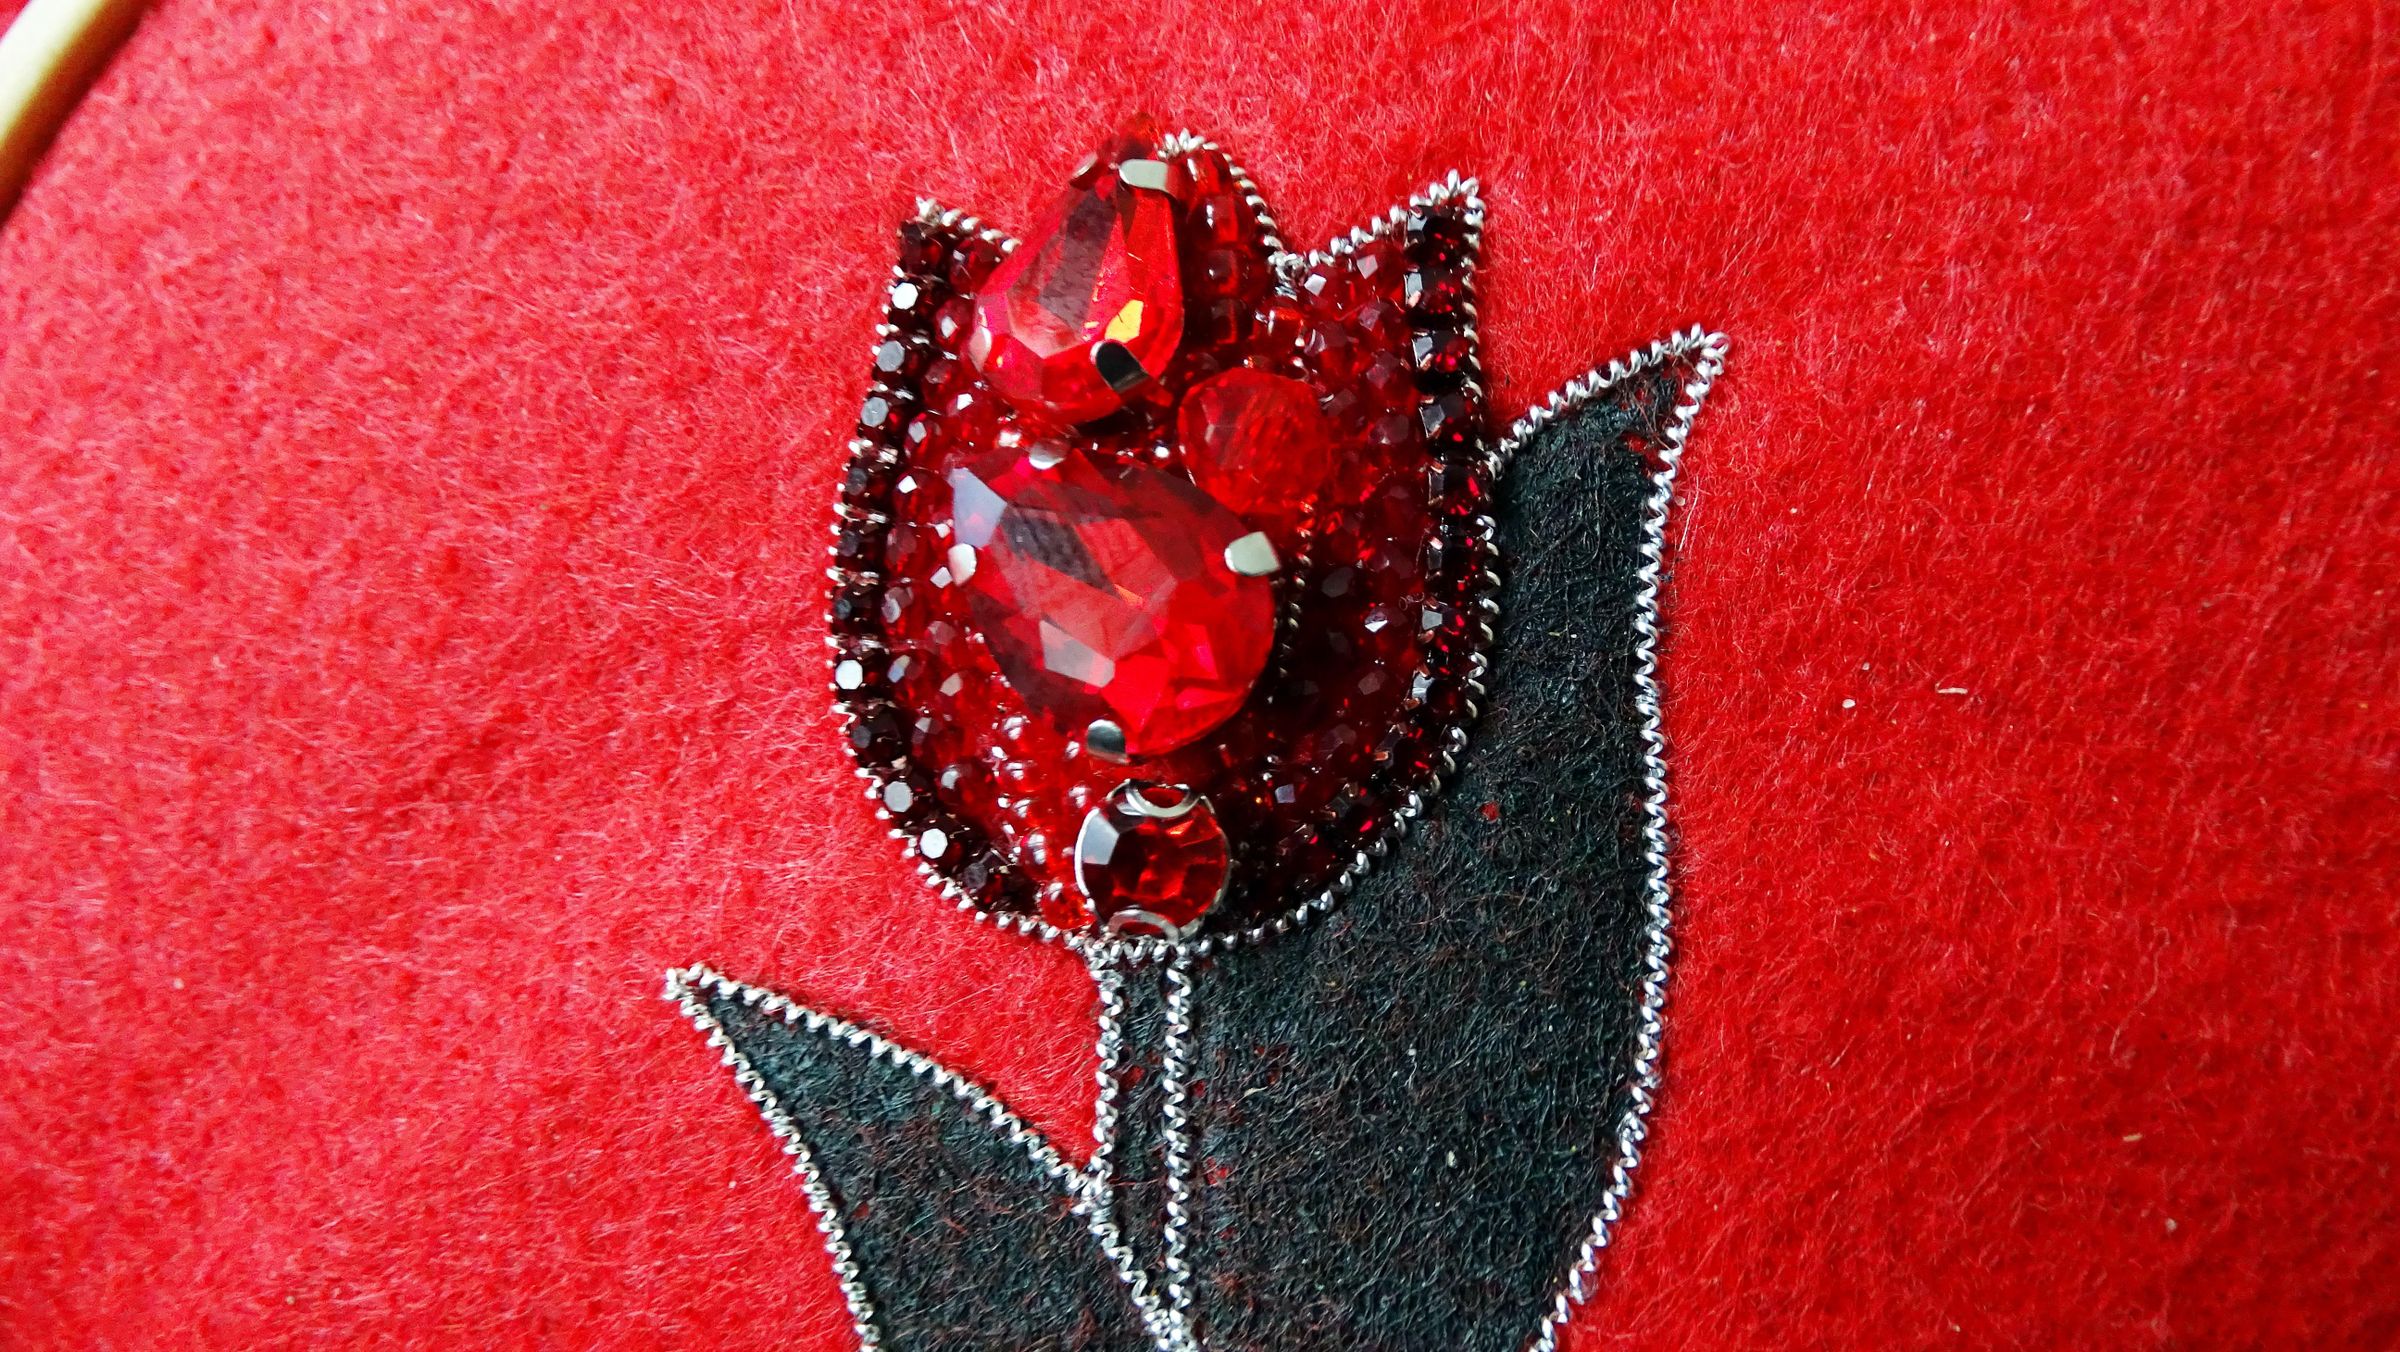
Using the techniques from the previous steps finish embroidering the petals with various beads.
Decorate the Leaves
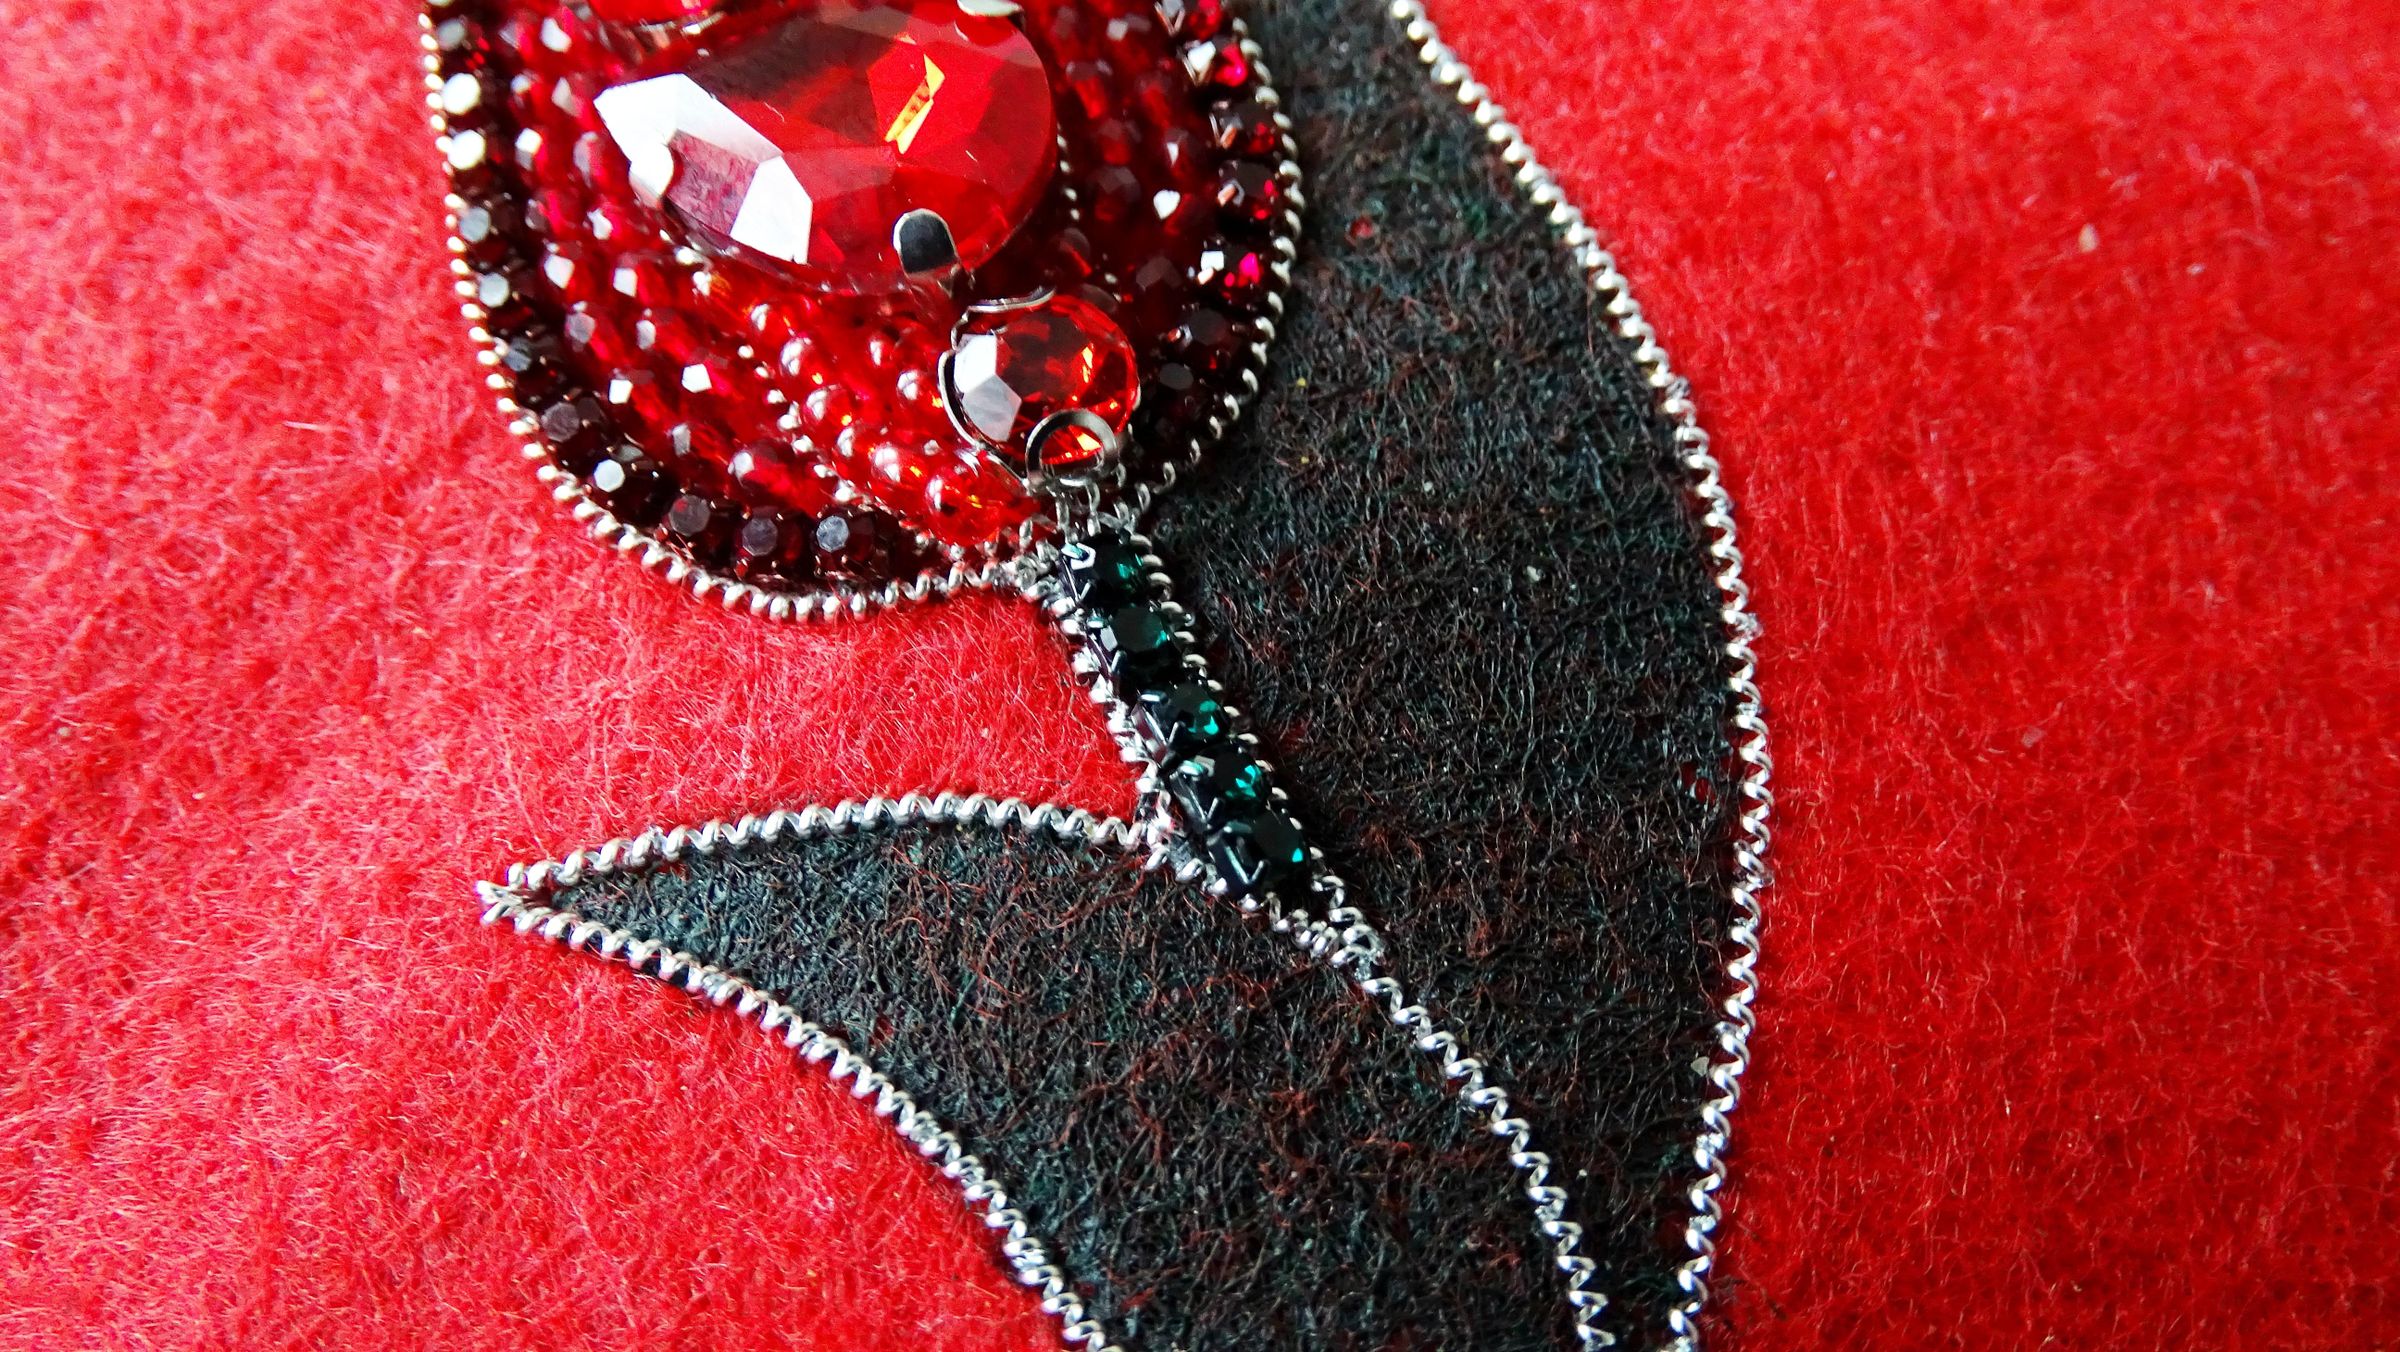
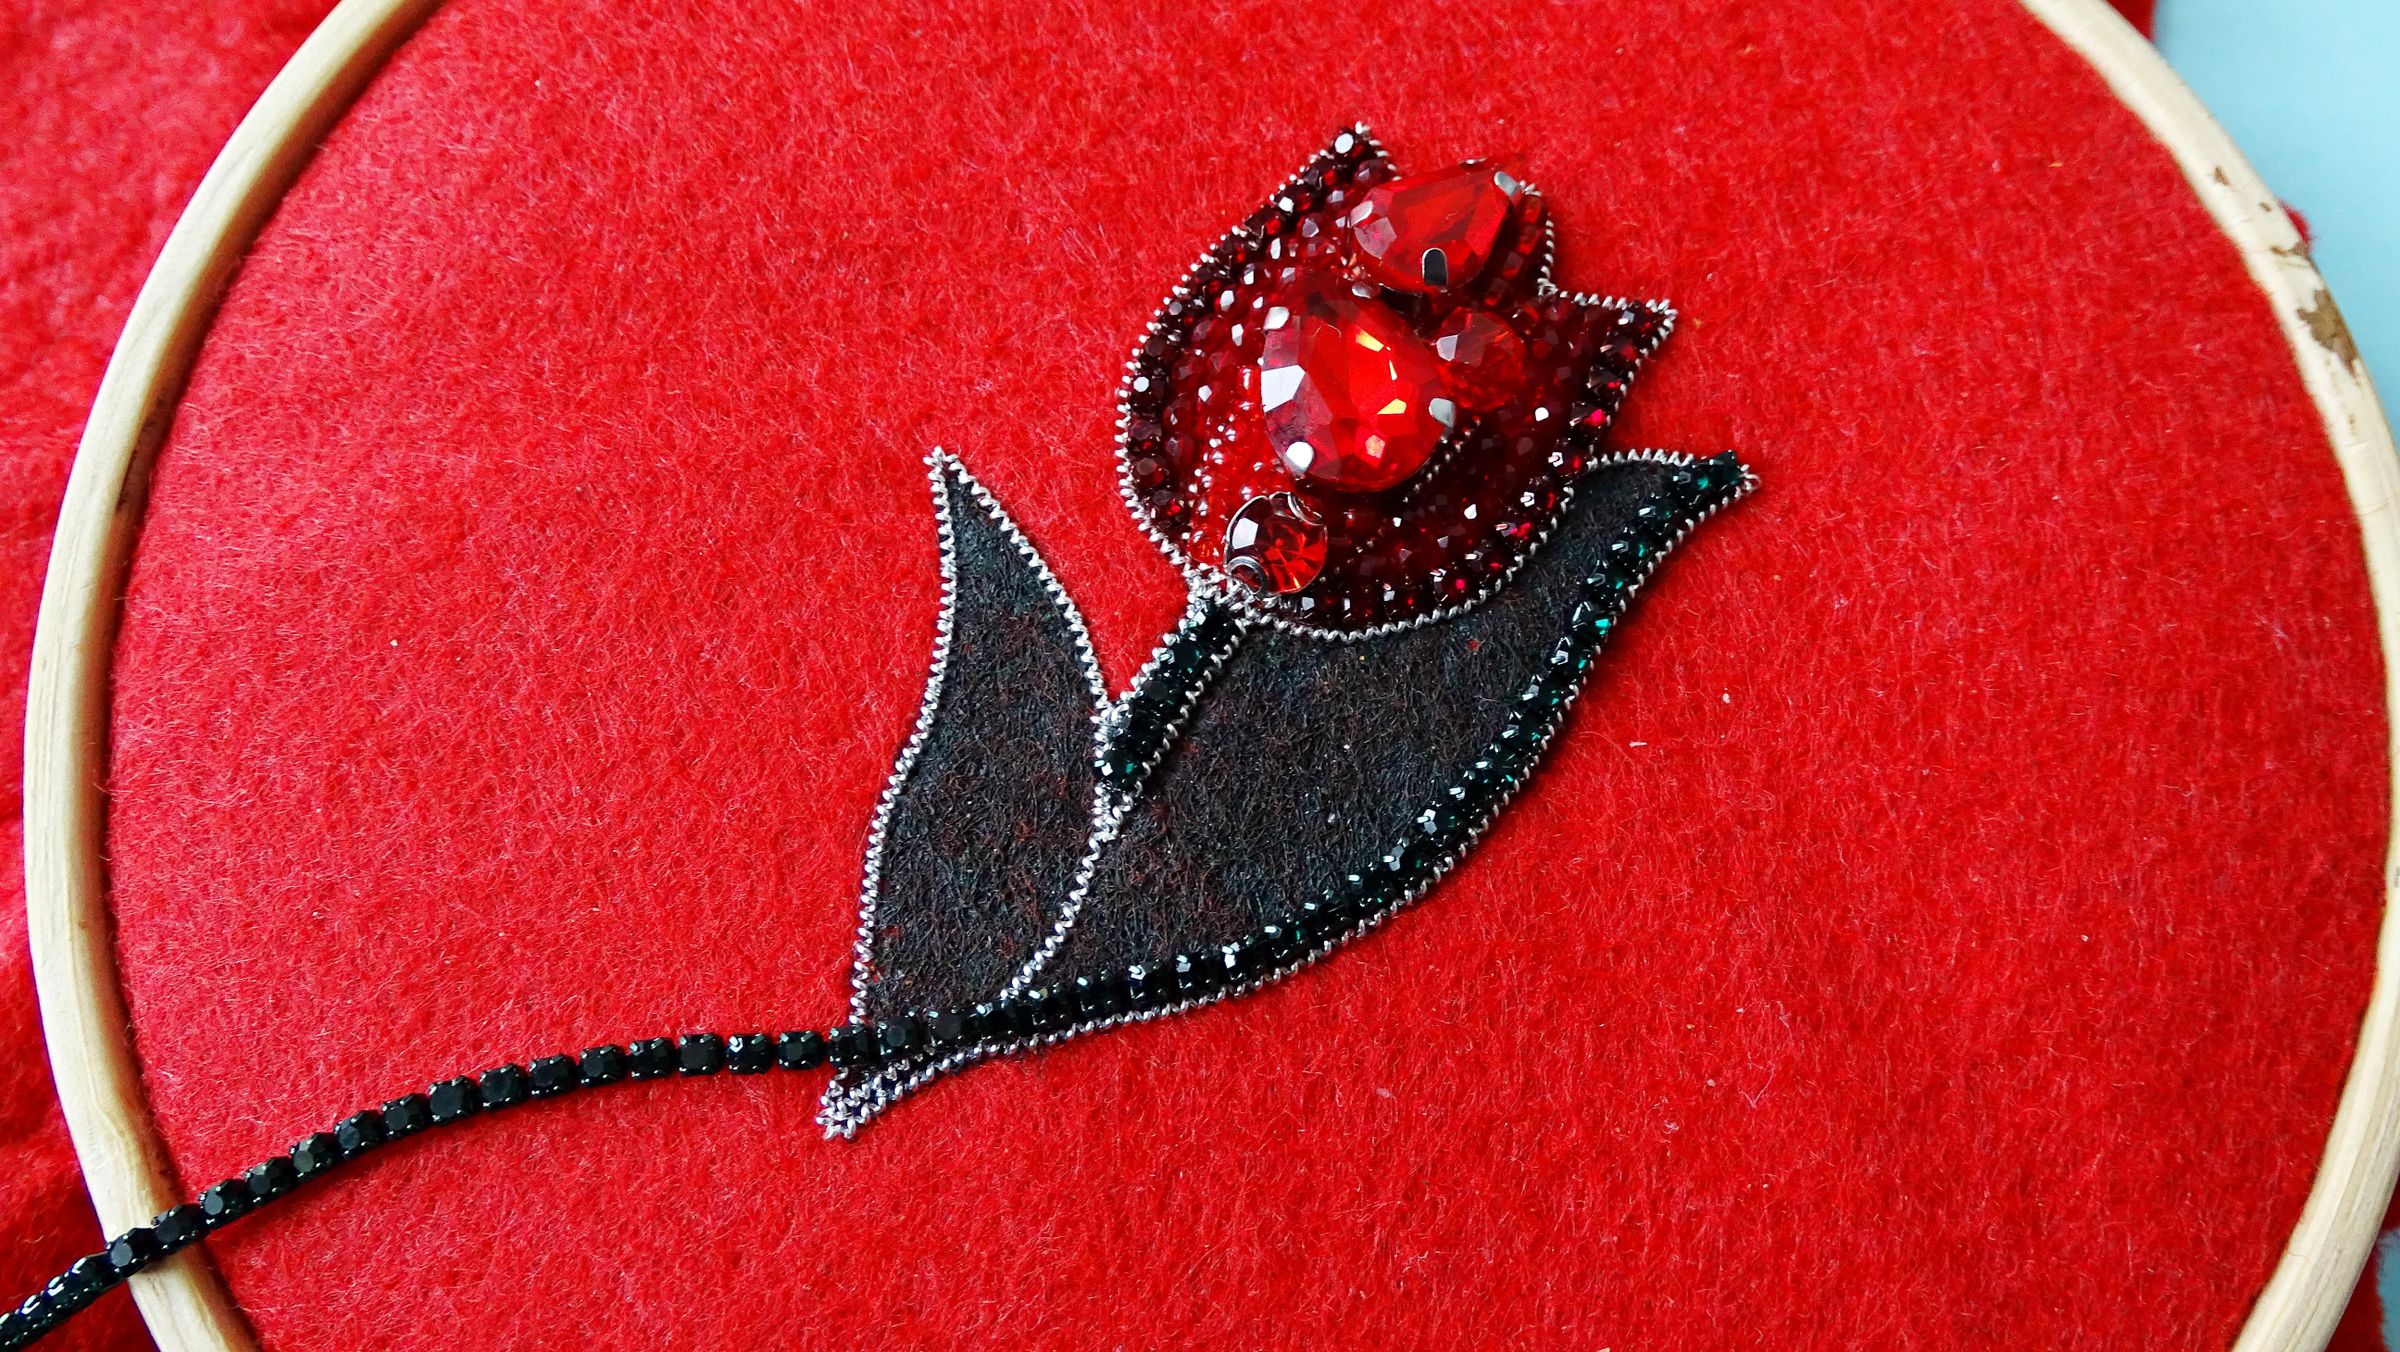
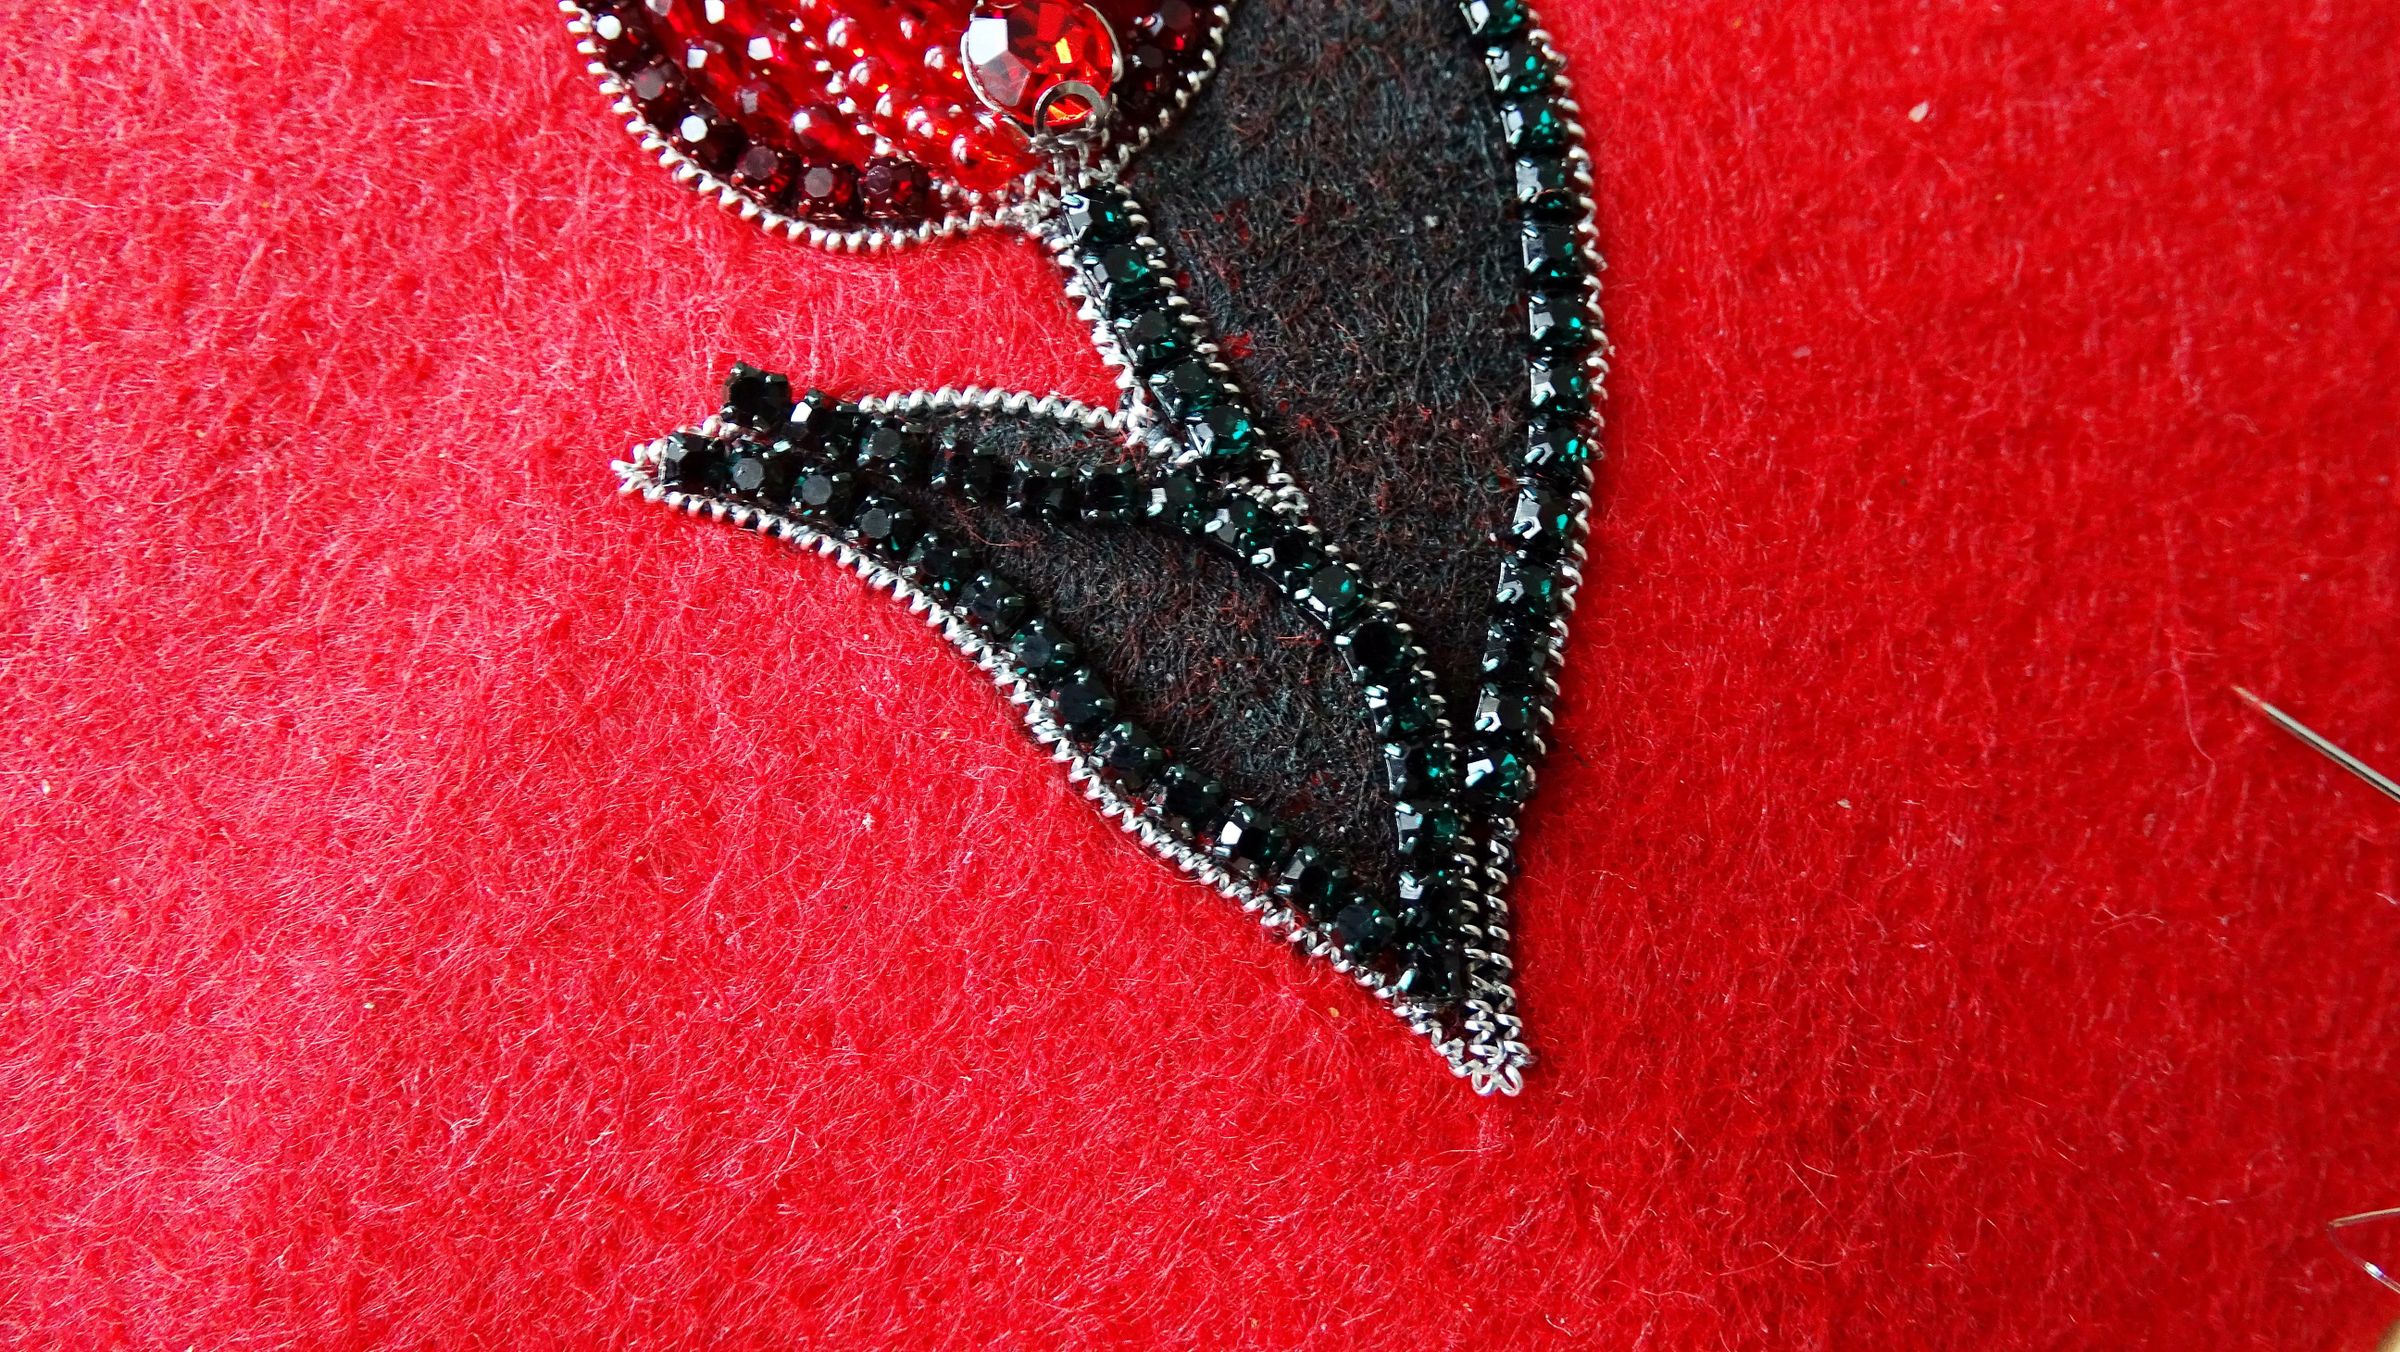
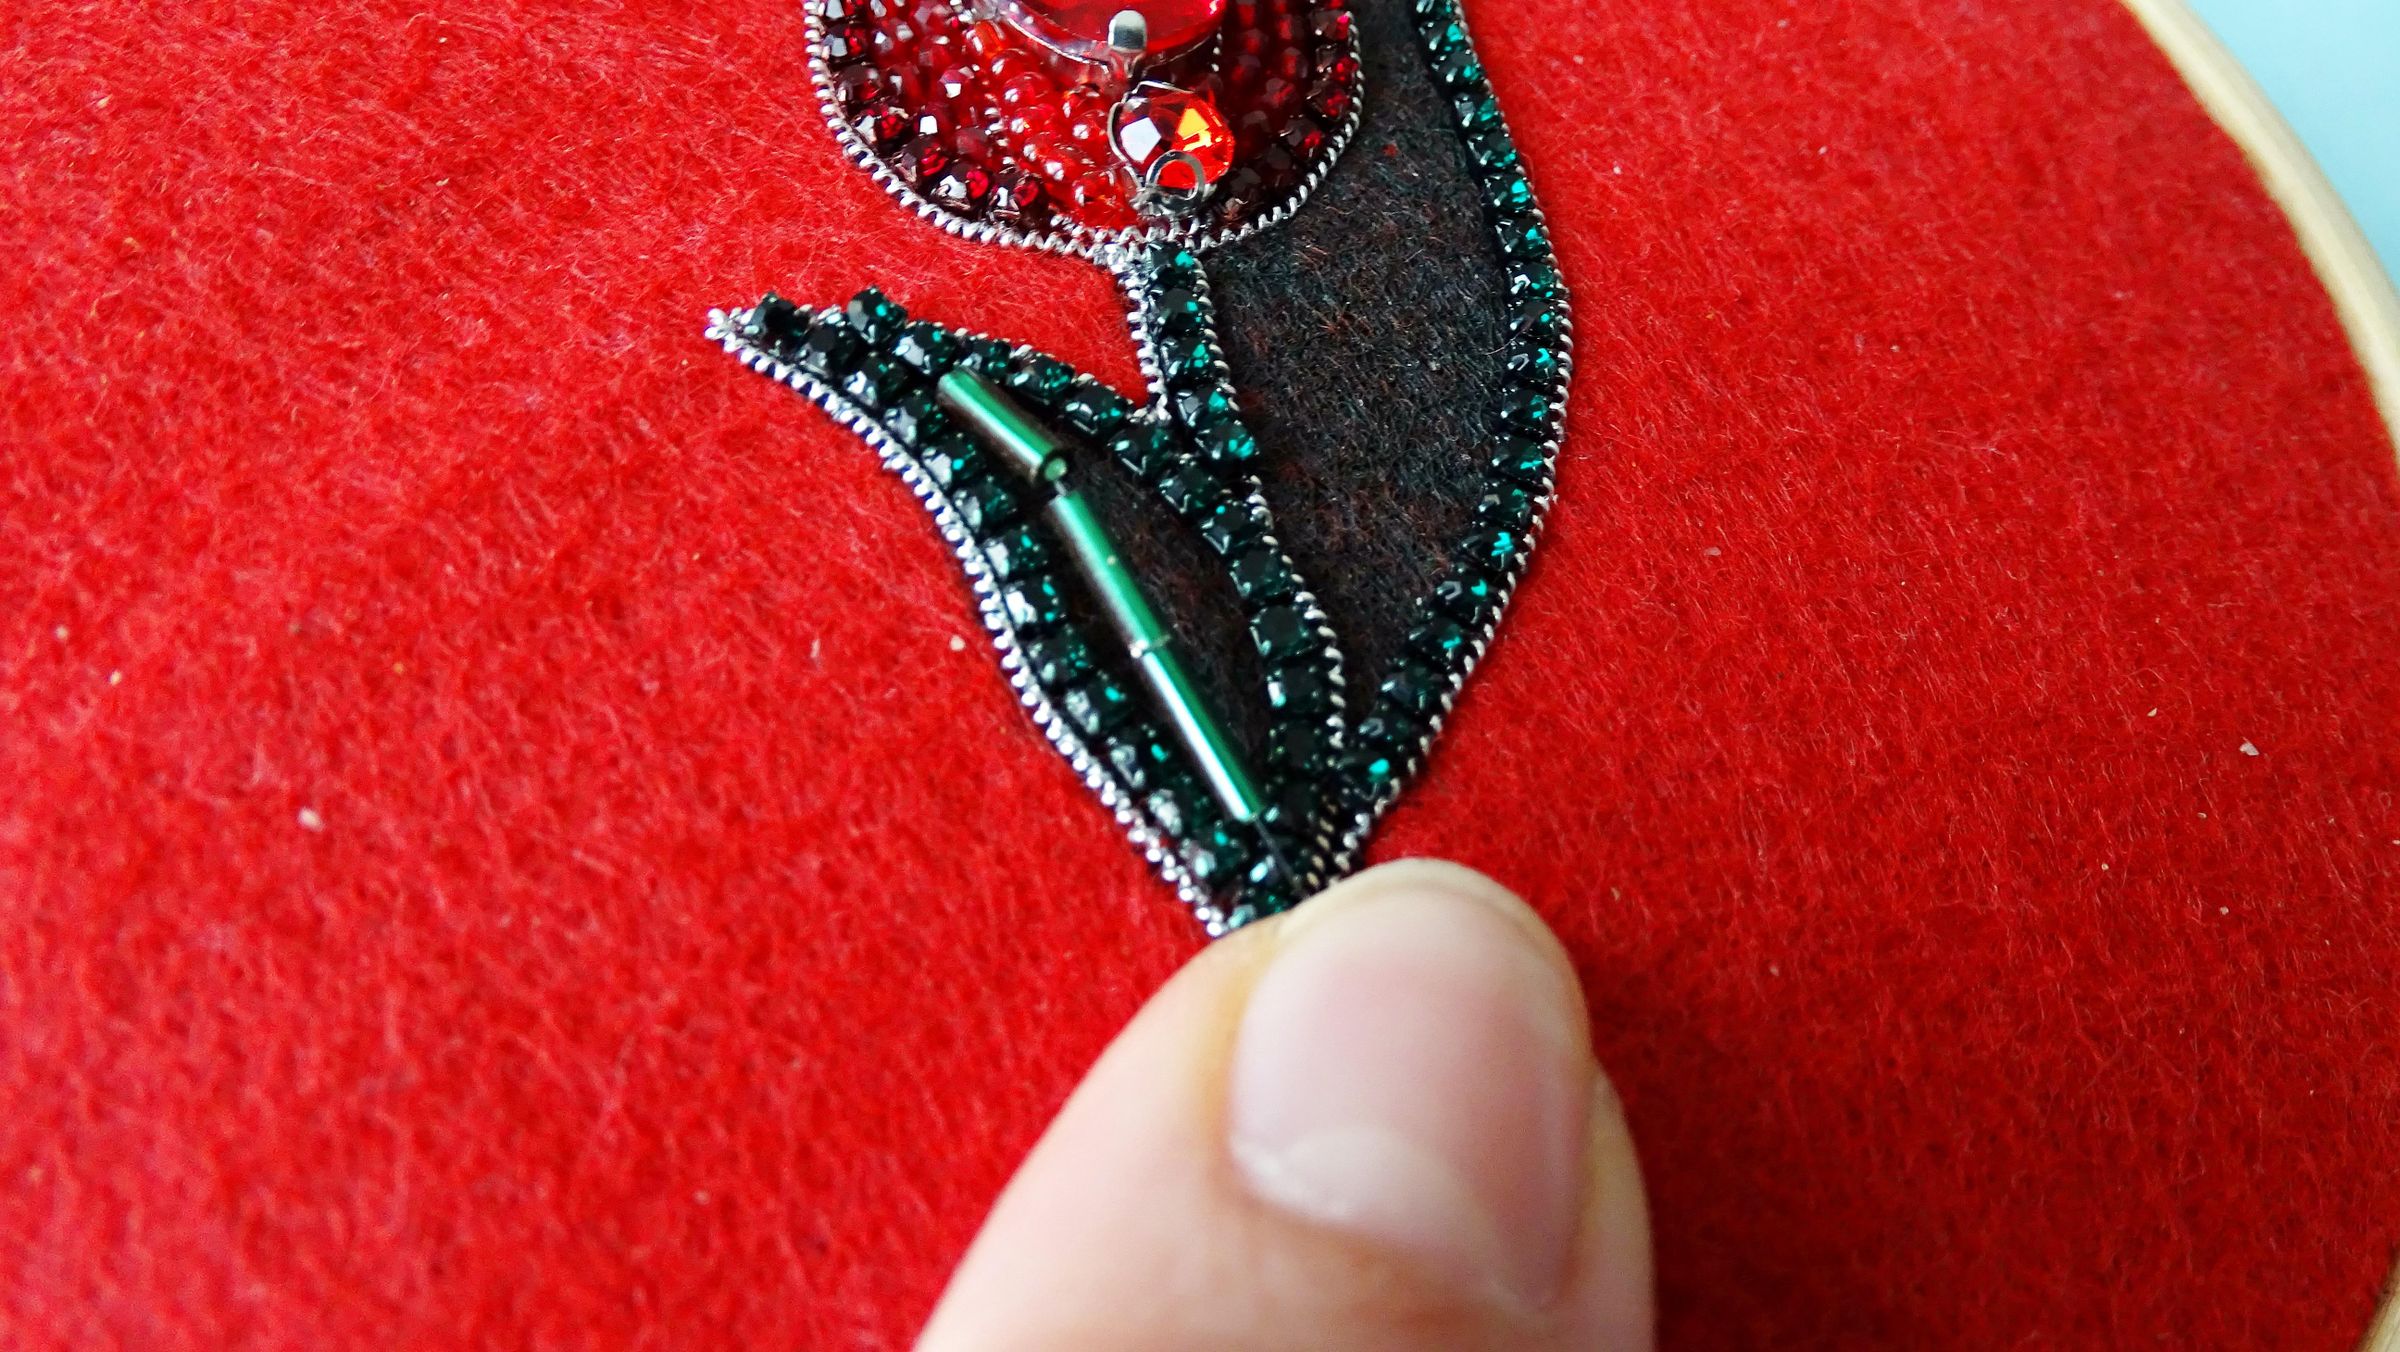
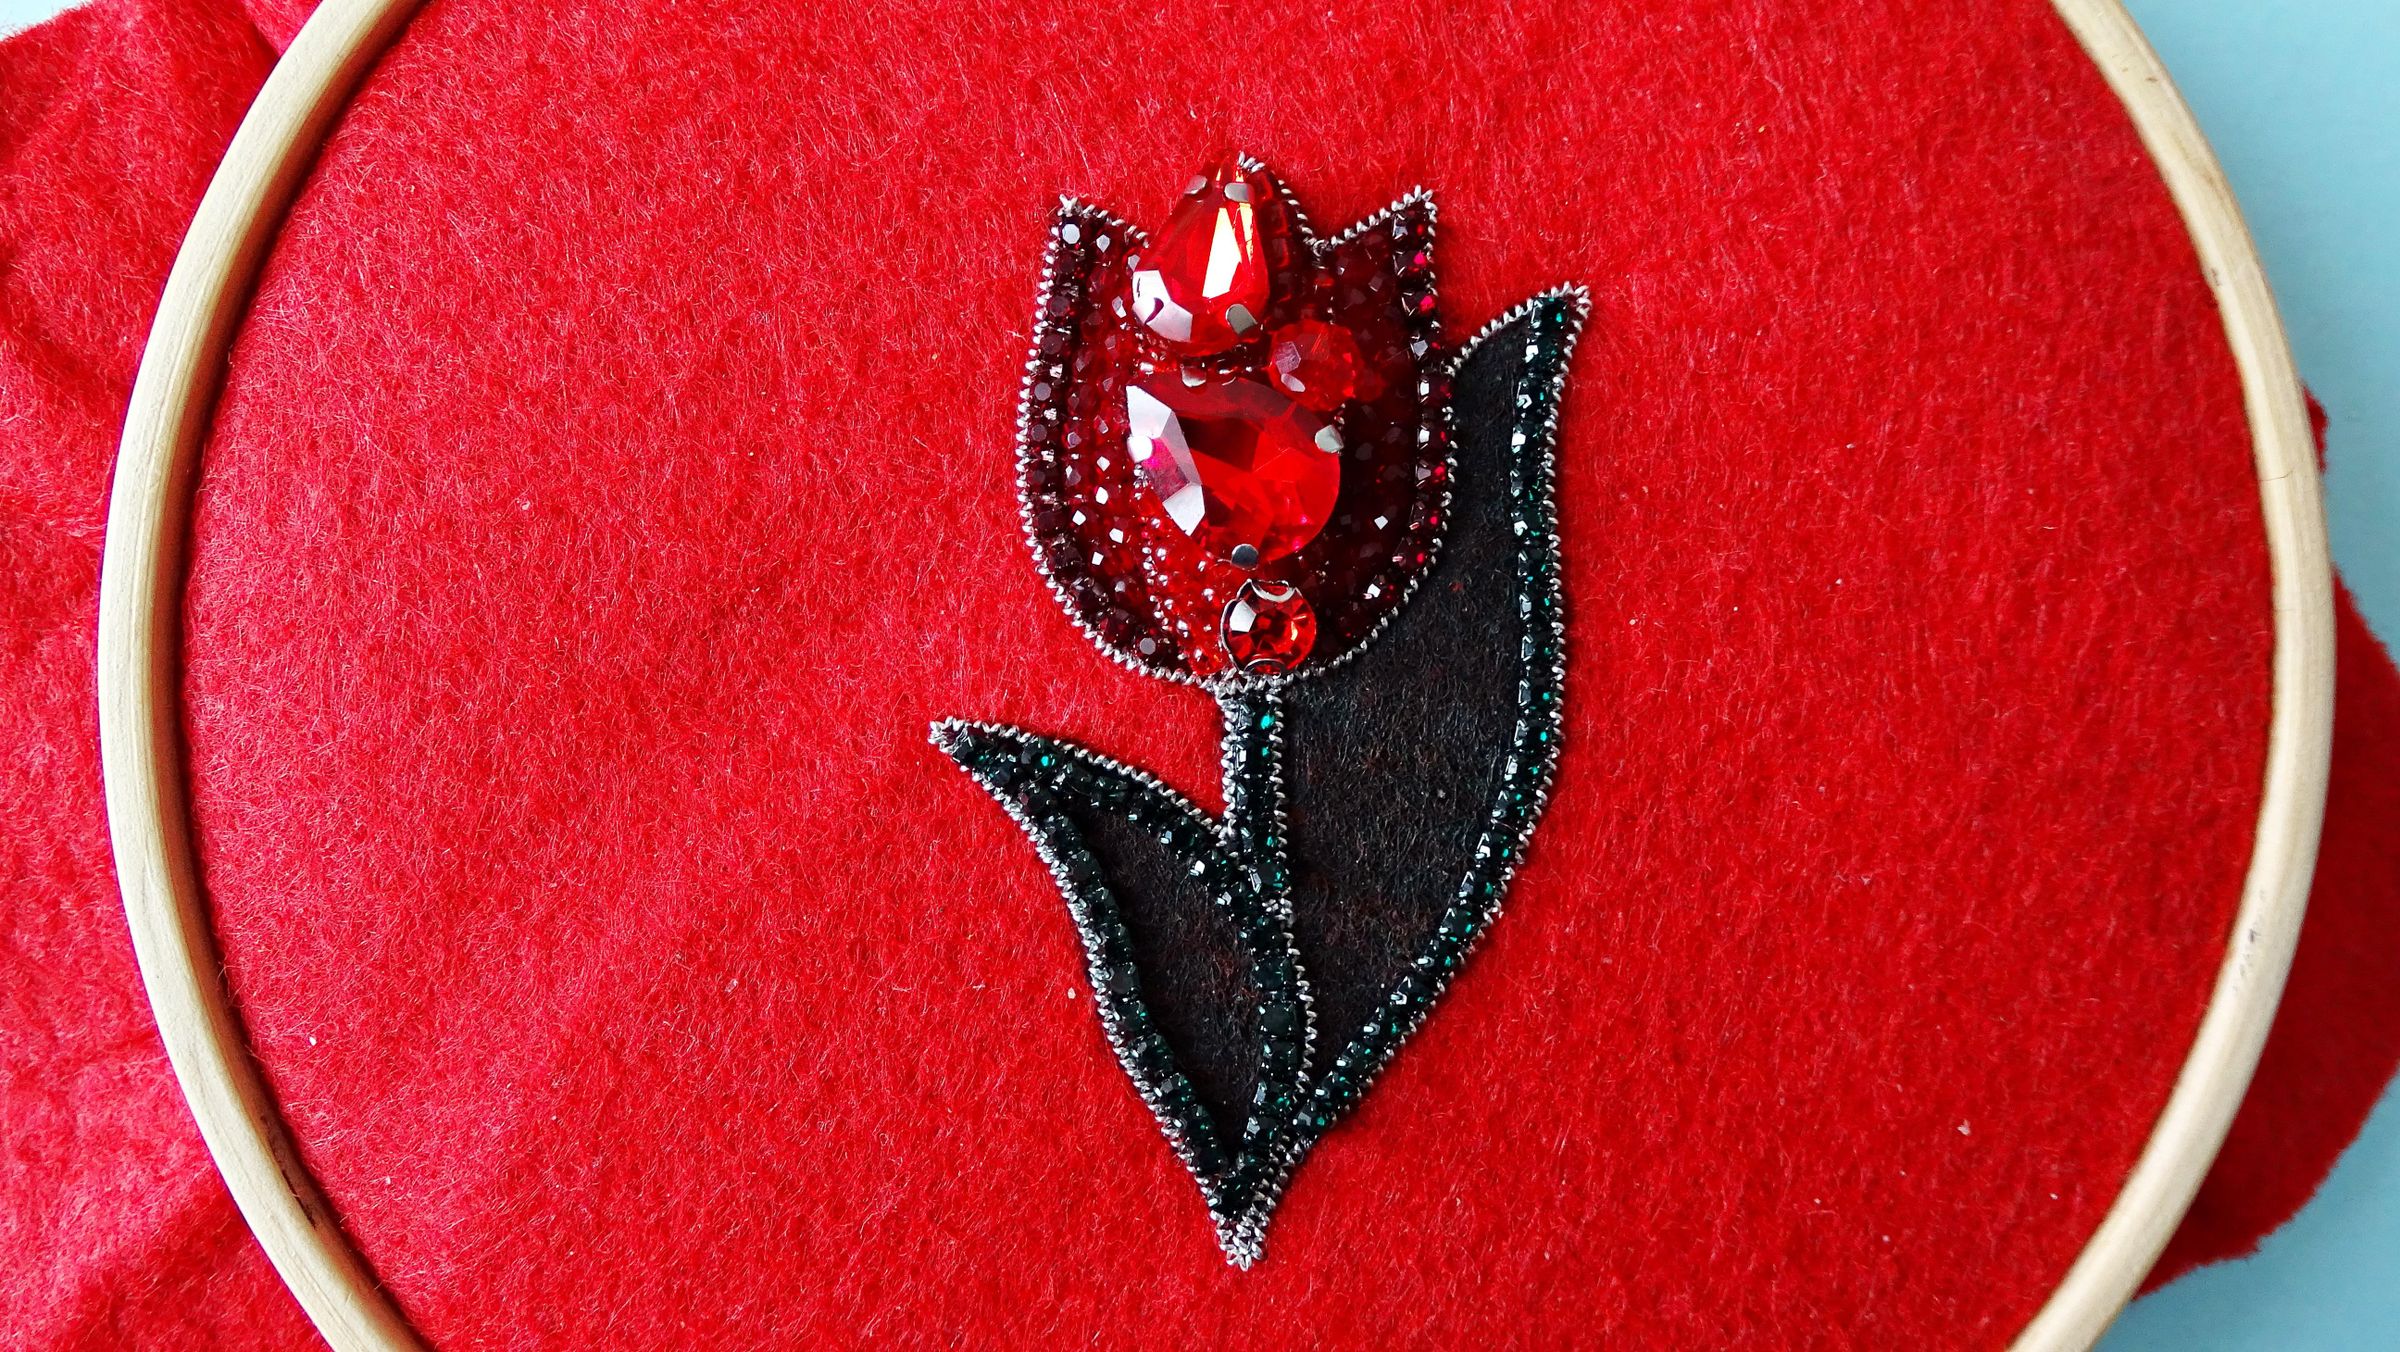
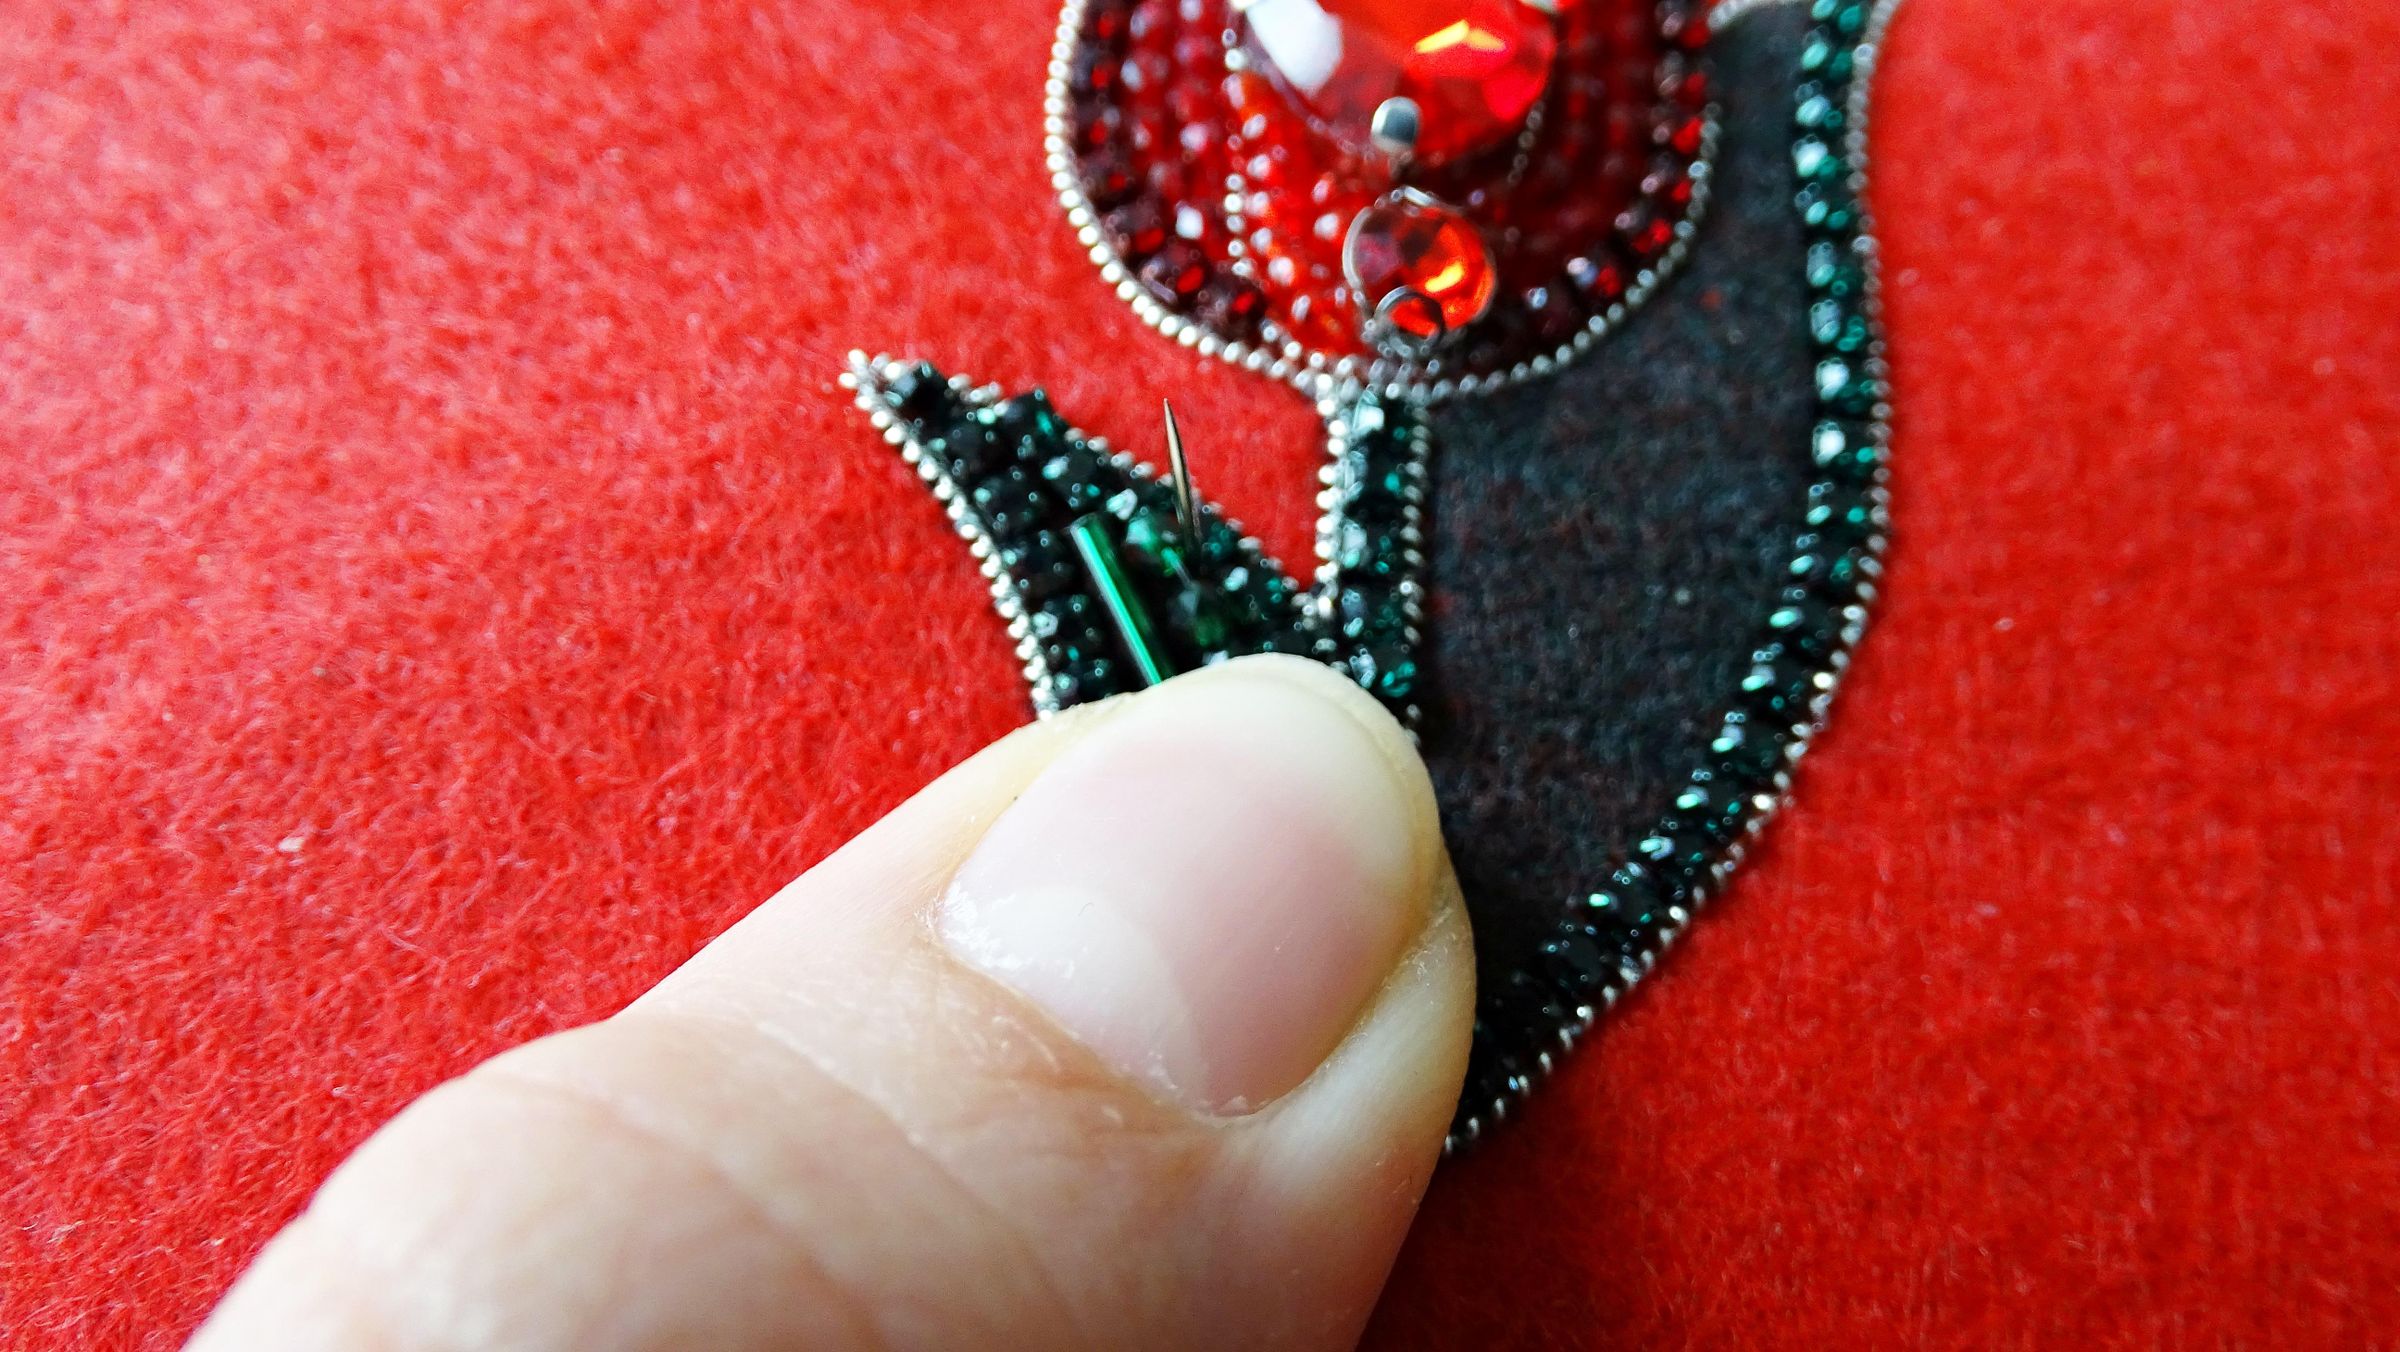
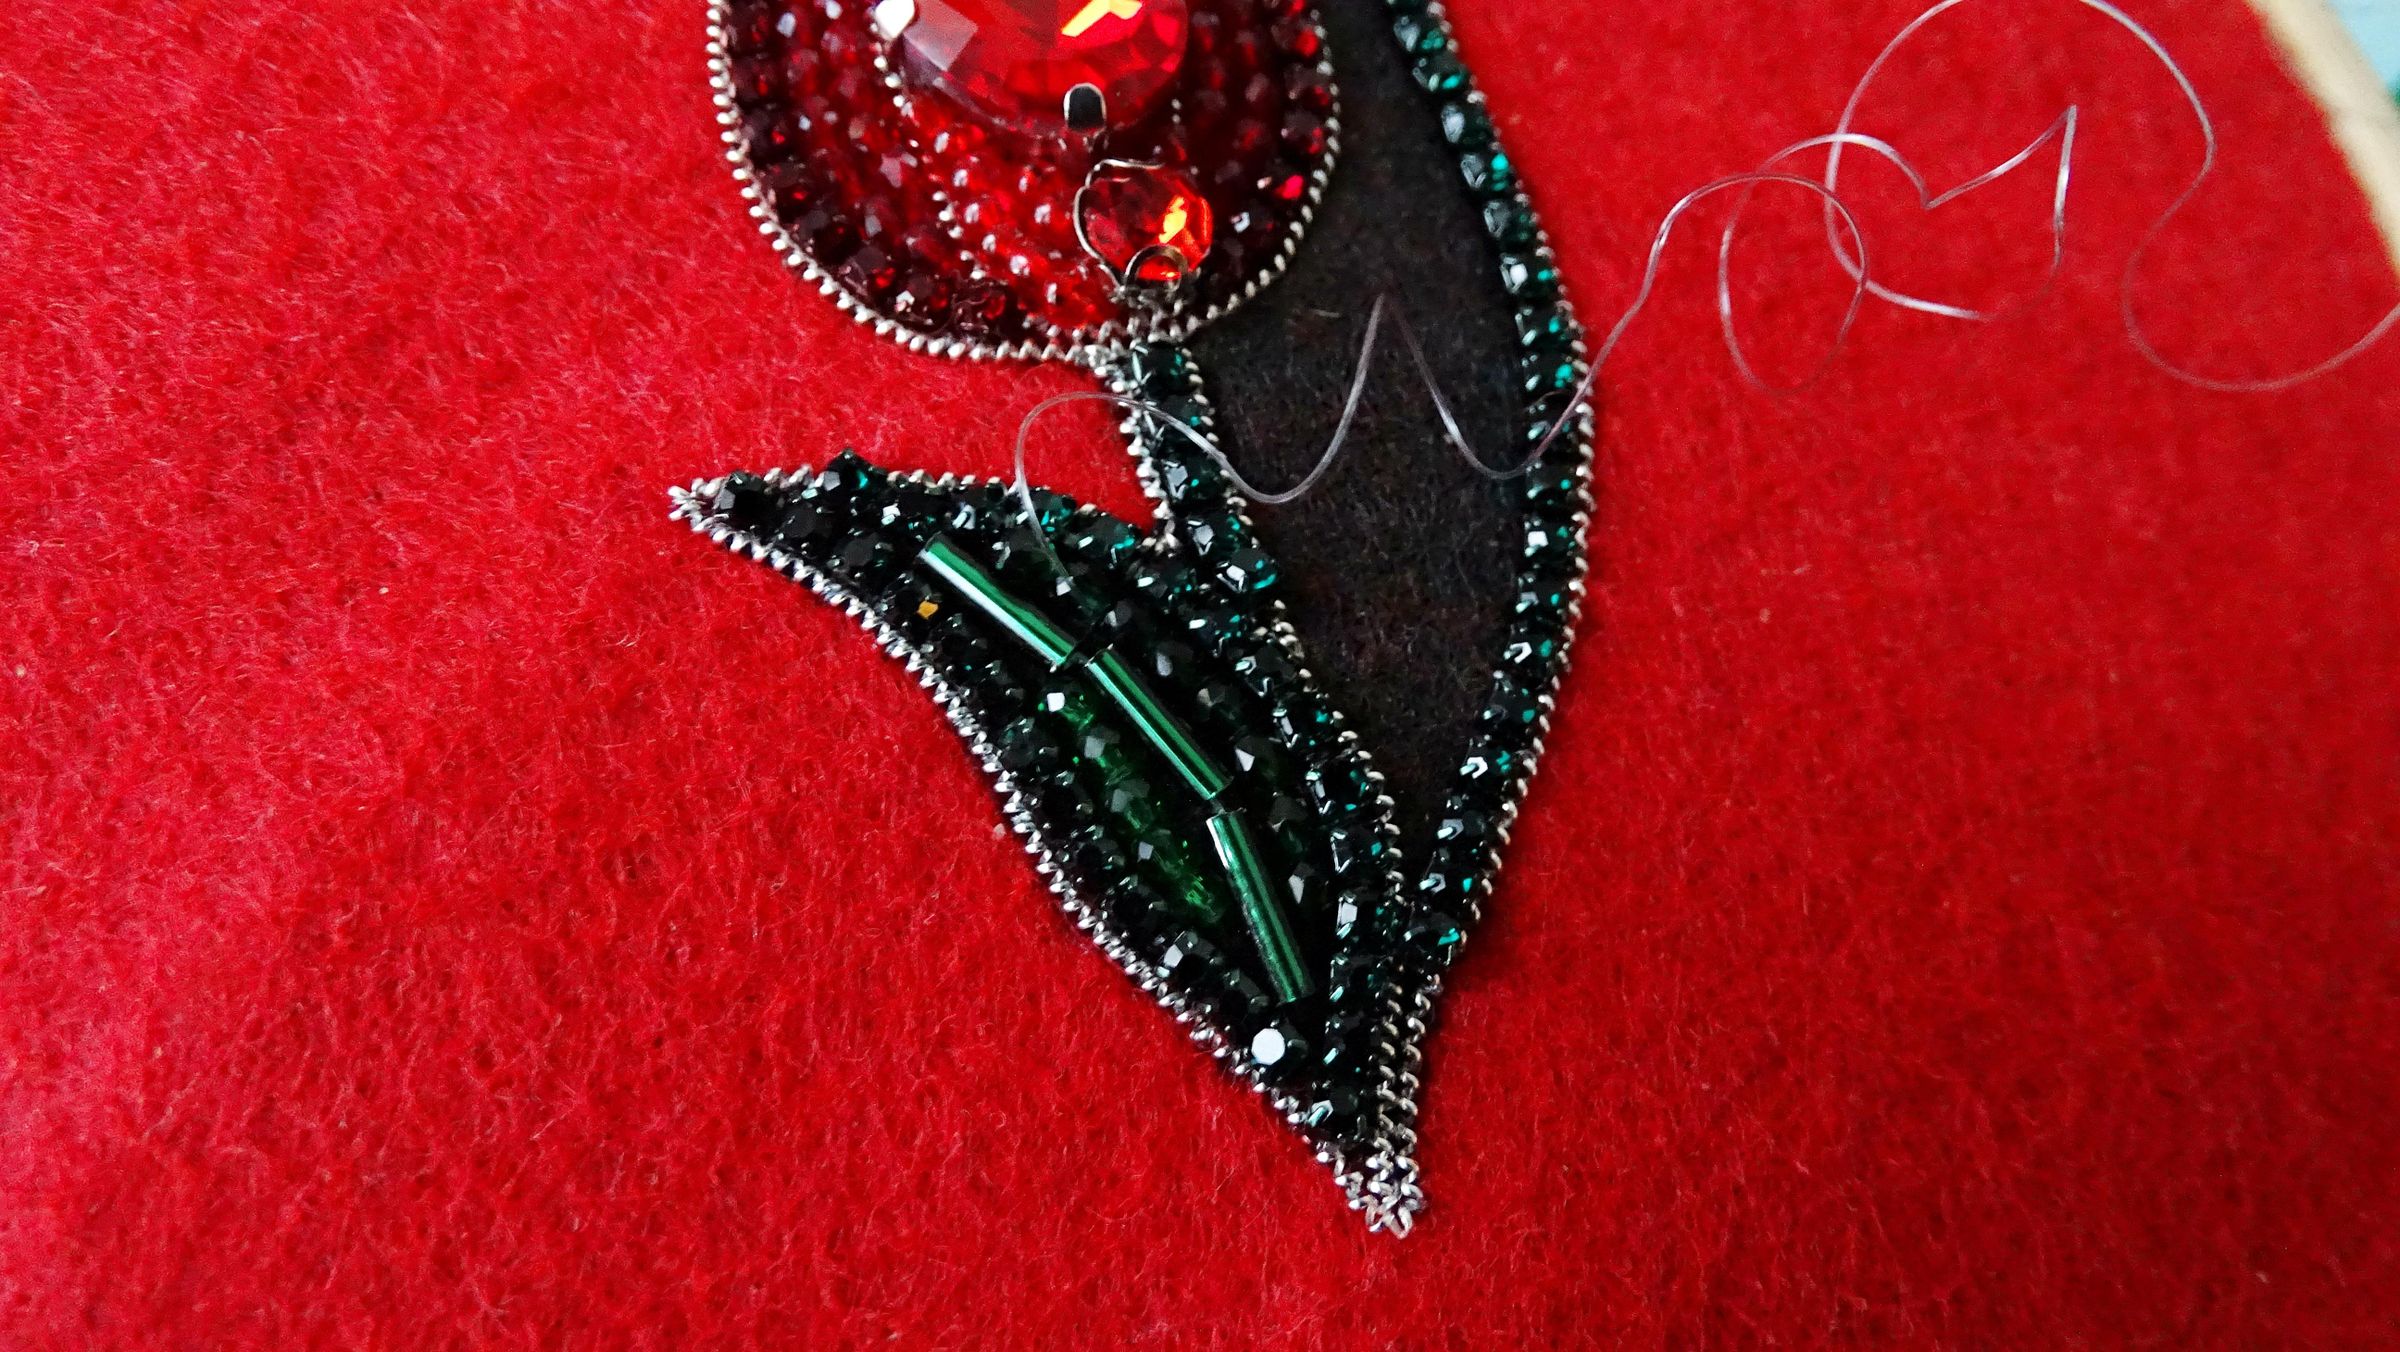
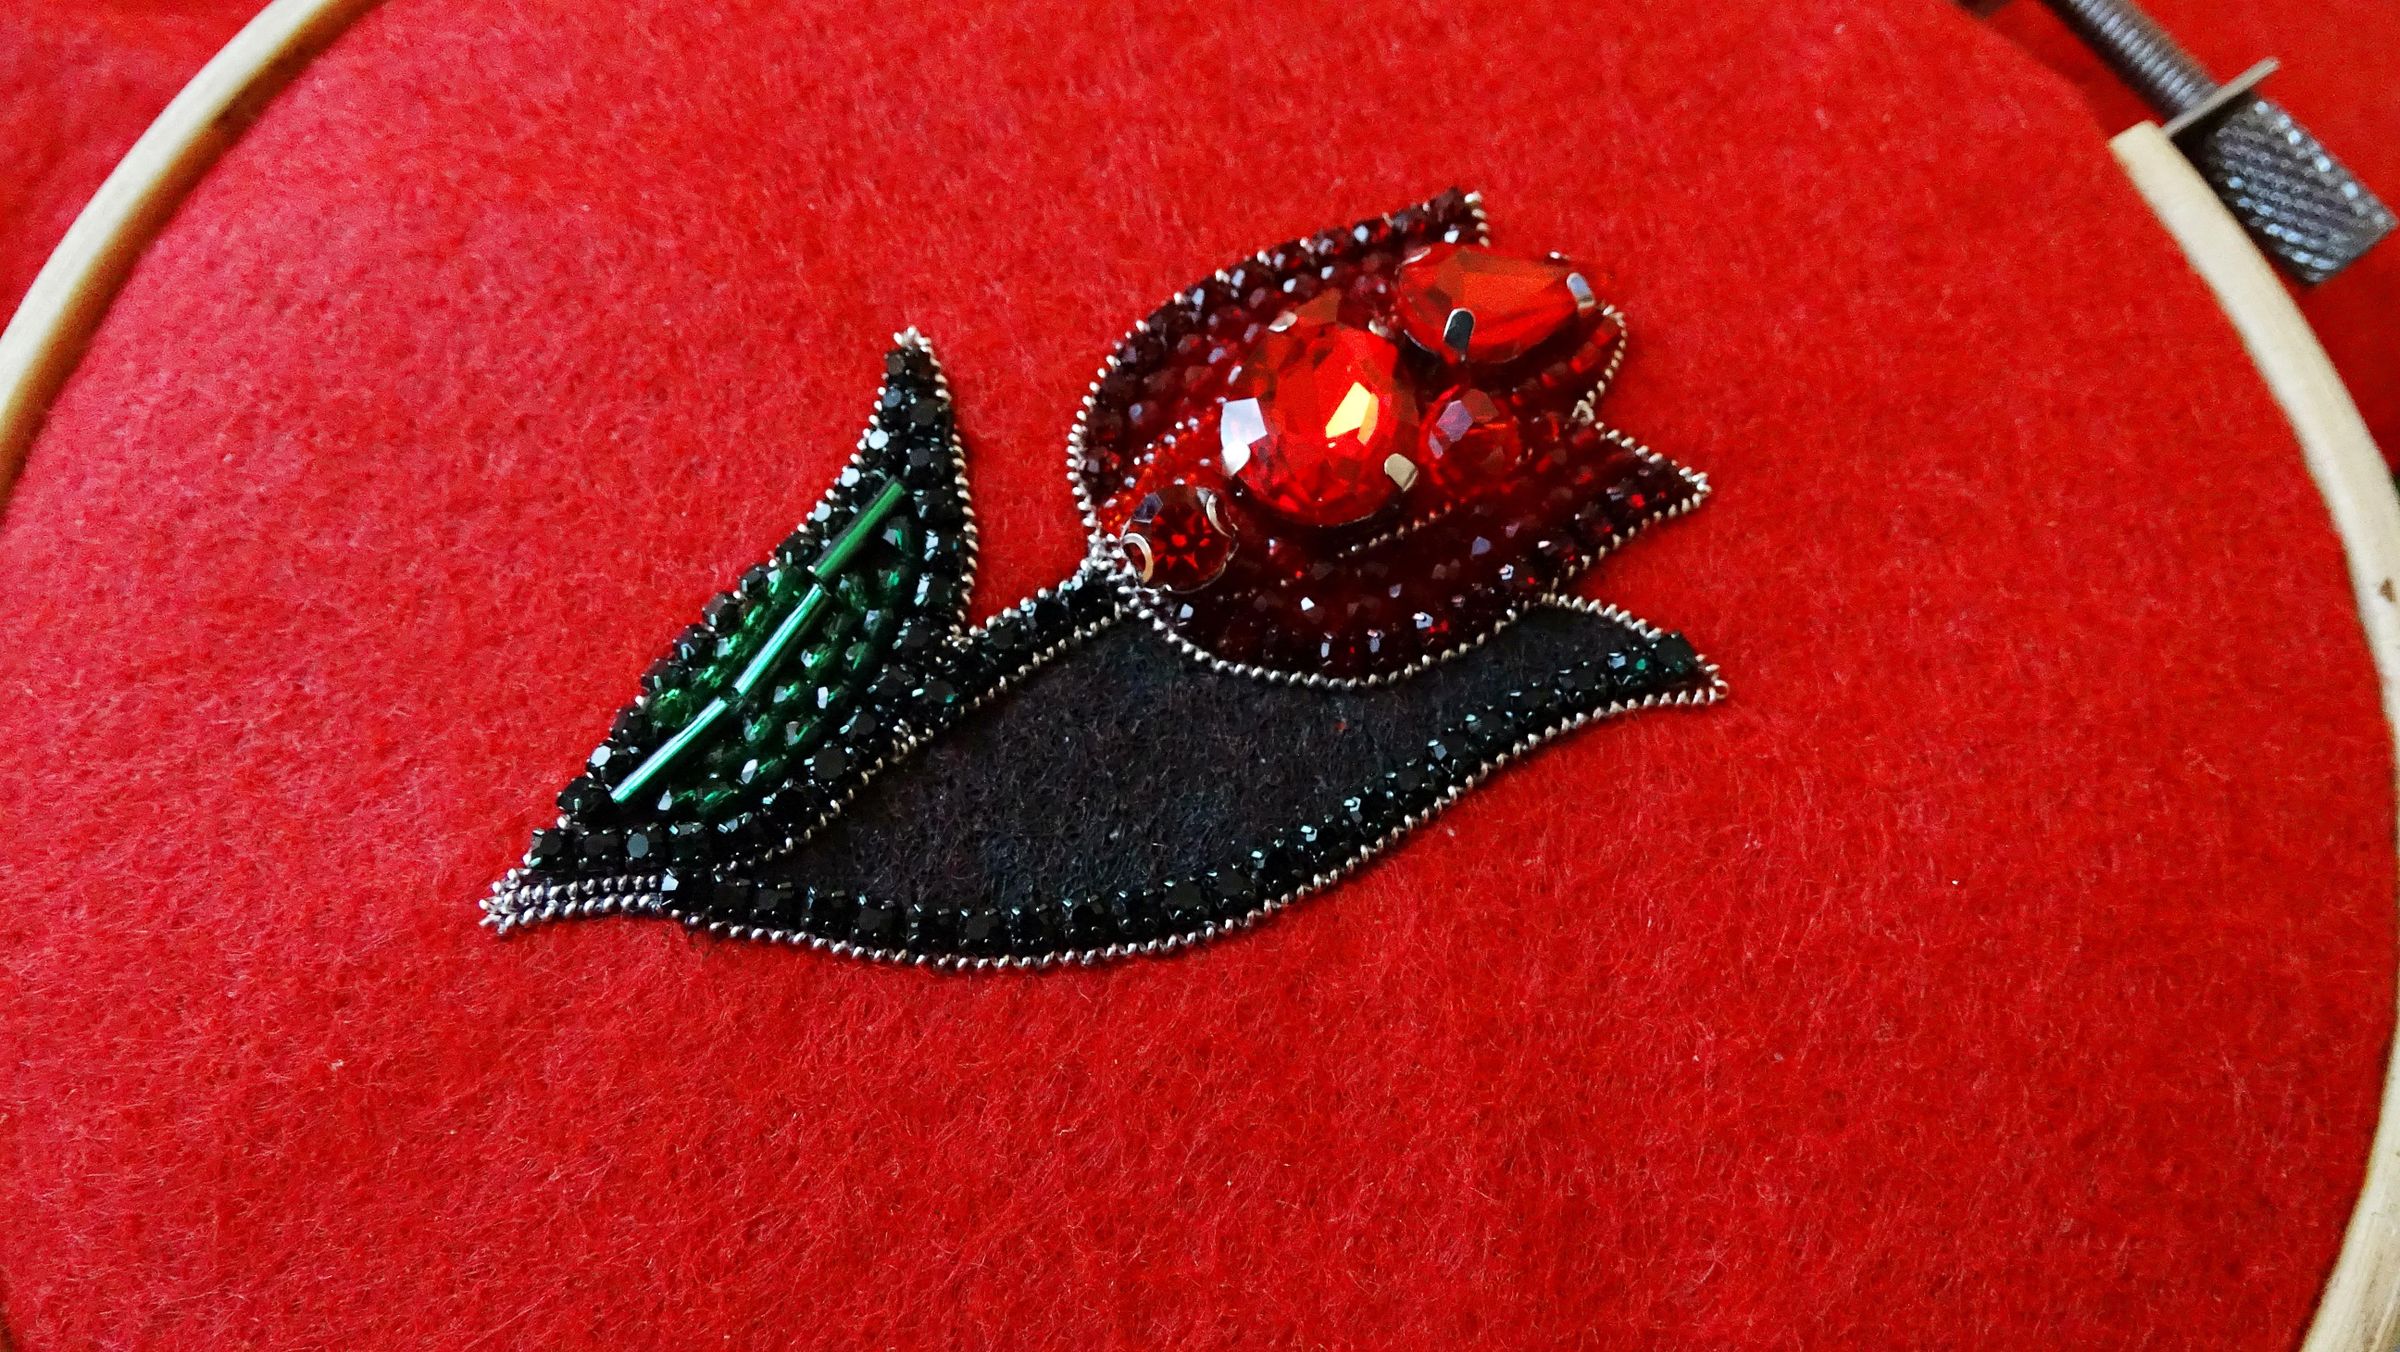
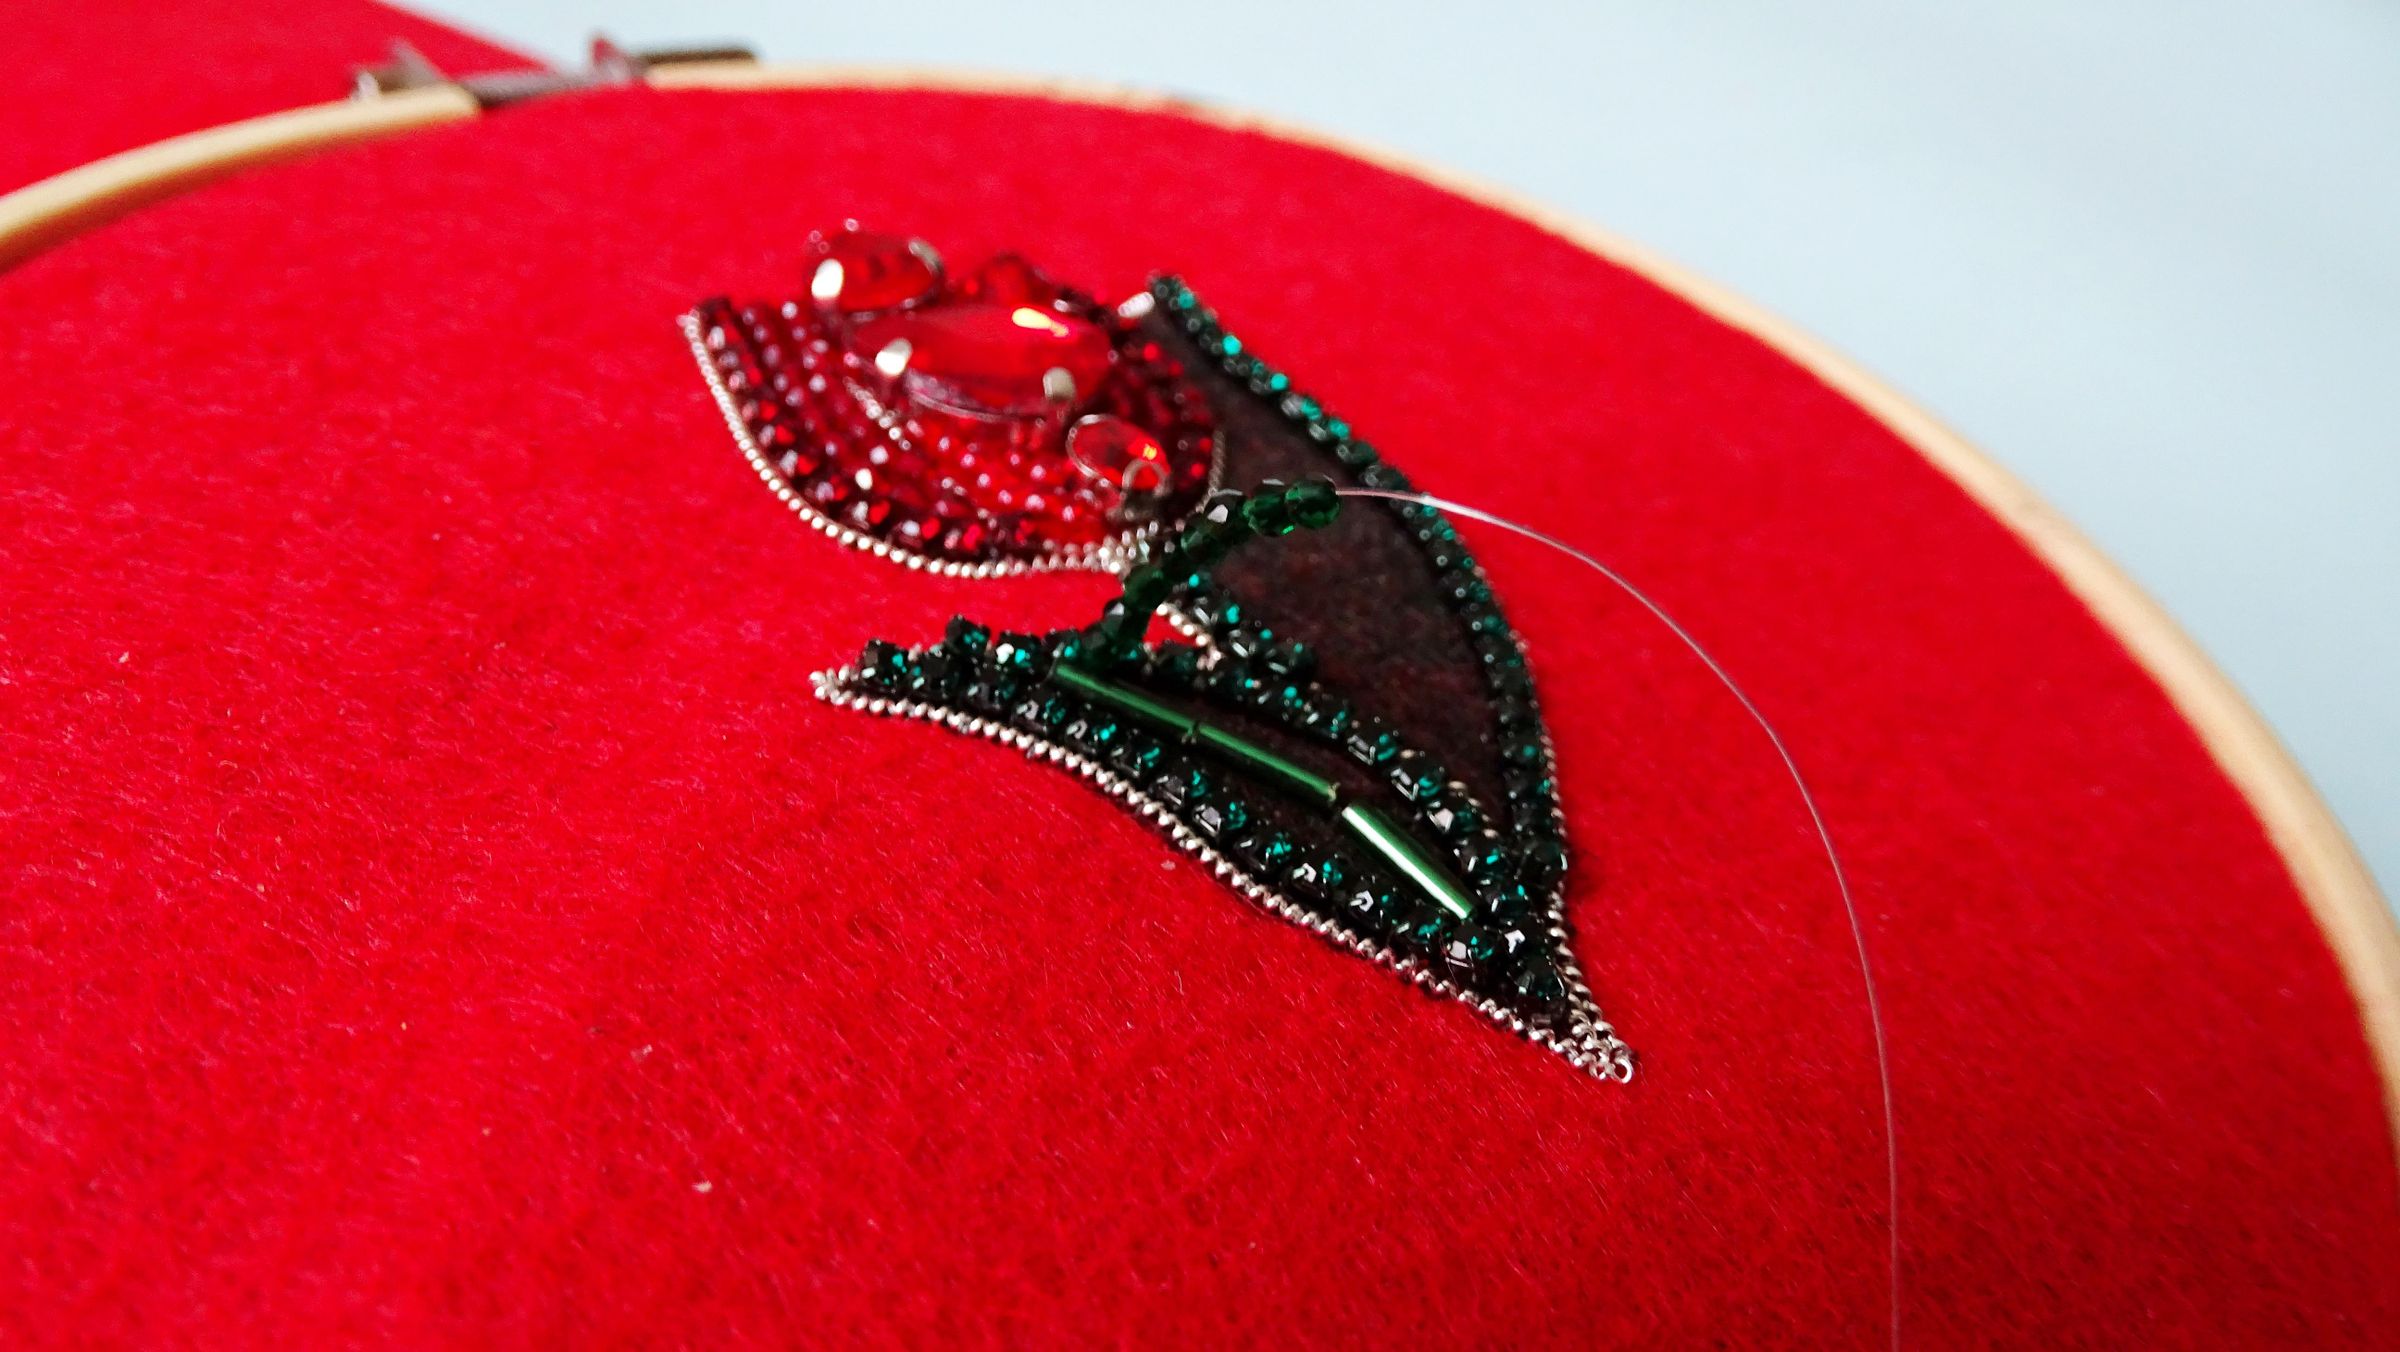
Keep embroidering the leaves of the tulip - add an emerald green rhinestone chain along the outer lines and where the stem is. Add some green tube beads, green crystal beads and have fun decorating.
Follow the same pattern as the petals when embroidering the beads to the leaves.
Cut the Tulip
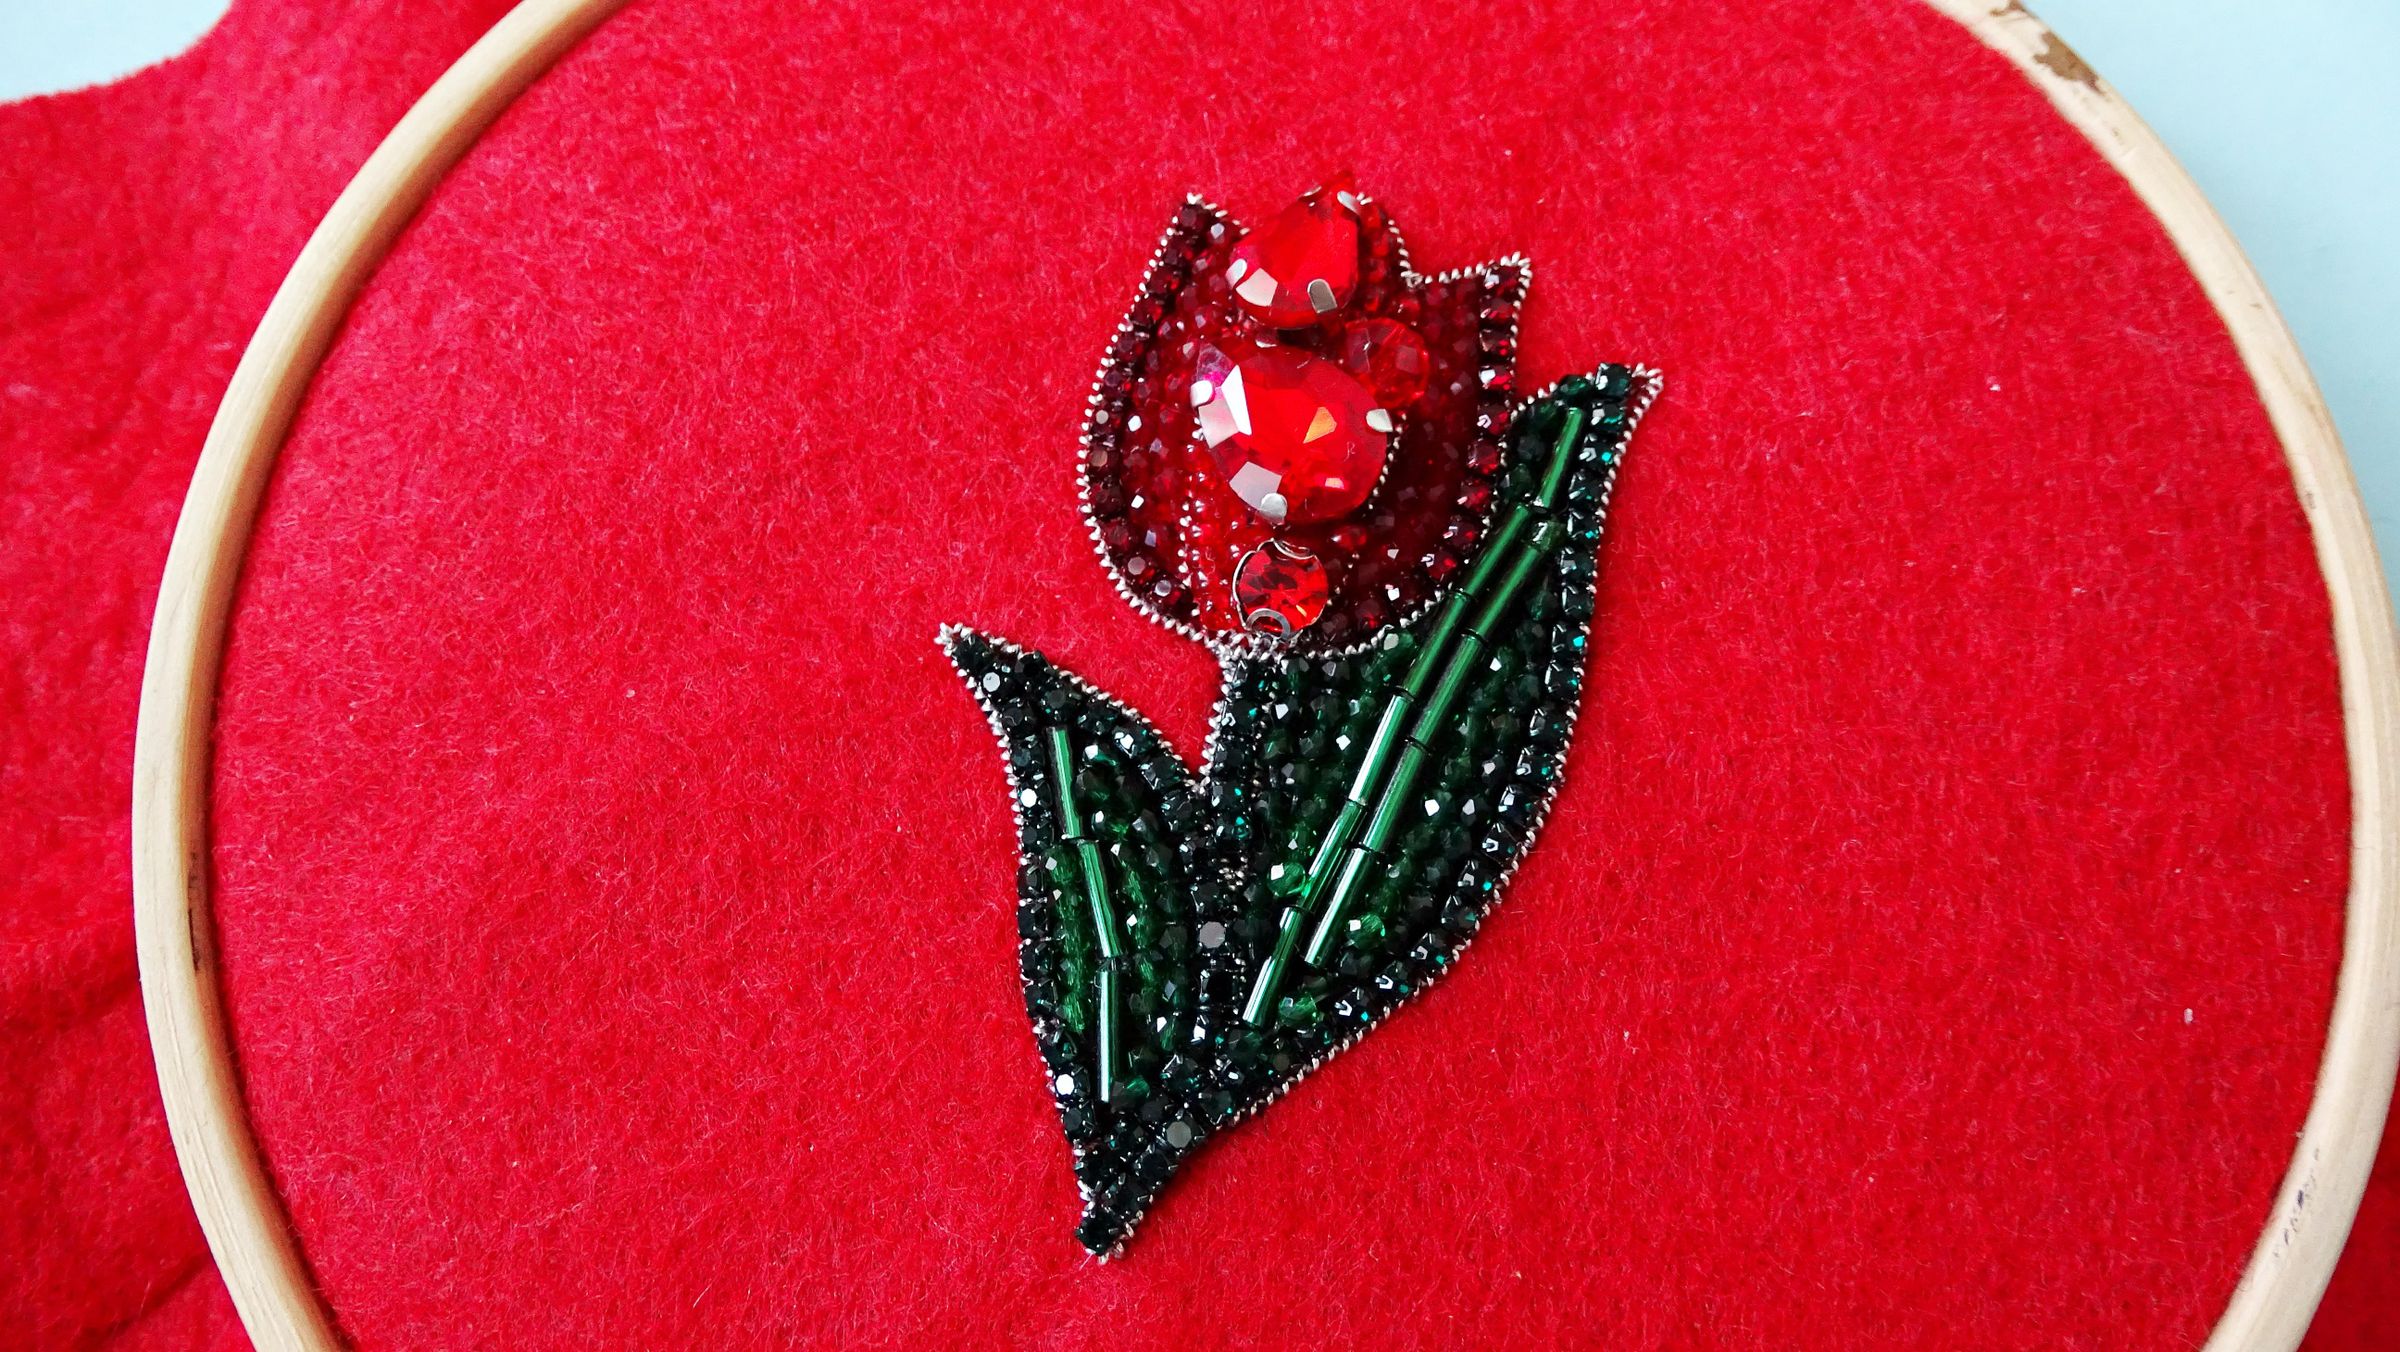
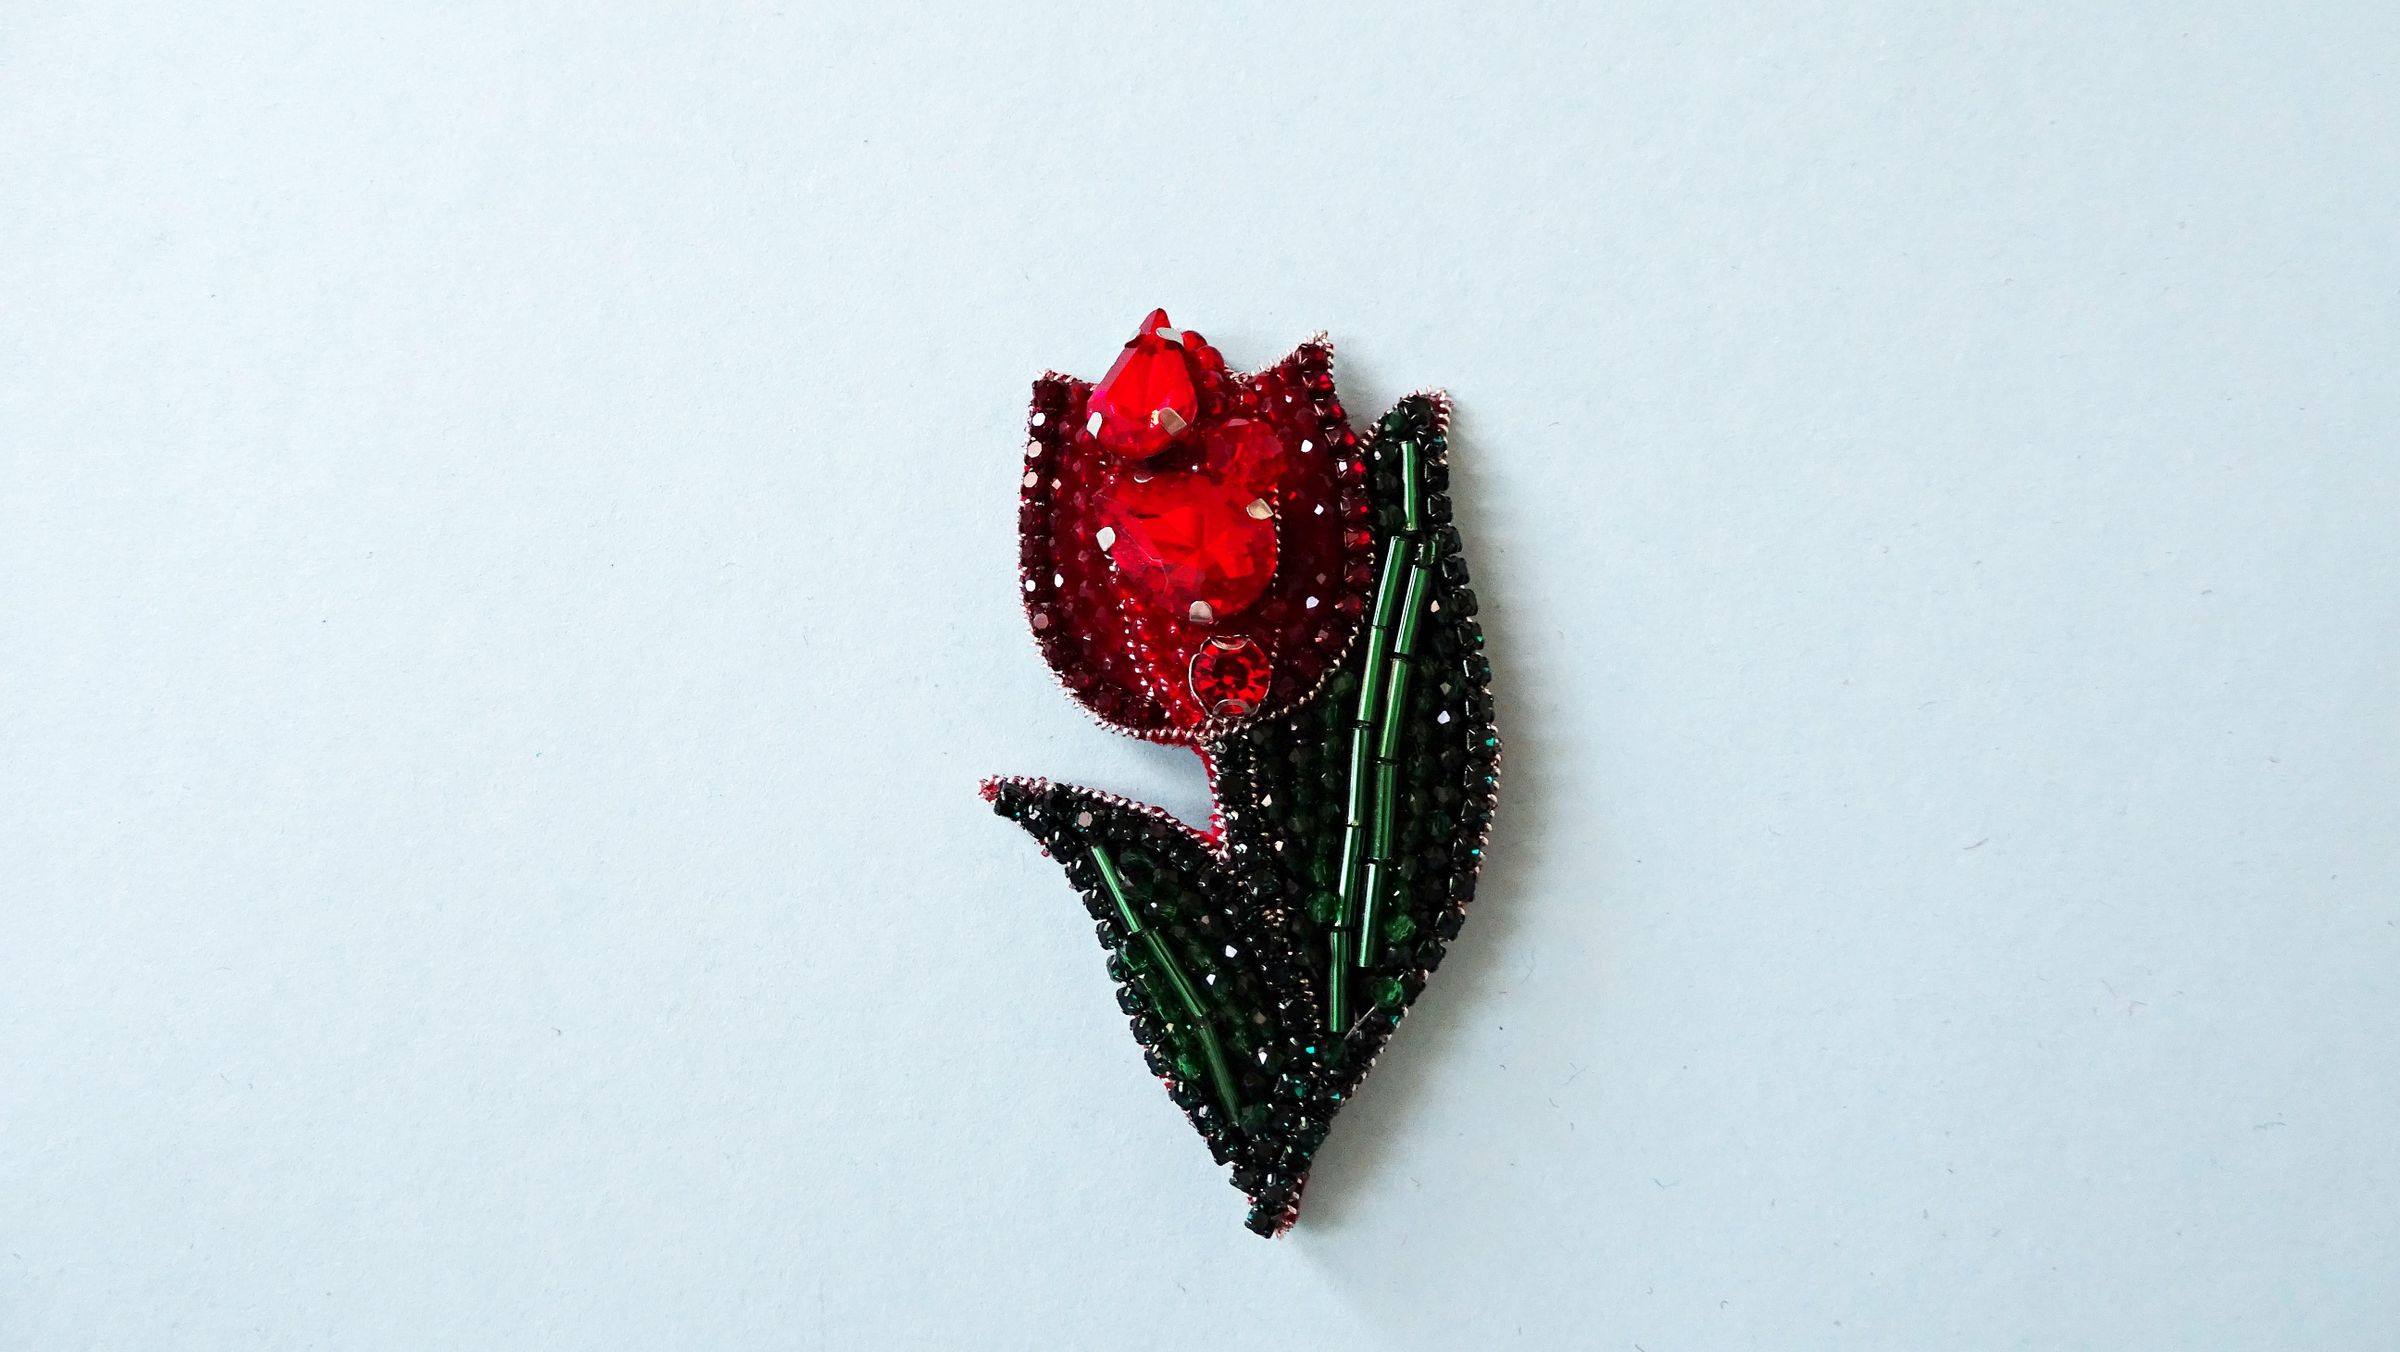
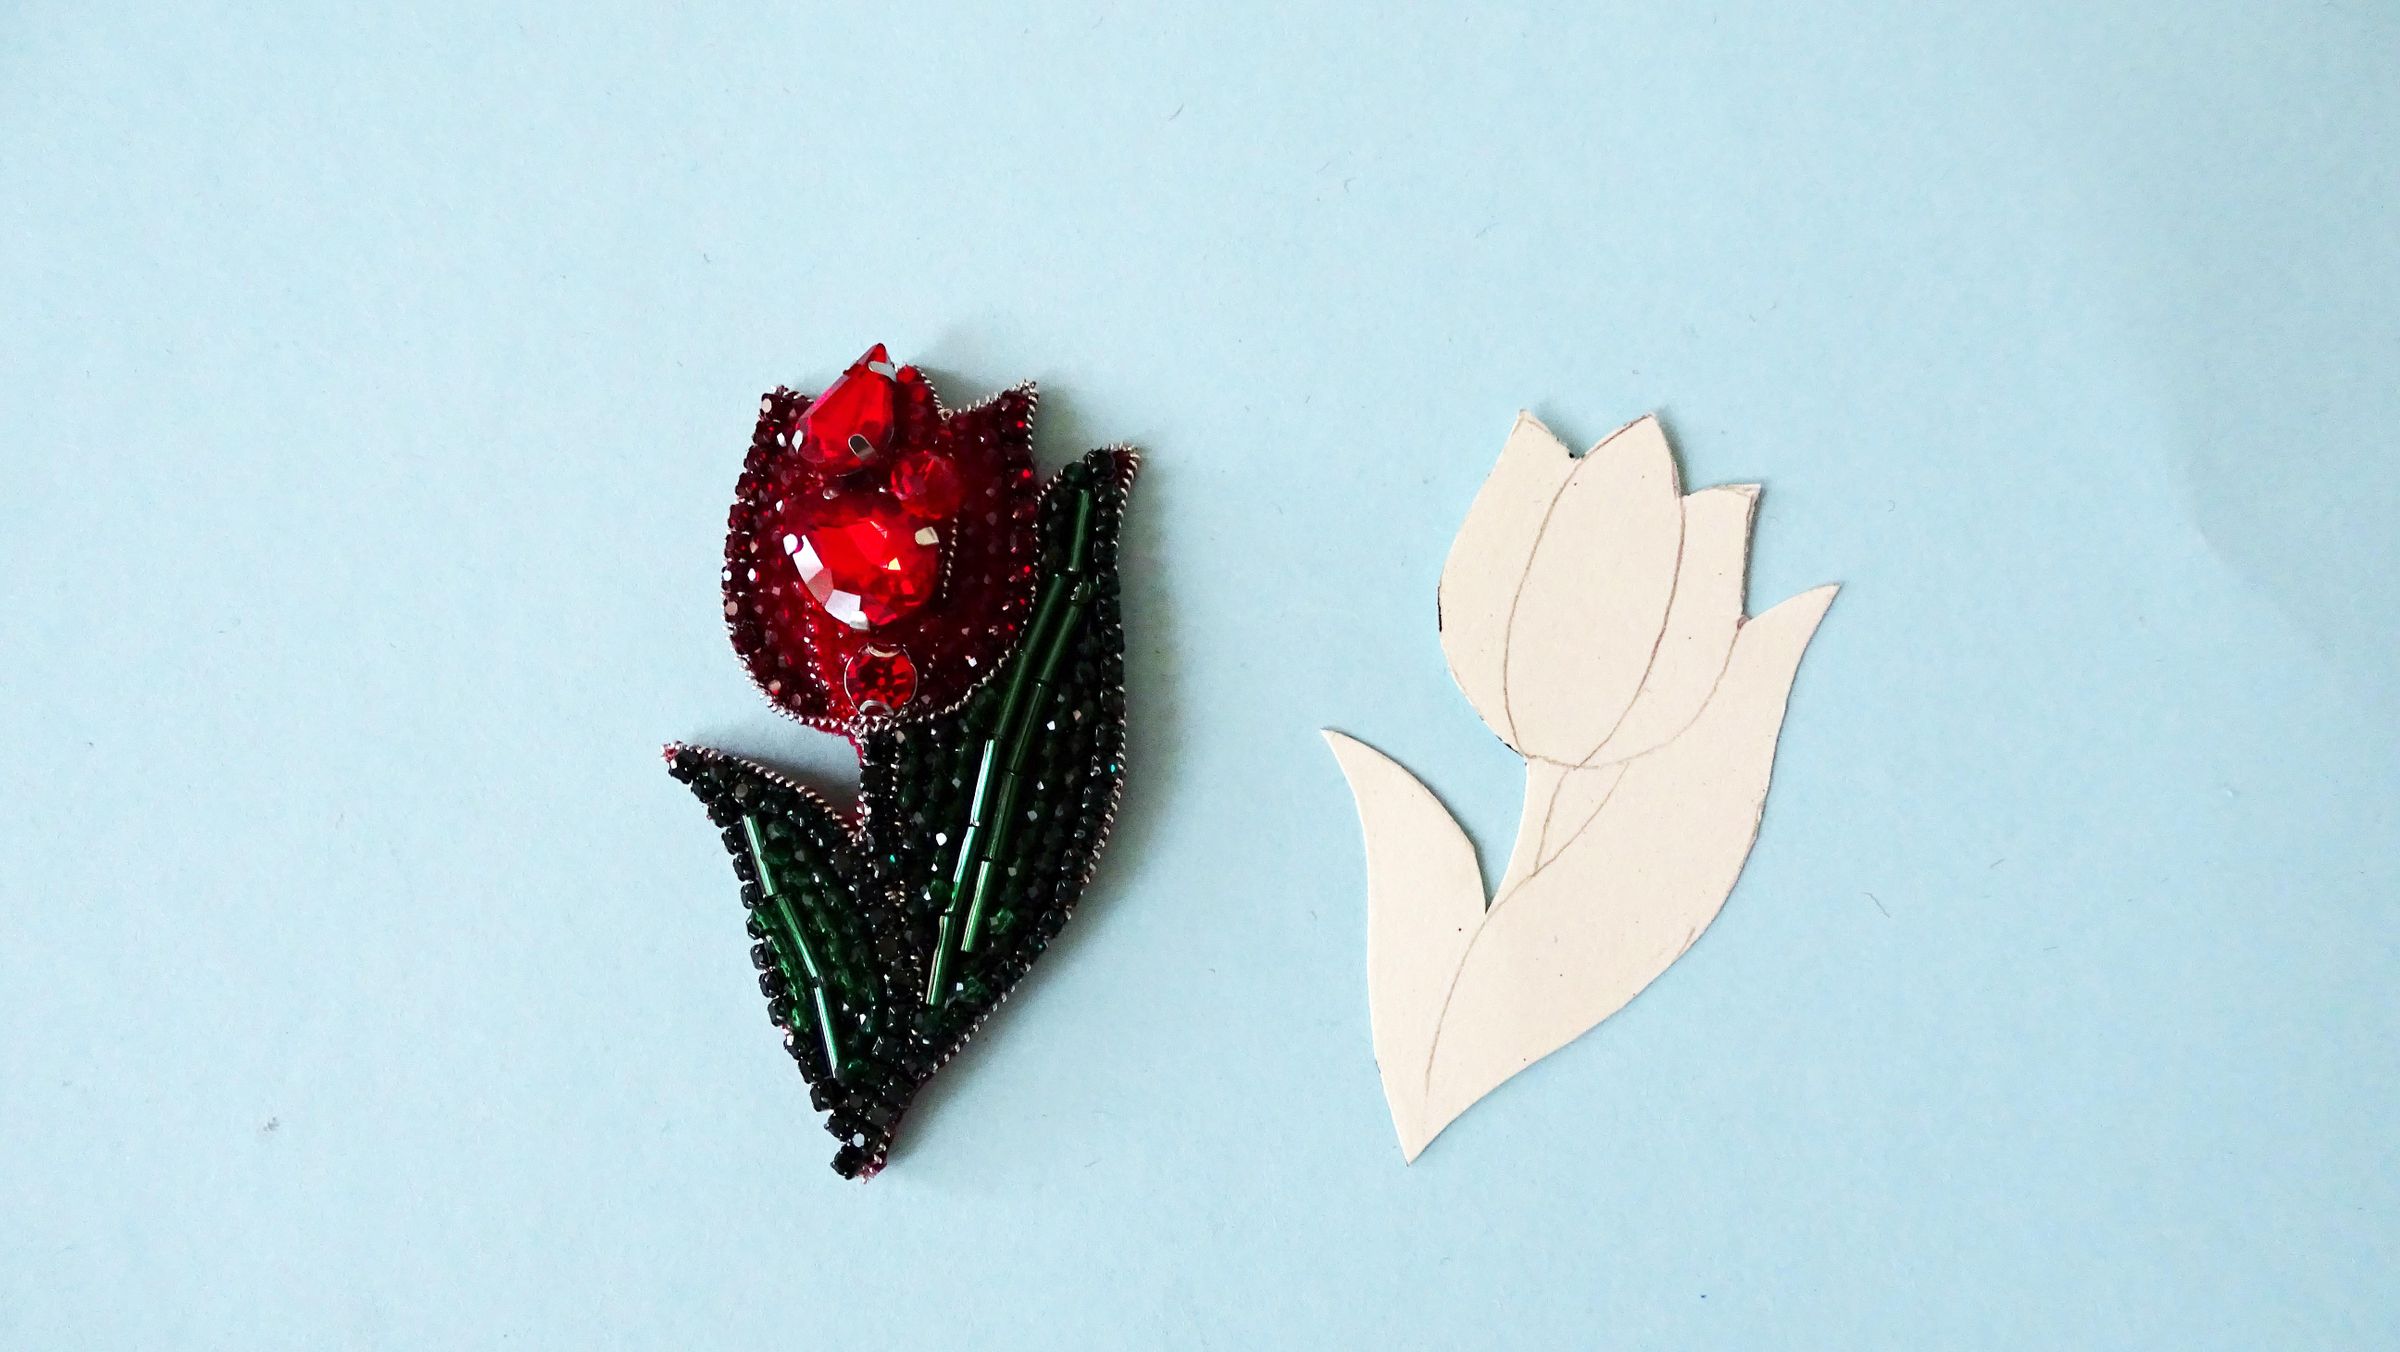
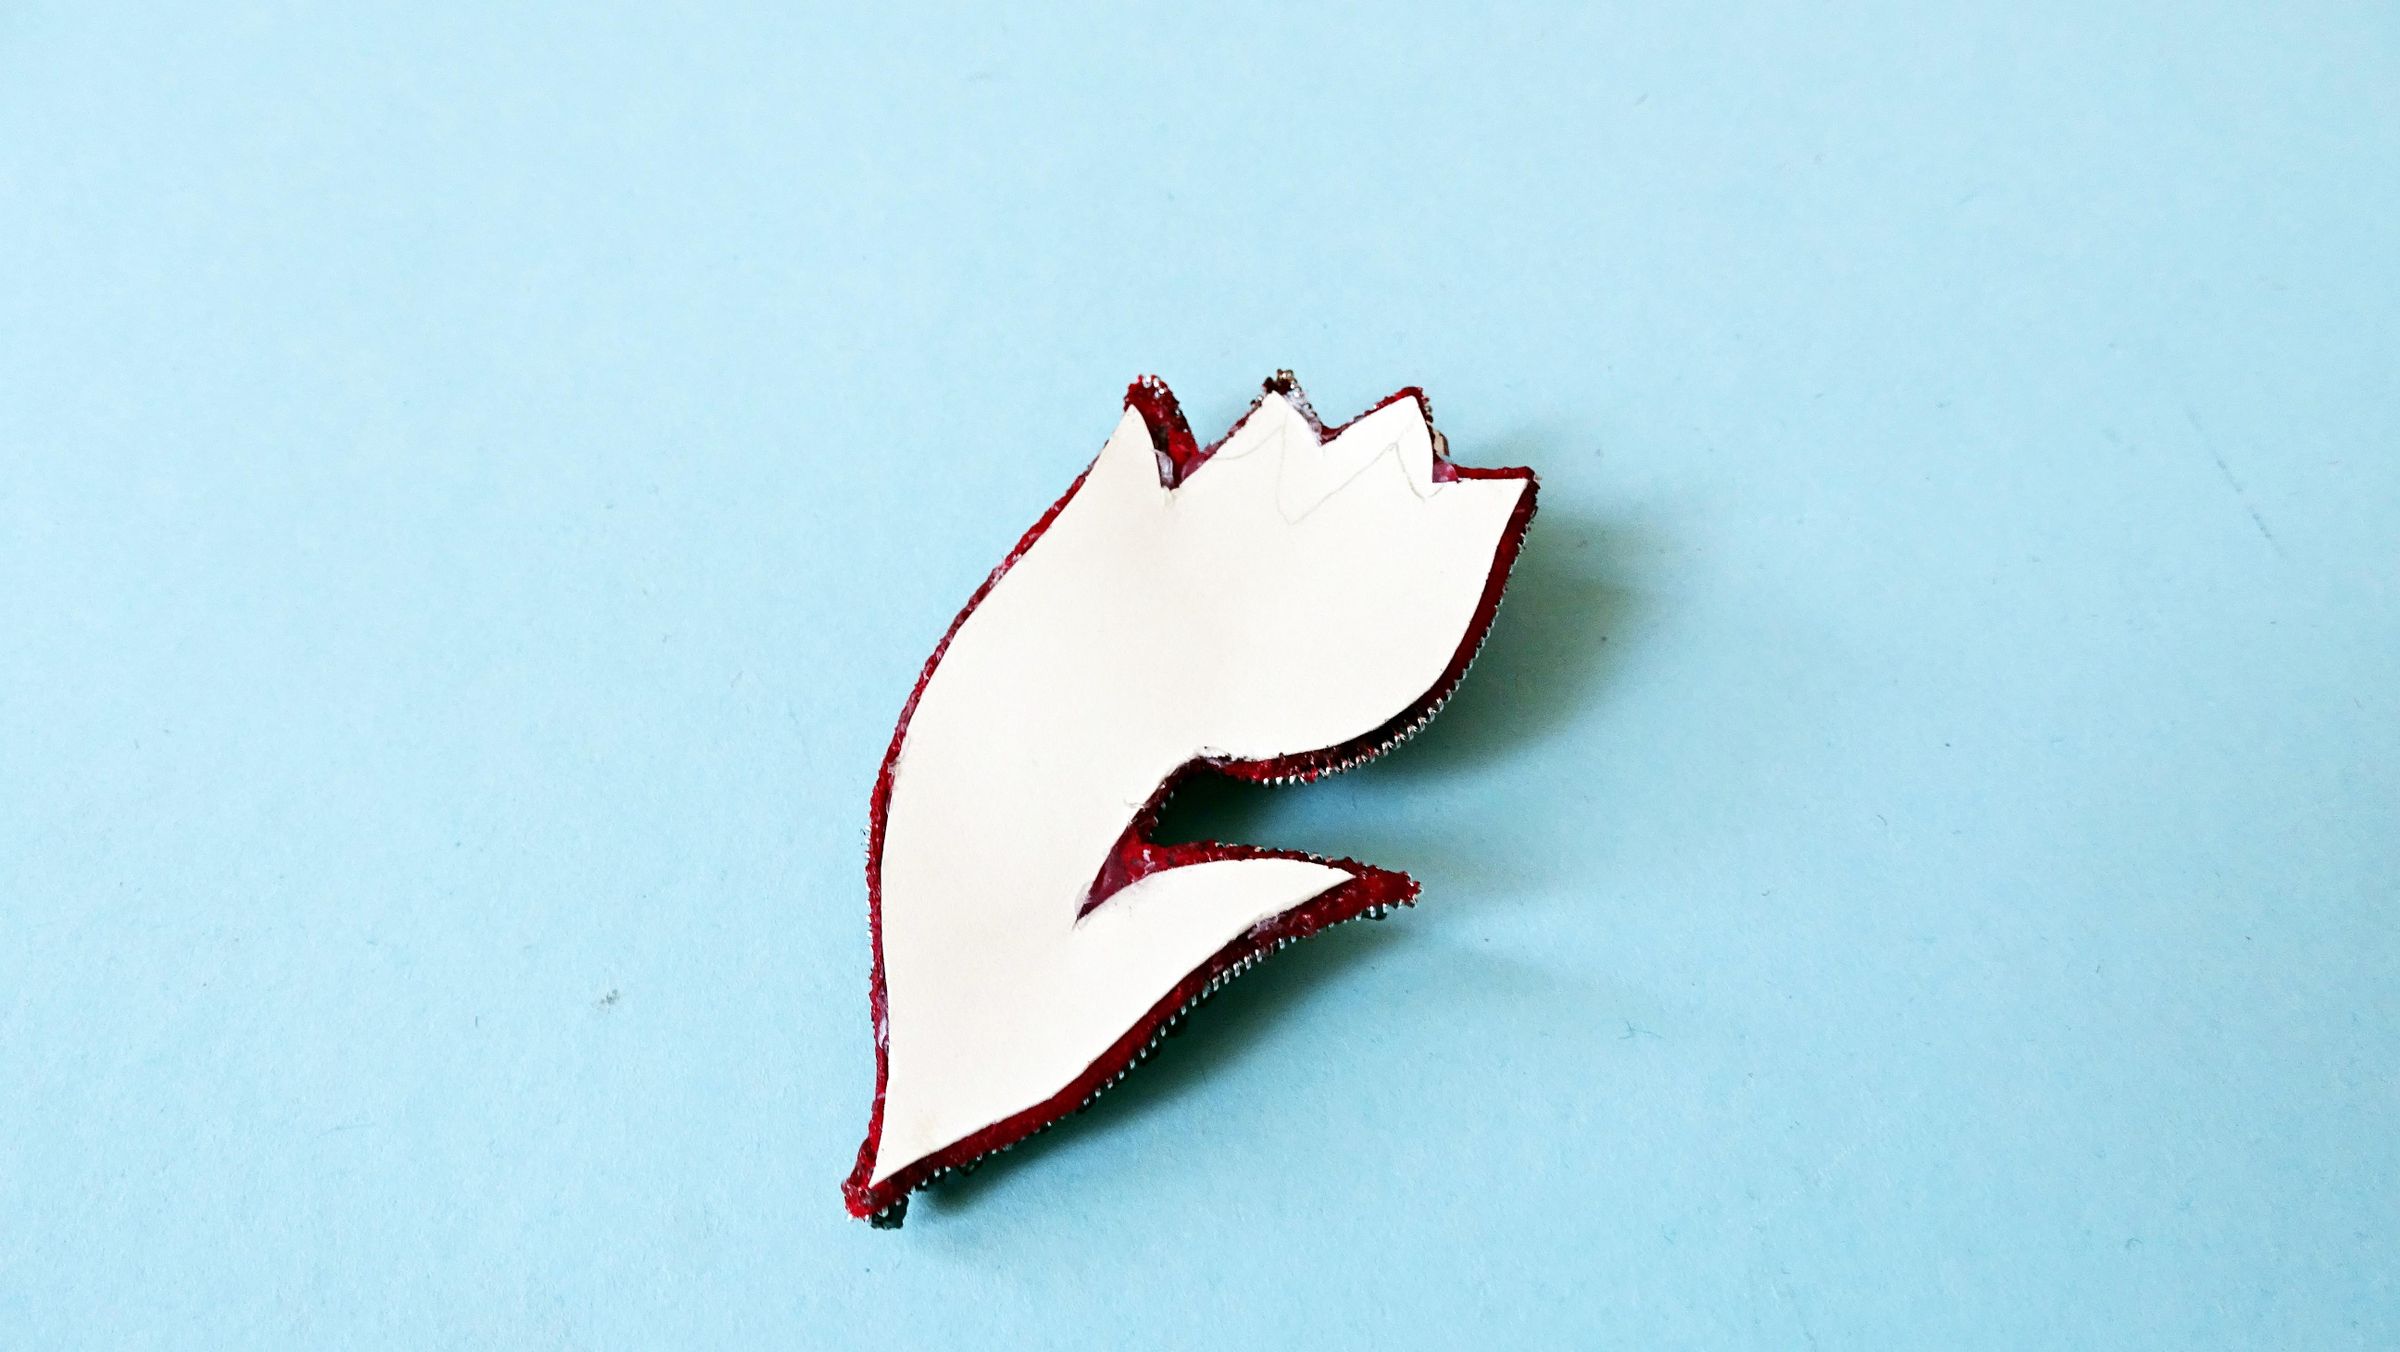
Once you are happy with the way your bead embroidery tulip looks remove the felt from the hoop and cut the flower.
Take the cardboard cutout you used in the beginning of the project and place it to the back of the tulip. The cardboard should cover the back of the tulip. Trim any excess off. Glue the cardstock piece using some hot glue. This way you are adding more stability to your brooch.
Let it dry before moving on to the next step.
Cover With Leather
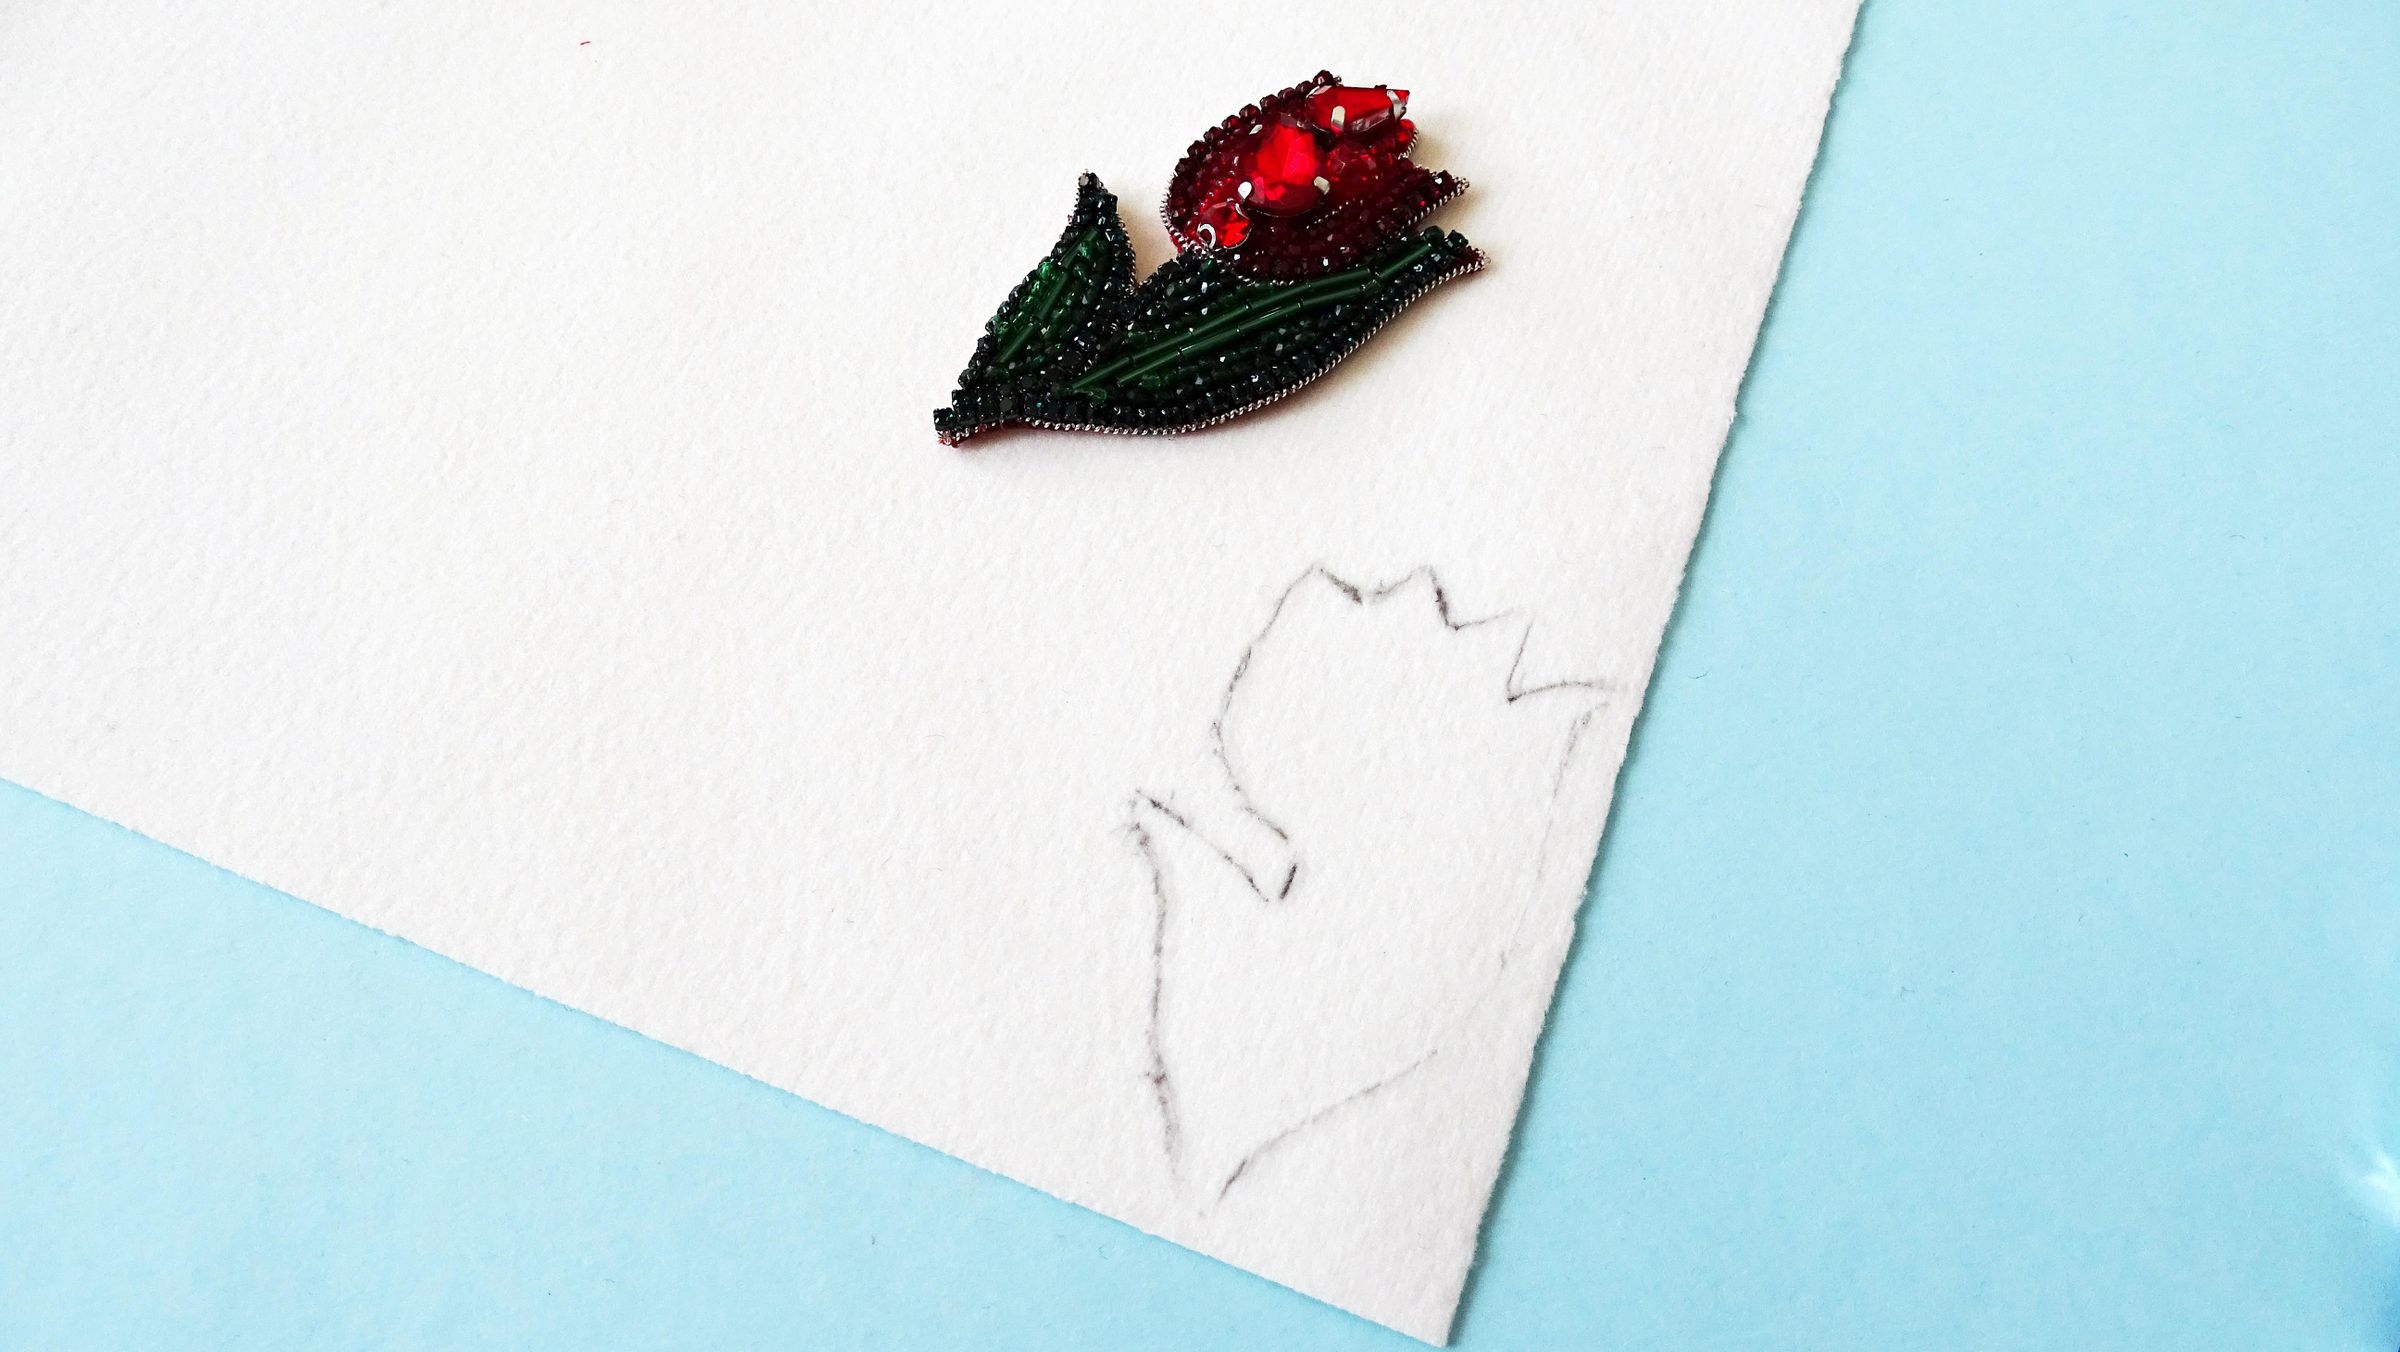
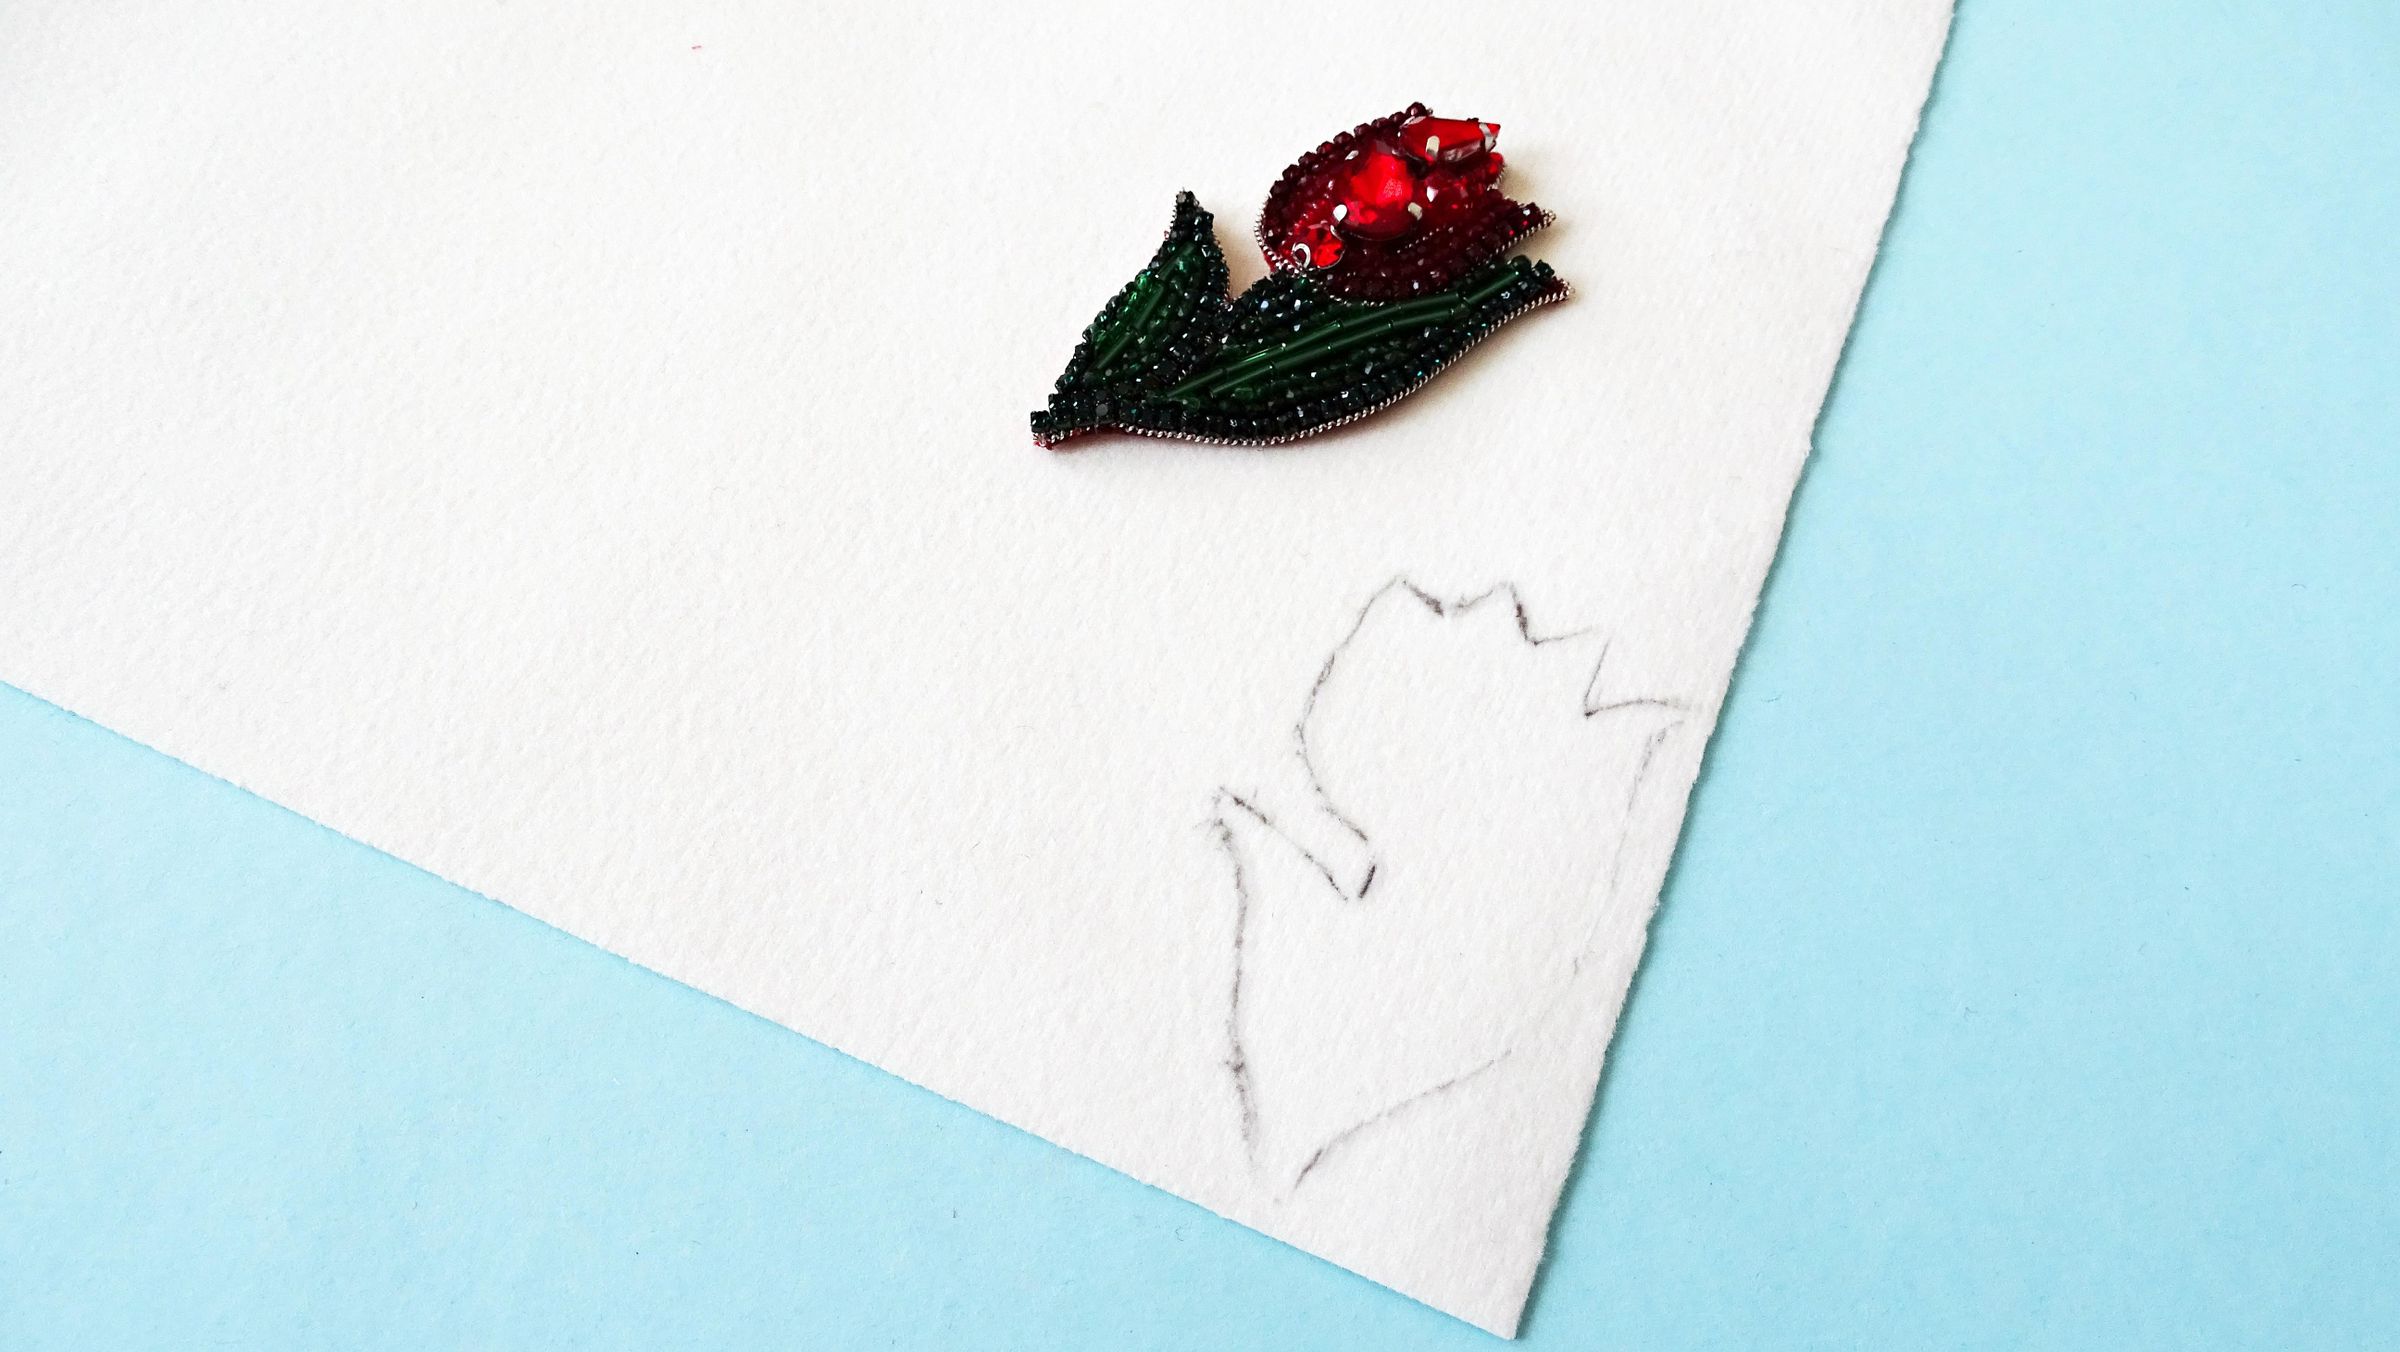
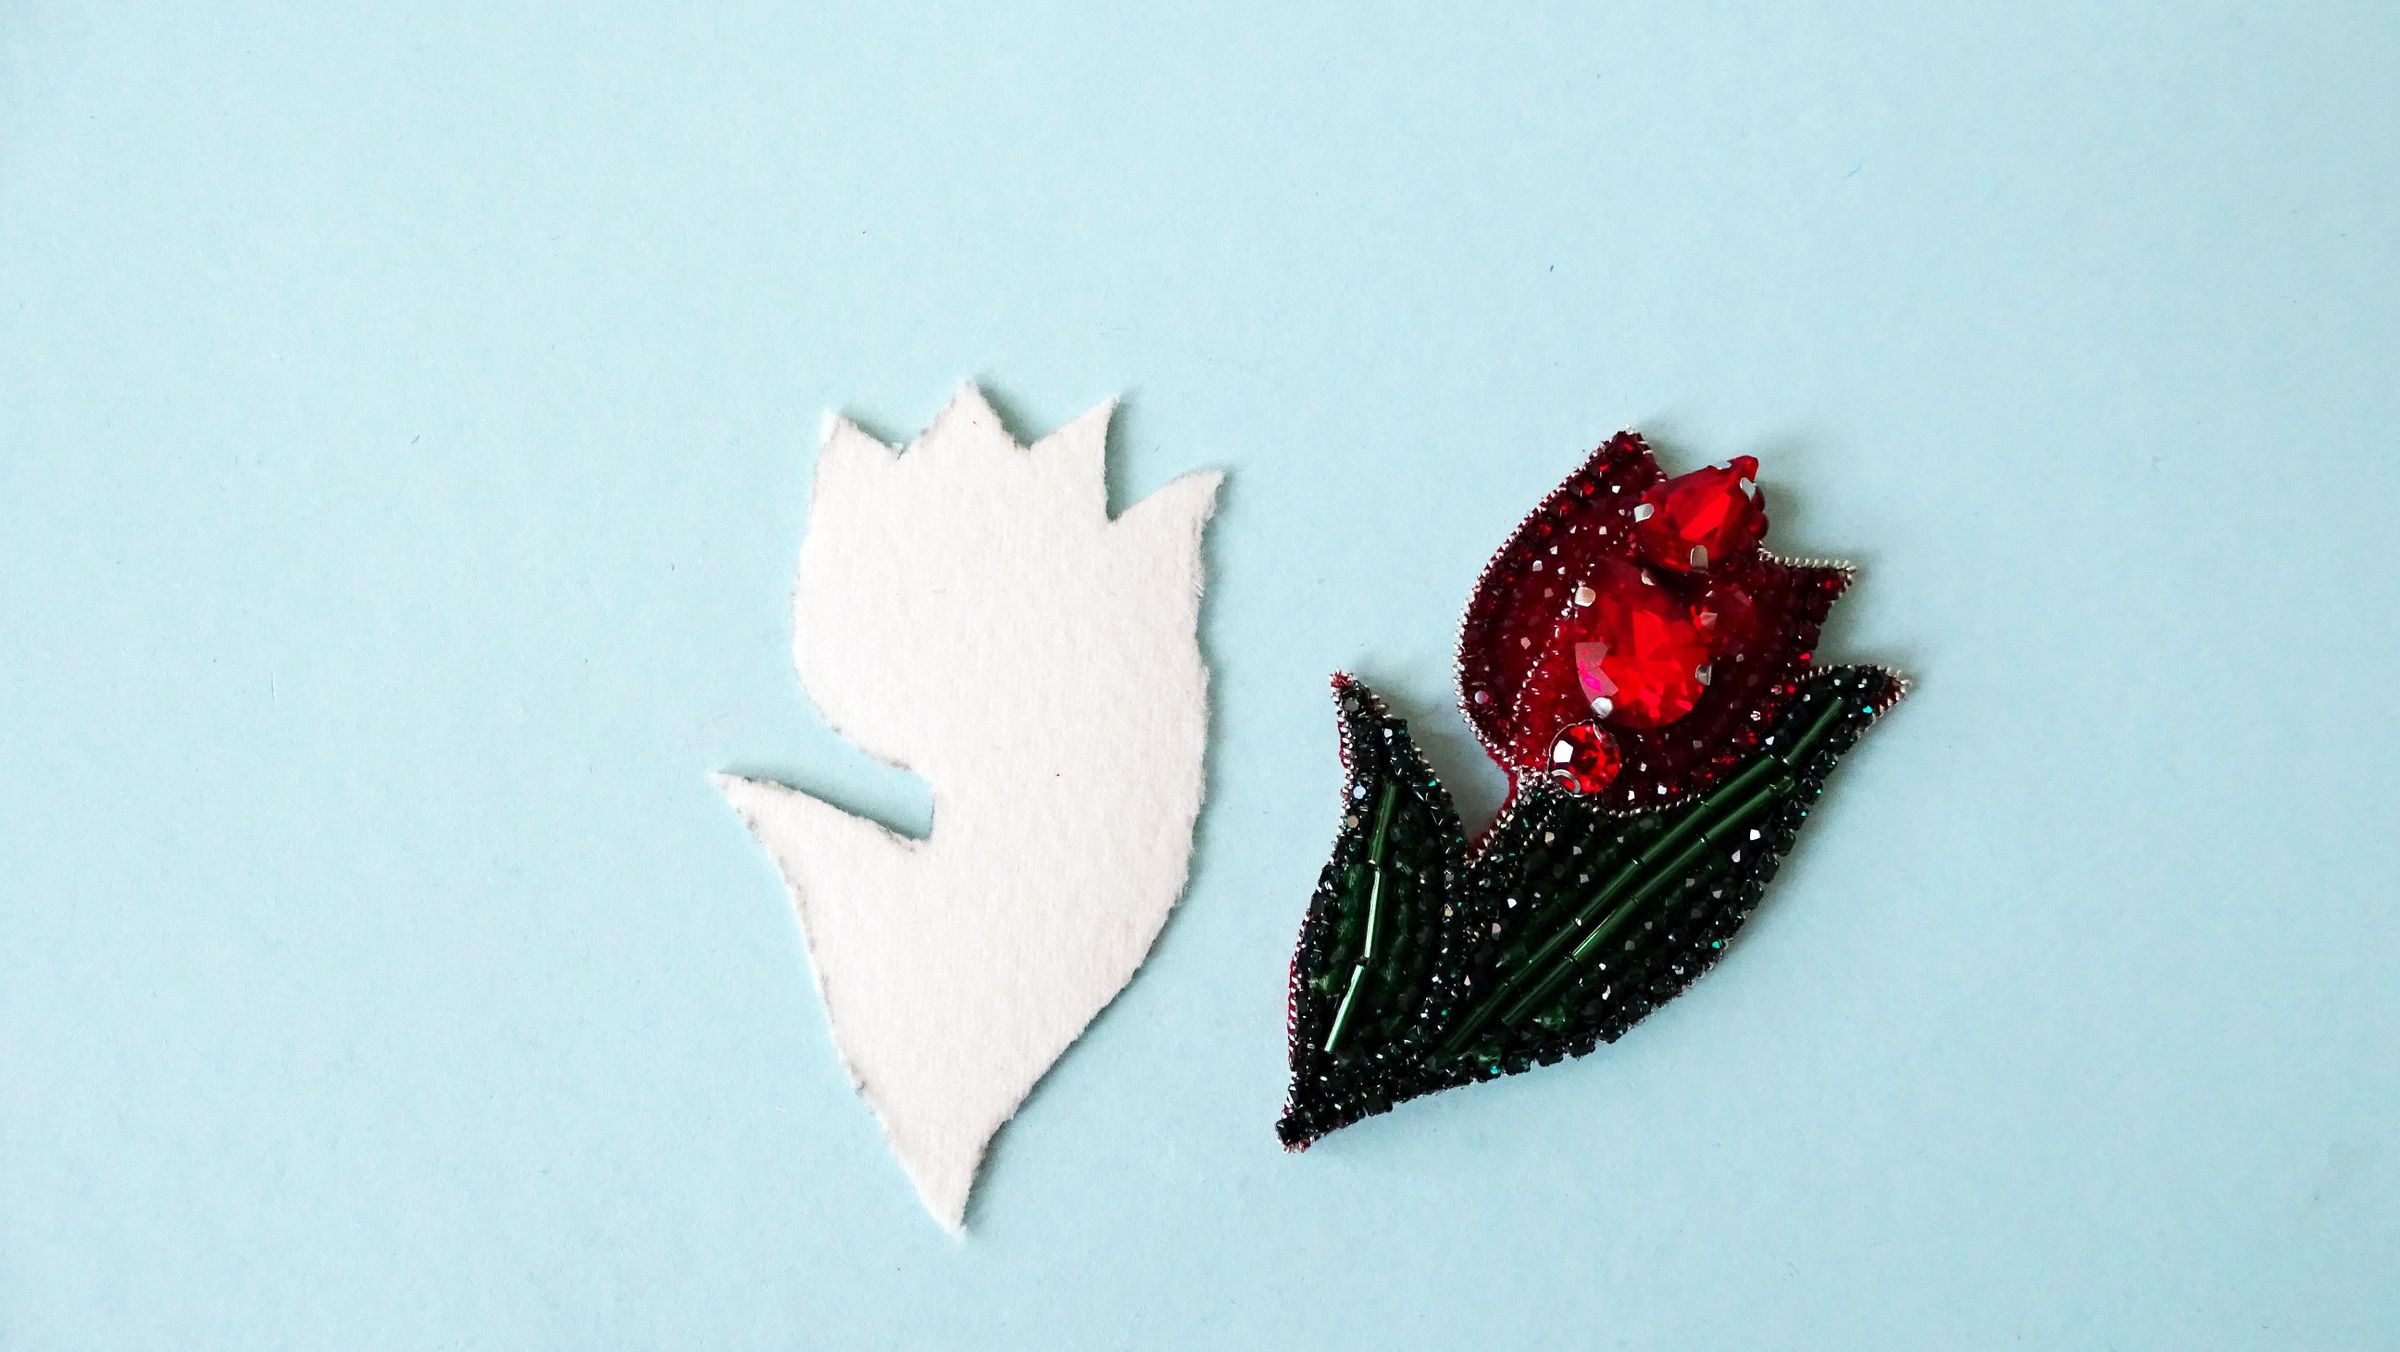
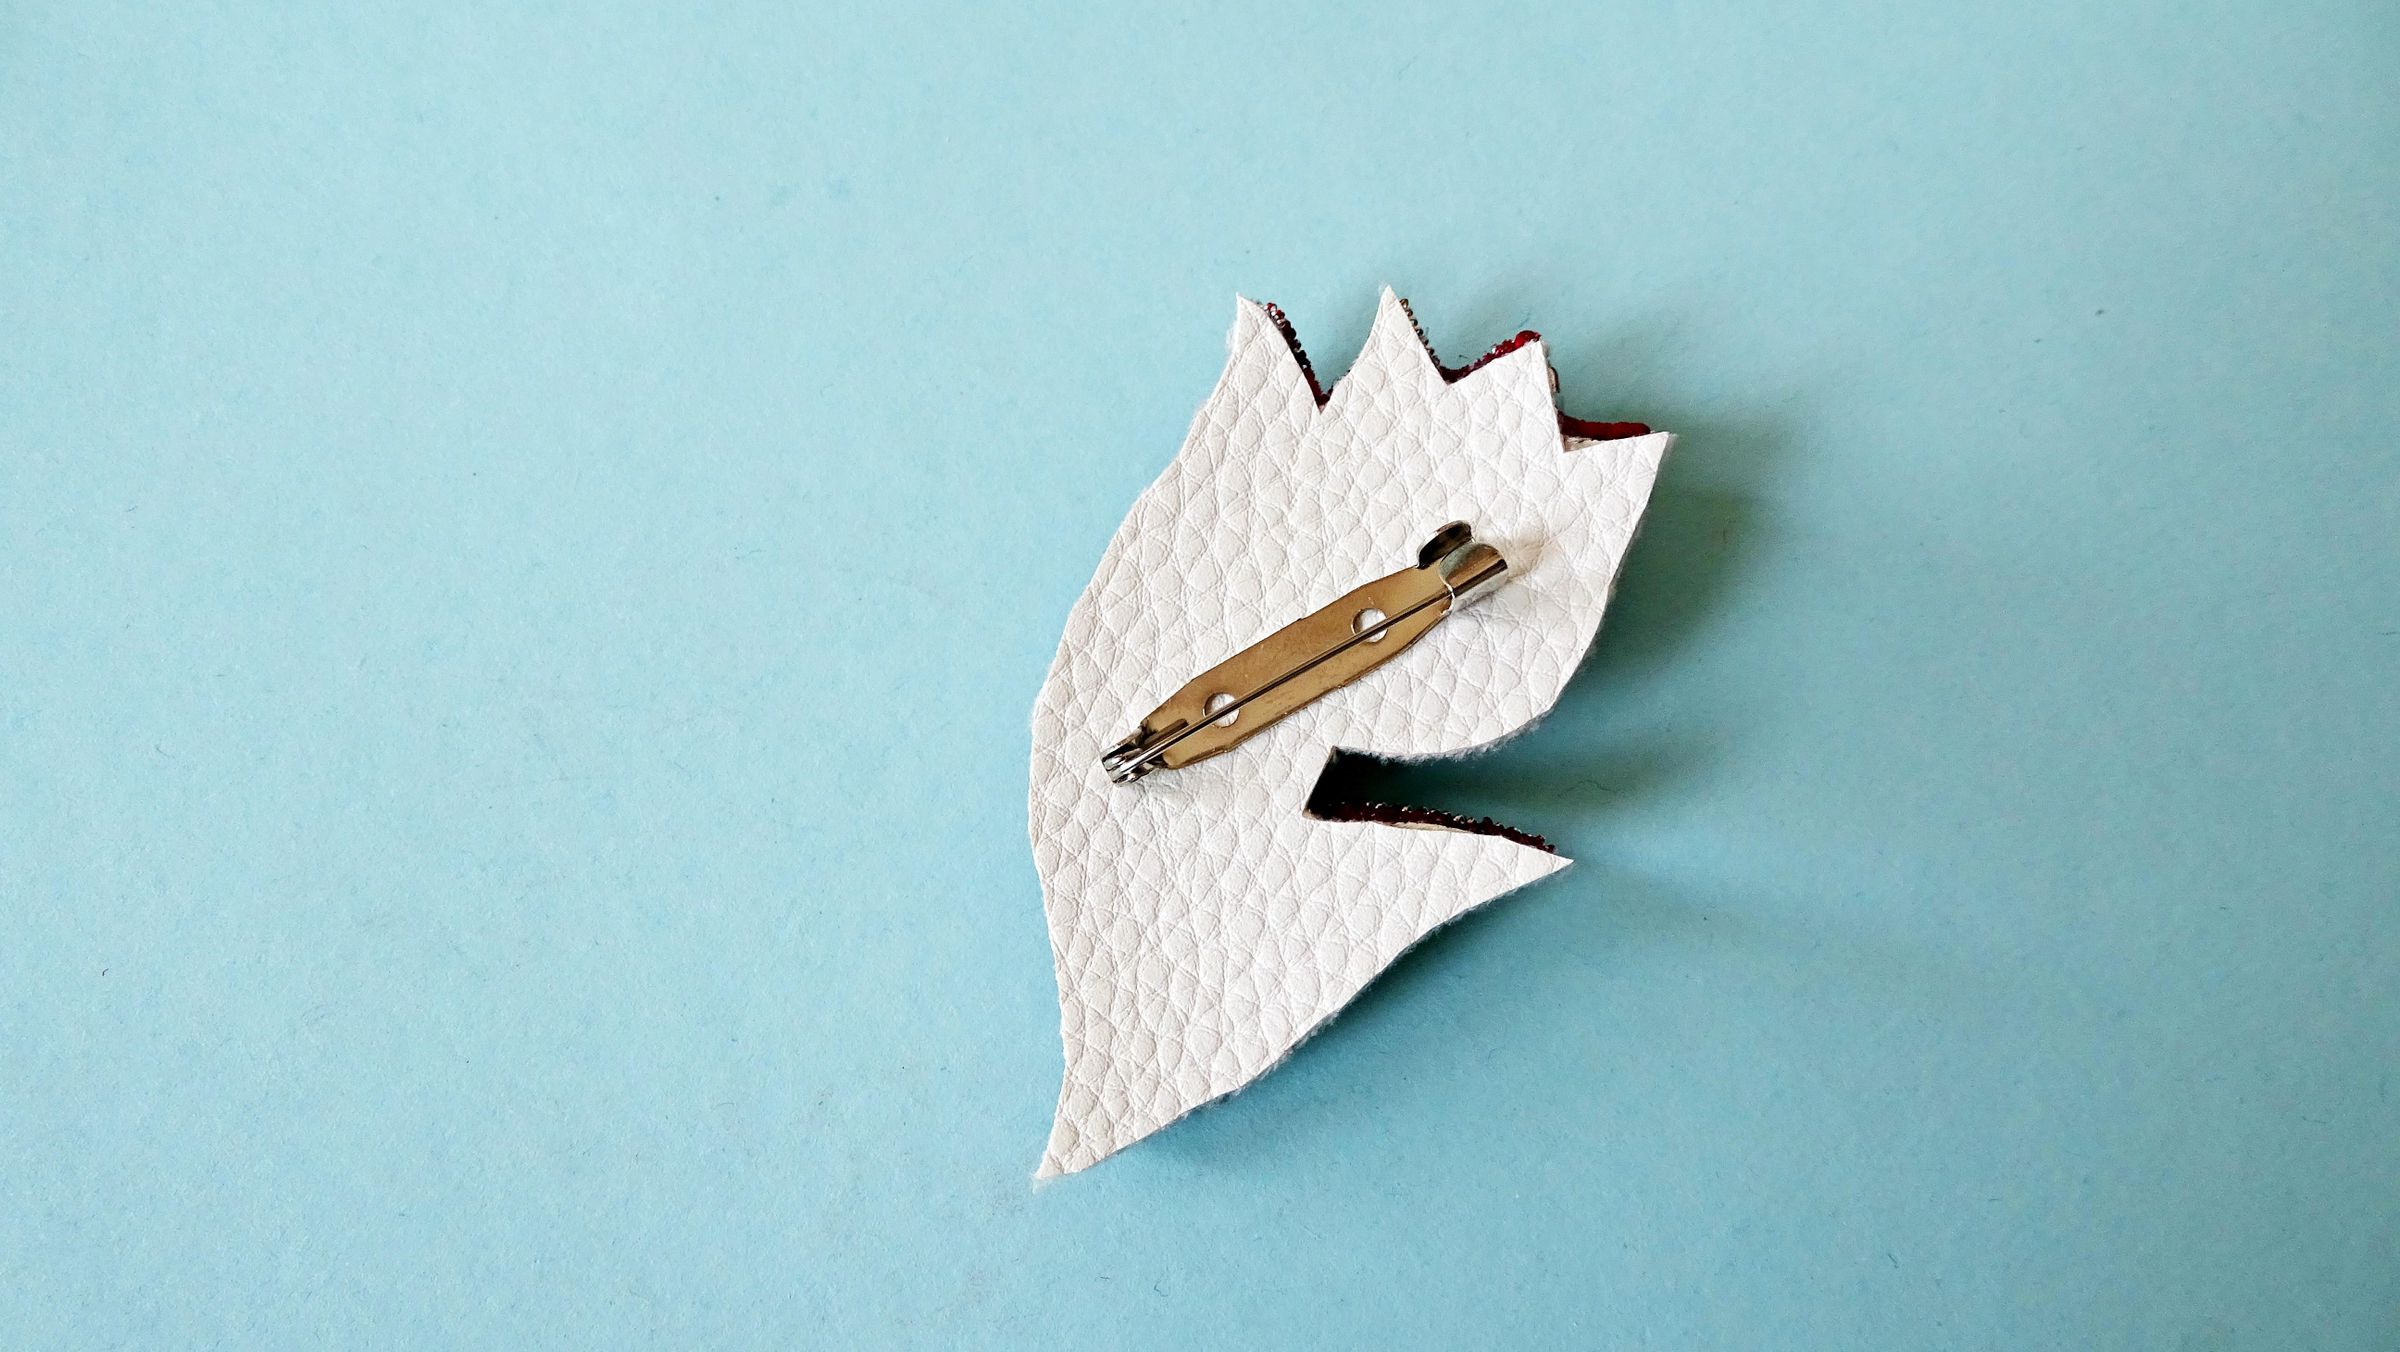
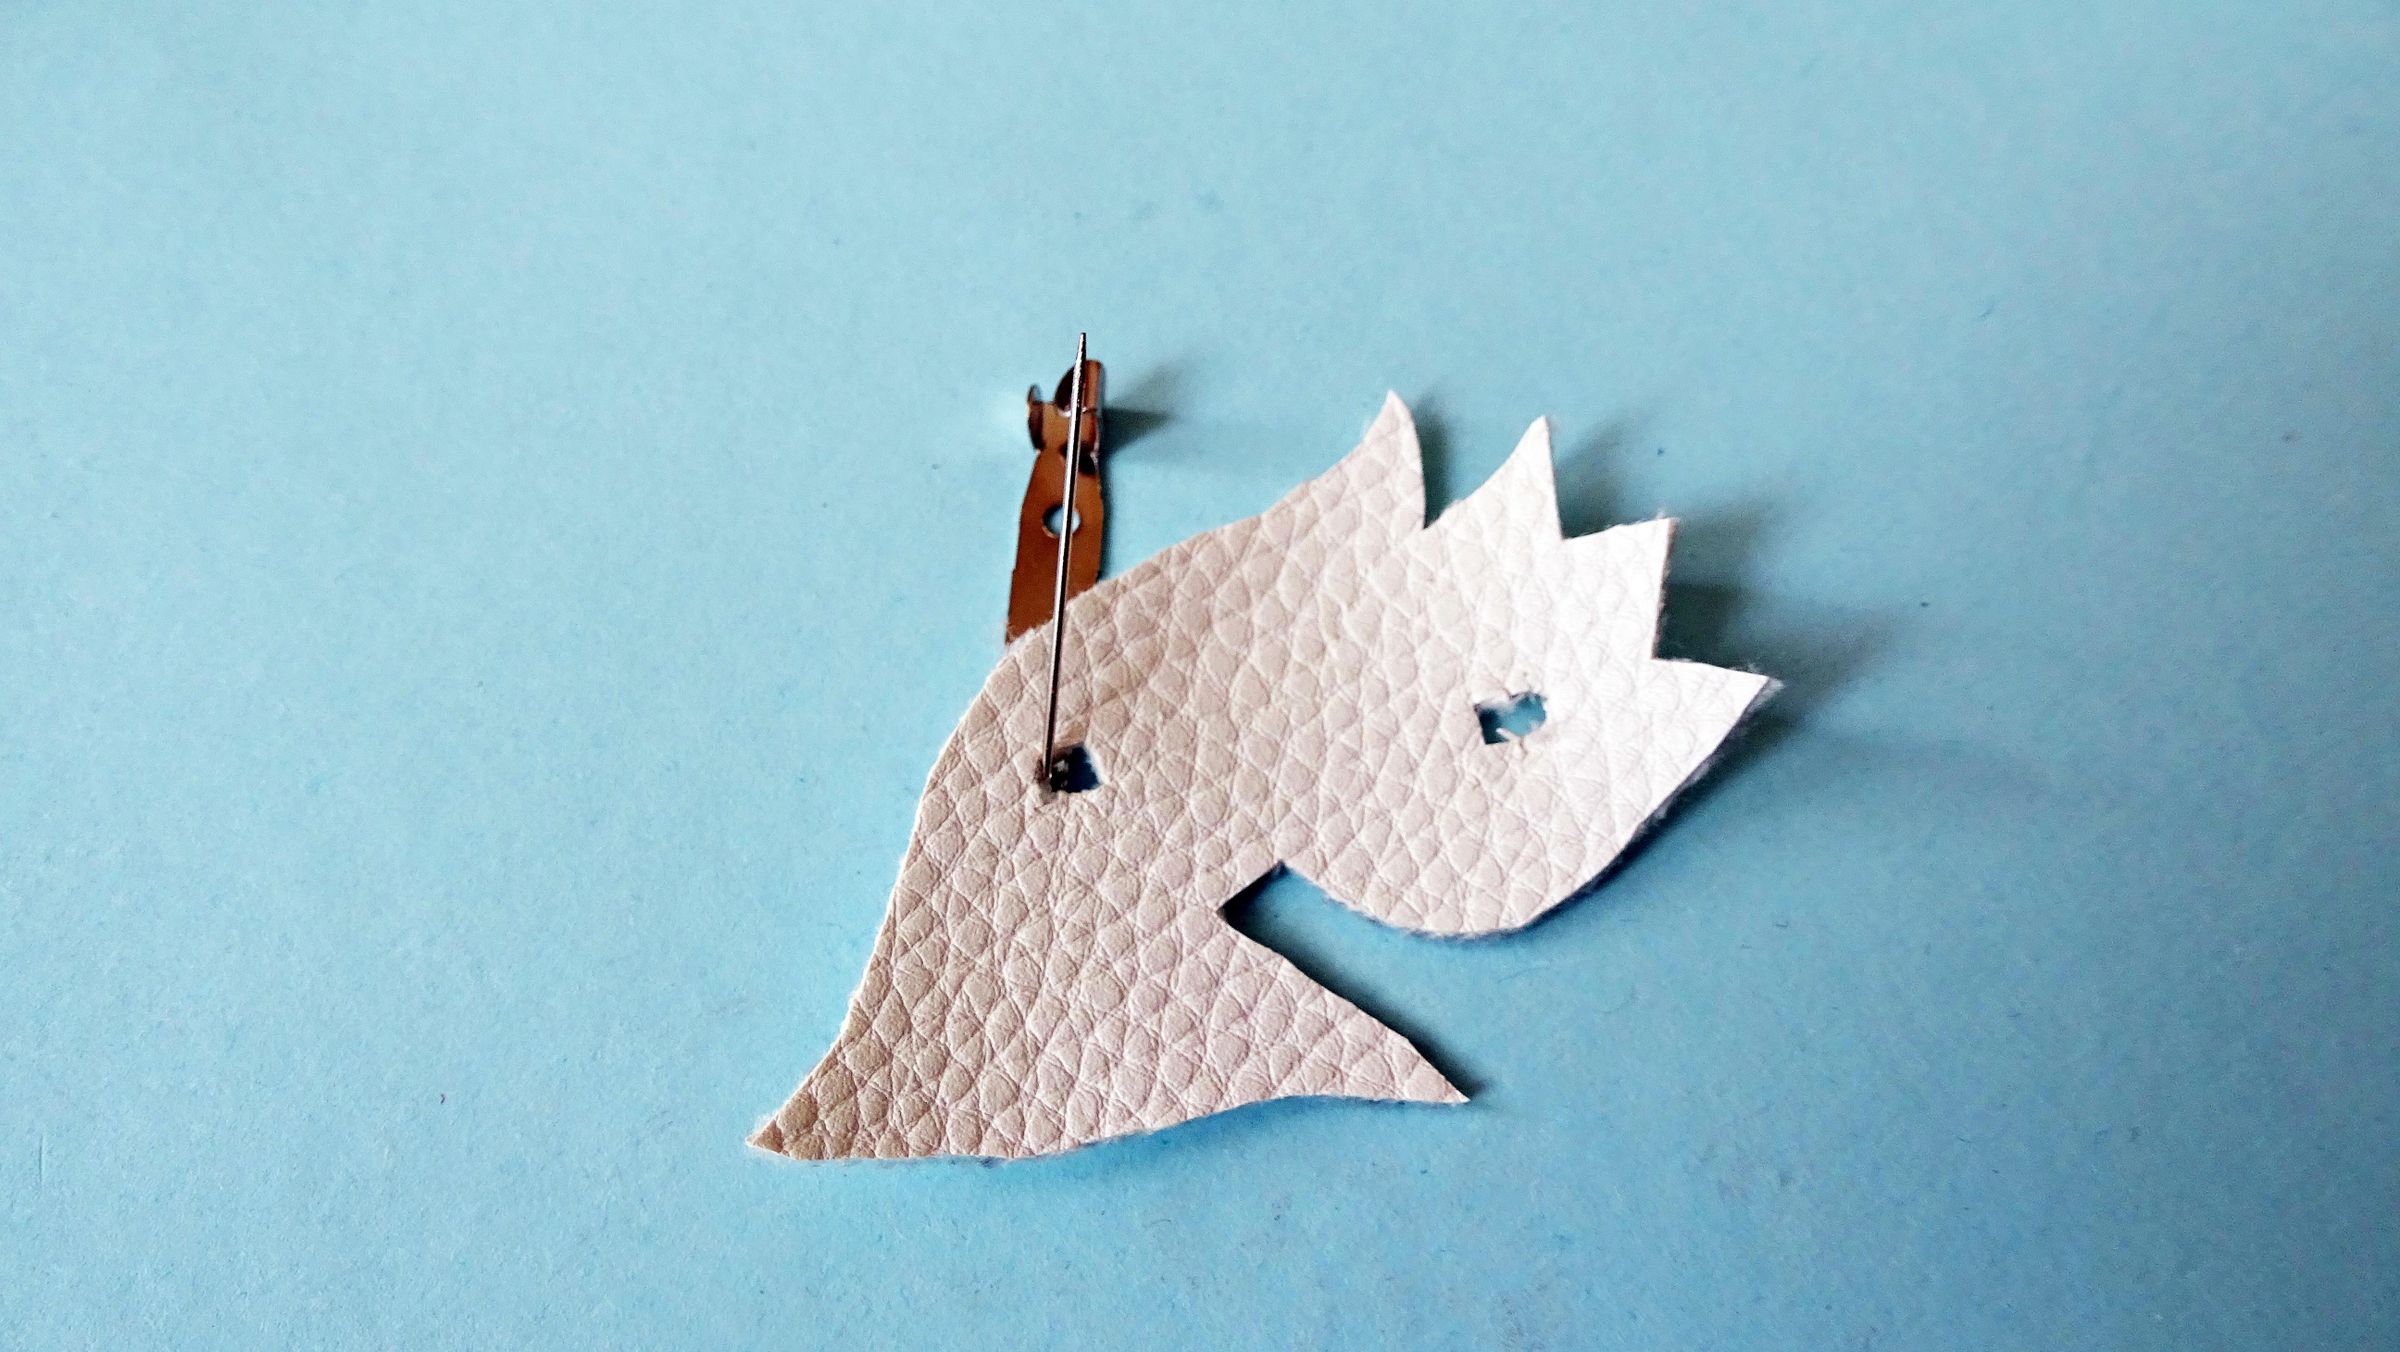
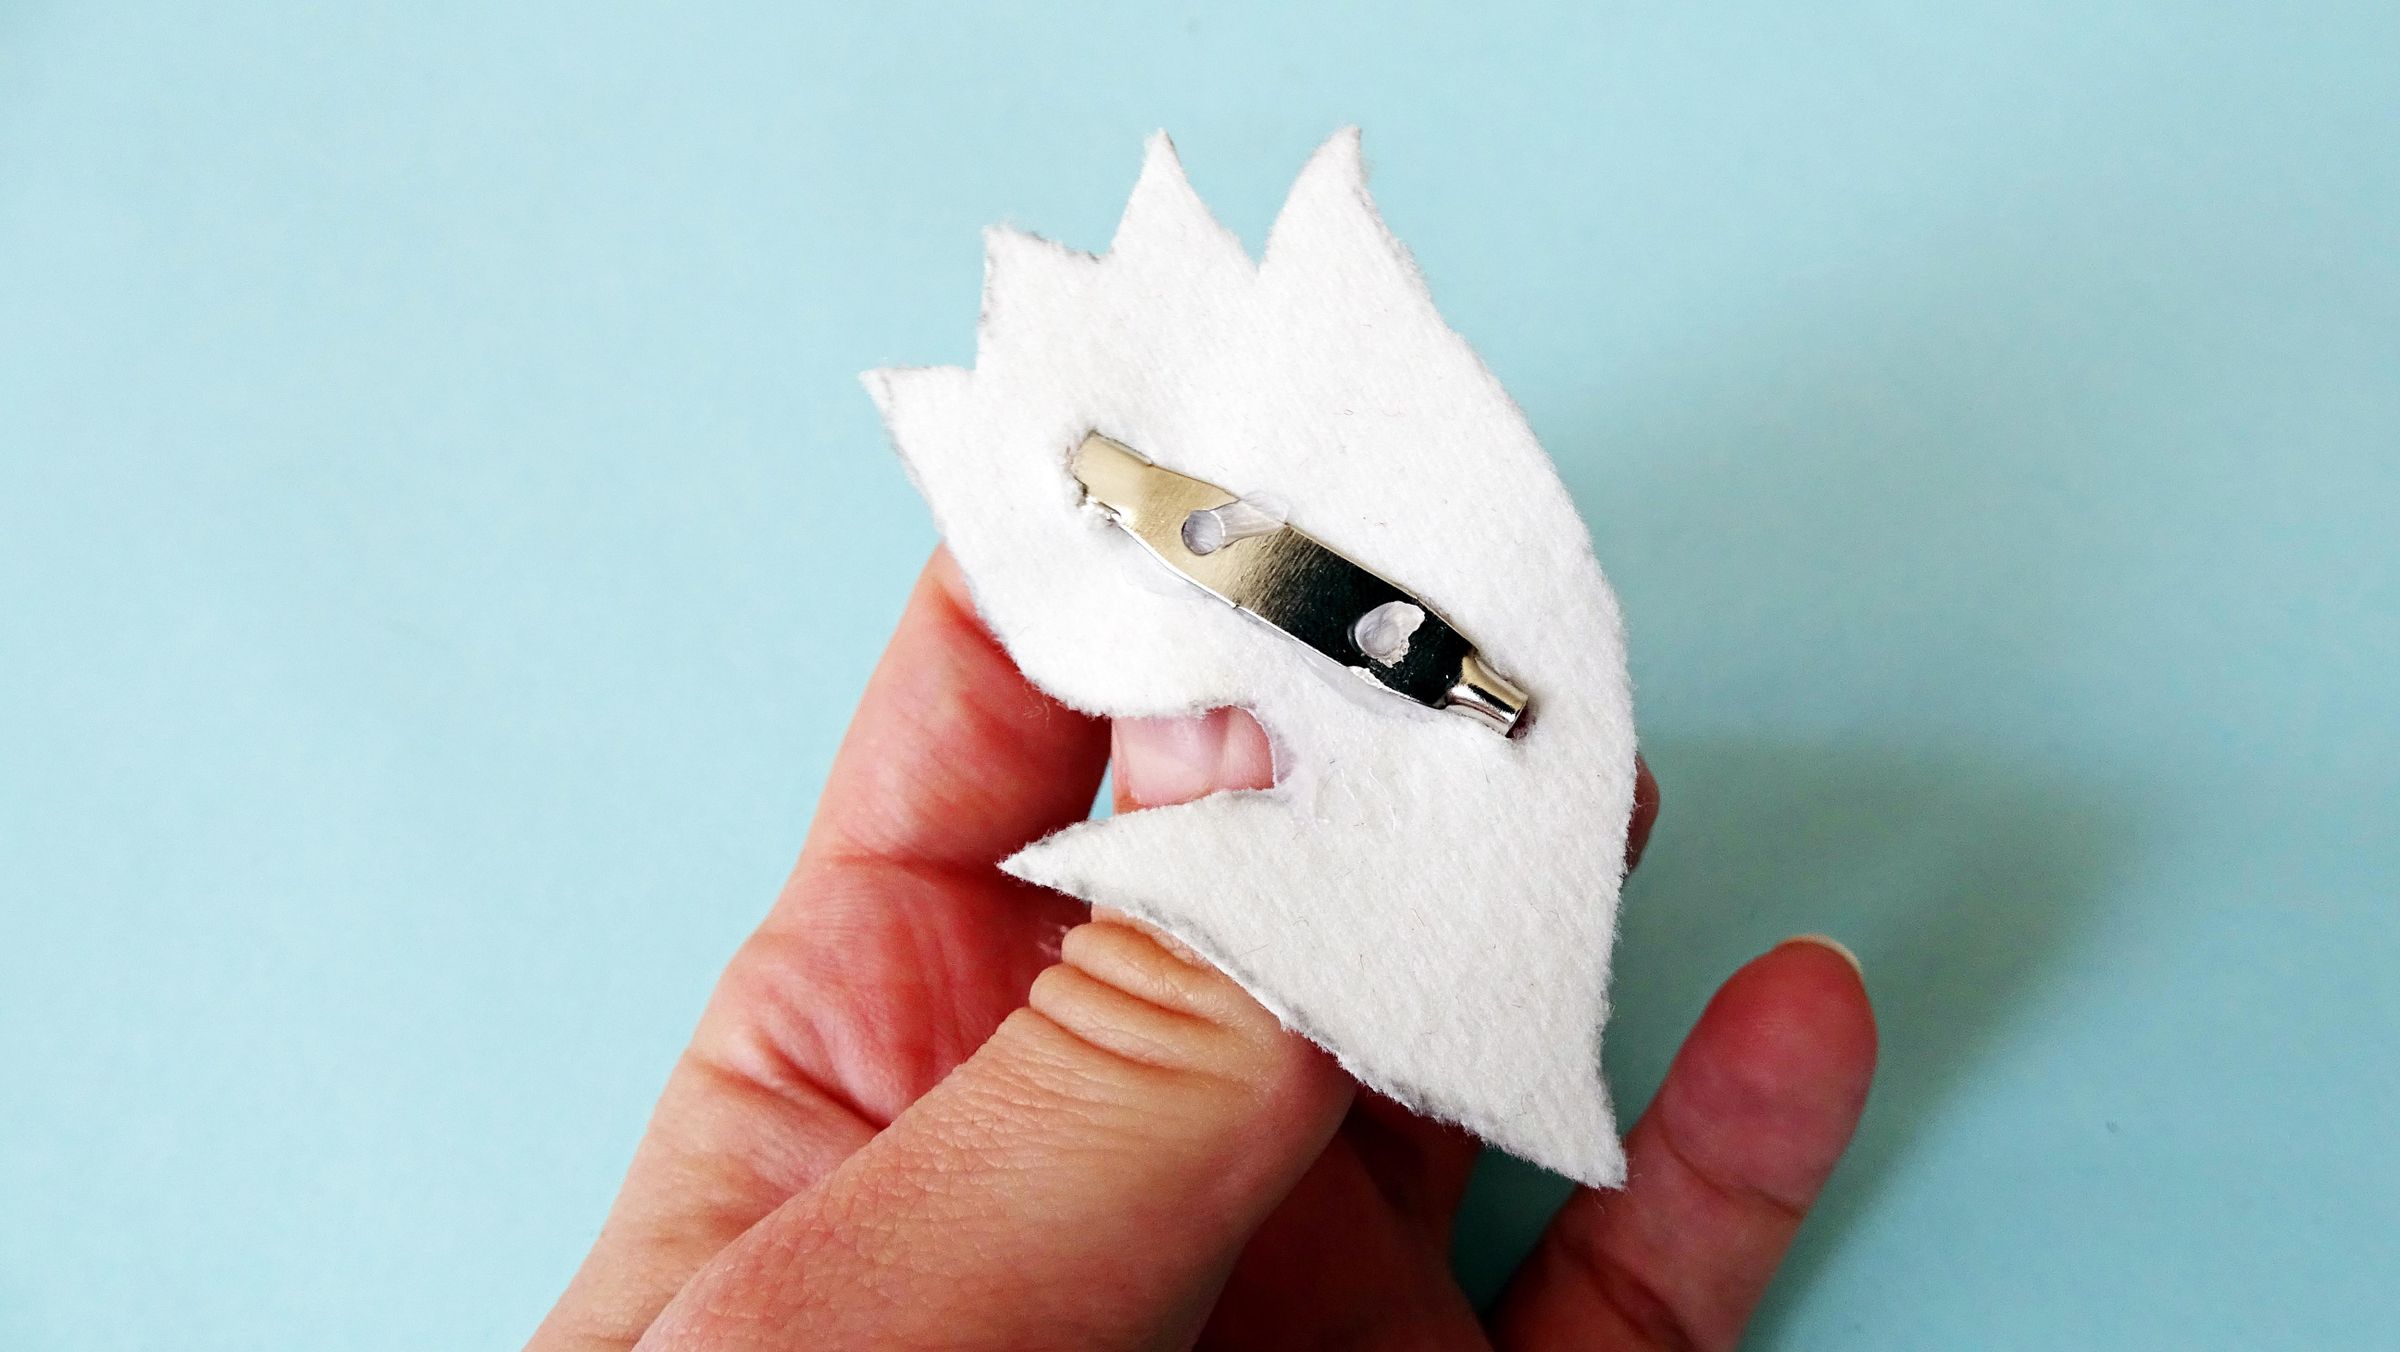
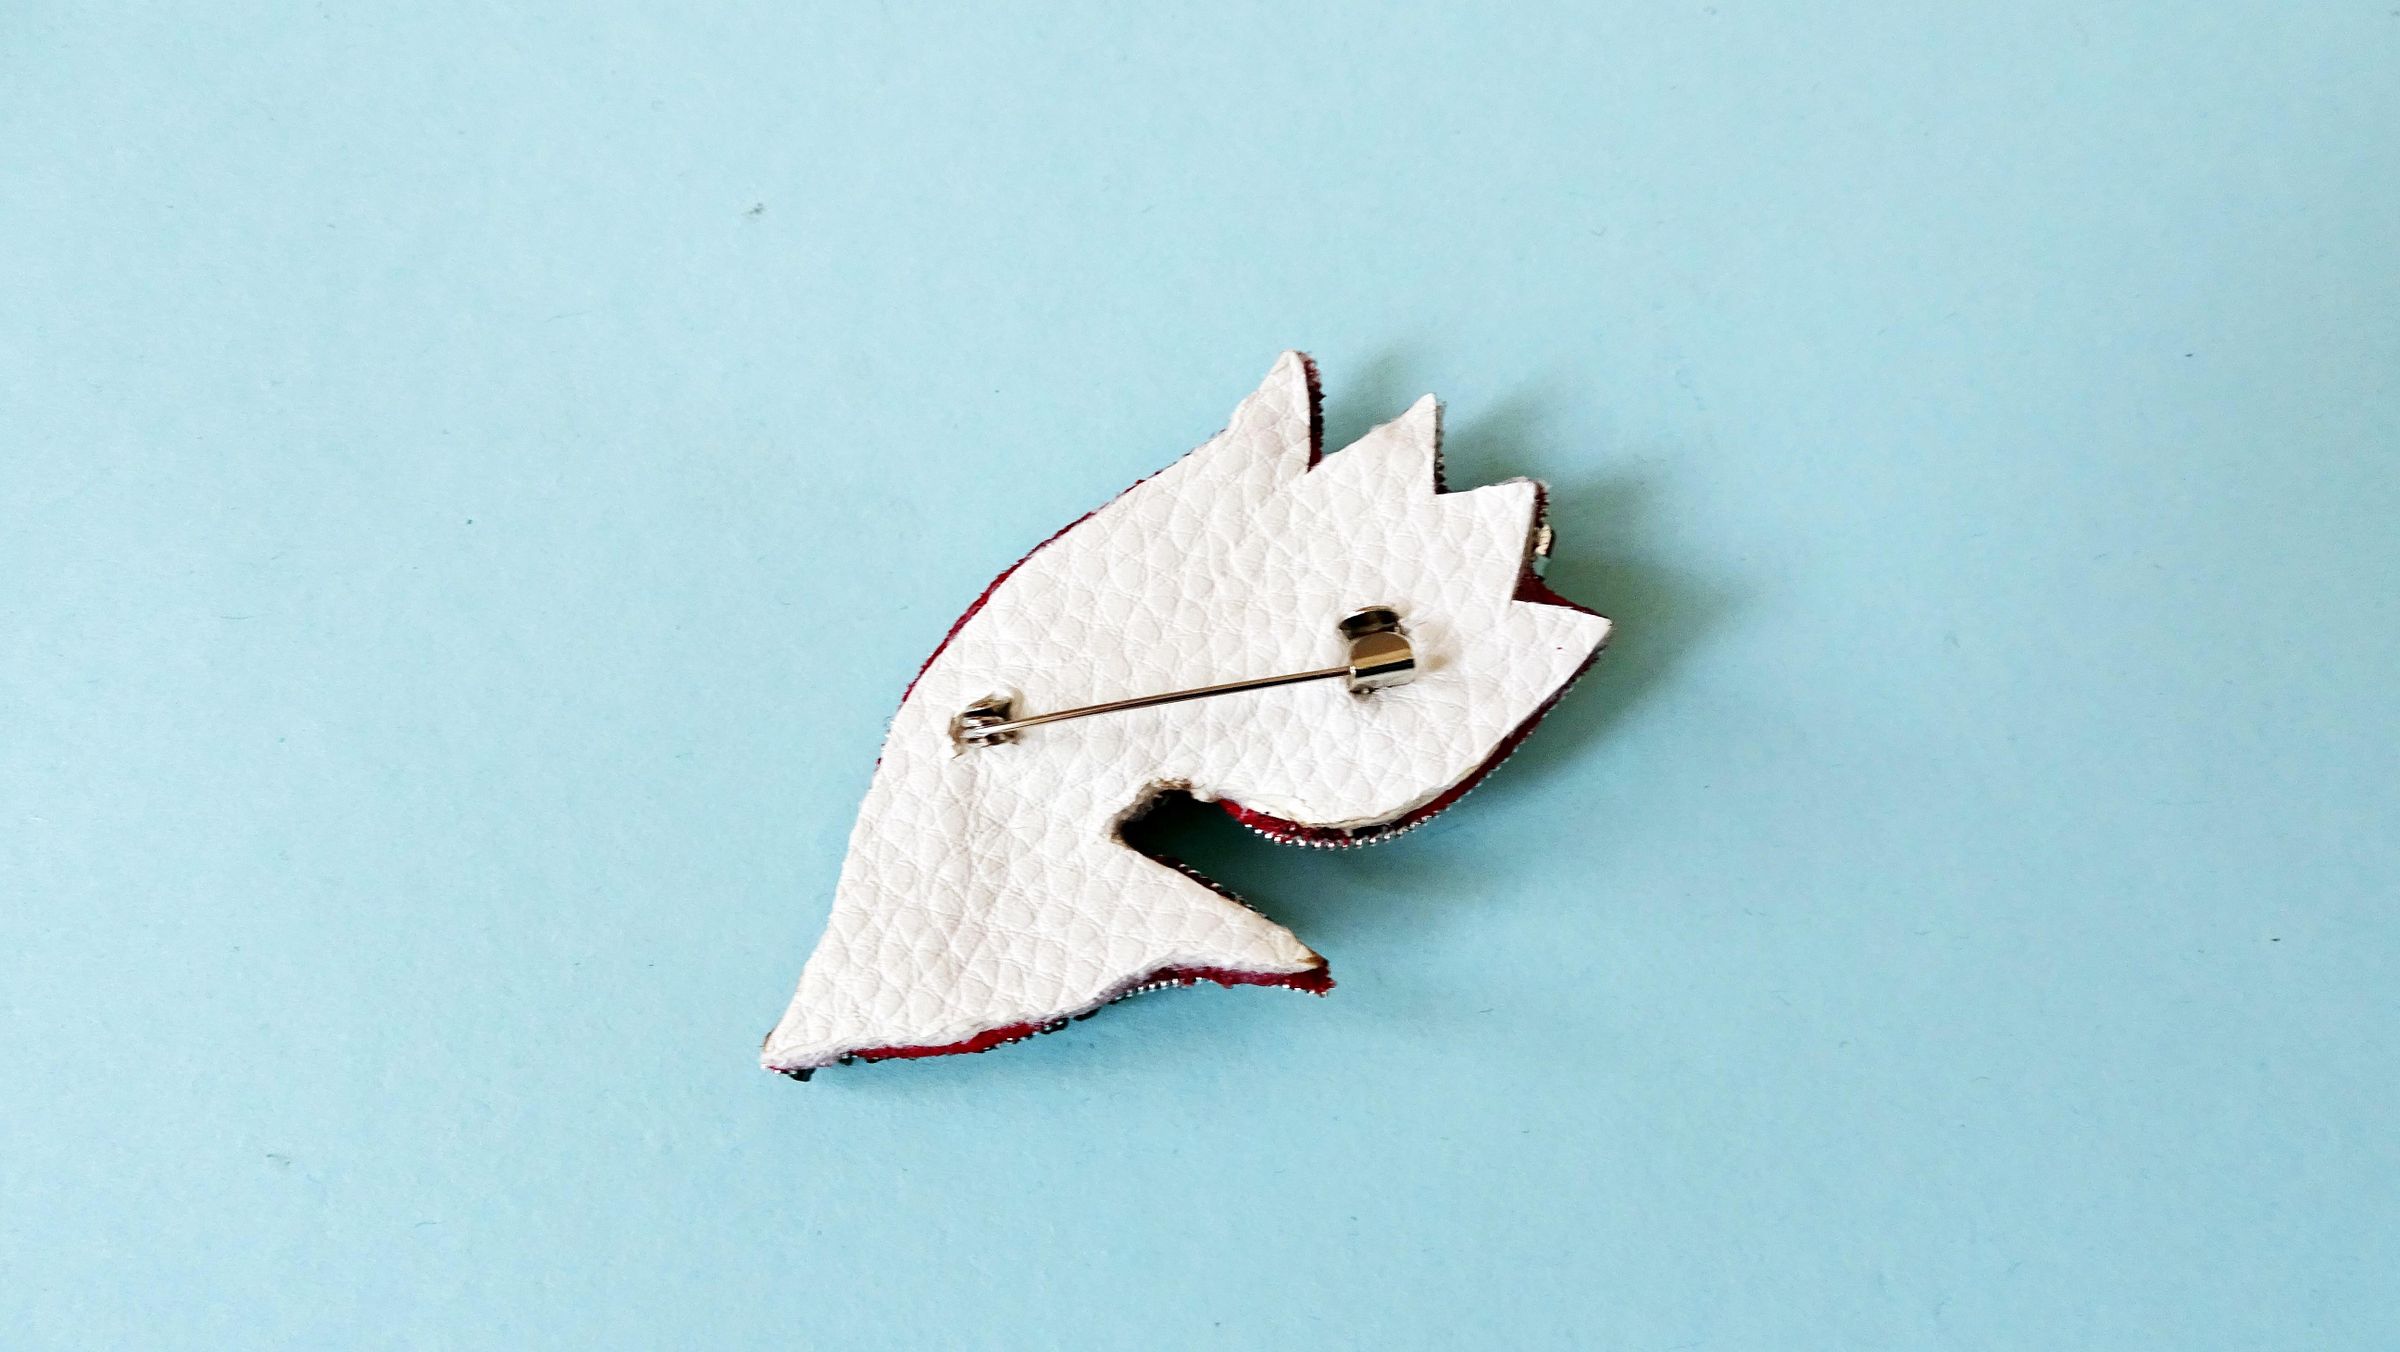
Place the tulip on the non-leathery side of the craft leather and trace the flower. Cut the shape out.
Flip the leather cutout, position the brooch needle underneath and mark where both ends are. Make small cuts using an X-acto knife.
Open the brooch needle and push both ends through both holes. Make bigger holes if needed - you should be able to push the needle freely through.
Apply a small dot of hot glue and secure the needle in place. Close it to avoid poking yourself.
Finally glue the leather to the back of the tulip with hot glue.
Finish the Brooch
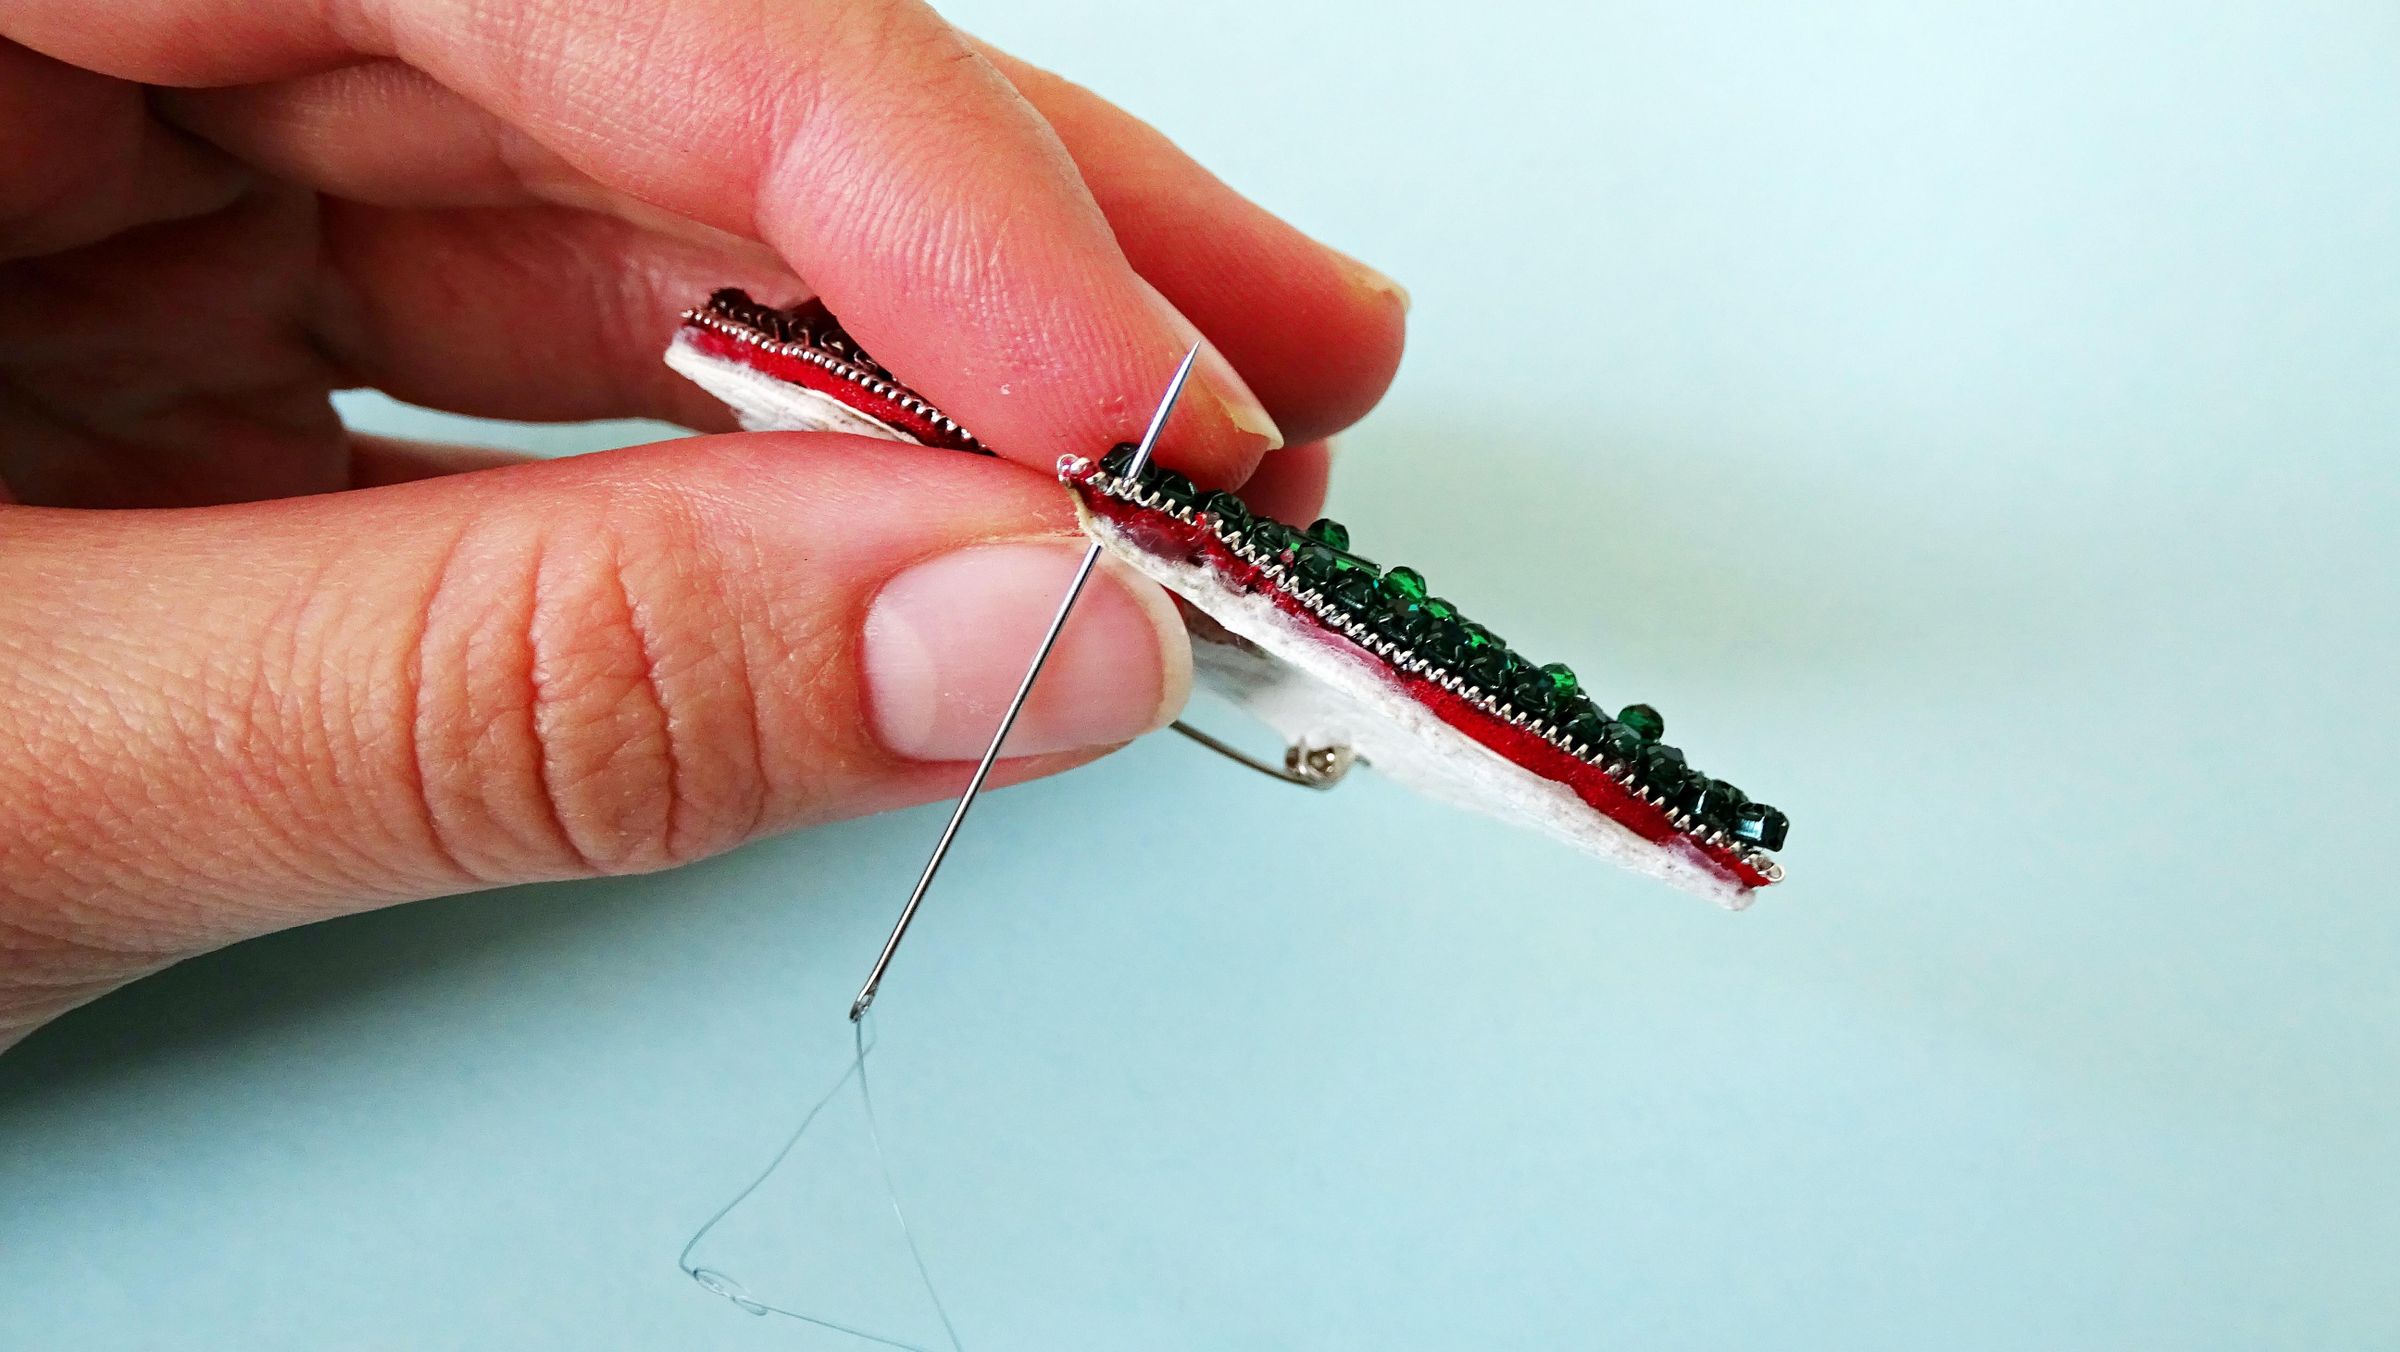
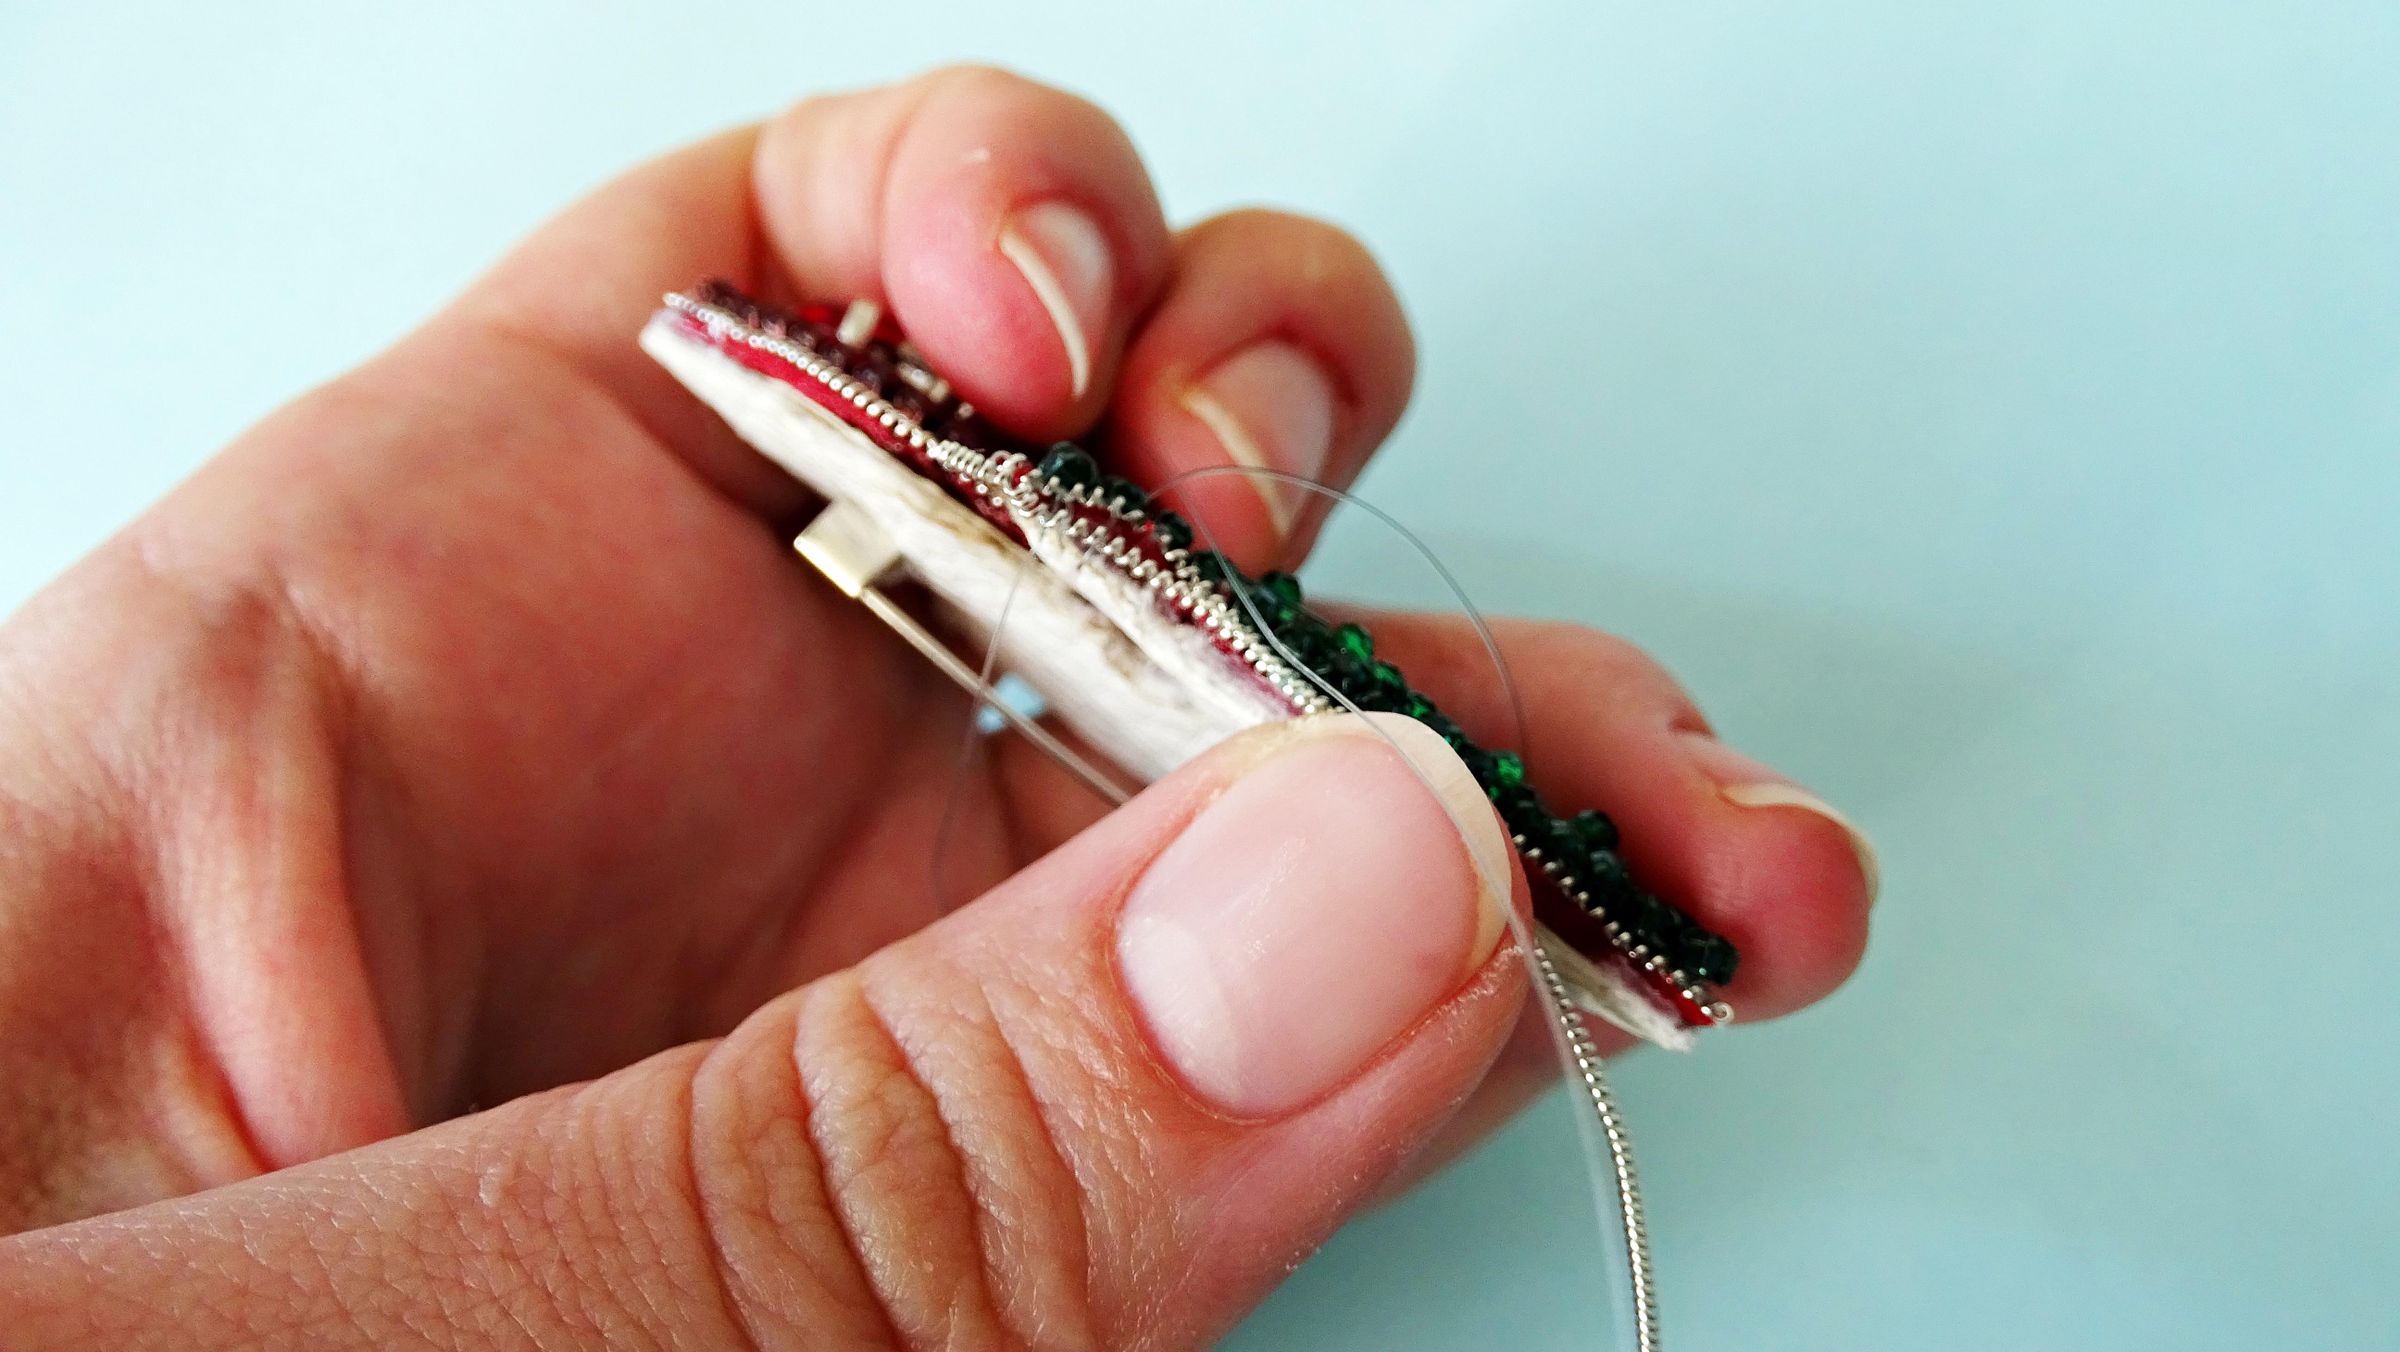
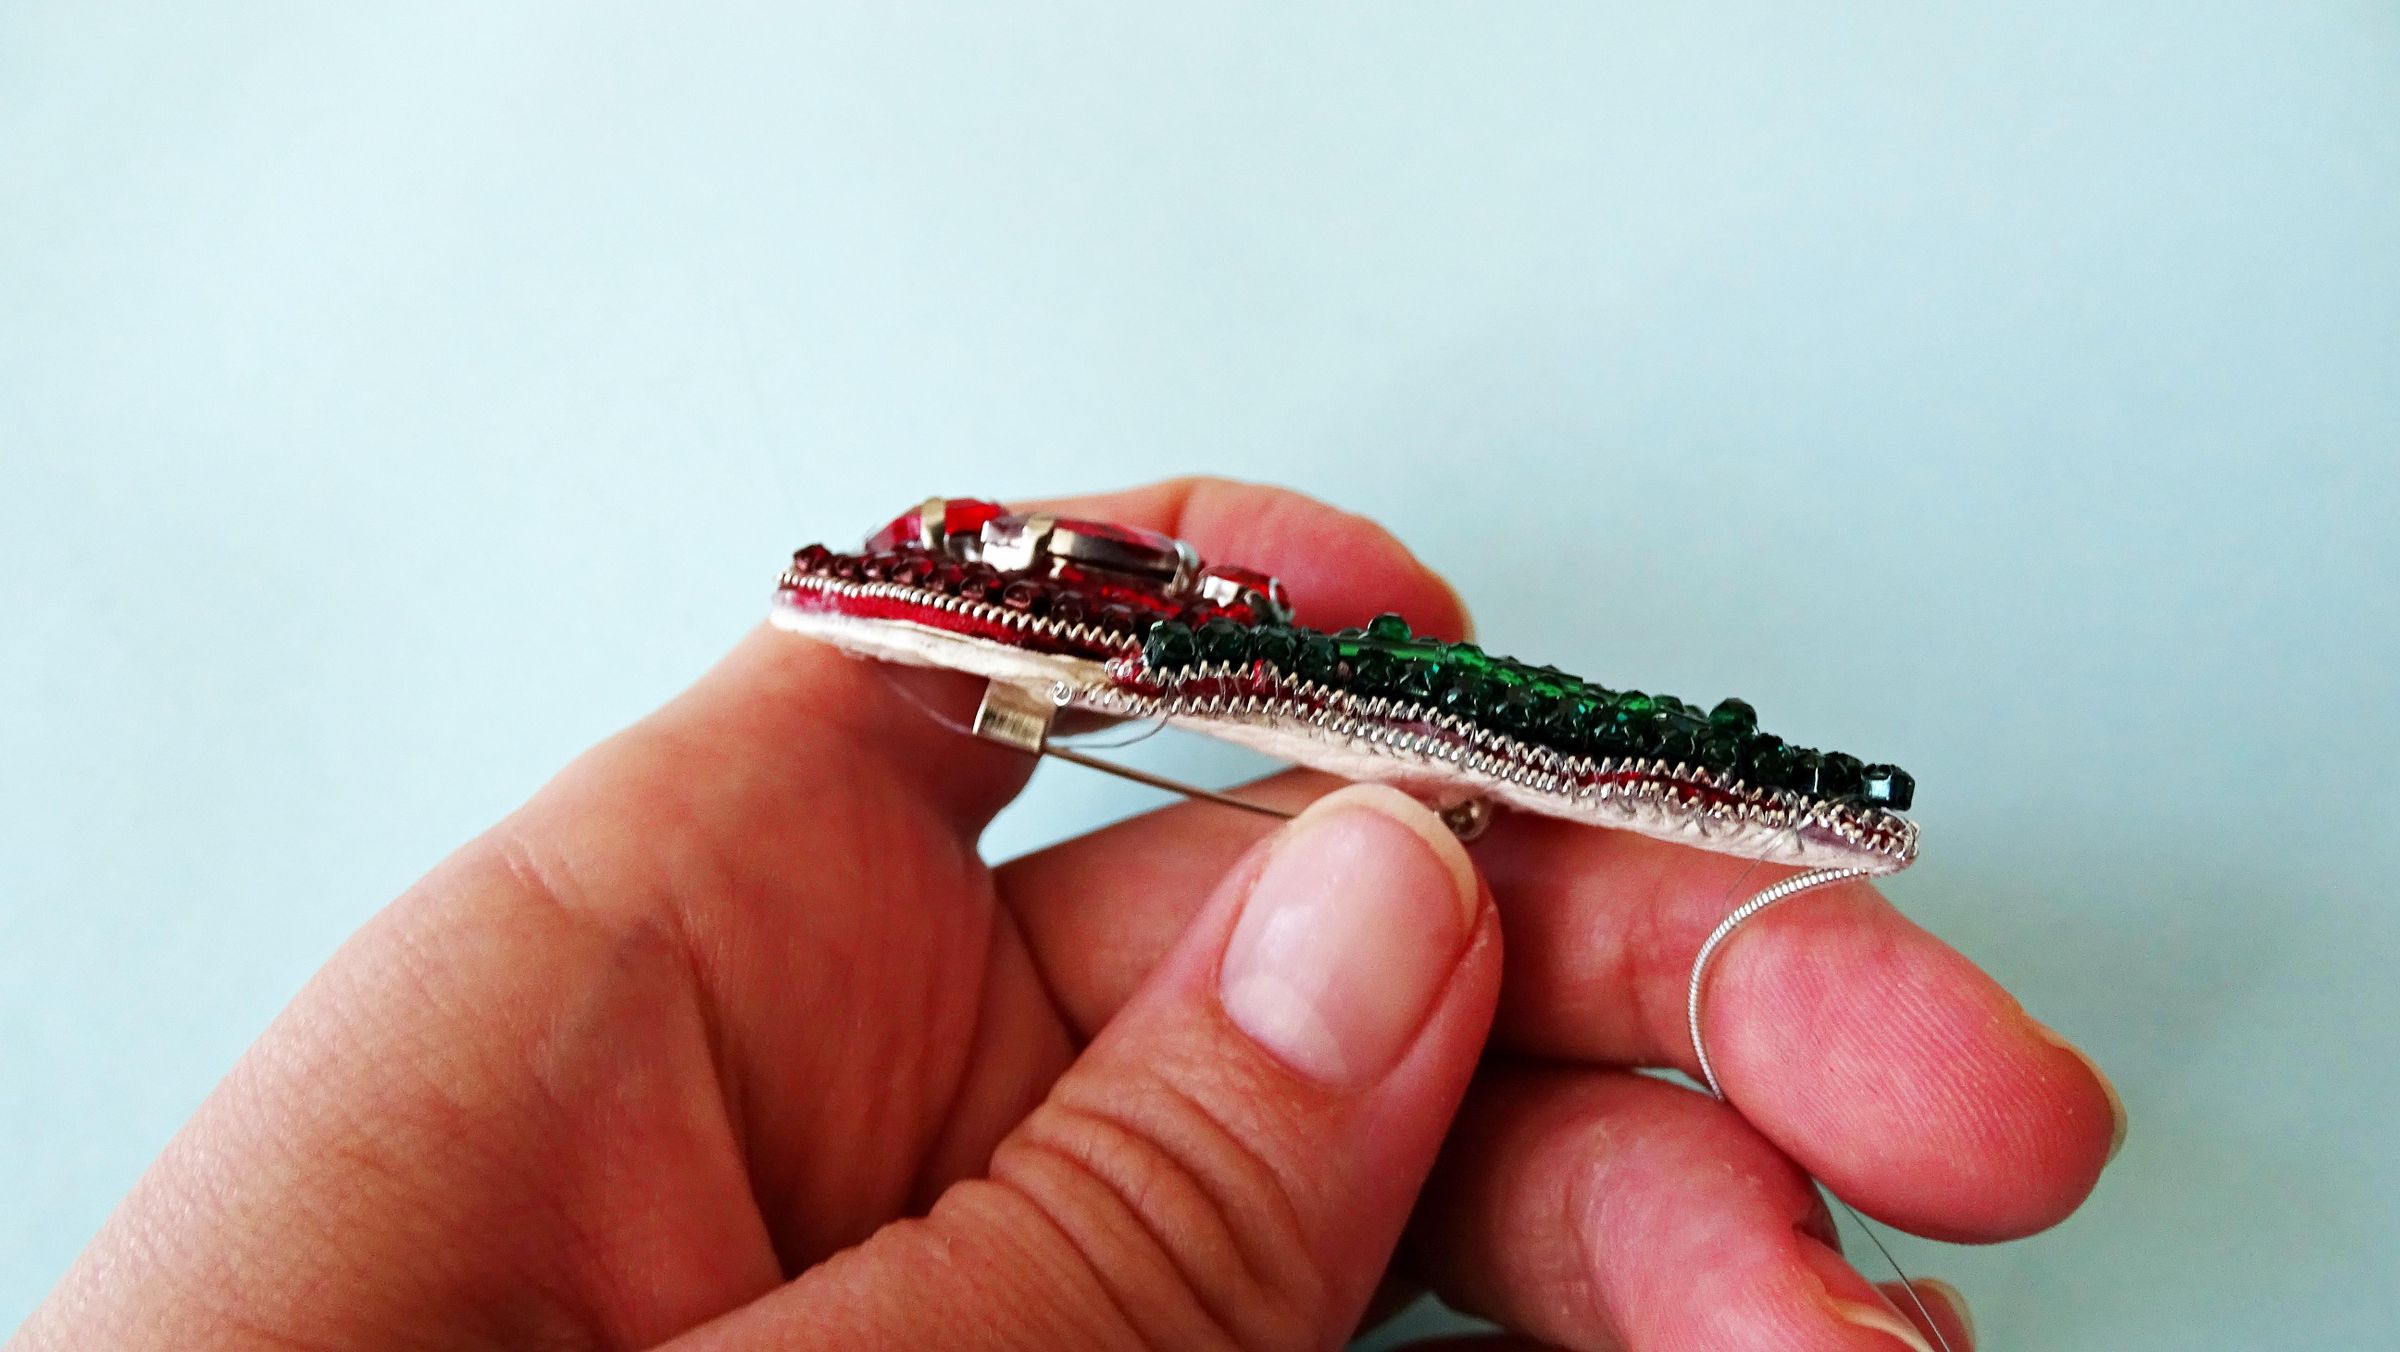
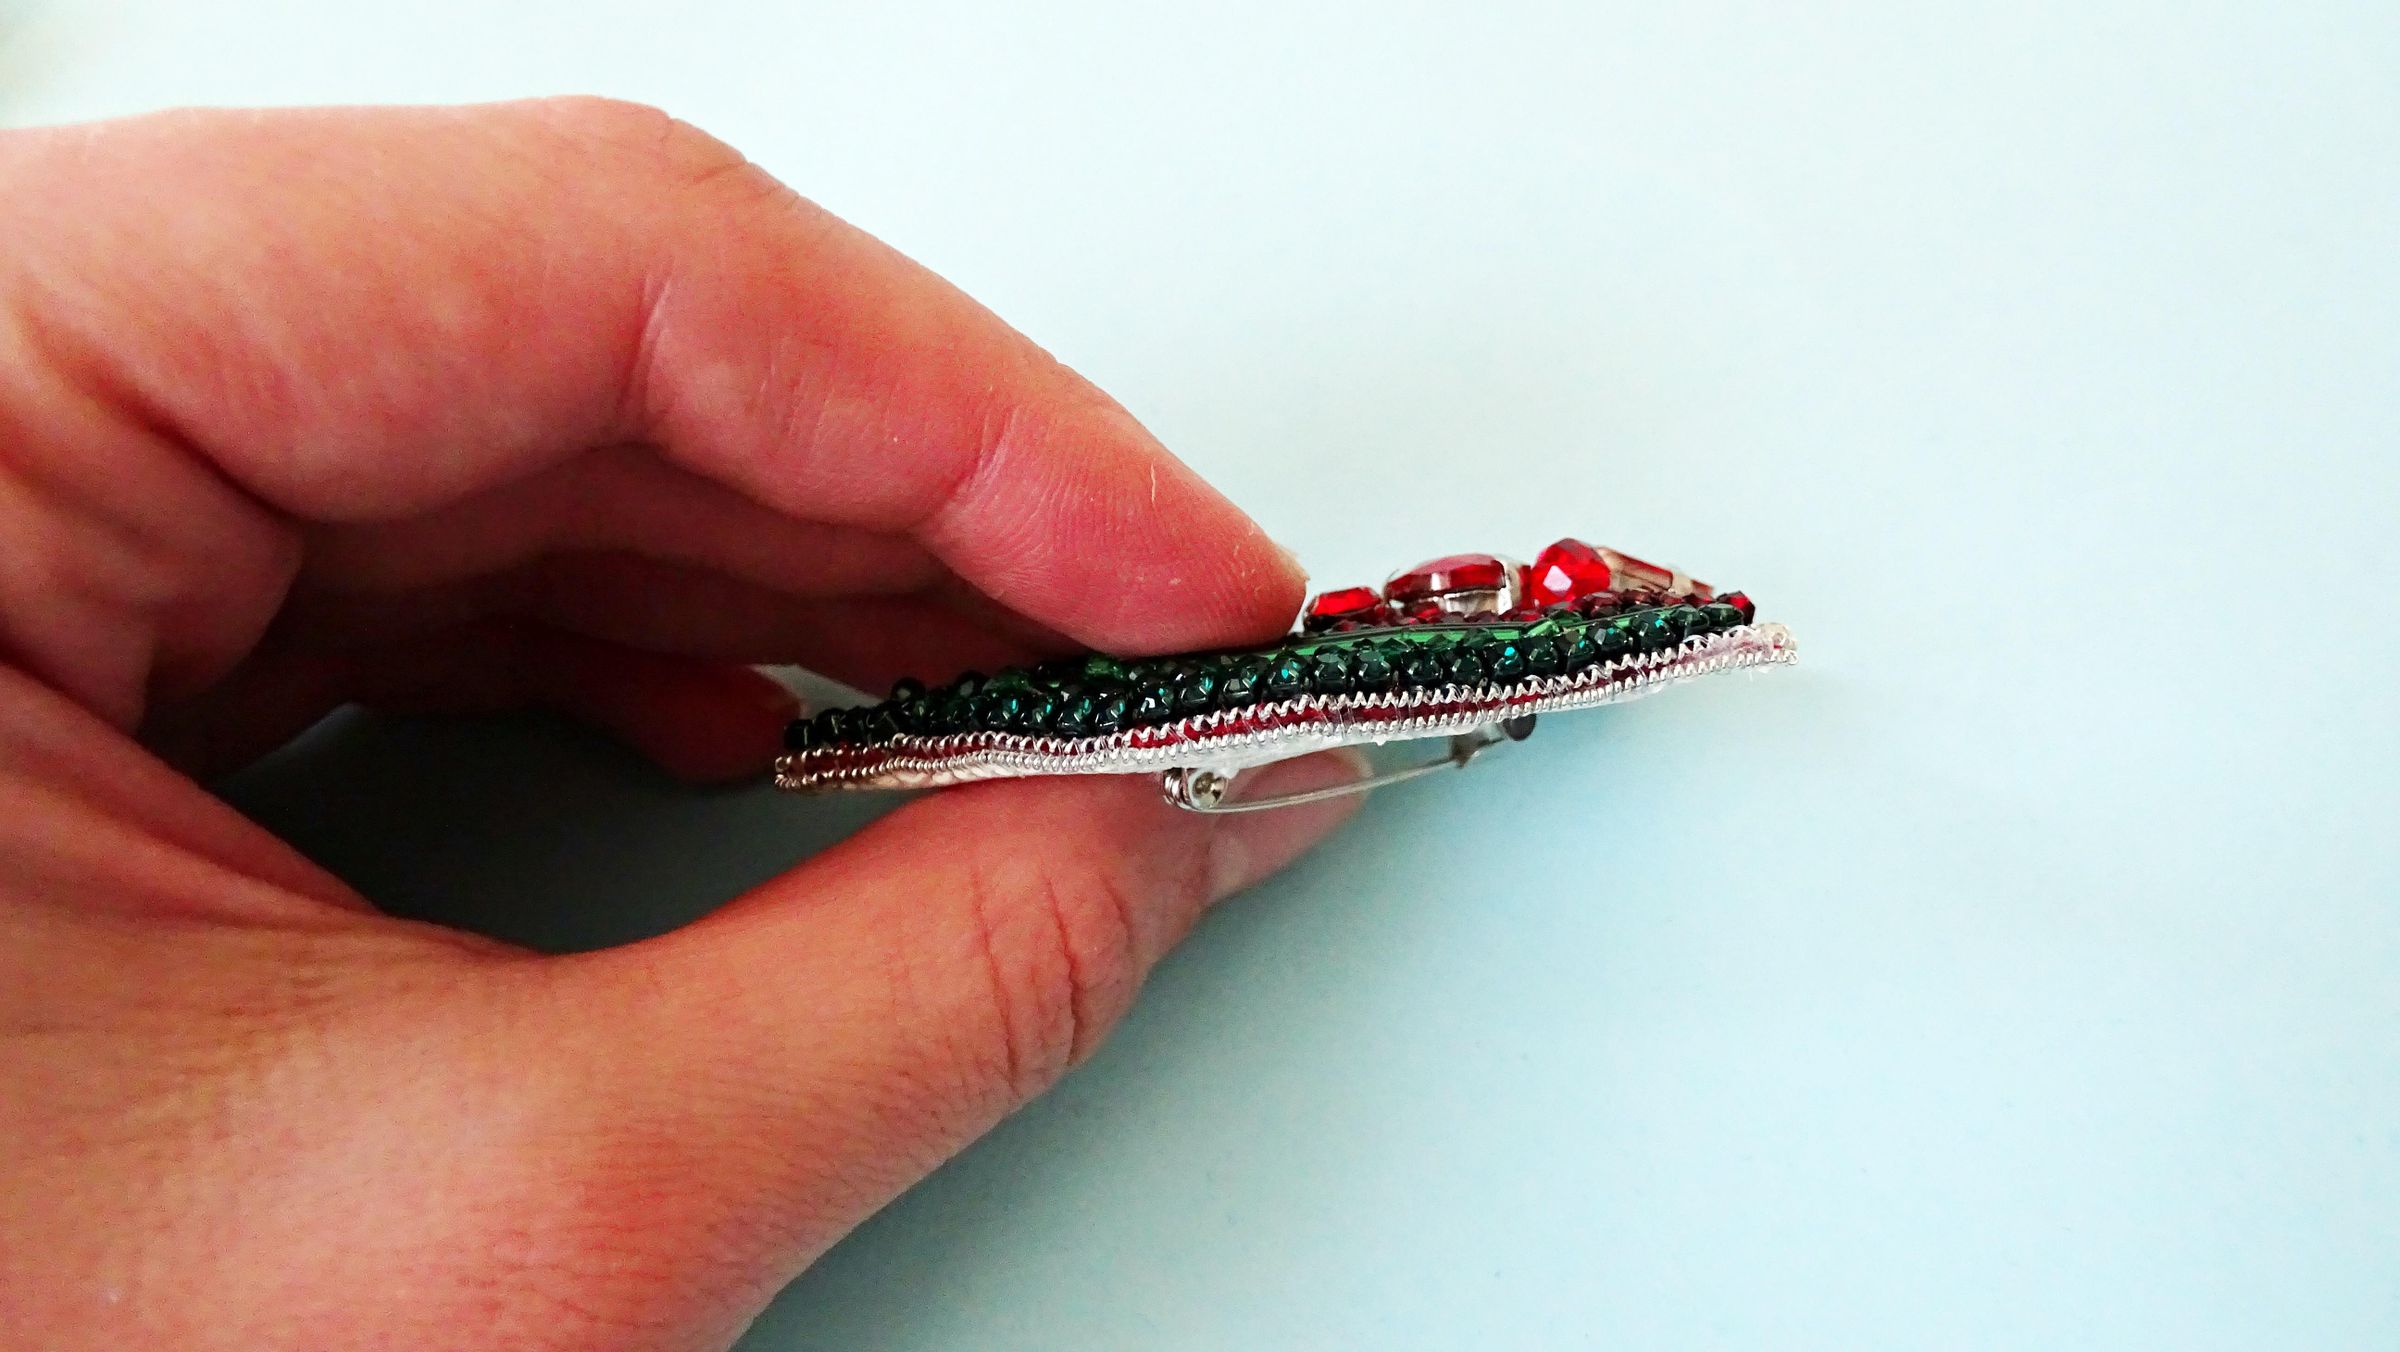
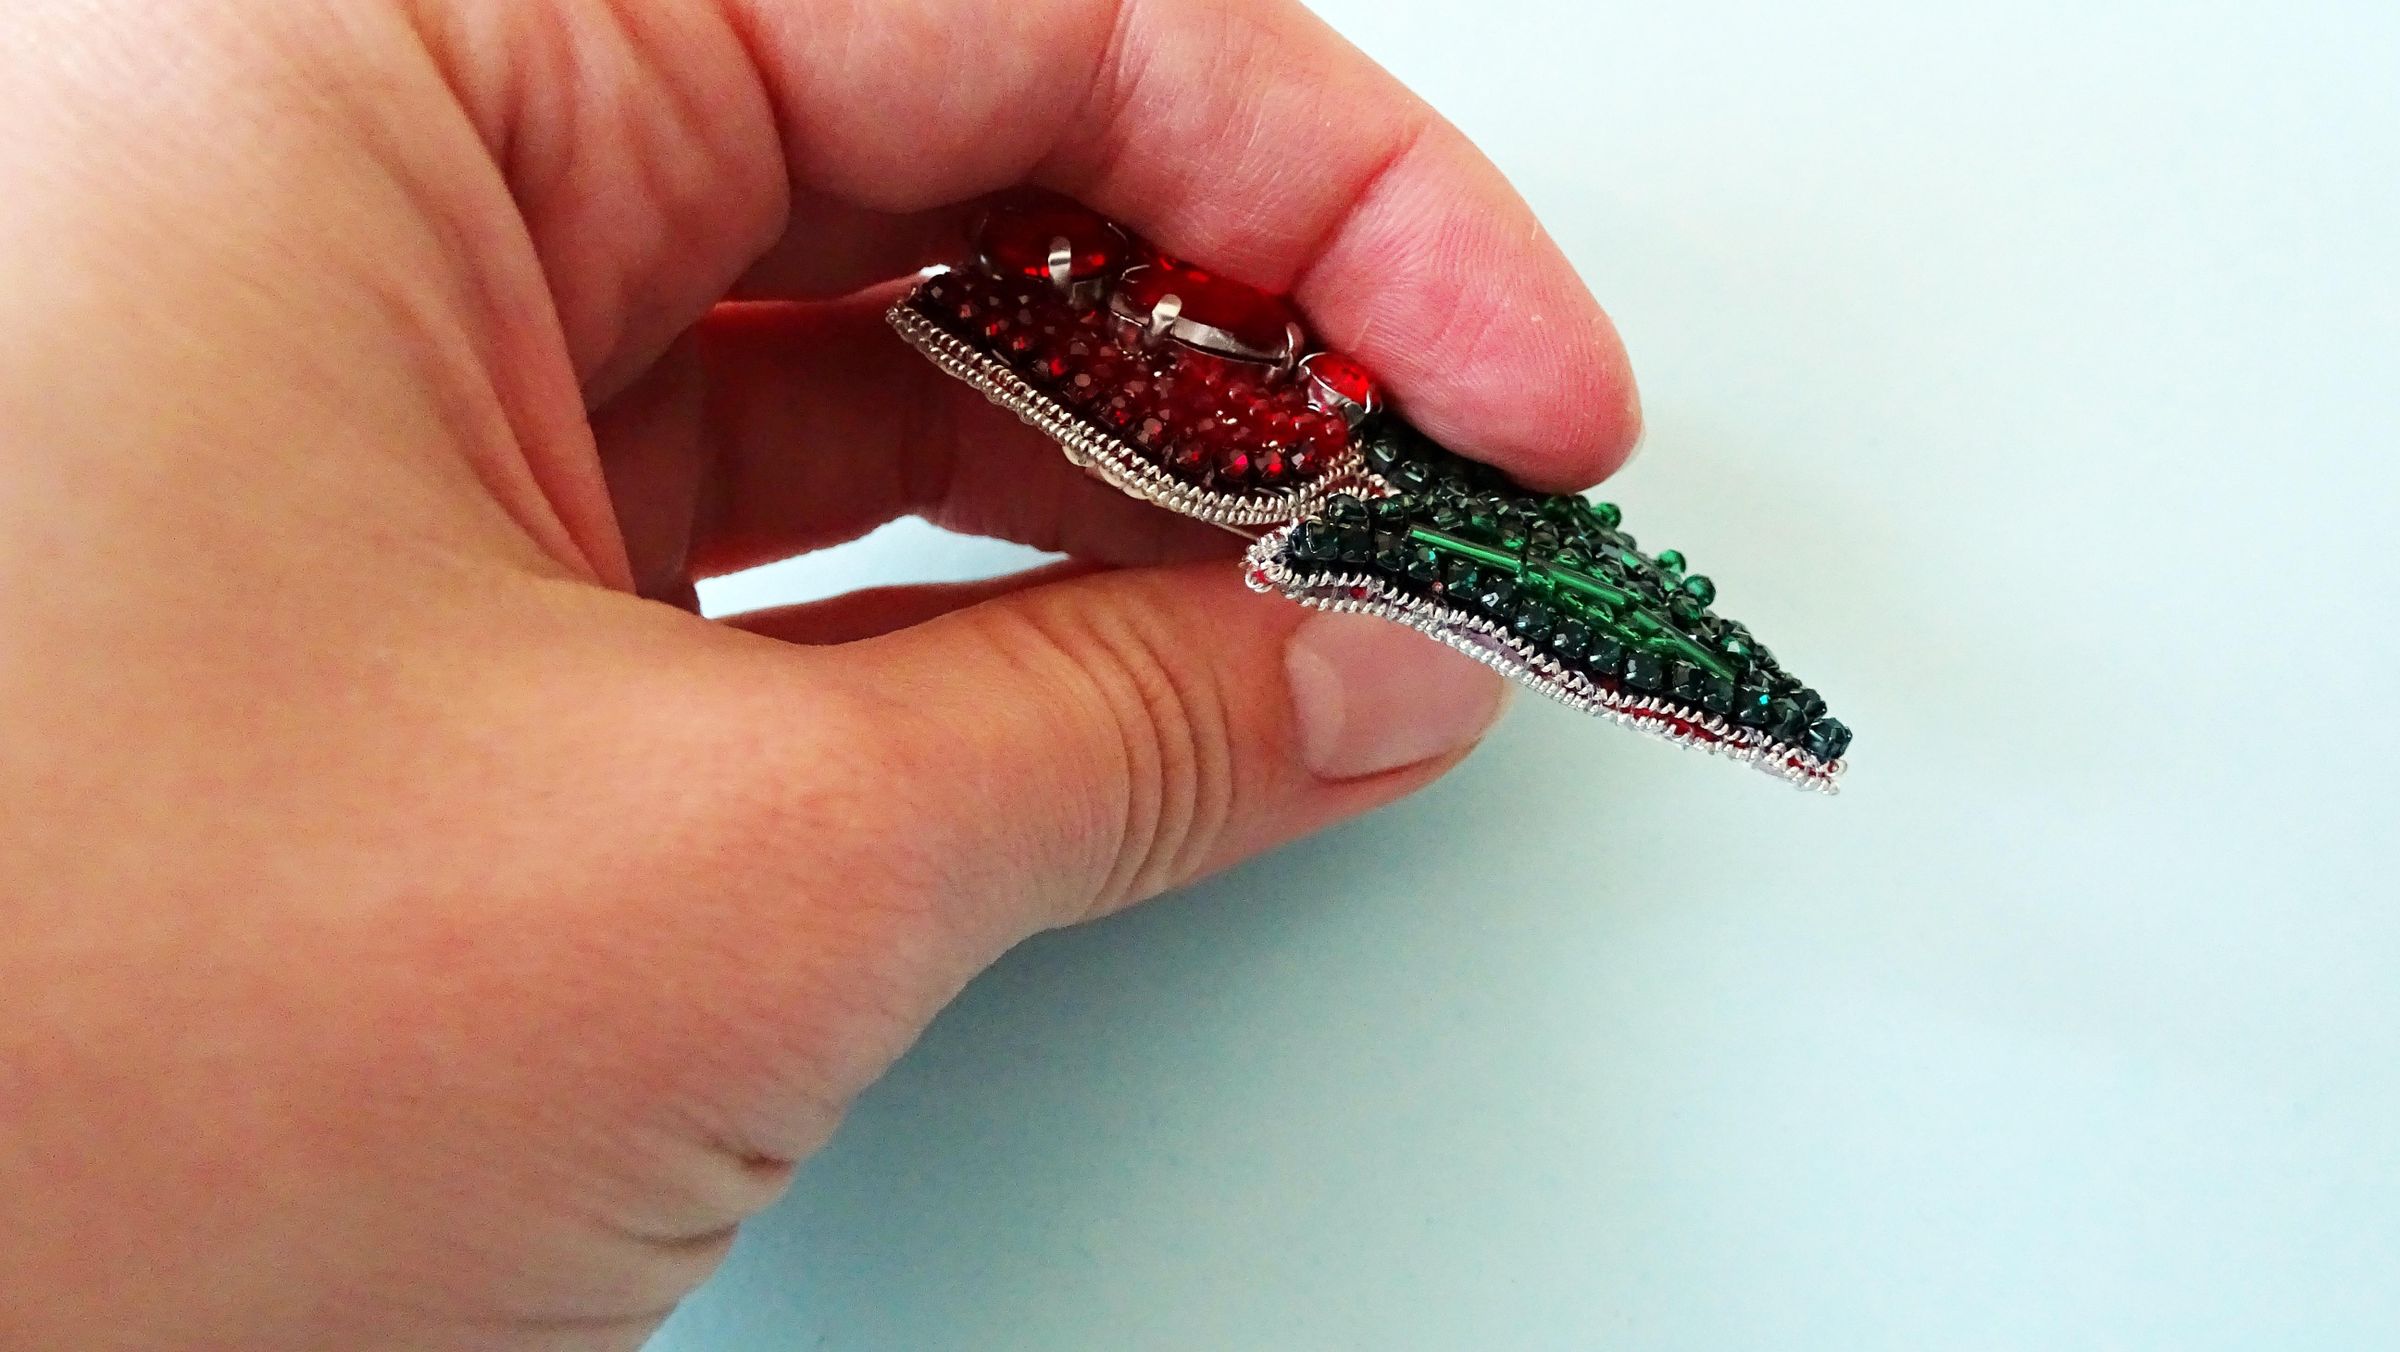
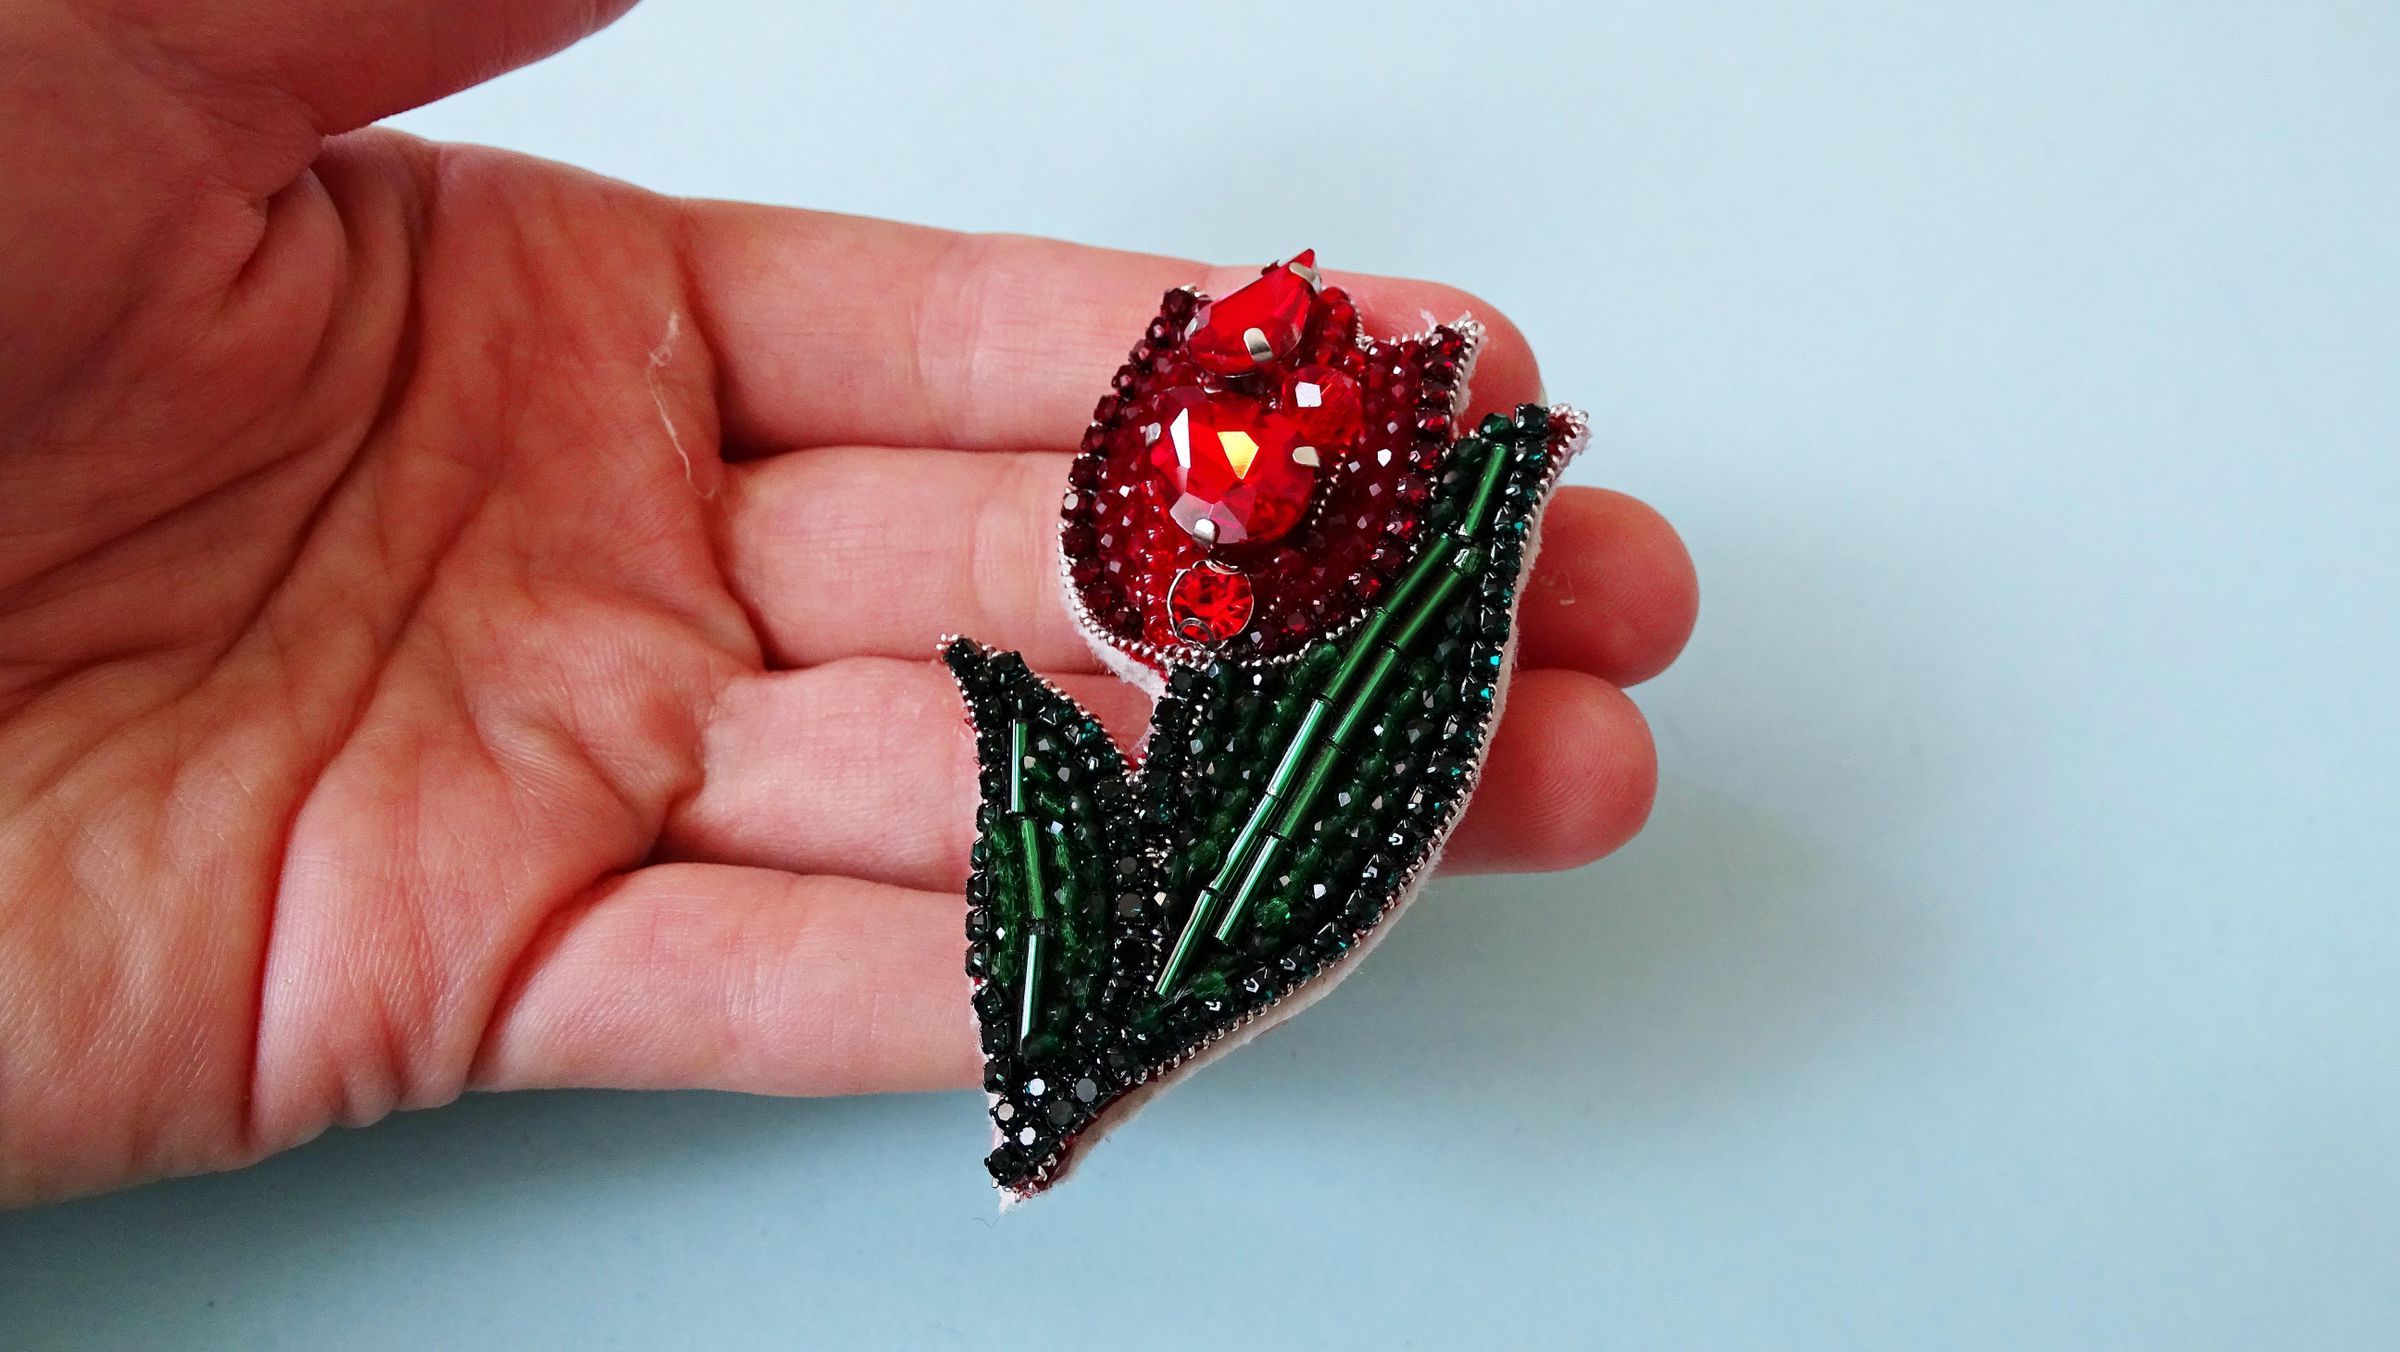
Your brooch is almost complete. You can wear it like this if you want but i suggest we make it look prettier from the side as well.
Since there are a bunch of layers - the red felt, the cardstock and the leather that adds up and doesn't look very aesthetically pleasing. To cover the sides you can use some more beads, sequins or in this case - more french wire.
This process is as easy as it sounds - cover the sides of the brooch with wire.
Again, start out by stretching the wire slightly, fold and curve it as you go all around the flower and sew it on. When sewing make sure the needle is going through all three layers.
When you are done sewing cut the wire, pull the needle through and cut the excess fishing cord.
Pin It to a Blazer
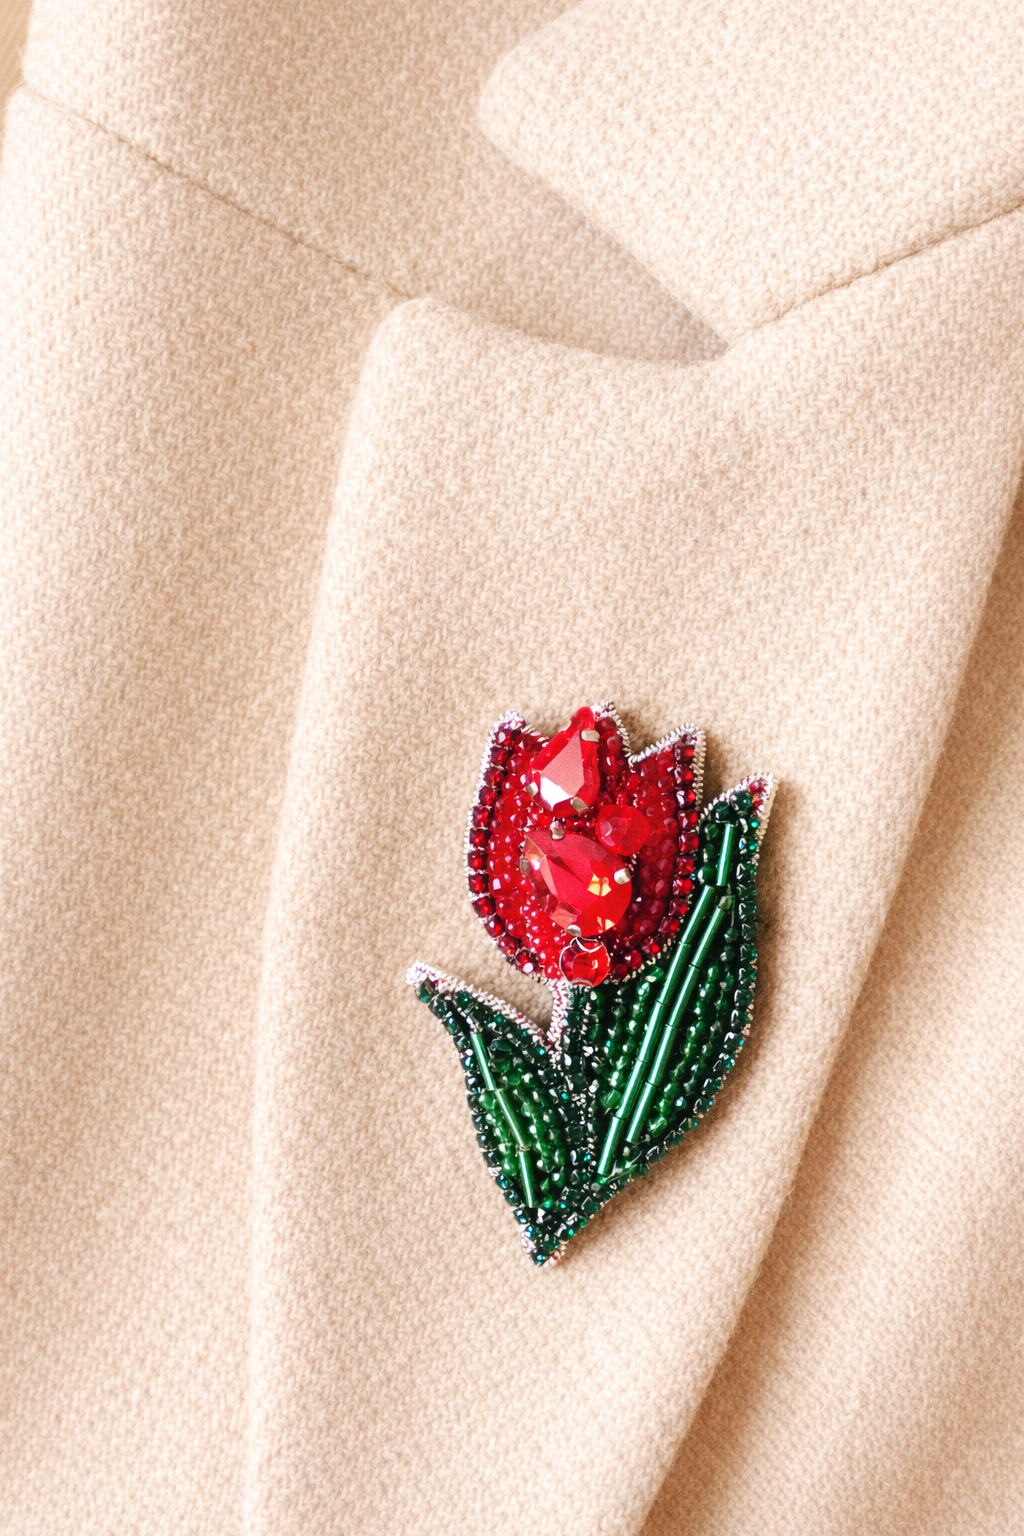
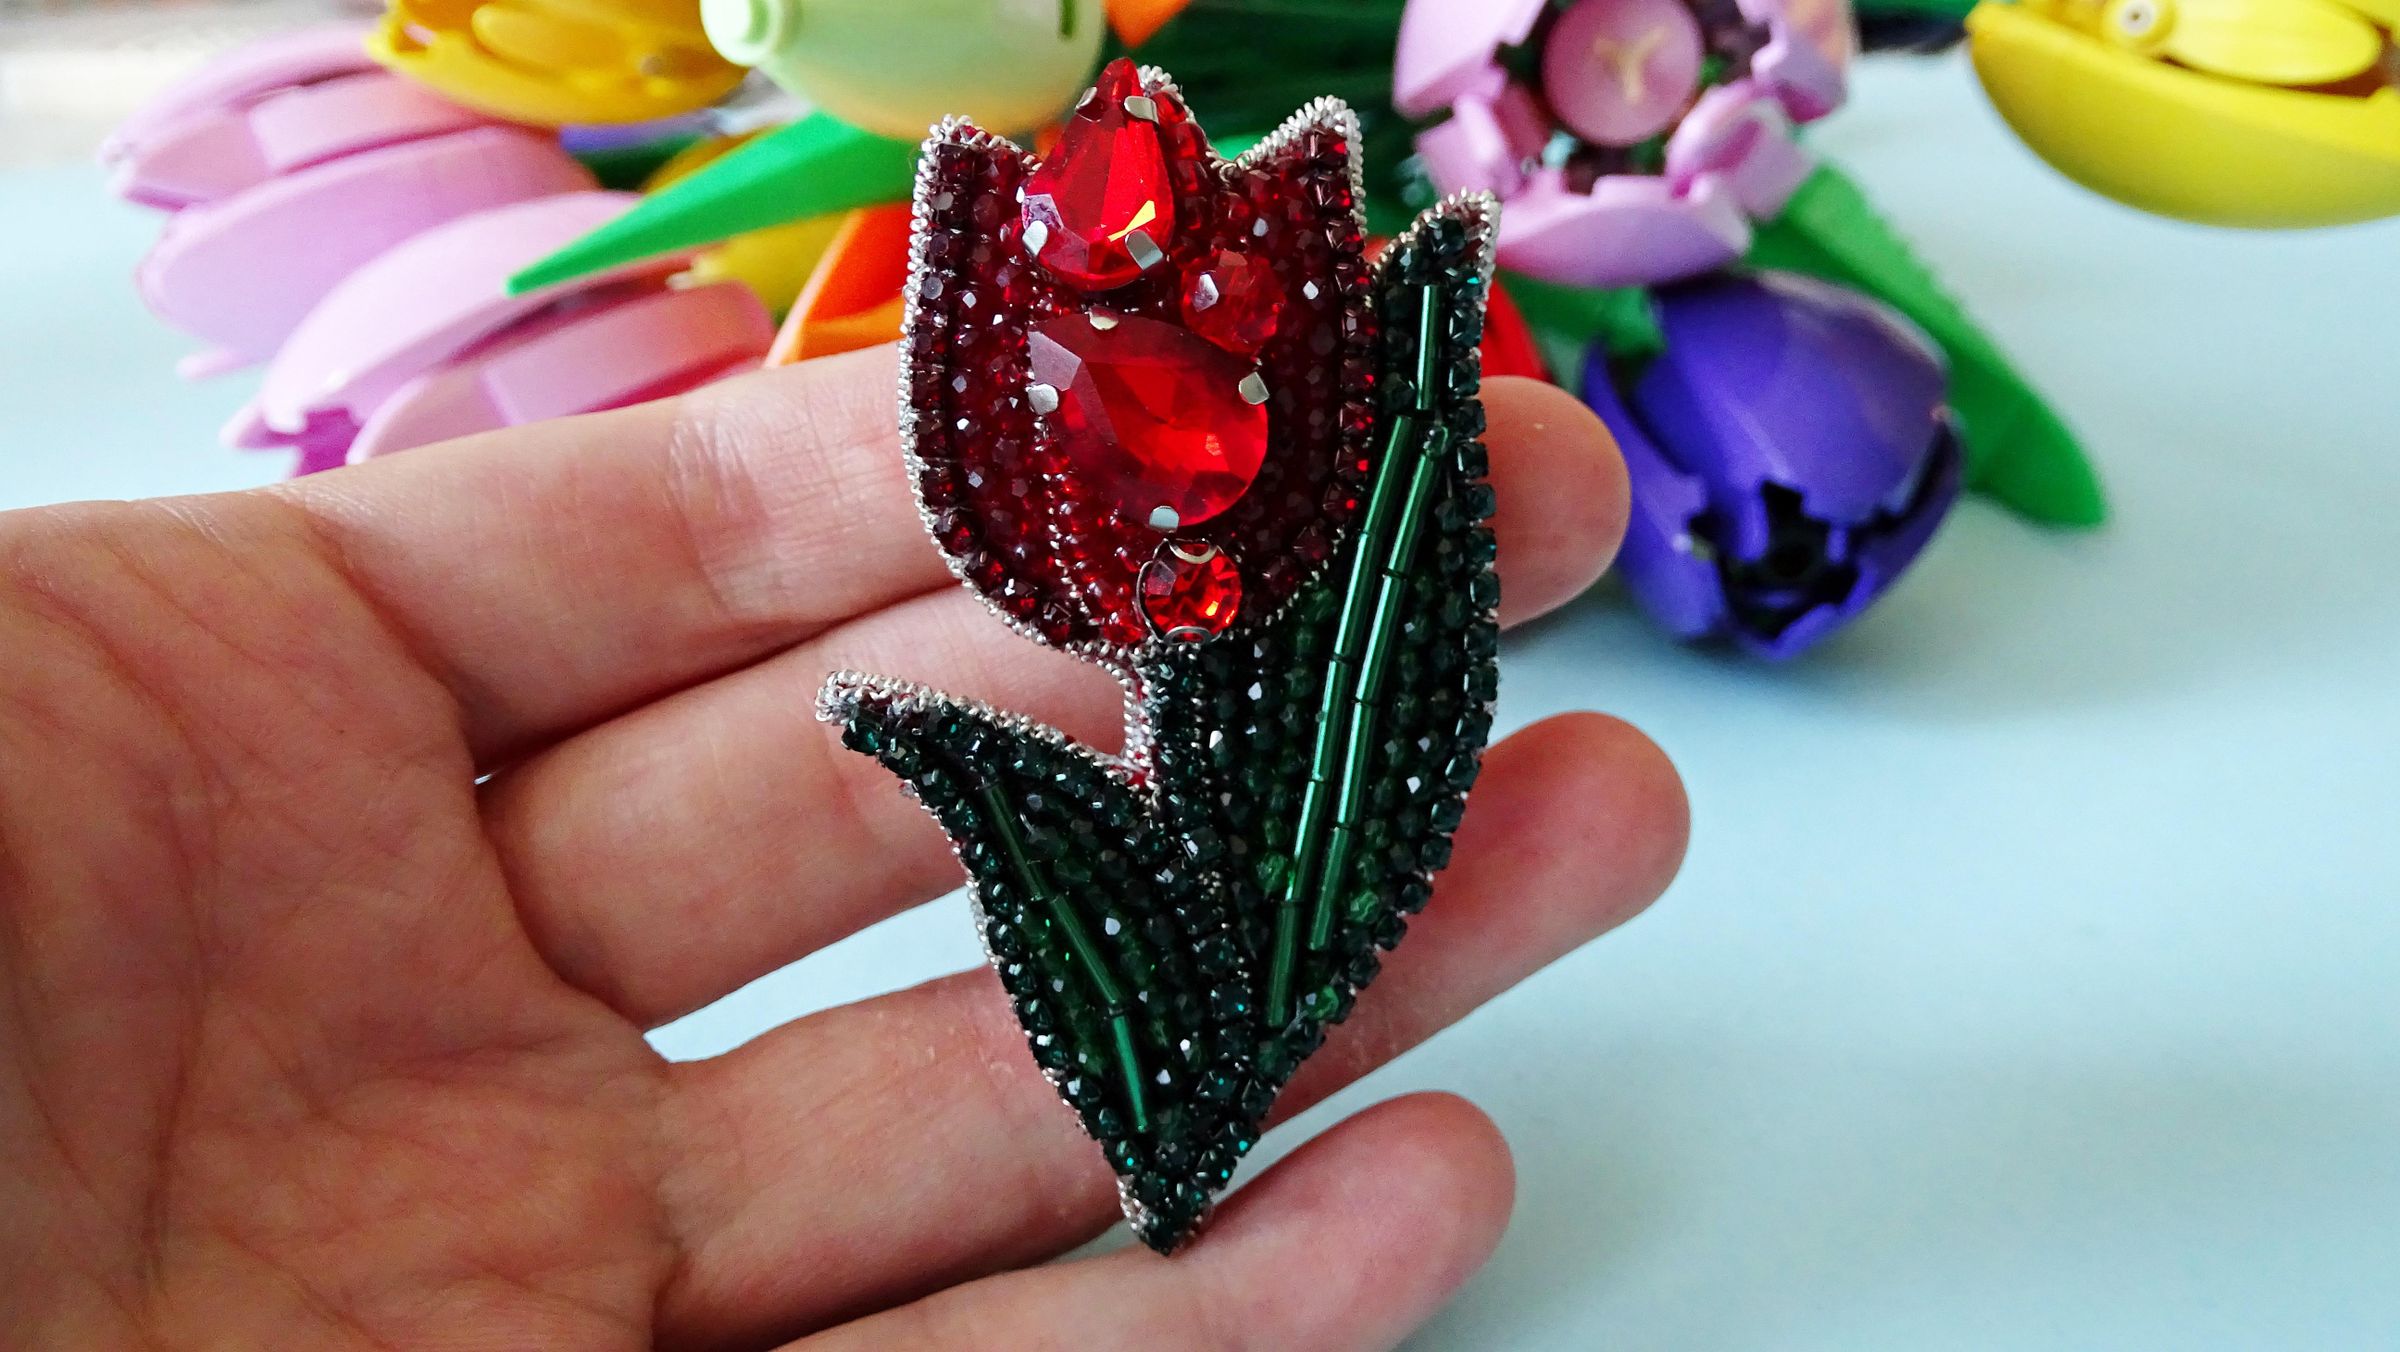
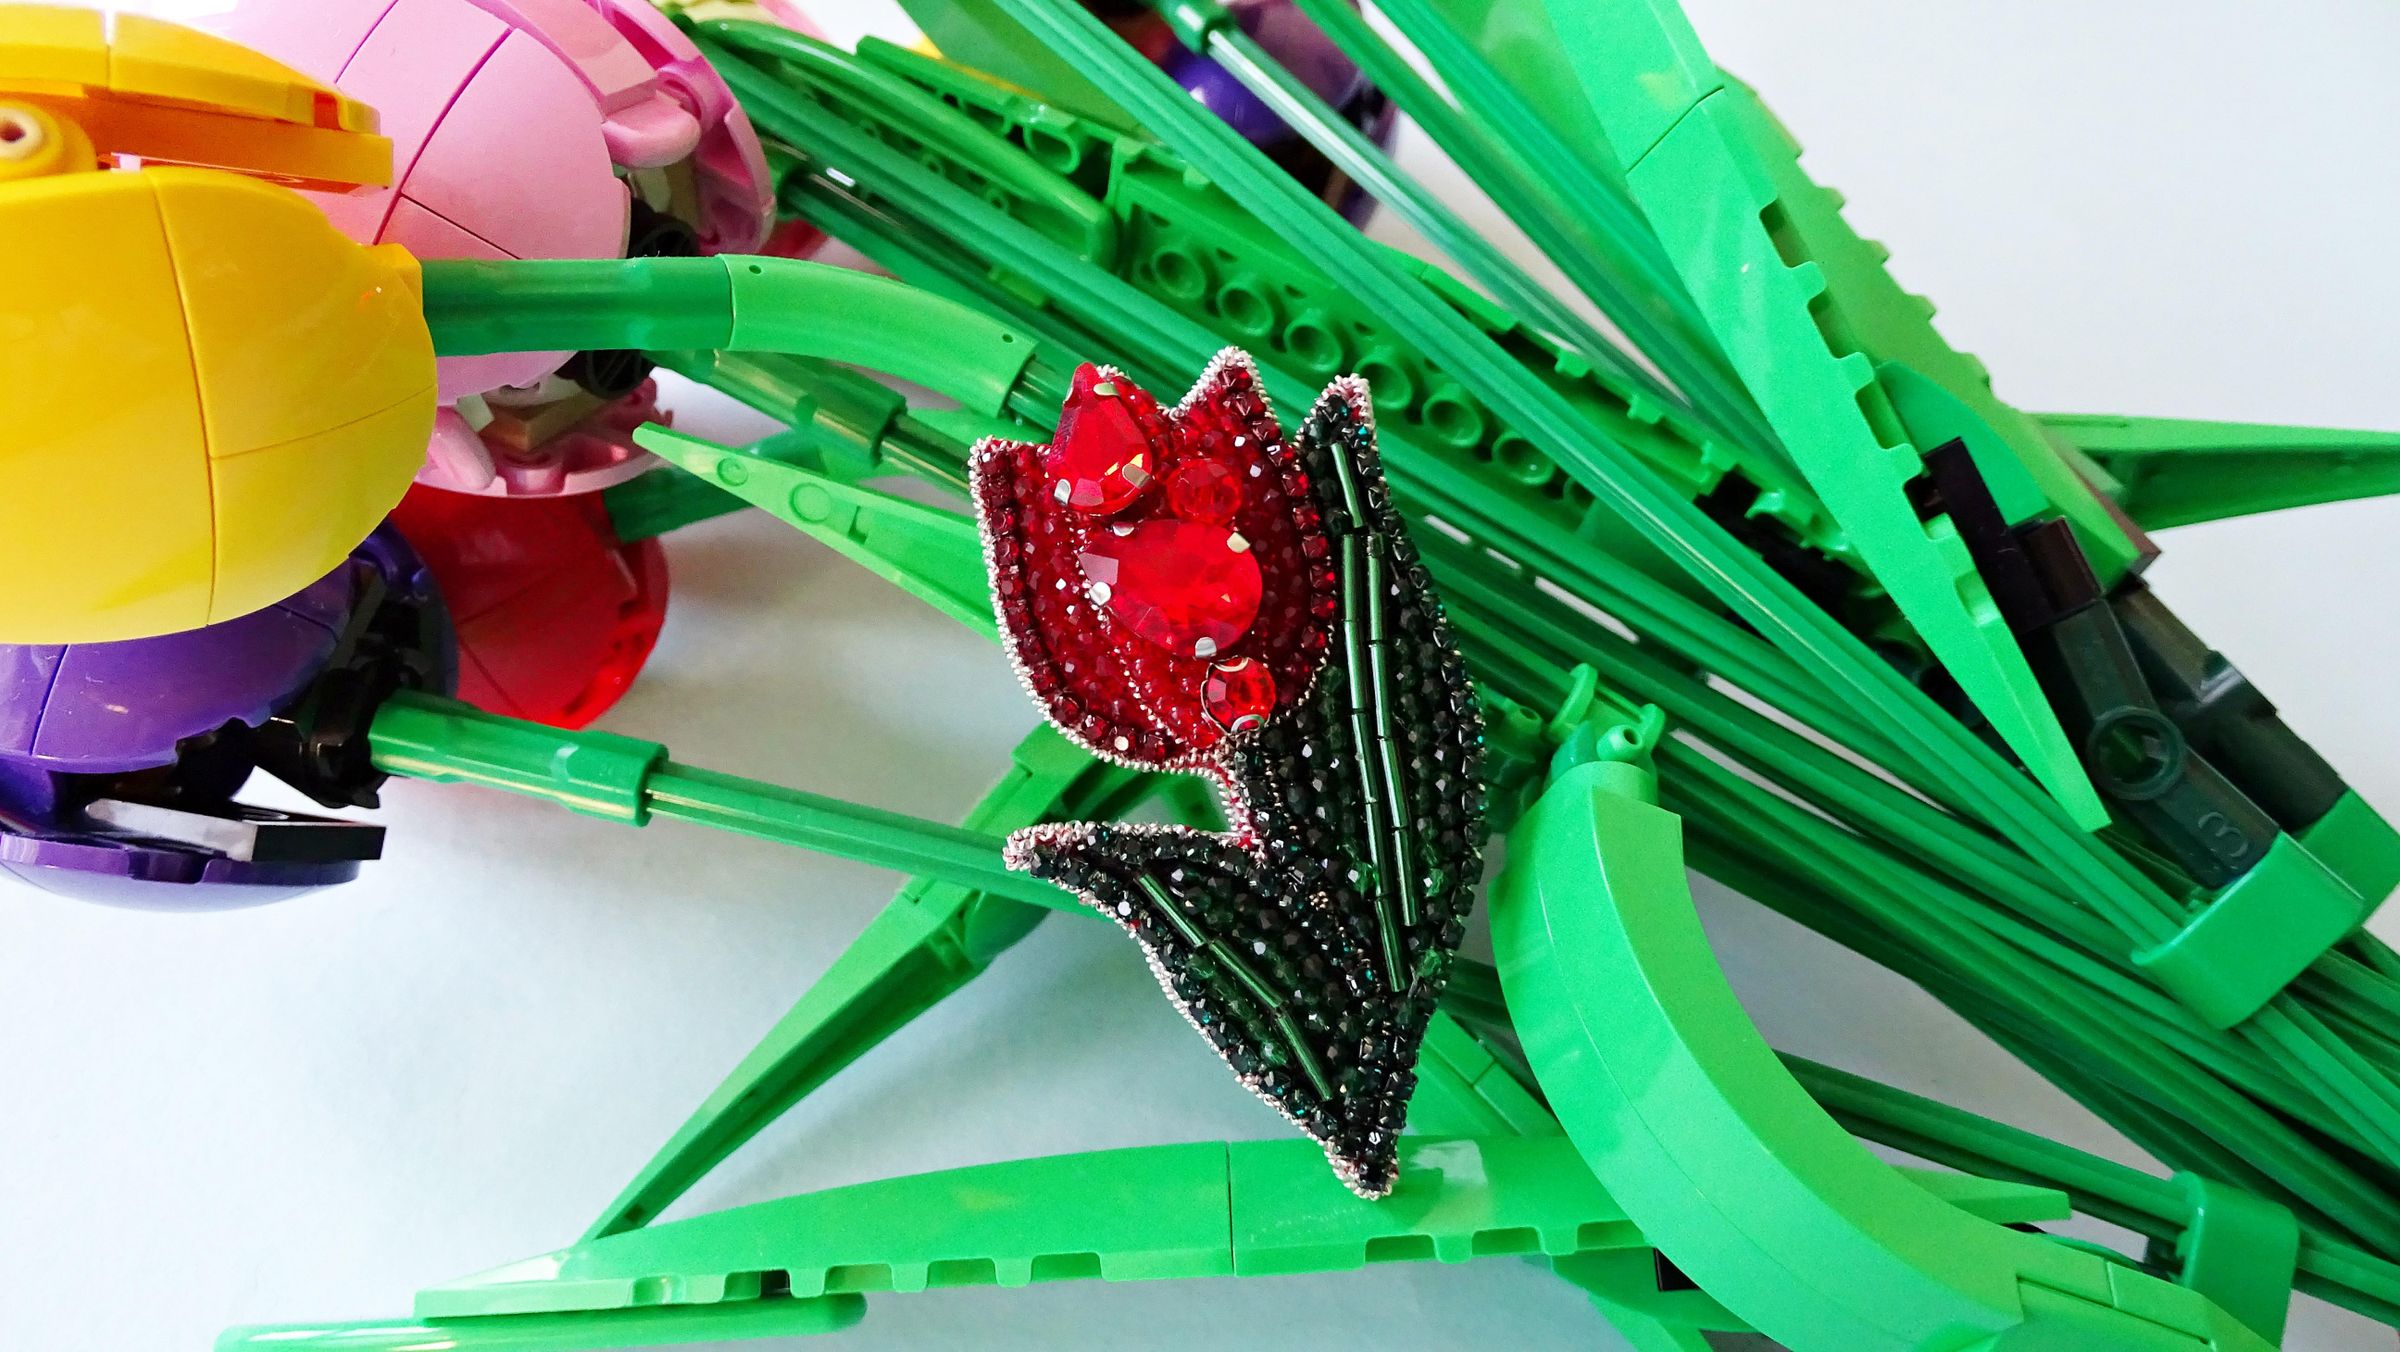
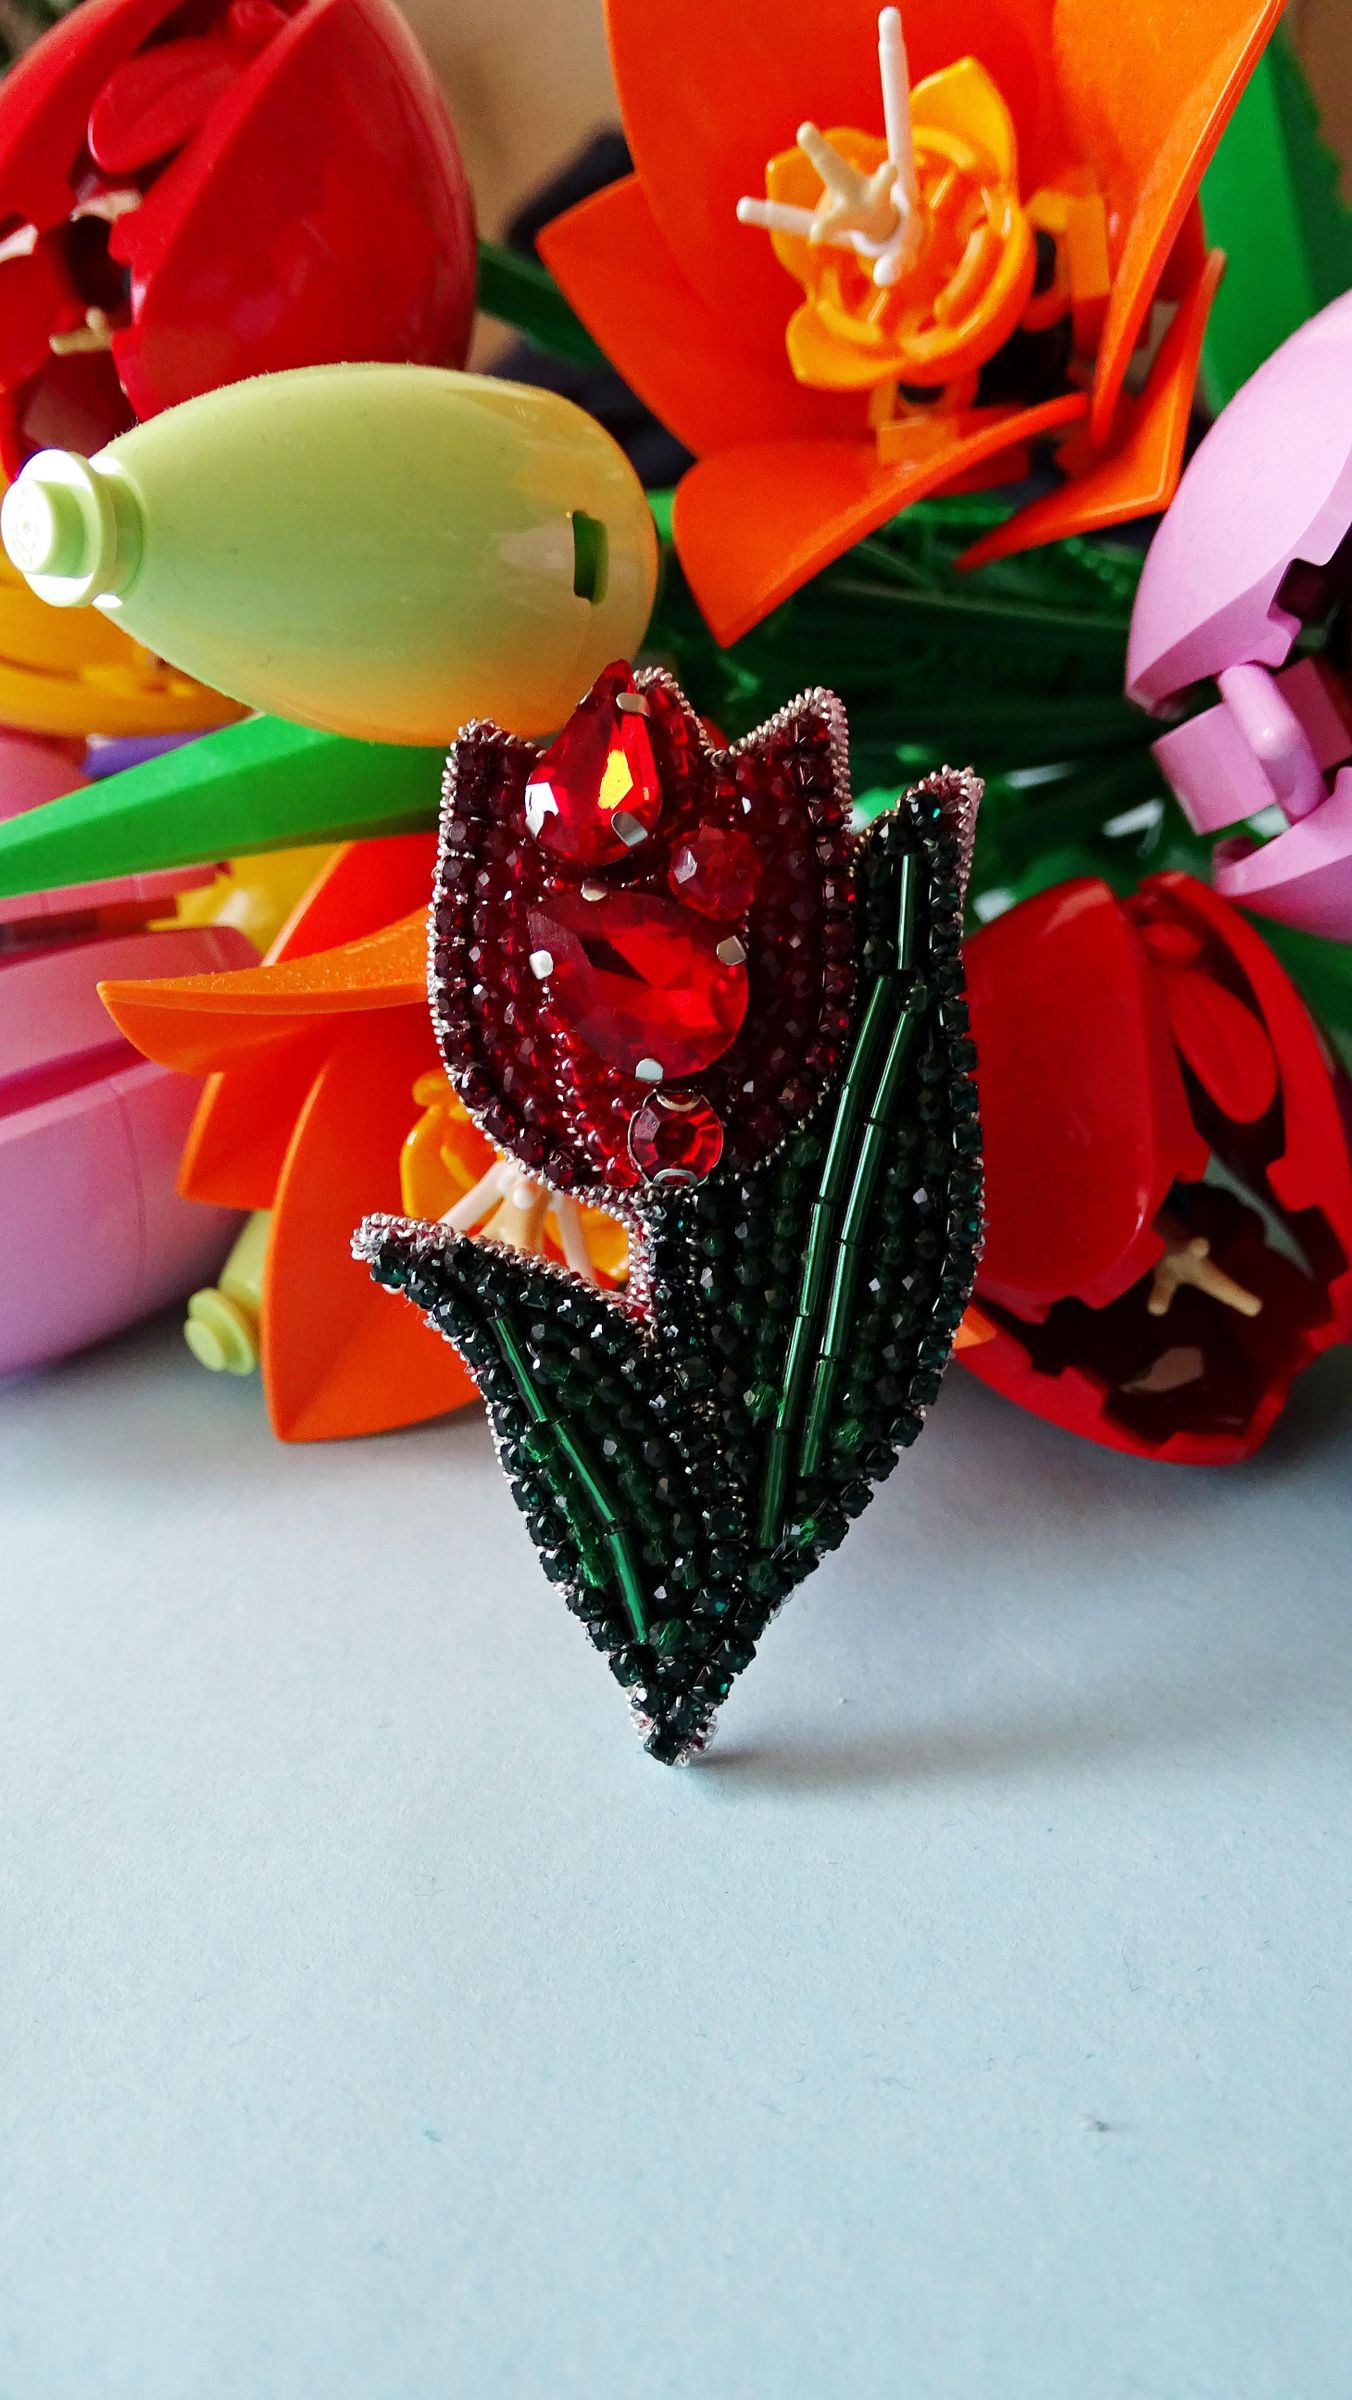
Your bead embroidery brooch is complete!
Now all that's left to do is pin it to a blazer and let it be your new eye catching accessory.
I love the way this brooch turned out. I hope you enjoyed reading how I created it.
Happy crafting!