How to Make a Cornhole Board
by enmalm01 in Workshop > Woodworking
2536 Views, 24 Favorites, 0 Comments
How to Make a Cornhole Board
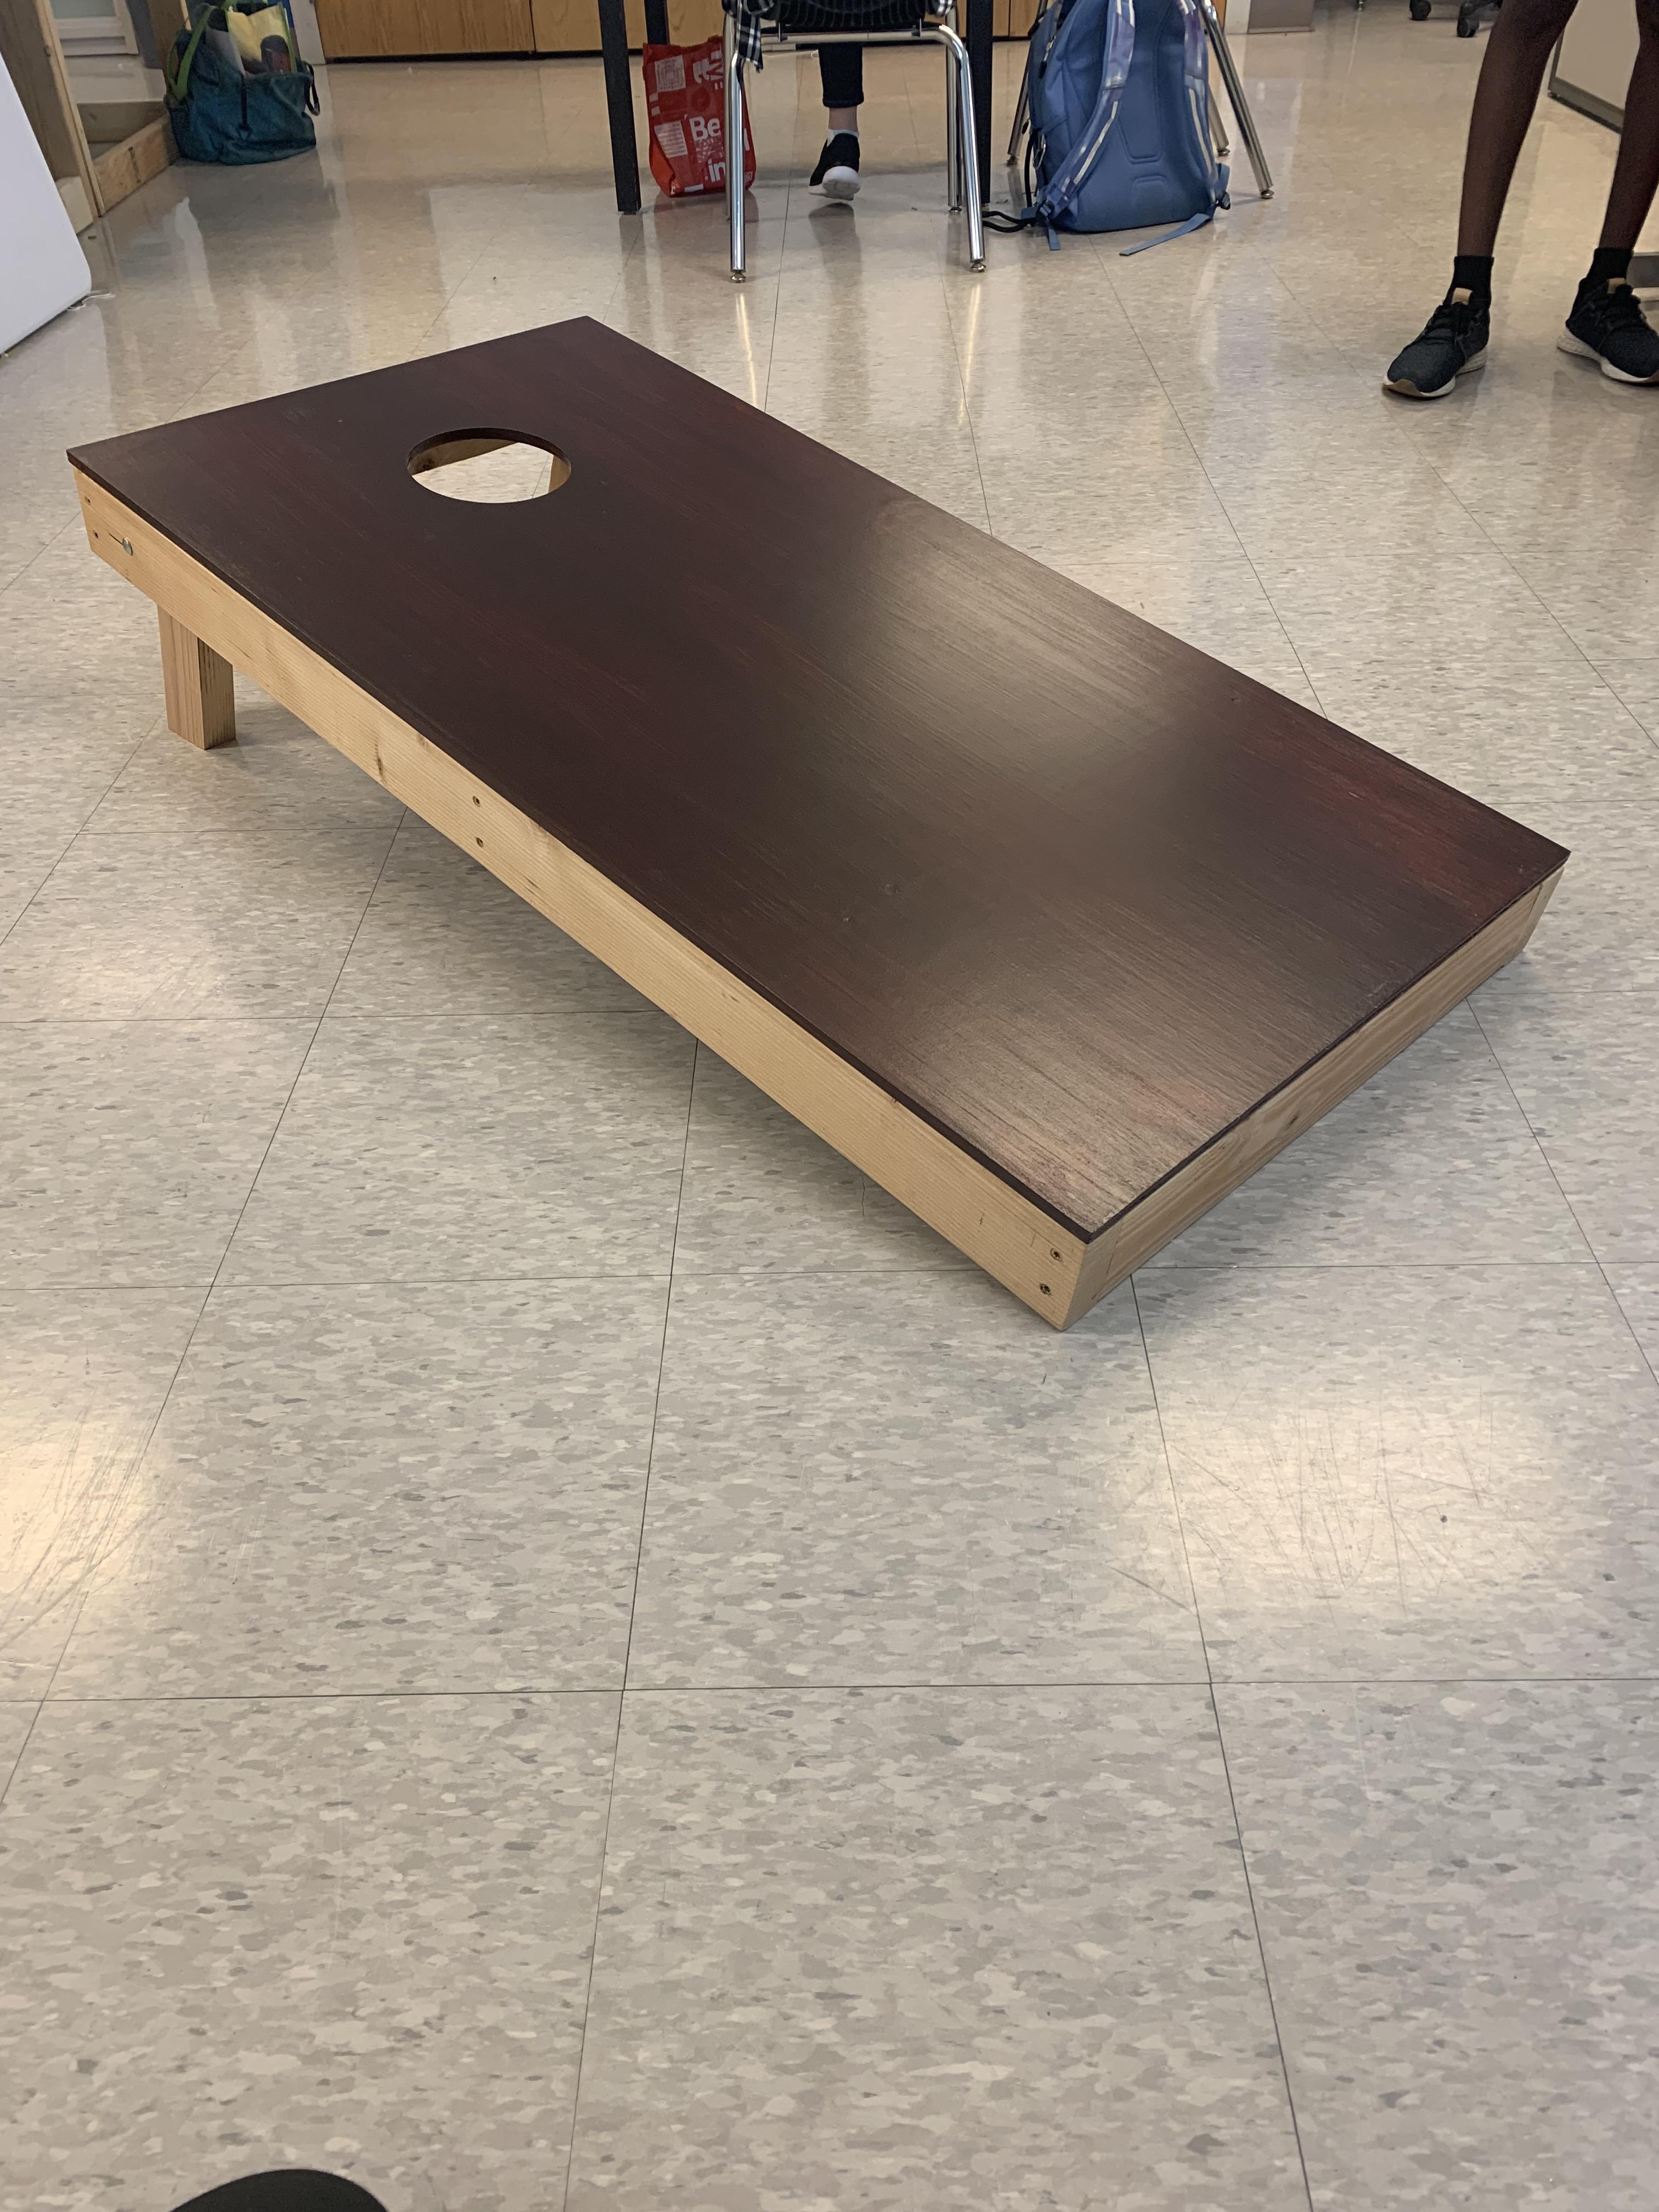
So, you are interested in constructing your own cornhole board. Well, you are in luck because this guide will go over how to create a cornhole board in accordance with the American Cornhole Association regulation scale.
Supplies
Miter Saw
Table Saw
Sandpaper
Jig Saw
Power Drill
CNC Router
Tape Measurer
Two 8 foot 2x4's SPF
1 96" by 48" piece of 1/2" Maple Plywood
Sandpaper - Coarse and Fine Grit
16 Wood Screws - 1/4" bolts and wing nuts
Wood Stain of Choice
Finish - Water-Based Pre Wood Stain Conditioner & Water-Based Polyurethane
Cutting the Board + Sanding
.jpg)
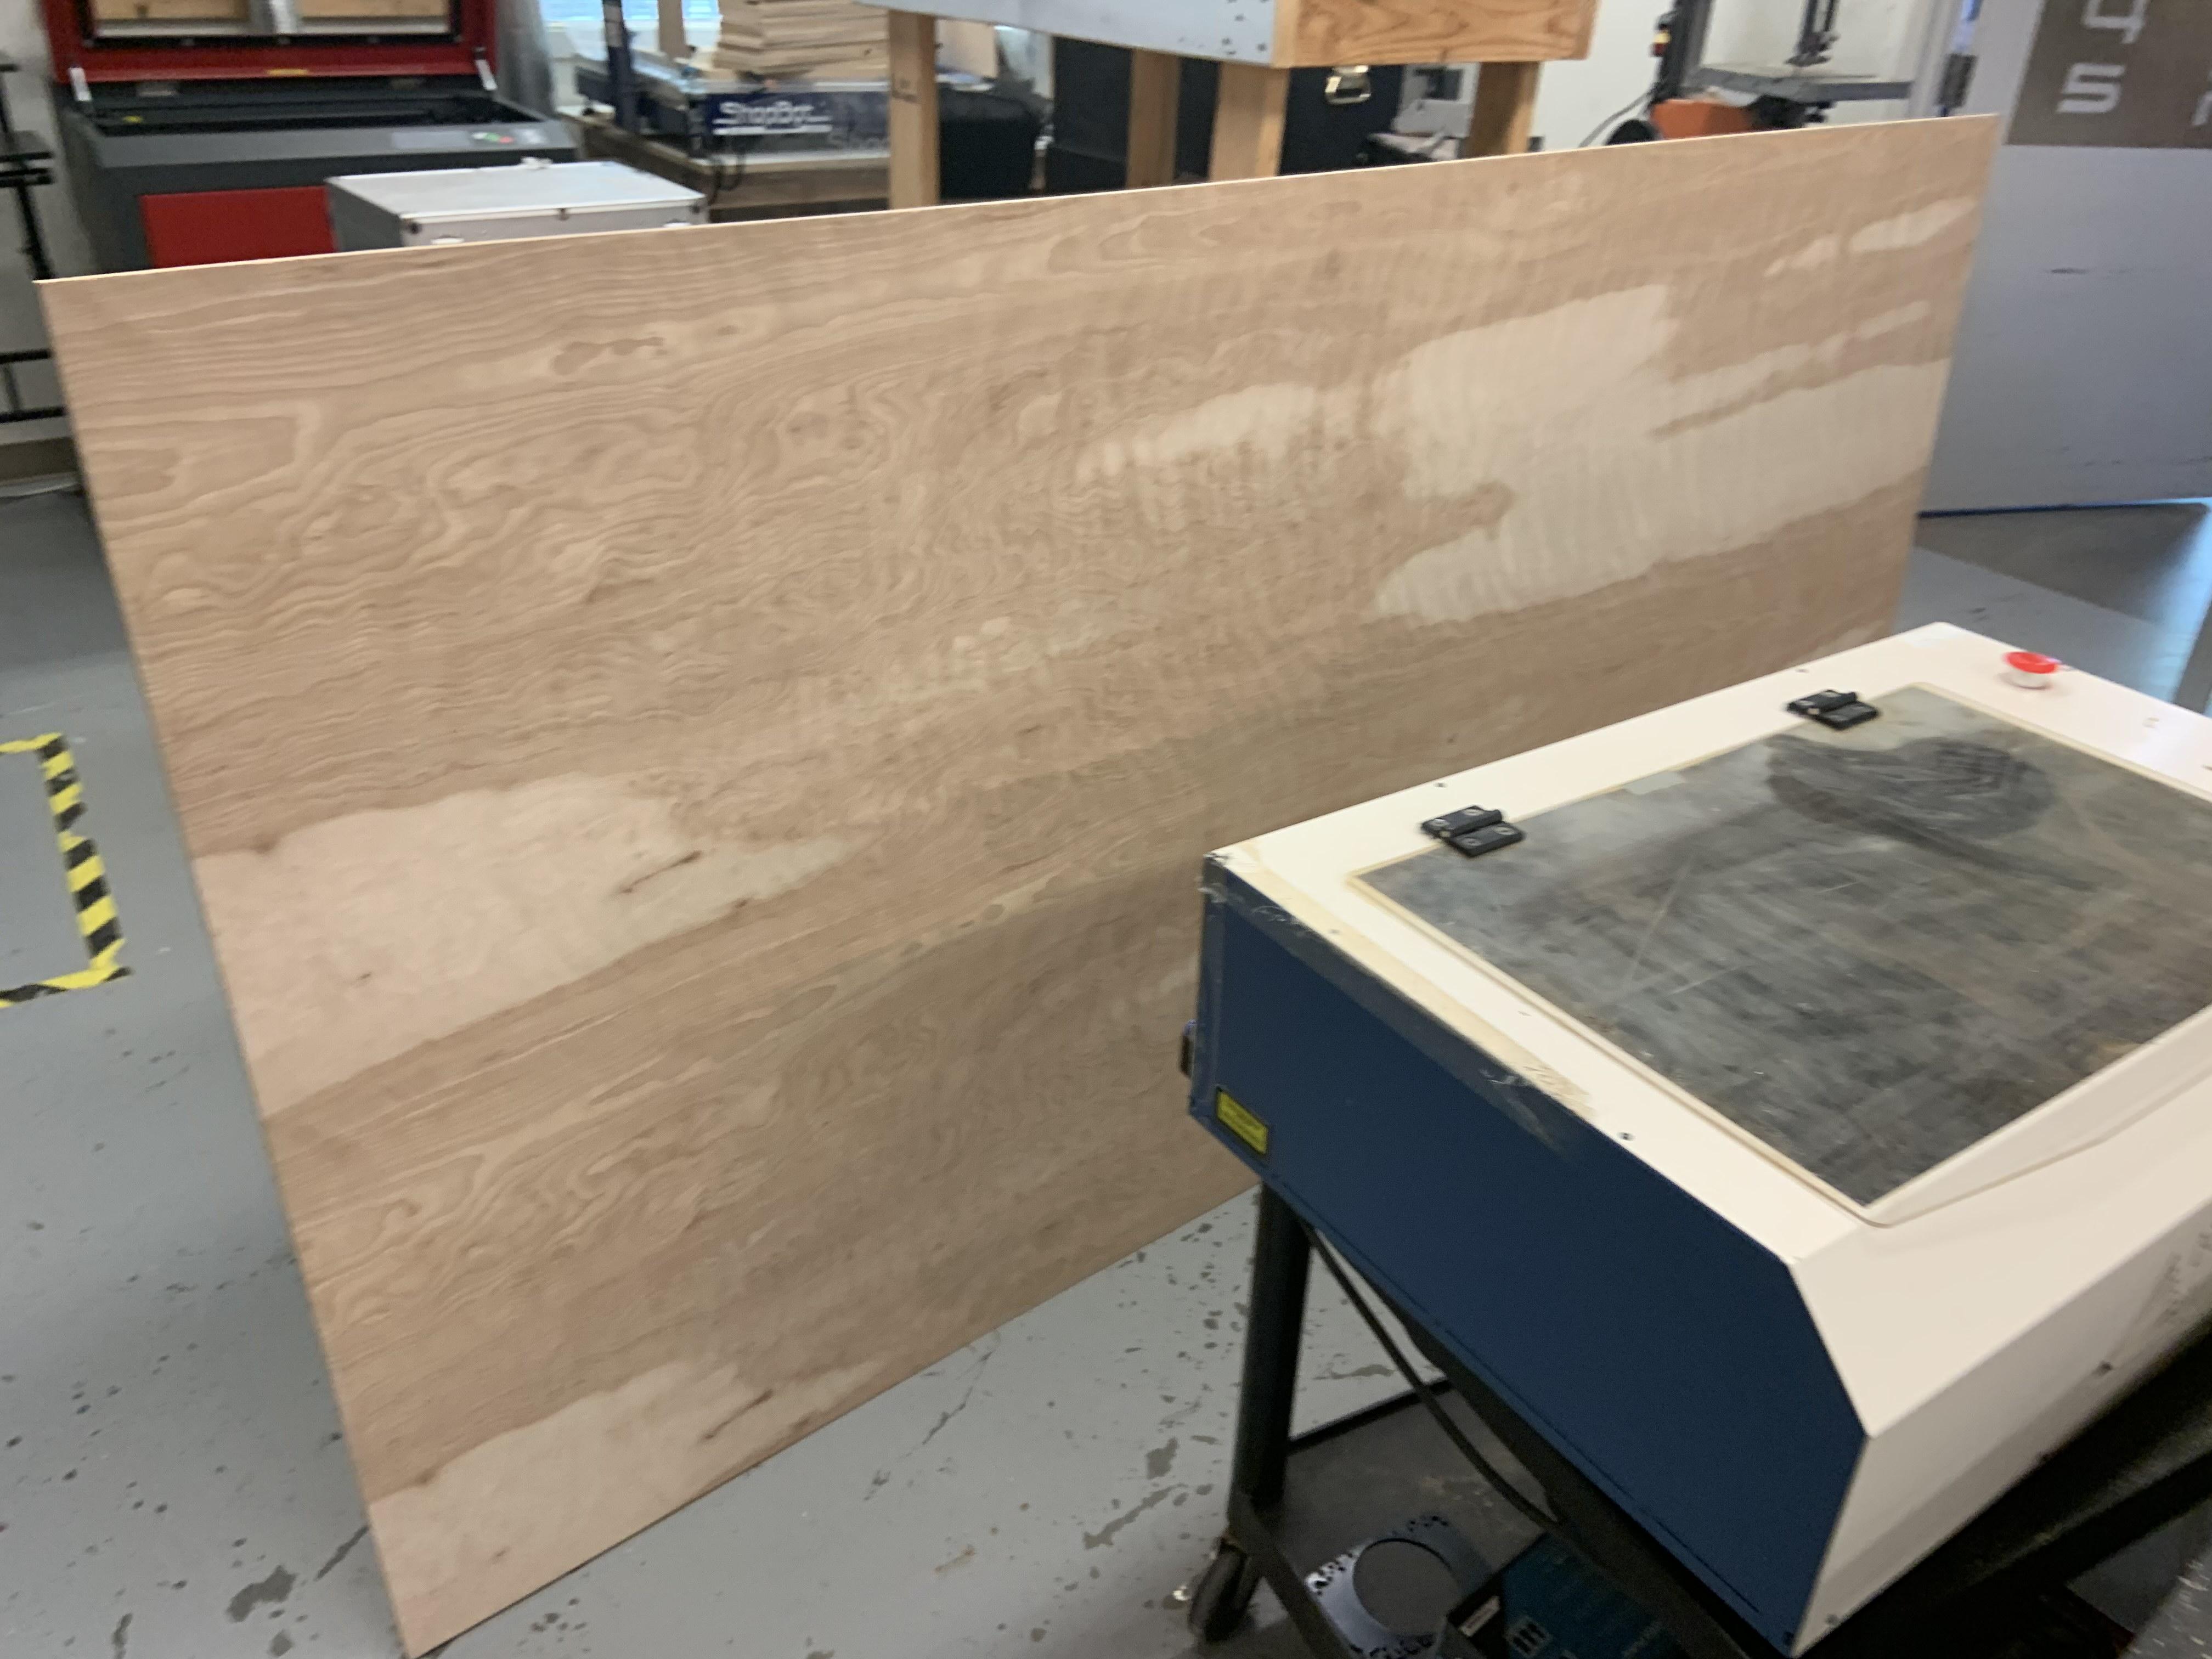
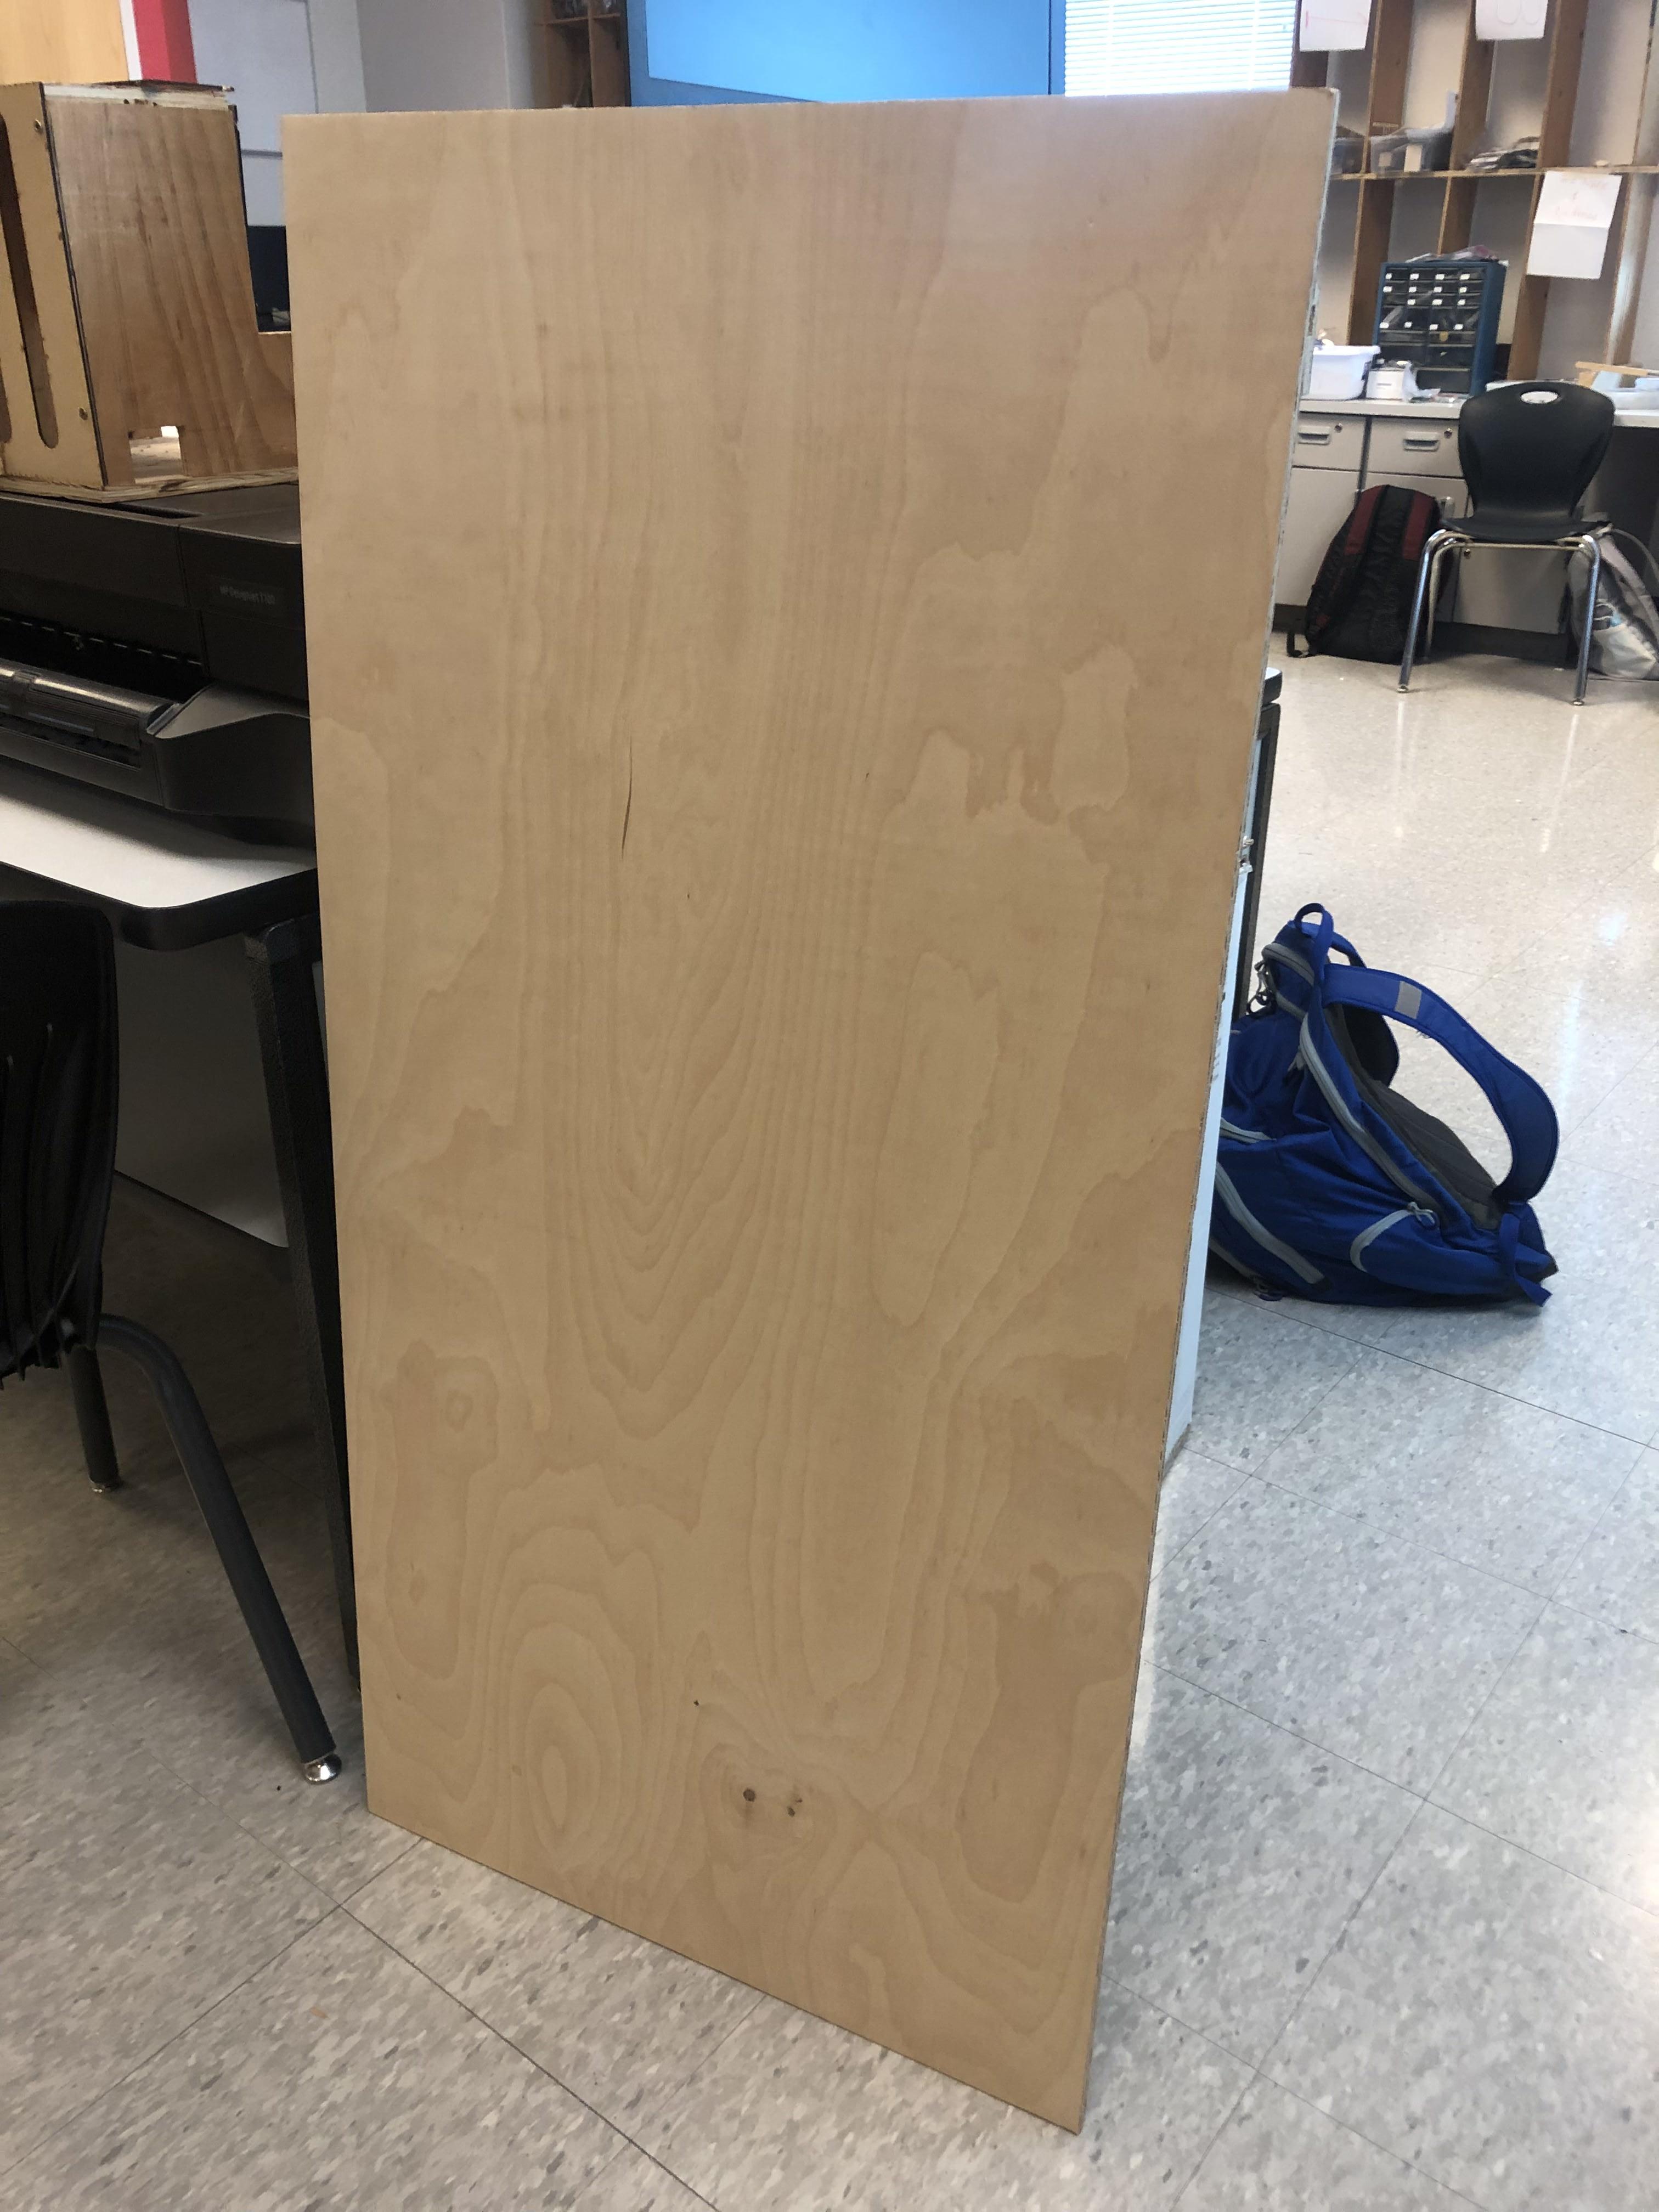
Cut your piece of ½" maple plywood to 47.75" by 23.75" using the table saw. This will be the top of your cornhole board where you will cut the hole. Once you have cut your piece of wood you will need to sand the side that you wish to face up. Since wood comes in already coarsely sanded you will only need to fine sand it using sandpaper ranged from 120-220 grit.
Cutting the Hole + Sanding
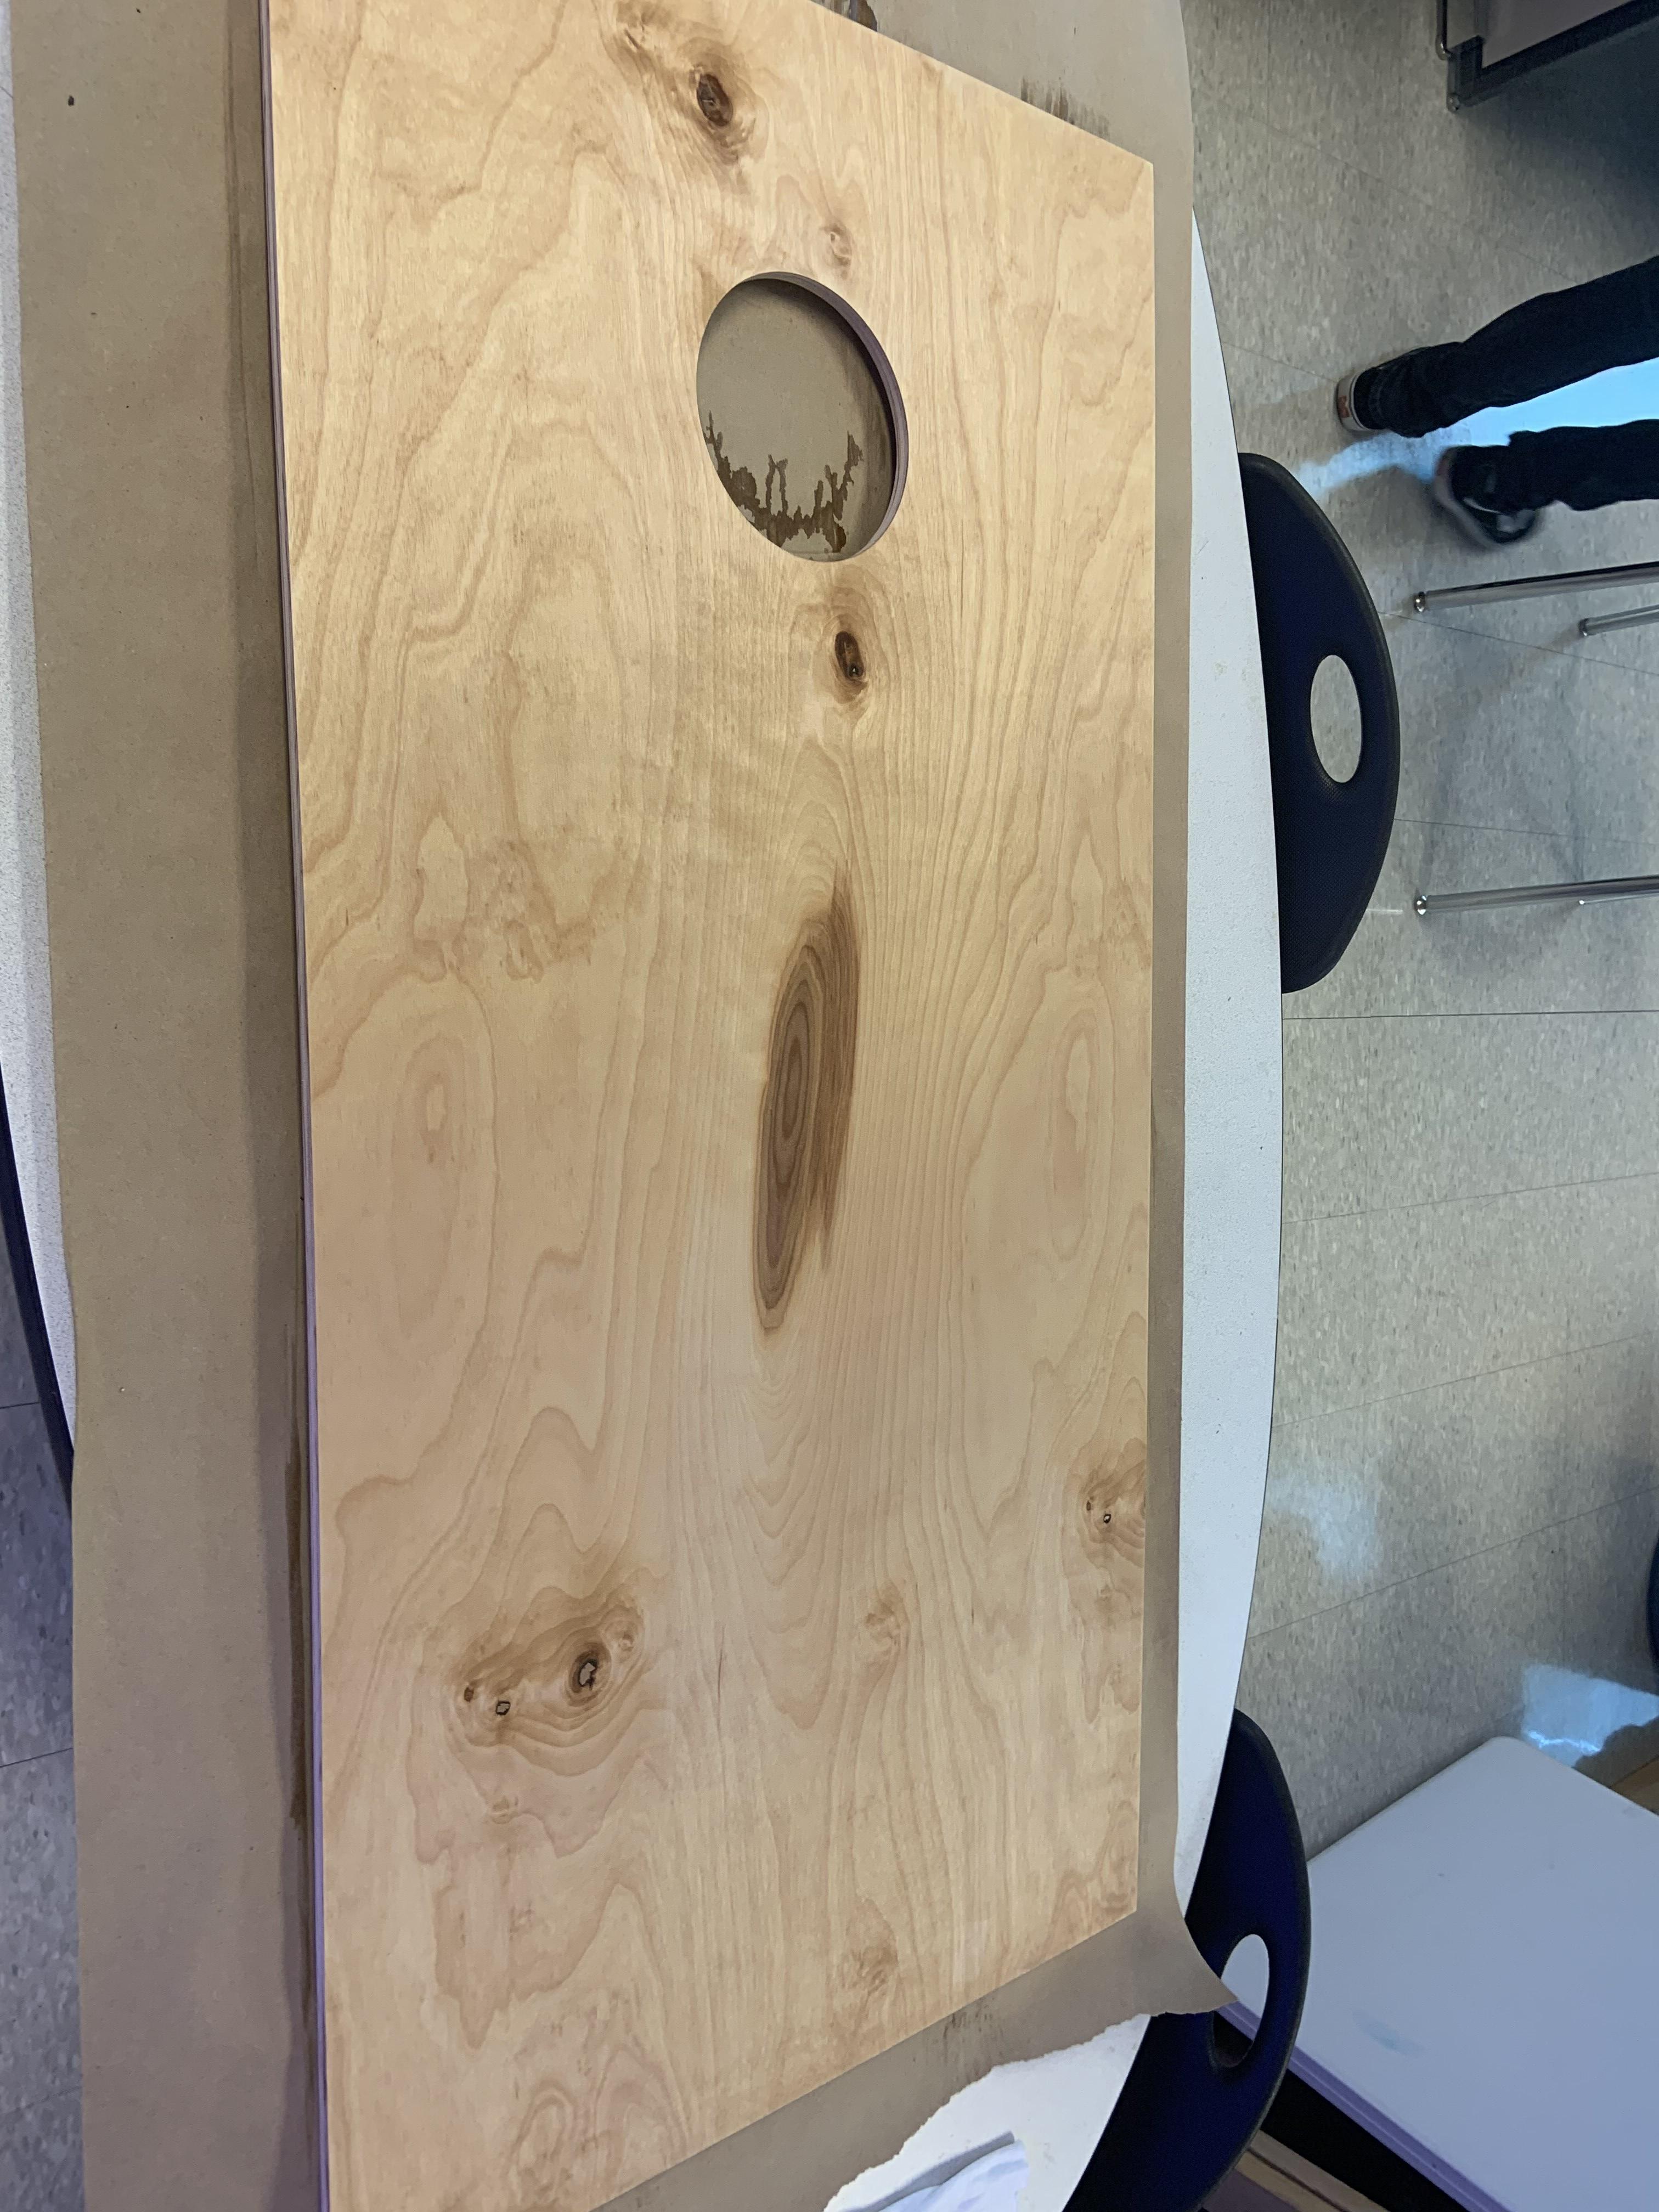
Cut a 6" hole using a CNC Router. The hole should be centered 9" from the top of the board and centered side to side. Alternatively, if you don't have access to a CNC you can use a 6" hole saw or a handheld jigsaw. After cutting the hole be sure to coarsely sand any rough areas or edges using sandpaper ranged from 60-100 grit and then finish off with 220 grit.
Cutting Long 2x4's
.JPG)
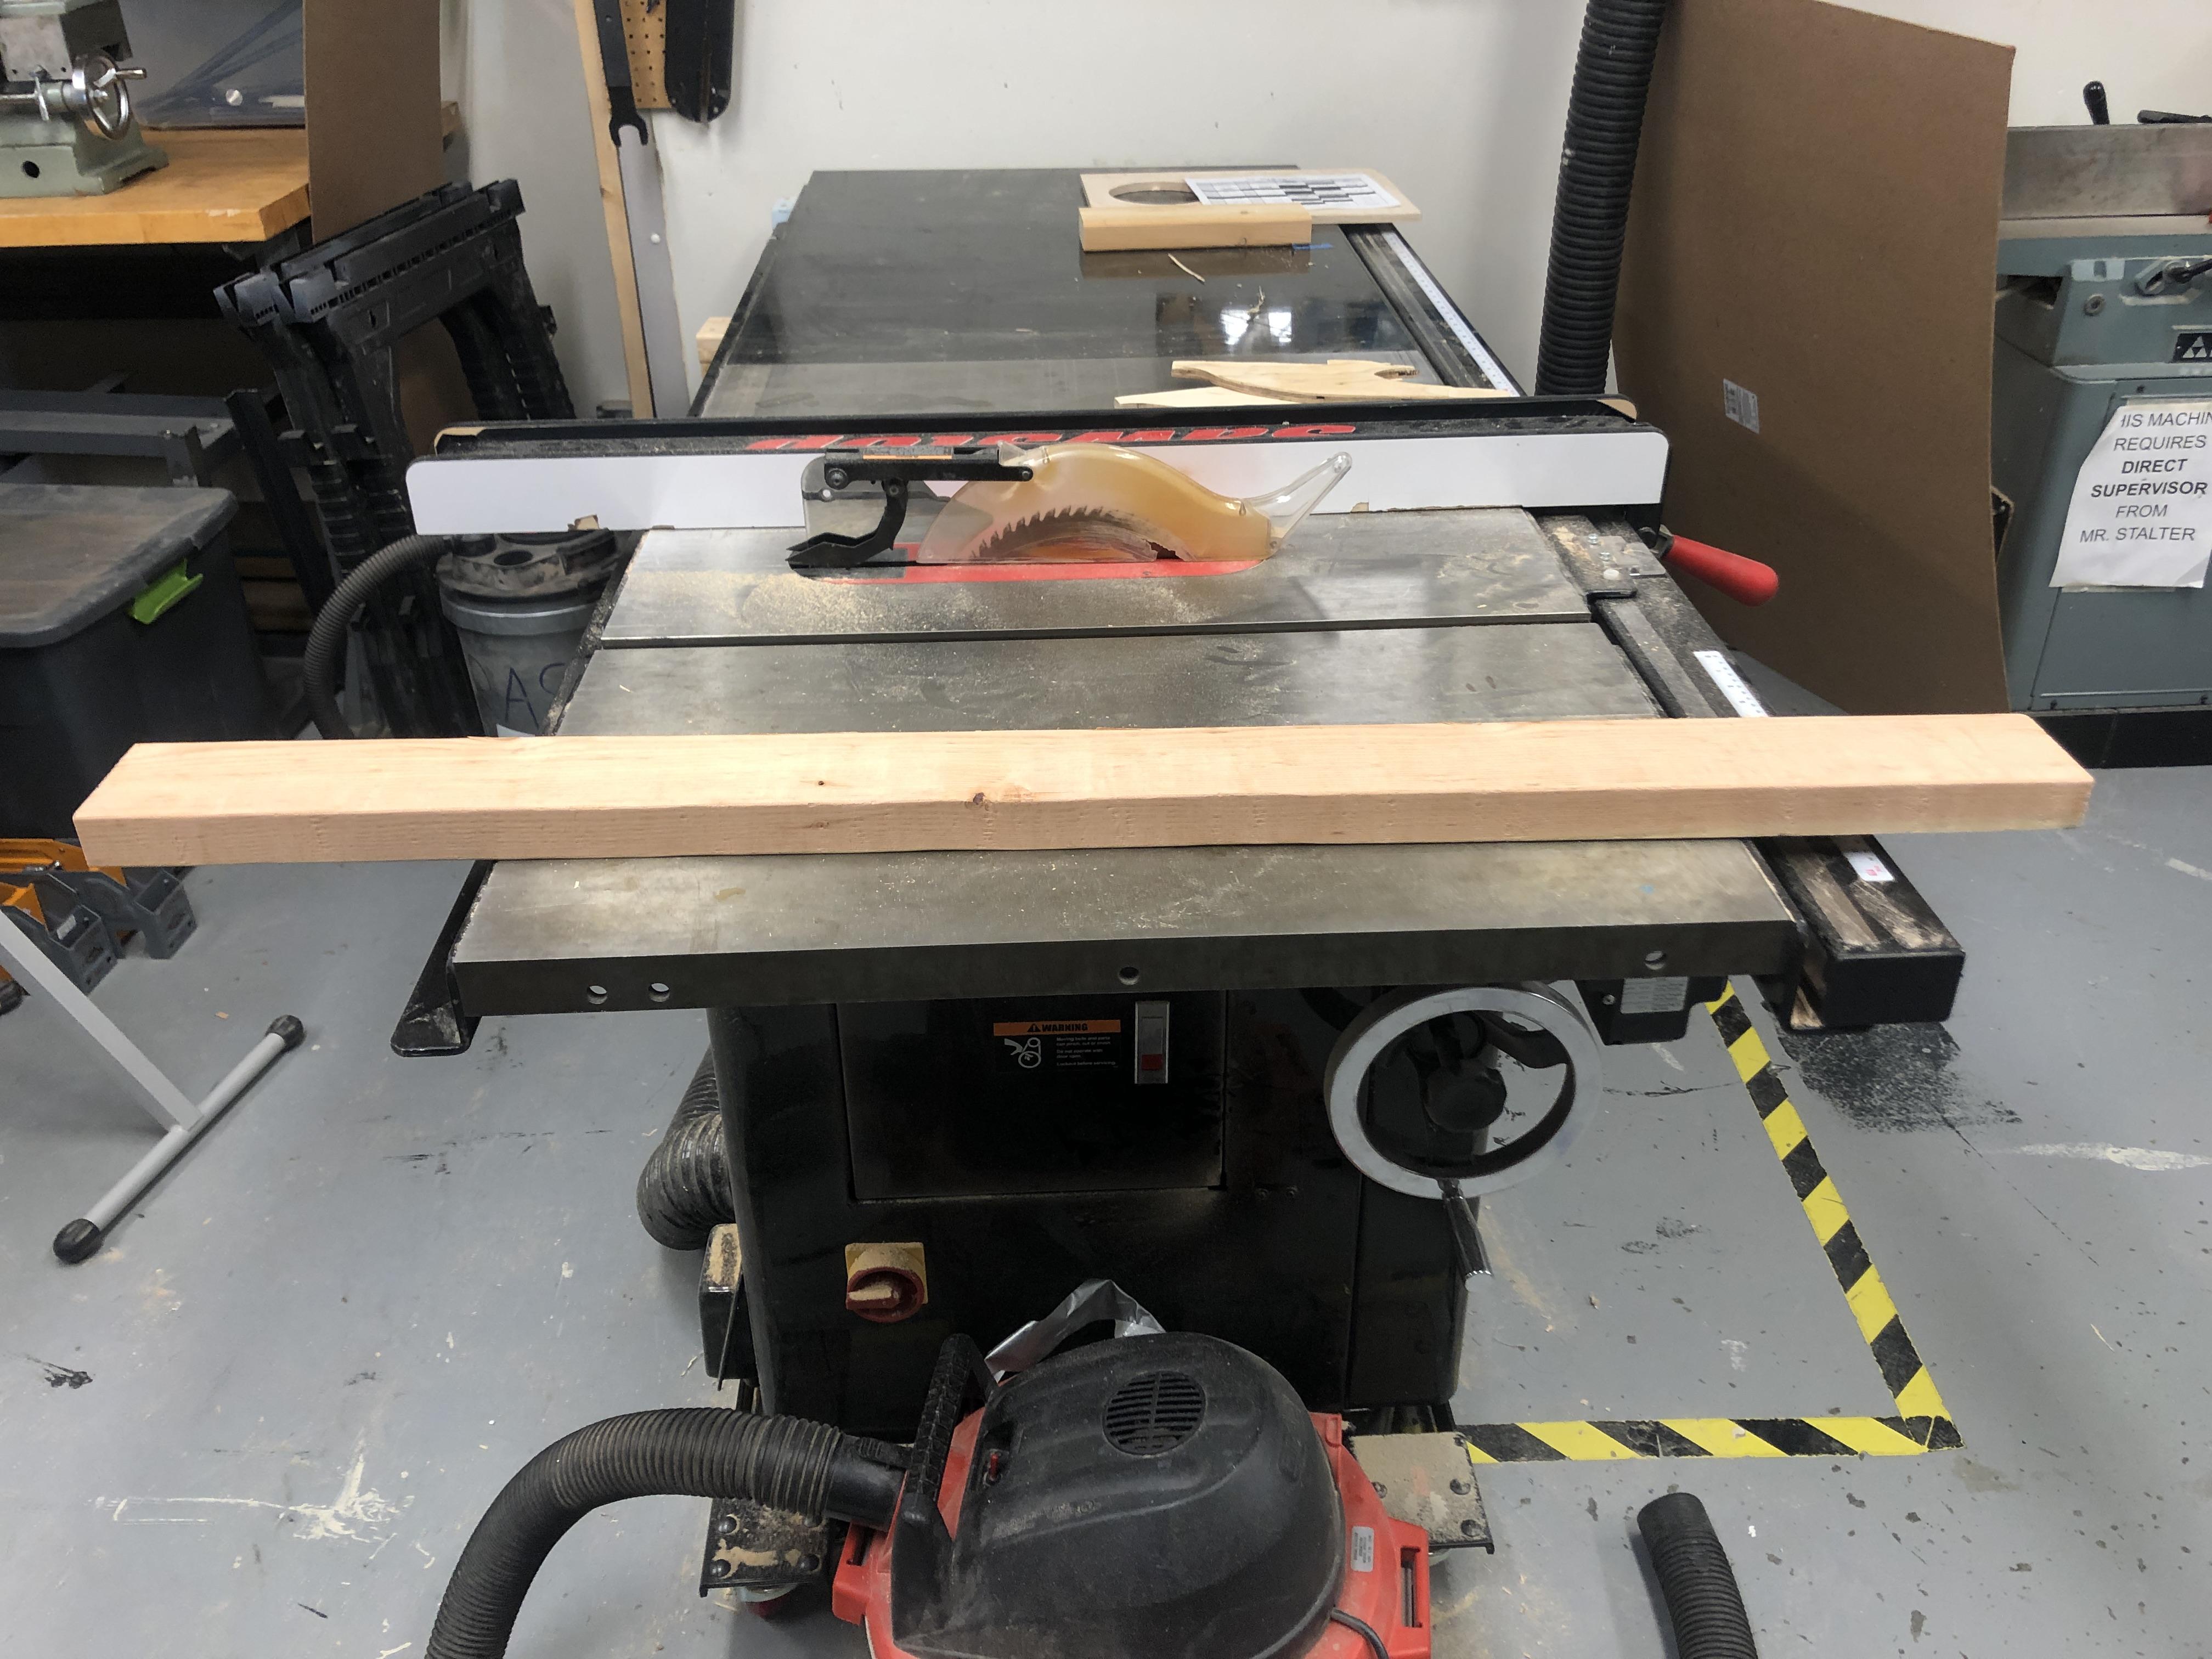
You can now set aside the top part of the cornhole board and grab two 8 foot 2x4's. You will need to cut both of these 2x4's to a length of 47.75" inches using a miter saw.
Cutting Short 2x4's
.JPG)
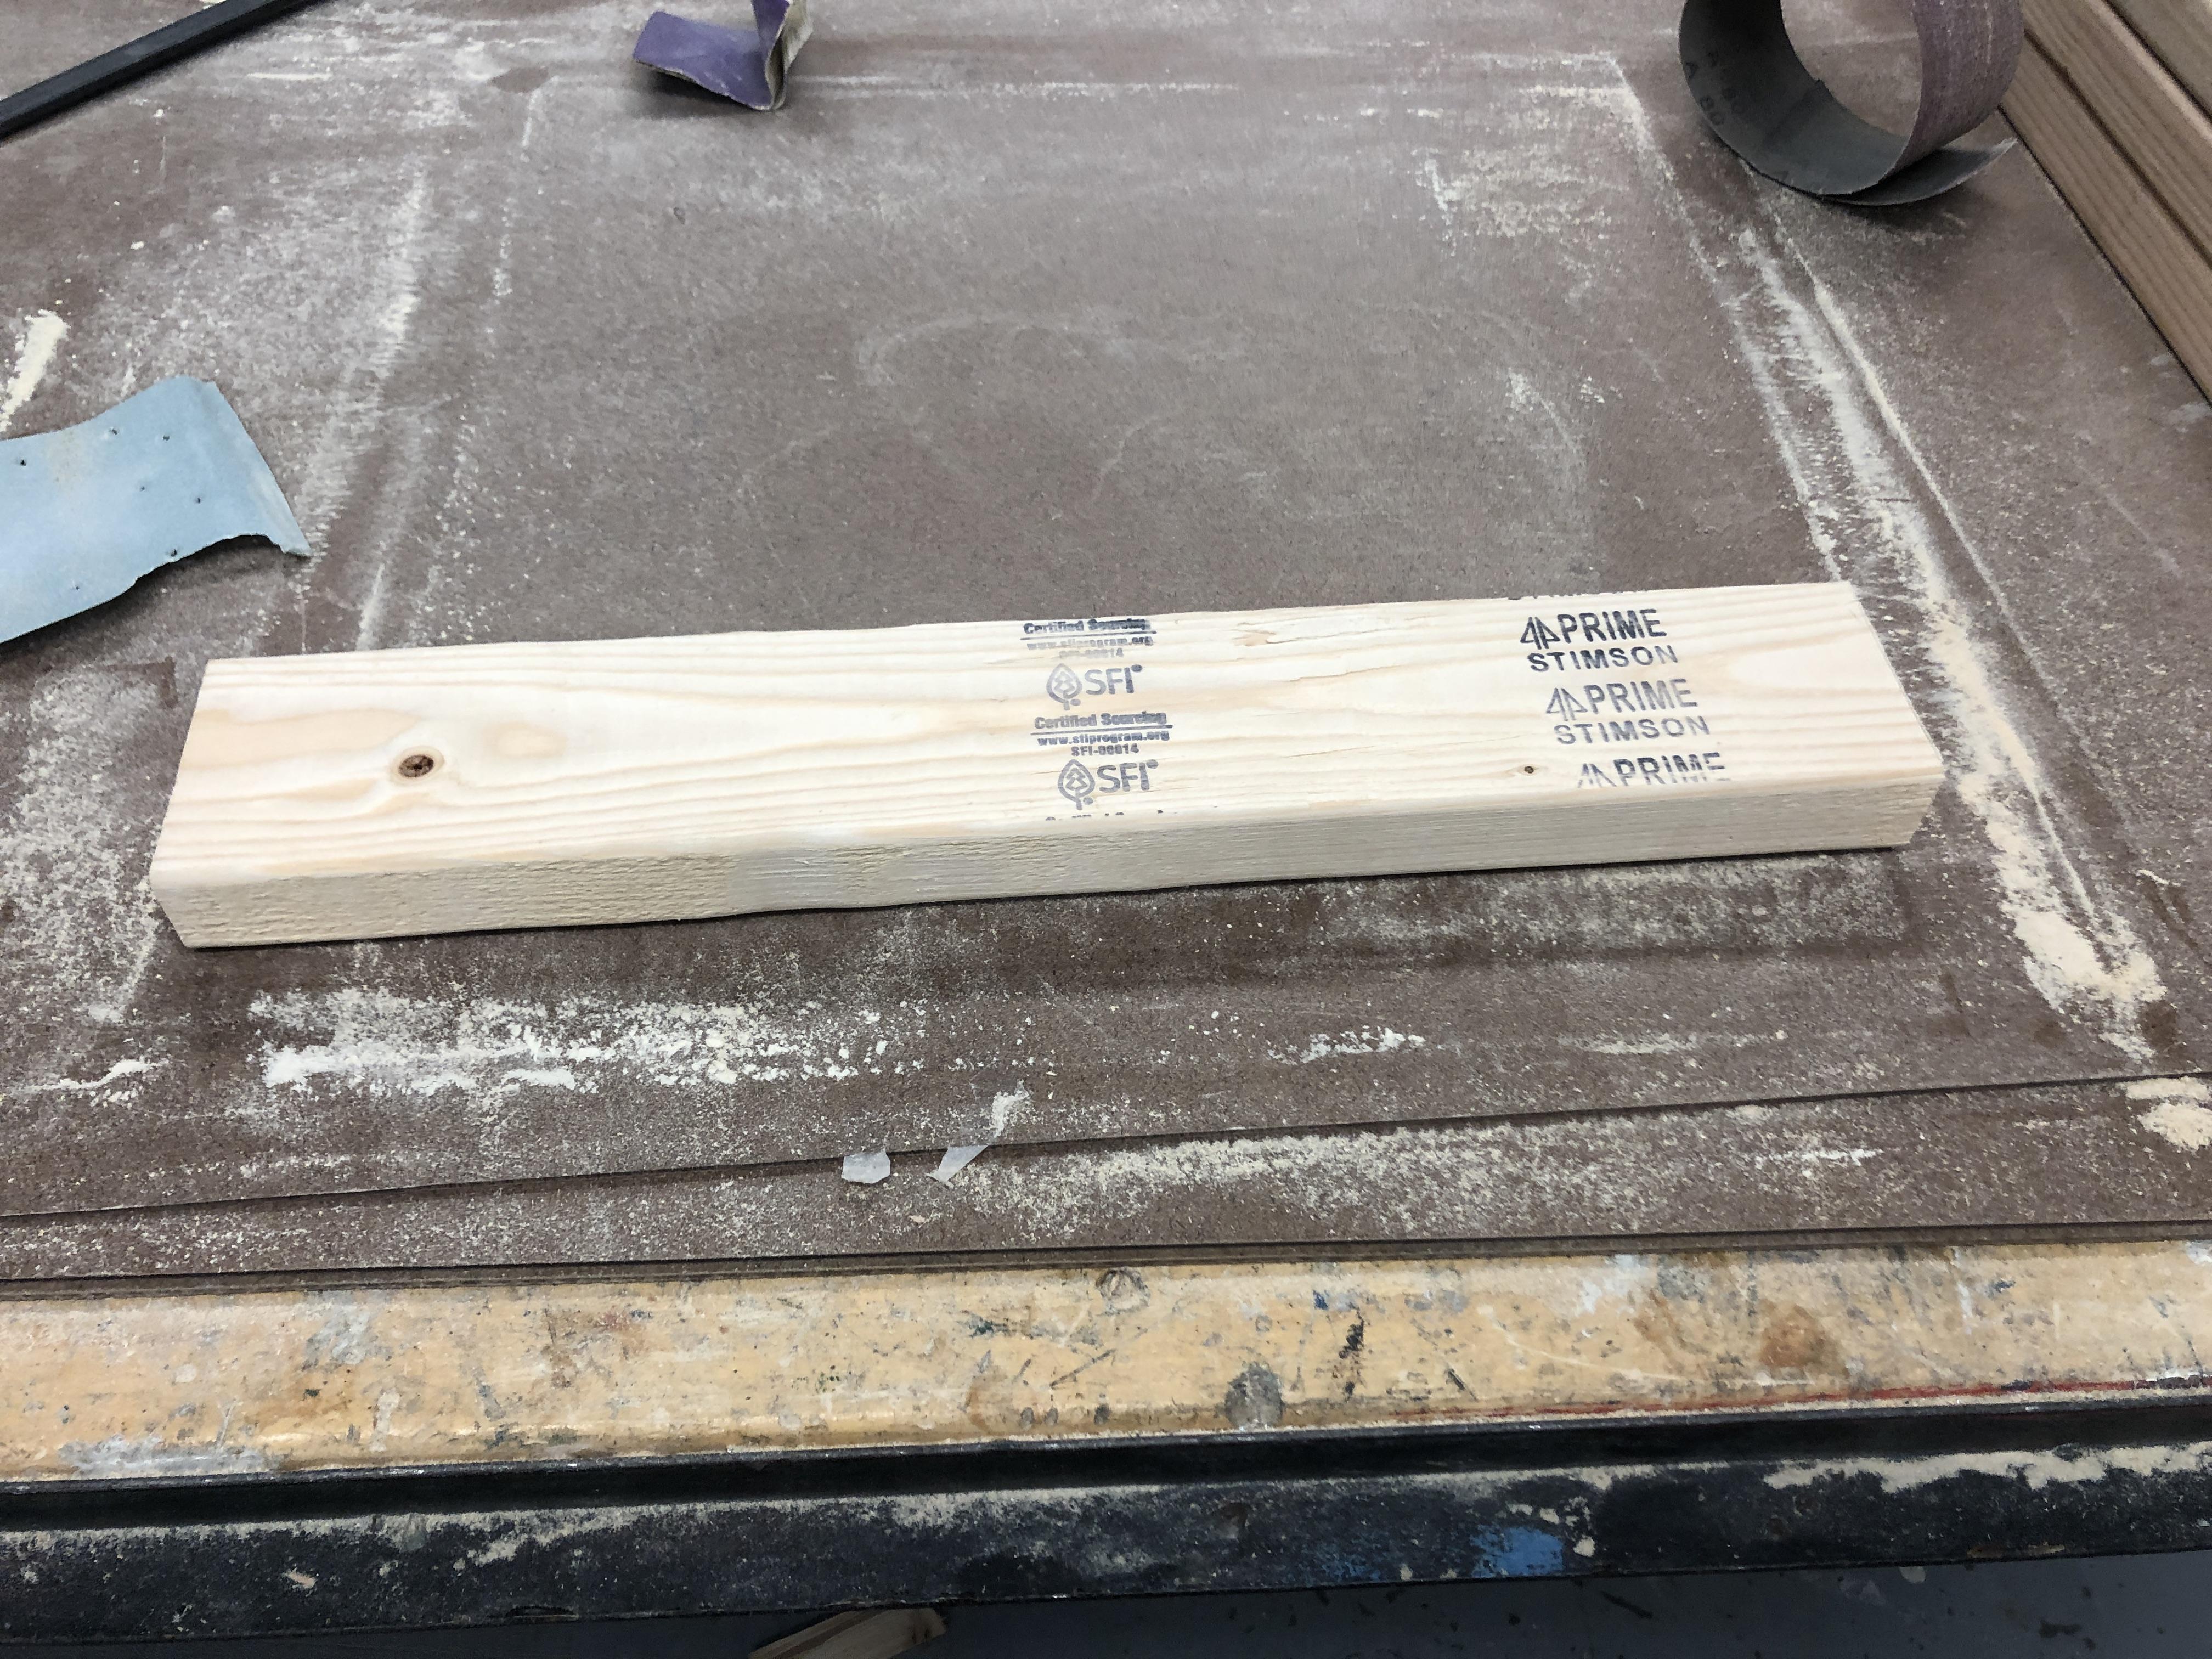
For this step use the remaining amount of 2x4's that you have and cut three 20.75" bars for the frame. Two of these will be on the ends of the cornhole board and the third will be cross backing on the back of the board.
Drilling Holes in the Long 2x4's

You will need to drill a total of 6 holes in each long 2x4. These will be arranged in 3 sets of 2 holes. The far left and far right sets will be .75" from the end of the board, and the middle set is centered on the 47.75" side of the 2x4 at 23.875". Each hole should be 1" from the edge of the board (see photo), which means there will be about 1.5 inches in between the two holes. The diameter of the holes is going to depend on your woodscrews, just make sure to drill the hole slightly smaller than your screws are. Clamp the small 2x4s in the shape of the frame, so that way the holes go all the way through.
Assembling Frame + Sanding (80 Grit)
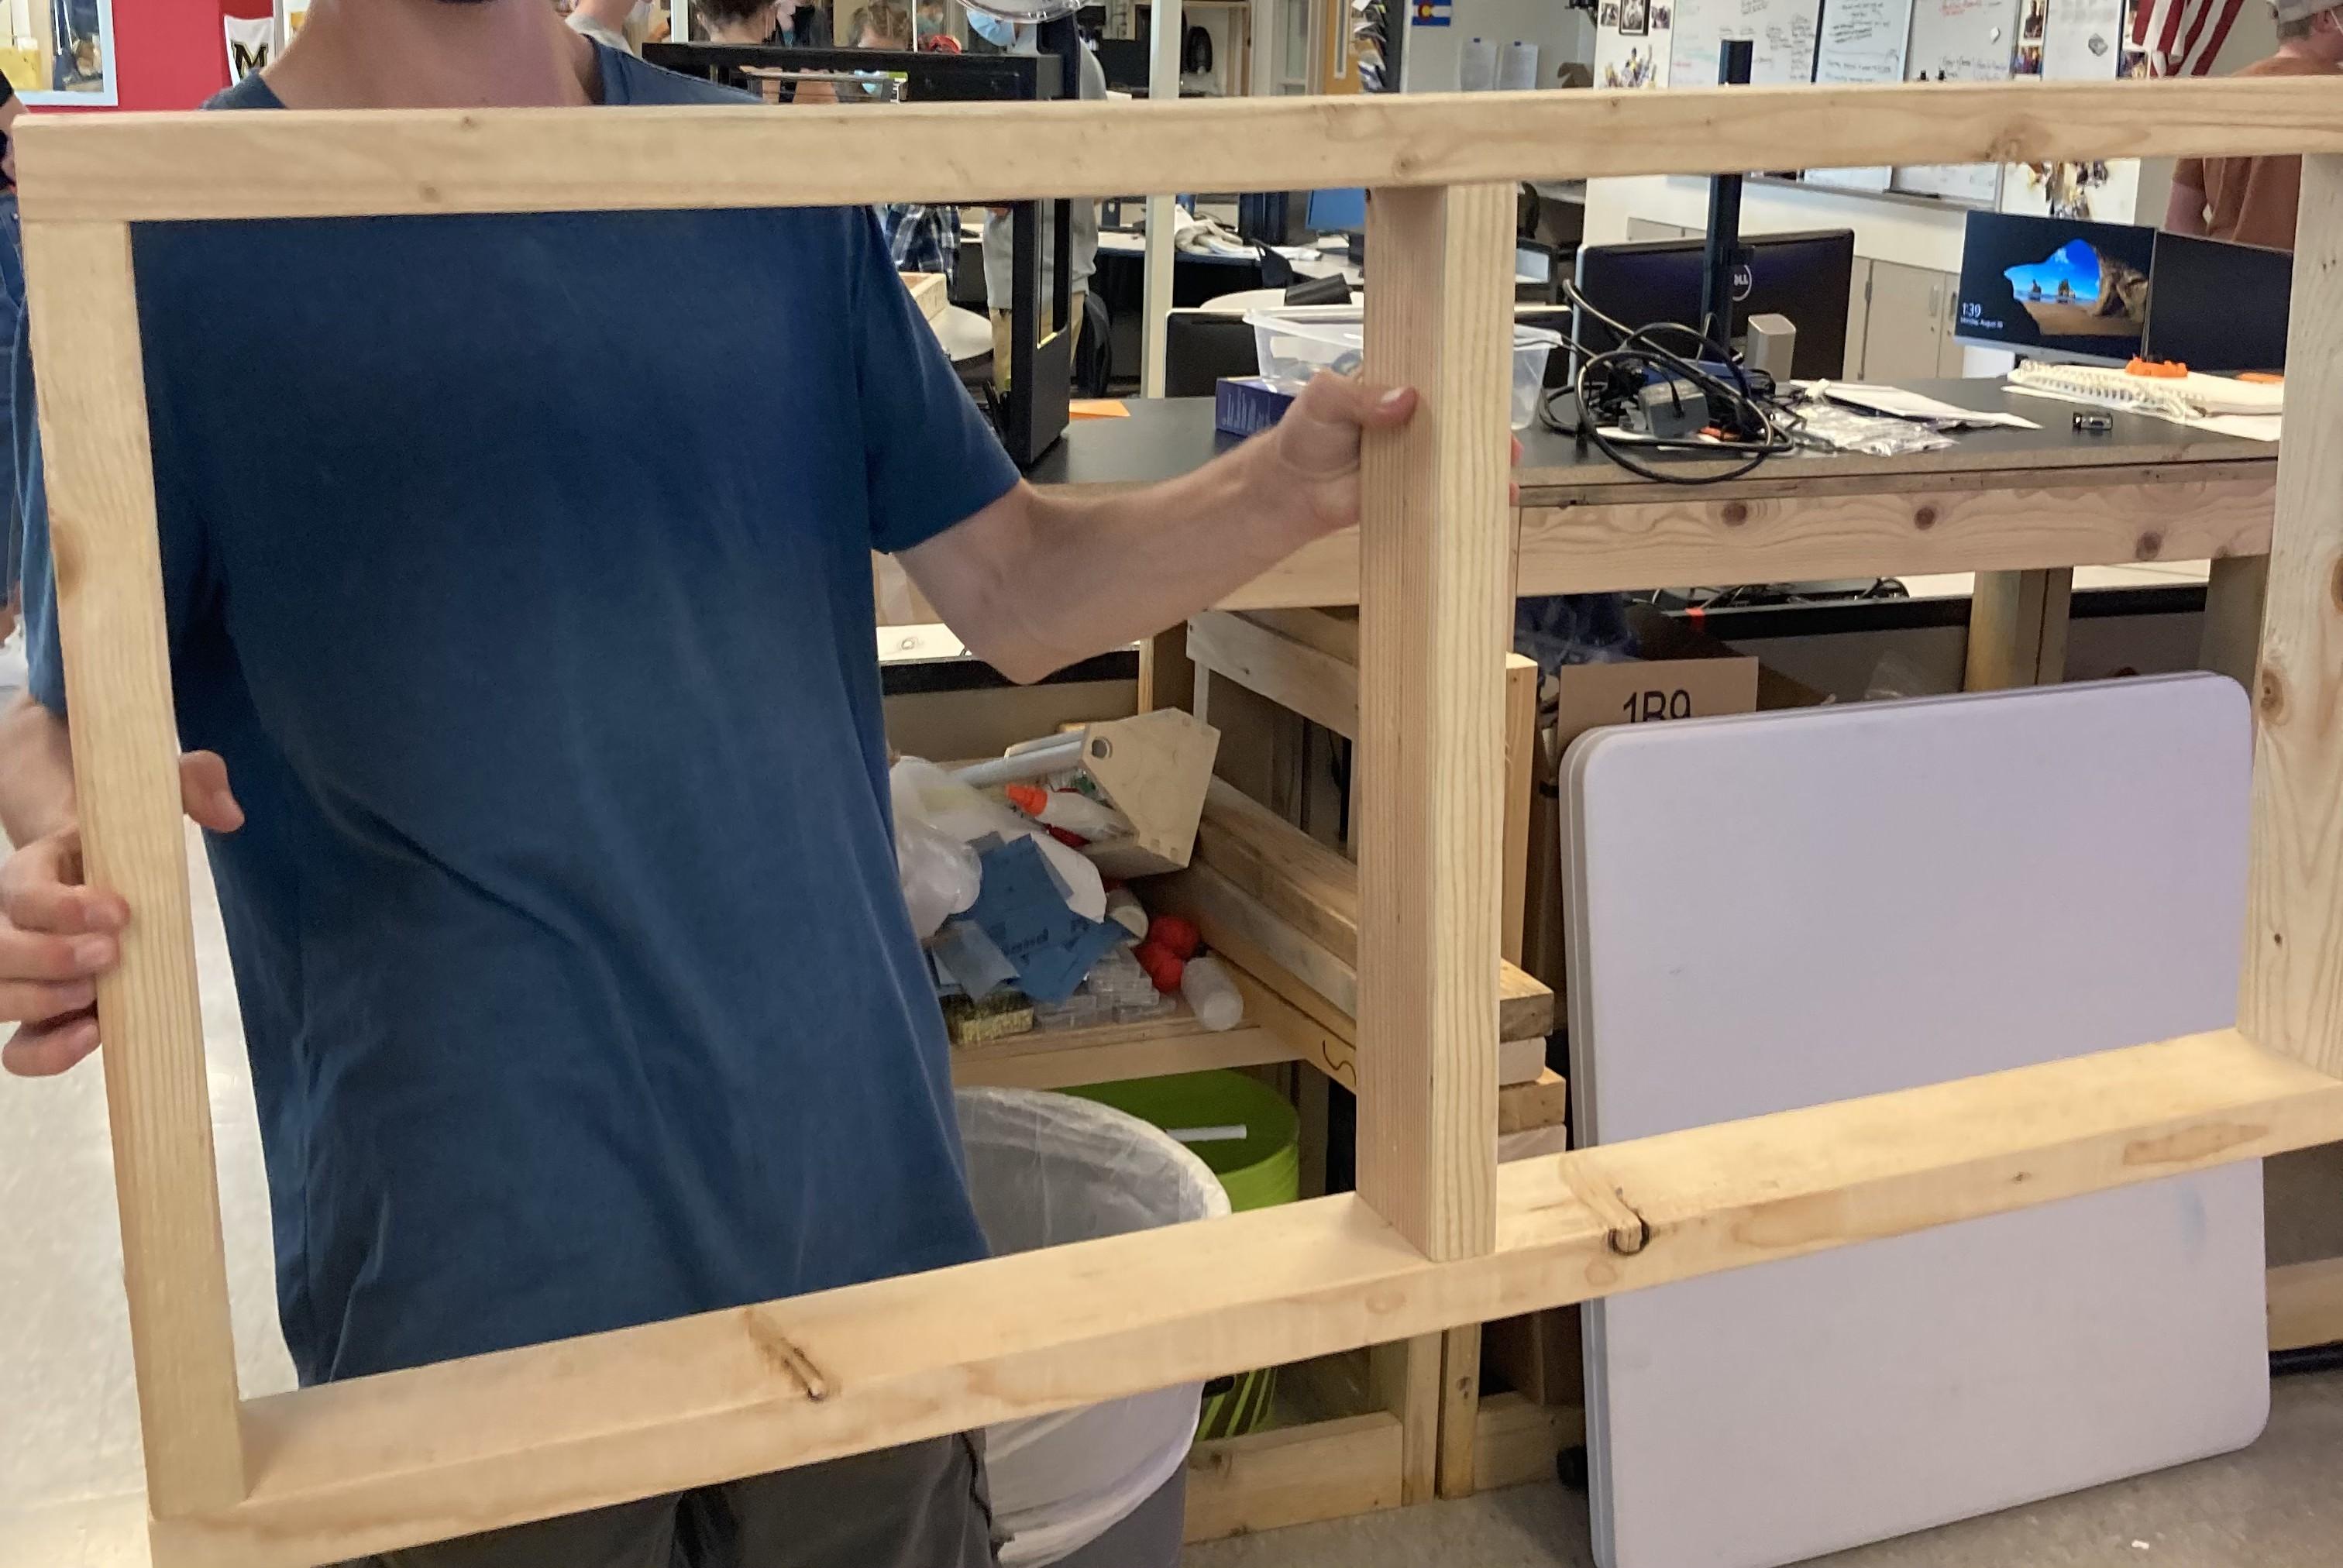
Layout all the 2x4’s in the shape of the frame. Once all the boards are in correct position clamp the frame together. The holes you drilled should line up with the centers of the 3 short 2x4s (see photo from previous step). Screw in 3.5 inch wood screws into the holes.
Building the Legs-Part 1
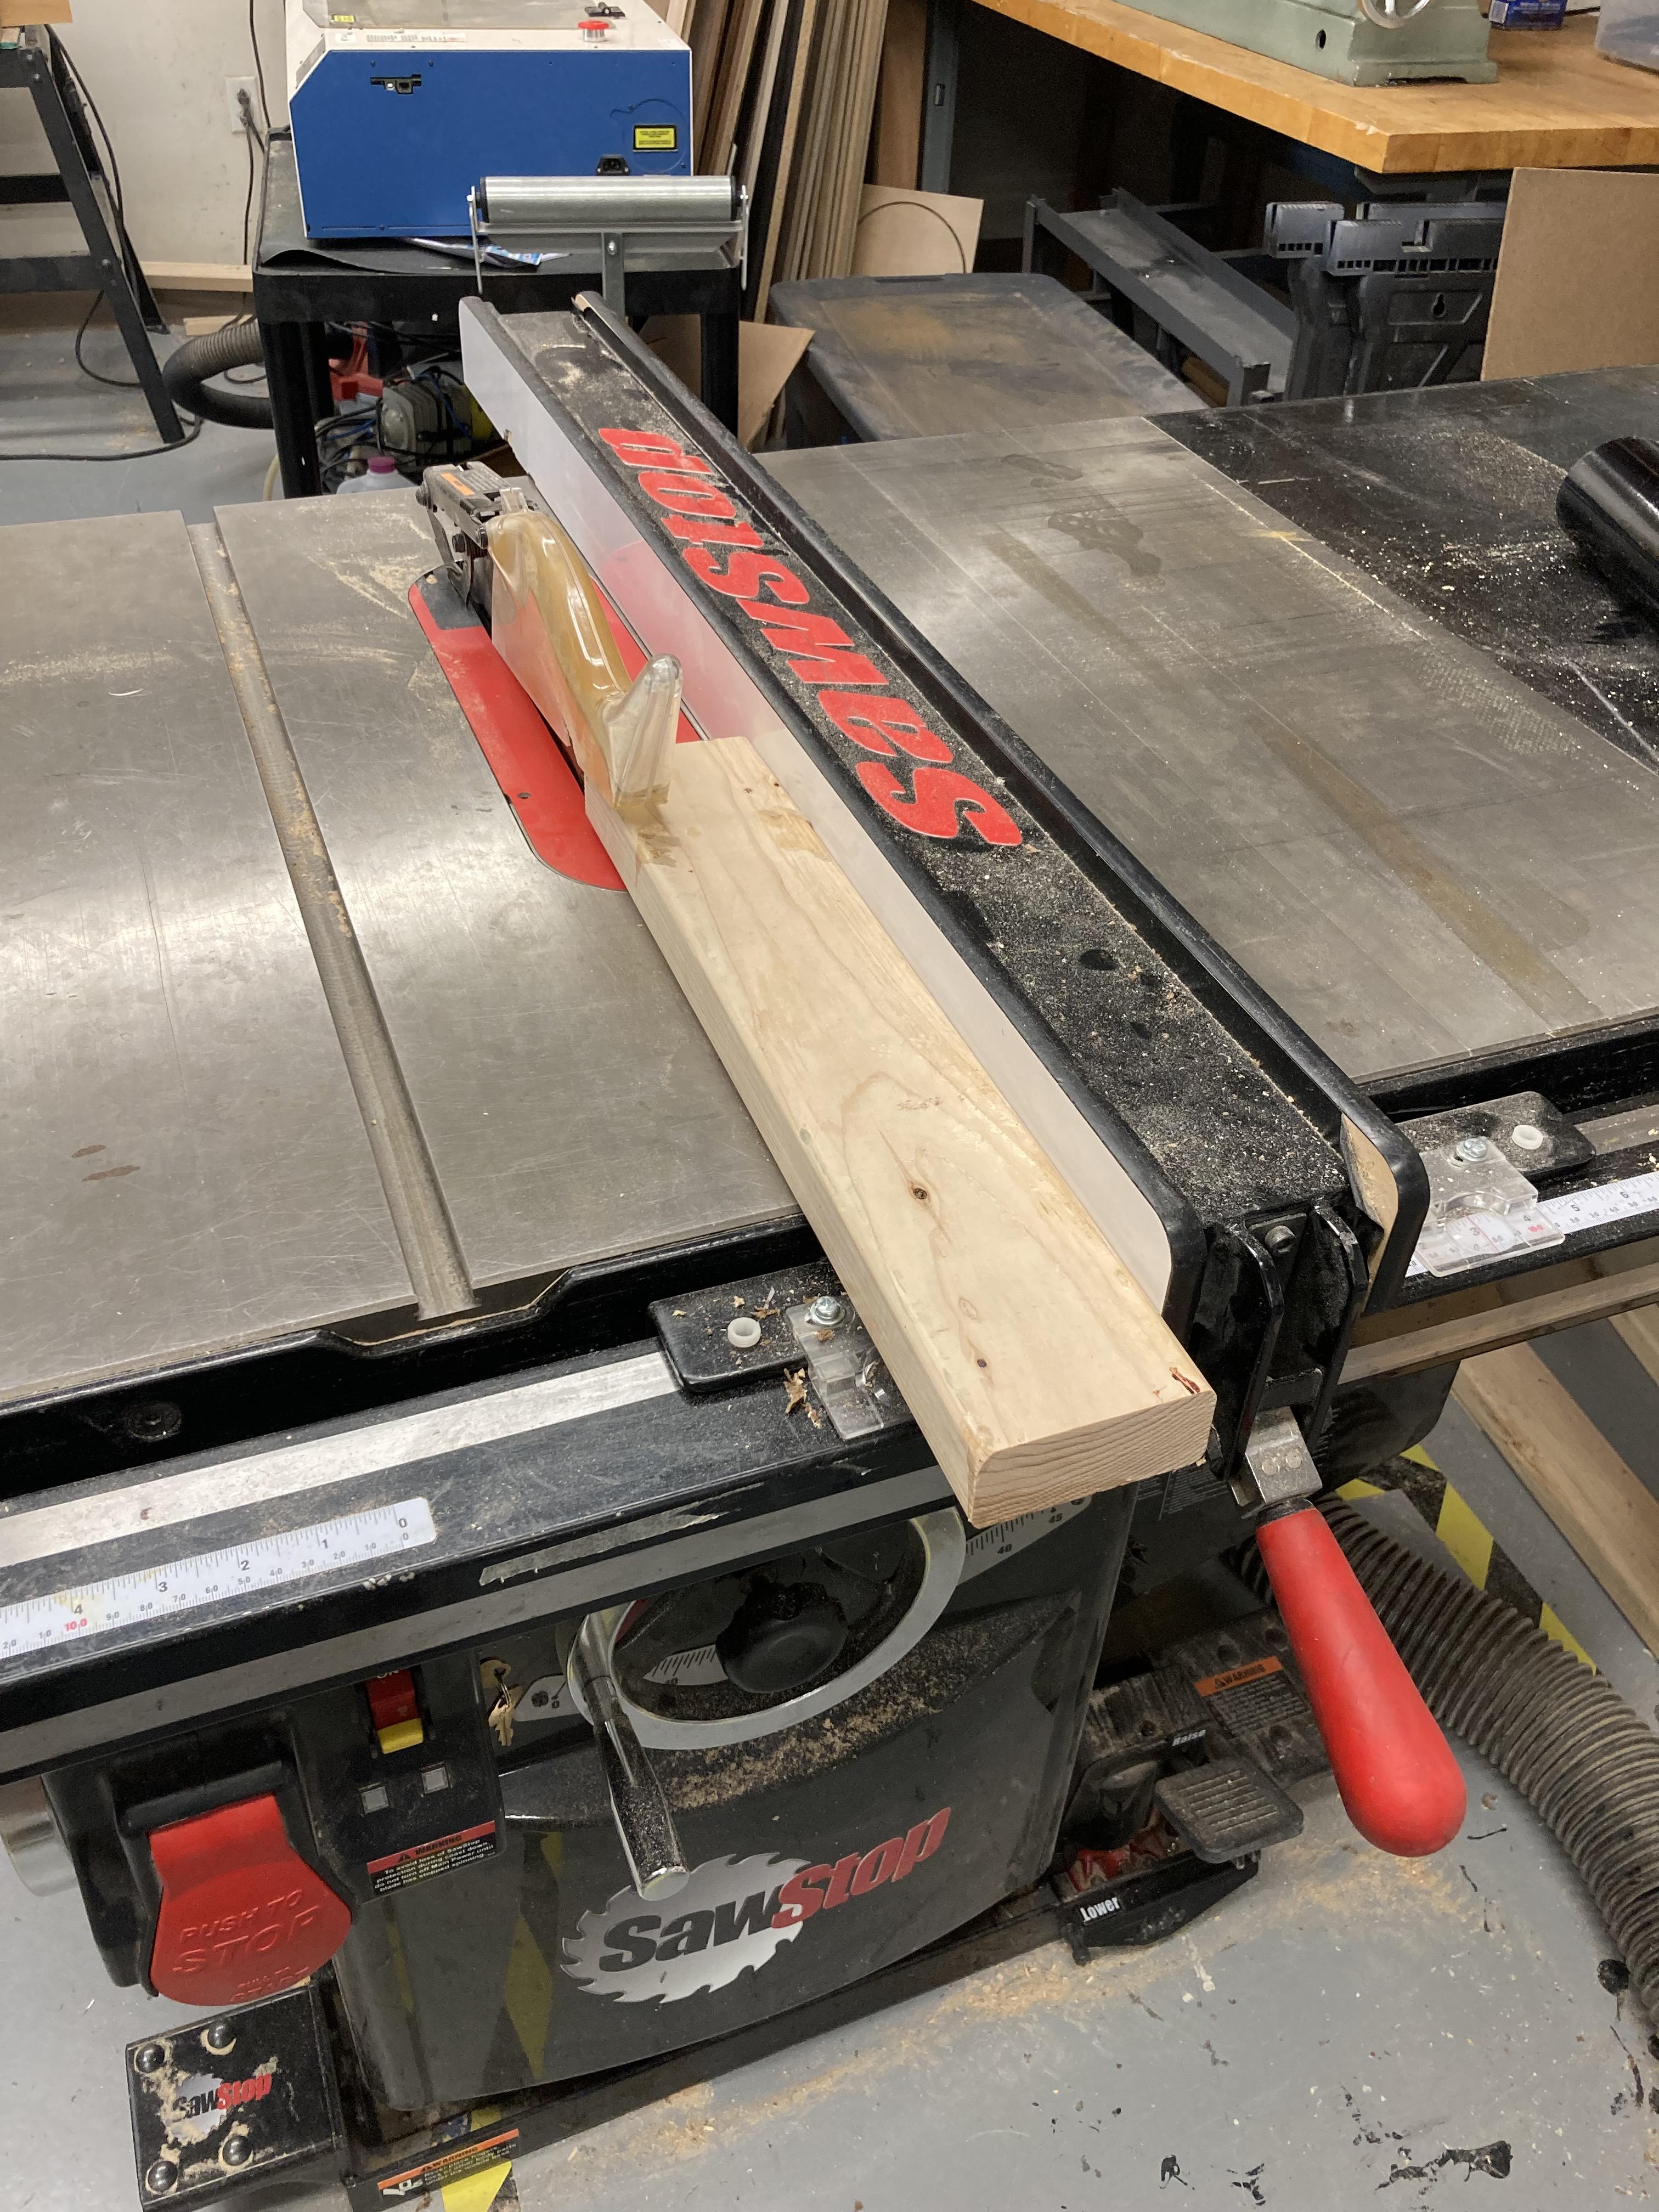
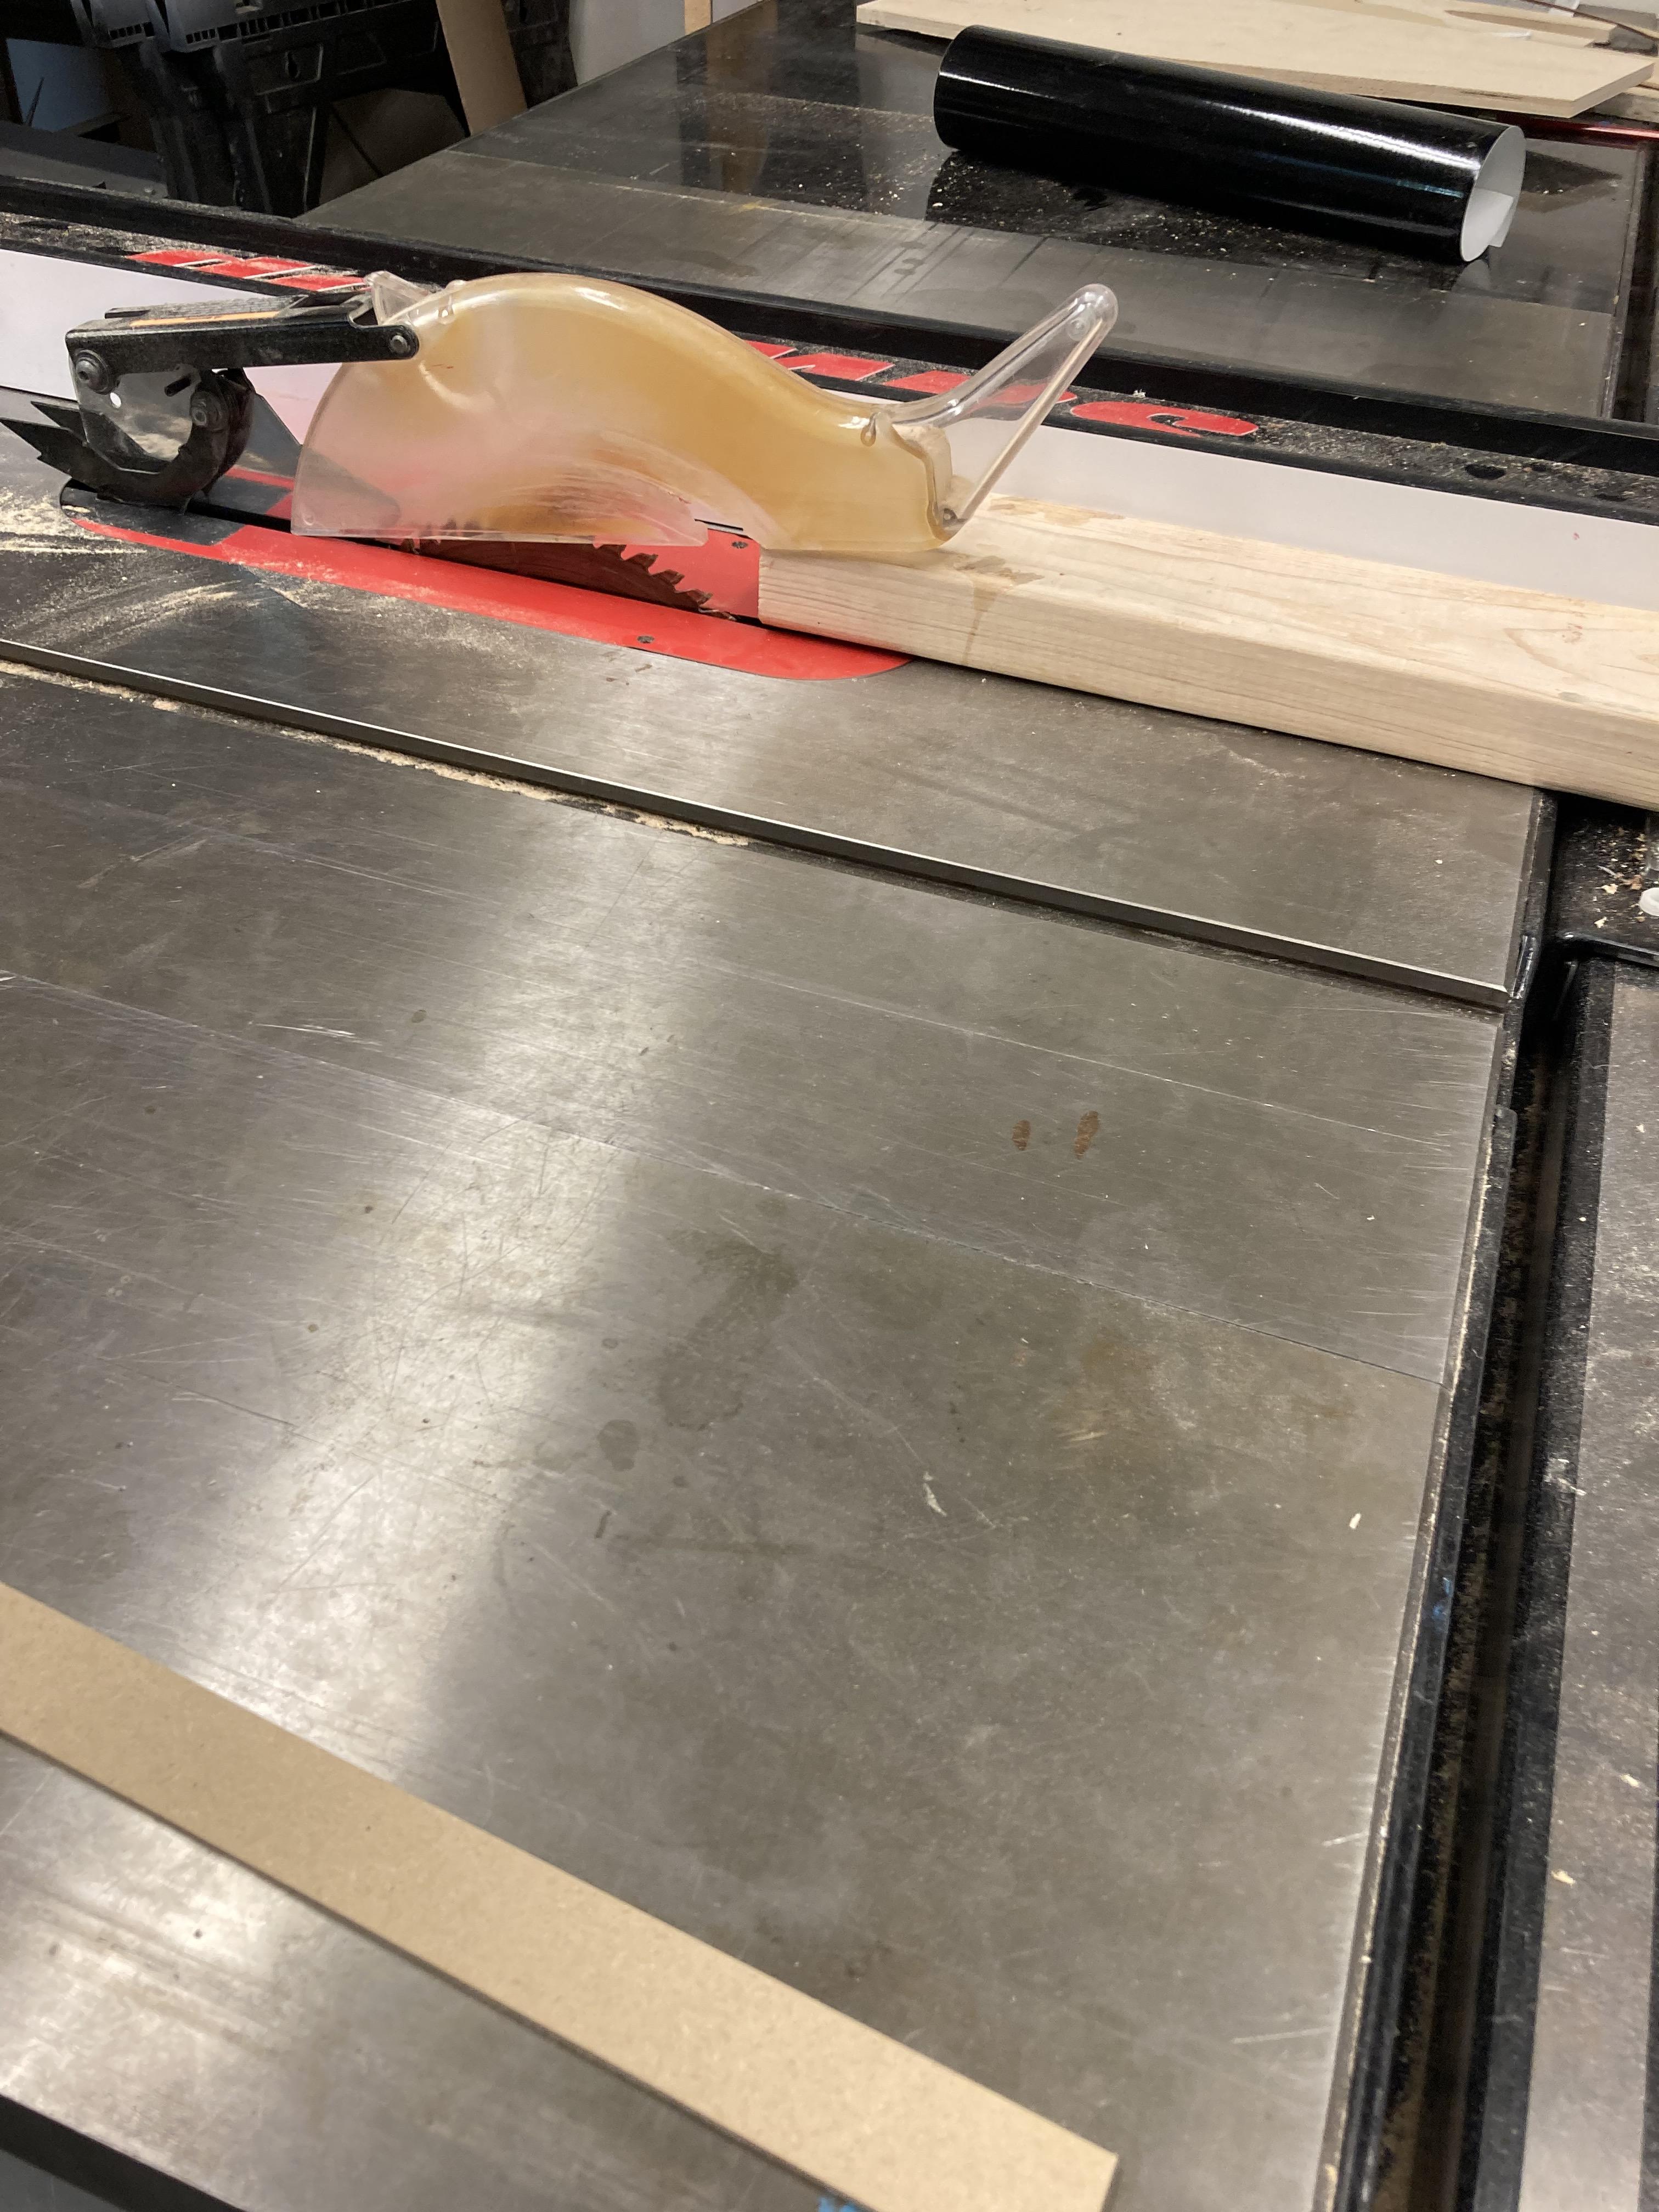
Start with 2 12 inch 2x4’s. Rip with the grain both 2x4’s on the table saw so that they are 1.5 by 3 inches.
Building the Legs Part 2
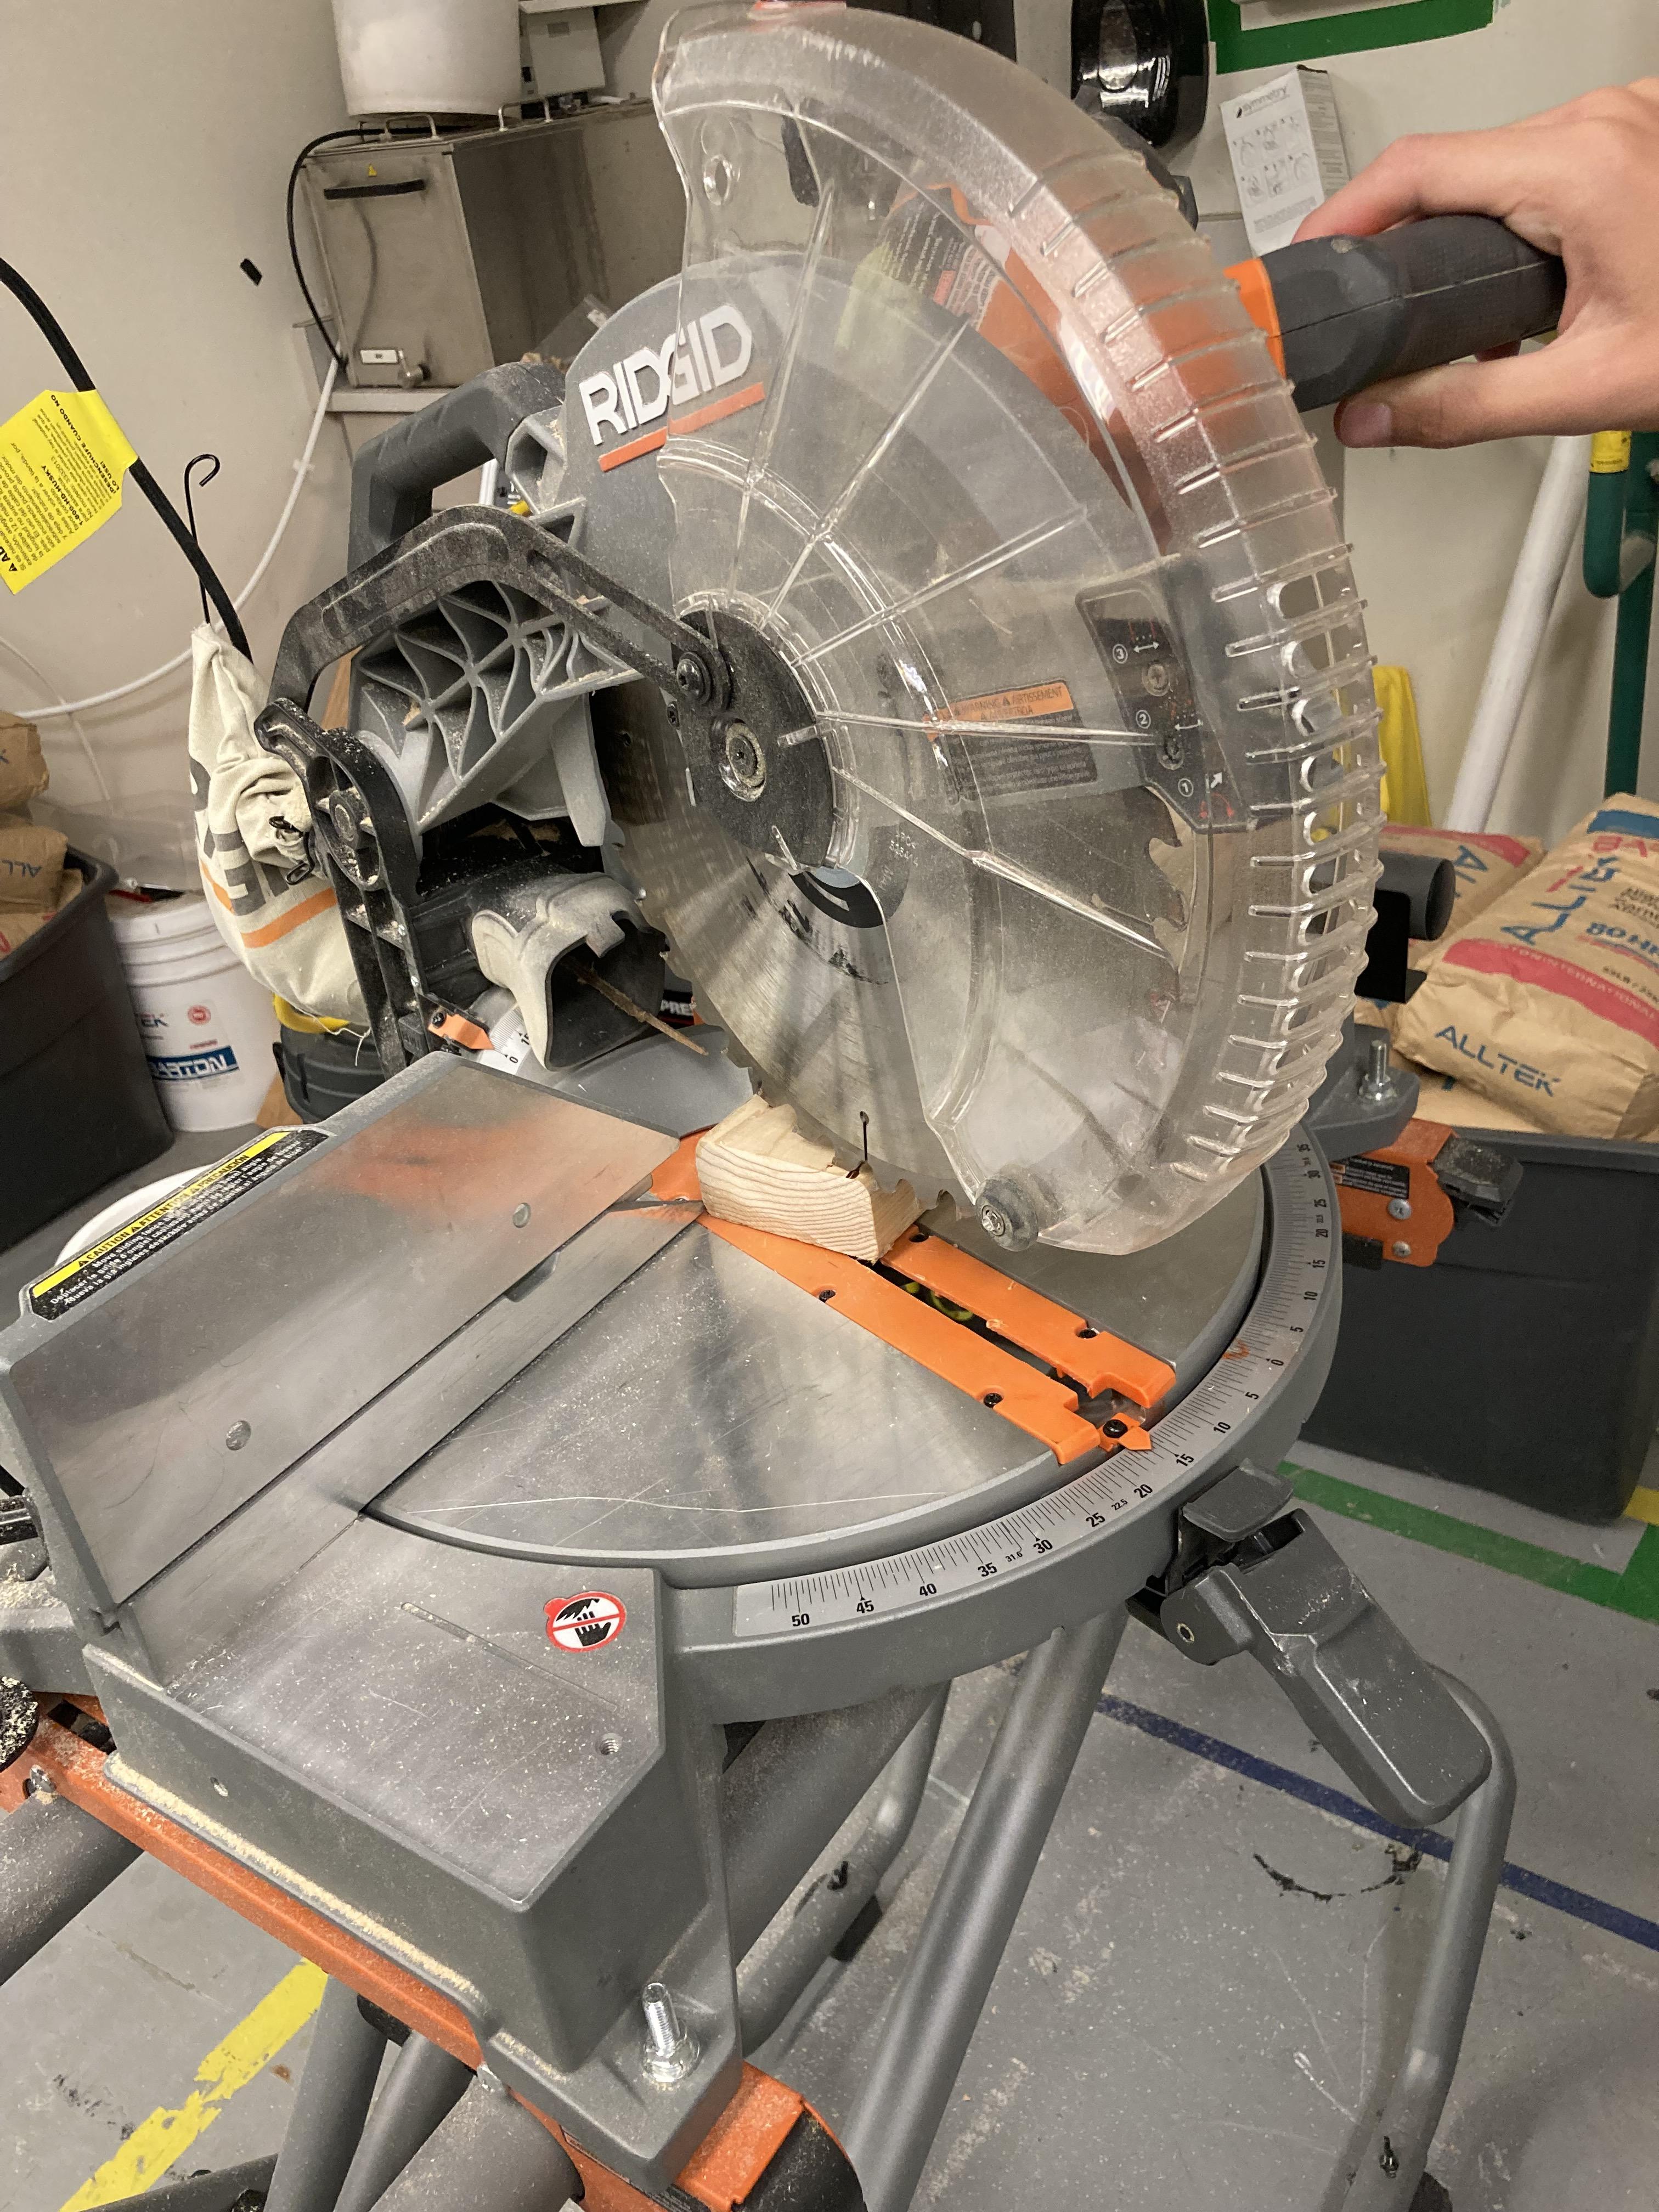
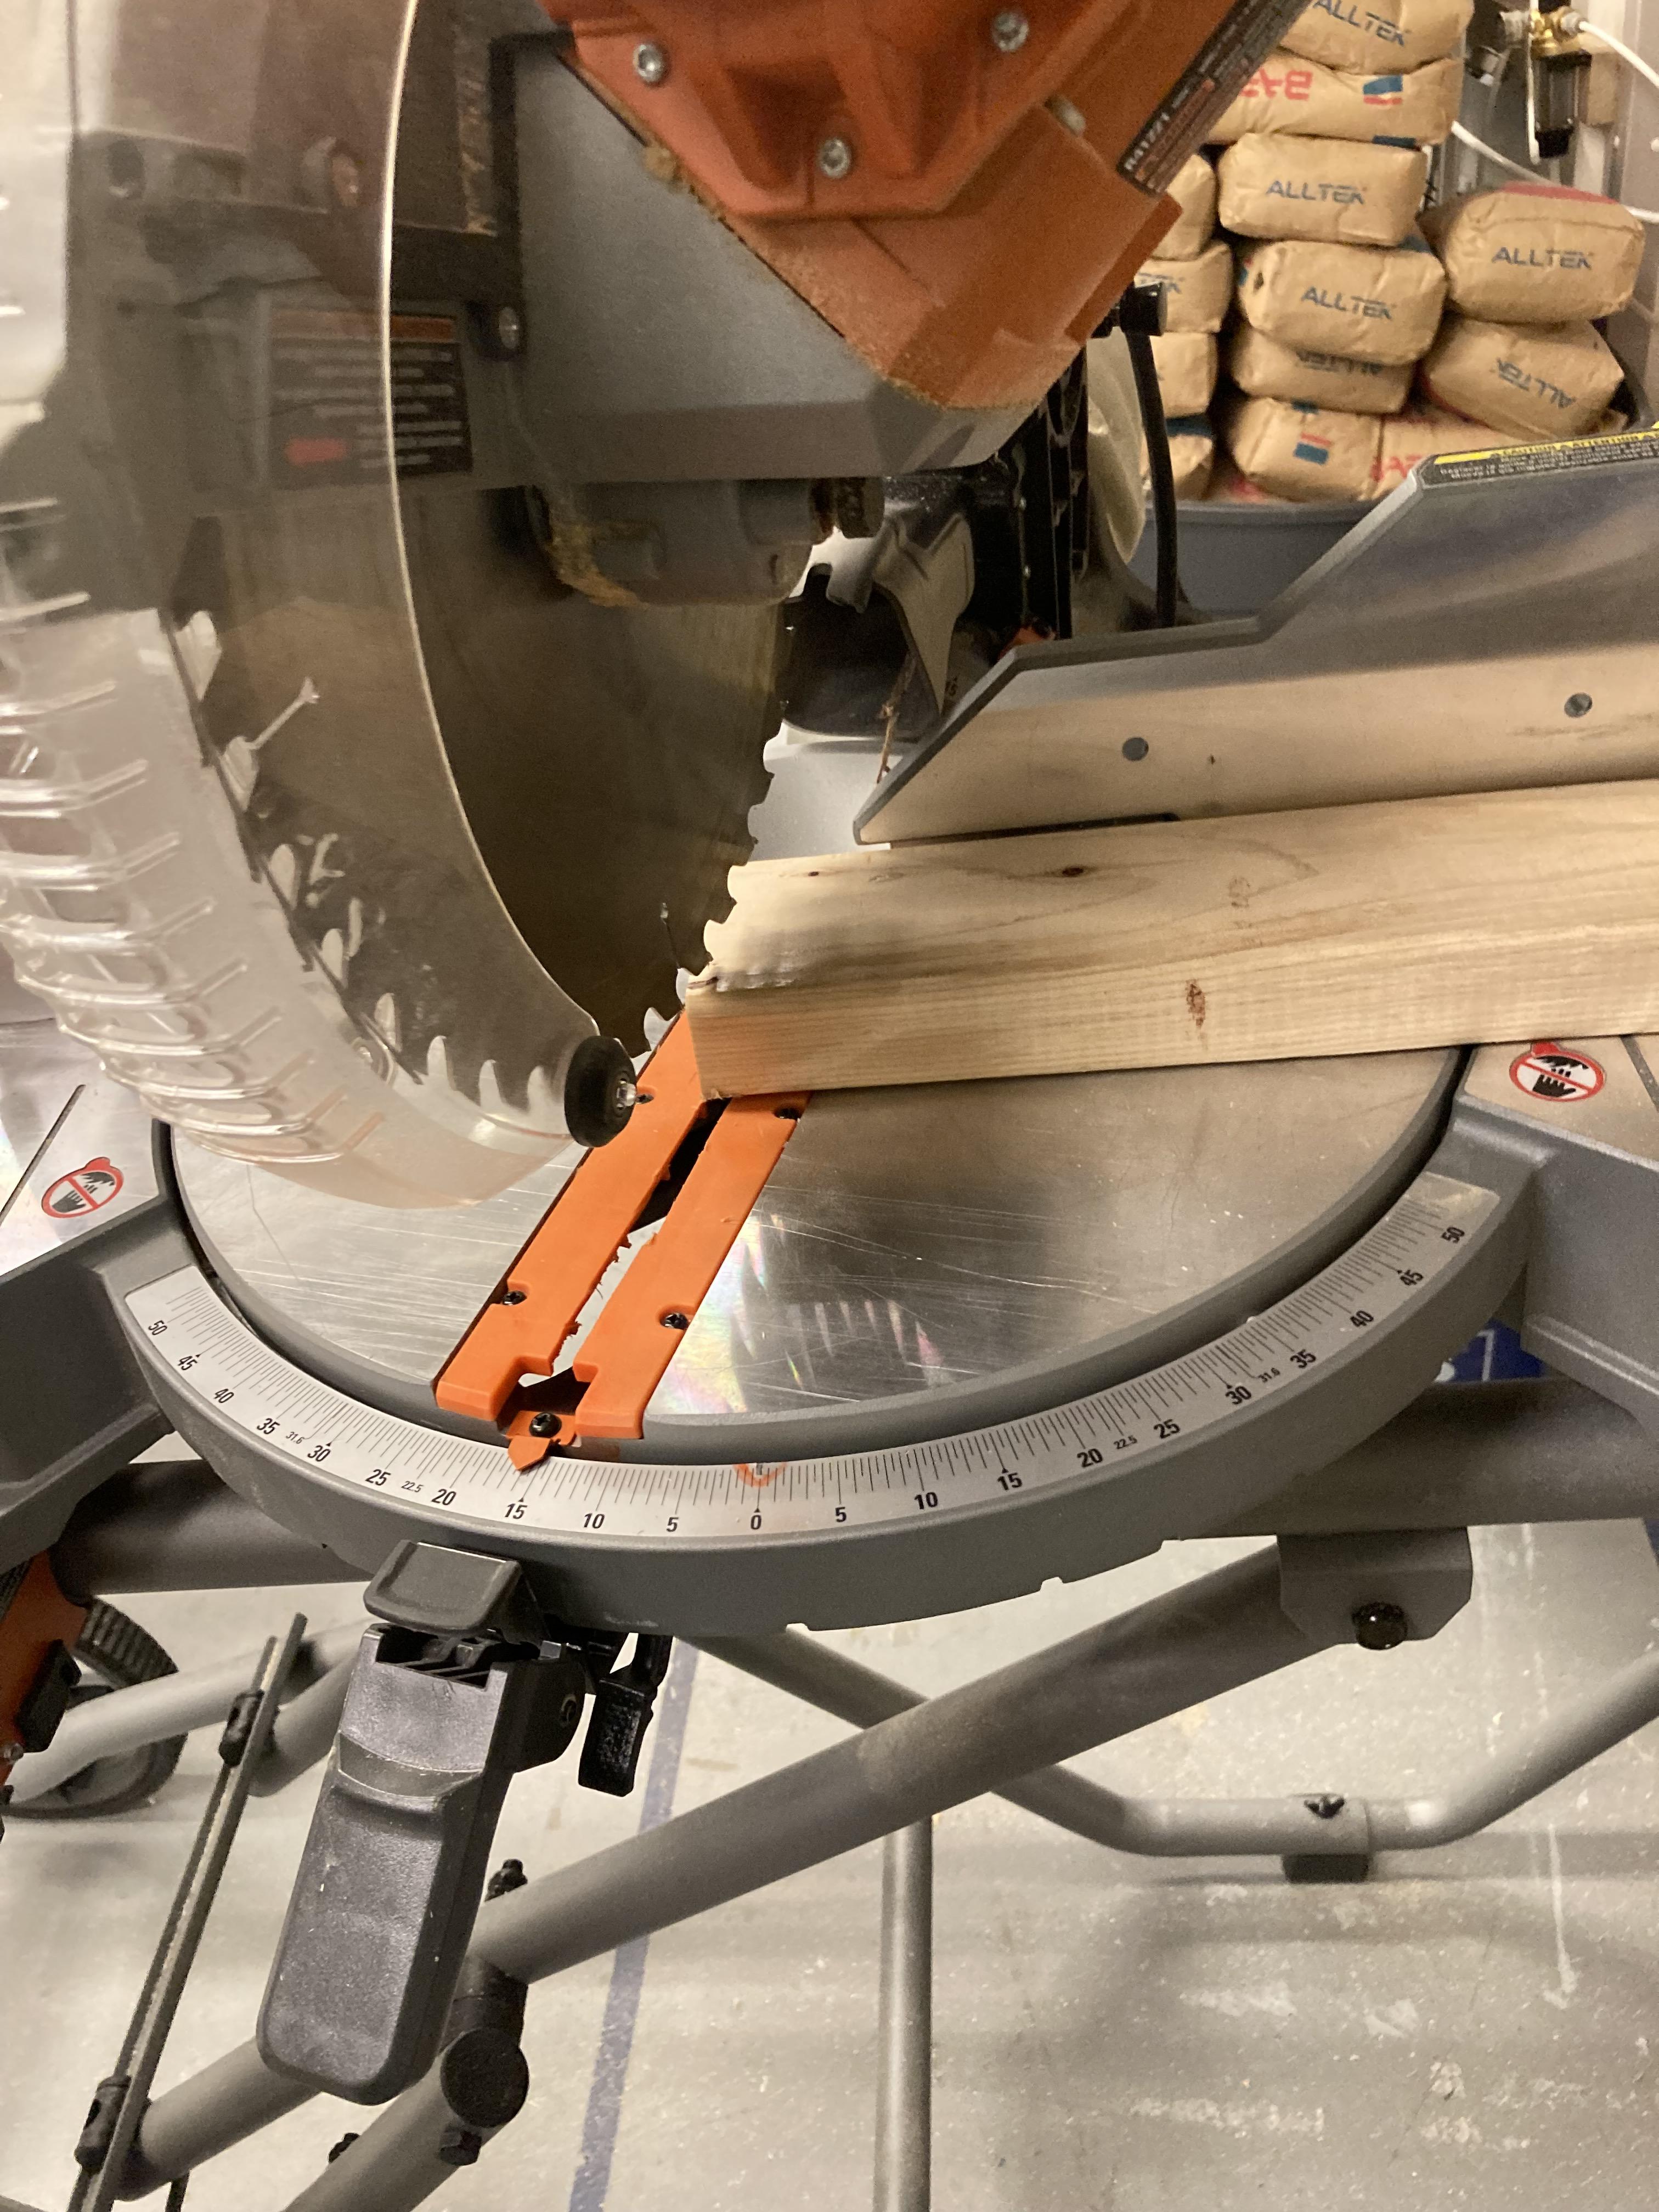
Cut the 2x4’s on the miter saw, with the angle set to 17.6 degrees. The longer side should still be 12 inches after you cut the angle.
Building the Legs Part 3
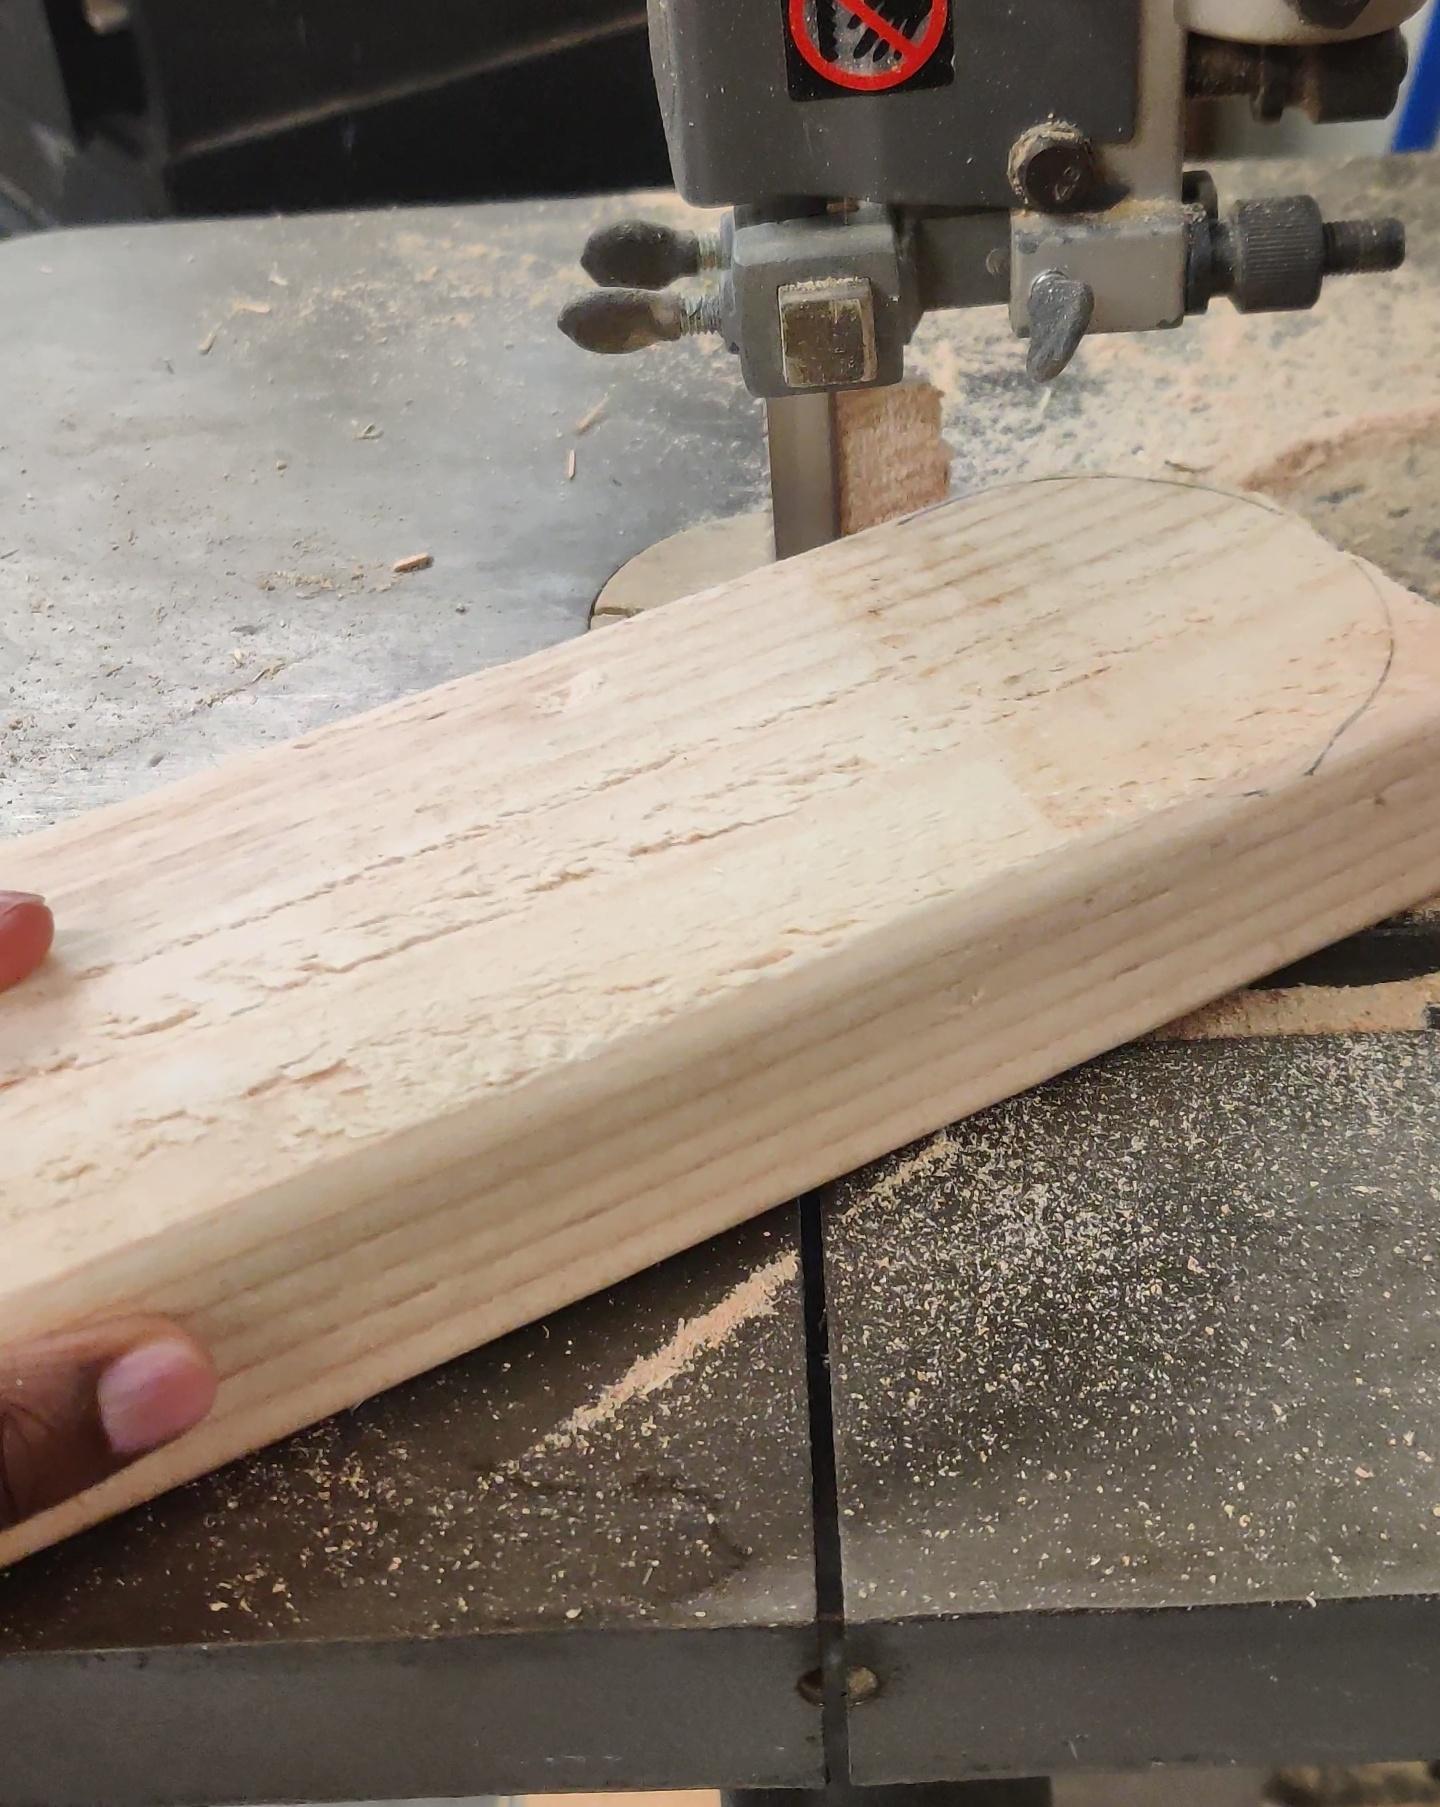
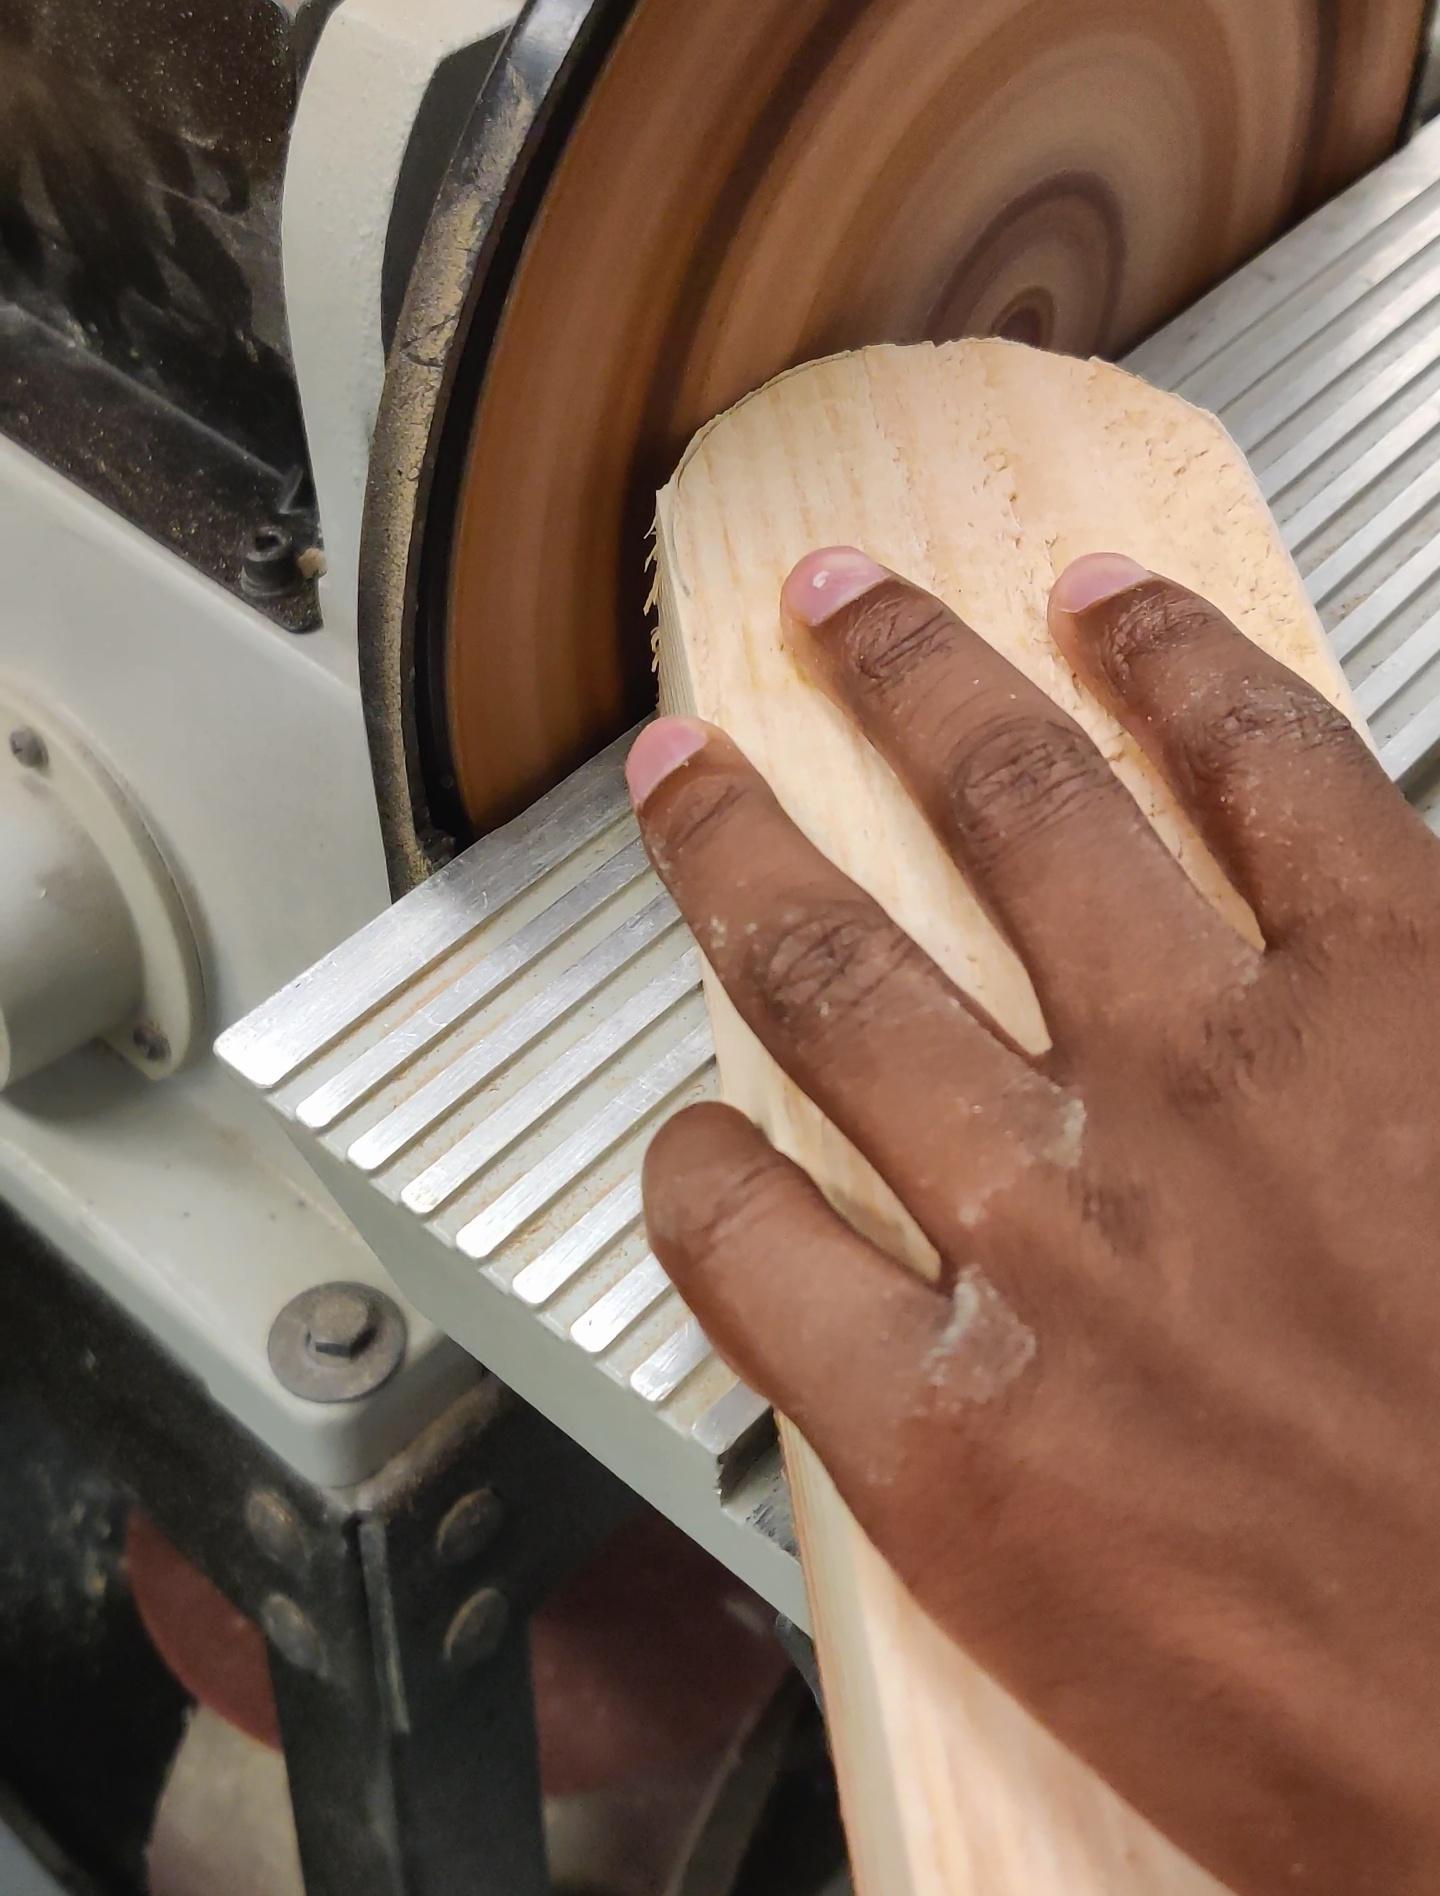
On the flat edge (the 3 inch wide side) that you didn't cut on the miter saw scribe a circle using a compass with a radius of 1.5 inches. The circle should be tangent to the 3 sides of the 2x4, so the center should be centered on the piece. Then with the bandsaw cut off the corners of the 2x4 up to the semicircle that you just drew. You can sand the circle down so it is more even and flat using an 80 grit disc sander.
Building the Legs Part 4
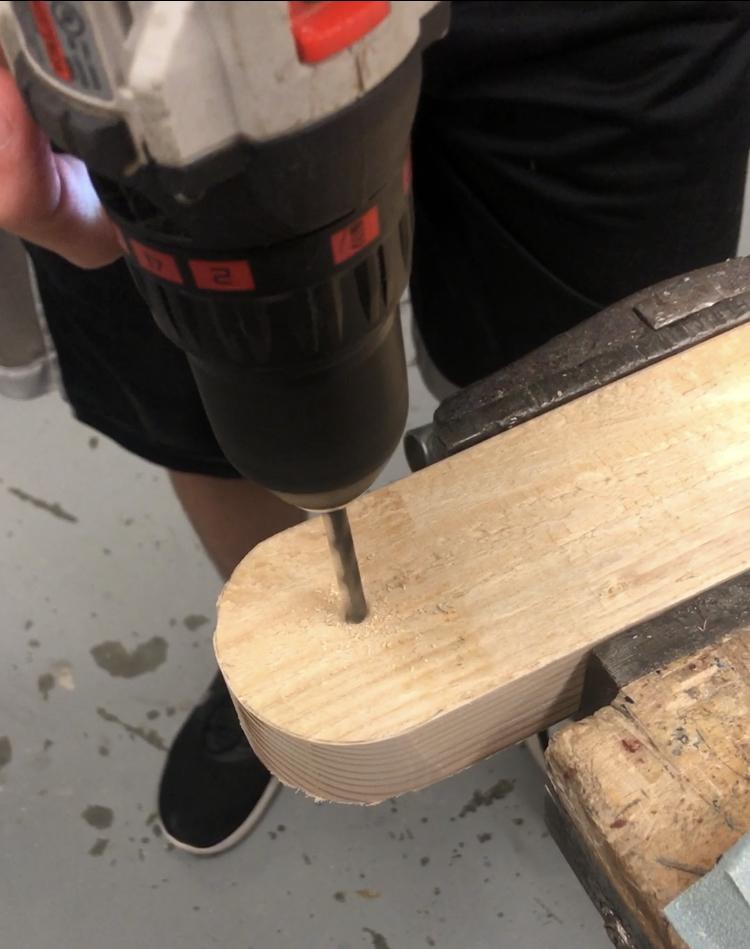
Finally drill a ¼ inch hole in the center of the circle you drew.
Applying Stain
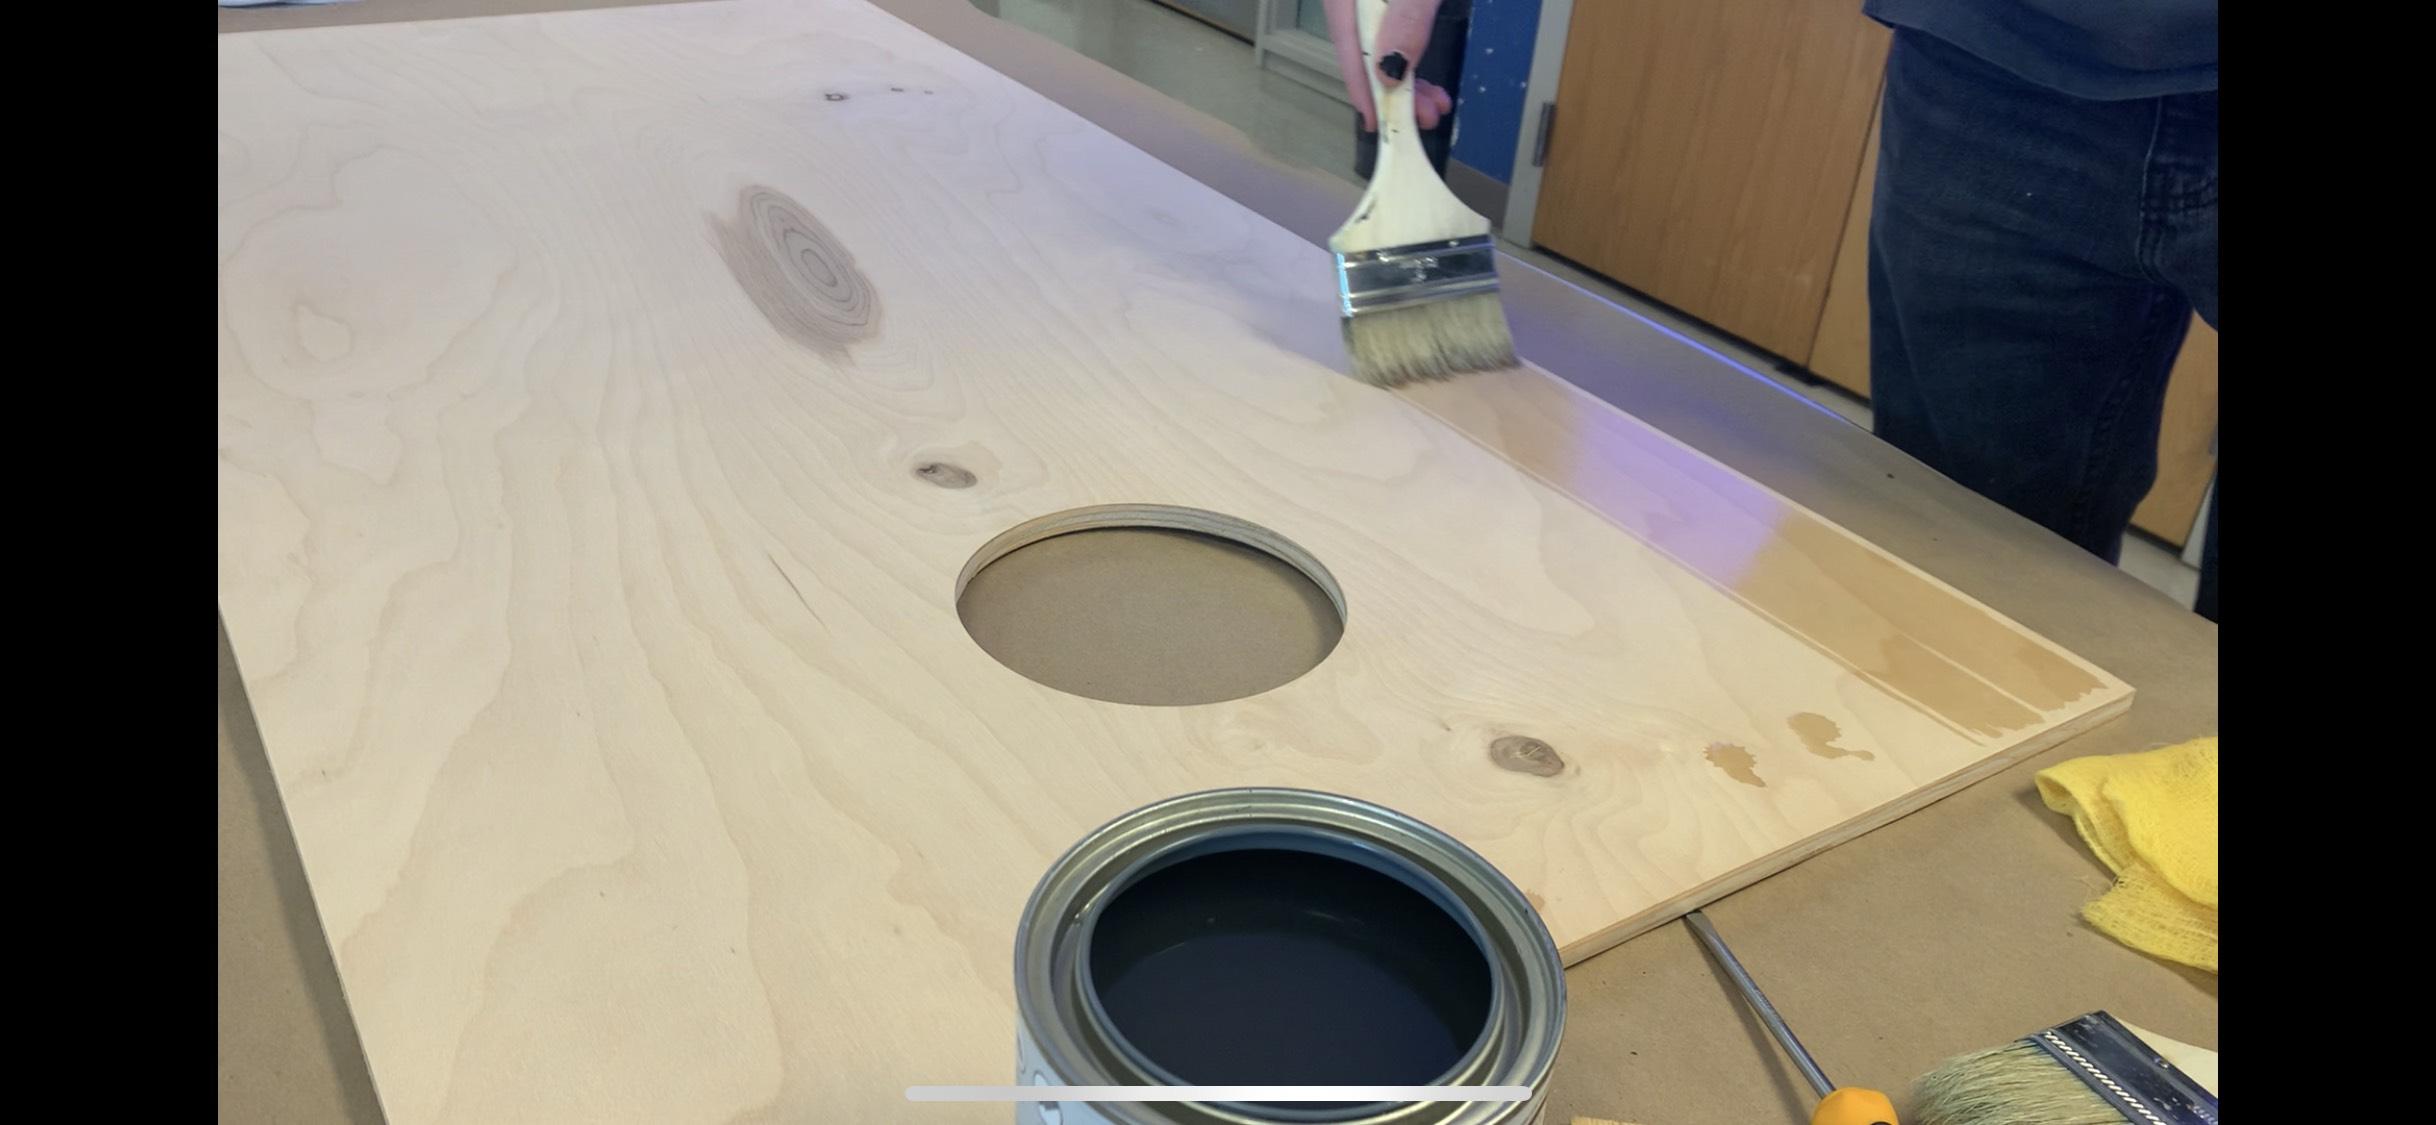
The stains and finishes you use are mainly up to you, in this example we used 2 coats of mahogany stain and then 3 coats of polyurethane on the top board, and 2 coats of polyacrylic on the frame and legs. Always make sure to follow instructions on the can before you stain. Some stains and finishes require a light sanding between coats followed by wiping down with a tack cloth.
Attaching Top to the Frame
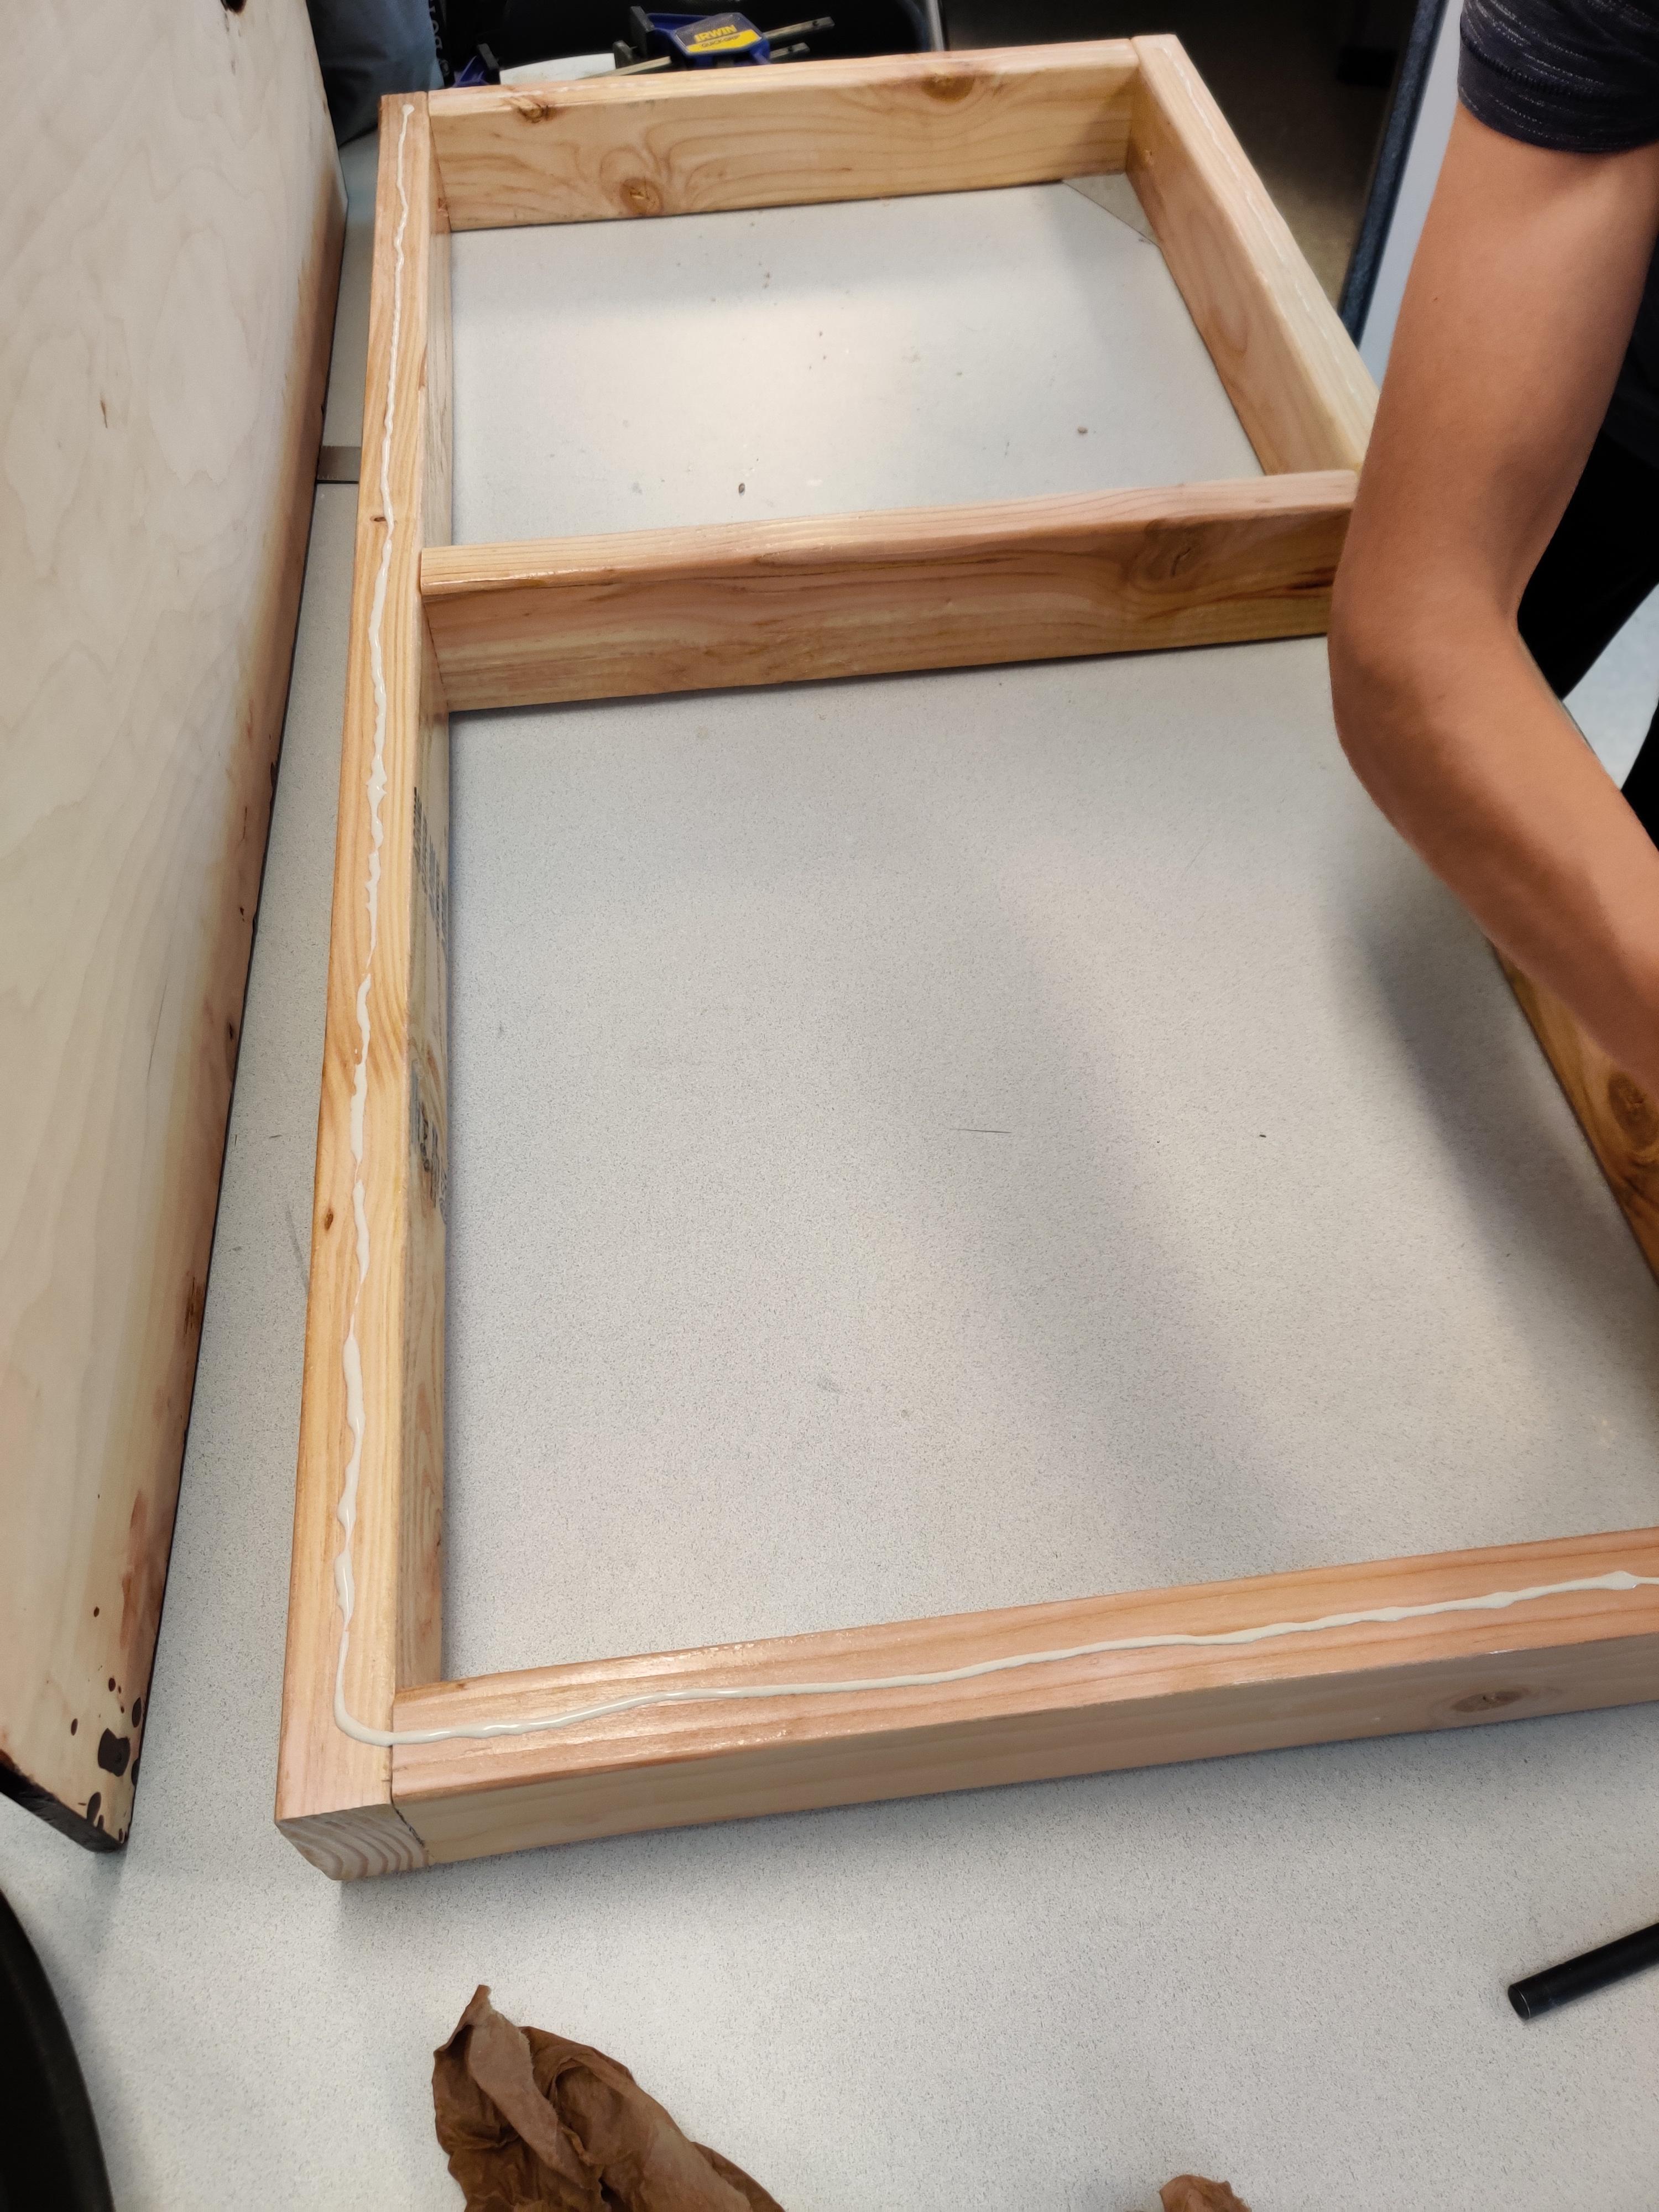
You can use a variety of ways to attach the top to the frame, but the way we did it was by applying wood glue before we placed the top on the frame. When it was in position we clamped them together and used a nail gun to add some extra support holding the top and frame together.