How to Make a Laser-Cut Wooden Jewelry Box With a CO₂ Laser Cutter
by saghir0008 in Workshop > Laser Cutting
44 Views, 0 Favorites, 0 Comments
How to Make a Laser-Cut Wooden Jewelry Box With a CO₂ Laser Cutter
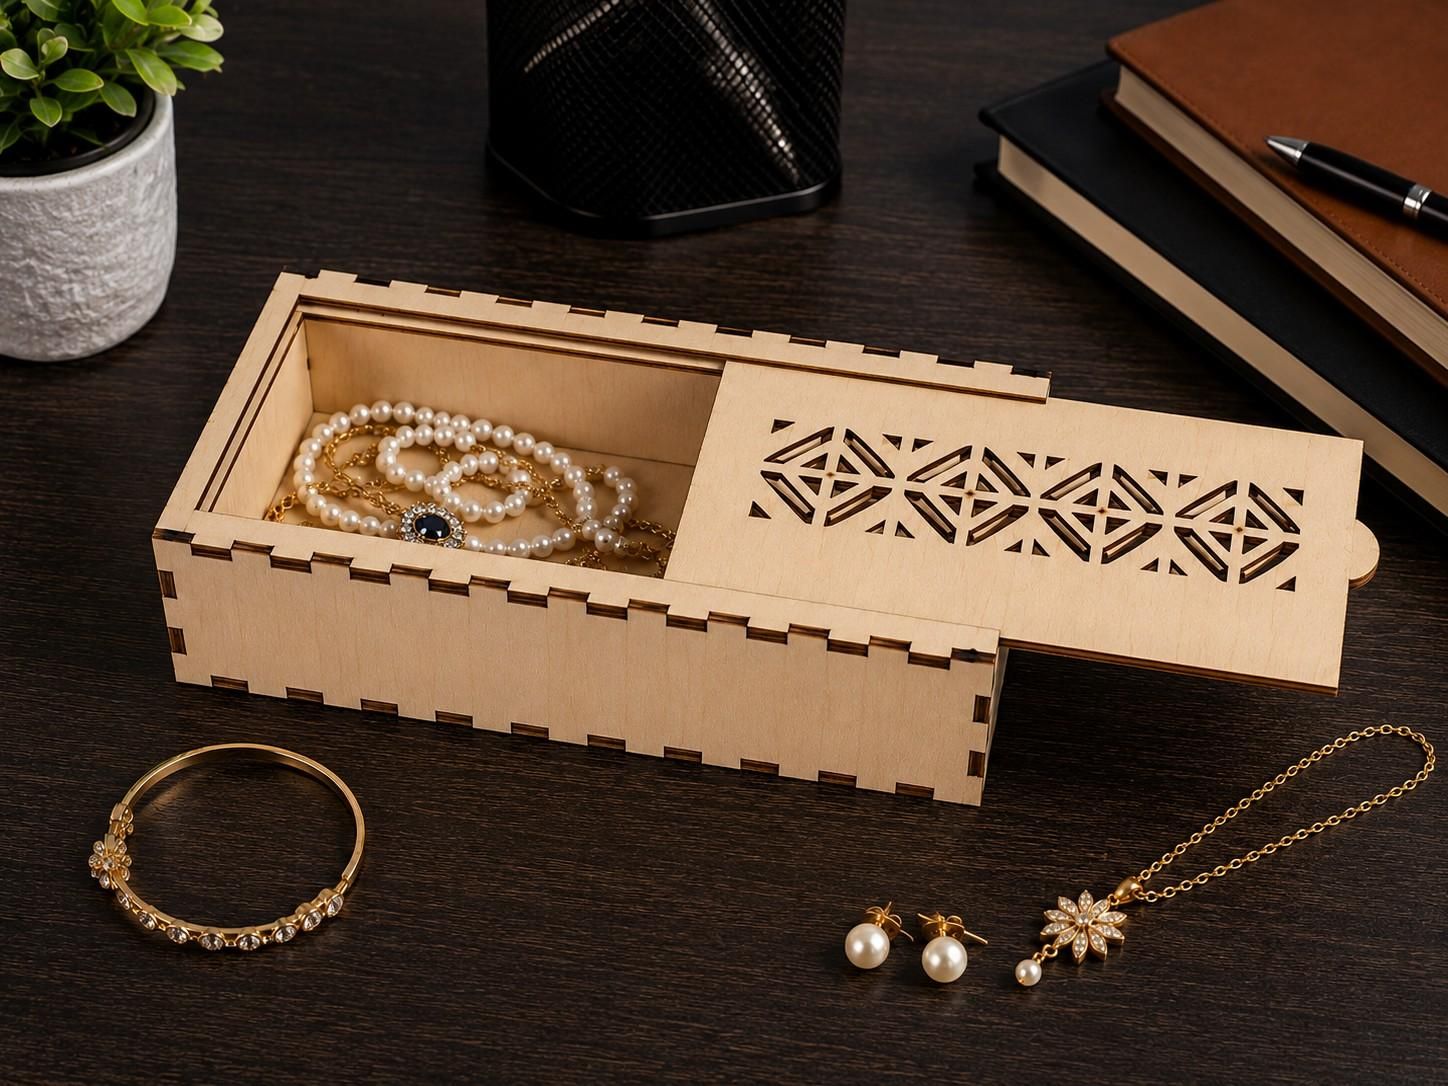
In this project, I’ll show you how to make a laser-cut wooden jewelry box using 3mm plywood and a CO₂ laser cutter. The box measures approximately 90 mm wide × 191 mm long × 50 mm high and uses precisely designed interlocking finger joints for straightforward assembly. The decorative sliding lid features a geometric cutout pattern that gives the finished box a clean and modern appearance.
This project is suitable for makers, DIY enthusiasts, laser-cutting workshops, and anyone interested in creating practical plywood projects. The design is provided as a DXF file, making it suitable for preparing the project in commonly used laser-cutting software
Supplies
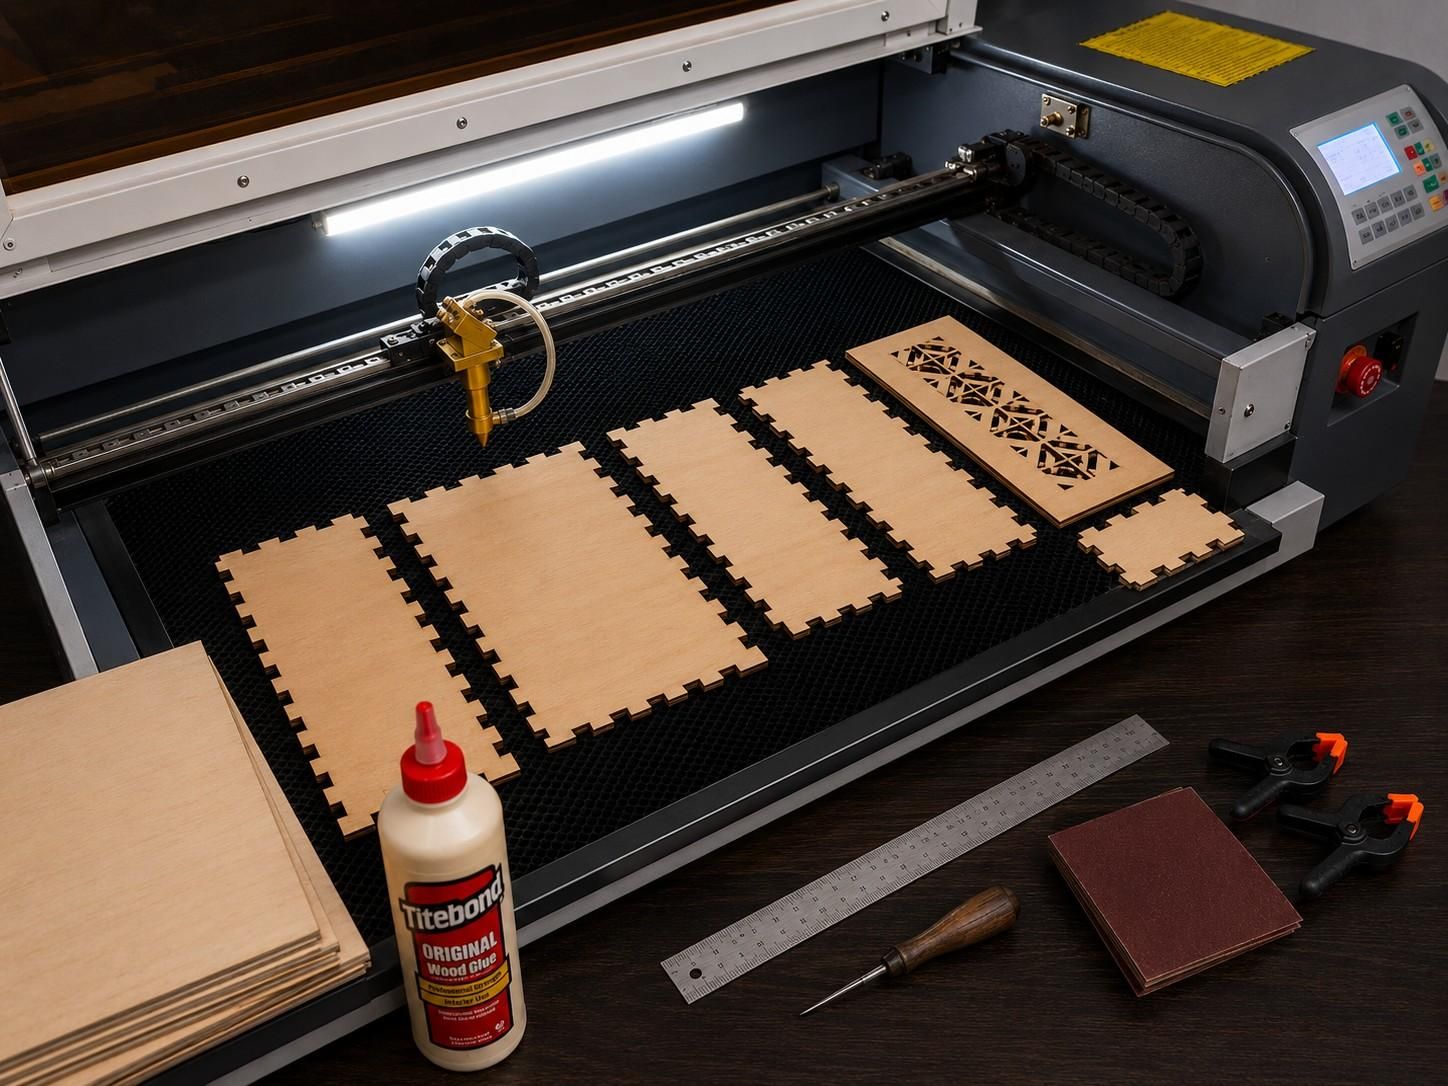
Materials and Tools
For this project, I used:
- 3mm plywood
- CO₂ laser cutter
- Computer with laser-cutting/design software
- DXF design file
- Wood glue
- Sandpaper
- Steel ruler
- Small clamps or clips
- Clean work surface
The finished box dimensions are approximately:
Width: 90 mm
Length: 191 mm
Height: 50 mm
Before cutting, make sure your plywood is flat and that the actual material thickness is close to 3mm. Material thickness can vary slightly between plywood sheets, which may affect the fit of finger joints.
DXF Design
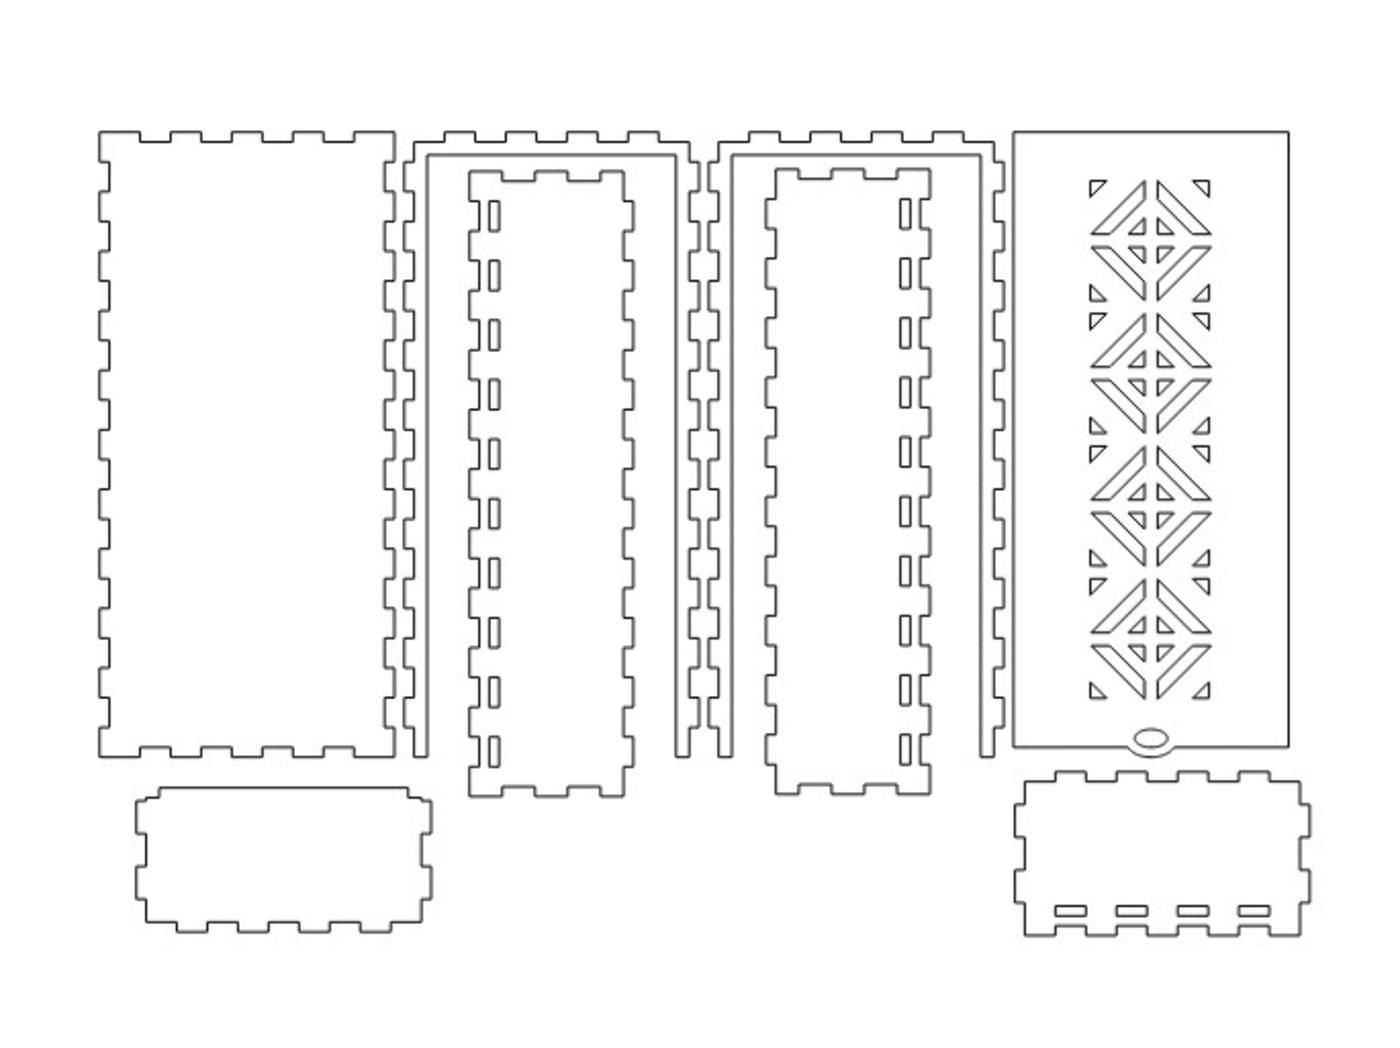
The jewelry box is designed as a collection of individual panels that interlock during assembly. The DXF file contains the cutting geometry for the box panels, finger joints, decorative lid pattern, and other required details. Open the DXF file in your preferred laser-cutting or CAD software and check the following before sending it to the laser:
- Overall dimensions
- Cutting paths
- Finger-joint geometry
- Decorative pattern
- Duplicate or overlapping lines
- Material thickness
- Scale
Make sure the design is imported at the correct scale. Avoid accidentally resizing the file when importing it into your laser software.
Downloads
Laser Cut the Box Components
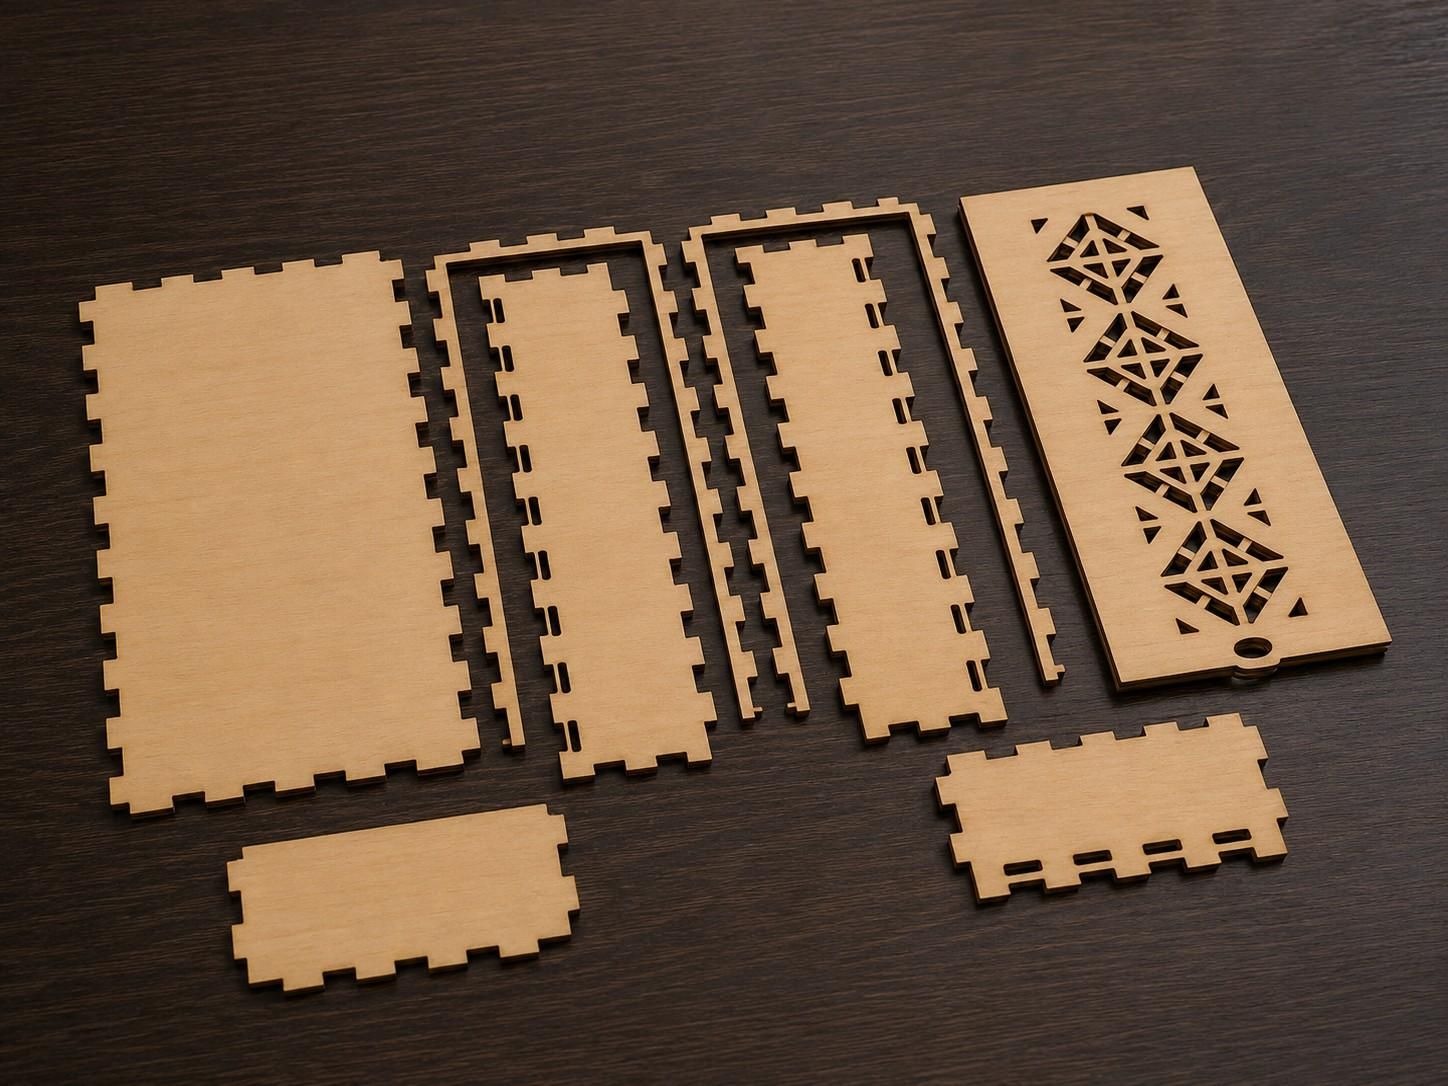
Send the prepared DXF design to your CO₂ laser cutter and cut the individual components from the 3mm plywood. The design includes the large base panel, side panels, end panels, lid components, and smaller supporting pieces.After cutting, allow the pieces to remain flat until the cutting job is completely finished. Carefully remove the parts from the plywood sheet and check that all finger joints and decorative openings have been cut cleanly.The cut pieces should have clearly defined edges and clean interlocking tabs. If some areas have not cut completely through the plywood, avoid forcing the pieces apart because this can damage the edges.
Clean and Check the Cut Pieces
Before assembly, separate all of the laser-cut pieces and arrange them on your work surface. Remove any loose material or small burn residue from the edges. Lightly sand rough areas if necessary. Next, test-fit the major components without glue. The finger joints should align correctly and fit together at approximately 90 degrees. A proper dry fit makes it much easier to identify any alignment problems before applying adhesive. This is also a good time to check the decorative lid and make sure it slides or fits correctly with the surrounding components.
Assemble the Panels
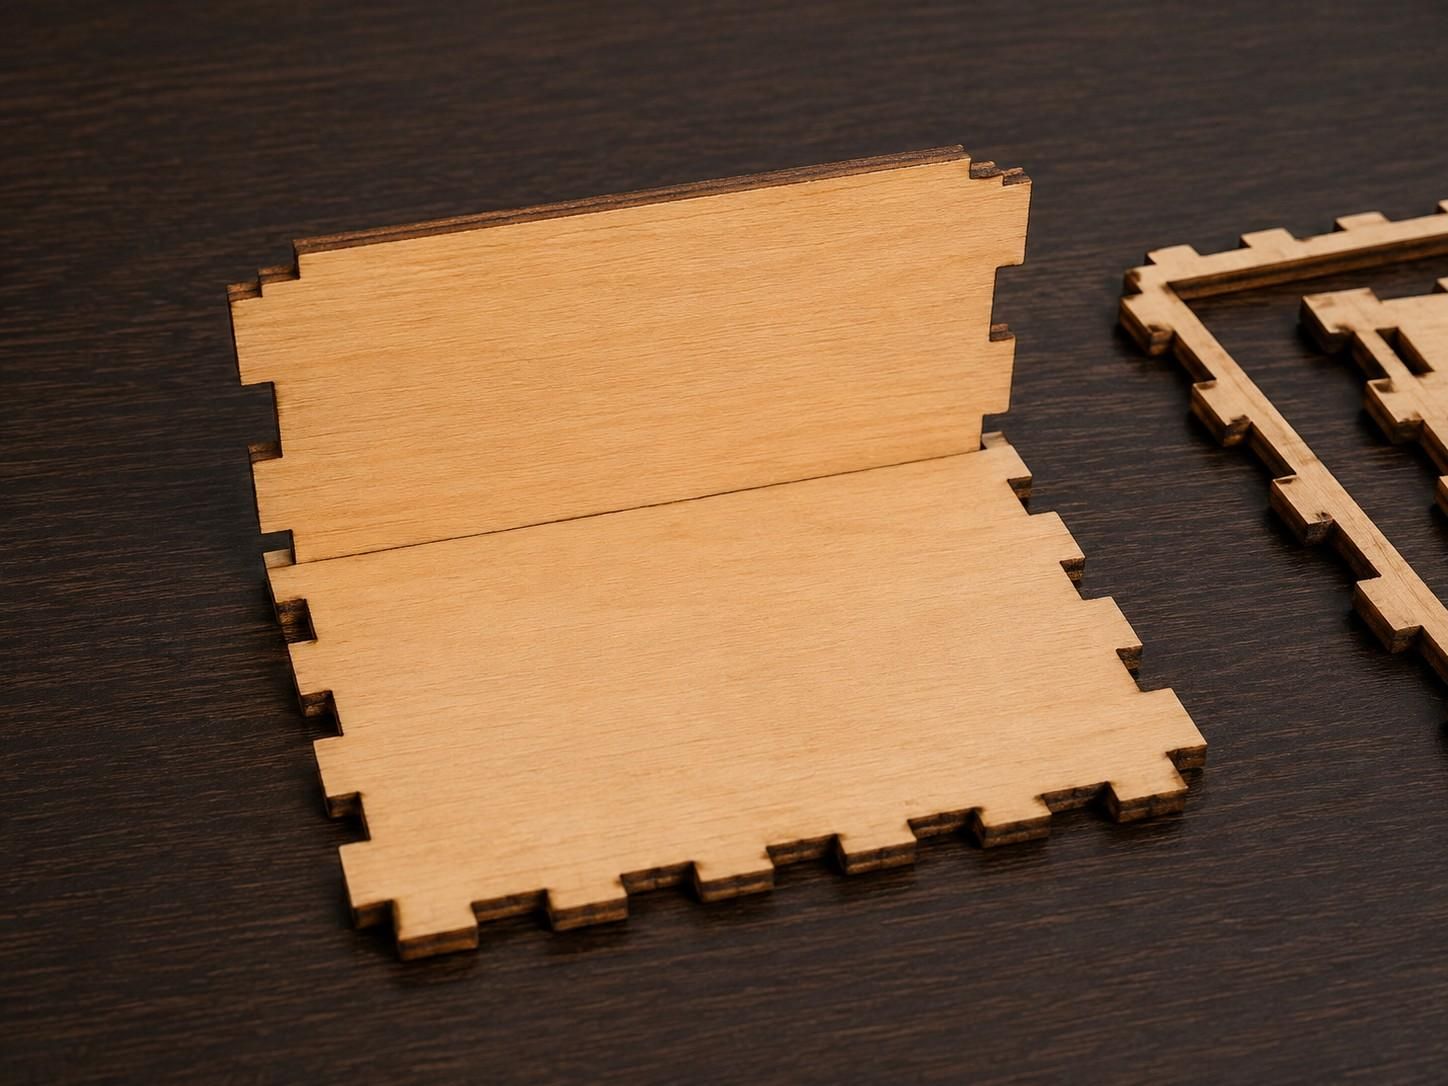
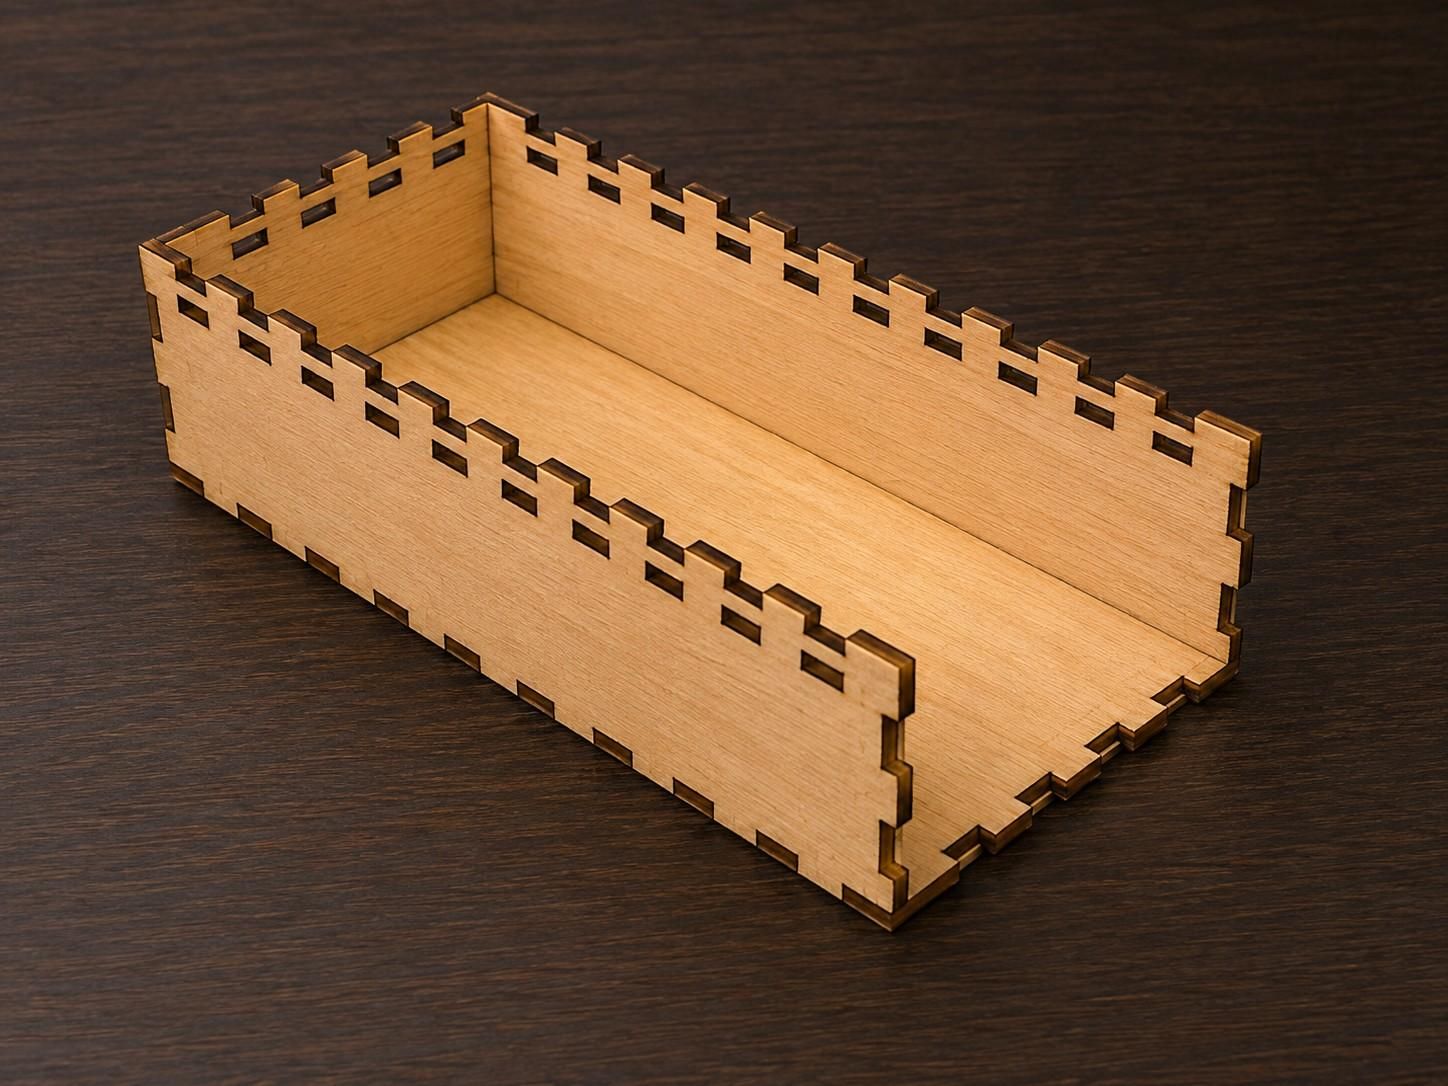
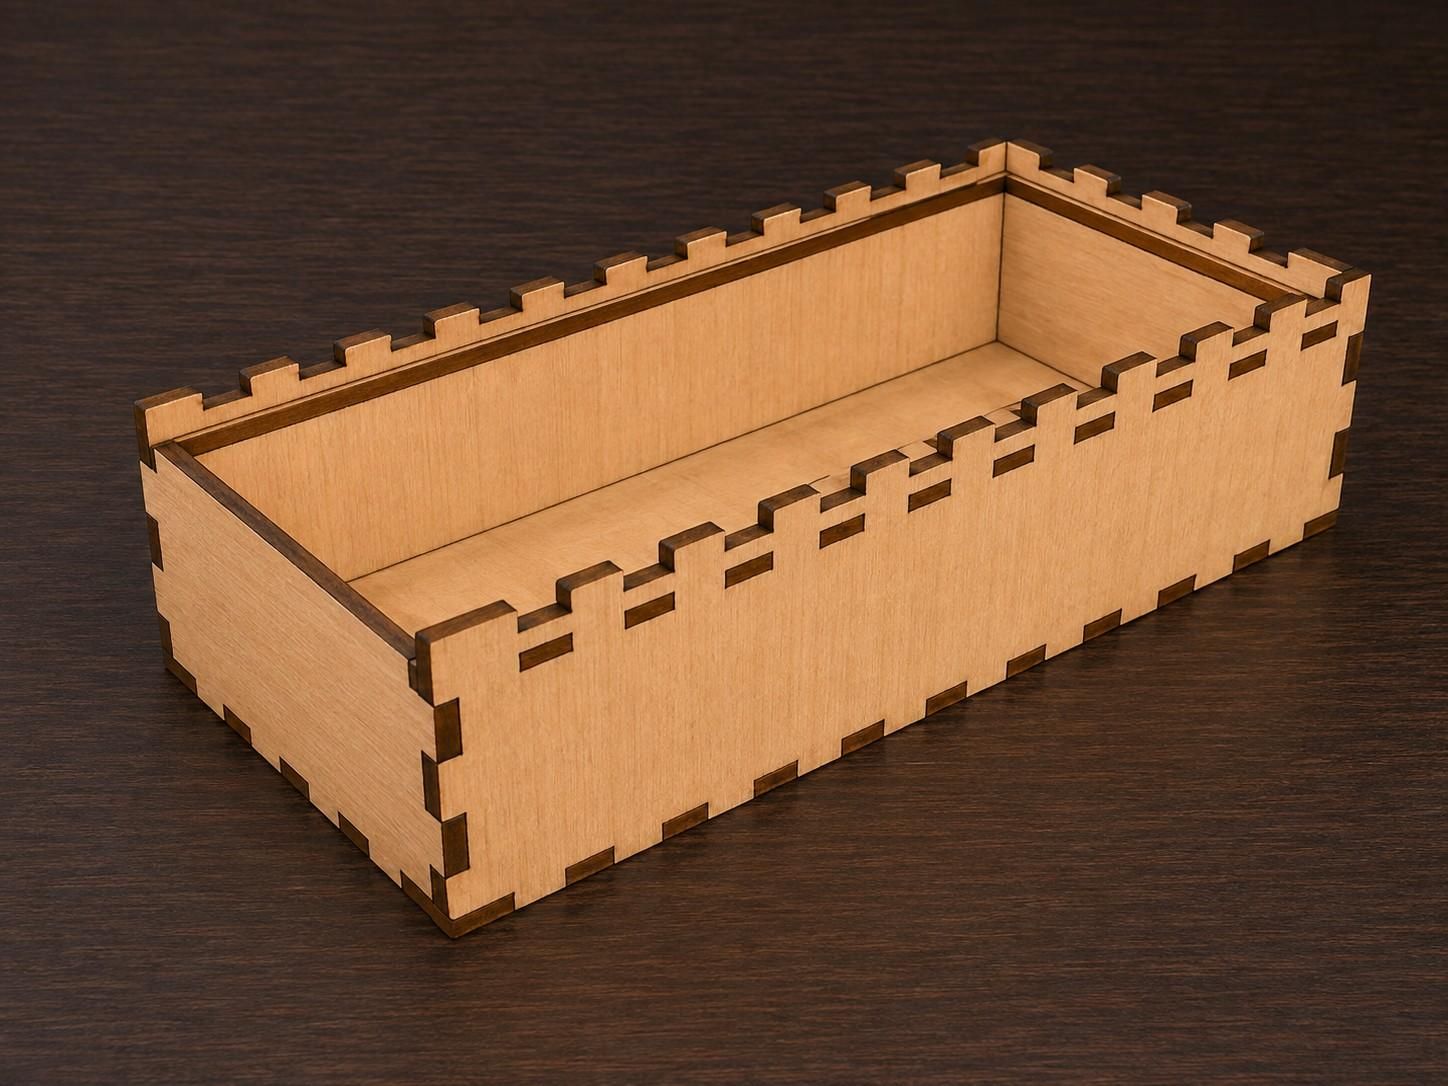
Start by connecting the base panel with the appropriate side and end panels. Align the finger joints carefully and press the pieces together gradually rather than forcing one side into position. Once the joints are aligned, apply a small amount of wood glue to the mating surfaces. Avoid using excessive glue because it can squeeze out through the joints and make finishing more difficult.Use small clamps or clips if necessary to hold the pieces in position while the glue sets.
The most important part of this stage is keeping the panels square. Check the corners from several angles while the adhesive is still workable. The interlocking finger joints help position the panels and provide a strong mechanical connection while the glue cures. Make sure the joints are fully seated and that the walls remain straight and square. Check the box from the top and sides before the glue completely dries. Small alignment corrections are much easier to make at this stage.
Final Result
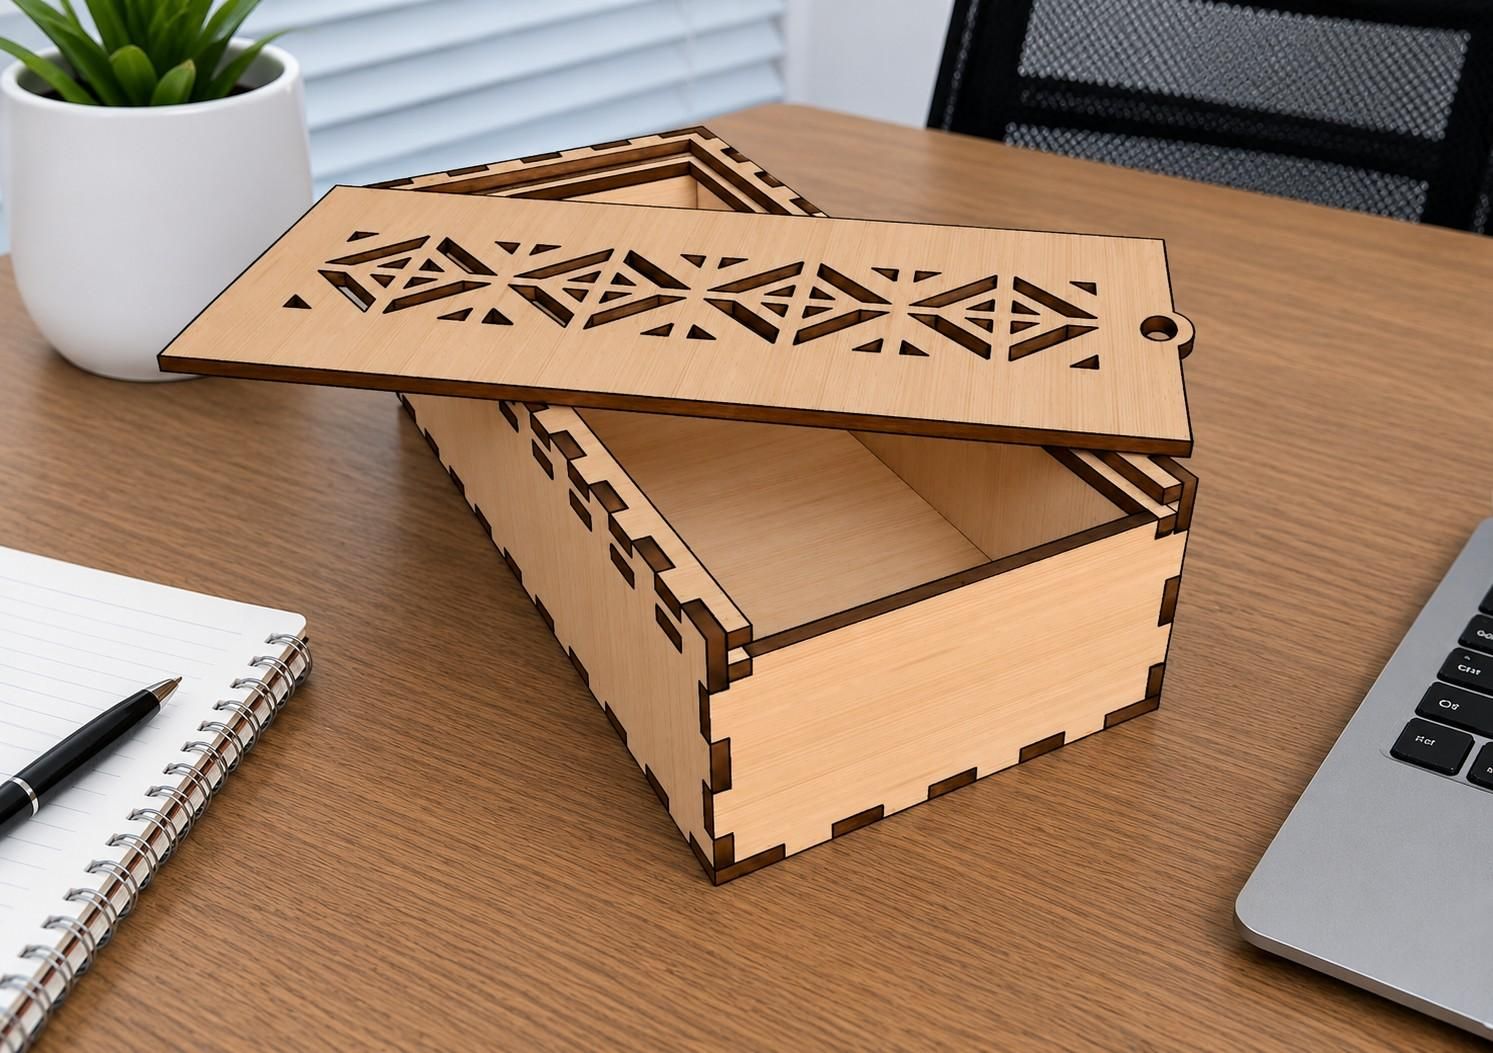
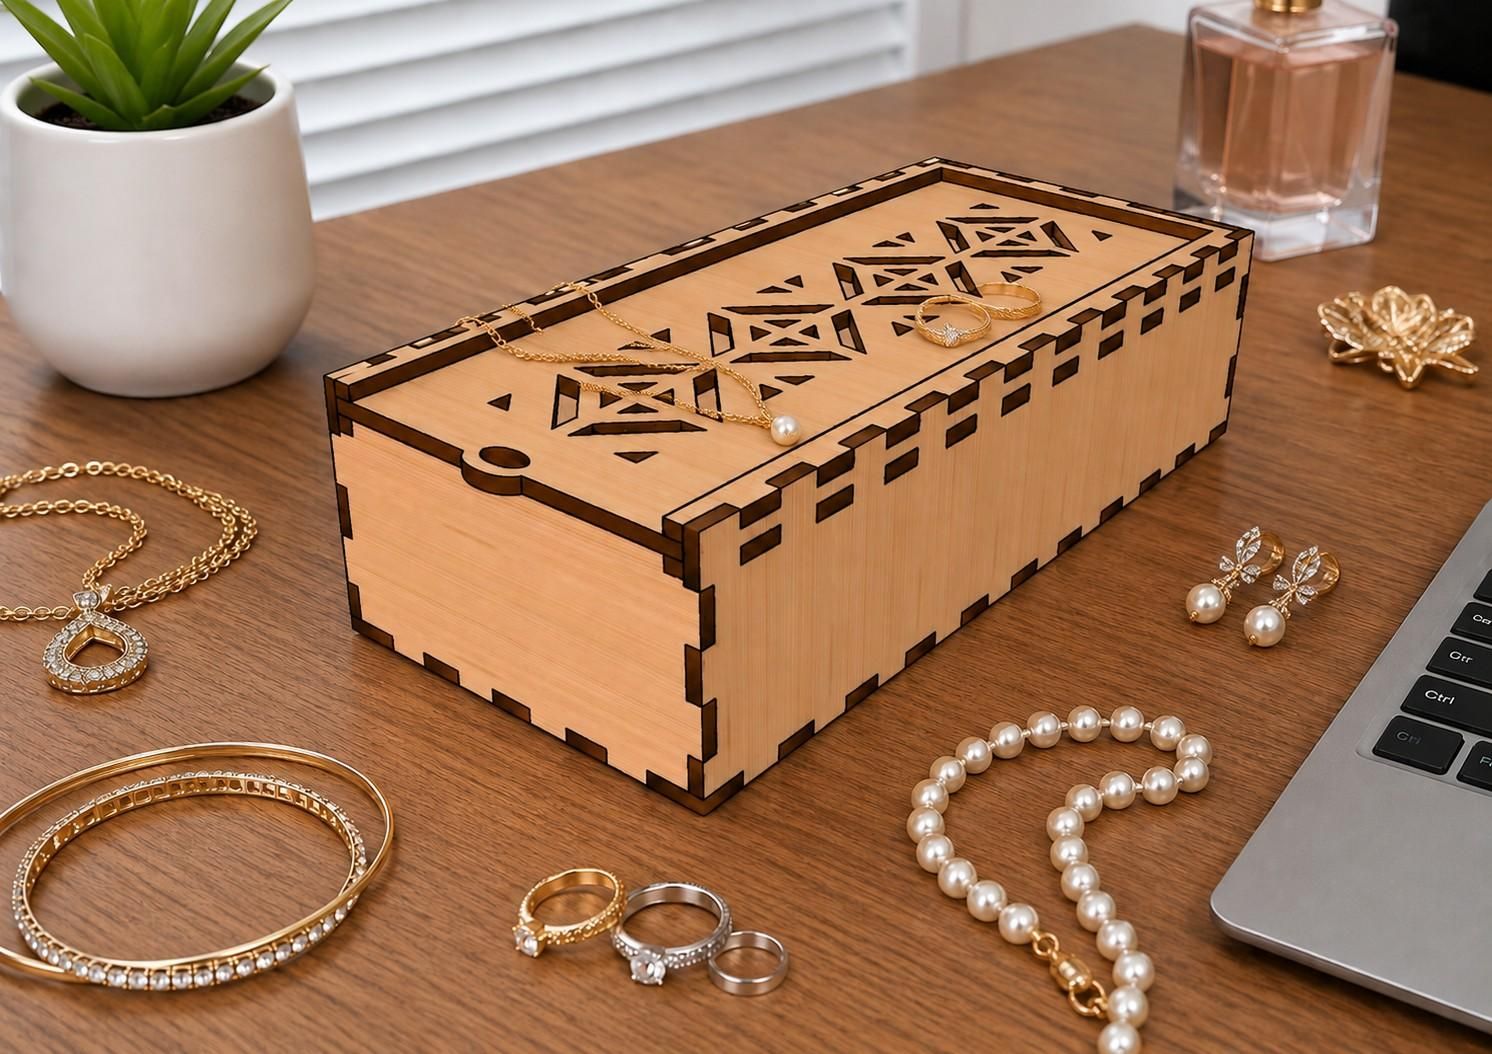
The completed laser-cut jewelry box combines a simple plywood construction with interlocking finger joints and a decorative geometric lid. The compact 90 × 191 × 50 mm design makes it suitable for storing small jewelry items while also making it a practical laser-cutting project for makers and workshops.It can also be adapted for other uses, such as storing small accessories, craft supplies, keepsakes, or other personal items.
Download the DXF Design
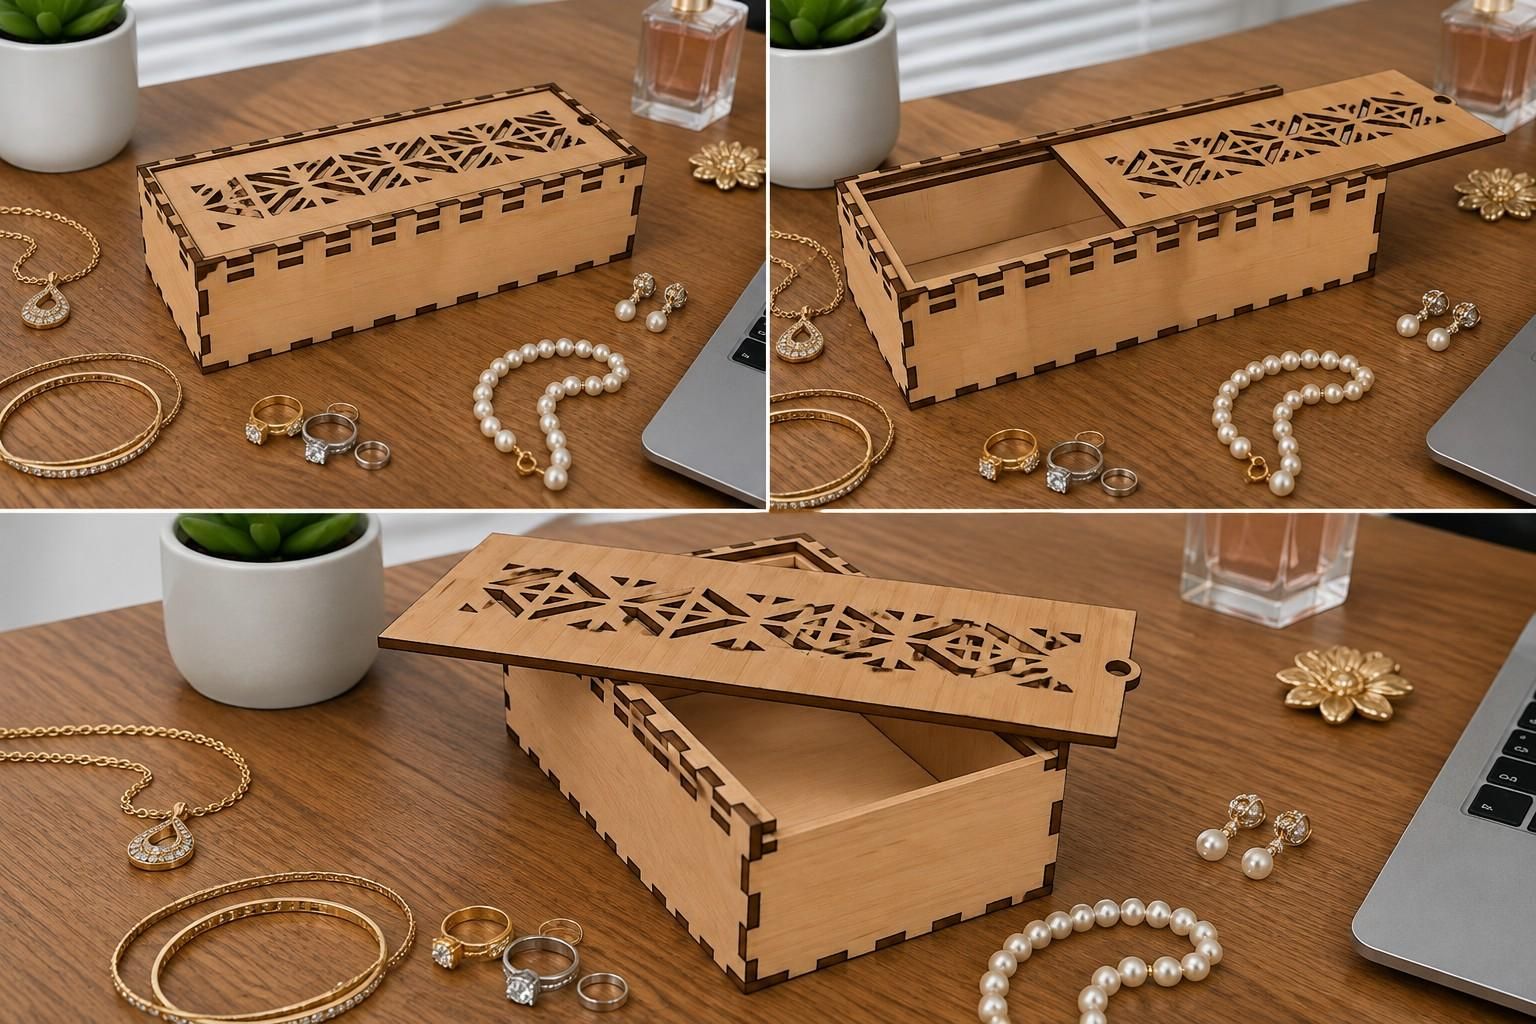
If you would like to make the same jewelry box, the DXF laser-cut design file is available on VectorsArt:
Download the Laser Cut Jewelry Box DXF File
The project uses 3mm plywood and is designed for fabrication with a CO₂ laser cutter.