How to Make a Miniature Cardboard Statue With STL File File (compatible With Chromebook)
by Jellie777 in Craft > Cardboard
246 Views, 2 Favorites, 0 Comments
How to Make a Miniature Cardboard Statue With STL File File (compatible With Chromebook)


Miniature Cardboard Statue
Supplies
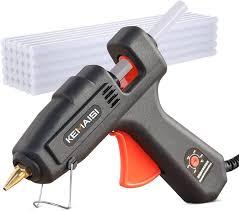

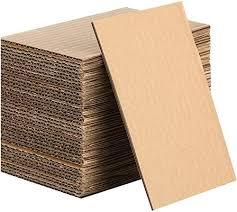
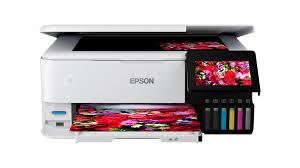

- Computer
- Printer (colored ones work best)
- Cardboard
- Scissors
- Glue (any type that can hold layers of cardboard together, I used a hot glue gun)
Finding a STL File


There are many websites and choices, these files are mainly used for 3d printing. Here are a few websites I use,
These are just a few you can pick from
Now, what your looking for if your a beginner, is a low poly file, which you can just search up, or one with out much detail and doesn't need many supports, I made a Pikachu, as I'm a large Pokemon fan :).
Setting Up the STL File and Getting the Layers
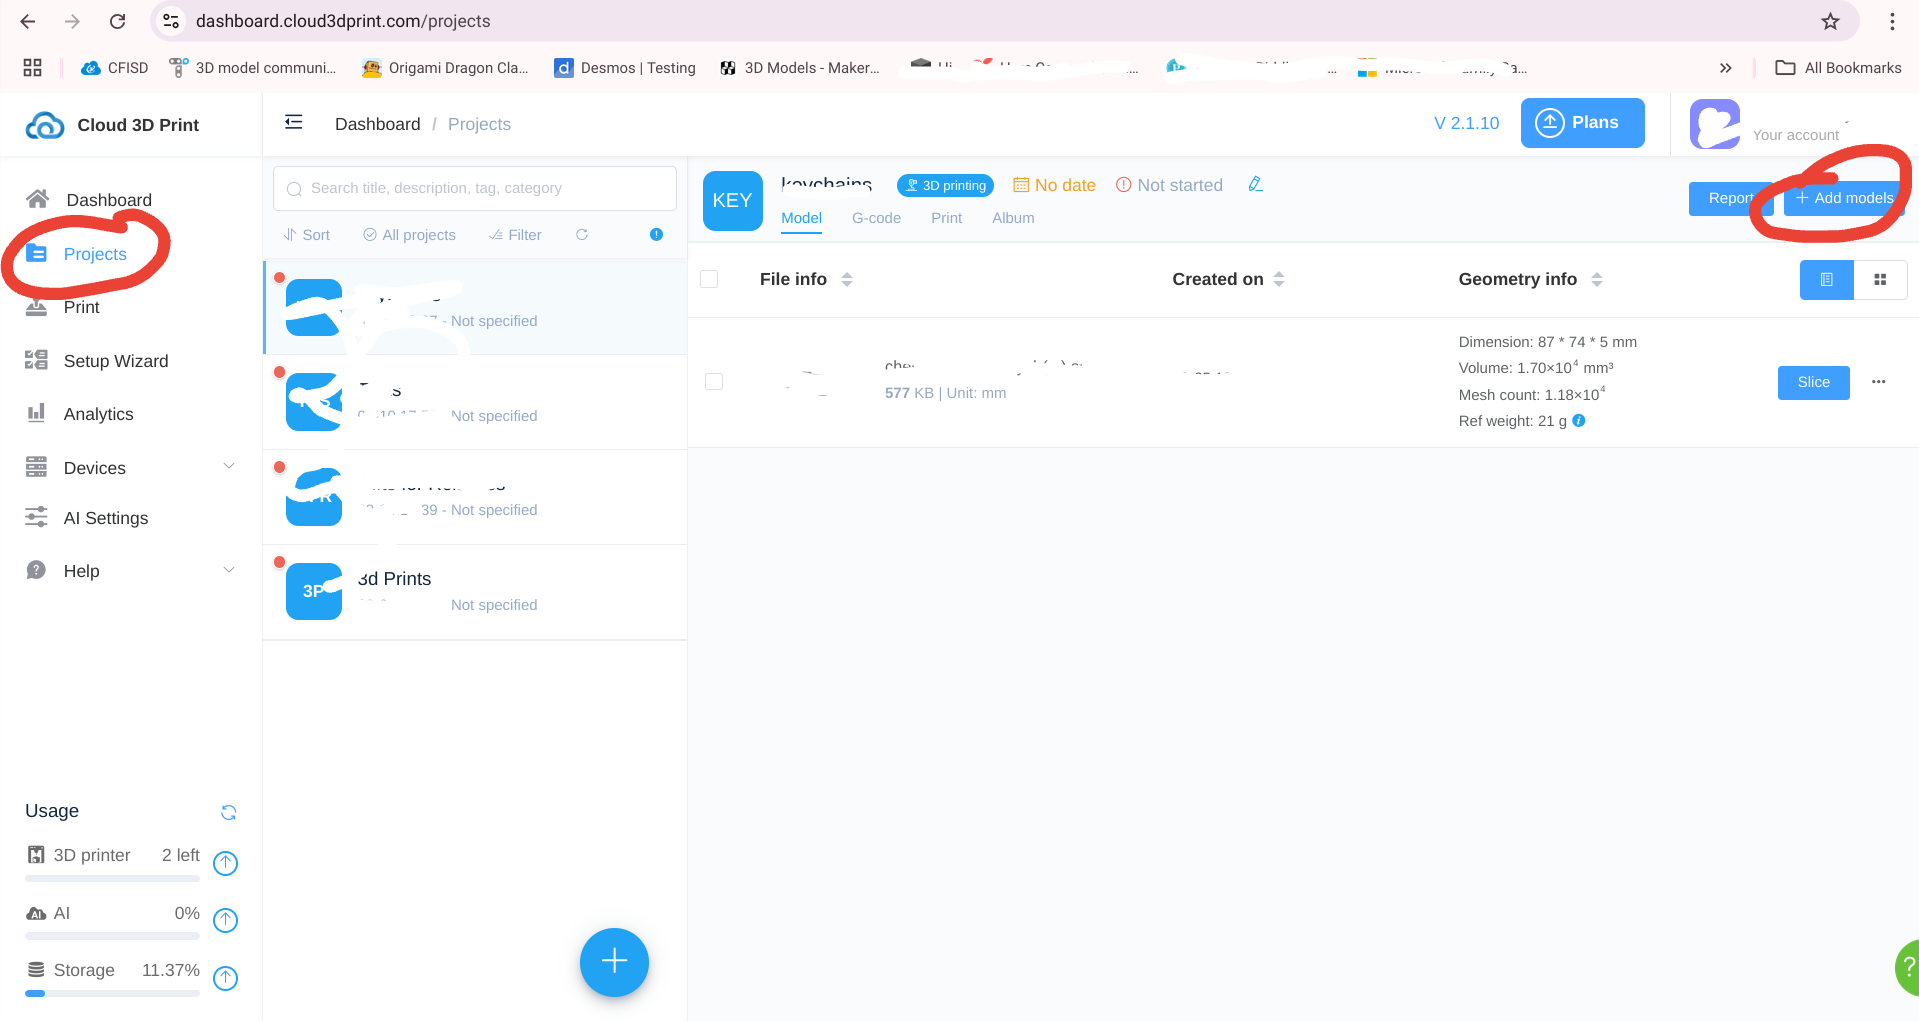


- Since I currently have a Chromebook, I was having trouble finding a website where I could see a file layer by layer, of the file I wanted. Now I finally found one called Cloud 3d Print. In it, all you have to do is make an account, then go to projects and click on +Add Models on the upper right corner.
- Click the green analysis, some times there's a glitch so if it just always says analyzing forever, then just upload another random file after and it should say Slice
- Click on Slice
- Now you're in, you might want to increase the infill, but it really doesn't matter, you might have to adjust it's position as well, but at the end you should have a perfect view of the top of the file.
- Now click slice on the bottom right corner
- Now you should be able to see a slide on the right, which symbolizes the layers. Slide it down to where you want the bottom of your cardboard statue to look like (its feet or base), if you don't want the base then you can always start a bit higher; above the base like I did.
- Now you just adjust the height and take a screen shot every time, make sure that you don't adjust the size or zoom out or in, in-between or during screenshots.
(Depending on how many layers there are, the thickness of the cardboard your using, and how much detail you want, the amount of height that you change it by will vary.)
Written Example for step 7:
Layer height 5, screen shot, layer height 35, screen shot, layer height 65, screen shot, layer height 95, screenshot, and so on (in this example it was increasing by 30)
Building the Layers

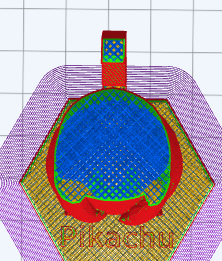
(Now that you have your screen shots, you have to make sure their all the same size if you want to resize the.)
- Print out just the bottom on first to make sure you have the size that you want right
- Once the size is correct, print out the rest. (Here's a little trick I found to print multiple at the same time and not to waste so much paper, *Save the trees!*: Just place the screen shots onto a Google slide as shown in the picture, BUT STILL MAKE SURE THEIR THE SAME SIZE, you won't want 3 layers that line up perfectly then another two just hanging out, out of place, because you resized the screenshot to big)
- After printing them, cut out the top layer of each (mostly the blue part as shown in the picture)
- Now tape them onto the cardboard by making double sided tape by rolling the tape into a cylinder shape.
- ********NUMBERING THE CARDBOARD AND THE PAPER HELPS A LOT **********
- Once you have all the cardboard layers, peel the paper and tape off if you haven't done already
- Now glue them together layer by layer, and make sure they're all in the correct direction
- DONE! You've made a miniature cardboard statue!