How to Make a Organizer

We created an organizer that is useful for placing different types of materials. The problem we were trying to solve was a teacher being unorganized, and our solution to help her was making an organizer with different compartments so she could be more organized.
Supplies

To achieve this prototype, we used cardboard, glue guns, pins, electric scissors, and a cardboard cutter.
Prep
Choose your cardboard and gather materials/tools.
Start Cutting
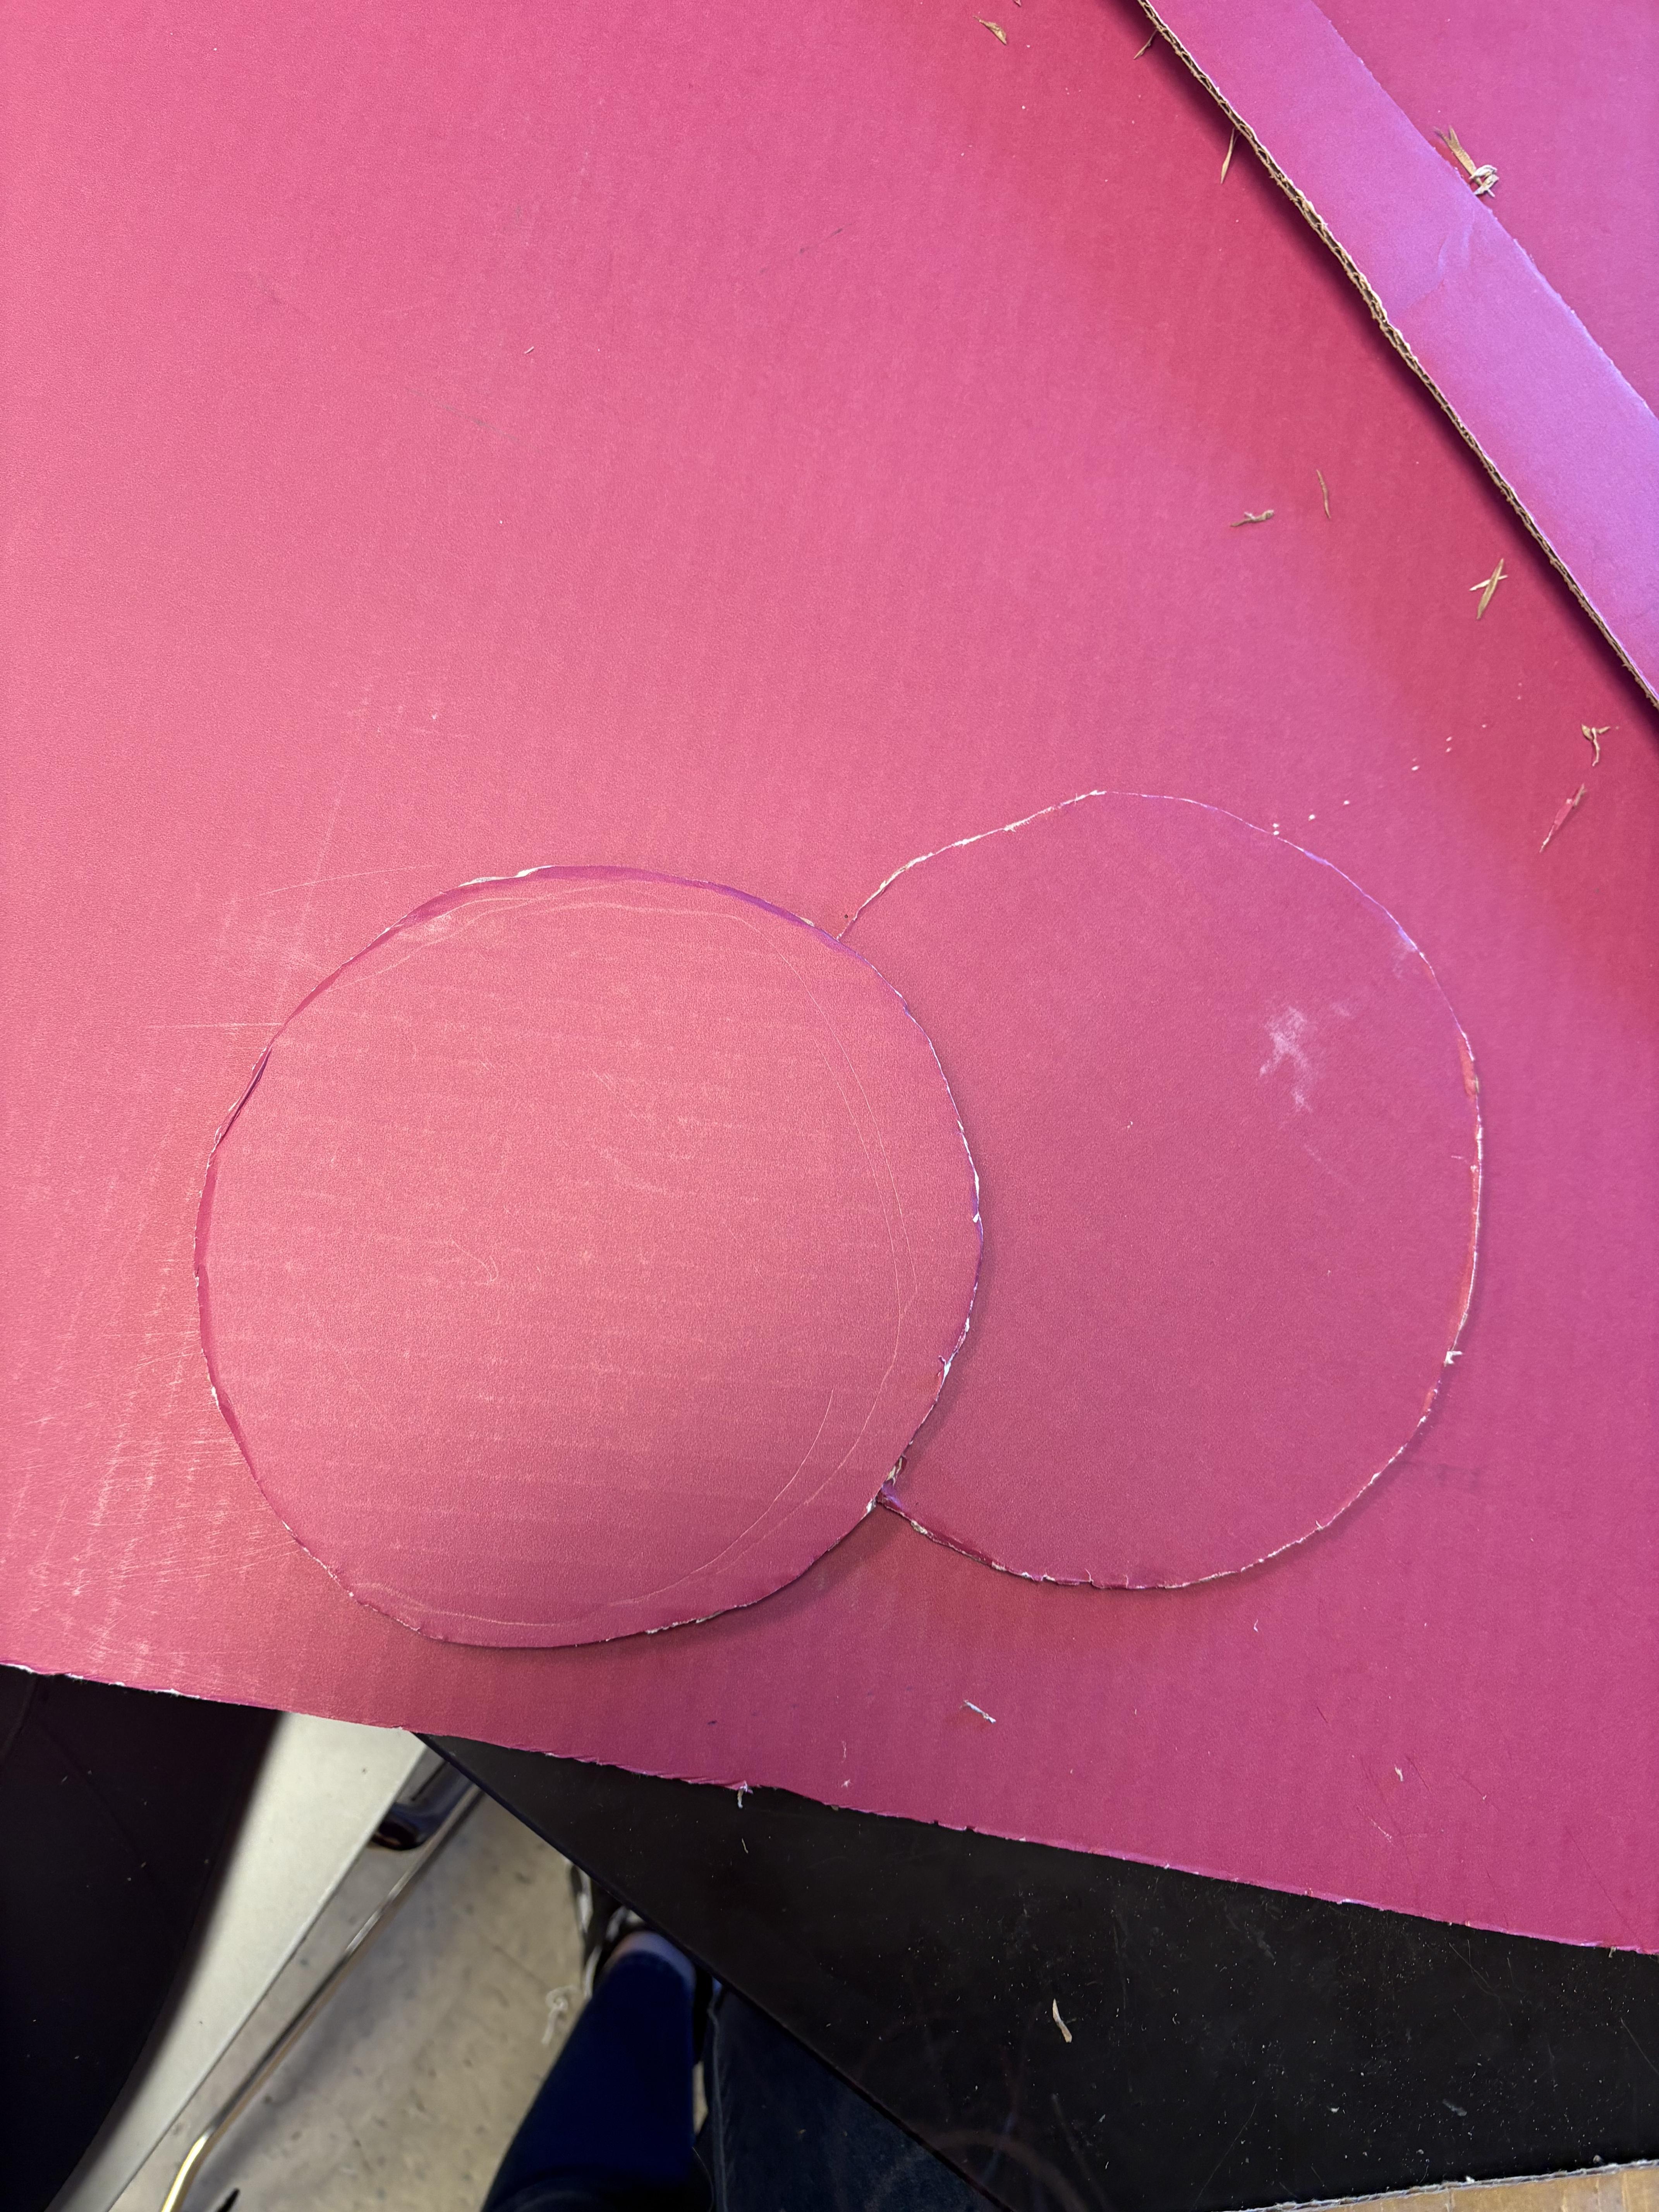.jpg)
Cut 2 circles out of the cardboard you choose.
Start Cutting


Cut 2 long pieces of cardboard.
More Cutting

Cut small lines in the 2 long pieces of cardboard until they're bendable.
Start to Glue


Glue both long pieces to the two circles that we cut
Make the Tube

Cut a big piece of cardboard and make lines on it in order for it to be bendable, then roll it and add glue so it stays together
Putting It Together
.jpg)
Glue the tube to a small square of cardboard that has a pin that is going to make the organizer spin
Secure the Tube

Insert the second layer into the tube of cardboard and glue around it to secure it
Add Compartments

Make compartments in both of the circles to section off different spaces
Final Step
.jpg)

Add the top circle with a square and a pin inserted into it, and glue it to the rest of the organizer