How to Make a Perfect Mitered Picture Frame Using GARTOL Miter Shears (No Saw Required)
by tangobao800 in Workshop > Woodworking
614 Views, 1 Favorites, 0 Comments
How to Make a Perfect Mitered Picture Frame Using GARTOL Miter Shears (No Saw Required)
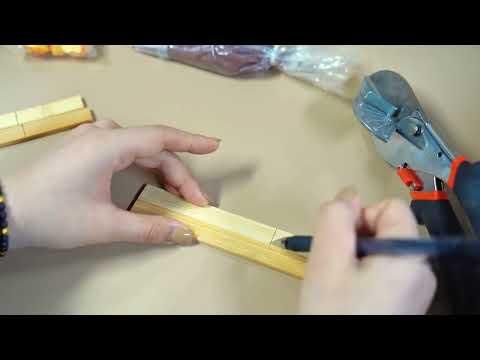
Making a mitered picture frame usually means wrestling with a miter saw — measuring twice, cutting once, and hoping the corners line up. In this project, I'll show you how to cut clean 45° miter joints for a picture frame using the GARTOL Miter Shears instead. No power tools, no sawdust, just squeeze the handles and you're done. The built-in angle scale (45°–135°) makes it easy to get matching corners every time, even if you've never mitered a frame before.
Supplies
GARTOL Miter Shears (45°–135° Adjustable Angle Cutter) — [https://www.gartol.com/products/gartol-miter-shears-45-135-adjustable-angle-cutter]
Wood or PVC trim/moulding strips (for the 4 frame sides)
Tape measure or ruler
Pencil
Wood glue or strong adhesive
Corner clamps (or masking tape as a substitute)
Sandpaper (fine grit, for smoothing cut edges)
Picture/photo to frame (optional, for sizing)
Measure and Mark
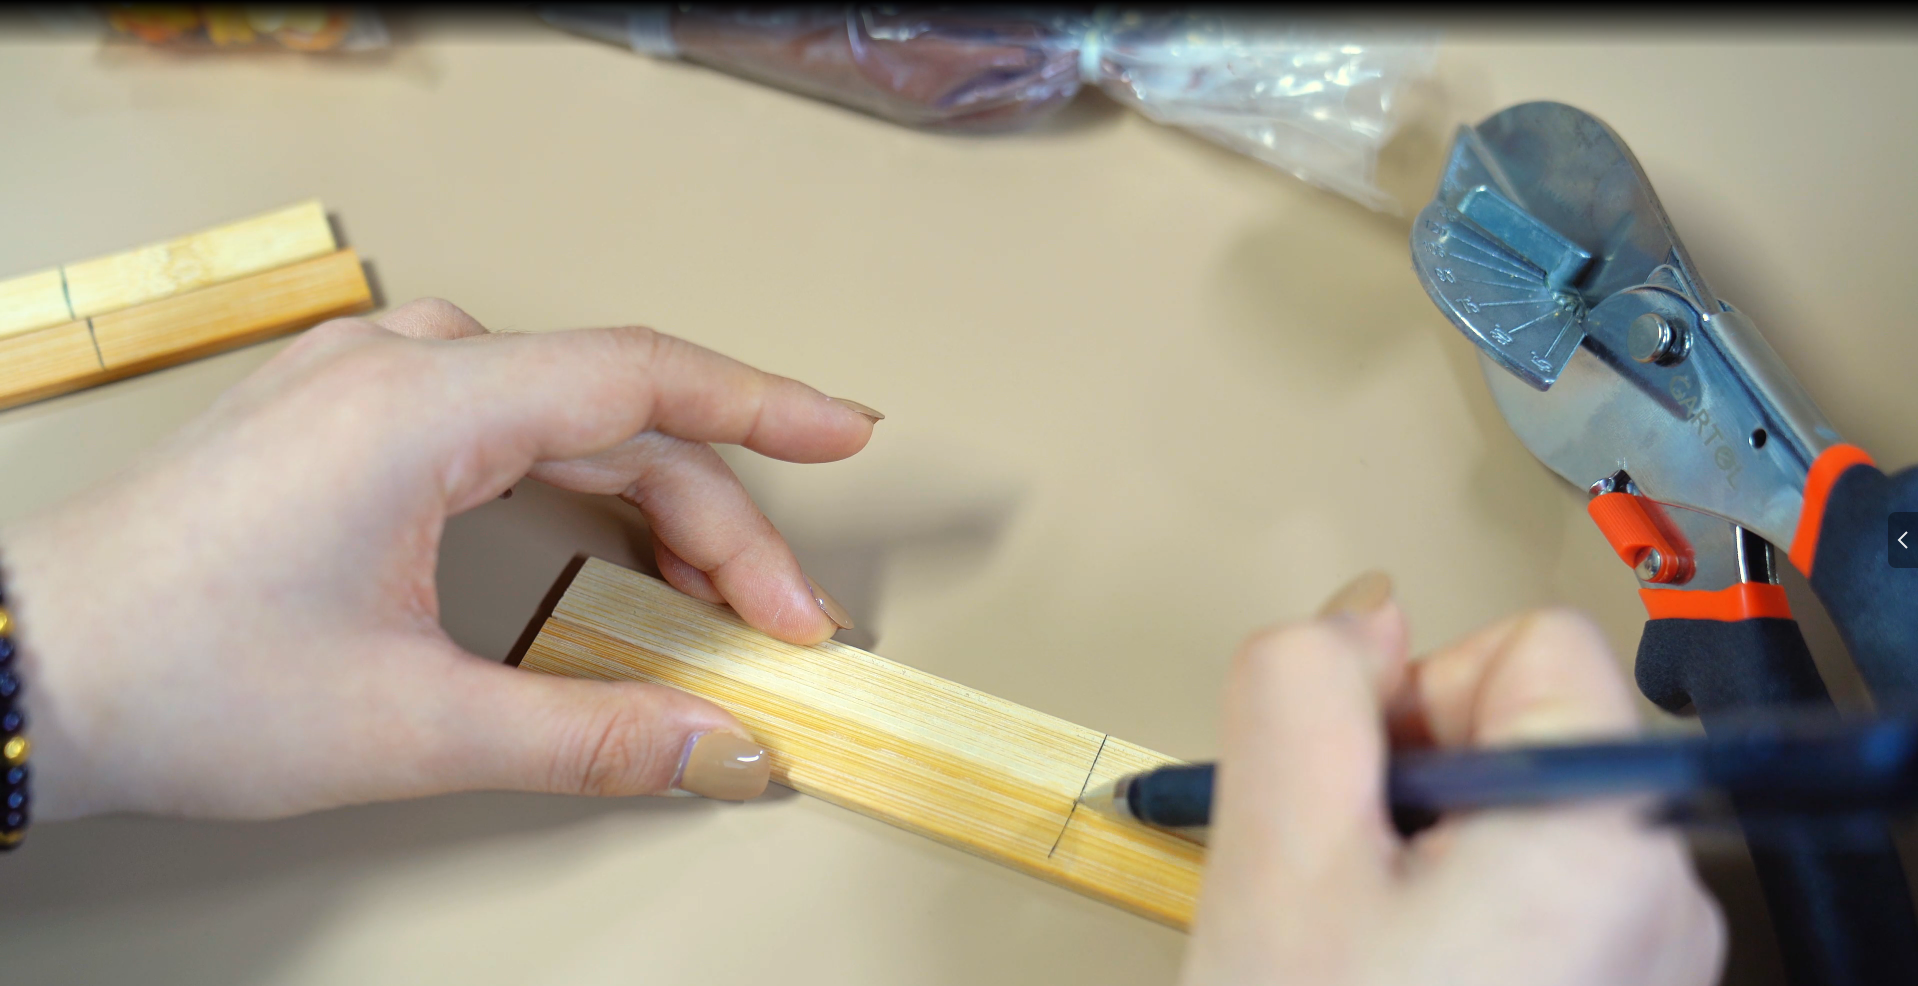
Decide on the finished size of your picture frame and measure your photo or artwork to determine the inner dimensions. Add the width of your moulding to each side to get the outer length needed for each of the 4 frame pieces. Mark your cutting lines with a pencil directly on the moulding strip.
Set the Angle and Cut
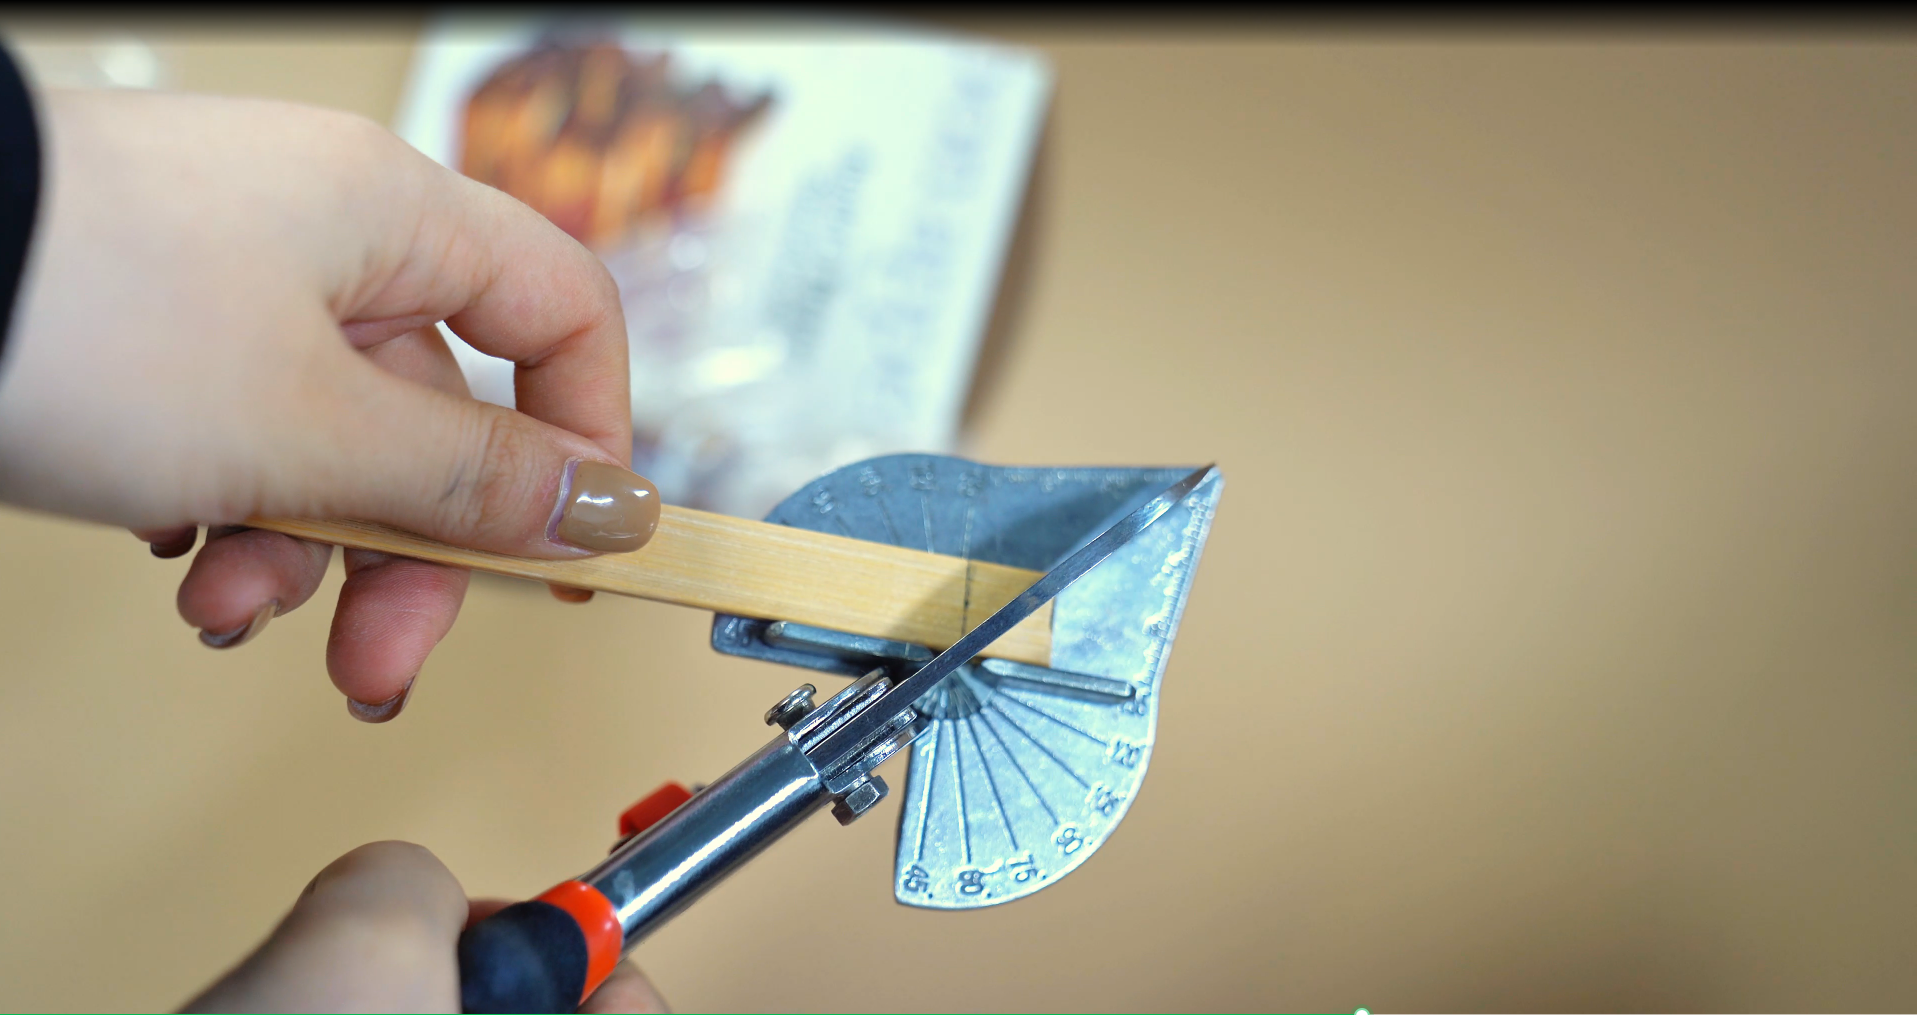
Open the GARTOL Miter Shears and adjust the angle guide to 45°, using the built-in engraved scale to lock it in place. Position your moulding strip against the fence, lining up your pencil mark with the blade. Hold the material firmly so it doesn't shift, then squeeze the handles to make a clean cut. Repeat this for all 4 pieces, making sure opposite sides are cut as mirror images (angle facing the correct direction) so the corners will match up.
Glue and Assemble
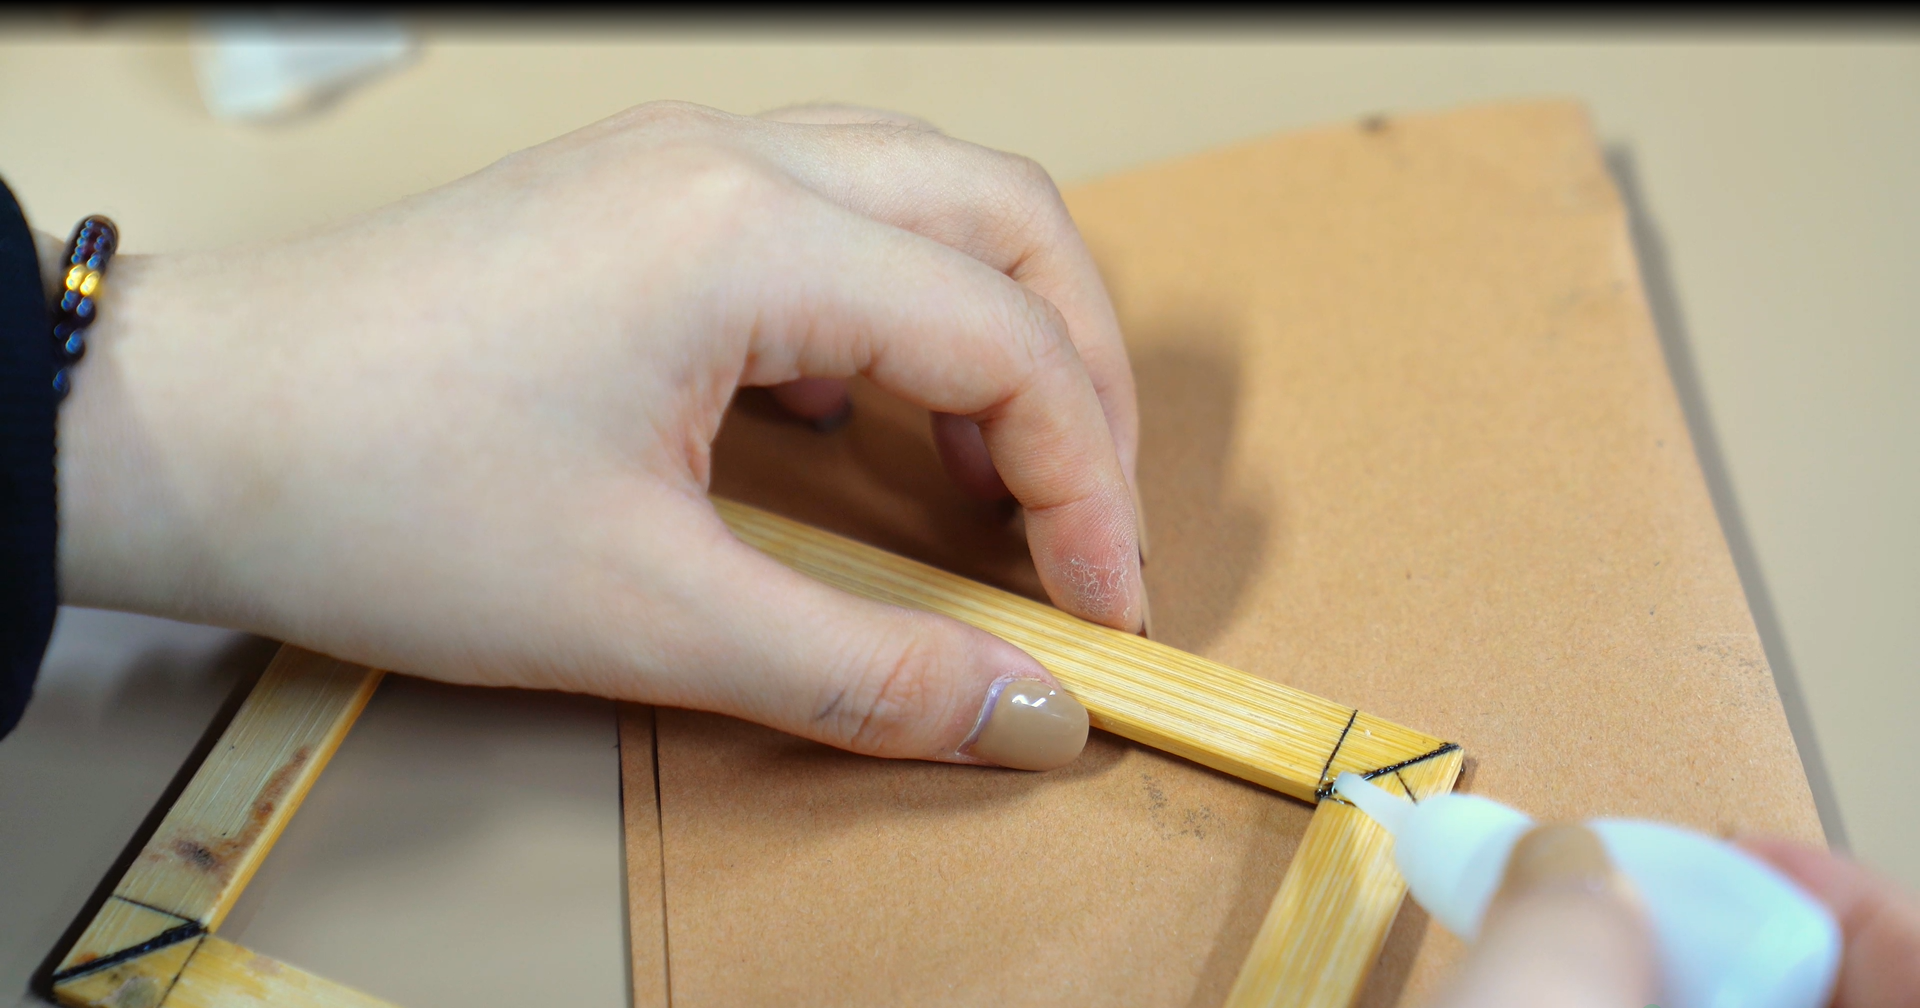
Apply wood glue to each mitered corner and press the pieces together, using corner clamps (or tape) to hold the joints tight while the glue sets. Wipe away any excess glue with a damp cloth. Let the frame dry fully according to the glue's instructions before handling. Once dry, insert your photo or artwork — your frame is ready to display!