How to Make a Purple Blackberry Softie | DIY Velvet Plush Fruit
by FernMakes in Craft > Sewing
1143 Views, 10 Favorites, 0 Comments
How to Make a Purple Blackberry Softie | DIY Velvet Plush Fruit
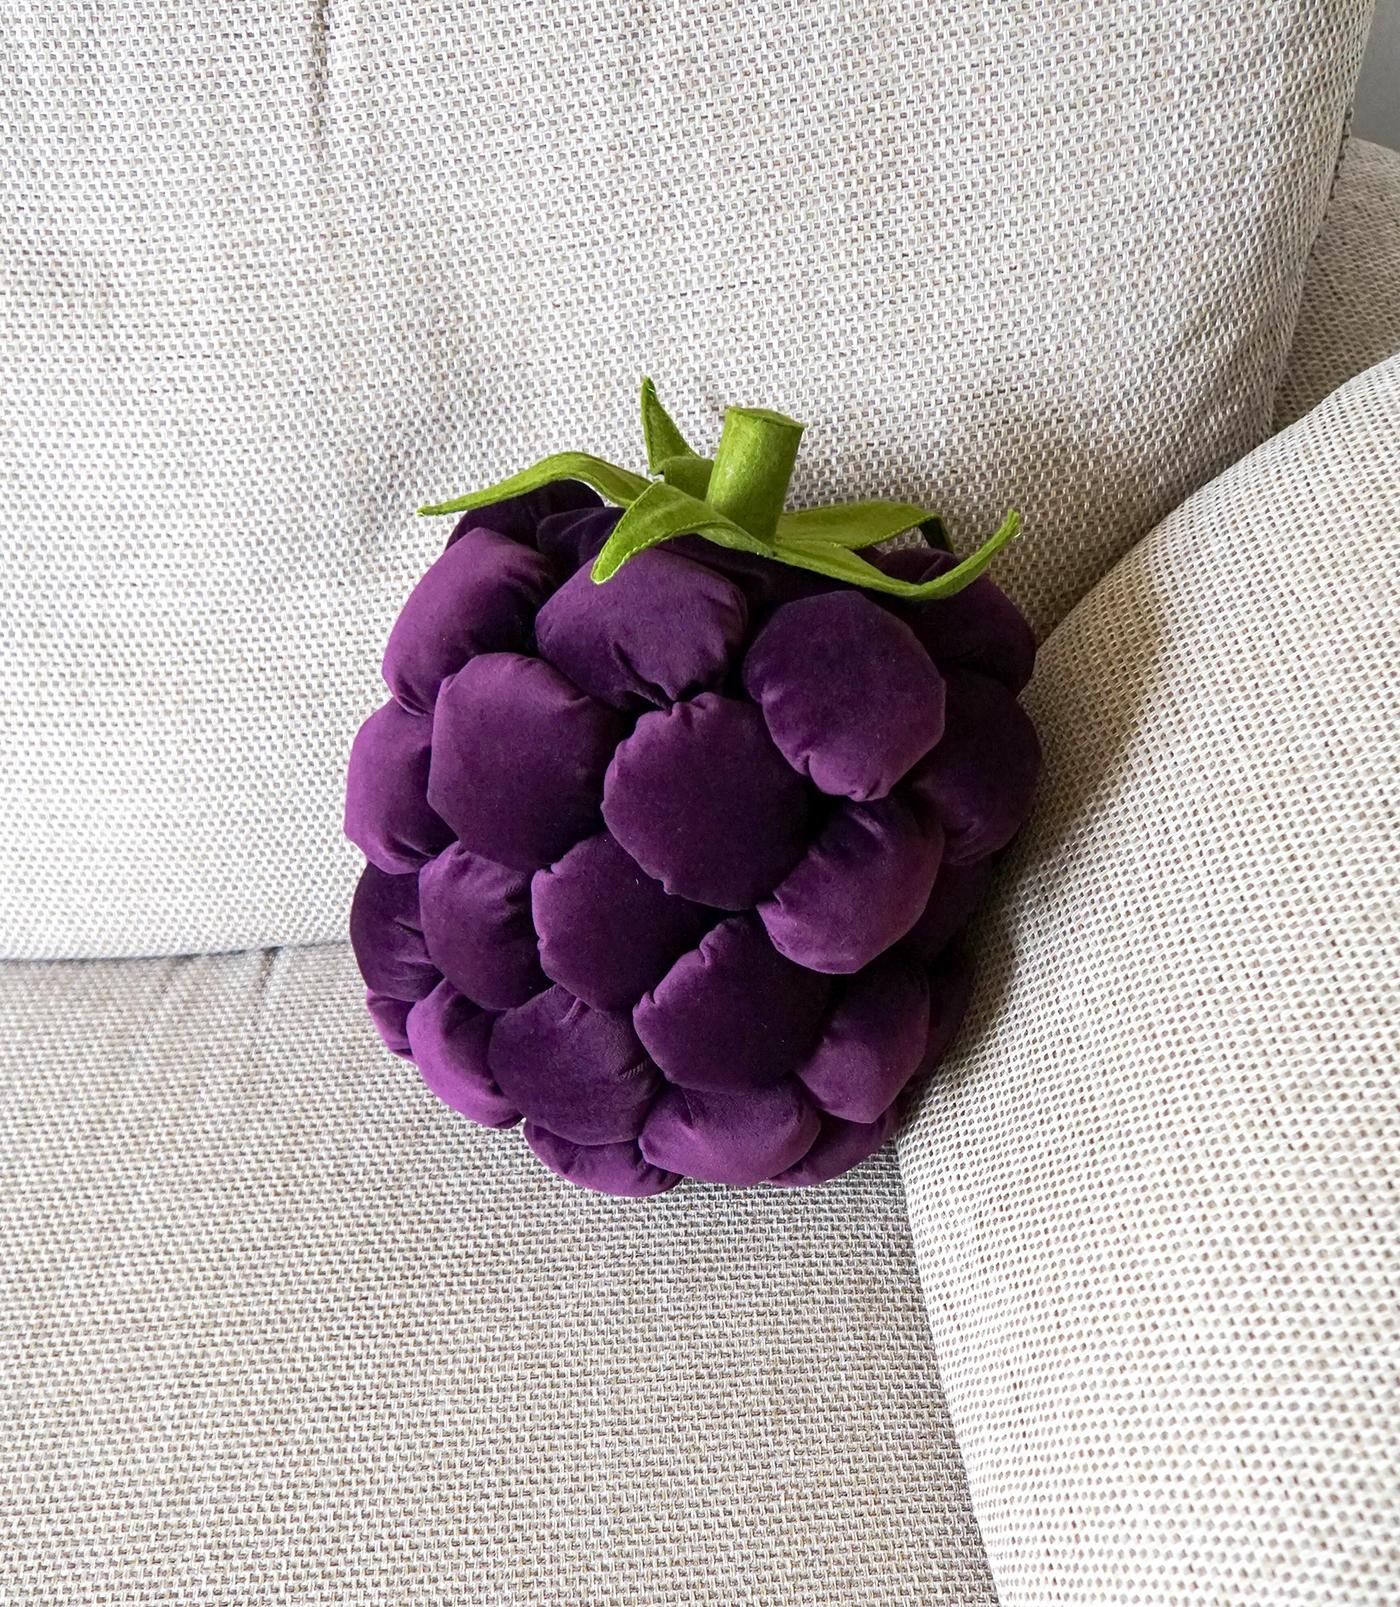
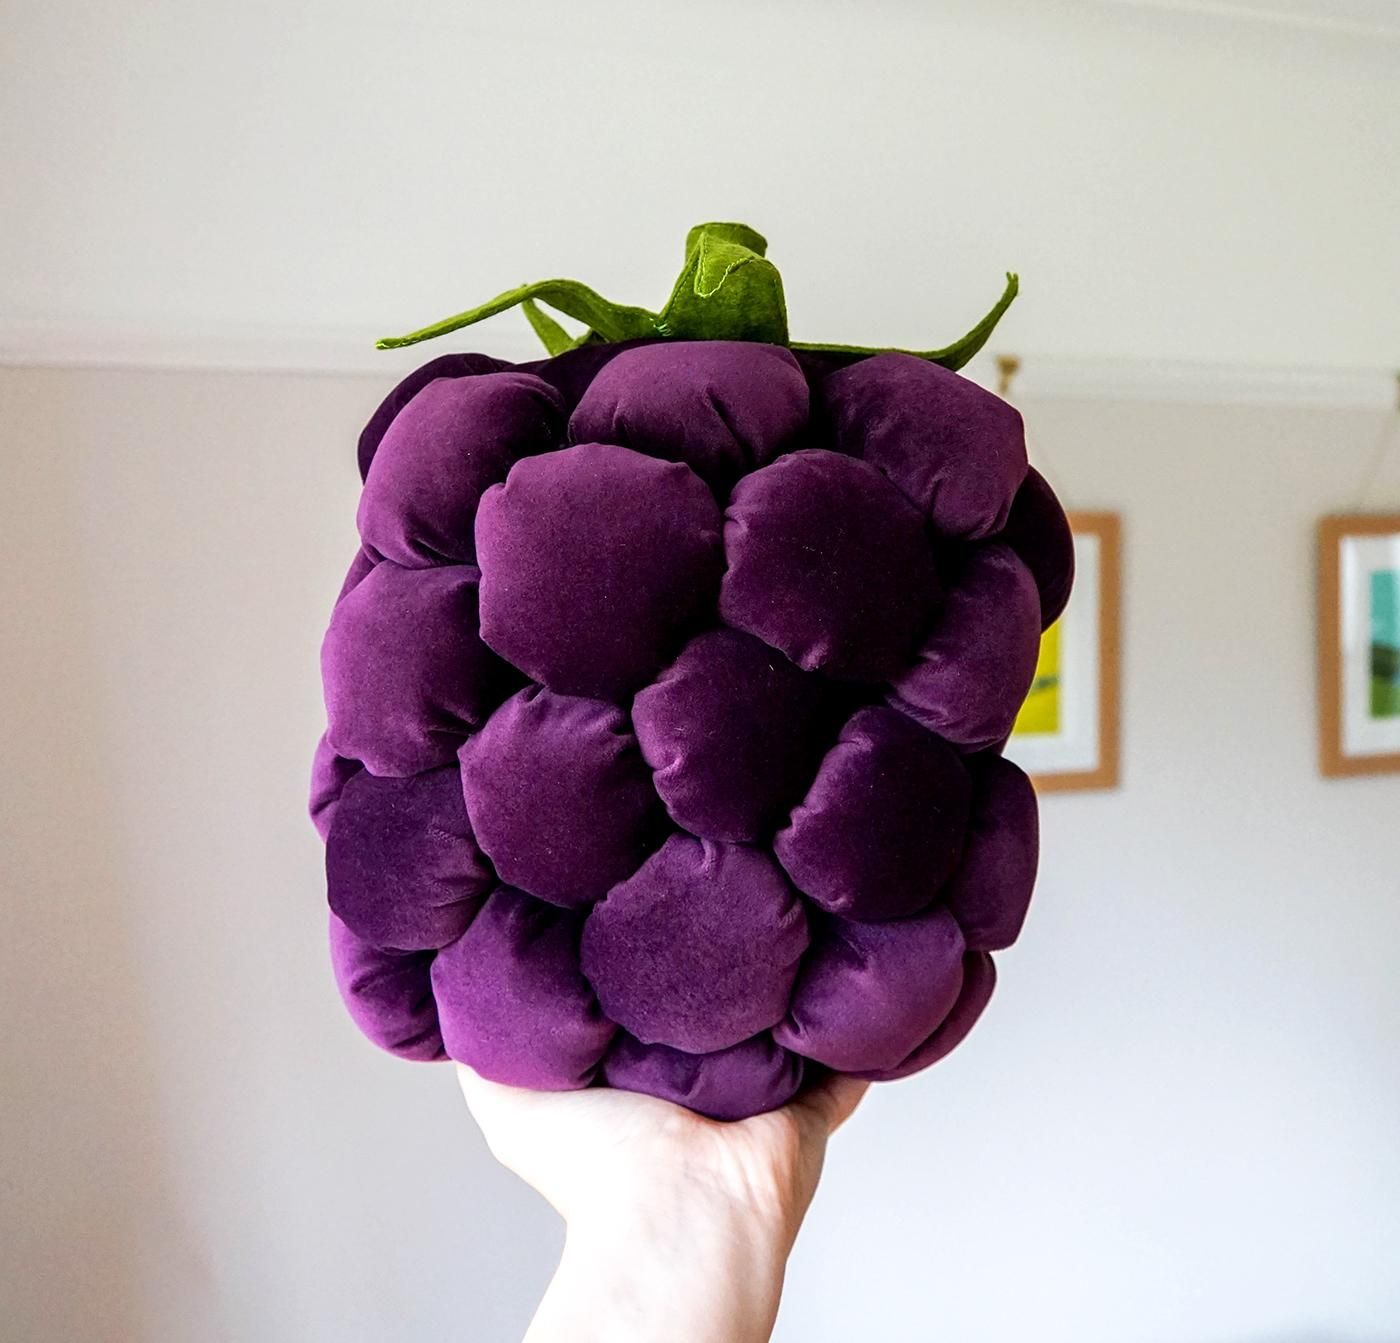
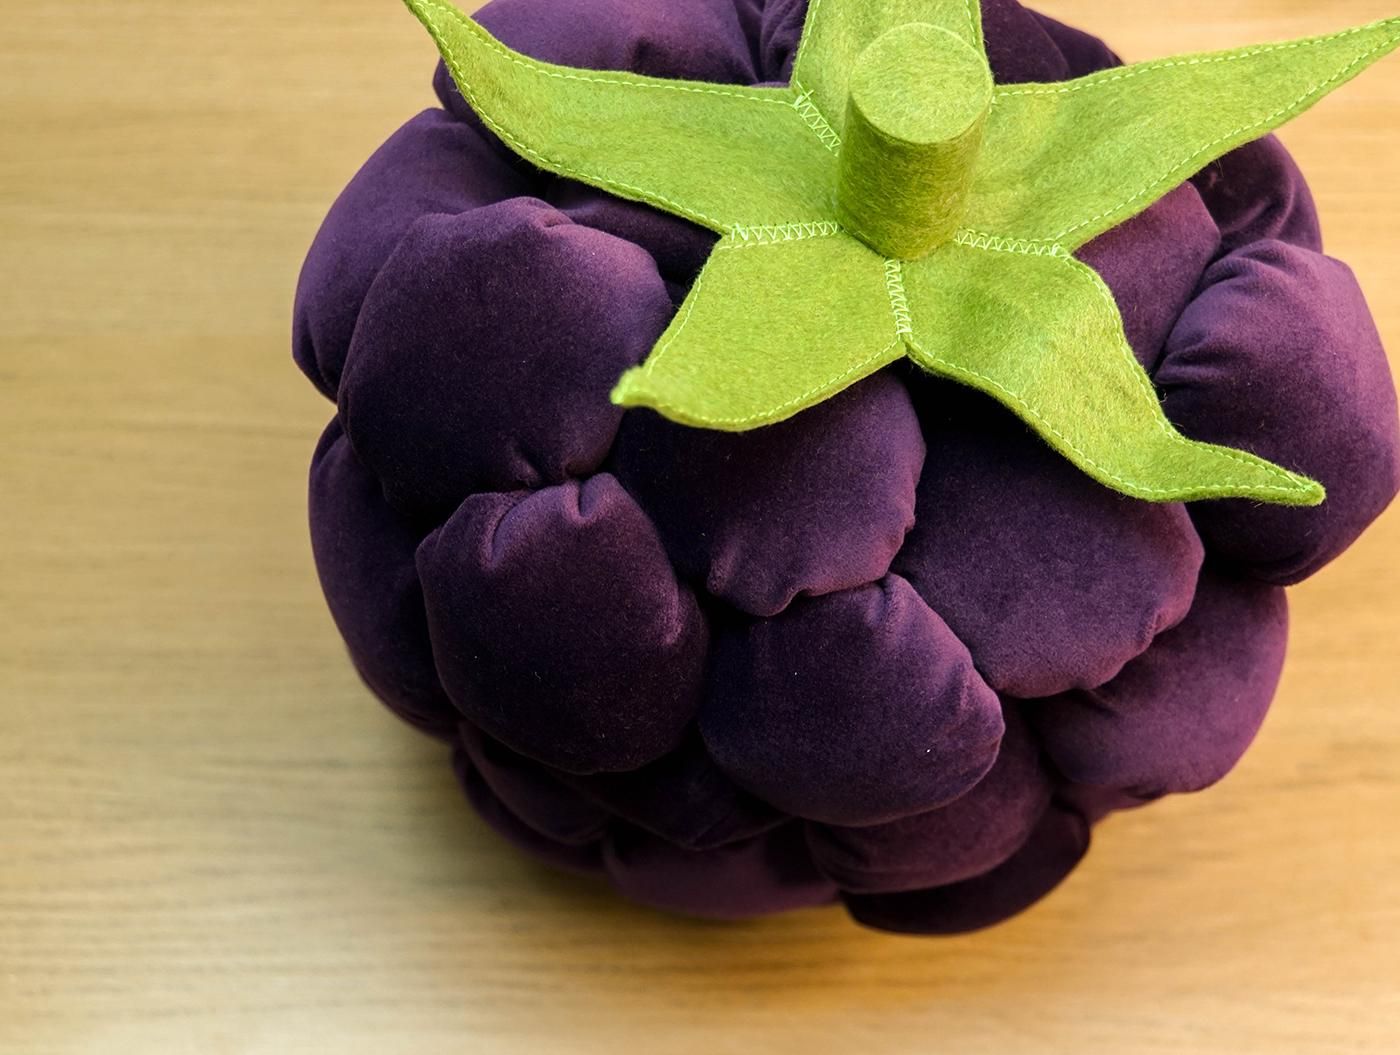
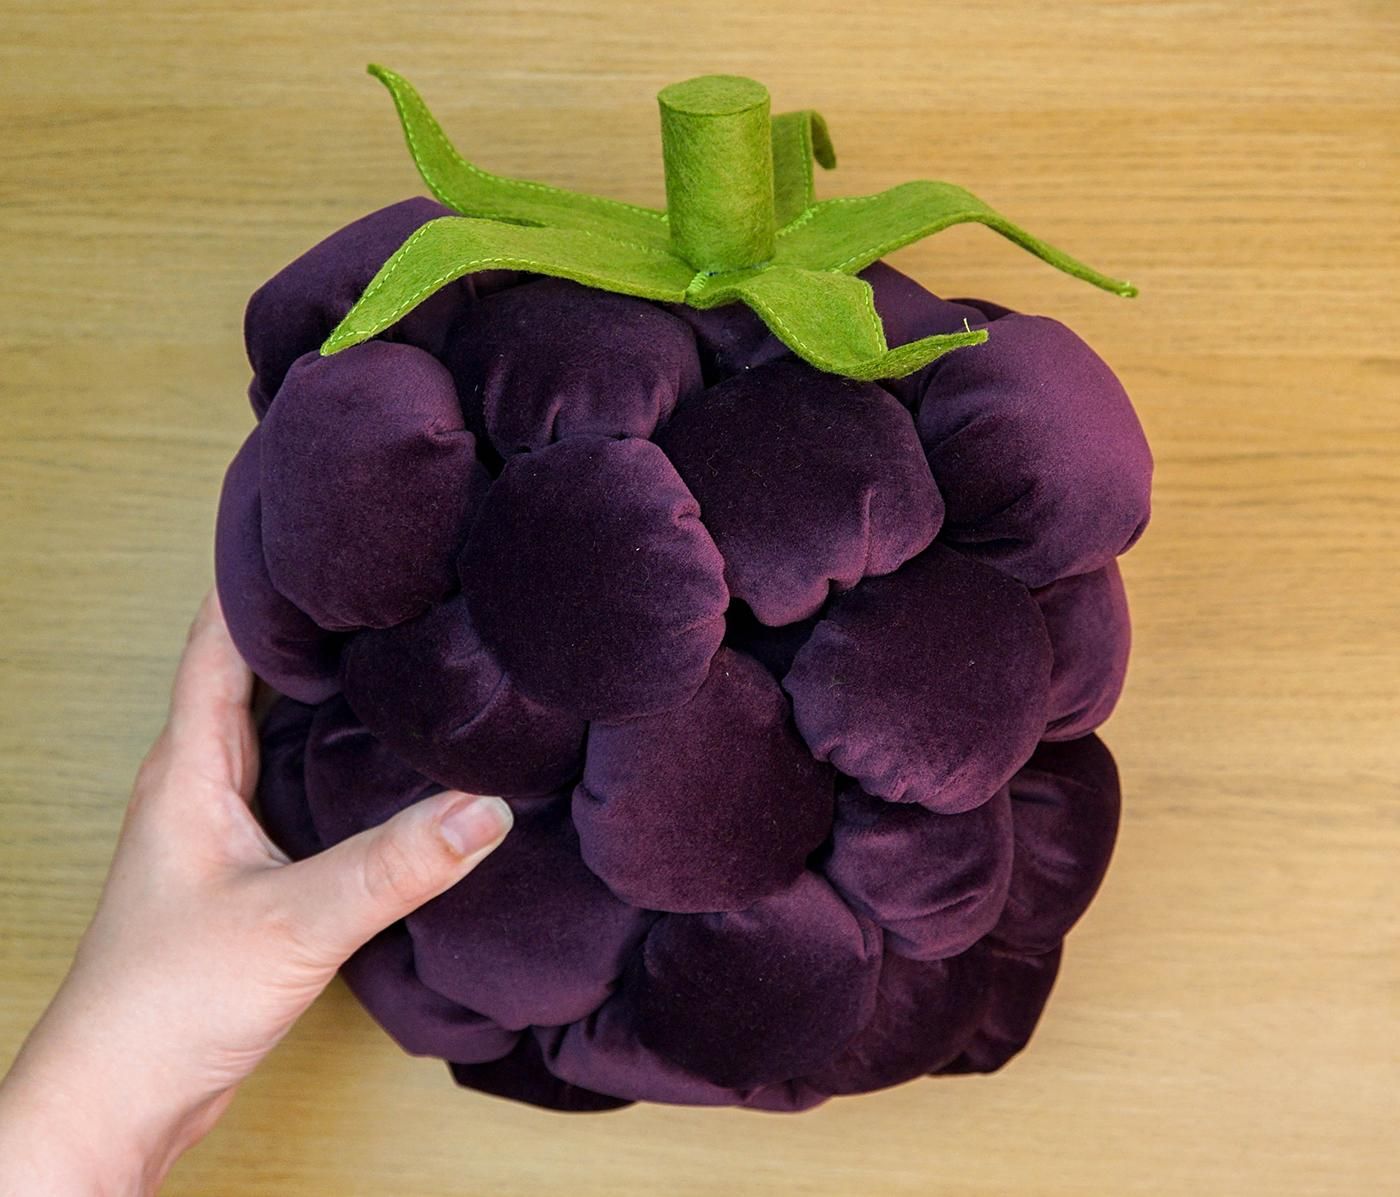
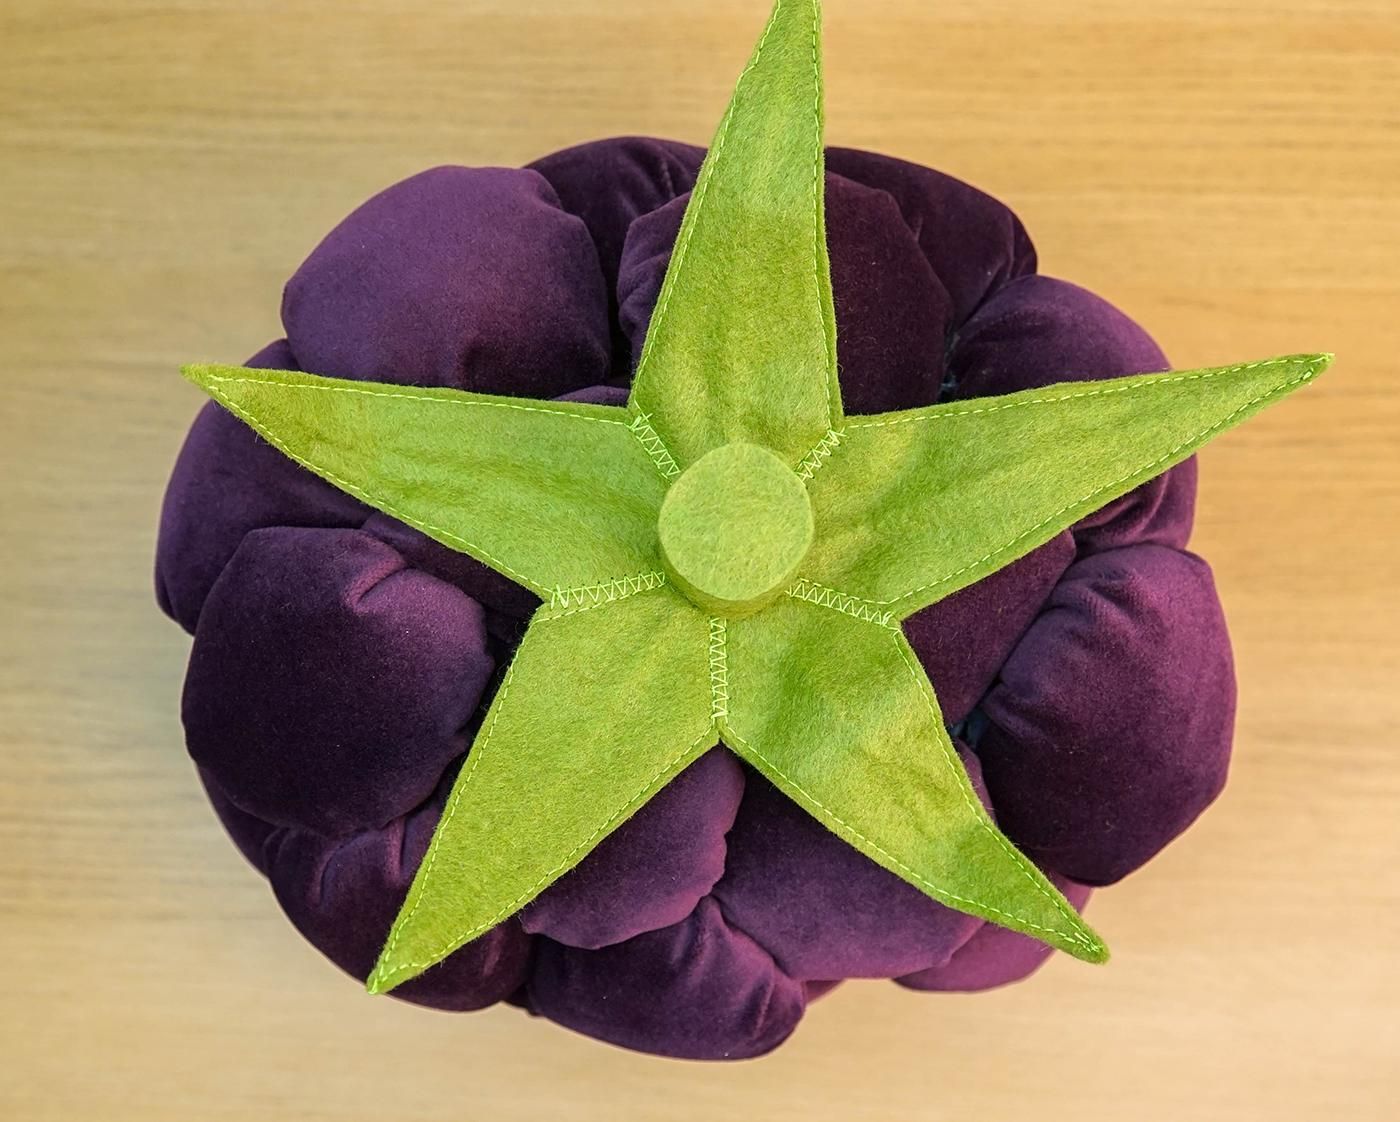
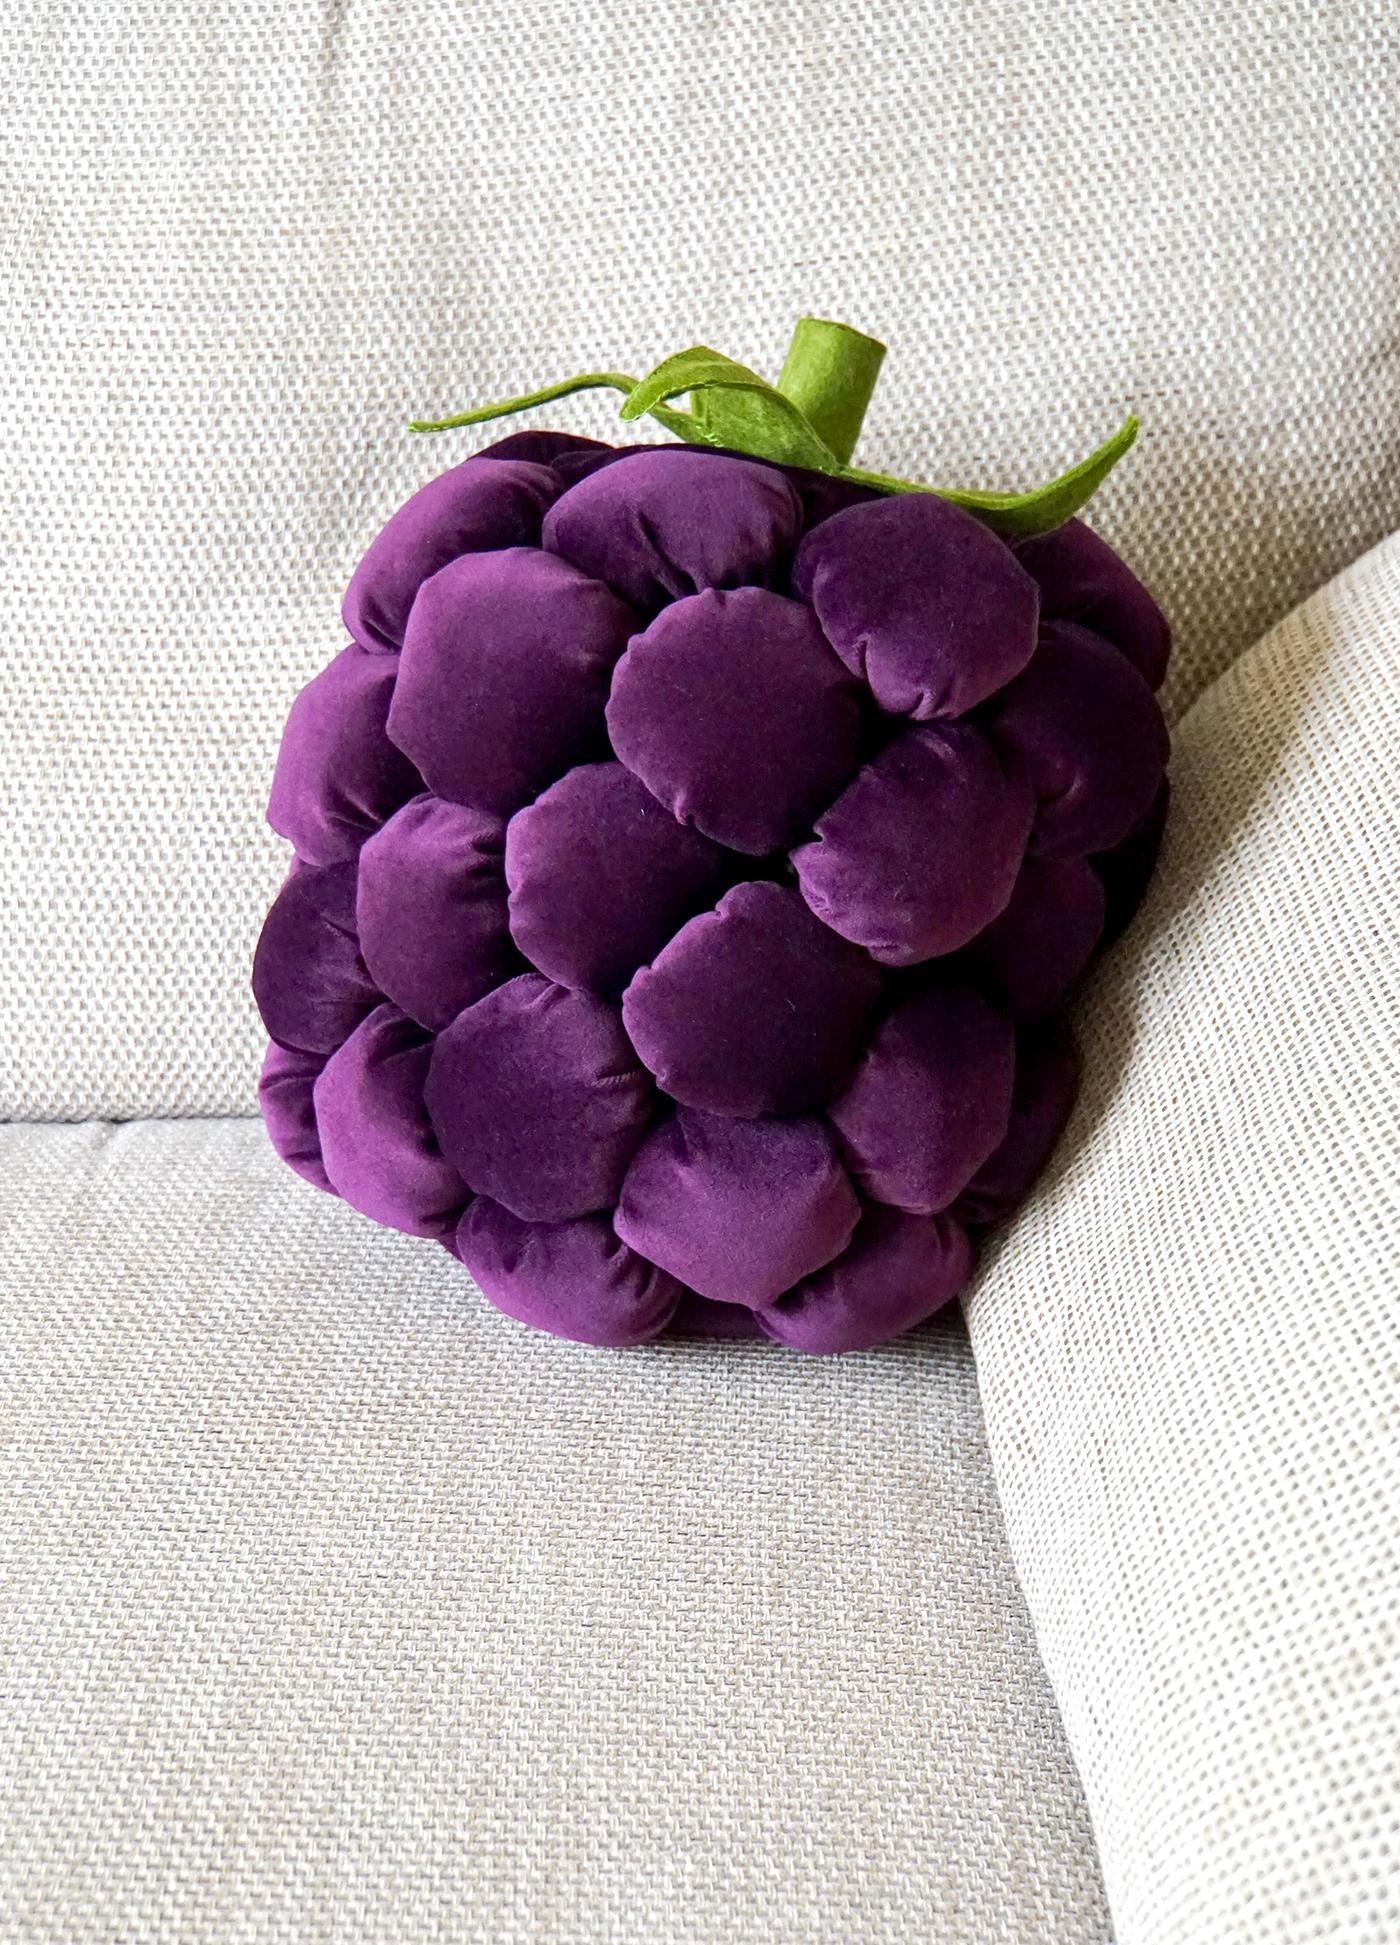
In my journey to sew an entire fruit basket of plushies, the blackberry is next on my list!
I found some gorgeous purple velvet on Ebay that was perfect for this - very soft - although I didn't realise quite how many spheres I would need to make 😄
To replicate the real-life leaves, I didn't want floppy leaves; I wanted leaves I could curve into different shapes to add the right character. So I embedded wire into them, which is not something I've done before but it actually worked very well I think.
I really hope you enjoy this project!
Please note: this is not intended to be a toy, it is just for decoration. If you did want it to be played with, I would not include the wire sections, and I would sew everything together rather than glue.
Supplies
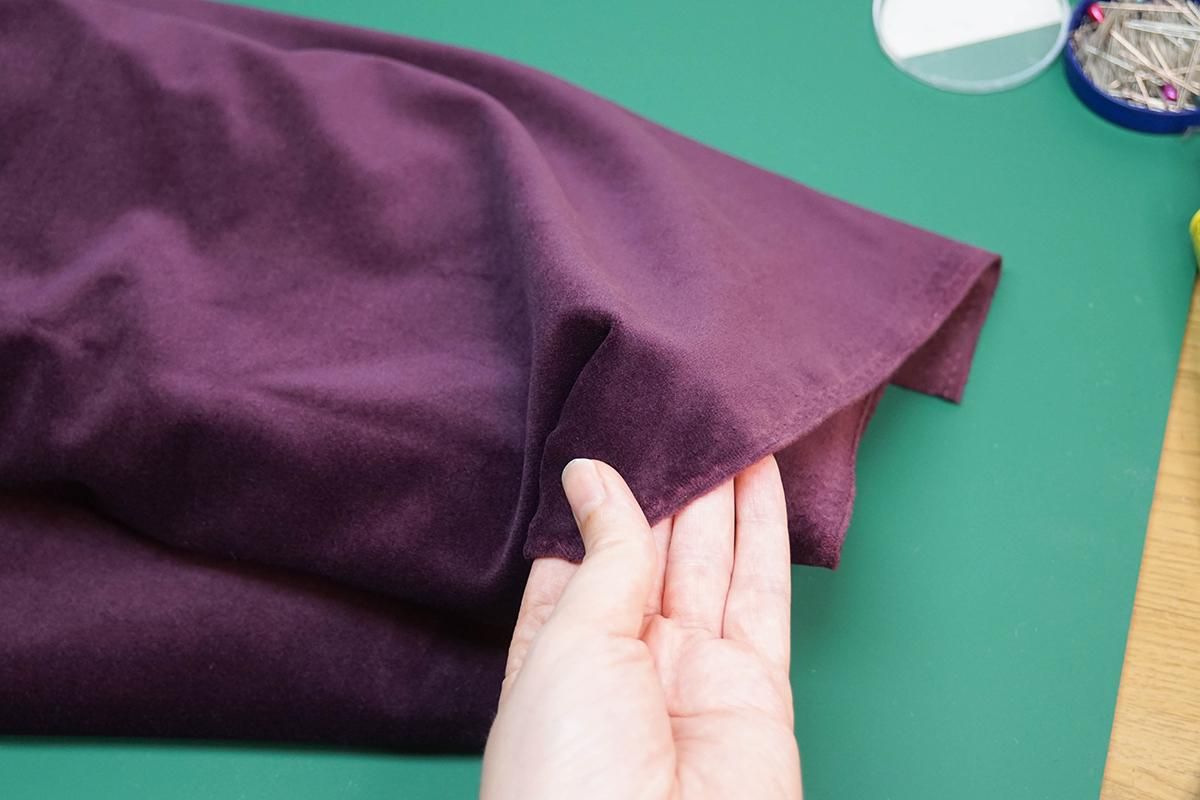
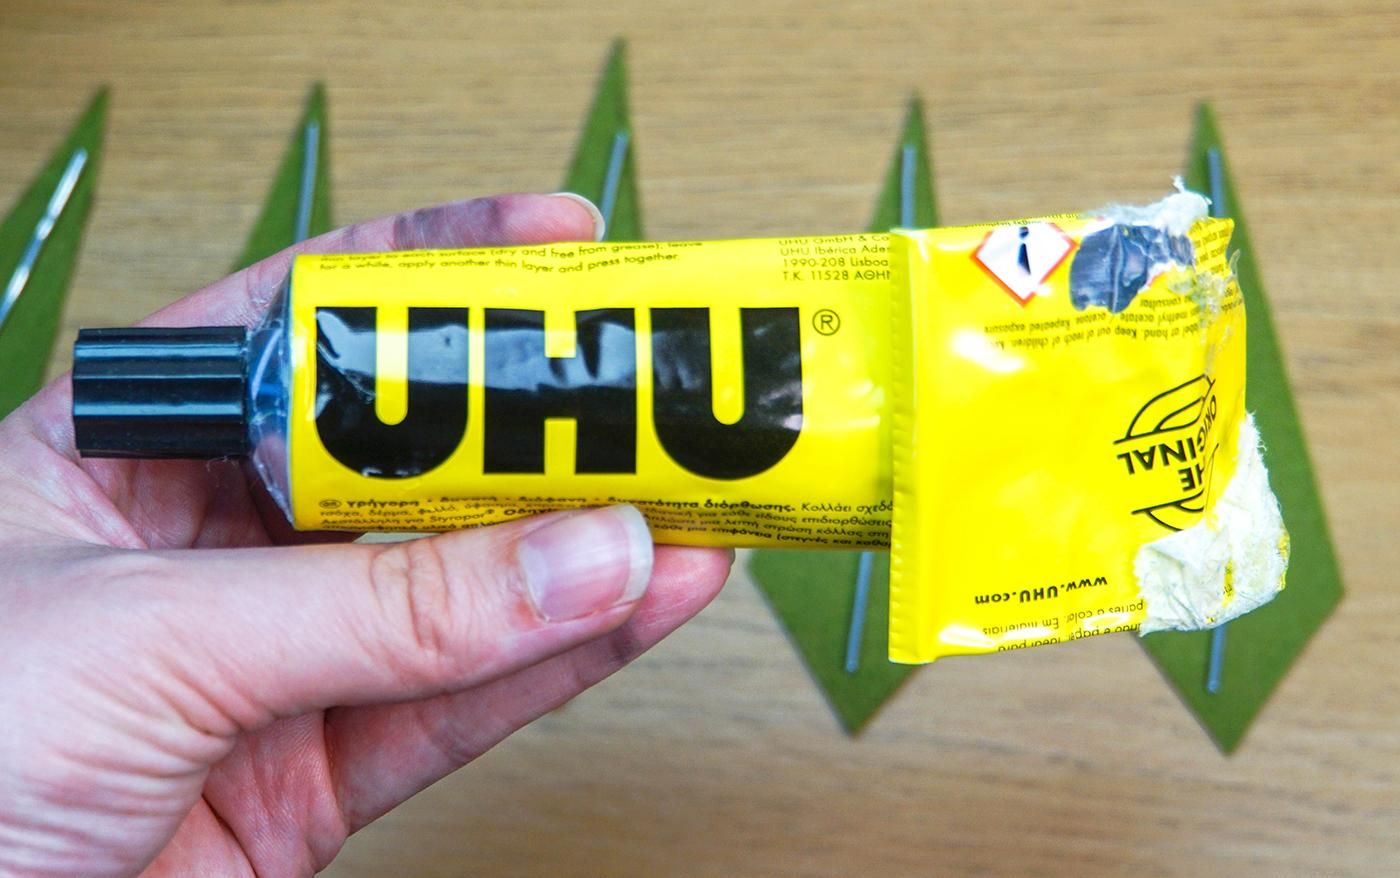
- Fabric for the berry; I used a medium-weight soft velvet which was likely meant for upholstery. You don't want anything so thin you'll be able to see the stuffing inside, and you don't want a fabric that's stiff. A soft drapey fabric is great.
- Felt for the leaves
- Sewing machine (optional) & green thread
- Hand-sewing needle & thread
- Aluminium wire
- Glue that works on fabric; I used UHU all-purpose glue
- Hot glue gun
- Stuffing
- Paper
- Printer
- Wire cutters
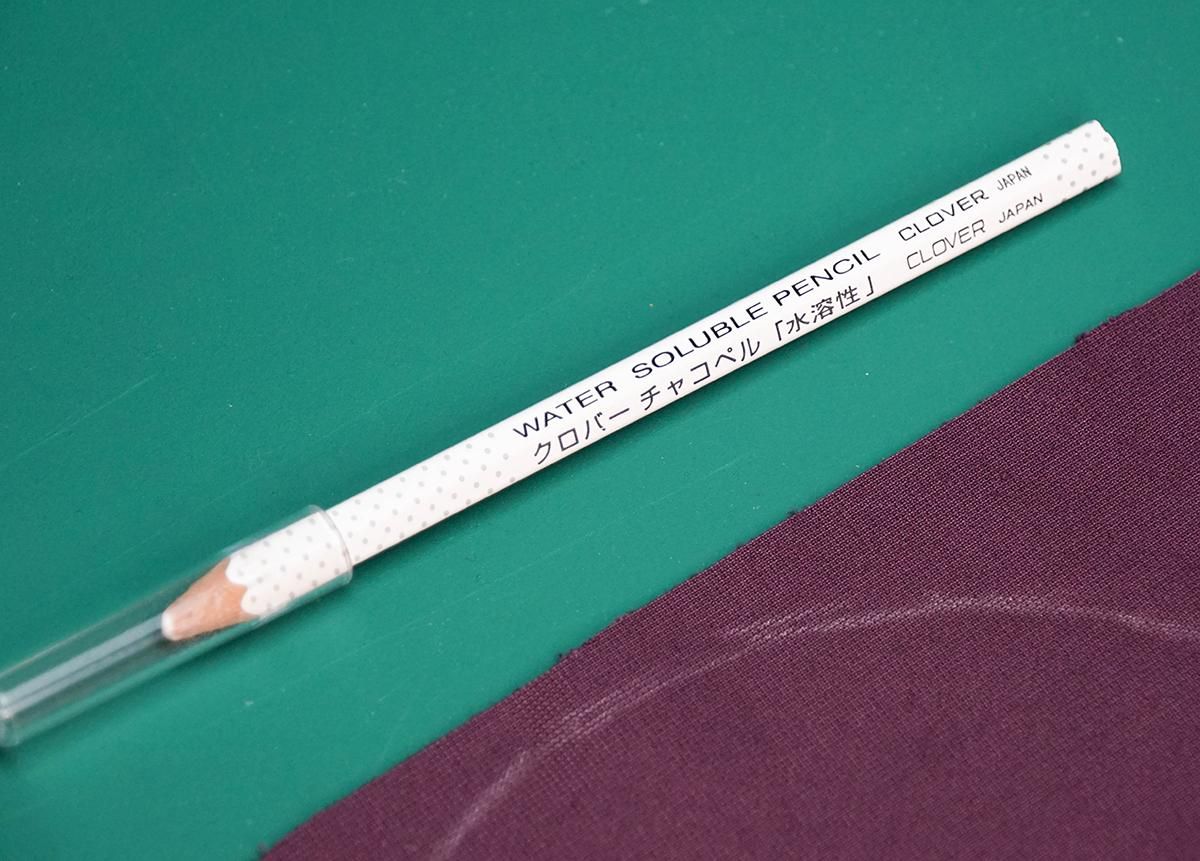
- Disappearing or 'magic' fabric pen and/or water soluble pencil
- Compass (or other way of drawing a circle)
- Pencil/pen
- Sewing pins
- Scissors
Template
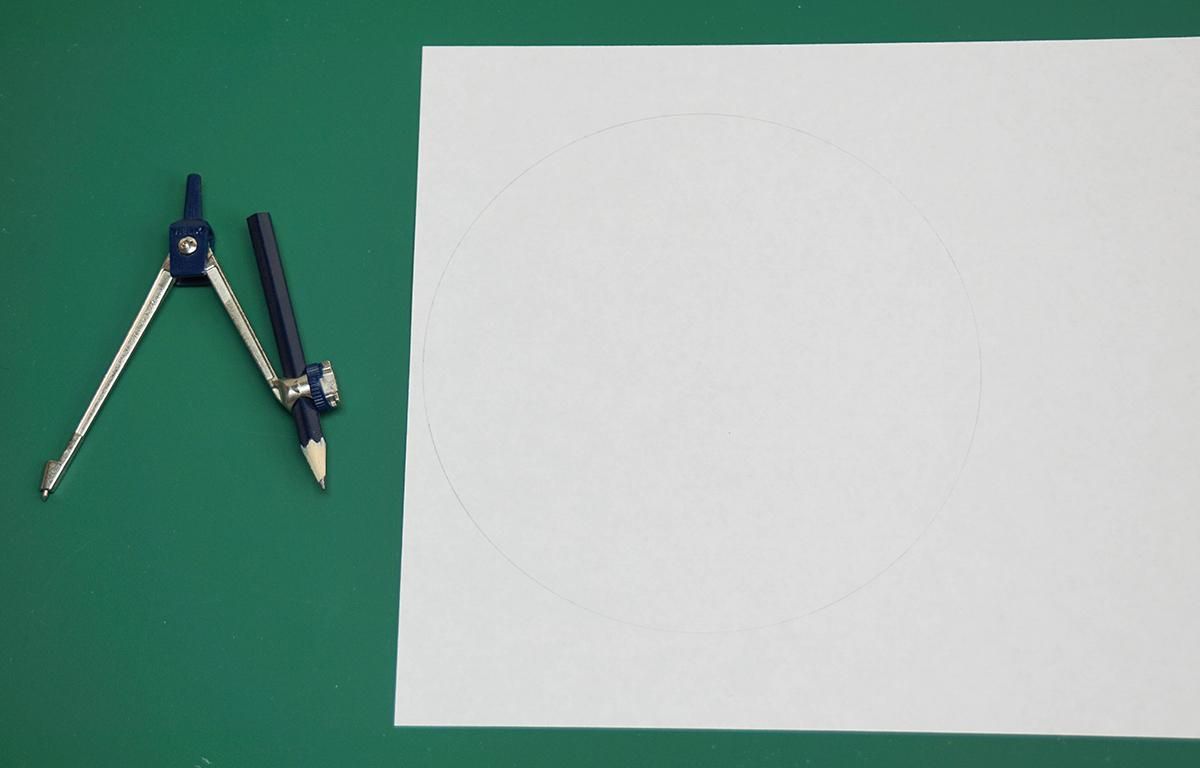
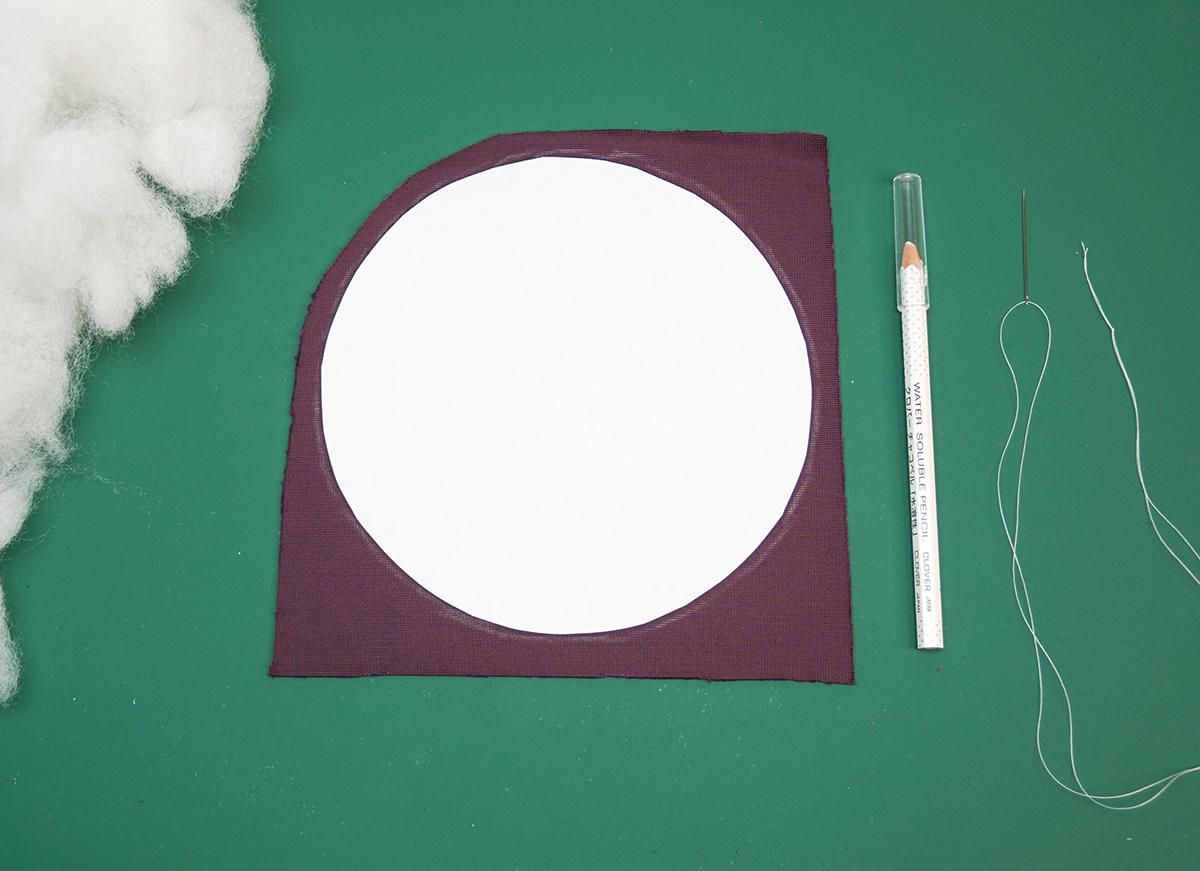
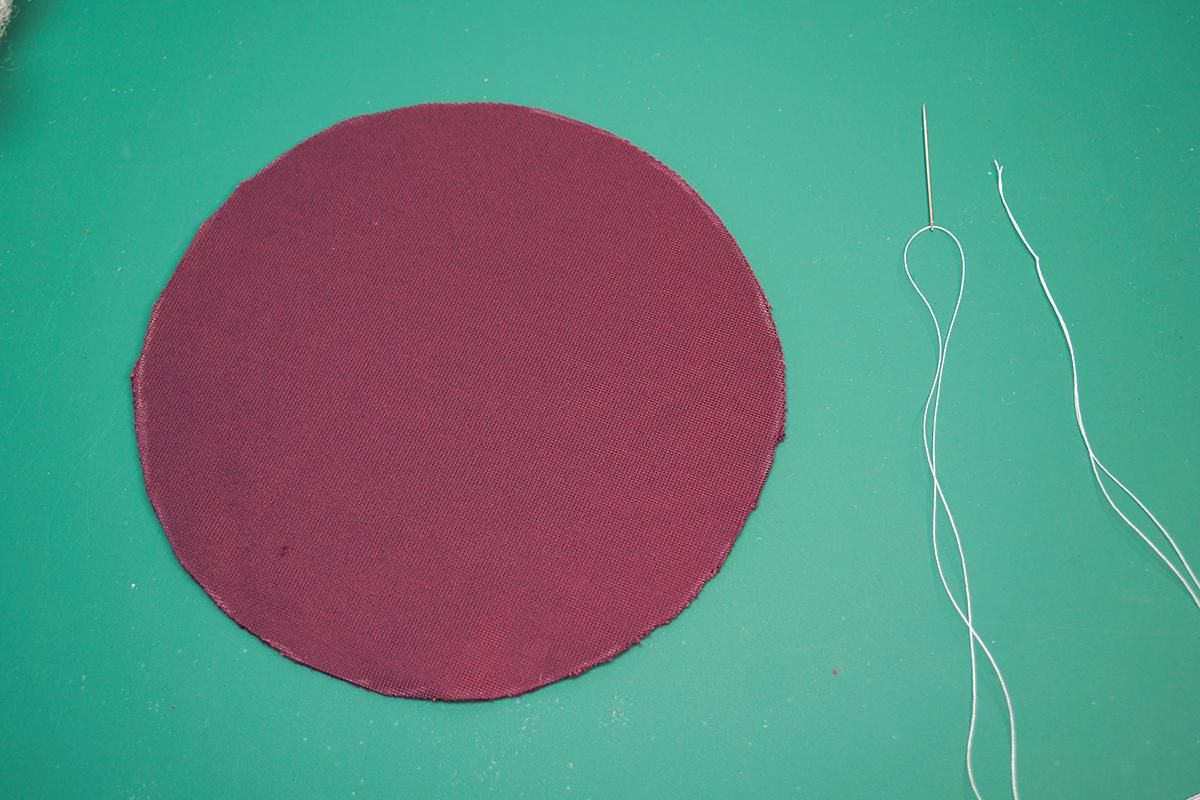
For the many spheres that need to be made, first draw a circle on paper, using a compass. This circle should be 16 cm in diameter.
Cut it out and draw around it onto the back of your berry fabric using either a 'disappearing' fabric pen or water soluble pencil.
Cut the circle out.
Creating a Sphere
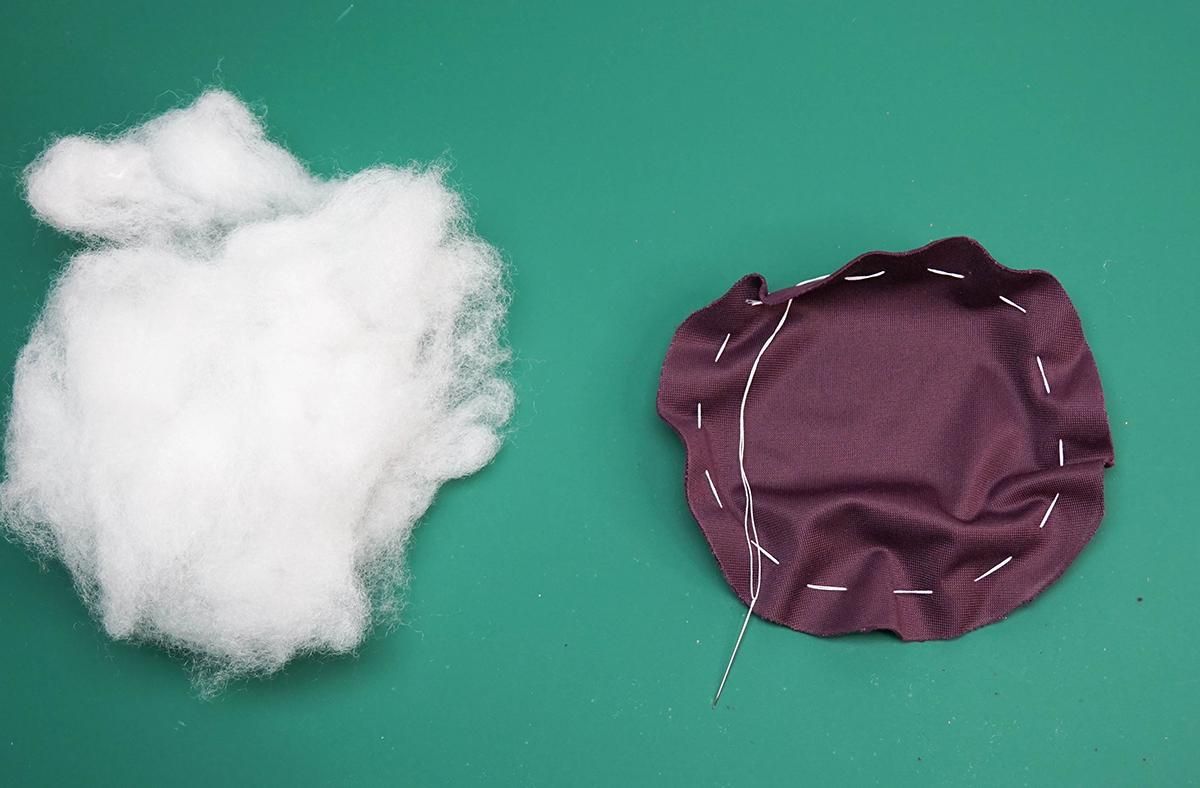
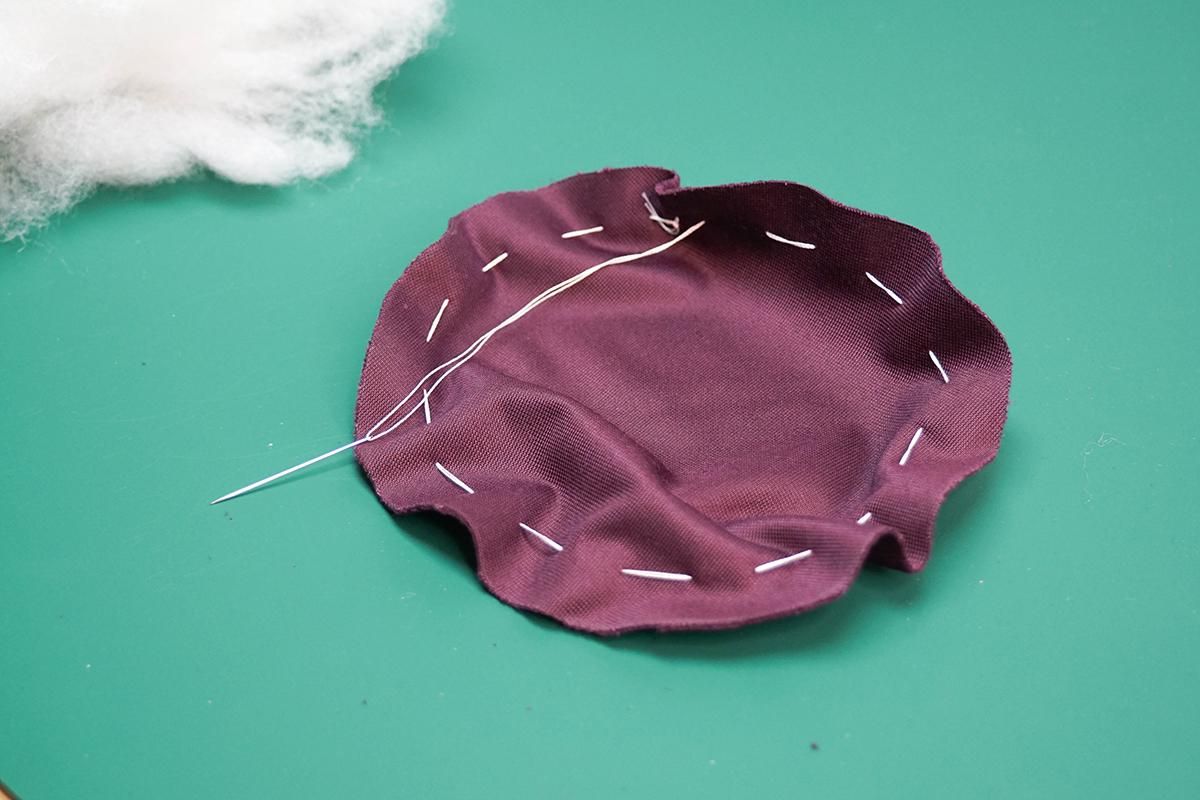
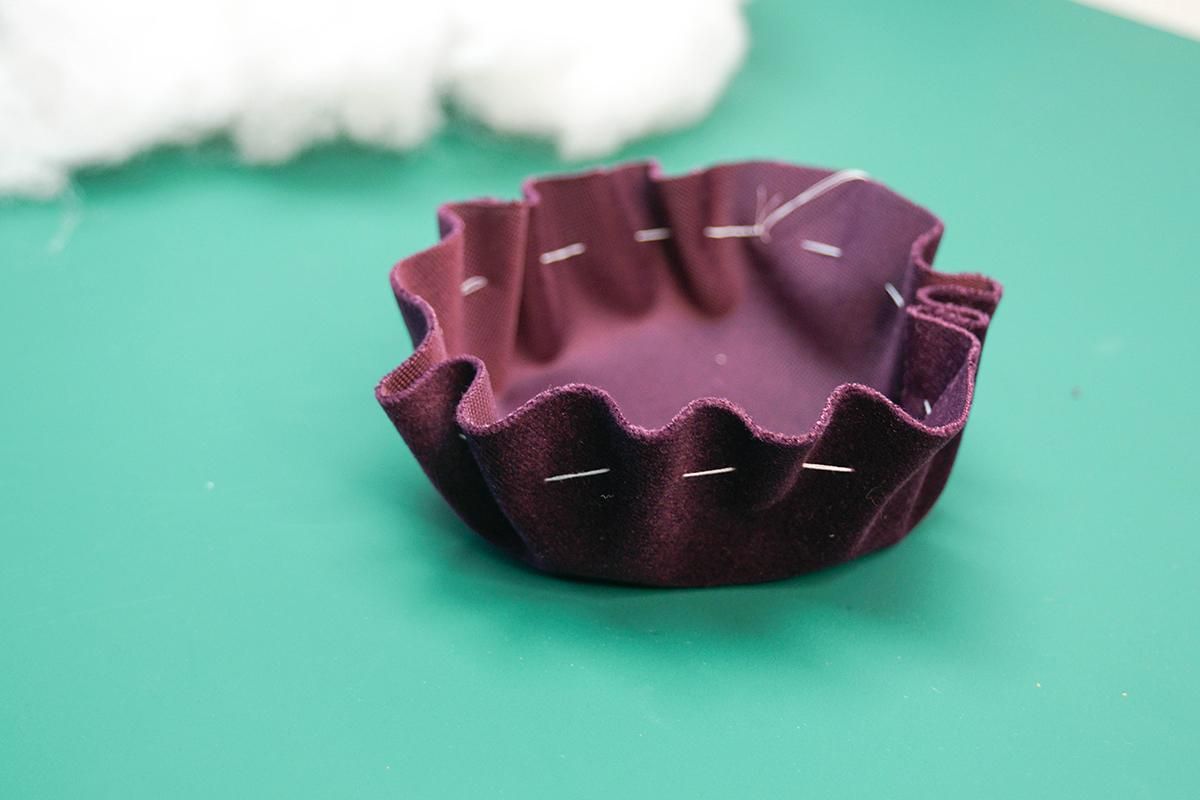
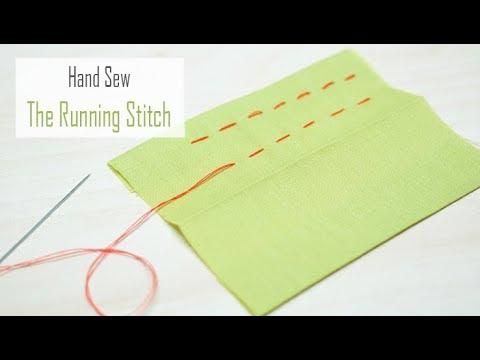
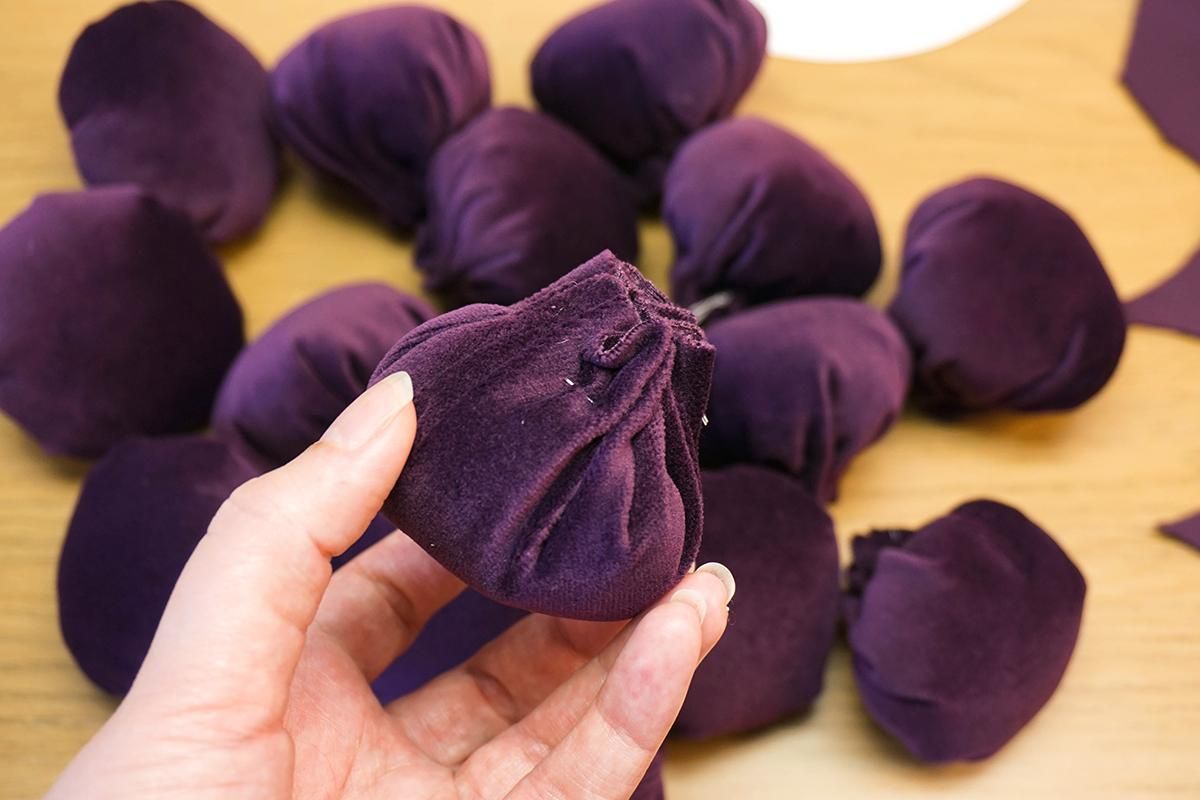
Use your needle and thread (I used doubled-up white polyester thread, although a matching colour would be better) to sew running stitch around the outside edge, a cm or so away from the edge.
Use quite long stitches and only backstitch to secure the thread at the beginning. Remove the needle.
Closing the Sphere
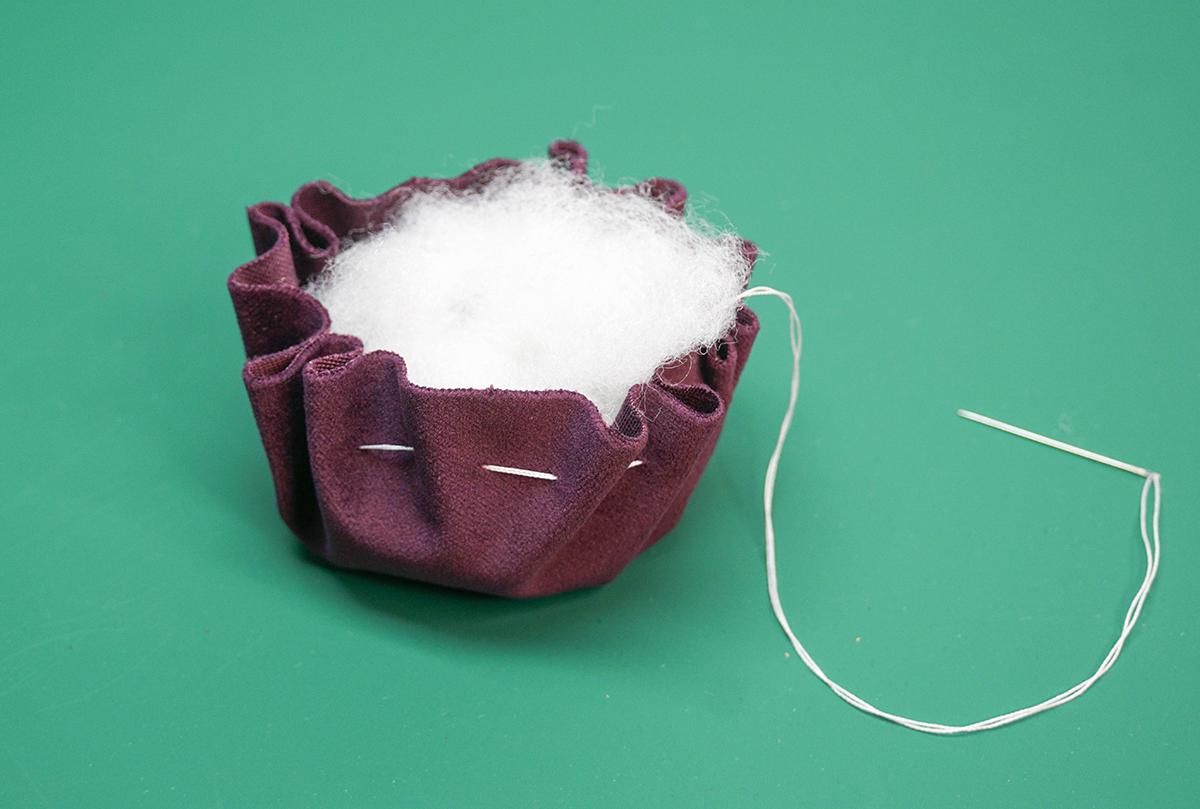
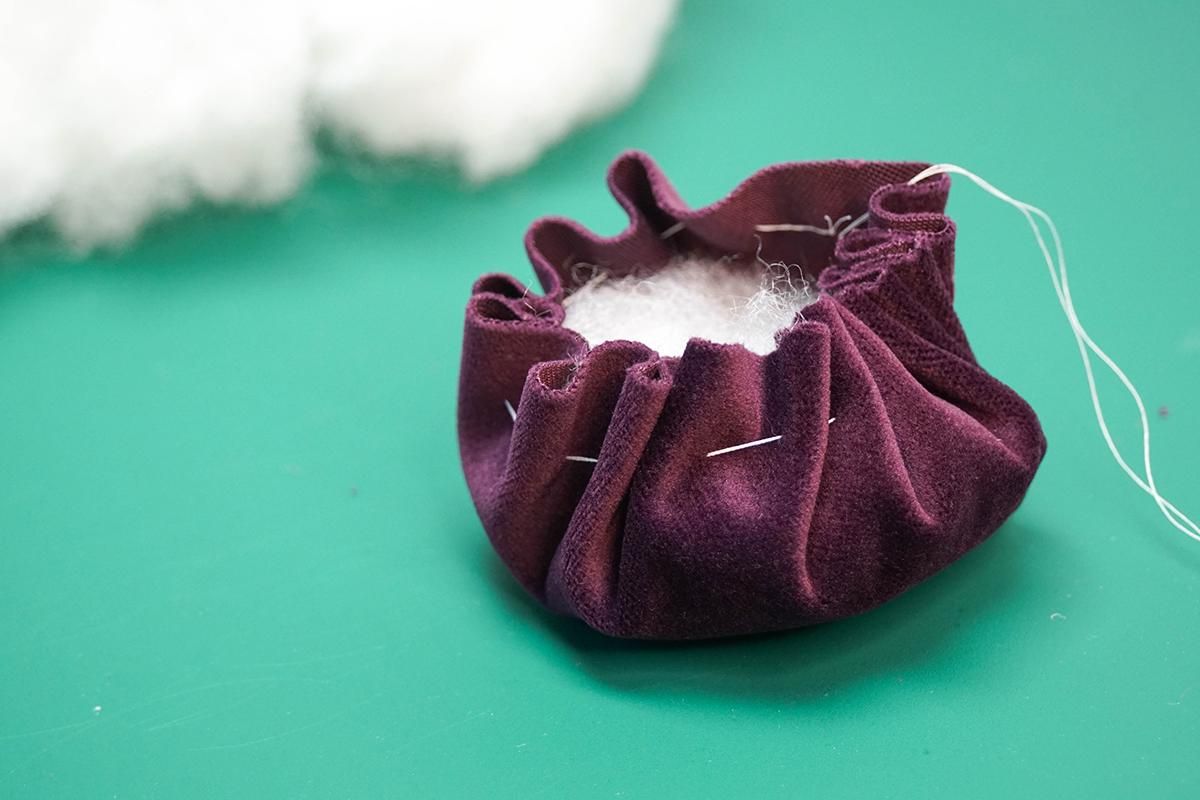
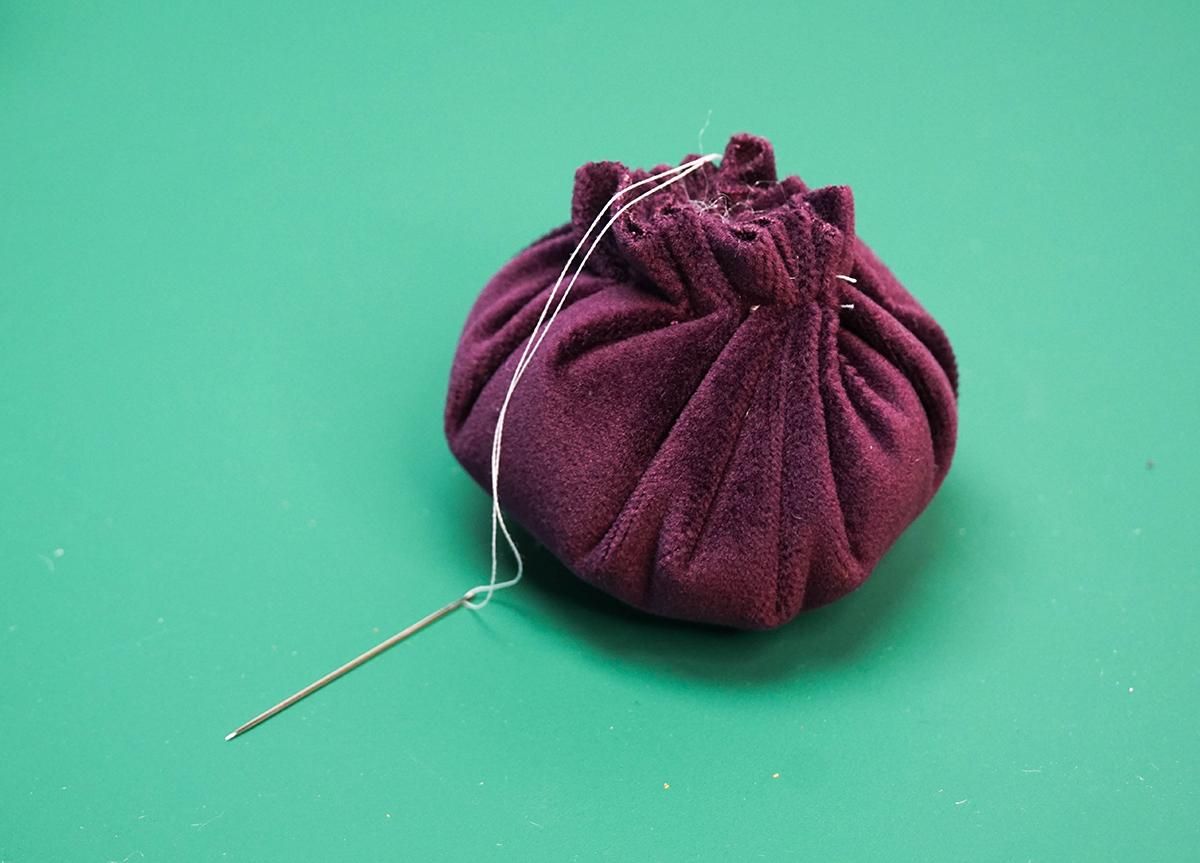
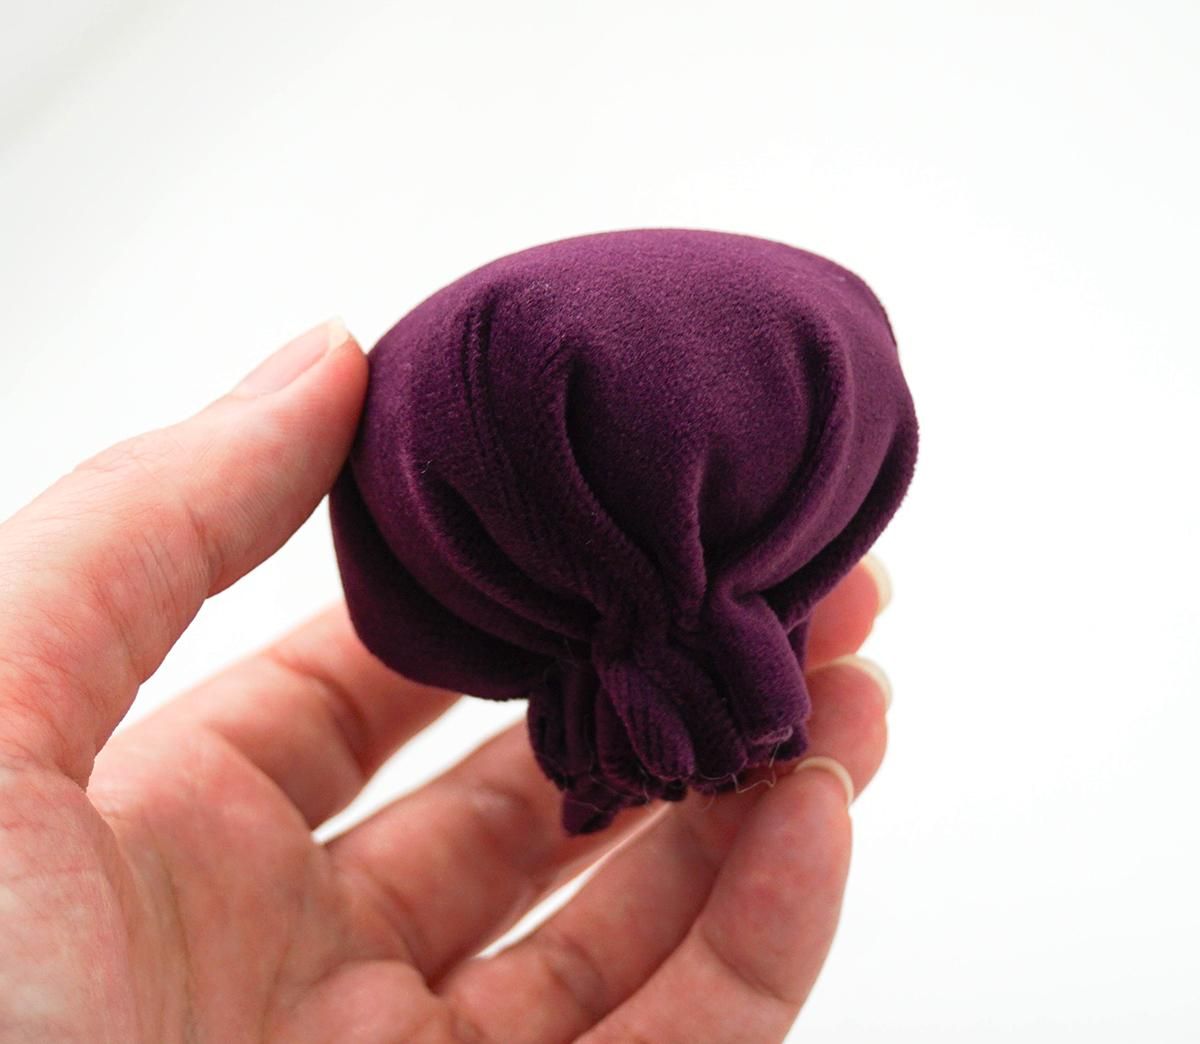
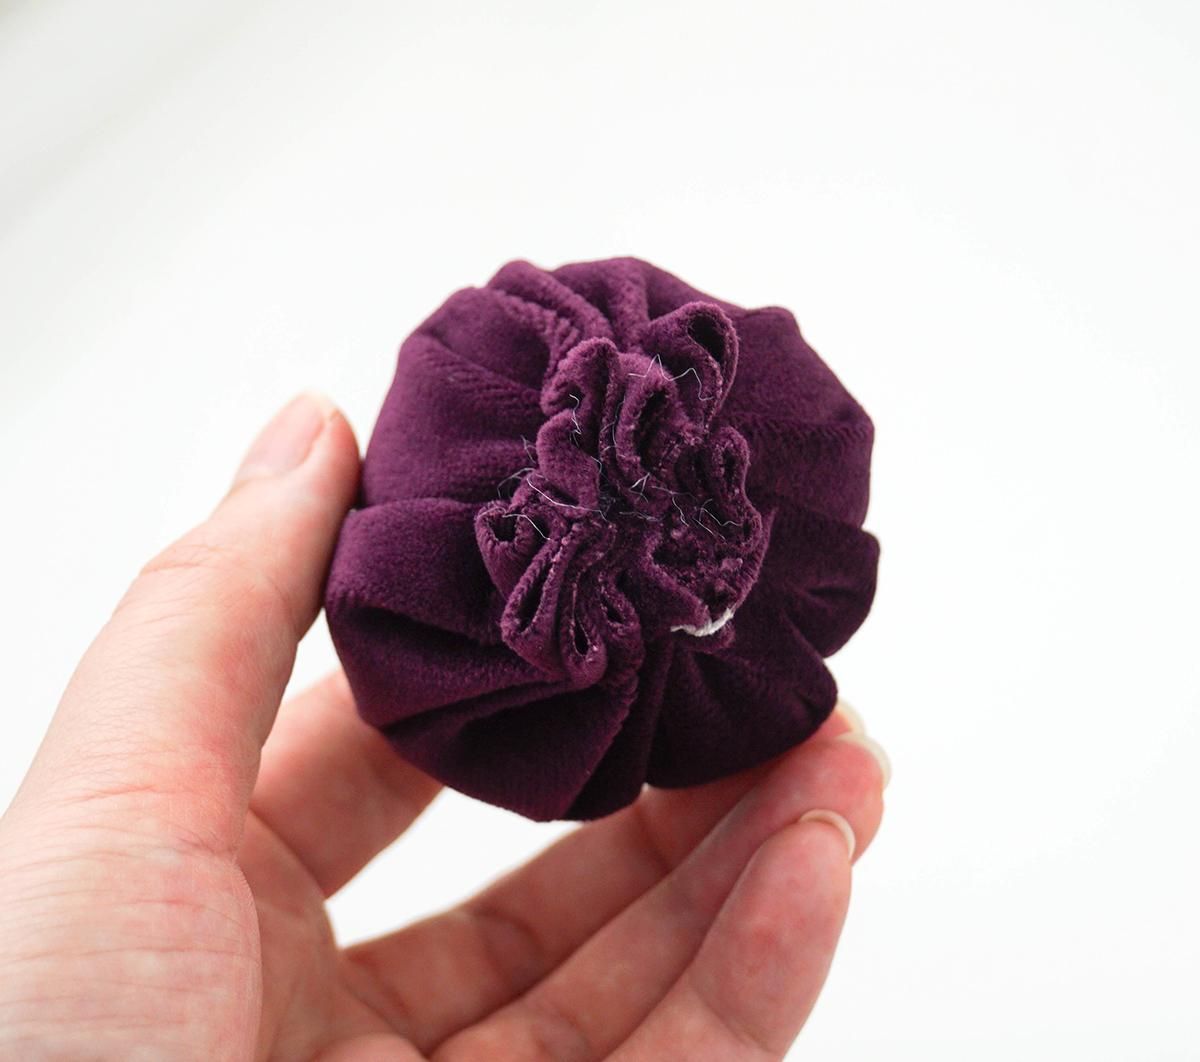
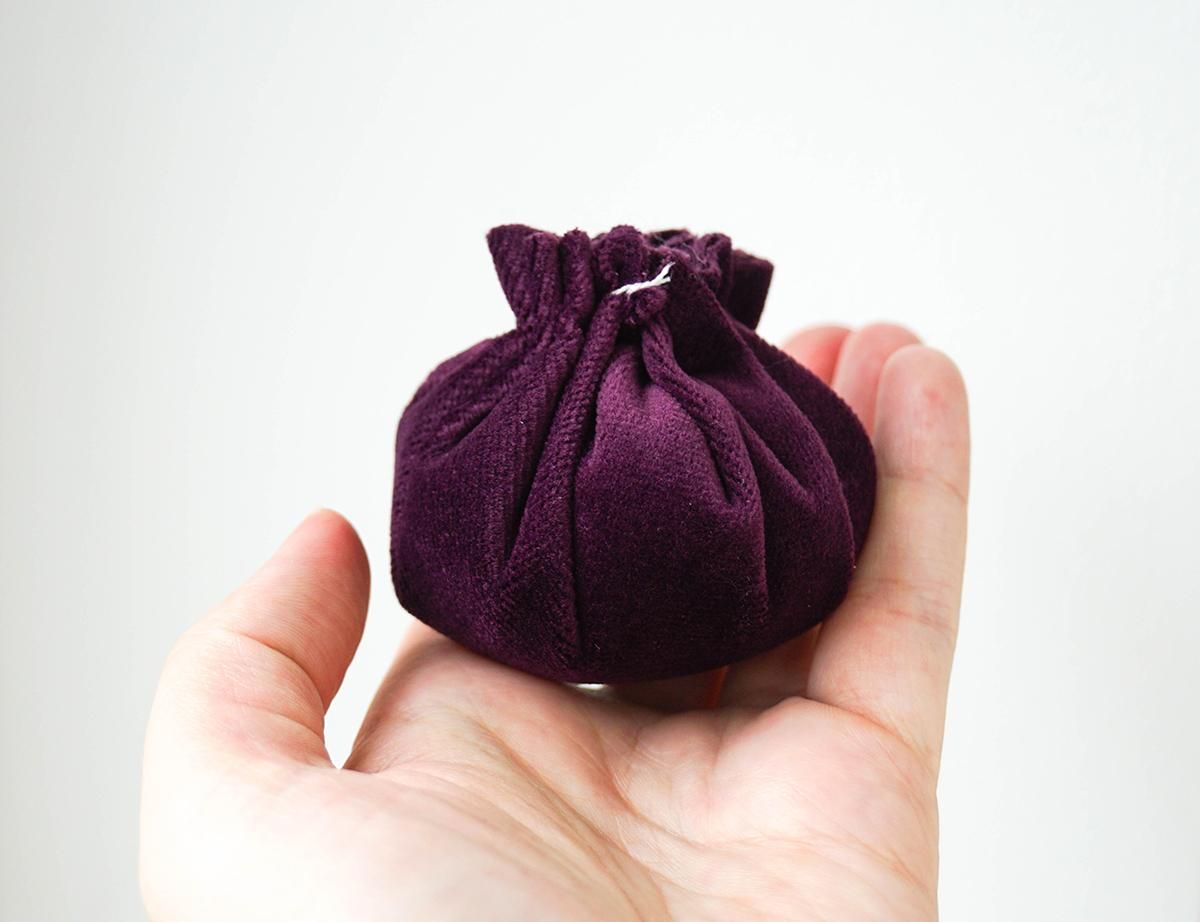
Place a ball of stuffing inside the circle and pull the thread end to close the fabric into a sphere shape.
Pull tightly and then use your needle to sew the thread end back-and-forth through where the fabric comes together at the top, to secure the fabric in place.
Tie off the thread so it won't come undone, and cut off the excess.
Make the Inner Shape, Then More Spheres!
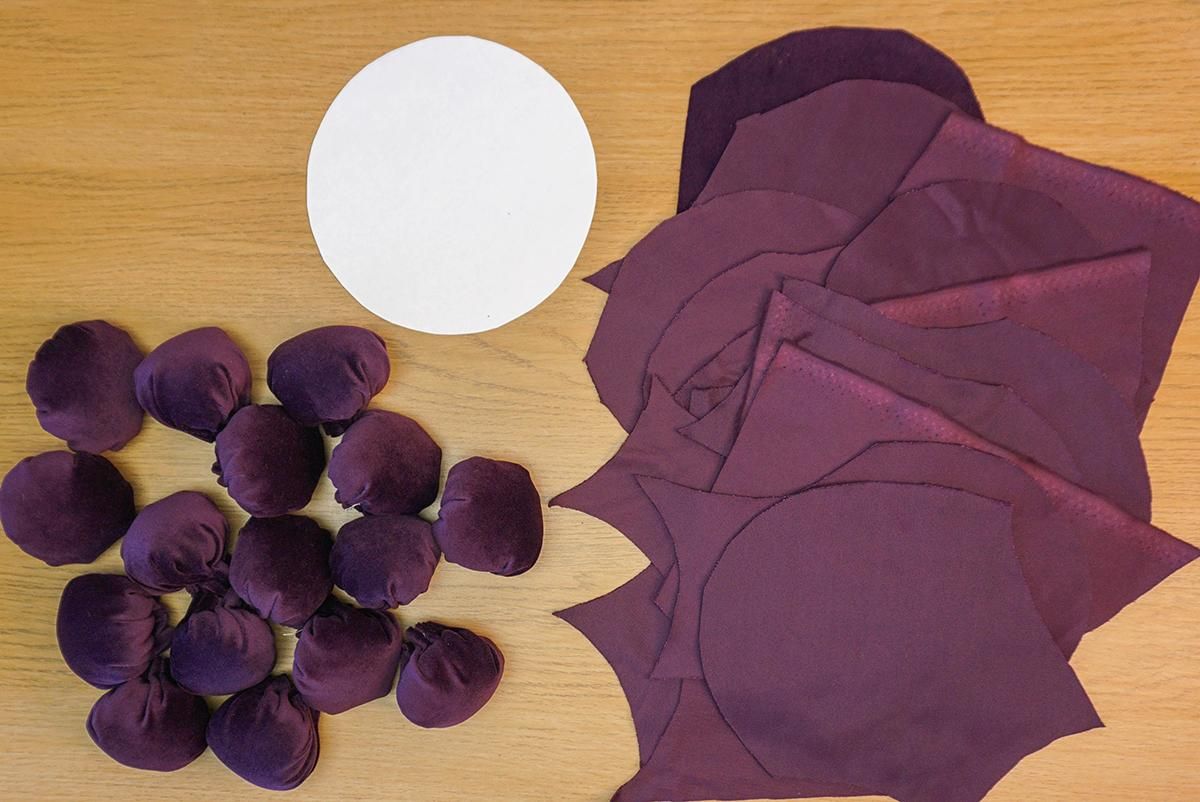
Make an inner shape for the berry approx. 20 x 20 cm: Cut out 2 squares of your berry fabric 22 x 22 cm in size, pin them right-sides-together, and sew (with a straight stitch) around most of the edge. You'll need to leave a gap of about 5 cm on one edge.
Turn the shape right-sides-out through the gap, insert stuffing until it's quite firm, then sew the gap closed.
Then go back to making the spheres until you have enough to nearly cover the inner shape completely; I made 42 spheres.
Attach the Spheres
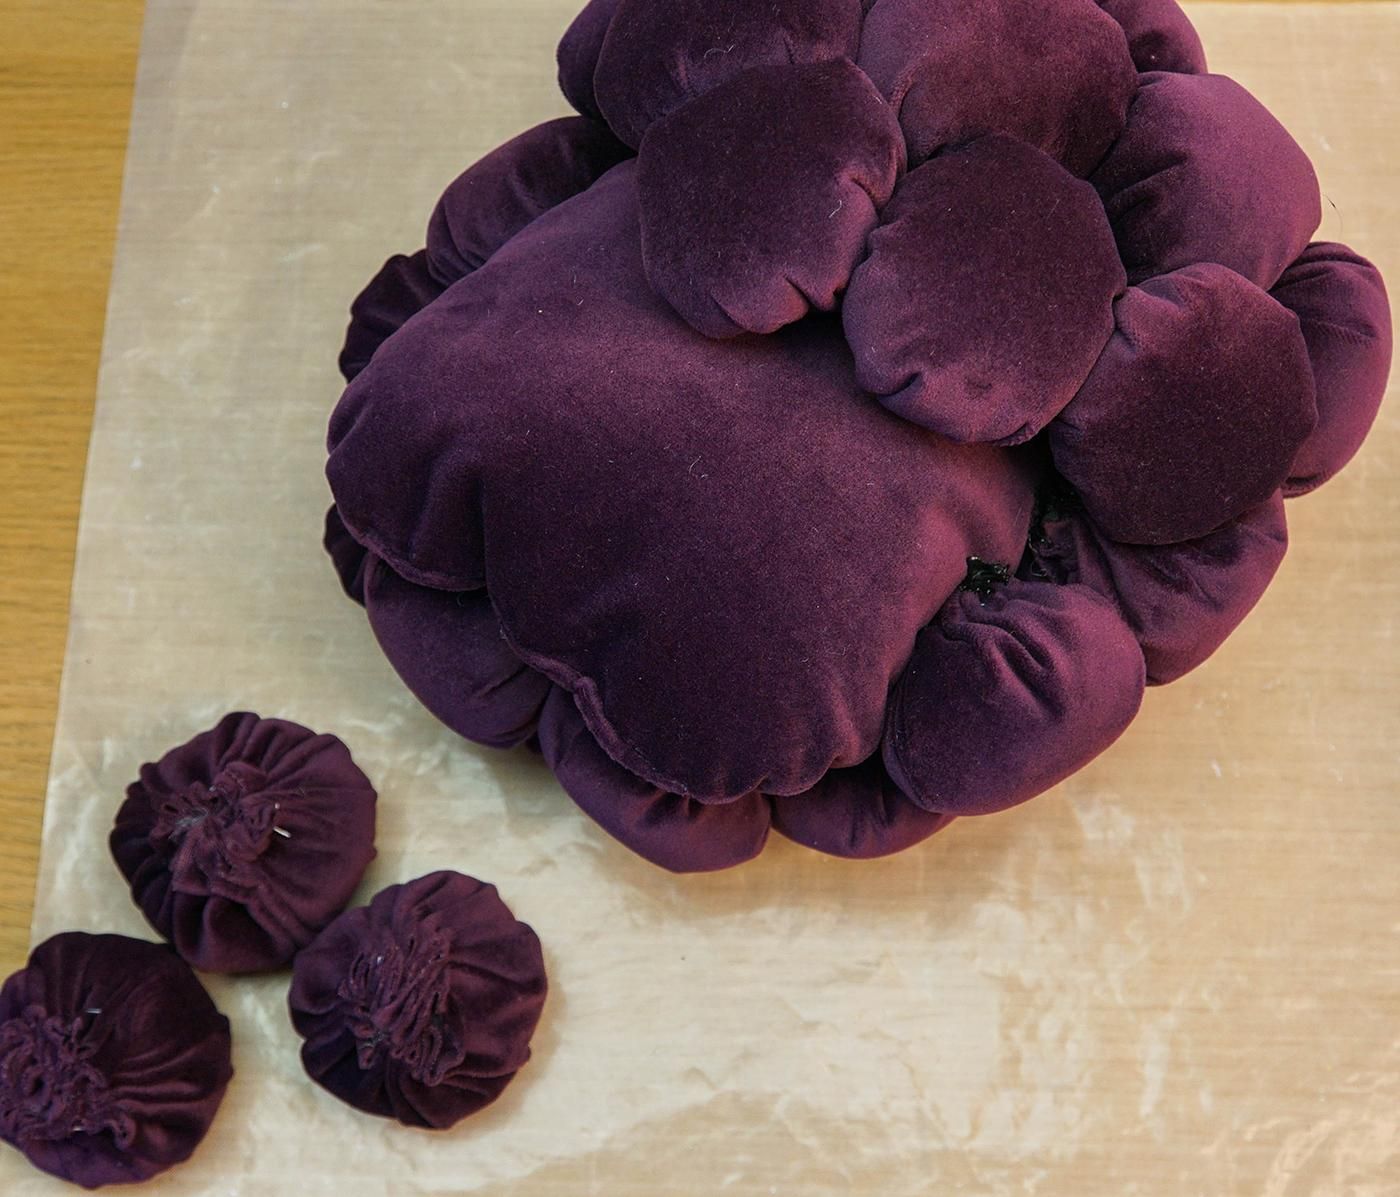
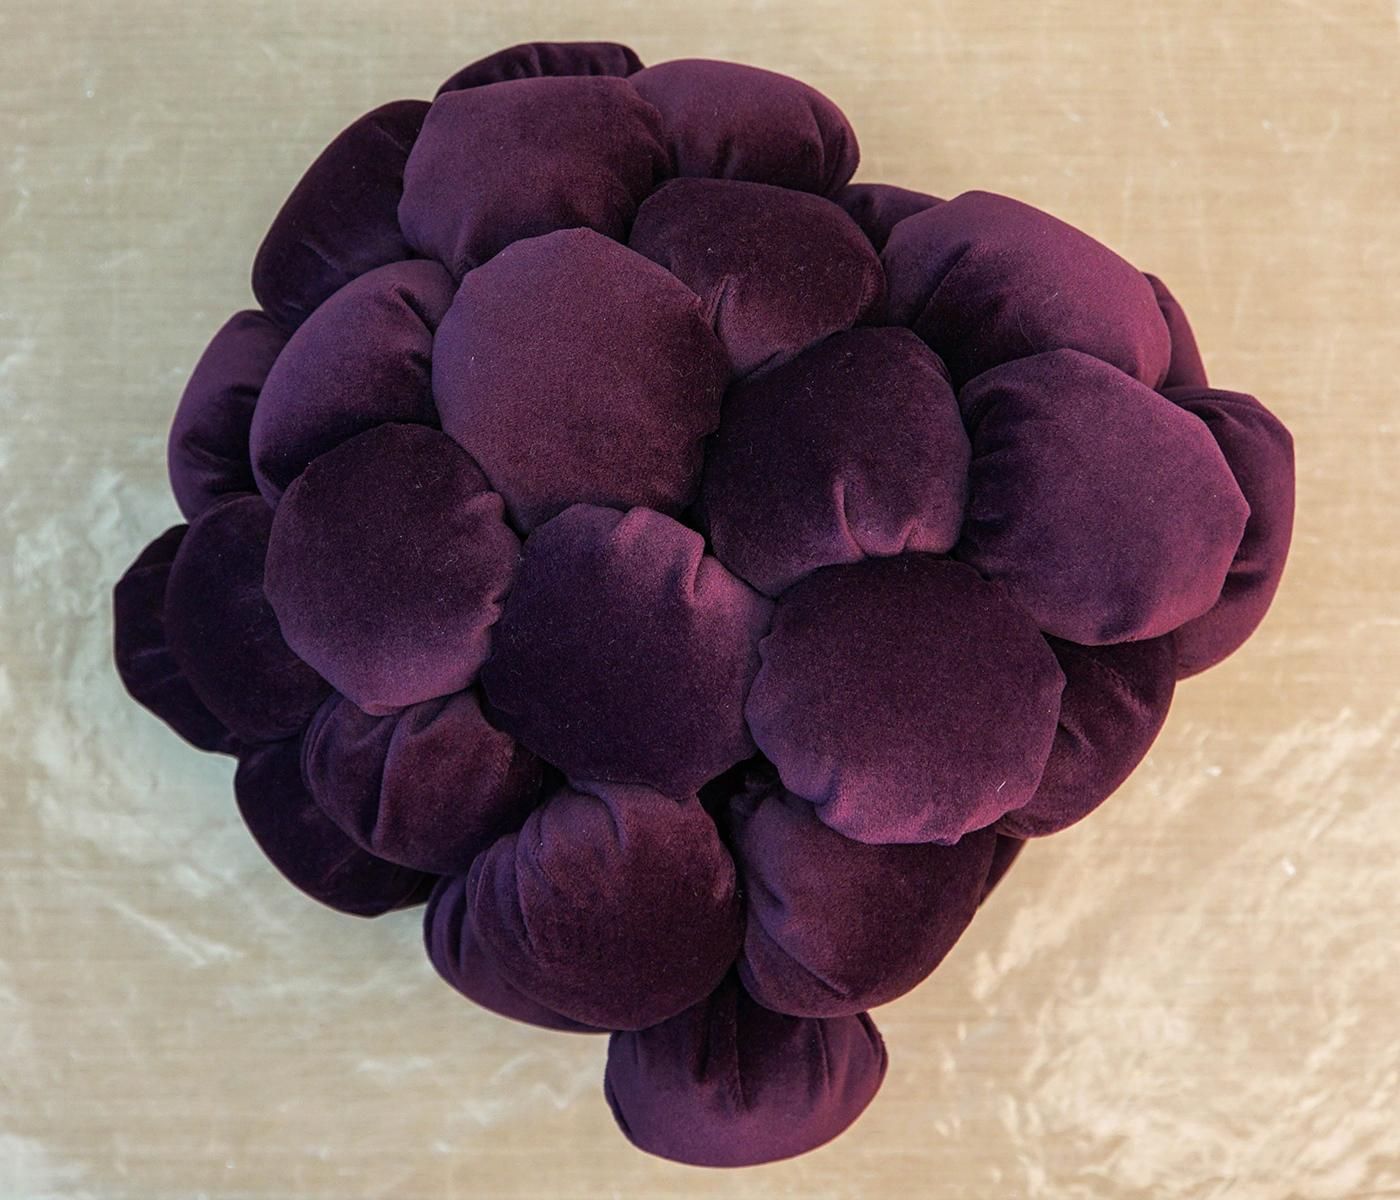
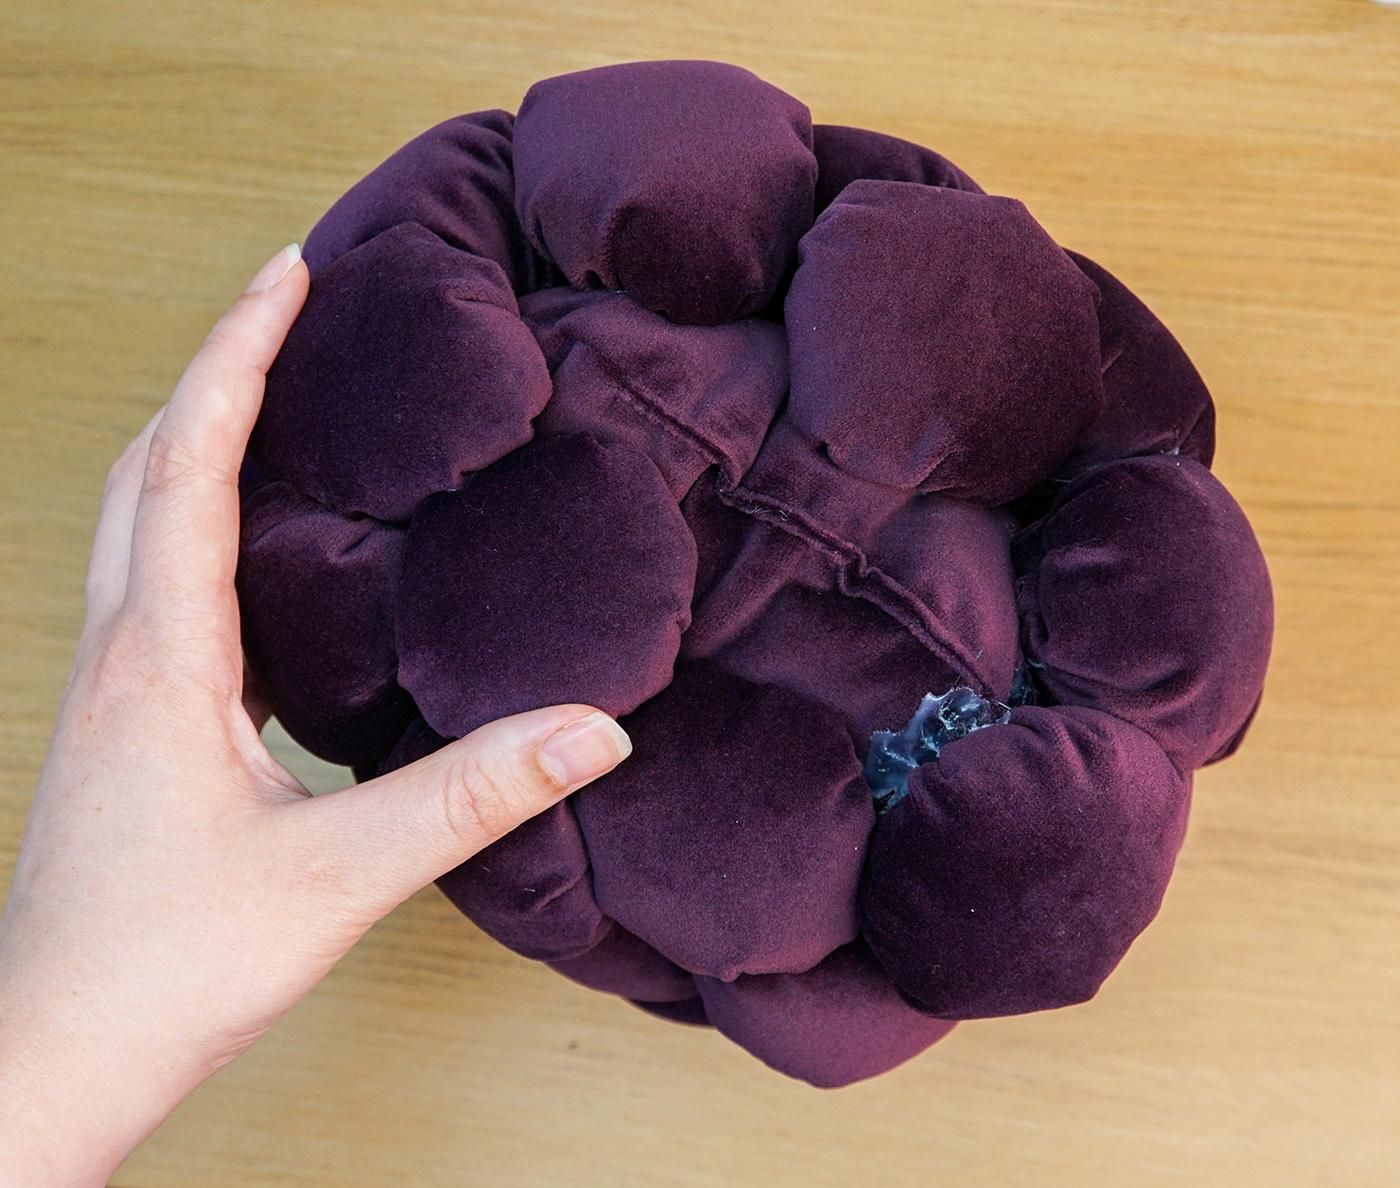
I used a hot glue gun to then attach the spheres all over the inner shape.
Try and place them close together to minimise gaps. I left a bit of a gap at the top where I'll be adding the stalk.
Please be careful with the hot glue and try not to stick your fingers in it (it hurts, as I found out!). And do your best to not drop glue on any visible fabric...I find it useful to have a scrap piece of card ready to catch any drips.
Flatten the Top
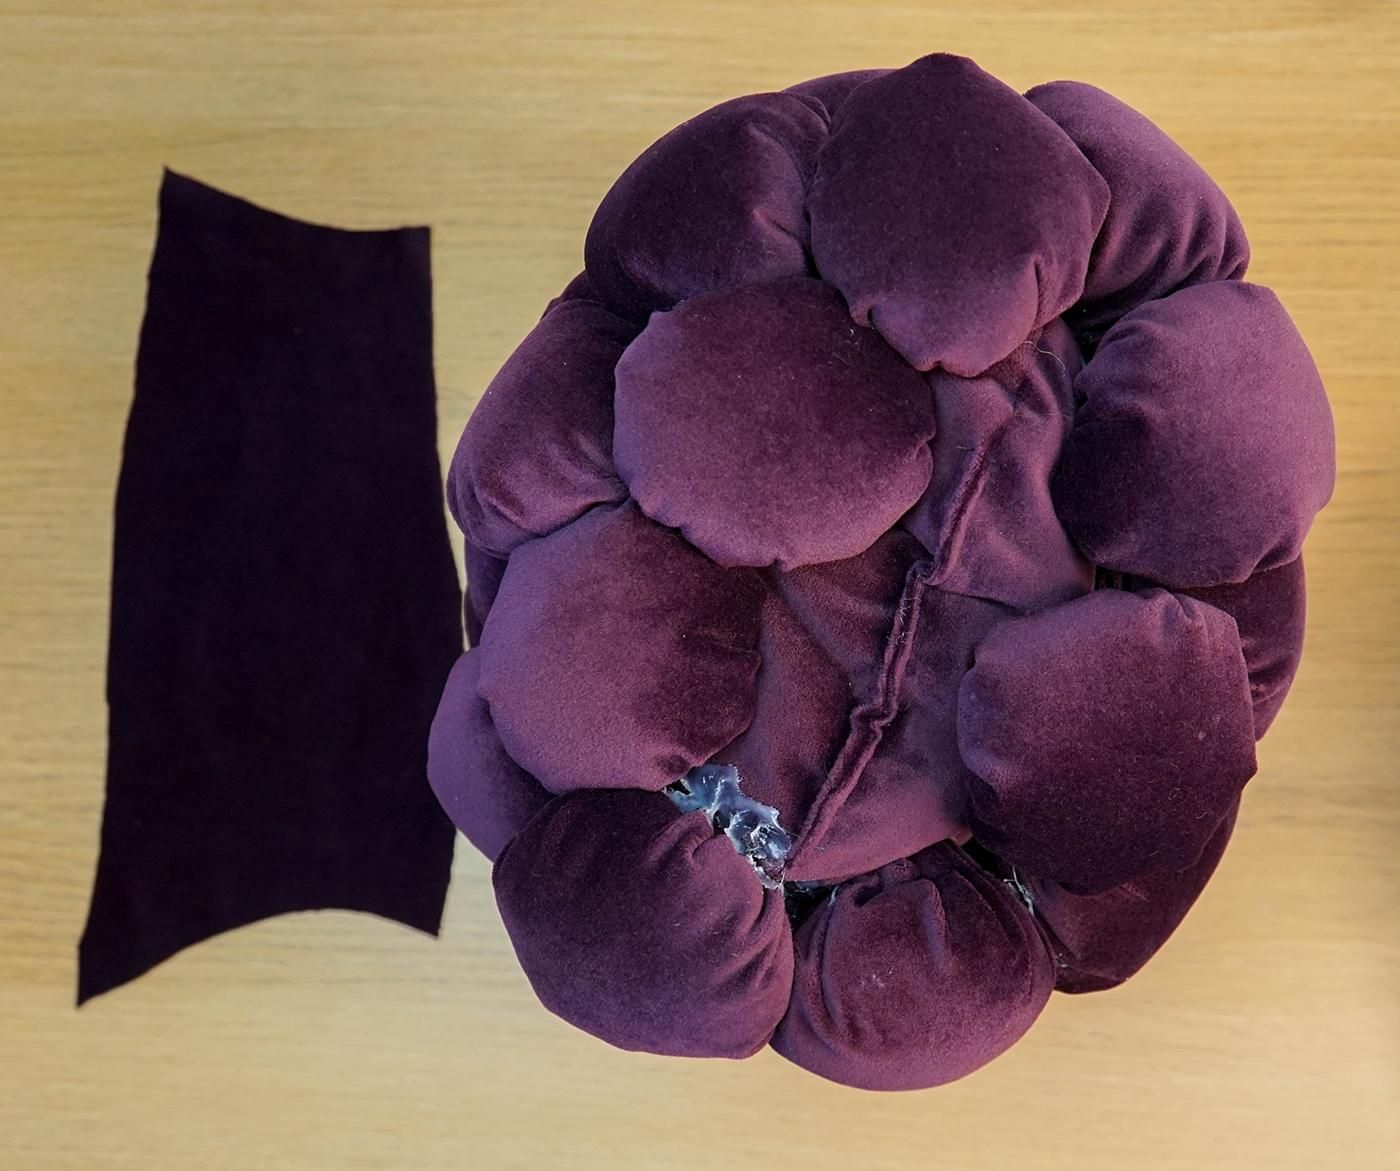
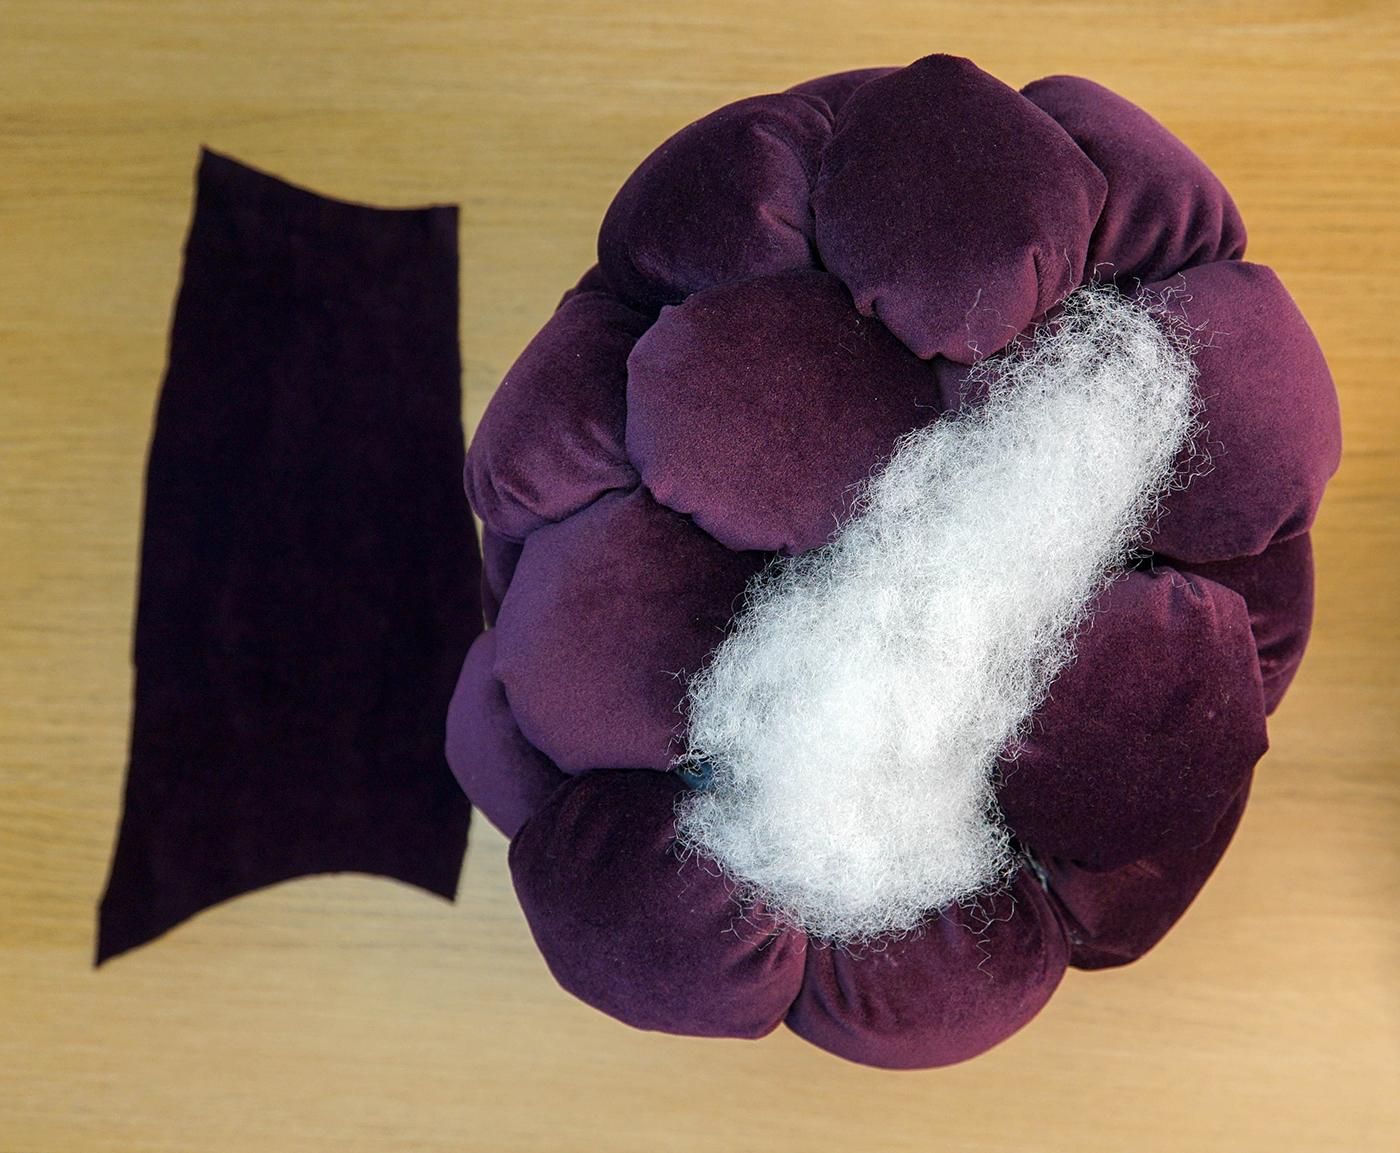
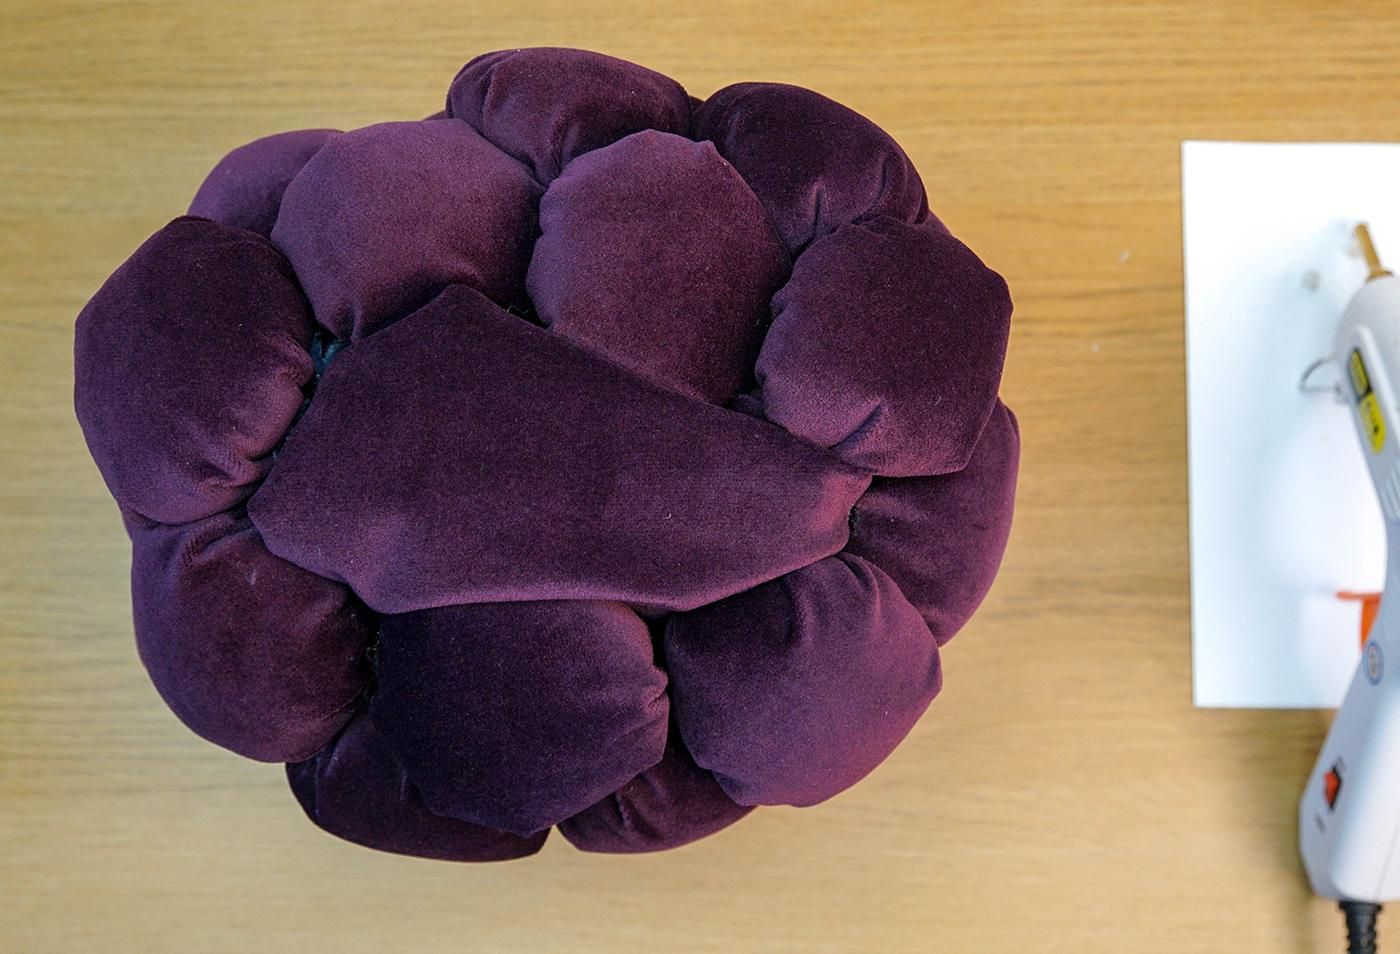
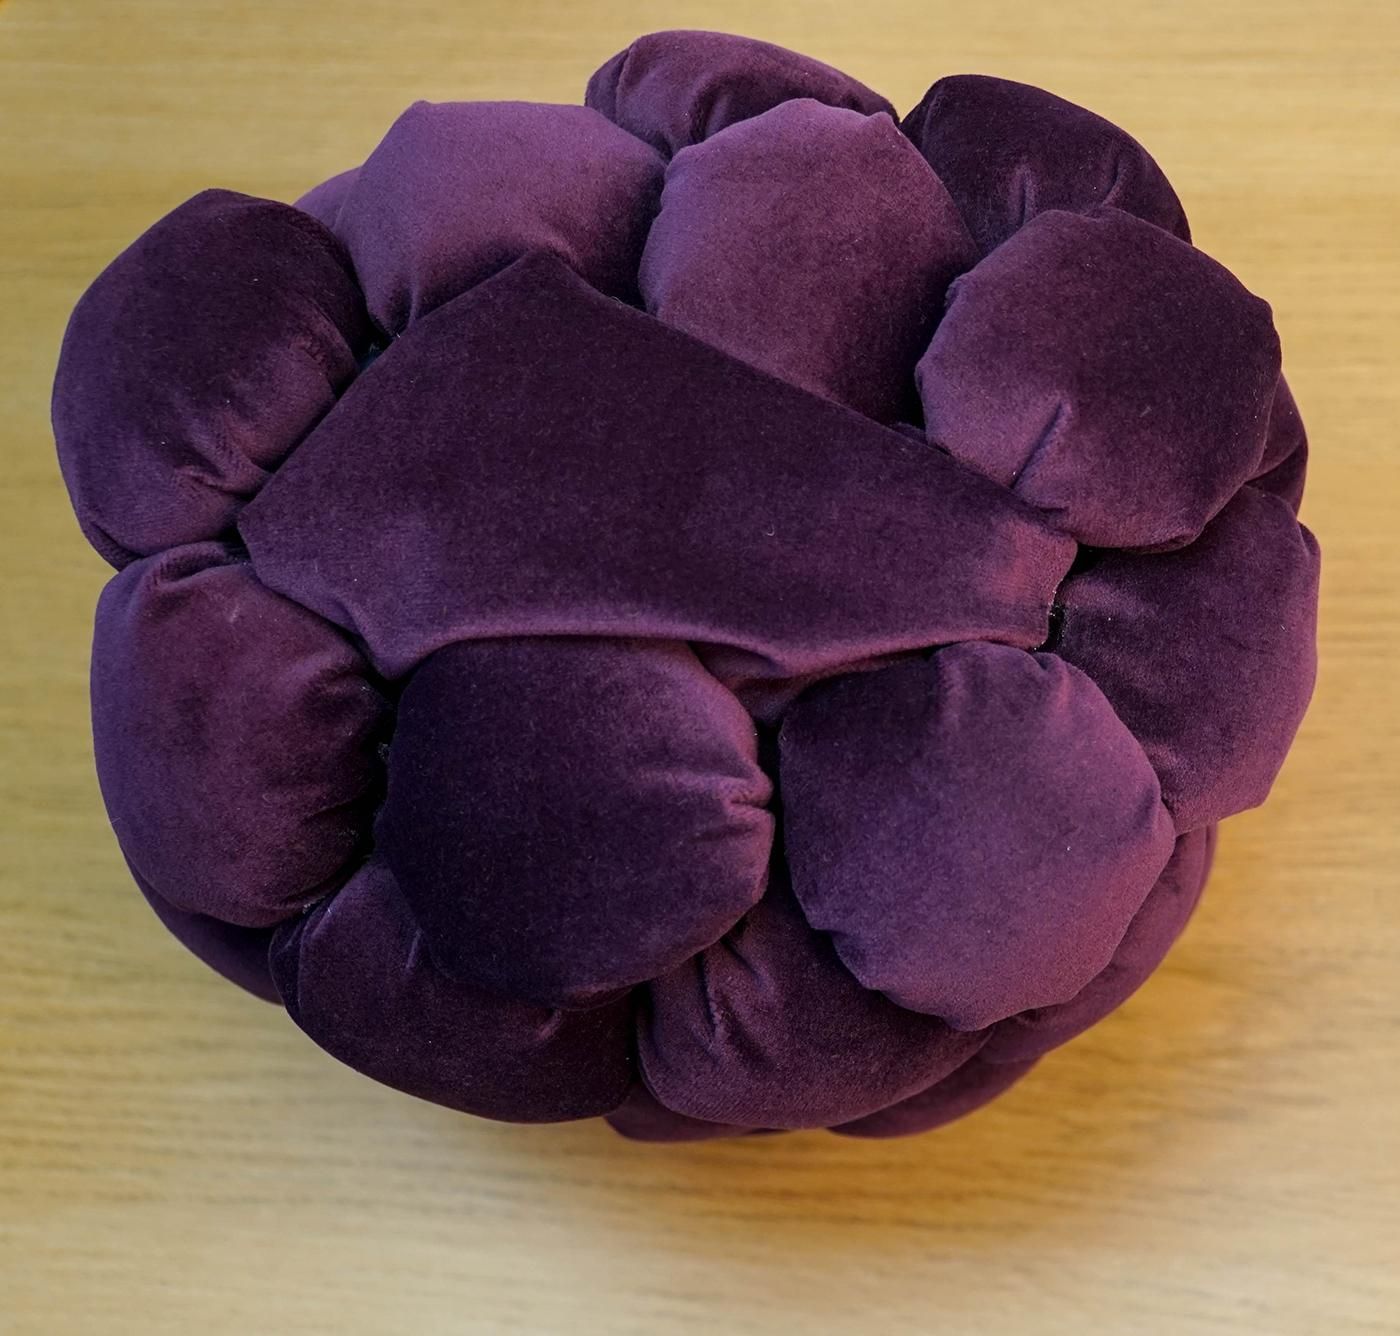
You can cover the entire shape if you prefer, but I chose to leave a gap at the top because I wanted it to be a flat surface to place the stalk on - rather than having a bumpy surface created by the spheres.
To flatten this gap, I cut out a piece of velvet bigger than the gap and wrapped it around enough stuffing to loosely fill the gap. I then hot glued the velvet edges down into the gap, trying to keep the glue hidden underneath this new shape.
Cut Out the Leaves
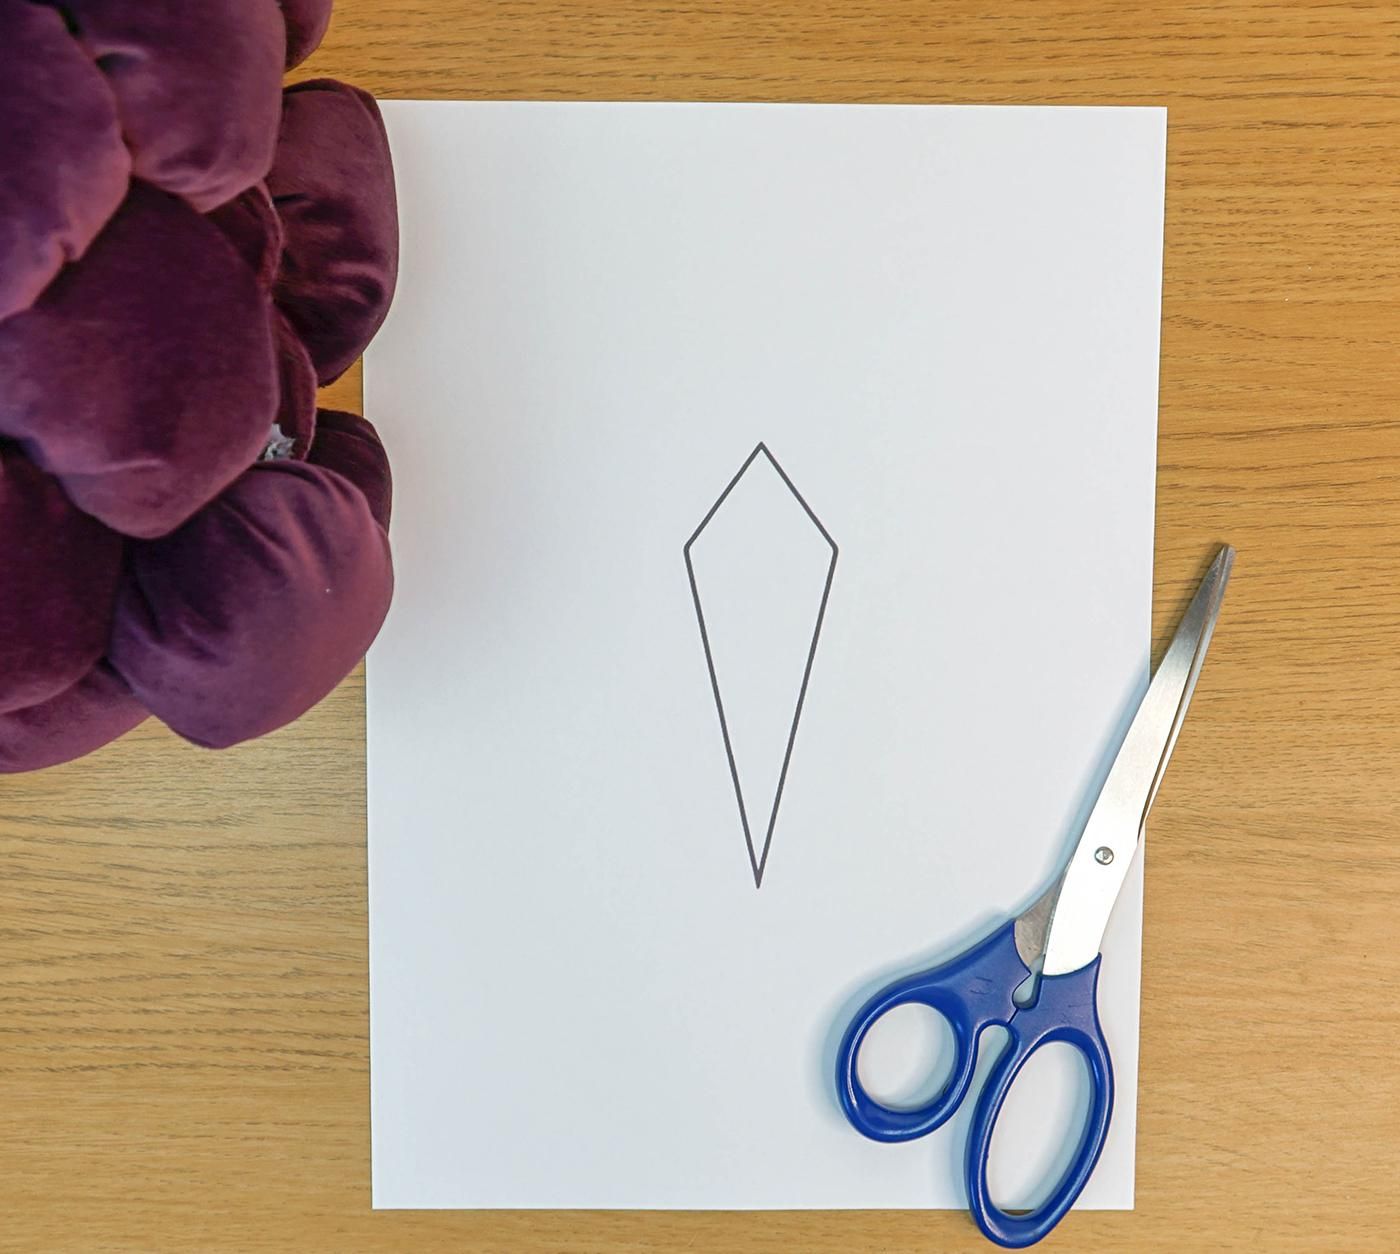
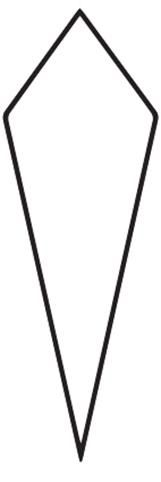
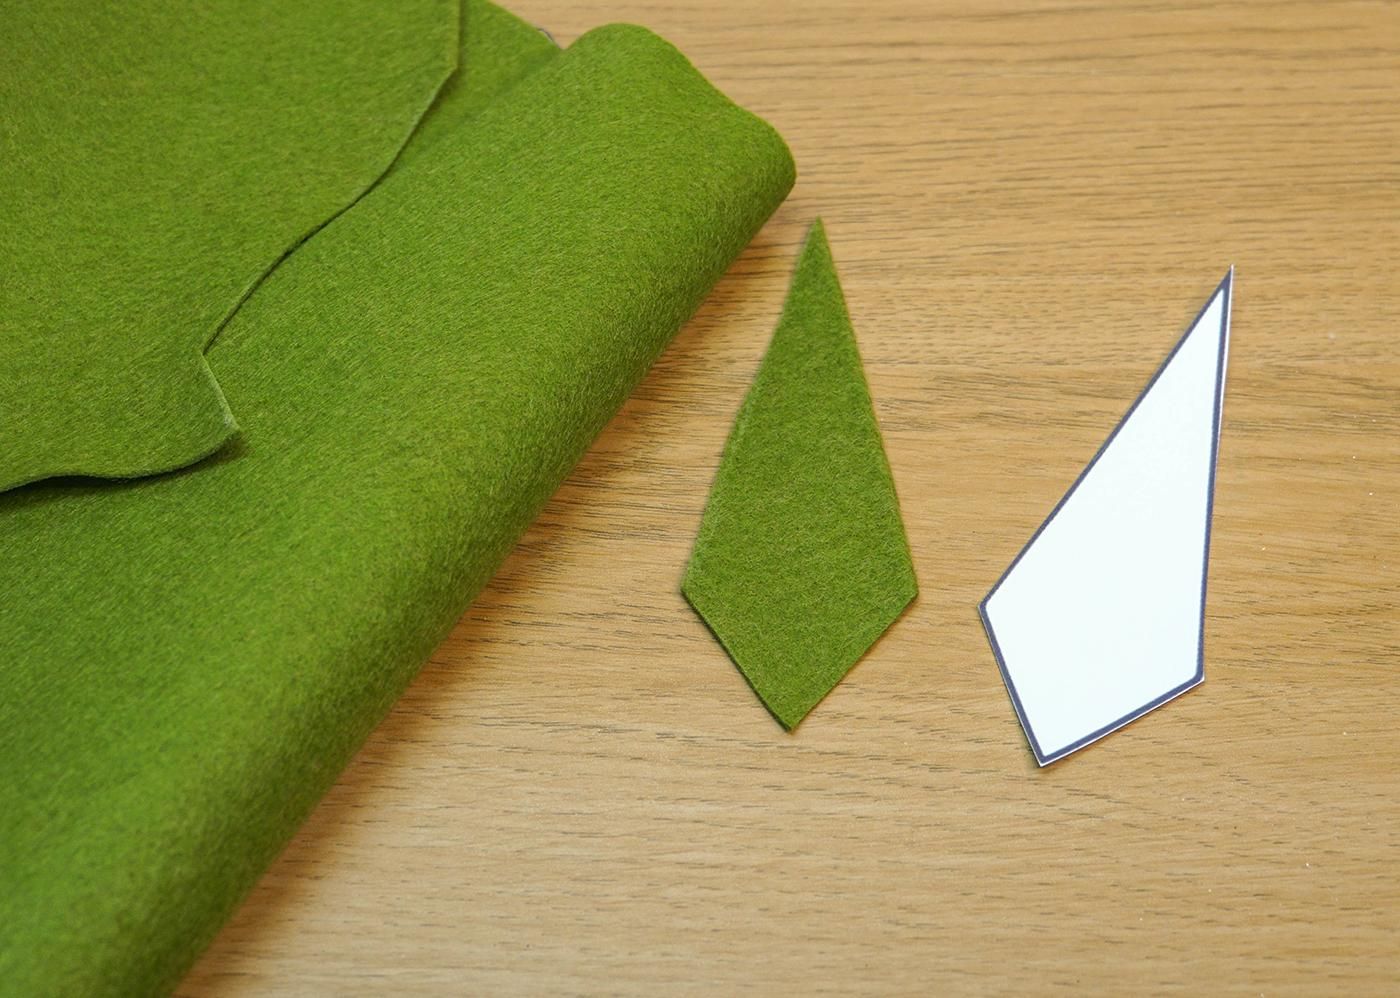
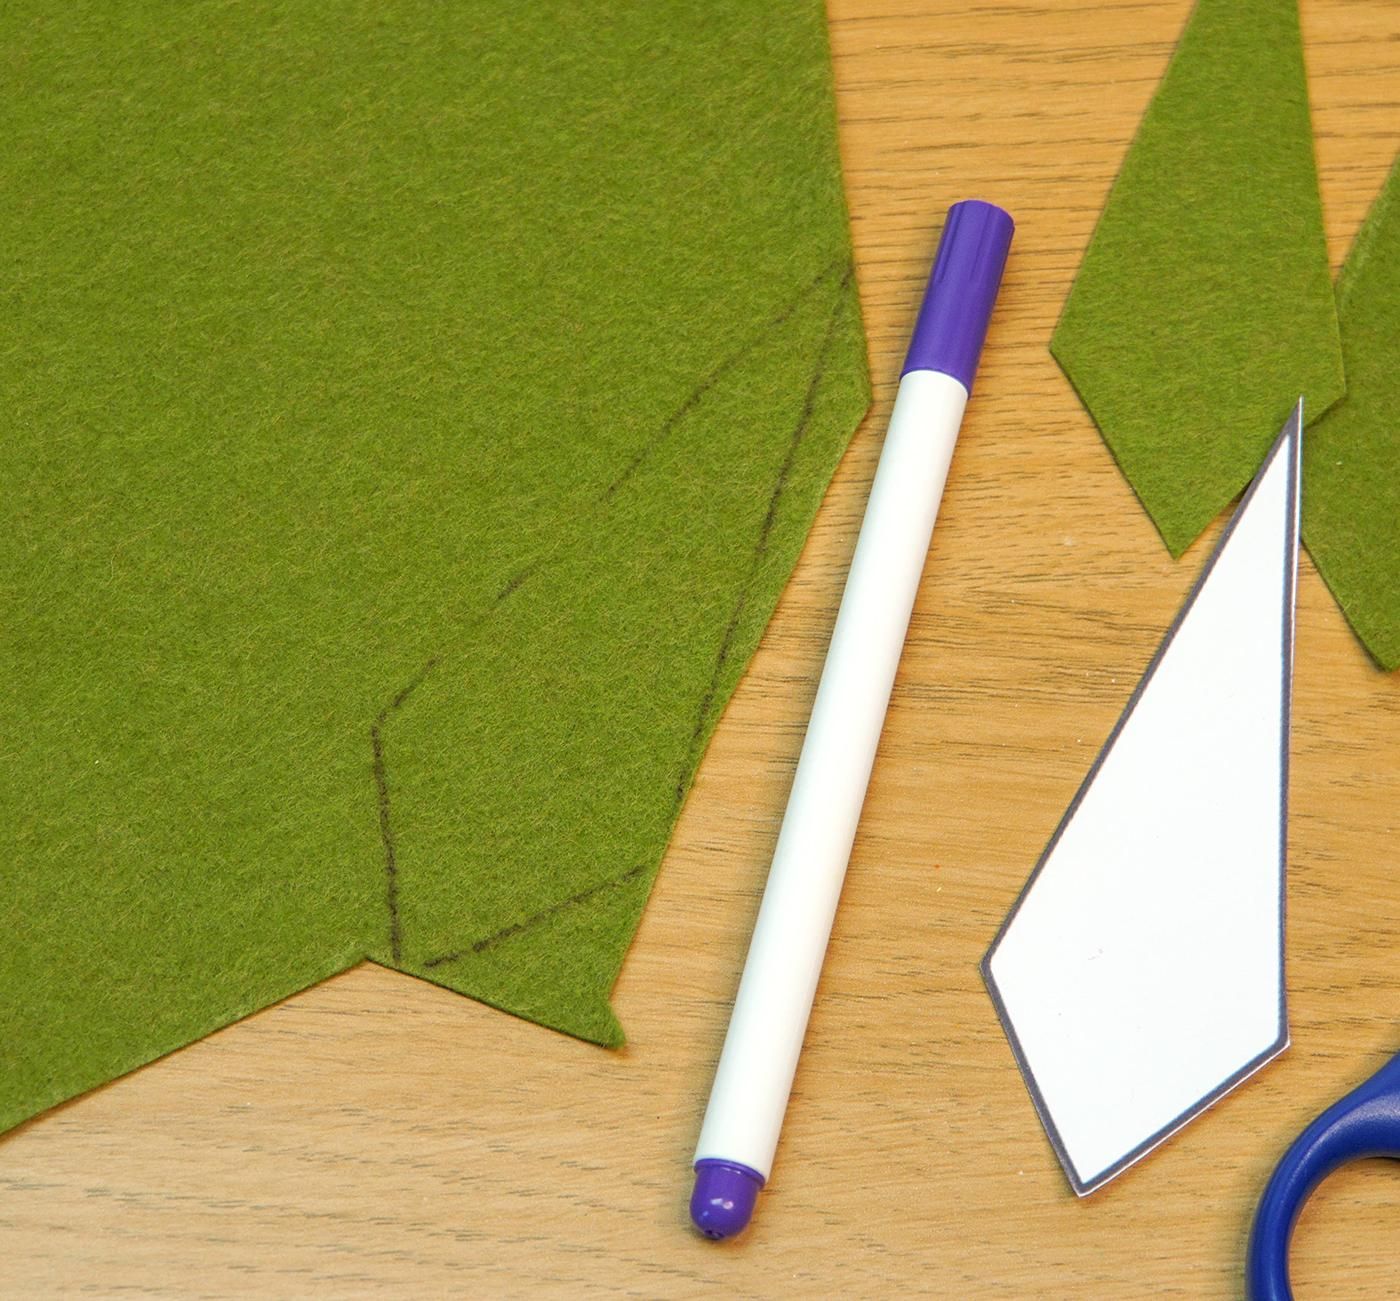
Print out the above template, actual size (which should be 12 cm long).
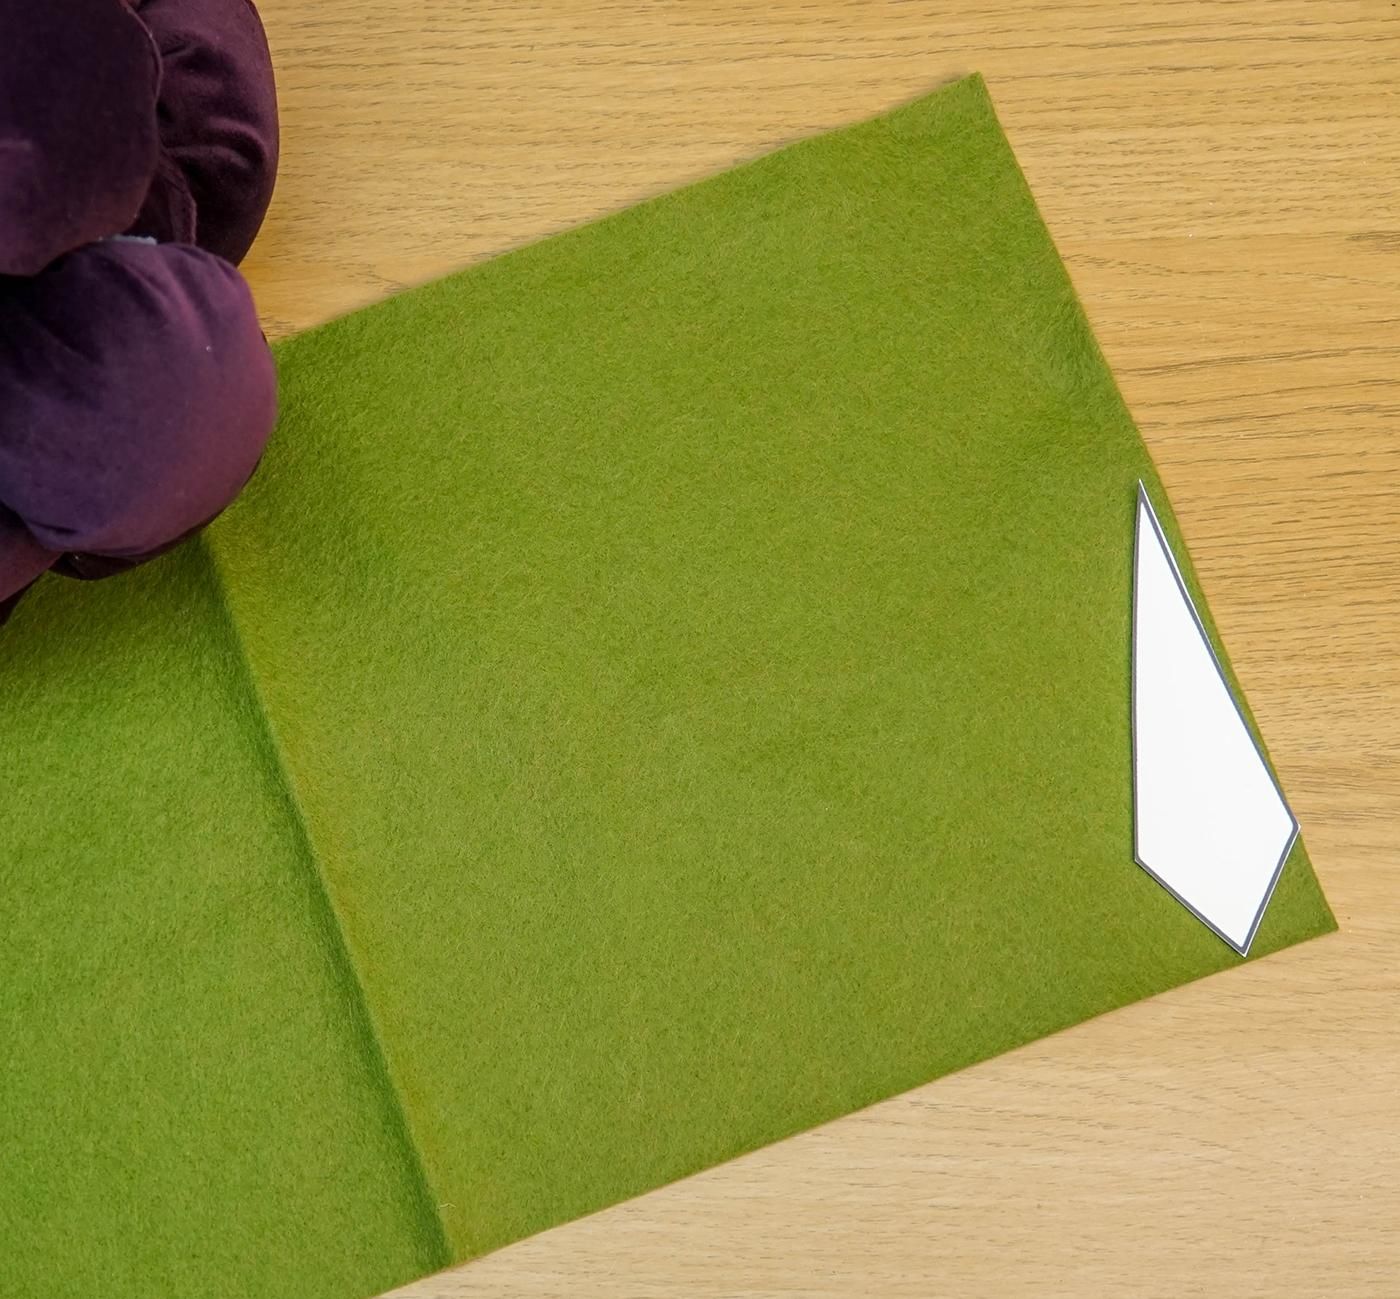
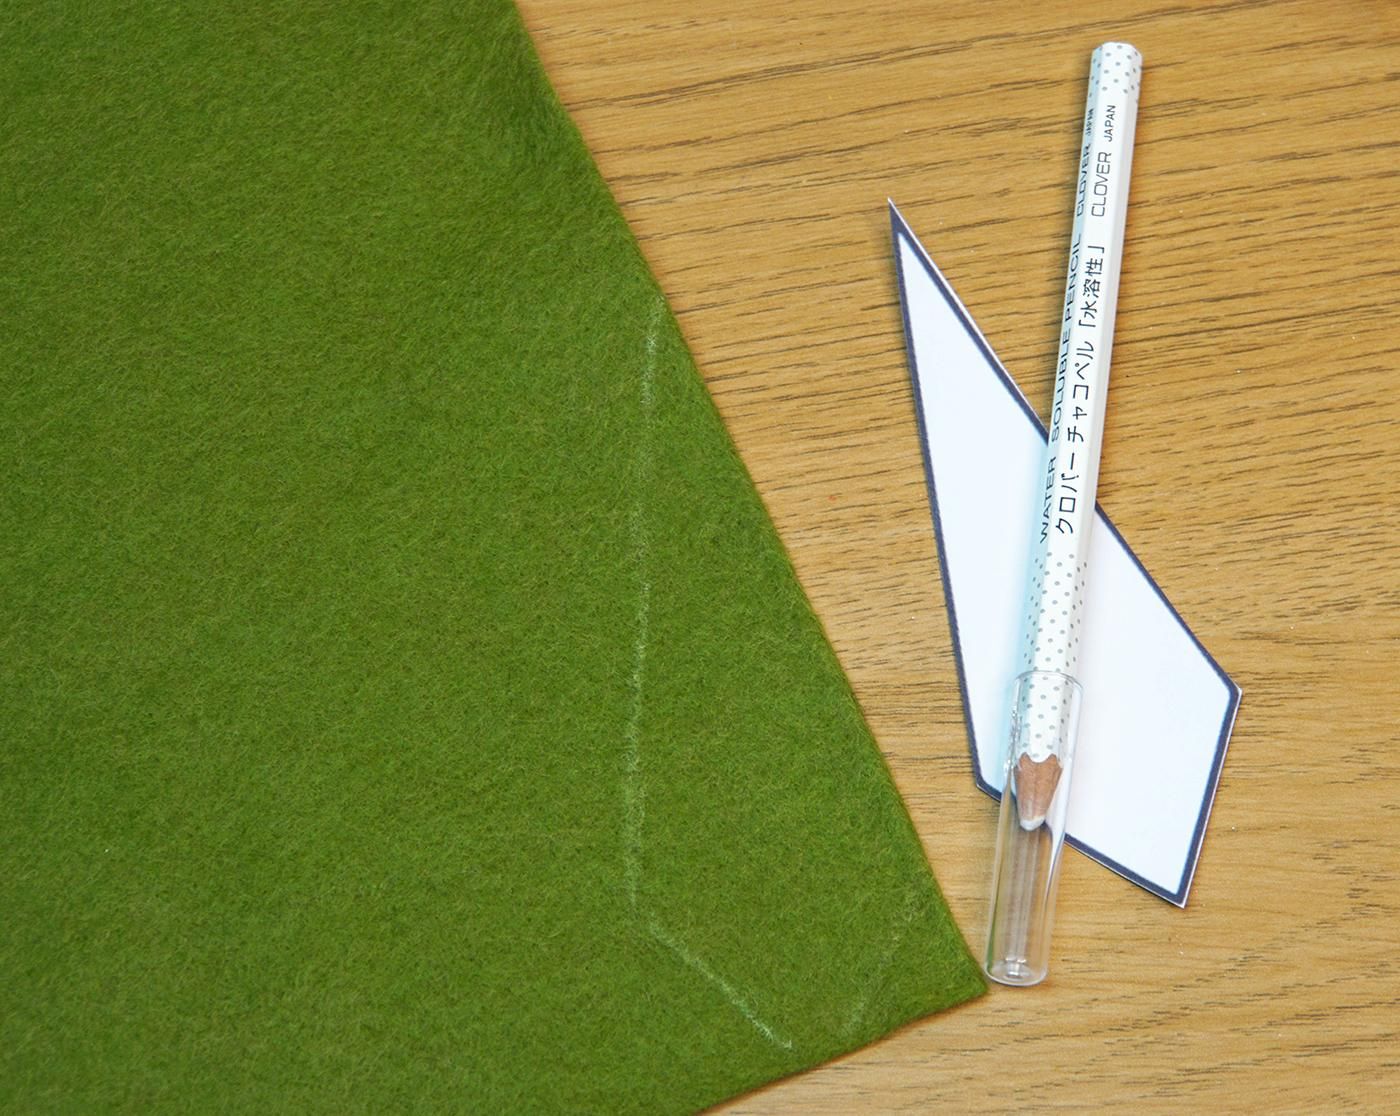
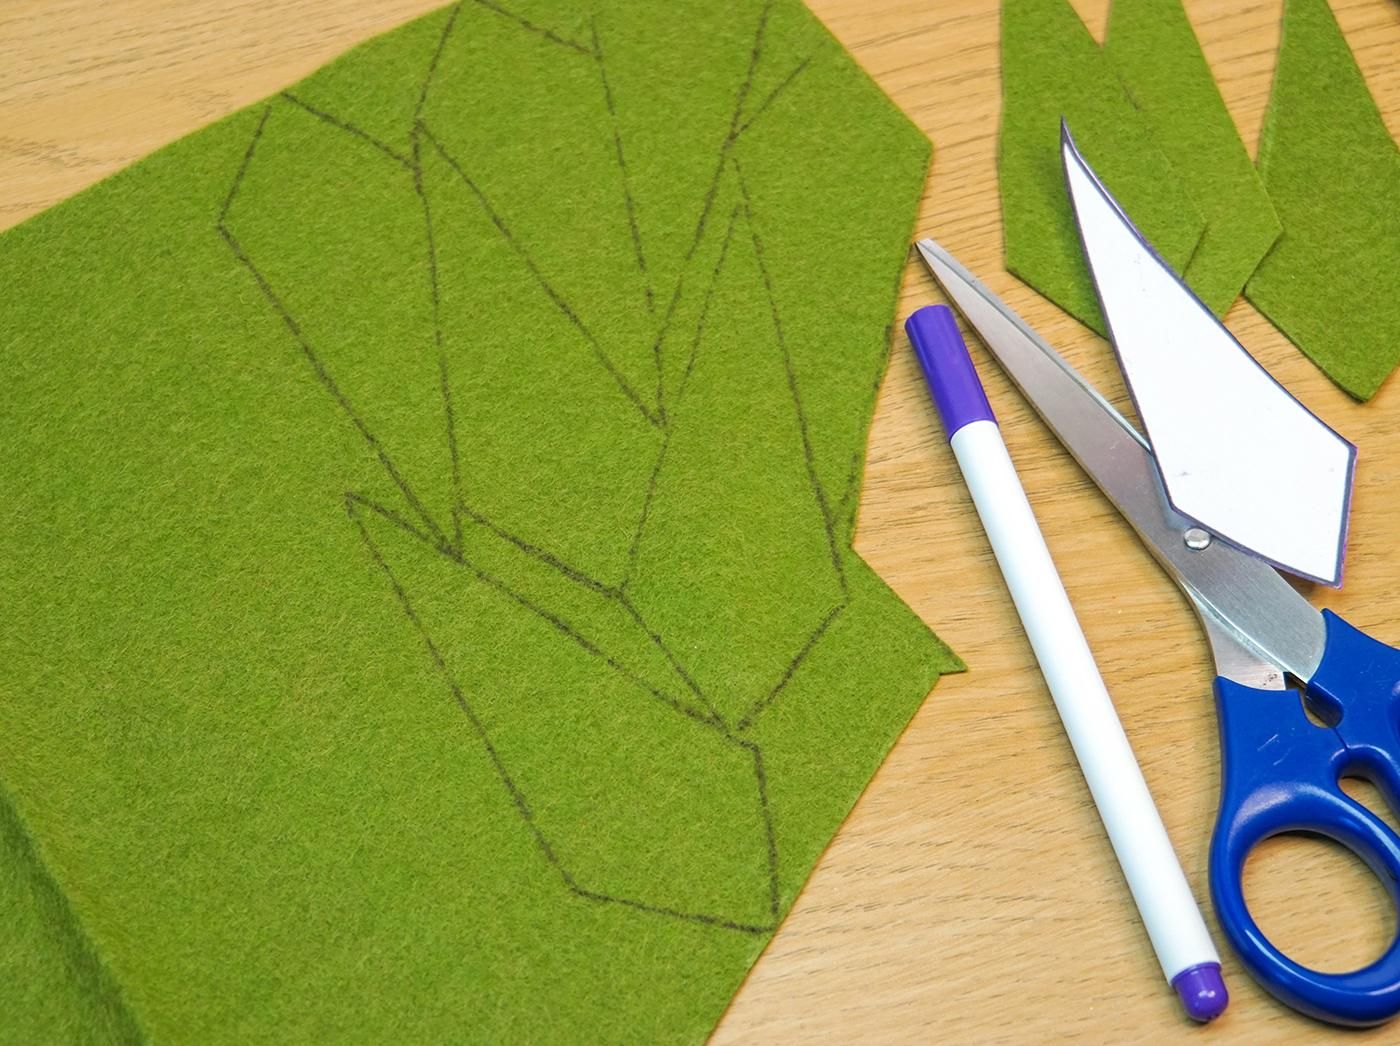
Cut it out and draw around it with a fabric pen or pencil onto the green felt.
I tried both the water-soluble pencil and the fabric pen here and the pen was much more accurate.
Cut the shape out.
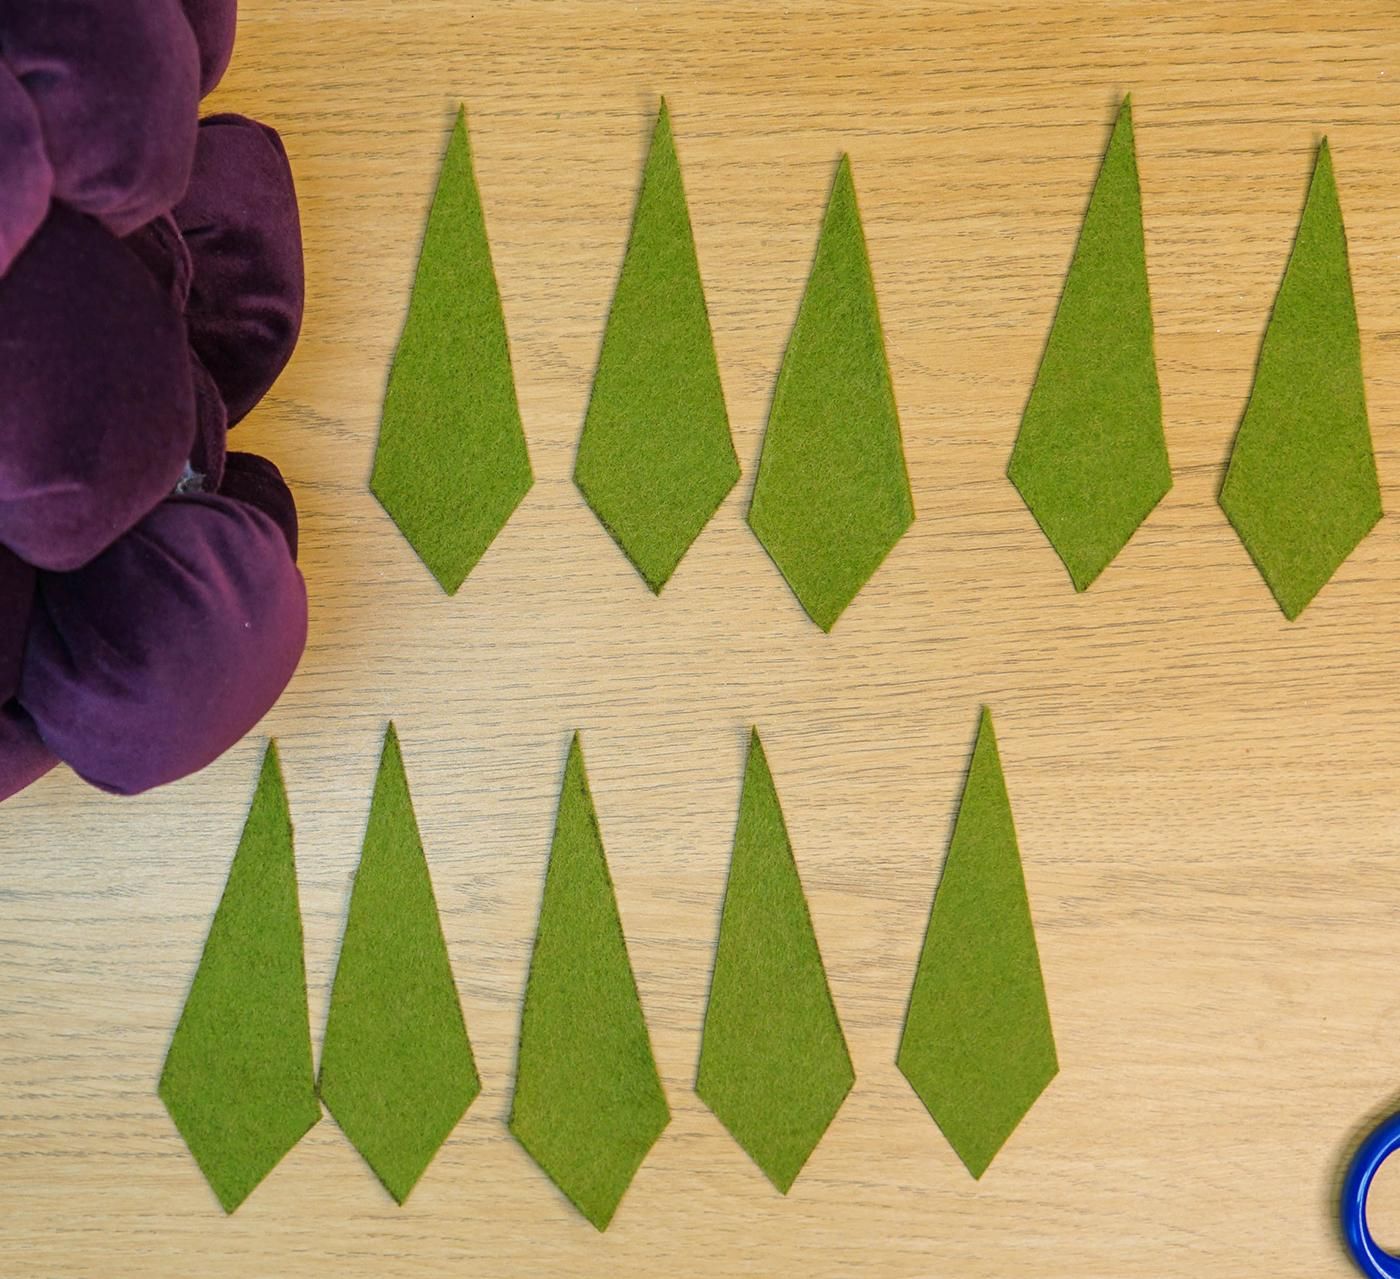
Repeat these steps until you have 10 identical leaf shapes. Try and eliminate waste by placing the shapes as close to each other on the felt as you can.
Add the Wire
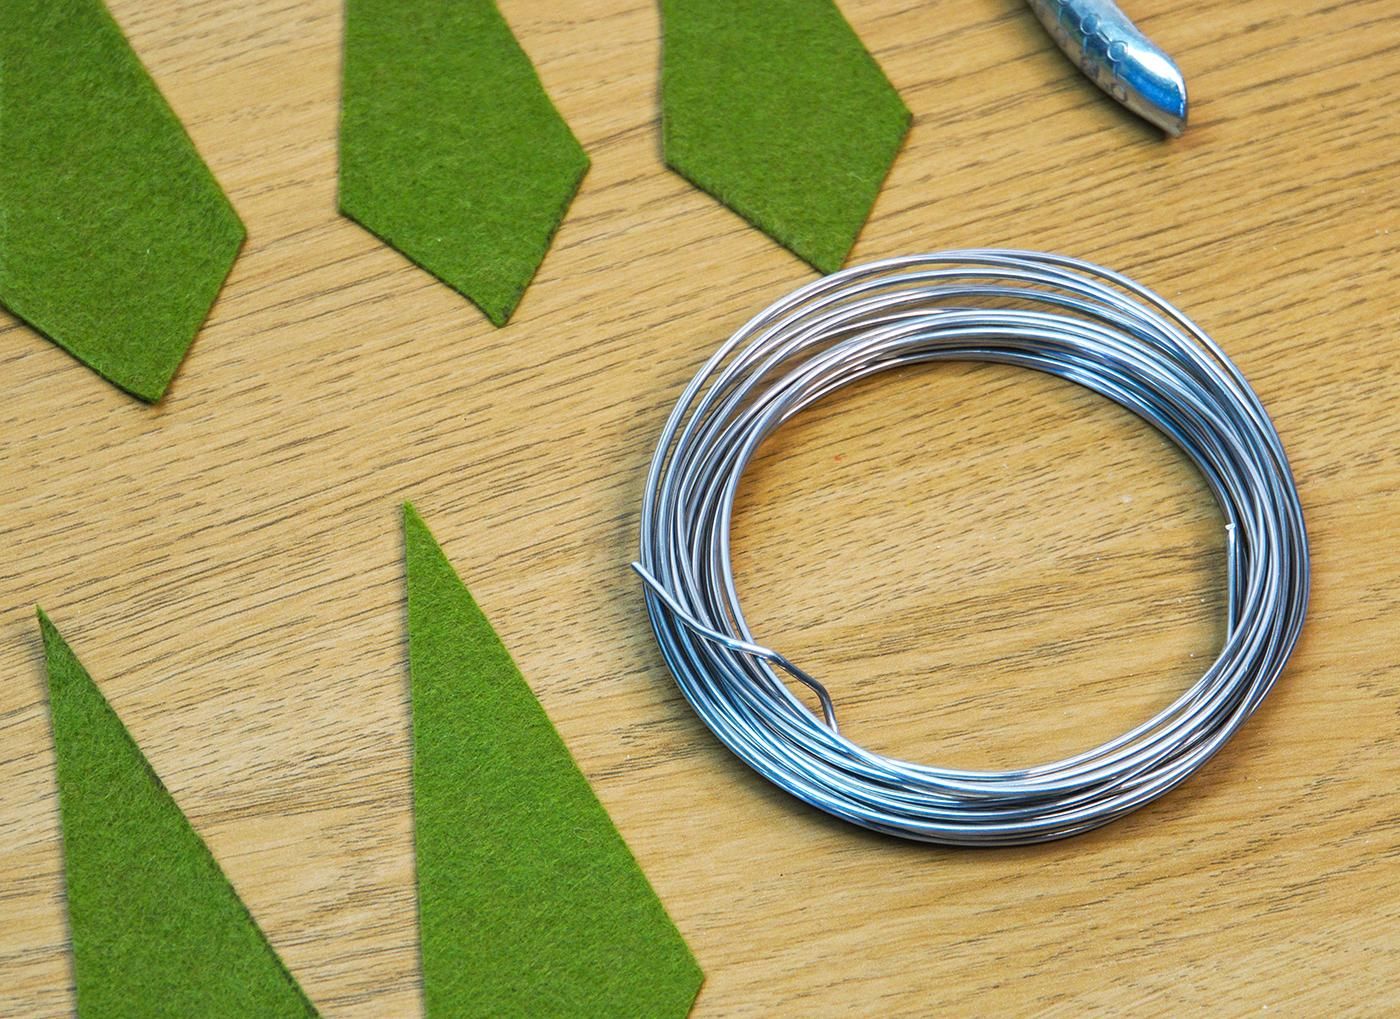
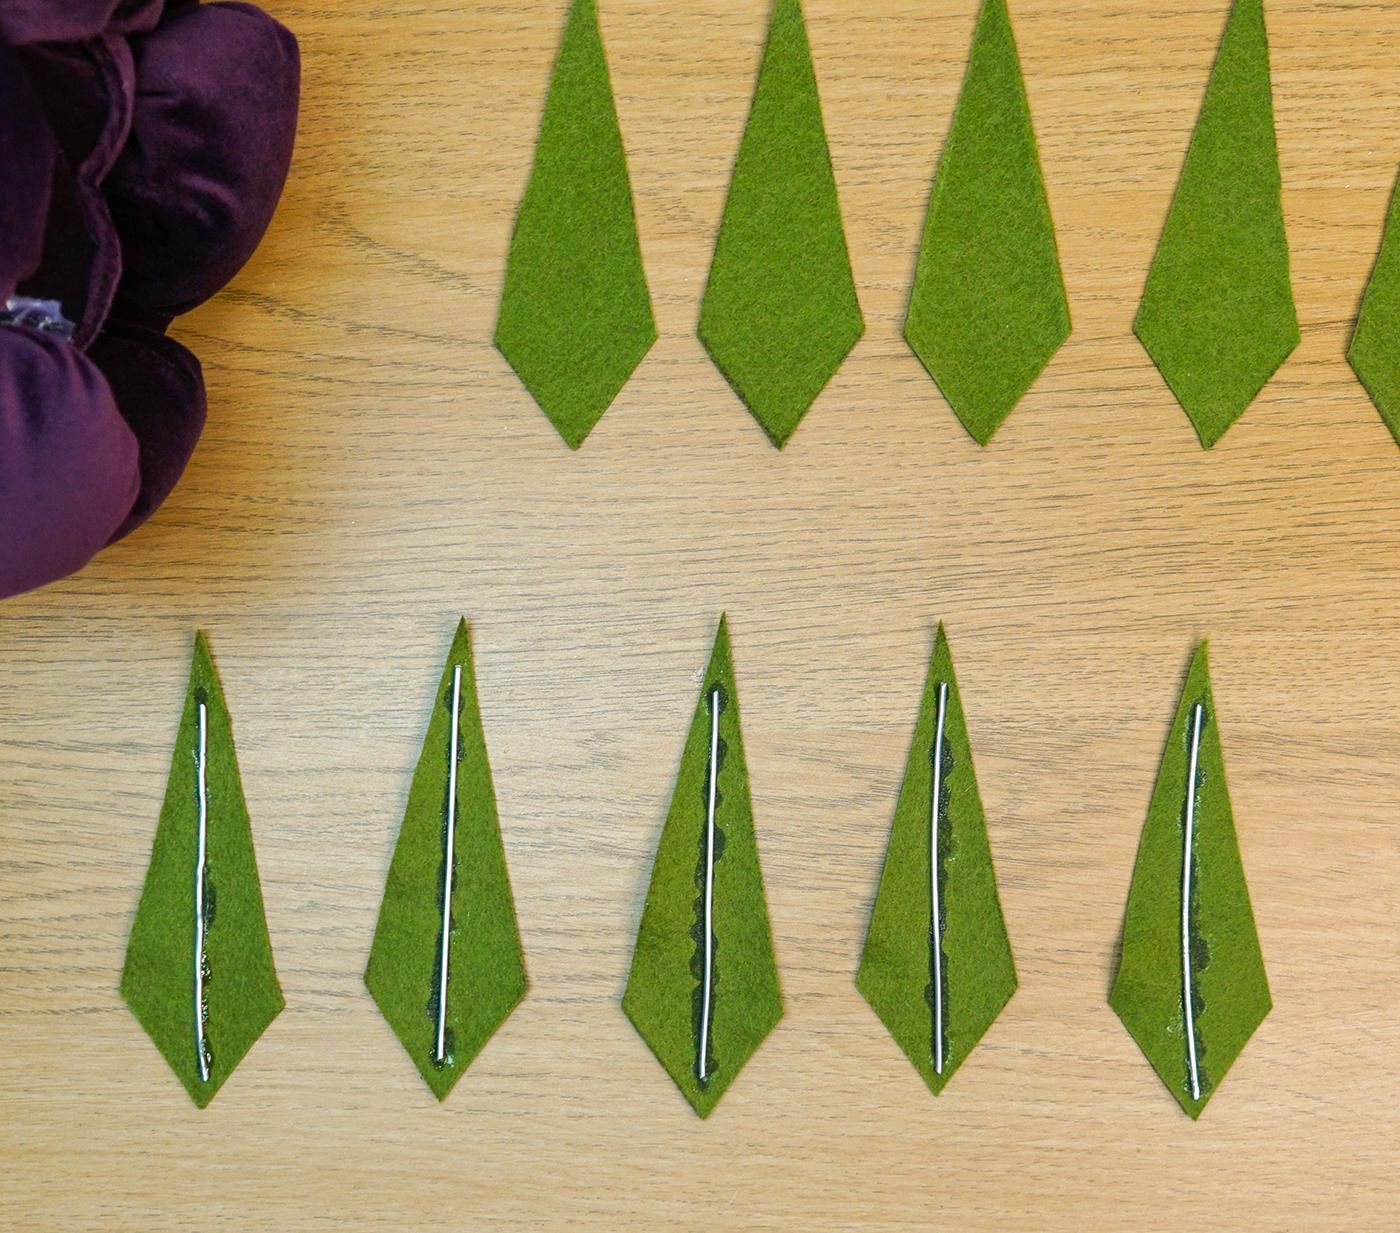
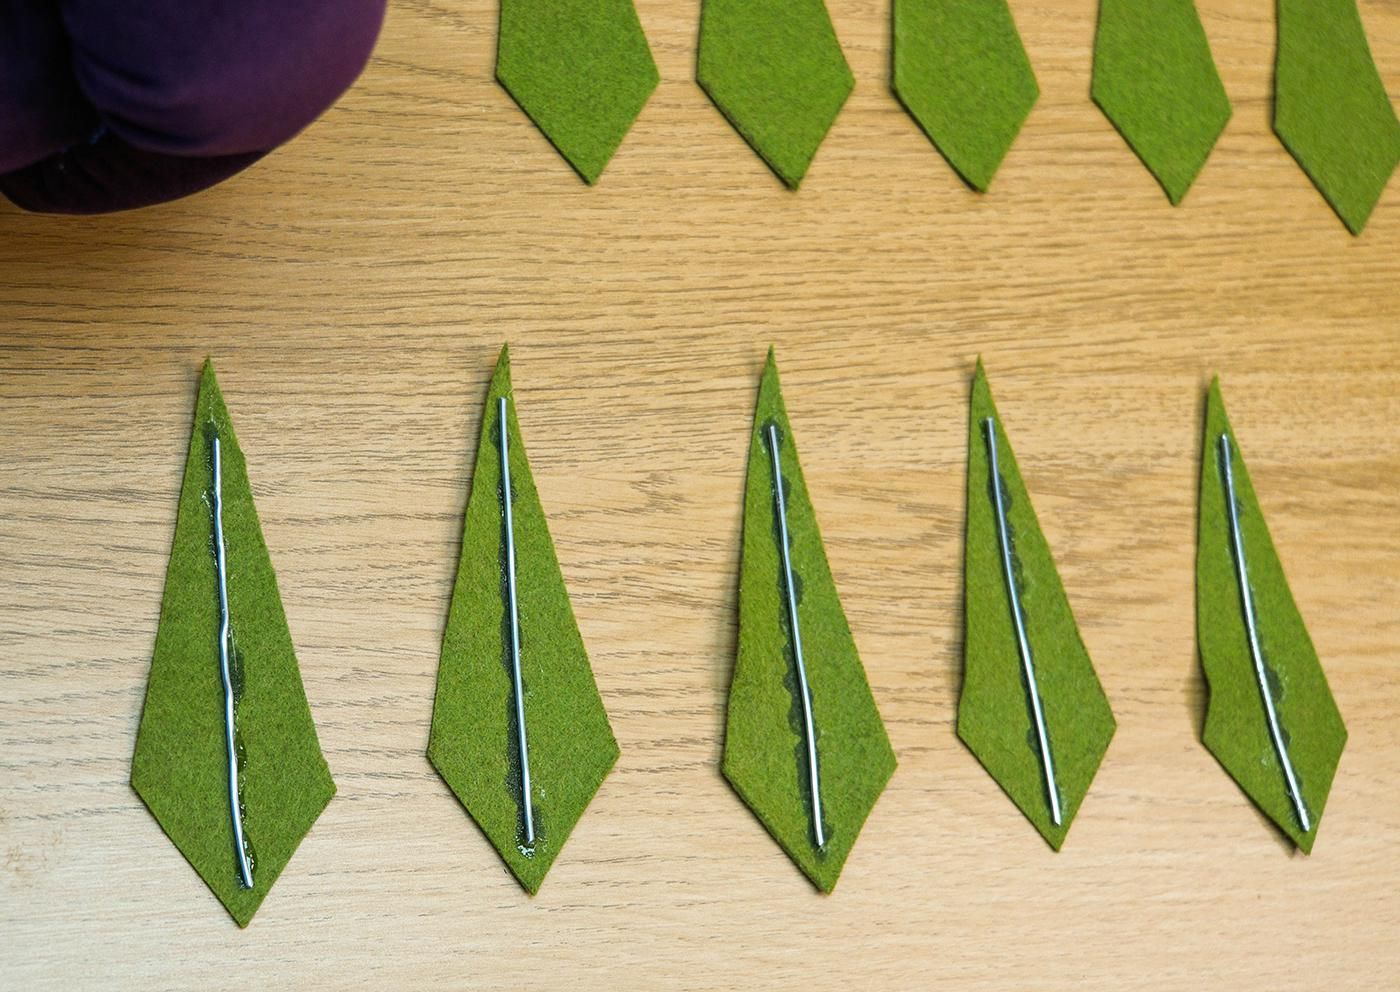
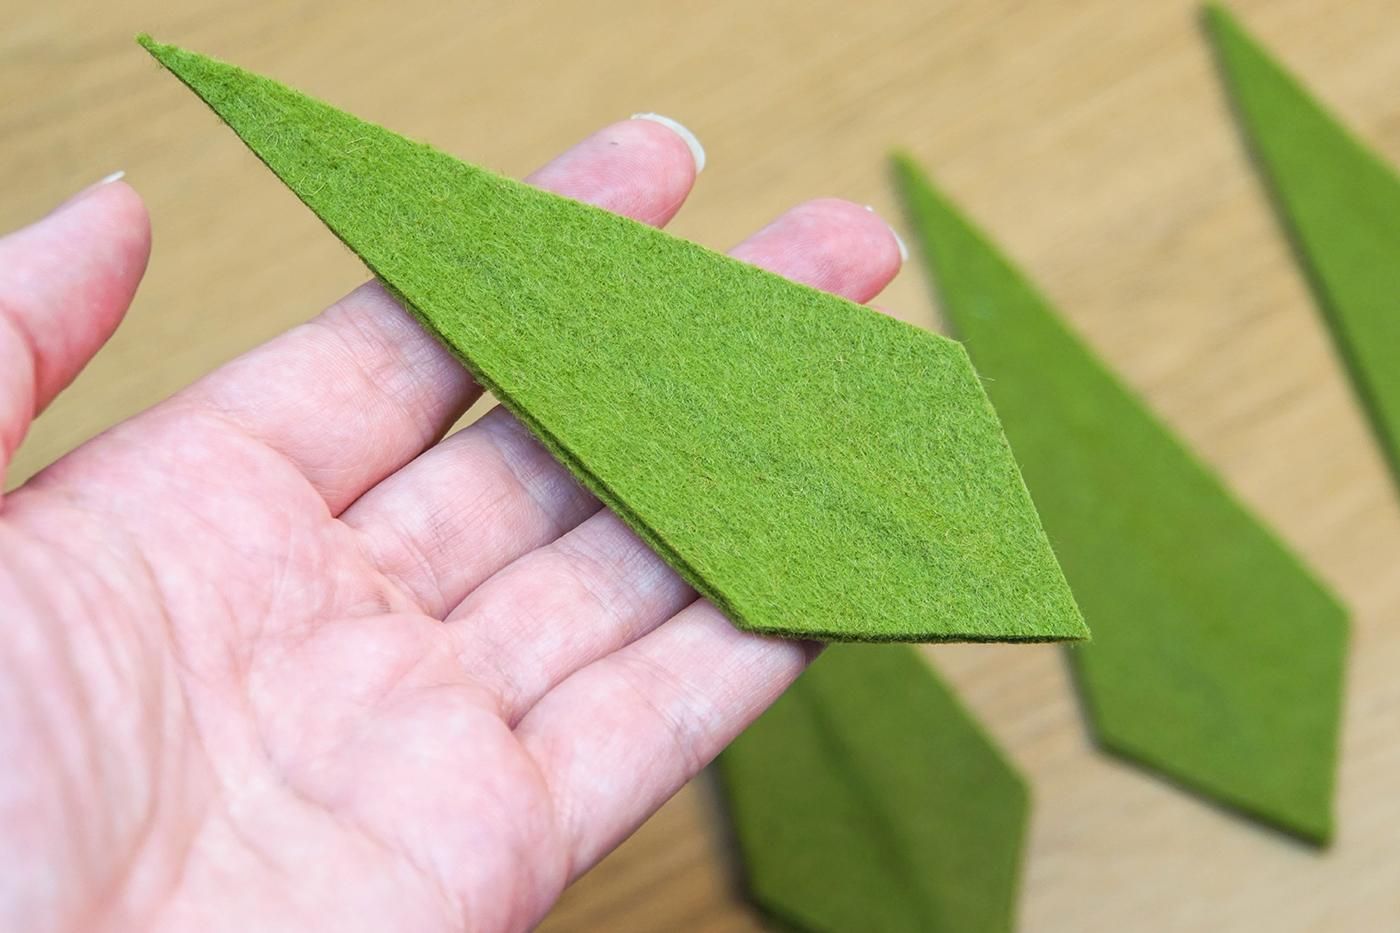
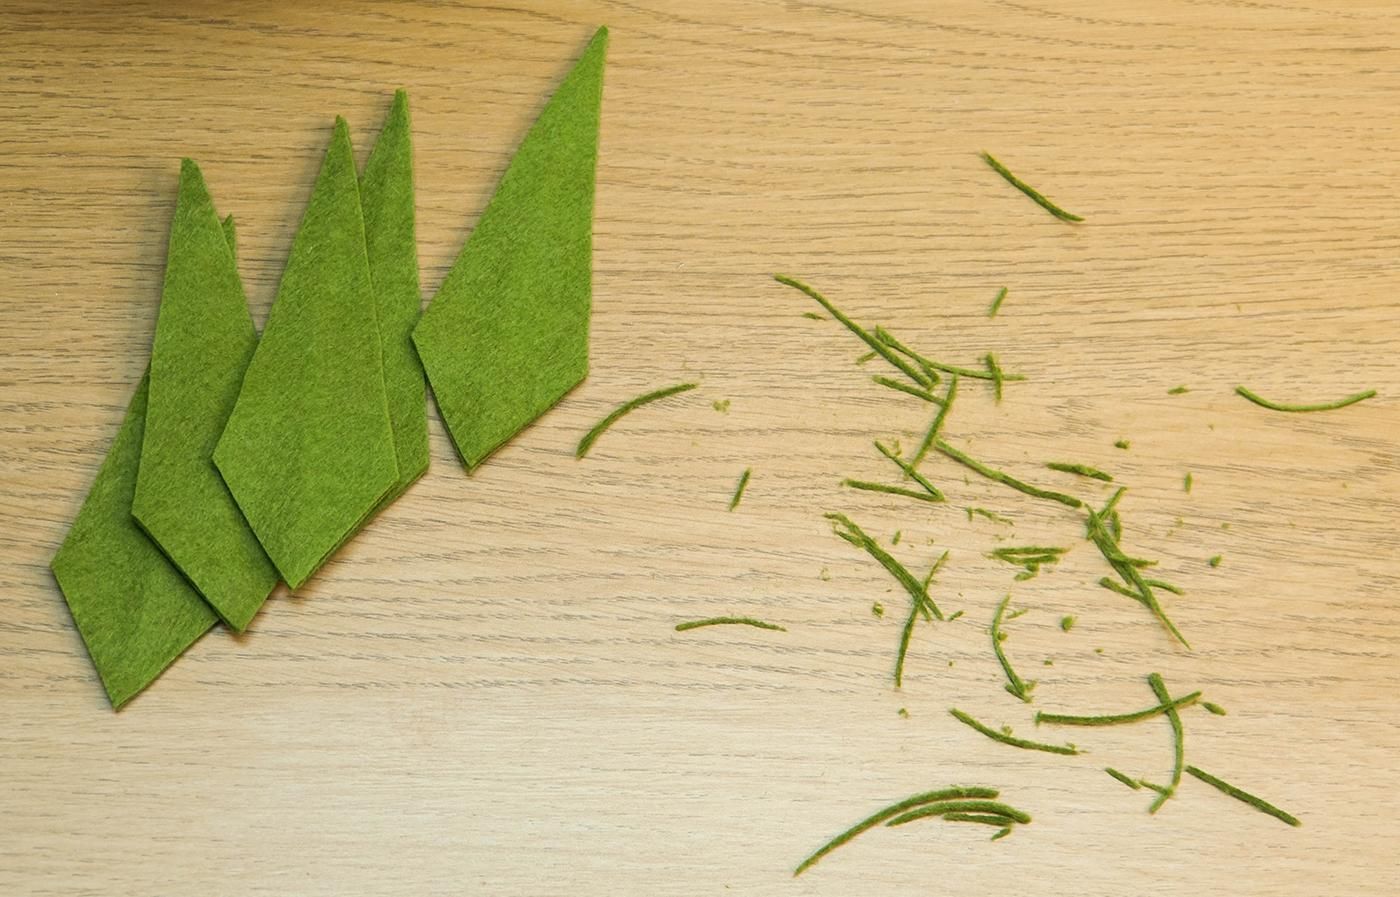
Cut out 5 lengths of aluminium wire, after straightening it between your fingers. These should be no more than 10 cm long.
Glue these lengths to the centre of 5 of the leaf shapes.
Try not to use too much glue because ideally you don't want glue going through to the other side of the felt. Mine did, so I just made sure those sides were placed face-down on the finished berry :)
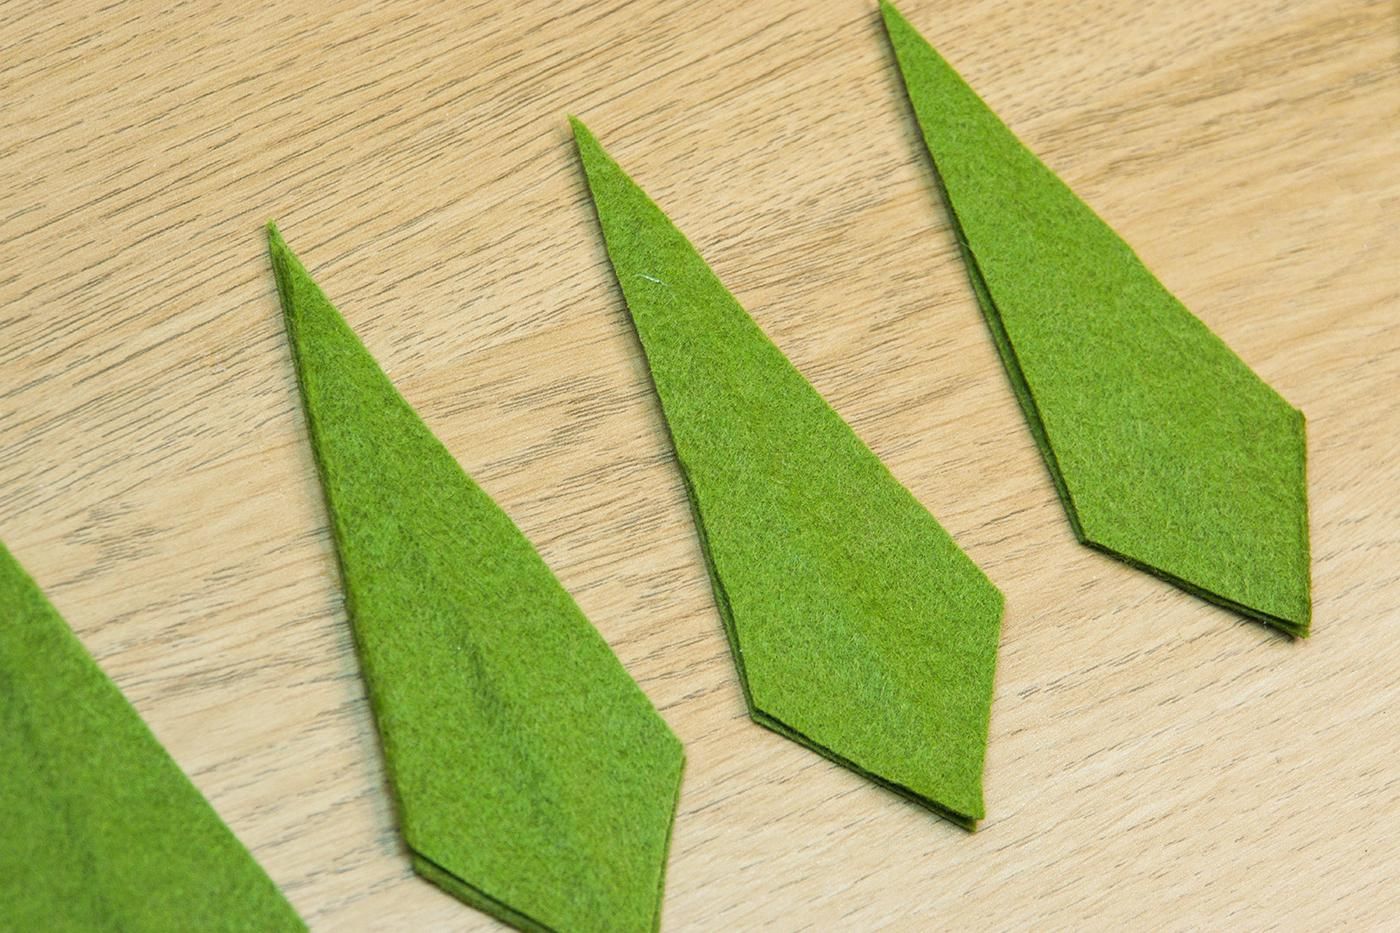
Add a little more glue on top of the wire and attach the other leaves. Press down on the felt, either side of the wire; this will make the wire slightly stand out.
Once dry, cut around the outside edges if they are not perfectly even, just to neaten them up.
Sew the Leaves
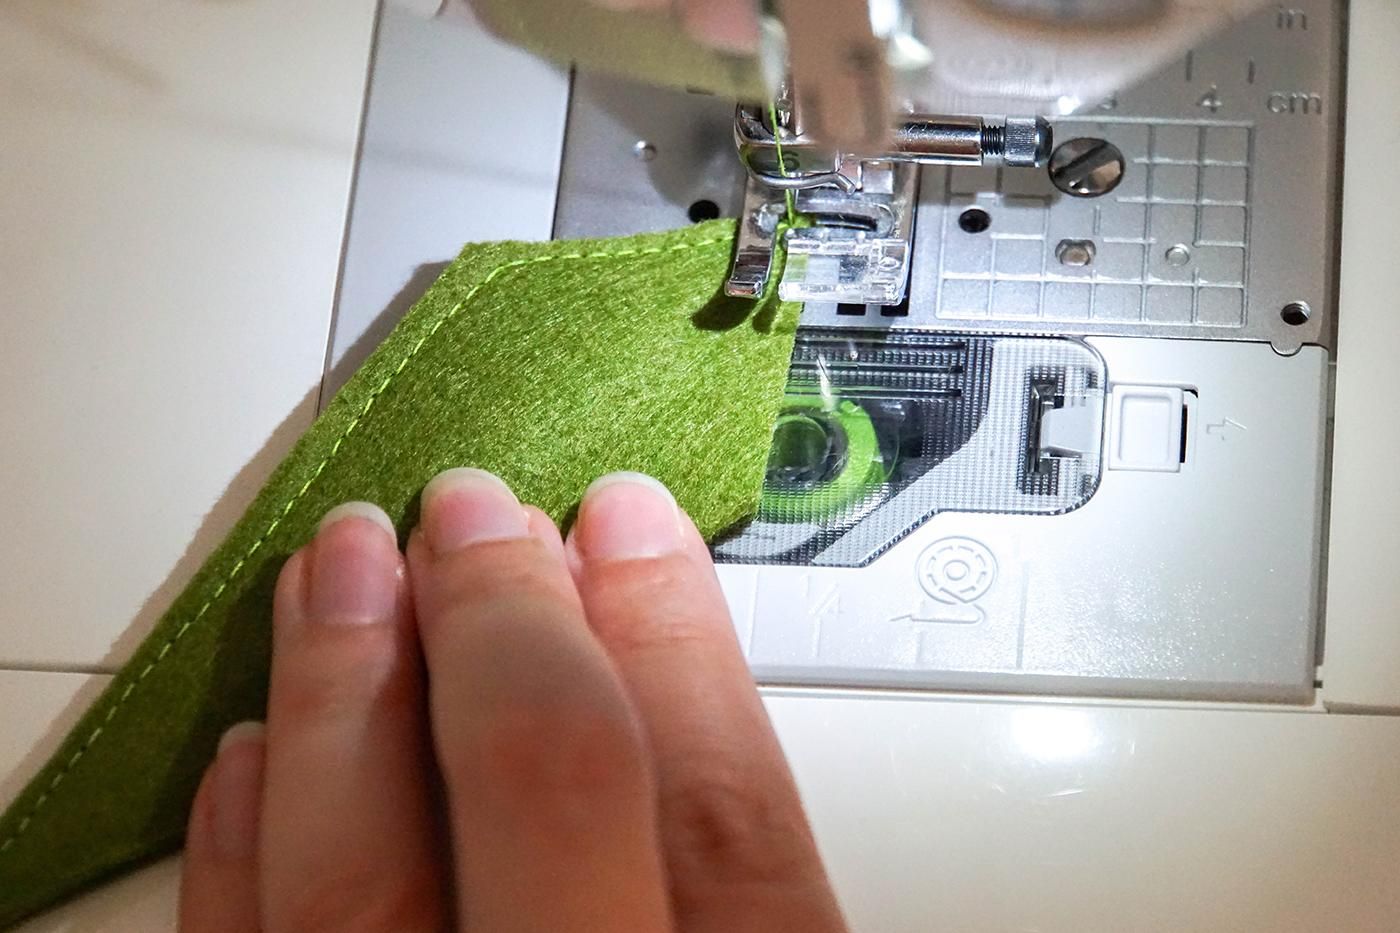
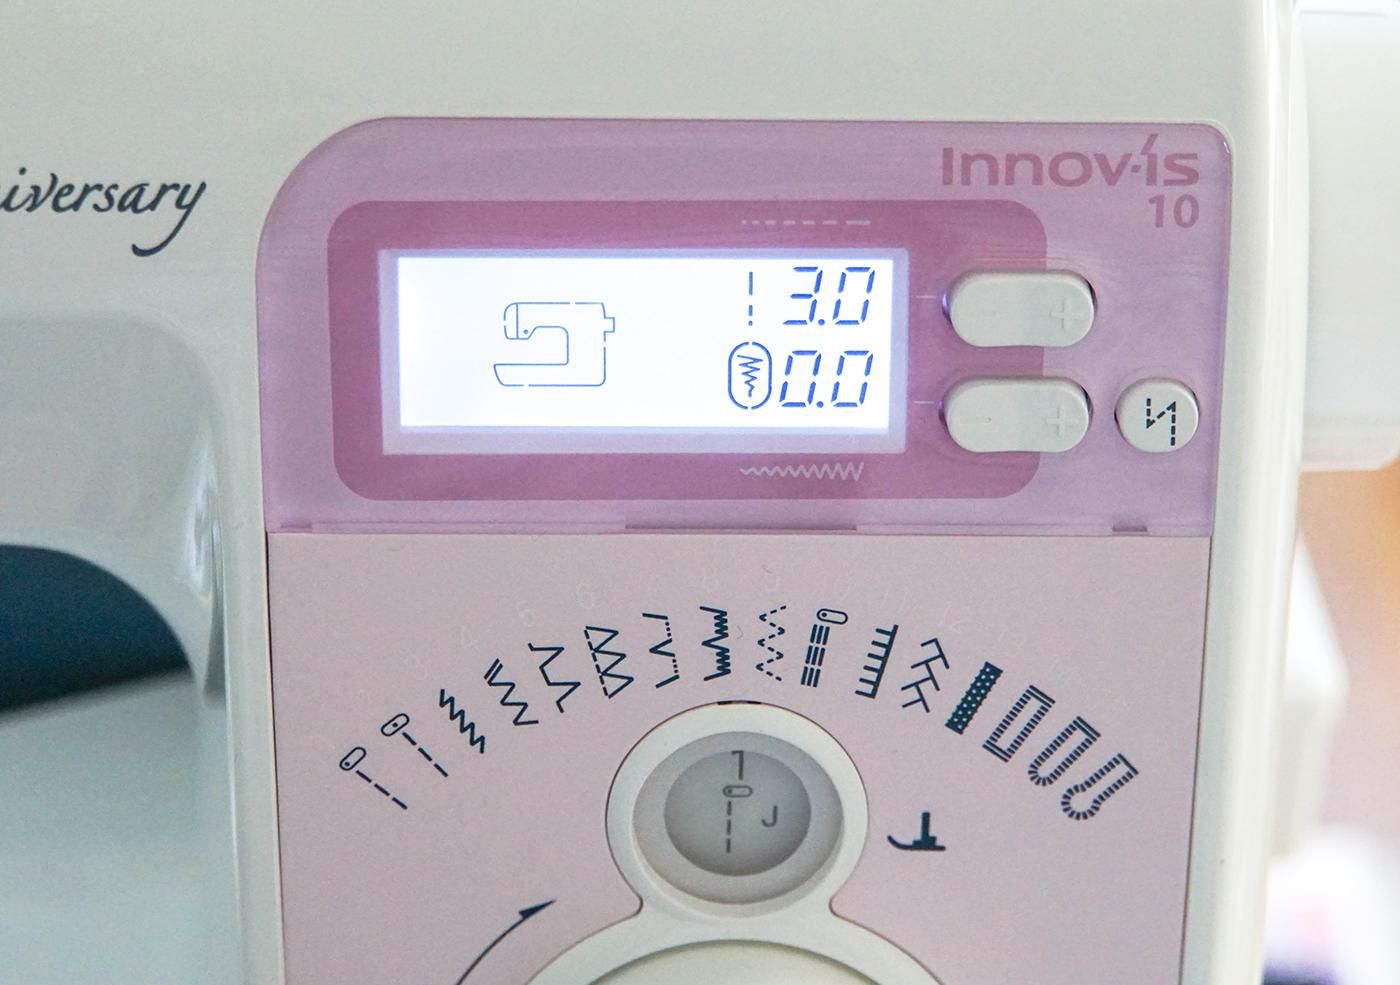
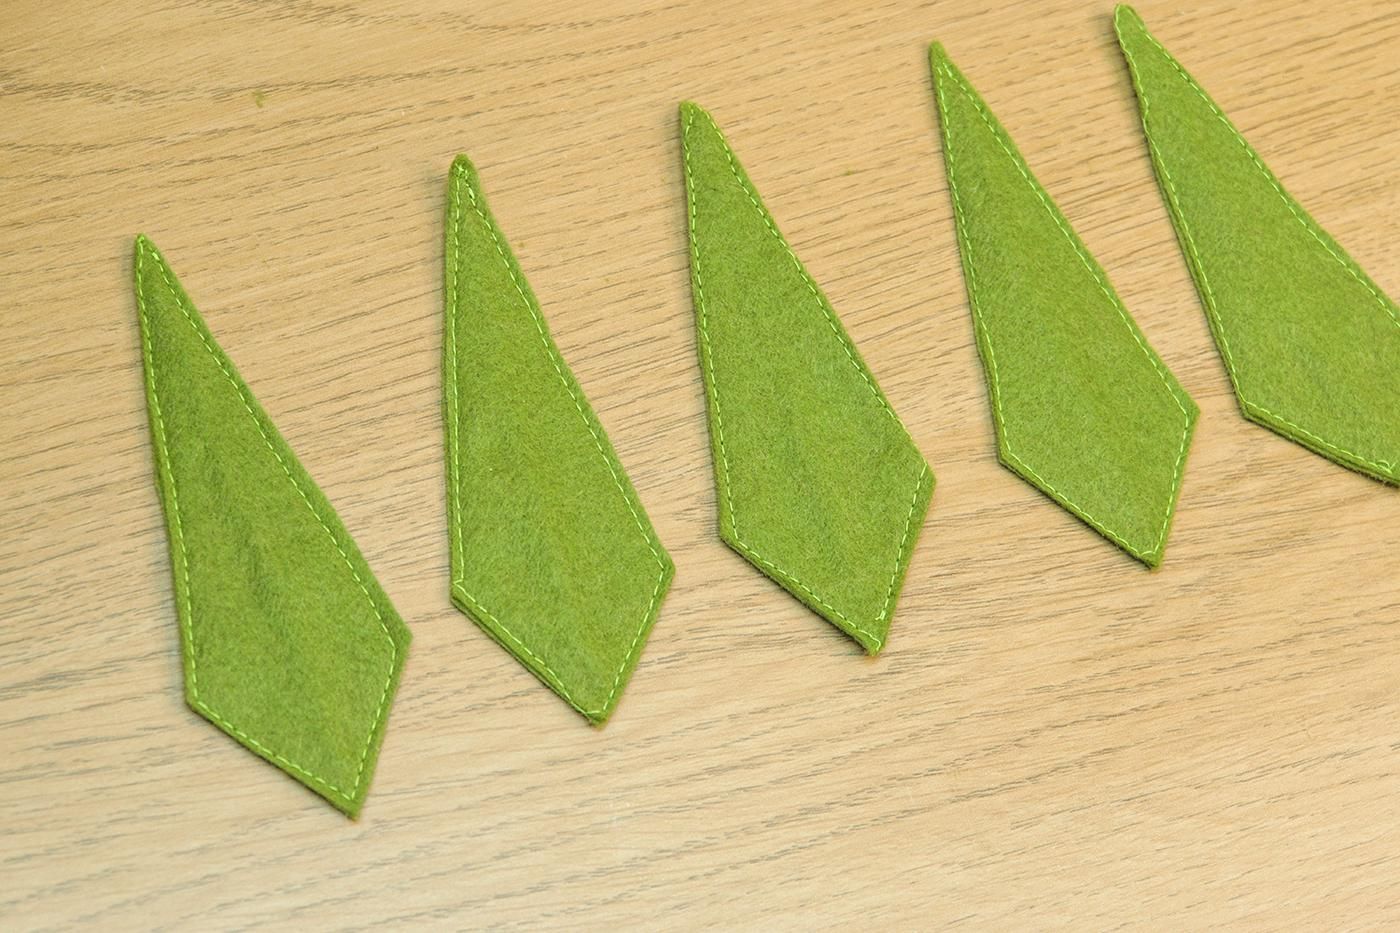
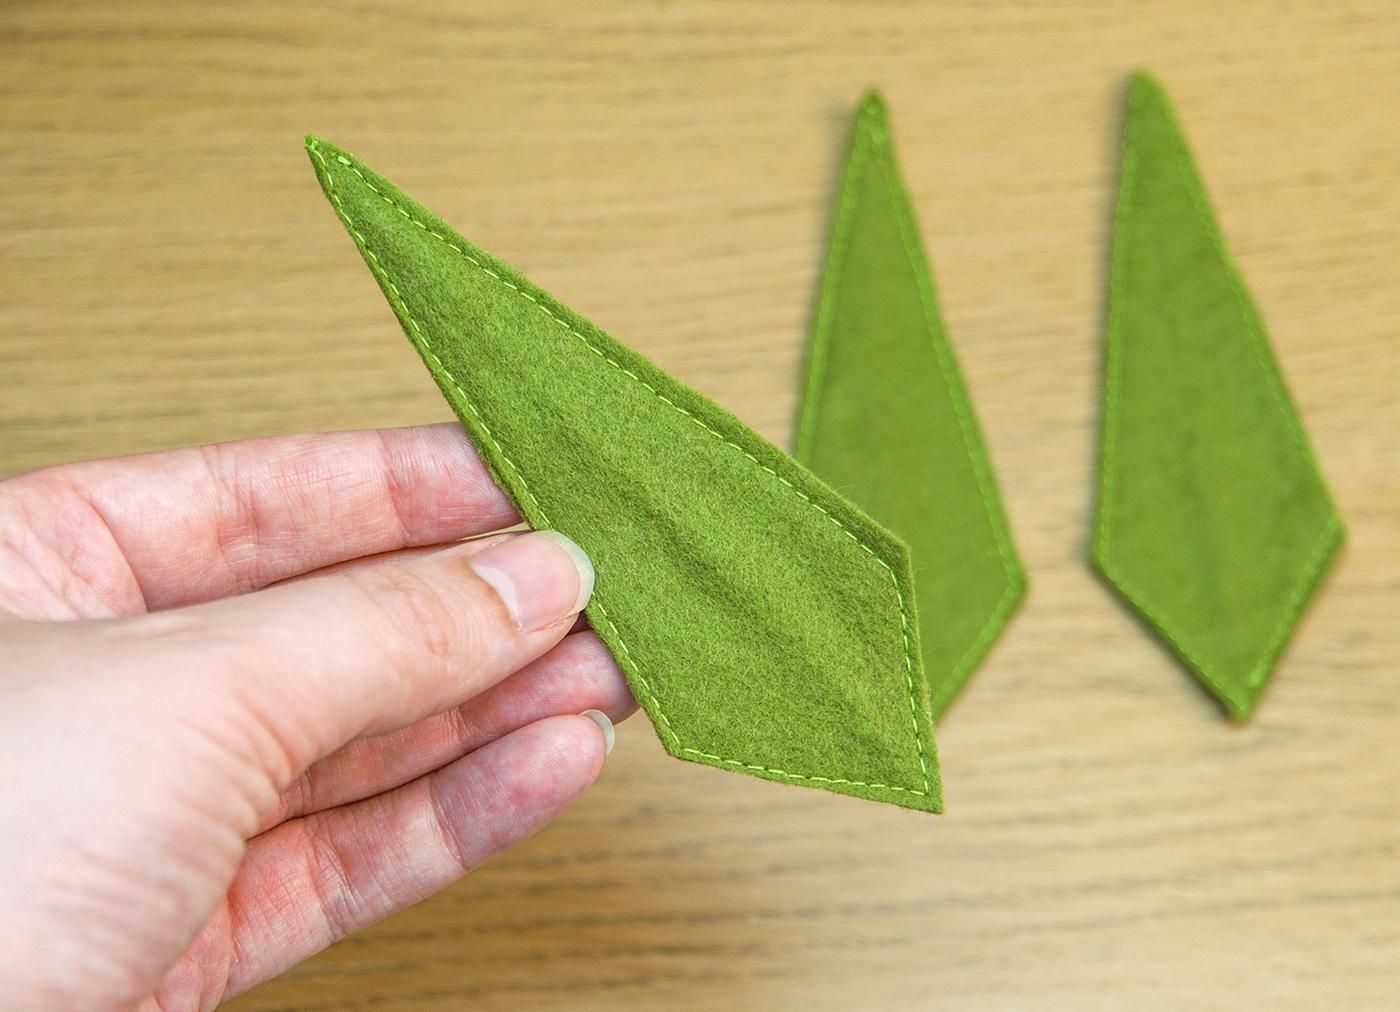
Now sew a straight stitch around the edges of each leaf, remembering to backstitch at the beginning and end. Try and keep close to the edge, and remain an equal distance from the edge throughout.
I used 3 mm long stitches and I found it easier to begin sewing at the narrow point.
Be careful at the points because you don't want to hit the wire and break a needle...go slowly and carefully!
Connect the Leaves
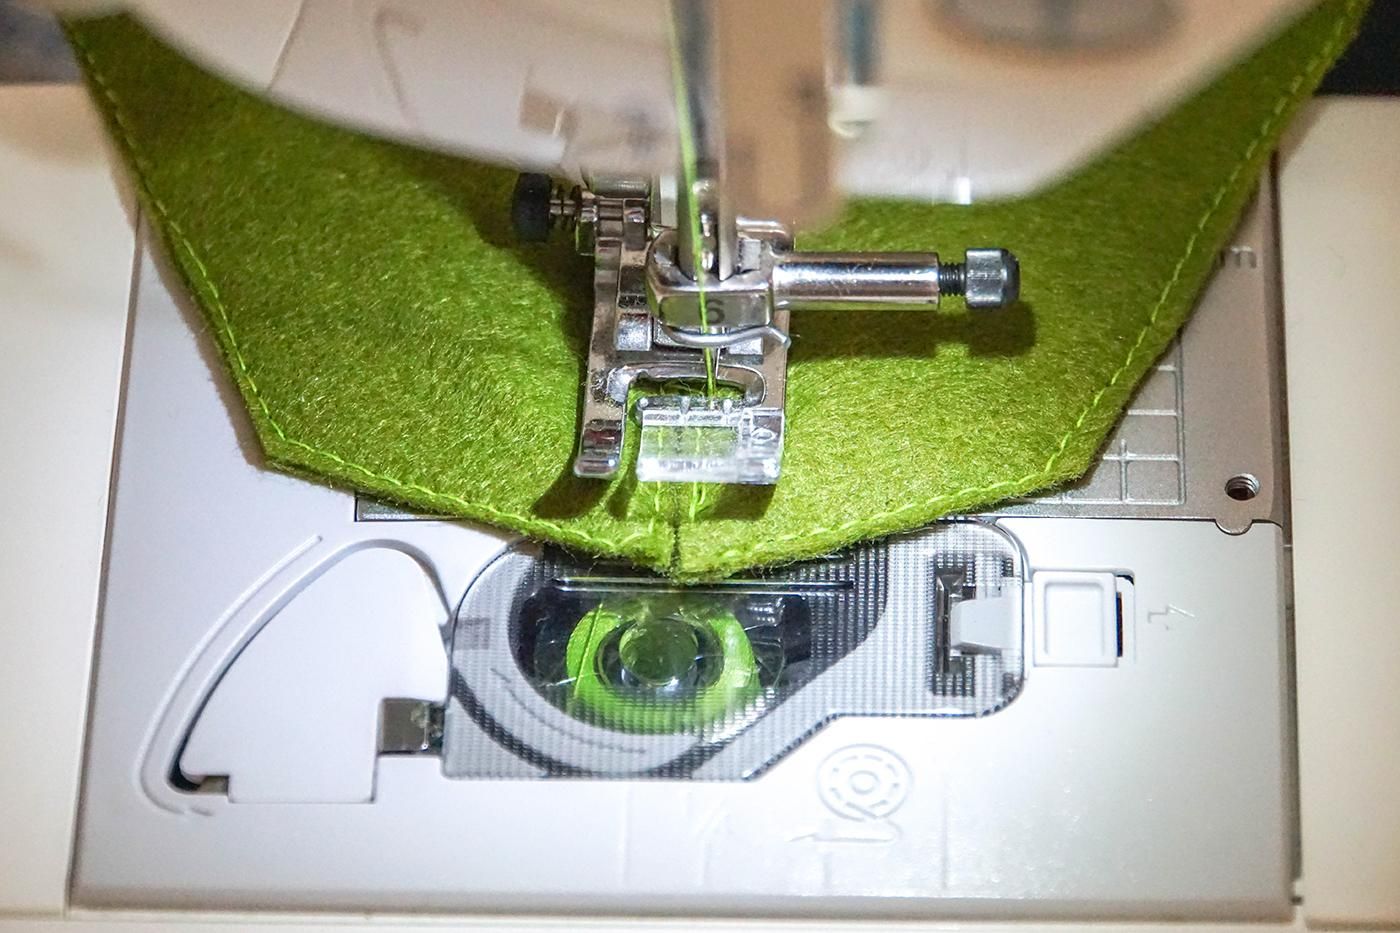
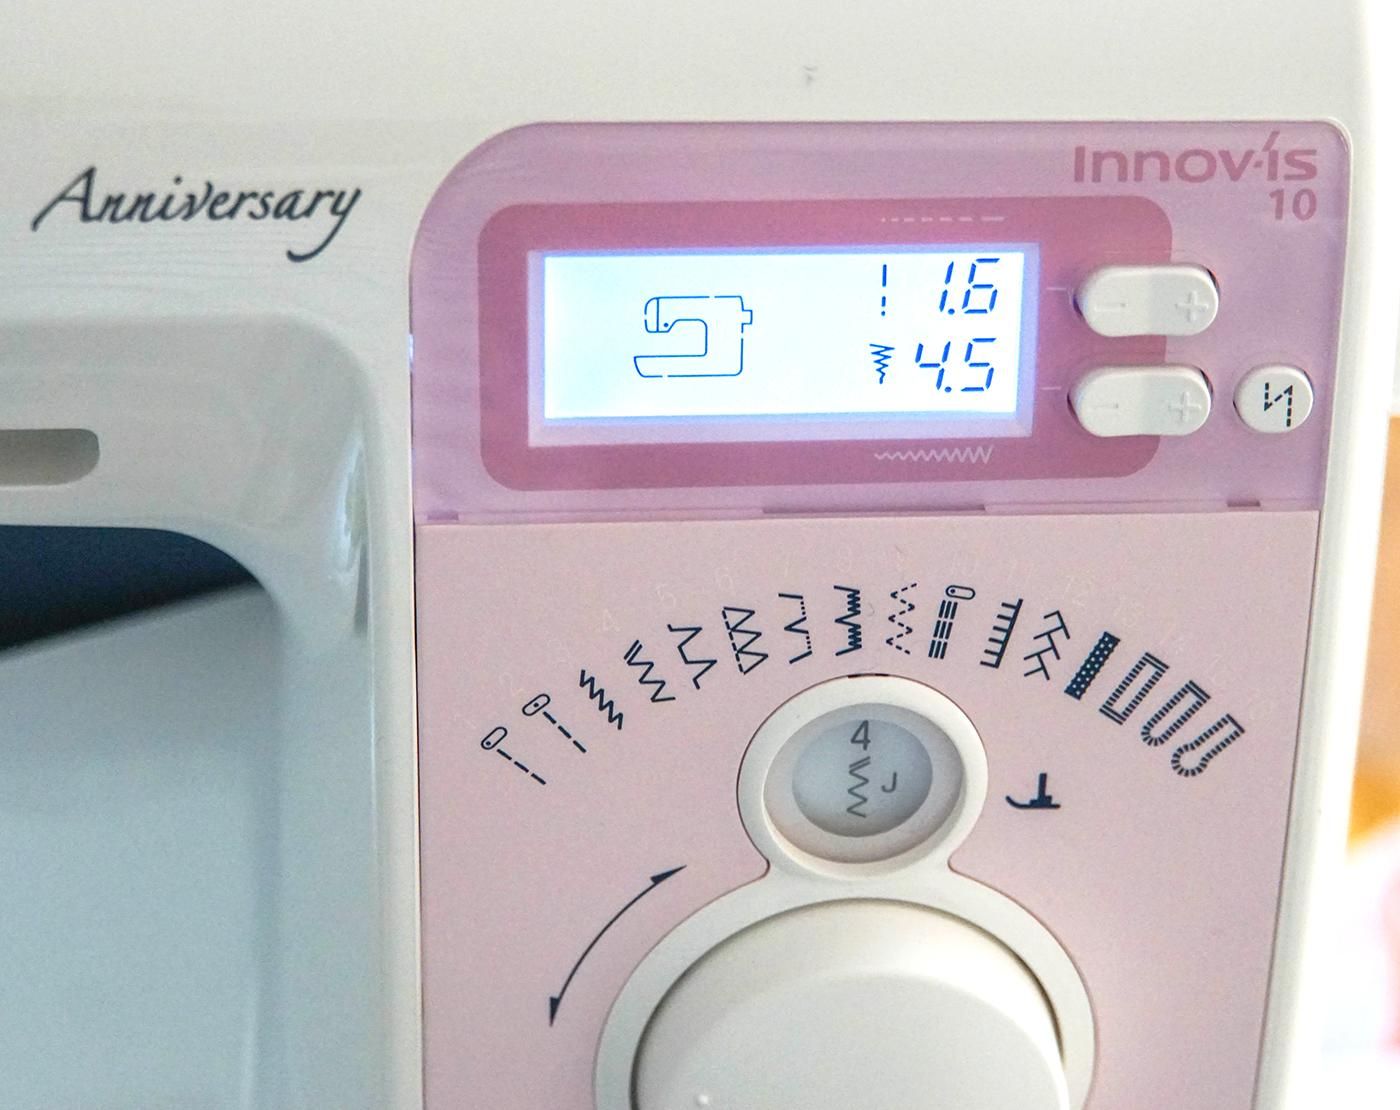
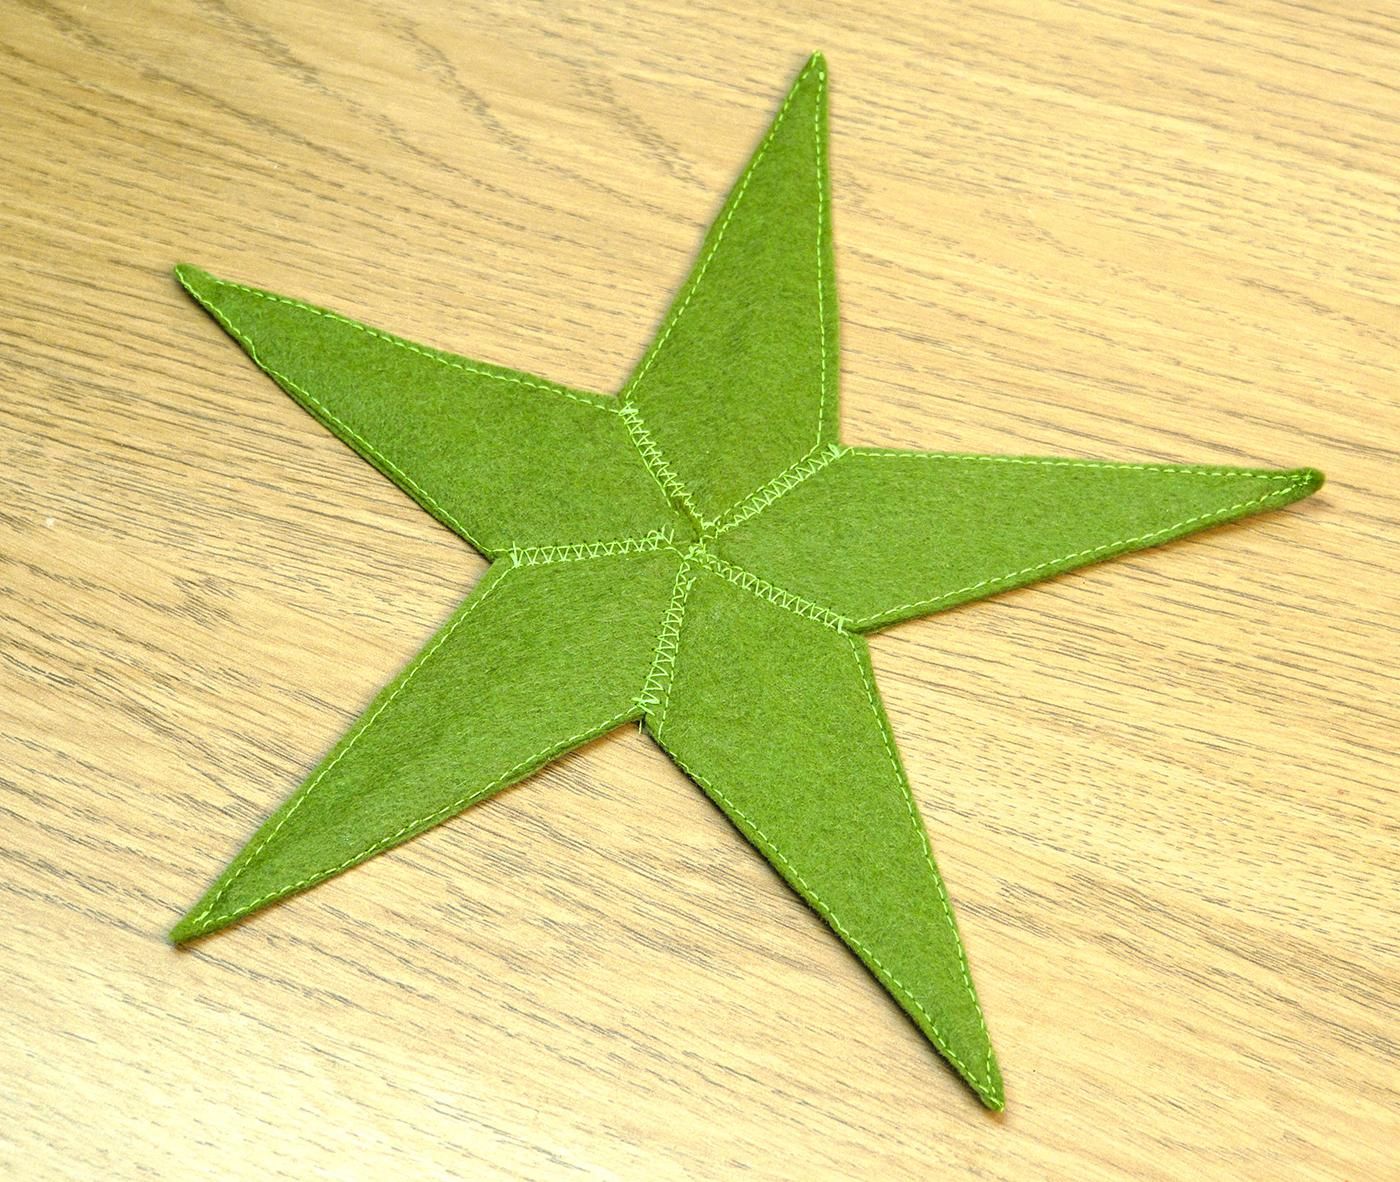
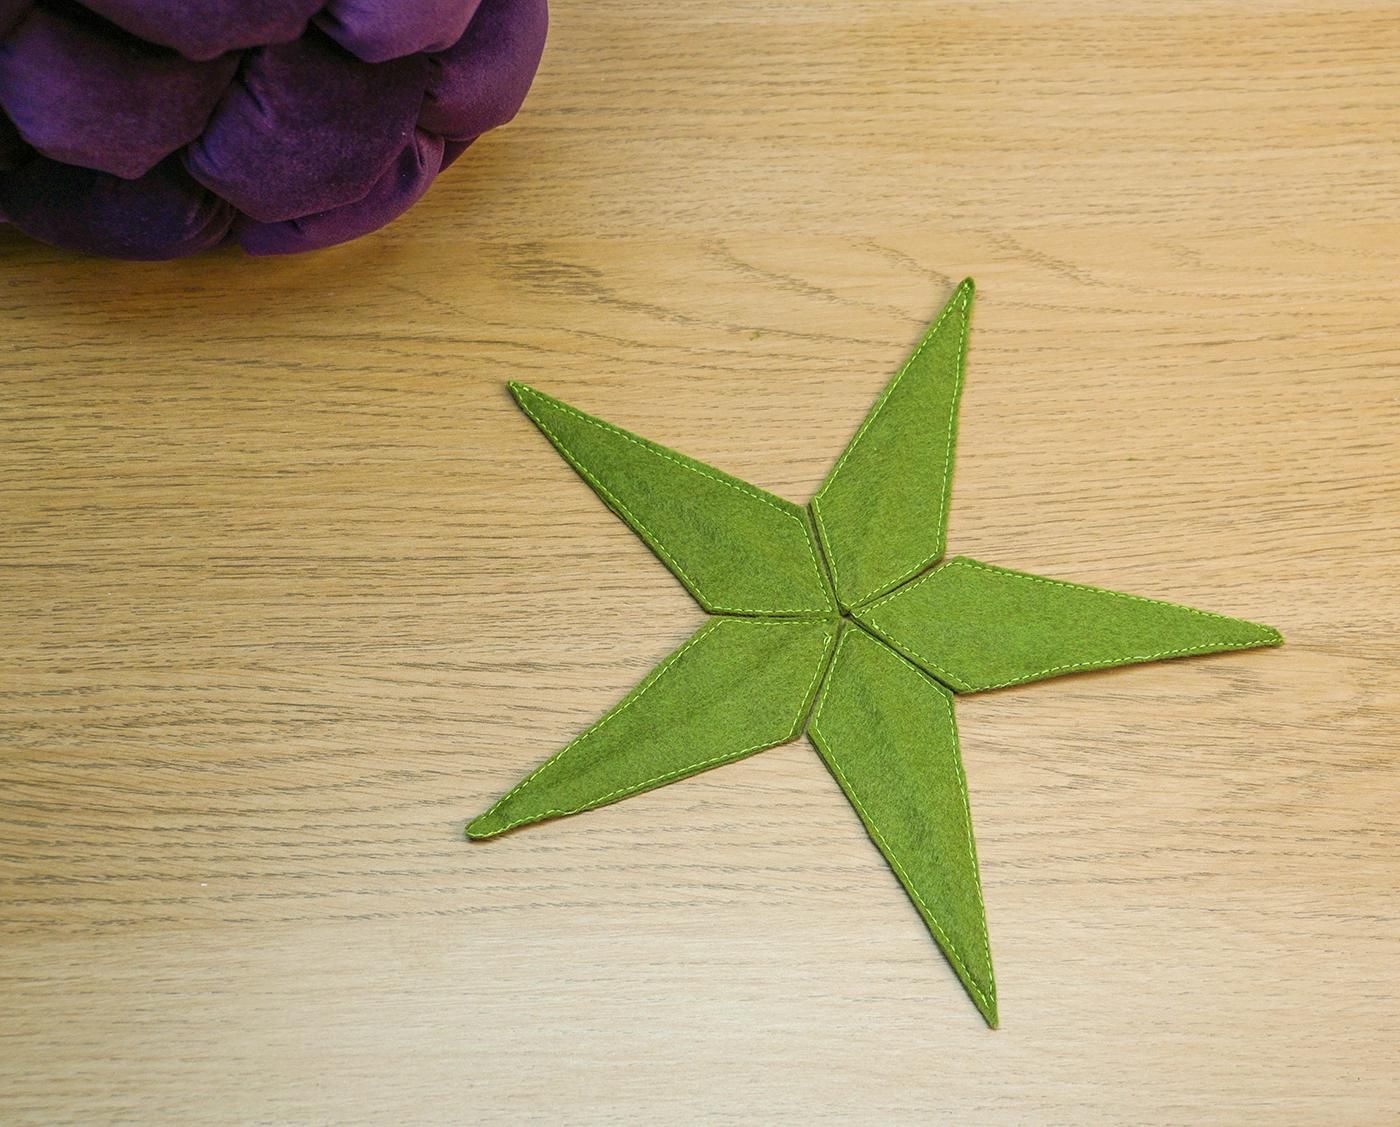
Now you need to sew the 5 leaves together along the short edges using a wide zigzag stitch.
Begin stitching at the non-wire end using a wide stitch (I used stitches 1.6 mm long & 4.5 mm wide), but start narrowing these stitches as you approach where the wire is, and go very slow. I narrowed right down to 2 mm wide stitches to prevent me hitting the wire.
I broke a needle hitting a wire on the first leaf I sewed because I didn't narrow my stitches, so definitely reduce stitch width as specified above. And if you're worried about hitting the wire, you could always hand stitch these seams.
You should now have a star shape with a wire armature.
Make the Stalk
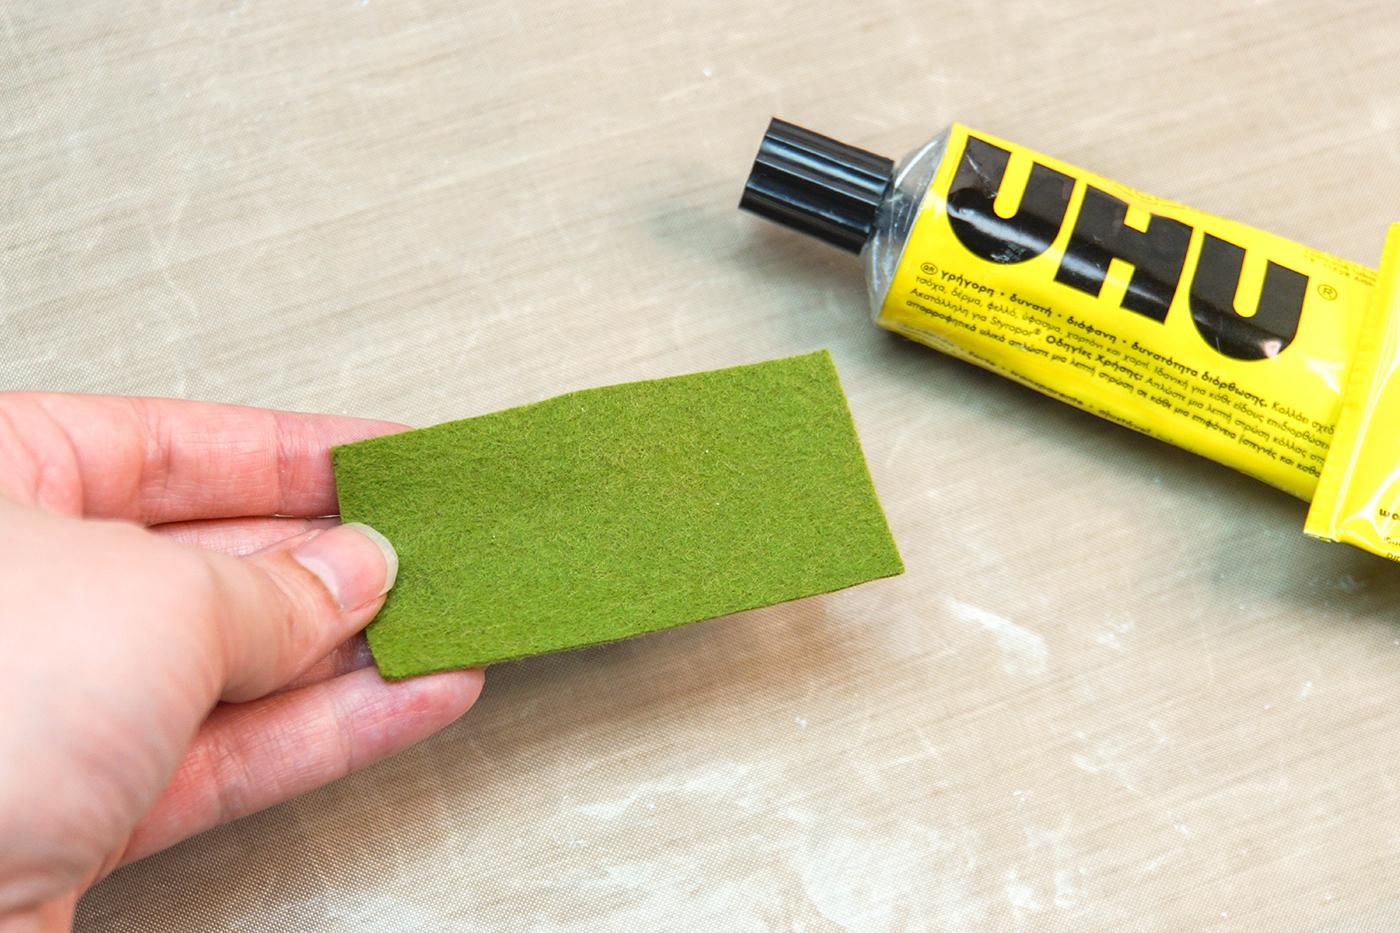
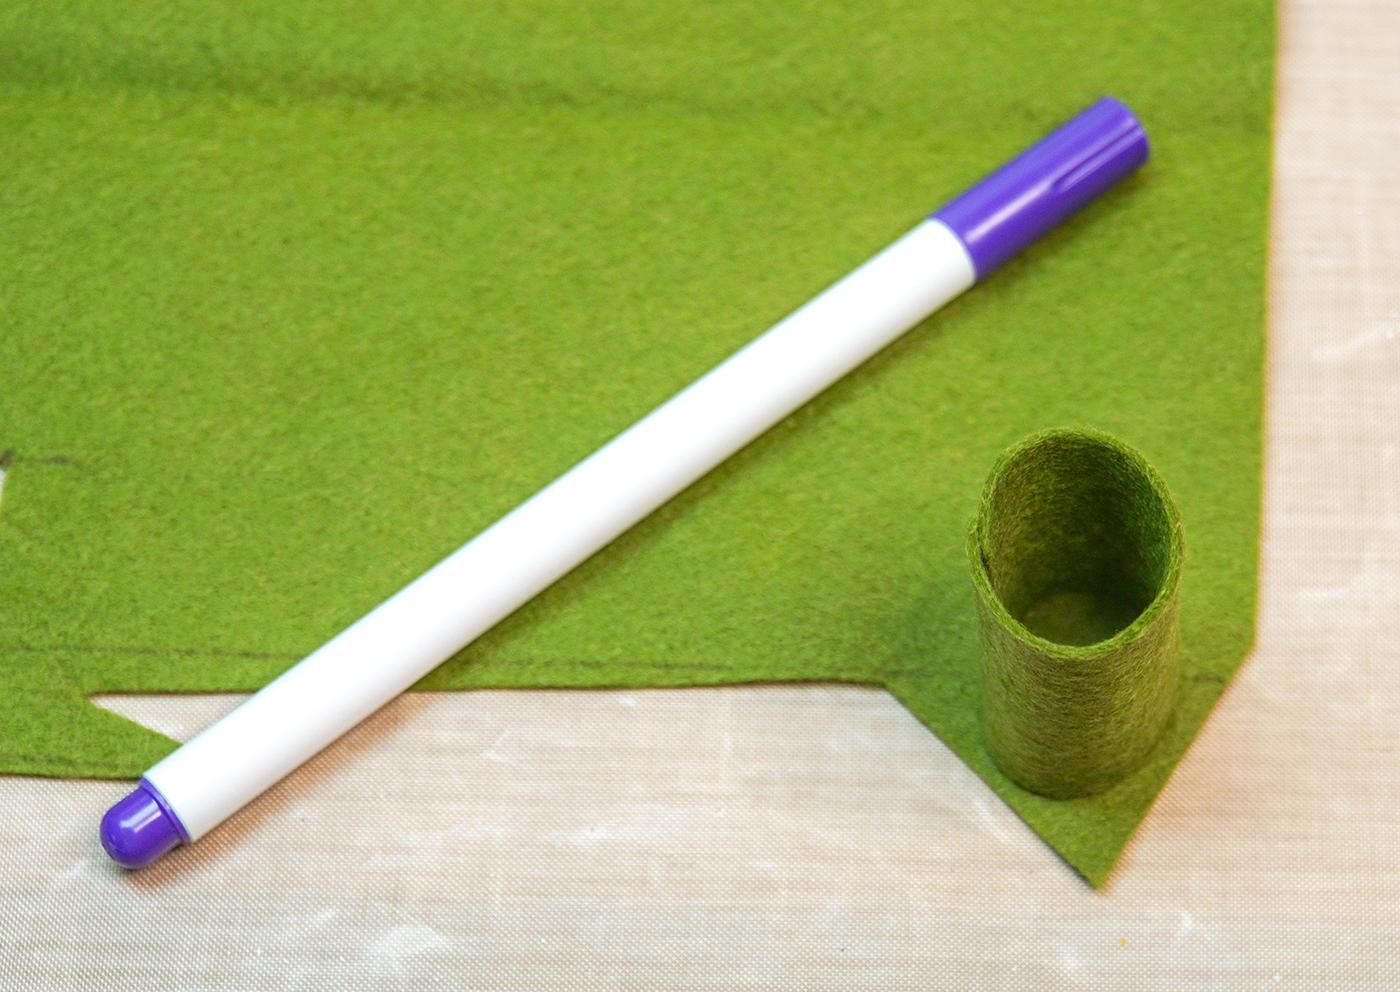
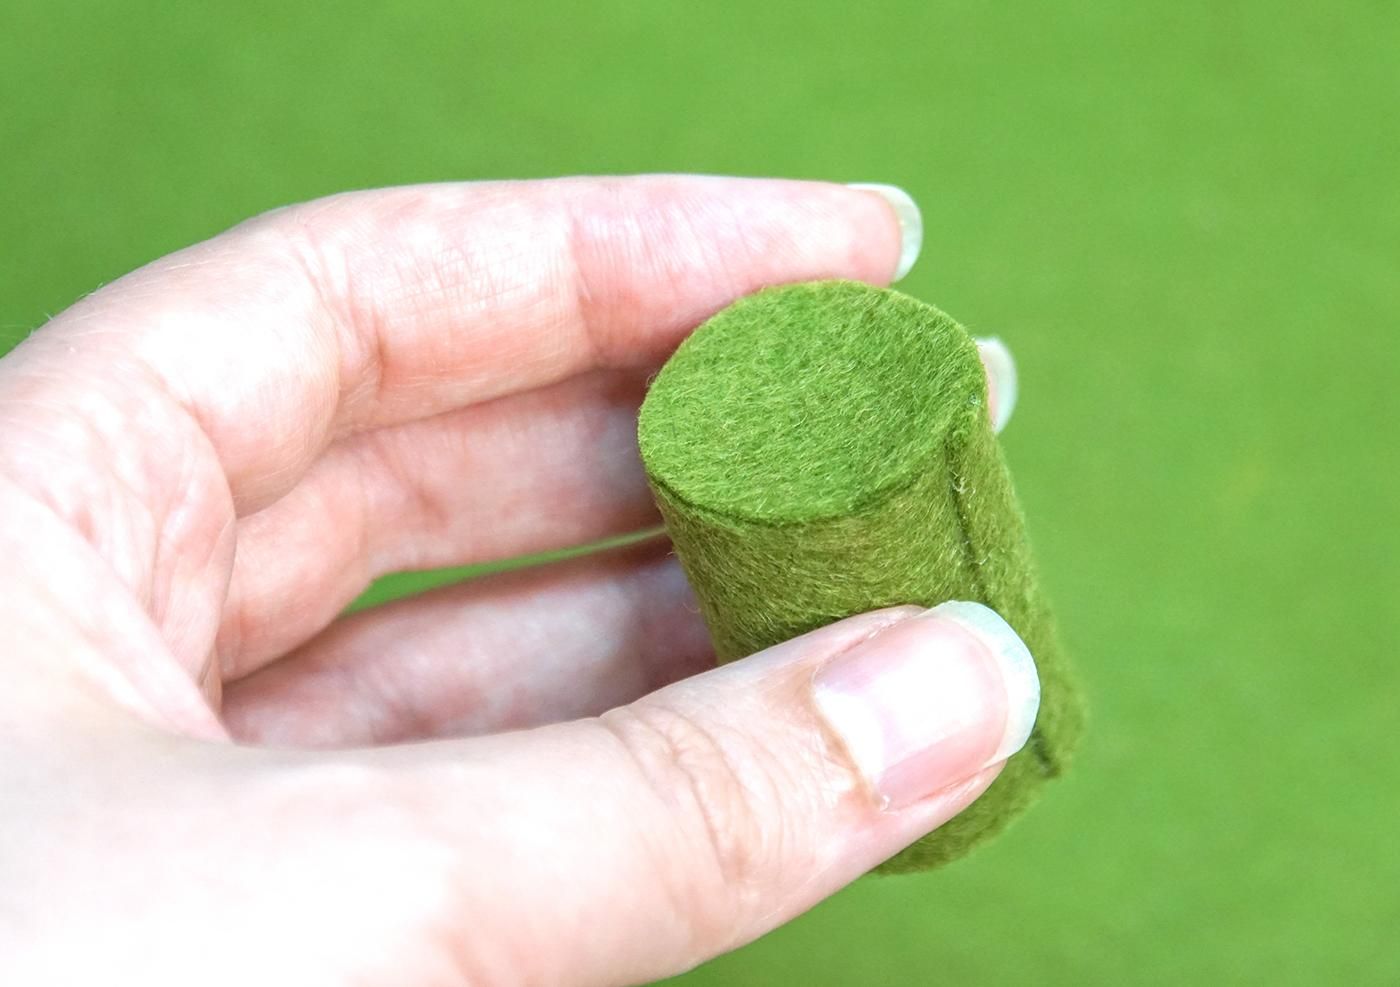
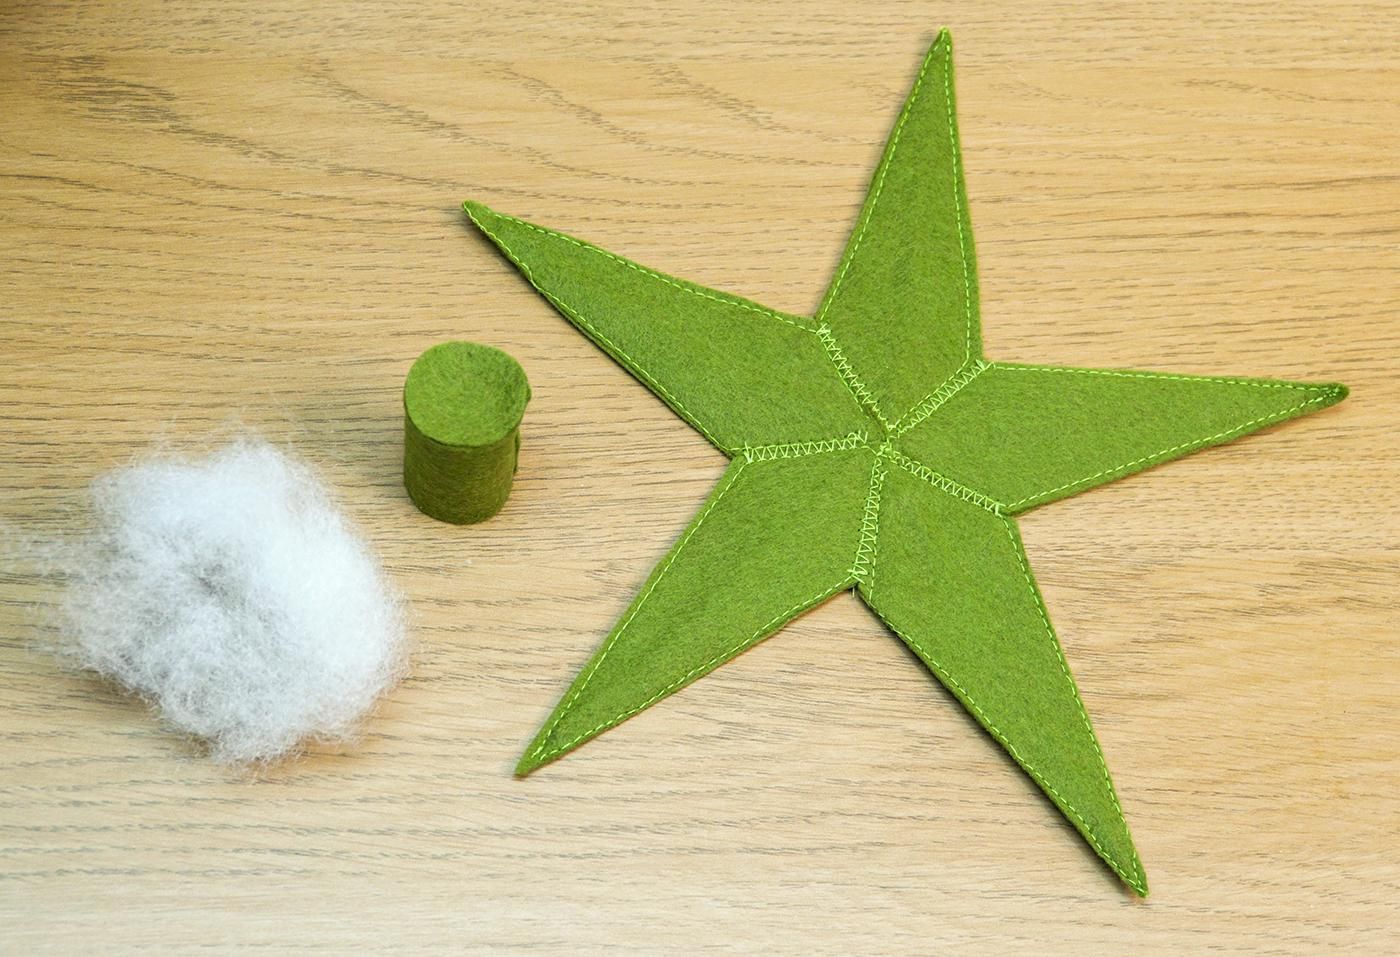
Cut out a rectangle of felt 8 x 4 cm, add glue along one short edge and make it into a tube. I used UHU adhesive for this.
Use it to cut out a circle the same size as the outer tube diameter, then glue that on top.
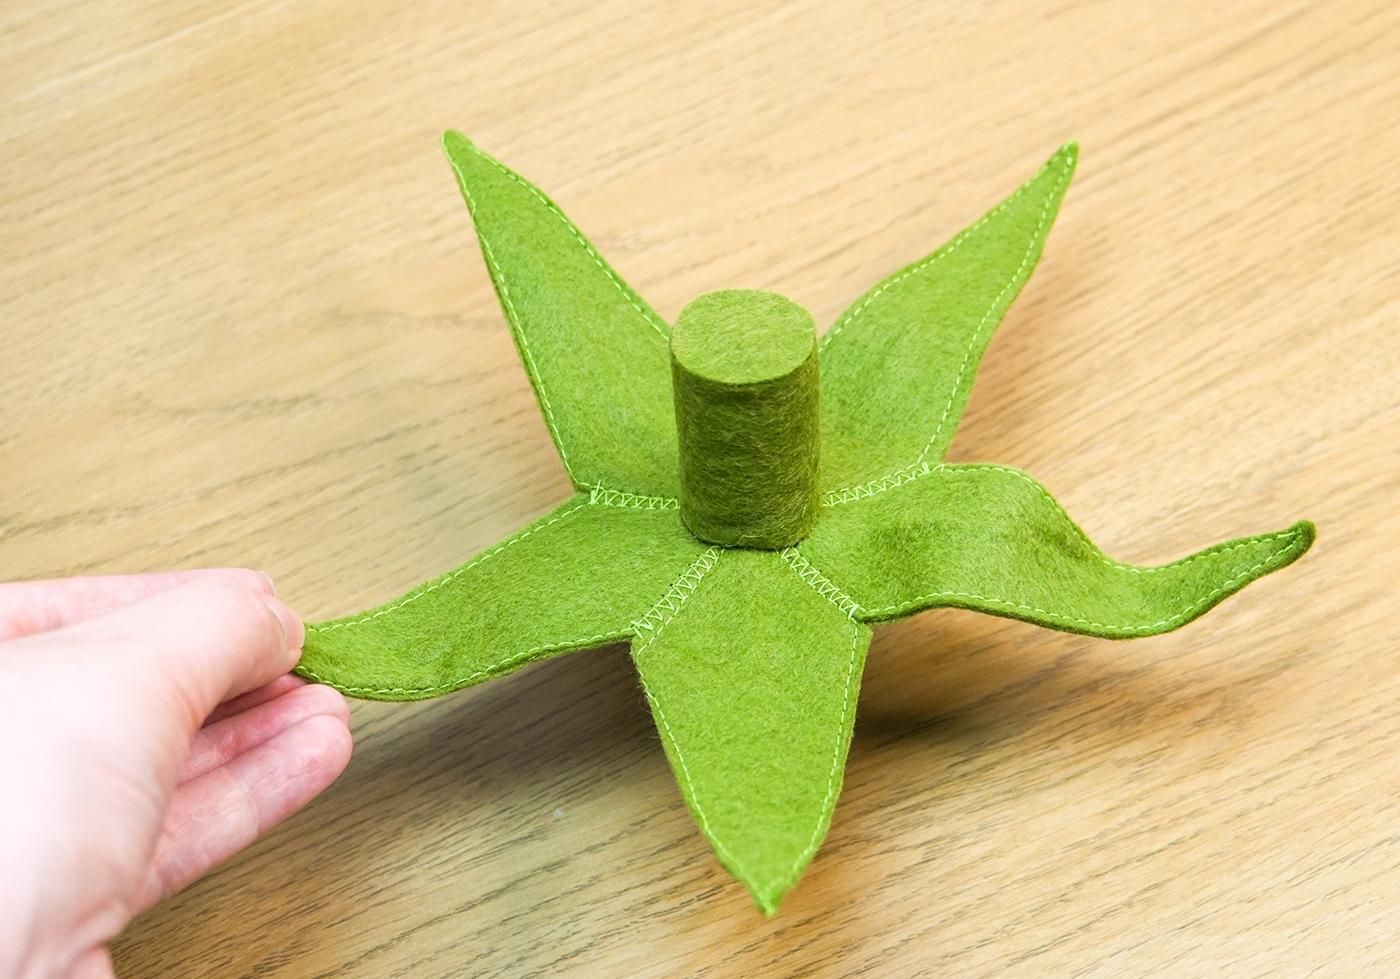
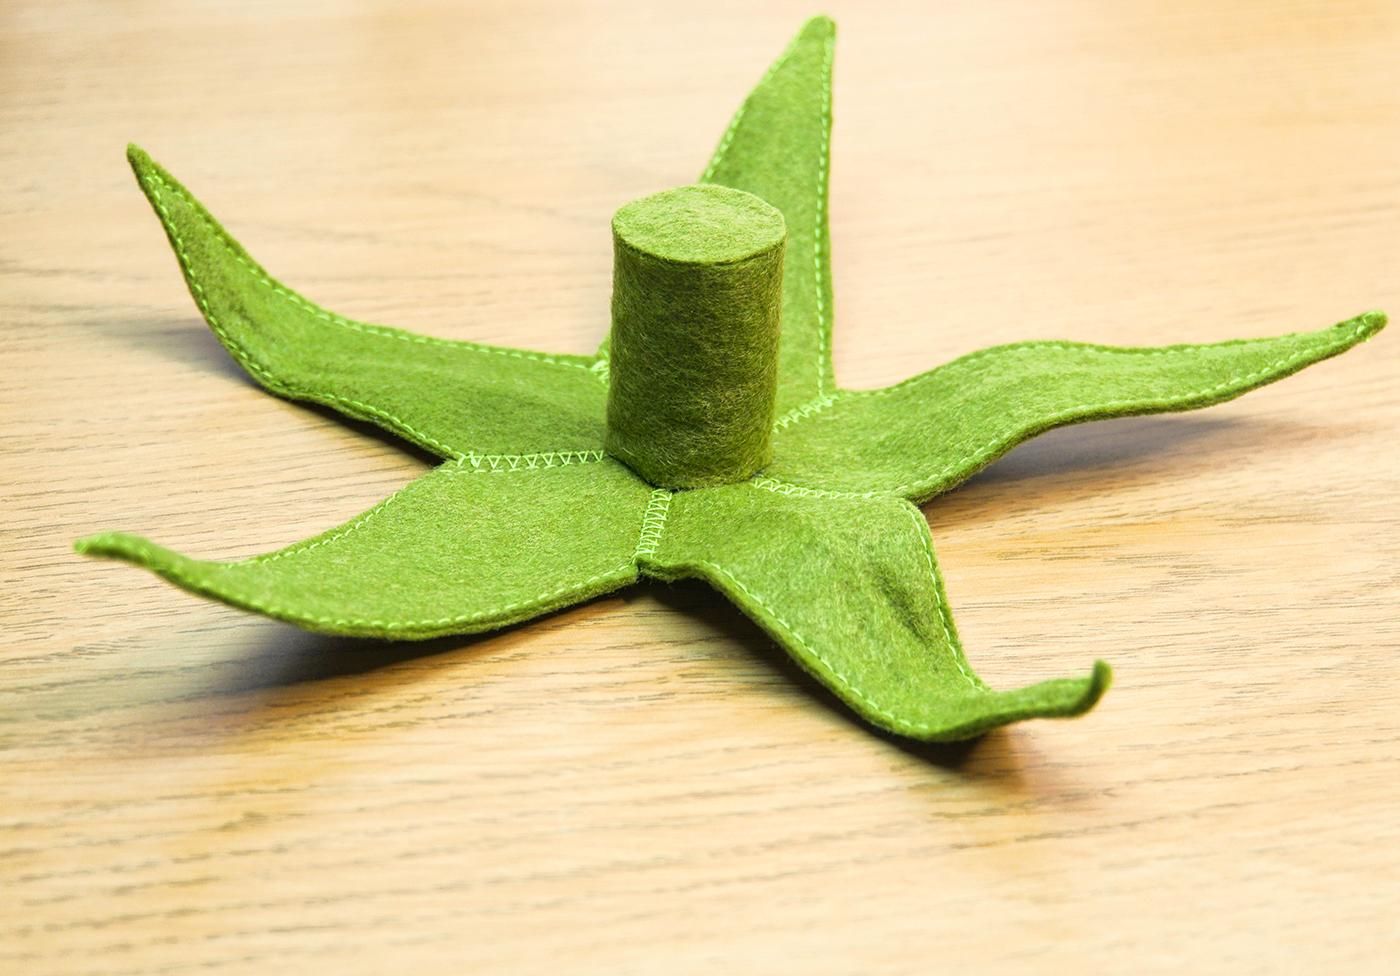
Once that has dried, add a bit of stuffing inside and glue the stalk to the centre of the leaves section.
Attach the Stalk
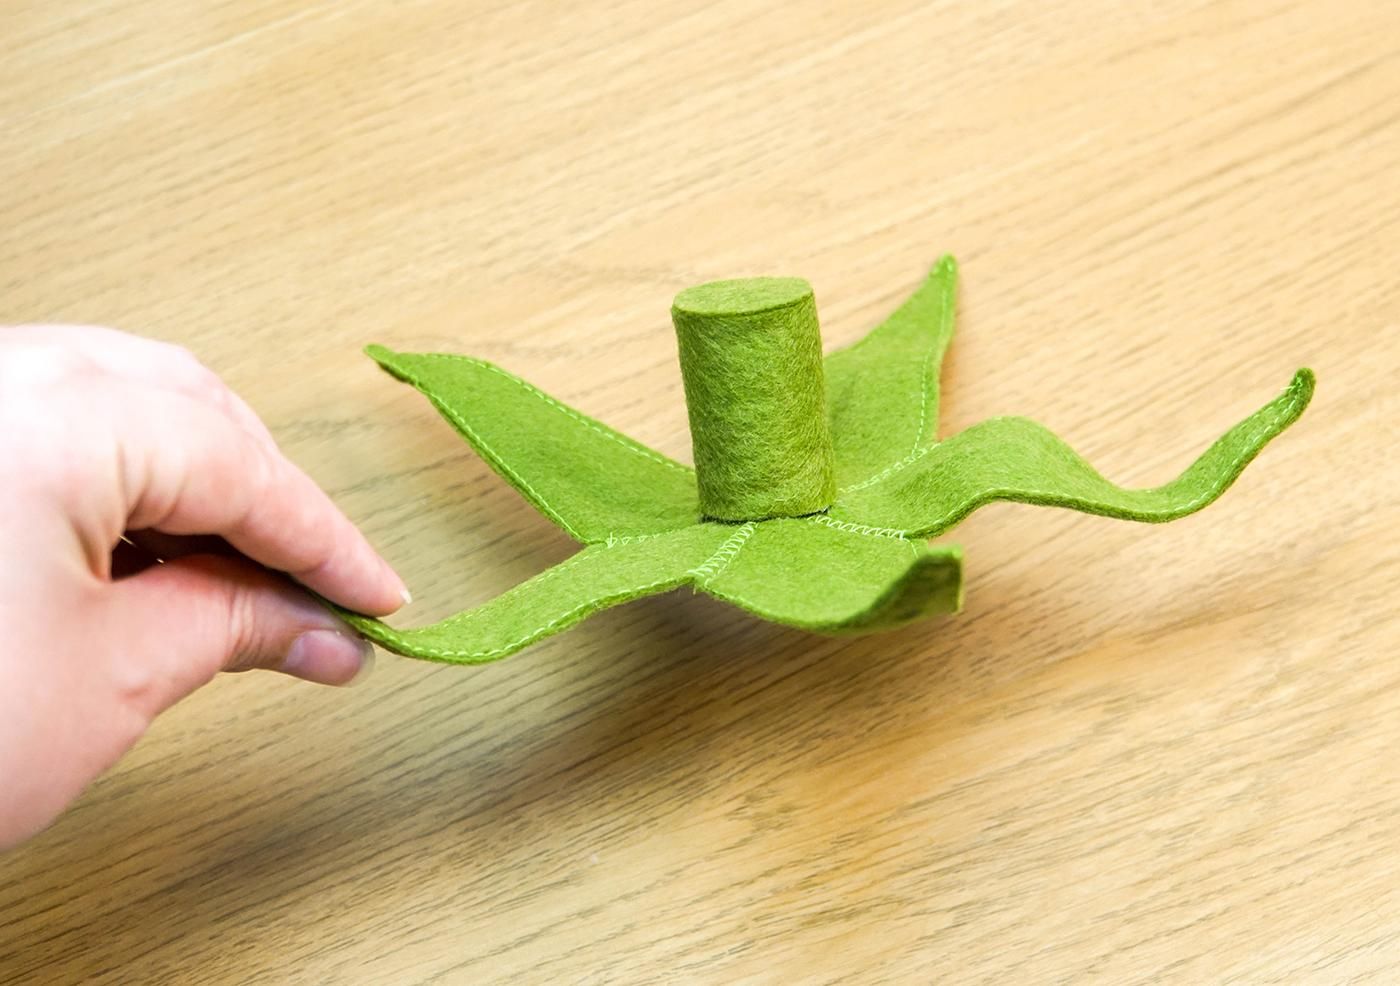
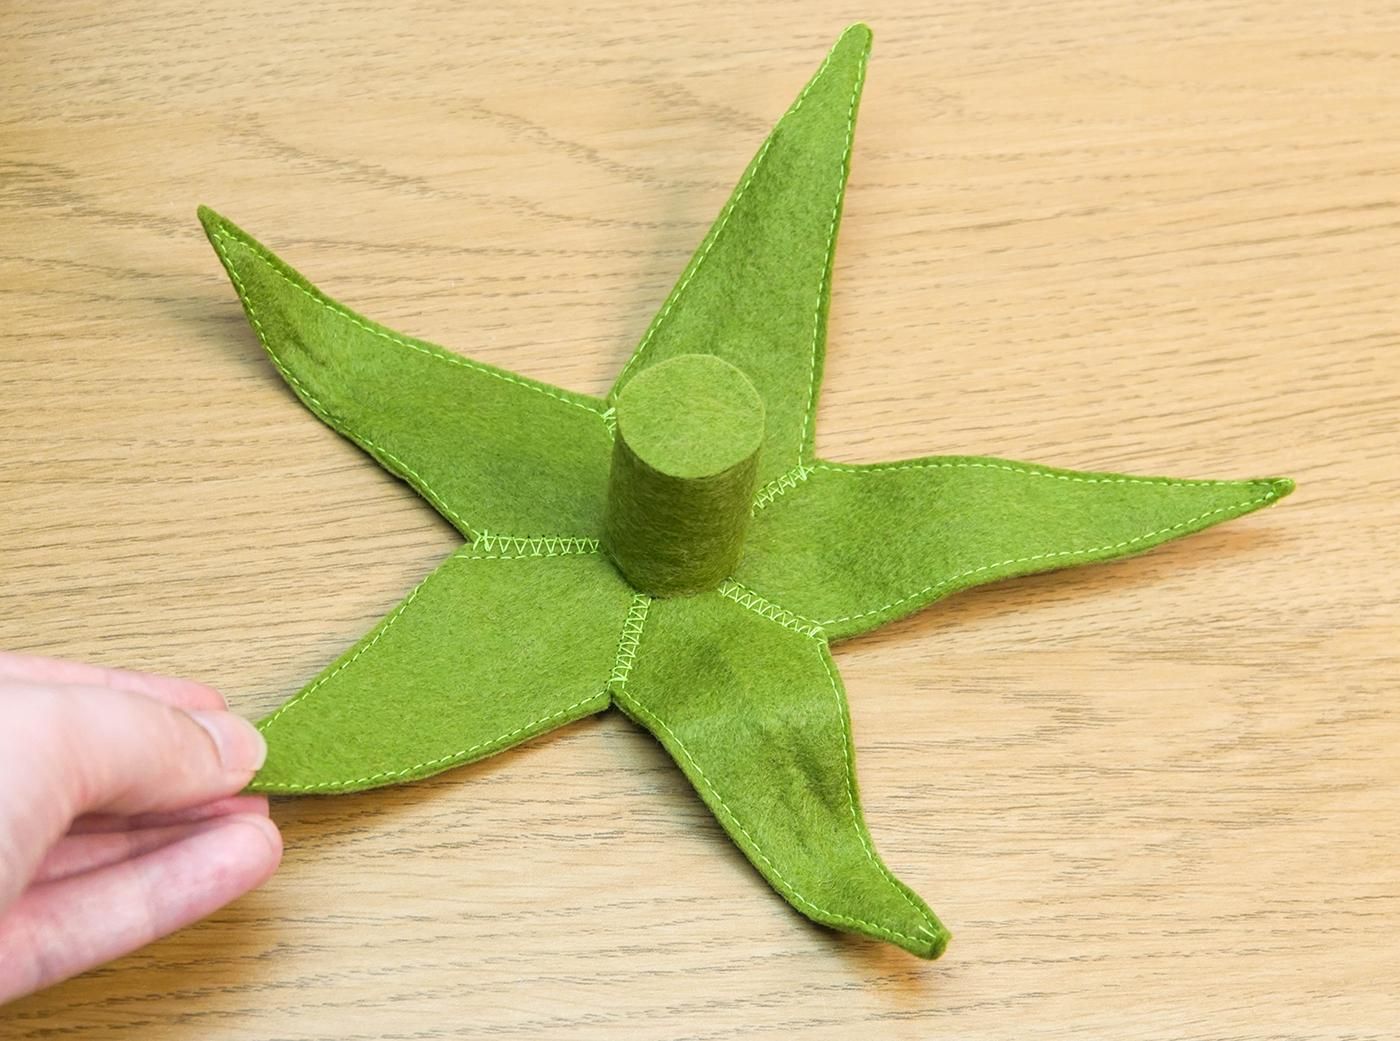
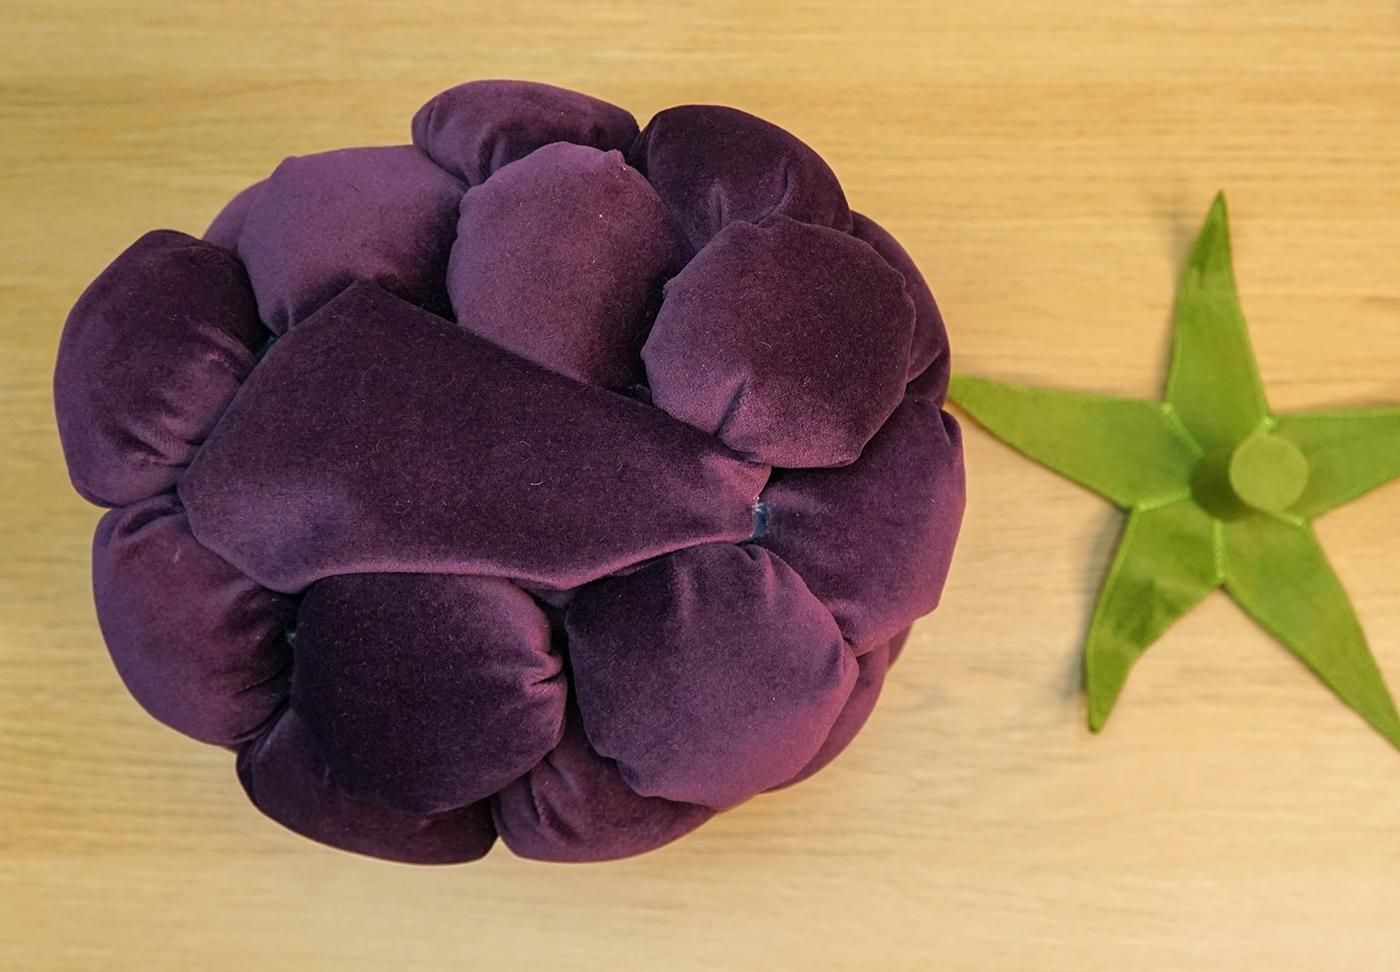
And finally, shape the wire to add character to them, and glue the centre of the leaves section to the top of the blackberry.
Finished
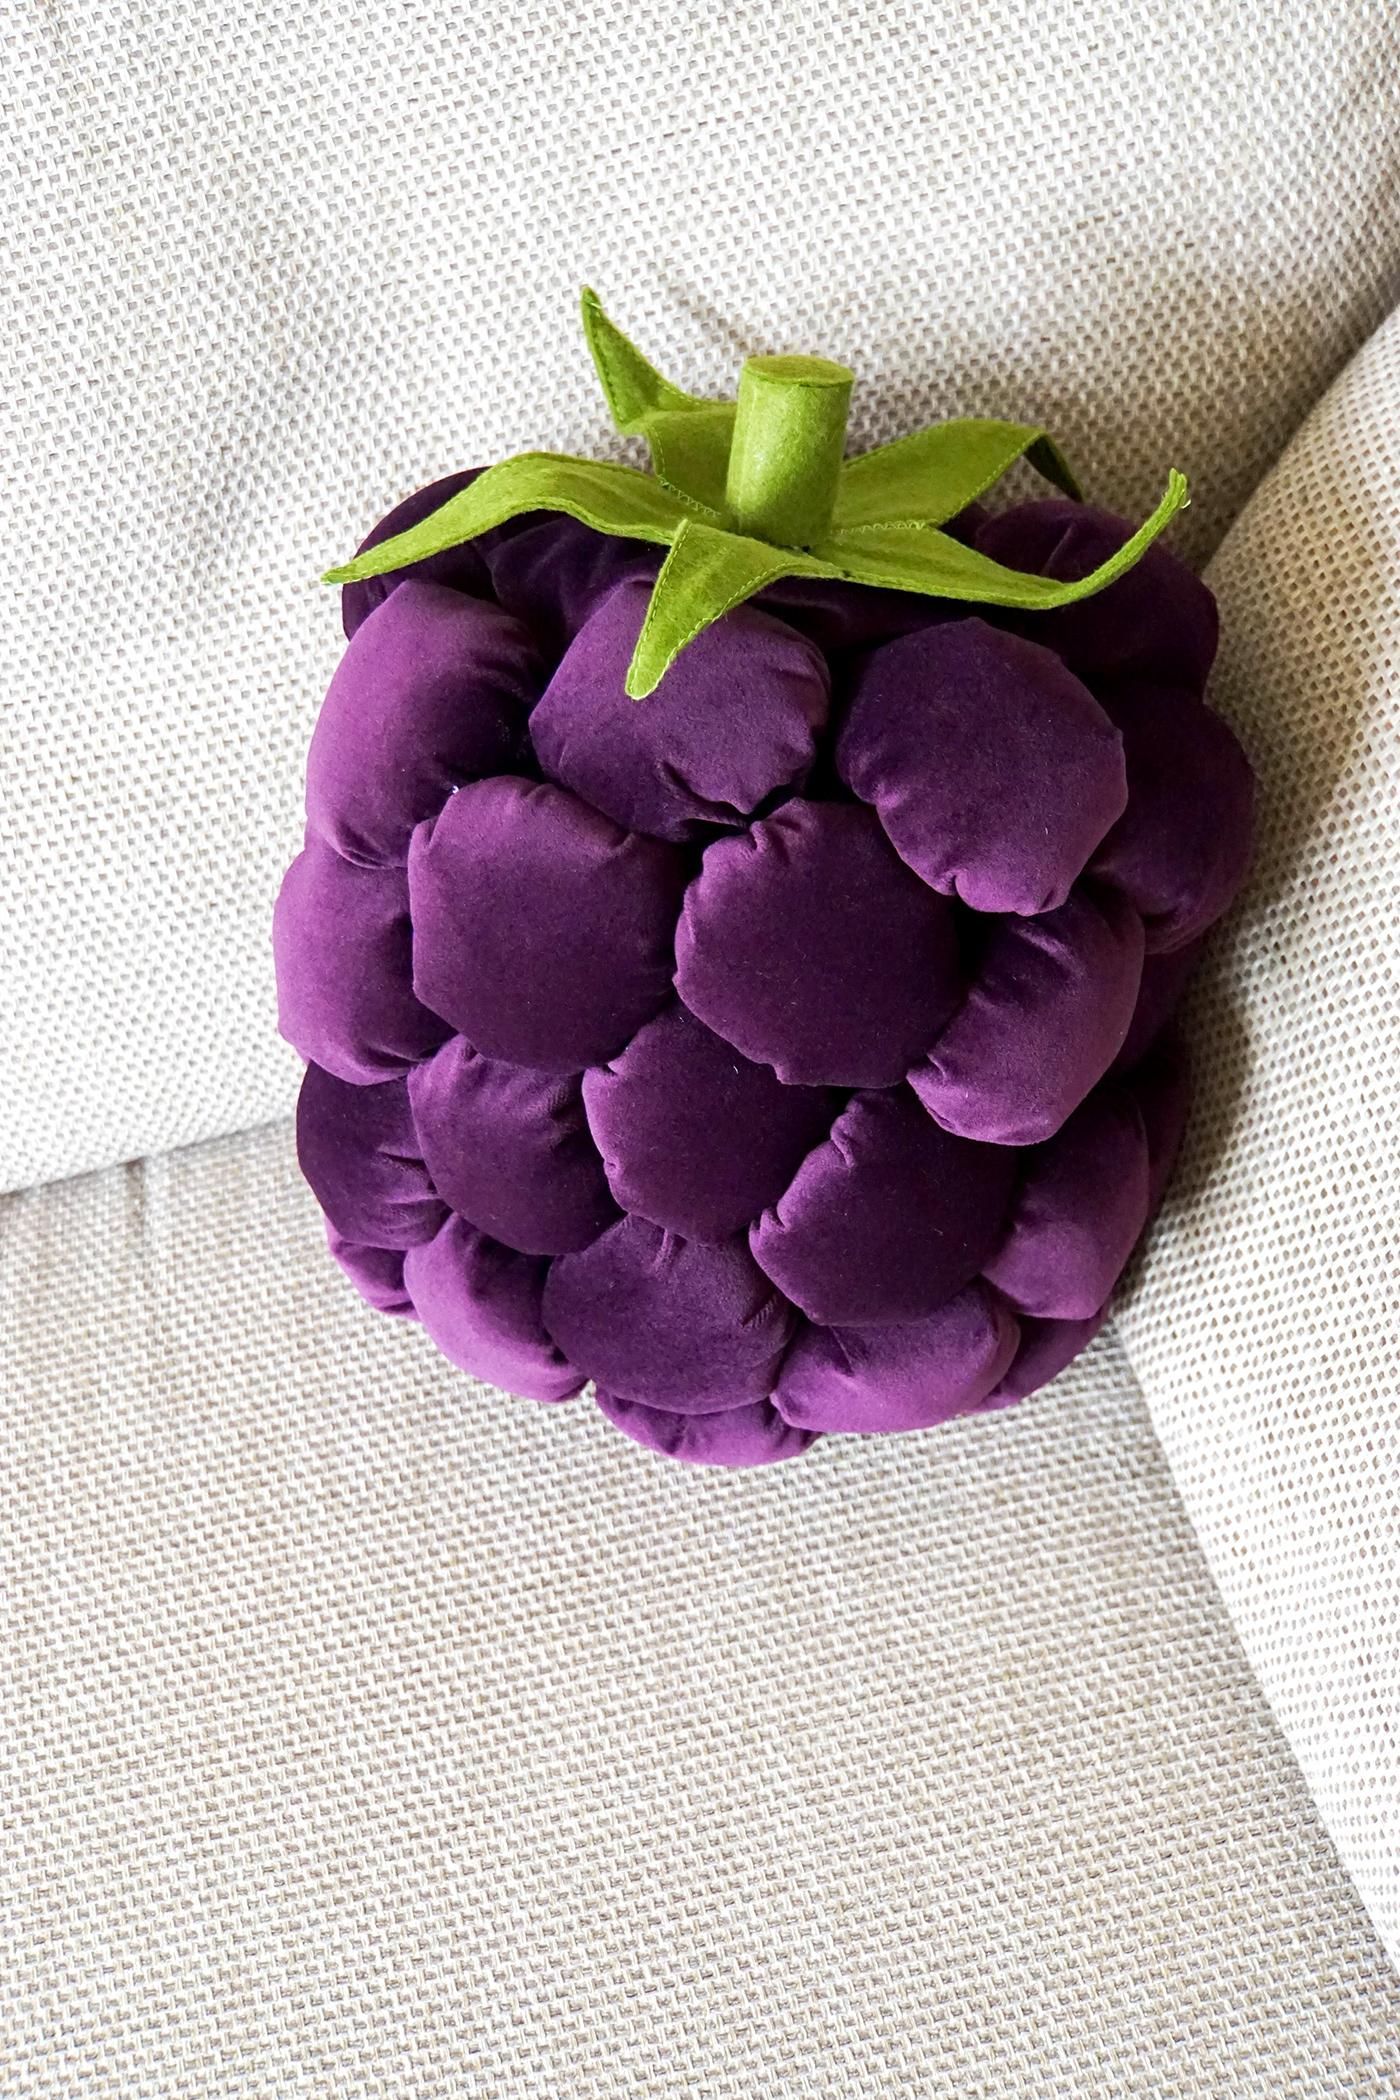
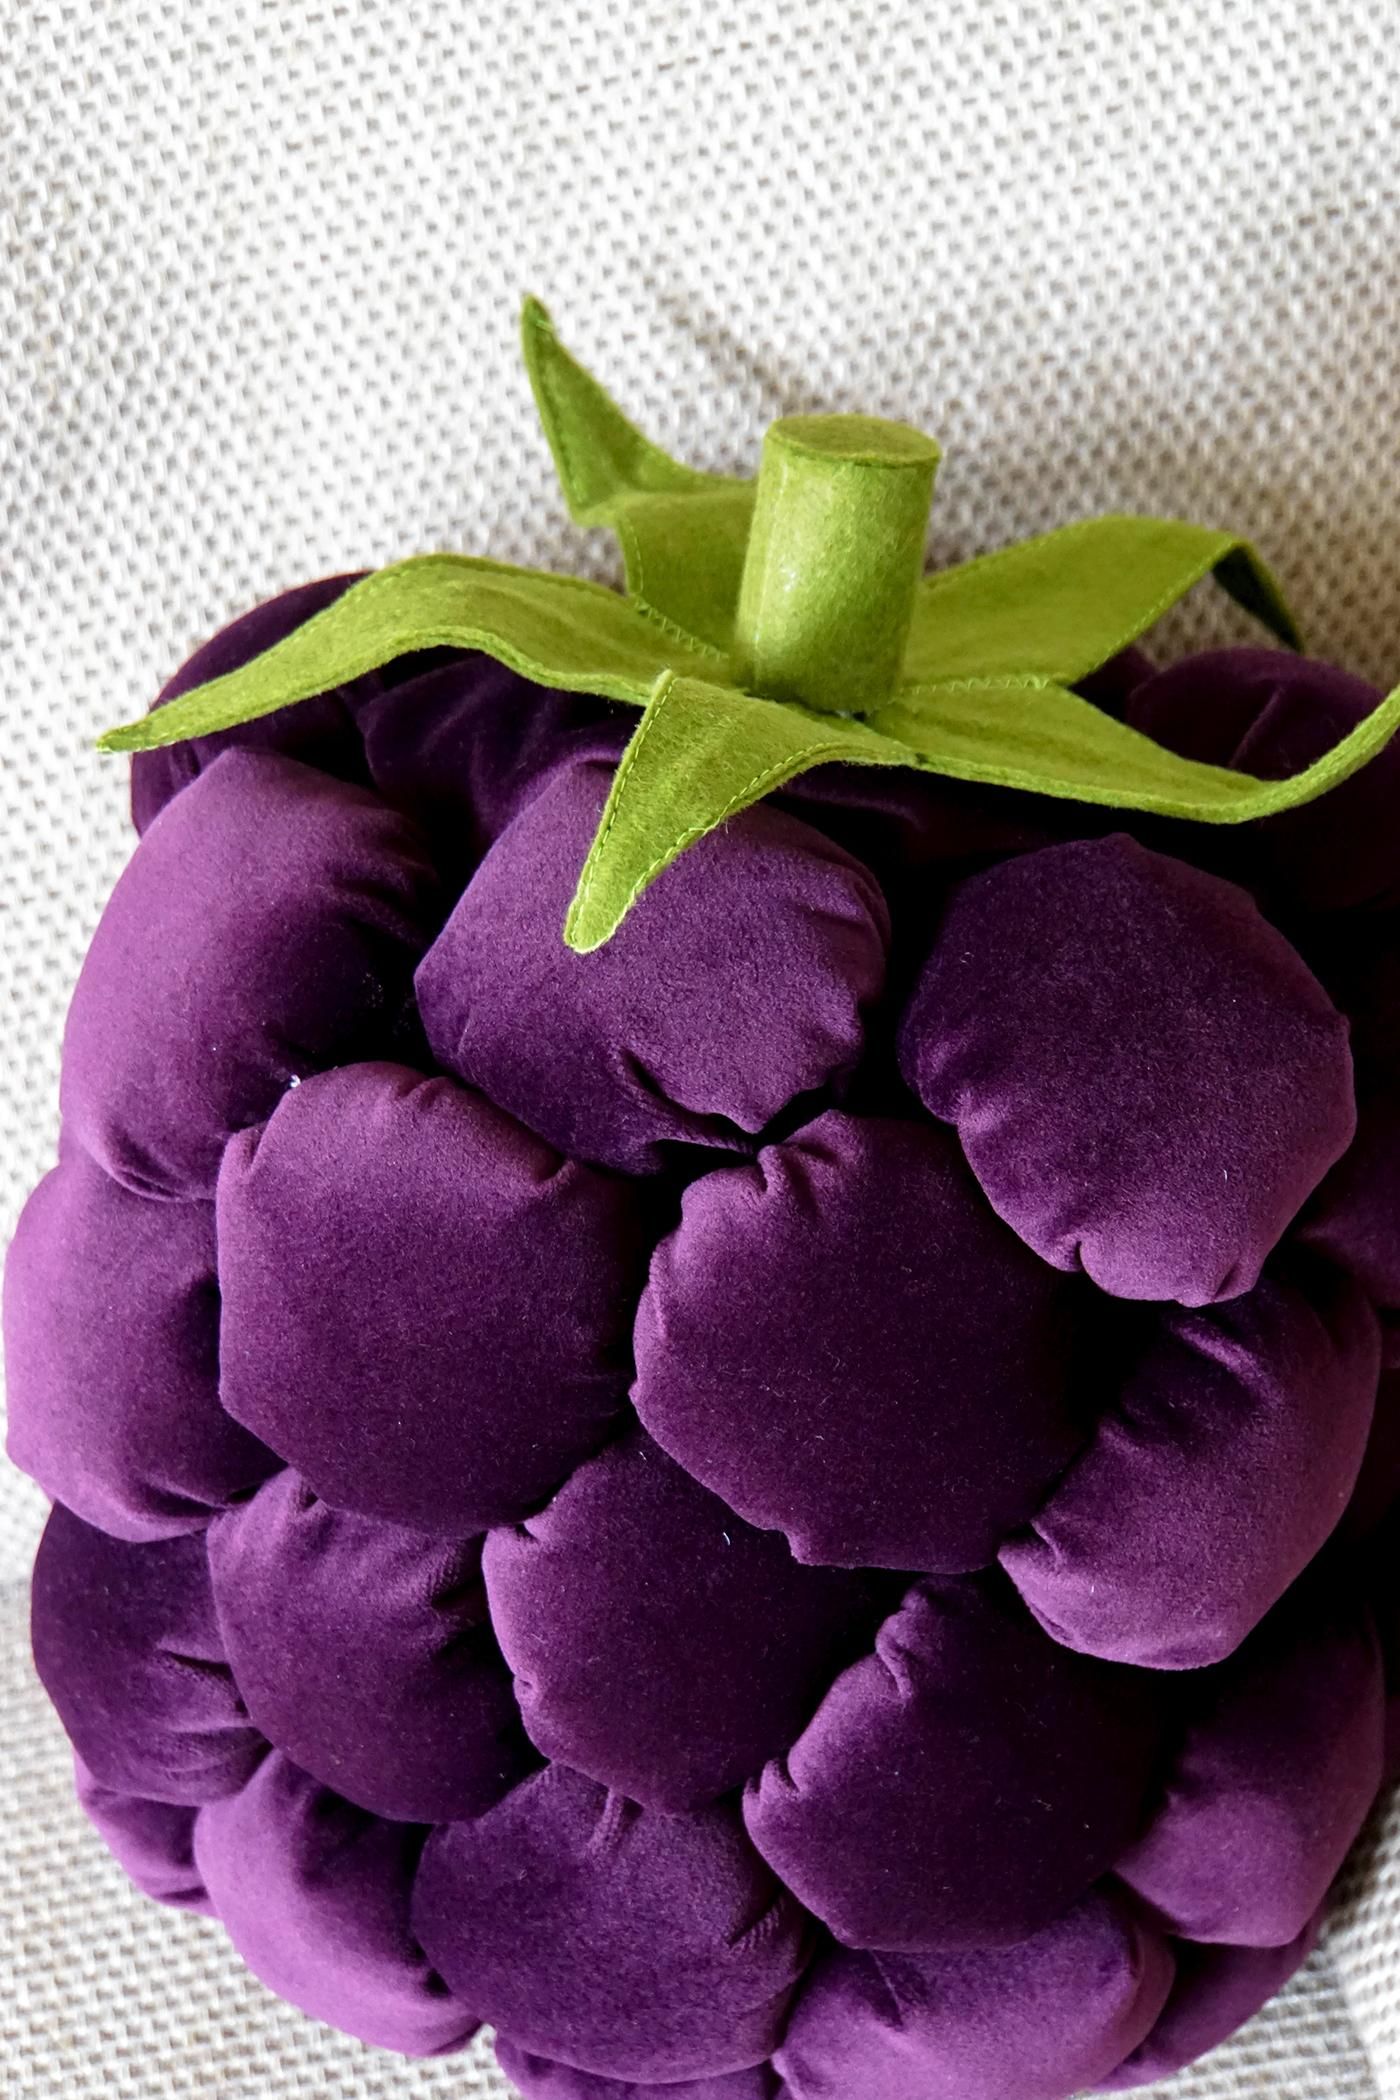
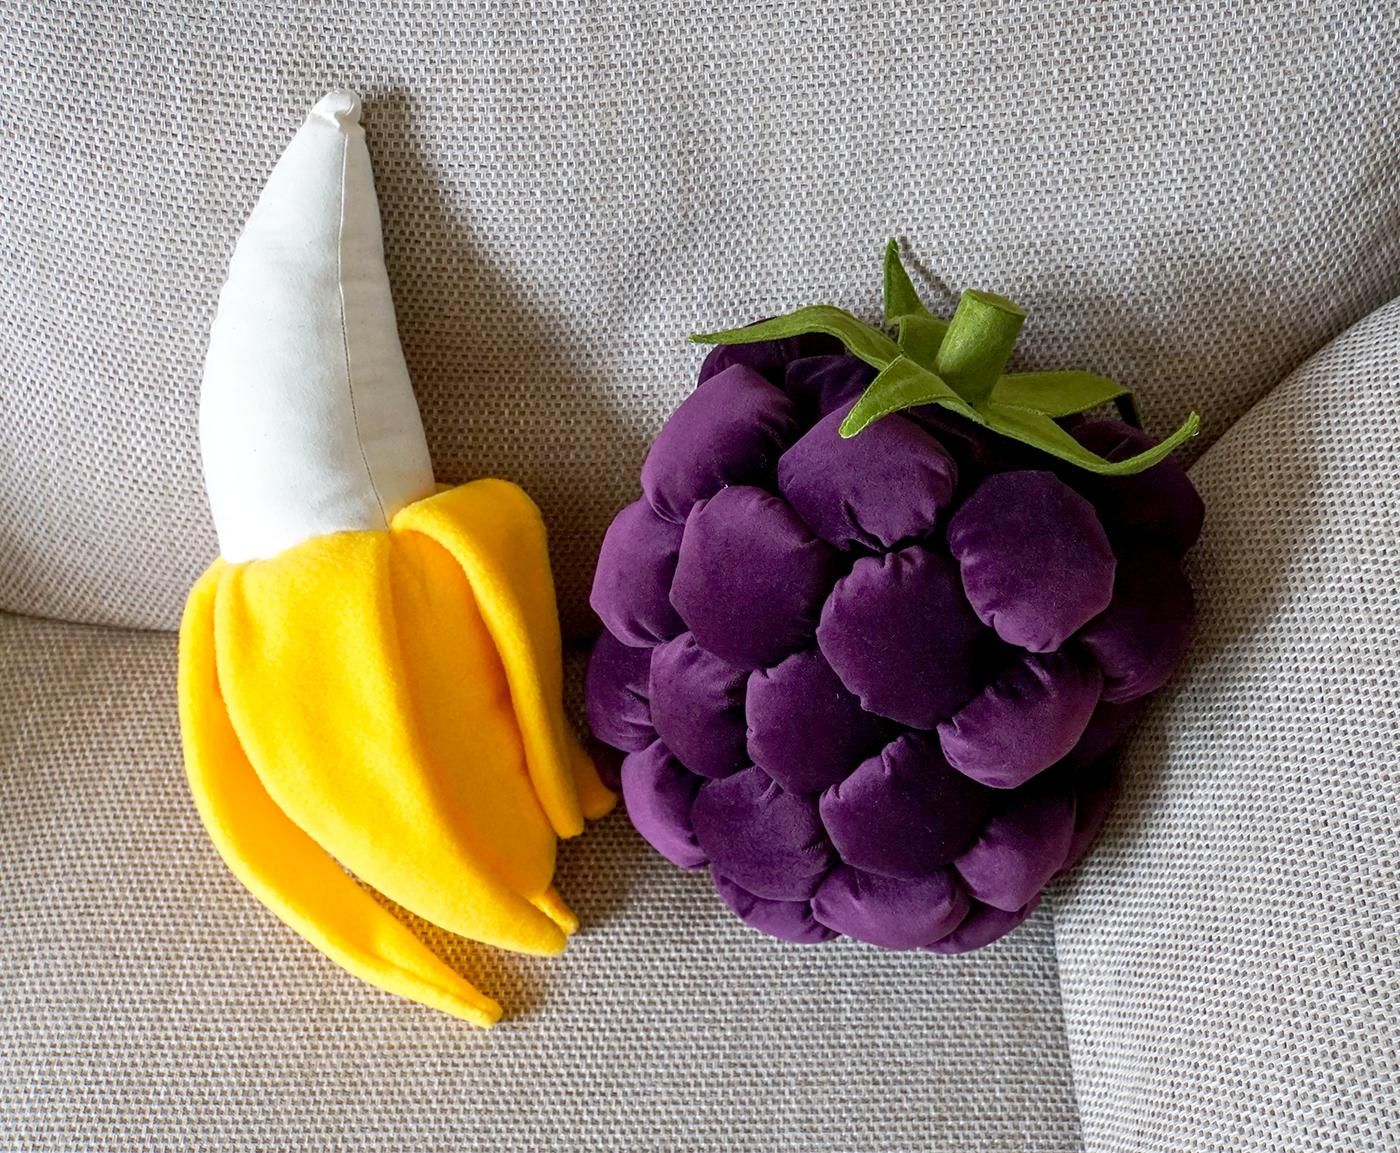
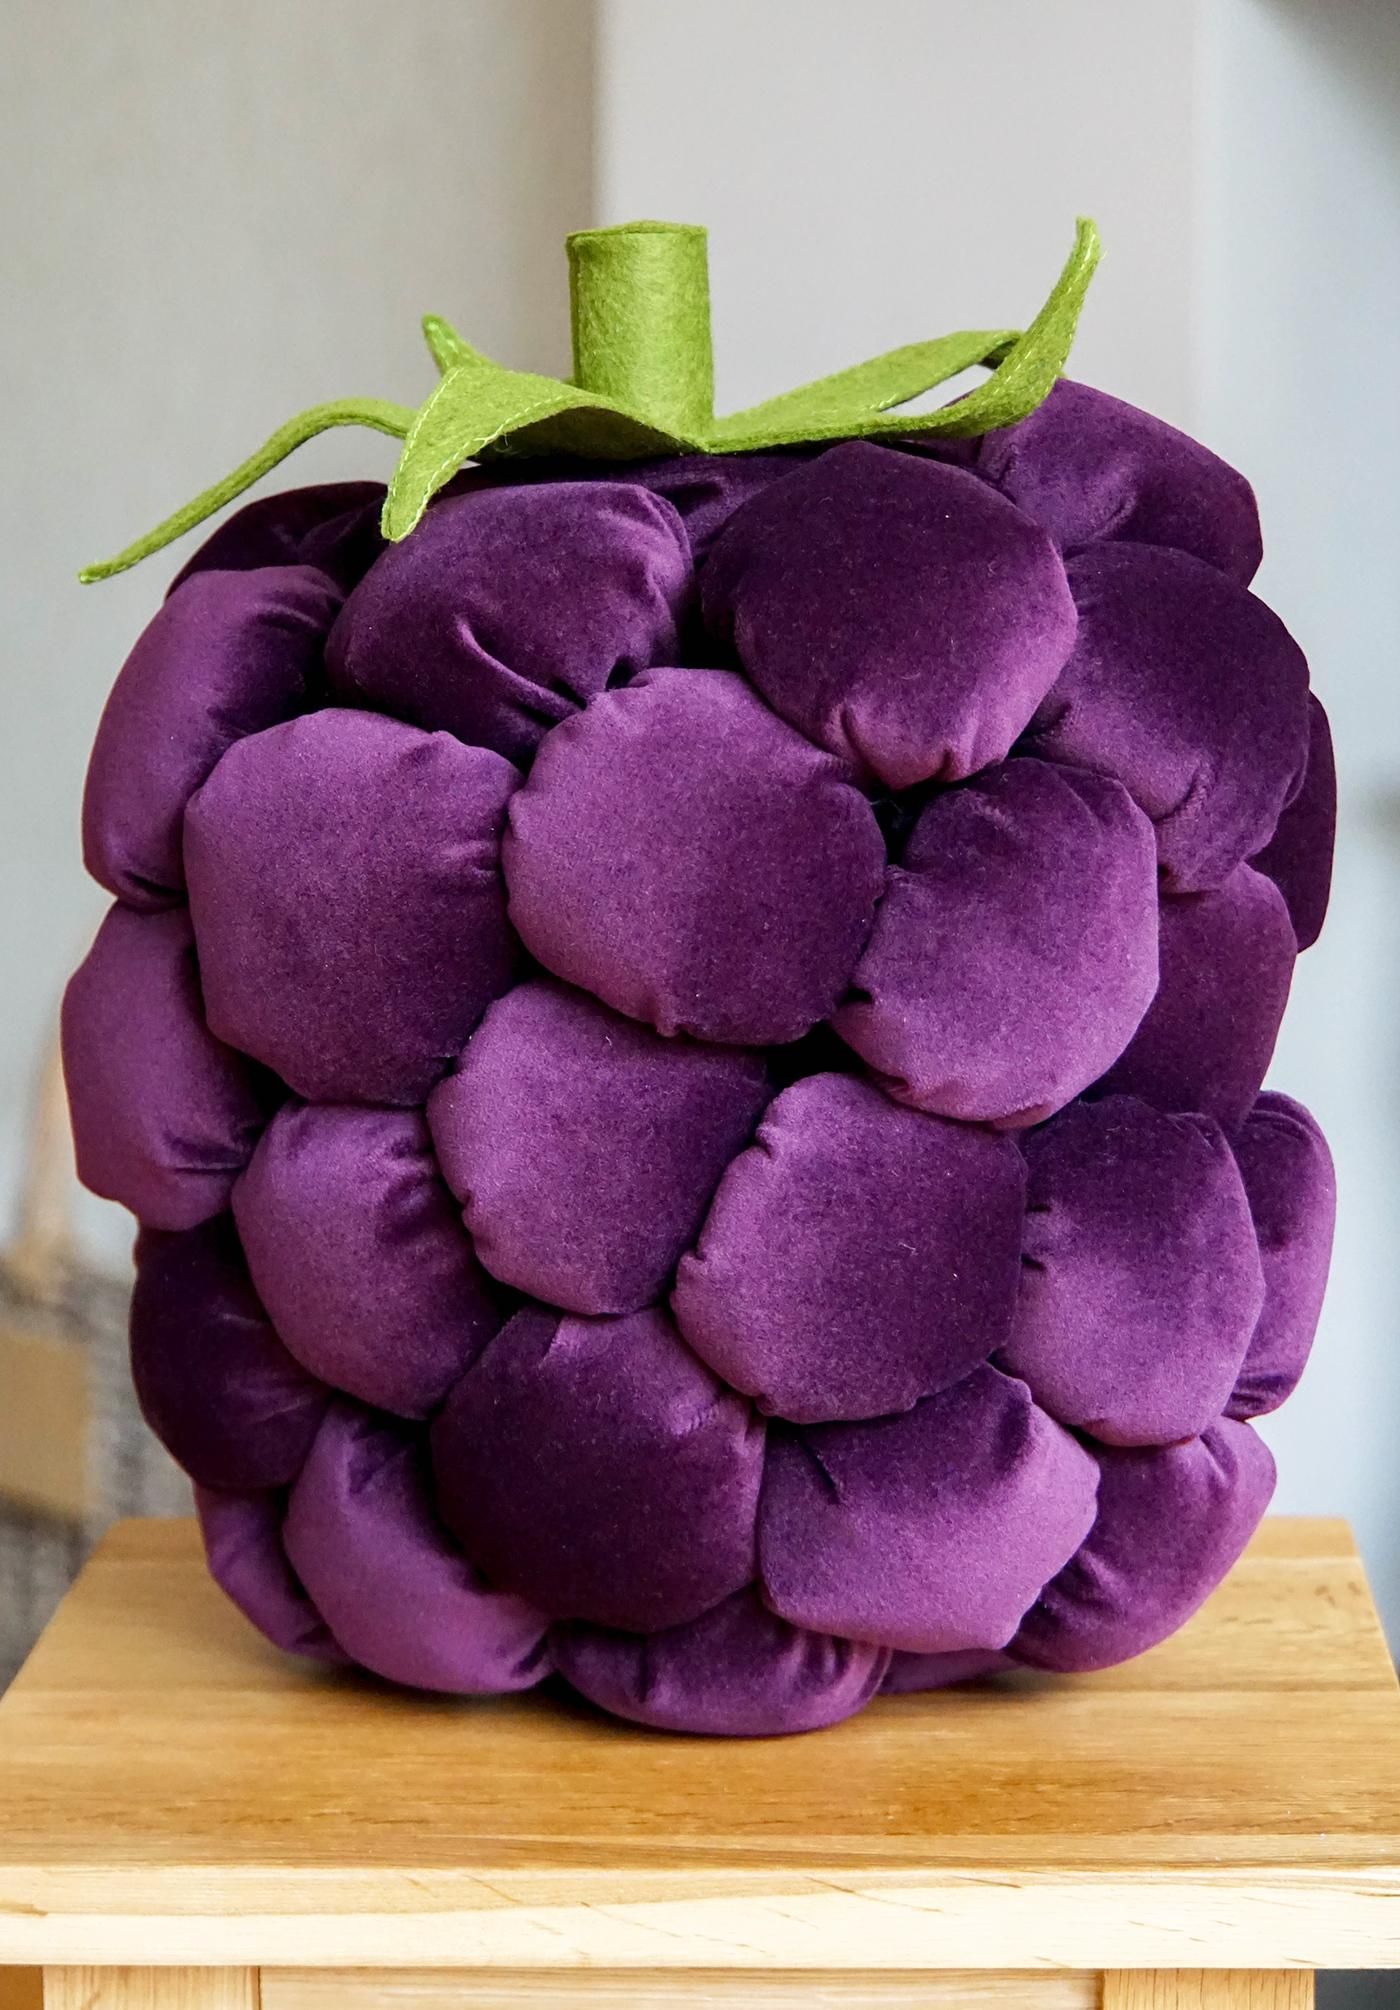
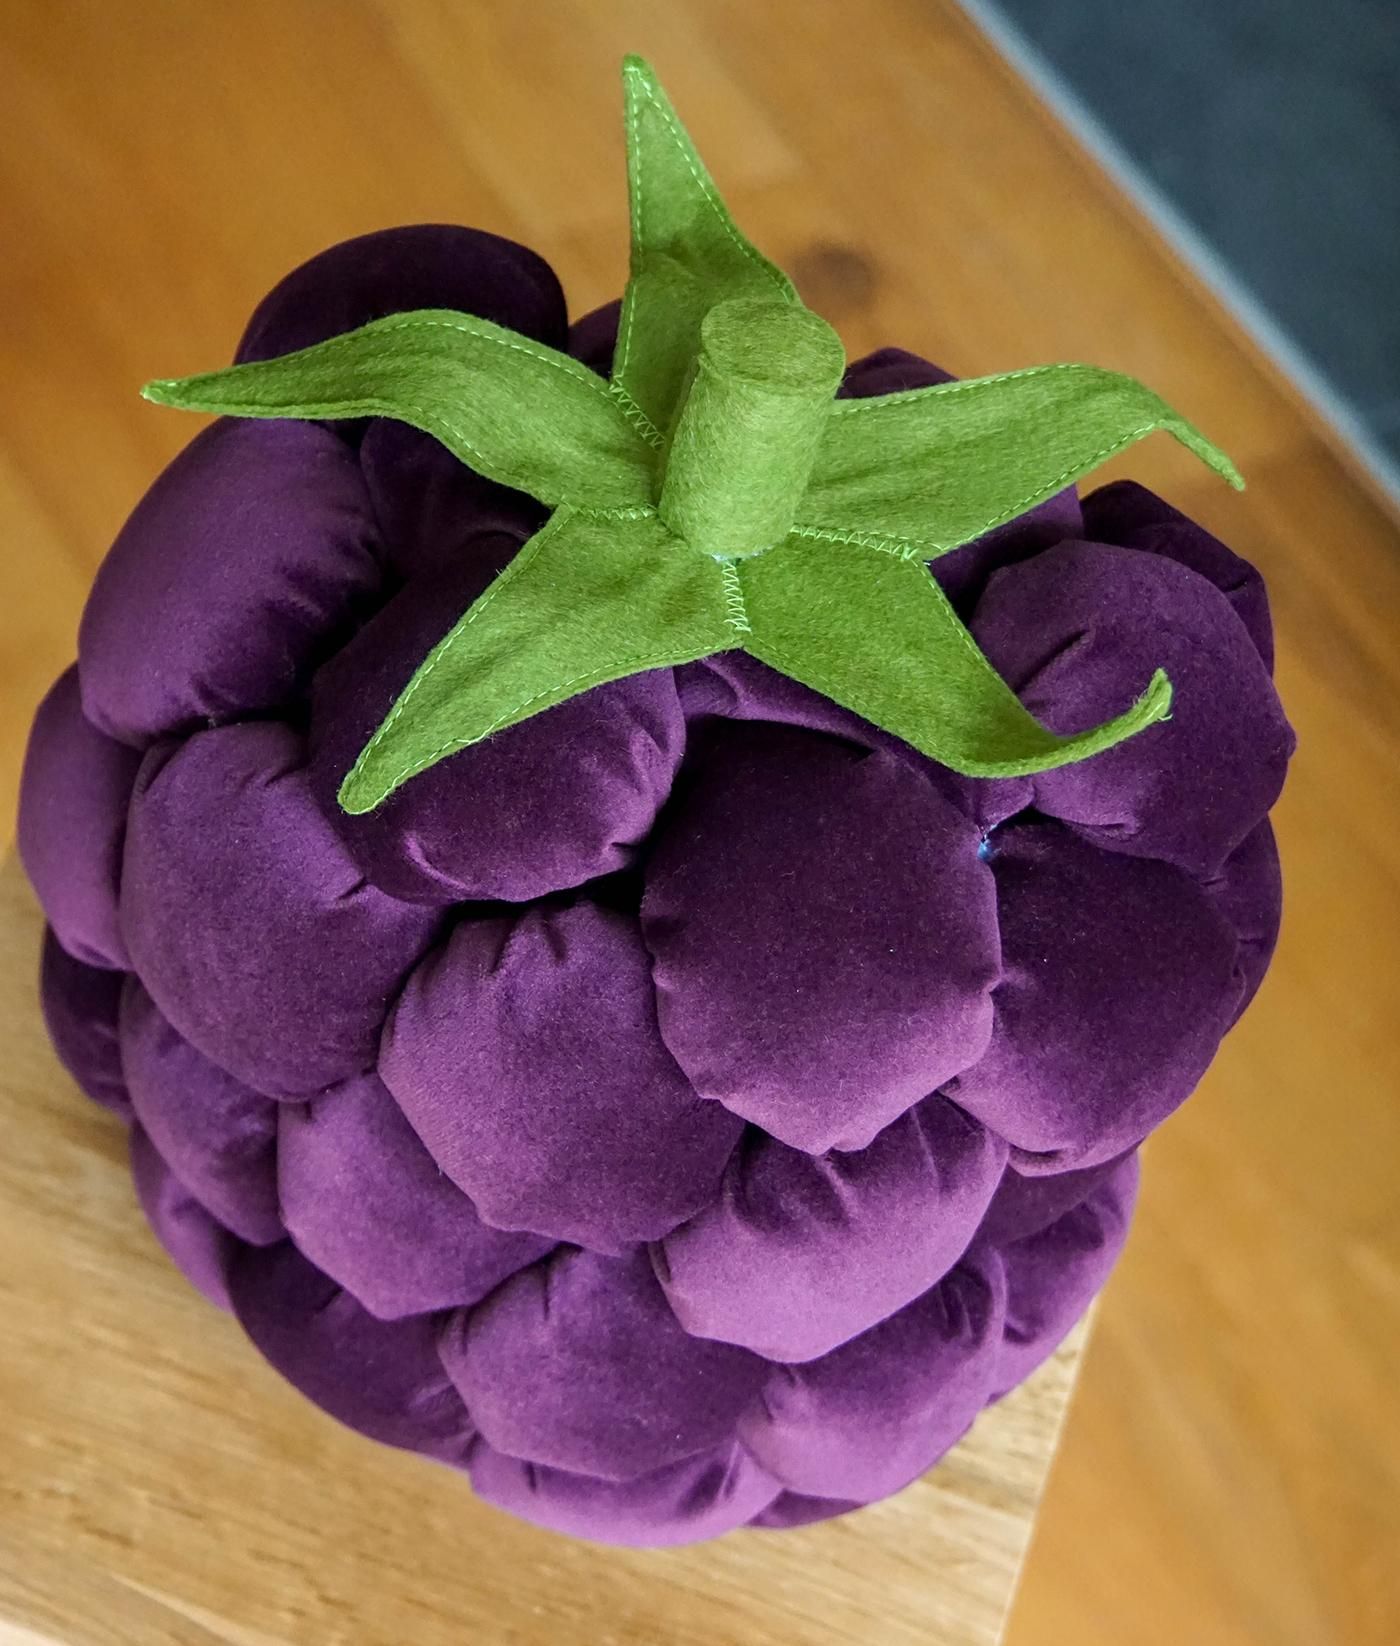
And the blackberry is complete!
I hope you enjoyed this Instructable :D
Note: My version is about 25 cm tall, but obviously you can alter the size however you like :)