How to Make a Spider Web With Rope
by danthemakerman in Living > Halloween
396 Views, 1 Favorites, 0 Comments
How to Make a Spider Web With Rope

I originally had purchased a version of this corner web but didn't like the way it looked once I took it out of the package and decided to make my own instead. This is a really simple project that can add a nice visual pop to your Halloween decorations. I found that with most decorations adding layers to the decor can really increase the overall aesthetic. In my case I added a few accessories.
Supplies
Rope
Measuring tape
Tent Spikes
Ladder
"S" hook
Hammer
Lighter
2x2x8 foot wood
3 inch screws
Drill
Black Spray Paint
Optional:
5 foot skeleton
2 foot spider
Stretch Spider Webs
Step One


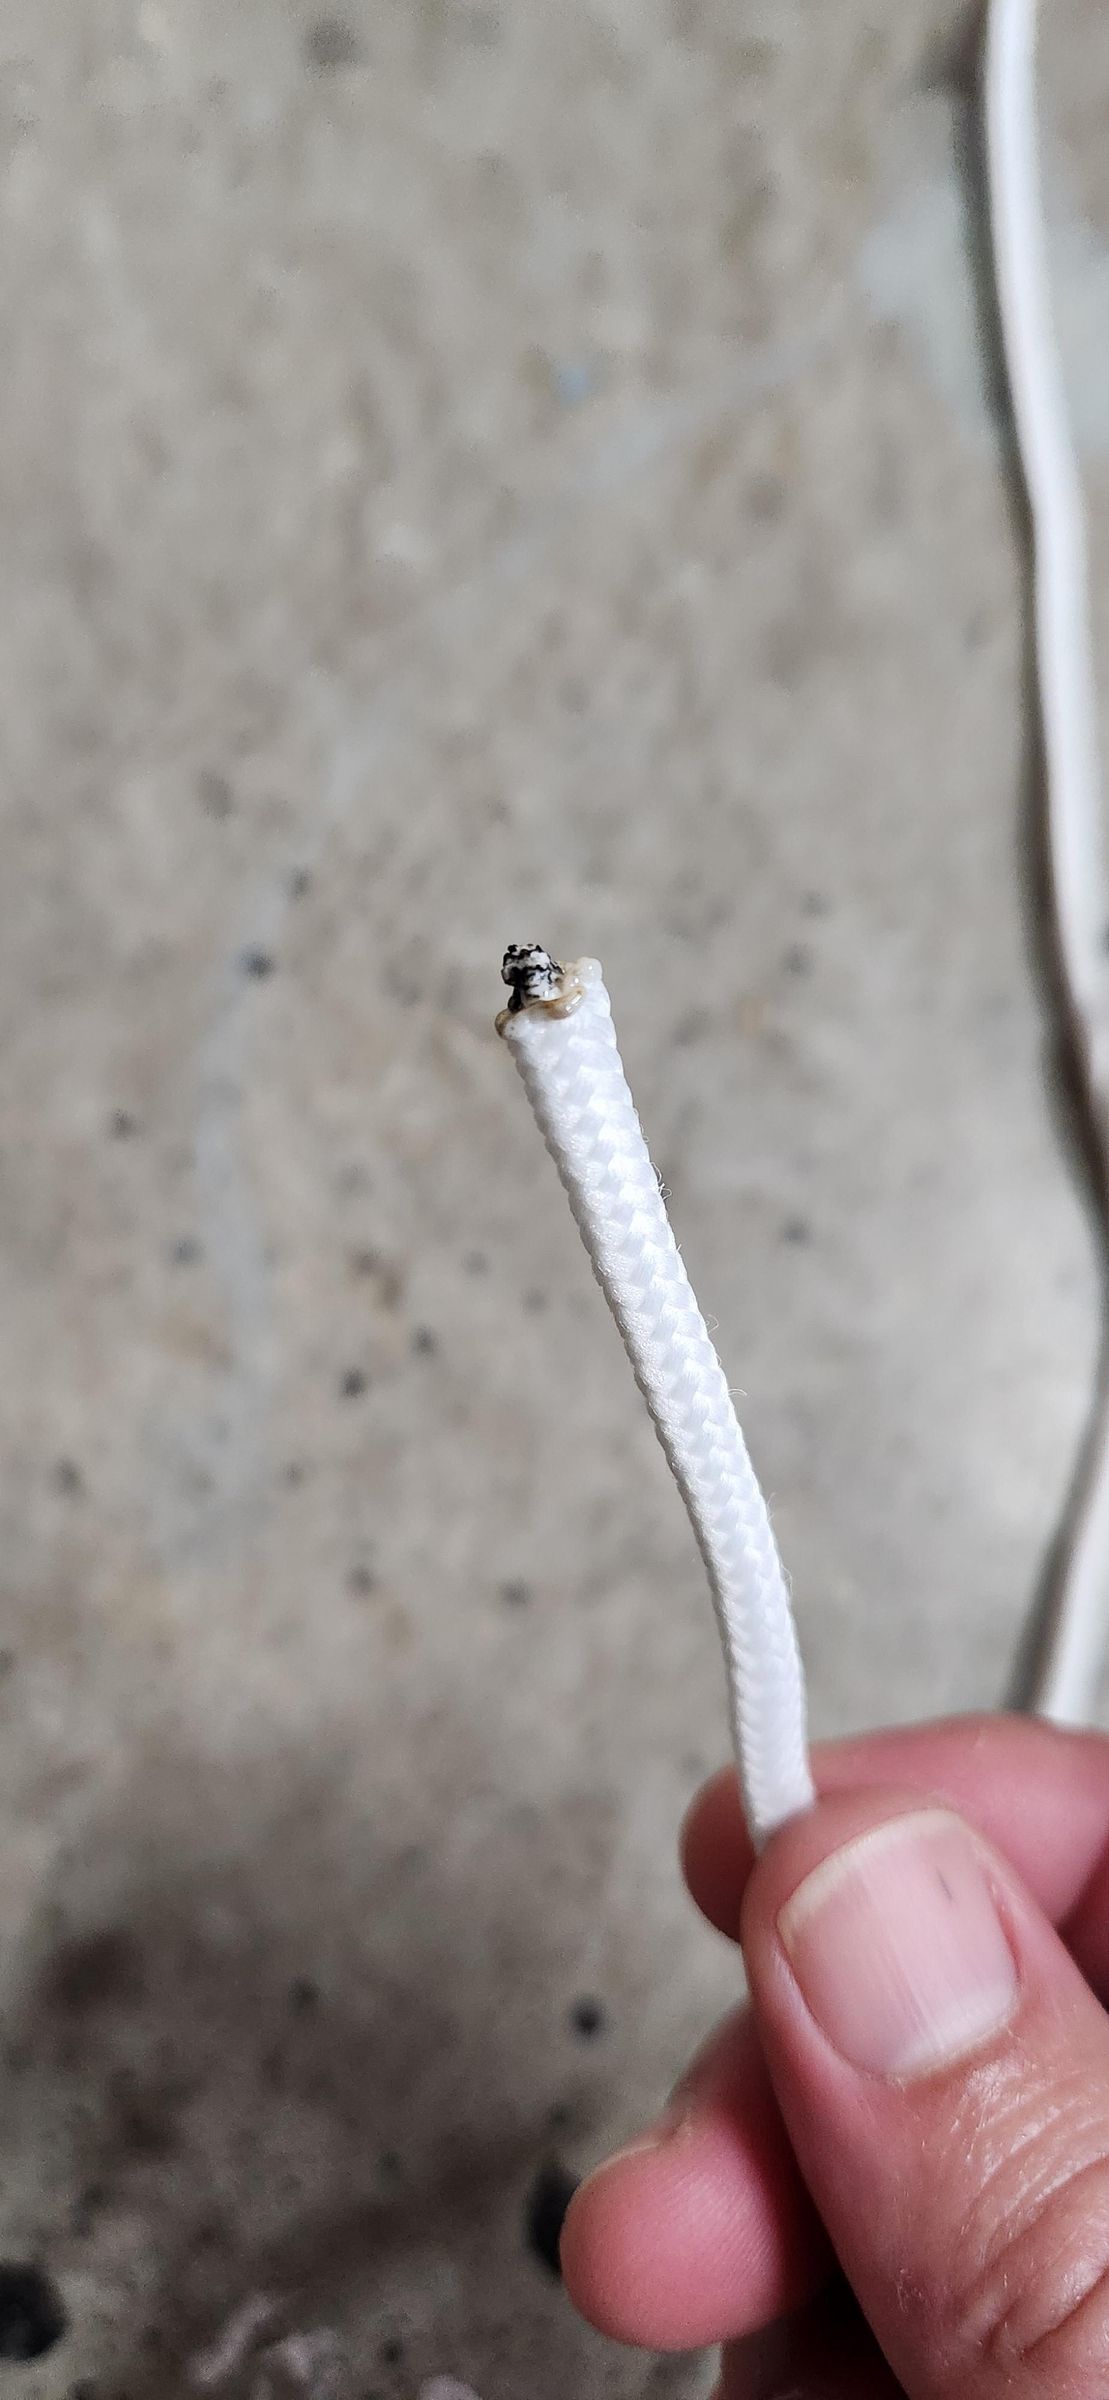
First, you will need to cut 5 pieces of rope that are about 14 feet long. Your length may vary depending on the height and angle you wish to achieve. I will be hanging this off of my gutters and that is the length that worked for me. I used a tape measure to figure out how long my strands needed to be by measuring from the corner of the gutters to the ground. Once all the pieces are cut, I tied one end of each piece to the leg of a shelf just so I could have a place to gather them all together. Next, using a lighter I burned the ends of all the ropes to prevent them from fraying. Careful doing this as the rope can melt and drip on to your exposed skin.
Step Two
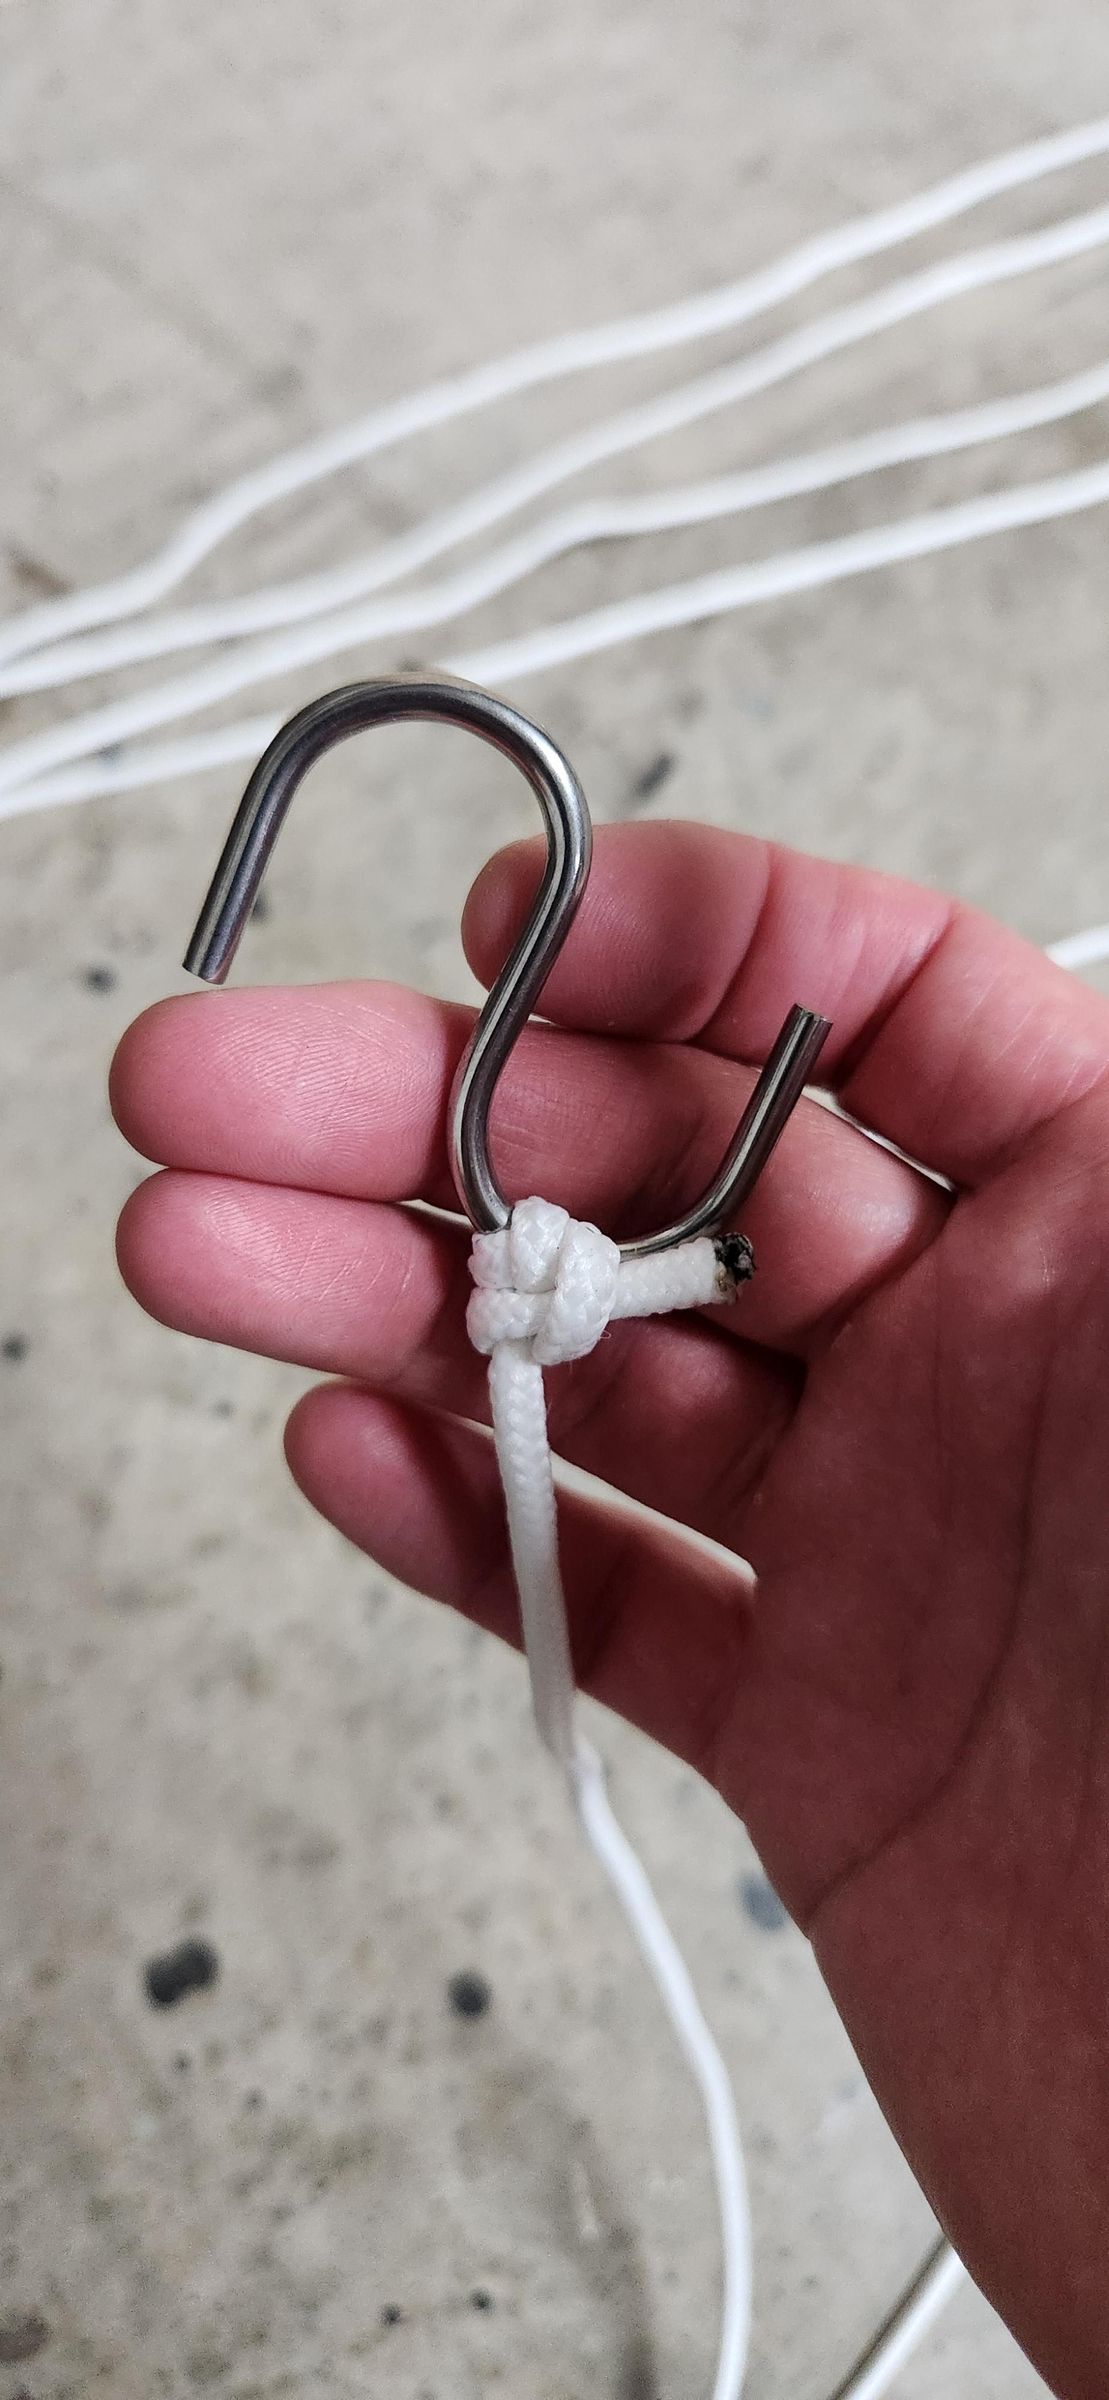

Next, I untied the ends from my shelf and tied them securely to the "S" hook.
Step Three


Using my 8-foot ladder I attached the "S" hook to the corner of my gutter and stretched out the spiderweb strands to the grass. I tied each strand to a tent spike and hammered in to the ground. I made sure to space out my lines in a web pattern. I cut off any excess rope around the tent spikes.
Step Four


Next, I cut a few strands of rope that I would use to make the cross hatch pattern. I started by tying off one end of the horizontal line to the outermost web strand. I made sure to pull the strand tightly before tying a knot at each strand to create the crosshatch pattern. I also made sure to burn the end of each strand to prevent it from fraying. I repeated this process down the entire length of the web from top to bottom. I didn't use precise measurements for the distance between the horizontal sections I just went by what looked right.
If you just wanted a web, you can stop here. But if you want to take the decoration to the next level keep reading.
Step Five


I wanted to add a trapped skeleton to the web, but the web isn't strong enough to carry the weight of a 5-foot-tall plastic skeleton so I had to make a stand that wouldn't stick out or be too obvious. I have a large plant that will help hide the post I made.
I took a 2x2 and cut off to triangular pieces to make a sharp point for the base. This will be for pounding it into the ground. Next, cut the top of the 2x2 at a 45-degree angle.
Step Six


Then, I cut off a one-foot section from the top. This is what the skeleton will be attached too. I used a 3-inch screw to attach the one-foot section to the longer section. Essentially making an angle "T" post.
Step Seven


I used some black spray paint to paint the post black. I tried to hammer this into the ground, but the angle made this quite difficult. So, using a piece of scrap I attached a small 4-inch block of 2x2 to the side of the post with some 3-inch screws. I was then able to hammer the post in to the ground using the scrap block as my hammering point.
Step Eight


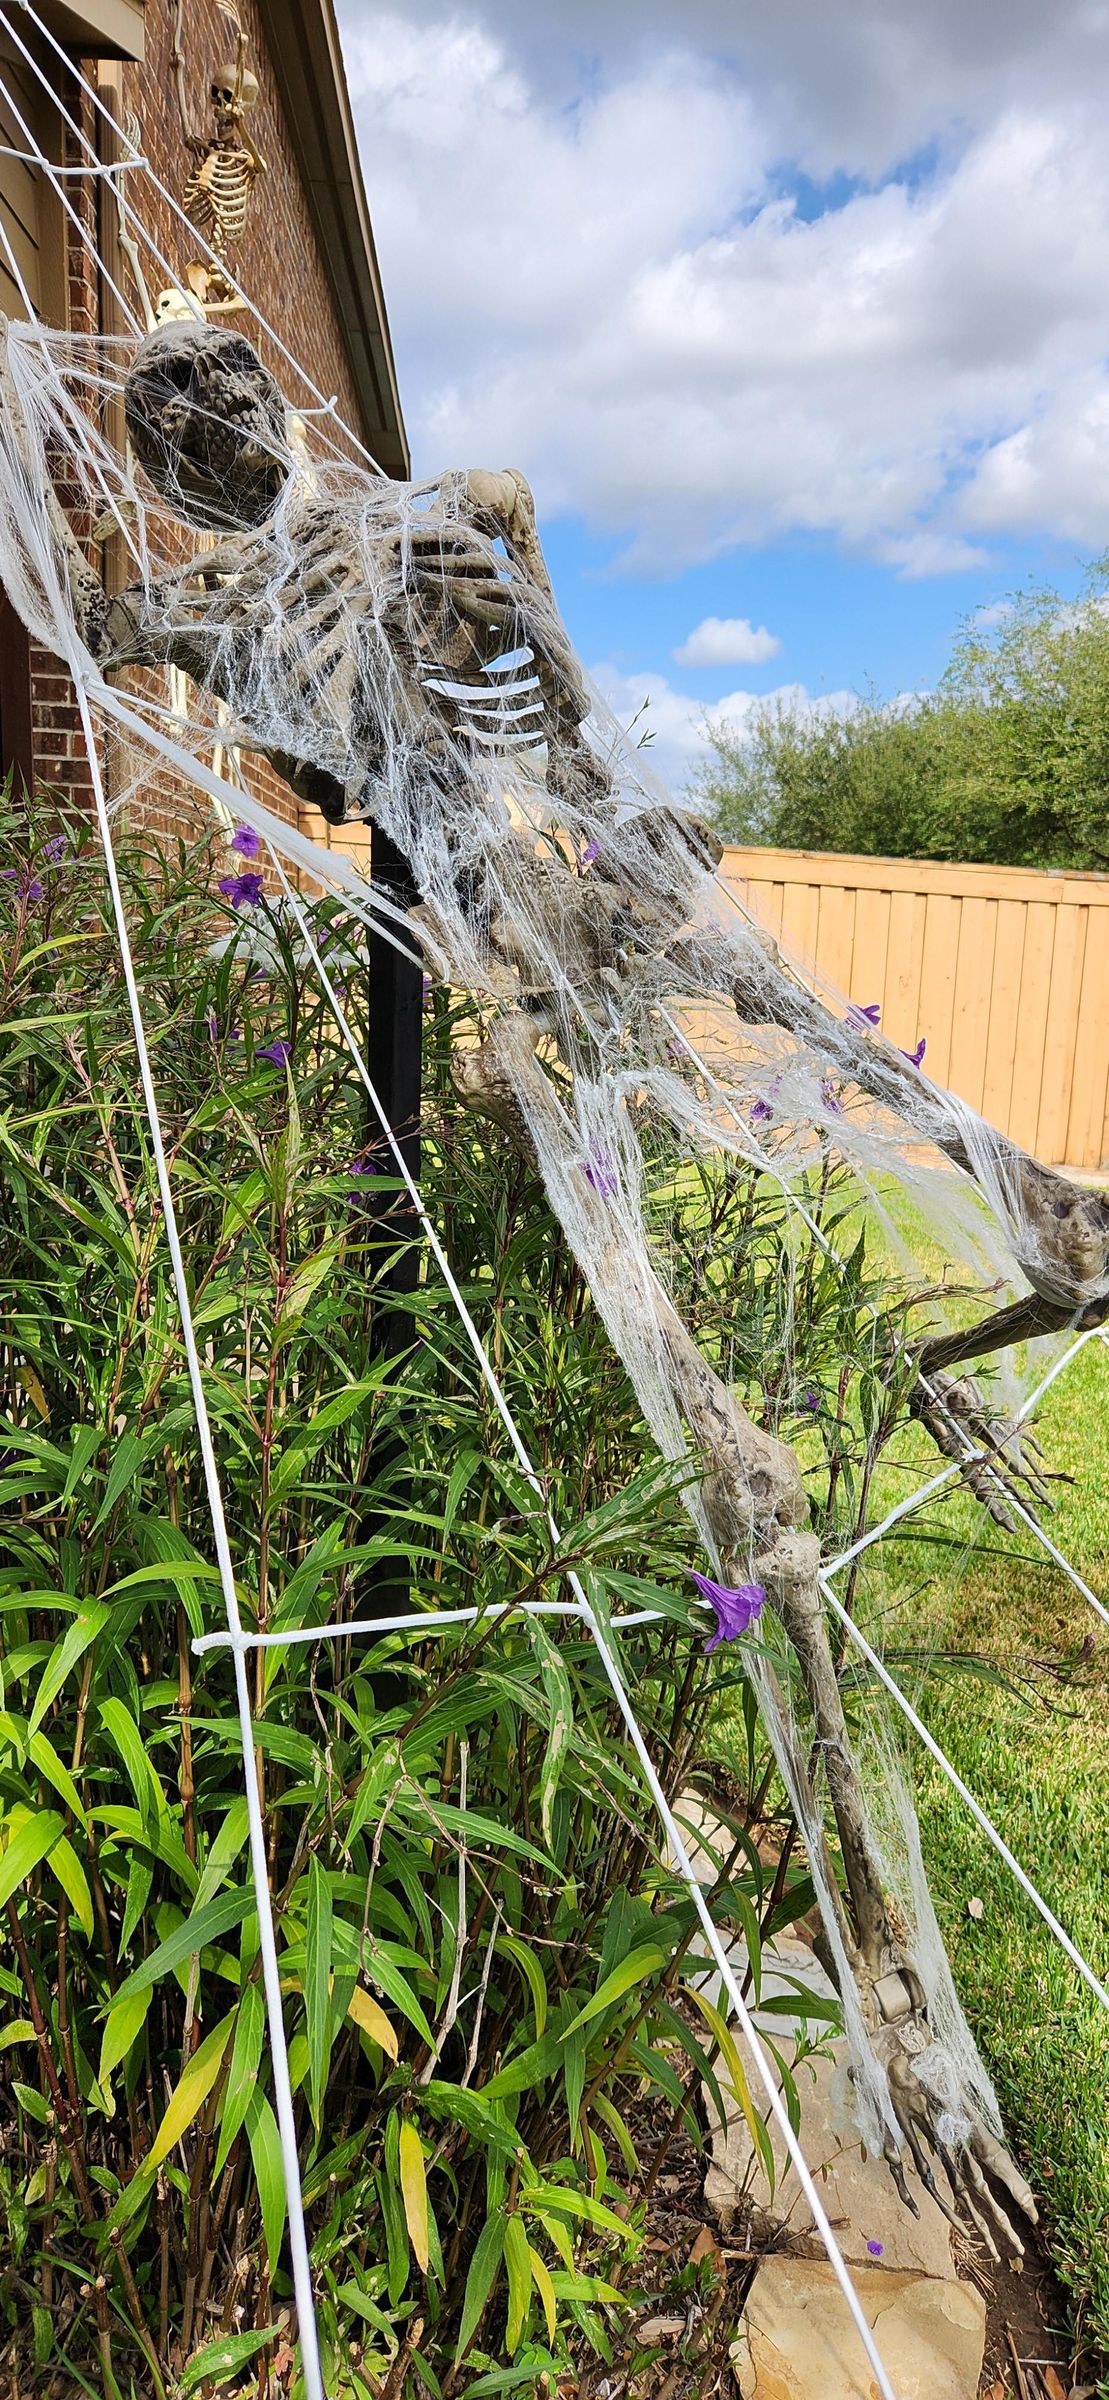

With the post in place, I was now able to attach my skeleton using some zip ties. To add to the display, I added some "stretch webbing" to the skeleton and also added a large prop spider to the web to complete the look. I am really happy how this turned out. Every year I try to add a new piece to our Halloween display and this one really added to our spooky house.
I hope you find this Instructable informative and hopefully inspiring. Thanks for reading.
Final Look

This is what the display looks like at night.