How to Make a Weighted Rugby Ball
by SLewis_08 in Craft > Duct Tape
43 Views, 0 Favorites, 0 Comments
How to Make a Weighted Rugby Ball
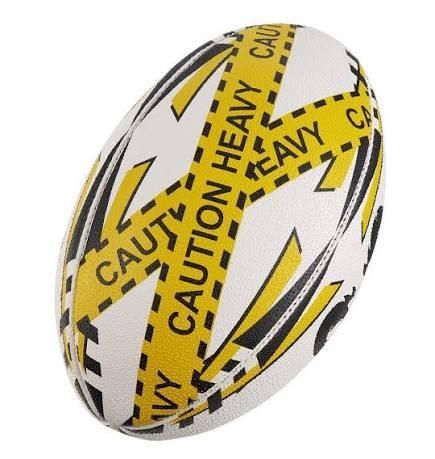
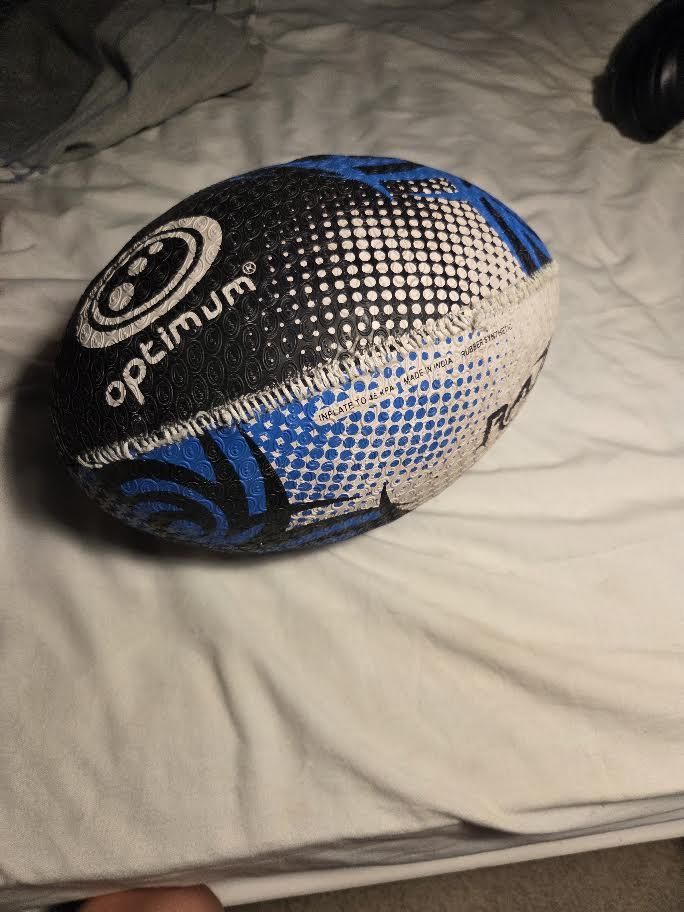
So I've been playing rugby for some time now and I'm always looking for new equipment and drills to help me. I came across a weighted ball design however I couldn't bring myself to spend 30-50 pounds on one. After some research I decided to try and find a way to make my own for less than 10 pounds.
Supplies
- Old rugby ball
- Nail scissors
- Duct tape
- Super glue
- 2p coins (others would work aswel)
- Needle and thick thread
Preparing Your Rugby Ball
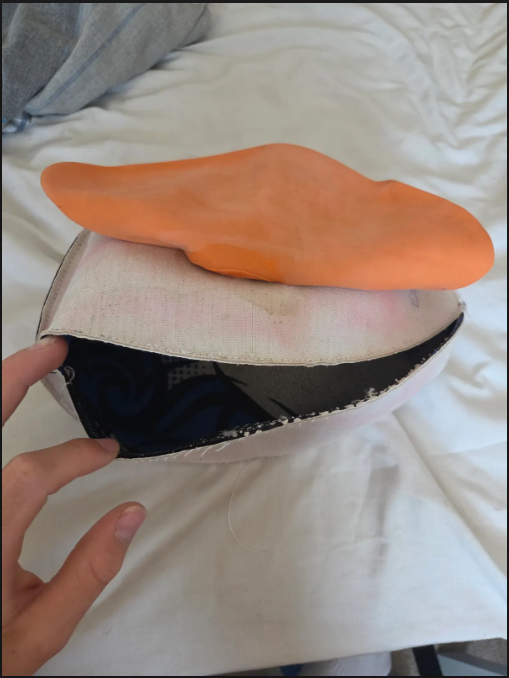
Deflate and then open up one panel of the ball. It works best to deflate the ball first and then open a side of a panel that is connected to the ball bladder/where it gets pumped up from. Use a pair of sharp nail scisors to work your way along 1 seam of the ball making sure to pull out any left over thread.
Then turn the ball inside out.
Adding the Weight
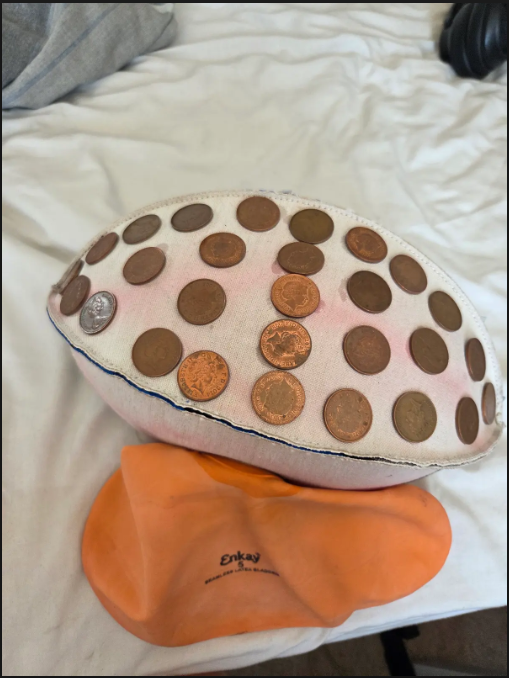
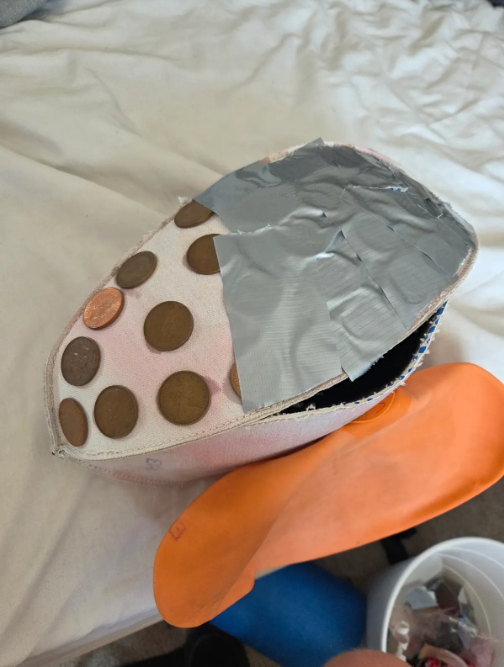
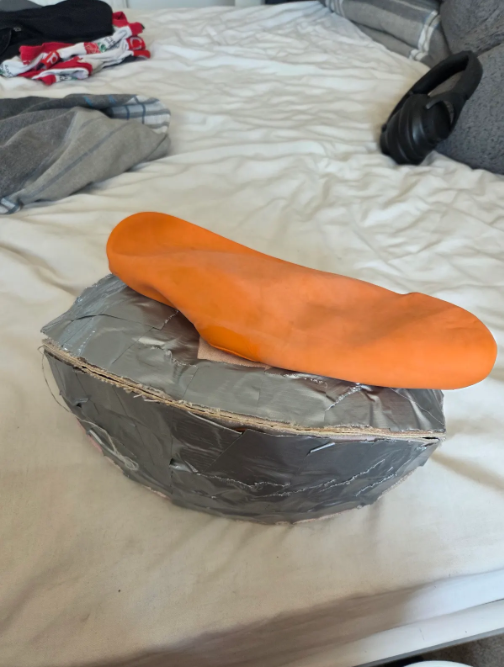
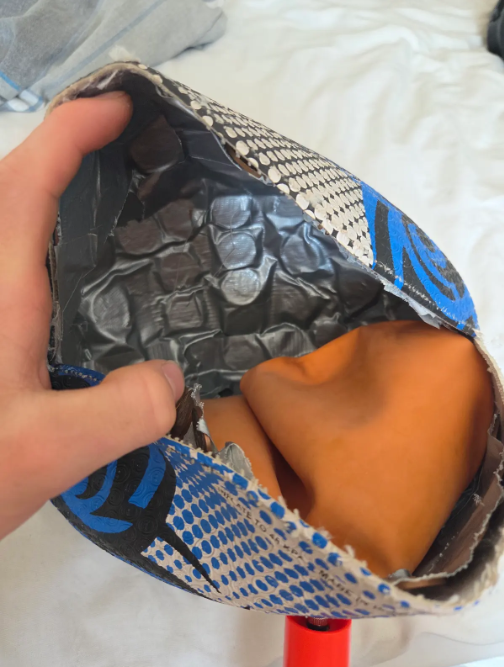
Take your coins of choice and do some simple calculations to find out how many you need for the weight you desire
Desired end weight - original ball weight = ans1
Ans1 / 4 =Ans2
Ans2 / weight of 1 coin = how many coins you want per panel of the ball.
I used 29x2p coins on each panel of the ball for a total weight of 1.27kg
Once you have worked that out, you need to begin sticking your coins around one panel of the ball using super glue. You need to make sure to spread the weight out evenly across the whole panel of the ball so that the finished product will still feel and move like a normal rugby ball.
After this, add a layer of duct tape over the top of the coins. This makes sure that they do not fall off the ball when you flip the ball the right way round so the coins are on the inside of the ball.
Re-stitching
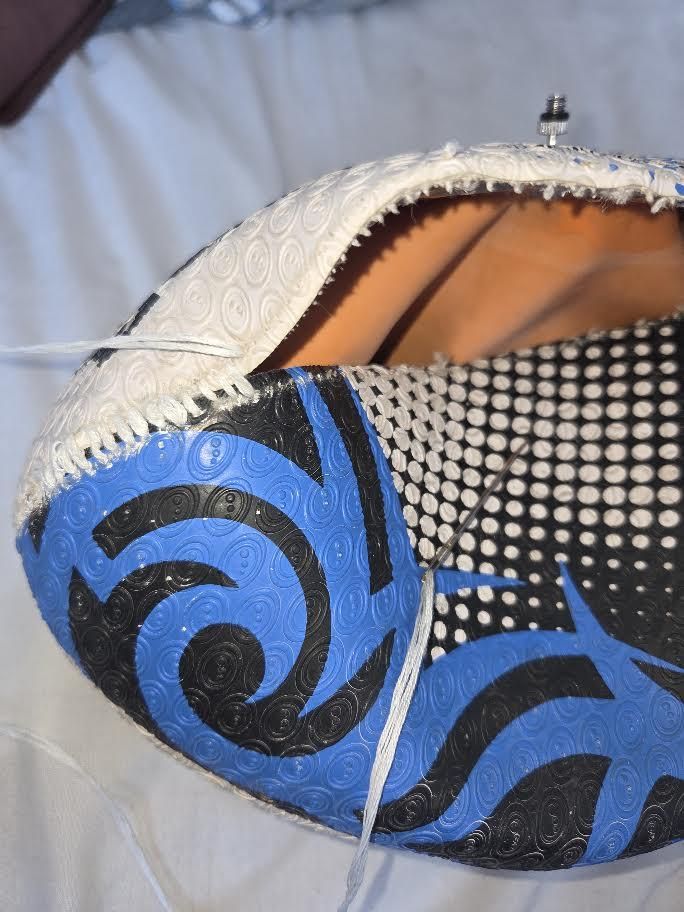
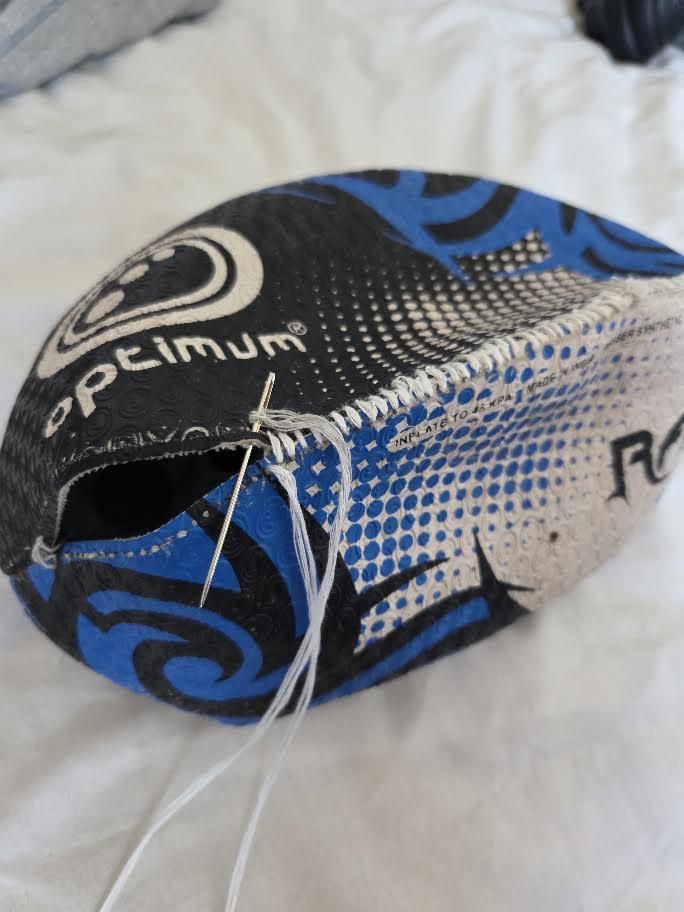
Now you need to sew the panels back together. You will need a heavy duty needle and some thicker thread (I used doubled over embroydery thread) to help pierce the ball. There should already be holes in the ball where the original threading was stitched so using those holes. Use an overhand type stitch (going through both panels and then back over the top for the next stitch) so that the ball panels are pulled together as you stitch.
Final Steps
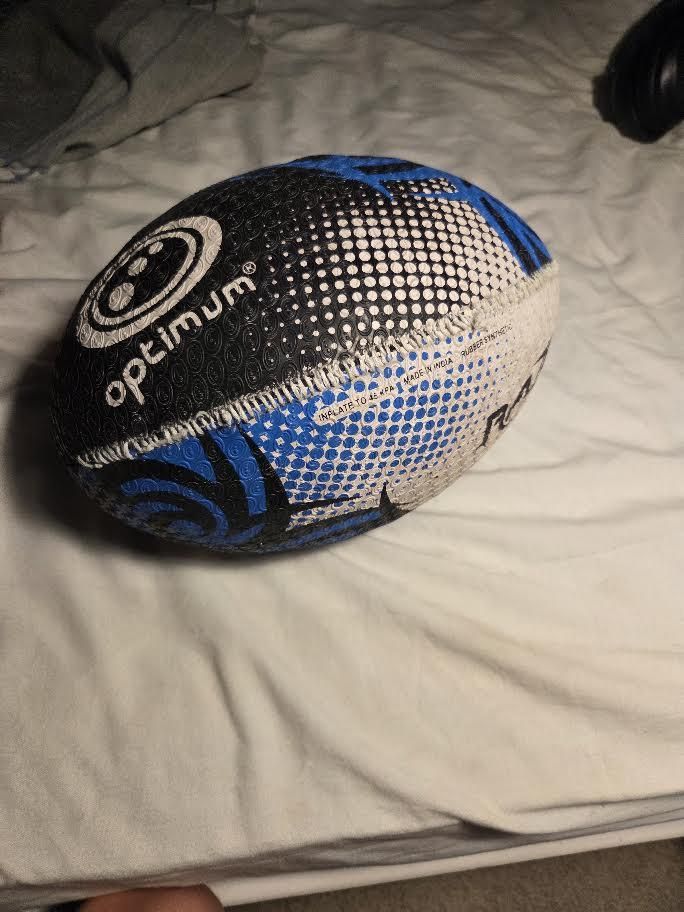
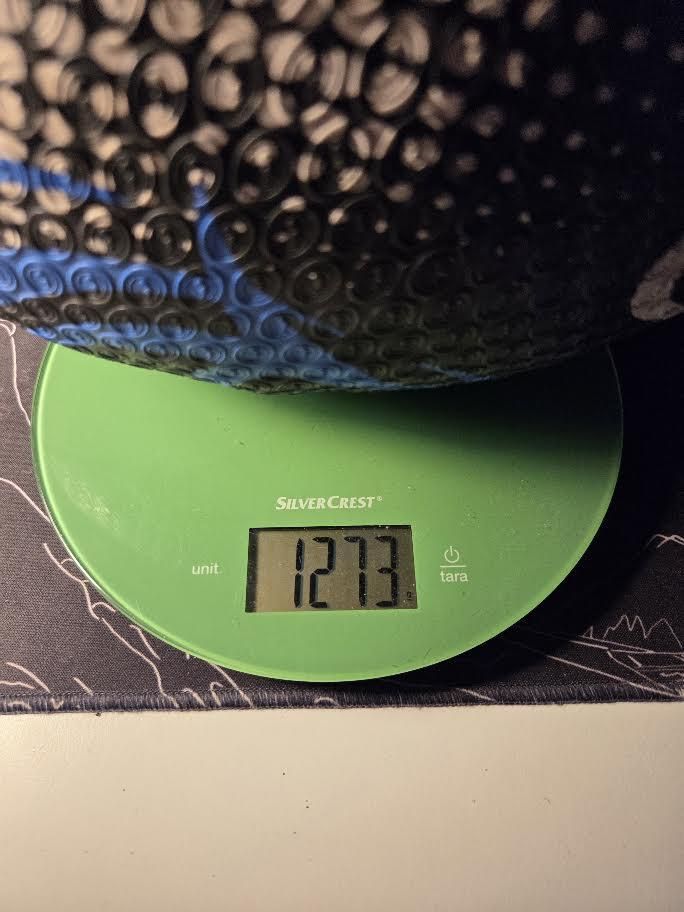
Tie off your stitch and inflate your ball. If you have done everything correctly, the weight of the ball should feel evenly distributed, and should still pass/fly the same with only some added weight.
My ball weighed 1.27kg which is just enough for weighted passing drills. I would recommend aiming the weight between 1.2 and 2kg.4
Side Note - this could work with any ball with a bladder in it e.g. football, rugby ball, basketball.