How to Replace Your IPad Mini Screen, LCD, and Housing
by Lathan_H in Circuits > Apple
1073 Views, 0 Favorites, 0 Comments
How to Replace Your IPad Mini Screen, LCD, and Housing

When your screen on your iPad mini breaks, it can be a costly fix at any repair place. Why not save some money and learn an awesome new skill at the same time? These instructions will guide you from the start of the repair to the end of the repair.
Step 1: Proper Tools

1. Gather necessary tools. Having the right tools are essential in successfully repairing the iPad mini 2, Some tools you will need are:
- Heat Gun.
- Micro Phillips Head Screwdriver.
- Metal Scraper Tool.
- Plastic Prying tool.
- Metal Splitter Tool.
Step 2: Heating the Outside Edges
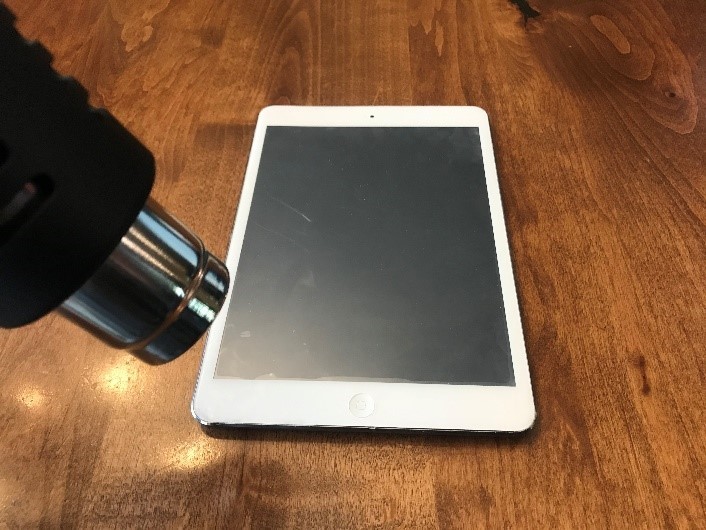
- Heating the outside edges is crucial for the glue to soften up and allow you to wedge your pry tool in. Be sure not to leave it in one spot for to long.
- Be sure not to leave it in one spot for to long. Going over the edges for a few seconds over multiple passes on the low setting of your heat gun should do the trick.
Step 3: Prying the Screen
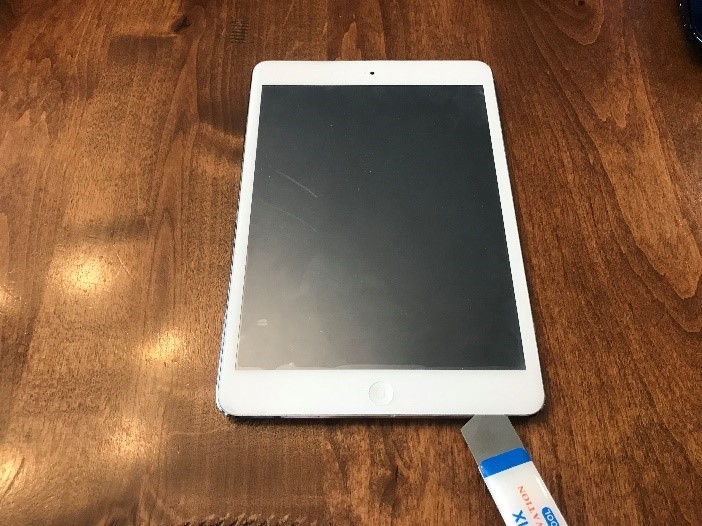
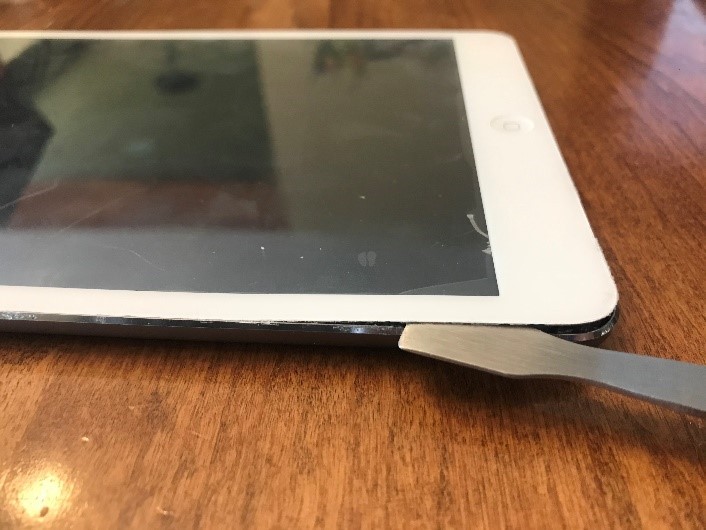
- Wedge Pry tool in starting from the bottom. Be sure to be very careful and don’t insert the too more than an eighth of an inch into the surrounding areas.
- This is to make sure that no ribbon cables are damaged in the screen removal process.
- The scraper tool can also be used shown in the image above.
Step 4: Lift the Screen From the Housing
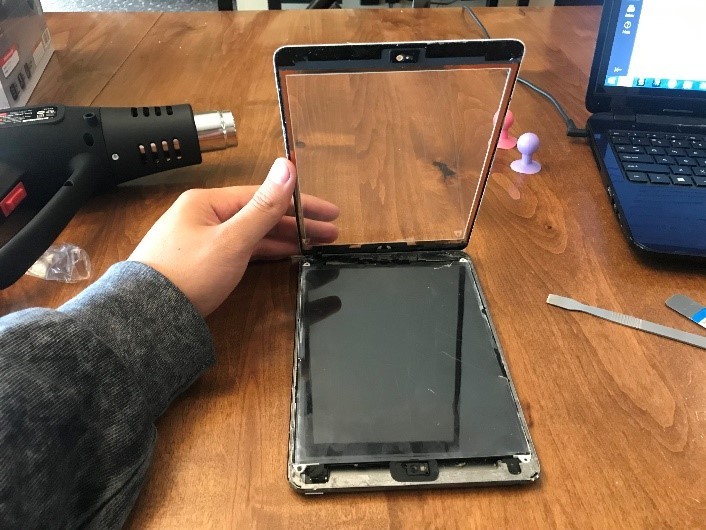
- Be Gentle. If you are re-using the screen do not tear the ribbon cable in the top left corner of the iPad mini.
Step 5: Removing the LCD Display
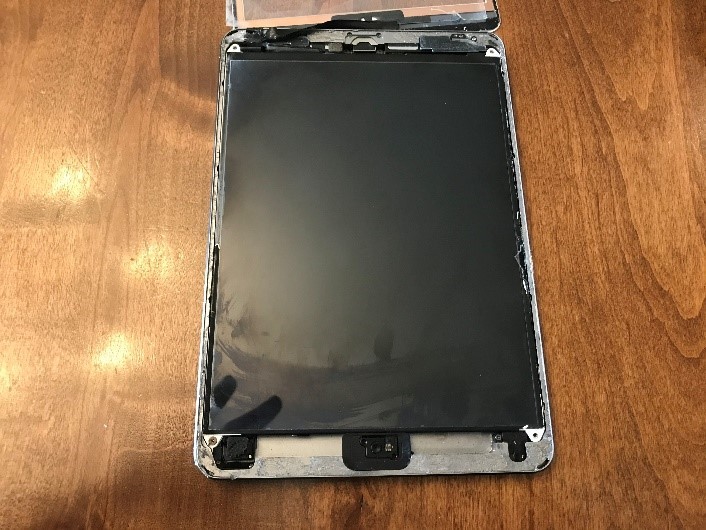
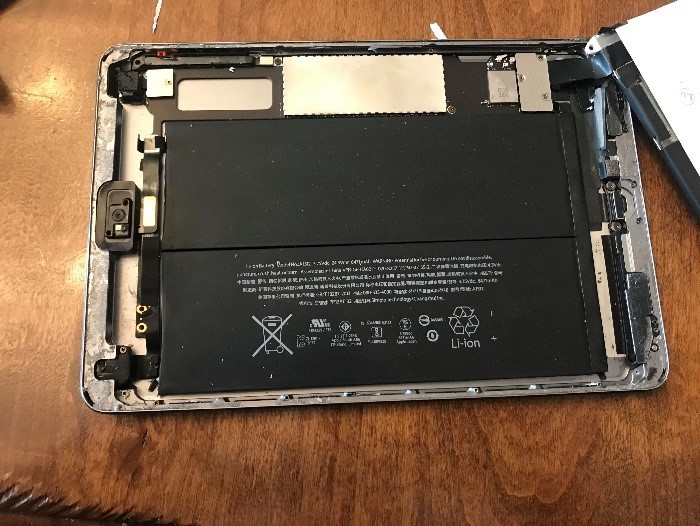
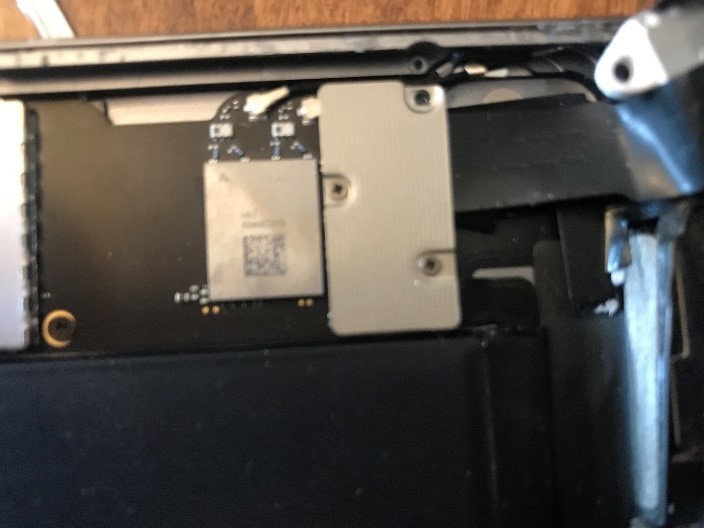
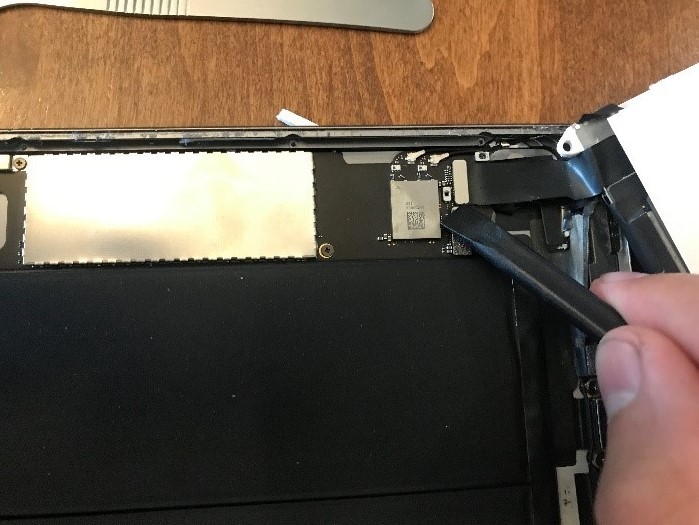.jpg)
- Remove four screws holding the LCD display in place. These screws are sitting in the white tabs connected to the LCD Display.
- Make sure to lift the LCD display towards the bottom of the iPad so you do not damage ribbon cable.
- Next remove the metal shield covering the LCD display connector shown in the images below.
- Use the plastic pry tool to lift the connector up and off.
Step 6: Disconnect the Battery


- Using the plastic pry tool disconnect the battery connector and bend it out of the way. It should look like the image above.
Step 7: Remove the Four Screws Holding the Charging Port In

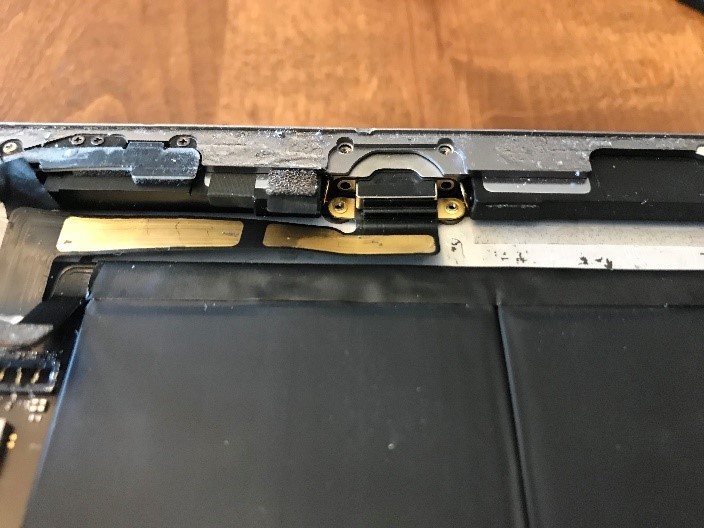
- There are two black stickers covering two of the screws.
- Bend the metal tabs from the bottom screws up and out of the way of the charging port.
Step 8: Undo the Front Camera Connector

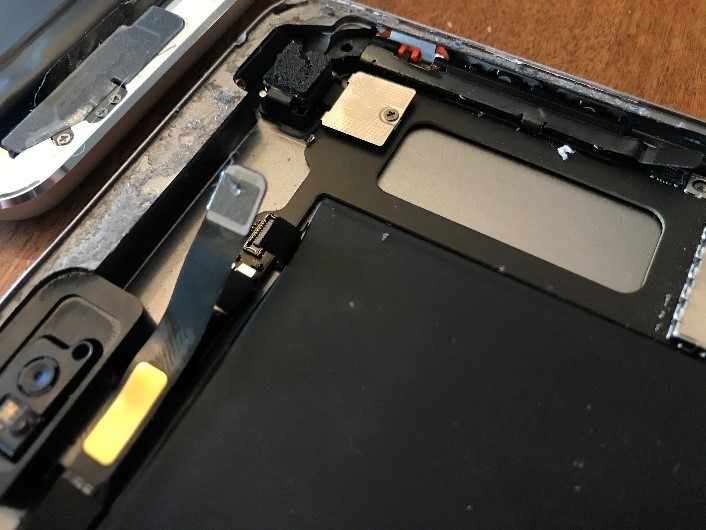

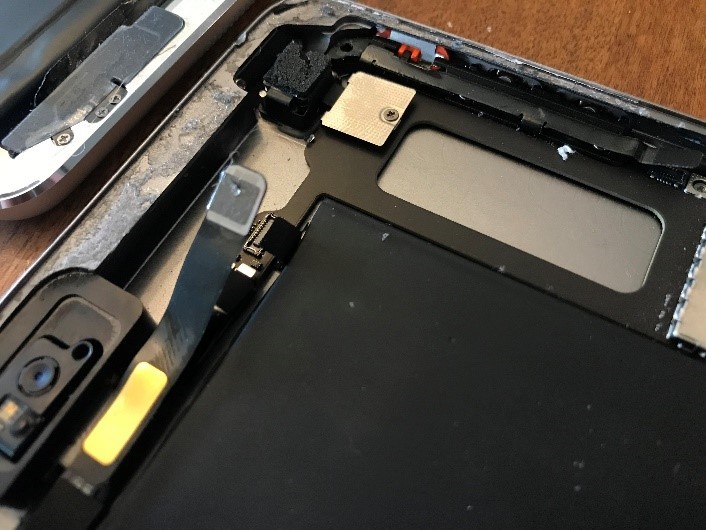
- Lift the sticky wrap from around the connector. The second connector will be under the first shown in the image above.
- Bend the upper ribbon cable out of the way.
- Disconnect the lower connector, it should look like the image above.
Step 9: Remove Back Camera Connector
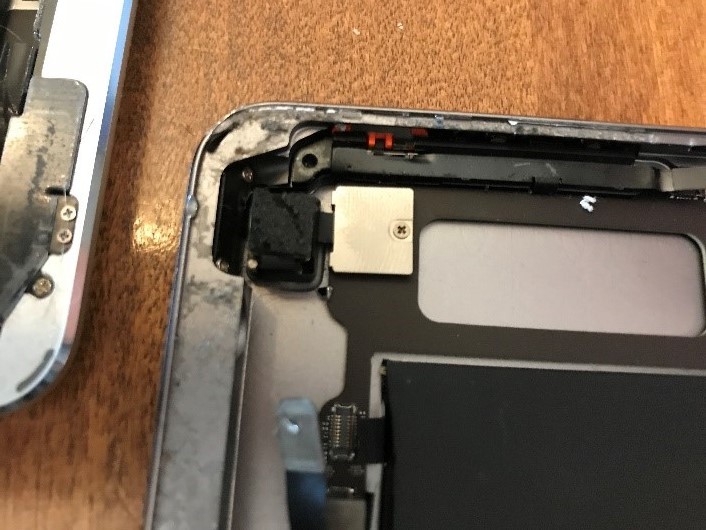
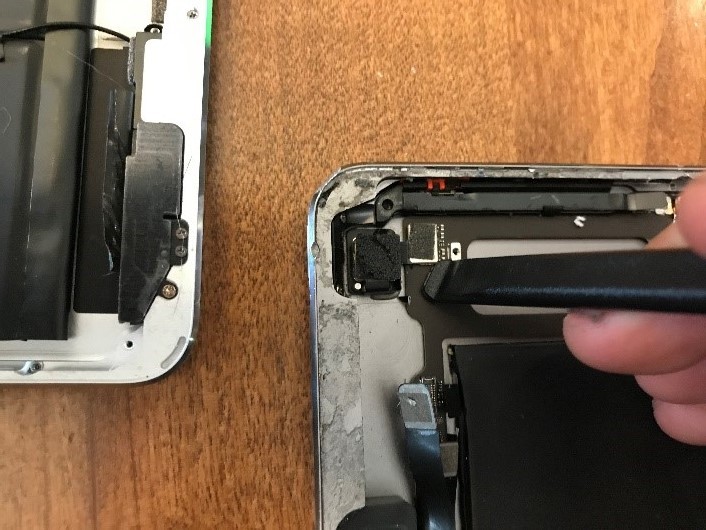

- Remove the one screw and metal shield covering the connector.
- Use your plastic pry tool to disconnect the connector as shown in the image above.
Step 10: Removing the Motherboard

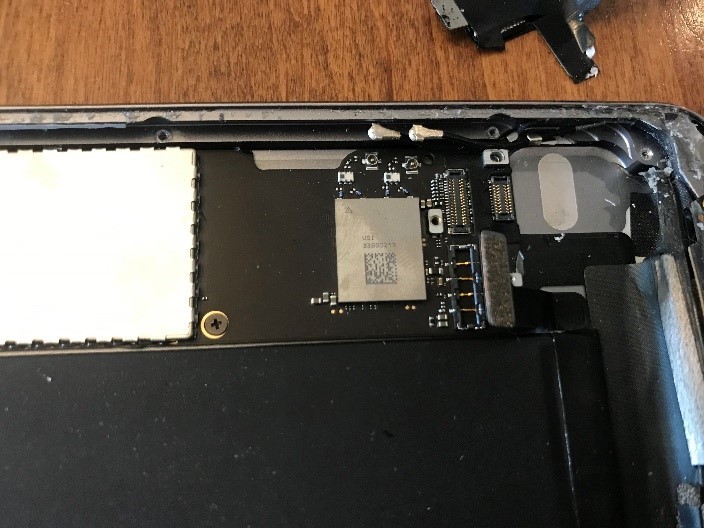
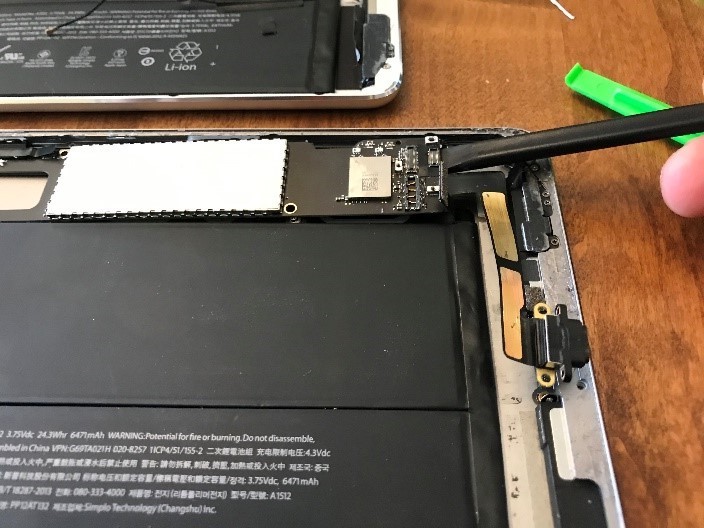
- Remove the Antenna and speaker wires that have plug connectors.
- Remove the single screw located in the middle of the image above, it should then look like the image below.
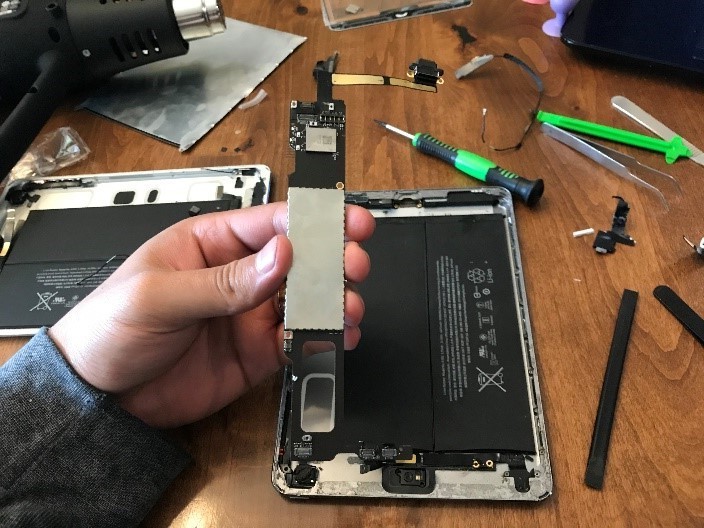
- Gently pry on the motherboard. There will be adhesive on the other end so slowly work it back and forth until adhesive releases. The heat gun might be helpful, but do not concentrate in one area for more than a few seconds at a time.
- Once the Motherboard is free it should look like the image above.
Step 11: Motherboard Install

- Line the motherboard up in its place using the Screw hole as a guide. There should be no connectors underneath the motherboard.
- Repeat steps 5-10 in reverse order then proceed.
Step 12: Sealing the IPad
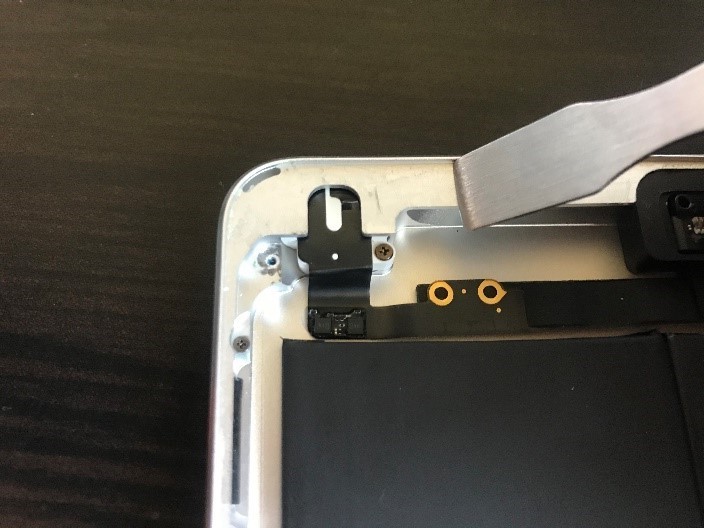
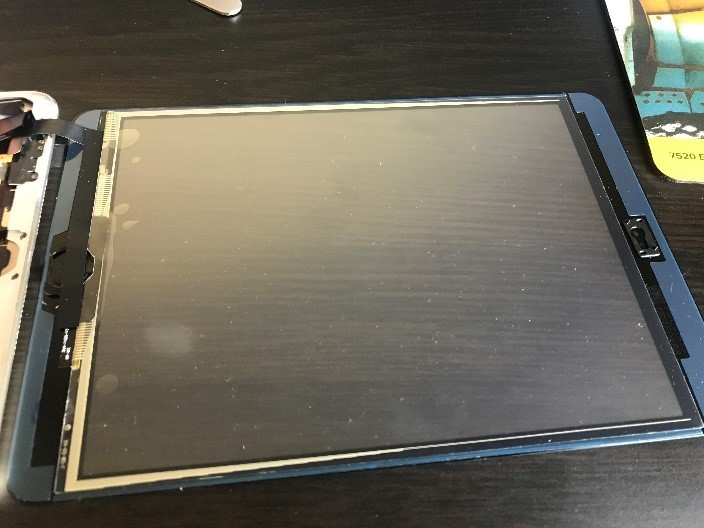
- Remove all glue from edges of new housing using metal scraper tool.
- Remove blue adhesive from the screen.
- Line up screen with housing and press together.
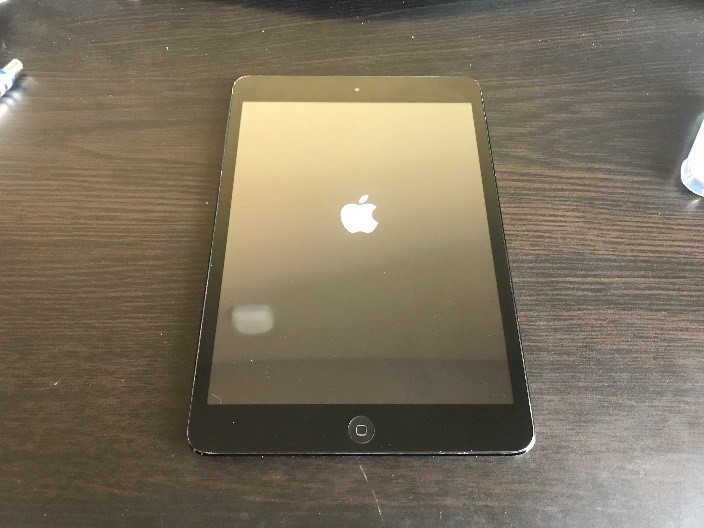
- Turn the iPad on.