How to Rotate Front Mounting Holes of PA-TS1
by Progressive Automations in Workshop > Repair
52 Views, 0 Favorites, 0 Comments
How to Rotate Front Mounting Holes of PA-TS1
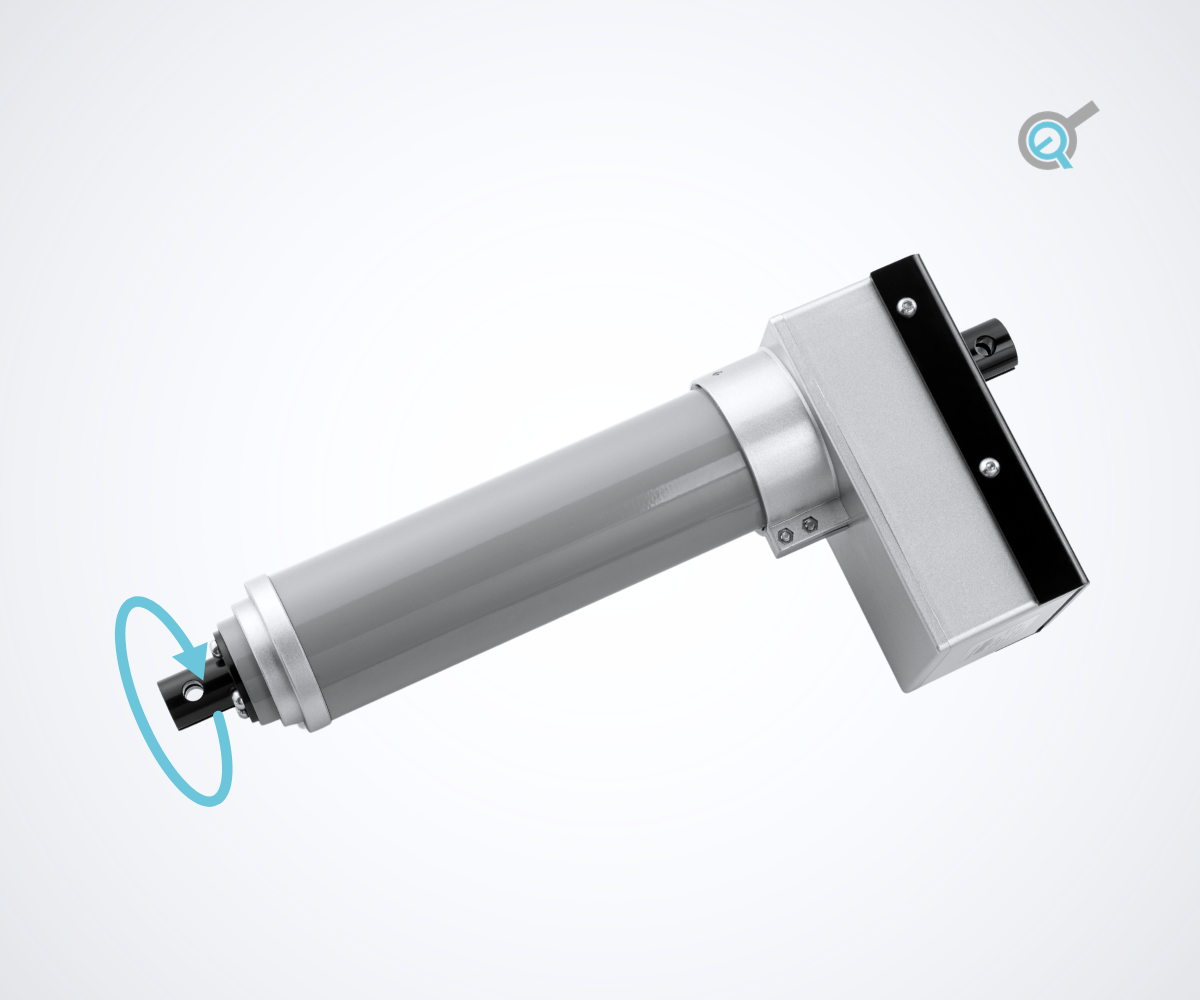
In some electric actuator installations, the position of the motor housing, cable exit, or mounting holes can affect how easily the actuator fits into a project. This is especially common in compact assemblies where side-mounted motors or cables may interfere with surrounding frames, brackets, or enclosure walls. If your project requires a stock PA-TS1 actuator and you are comfortable making this adjustment yourself, this step-by-step guide explains how to rotate the front mounting holes for the PA-TS1. Please note that rotating the actuator mounting holes may affect its ingress protection rating and should only be done when environmental sealing is not critical to the application.
Supplies
-Actuators
-Vice
-Allen keys
Removing Front Mounting End Screws
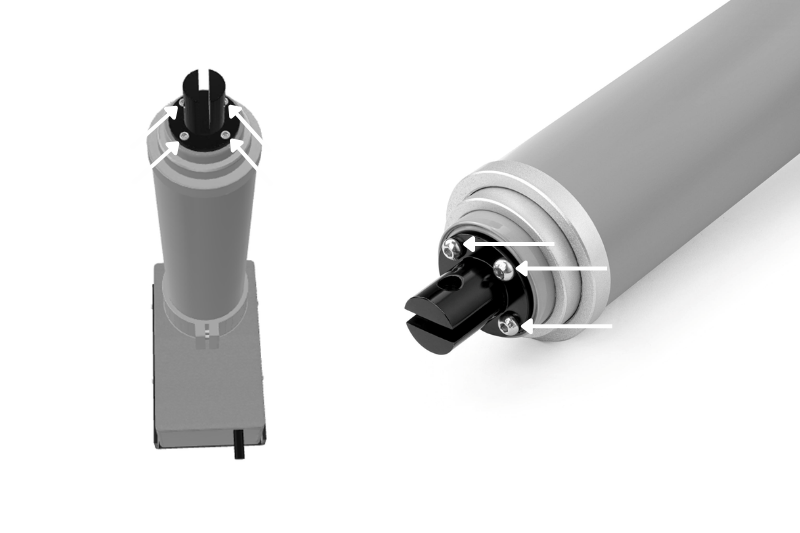
Completely remove the four screws securing the front mounting end by rotating them counterclockwise using Allen keys.
Front Mounting End Removal
Remove the front mounting end by pulling it in the direction away from the rest of the actuator’s body.
Reinsert Front Mounting End at 90°
Place the front mounting end into position after it has been rotated 90° counterclockwise
Securing Front Mounting End Screws
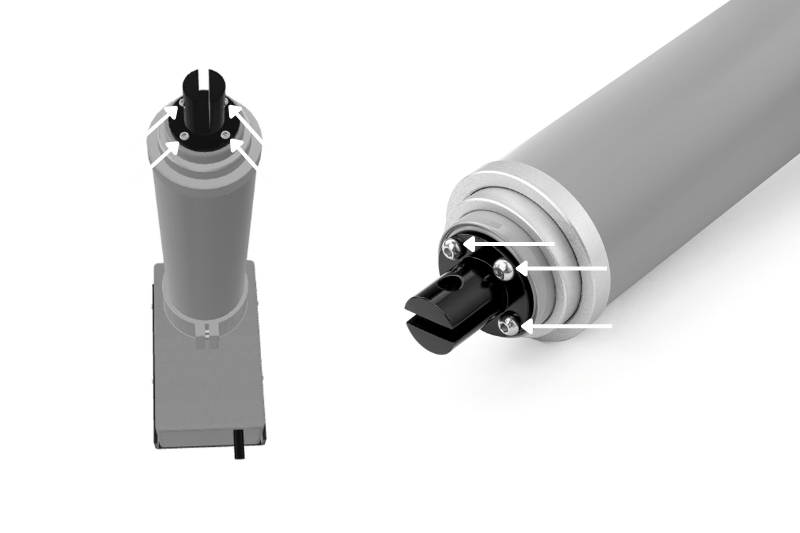
Secure the front mounting end with the four original screws from step 1 by rotating them clockwise using Allen keys. Rotation complete.
In Summary
To summarize, many actuators may need their mounting holes rotated for certain installation conditions and space requirements. By using a few tools and spending some time to follow our step-by-step guides, you too can rotate the mounting holes of an actuator to the required positions.