How to Season and Maintain a Cast Iron Tawa (For a Lifetime of Non-Stick Cooking)
by suncasa in Living > Kitchen
51 Views, 1 Favorites, 0 Comments
How to Season and Maintain a Cast Iron Tawa (For a Lifetime of Non-Stick Cooking)
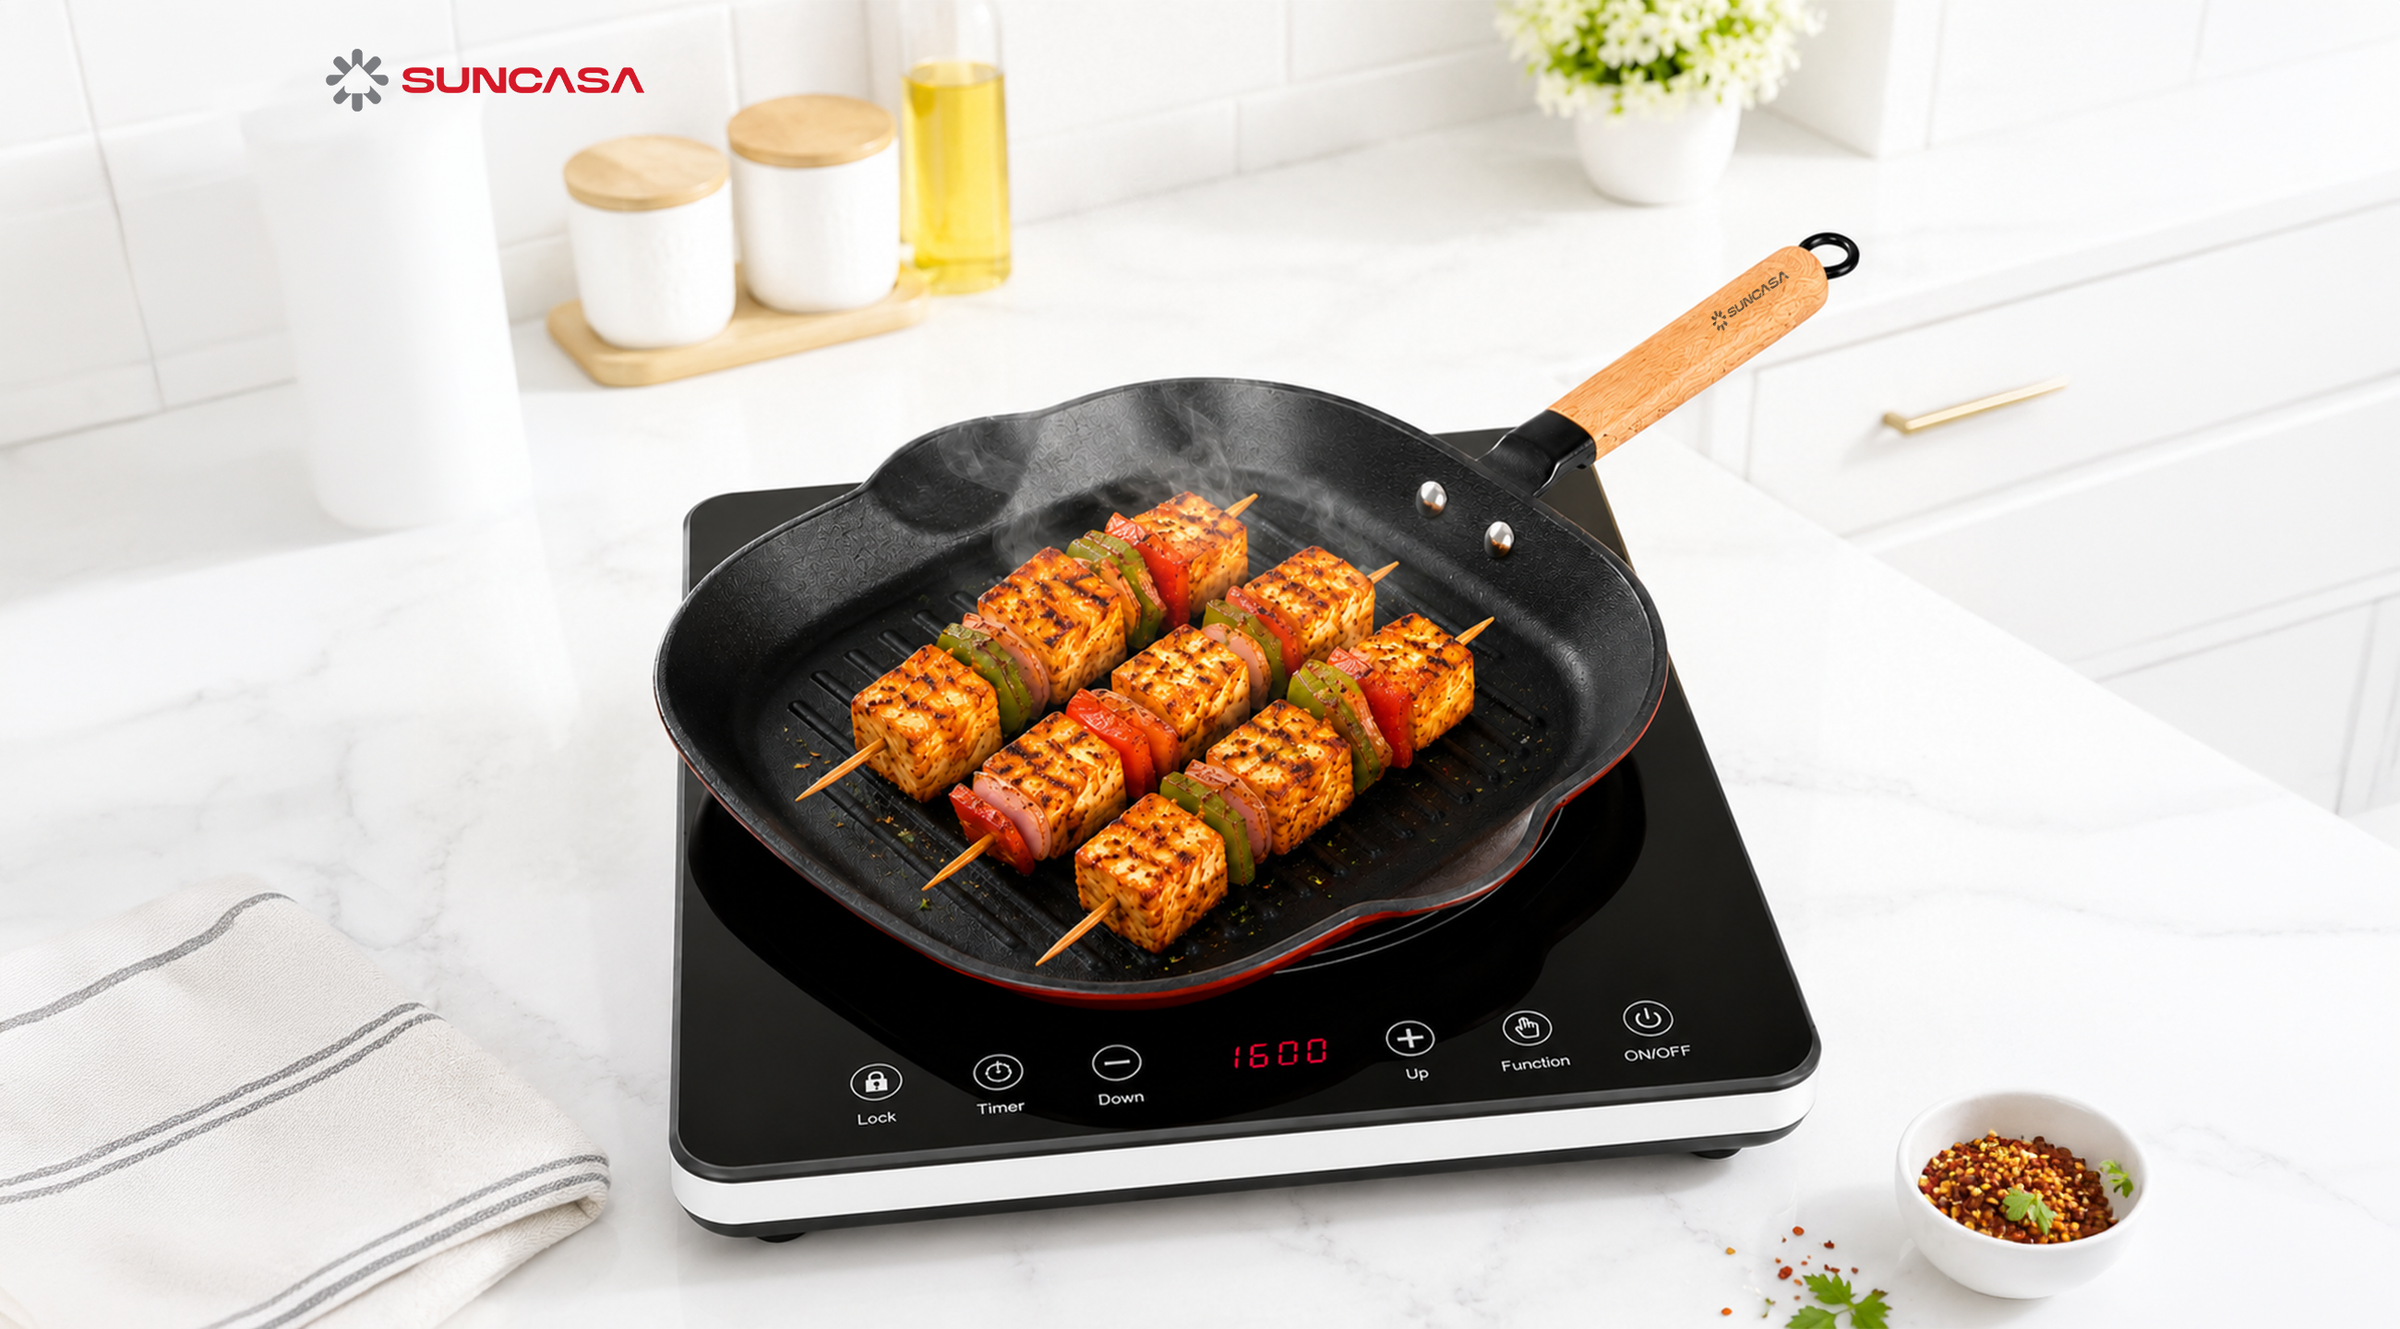
Cast iron is one of the most durable and versatile materials you can have in your kitchen. Whether you are making crispy dosas, searing a steak, or roasting vegetables, a well-seasoned cast iron pan is naturally non-stick and can literally last for generations.
However, cast iron requires a specific care routine. The "seasoning" is actually a layer of polymerized oil baked into the iron. In this guide, I will show you exactly how to build that perfect, slick black patina on your tawa and how to maintain it after every meal.
Let’s get cooking!
Supplies

- A high-quality cast iron pan: You want one that is heavy and retains heat well. I highly recommend the Cast Iron Dosa Tawa from Suncasa Home for its excellent build quality and even heat distribution.
- Cooking oil: Flaxseed, canola or standard vegetable oil work best due to their high smoke points.
- Paper towels or a lint-free cotton cloth.
- Mild dish soap (We only use this once!).
- Coarse sea salt (For future cleaning).
The Initial Wash (The Only Time We Use Soap!)
If you just bought a brand new cast iron pan, or if you are restoring an old, dusty one, you need to strip away any factory residue.
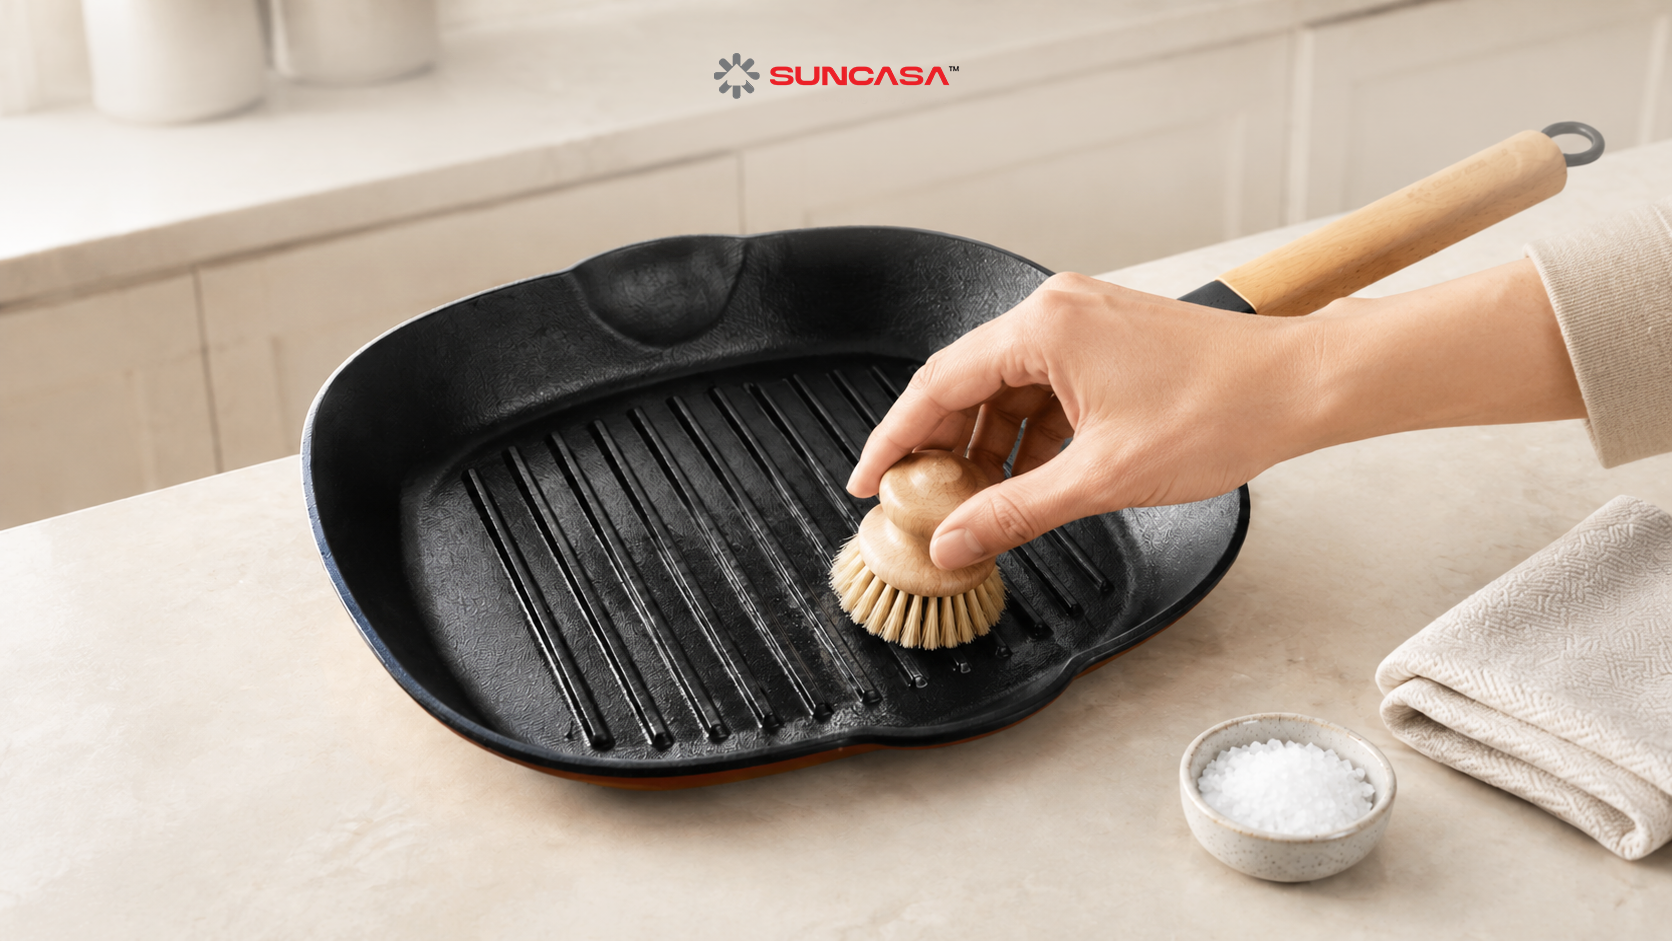
Take a sponge, warm water, and a few drops of mild dish soap, and give the pan a thorough scrub. Do not panic, this is the one and only time you will ever use soap on your cast iron. Once the seasoning is built up in the next steps, soap will become your enemy, as it breaks down the oils we are trying to bake into the metal.
Rinse the pan completely until the water runs clear.
Bone Dry Is the Goal
Cast iron is highly prone to rust, so towel-drying is not enough. Water hides in the microscopic pores of the metal.
After wiping it down with a towel, place your tawa on the stove over medium heat for about 3 to 5 minutes. Let the heat evaporate every single drop of hidden moisture. Once the pan is completely dry and warm to the touch, turn off the heat and let it sit for a minute so you don't burn your hands in the next step.
Apply a Micro-Layer of Oil
Pour about half a teaspoon of your chosen cooking oil (canola or flaxseed) into the center of the warm tawa.
Using a paper towel or lint-free cloth, aggressively rub the oil into the pan. Coat the cooking surface, the sides, the handle, and the bottom.
Here is the most important part of this step: Wipe it all off.
Take a clean, dry paper towel and wipe the pan until it looks completely dry and matte. If you leave pools of oil, your pan will become sticky and gummy during the heating phase. You only want a microscopic layer left behind.
The Heat Cycle (Polymerization)
Now we need to bake that oil into the iron. You have two ways to do this:
- The Stovetop Method (Best for flat tawas): Turn your burner on high. Let the pan heat up until it just begins to smoke. Leave it smoking for about 1 to 2 minutes, then turn off the heat. Let it cool completely.
- The Oven Method (Best for deep pans): Preheat your oven to 450°F (230°C). Place the pan upside down on the middle rack (put some foil on the bottom rack to catch any drips). Bake it for 1 hour, then turn off the oven and let it cool inside.
Repeat Steps 3 and 4 two to three times to build a thick, durable, non-stick layer.
Daily Maintenance (The Post-Cooking Routine)
Now that your Suncasa tawa is perfectly seasoned, here is how you keep it that way after cooking:
No soap, no dishwasher: Never put it in the dishwasher or let it soak in the sink.
- The Salt Scrub: While the pan is still warm, use hot water and a stiff brush to remove food bits. If there is stubborn, stuck-on food, pour a handful of coarse sea salt into the pan and use a paper towel to scrub it. The salt acts as an abrasive without ruining your seasoning.
- Dry and Oil: Dry the pan immediately on the stove (just like Step 2), rub a tiny drop of oil over the cooking surface, and store it away for your next meal!