How to Send Commands From Your Computer to a Raspberry Pi Pico
by phenoptix in Circuits > Raspberry Pi
2044 Views, 23 Favorites, 0 Comments
How to Send Commands From Your Computer to a Raspberry Pi Pico
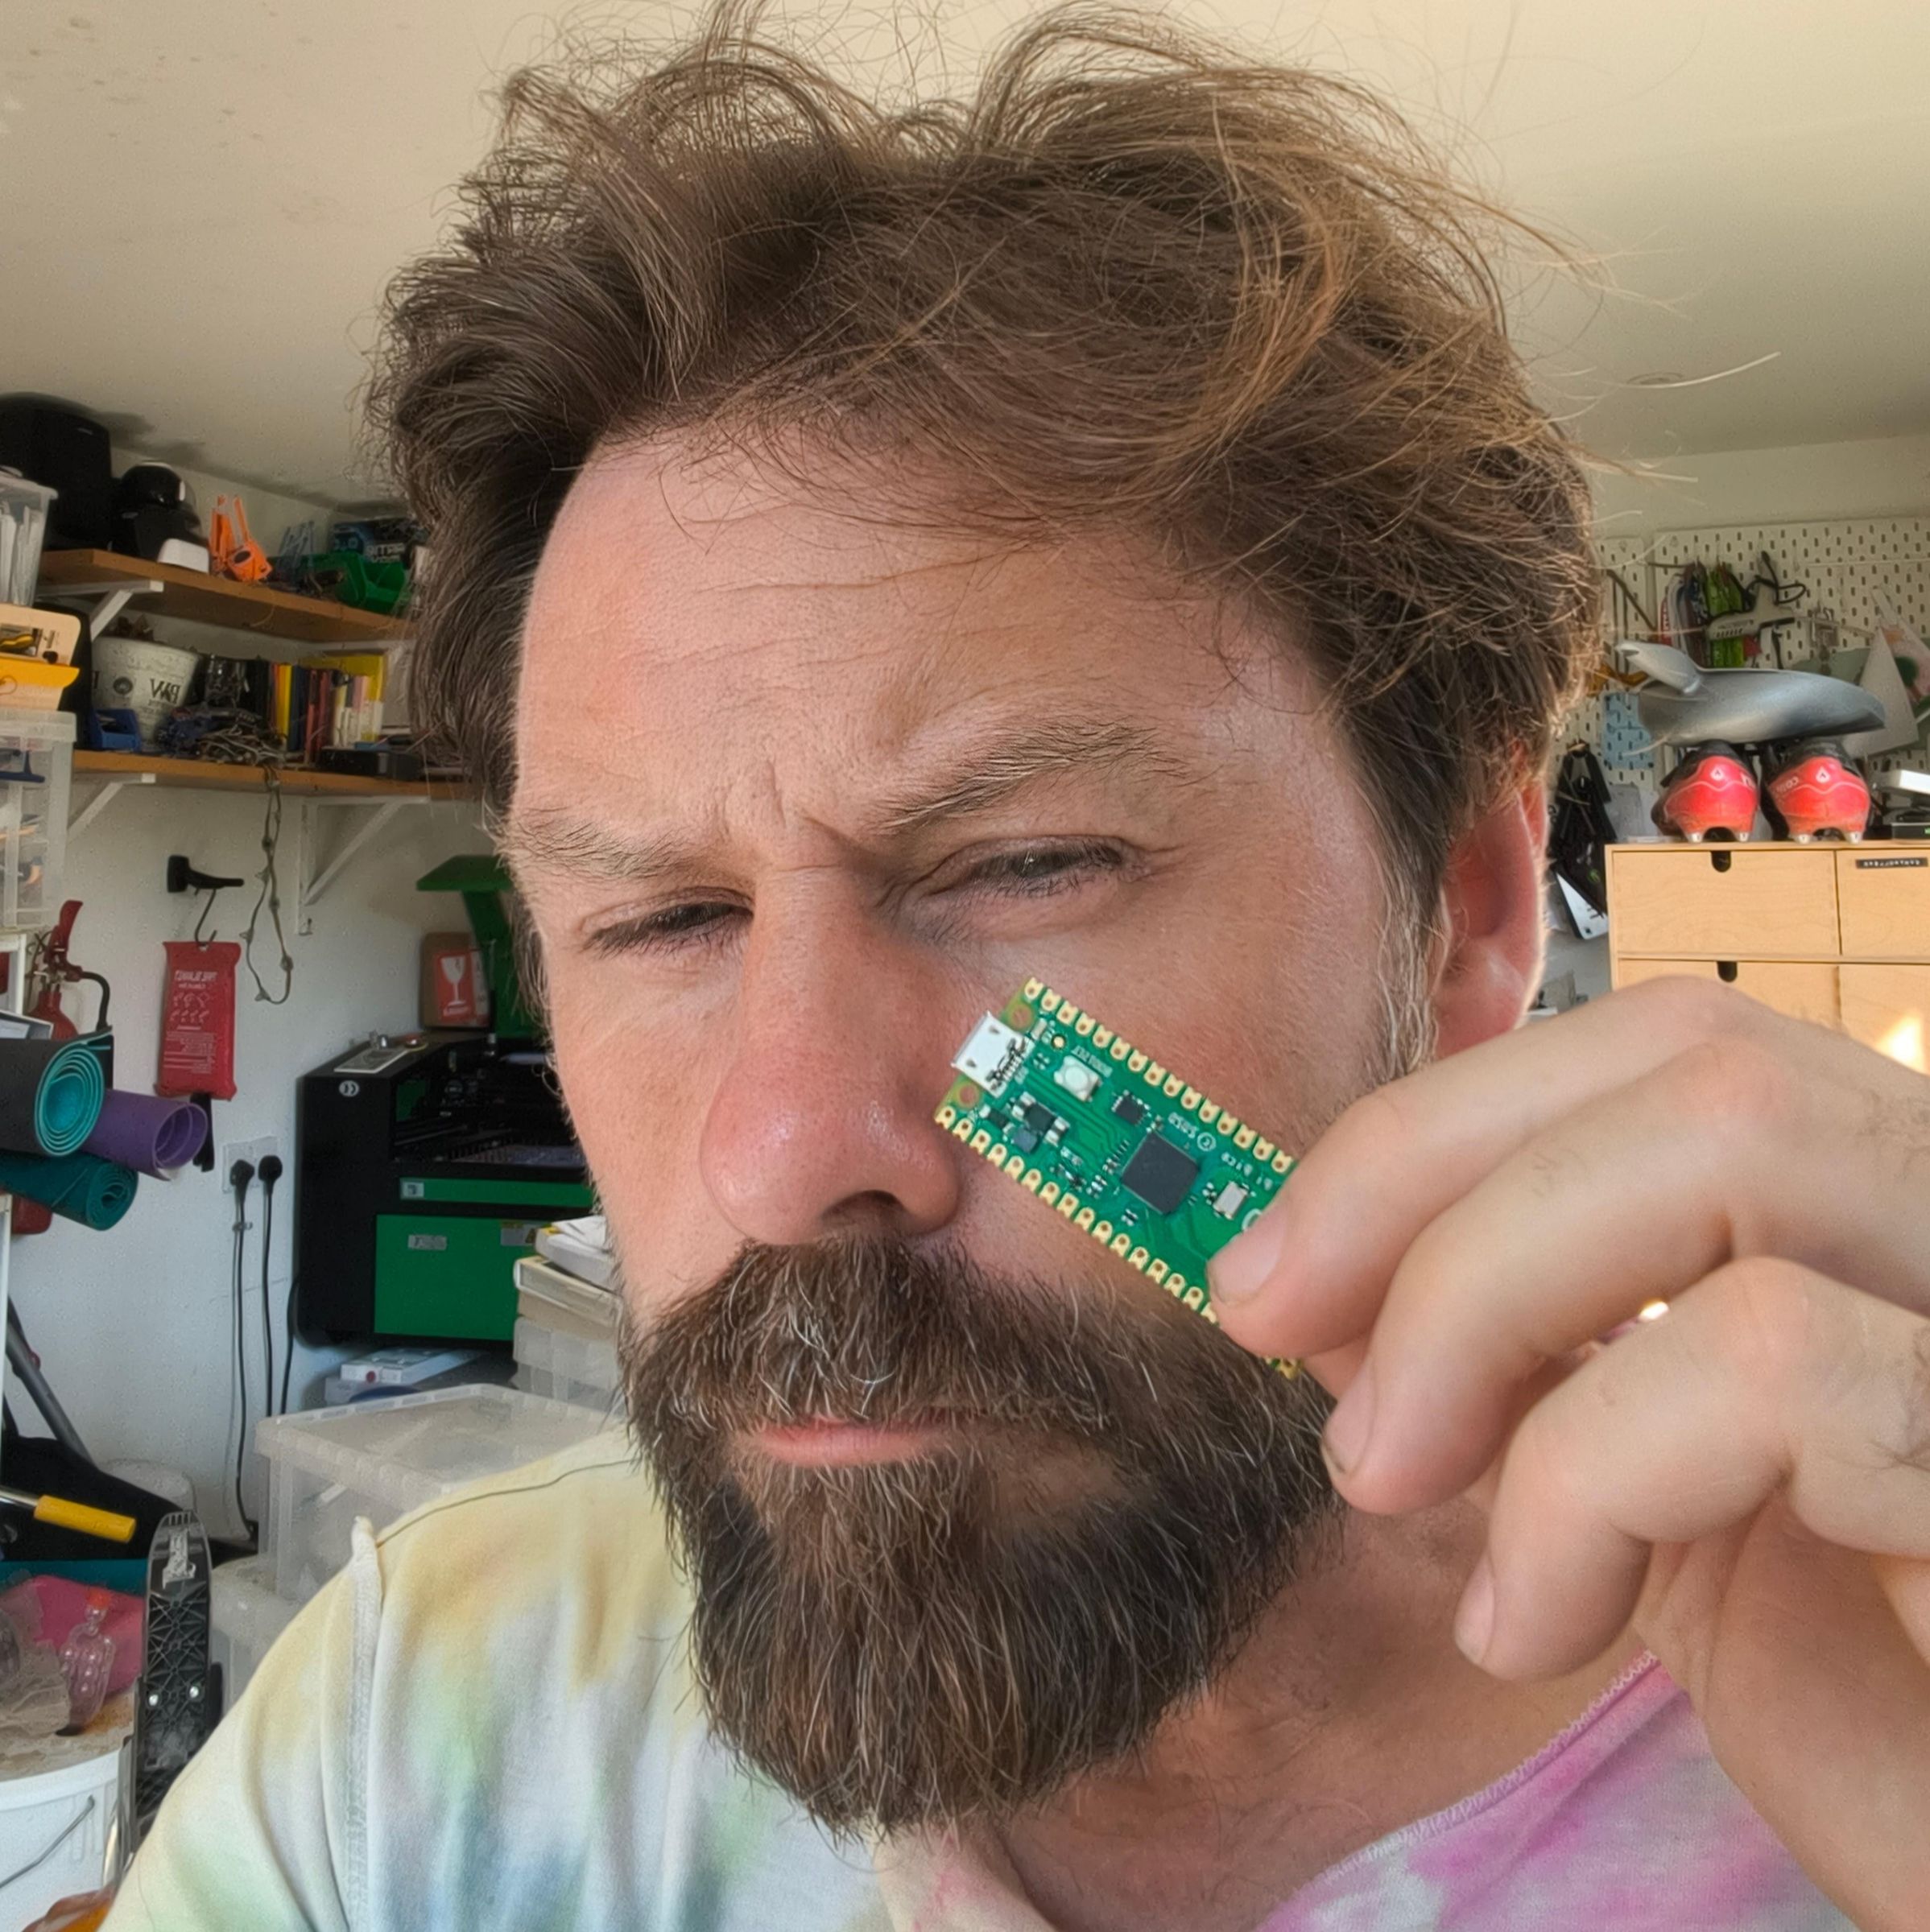
In this project you'll learn how to send commands from your computer to a Raspberry Pi Pico over USB Serial using MicroPython. By the end you'll be able to send numbers, receive responses, and even control the Pico's built-in LED—all with a single USB cable.
Why do we want to do that? So we can control robots and take over the world of course.
Supplies
.jpg)
- Raspberry Pi Pico
- USB cable
- Computer
- Thonny IDE
- PuTTY (Windows) or another serial terminal
Install Thonny
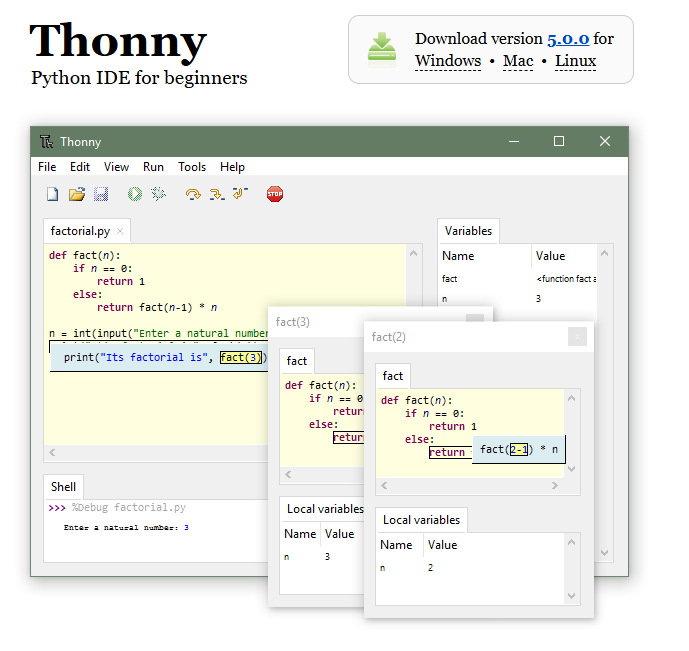
First we're going to install the software we need to program our Raspberry Pi Pico. If you have a Pico there's a chance you have this already, so you win a skip ahead token. You can use that right now.
If not head to the Thonny website and follow their instructions for the install.
Connect Your Pico to Your PC (or Mac)
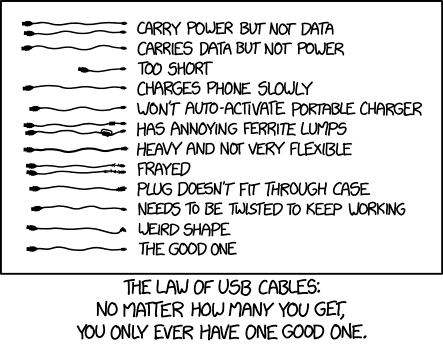
Taking your USB Cable connect the small end to your Raspberry Pi Pico and the big end to your PC or Mac. USB is a physical communication method. One big "gotcha" to watch out for here is making sure you're using a good quality cable that actually has a data line in it. If you're not getting the connected noise when you connect the pico to your PC it could be because you're using a cable that only has power cables in it.
XKCD have made a handy graphic to explain the laws of USB Cables
Upload the Code
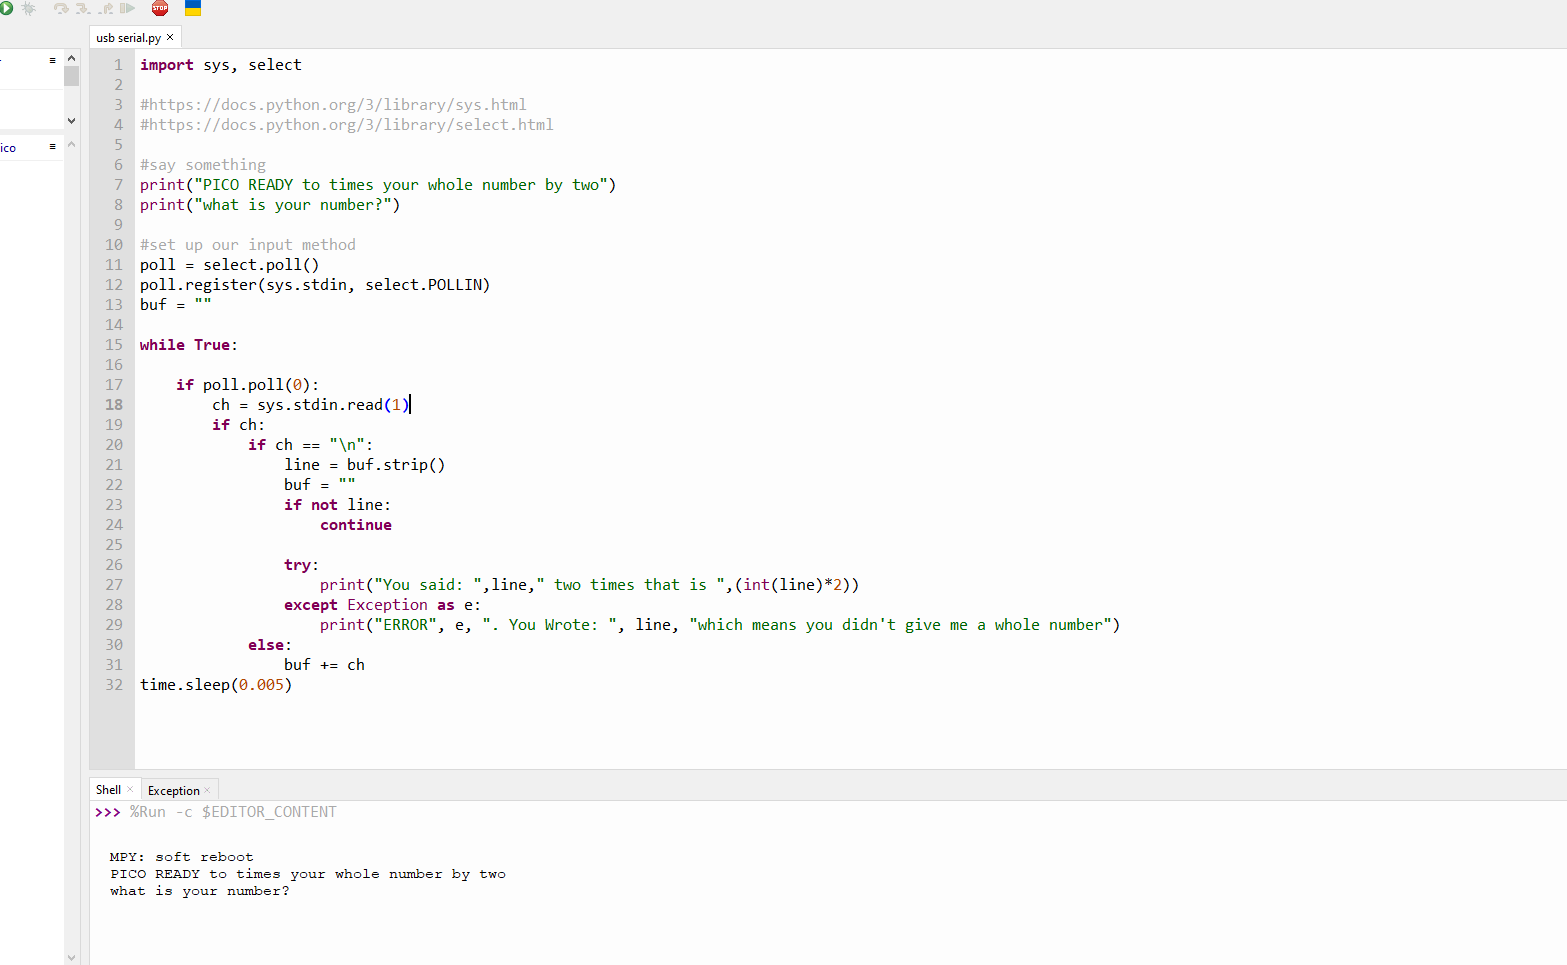
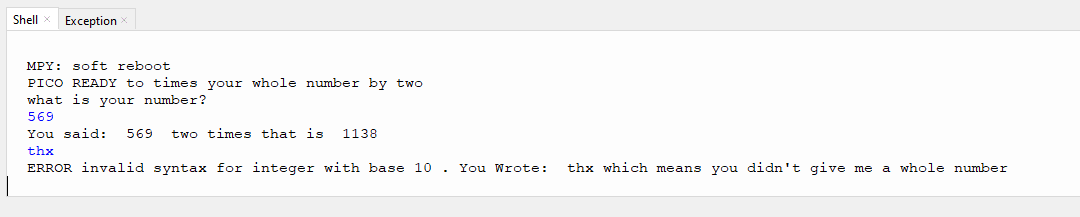
Open Thonny and connect to the Pico.
Add this code:
and upload it to your pico. Click the little green button so the code is running and you should see the welcome message we put in the code. It will ask you what is your number?
Downloads
Test Your Code
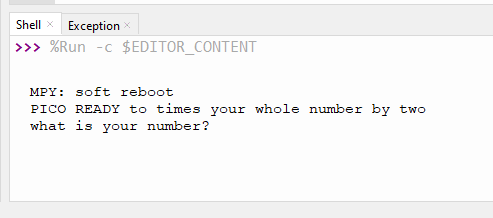
Using the "shell" prompt you can test your code by sending it values. If you send it a whole number (an integer) it will double the number and return it to you. If you send it anything else it will send an error message
Test Some More
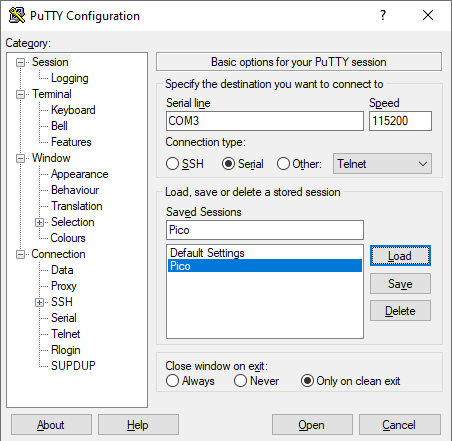
Now this might not feel like real communication, as you're using the same software you used to code the Pico in the first place. Lets try another bit of software. This is called Putty and it's a serial communication tool. If you're an old school badass programmer you might well know it.
This is an independent test as it's a third party tool that isn't about programming your Pico, it's just communication over the serial port.
The image above shows the basic settings where we just tell it the COM port location and connect. If it connects it will give you a black screen and you can send it values just like before.
Make It All More Real
Fortunately the Raspberry Pi Pico has an onboard LED. We can now edit our code to toggle this on and off when we send a value over serial.
This code sets up the LED and uses a toggle command which switches the pin high and low (it's like on and off in code speak).
Downloads
Test Again!
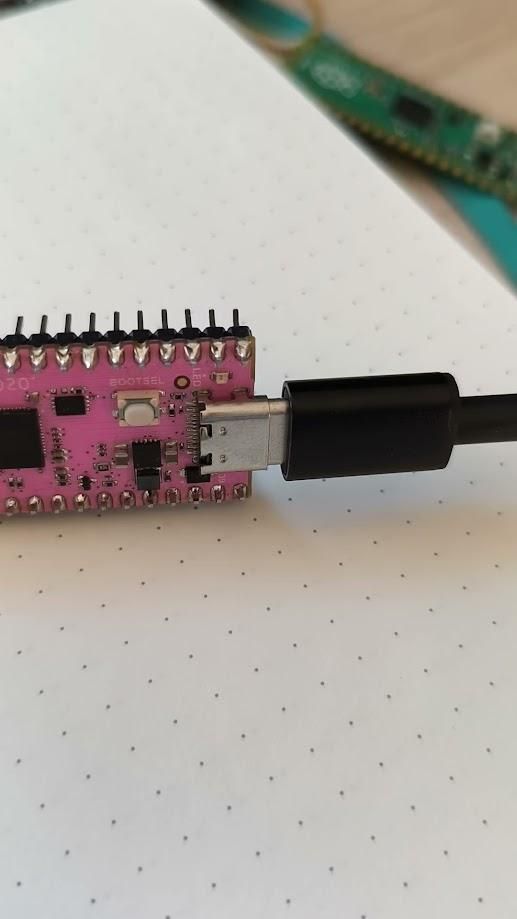
Now with your LED code installed we can test again using Thonny or Putty. Send some value and you'll get them back as doubles and see your LED turn on and off.
Downloads
What's Next?
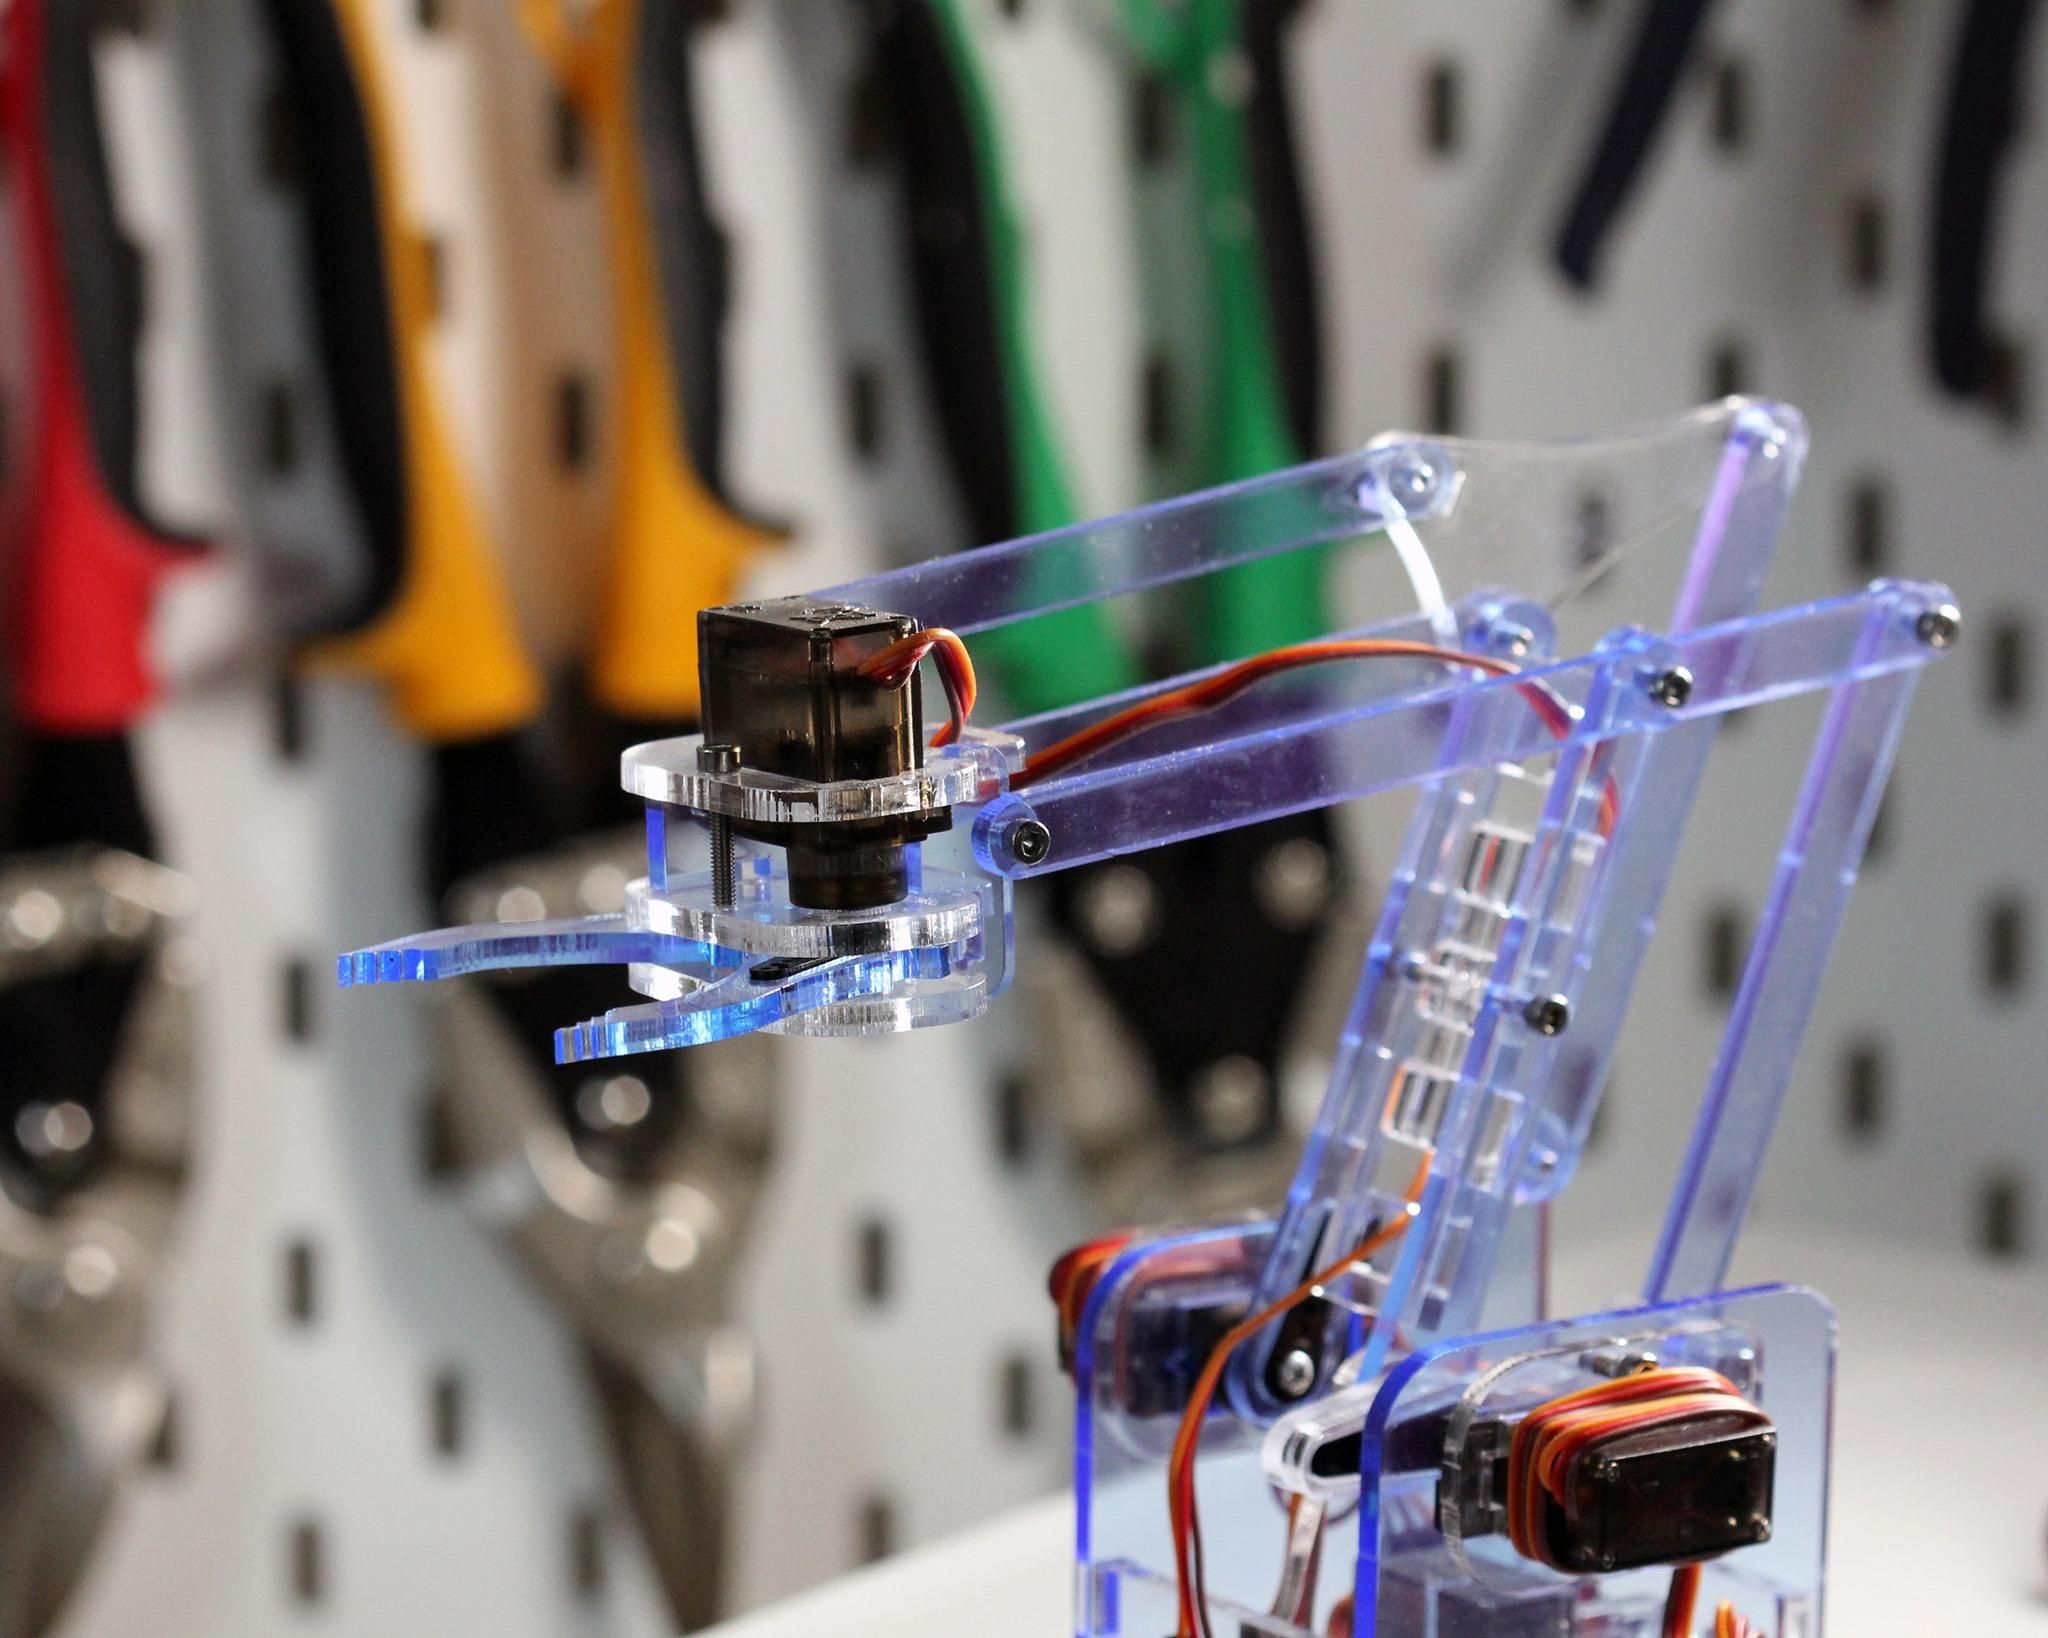
Now we can communicate with the Raspberry Pi Pico over serial we can use it to control all sorts of things. The next thing I'll be tackling in our tutorial series is a servo motor. This way we can build a PC based robot arm controller.
We'll follow that up with how to build a desktop graphical user interface that interacts over serial which will contain all of the same code we've used here. Only lots more of it!
If you'd like to keep up to date with our full series on robots with the Raspberry Pi Pico follow my profile or our blog at mearm.com