How to Send Emails With Python and Google Gmail
by FuzzyPotato in Design > Software
314 Views, 0 Favorites, 0 Comments
How to Send Emails With Python and Google Gmail

Introduction: How to Send Emails with Python (Using Gmail and SSL)
In this guide, we’ll walk you through setting up a Python script to send emails securely, whether you're working on a local PC or using a cloud-based Python environment like, PythonAnywhere. This flexibility makes it easy to integrate email notifications into any project, from your personal computer to always-on online setups.
We’ll cover both:
- Local PC Setup: Perfect if you’re running Python scripts directly on your own machine.
- PythonAnywhere Setup: Ideal for cloud-based Python projects or automation without relying on your local device.
By the end of this tutorial, you’ll have a Python script that can send emails directly from your Gmail account, which you can adapt to any project. Whether you're sending alerts, reports, or daily updates from an always-on cloud sever or from your local PC, this setup will make it easy to add email functionality to your Python projects. You’ll be able to use this setup as a core component in any future projects needing email functionality.
Let’s get started!
Supplies
Depending on if you are using your own PC or a cloud server, you'll need:
Your Own PC
- You’ll need a personal computer if you prefer running the email script locally.
Python Installed on Your PC
- Make sure Python is installed on your computer.
Gmail Account with App Password
- Use your Gmail account for sending emails. Follow our steps to set up an App Password for secure access.
An IDE (Integrated Development Environment)
- For writing and editing your Python scripts. I'll be using VSCode, but other IDEs like PyCharm or Jupyter Notebooks will also work.
OR
PythonAnywhere Account or Another Cloud Server
- For cloud-based email sending, use PythonAnywhere or any other server where you can run Python scripts remotely.
Create an App Password for Gmail Account
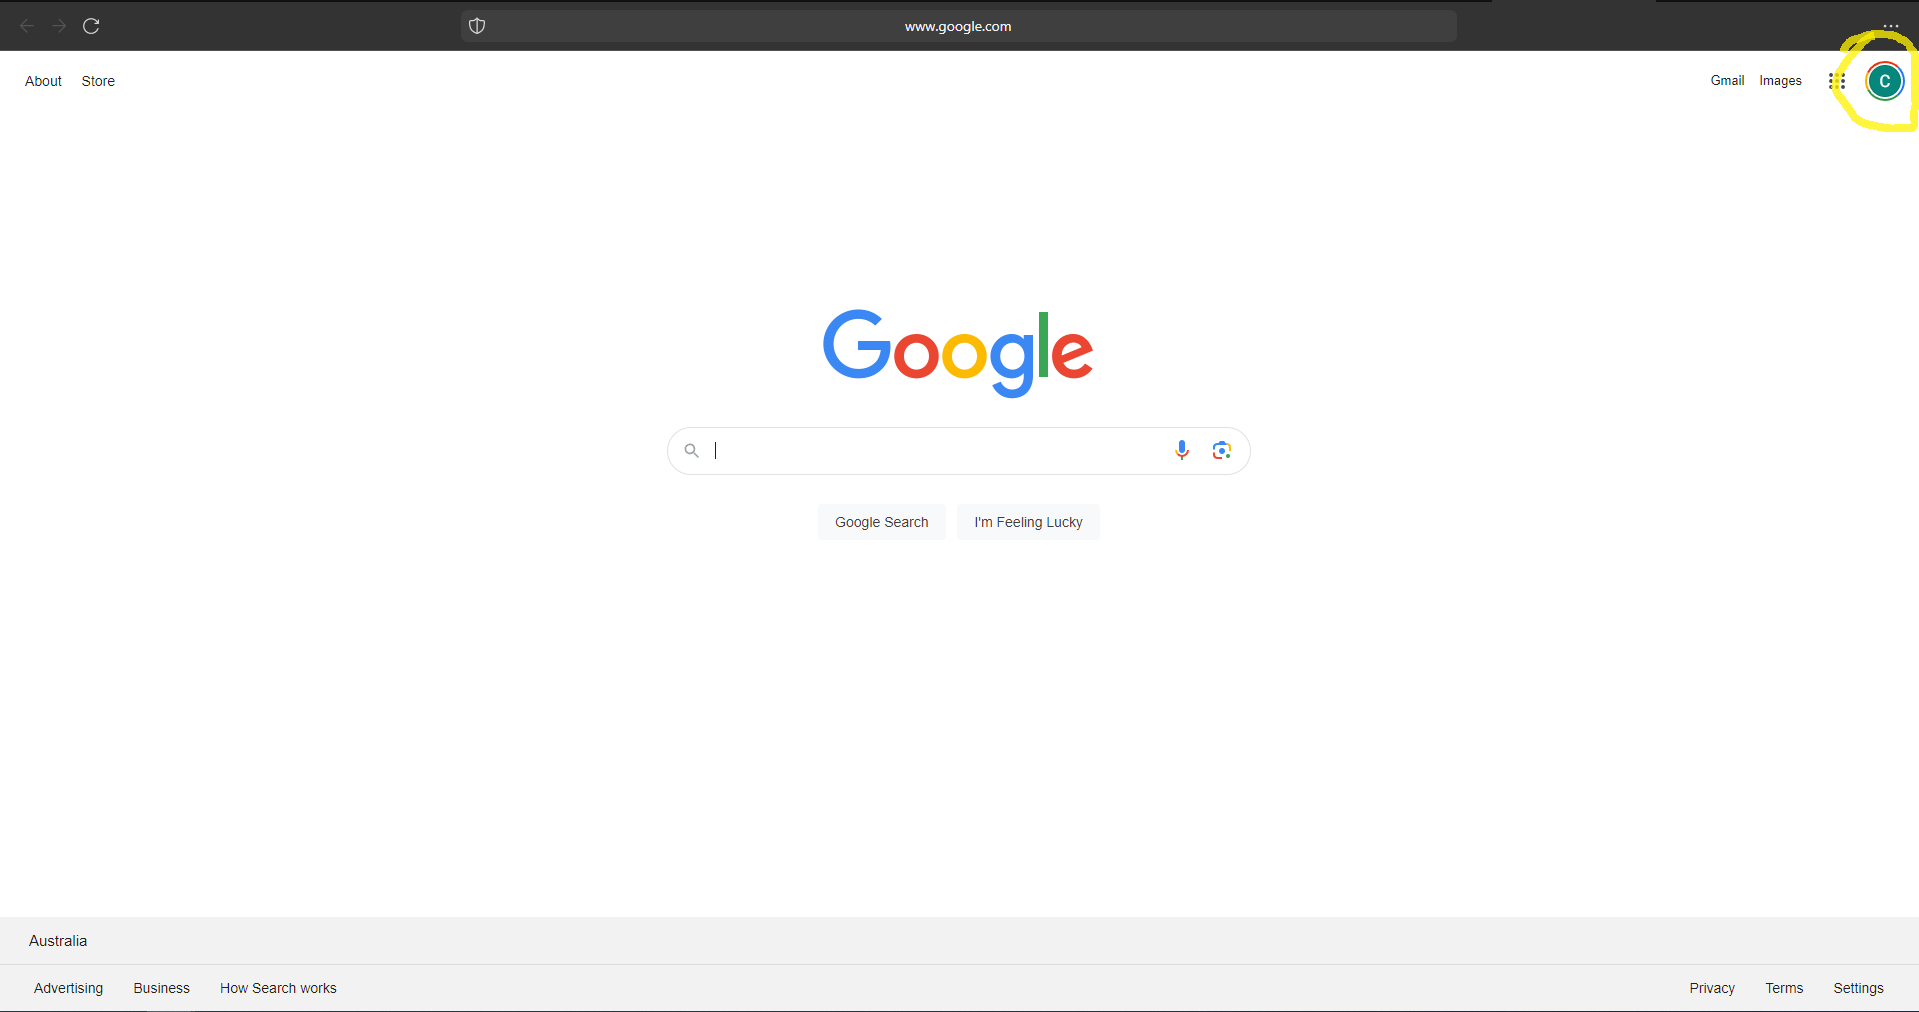
Open a google page and click on the user icon

Then click on "manage your google account"

Then the "security" tab
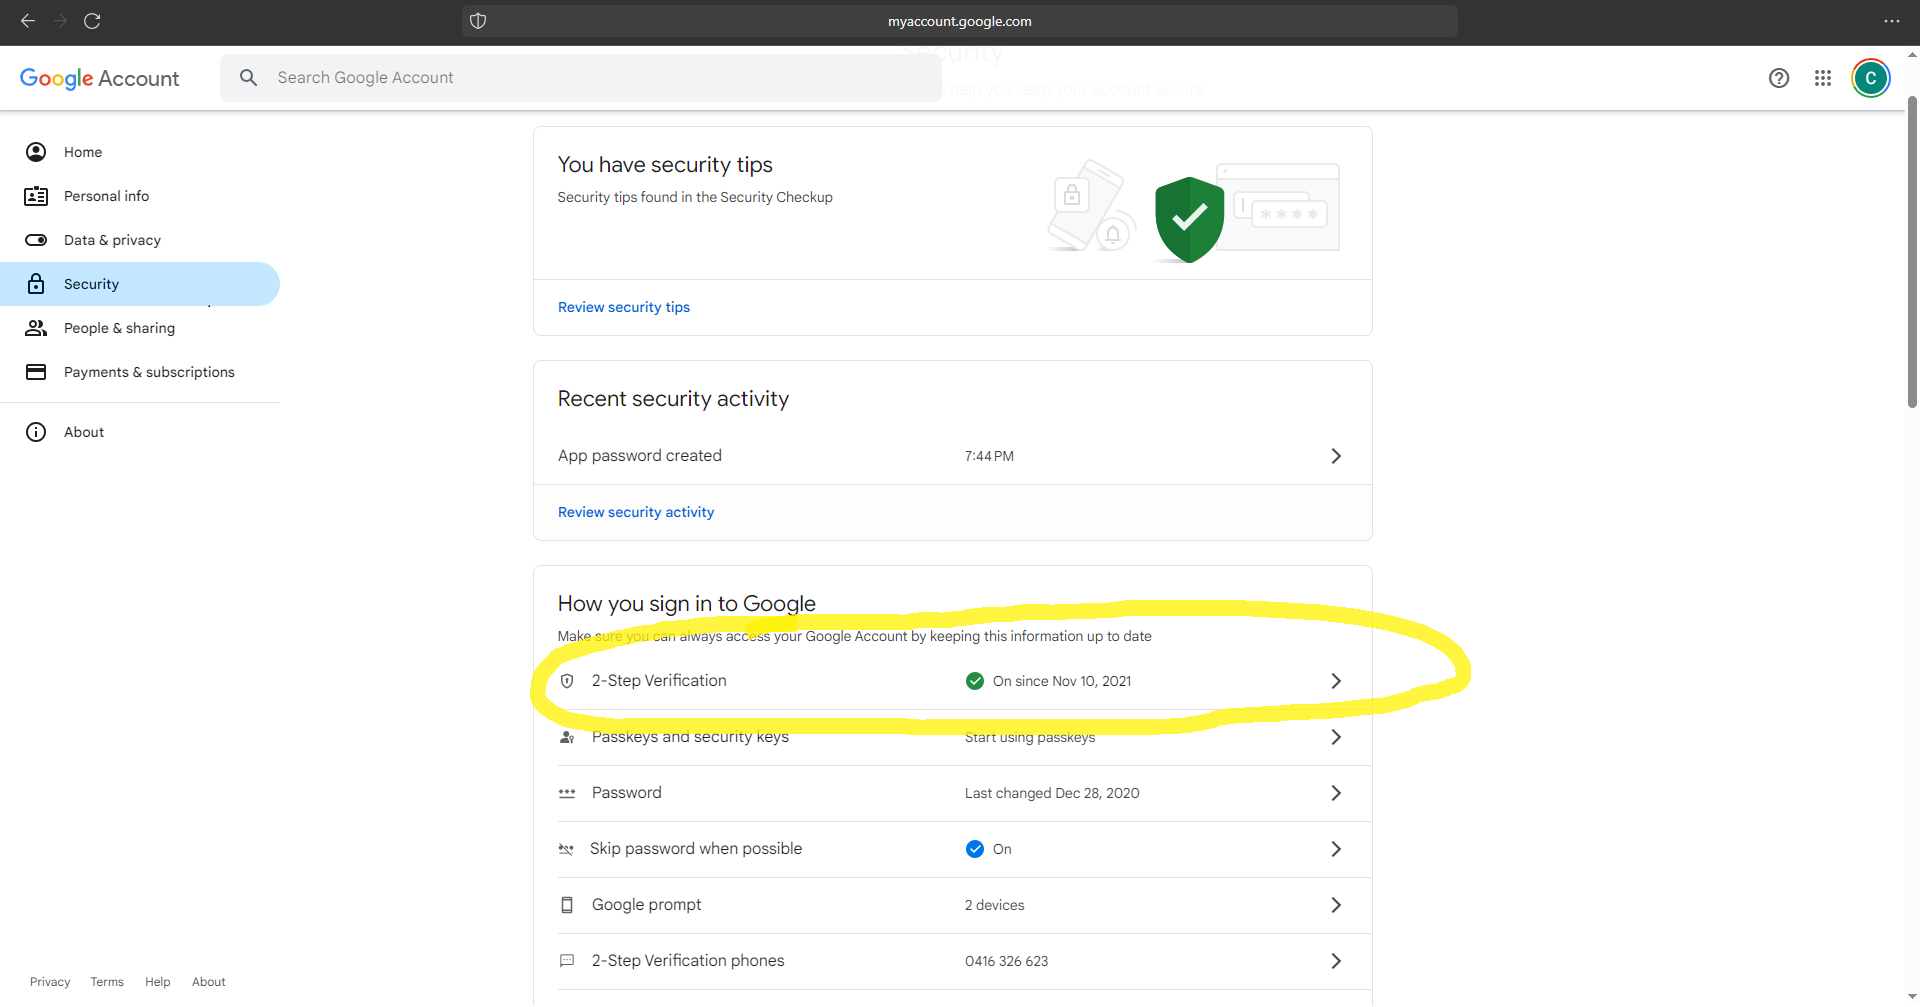
Then activate 2 step verification
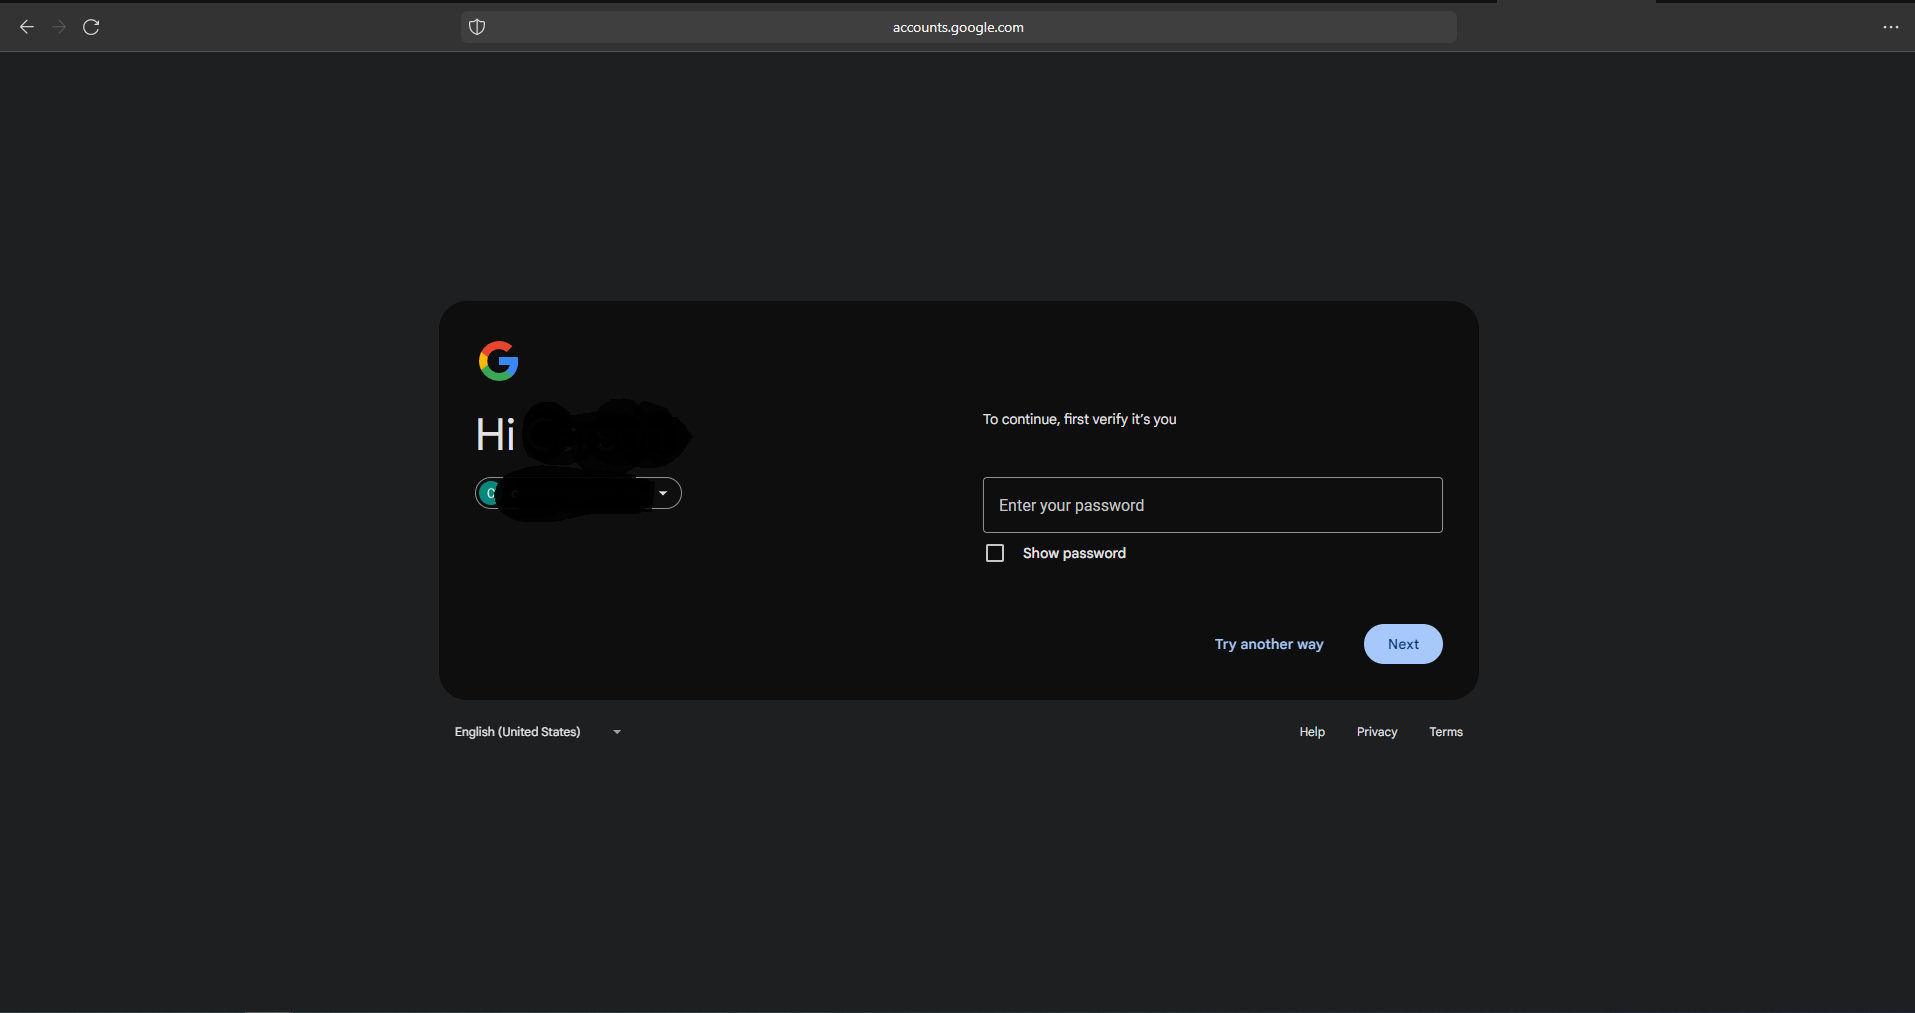
Enter your google password
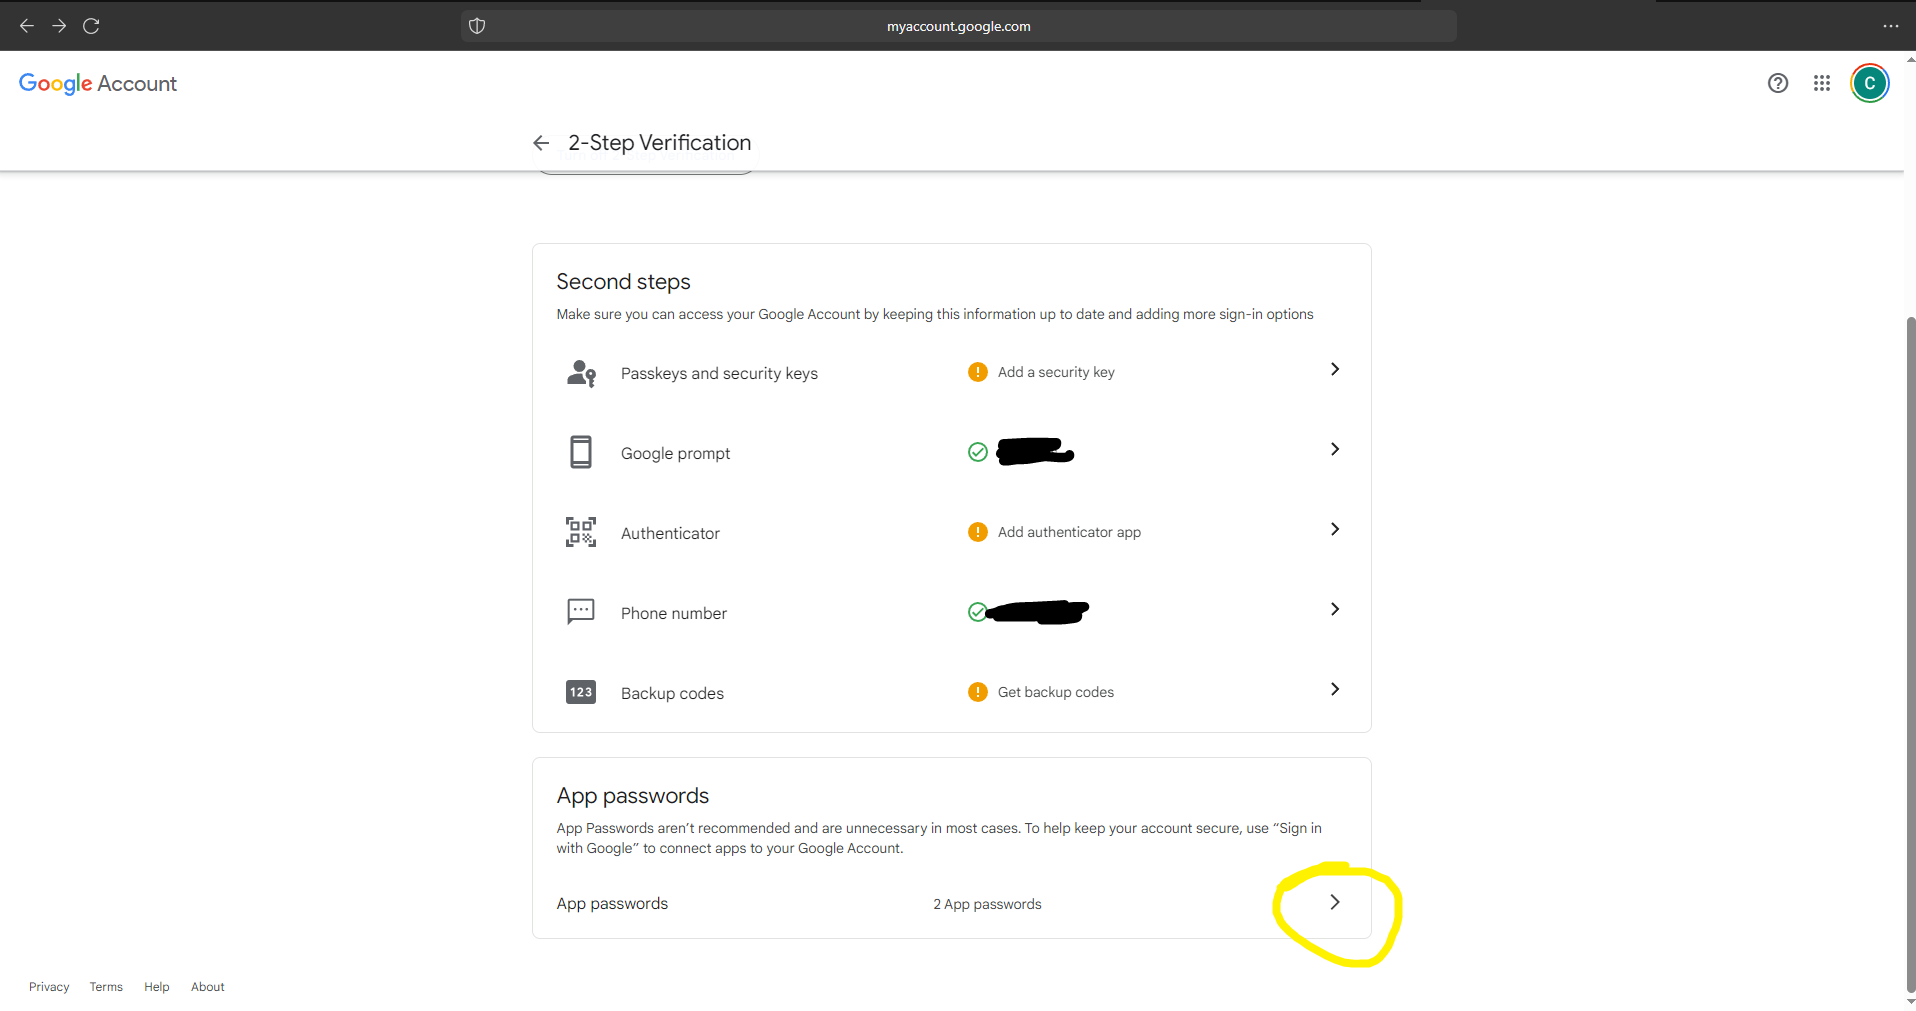
Then click on "App passwords"
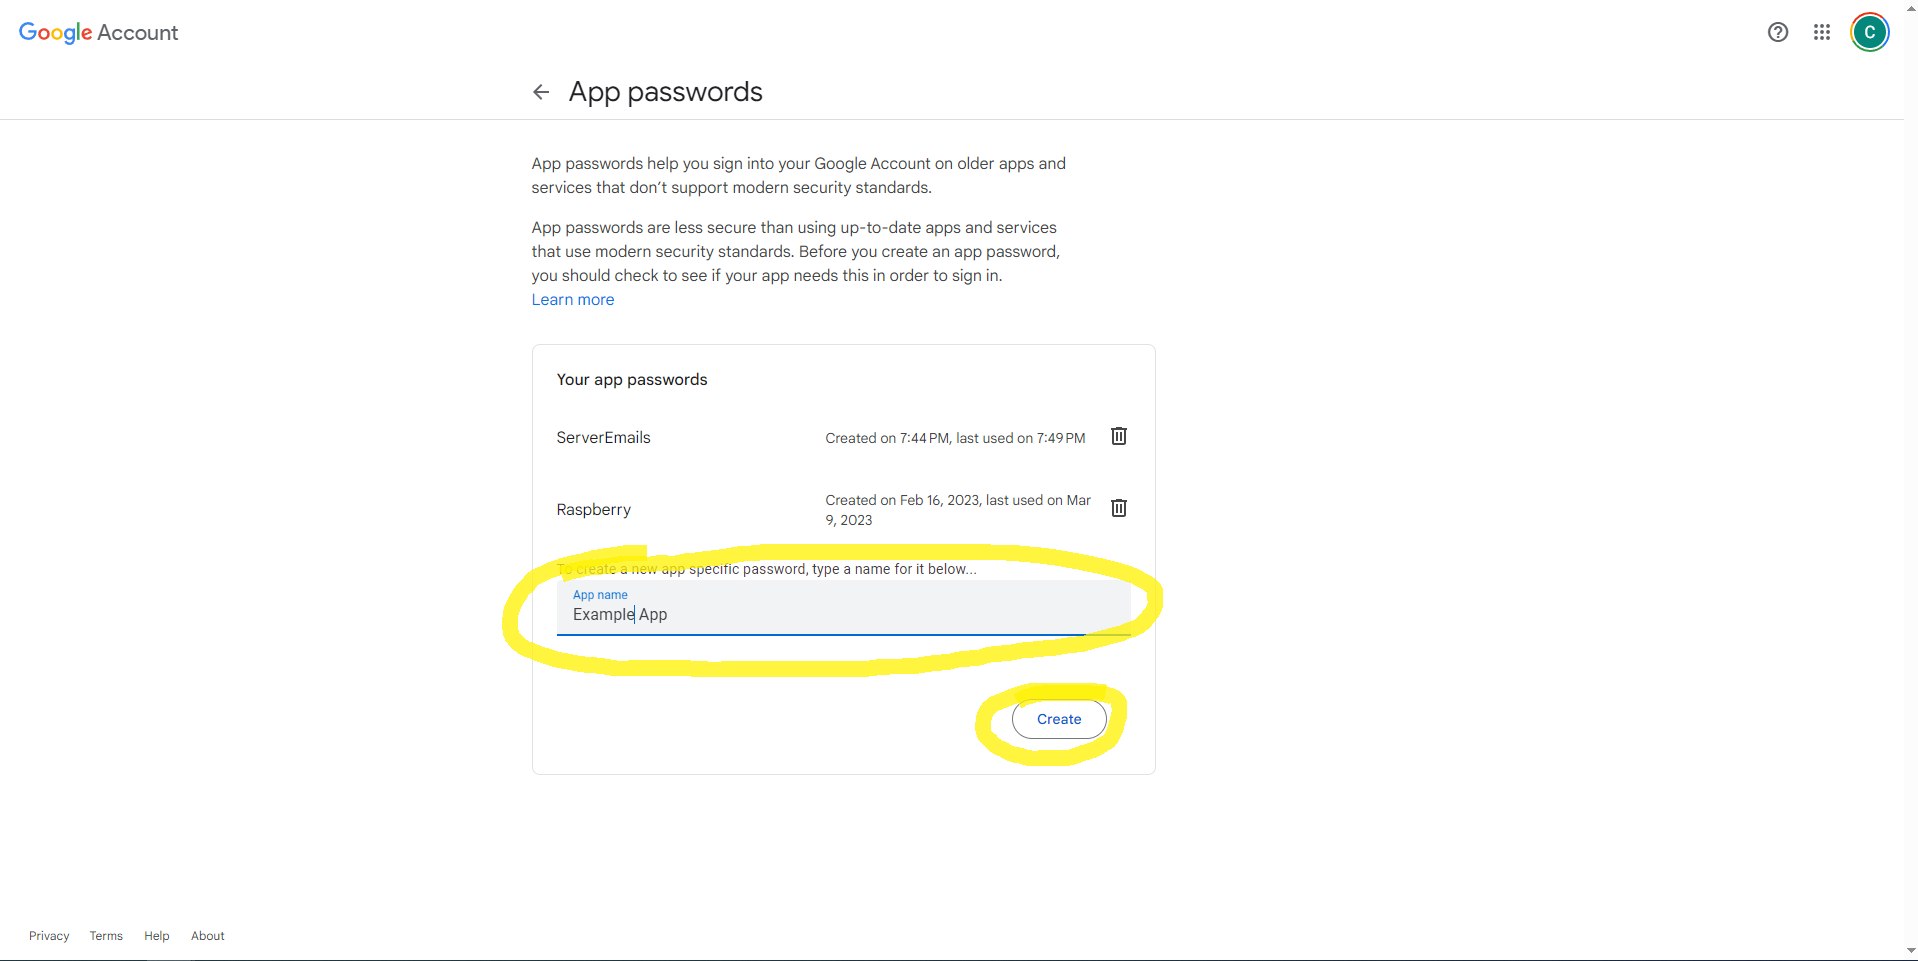
Then enter a name for the App password. Then click "Create"

You will then see an App password. Save this as you will not be able to see it again. We will use it in our python script.
The Python Script for Sending Emails
With Gmail set up, we’ll now create the Python script. The code will vary slightly depending on whether you’re running it on your PC or on PythonAnywhere.
A. For Local PC Setup
Here's the code to send an email from your local machine:
B. For PythonAnywhere Setup
On PythonAnywhere, due to permissions, we’ll use certifi to ensure SSL certificates are up to date. Here’s how the code changes:
Running the Scipts
Now that we have everything set up, it’s time to run the scripts. Here’s how to test your email-sending script on both your local PC and PythonAnywhere.
A. For Local PC Setup
- Open Your IDE:
- Open your IDE (like VSCode) or any text editor and make sure your script is saved with a .py extension.
- Run the Script:
- In the terminal or command prompt, navigate to the directory where your script is saved.
- Run the script by entering: python your_script_name.py
- If everything is set up correctly, you should see the confirmation message: “Email sent successfully from your PC!”
- Verify Email Delivery:
- Check your Gmail Sent folder to confirm that the email was sent.
- If you have access to the delivery email address check the Inbox
B. For PythonAnywhere Setup
- Upload Your Script:
- On PythonAnywhere, go to the Files tab and upload your Python script if it’s saved on your PC. You can also create the script directly in PythonAnywhere.
- Run the Script in a Bash Console:
- Open a Bash Console from the PythonAnywhere dashboard.
- Navigate to the directory where your script is saved (usually your home directory).
- Run the script with: python3 your_script_name.py
- You should see “Email sent successfully from PythonAnywhere!” if it works correctly.
- Verify Email Delivery:
- Check your Gmail Sent folder to confirm that the email was sent.
- If you have access to the delivery email address check the Inbox
Congratulations!

If you found this helped or was valuable in anyway please drop a like! It helps more than you know!