How to Sew a Button Onto a Piece of Clothing
1905 Views, 9 Favorites, 0 Comments
How to Sew a Button Onto a Piece of Clothing
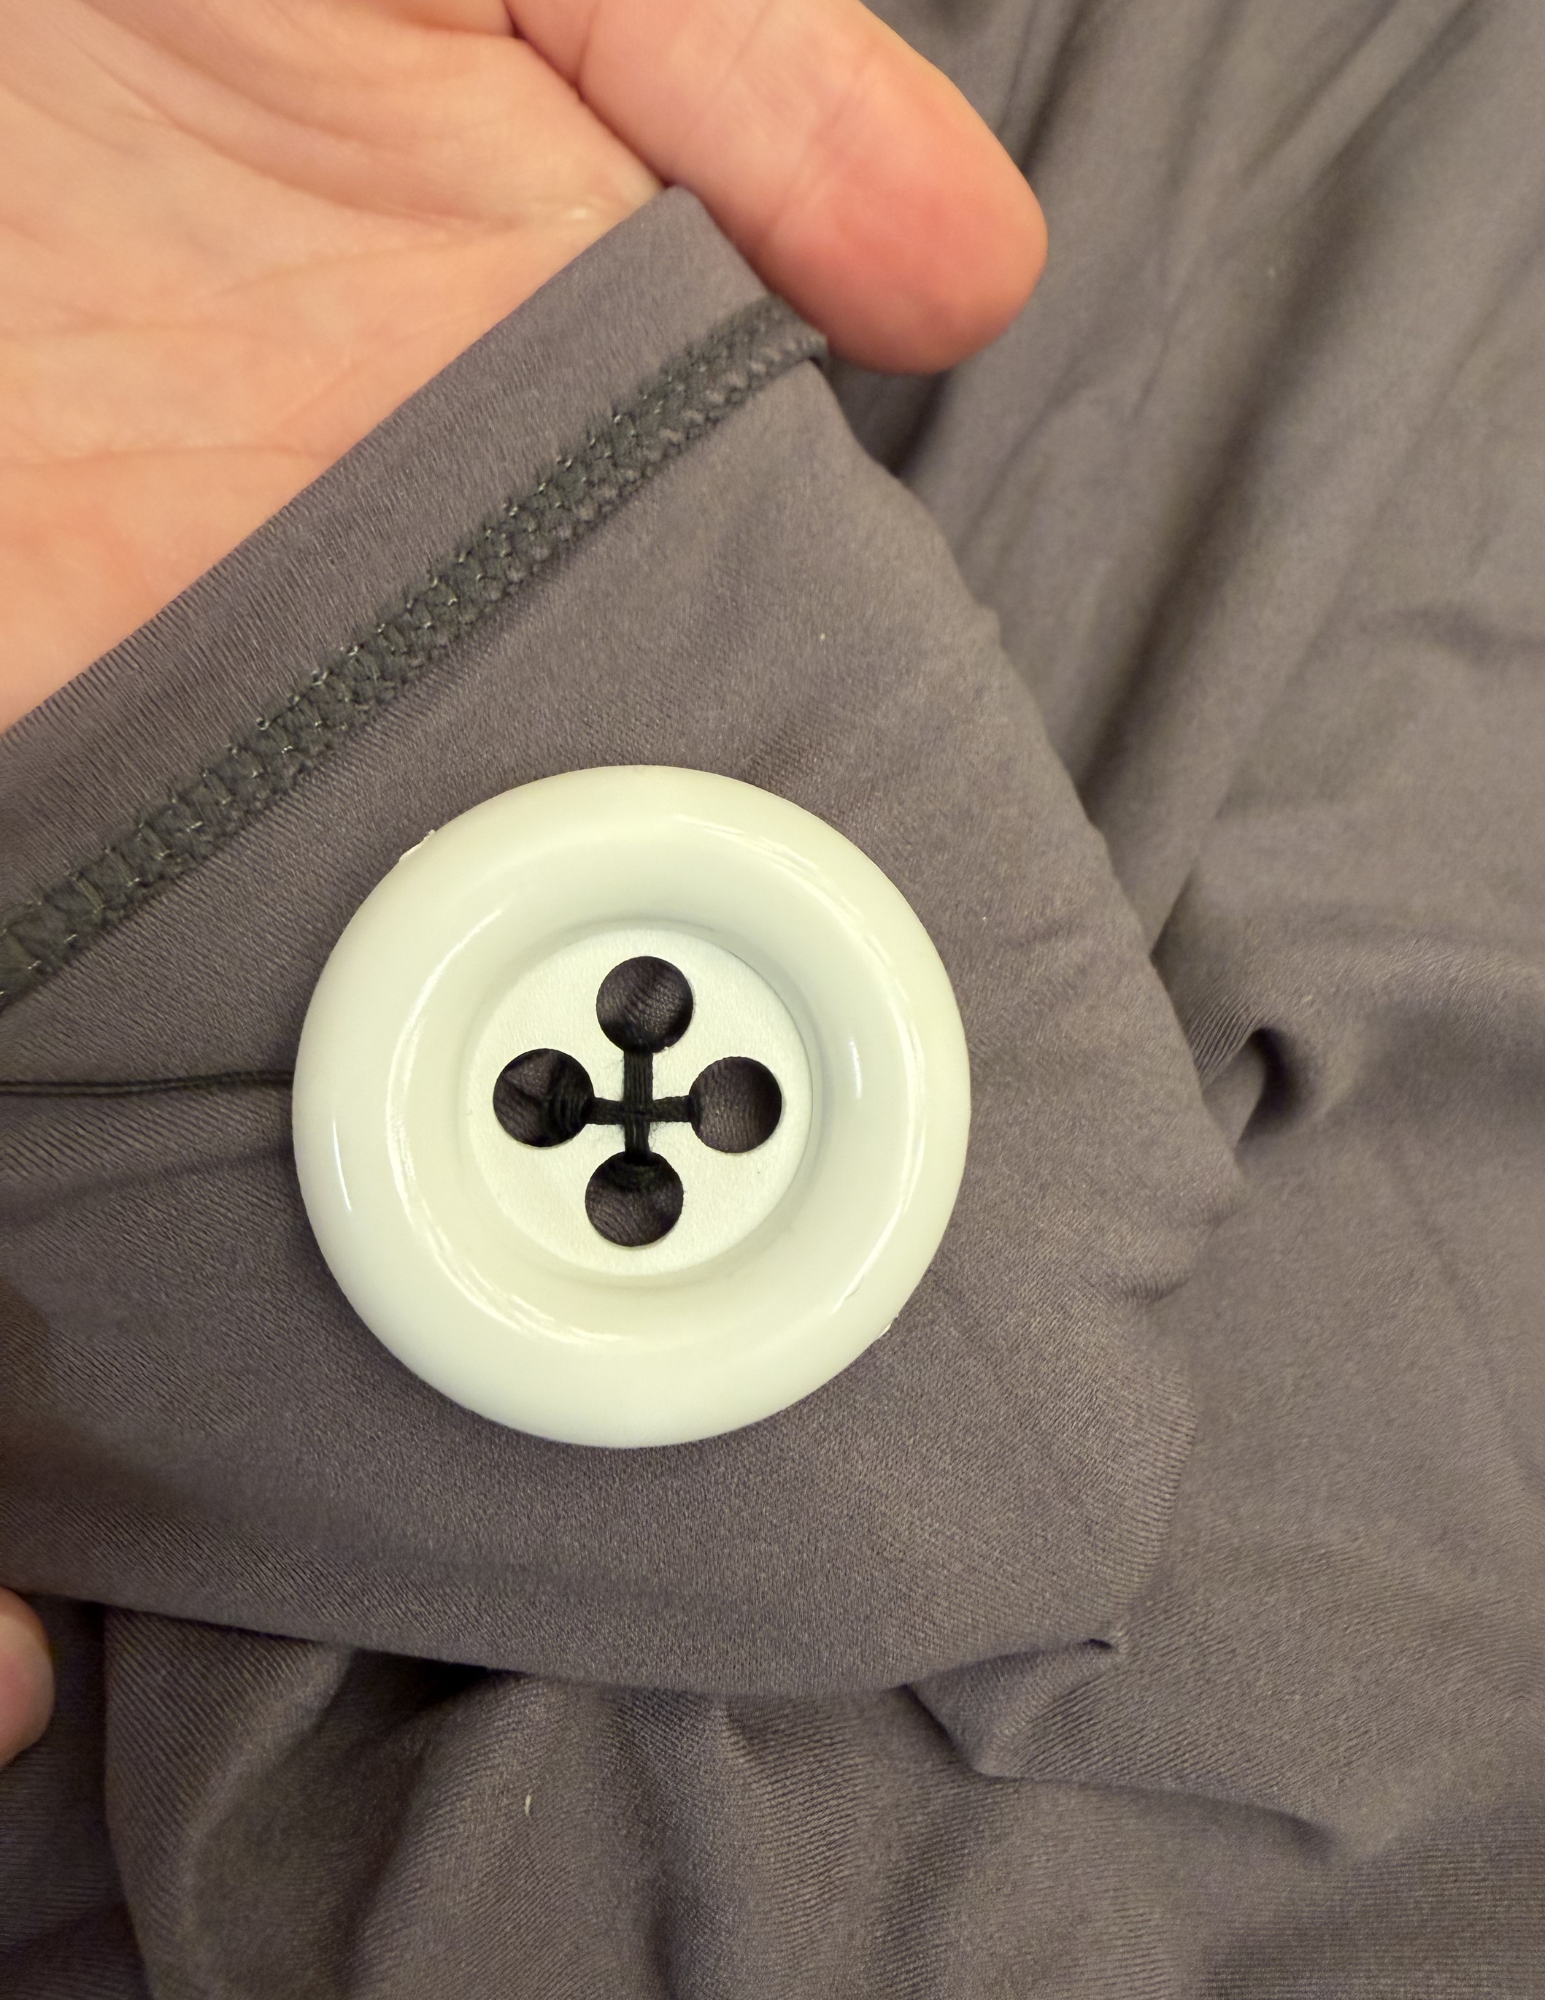
Buttons falling off and rips in clothing are a common problem that plagues us all. Knowing how to sew and personally fix an article of your own clothes is an extremely important skill. Because this is such a valuable skill to know, if you follow the directions below, you will be able to master sewing a button onto any piece of clothing. Remember that to do these steps, you will have to use a sewing needle. While the needle isn't particularly sharp, it is important to understand to be cautious around it, as you could poke yourself or others.
Supplies
.png)
.png)
- Button with four holes (any shape, size, or color)
- Thread (any color but preferably similar to button)
- Sewing needle
- Scissors
- Piece of clothing
Gathering Materials
.png)
Gather all materials listed above and place them onto a hard surface.
Sizing Thread
.png)
- Spread your arms out wide
- Trace the length of your wingspan with the thread of your choosing
- Cut the thread once the thread reaches the length of your wingspan
Threading Needle
.png)
- Take one end of the thread and cut the tip at a diagonal
- Take the diagonal end and put it through the small hole at the end of the needle
- Pull the thread through to make two equal lengths of thread
Tying Thread
.png)
.png)
- Take the two equal threads and cross them over
- Pull one side under the opposite thread
- Repeat steps with the upper thread and pull hard
- Do these steps twice/three times to make a stronger knot
Placement of Button
.png)
- Place the button where you would like it to be on the piece of clothing
- Make sure to avoid placing it too close to other buttons or the stitch line
Stitching Holes
.png)
.png)
- Stick the needle from the back of the button through one of the four holes
- Bring the needle down through the opposite hole
- Bring the needle back up through one of the holes not used and repeat, bringing it down through the opposite hole
- Do these steps multiple times (preferably 5)
Going Down and Circling
.png)
- Place the needle going down through one of the holes, and stick through until underneath the button, but above the clothing
- Circle the thread at least 10 times around the button's core
Tying Off Part 1
.png)
- Place the needle going down through the fabric and poke through the clothing
- Cut the strings close to the needle after you stick the needle out of the back of the clothing
Tying Off Part 2
.png)
- Make the strings form a knot twice, and pull taut as close to the shirt as possible
- Cut off loose strings close to the shirt
Testing Button's Security
.png)
- Pull on the button to make sure it does not move
- Unstitch the button and re-follow steps 1-10, focusing on step 7 if the button is loose
Conclusion
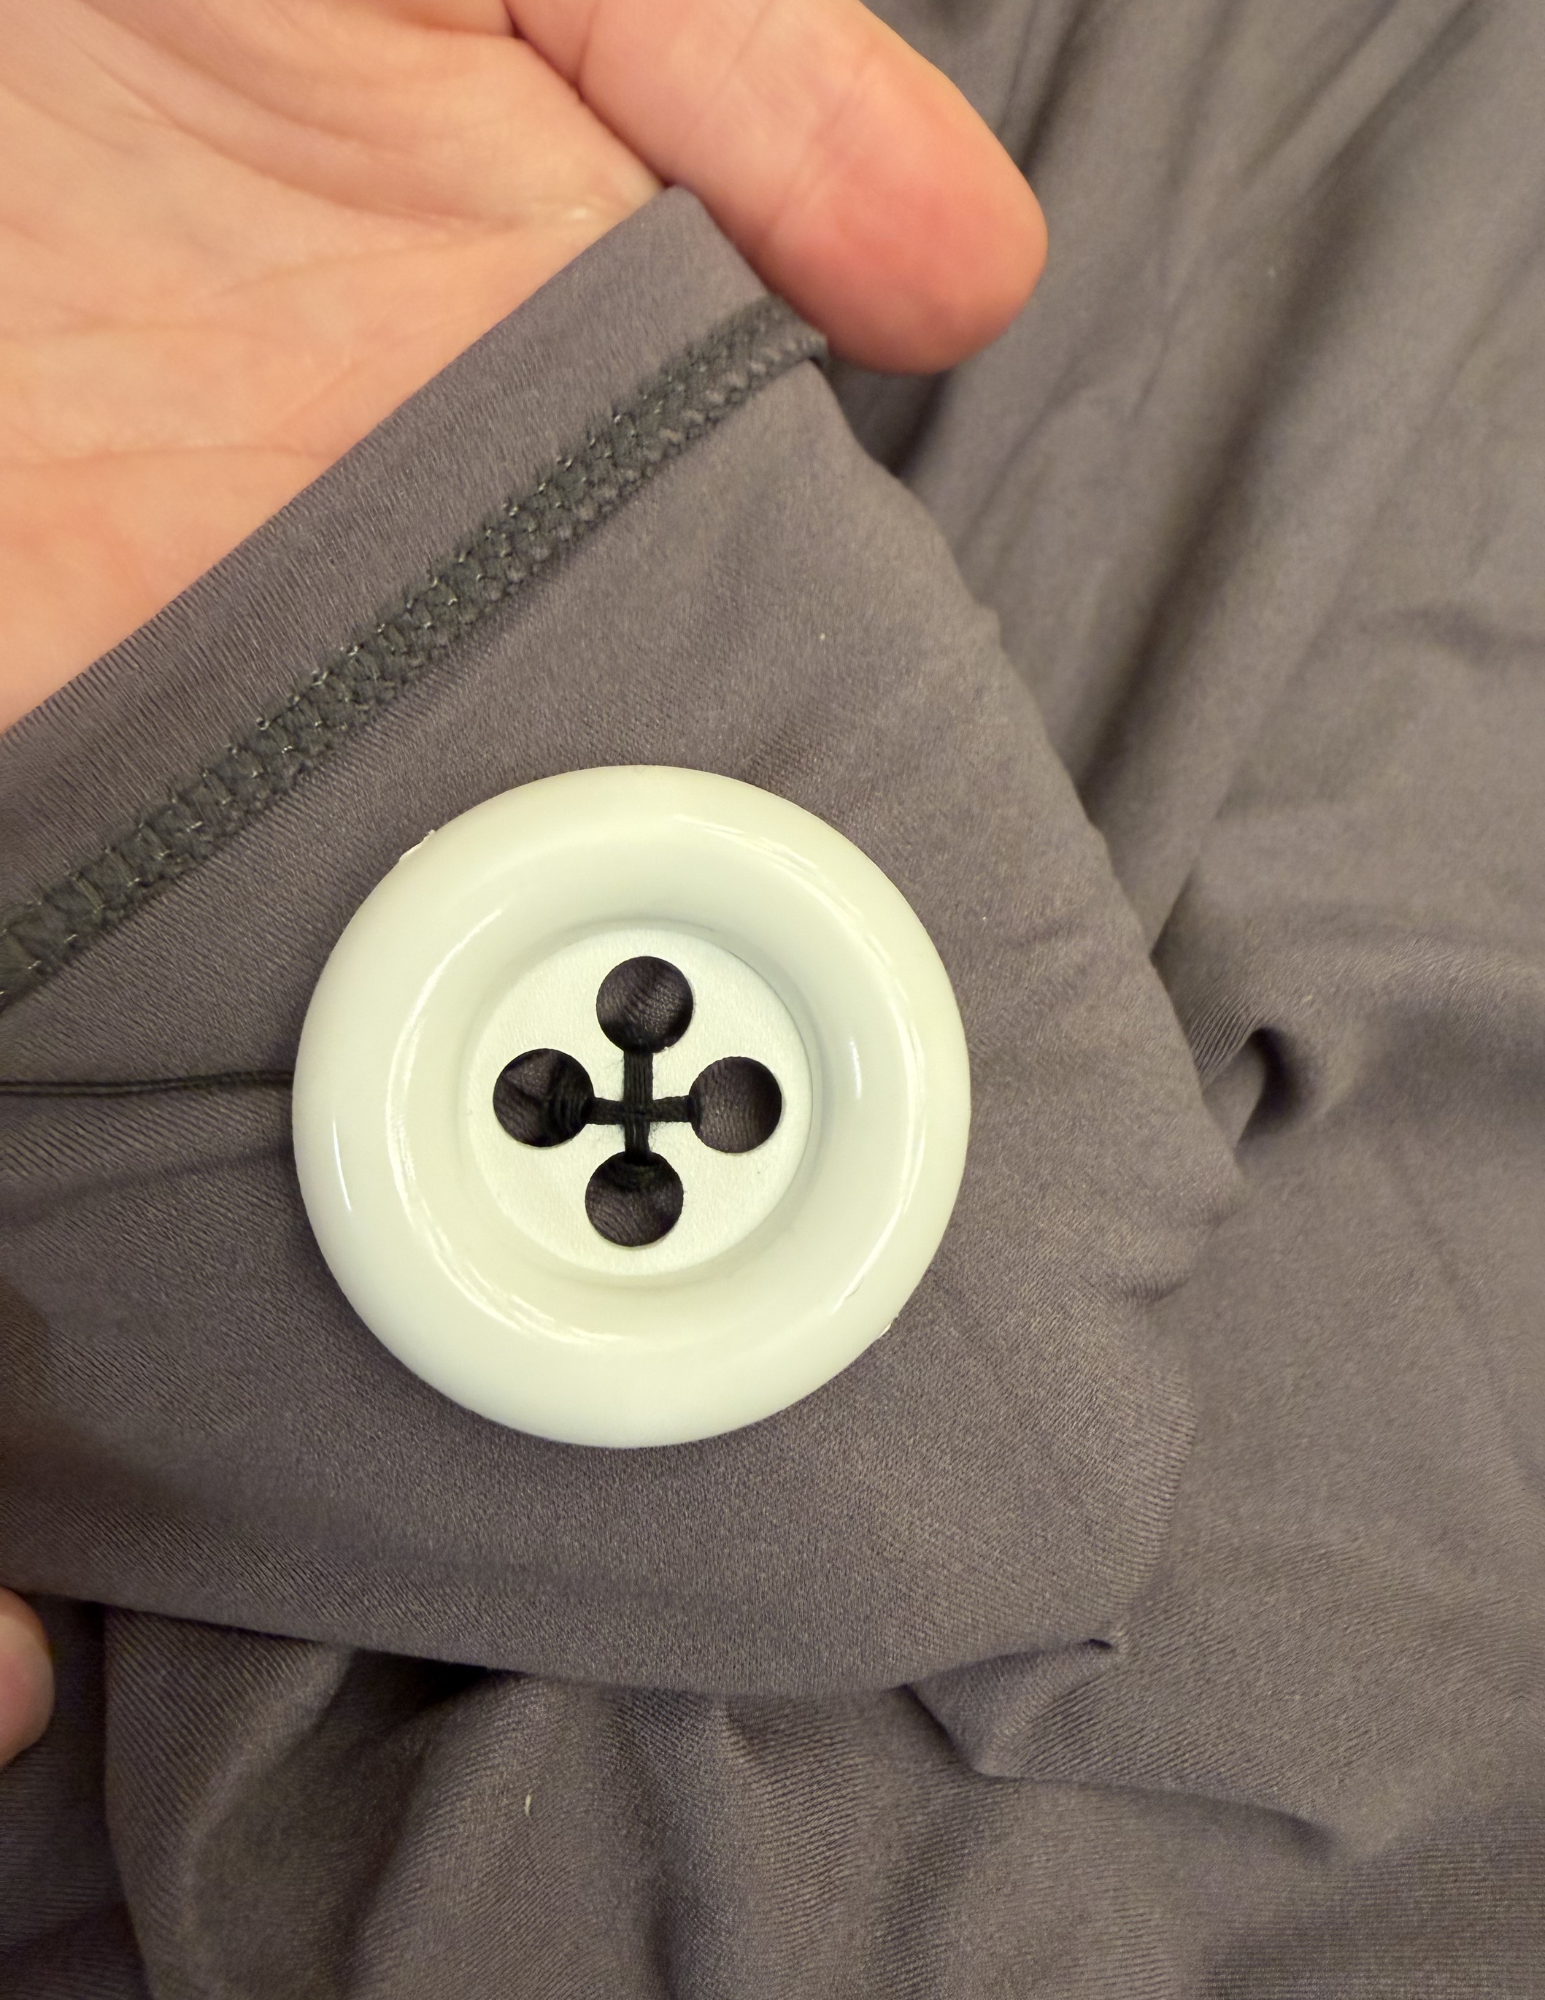
By following these steps, you have successfully taught yourself how to fix and/or decorate your own clothes. This is a vital skill you should continue practicing in case of an emergency!