How to Stitch Your Panorama Photos With Paint
by lukethebook333 in Circuits > Apple
133082 Views, 9 Favorites, 0 Comments
How to Stitch Your Panorama Photos With Paint


In this Instructable, I will show you an easy way to stitch your panorama photos together with a program that came with your computer! Paint is a highly useful, yet extremely simple tool if you know how to use it. Let's begin.
Take the Shot
Now this will be the hardest part. If you can't take the picture evenly, then the whole process will be a waste. Take your time with it and look up your settings on your camera, there should be some sort of panorama view helper. Be sure to invest in a good quality camera and tripod for these situations.
A note when taking a picture: if possible, make sure that your brightness is the same for every picture, or you will have to edit it later!
A note when taking a picture: if possible, make sure that your brightness is the same for every picture, or you will have to edit it later!
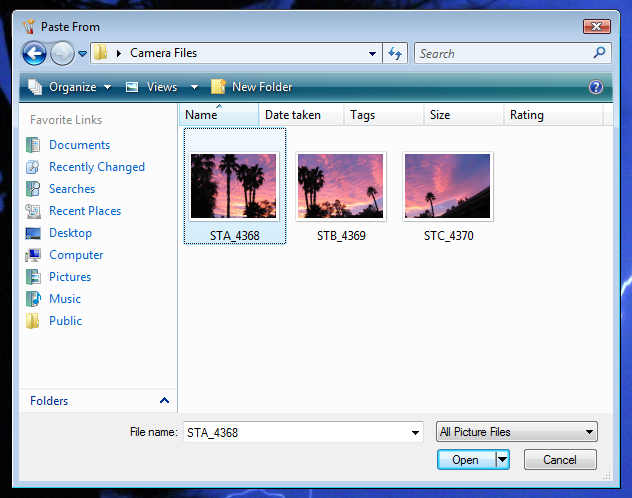
Upload Your Photos

Now that you have your photos uploaded, make a copy of them onto your desktop so you have the originals safe and sound in case anything goes wrong.
Paint and Stitch at Once!


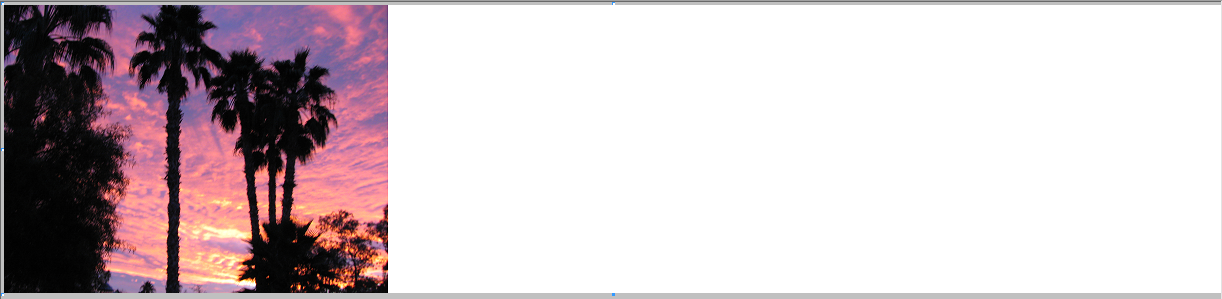

1st: Take your first photo and open it with Paint.
The program can be found at:
Start Menu
Programs
Accessories
Paint
After that, note to pictures.
===================================================================
2nd: Now that you are done, note to the zoom tool at the right bar, zoom out as much as possible.
===================================================================
3rd: Increase the white area around the picture, note to images below.
===================================================================
4th: You may now move on to the next step.
Pasting the Other Photos


Now you will paste your next photo to your panorama. If you don't remember how to do this, you can note to the beginning of step 3.
Before you paste the photo onto the image, zoom into a spot where you will notice a significant change to help yourself place the photo correctly. Note to the pictures for more detail.
===================================================================
Repeat this step as many times as necessary.
(PS: I hope you have saved this by now ;)
===================================================================
Once you have copied all your photos in and placed them correctly, note to the last picture on this step.
Fixing the White to Blend in With the Picture


For this you will need to know the basics on how to use the following tools:
Fill With Color (Bucket)
Pick Color (Eye Dropper)
Air Brush (Spray Can)
===================================================================
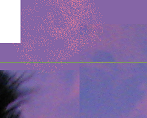
1st: Use the Eye Dropper to pick your color to be the main filler in the white. Try to choose a color that is as similar as possible to the colors around it.
2nd: Use the bucket tool to fill in that area
3rd: Use the spray can with a similar, but slightly different color to blend the hard lines between the white and the actual photo.
4th: Use the spray can again to pick up a cloud or palm leaf that may have been cut off. Use this lightly, don't overdo it. This is only meant for broad areas, not detail!
Fill With Color (Bucket)
Pick Color (Eye Dropper)
Air Brush (Spray Can)
===================================================================
1st: Use the Eye Dropper to pick your color to be the main filler in the white. Try to choose a color that is as similar as possible to the colors around it.
2nd: Use the bucket tool to fill in that area
3rd: Use the spray can with a similar, but slightly different color to blend the hard lines between the white and the actual photo.
4th: Use the spray can again to pick up a cloud or palm leaf that may have been cut off. Use this lightly, don't overdo it. This is only meant for broad areas, not detail!
Finished!

Congratulations! You have officially created a panorama with Paint. This would be more used for normal photos or an album, but not a large print. (I use these easily for my wallpaper, for a size comparison.)
Use at your own risk. Again, make sure you "save" and "save as" constantly.
If you enjoyed this Instructable, please rate and comment.
If you didn't, then comment on what needs to be improved.
Be sure to check out my other Instructables!
Use at your own risk. Again, make sure you "save" and "save as" constantly.
If you enjoyed this Instructable, please rate and comment.
If you didn't, then comment on what needs to be improved.
Be sure to check out my other Instructables!