How to Successfully Set Up a New IPhone
791 Views, 1 Favorites, 0 Comments
How to Successfully Set Up a New IPhone

In this presentation, we will demonstrate how to set up an iPhone for novices. We wanted to allow the end user to successfully setup their new iPhone without difficulty. The iPhone that will be used in this demonstration is the new iPhone 13 Mini that runs on IOS 15. After opening the box, you can insert your SIM card in the appropriate tray which is located on the bottom left side of your new iPhone. You may also have a SIM card pre-installed depending on which iPhone option you bought. To open the tray, you can use a small needle-like object or the tool that comes in the box to push the hole on the side. Pull the SIM card tray out and position the SIM card in the correct position and reinsert the tray. A SIM card is what allows for cellular connectivity meaning it allows your iPhone to make calls, receive calls and connect to the internet. It has a gold-like appearance on one side and the other has the carrier’s name. All right get ready to learn how to set up your new iPhone!
Supplies
- iPhone
- SIM card tray opener
Let's Get Started!
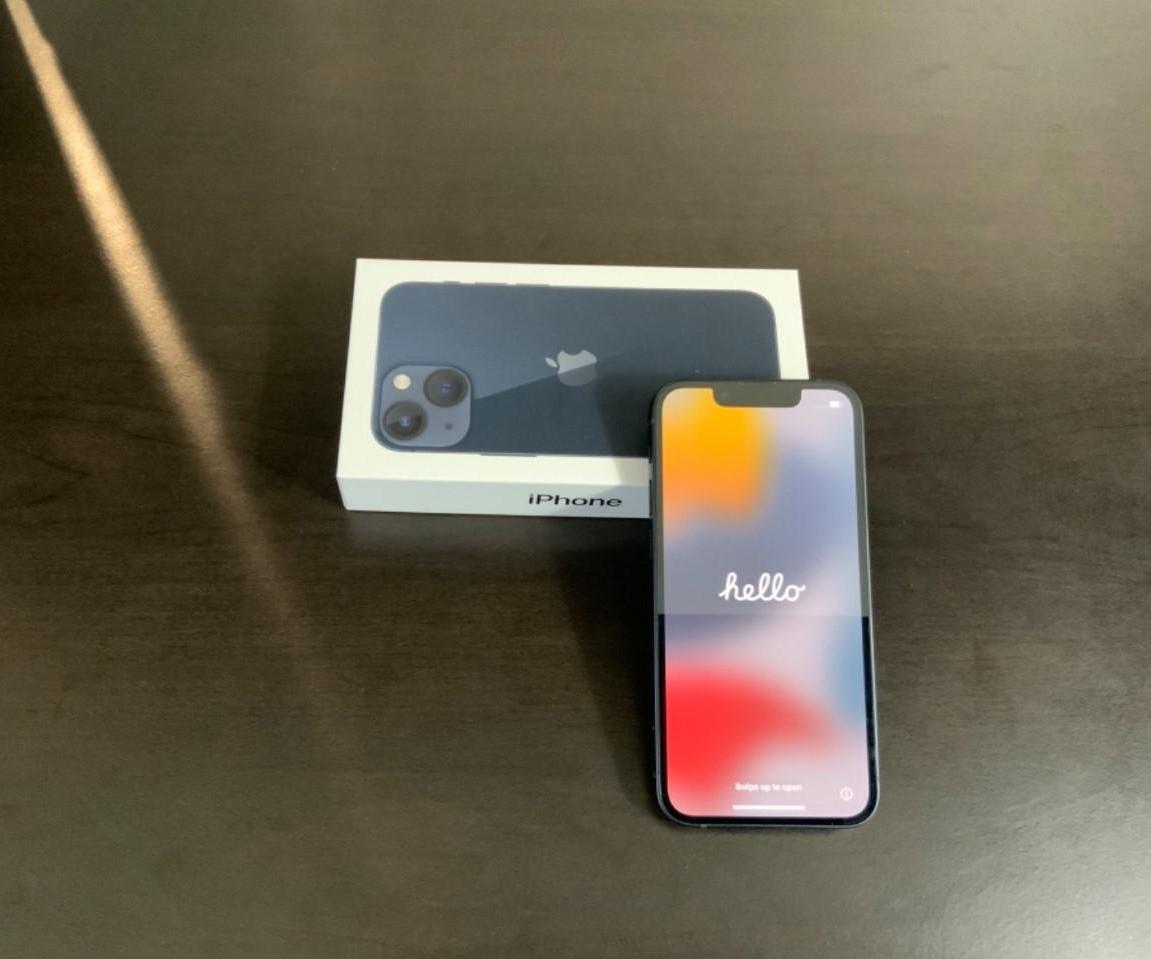
Press and hold the power button until the screen lights up with a greeting, then swipe up and select the country and region you are in. Also select your preferred language.
Quick Start


Tap the country and region you are in and select “Continue”. You should now see the “Quick Start” option which can be used if you had an iPhone previously and is a quicker way of transferring over your old iPhone data. Otherwise, you can proceed with the following steps.
Wi-Fi and Data and Privacy
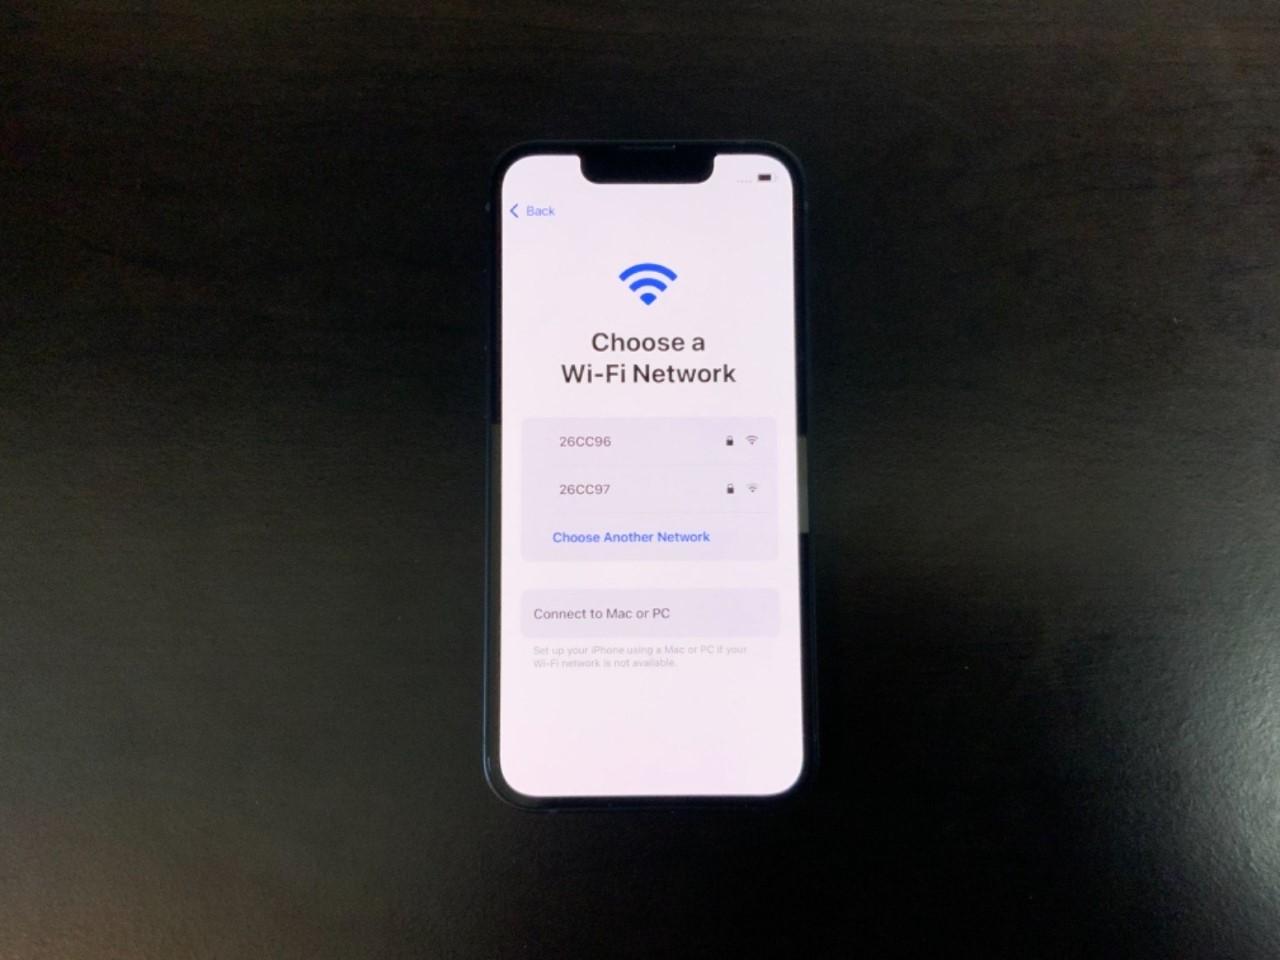
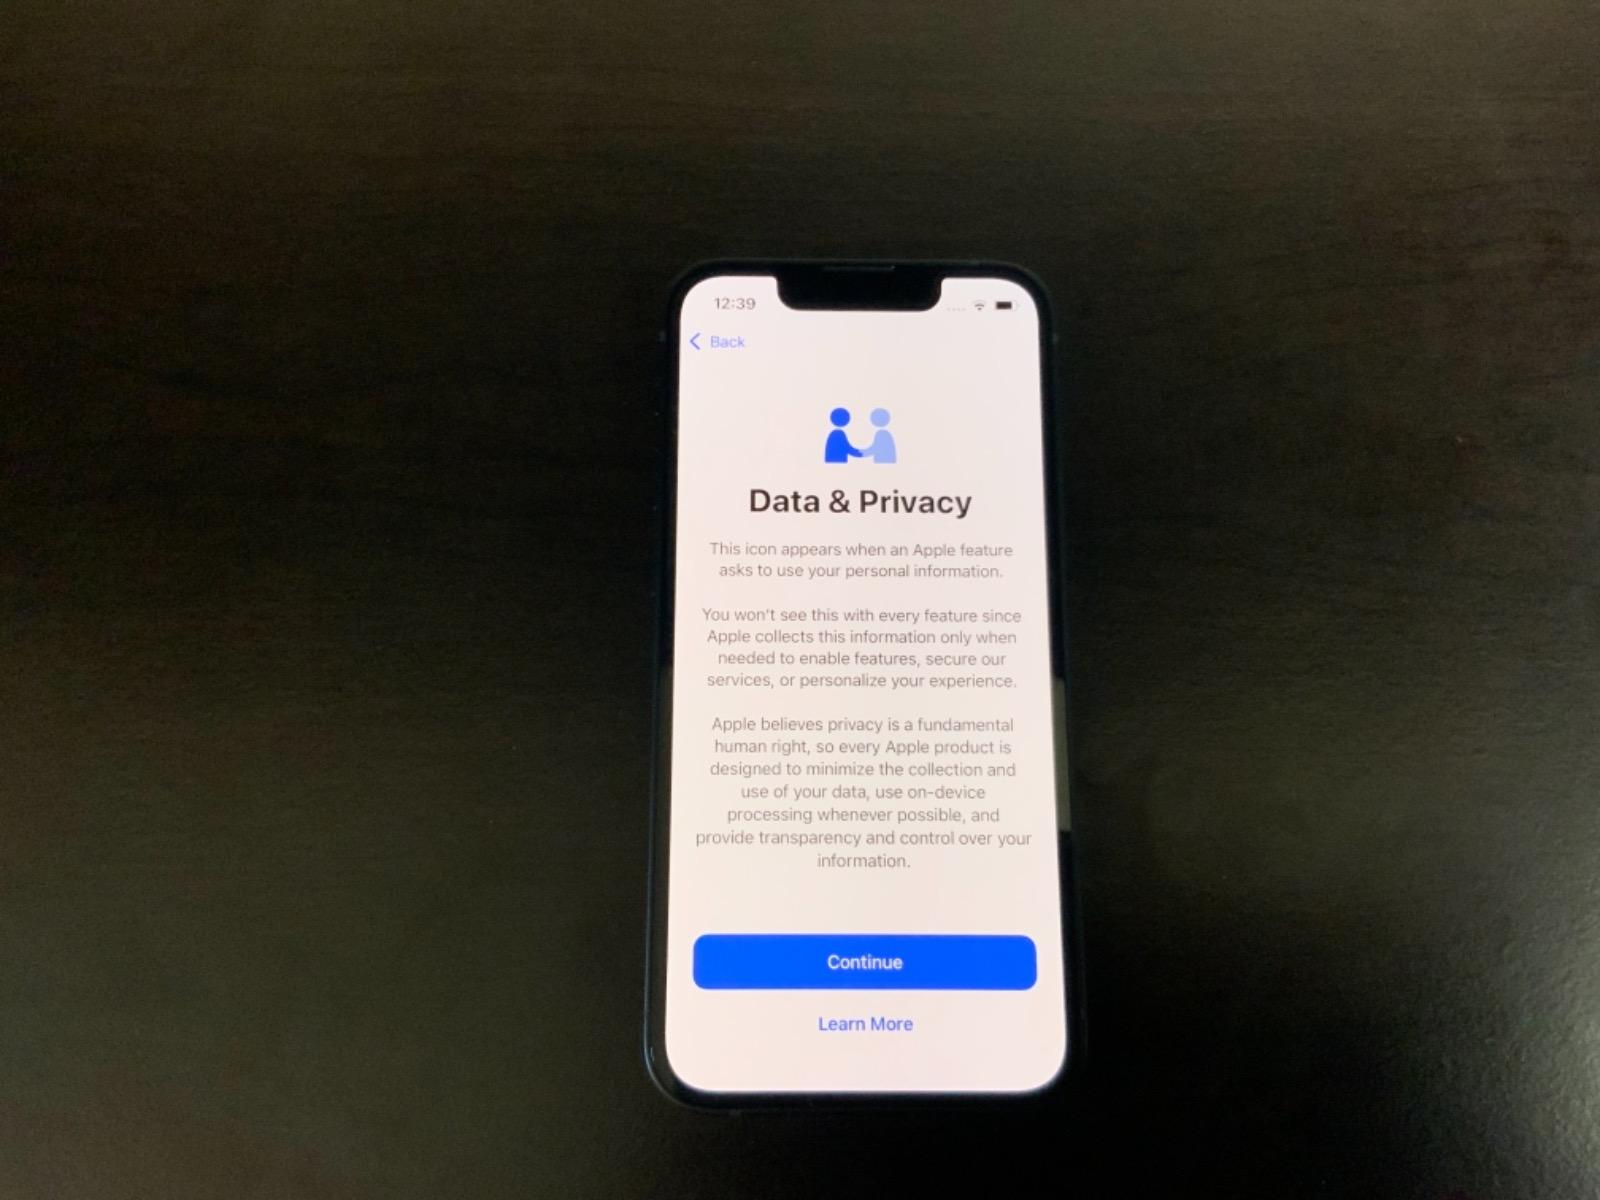
Tap "WiFi network" and input the password, if required, and tap "Next". You should now see the “Data and Privacy” screen and can select “Continue”. The iPhone will now want to setup Face ID.
Face ID


Position your face in the camera’s frame and move your face in the circle. This process will be repeated twice. Tap "Complete" after successfully setting up Face ID and tap "Continue". Afterward, The iPhone will want to create a password. You may select between 3 password options (4 digit, 6 digit, or a passphrase option).
Password
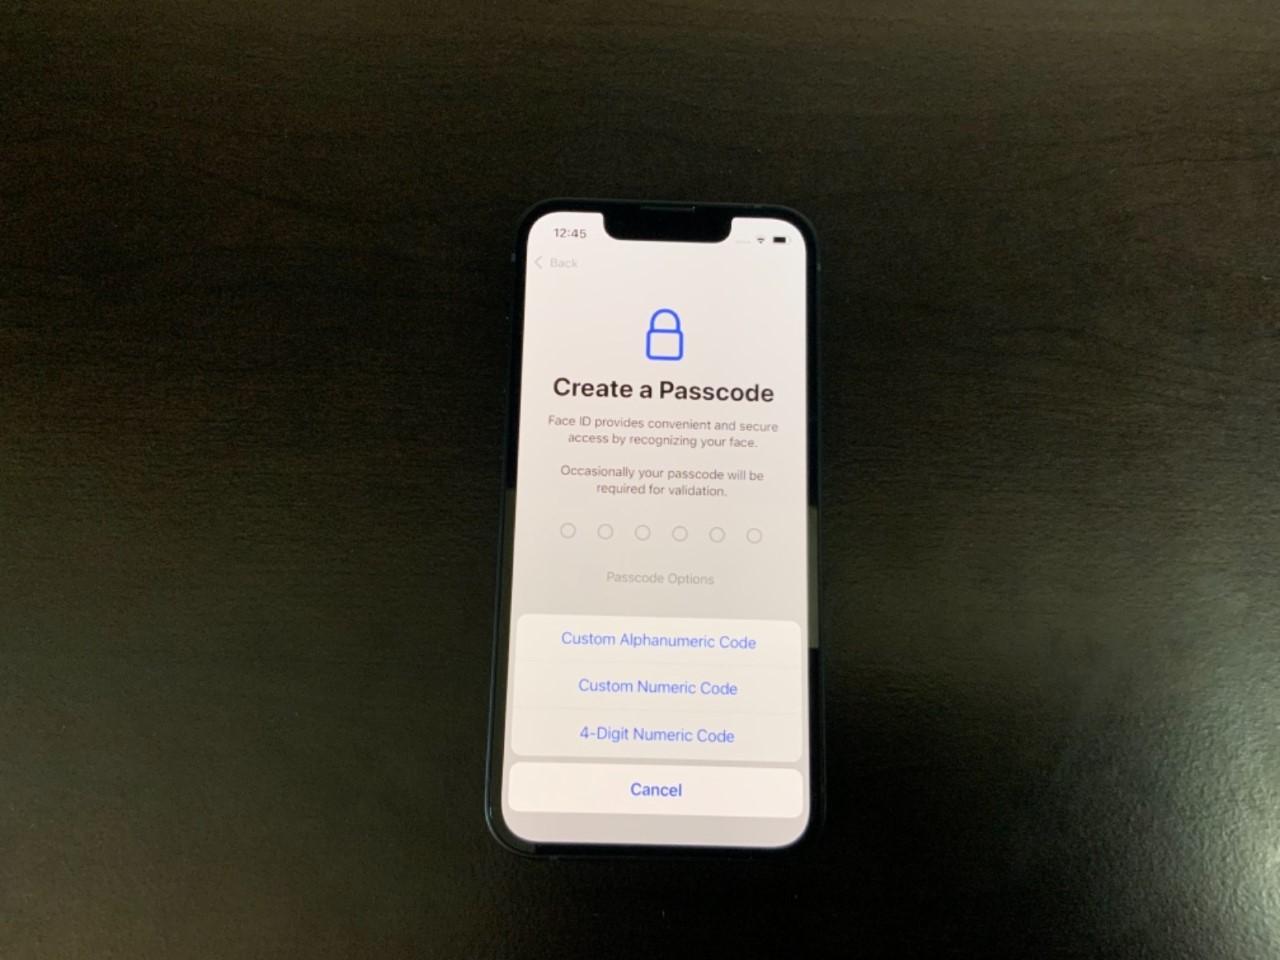


Select your password option and enter your password. Afterward, insert your password again and hit “Next”. A screen titled “Apps and Data” will appear which allows you to transfer data, if you had a previous iPhone. We will not be transferring in this demonstration. Afterward, the iPhone will ask you for an Apple ID.
Apple ID
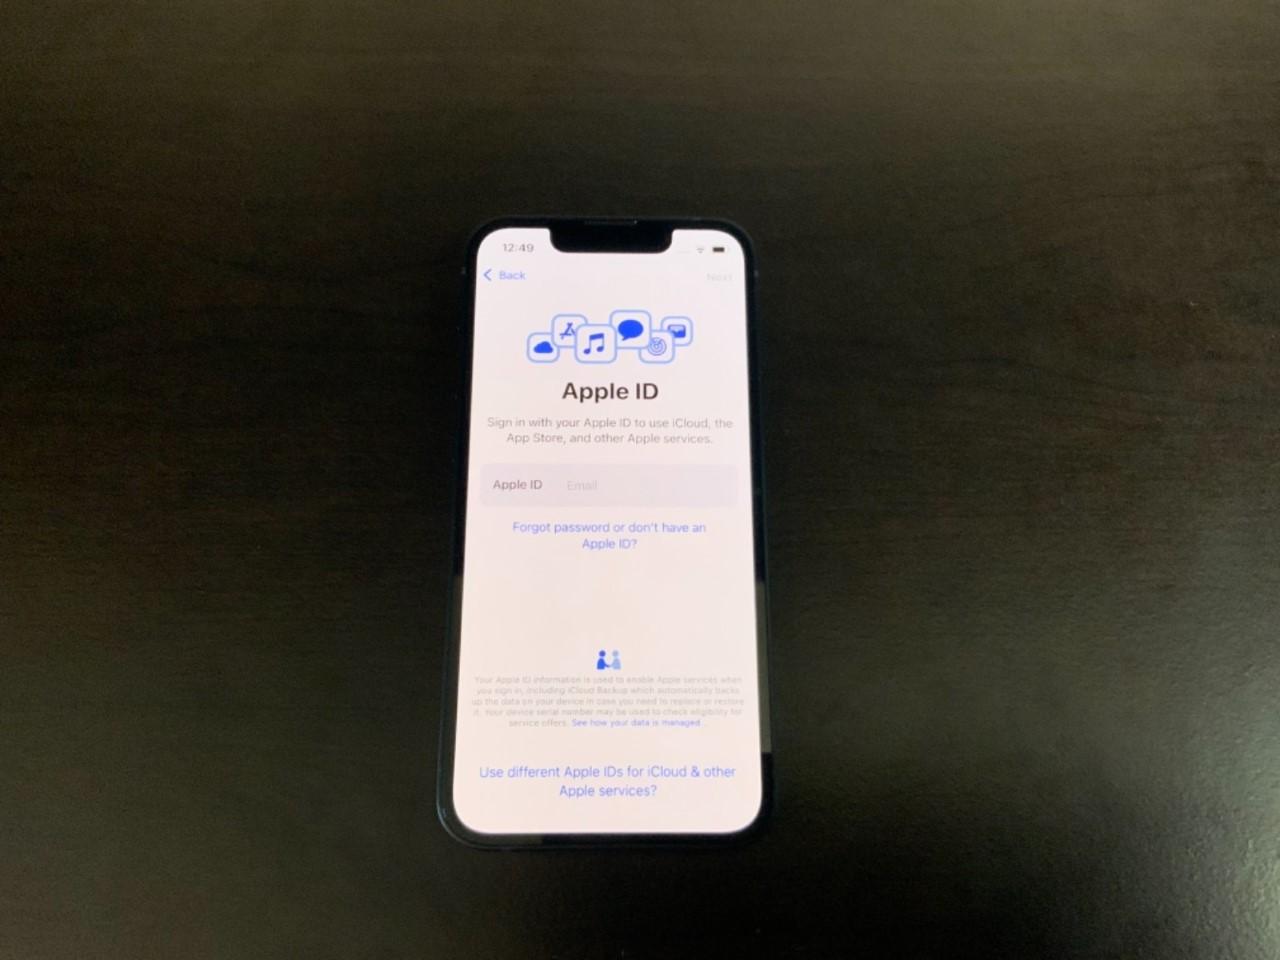
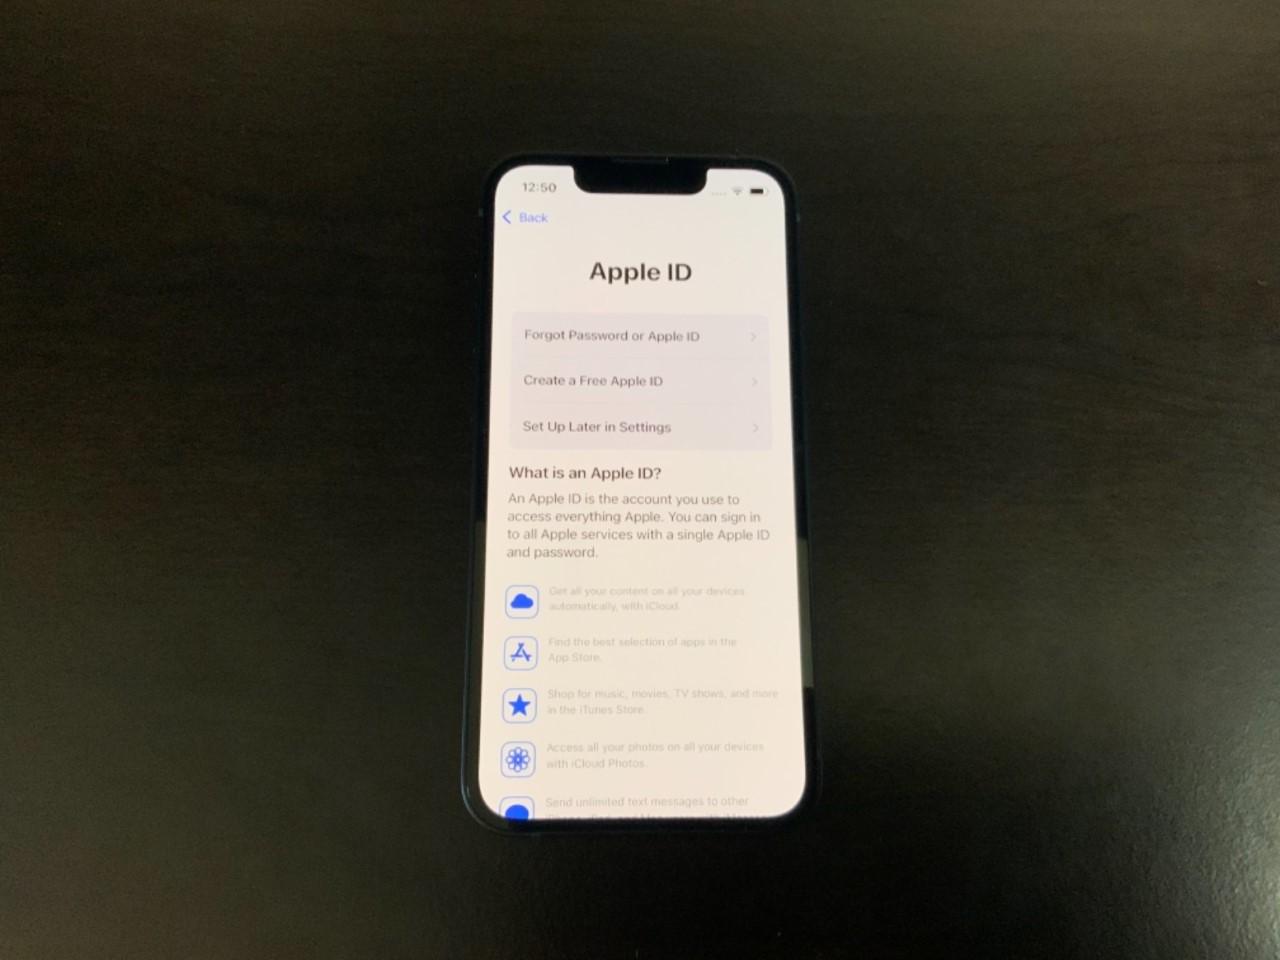
Insert your Apple ID credentials or if you're a new user and are creating an Apple ID, you will be asked for personal information such as a valid email, phone number, address, etc. Once created and entered, the terms and conditions will appear.
Note: In this demonstration, we will not be demonstrating how to create a new Apple ID.
Terms and Conditions
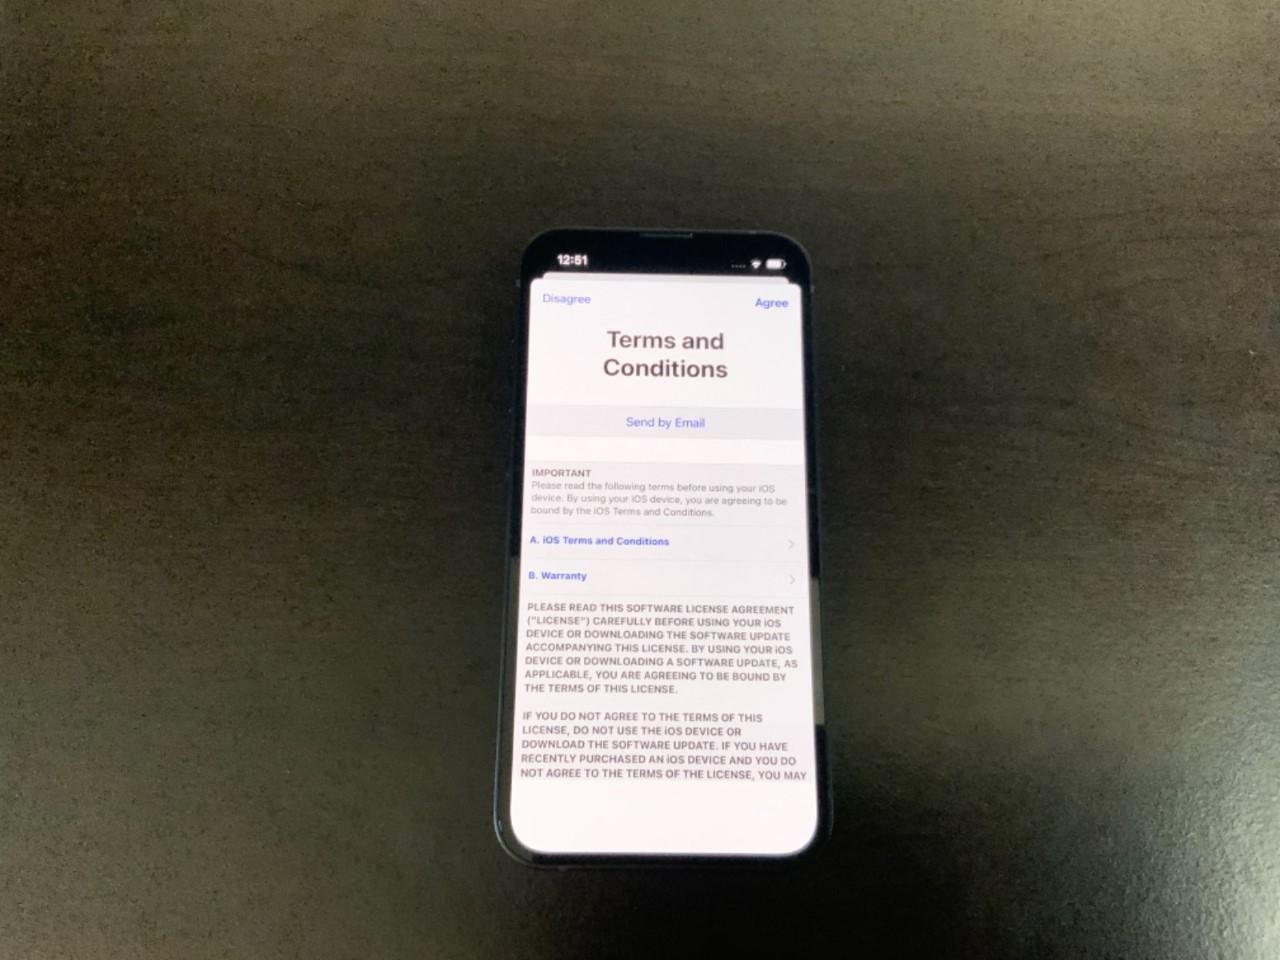
Select "Agree" on the top right hand corner after you agree and consent to the terms and conditions and select which email you would like the information to be sent to before continuing. Afterward, a message will appear asking if you want to keep your iPhone updated.
Apple Updates and Applications
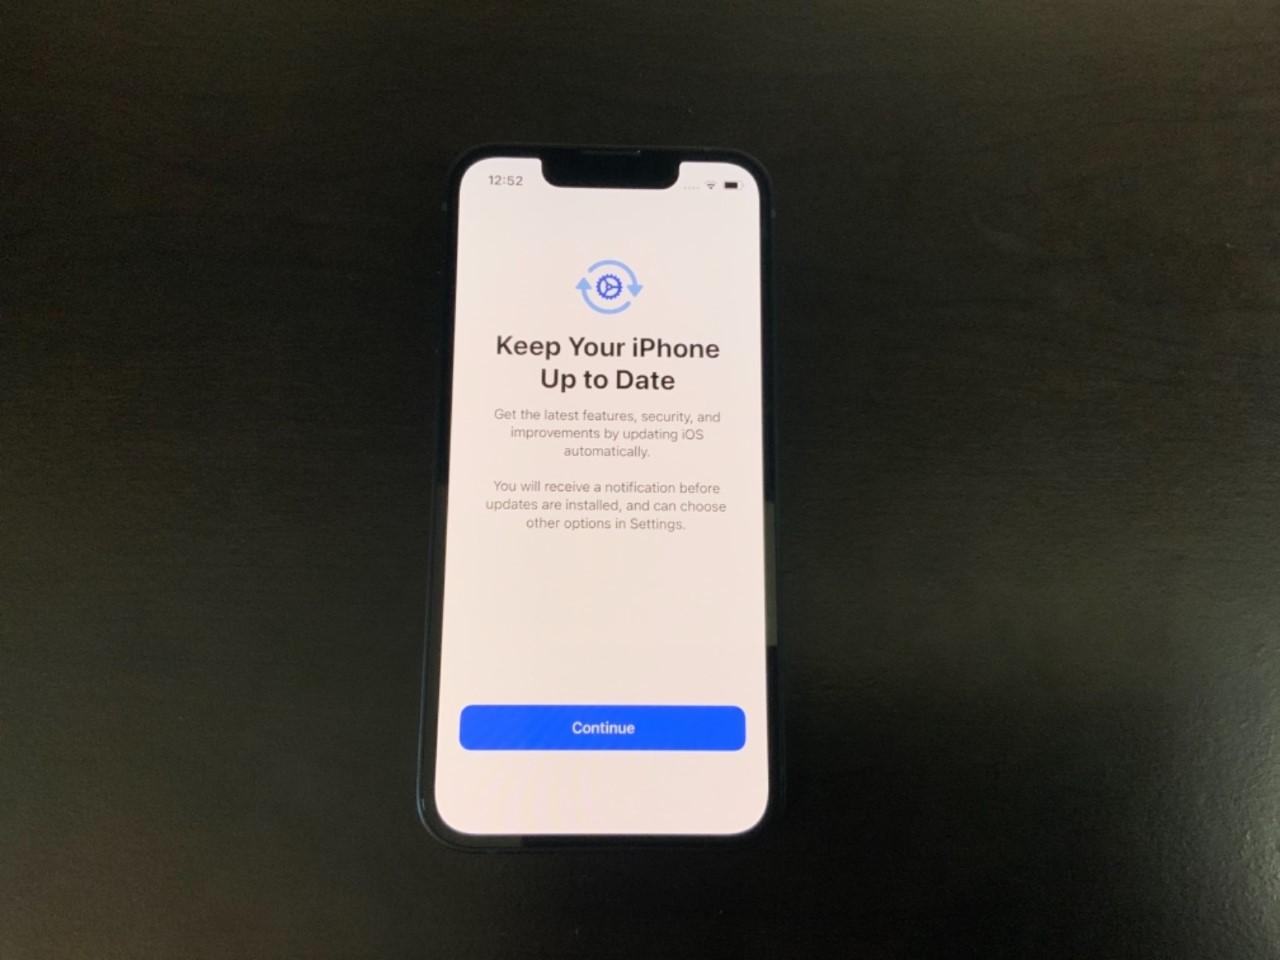

Decide whether you want to keep your iPhone updated automatically or to update it manually. Afterward, select "Continue". You now have the option to setup iMessage and FaceTime. You can choose to setup these applications later if you wish. You can now see the option to setup location services.
Note: If you choose to setup now and transfer data from a previous iPhone, all contacts and information will be carried over.
Location Services
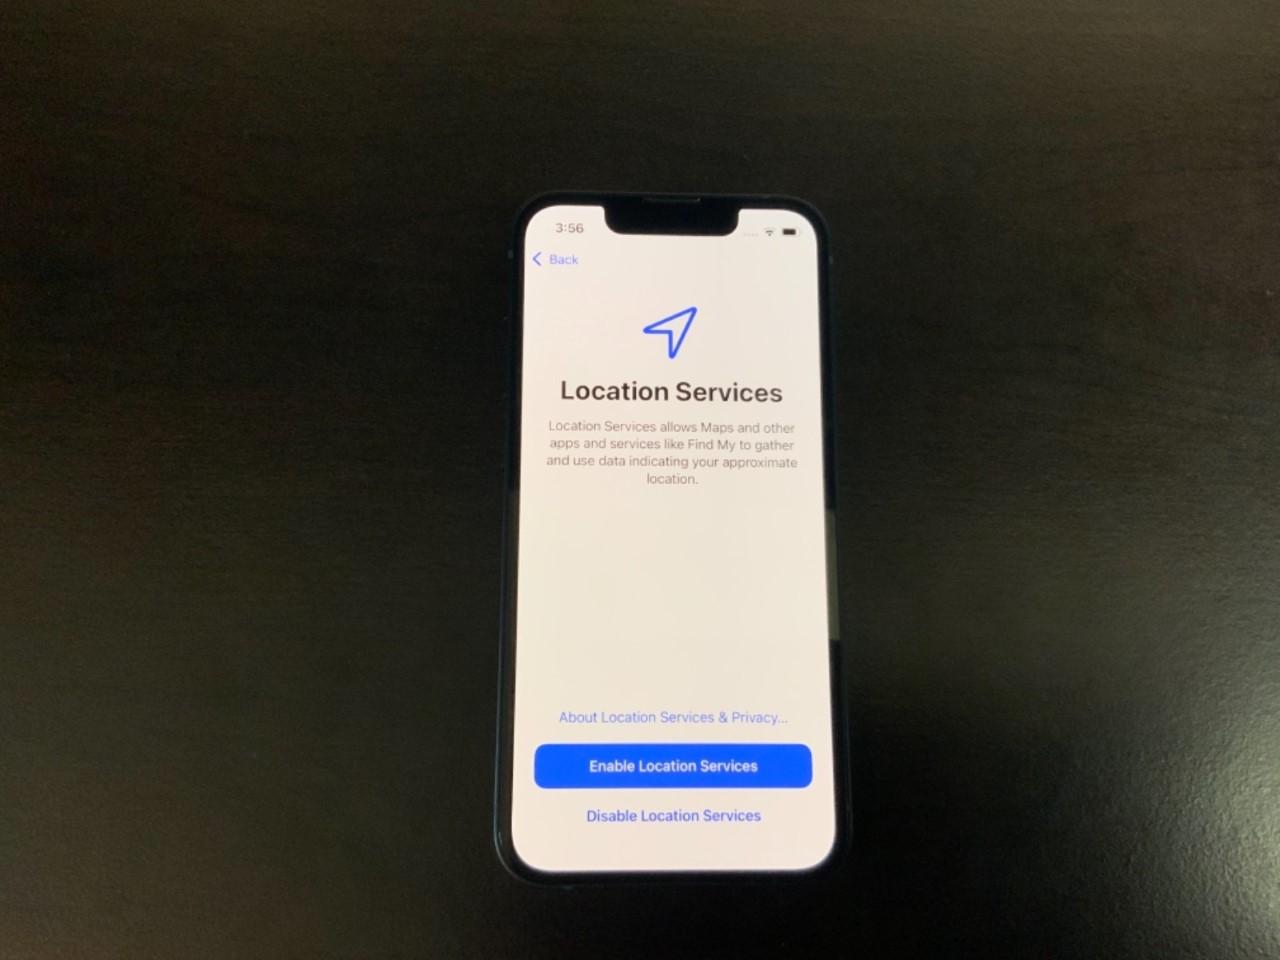
Decide if you want to enable or disable location services and select your preference. Afterward, select “Continue”. We will now be setting up Siri, an automated voice assistant. You can setup this feature now or at a later time. We will be setting up Siri in the presentation.
Setting Up Siri
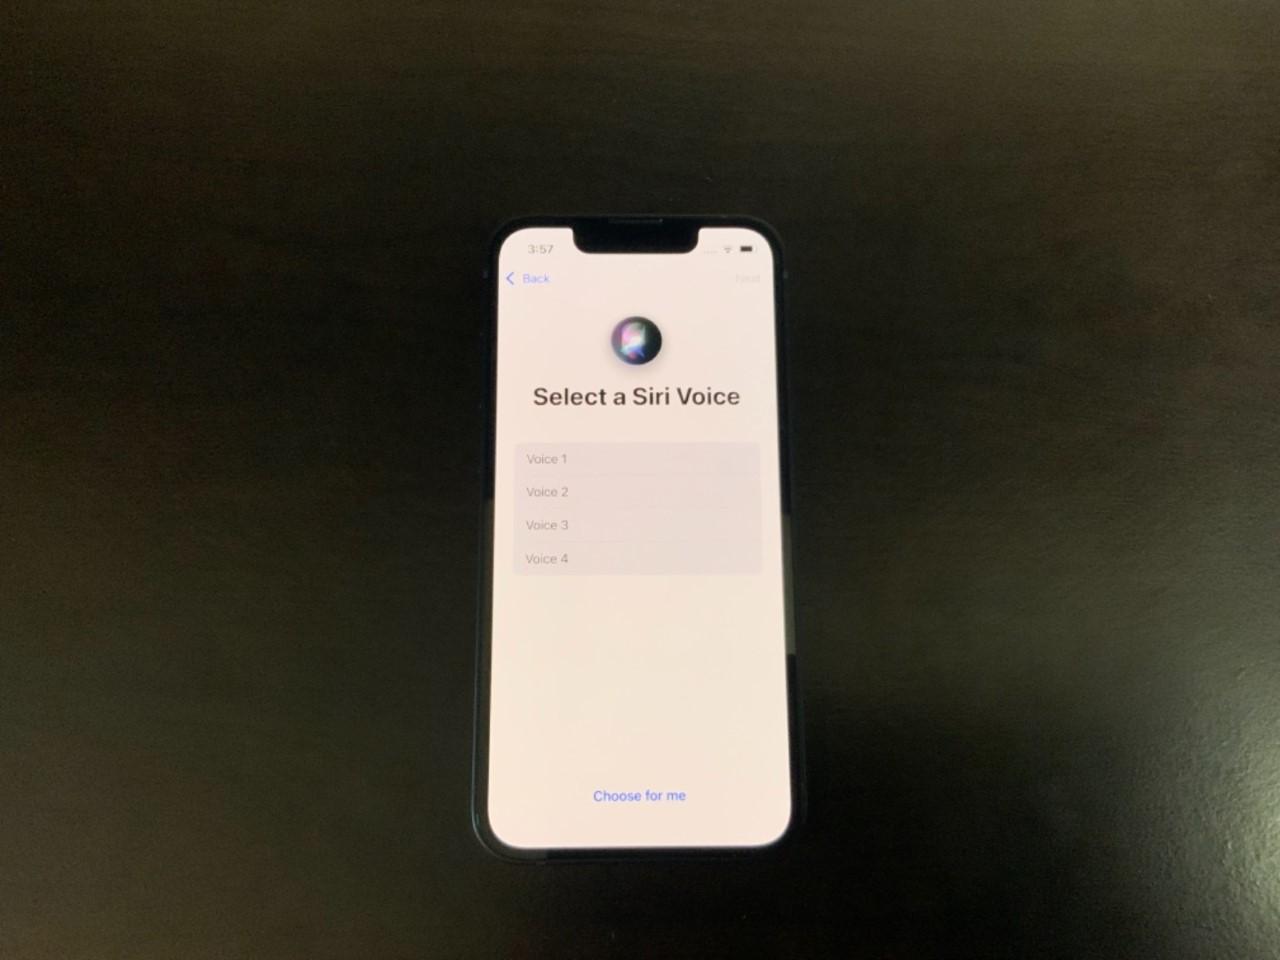
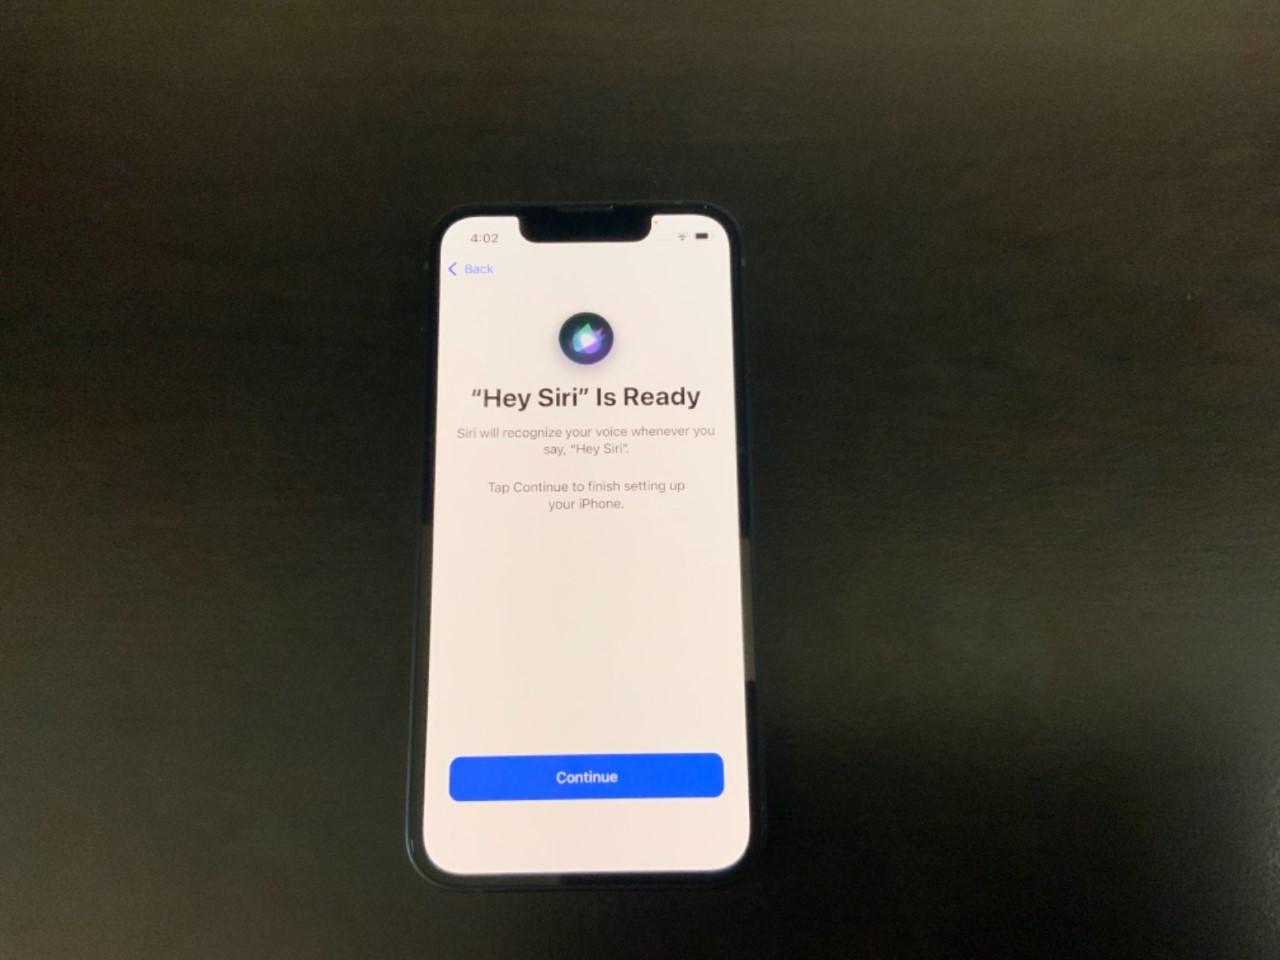
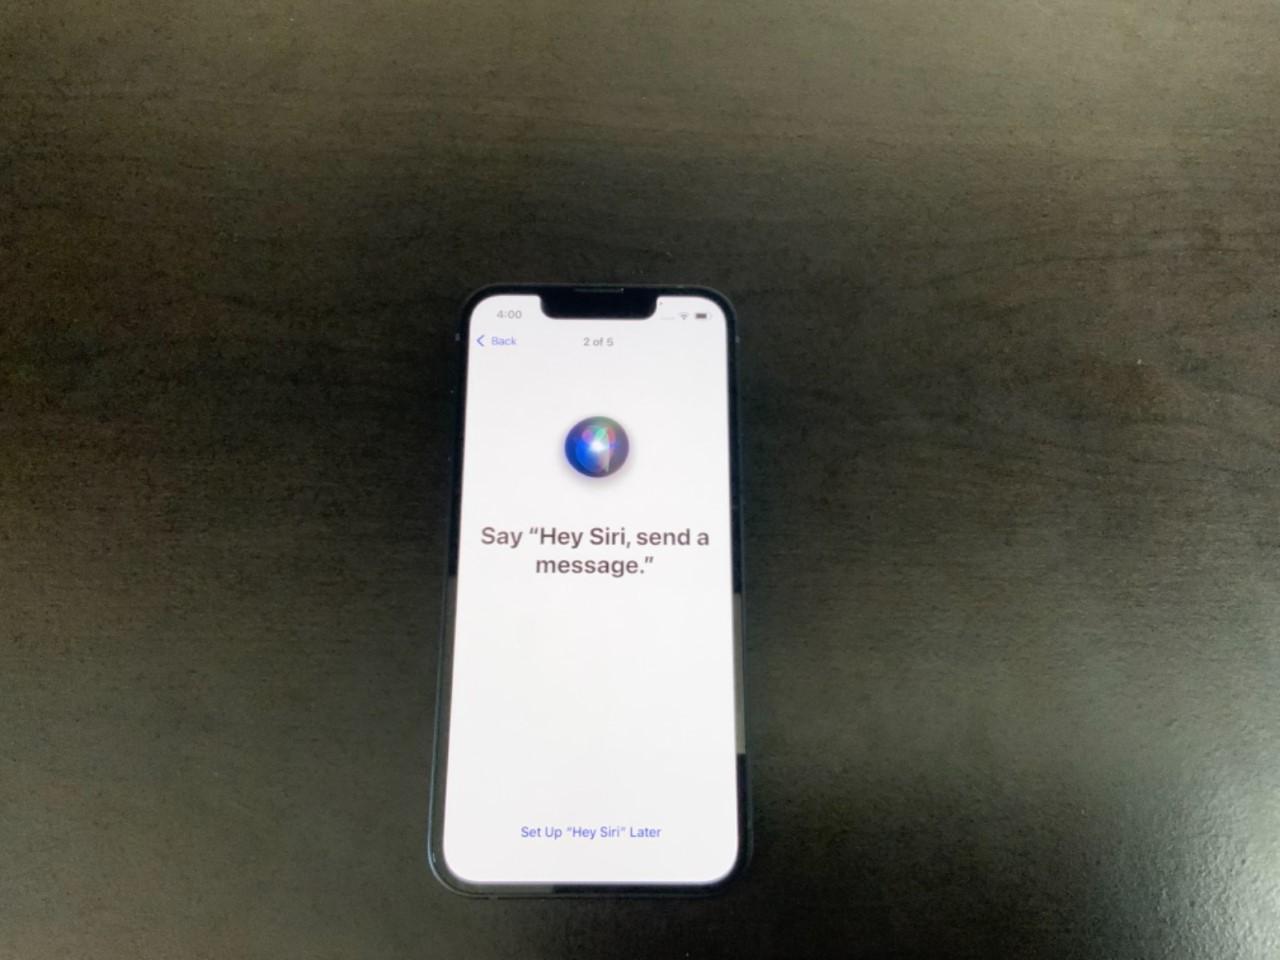
Choose which voice you would prefer Siri in (male or female, American/British/Australian/etc). Tap "Next" and begin setting up your voice commands by repeating the messages presented on the screen (ex: “Hey Siri, send a message”). Voice commands are now set up and the option to hold down the side button for Siri to appear will also appear.
Finishing Up With Siri

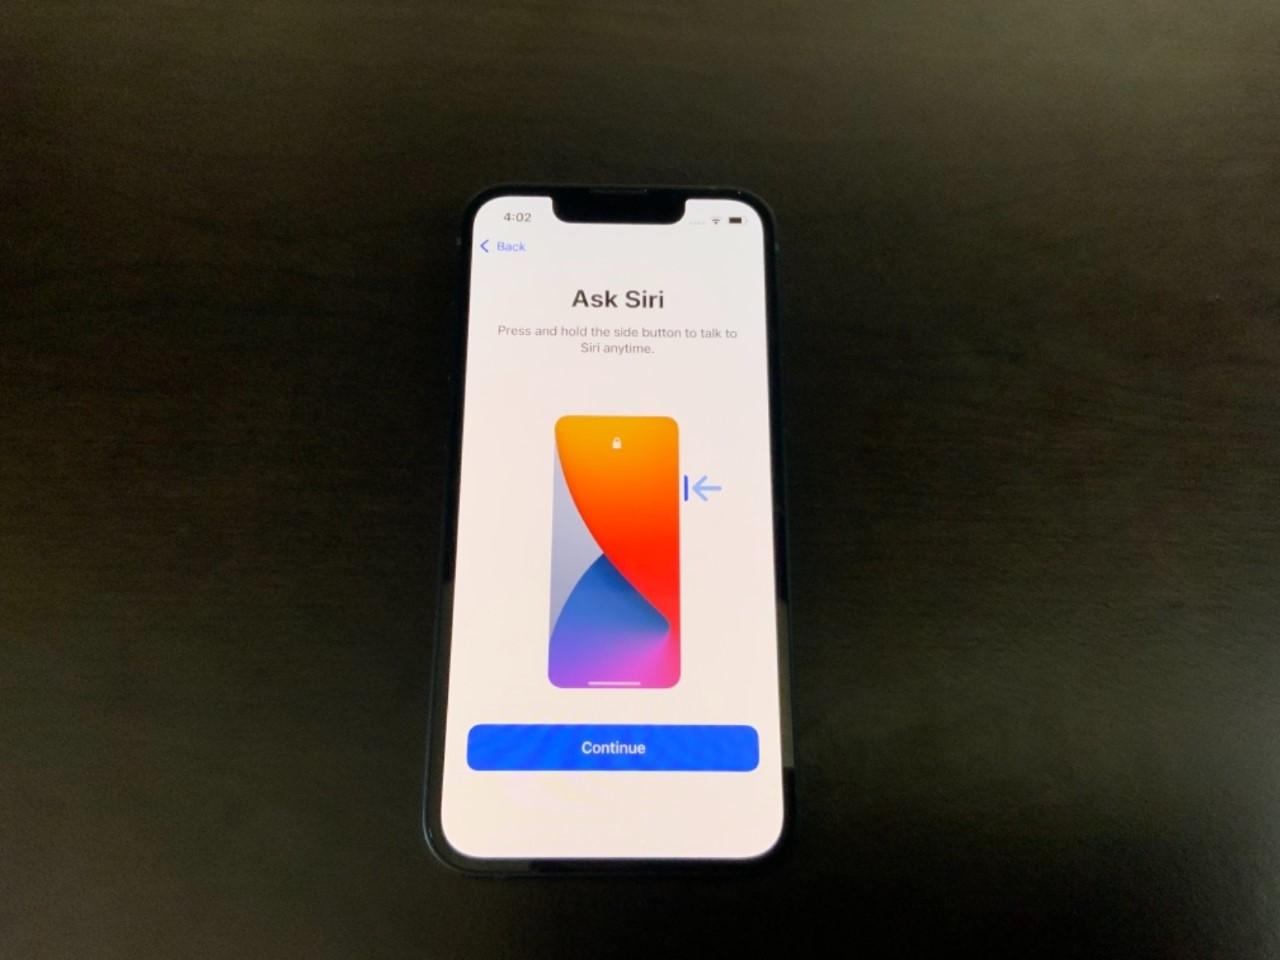
Select whether you want to enable Siri using the side button and after selecting your preference, select "Continue". Afterward, the iPhone will ask if you want to be sent a weekly screen time report.
Screen Time Report

Decide whether you want to be sent a weekly screen time report and after selecting your preference, continue through the prompts. iPhone analytics will appear asking if you want to send Apple analytics to help improve products.
IPhone Analytics

Decide whether you want to send Apple Analytics to Apple and once selecting a preference, tap “Continue”. You can now select "light mode" or "dark mode" which will change the theme of your phone.
IPhone Apperance
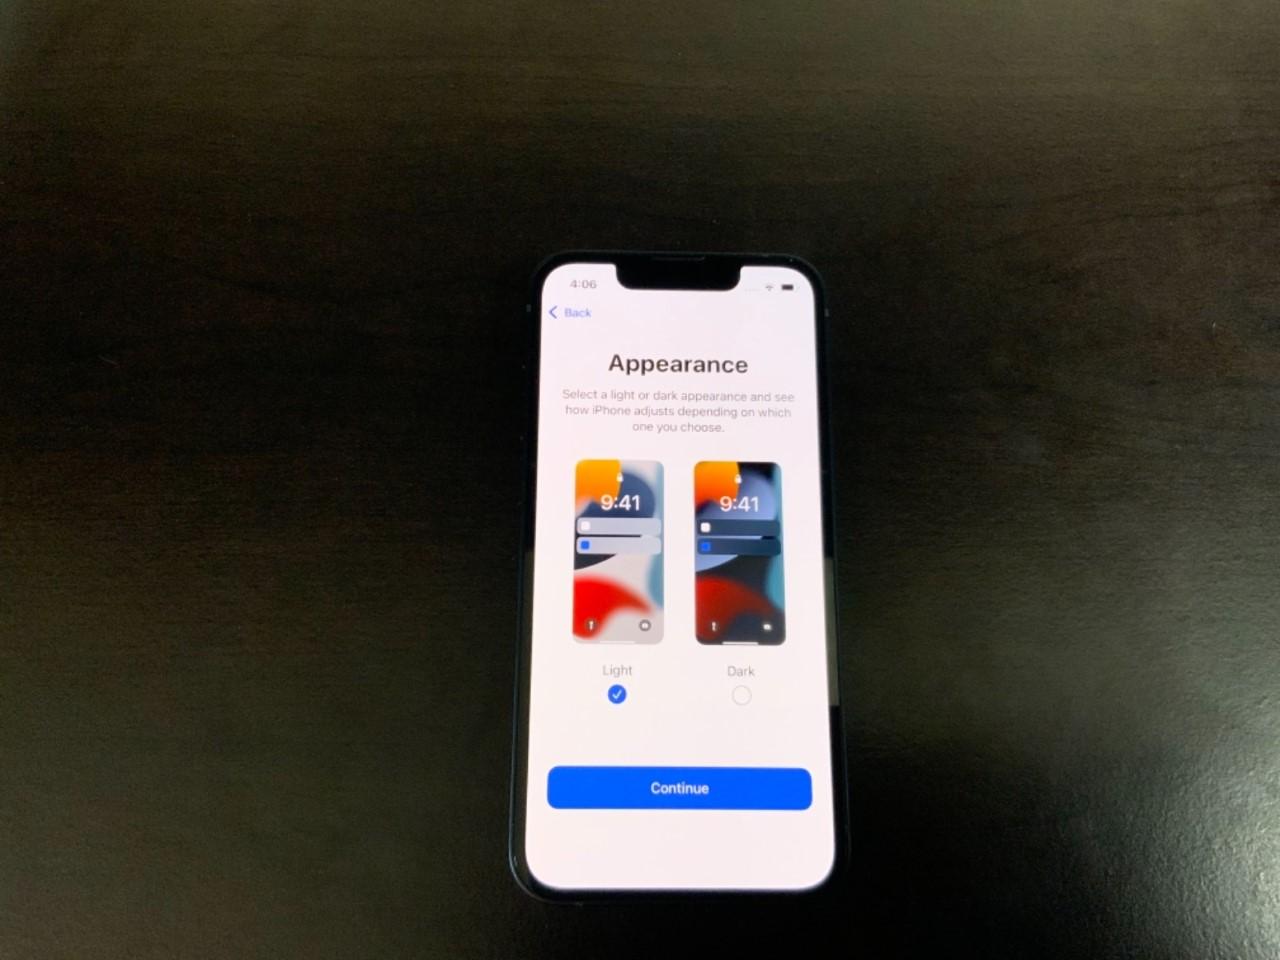
Decide on whether you want to use “light mode” or “dark mode” and select “Continue”. Previews are shown to help you decide. You will now be asked to select between the “Standard” or “Zoomed” settings.
IPhone Display
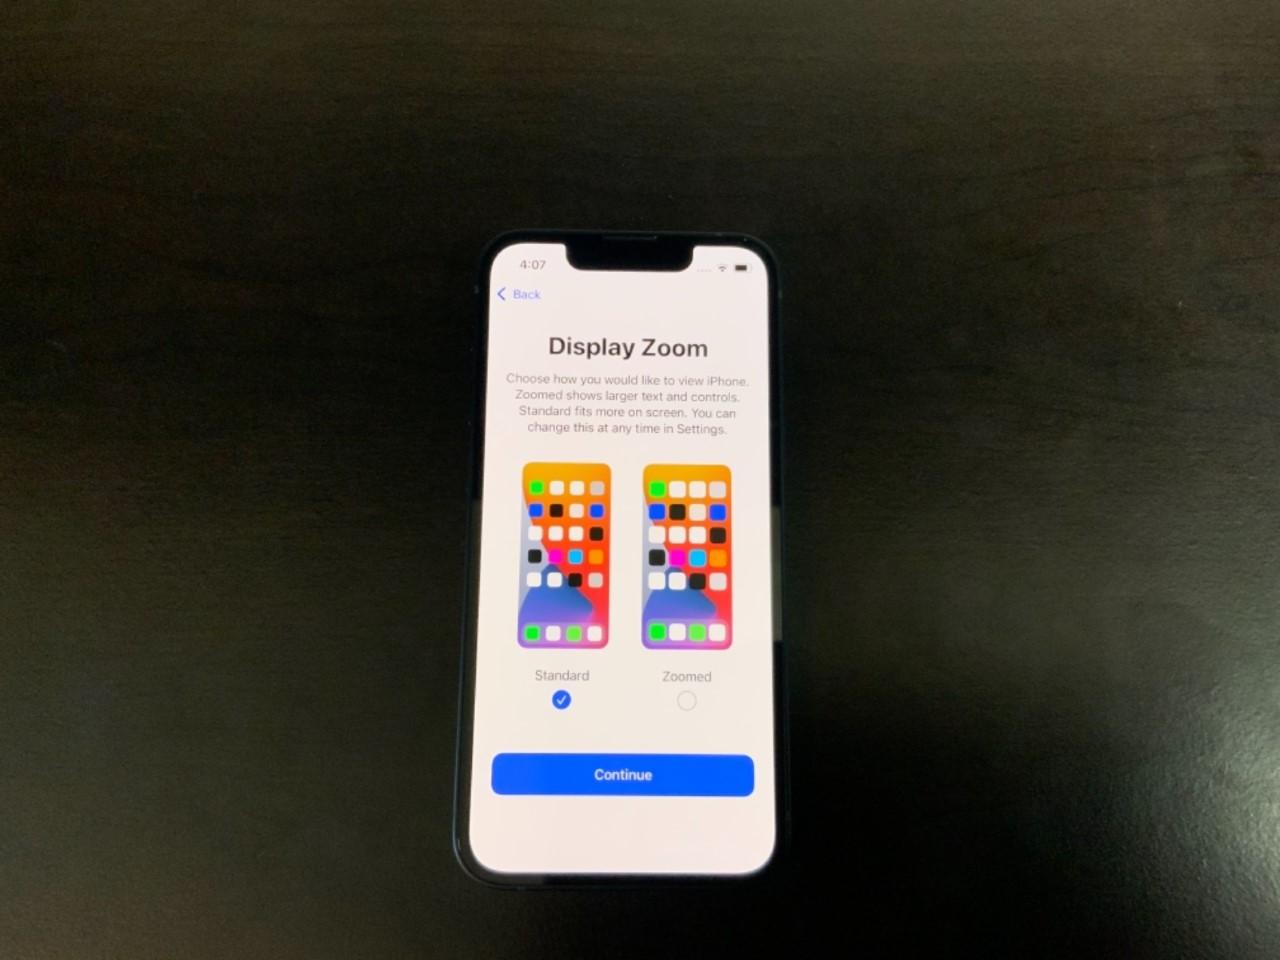
Decide on whether you want to use “Standard” or “Zoomed” appearance and select “Continue”. Finally, you will be presented with a “Welcome” screen.
Welcome to IPhone!

Swipe up to begin using your new iPhone!