How to Thread a Sewing Machine
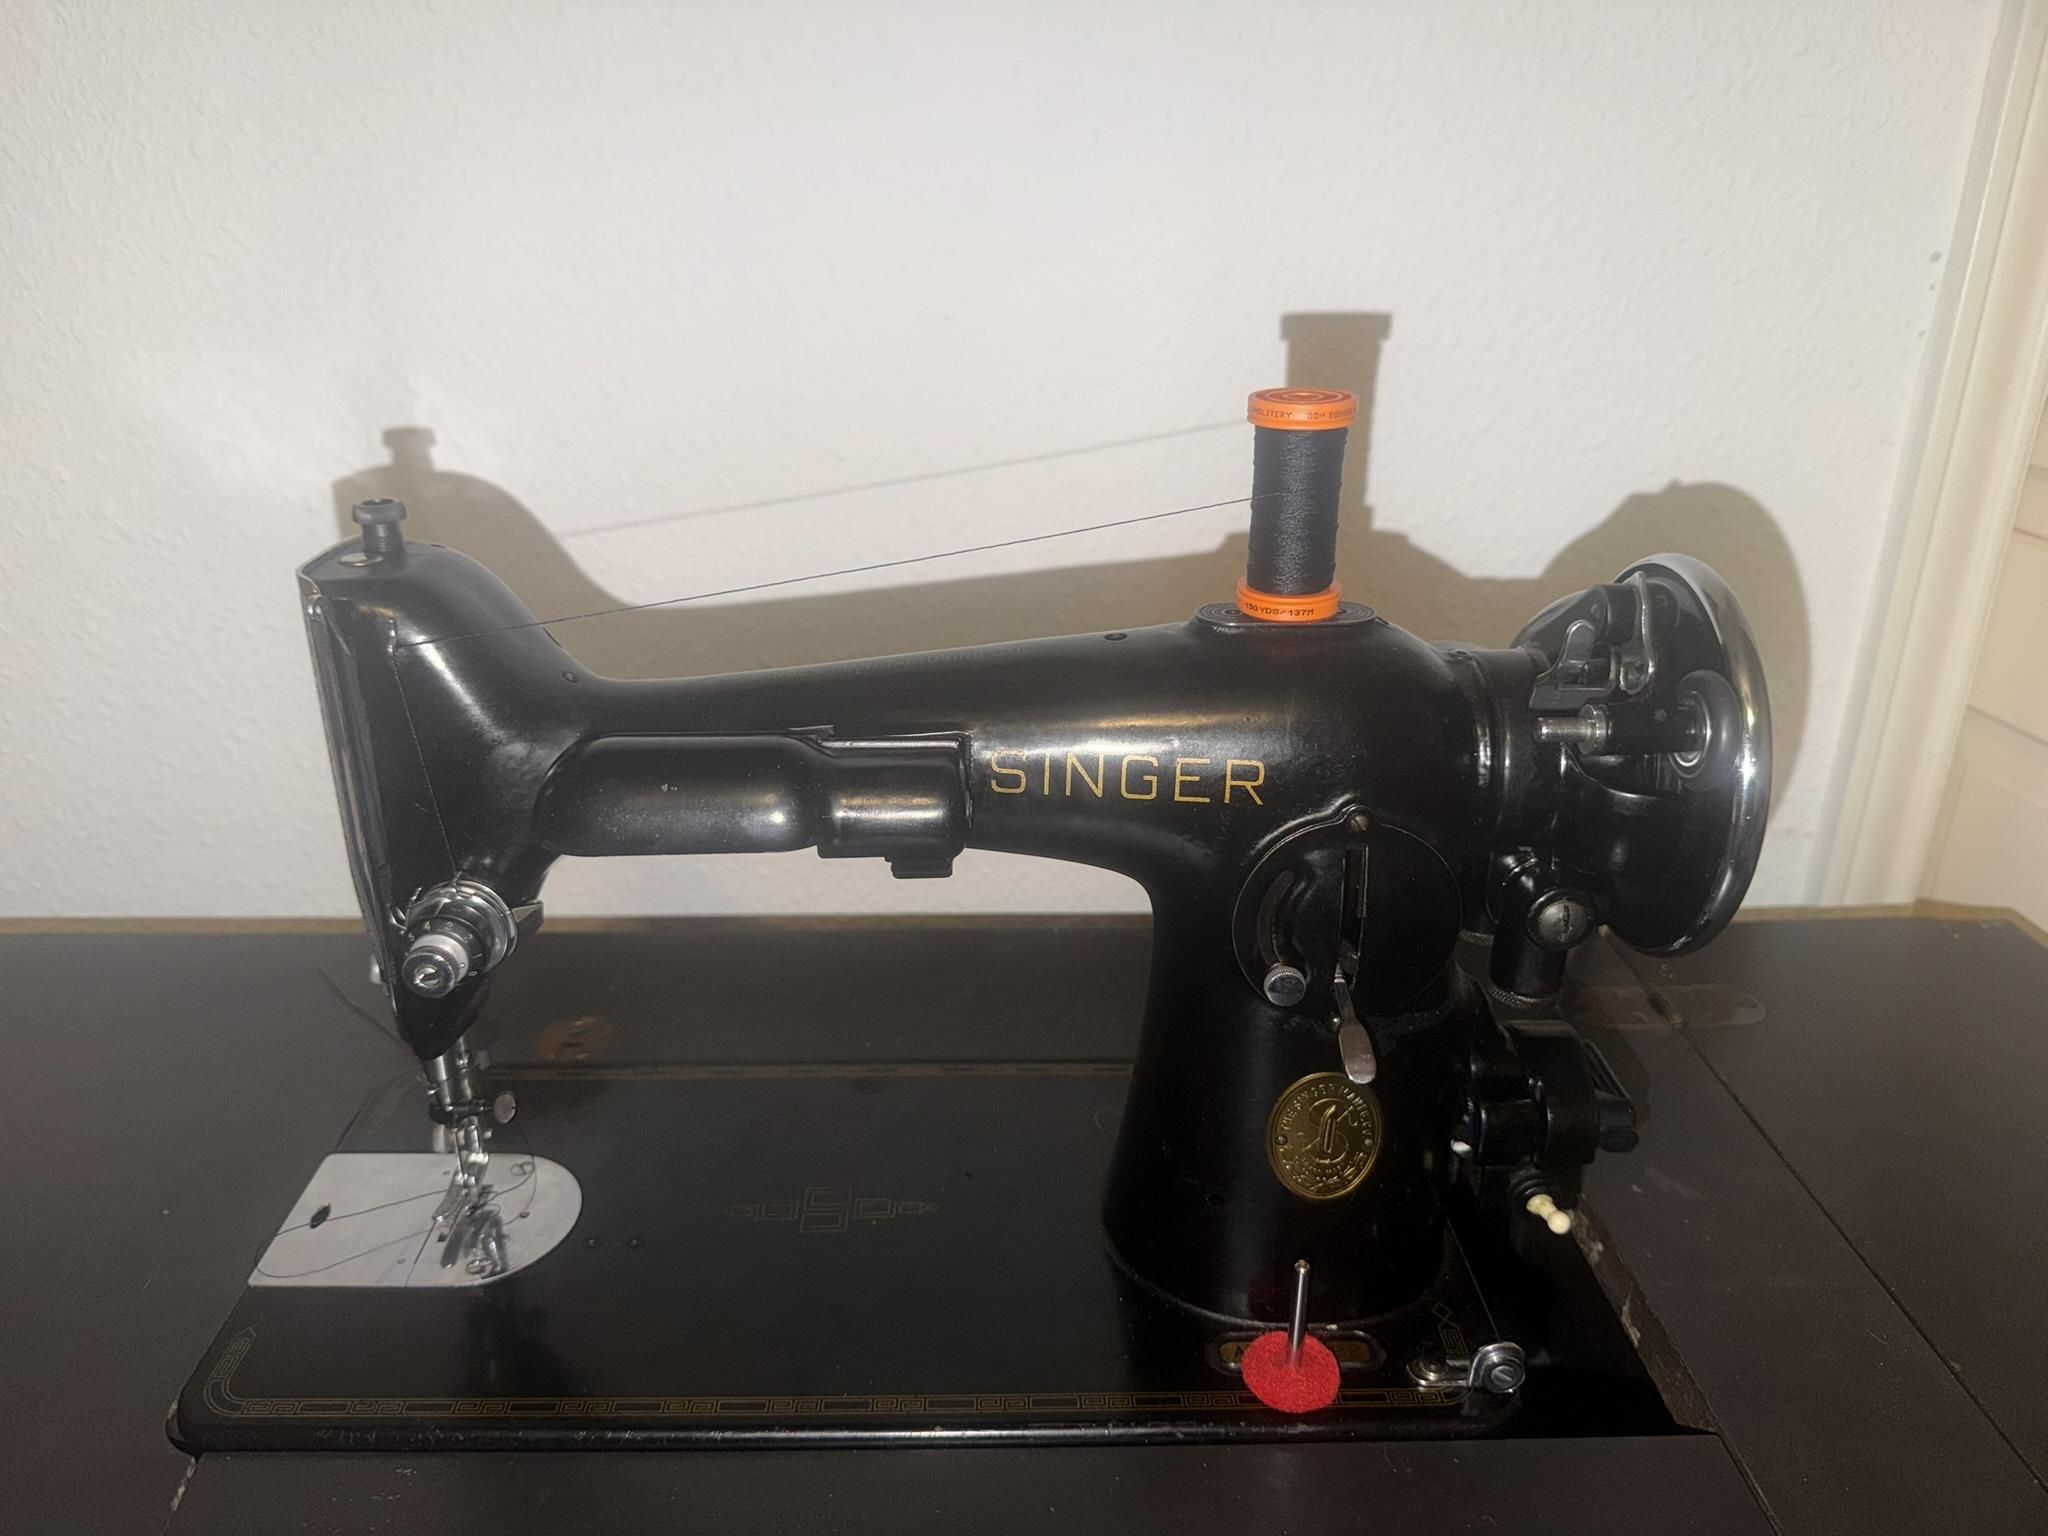
Threading a sewing machine correctly is important because it helps the machine form even, secure stitches. If the thread is not placed through the guides, tension area, take-up lever, needle, and bobbin correctly, the machine may skip stitches, jam, break the thread, or create loose and uneven seams. Correctly threading a sewing machine also prevents damage to the fabric. When the upper thread and bobbin thread work together properly, the machine runs smoothly and produces clean, professional-looking stitches.
Sewing machines look different depending on the brand, model, and age of the machine. There are some machines that may have extra thread guides, different spool locations, or tension areas. But for the most part every sewing machine follows a similar threading process.
Supplies
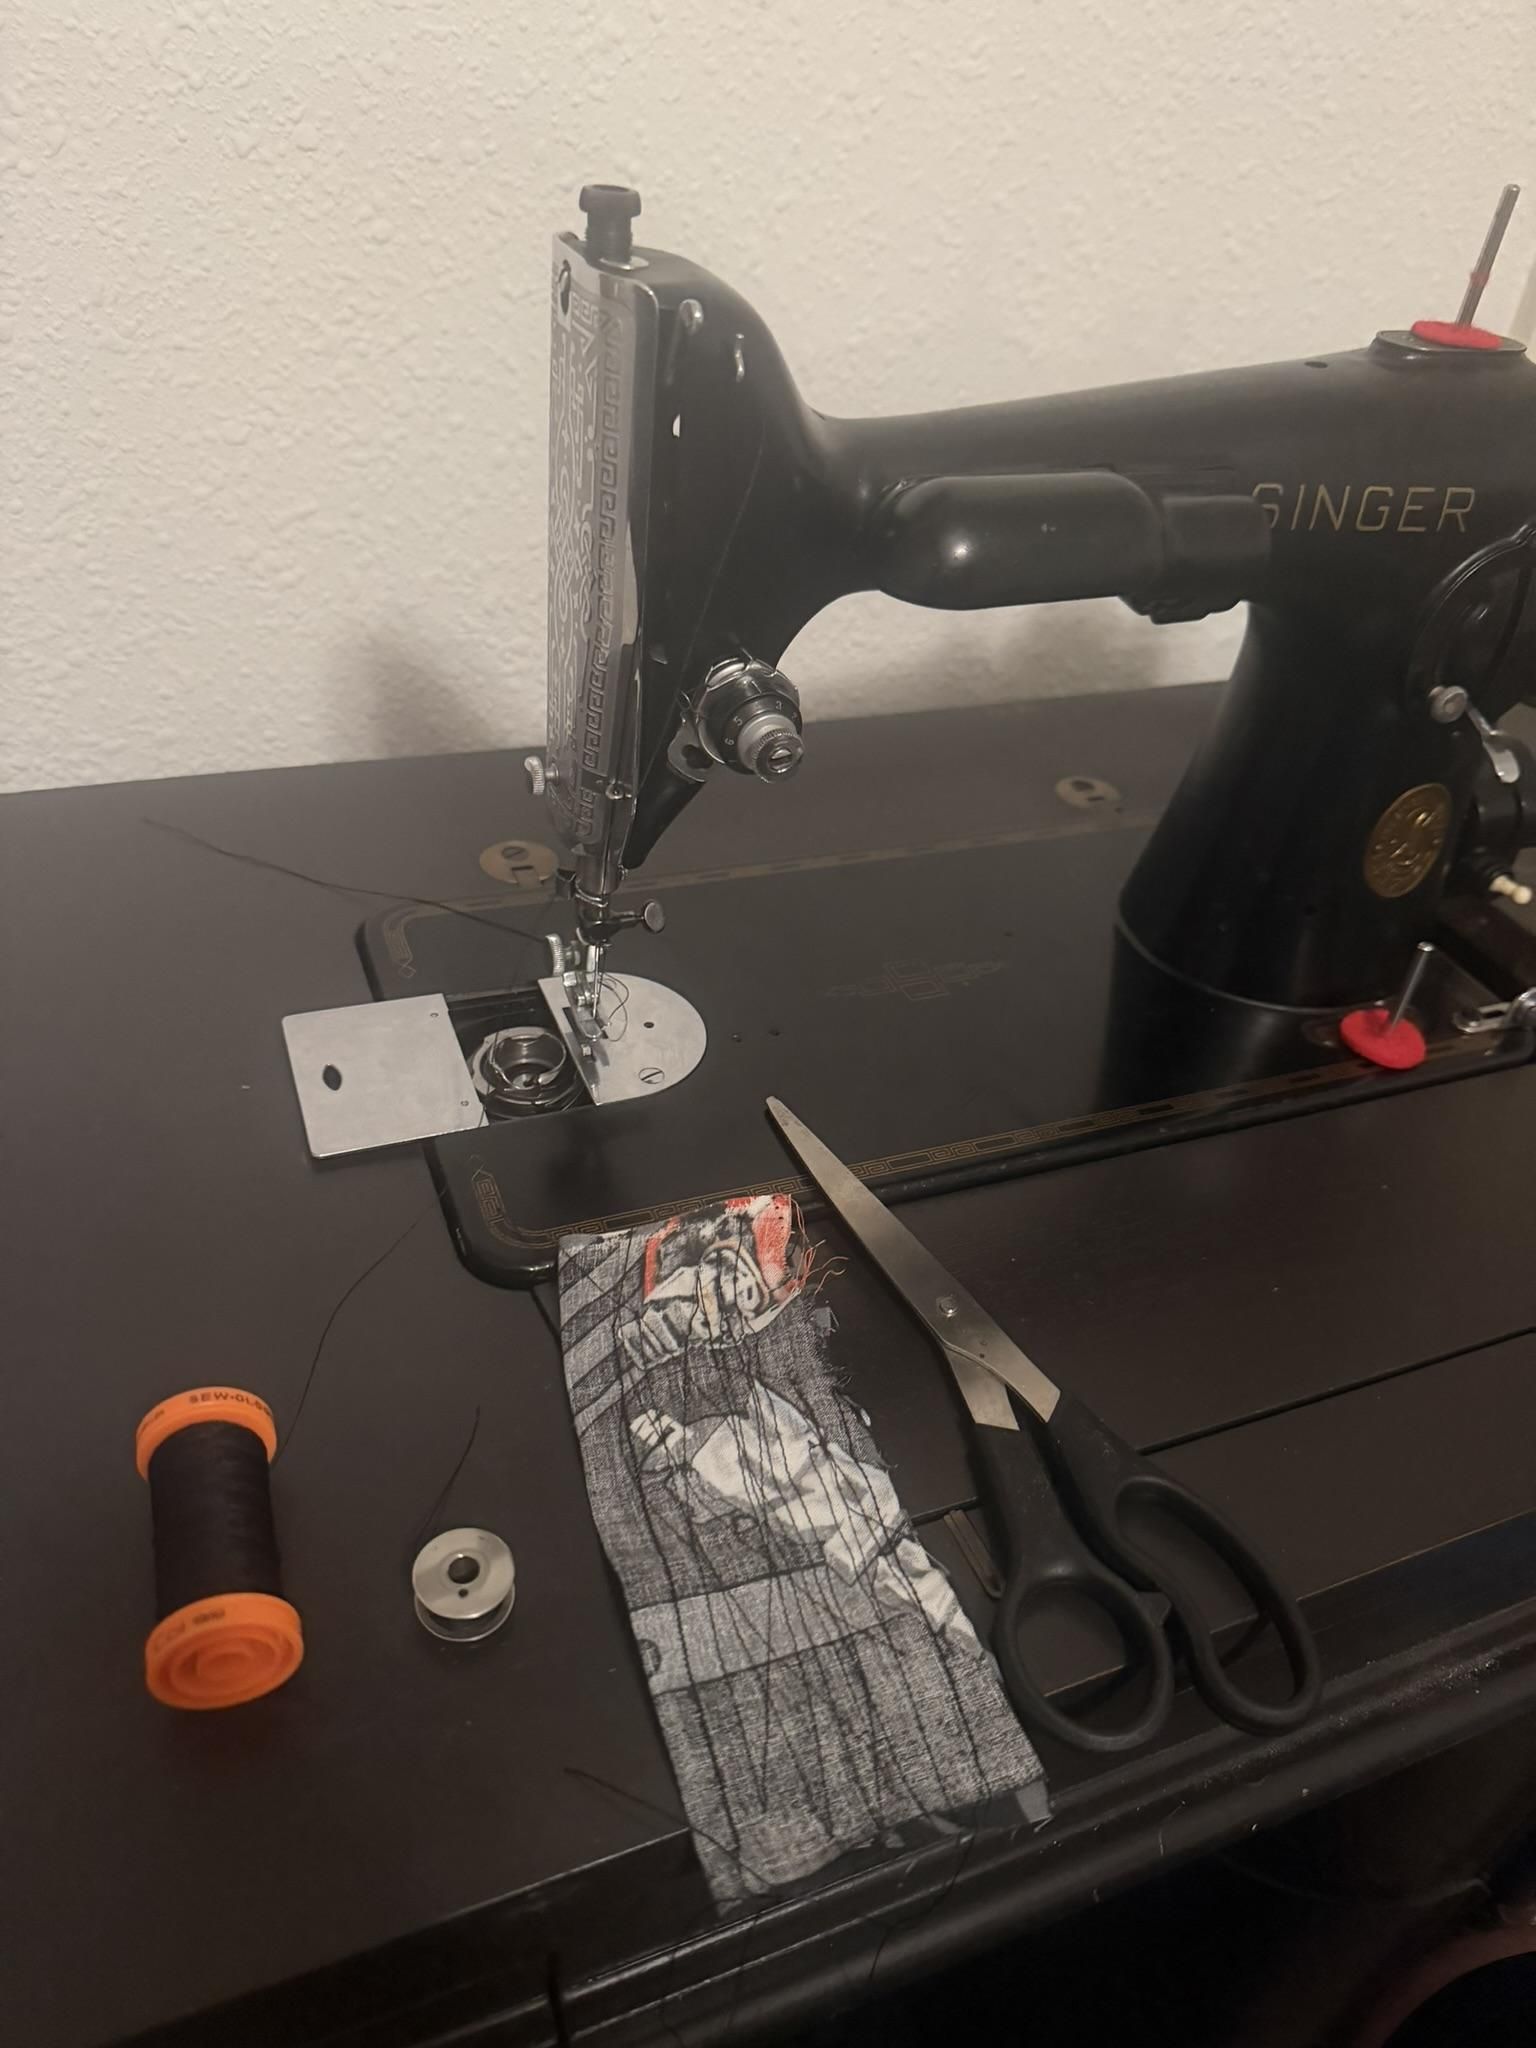
- Sewing Machine
- Spool of Thread
- Bobbin
- Scrap piece of fabric
- Small Scissors or thread snips
- Sewing Machine Manual (if available)
Identify the Main Parts of the Sewing Machine
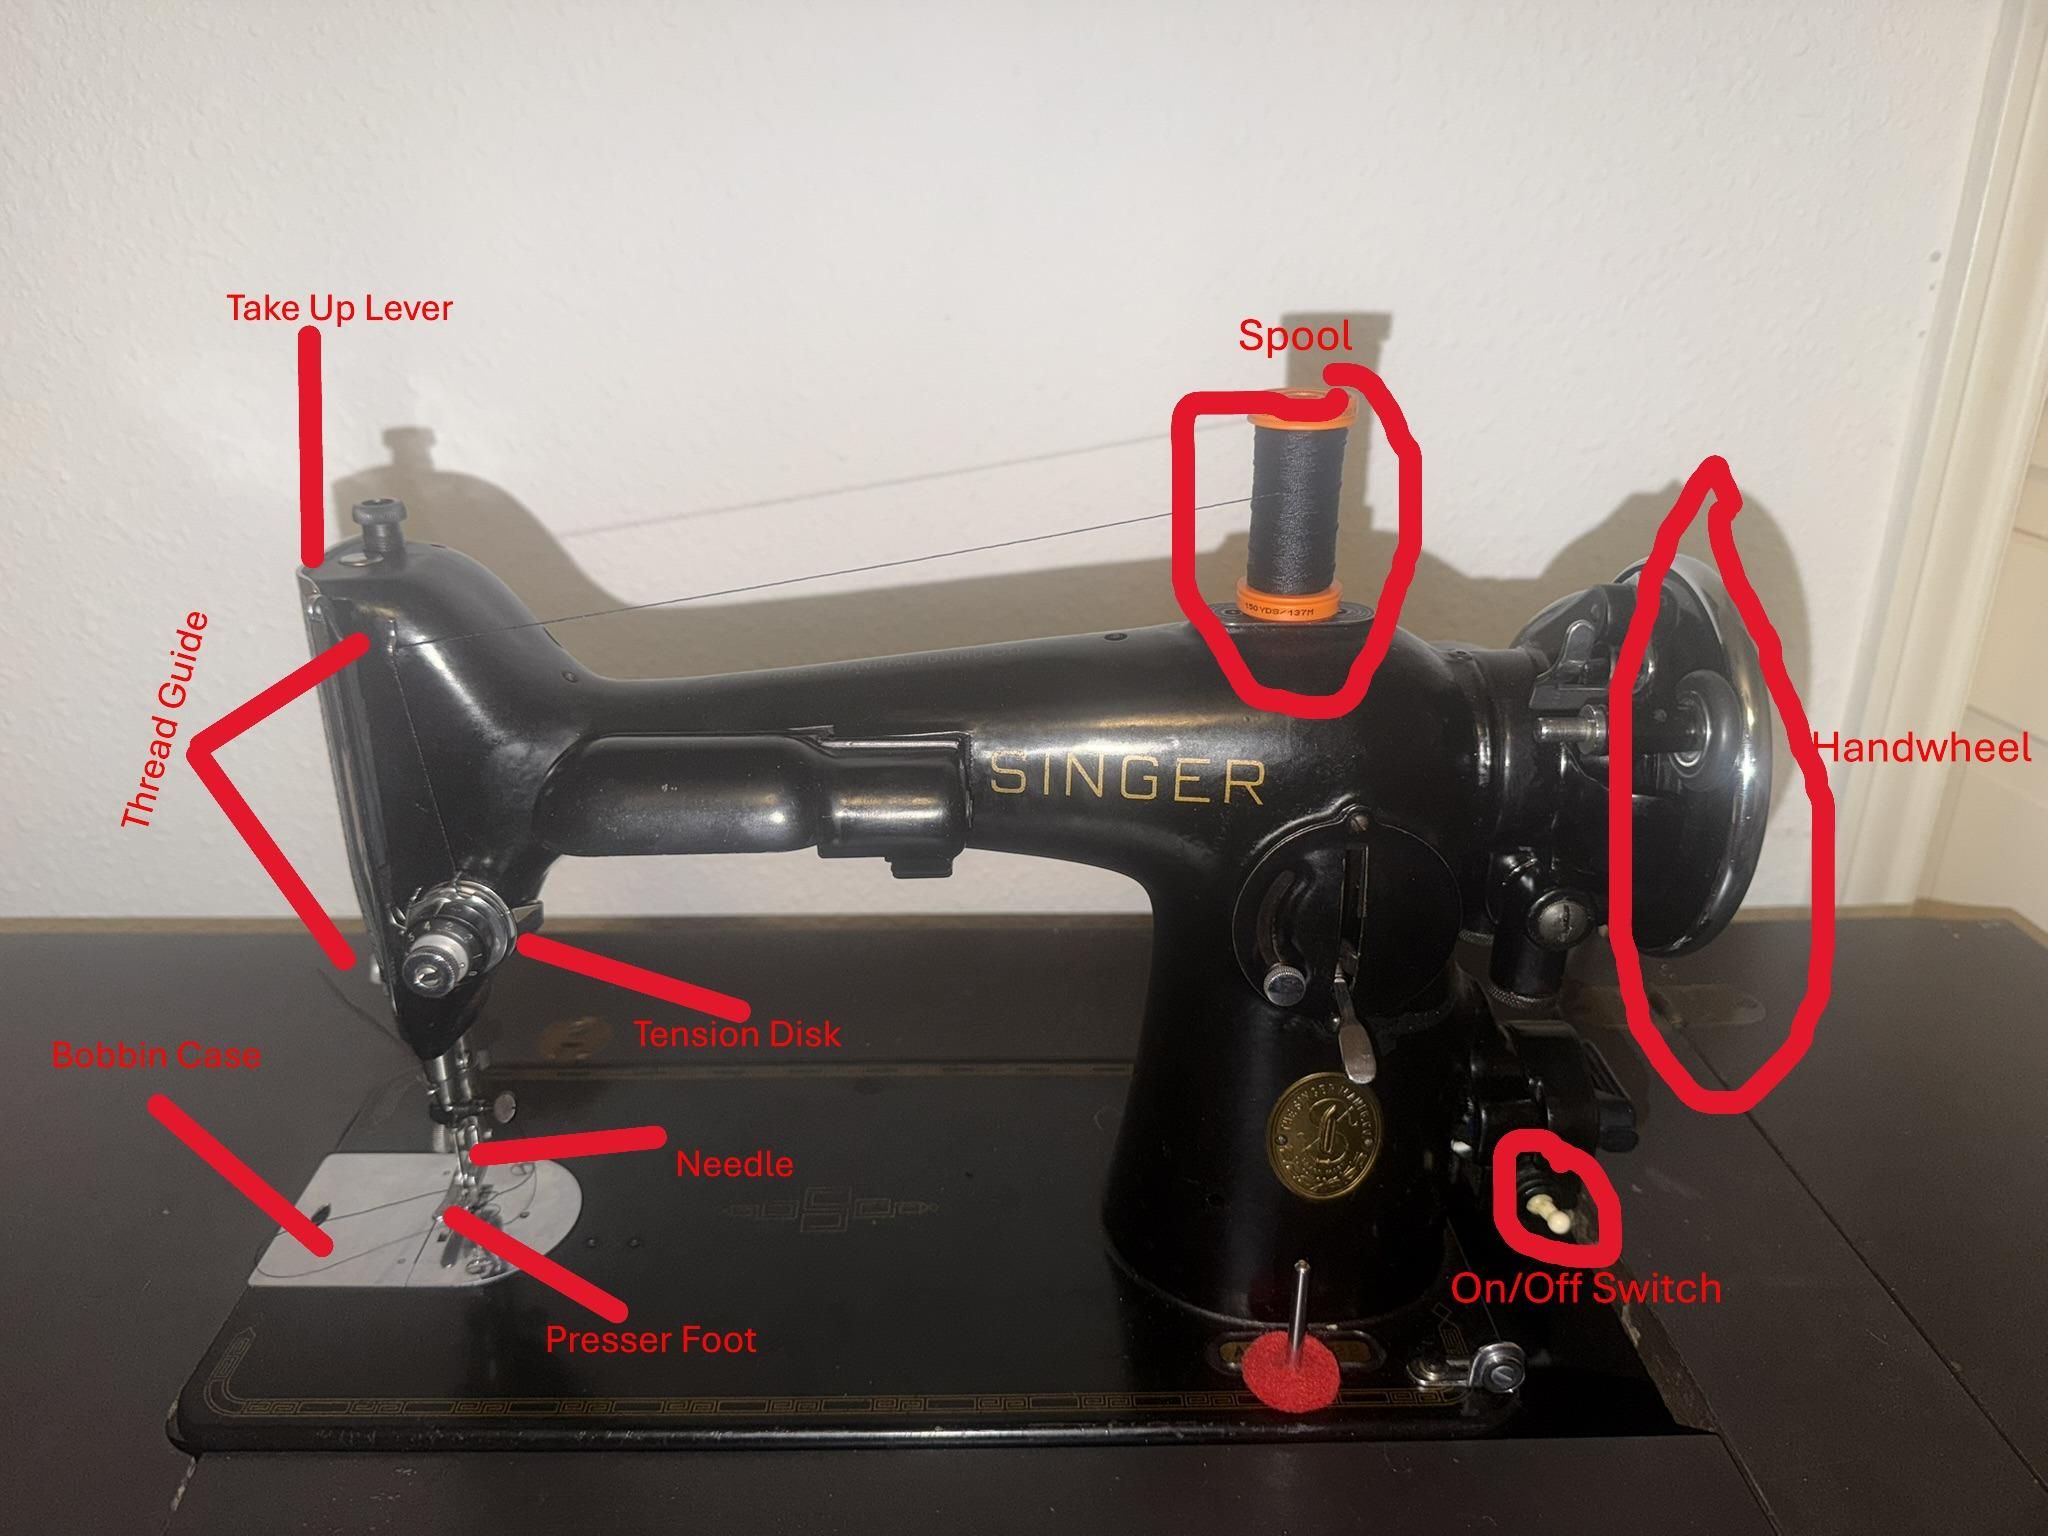
Locate the spool pin, thread guides, tension area, take-up lever, presser foot,
needle, bobbin case, and handwheel.
On/Off Switch of the Sewing Machine
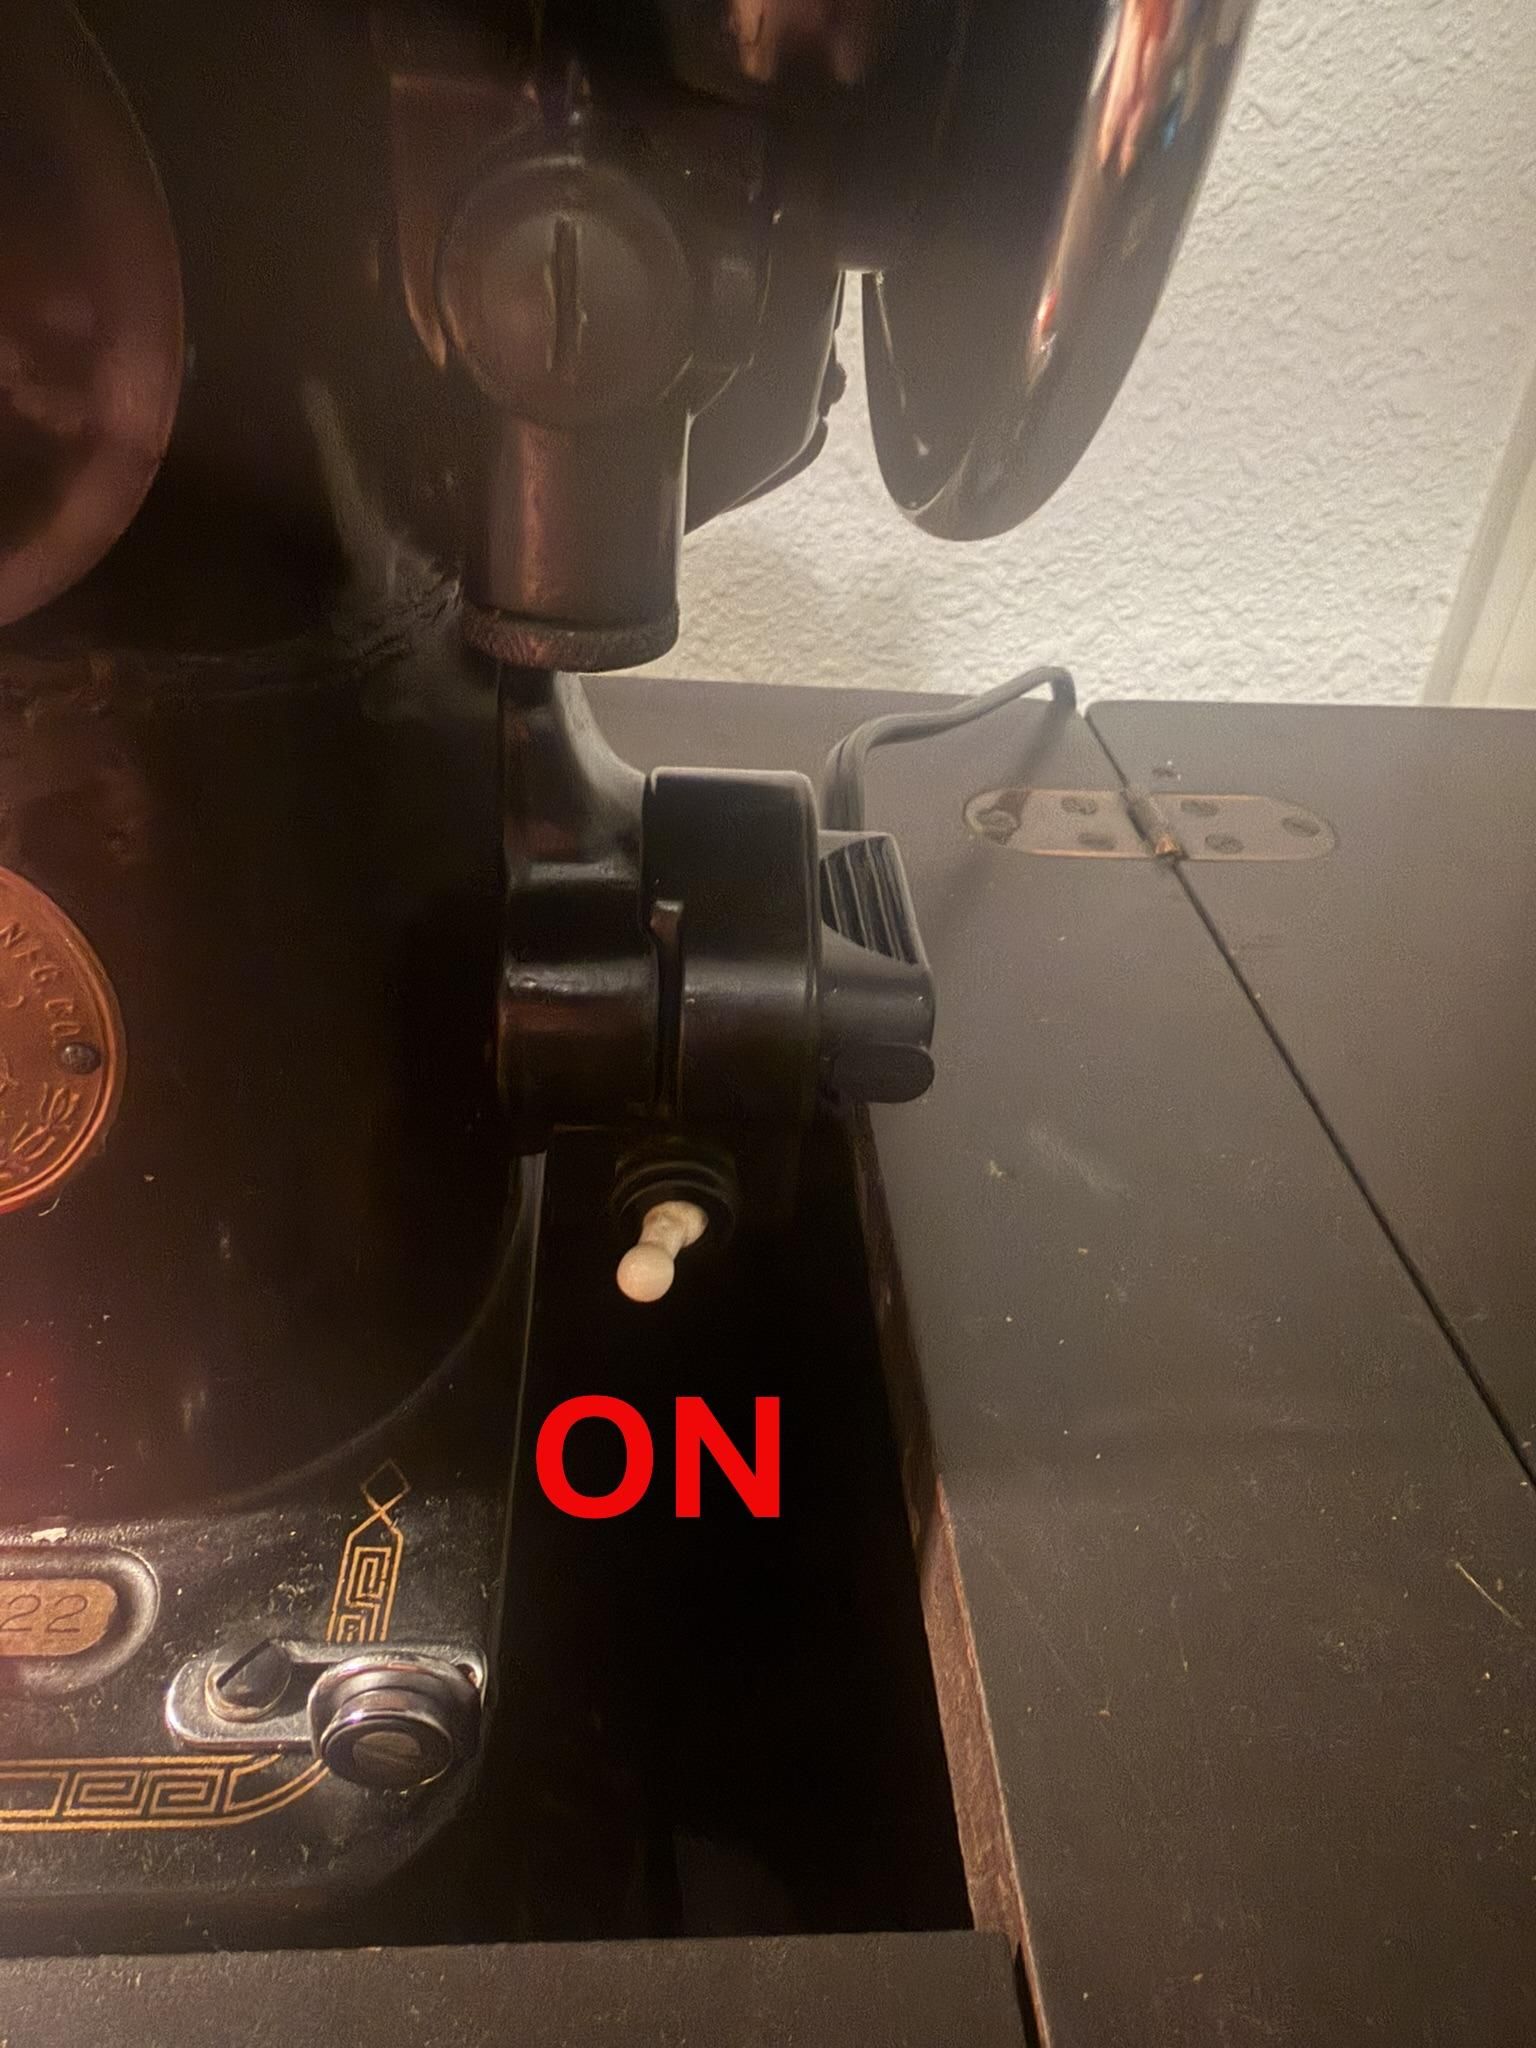
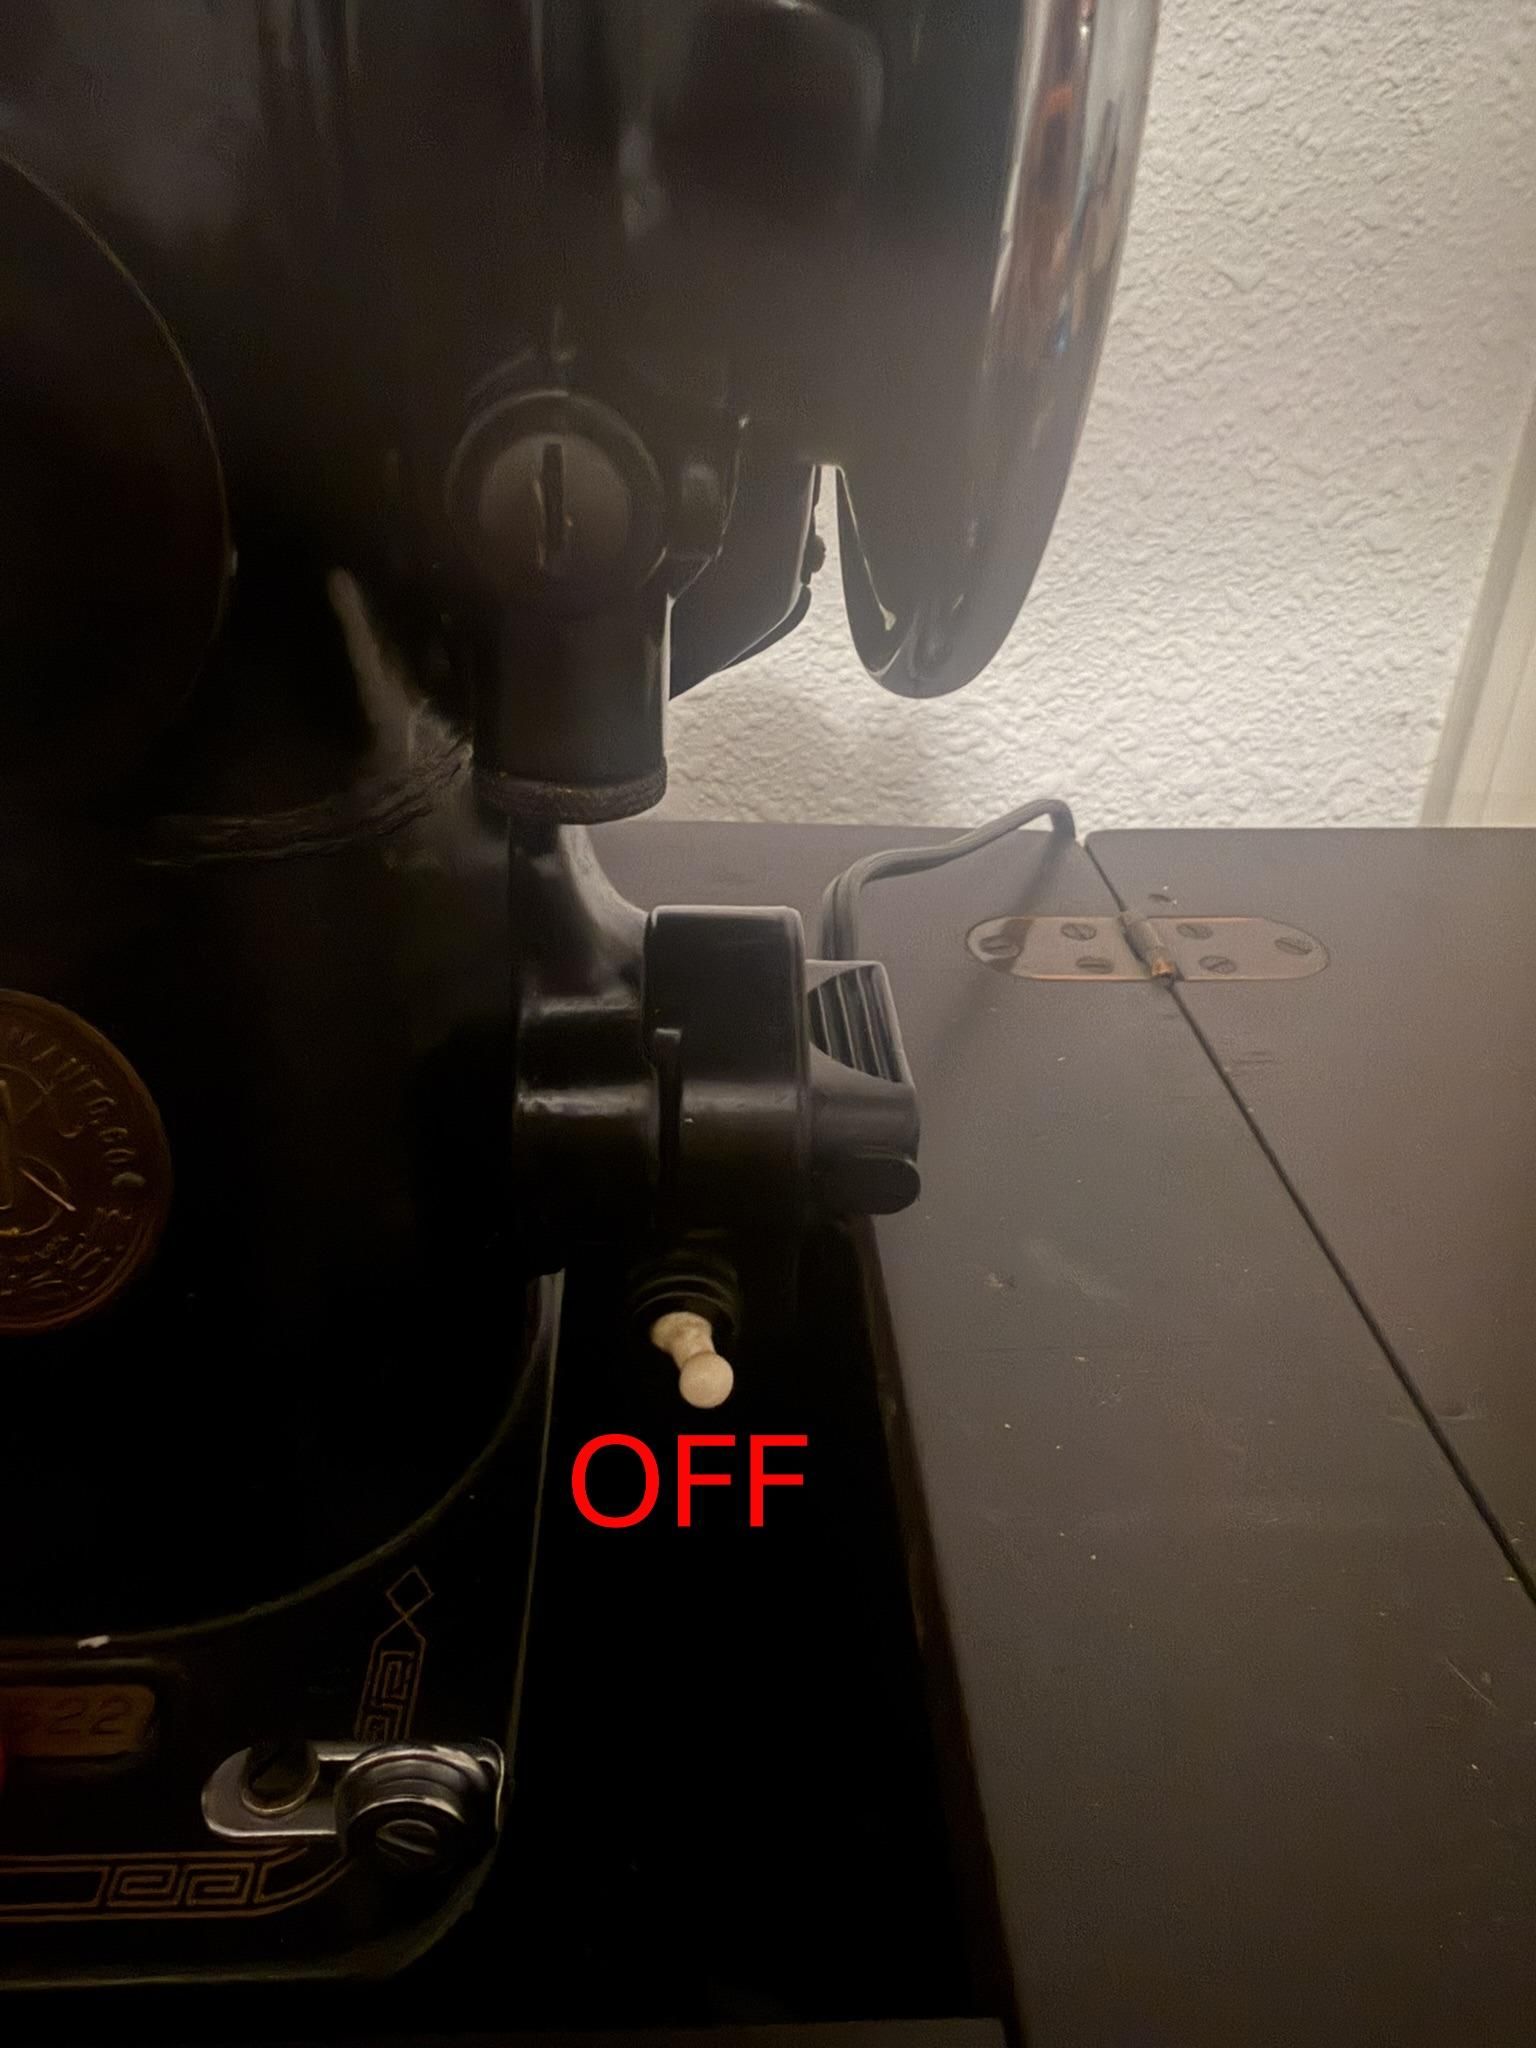
Locate the on/off switch for the sewing machine before handling the needle or
threading the machine and be sure it’s in the off position. This step helps prevent
injury or accidental movement of the needle.
Raise the Presser Foot
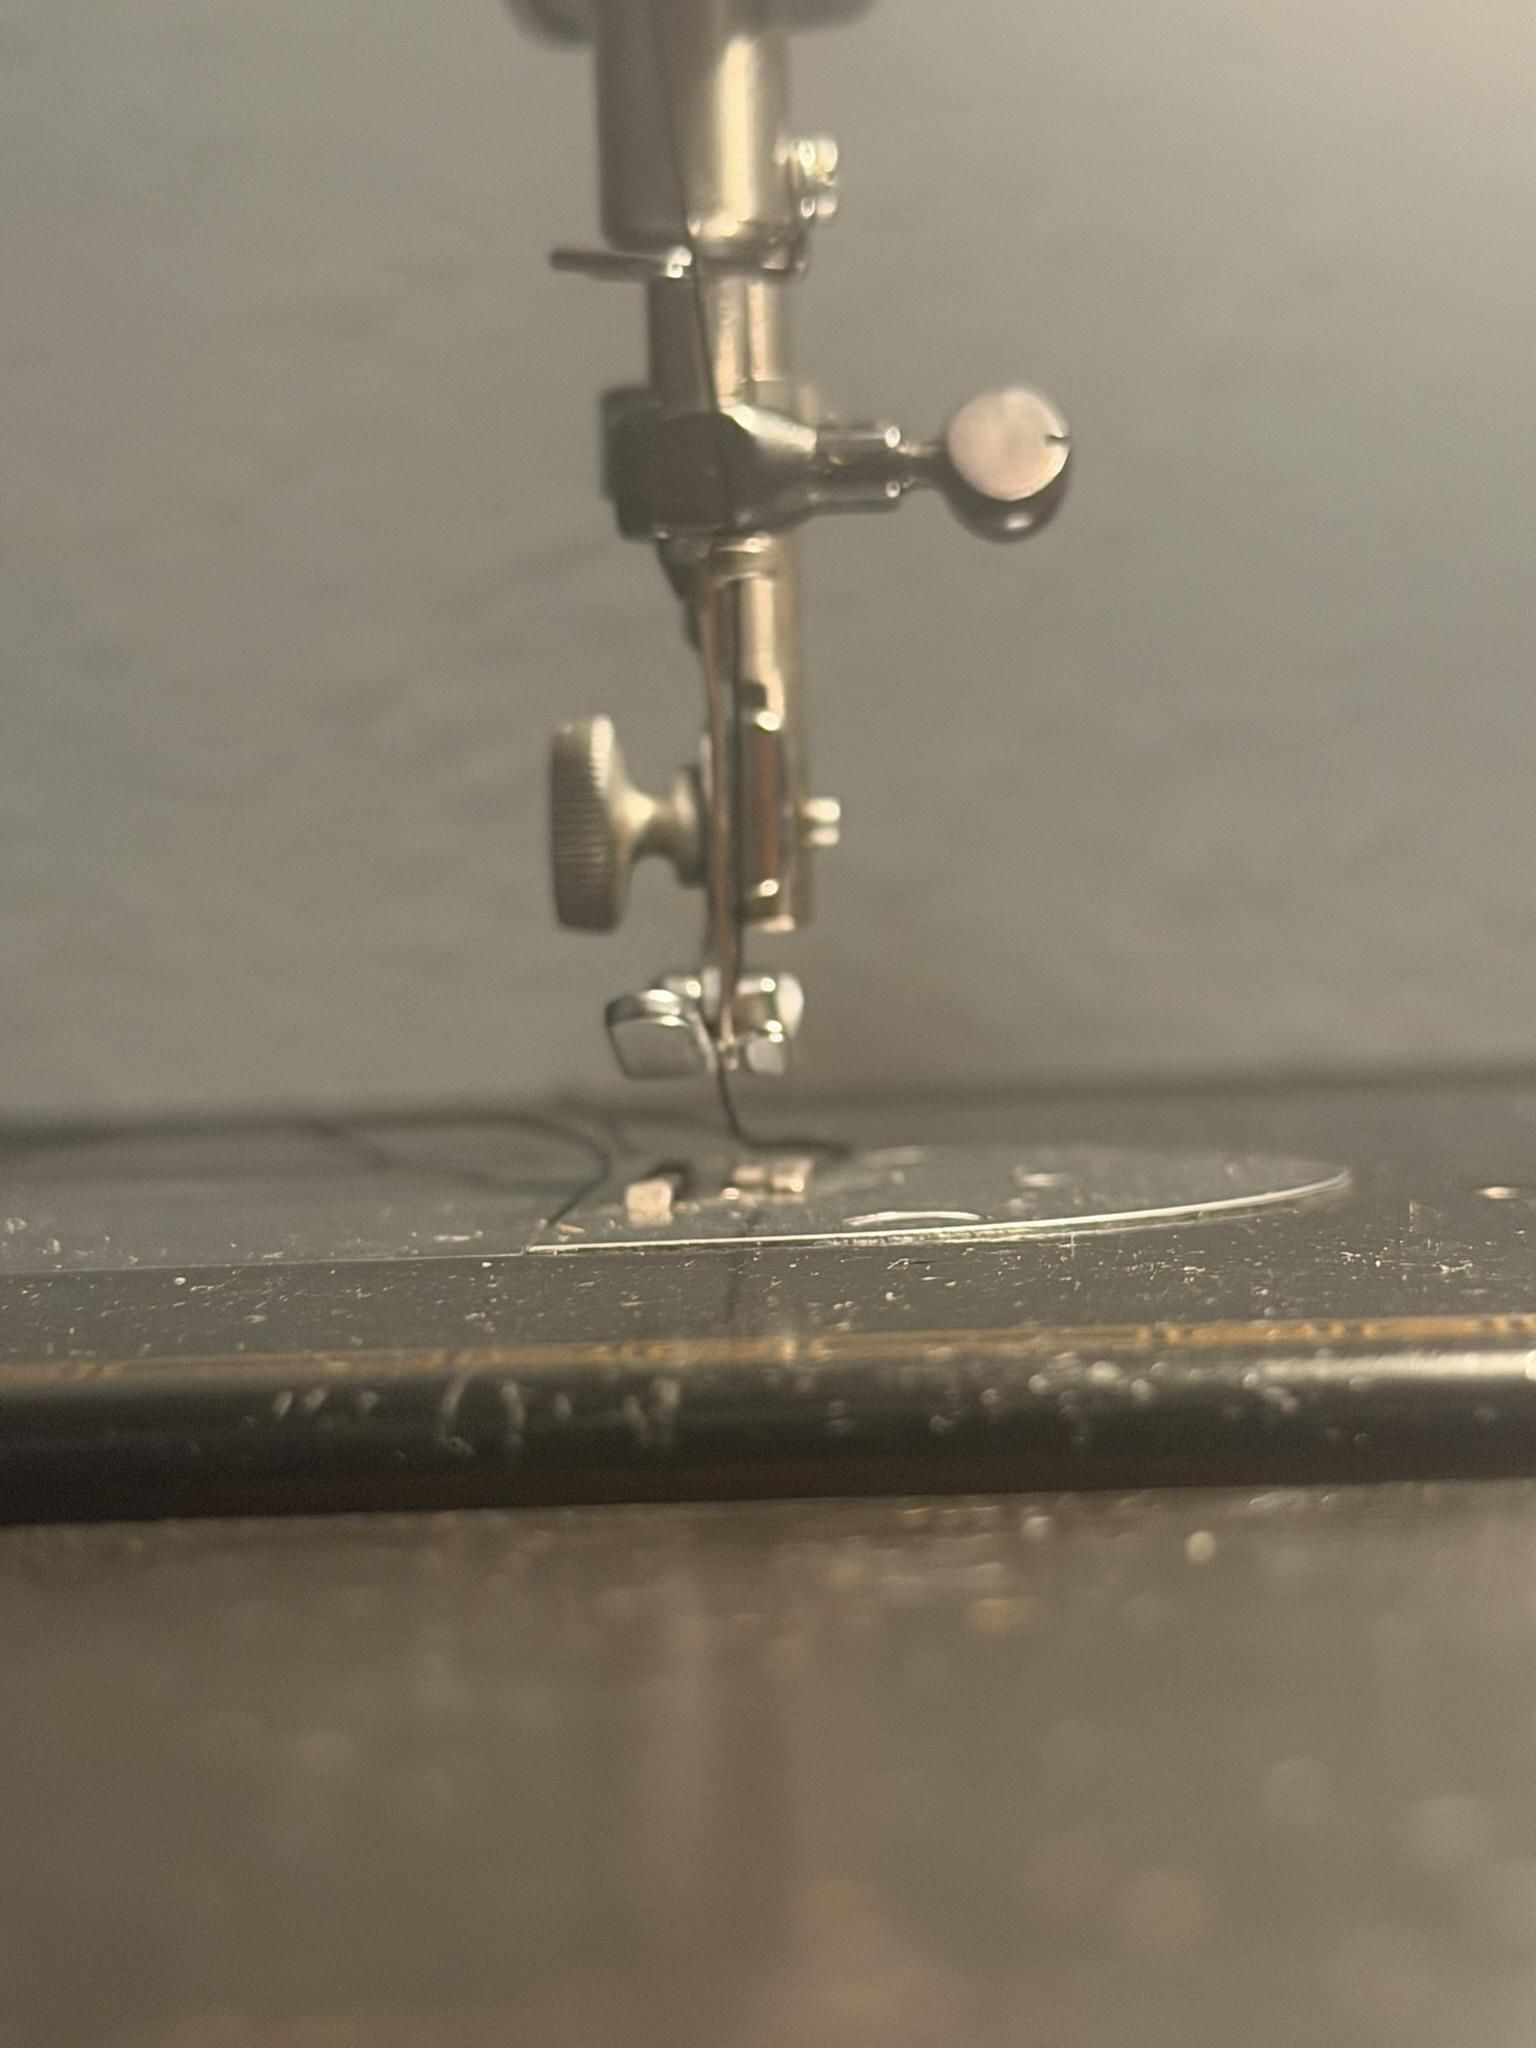
Lift the presser foot using the presser foot lever. Raising the presser foot opens the
tension discs so the thread can move into the correct position.
Raise the Needle to Its Highest Position
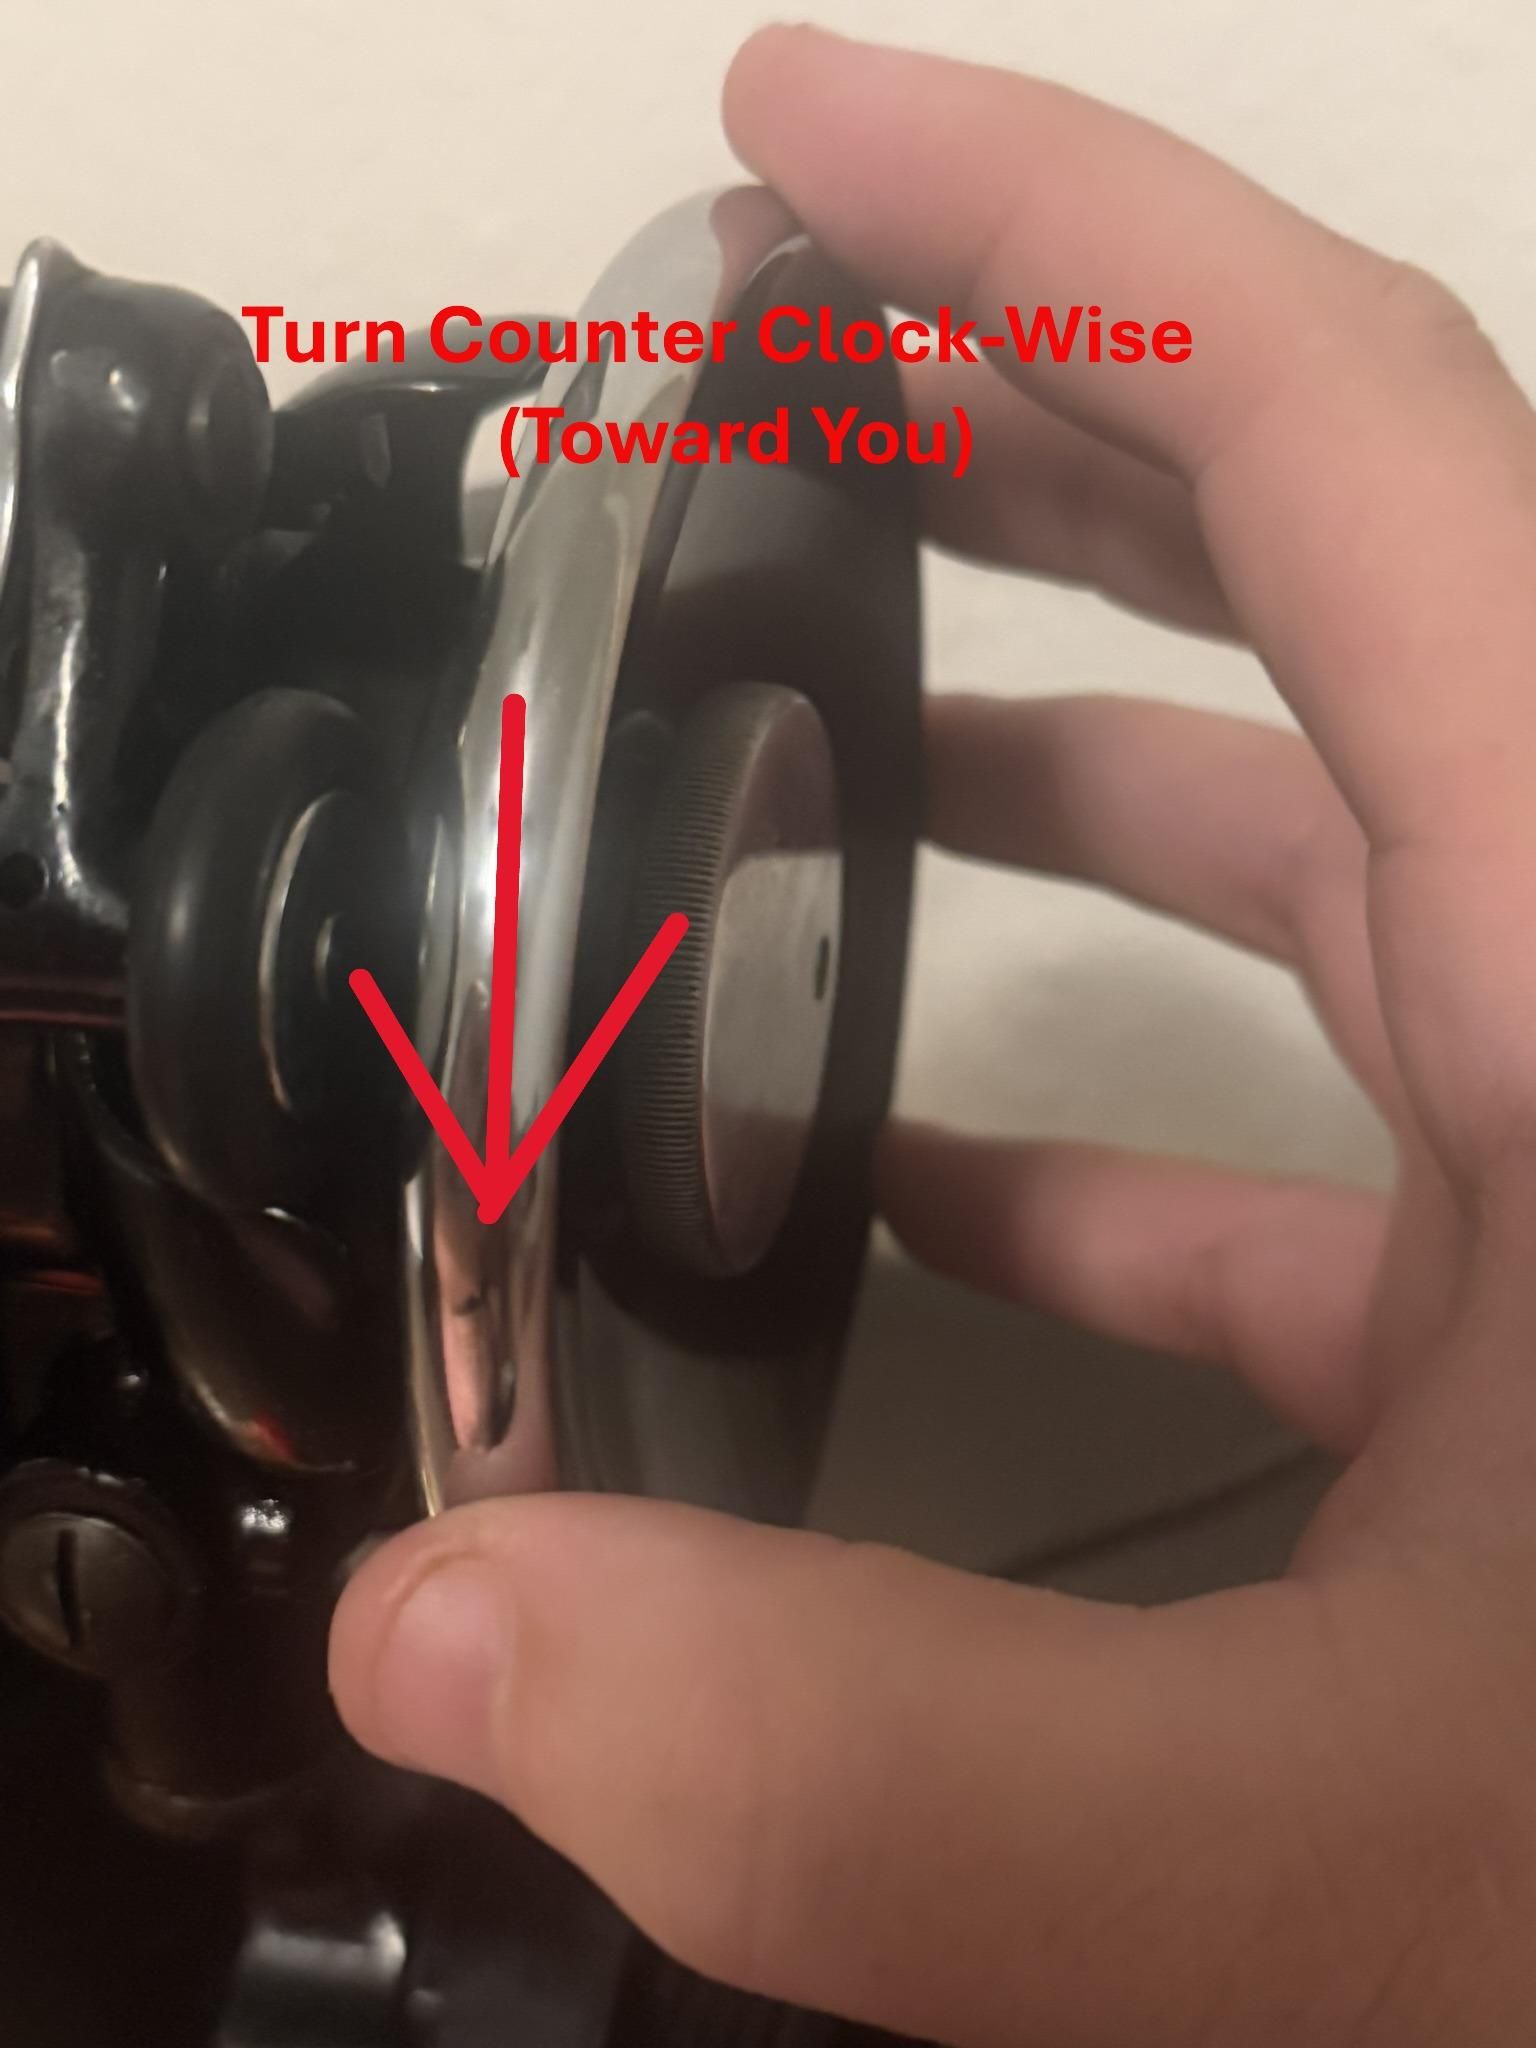
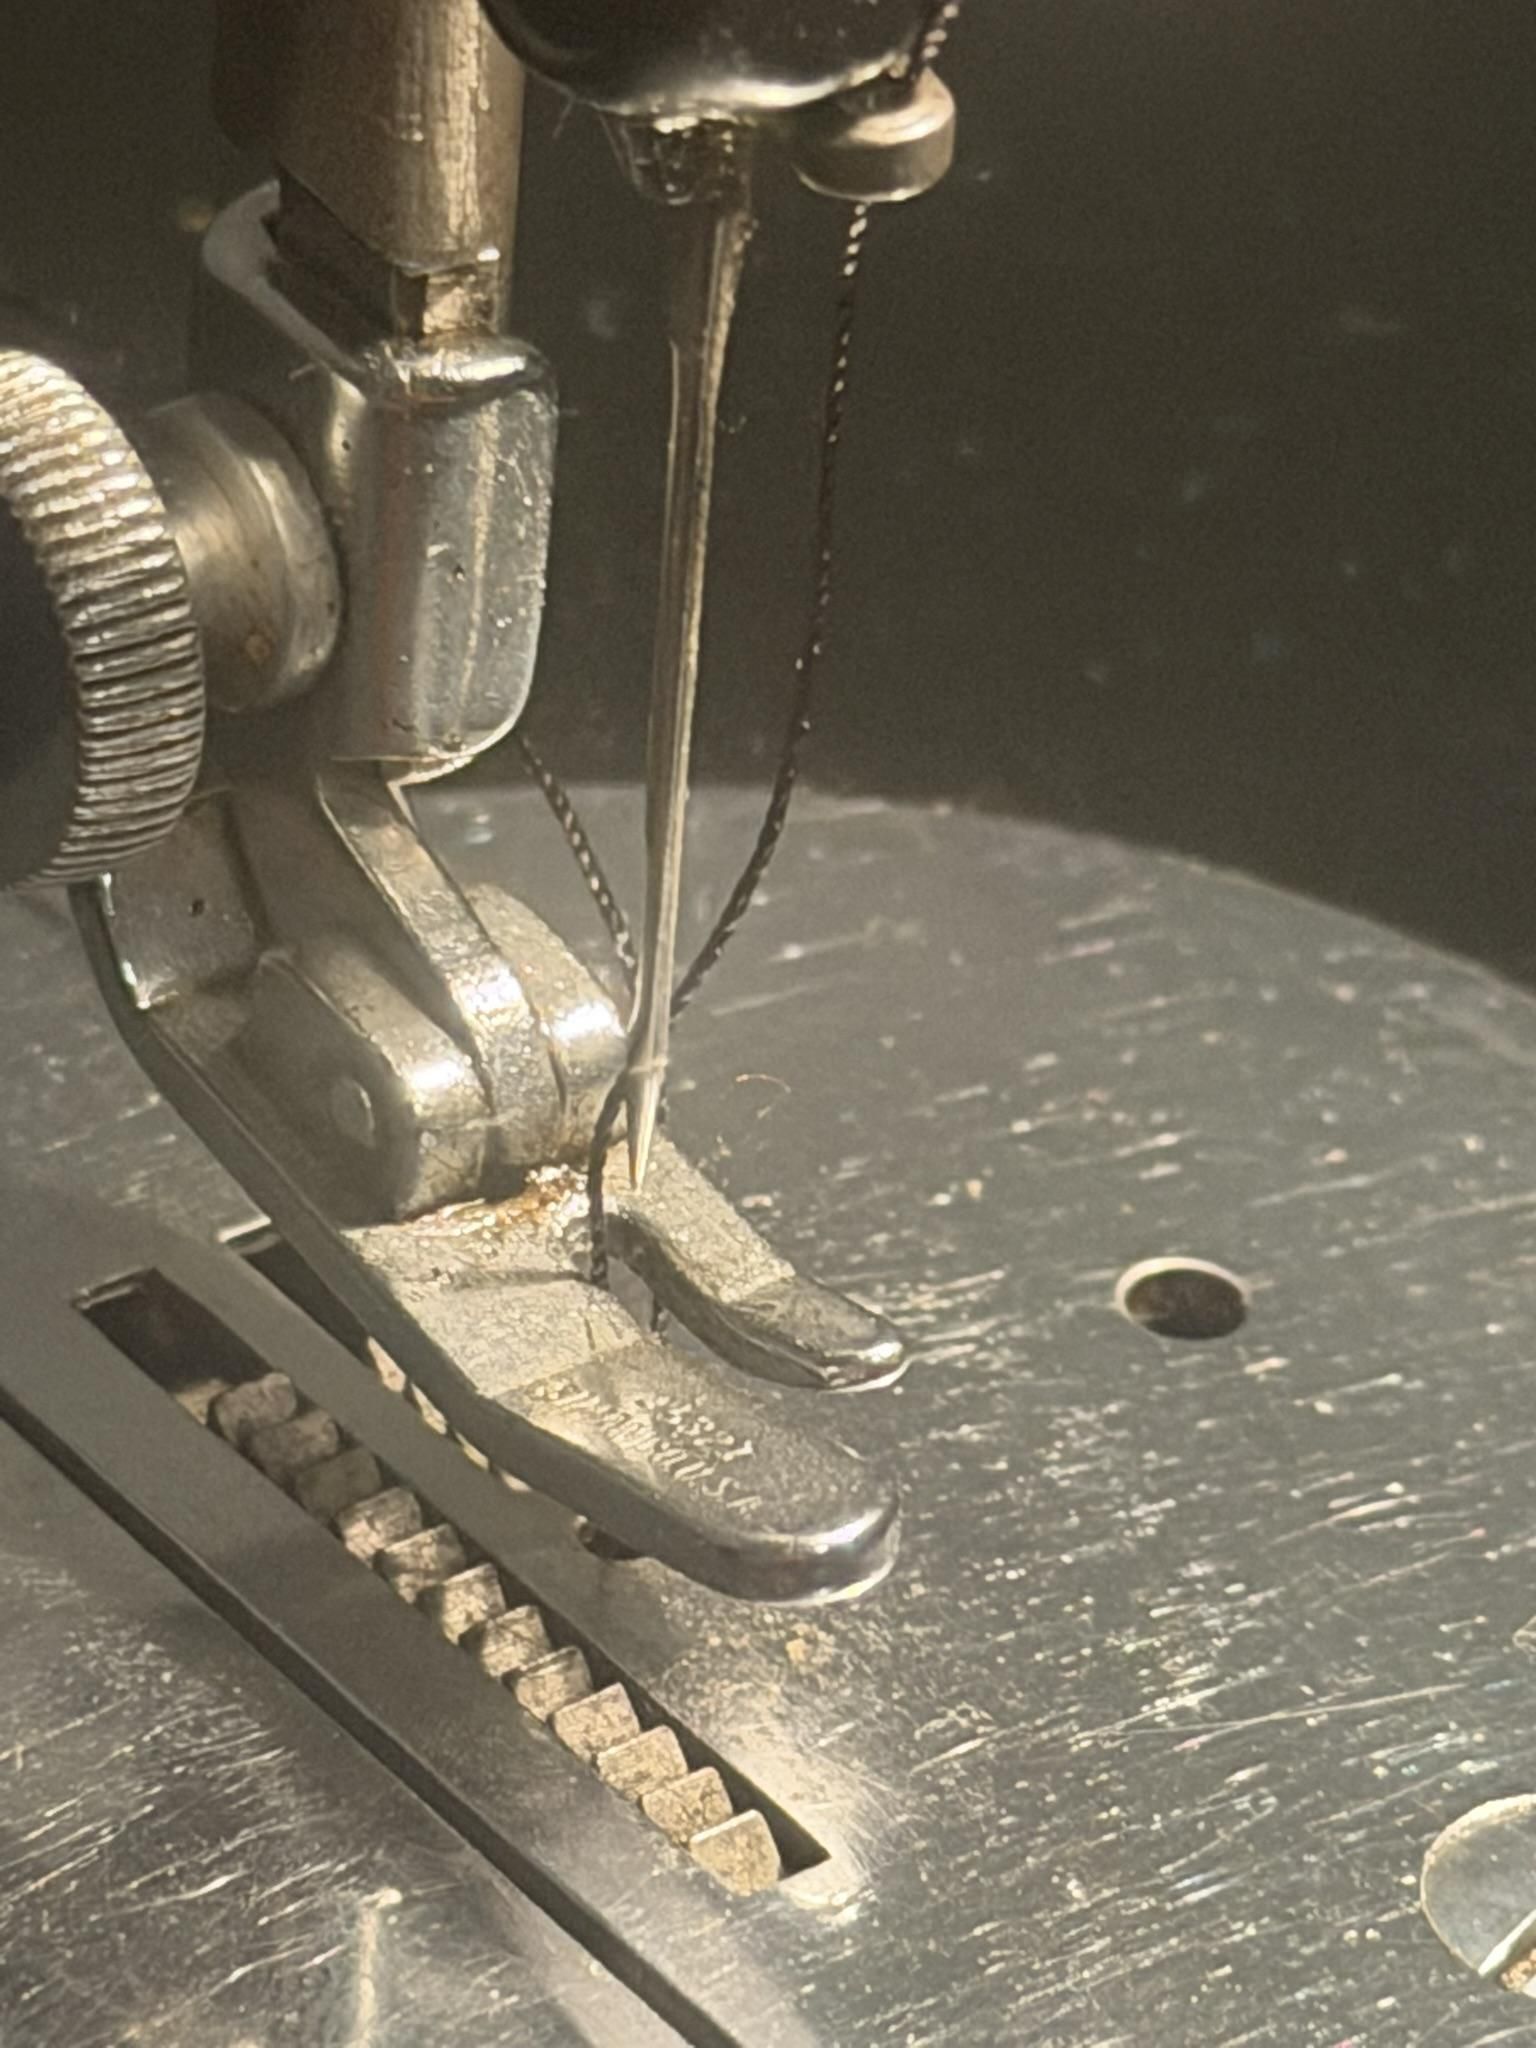
Turn the handwheel toward you, until the needle is at its highest point. This makes
it easier to guide the thread through the machine and needle.
Place the Thread Spool on the Spool Pin
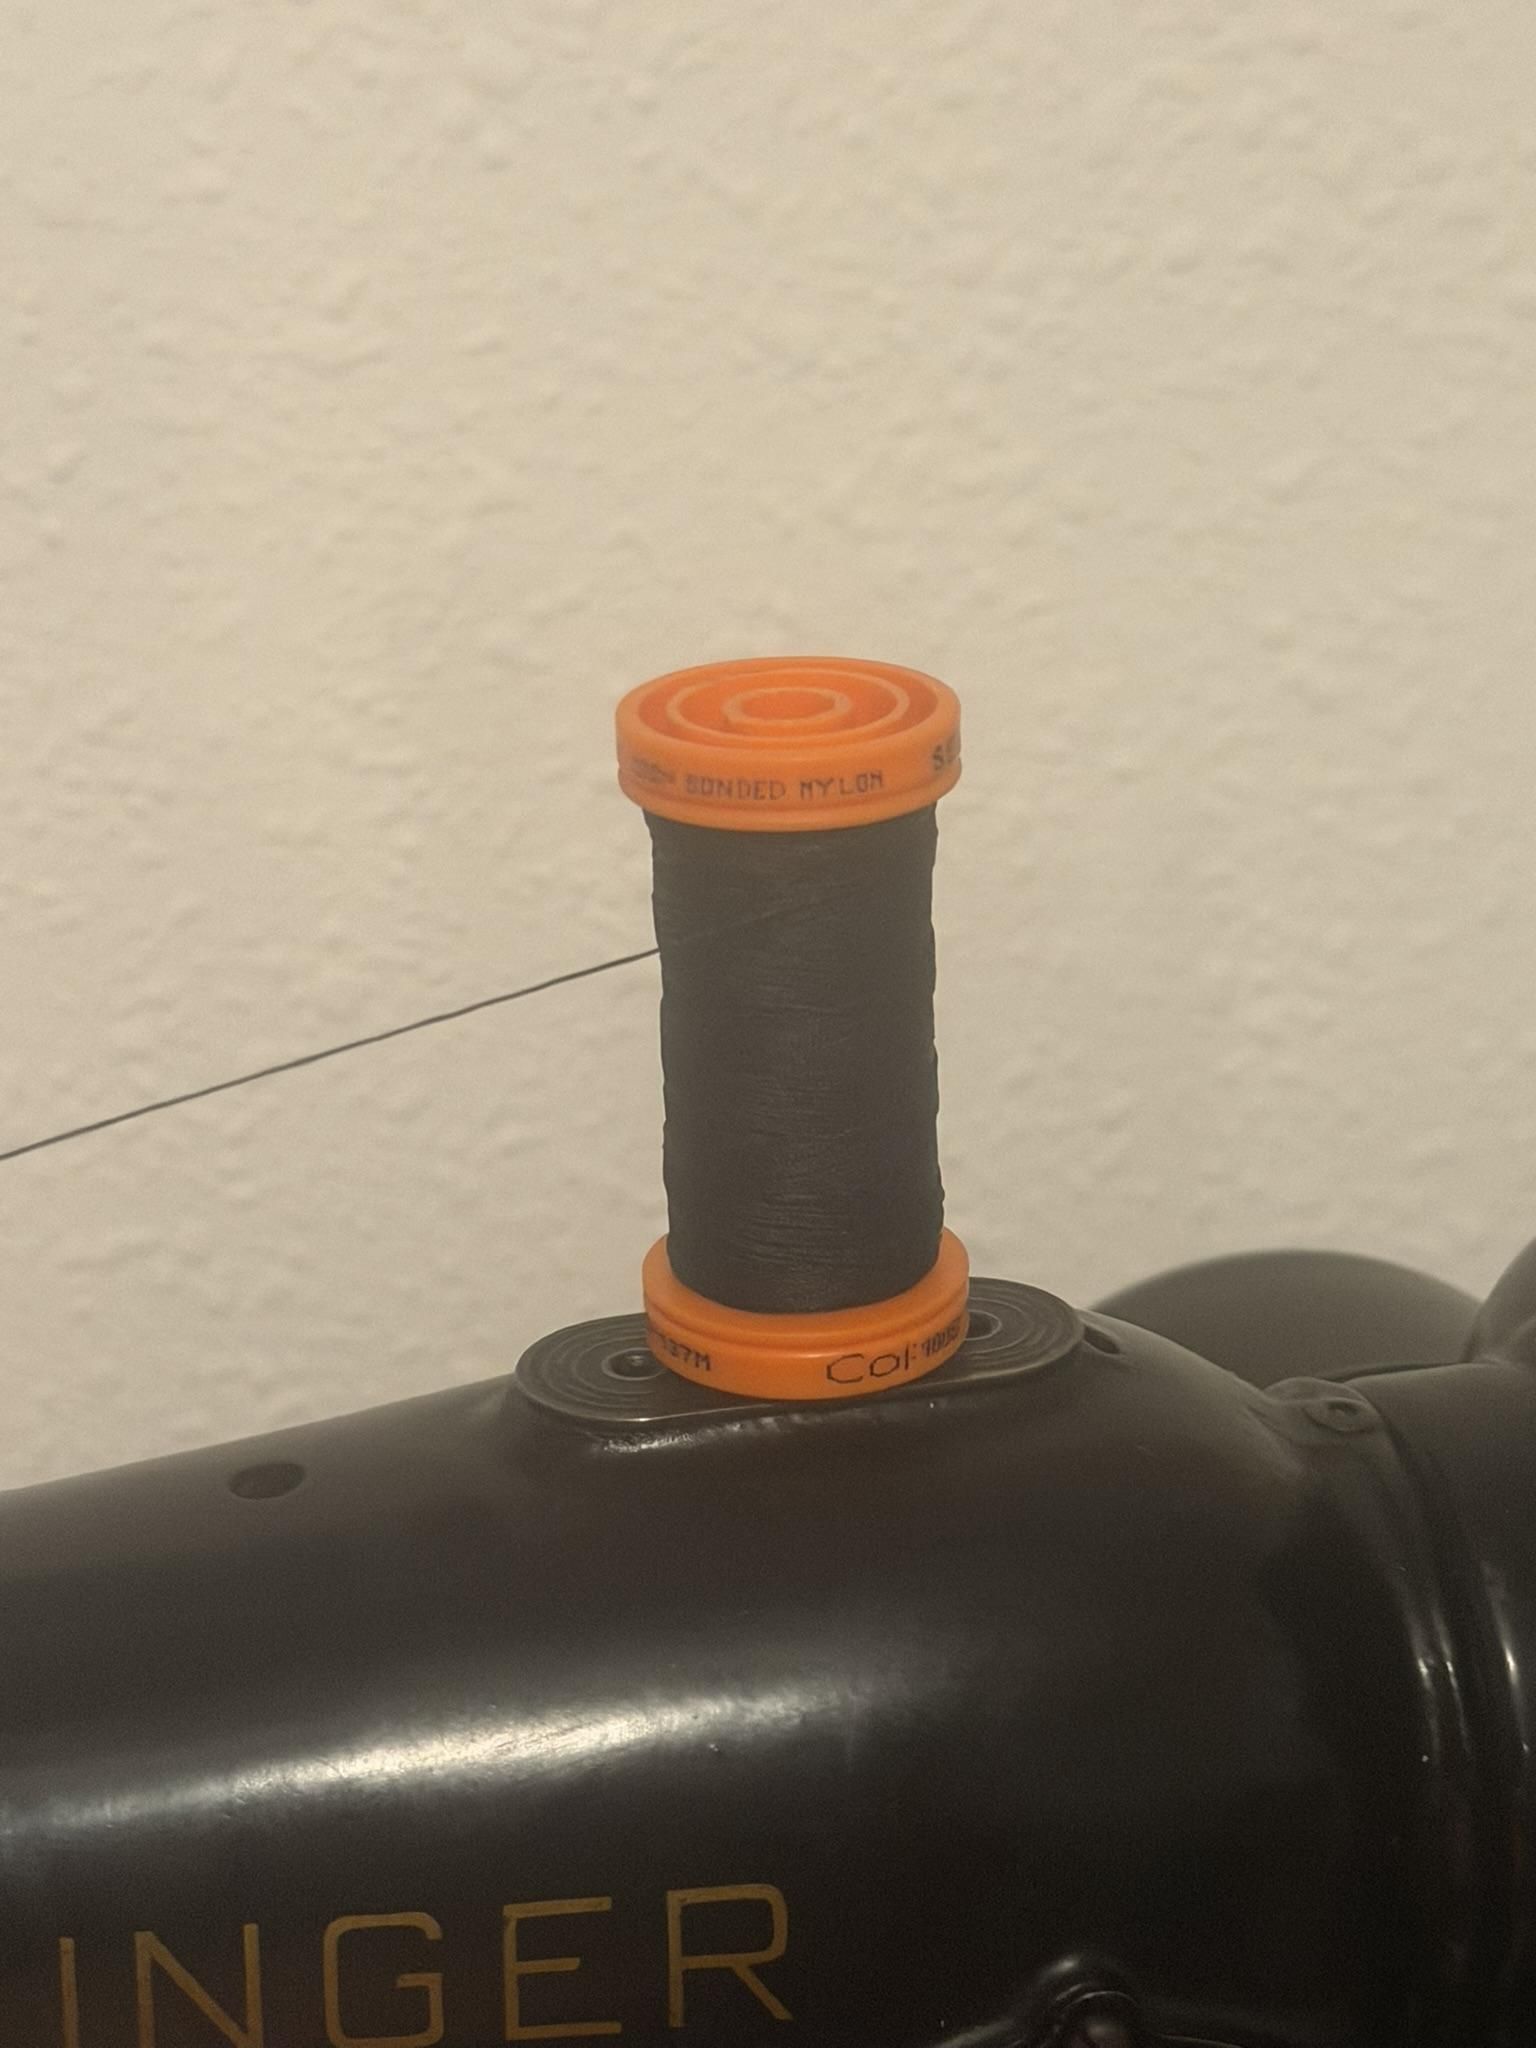
Place the spool of thread on the spool pin so the thread can unwind smoothly. If the
machine uses a spool cap, you will need to secure the spool with the cap.
Guide the Thread Through the First Thread Guide
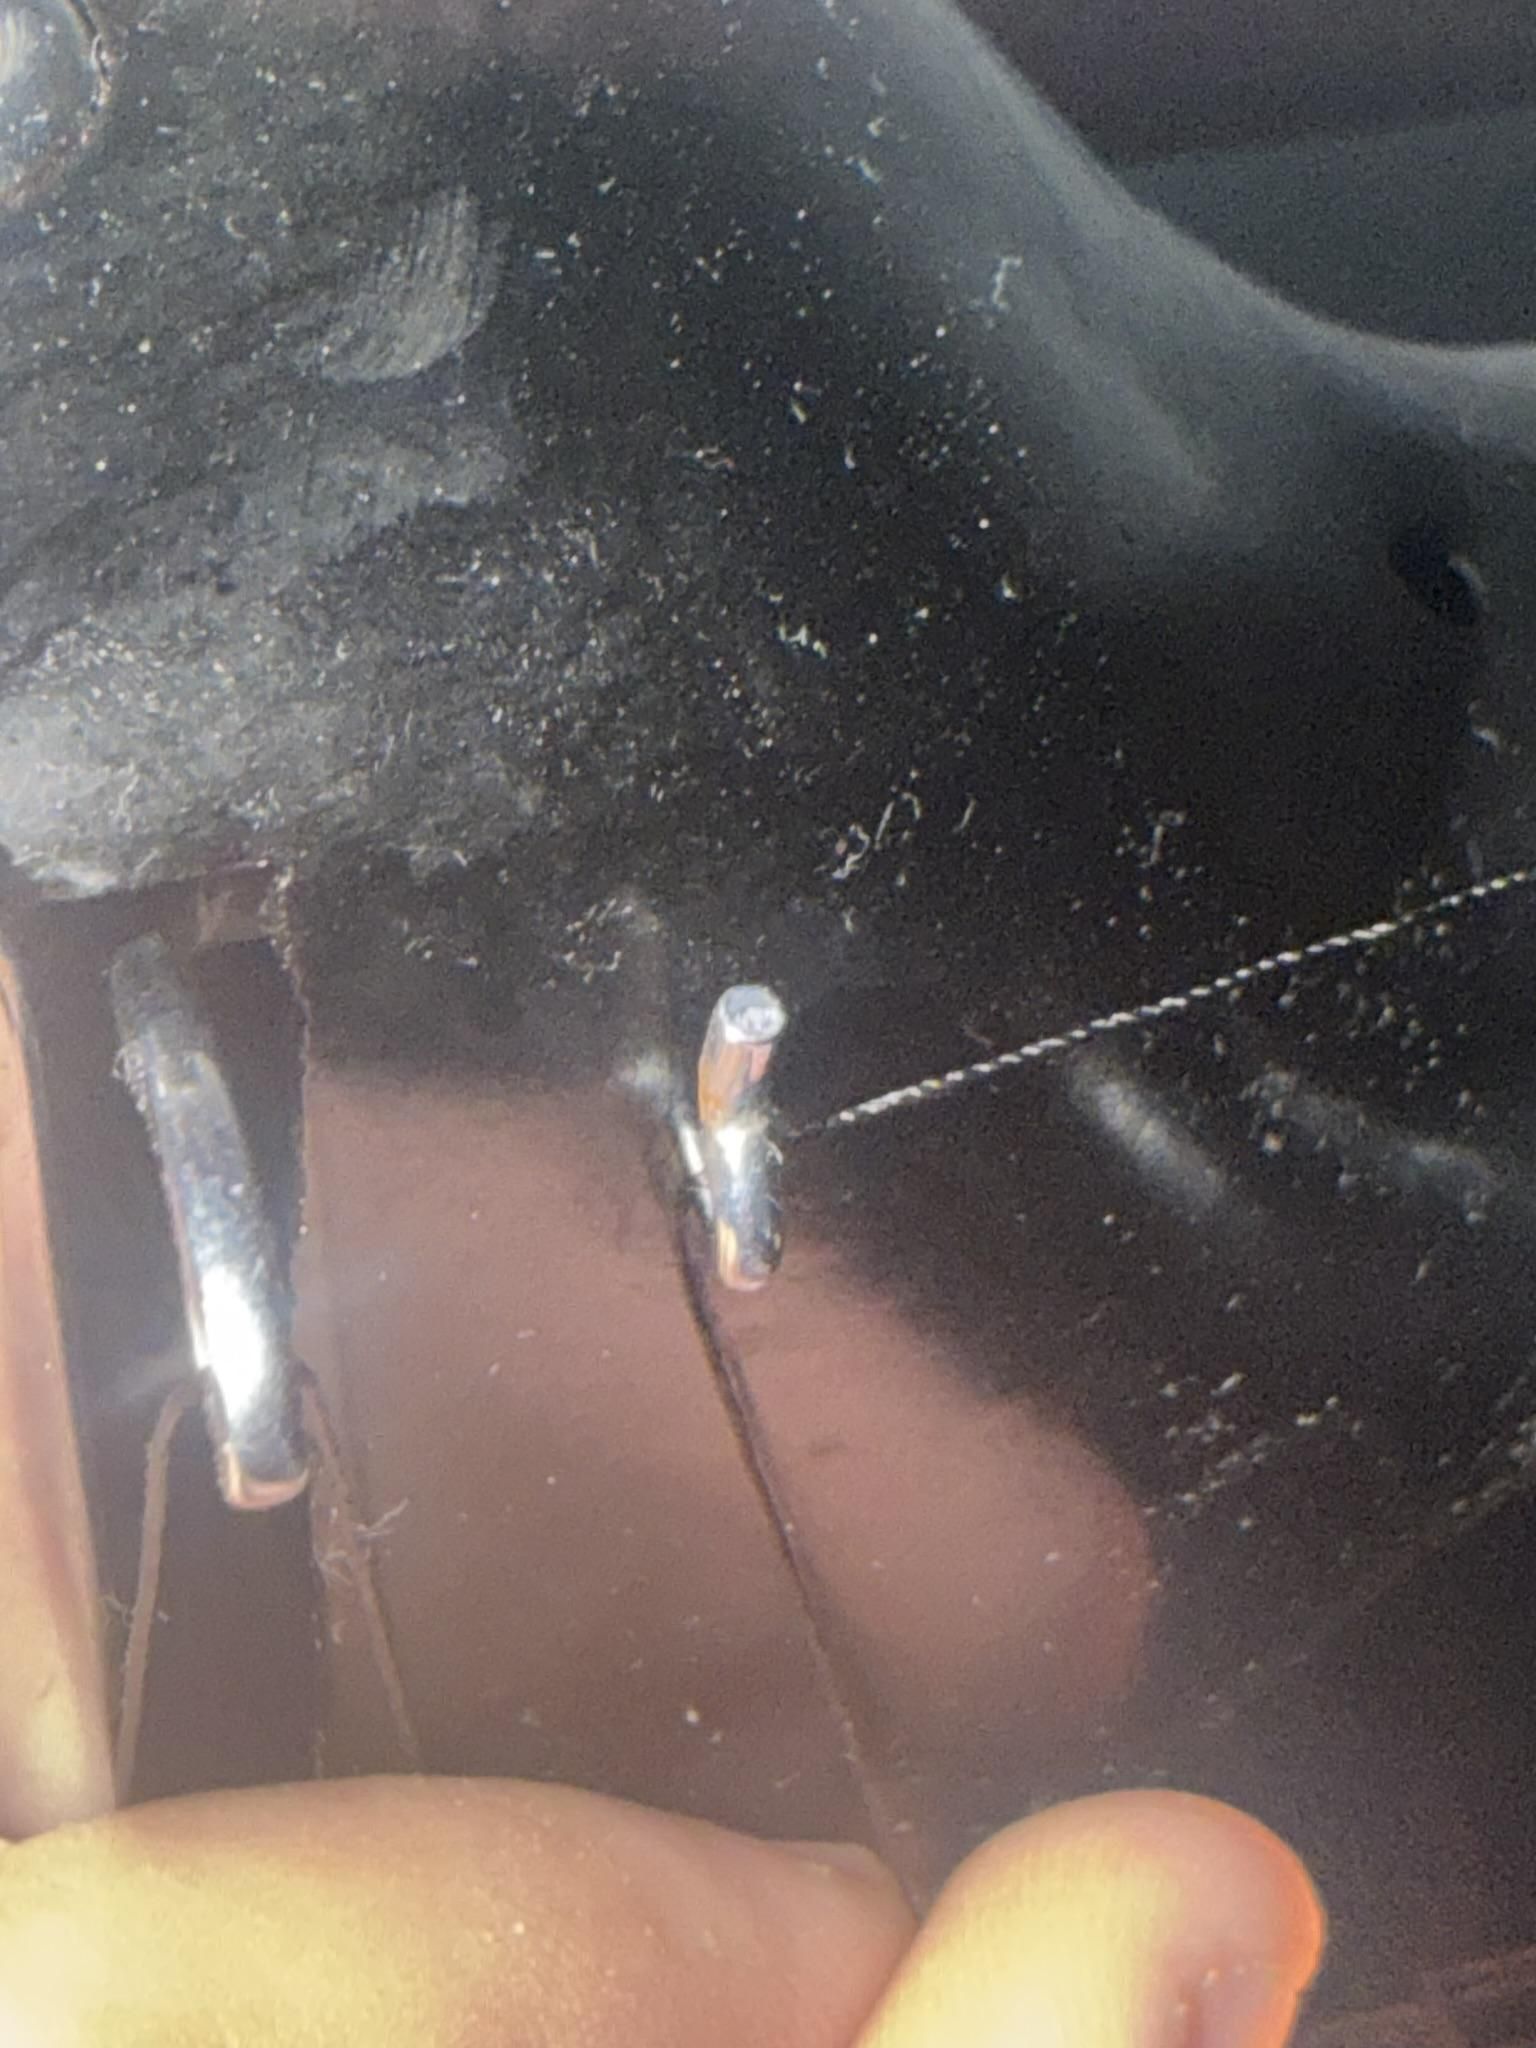
Pull the thread from the spool and pass it through the first thread guide at the top of
the machine. This starts the correct thread path.
Pull the Thread Down Through the Tension Area
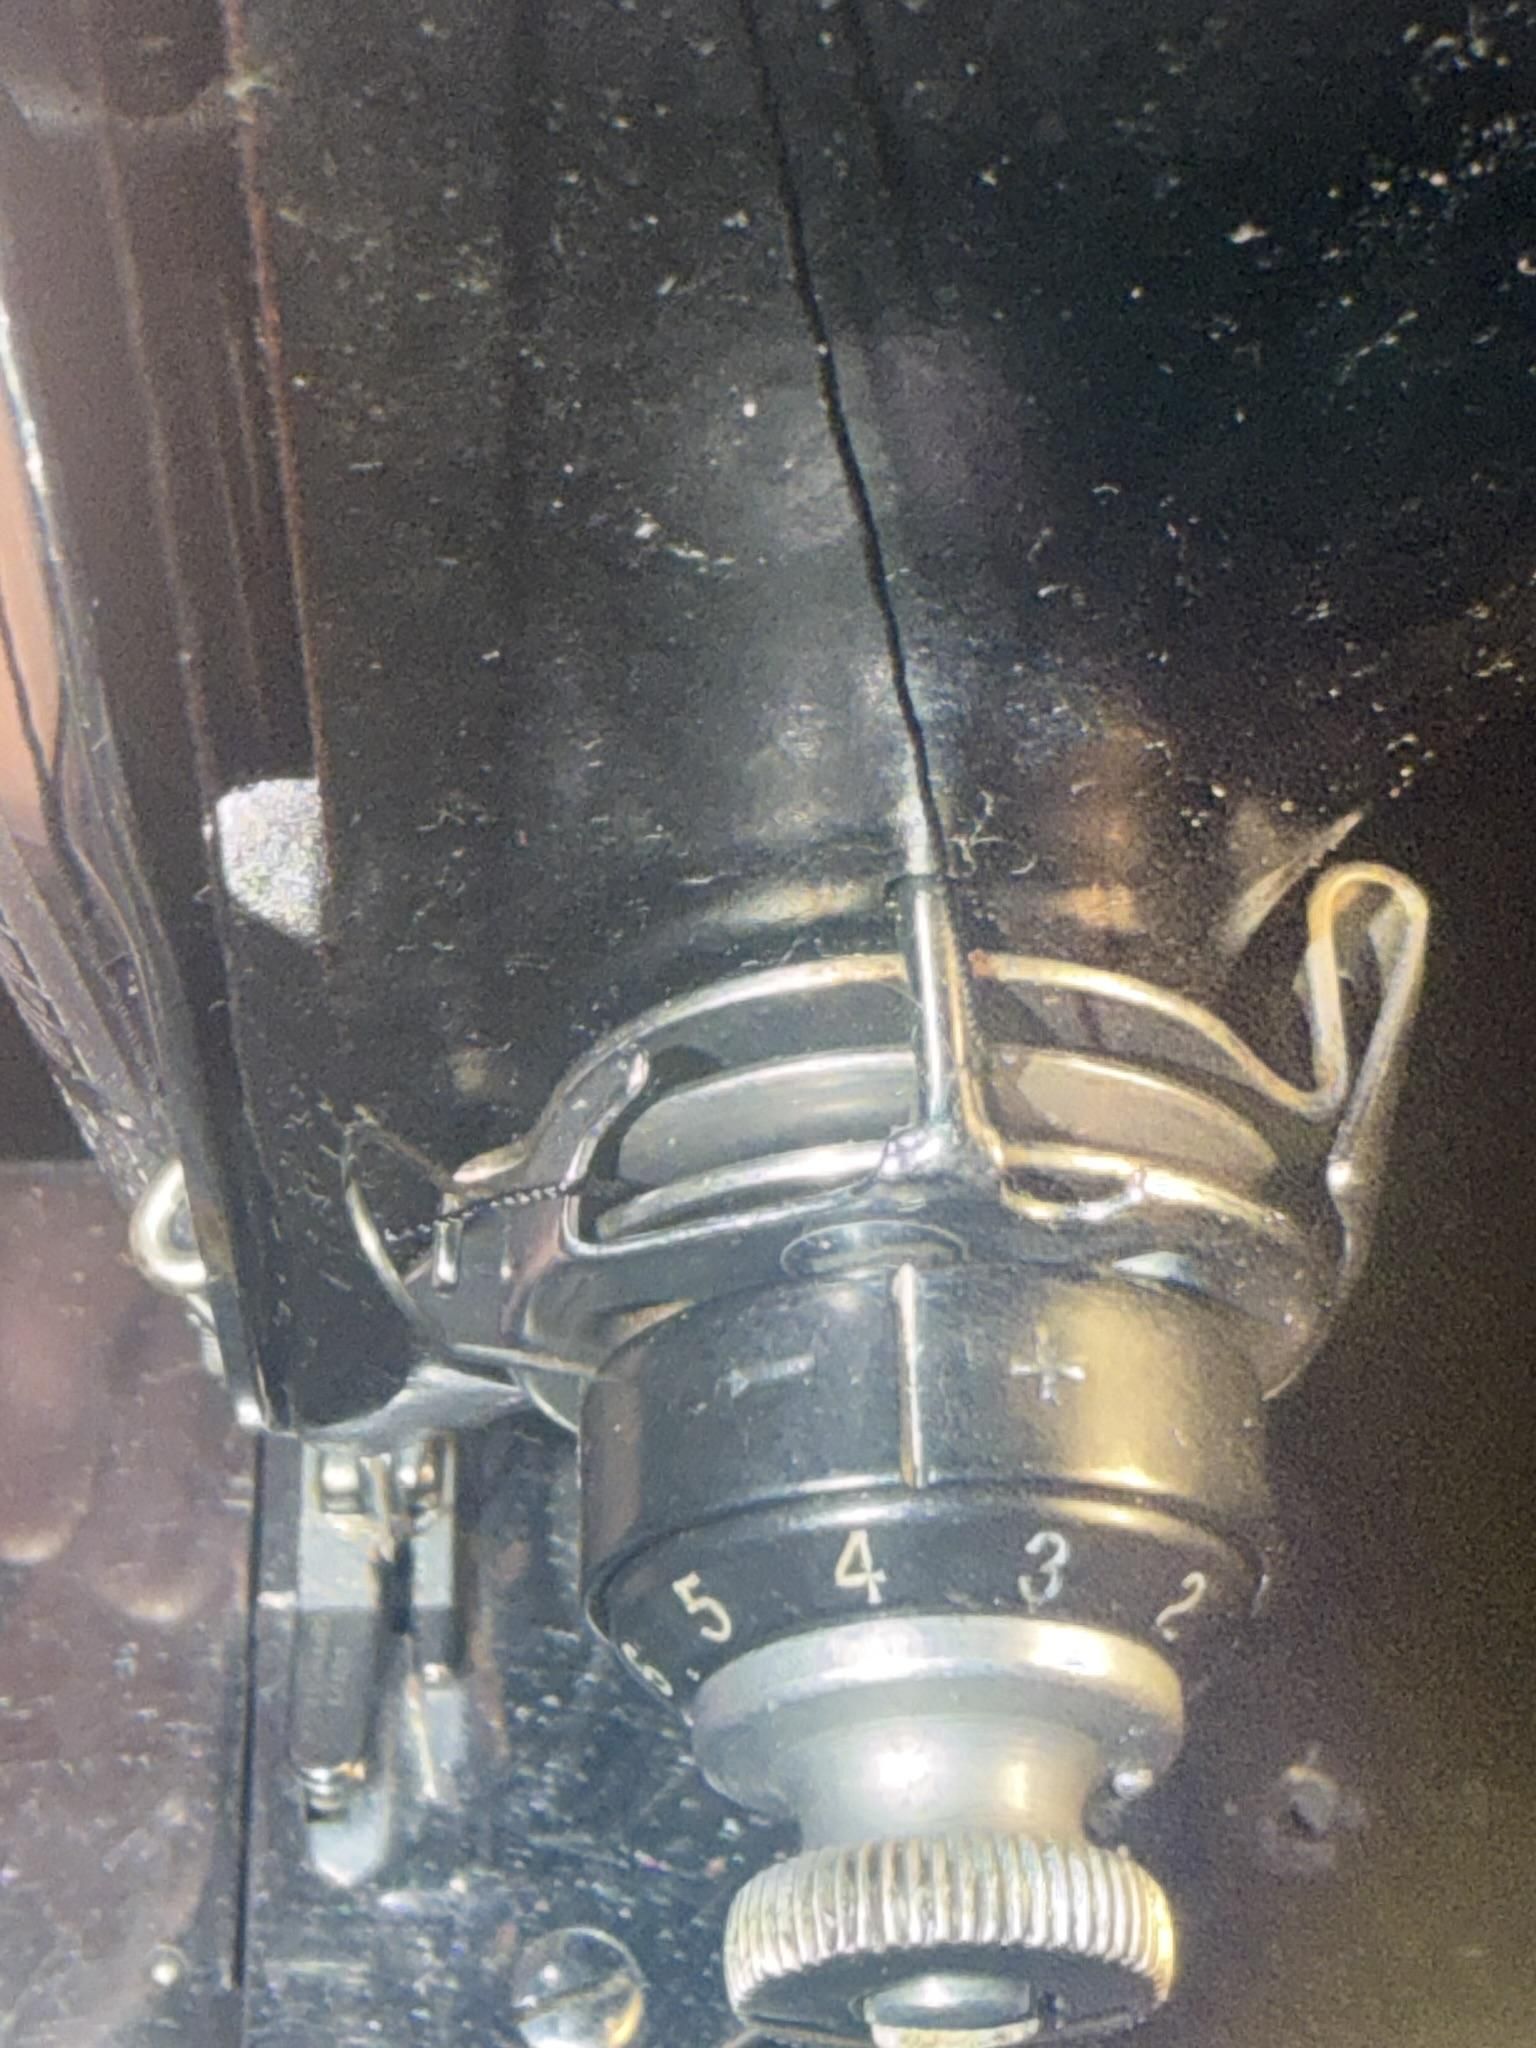
Guide the thread down the front of the machine and through the tension area. This
helps control how tightly the thread moves while sewing.
Loop the Thread Through the Take-Up Lever
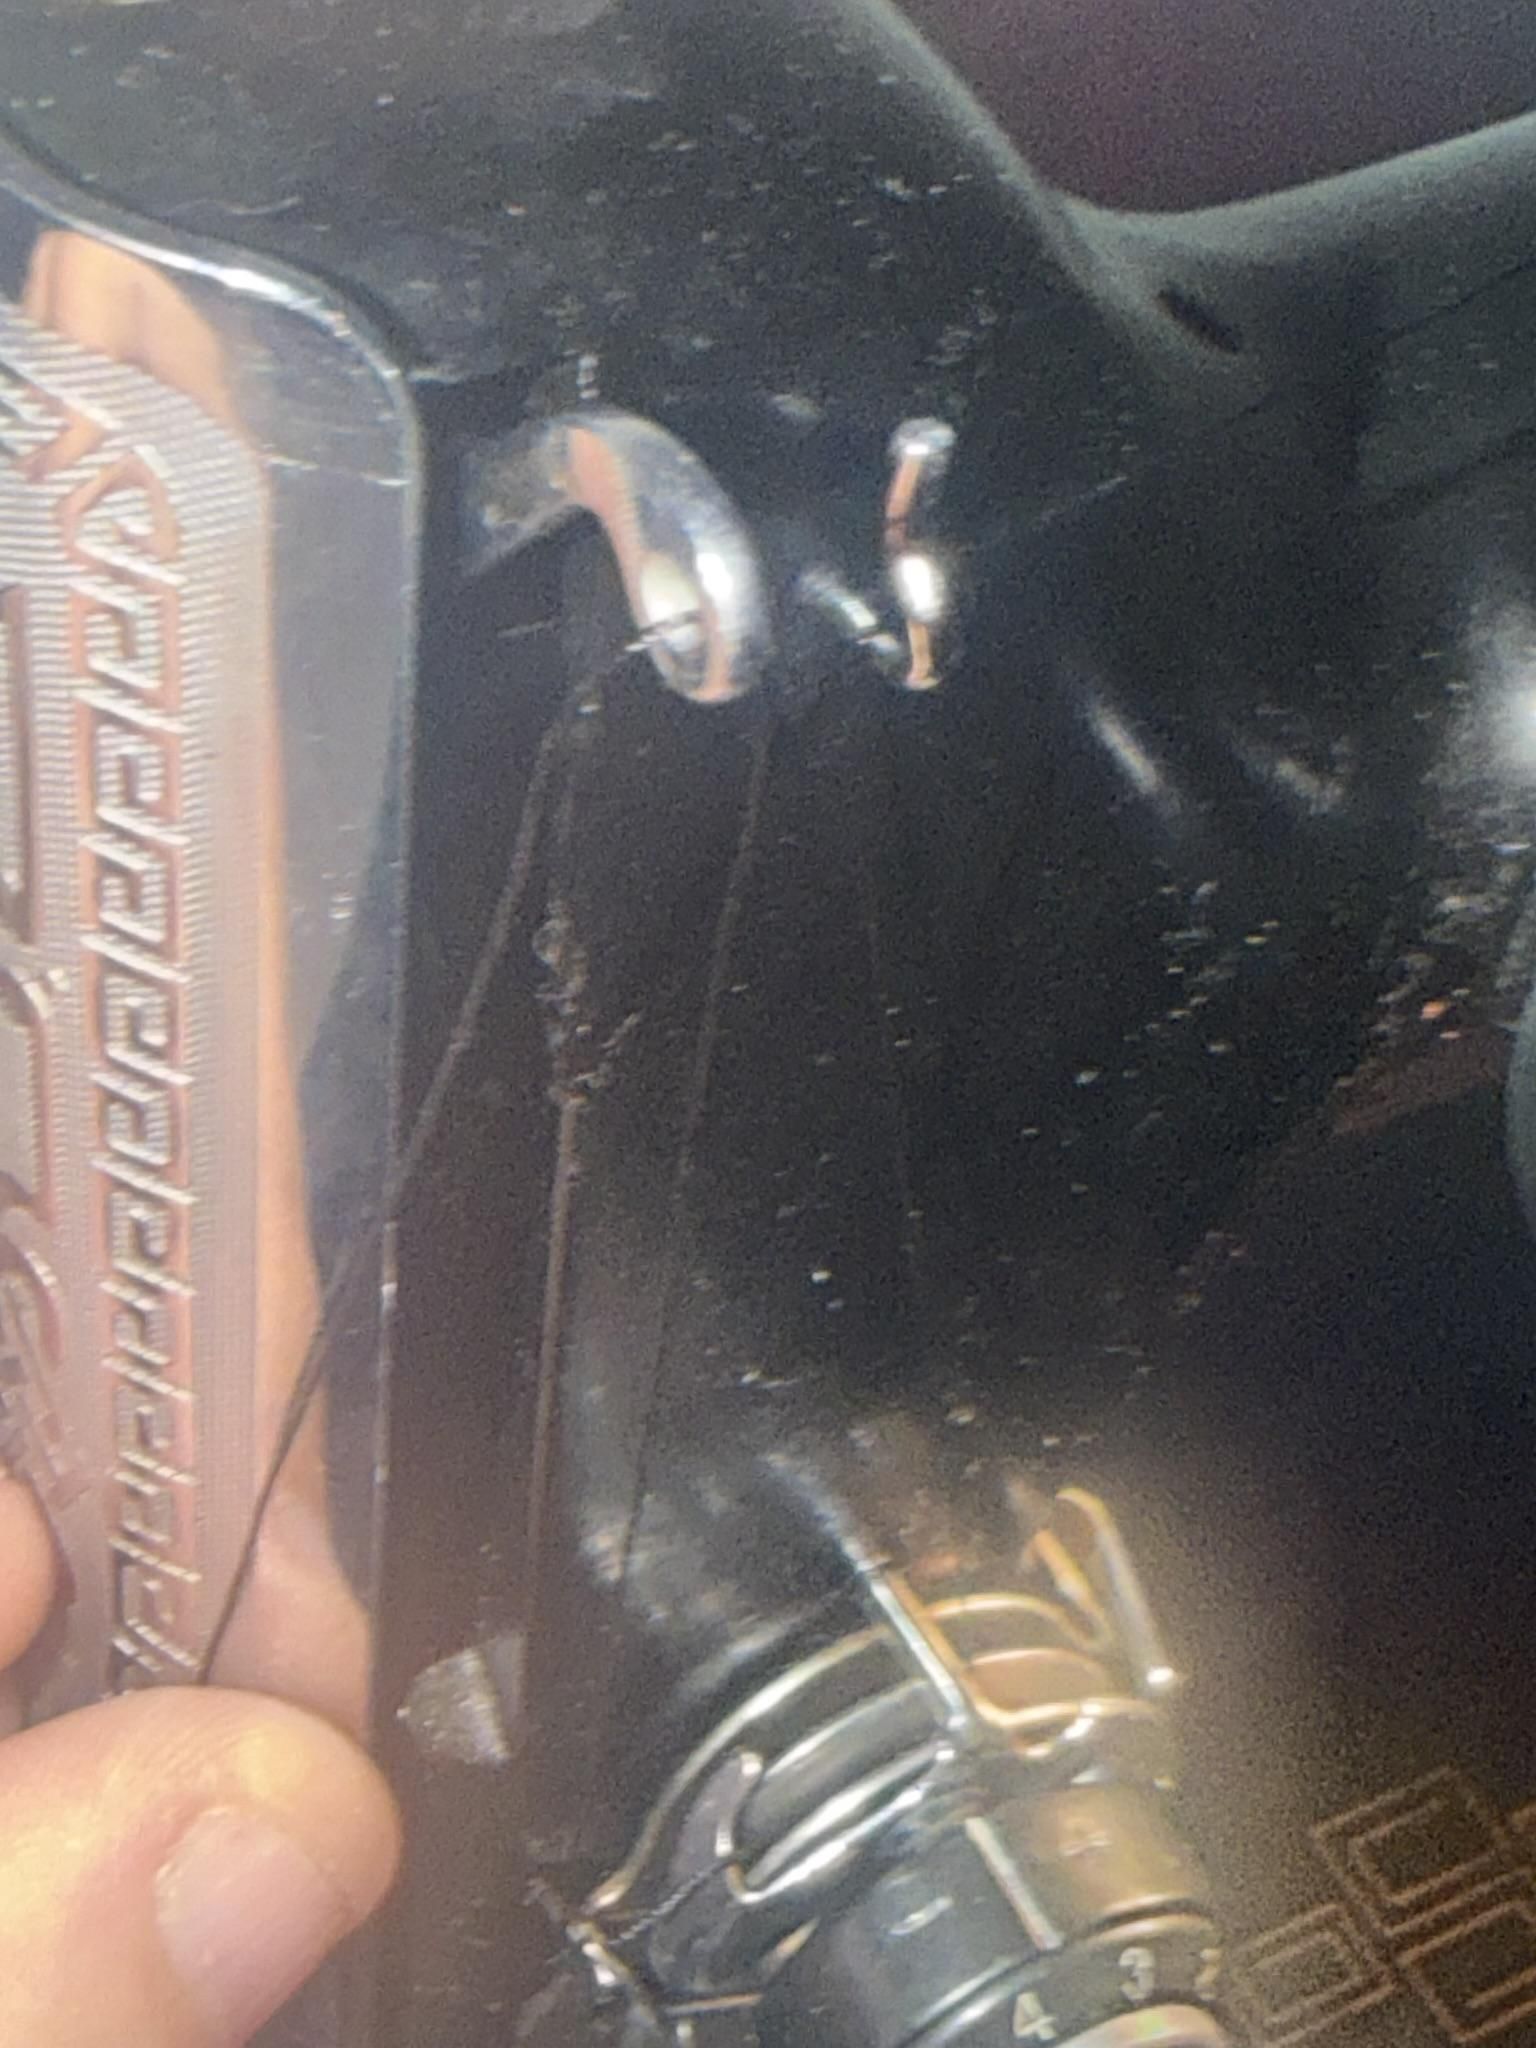
Bring the thread back up and pass it through the take-up lever. This step is important
because the take-up lever helps form even stitches.
Bring the Thread Down Toward the Needle
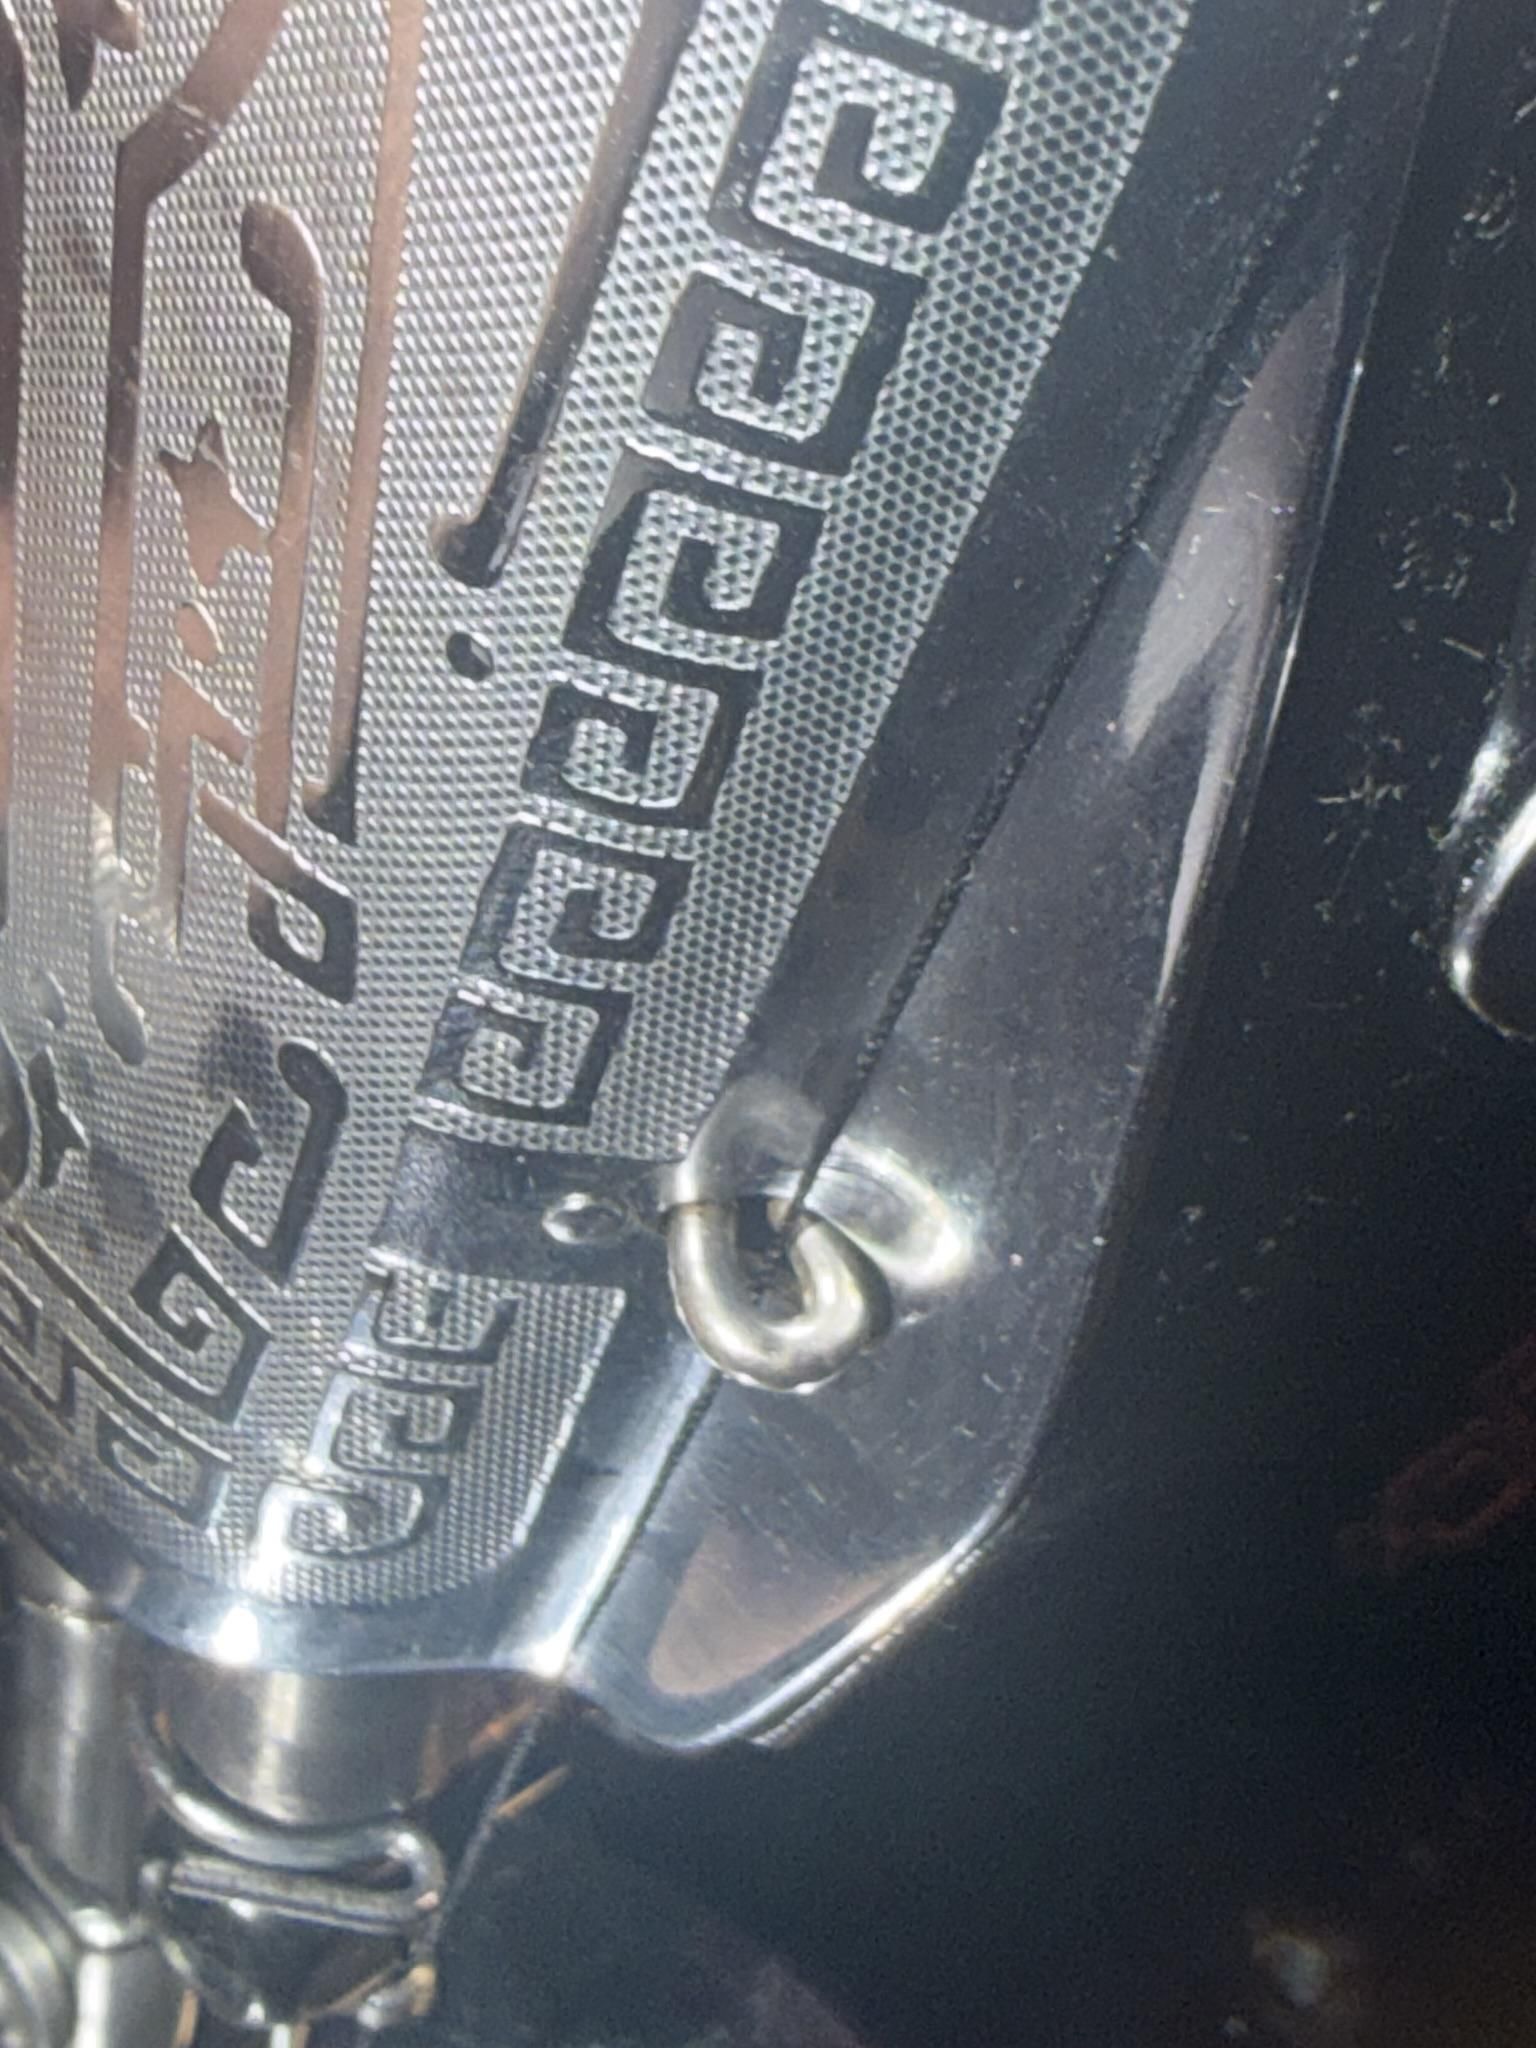
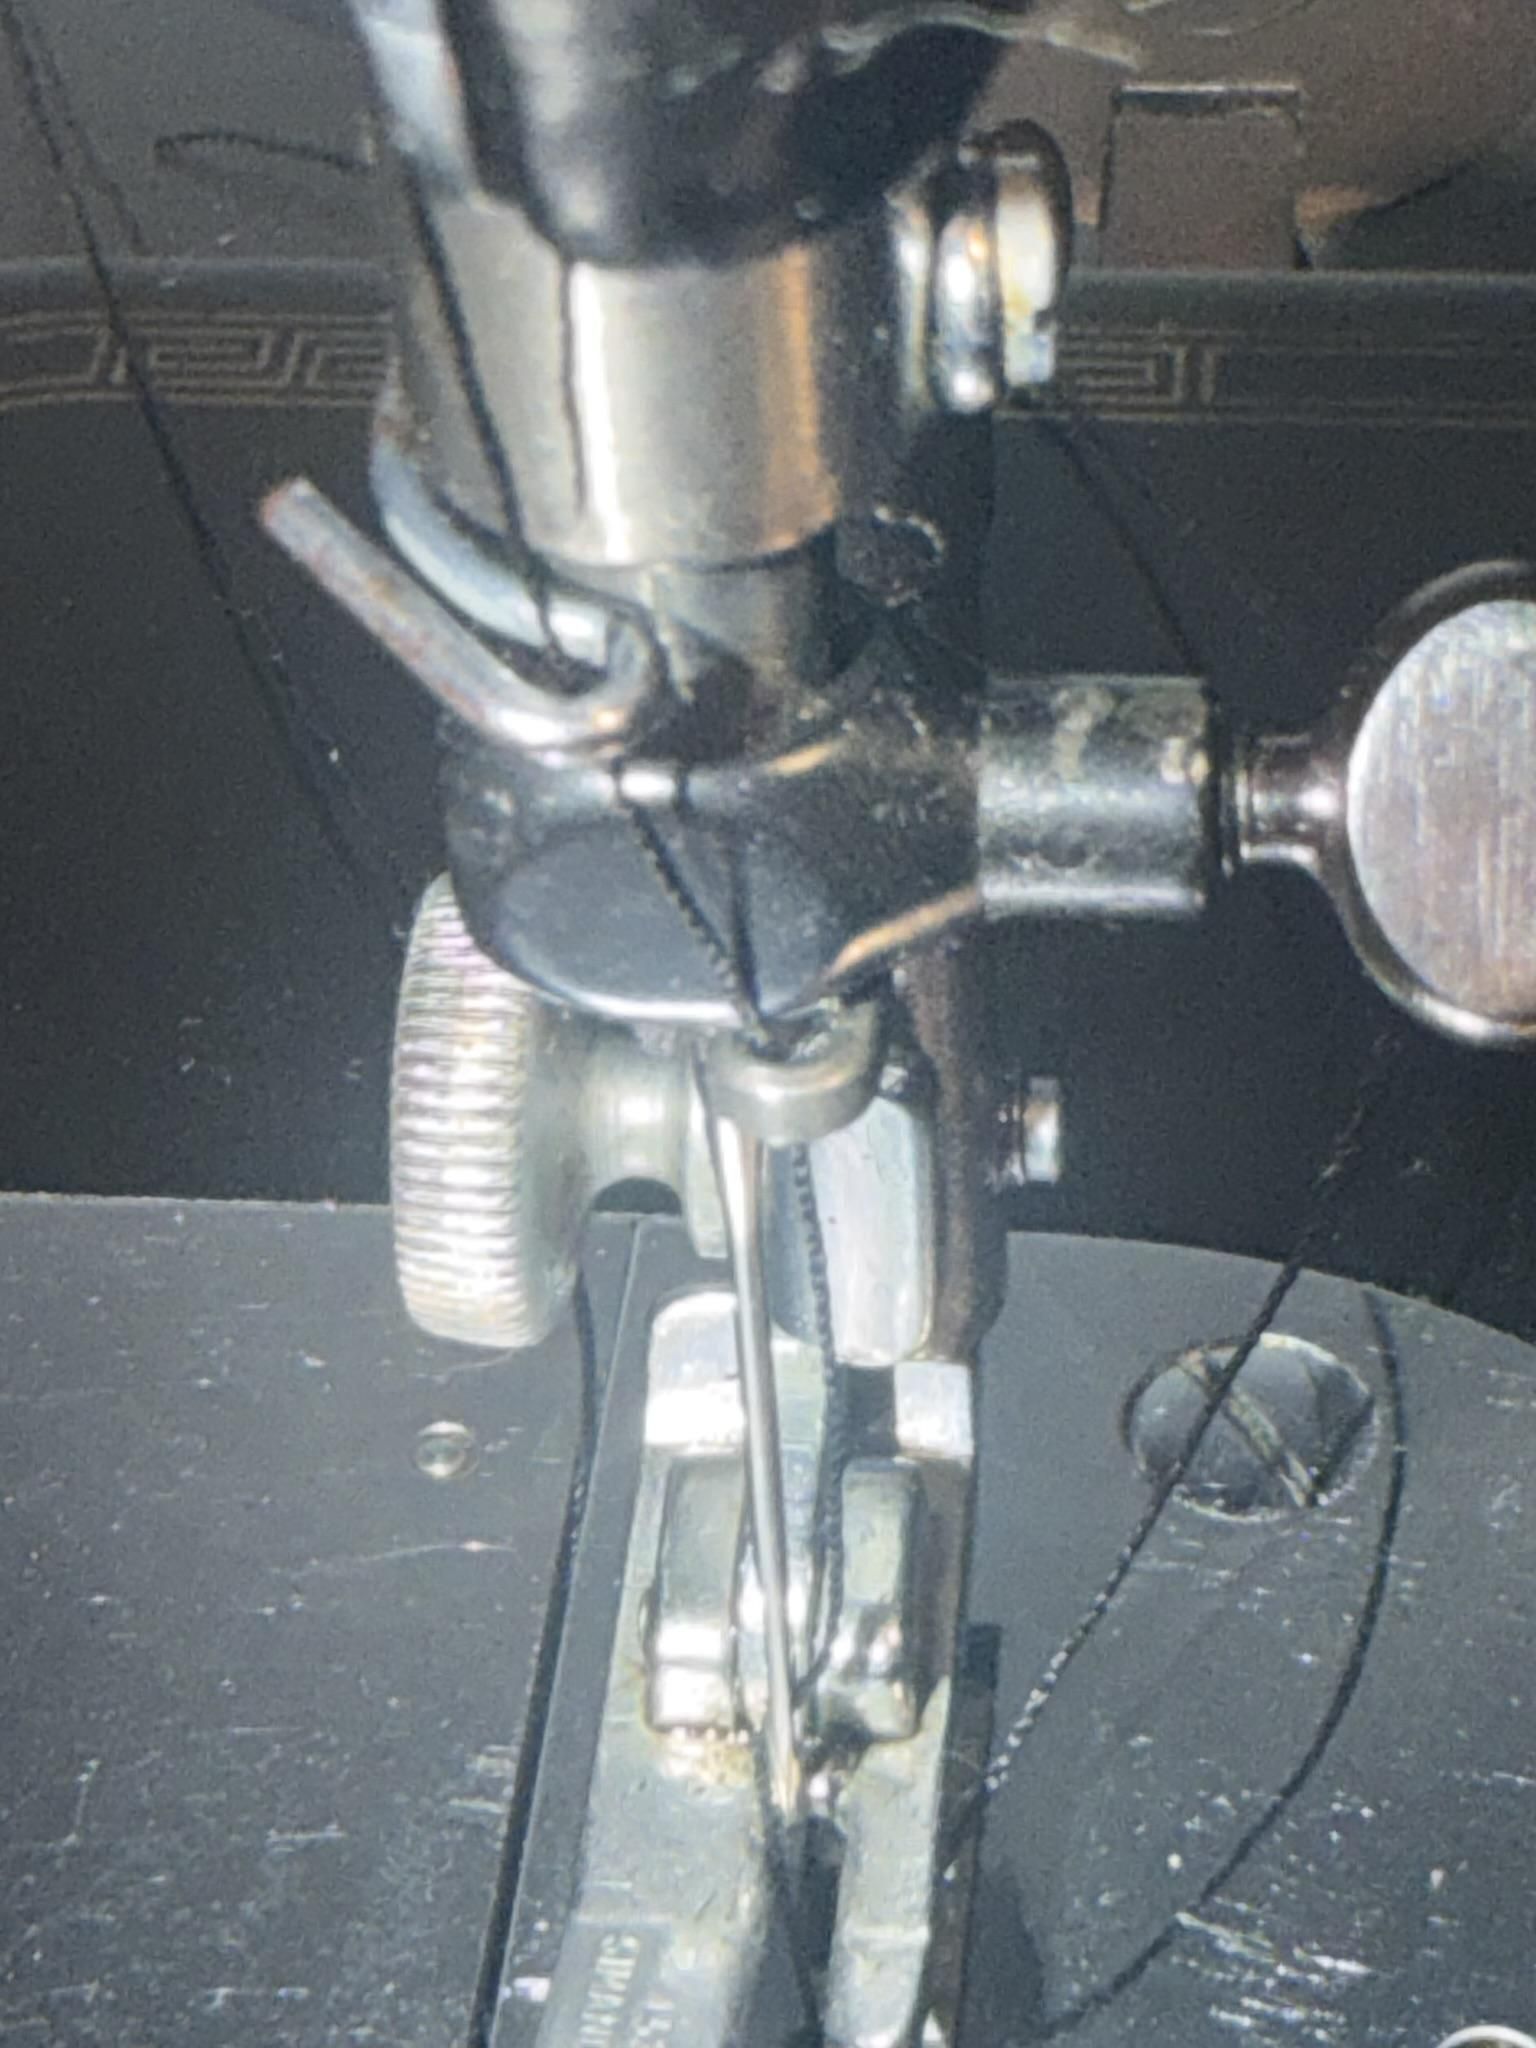
Pull the thread back down toward the needle and pass it through any lower thread
guides near the needle area.
Thread the Needle
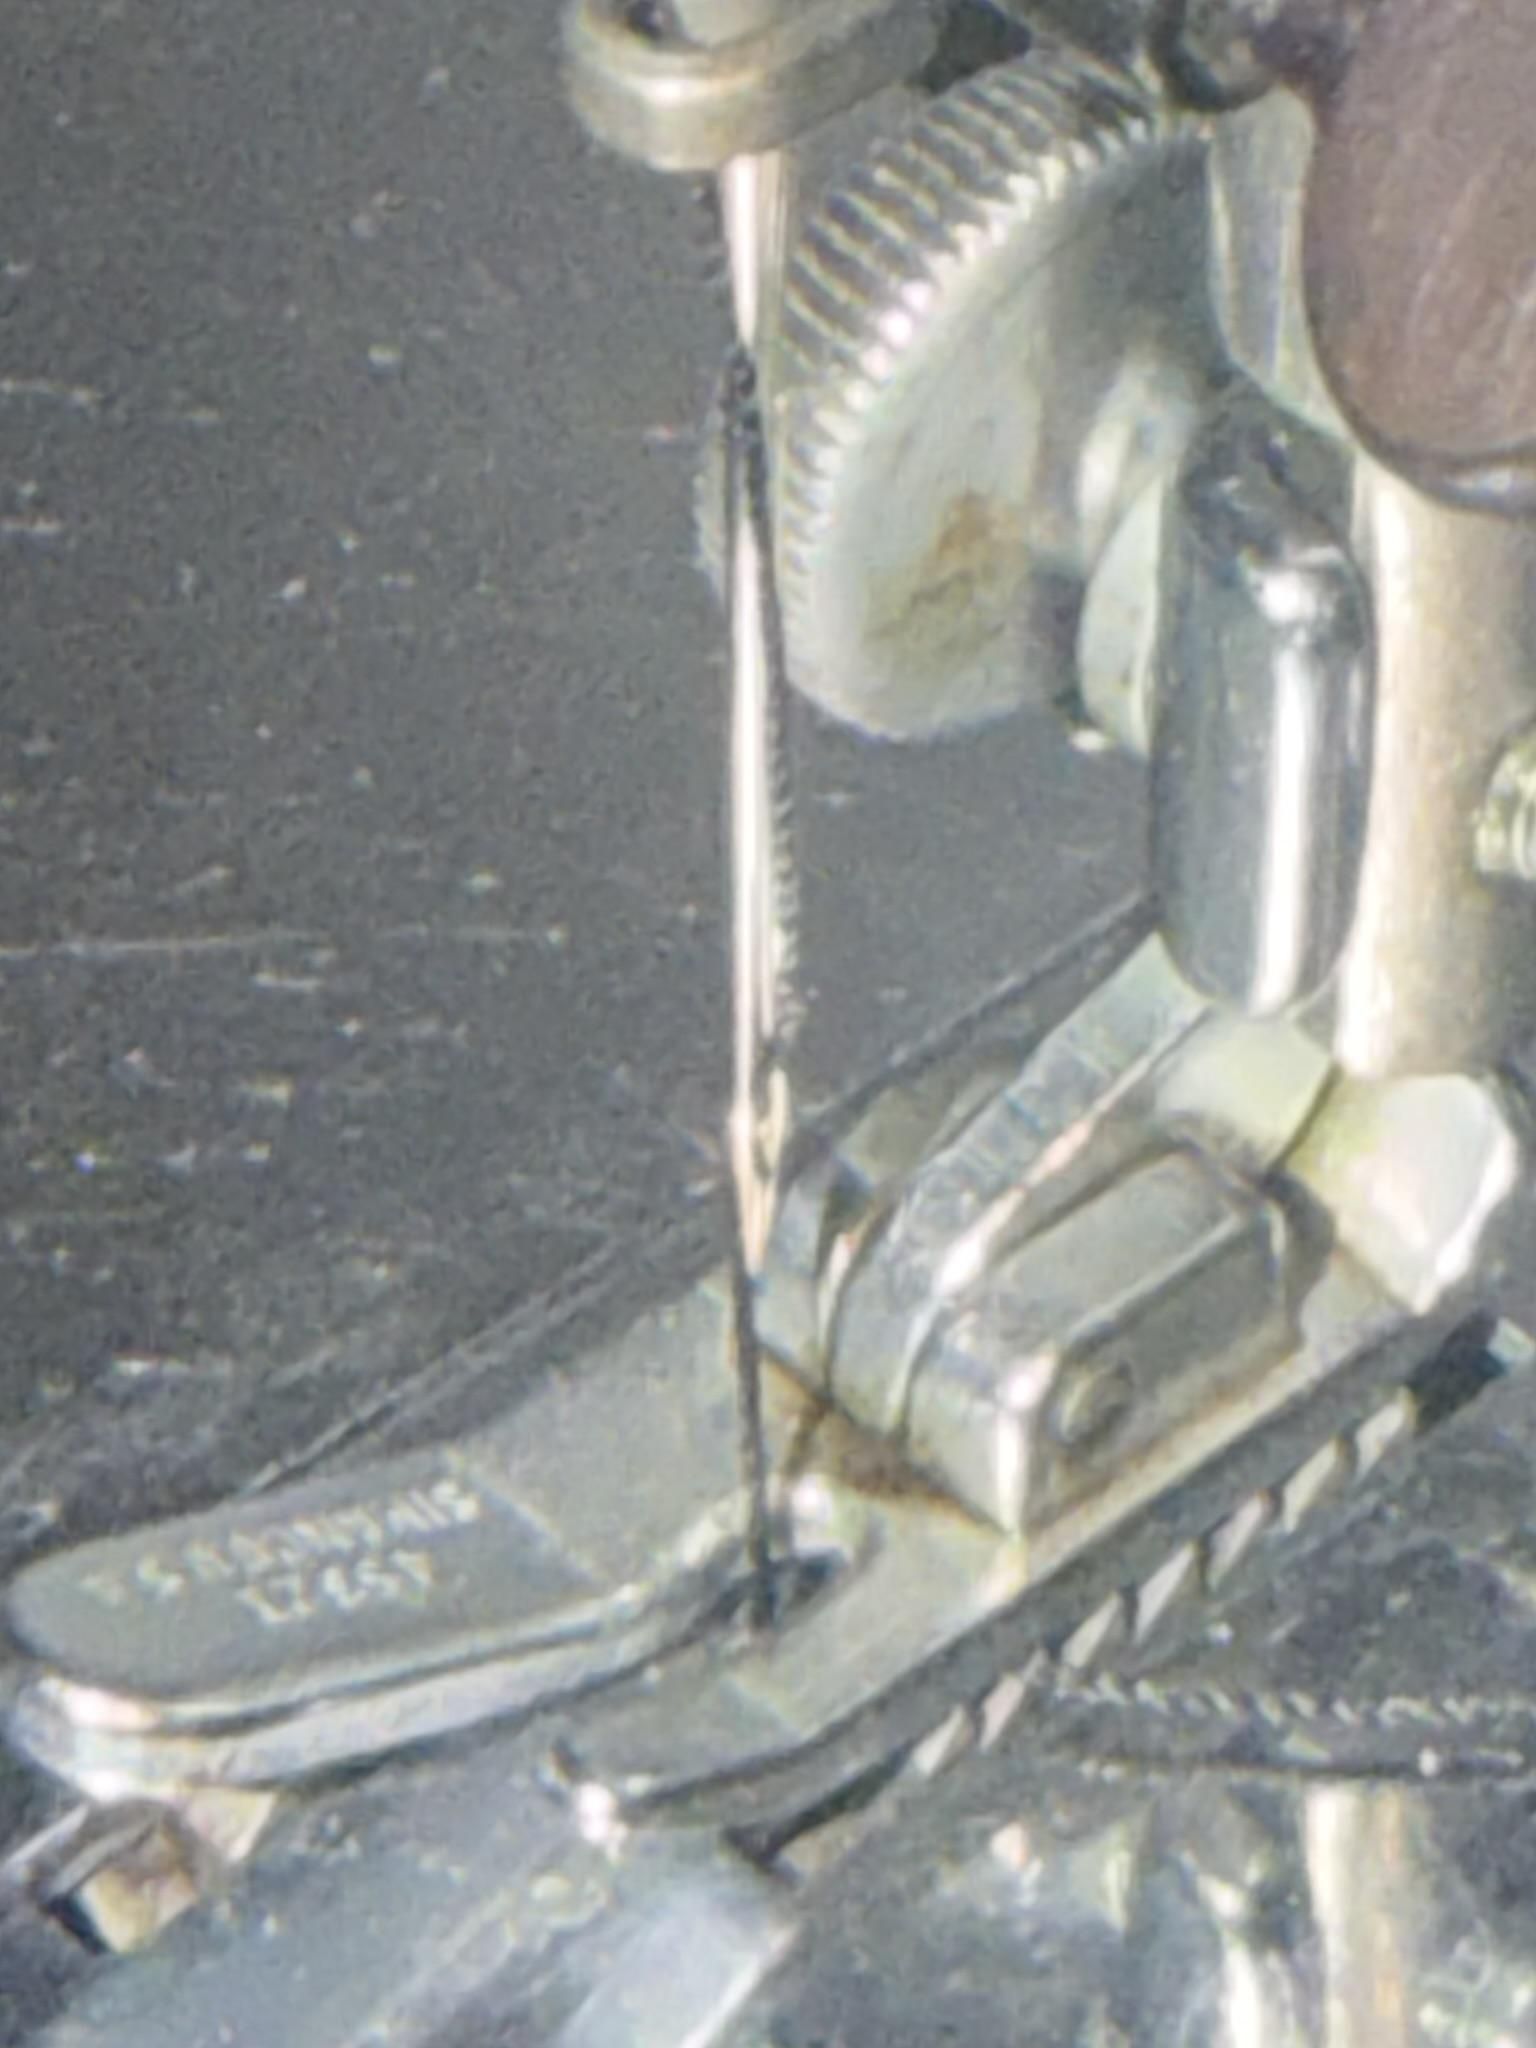
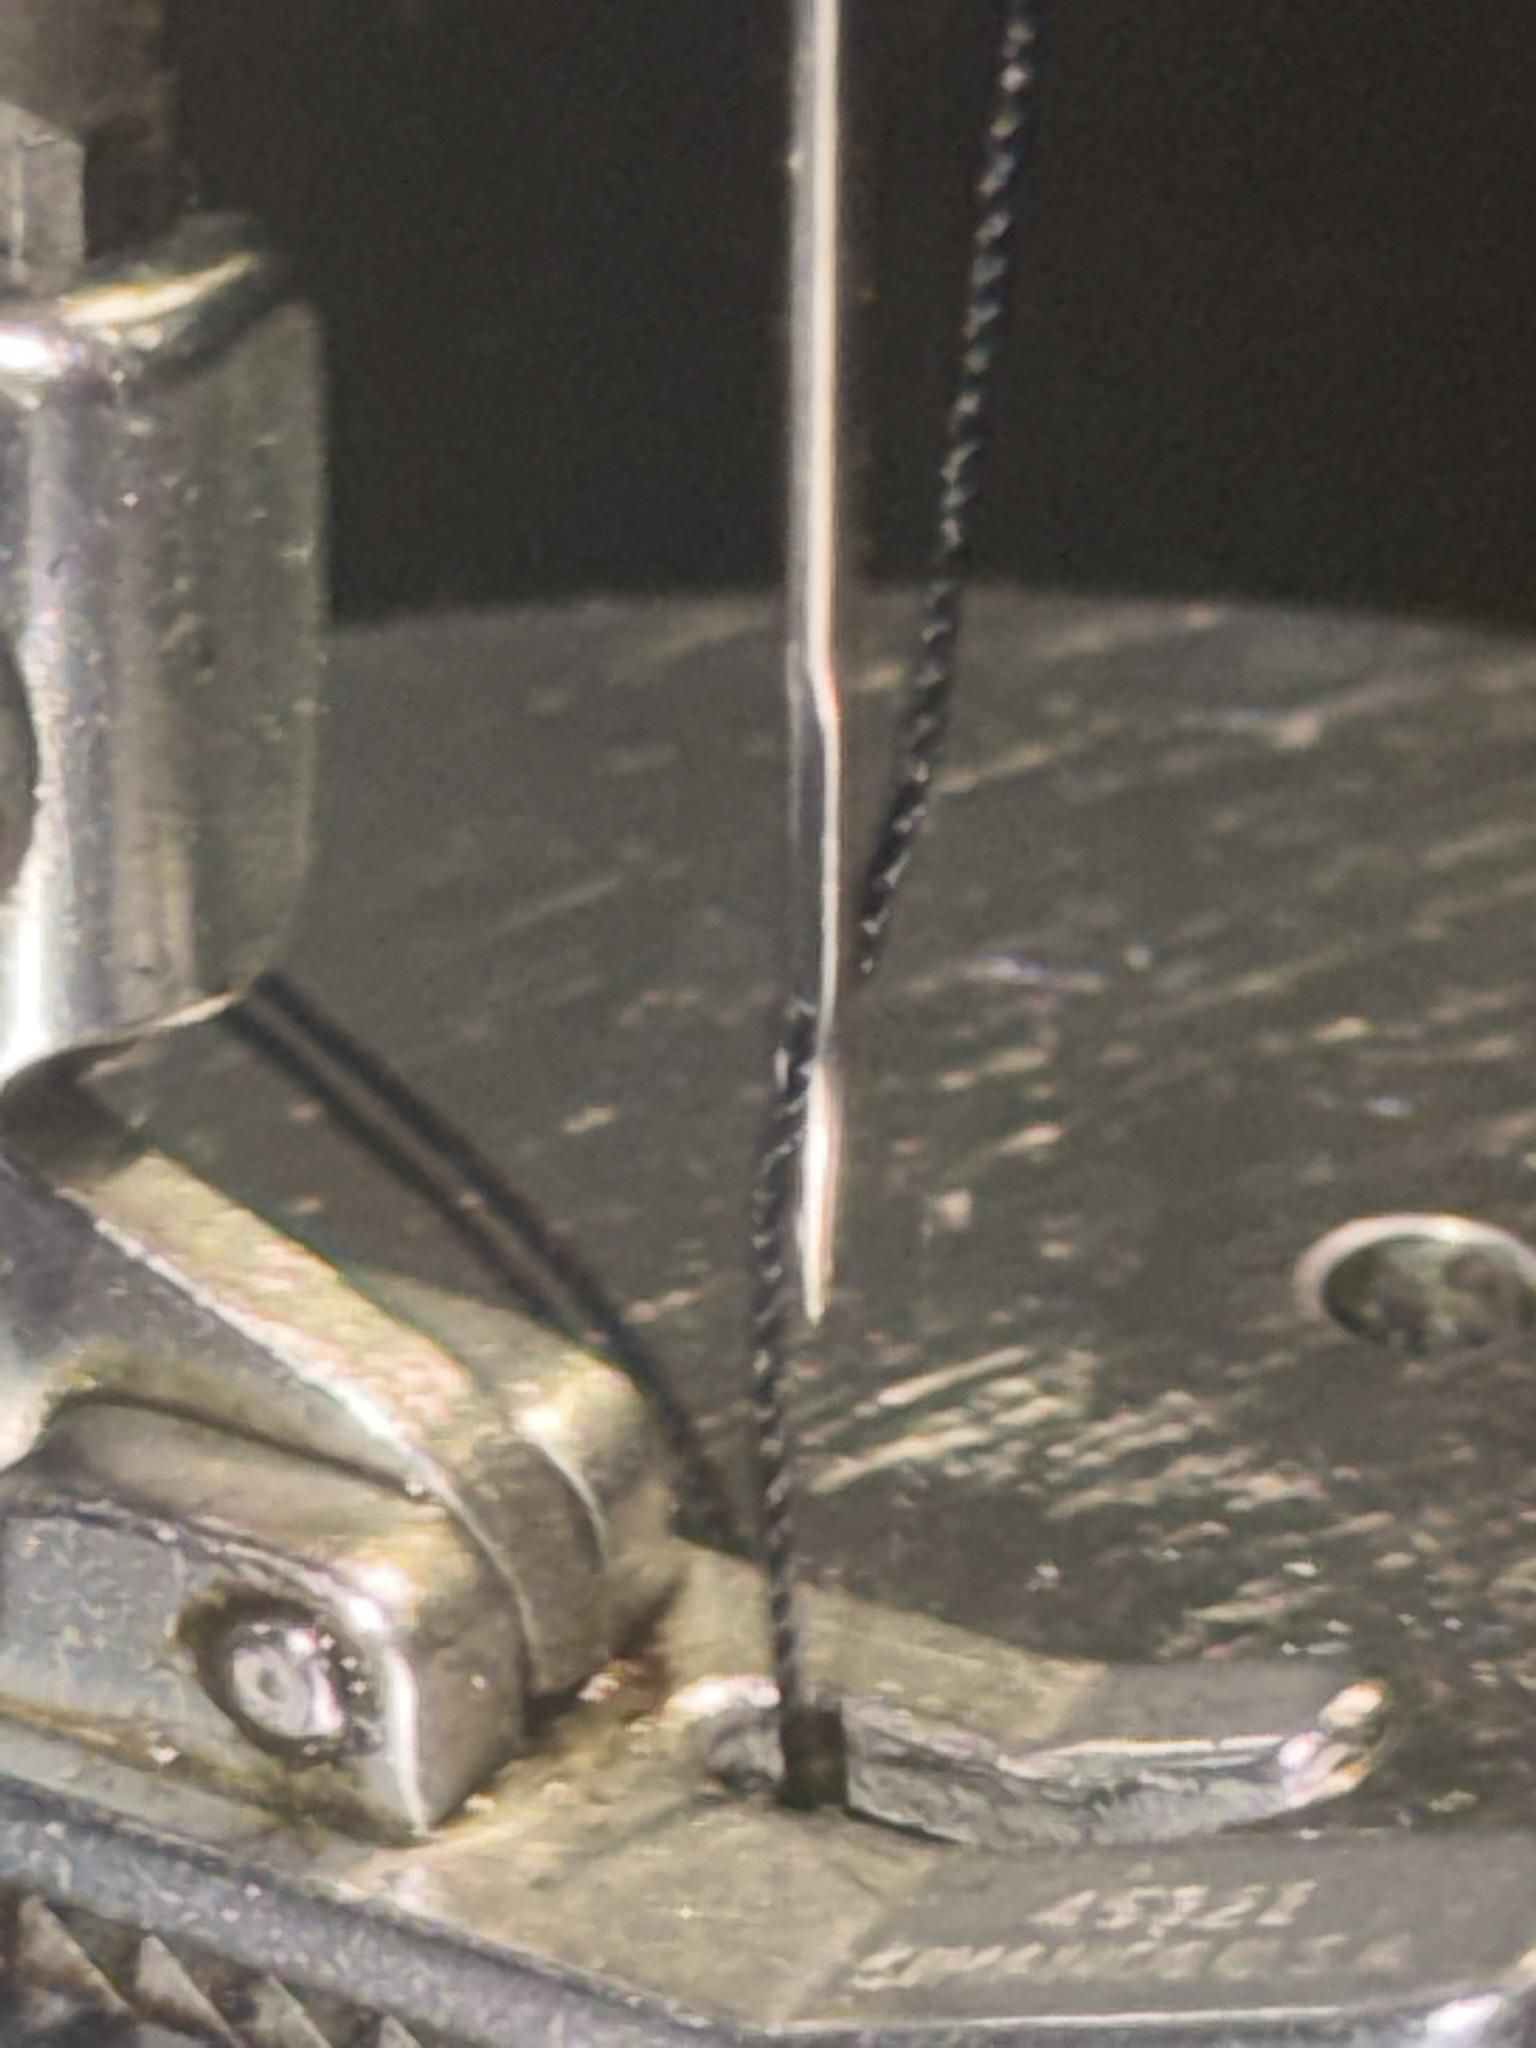
Pass the thread through the eye of the needle, usually from front to back, depending
on the machine model.
Pull several inches of thread behind the needle.
Insert the Bobbin
.JPEG)
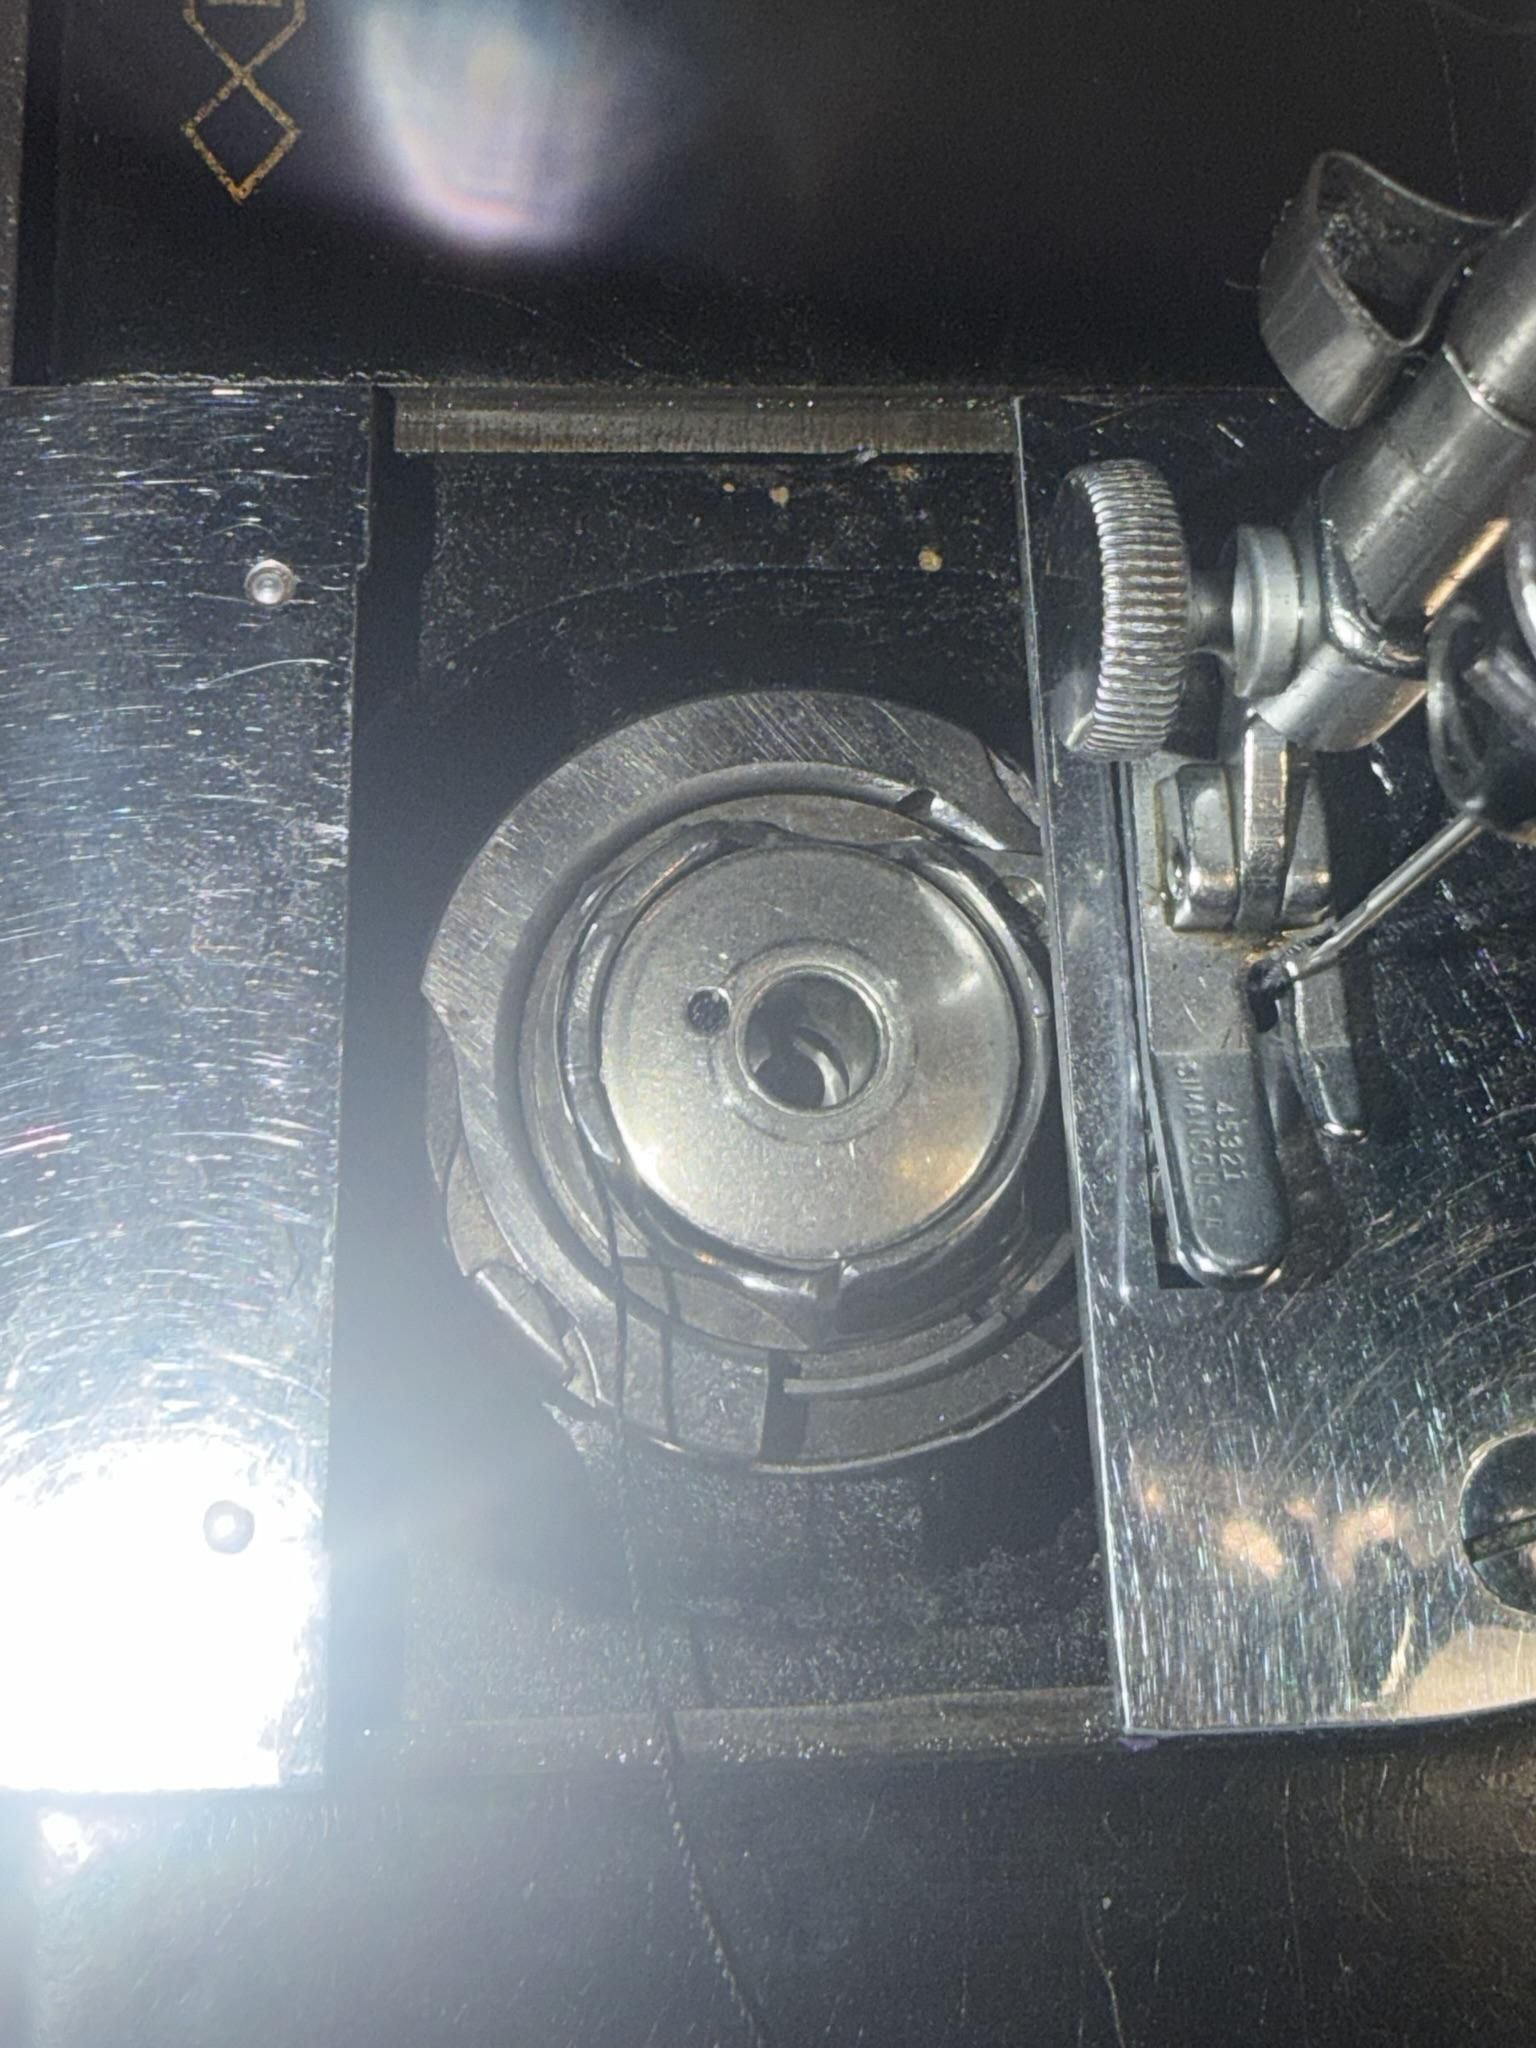
Place the wound bobbin into the bobbin case or bobbin holder. Make sure
the bobbin is facing the correct direction (bobbin will look like a P).
Pull Up the Bobbin Thread
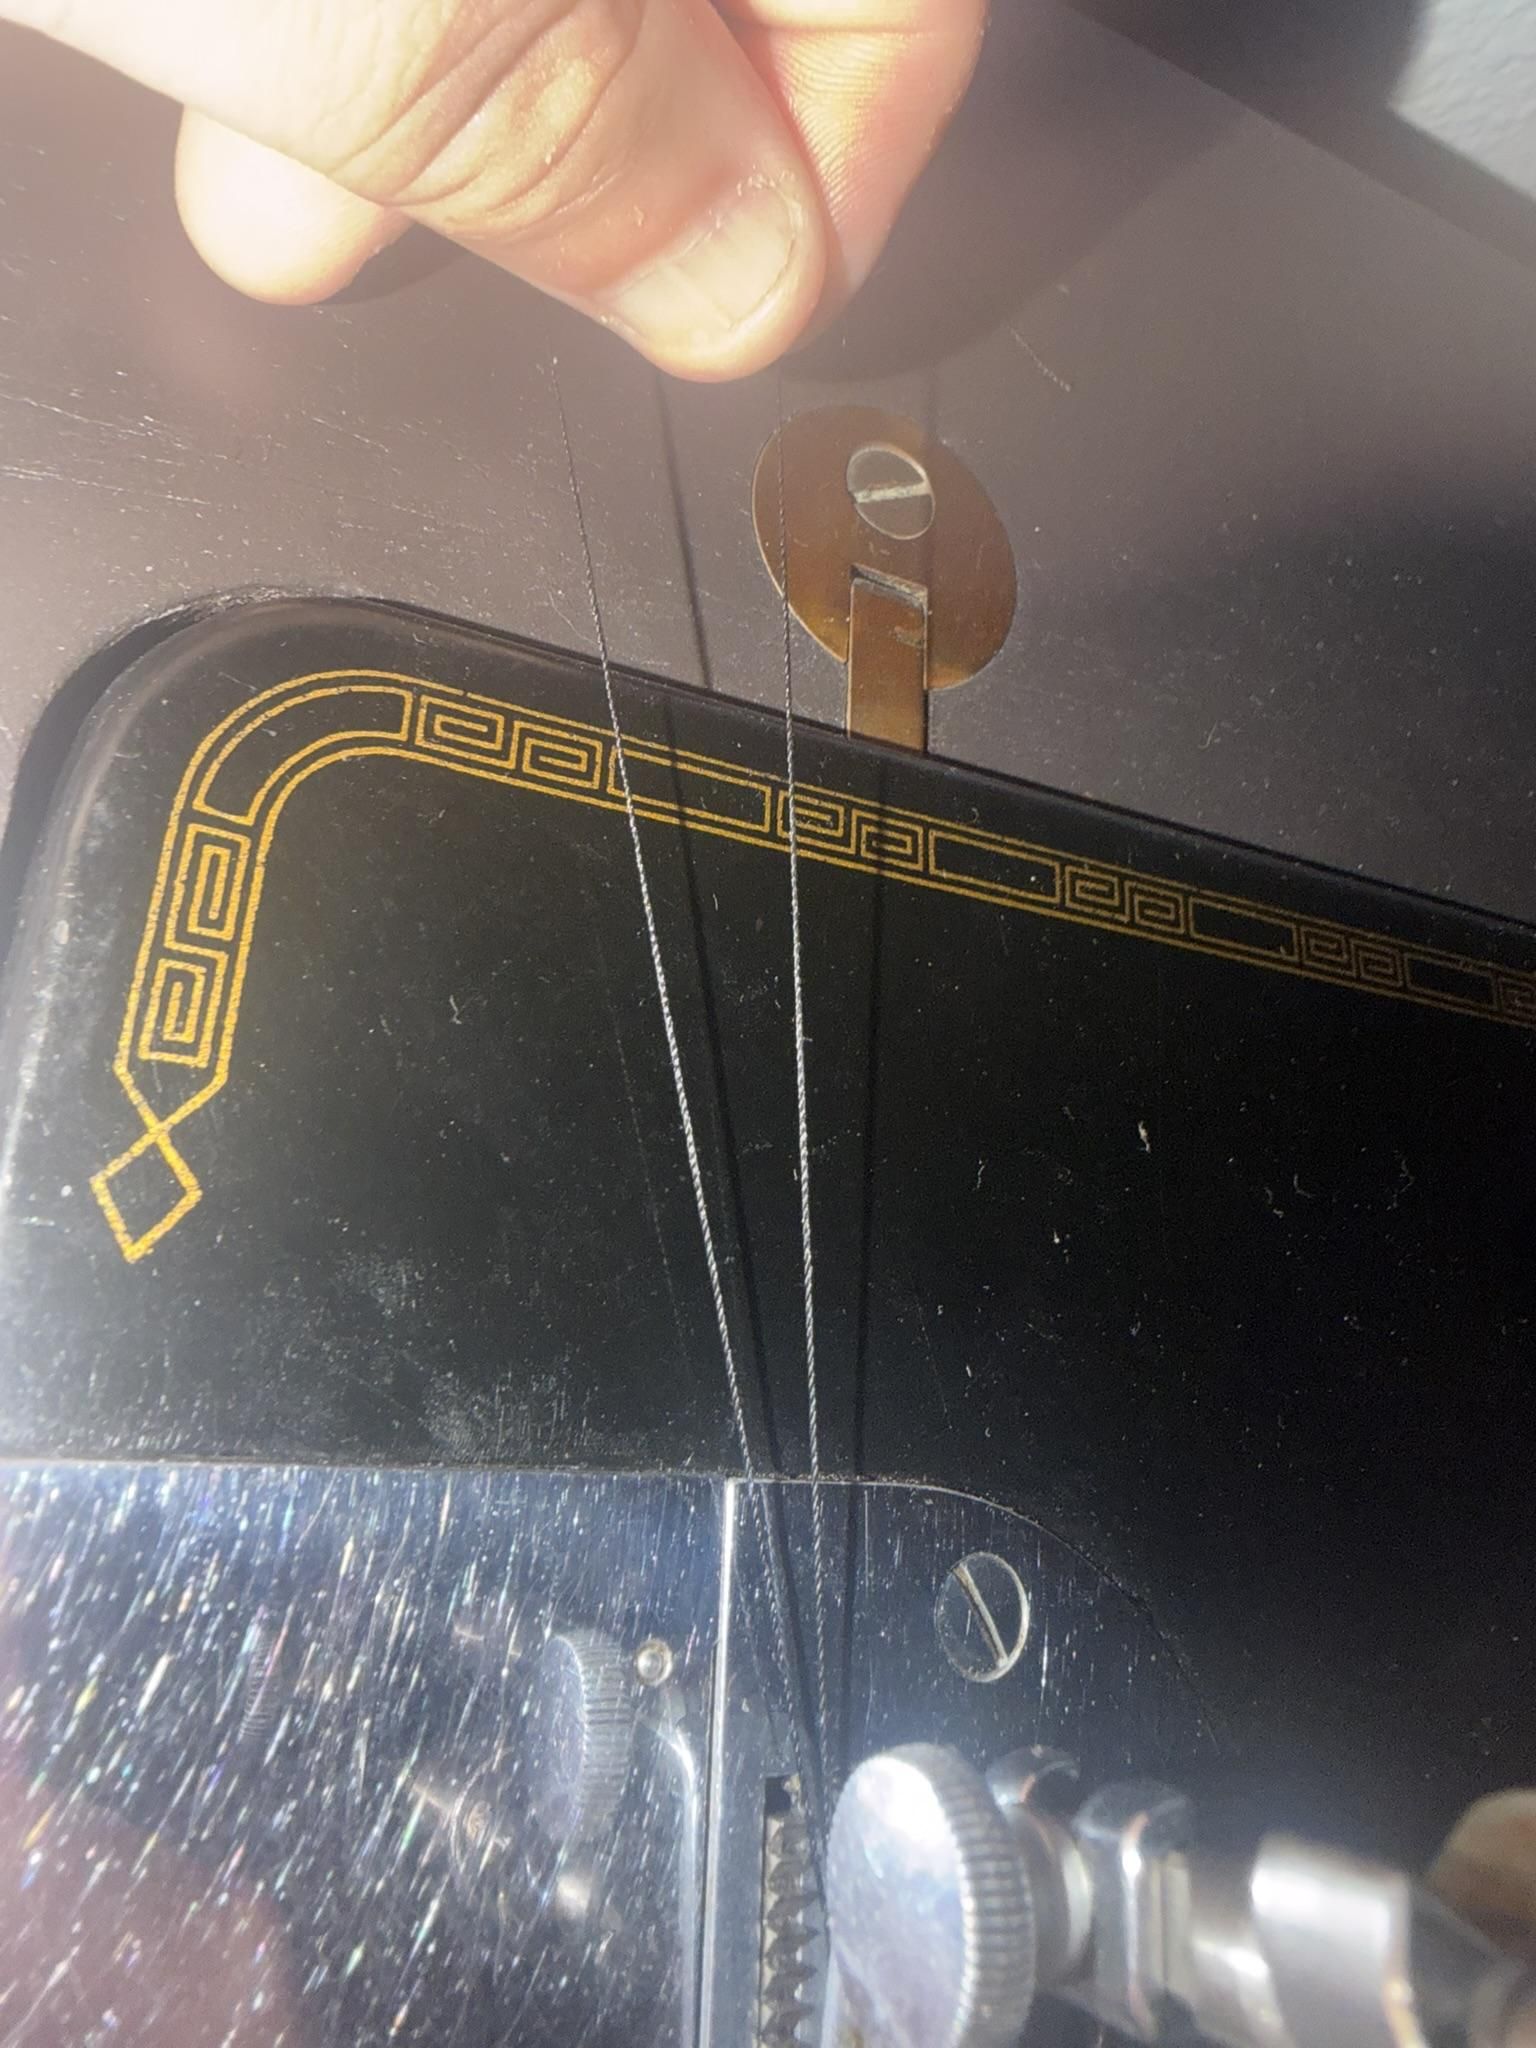
Hold the upper thread and gently turn the handwheel toward themselves. The
needle will move down and back up, catching the bobbin thread.
Pull both threads toward the back of the machine.
Test the Machine on Scrap Fabric
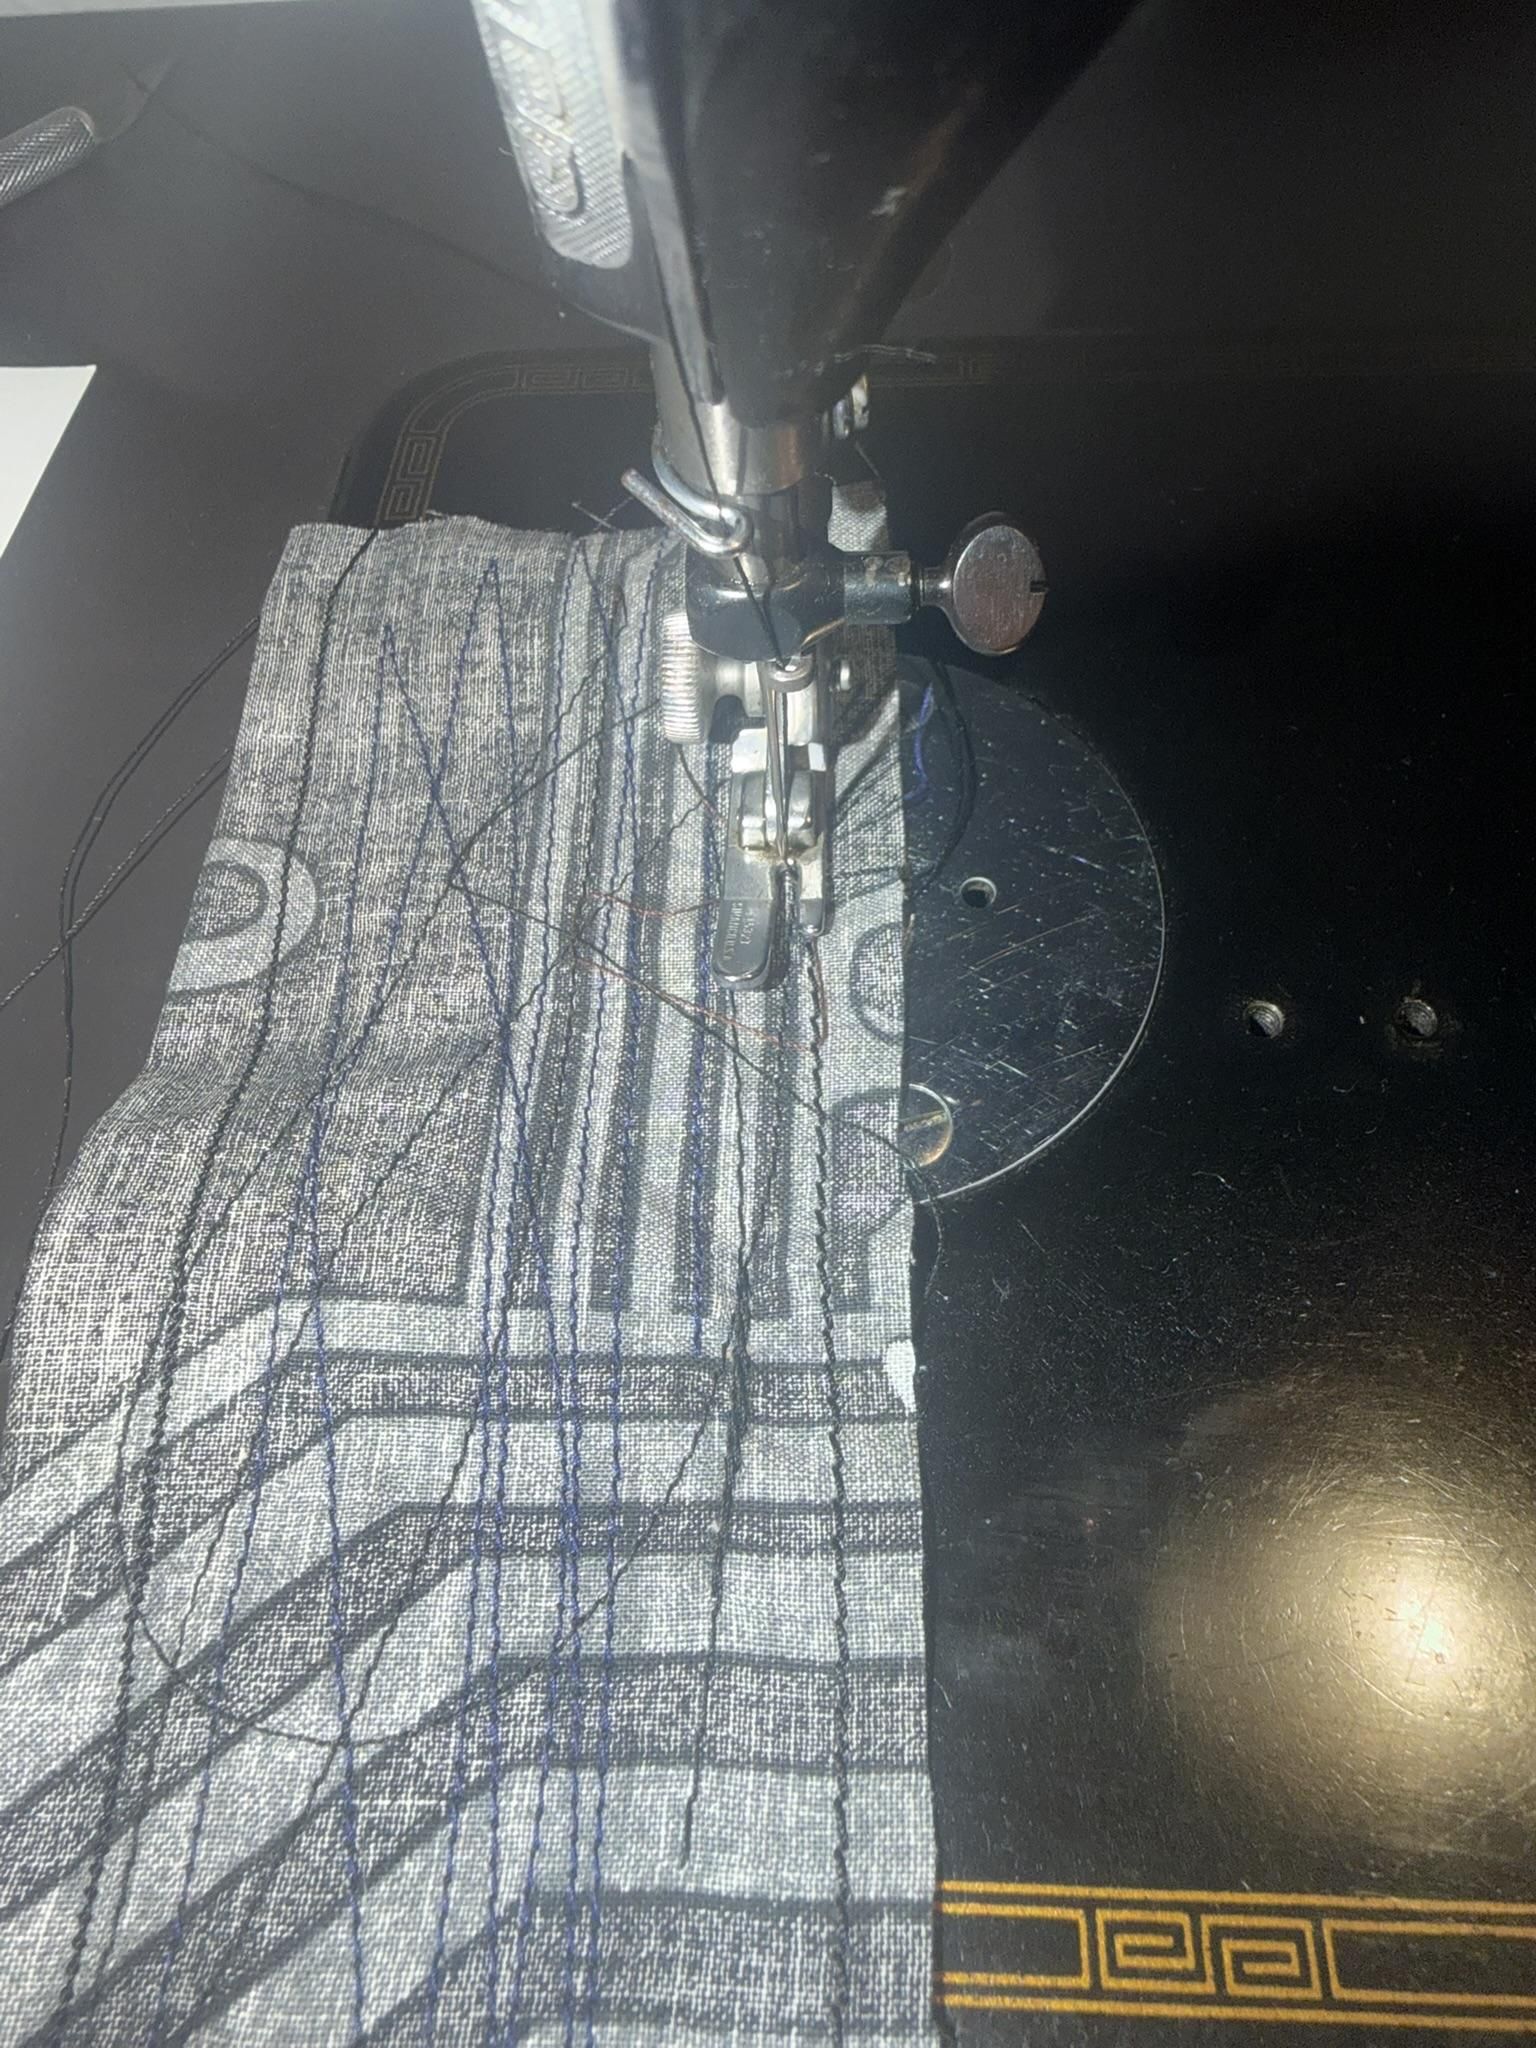
Place a scrap piece of fabric under the presser foot and sew a few test stitches. This
step helps confirm that the machine is threaded correctly.
Conclusion
It's recommended to practice these steps several times until it feels comfortable. You will need to check the thread path, bobbin direction, needle position, and pressor foot if the sewing machine does not sew correctly. Once you understand how to thread the sewing machine, you will be better prepared to complete basic sewing projects with confidence.