How to Illustrate Your Own Instructable
by KaptinScarlet in Design > Art
21976 Views, 149 Favorites, 0 Comments
How to Illustrate Your Own Instructable

Every time I do an instructable someone asks how I draw the illustrations that I use. It's not difficult really and this instructable will help you do the same (if you want) or at the very least, it will show you what I do and how I do it.
Writing an instructable is like telling a story, so the process of drawing up the instructions follows the same path as any other DIY making project, only when you start to draw it up you realise that you have to resolve things that don't quite work. This way the finished instructable can be a bit better.
I started drawing up my instructions because I make them into downloadable project sheets for my website dadcando and the extra bandwidth to needed to serve up high quality photos was too much. As it happens, drawing picture of each step is a lot more work, but then the end result is very nice.
You'll need:
- some drawing skill (but not much really)
- a vector drawing package (I'll explain more later)
- probably a digital camera or phone camera
- a decent idea fir an instructable
Design Your Instructable

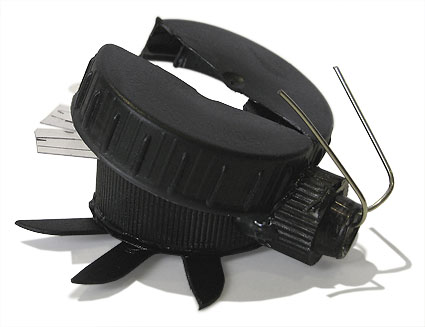
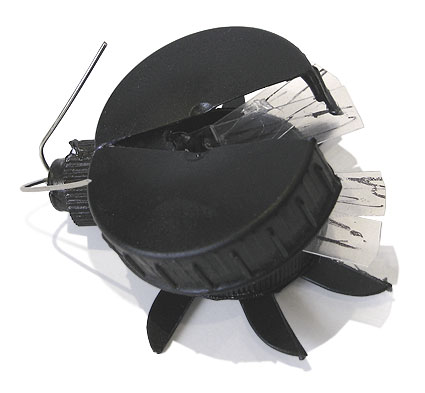
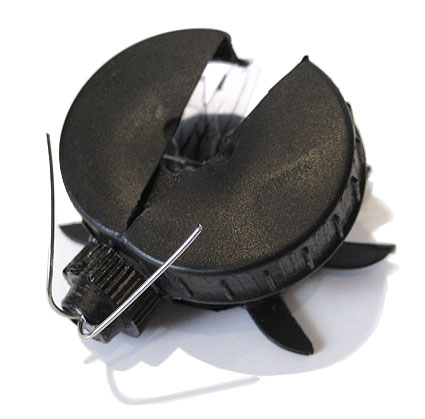
Designing your instructable is a different process from designing or building the thing that is the subject of the instructable. In most cases a nice DIY project evolves and therefore if you write an instructable about it the process could be a bit rambling. The best projects and therefore the best instructables are the ones where the person making it has a good idea what they want to achieve at the outset and has some sort of plan, or has done it before.
You can get round this by taking loads of photos and then using the best to describe a clear story later, perhaps leaving out some of the parts that showed trial and error. Nevertheless, if you learned valuable lessons by making the errors, then it is best to make a note of these and pass on that learning, so that the person following your instructable can avoid falling into the same trap.
For me, I want to describe a way of doing the project that will give the person doing it the best chance of repeating what I did. For this not only do I need a project design (even if it is very rough or just in my head) but I really need an instructable plan. In my case I use this plan to design my project download.
The image here shows my first quick sketch of the steps I would like to show in the finished instructable, and my dadcando downloadable project sheet. For my download I would like to get this one on to one sheet, and that means I will need no more than 9 steps. I sketch out the steps I need to show and tinker with the steps a little to make sure that I have what's needed.
As it happens this project is how to make a bottle cap beetle after my 14 year old son made one, one afternoon, and asked me if I wanted to put it up on line on dadcando. So I already had the finished project. In this case I had to draw the steps from scratch, because I didn't have photos of the individual steps as he was making the model.
Select Your Drawing Package: Vector Drawing

There are three main ways to draw on a computer,
1: vector (lines - graphics),
2: bitmap (tones and shading)
3: parametric based 3D CAD.
Some drawing packages combine two or three ways in the same package. A few years ago packages that were good at vector or line drawing or CAD were rubbish at shading and tone and the other way round was true as well. Now more and more packages combine the elements quite successfully. Vector drawing is nice because it gives you control over the shapes, and is easier than free form shading and tone work (e.g. Photoshop)
I do mainly 2D vector line drawing and I use Macromedia Freehand (10), but this is out of date now as the company that made it was bought by Adobe and the application has been superseded by Adobe's own vector drawing package called Illustrator. These two packages are quite expensive, but there are cheaper ones available, or free ones such as Inkscape (see some of the comments below).
Don't be wowed by too many flashy effects and colours, you can create very nice drawings just by using a few simple shapes and strictly limiting your colours and line widths, so even the cheaper vector drawing packages (or free ones) should be fine to get you going and let you create fabulous looking instructables.
Remember, however 3D you make you images look, this is NOT 3D CAD, you will only be drawing the pictures yourself 2D and trying to get a 3D look, which means that you need to get all the angles looking right when you start drawing.
Of course you can trace round photos (which I do) for some of your difficult-to-draw images.
In this instructable I will be showing you how to draw from scratch AND how to trace round an image to get a really professional look.
So let's get drawing...
Start to Draw (simple Is Best)
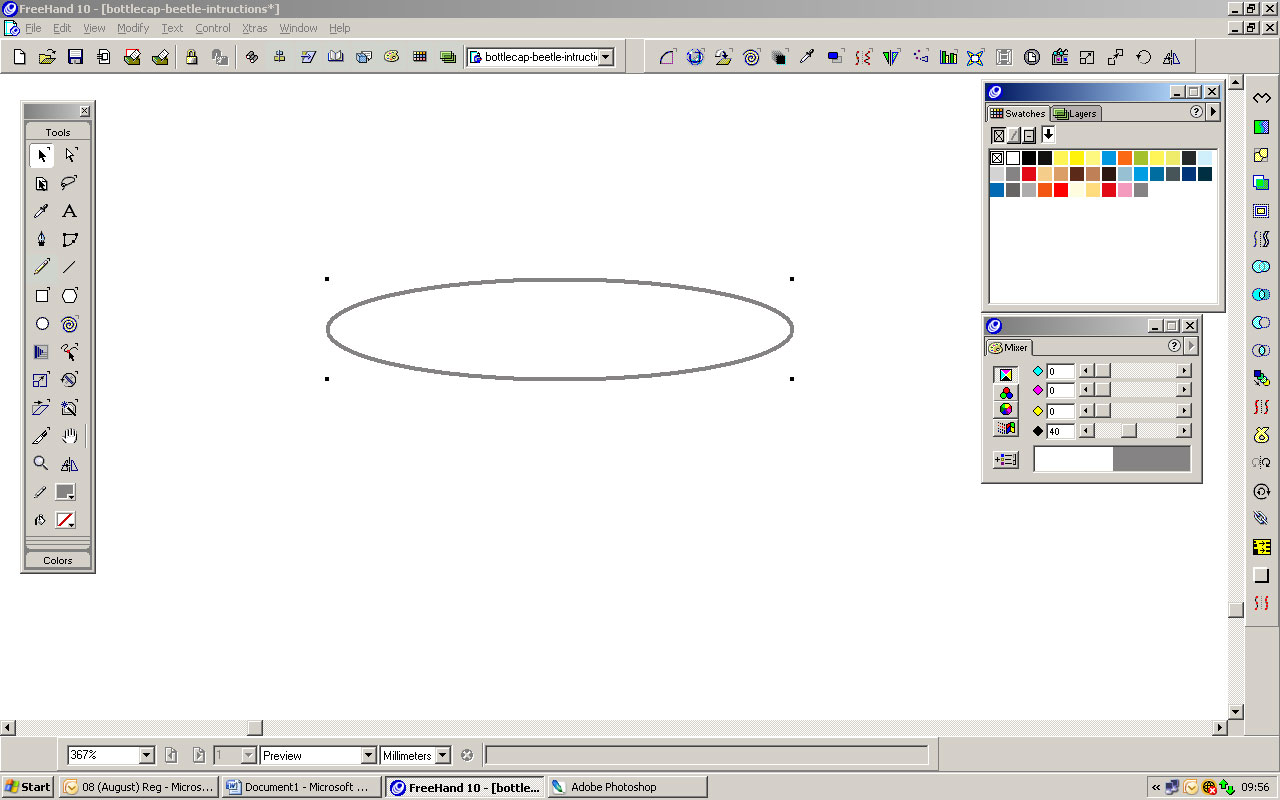

If you are drawing from scratch, it may be helpful to sketch out what you want to do on a bit of paper first. I don't often do that, because I have a picture in my head of what I want to do. Try to stay away from fancy effects that come as standard with your drawing package, because it is obvious when they have been used to hide up bad drawing.
The bottle cap beetle that is the subject of this instructable is made from bottle caps which are just simple drums. That makes drawing them on a computer dead easy.
1: draw an ellipse (remember that the best thing about a computer is that you can reuse elements over and over again, so make sure that you start drawing the part of the thing that you are describing in a way that you can continue to add to it for each subsequent step, rather than having to draw it from a new angle for each step.
2: Clone the ellipse and drag it down parallel. Make the ellipse slightly deeper by enlarging it in the Y axis (up and down) because in real life you will be looking down more on the bottom ellipse than on the top one which is nearer your eyes (nearer the horizon line), because this will make it look more realistic.
Join the Two Ellipses to Make a Drum
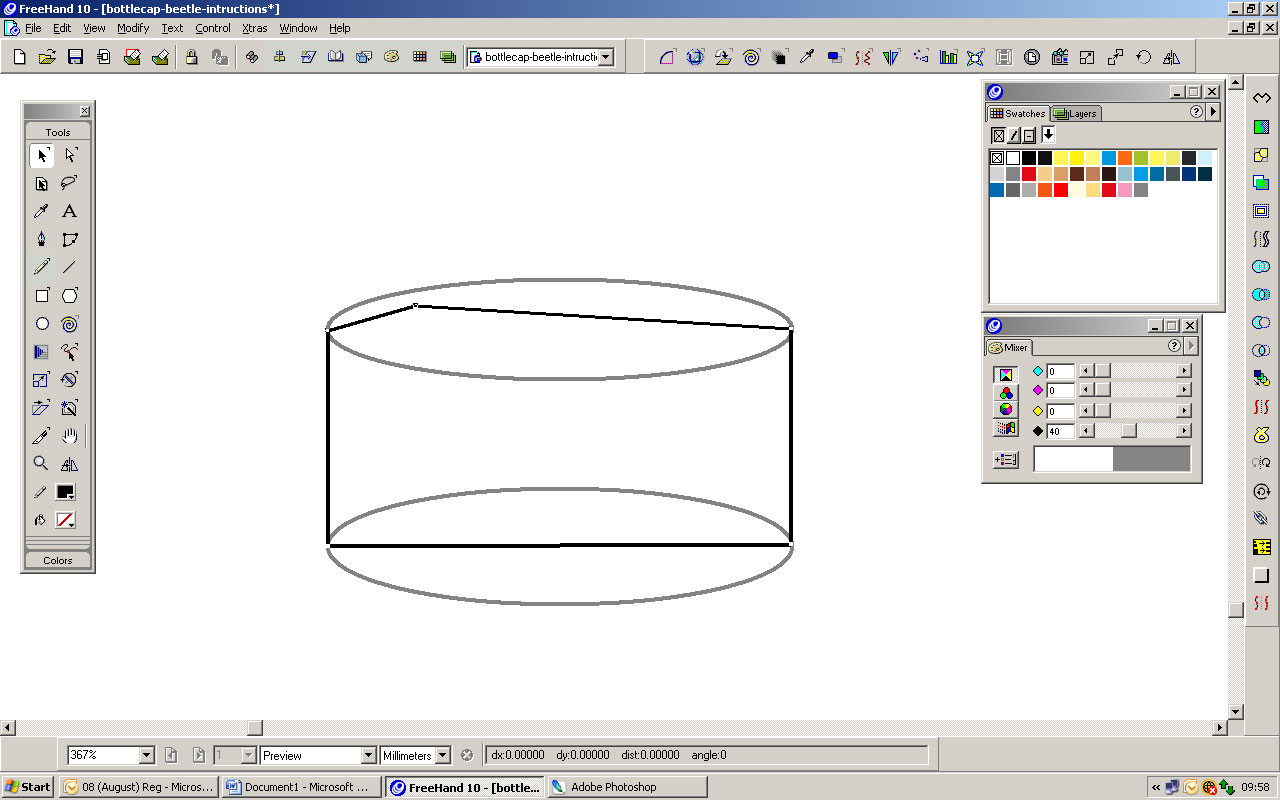

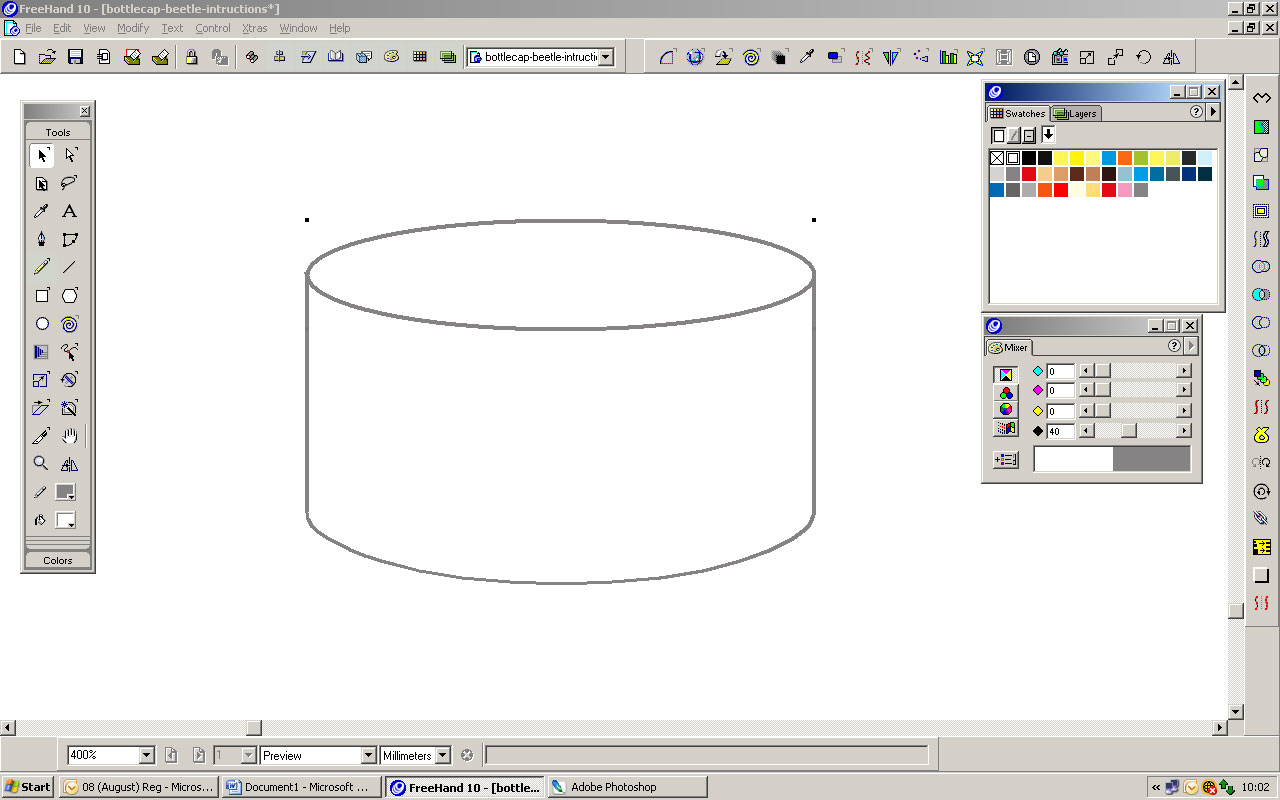
In 2D you are just drawing shapes which can be either filled on not filled and have a line or no line. Think of them as a series of layers which can be stacked in any order, or as shapes that can be joined together and cut out just like pieces of paper resting on top of each other.
To make the two ellipses into a drum,
1: Draw a shape from corner to corner of the ellipses, with straight edges at the sides
2: Merge the new shape with the bottom ellipse
3: Bring the top ellipse to the front and make sure it is filled with white so that obscures the top line of the bottom shape
Please note that I have chosen a medium grey for the line colour and I have chosen 0.35mm as the line width. I stick to these throughout my drawing so that I get a consistent look and feel and one that is easy on the eye. Black lines are much too harsh for most things and it is an old visualiser's trick to use light outlines even when the fill is a darker tone.
Start to Draw Some Detail


To make your drawing look more like the real thing you need to add some detail, not much, but just enough to help convince the reader that they are looking at what you are trying to draw.
In this case the lid spout is exactly like the original drum of the lid itself except the base is bigger than the top and it has a hole in its top, so the process of creating it is exactly the same as the main body of the lid, with the exception that the sides are curved outwards.
1: Draw some concentric circles in the right position
2: Draw in curved lines for the sides
3: Merge bottom disc with the weird shape
4: Bring top two discs to the front
Remember Perspective

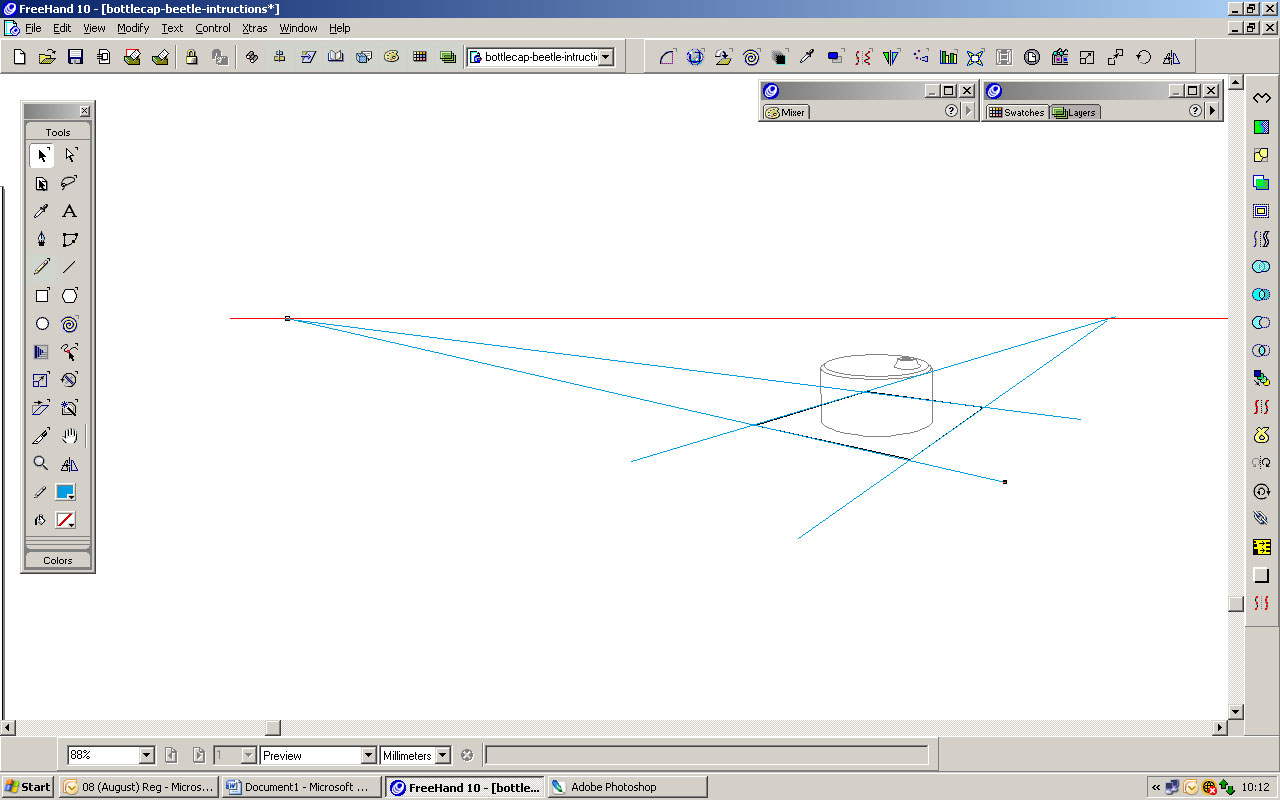


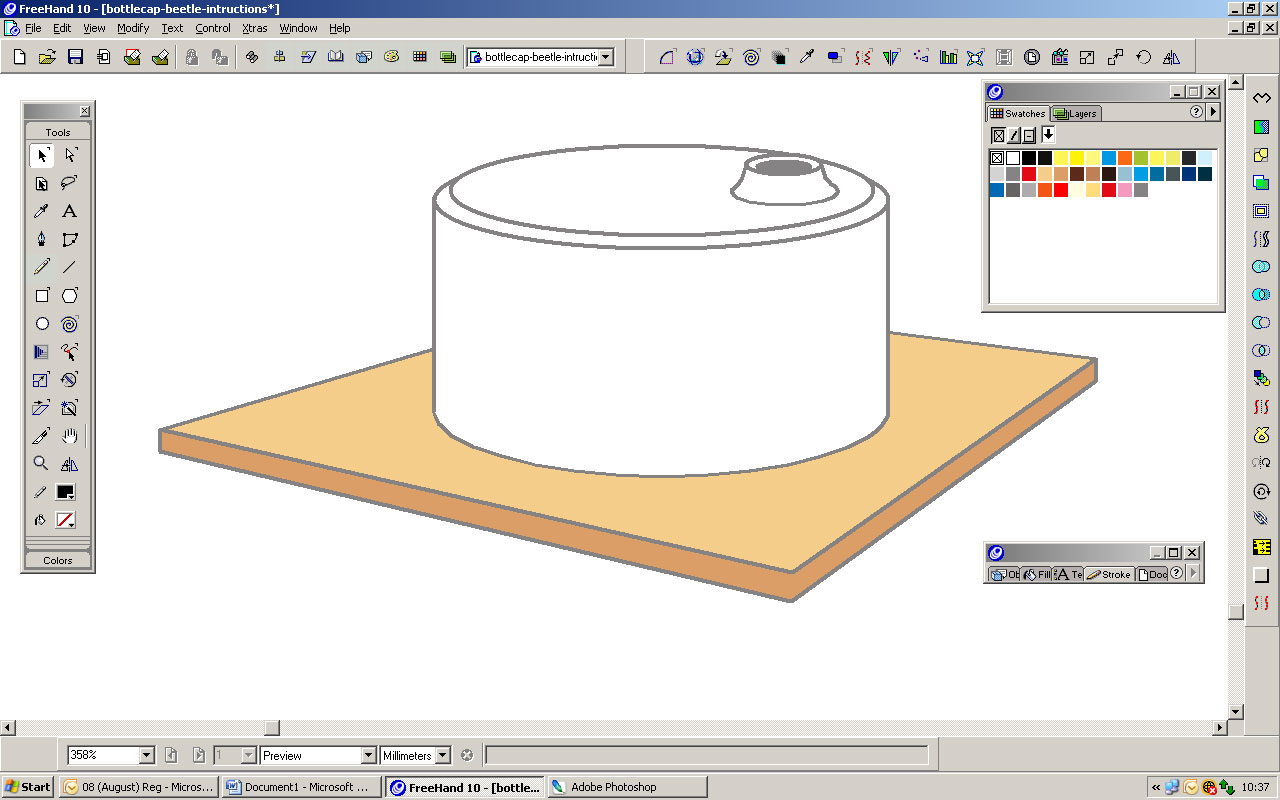
Perspective makes things look right and it makes them look dynamic. It is what cartoonists use to make their drawing come alive.
I want my bottle top to be on a small piece of card, it makes it look really cool if it is shown with a bit of dynamic perspective.
1: Draw a rough shape as you think it should go and how you want it to look.
2: Draw perspective lines round the shape so that they meet on a common horizon (that is your virtual eye-line), because we are looking down on the bottle cap (we can see the top of it) the horizon will be above the bottle cap. Practice with this, how far above the cap the horizon line is, will determine how much of the top of the cap you can see.
3: To give the card thickness, clone the rectangular shape you created and drag it down a small amount (visually the thickness of the card)
4 & 5: Make a new point somewhere on the line of the lower rectangle and pull up the line so that it meets the corner of the top rectangle
6: Send the rectangle to the back
7: Select a simple light colour or tone for the top of the card, so that it contrasts with the bottle cap and fill the rectangle. I chose a cardboard colour and made the edge slightly darker.
Use Elements That You Created Before
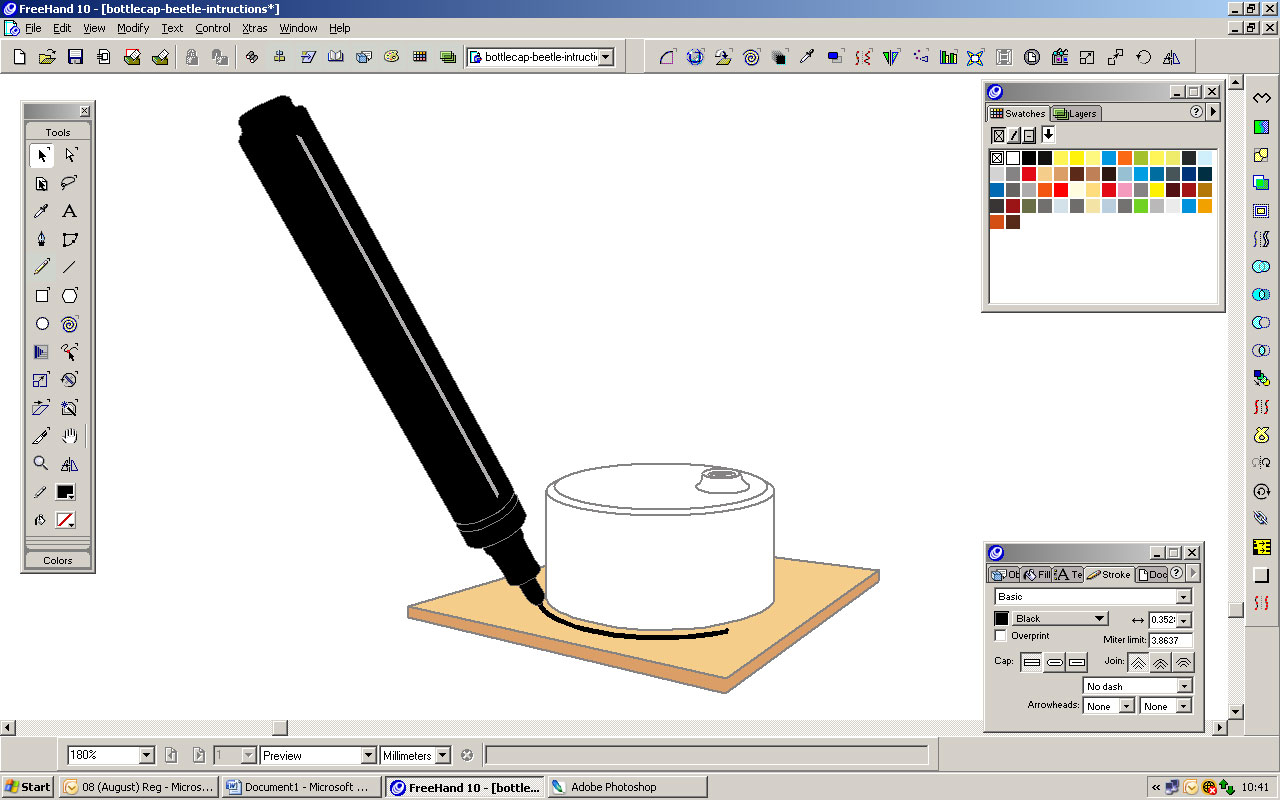

Keep a file of all the things that you draw in all your different pictures. This file will be like your very own clip art library. I have been collecting for quite a while now and I have a collection of pens, rulers, craft knives and glue guns for use on any of my drawings, which really saves the time of having to draw them over and over again.
in this case I am using a black marker pen to show that when you are making the model you have to draw round the cap, so that you know what size to cut out the card.
Originally, I drew the pen in exactly the same way as I drew the bottle cap. I drew it vertically as that was much easier to align all the ellipses. Now each time I use it all I have to do is rotate it round and move the highlight to the top of the pen at that angle and I have a pen in my drawing!
Now this step is finished. If you can remember the pencil sketch I did right at the start, you can see that the computer drawing looks quite a lot like I wanted it to.
Use Guidelines to Get Things in the Right Place


When drawing shapes in perspective or at difficult angles it really helps to draw guides on the drawing so that you know where you should be drawing. Here I want to draw in the legs and I found it hard to get them looking right, so I drew an ellipse where I knew the legs would go to and then just drew the legs up to it. Drawing the guide made things much easier, and the beauty of the computer and a vector package is that you can just delete the line after you have finished with it (in a bit map package you would do this on a separate layer so that you could delete the layer easily when you were finished with it).
Note that when I deleted the ellipse I saw that the blue arrow looked too far in so I moved it out slightly.
Choose some colour coding for actions in your drawings and stick to it. I chose blue for glue and red for actions and I have always tried to use the same code for all my drawings. It seems to work, although I always add a note to say what sort of glue, if I think that it makes the instruction clearer.
Reuse the Image to Draw New Versions of It
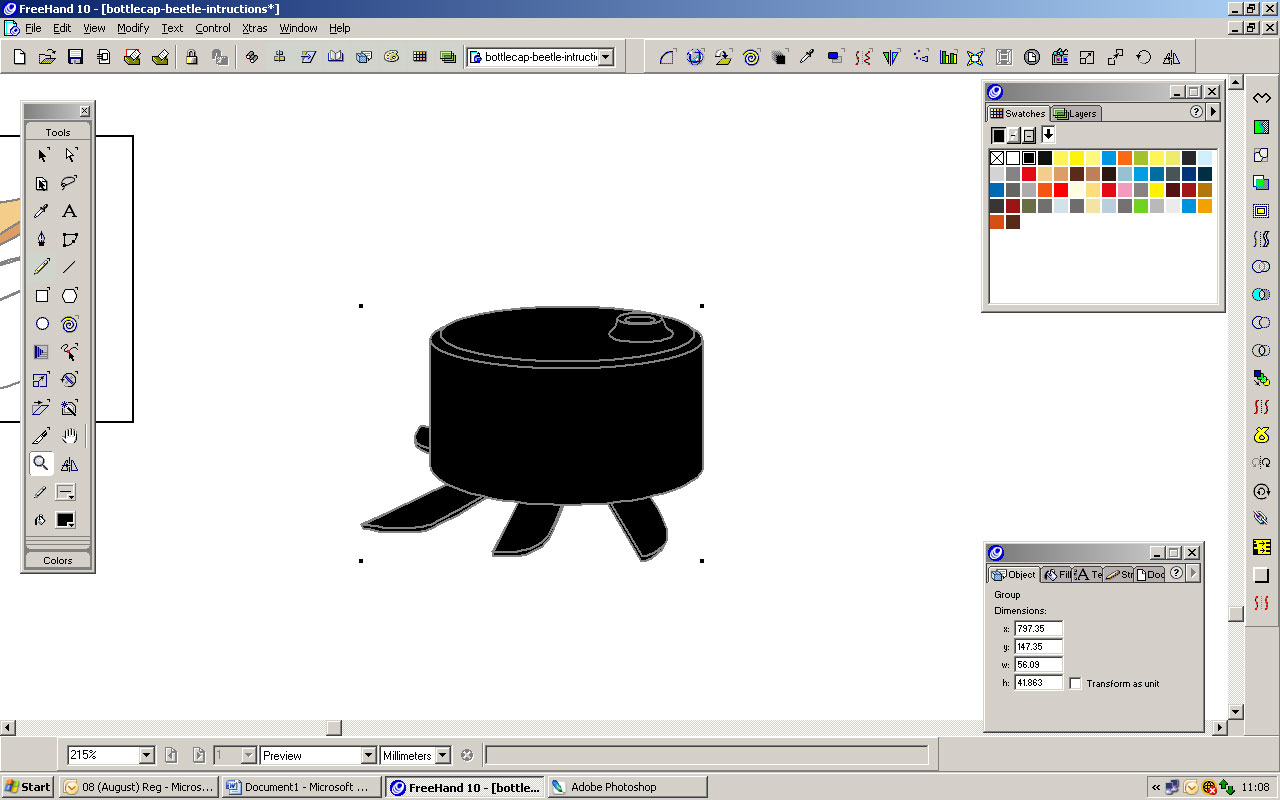
Line work is the most time consuming thing to do, so reuse it wherever possible. Here I have added the legs to the bottle cap that I drew in Step 1, and just filled it black. Great... less drawing and the image looks consistent.
The trick is to pick a good angle at the beginning.
The trick is to pick a good angle at the beginning.
Draw Round Photographs If You Need To


To draw out the bottle cap beetle project, I didn't need to draw round any photos because most of the shapes were very simple. So here is another random step from a future instructable (how to make a fossilised dinosaur egg) to show you how this is done.
Actually, I find it hard to draw people and hands. I can do it, but I need to do a few sketches first and that takes time. Then one day, along came the digital camera and solved all my problems. now I can take bags of instant images of exactly what I need to draw, and use those to draw round. Cheat or what!
Using the image from a future project that I am doing at the moment:
The picture shown is the step where I am putting tile grout into the egg (half a deodorant bottle top) round a model of the dinosaur embryo, with the wrong end of a spoon... (if you must know).
There is a knack to drawing round photos to make them look cool, and it is based on the same principle as any graphic drawing, and that is...
SIMPLICITY
again chose a medium thick line weight and a medium grey and don't over colour the images, simpler is better. With hands and faces don't colour them in at all and don't trace over too many of the lines, it just makes the person / hand look about 100 years old.
1: Bring the digital image in to your drawing package (IMPORT)
2: Draw round the outline of each element you want to show
3: Hide the image to see what it looks like, zoom in and correct and wobbly curves that don't look like they are going where they should.
After the Basic Shapes, Draw Surface Details On


I draw in the basic outline first and then decide what detail to put in afterwards.
In this case I have shown the detail I am going to be drawing as blue lines so that you can see what's going on. Note how simple the lines are.
Because I am tracing over the real thing, the simple lines will look very real and give good form to the basic shape. As you see no shading is really needed.
Block Out With White and Simple Colour


Once you are happy with the drawing, you can remove the photo. It's probably a good idea to just move it to one side rather than deleting it, because if you think something looks wrong then it is useful to be able to slide the photo back under the illustration at the same size.
Fill most of the shapes with white and make sure that the ones that should be on top are so that ant stay lines are covered up. Add some simple colour to give some shape to the model. In my experience I don't ever colour skin. The main reason for this is that the hands are there as supporting information and so don't need to be too prominent. If you colour them in they always look wrong and they distract from the rest of the image.
Fill most of the shapes with white and make sure that the ones that should be on top are so that ant stay lines are covered up. Add some simple colour to give some shape to the model. In my experience I don't ever colour skin. The main reason for this is that the hands are there as supporting information and so don't need to be too prominent. If you colour them in they always look wrong and they distract from the rest of the image.
Review the End Result
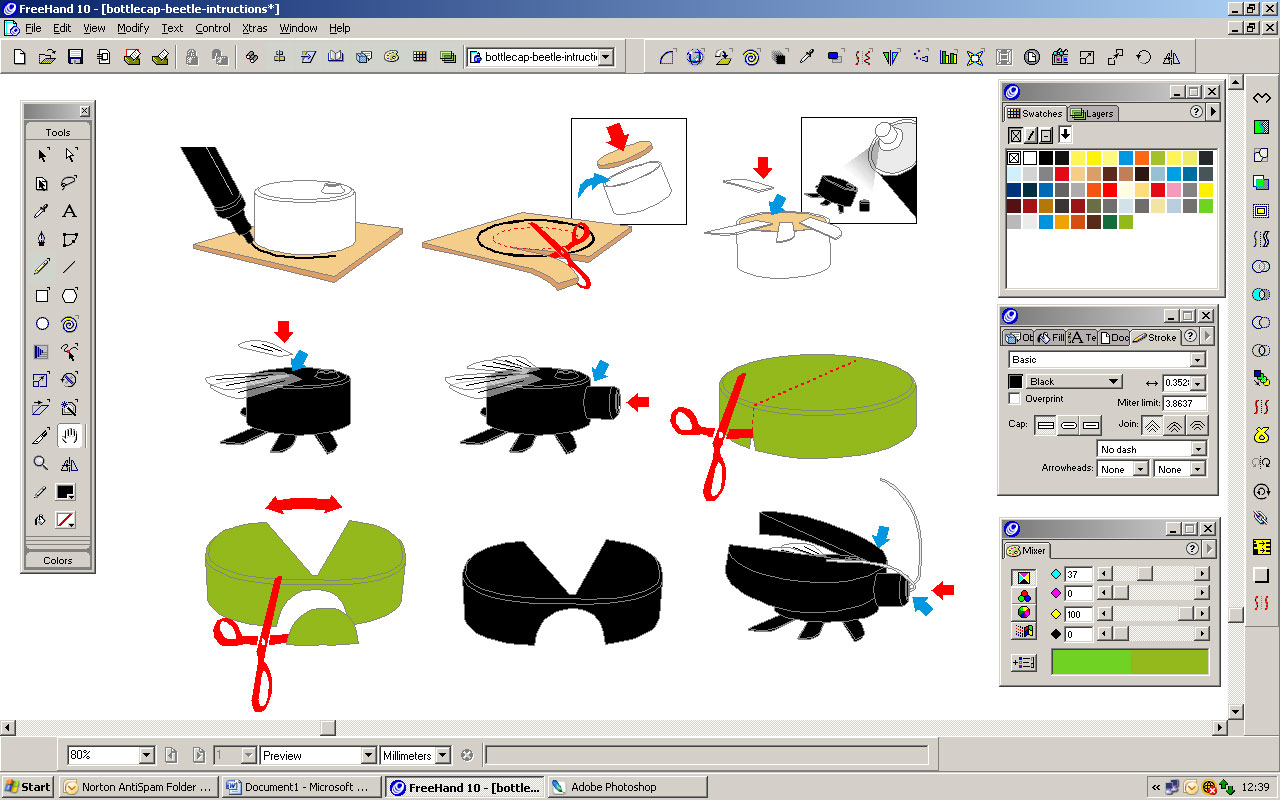

Continue as described until you have drawn out all the steps and then review.
Does the final set of drawings match your original design plan for the instructable?
In my initial sketch I showed the bug from an different angle in the last two steps, but when I came to illustrate it properly I didn't do this because I thought it would take longer than was necessary, and didn't really add to the overall outcome. The result works fine and although it probably should have had another couple of steps in there, on the whole it works nicely.
After I have done the vector drawing, I save off each step as a jpeg, and then I put them in a special instructables folder and I am ready to write my instructable.
Have fun and if you go and look on dadcando you can see the finished bottle cap beetle project here.