Hungry Panda Coin Box
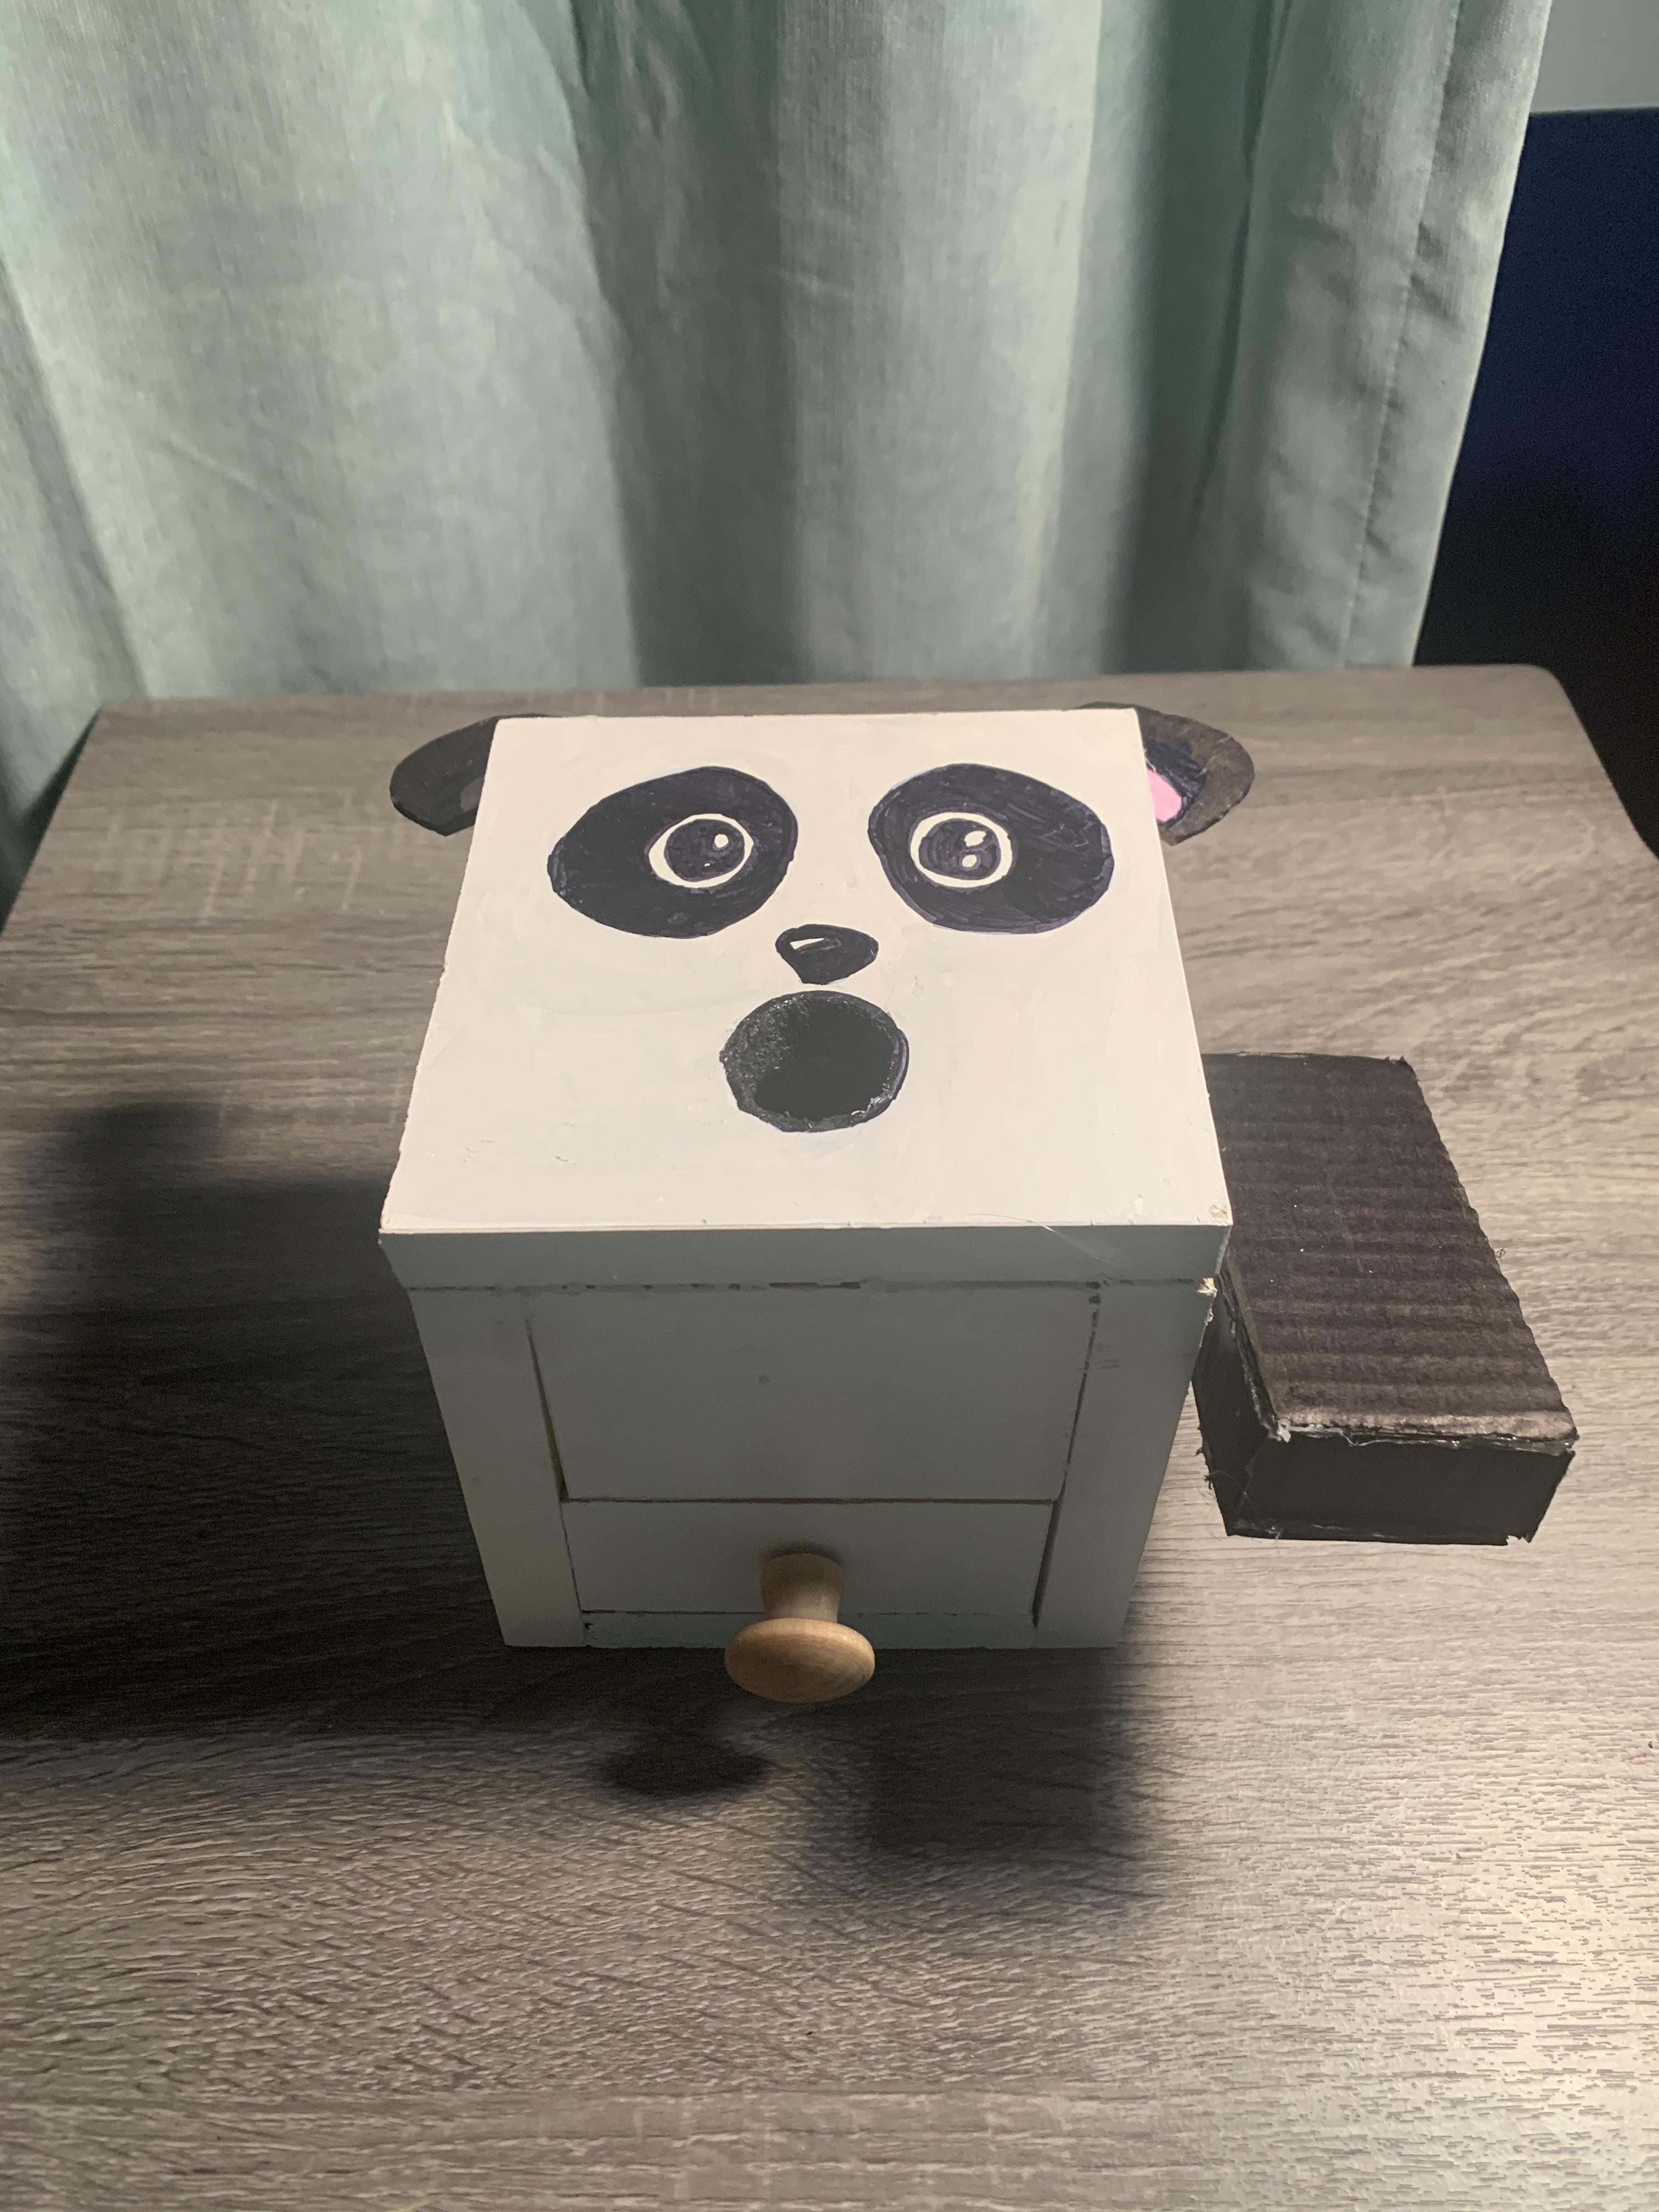
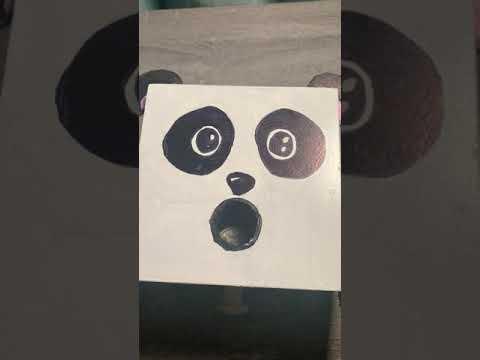
This project is intended to be a cute fun way to store your coins and can hopefully add a bit of personality to your room! While I chose to make this box in the form of a panda because they are the cutest animals to ever exist, anything that you want to decorate this box as you can!
Supplies
General Woodworking/Craft Supplies
- Painter's tape
- Screwdriver
- A saw
- Wood glue
- Drill and 1/4" and 3/32" drill bits
- Scissors
- Box cutter
- Ruler
- Level
- Course sandpaper
- Black permanent marker
- Hot glue gun and sticks
Project Specific Supplies
- Small wooden knob with included screws
- 3/16" diameter wooden dowel
- 3/4" thick wood over 200 square inches (I used shelving wood because it was already white, but any type works)
- Cardboard
Cutting the Wood for the Box
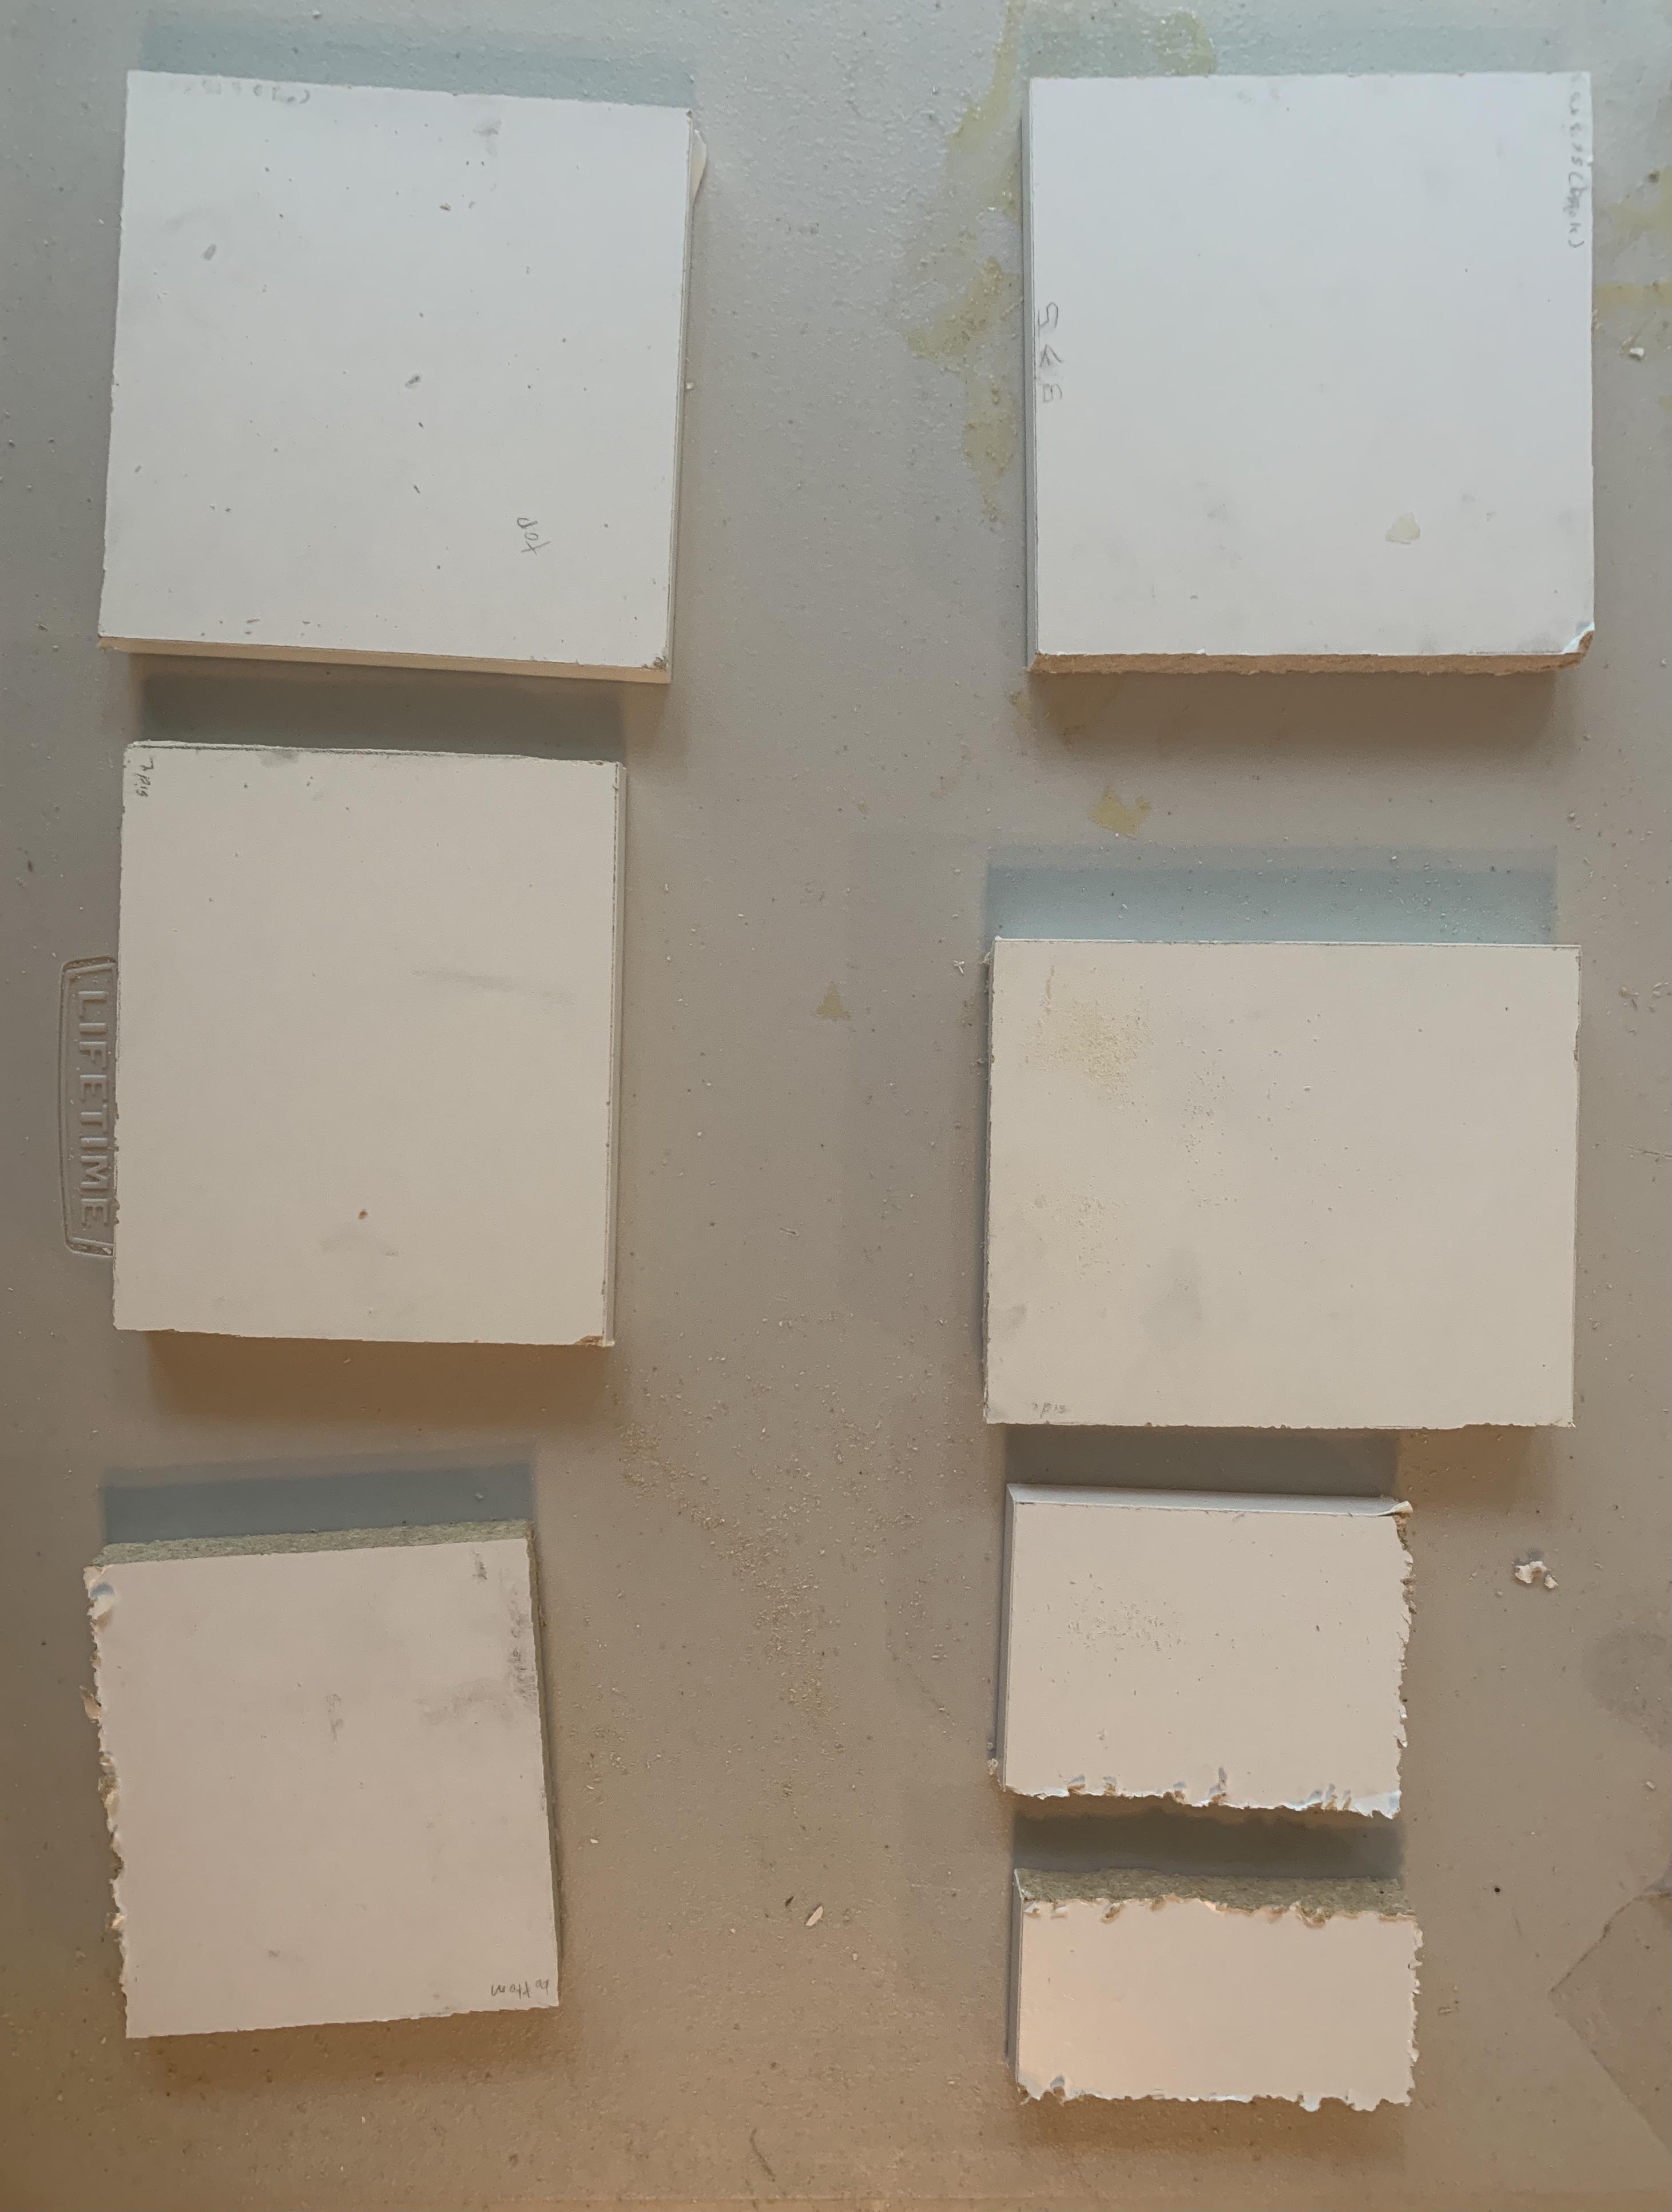
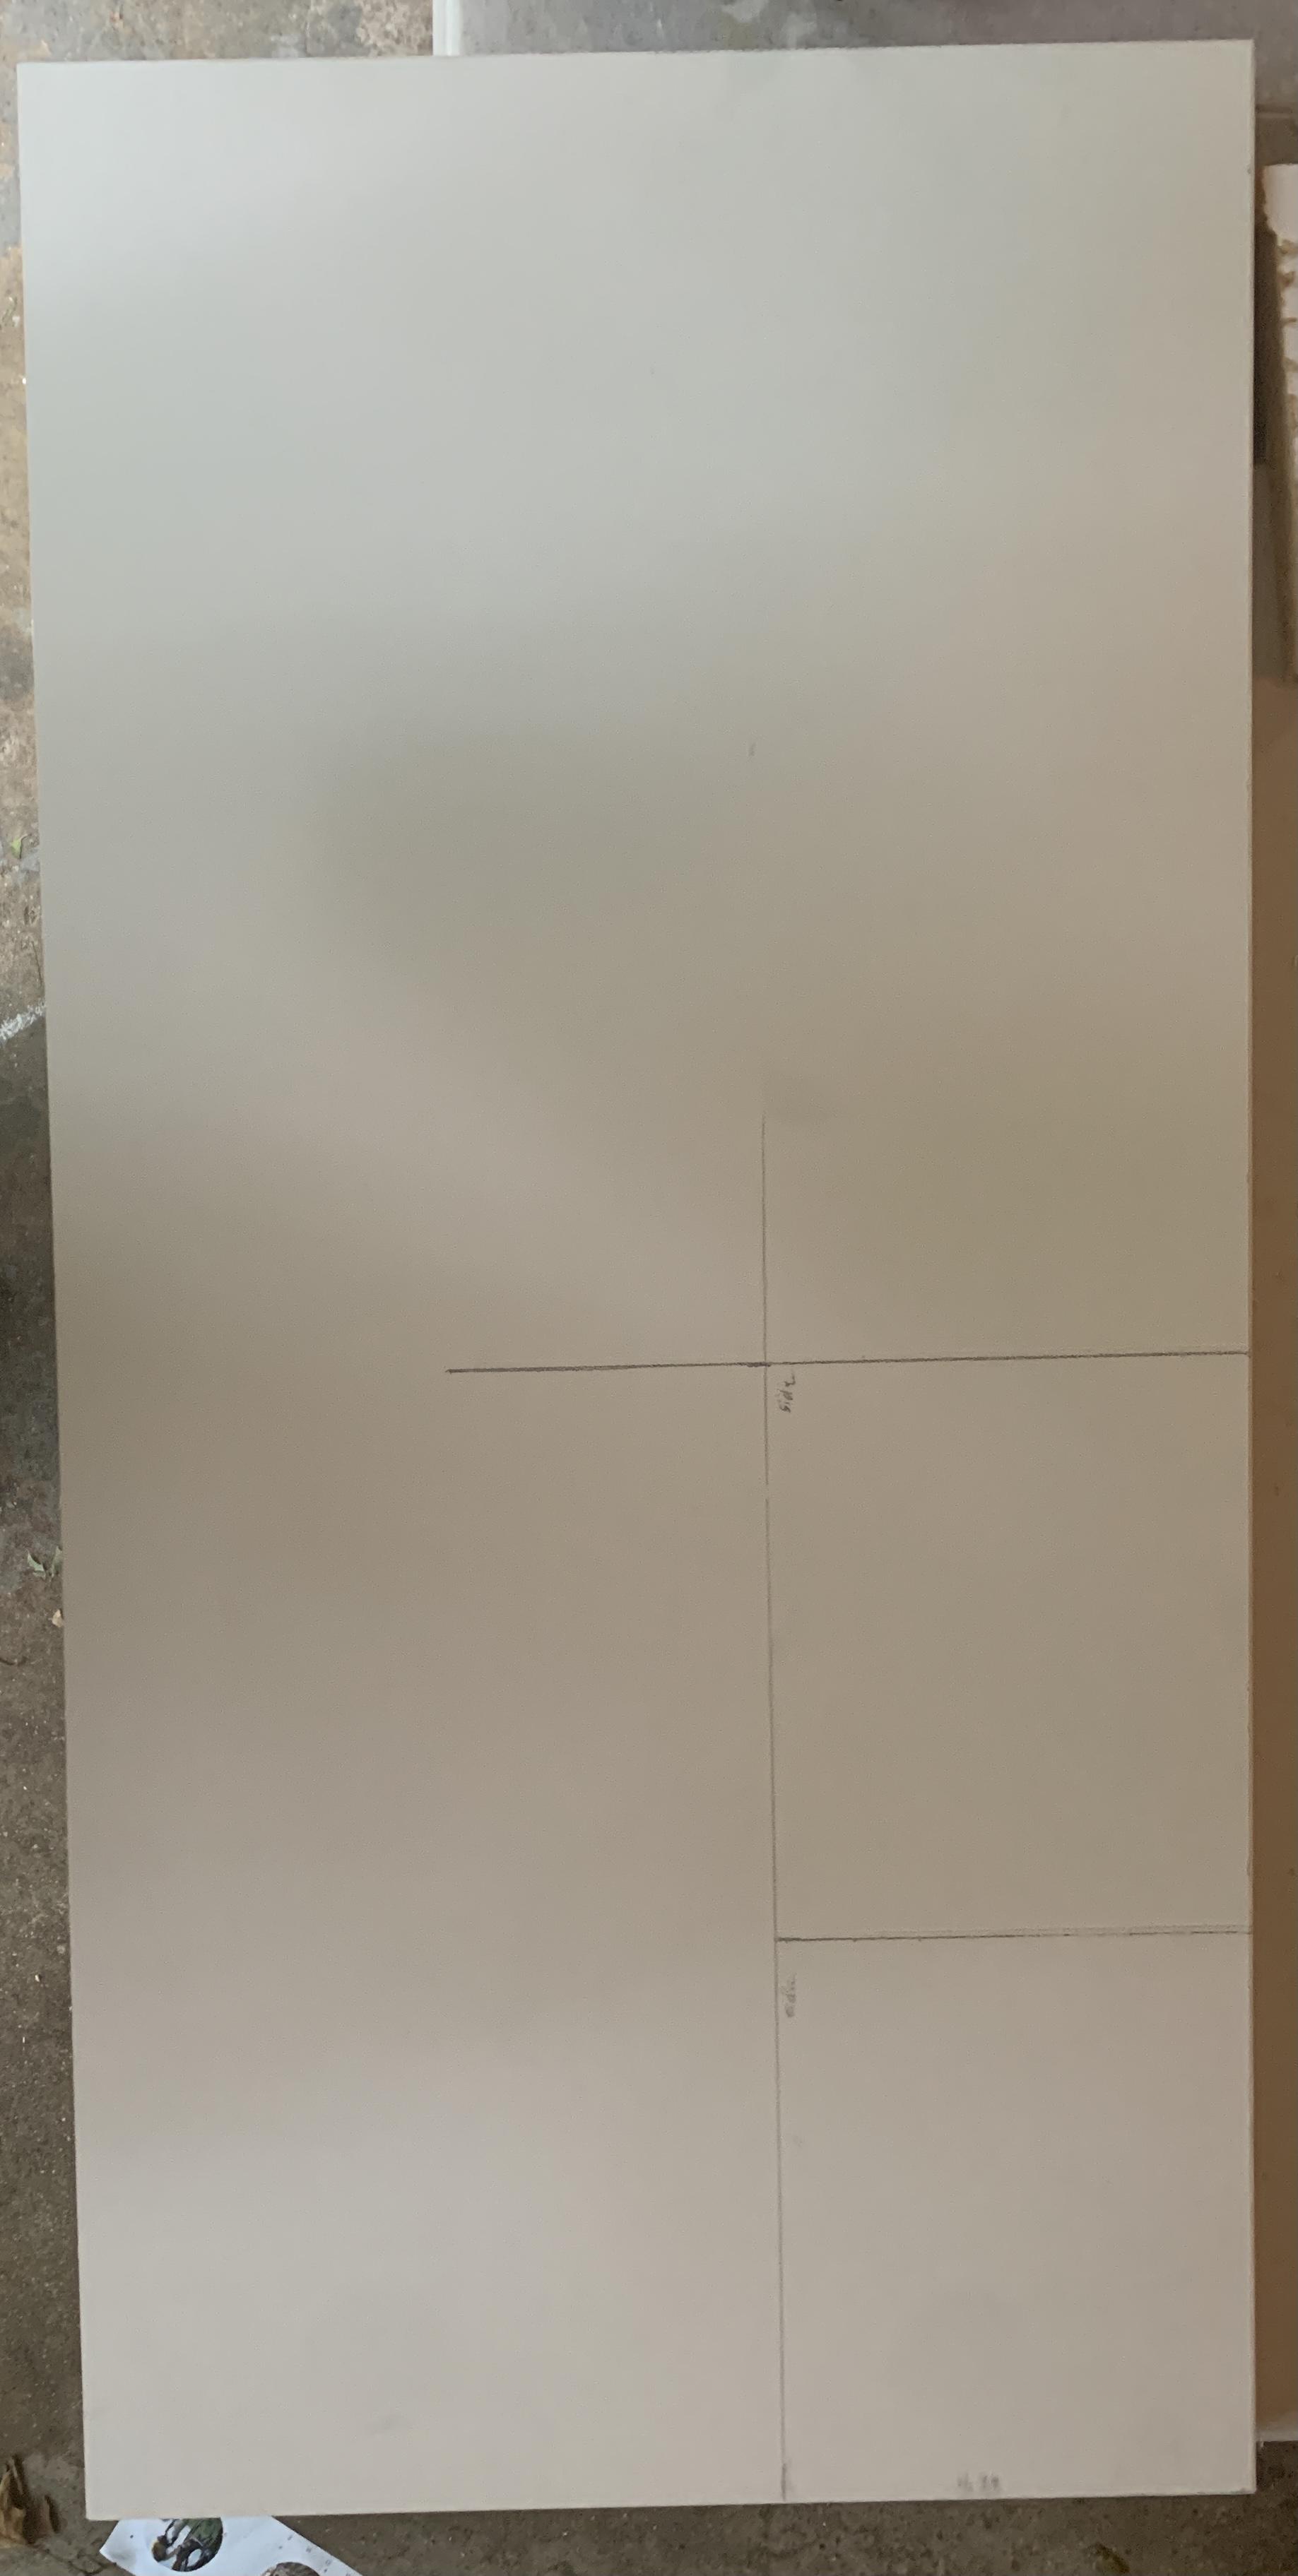
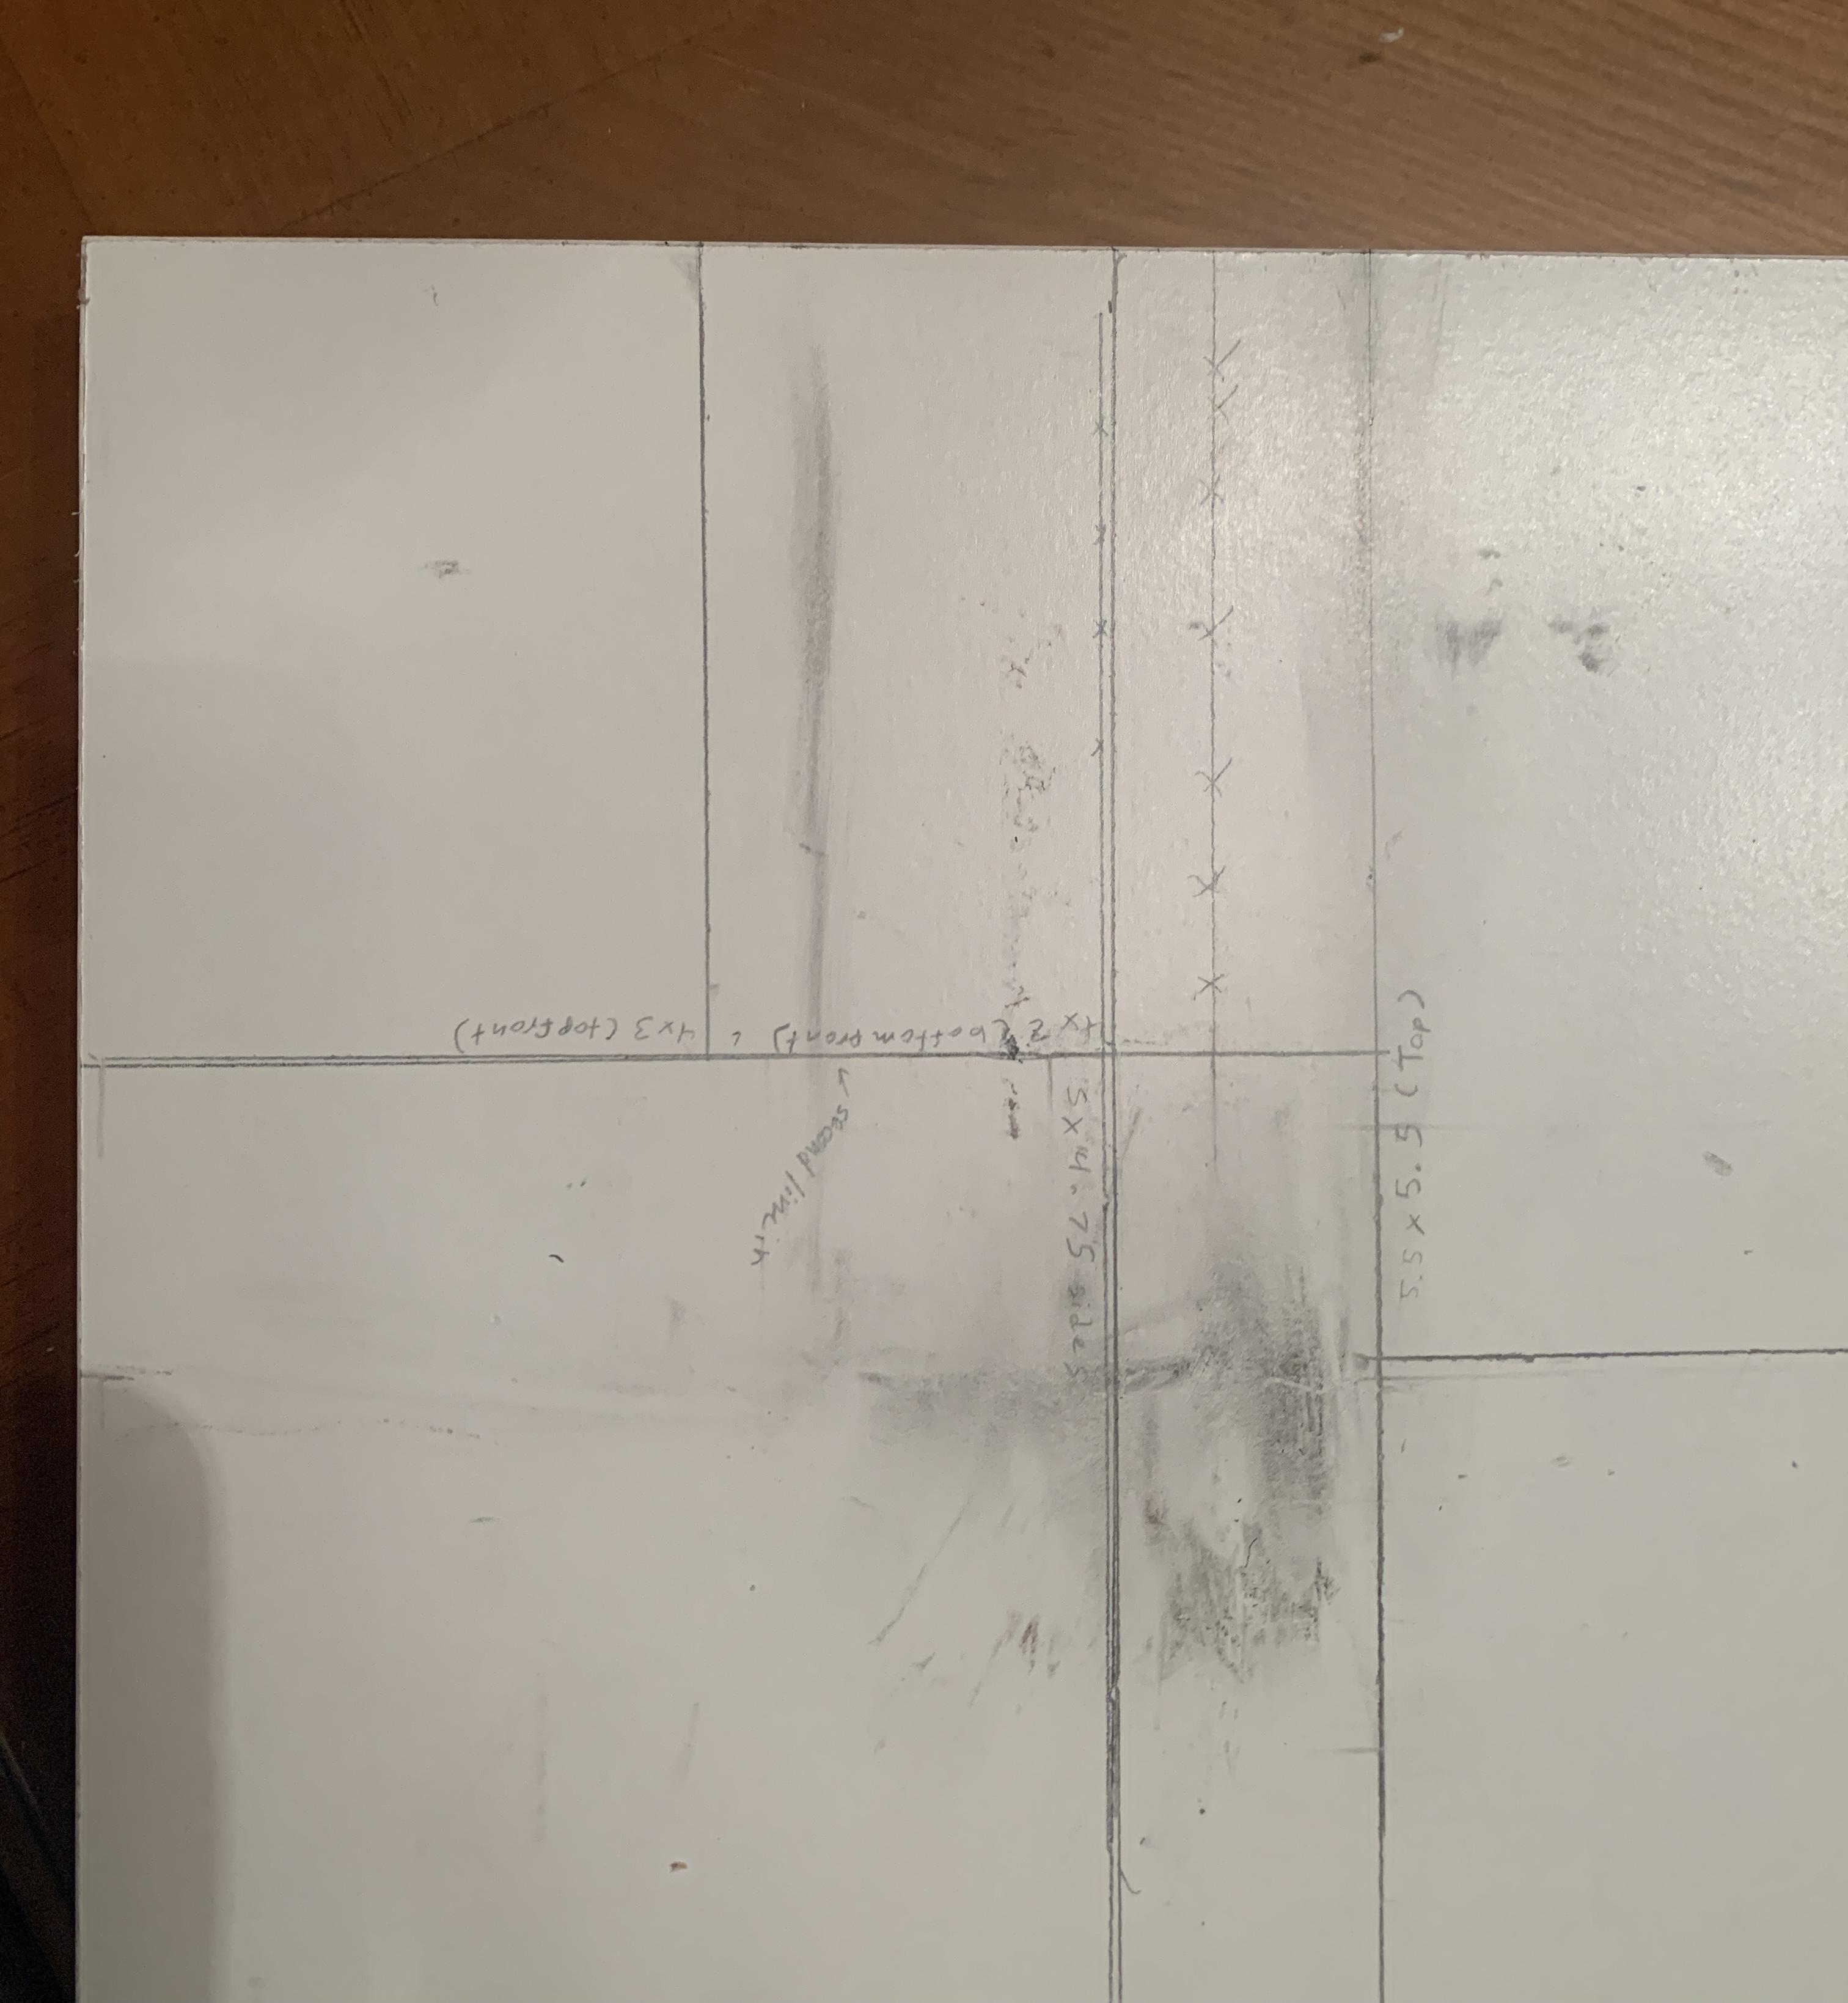
Dimensions for the wood cuts needed for this project:
- Top(1)- 5.5in x 5.5in
- Side(2)- 5.75in x 4.75in
- Back(1)- 5.75in x 5.5in
- Bottom(1)- 4.75in x 4in
- Front Top Piece(1)- 4in x 3in
- Front Bottom Piece(1)- 4in x 2in
Using a ruler and pencil, draw the lines needed onto your wood to guide your cuts (I like to draw lines for every single part before cutting any so I can optimize space).
Cut out these rectangles, you should end up with 7 in total.
Installing the Knob
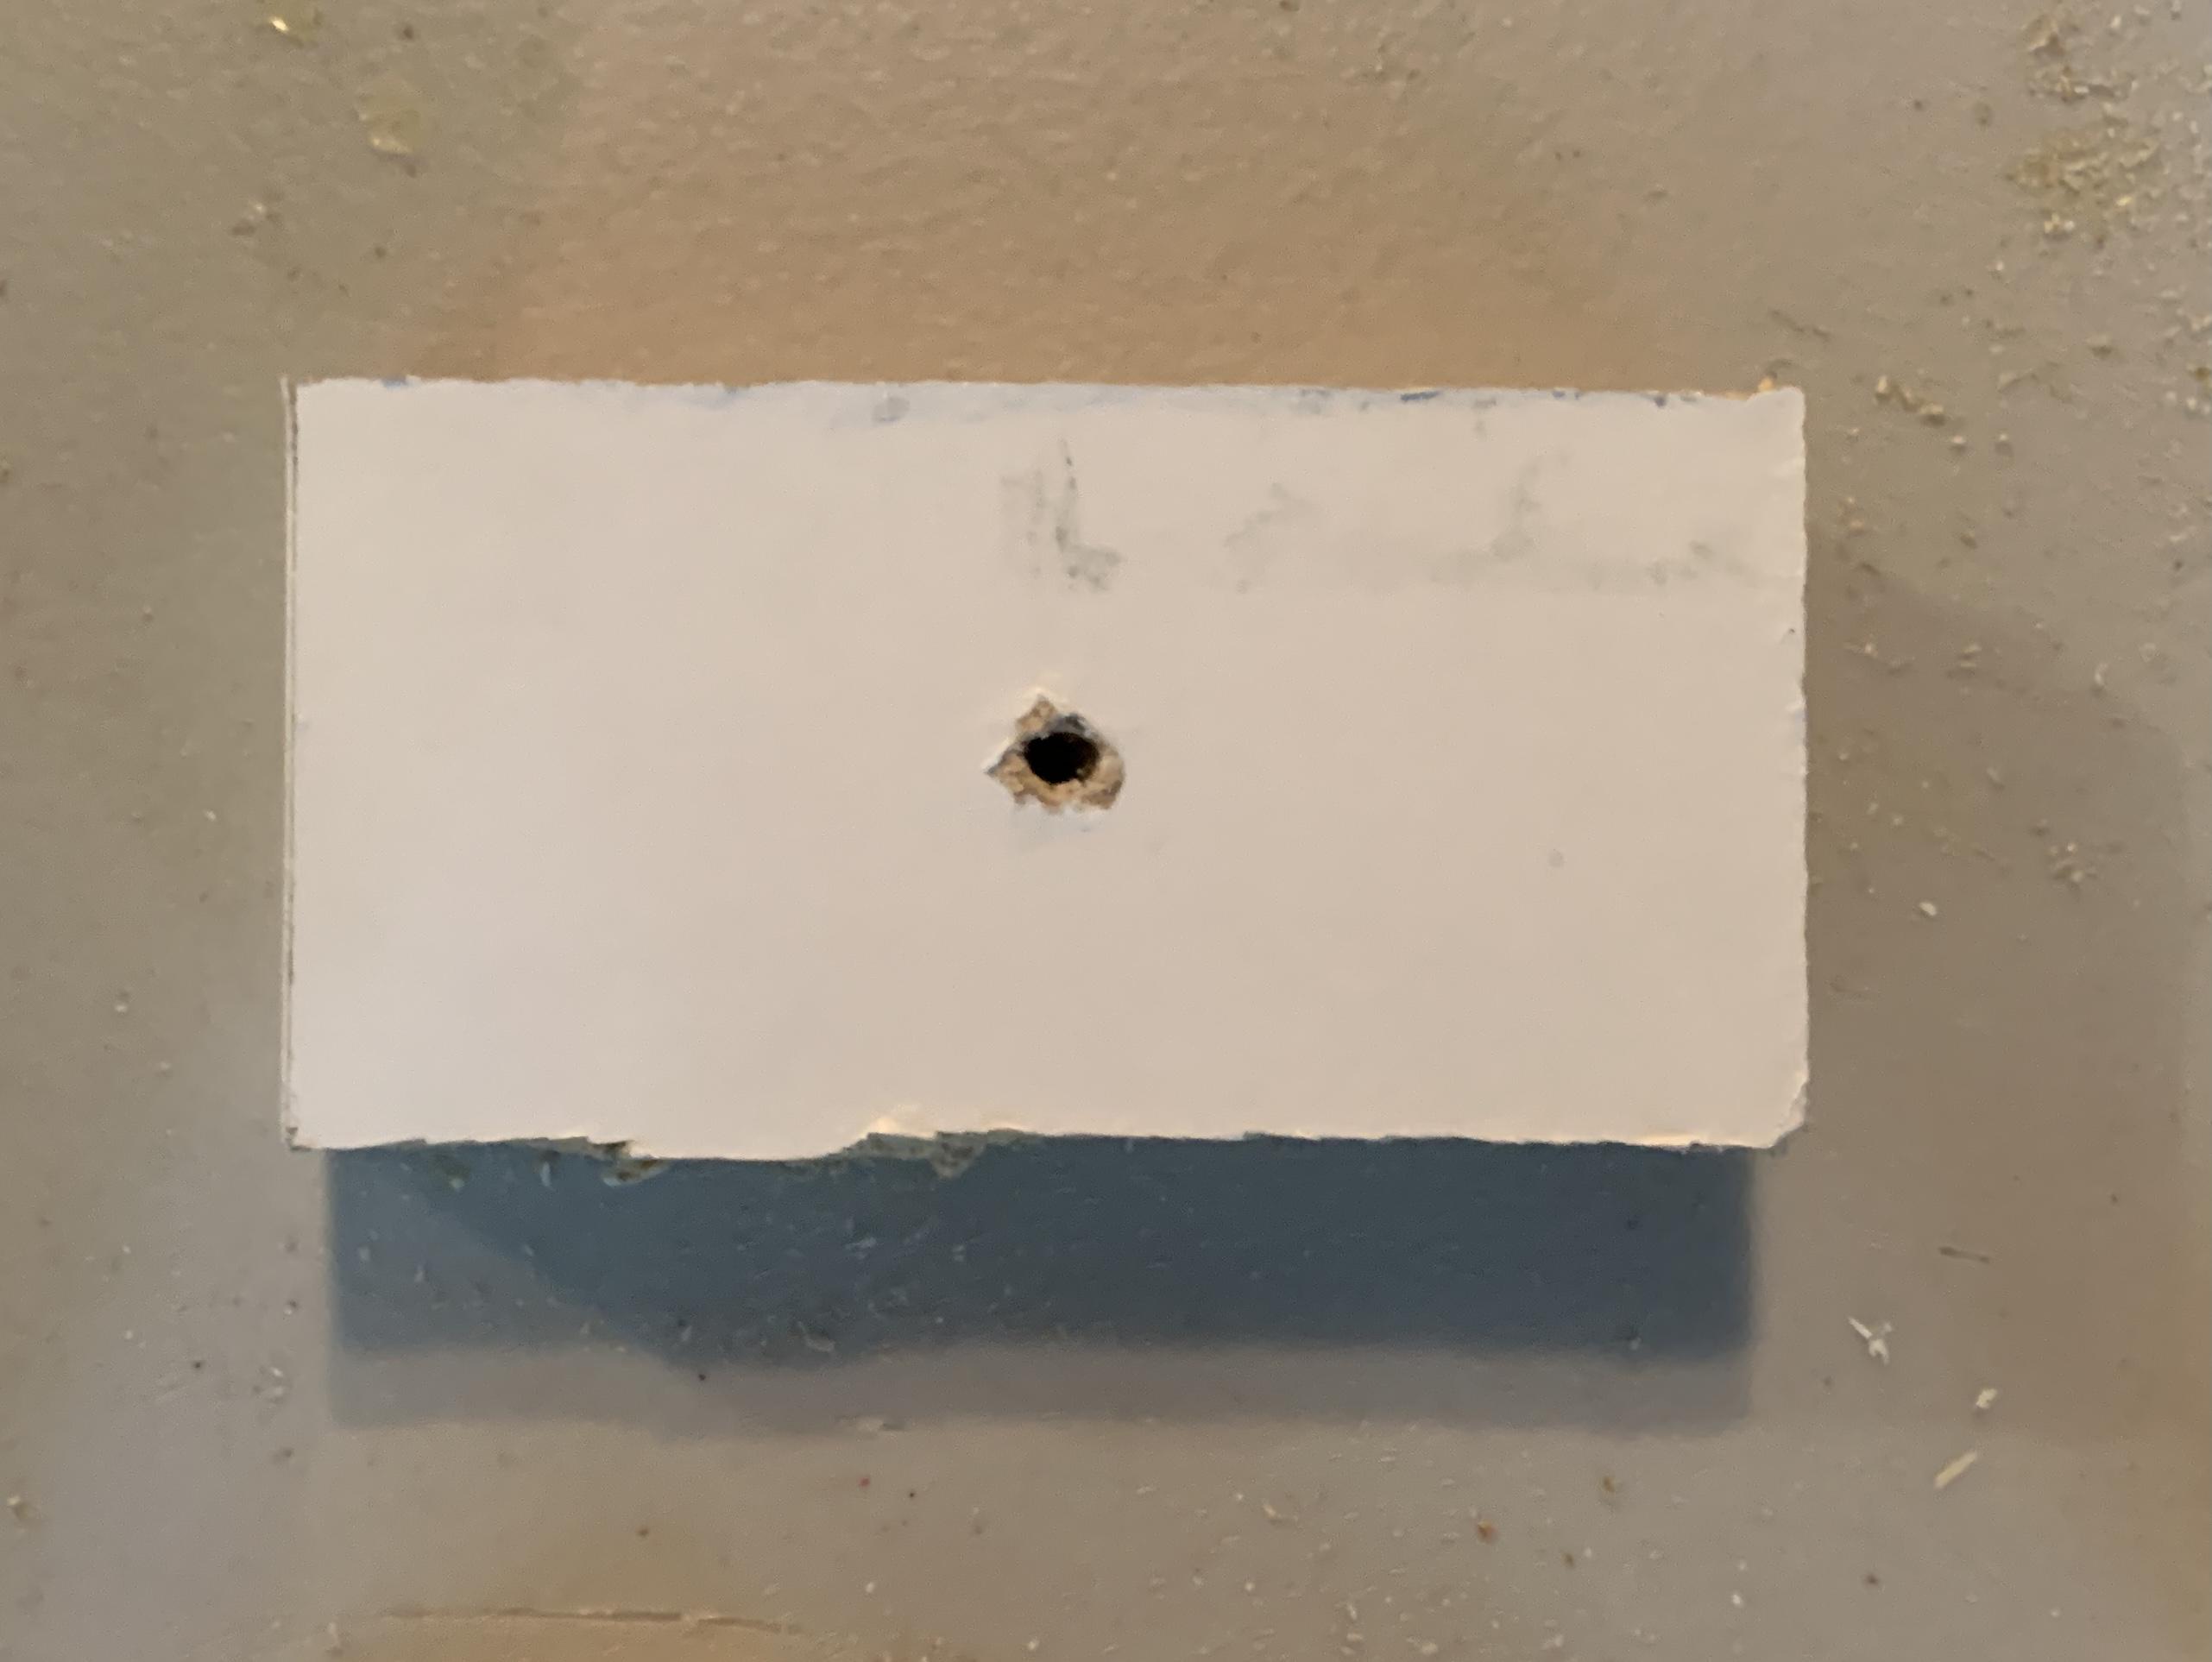
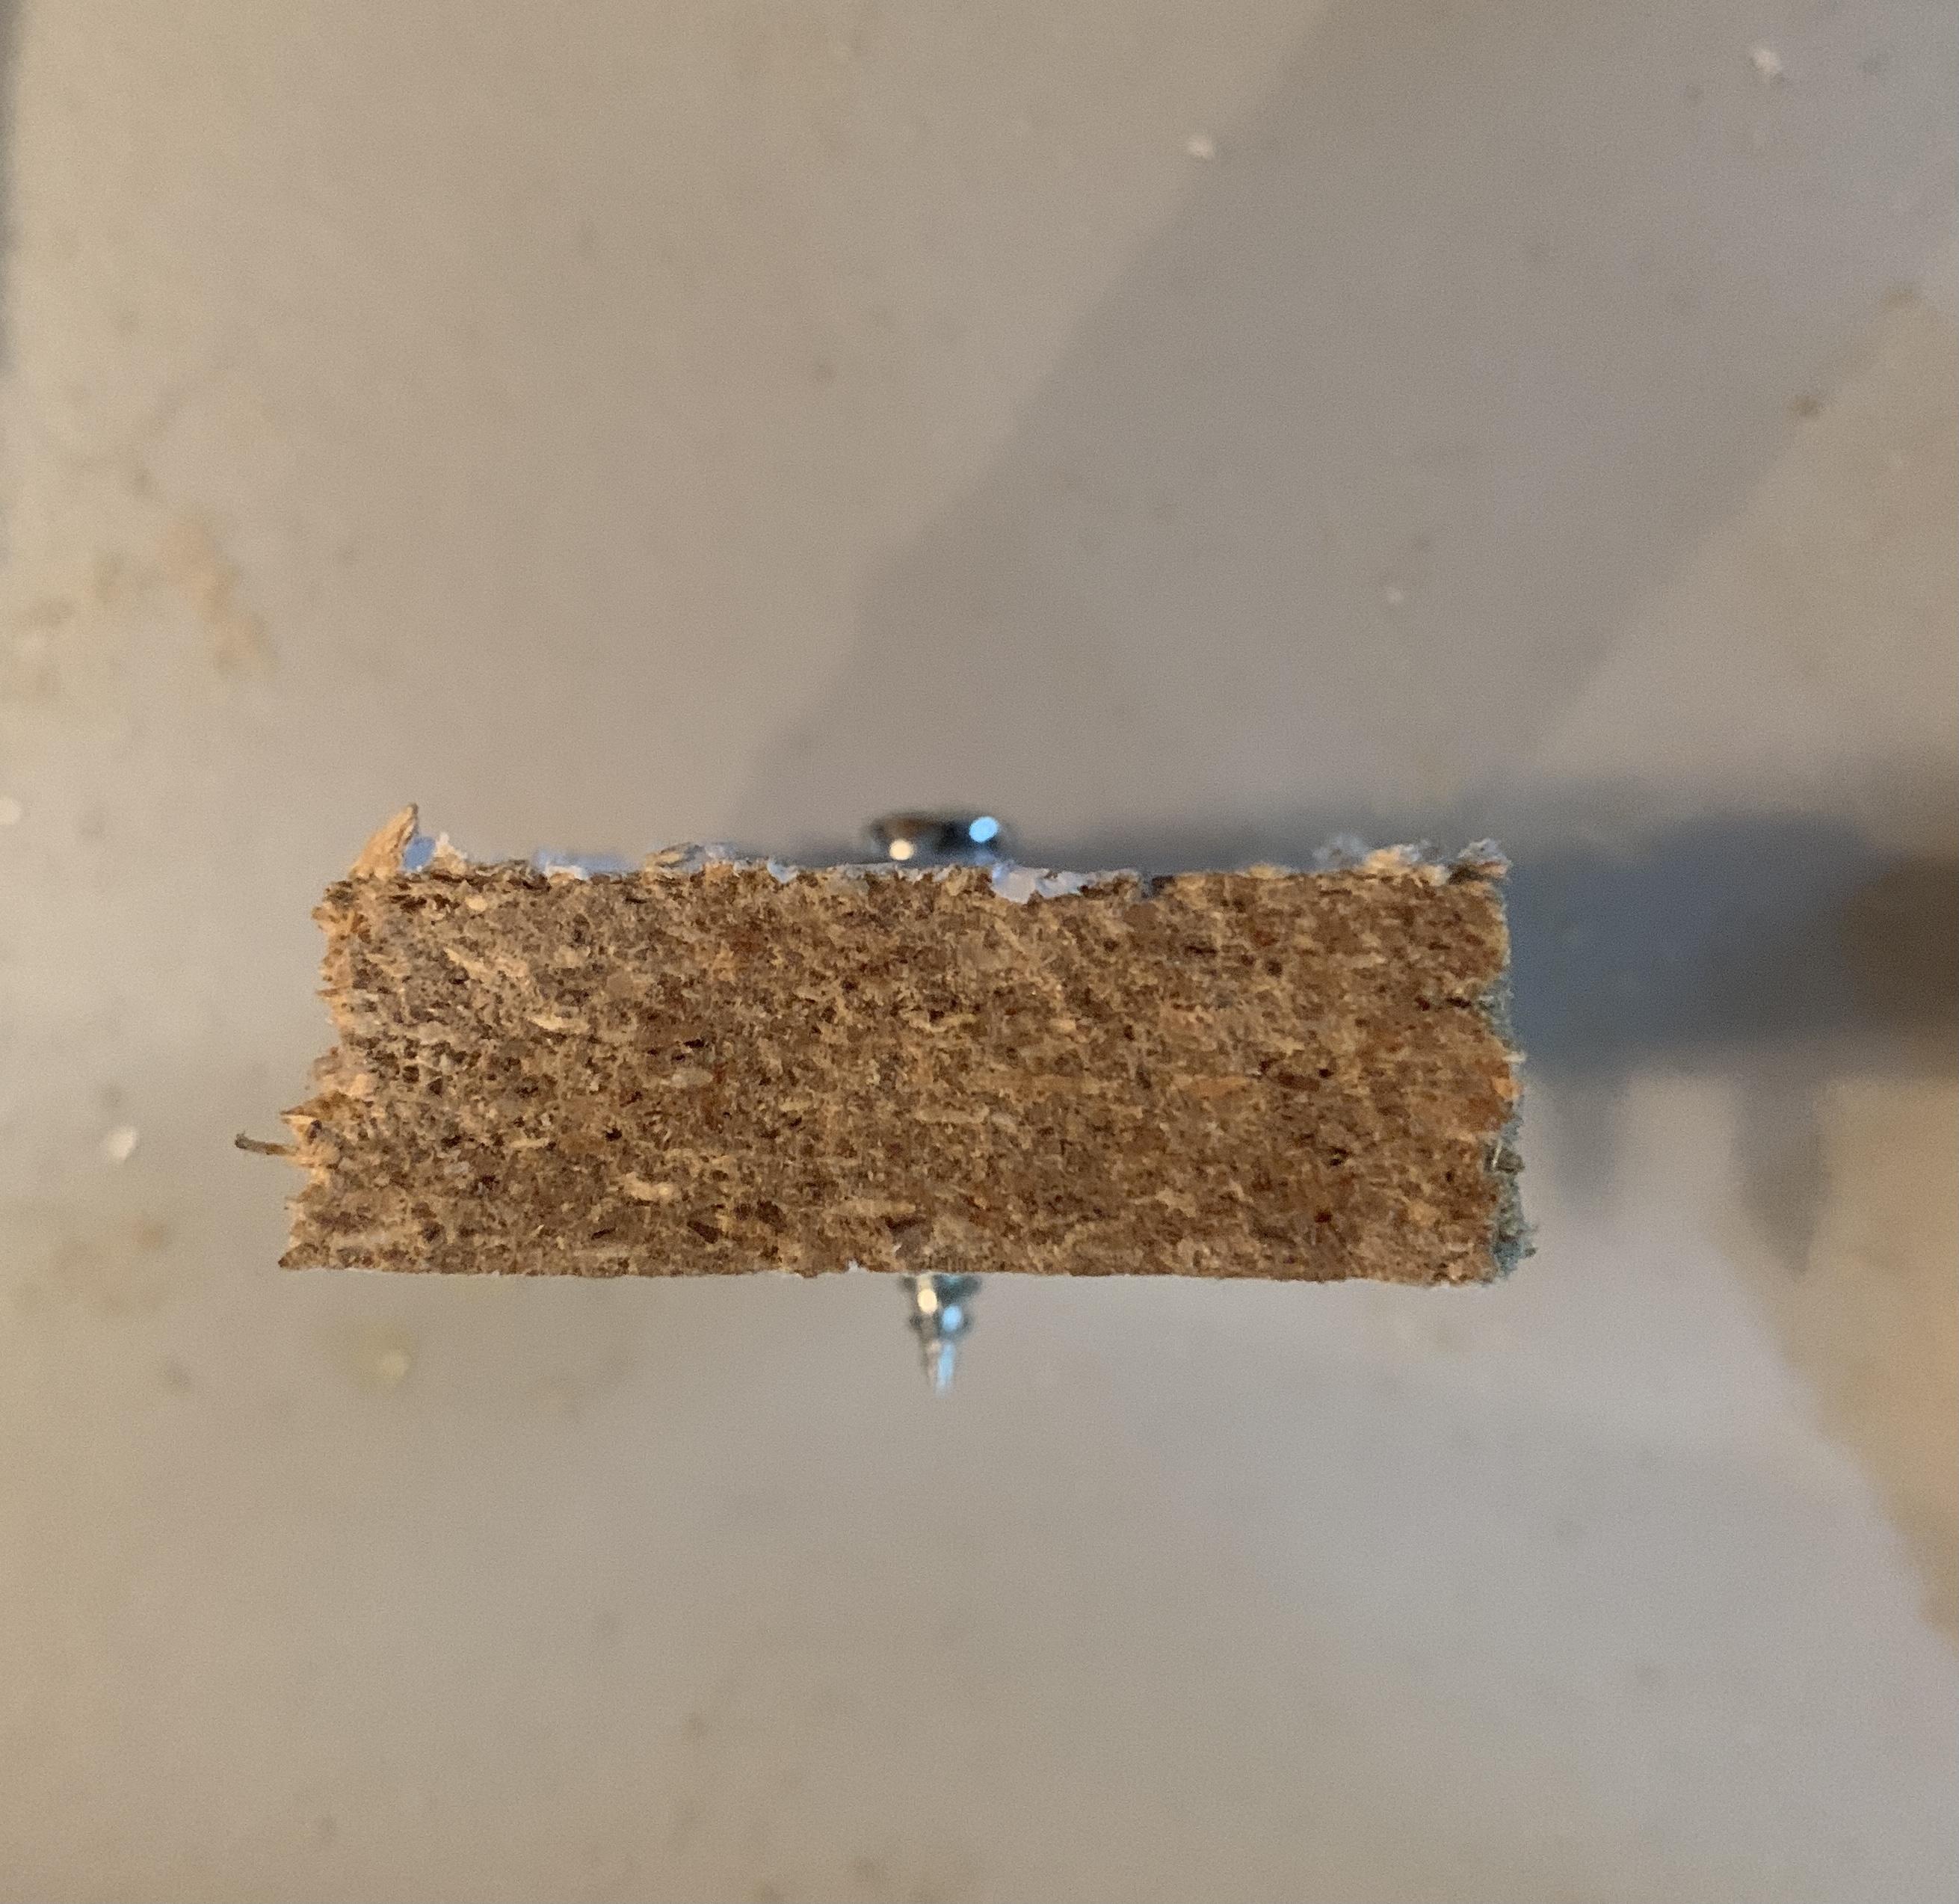
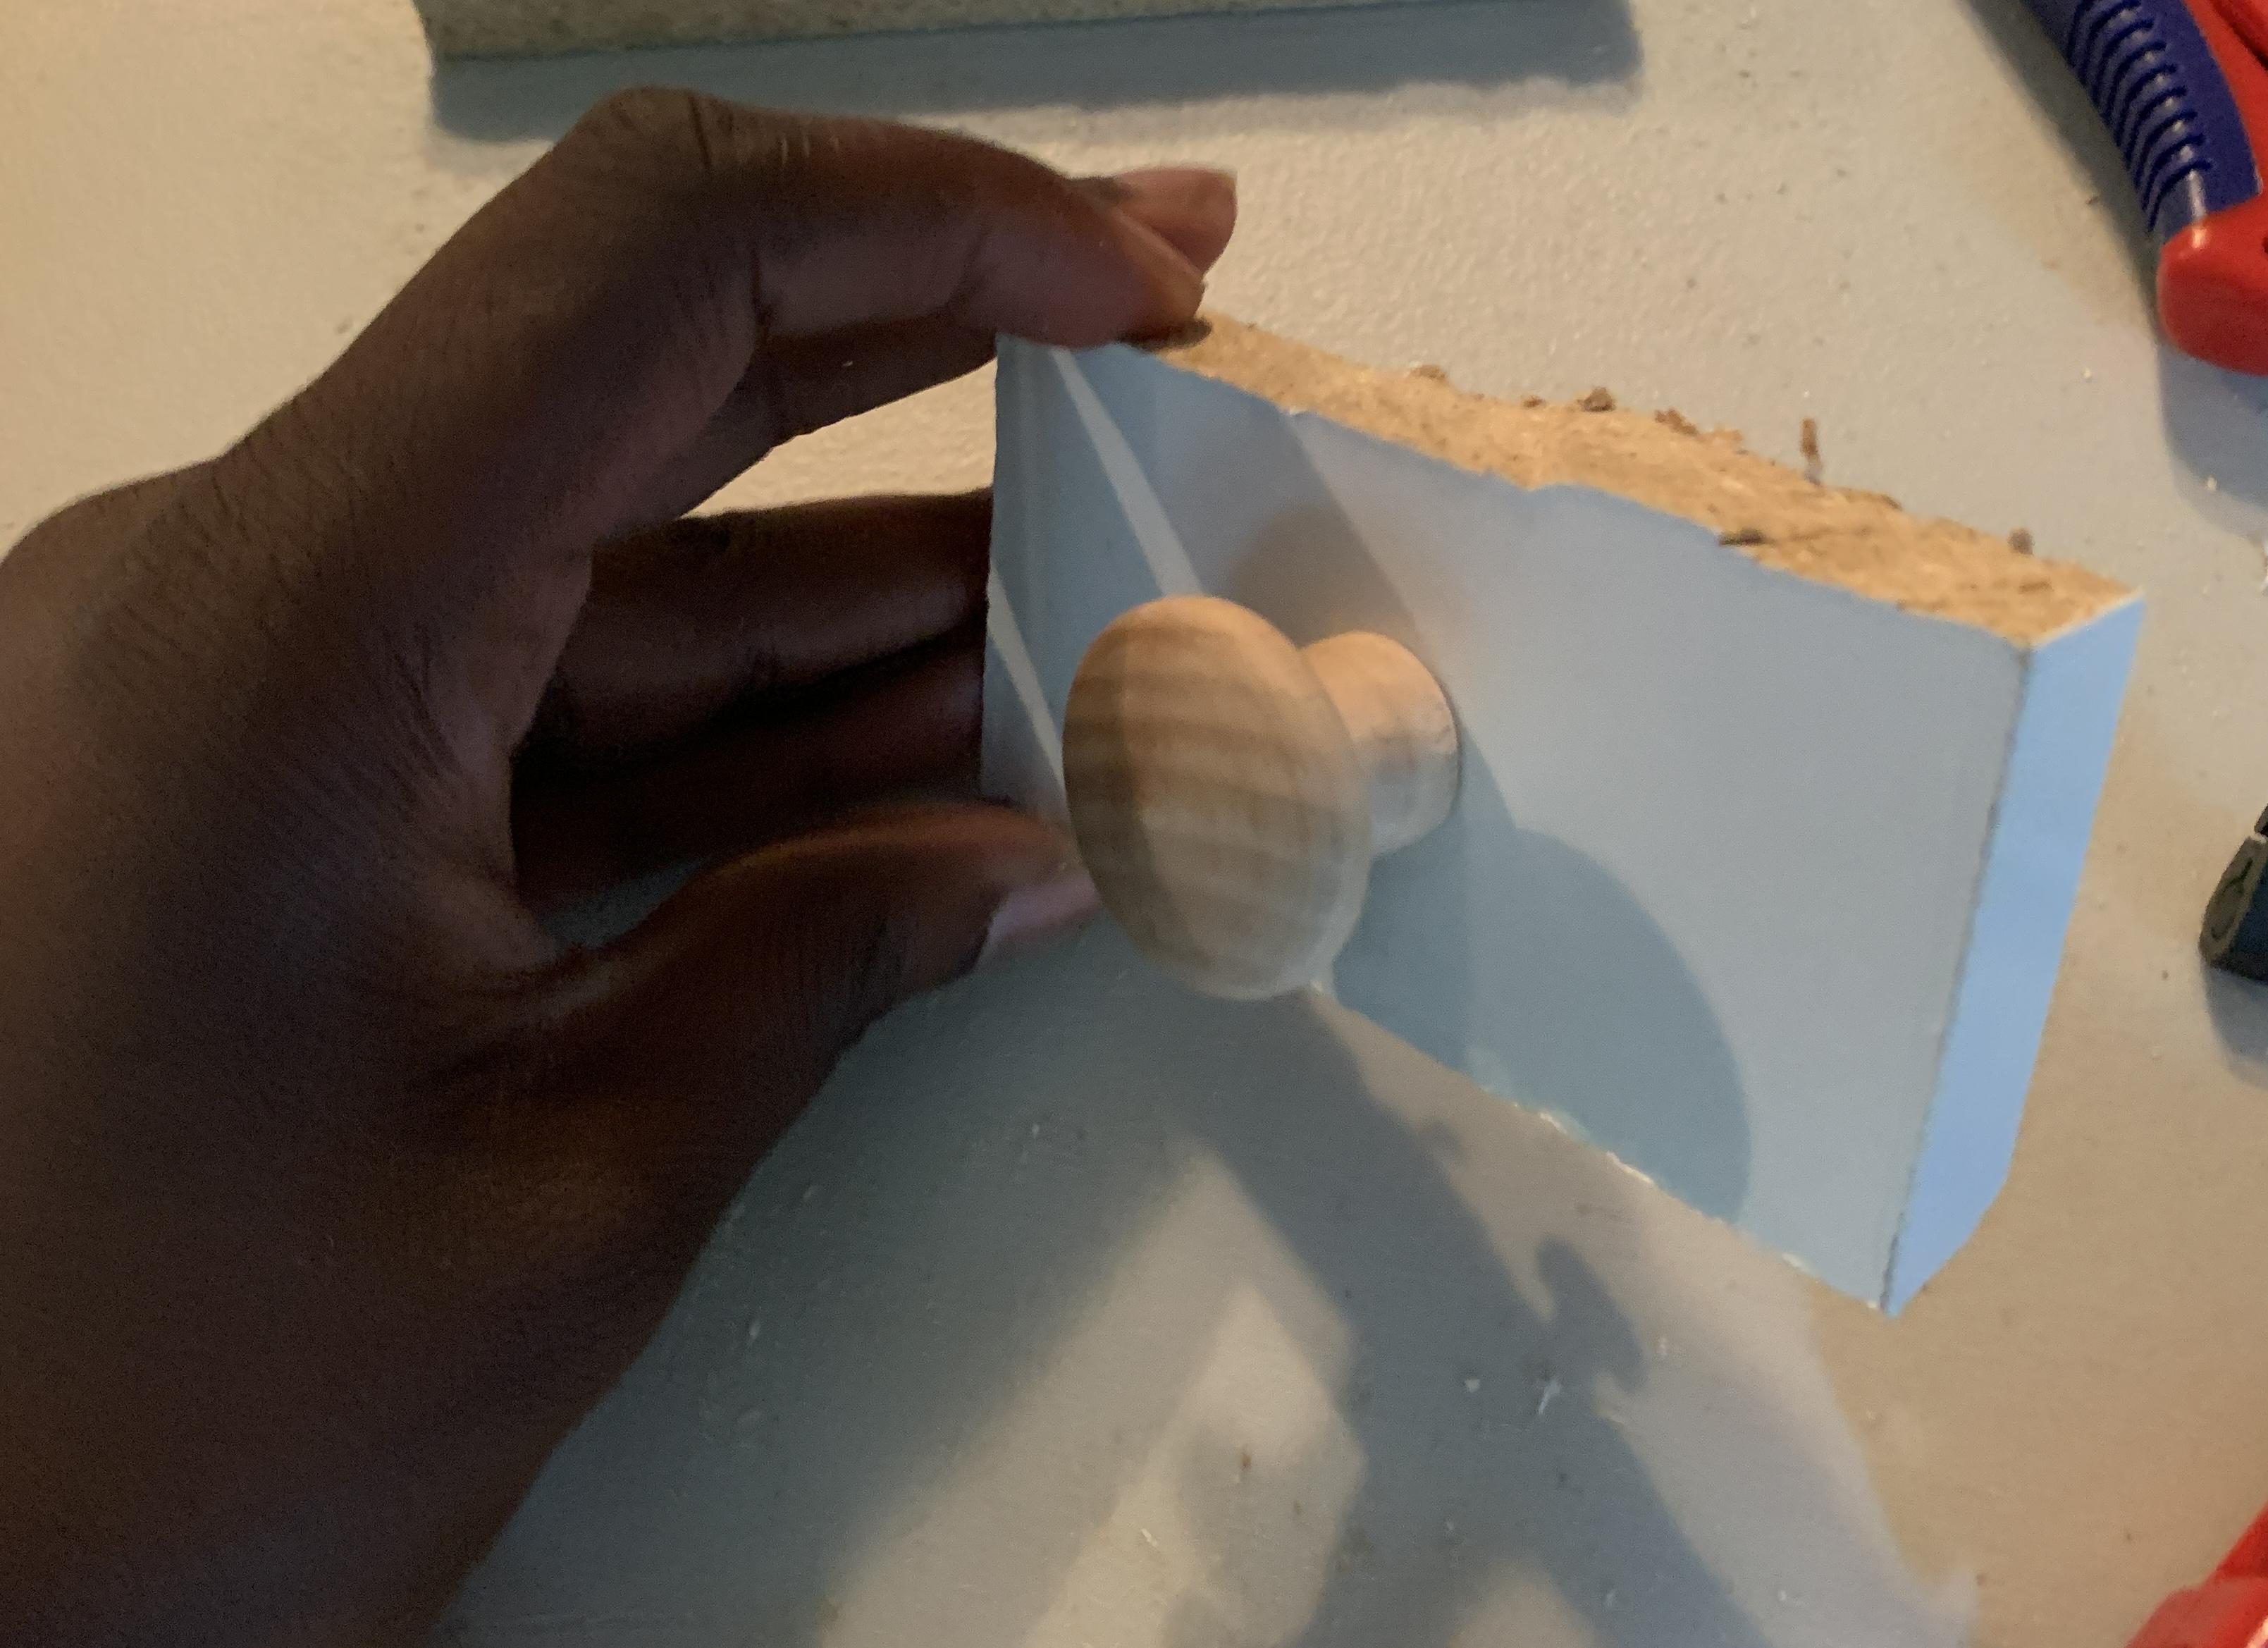
The 4 by 2 piece of wood you just cut will be the front of the drawer and installing the knob can be done in three simple steps:
First, using a ruler and pencil, mark out the center of the wood, then using a drill bit corresponding to the size of the nail included with the wooden knob, drill a hole through the wood piece.
Next, screw the screw all the way into the wood.
Lastly, line the hole at the bottom up with the pointy end of the screw and screw the knob onto it until the base of the knob and the wood are touching. You will have to apply some force to do this, but it shouldn't be too hard to get on.
Fit Everything Together and Sand
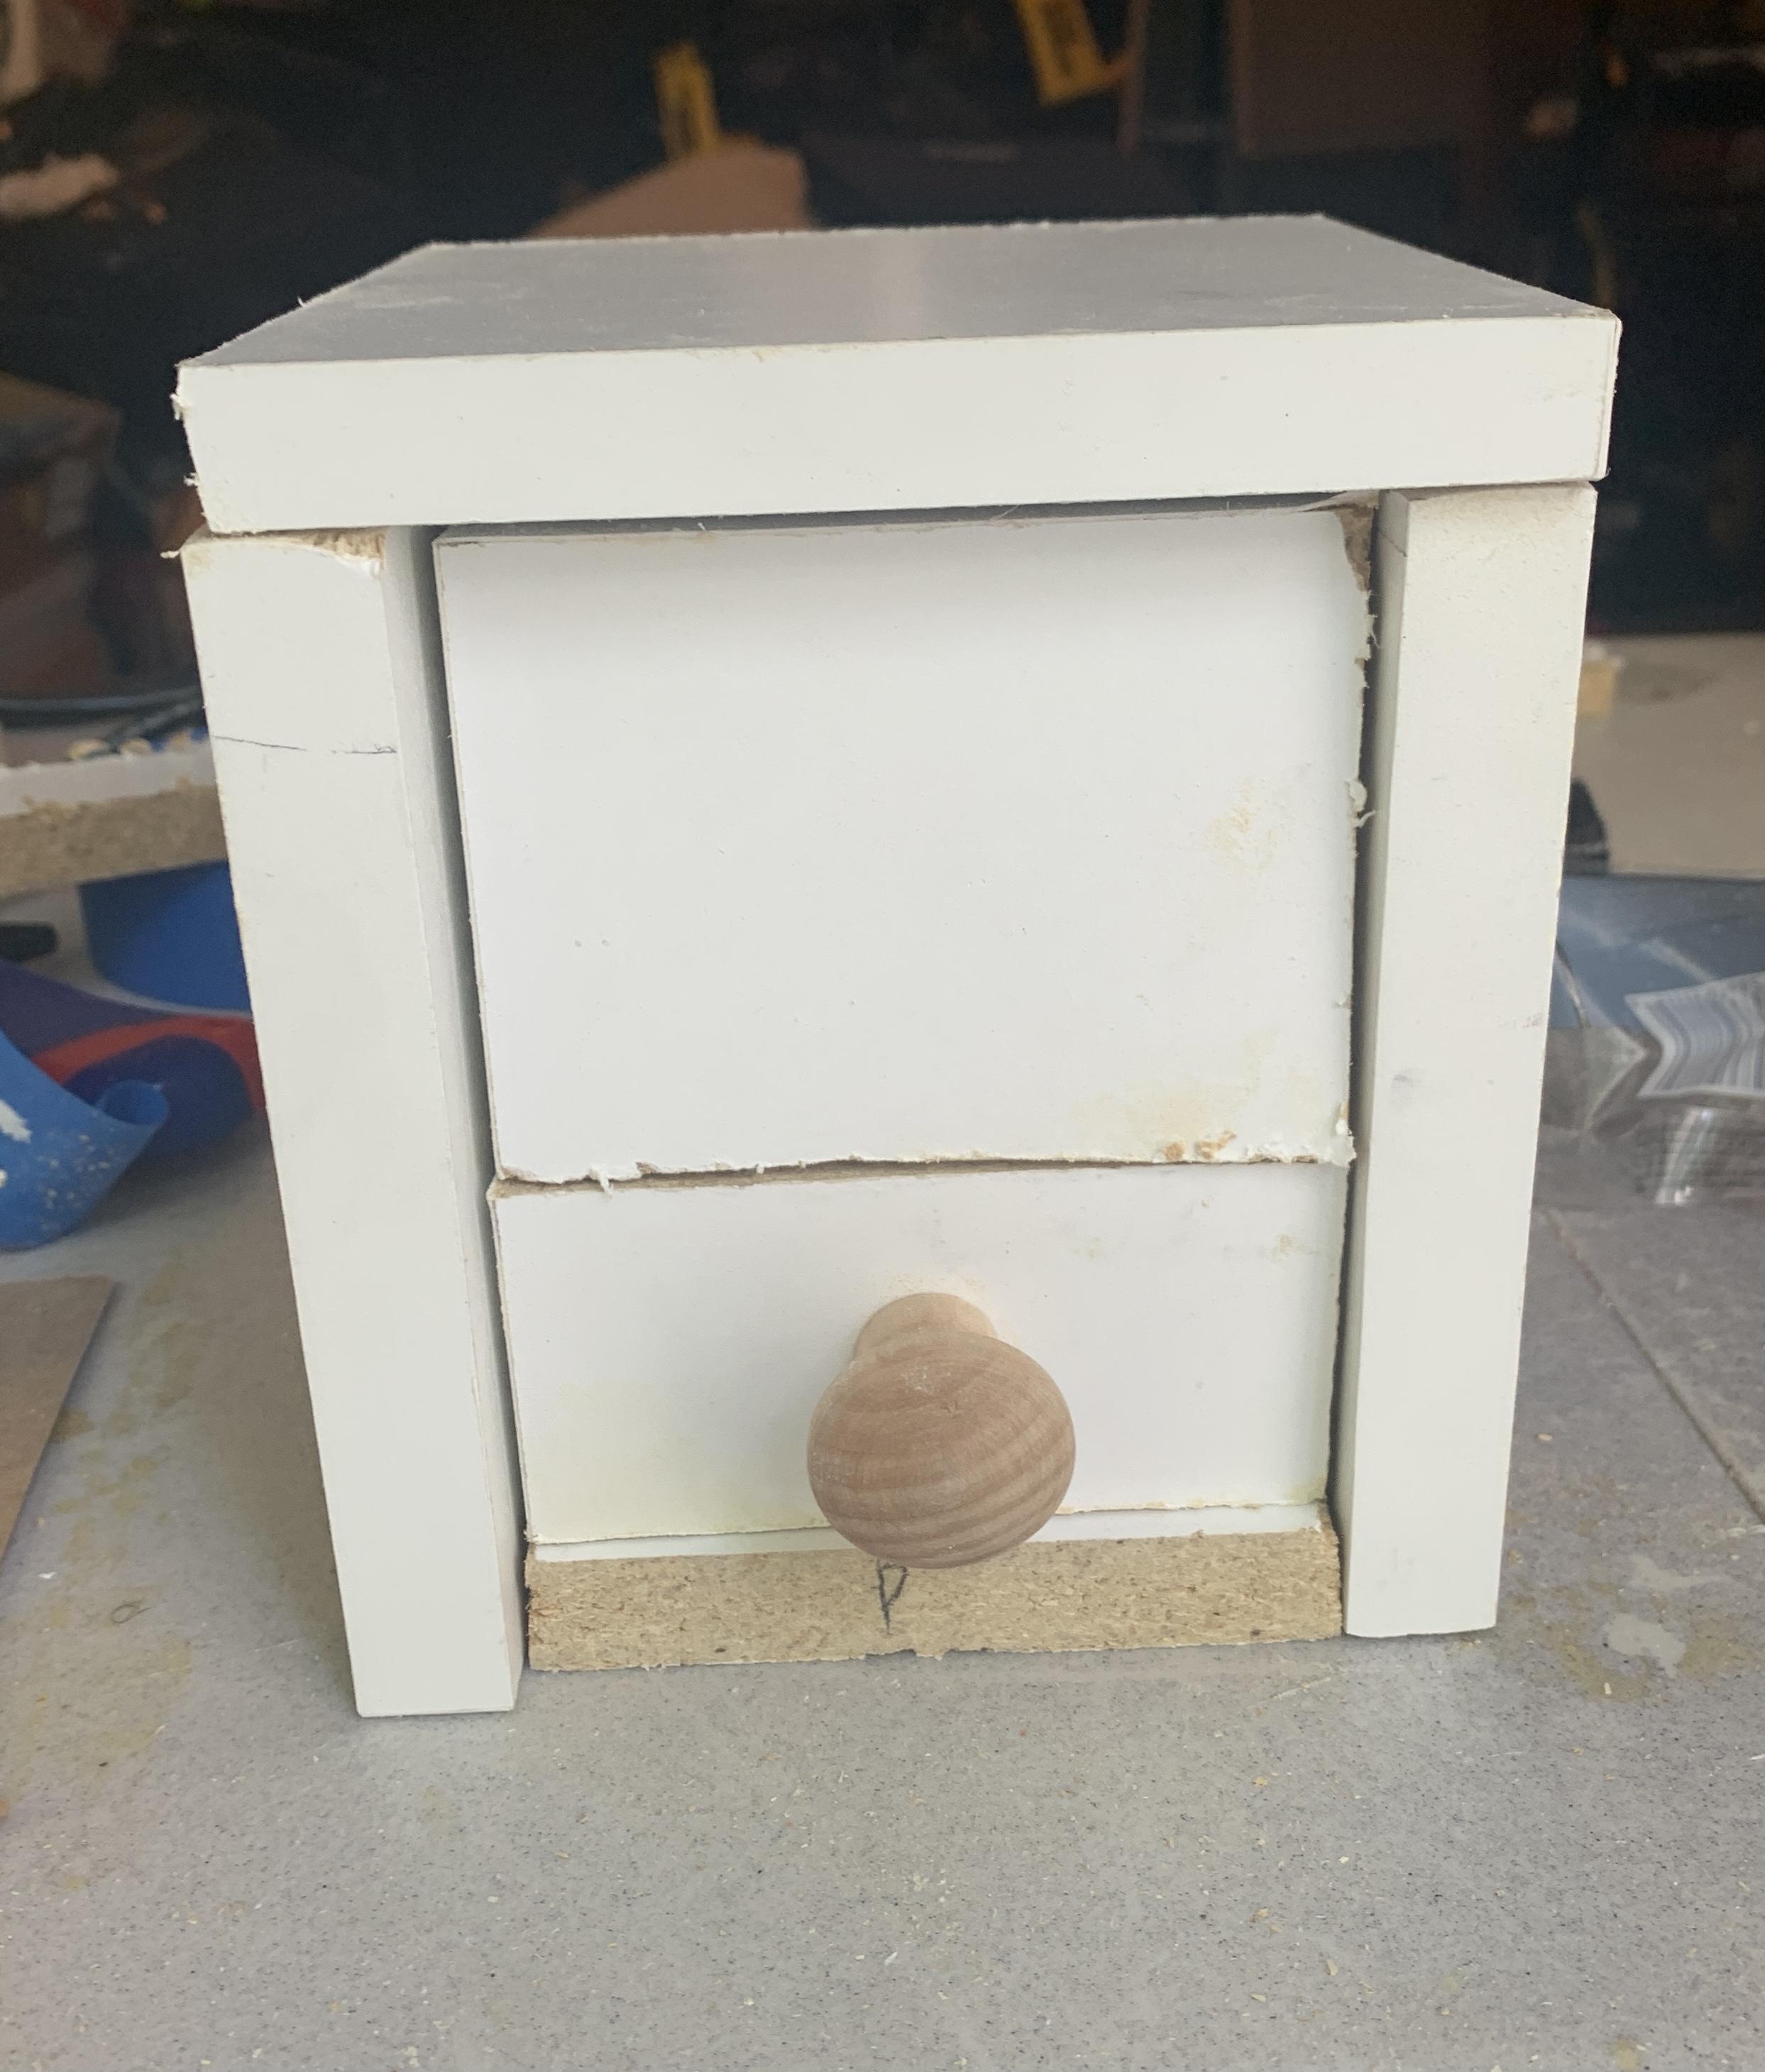
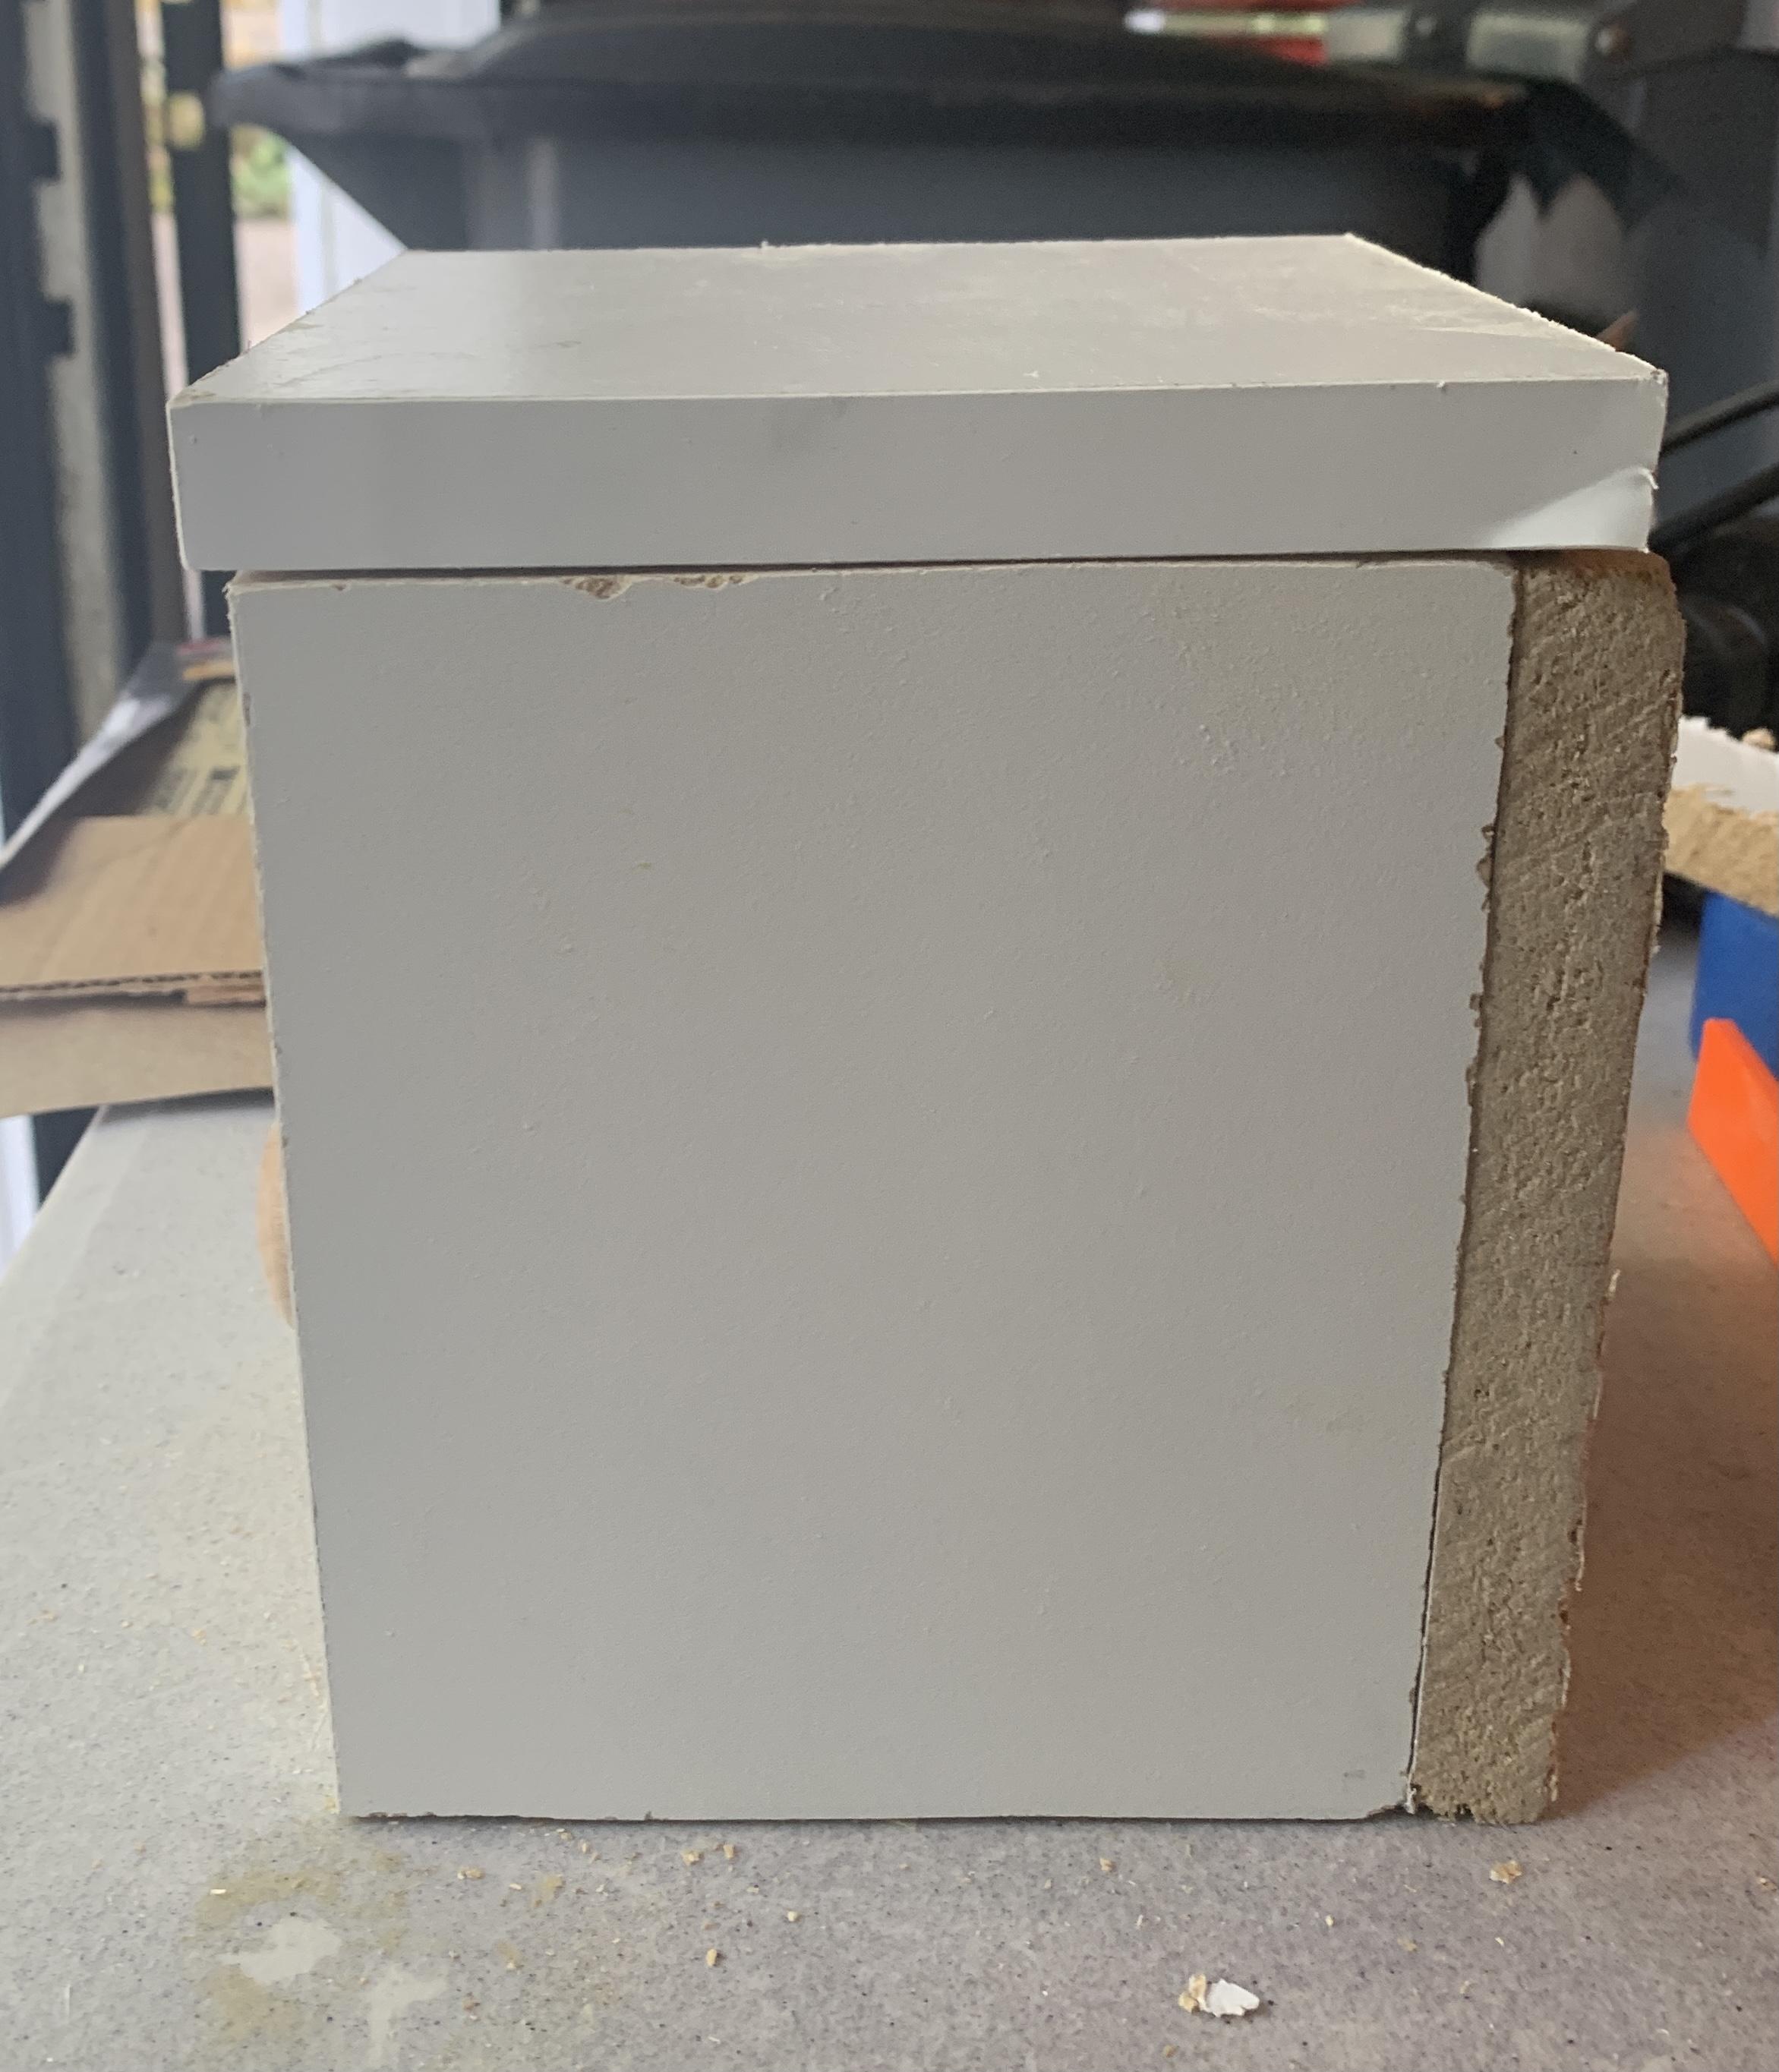
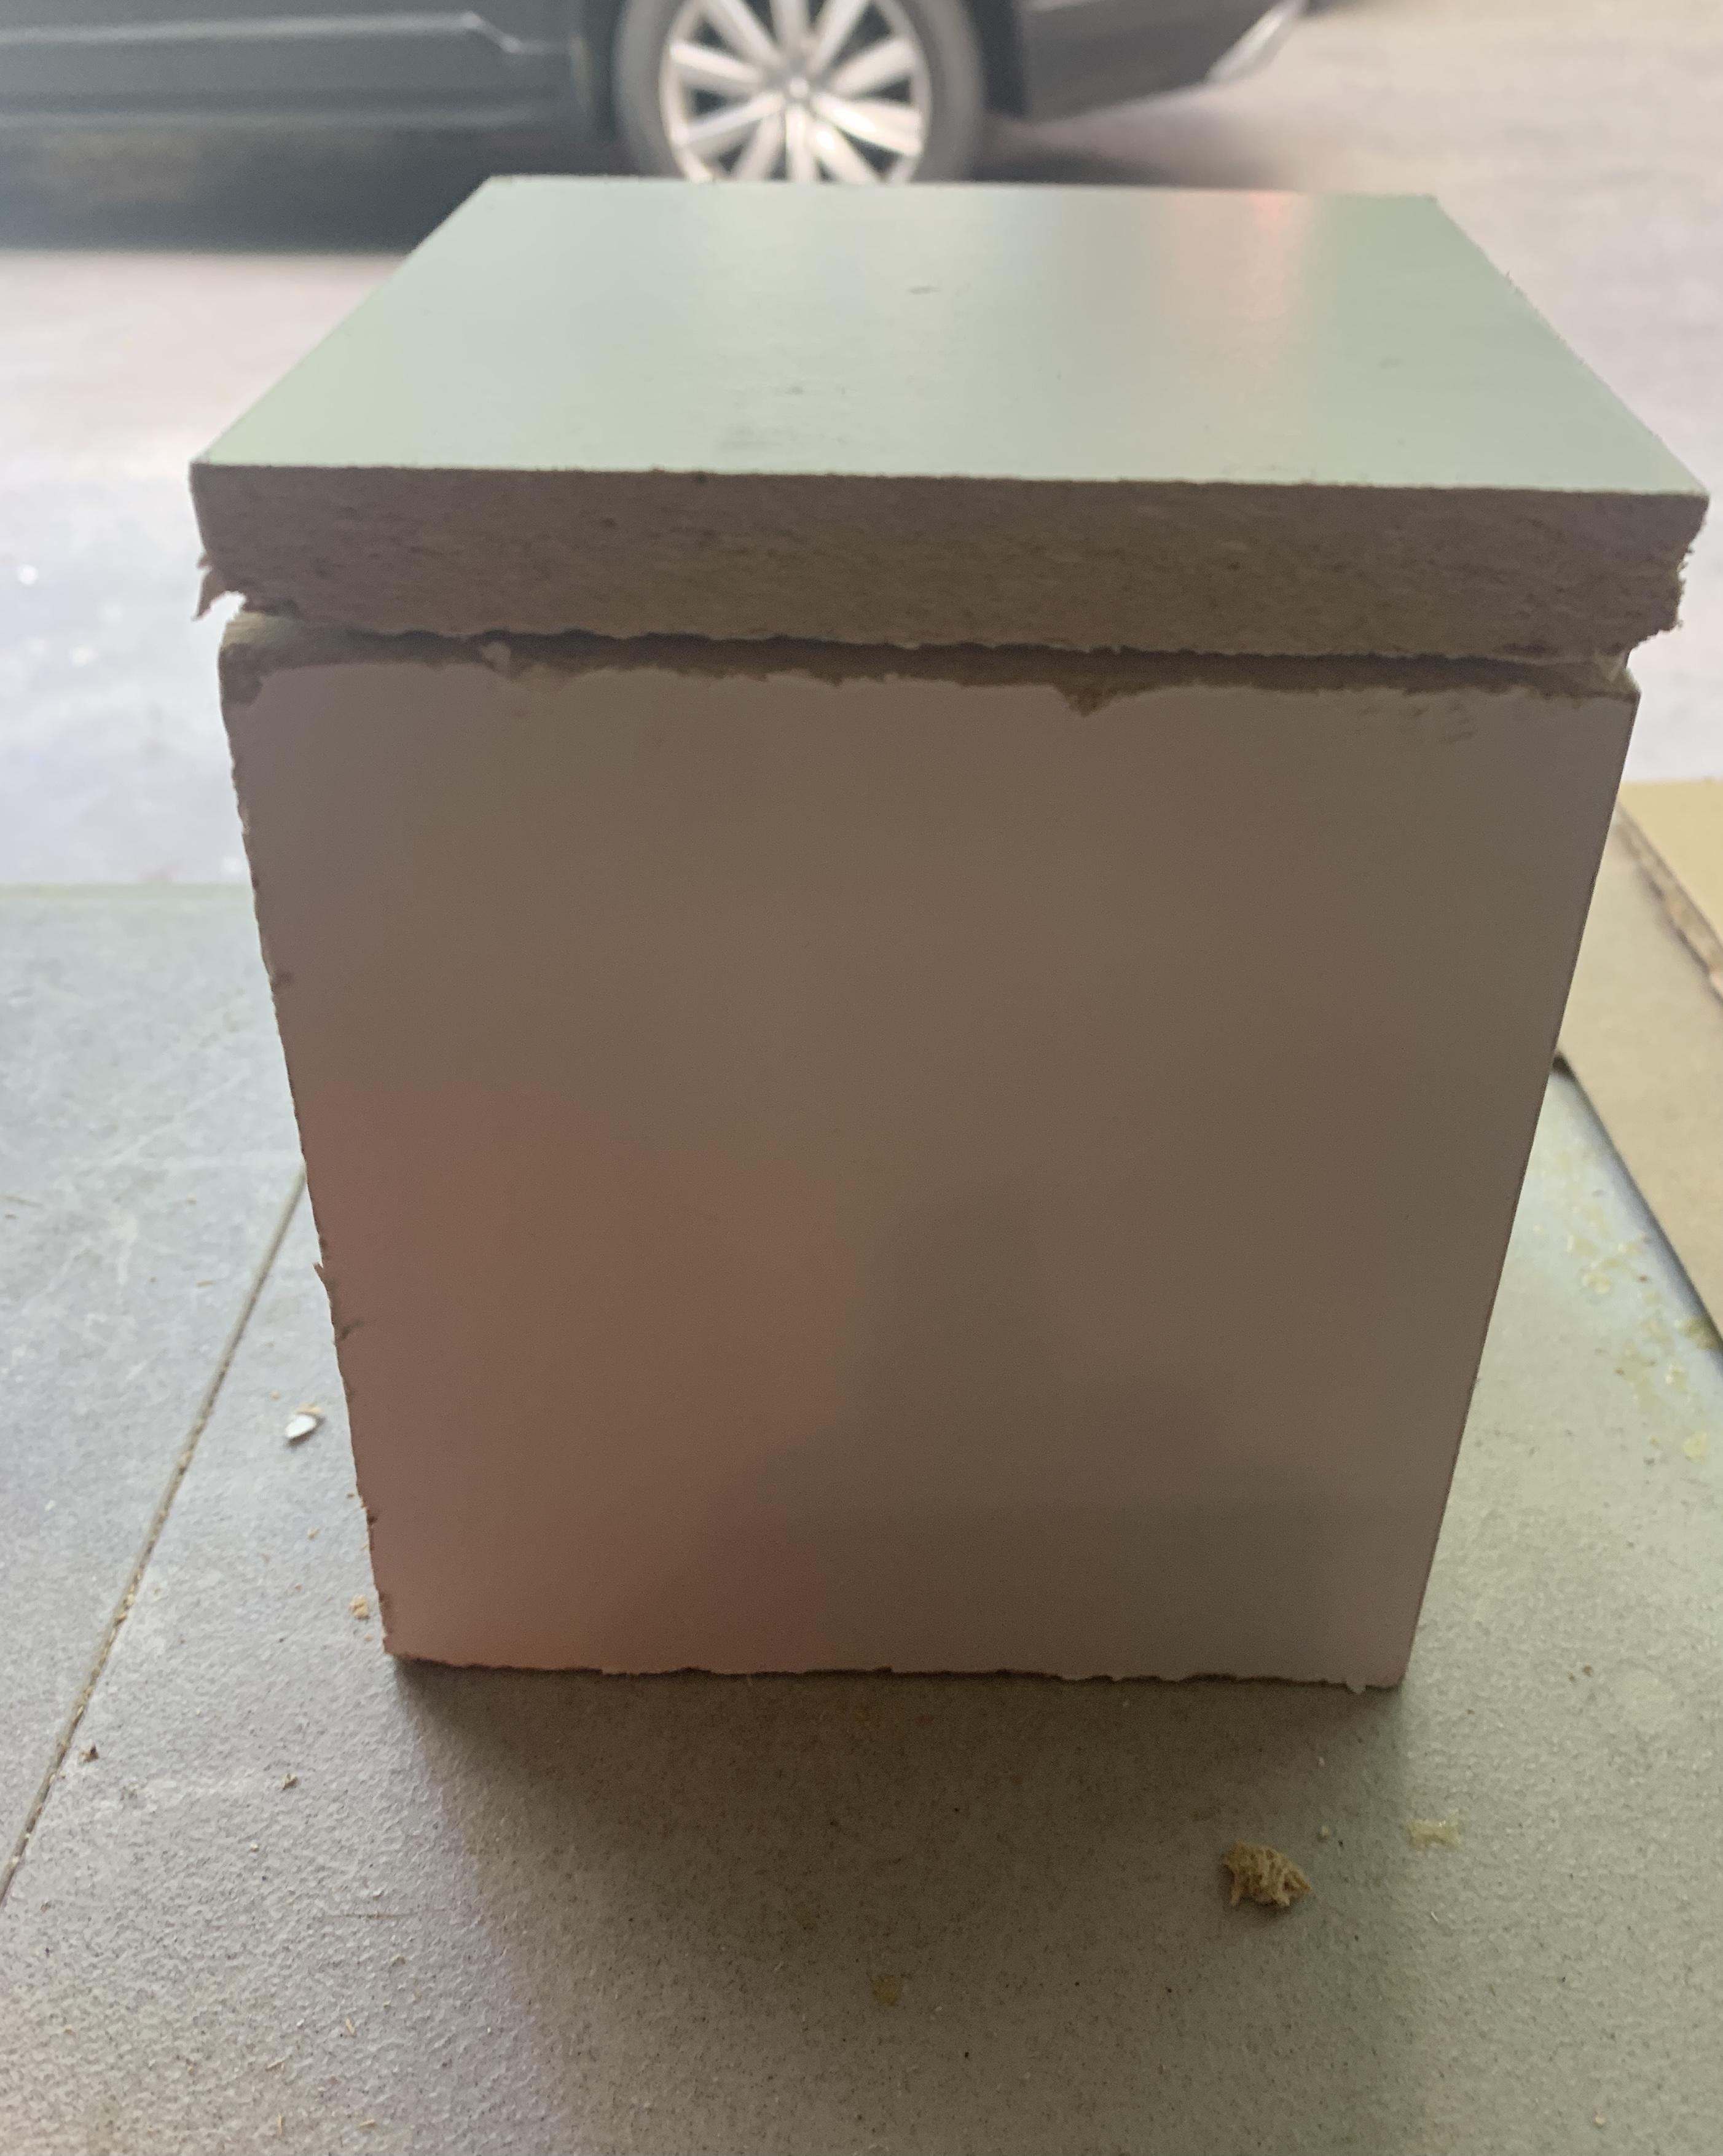
At this point, you should fit the pieces of wood together according to the above images. This is for the purpose of making sure that your cuts are consistent and catching anything that you need to adjust slightly to make everything line up.
Most rough edges can be fixed with a bit of sanding with coarse sandpaper and by using a level to make sure edges are straight. You don't have to have every single part perfect (I certainly didn't), but at surfaces where two pieces of wood are going to be joined together, you want the touching parts to be as flat and level as possible so the structure is secure.
Gobble Gobble (Making a Mouth Hole)
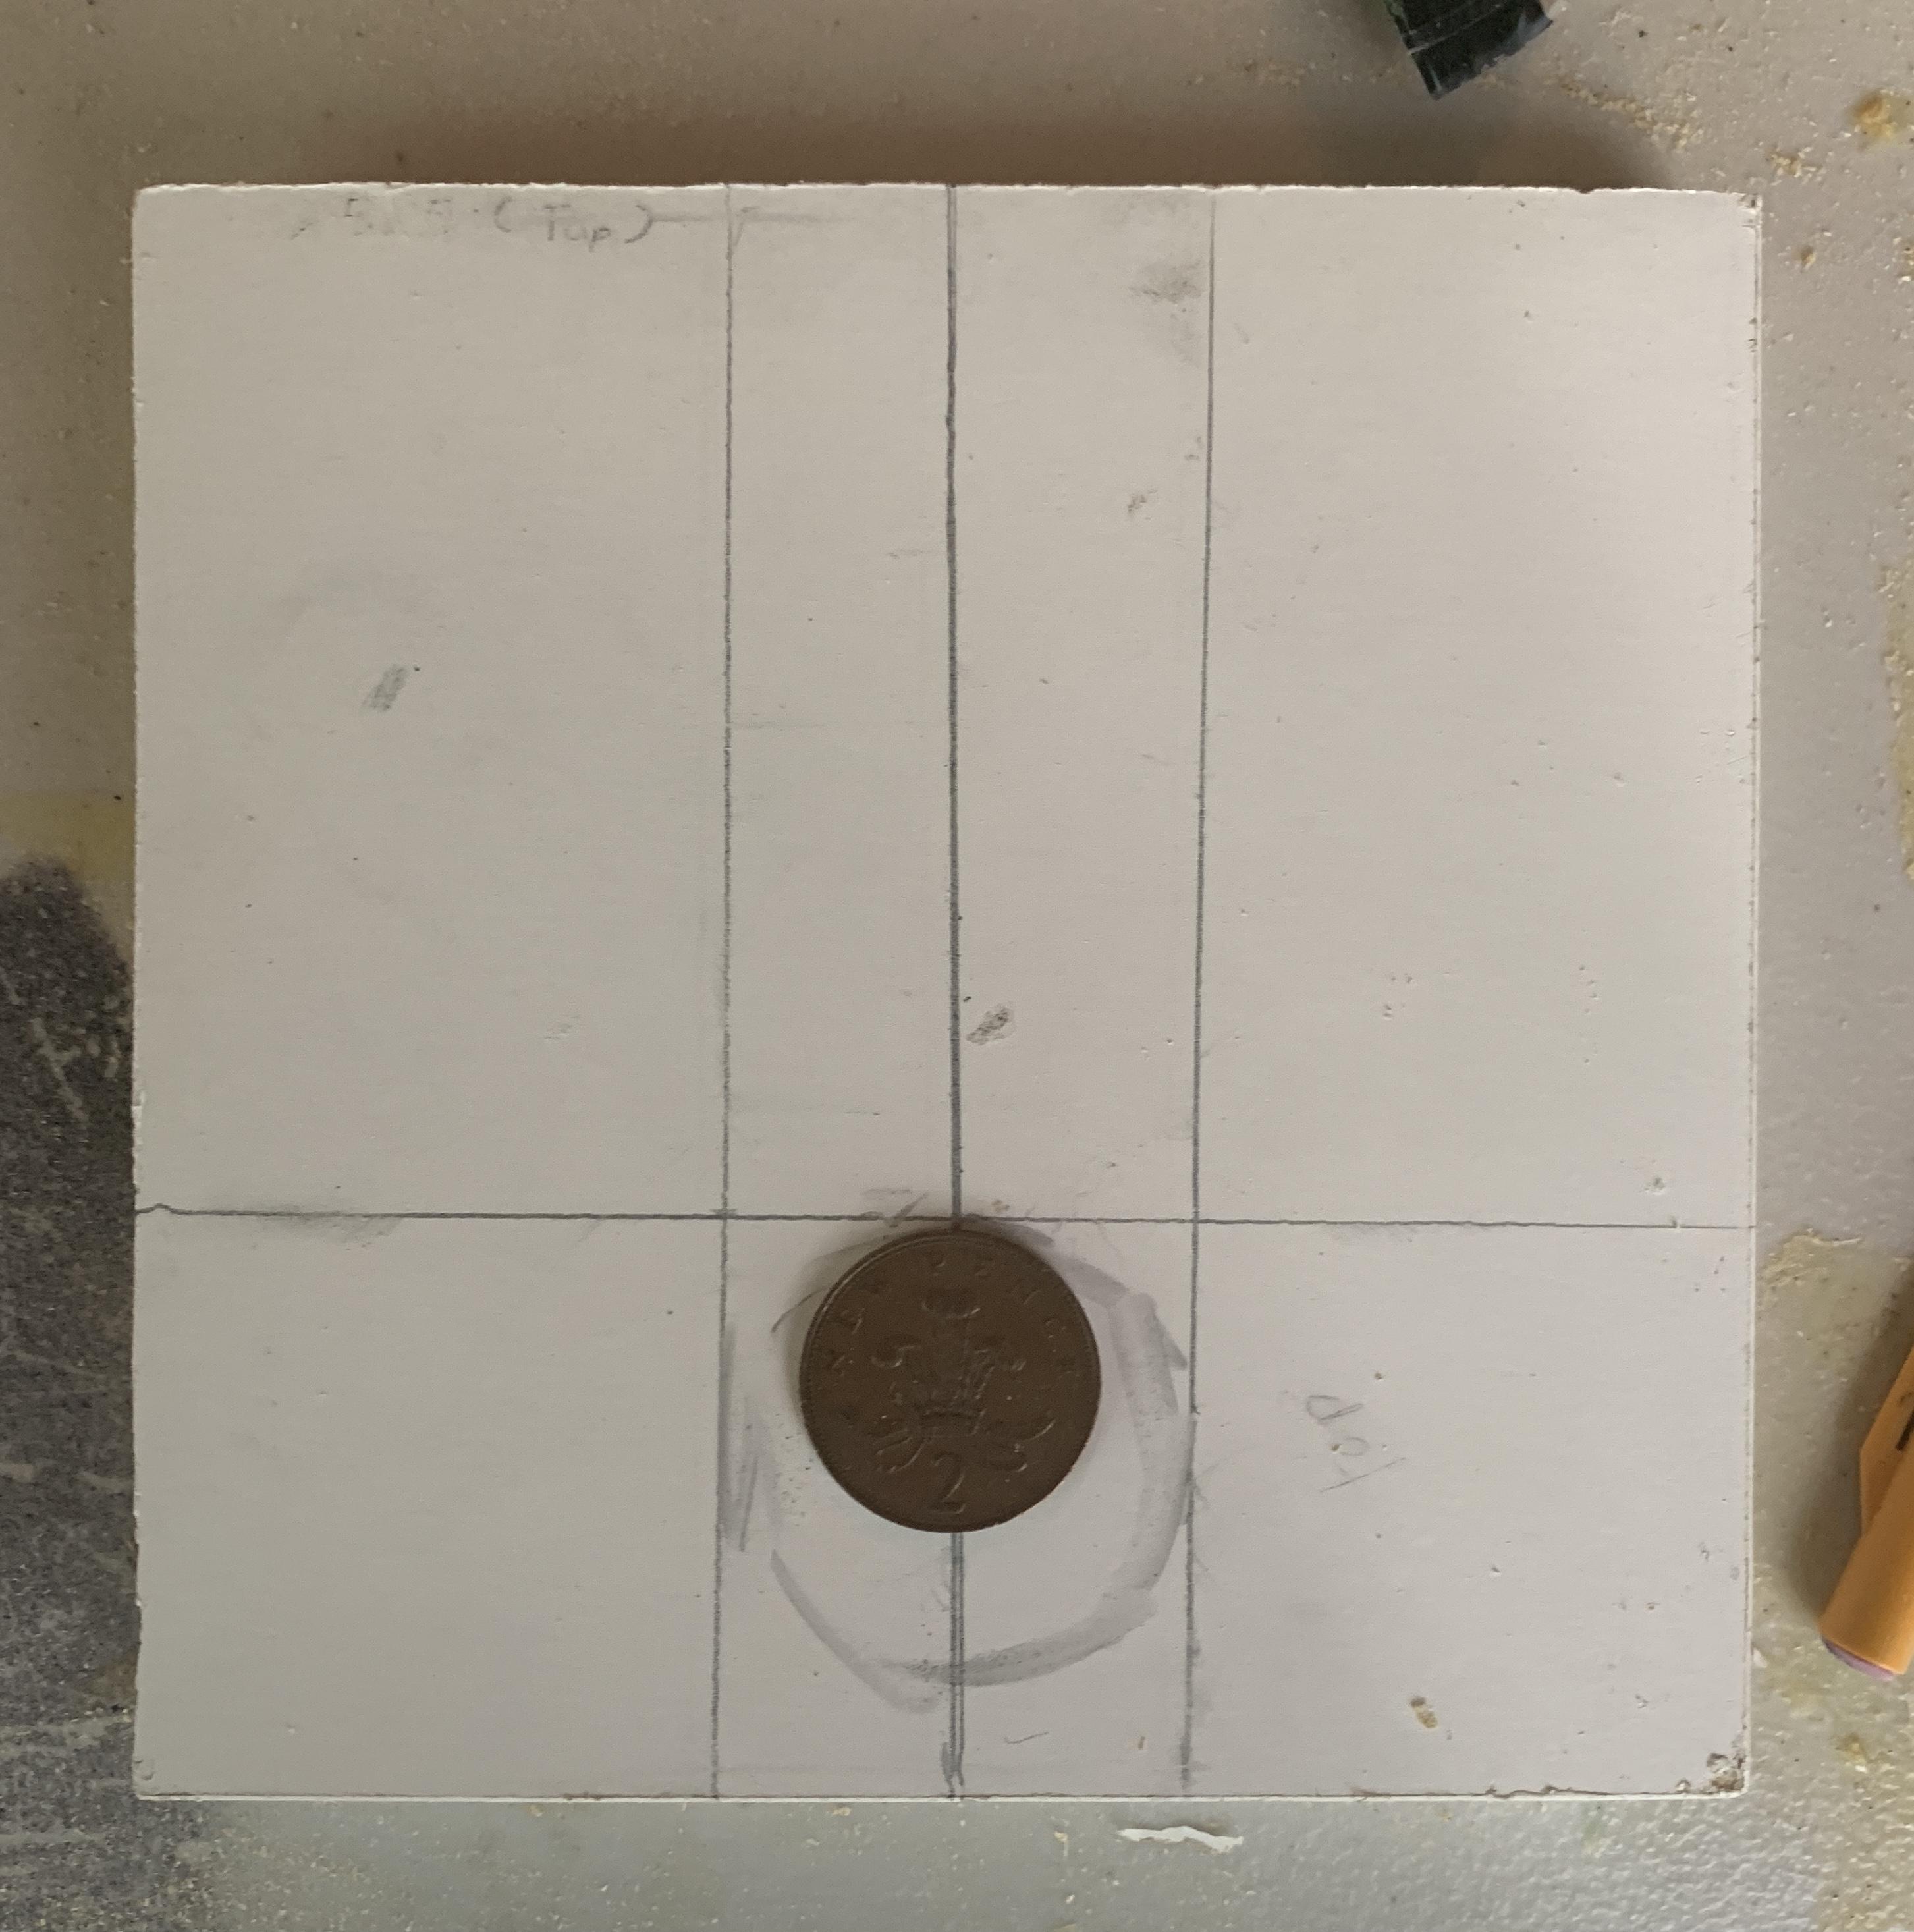
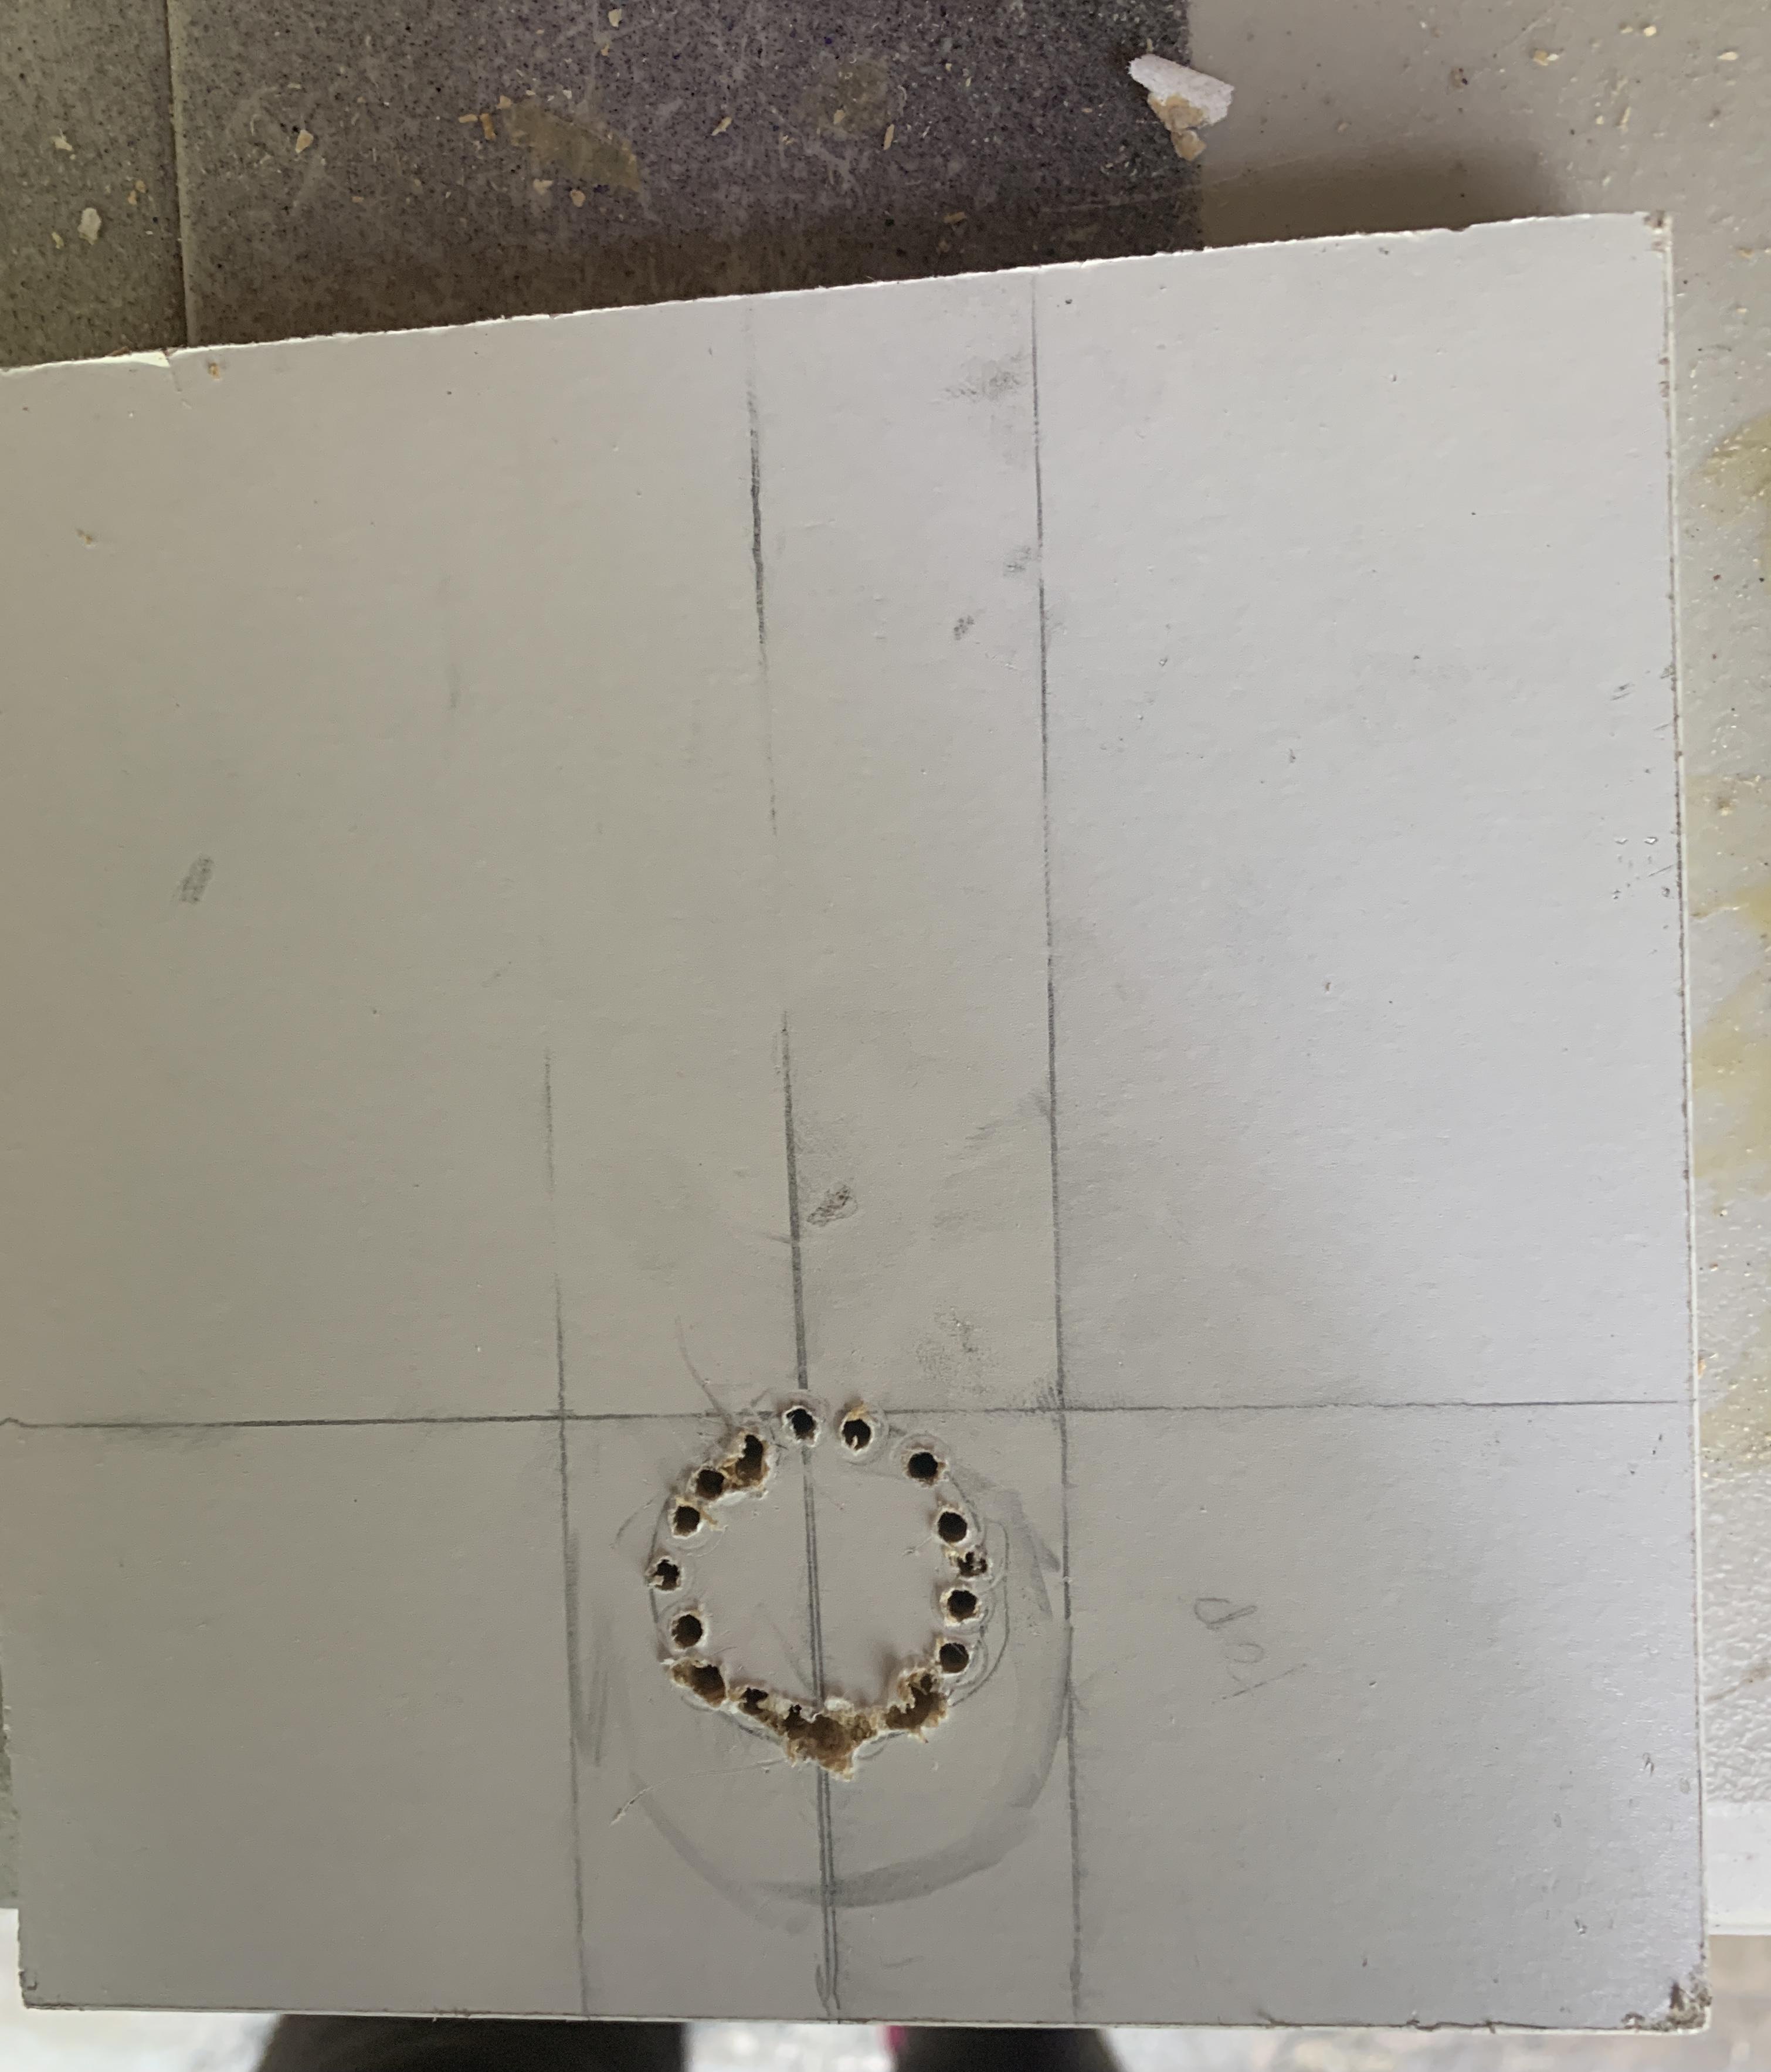
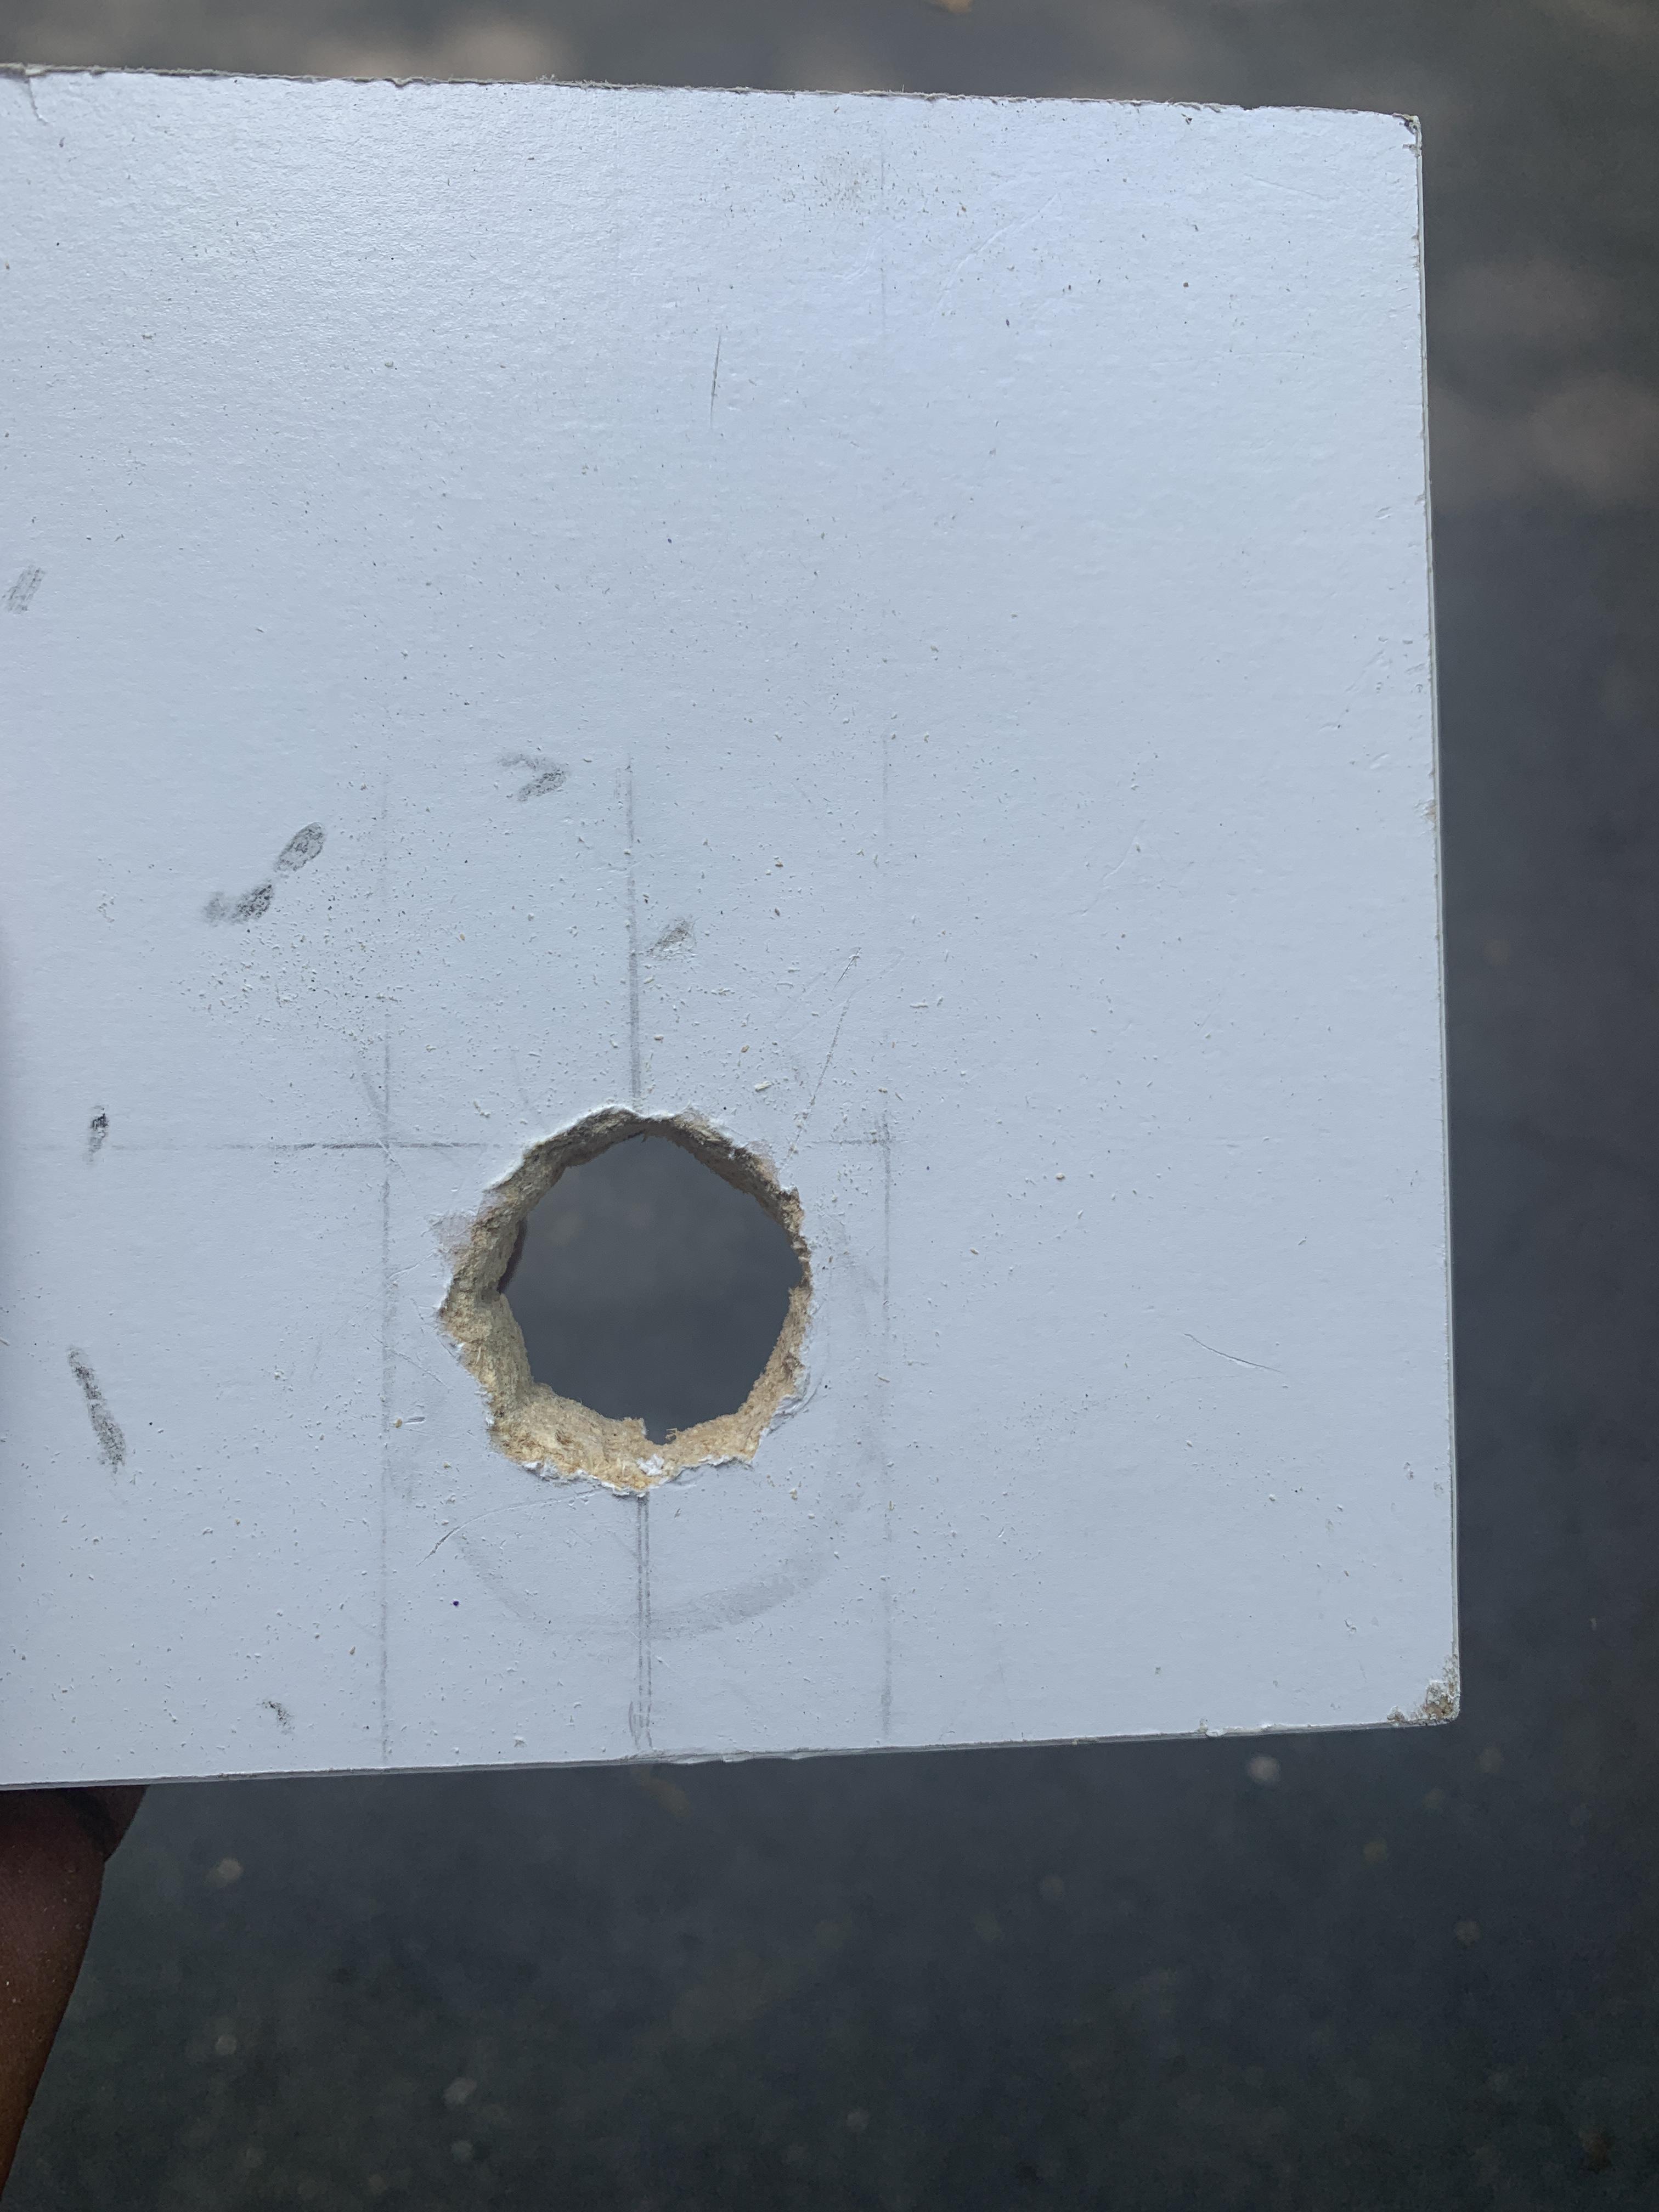
This step is largely improvisational, and is really dependent on whatever tools you have on hand.
First you are going to trace a circle larger than a quarter (I used a 2 pence coin and that worked great) so that vertically, the center of the circle is aligned with the center of the block of wood and horizontally, the top of the circle is two inches from the edge of the piece of wood.
Using whatever method you want, cut that hole out of the wood. I did so by drilling small holes around the circle then breaking the wood between the holes until a rough circle fell out.
Regardless of method, sand the hole and make sure that you can drop a quarter oriented flatly through the entire thing.
Creating the Mouth Mechanism
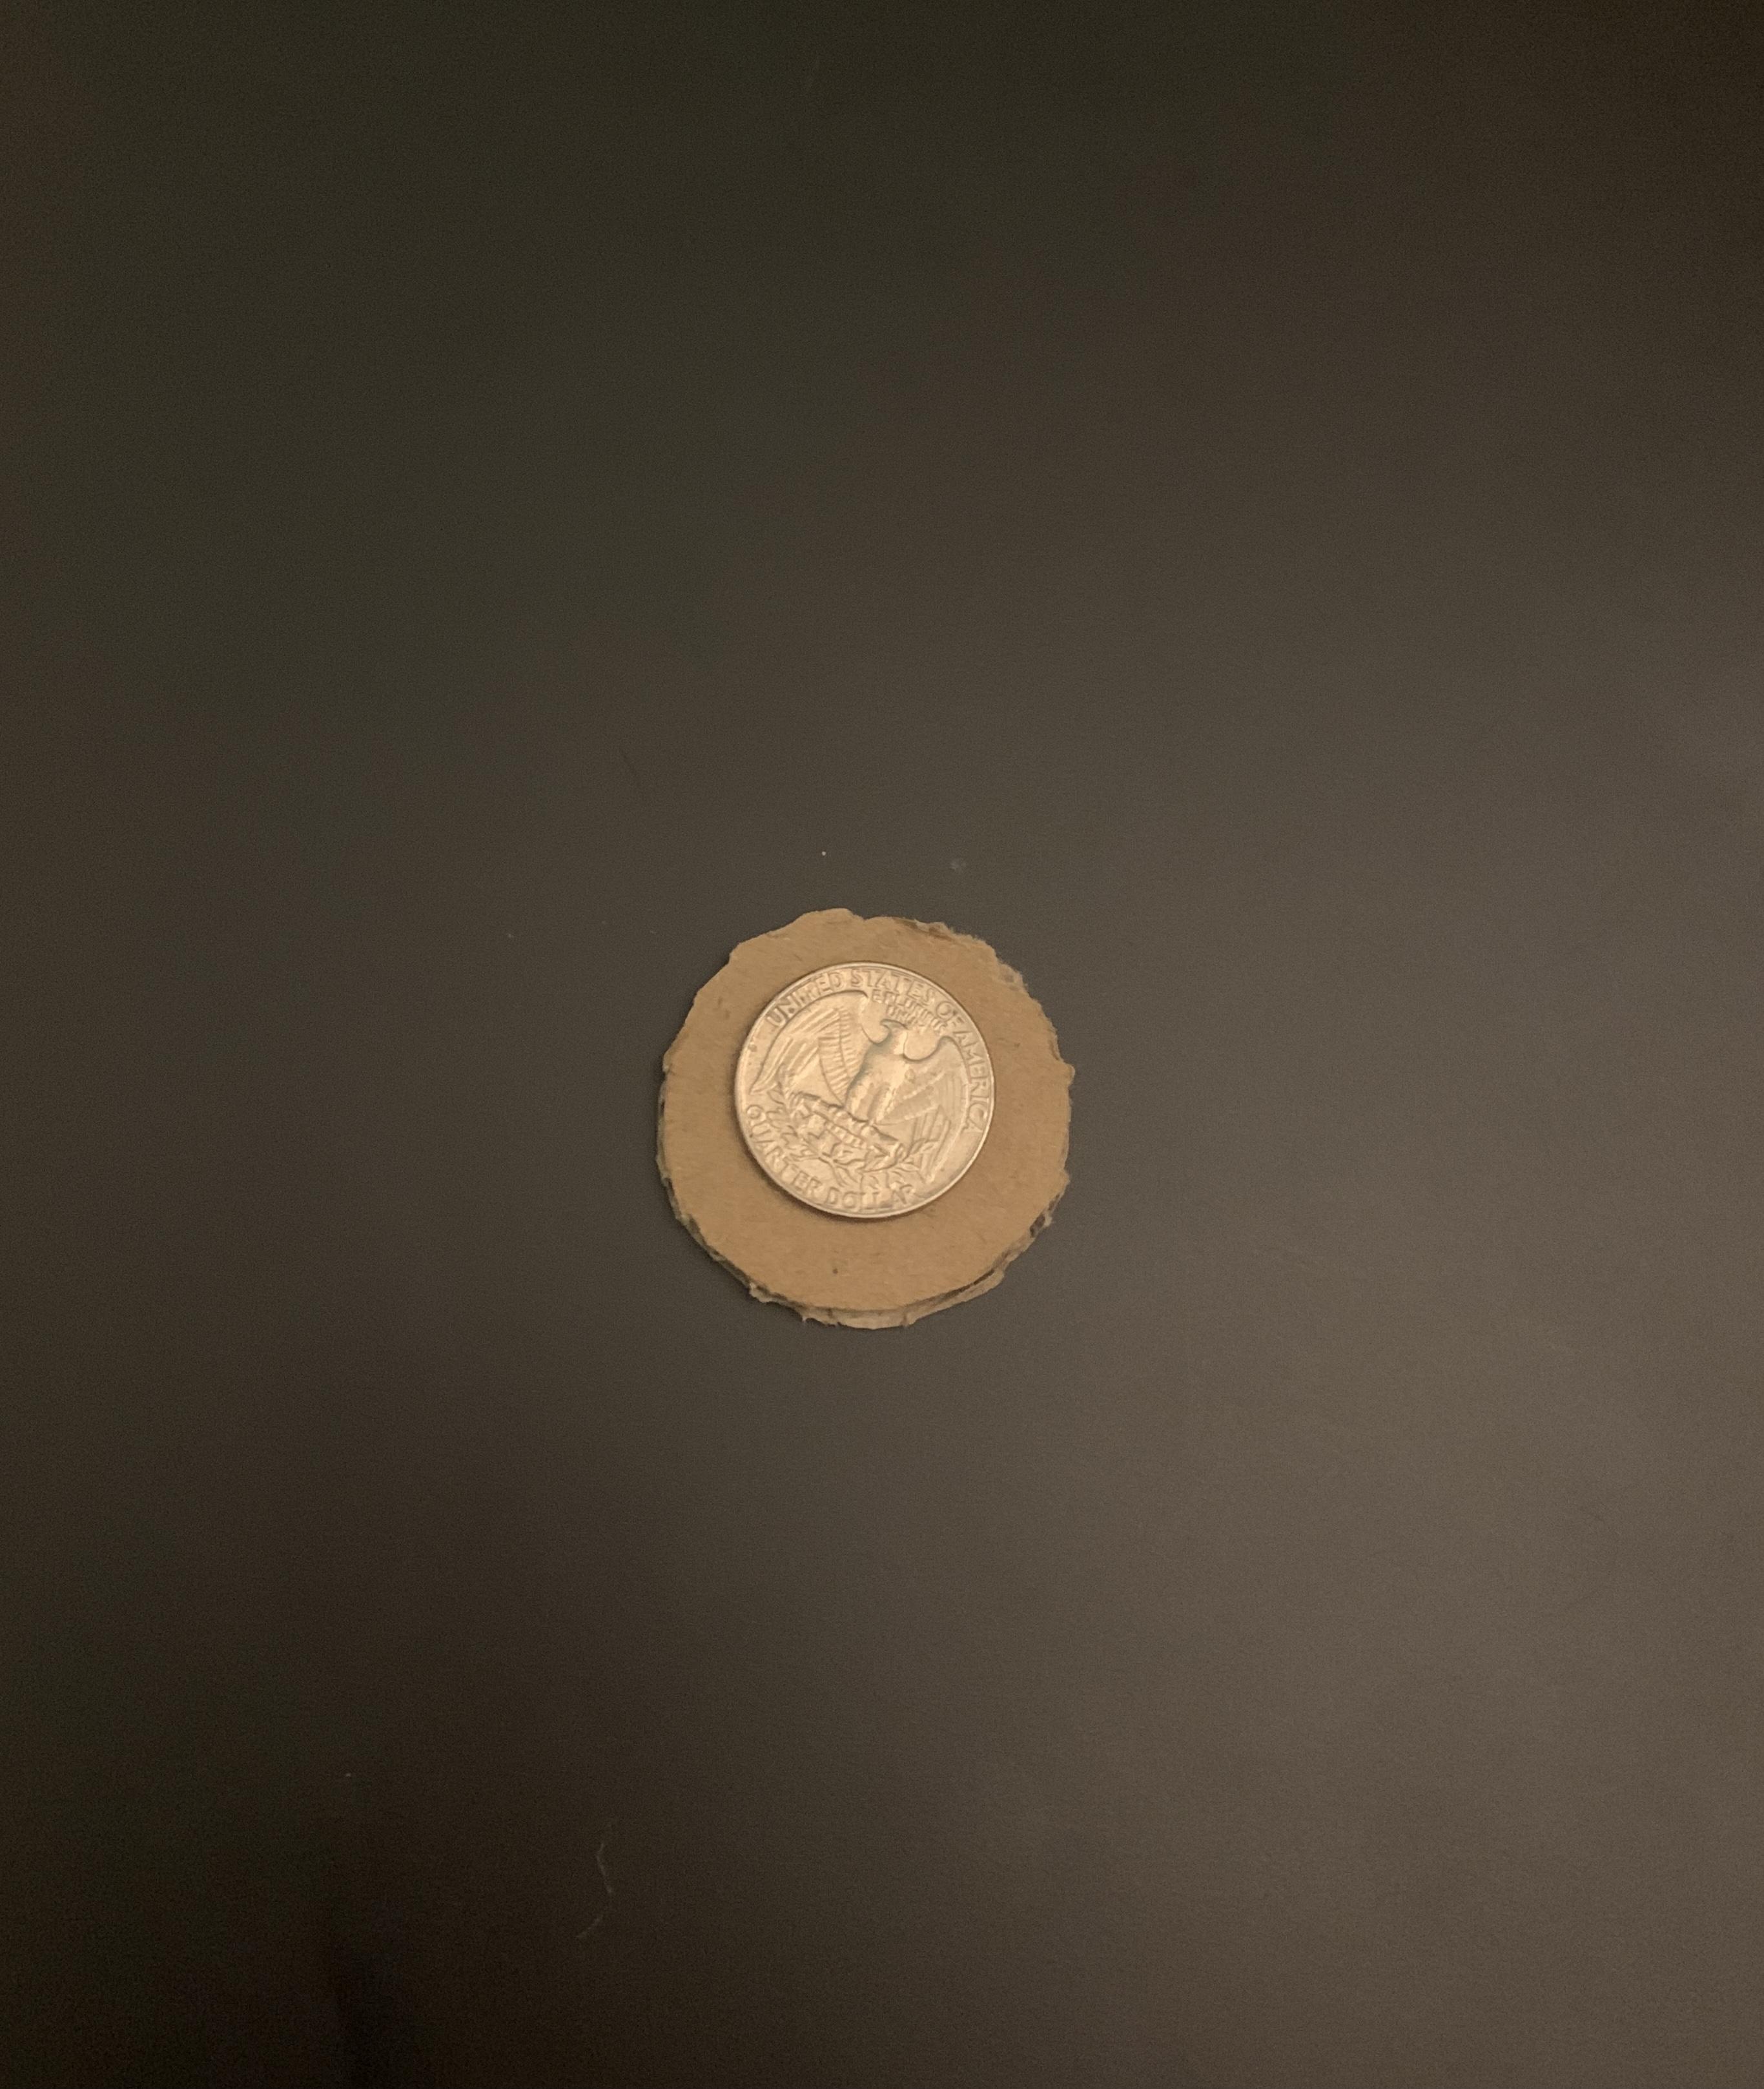
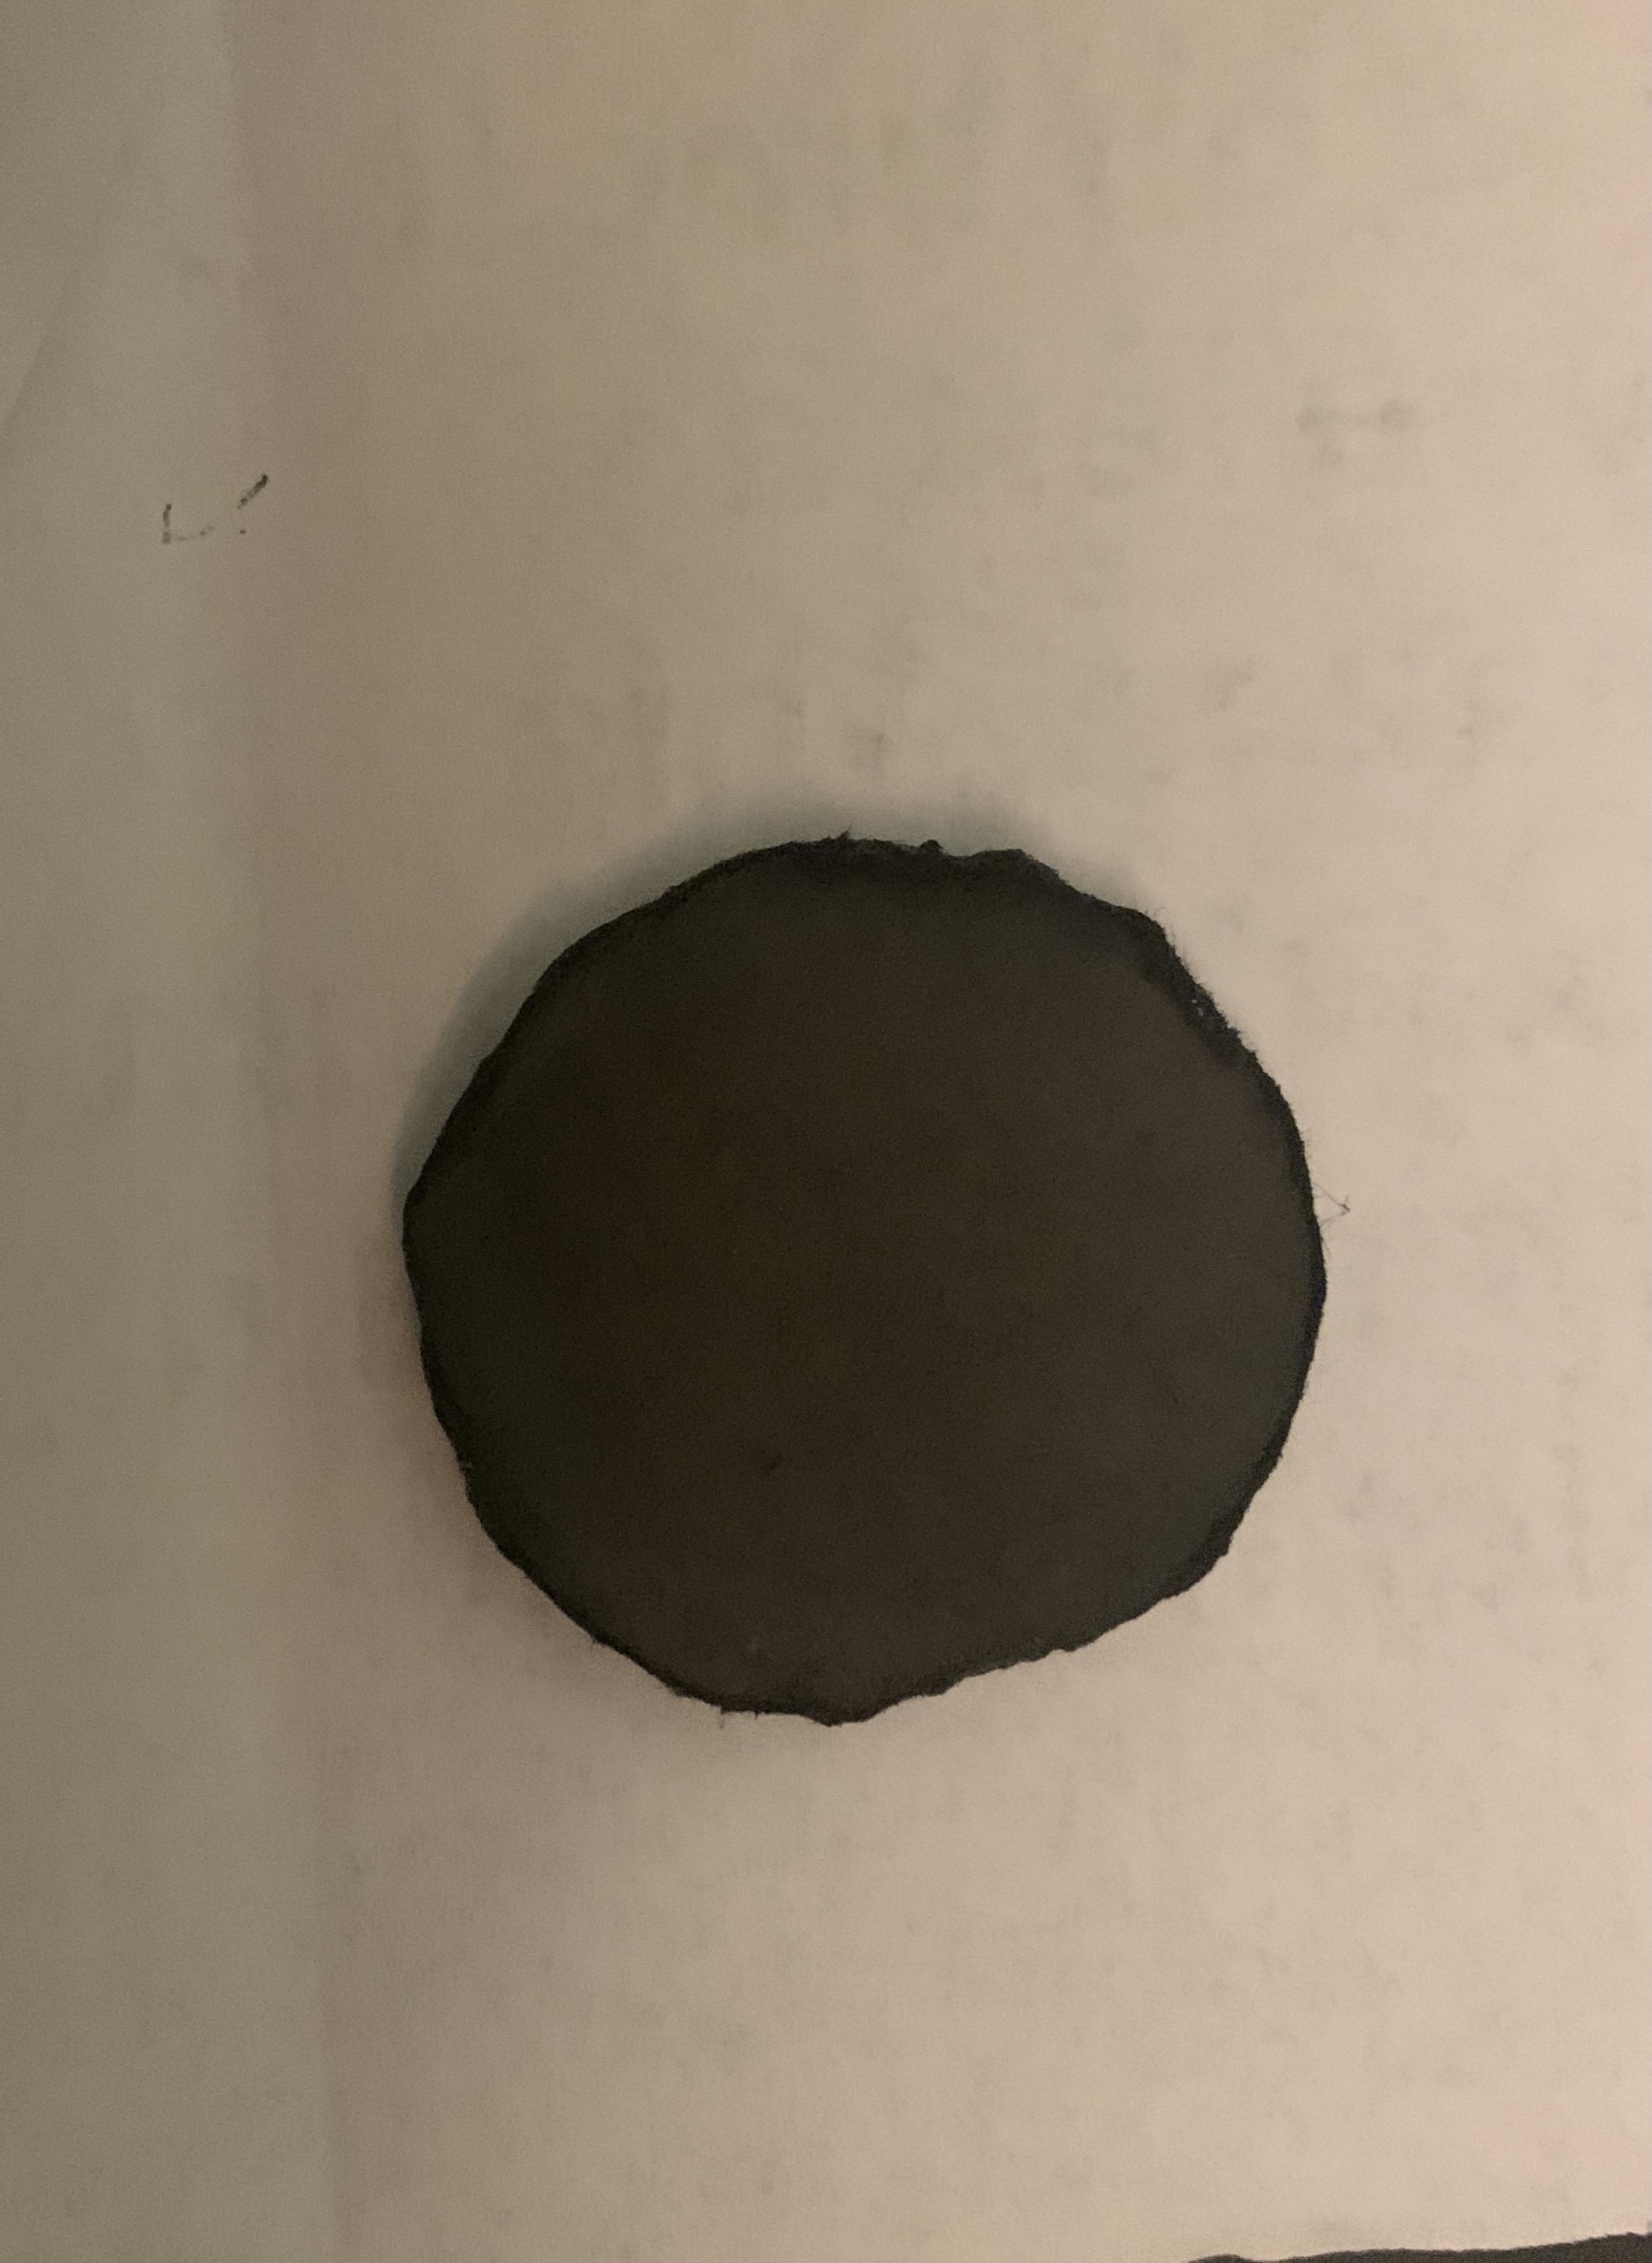
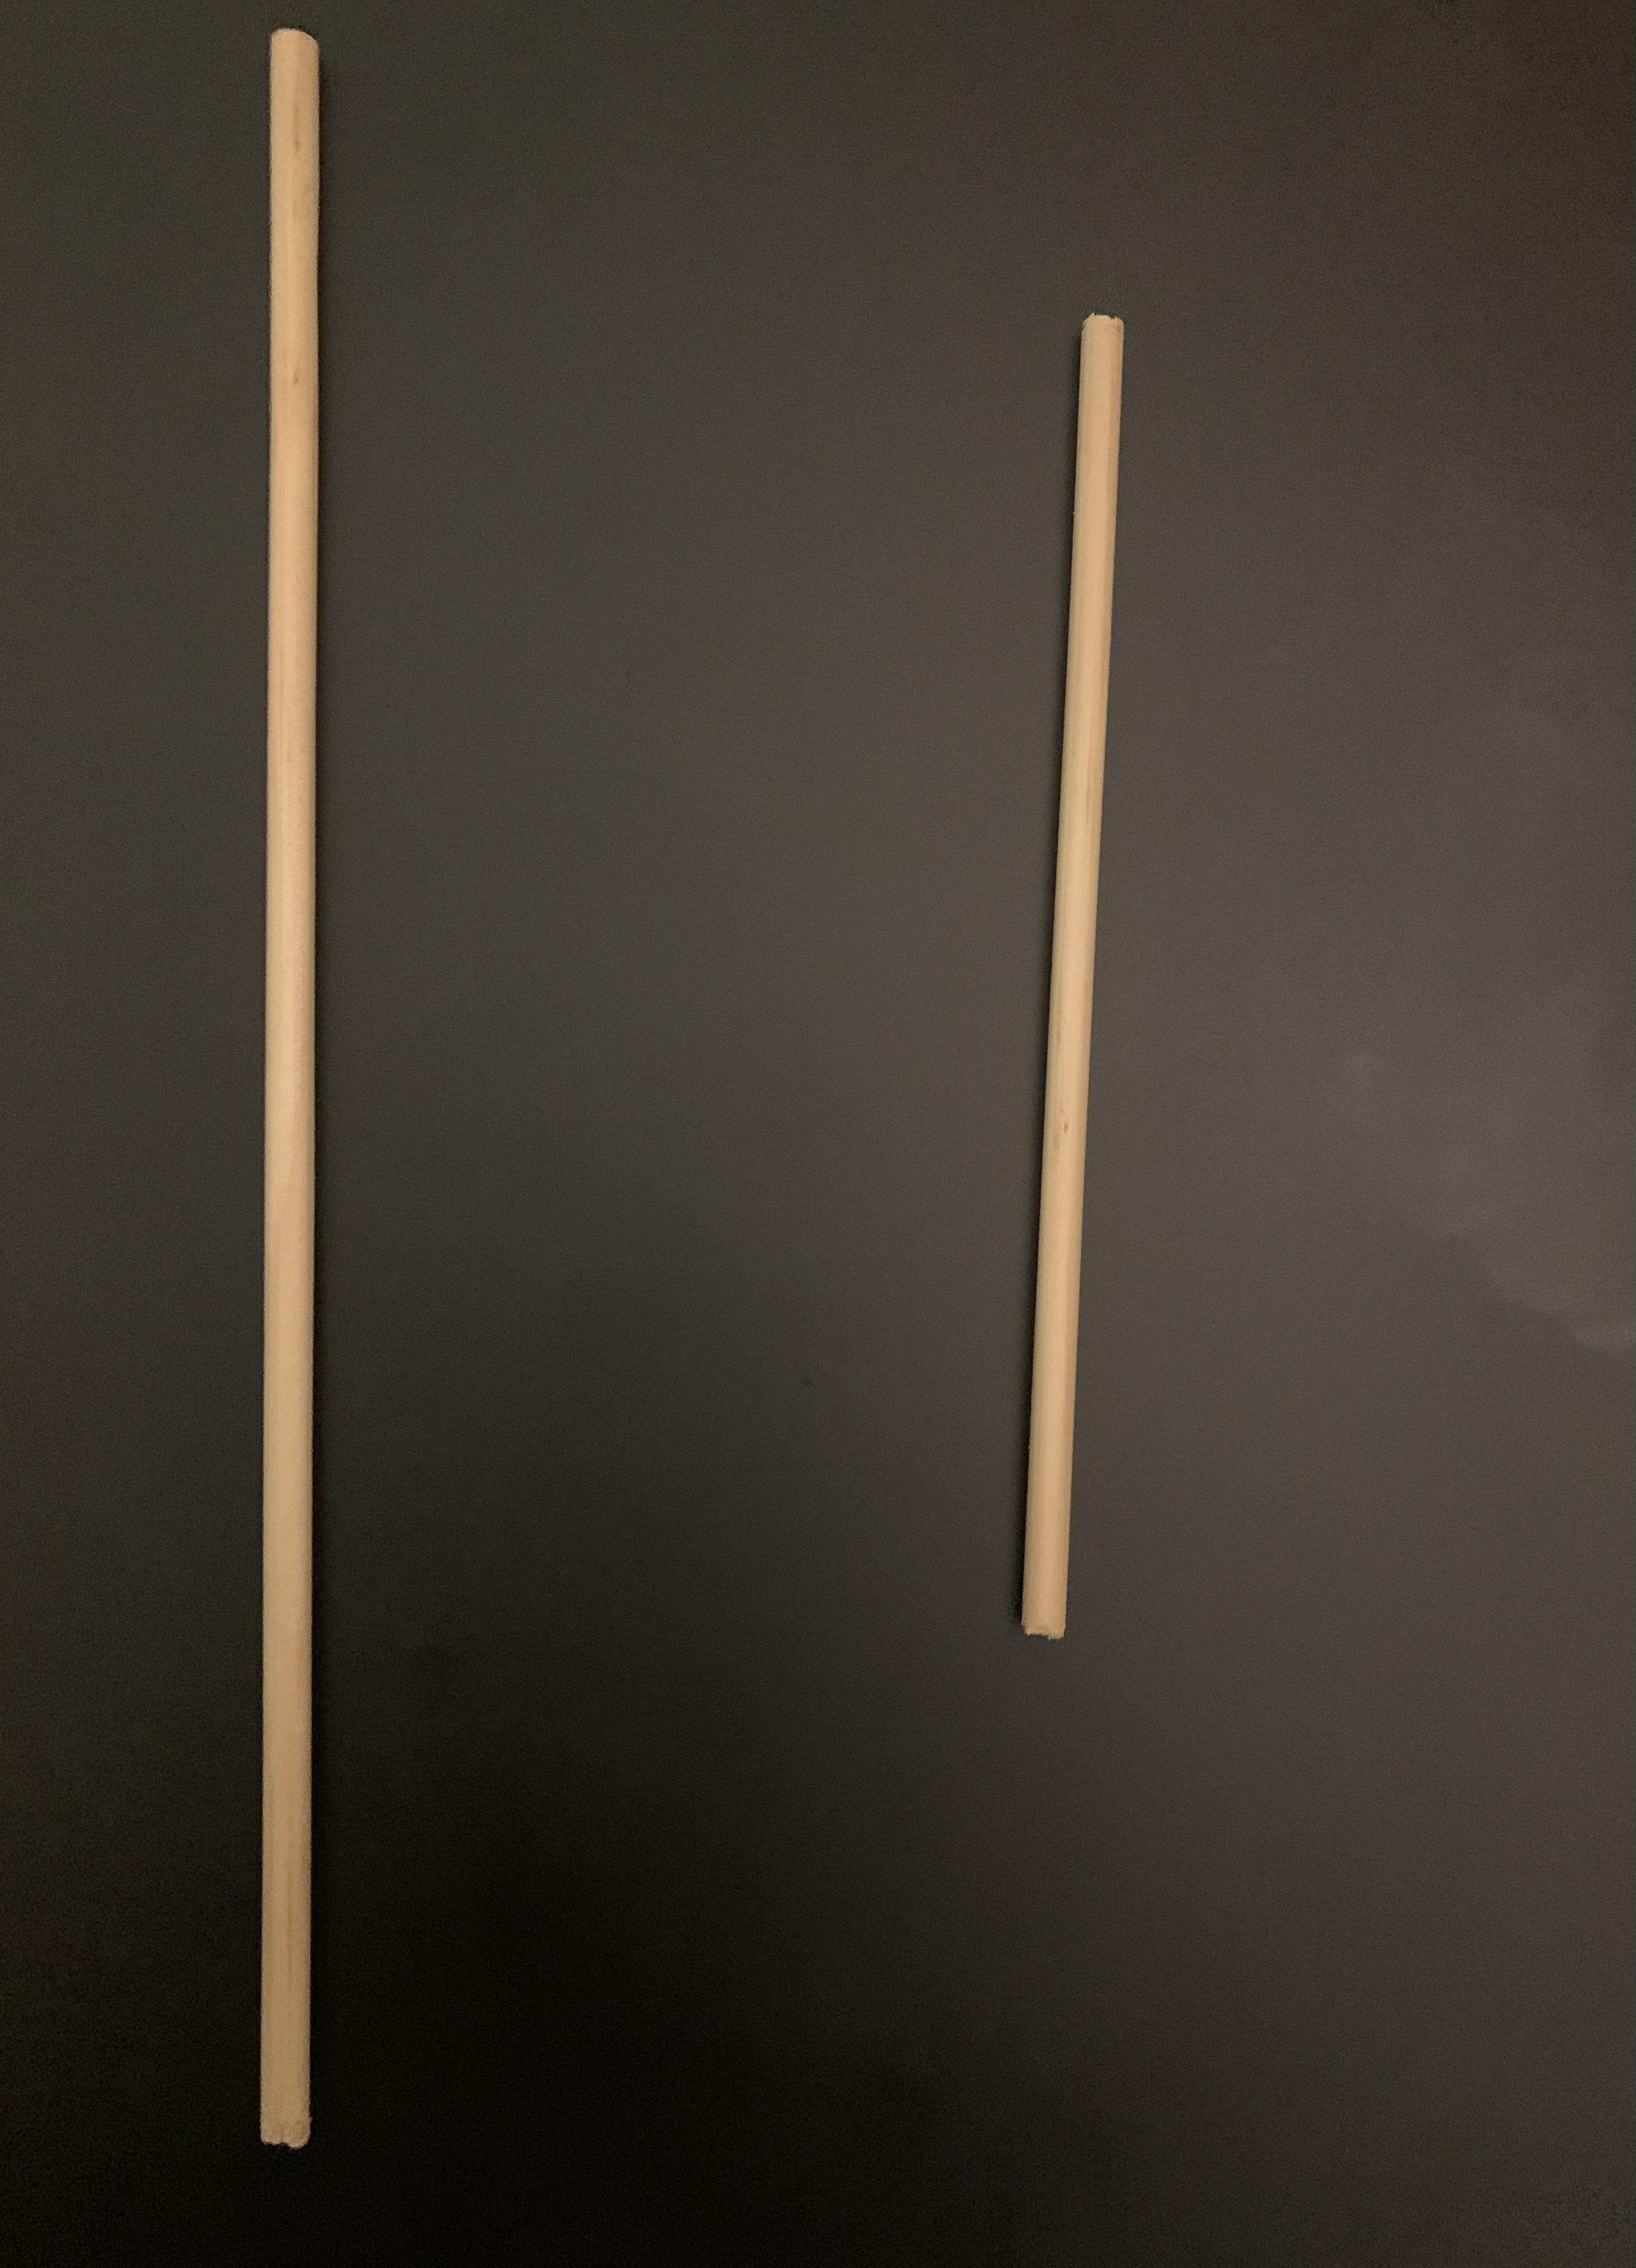
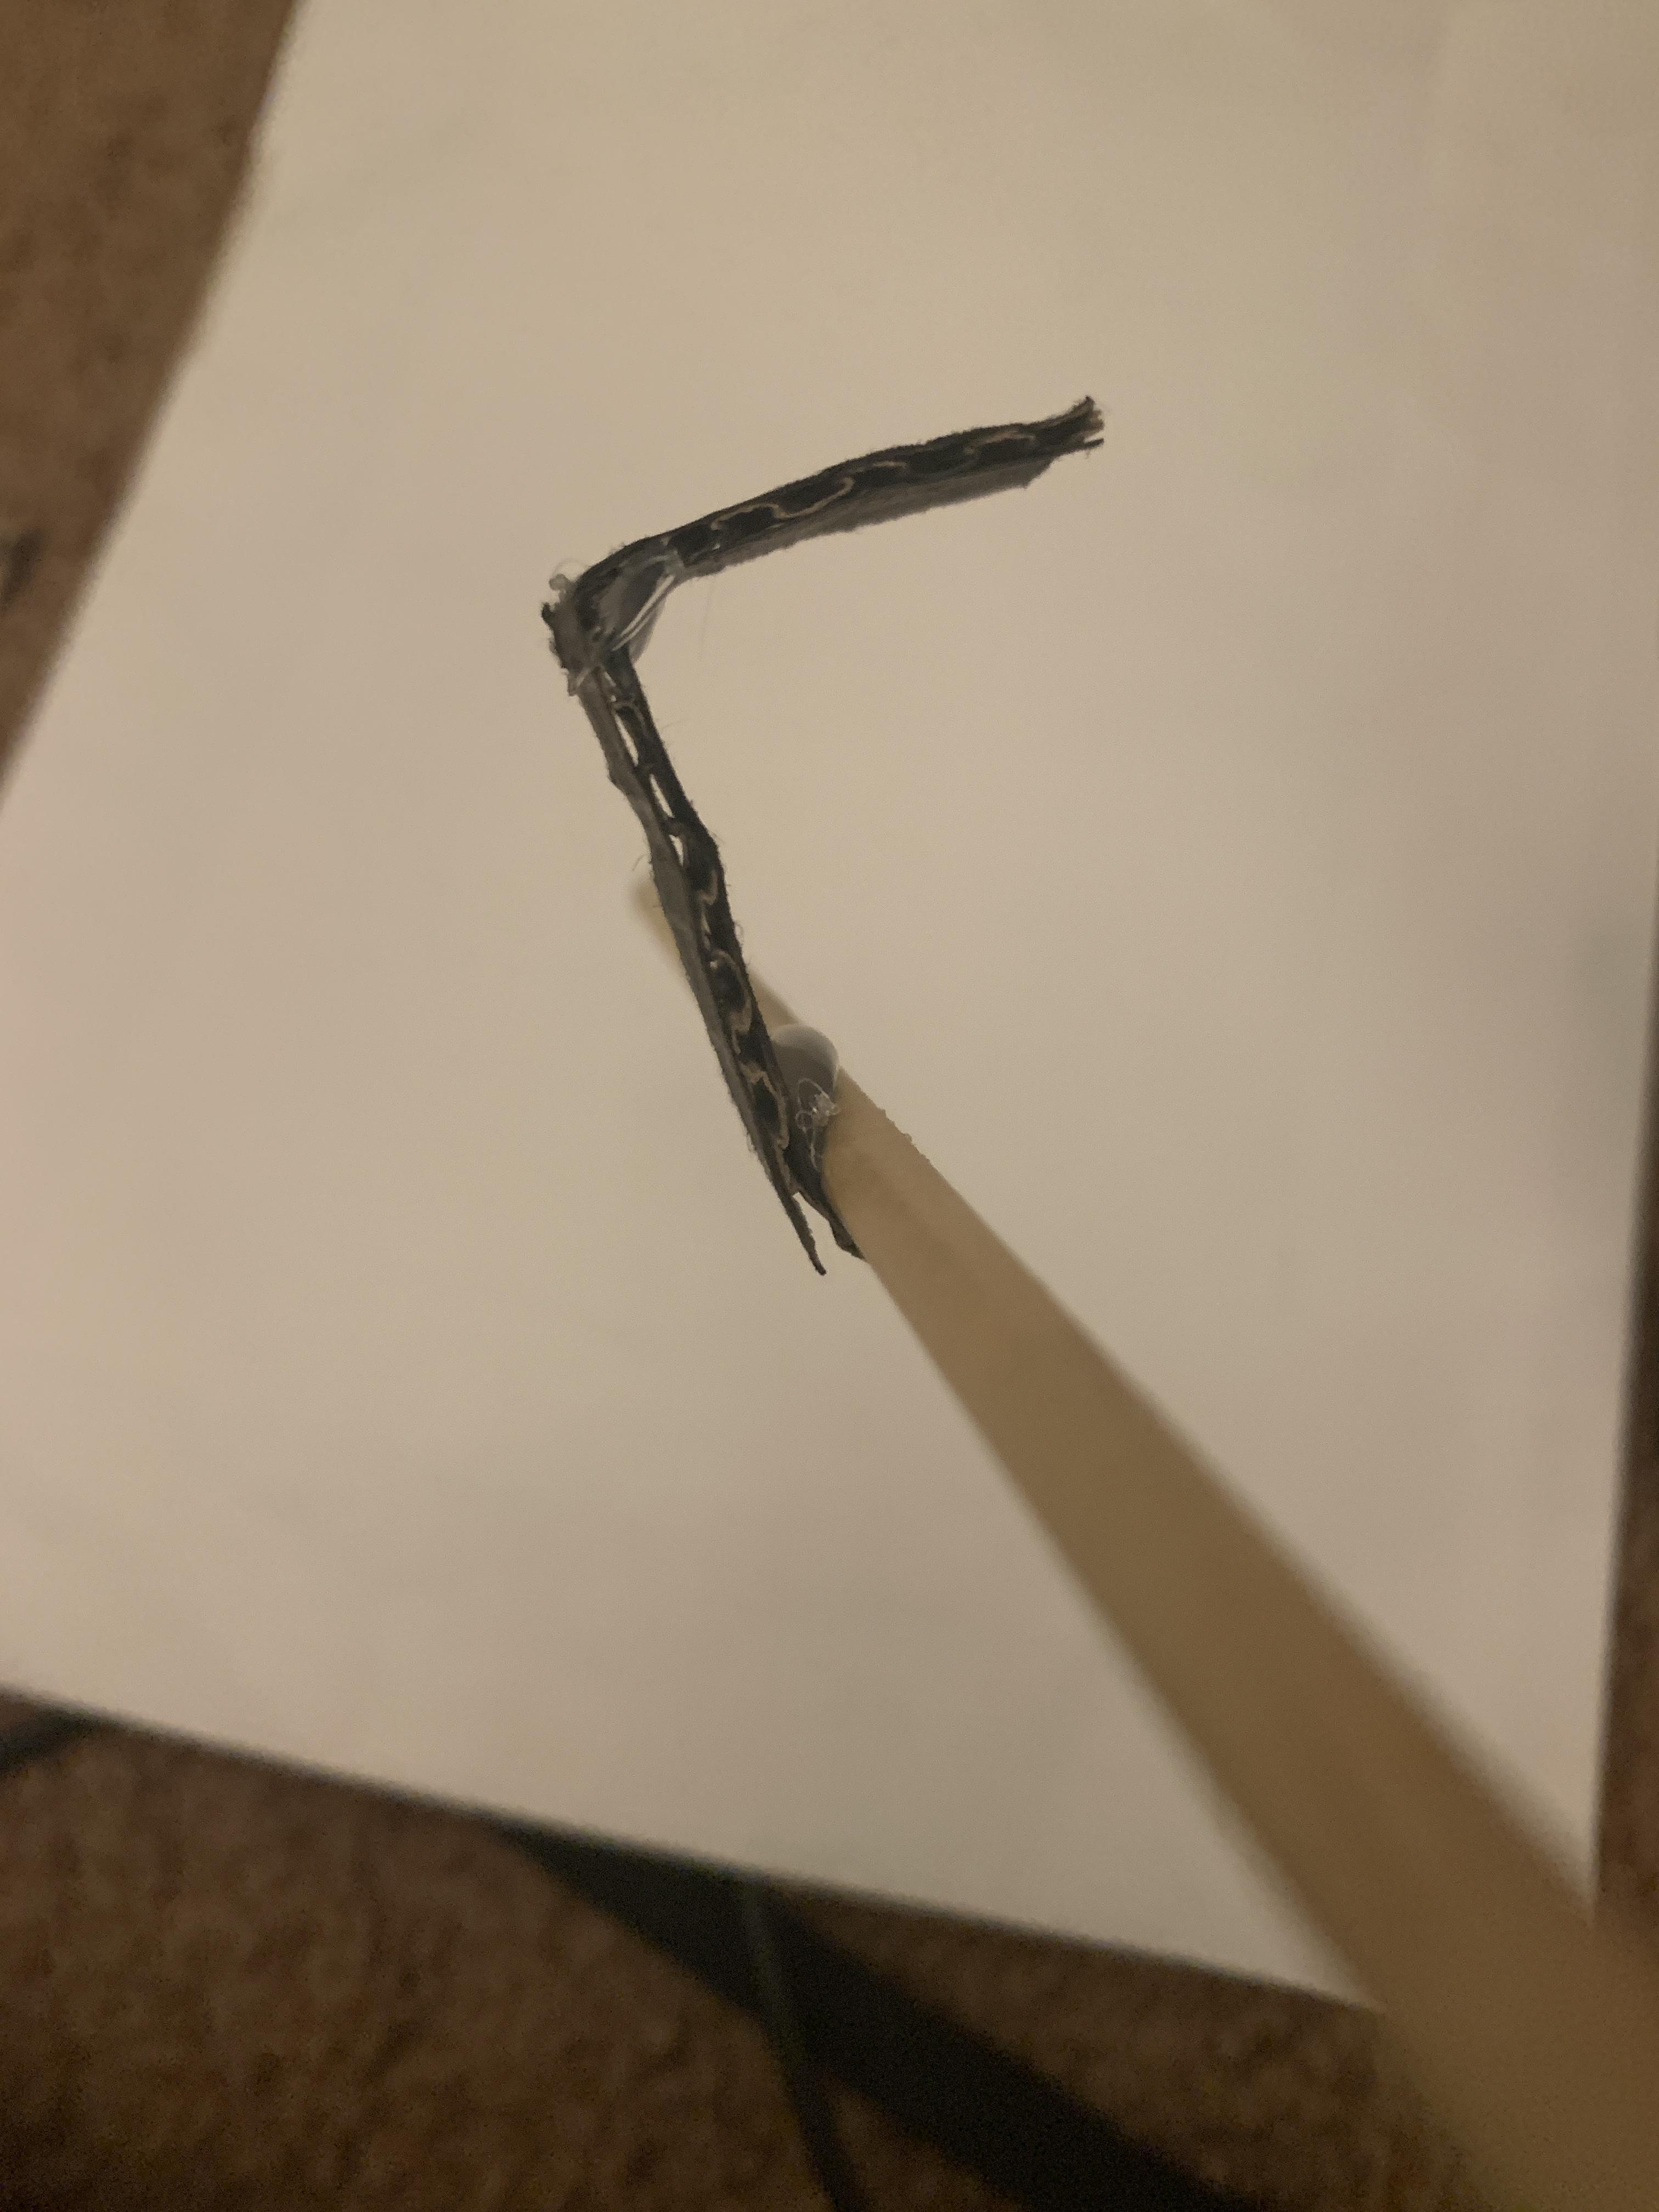
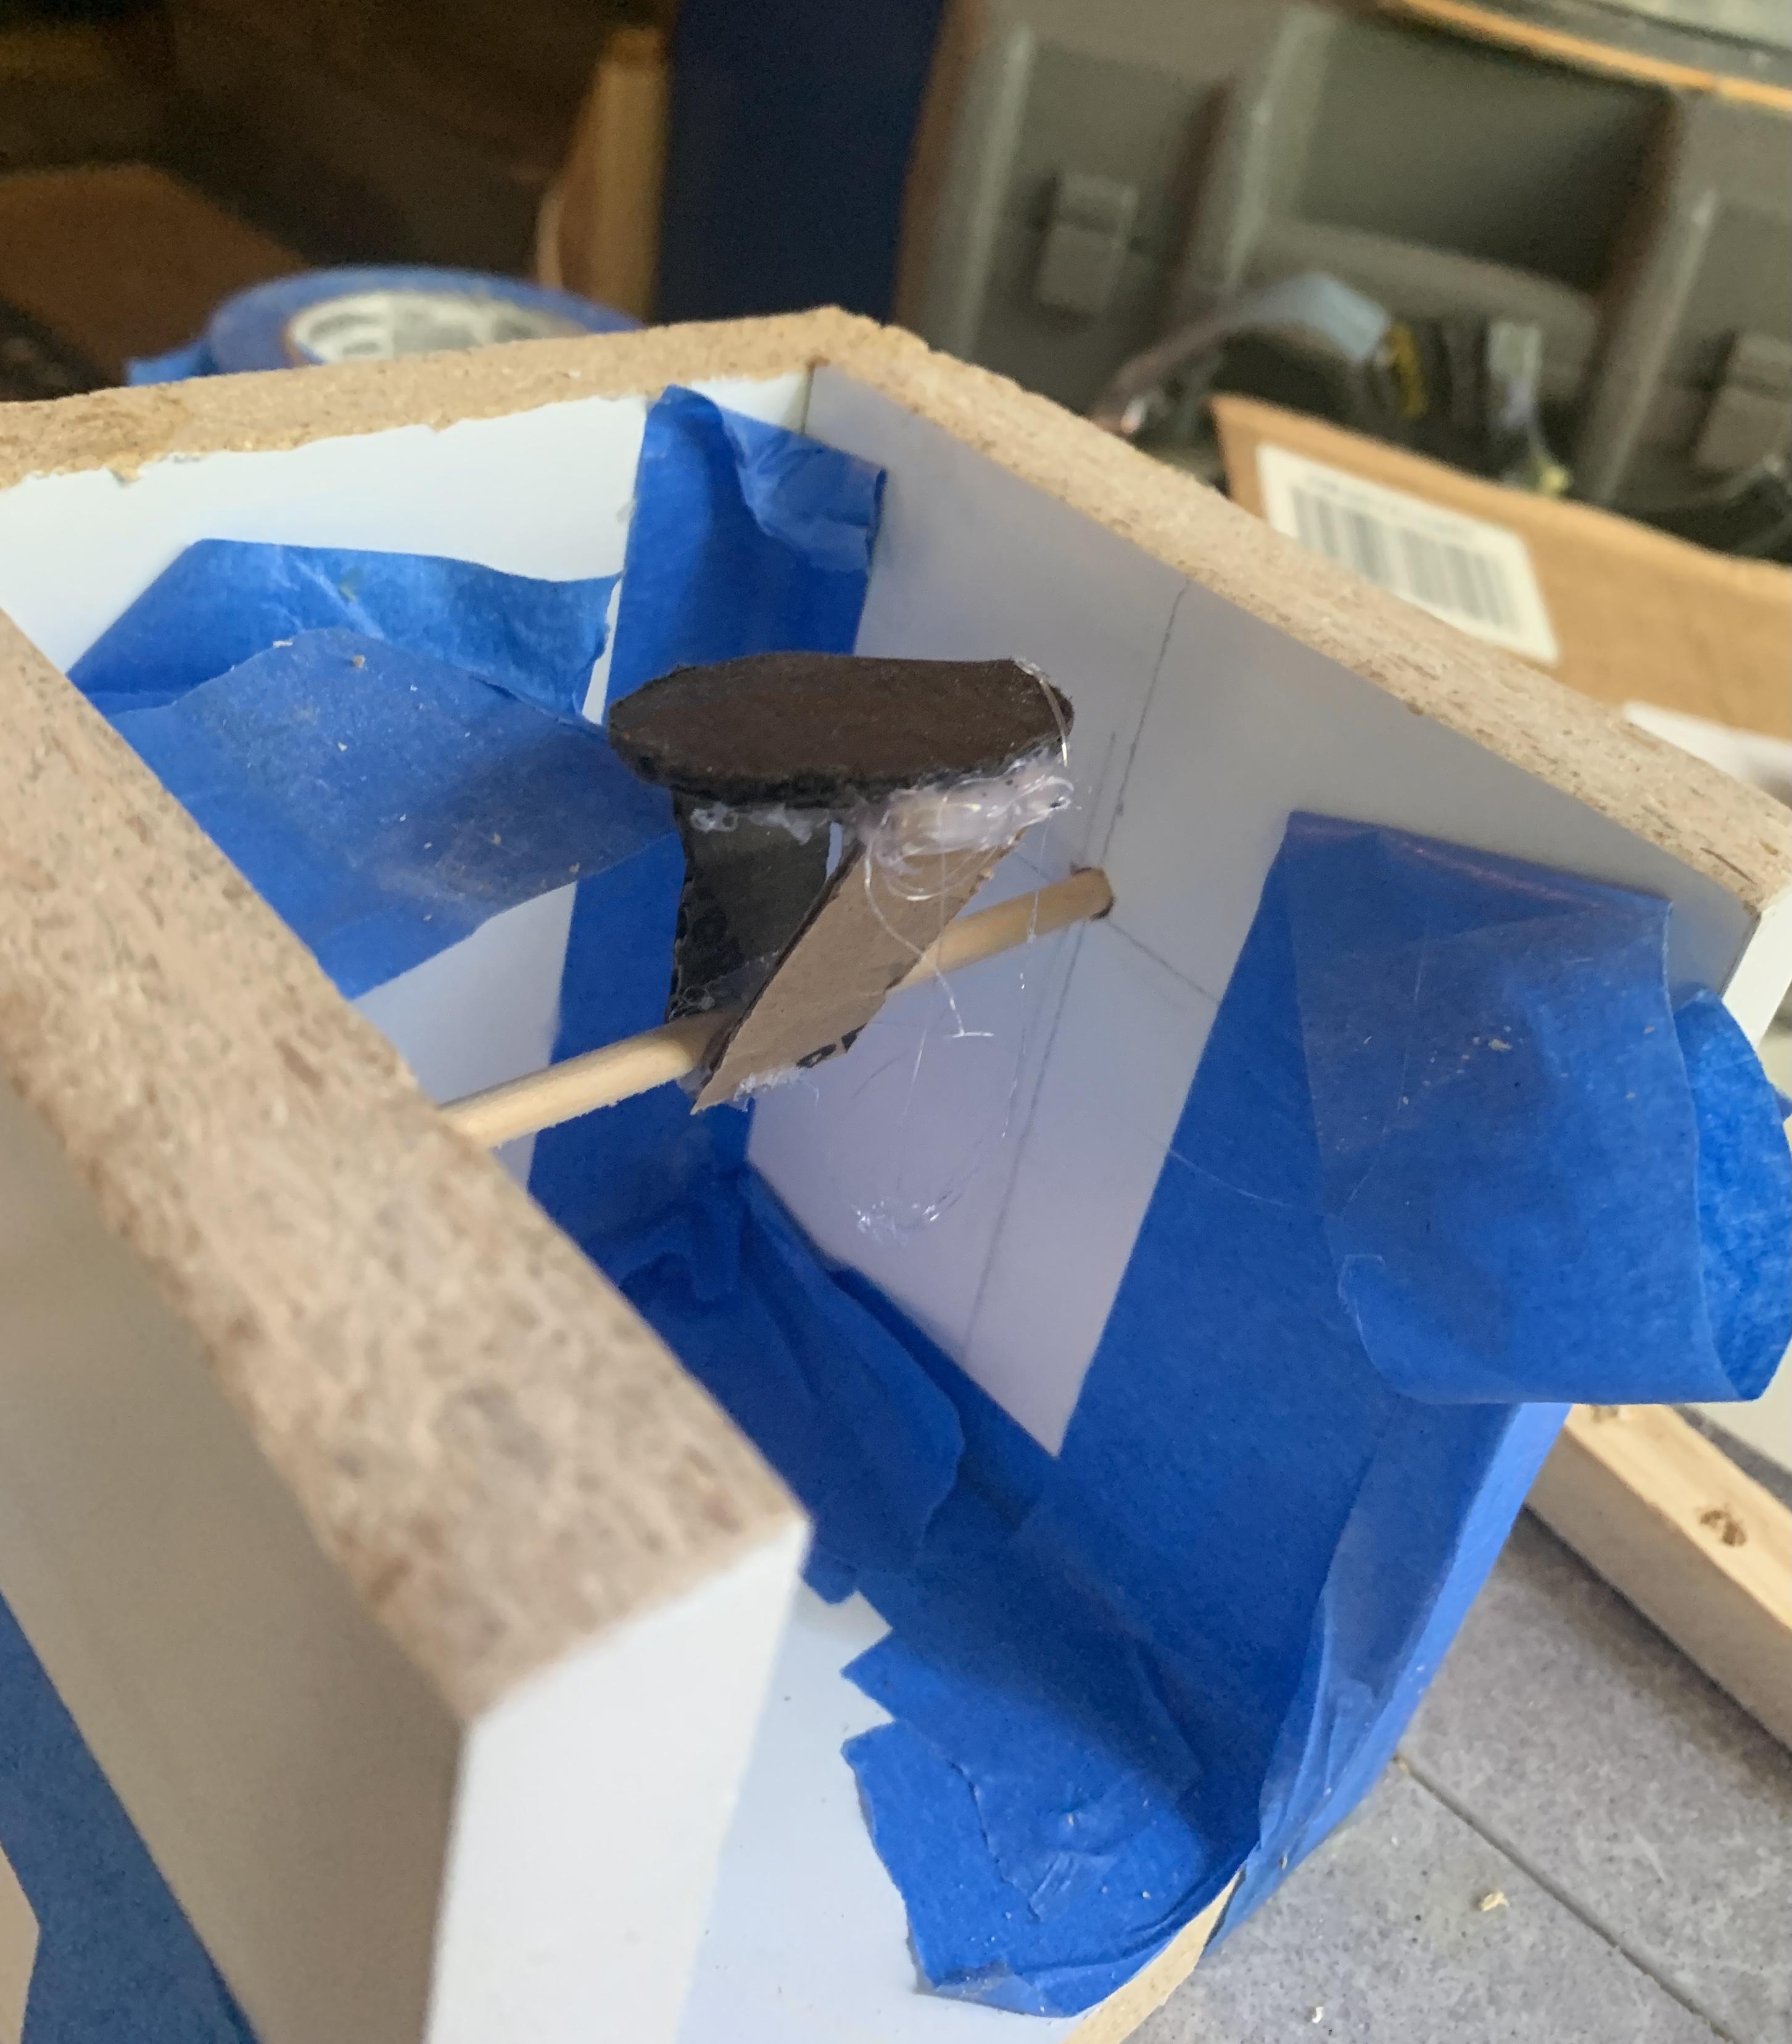
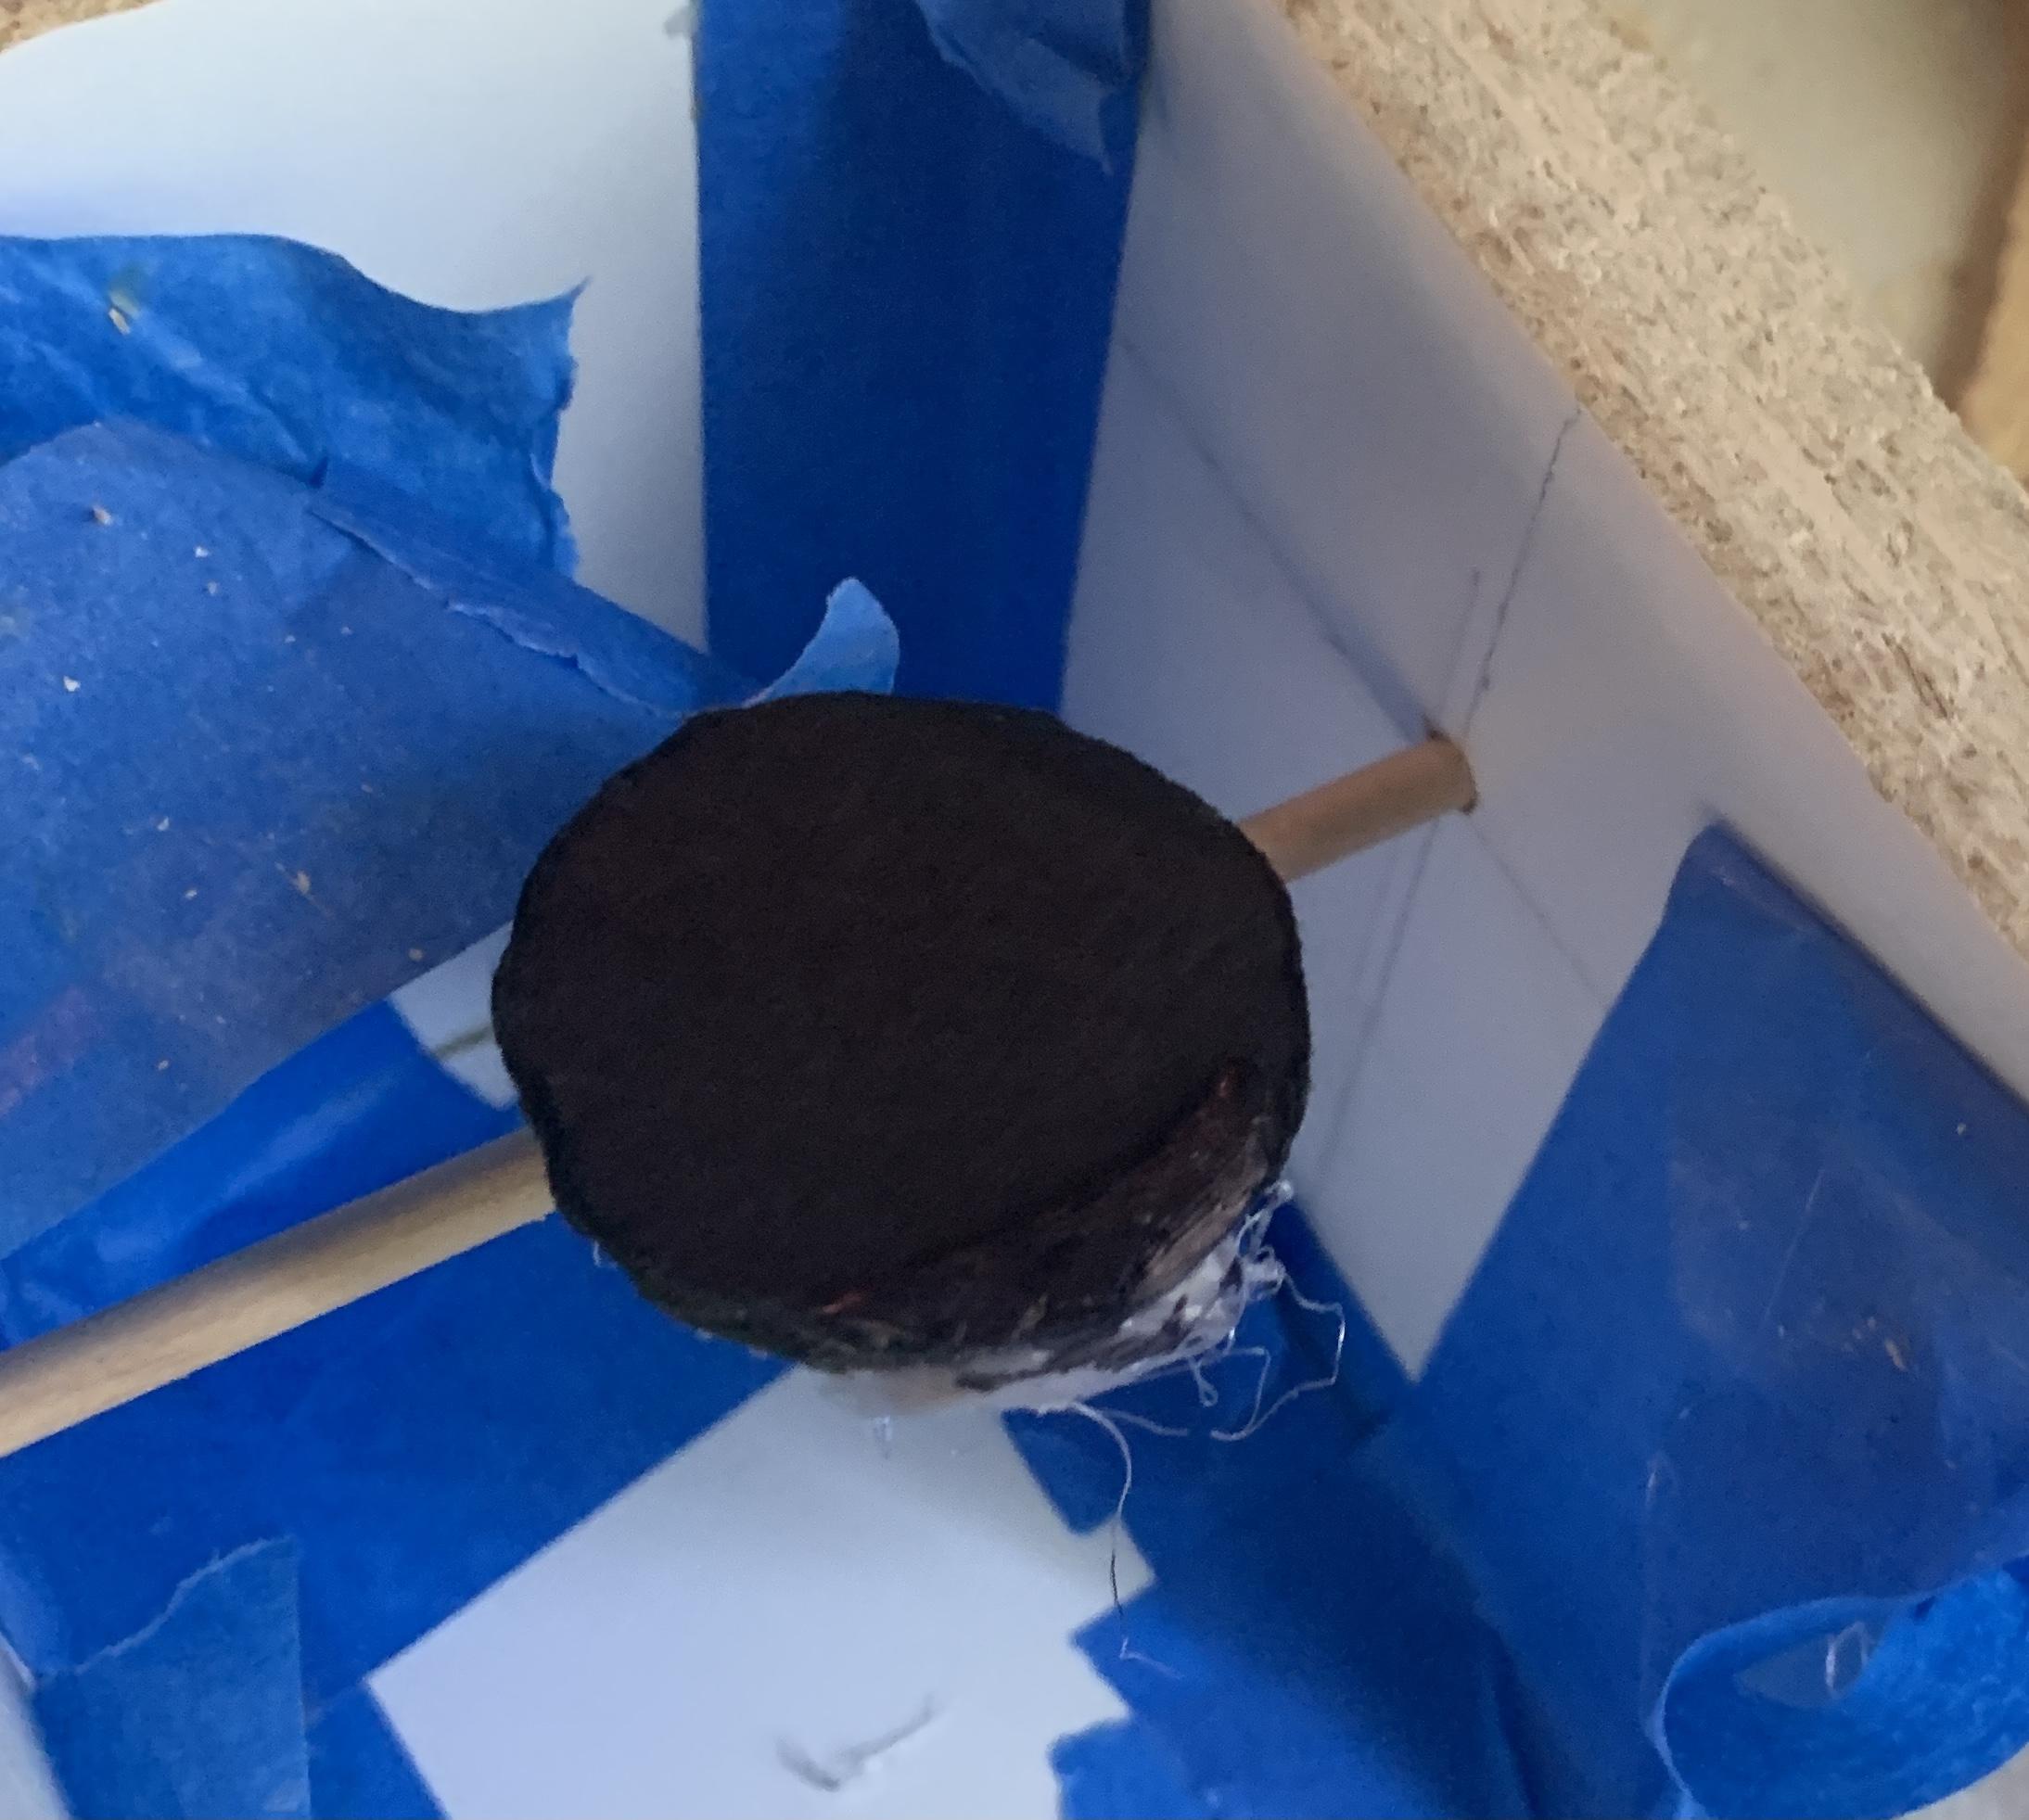
In order to create the coin eating effect, this project uses a dowel with some cardboard attached to it.
Cut out a circle quite a bit larger than a quarter (over 1 inch in diameter) I traced the bottom of a bottle to do so.
Color one side of the cardboard black.
From the wooden dowel, cut one 9.5" long segment. (There are two dowels in the image but you only need one)
To attach the dowel and the circle, cut out a strp of cardboard 2 by 0.5 inches and fold it in half. One half should be glued with hot glue entirely to the bottom of the circle and the very bottom of other half should be glued to the dowel.
Two later changes that were made to this was glueing a 1.5 by .5 inch strip of cardboard to the dowel and to the end of the circle to give the circle better overall stability. Additionally, to keep the coins from sliding off the circle too quickly, I added a small wall of hot glue at the front of the circle then colored that with black permanent marker.
Creating the Removable Drawer
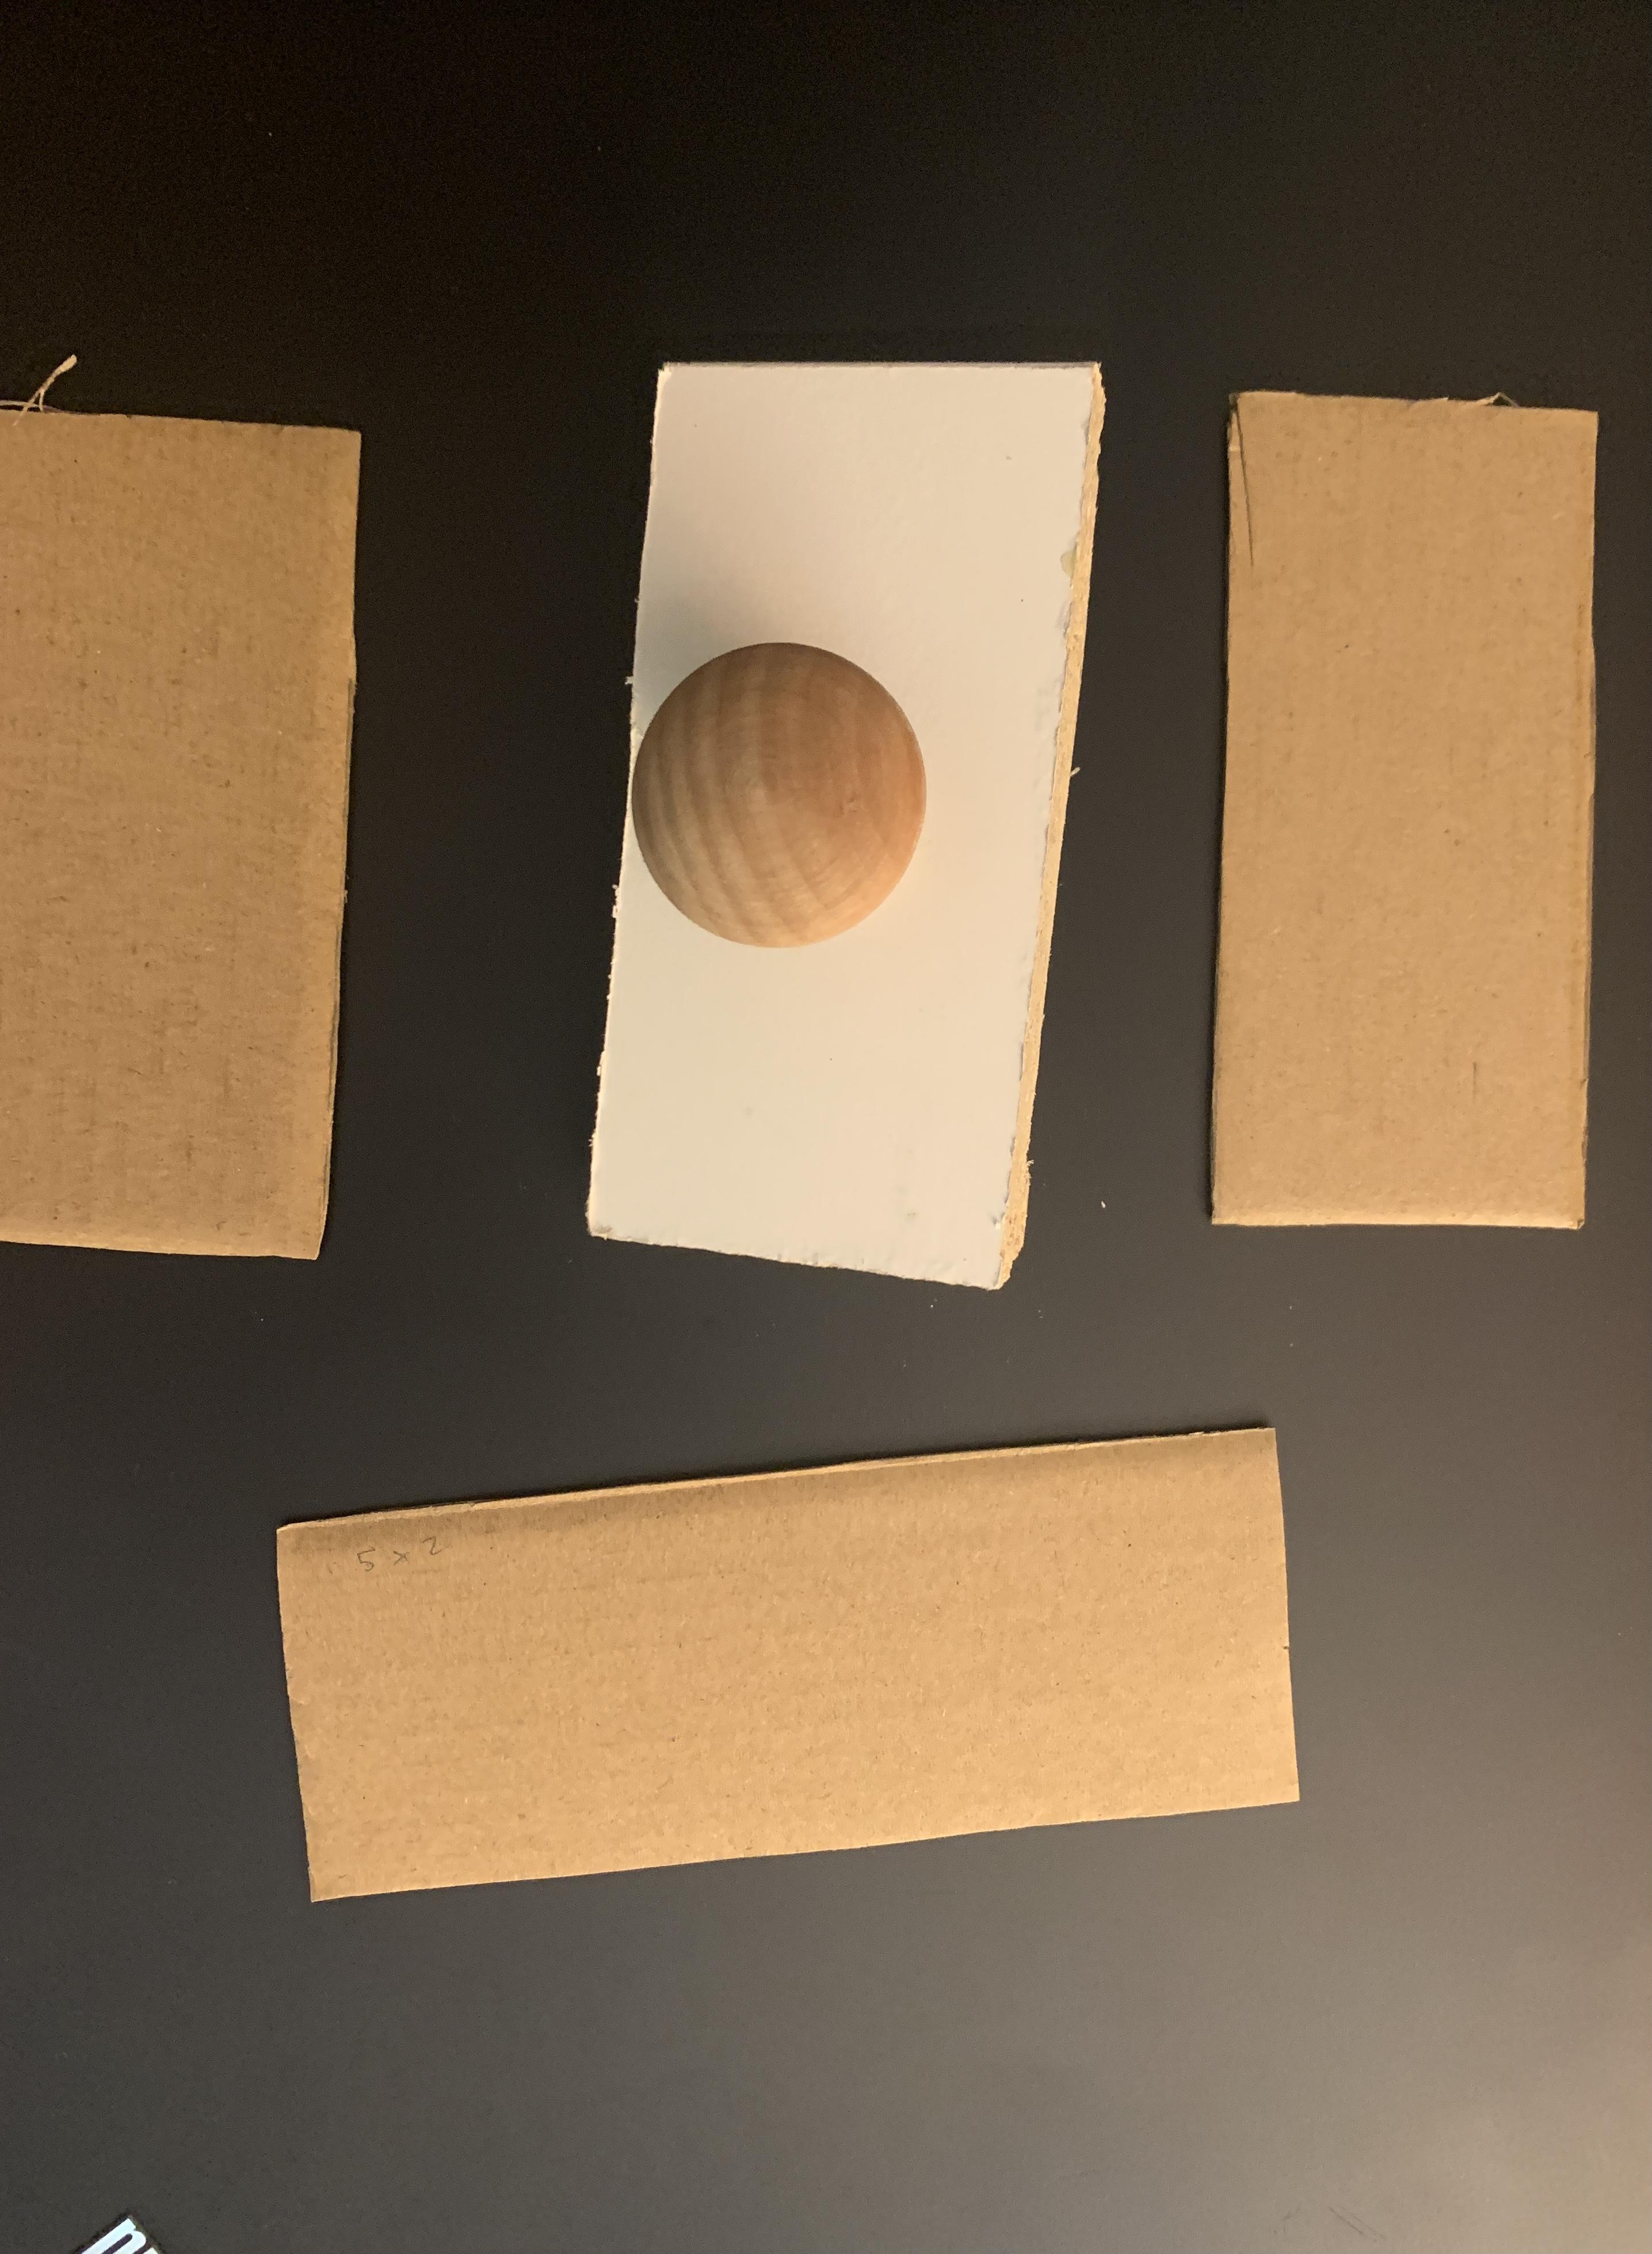
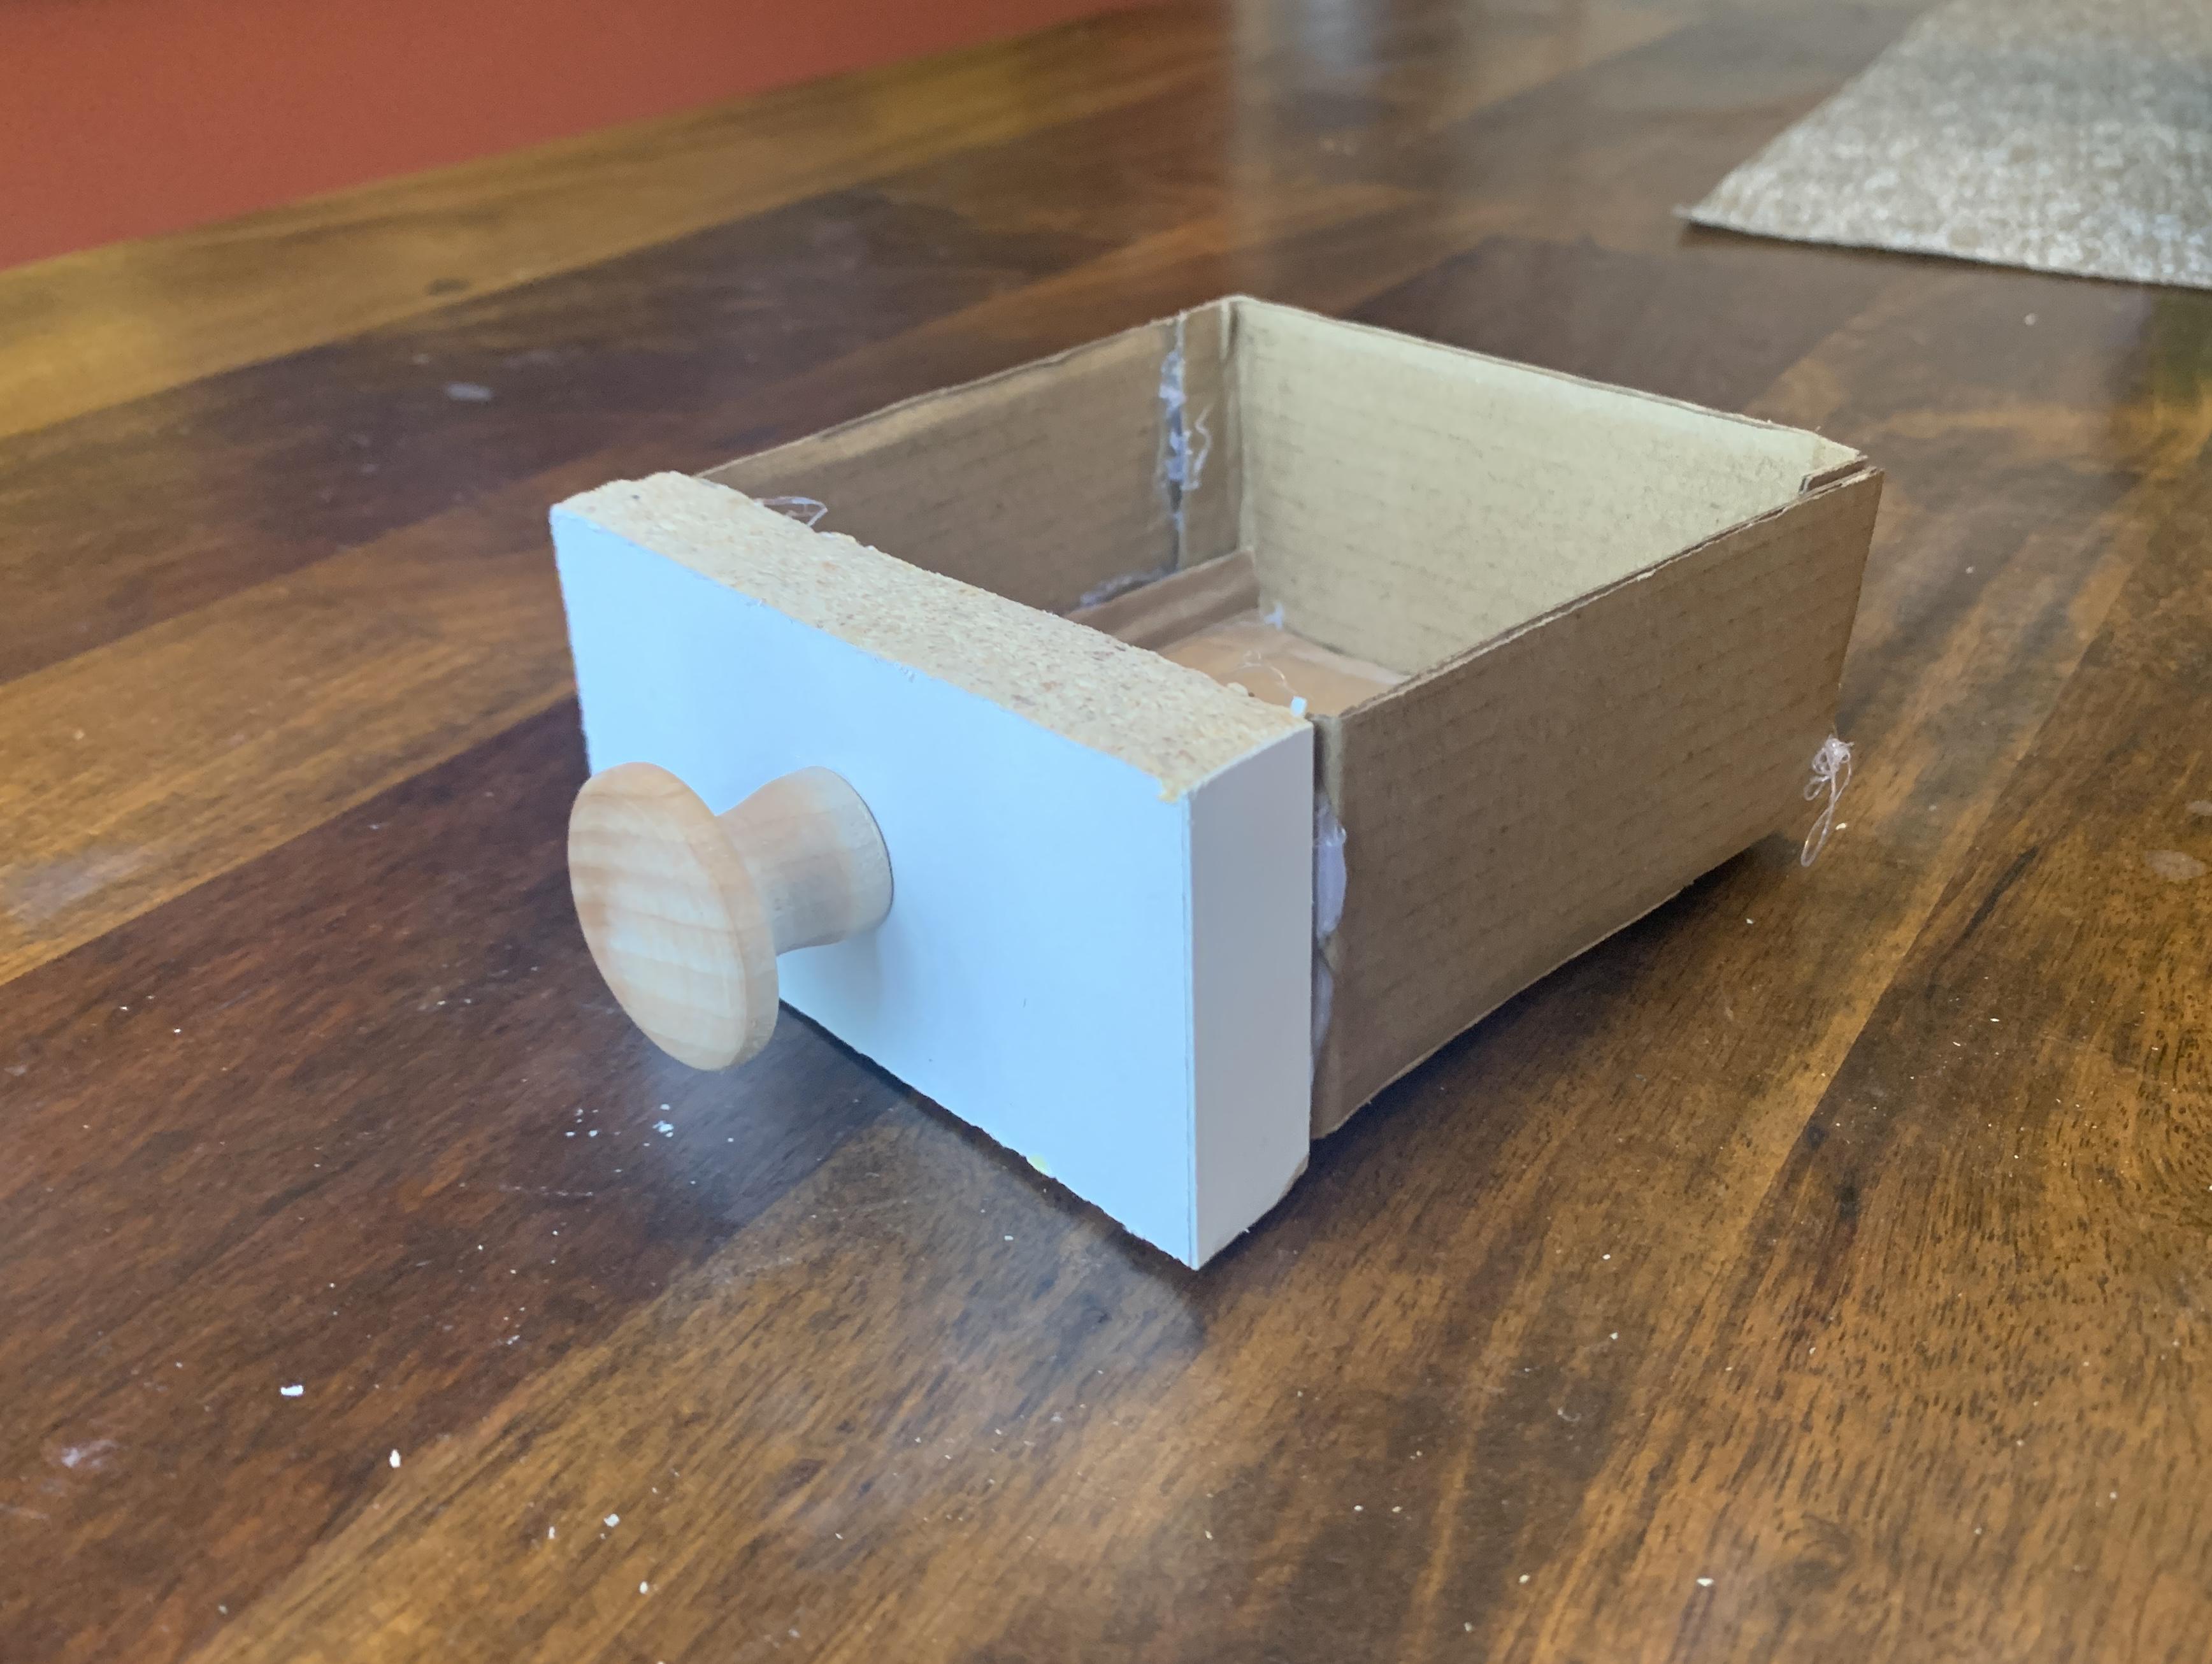
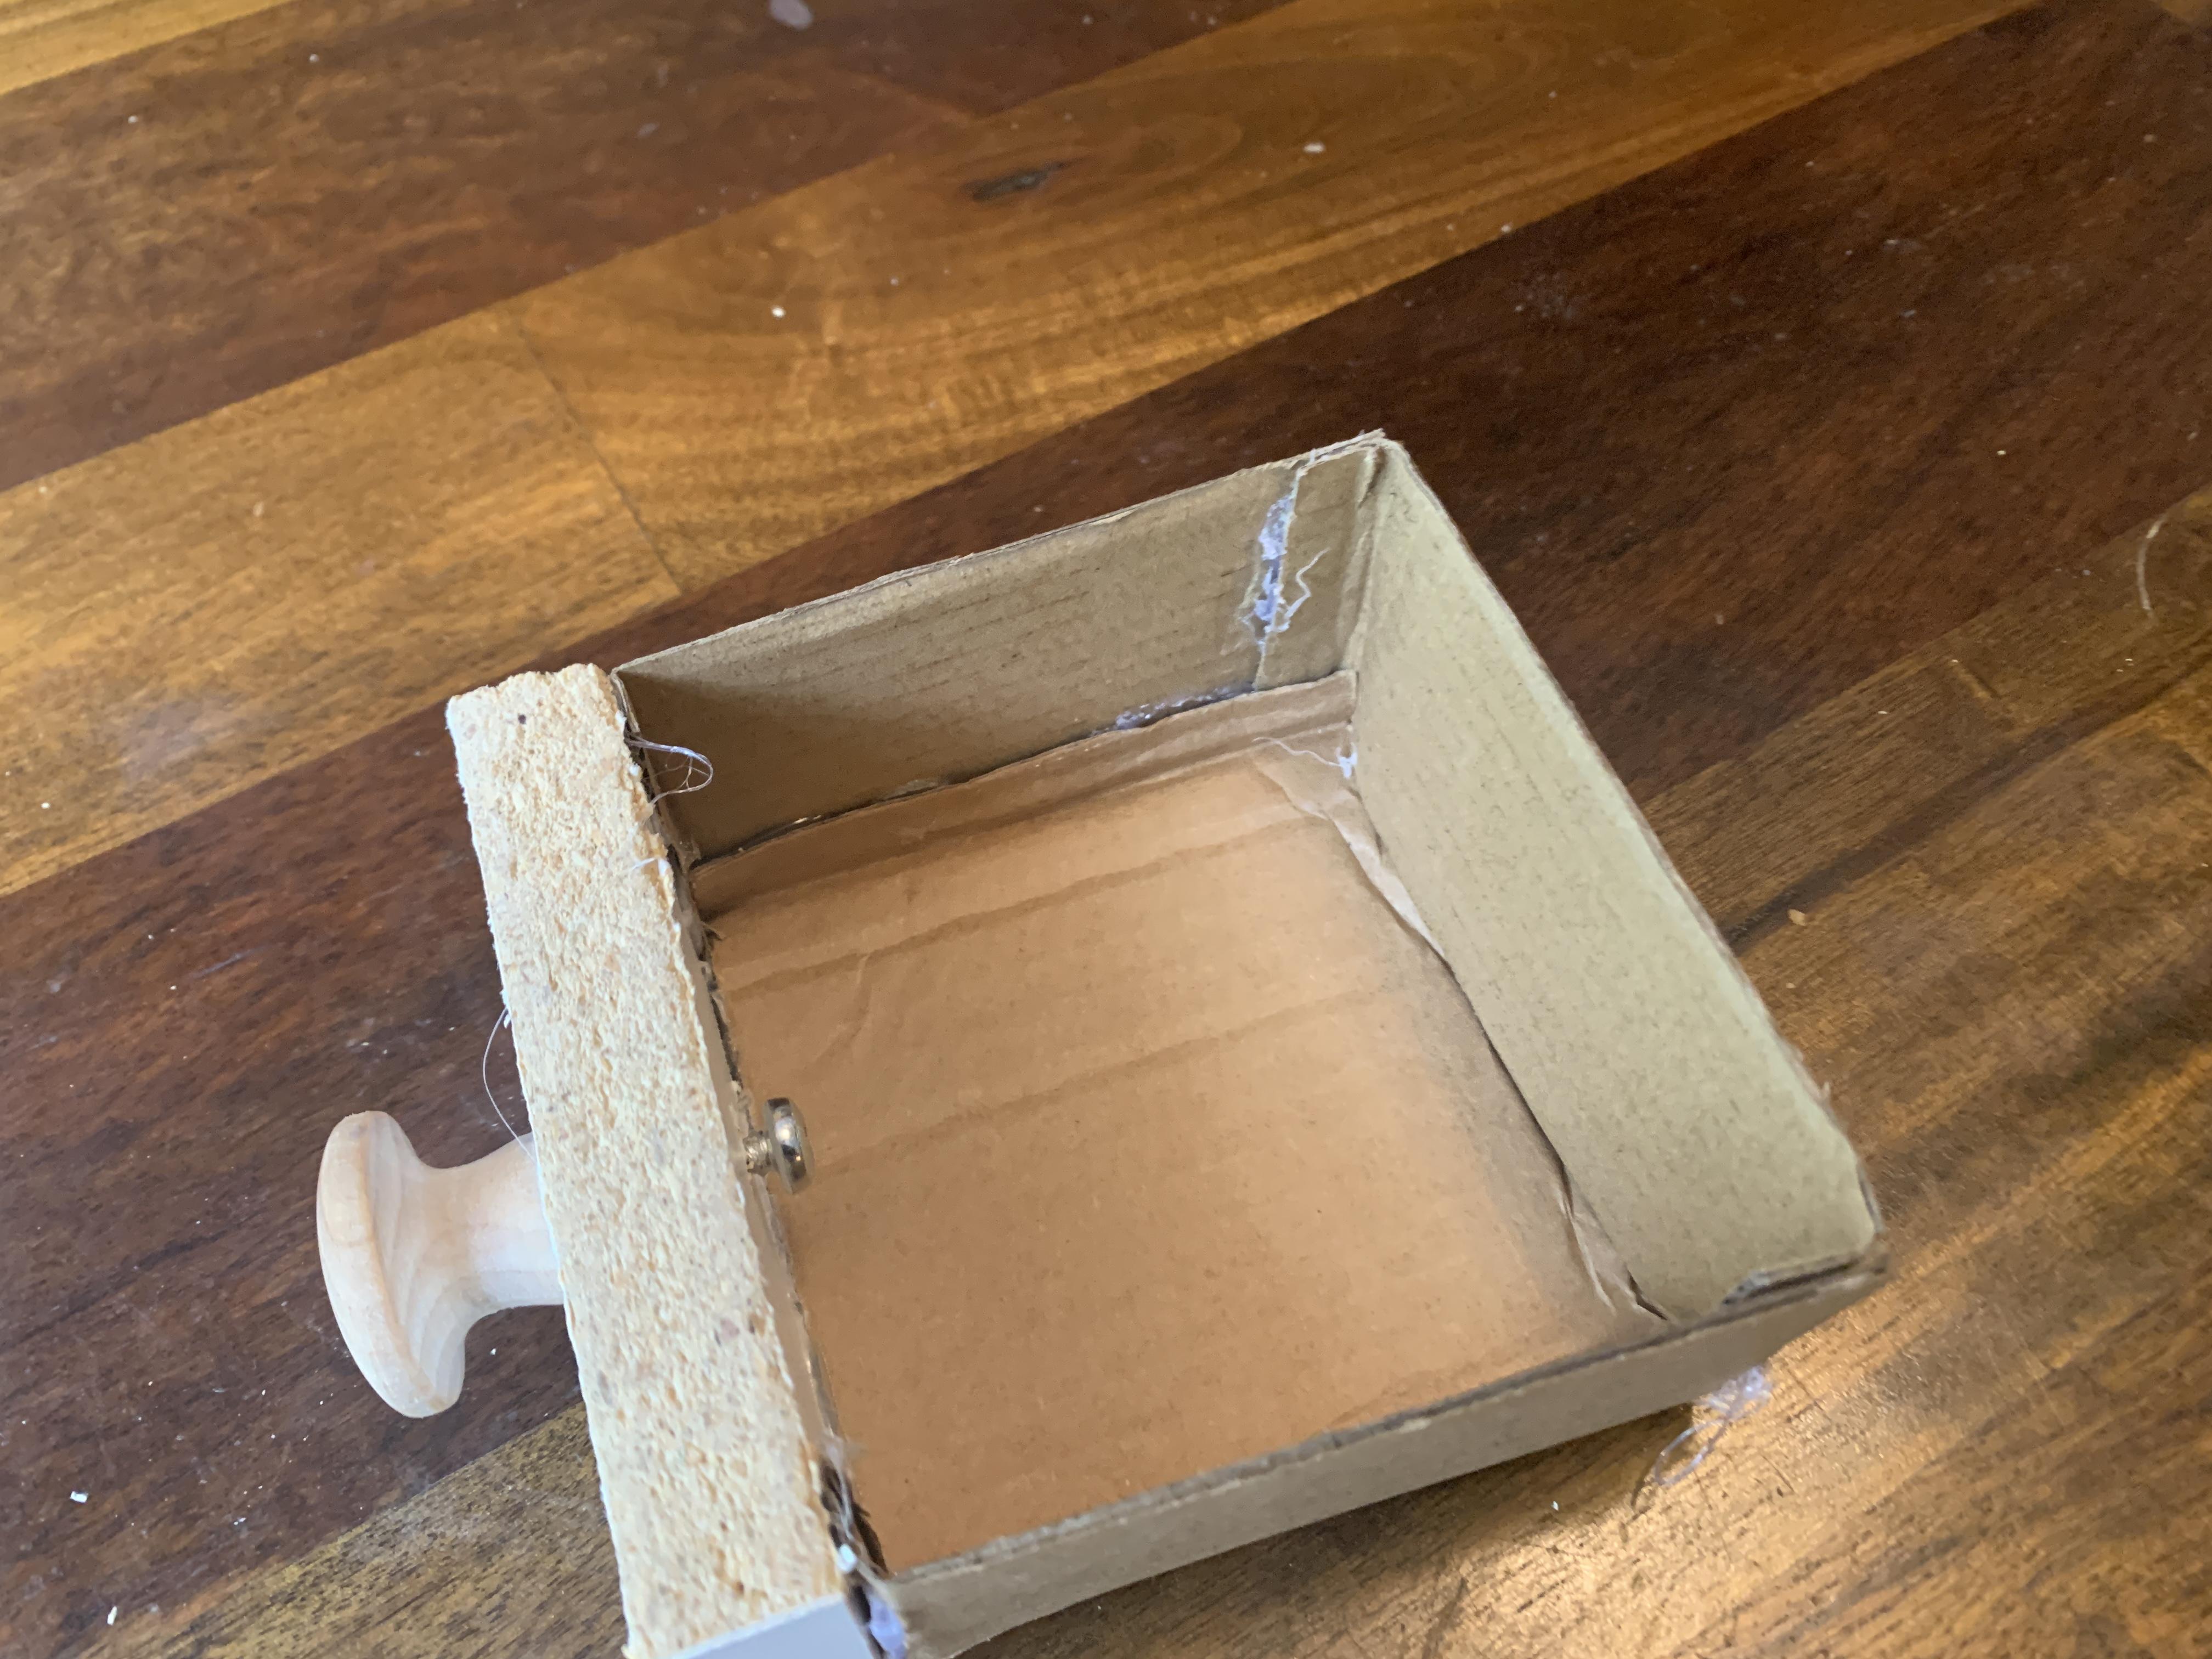
For the removable drawer, I wanted to make the inside of it cardboard to maximize the amount of space inside for catching the coins.
The dimensions for these parts are as follows:
- Sides- 4in x 2in
- Back- 4.5in x 2in
- Bottom- 4in x 4in
The reason why some of these dimensions might seem a little large is because the extra cardboard (about .25in each) on the sides and the back gets folded to then be glued to the other pieces.
Fold and glue each piece of cardboard together to form the box.
The Panda Arm
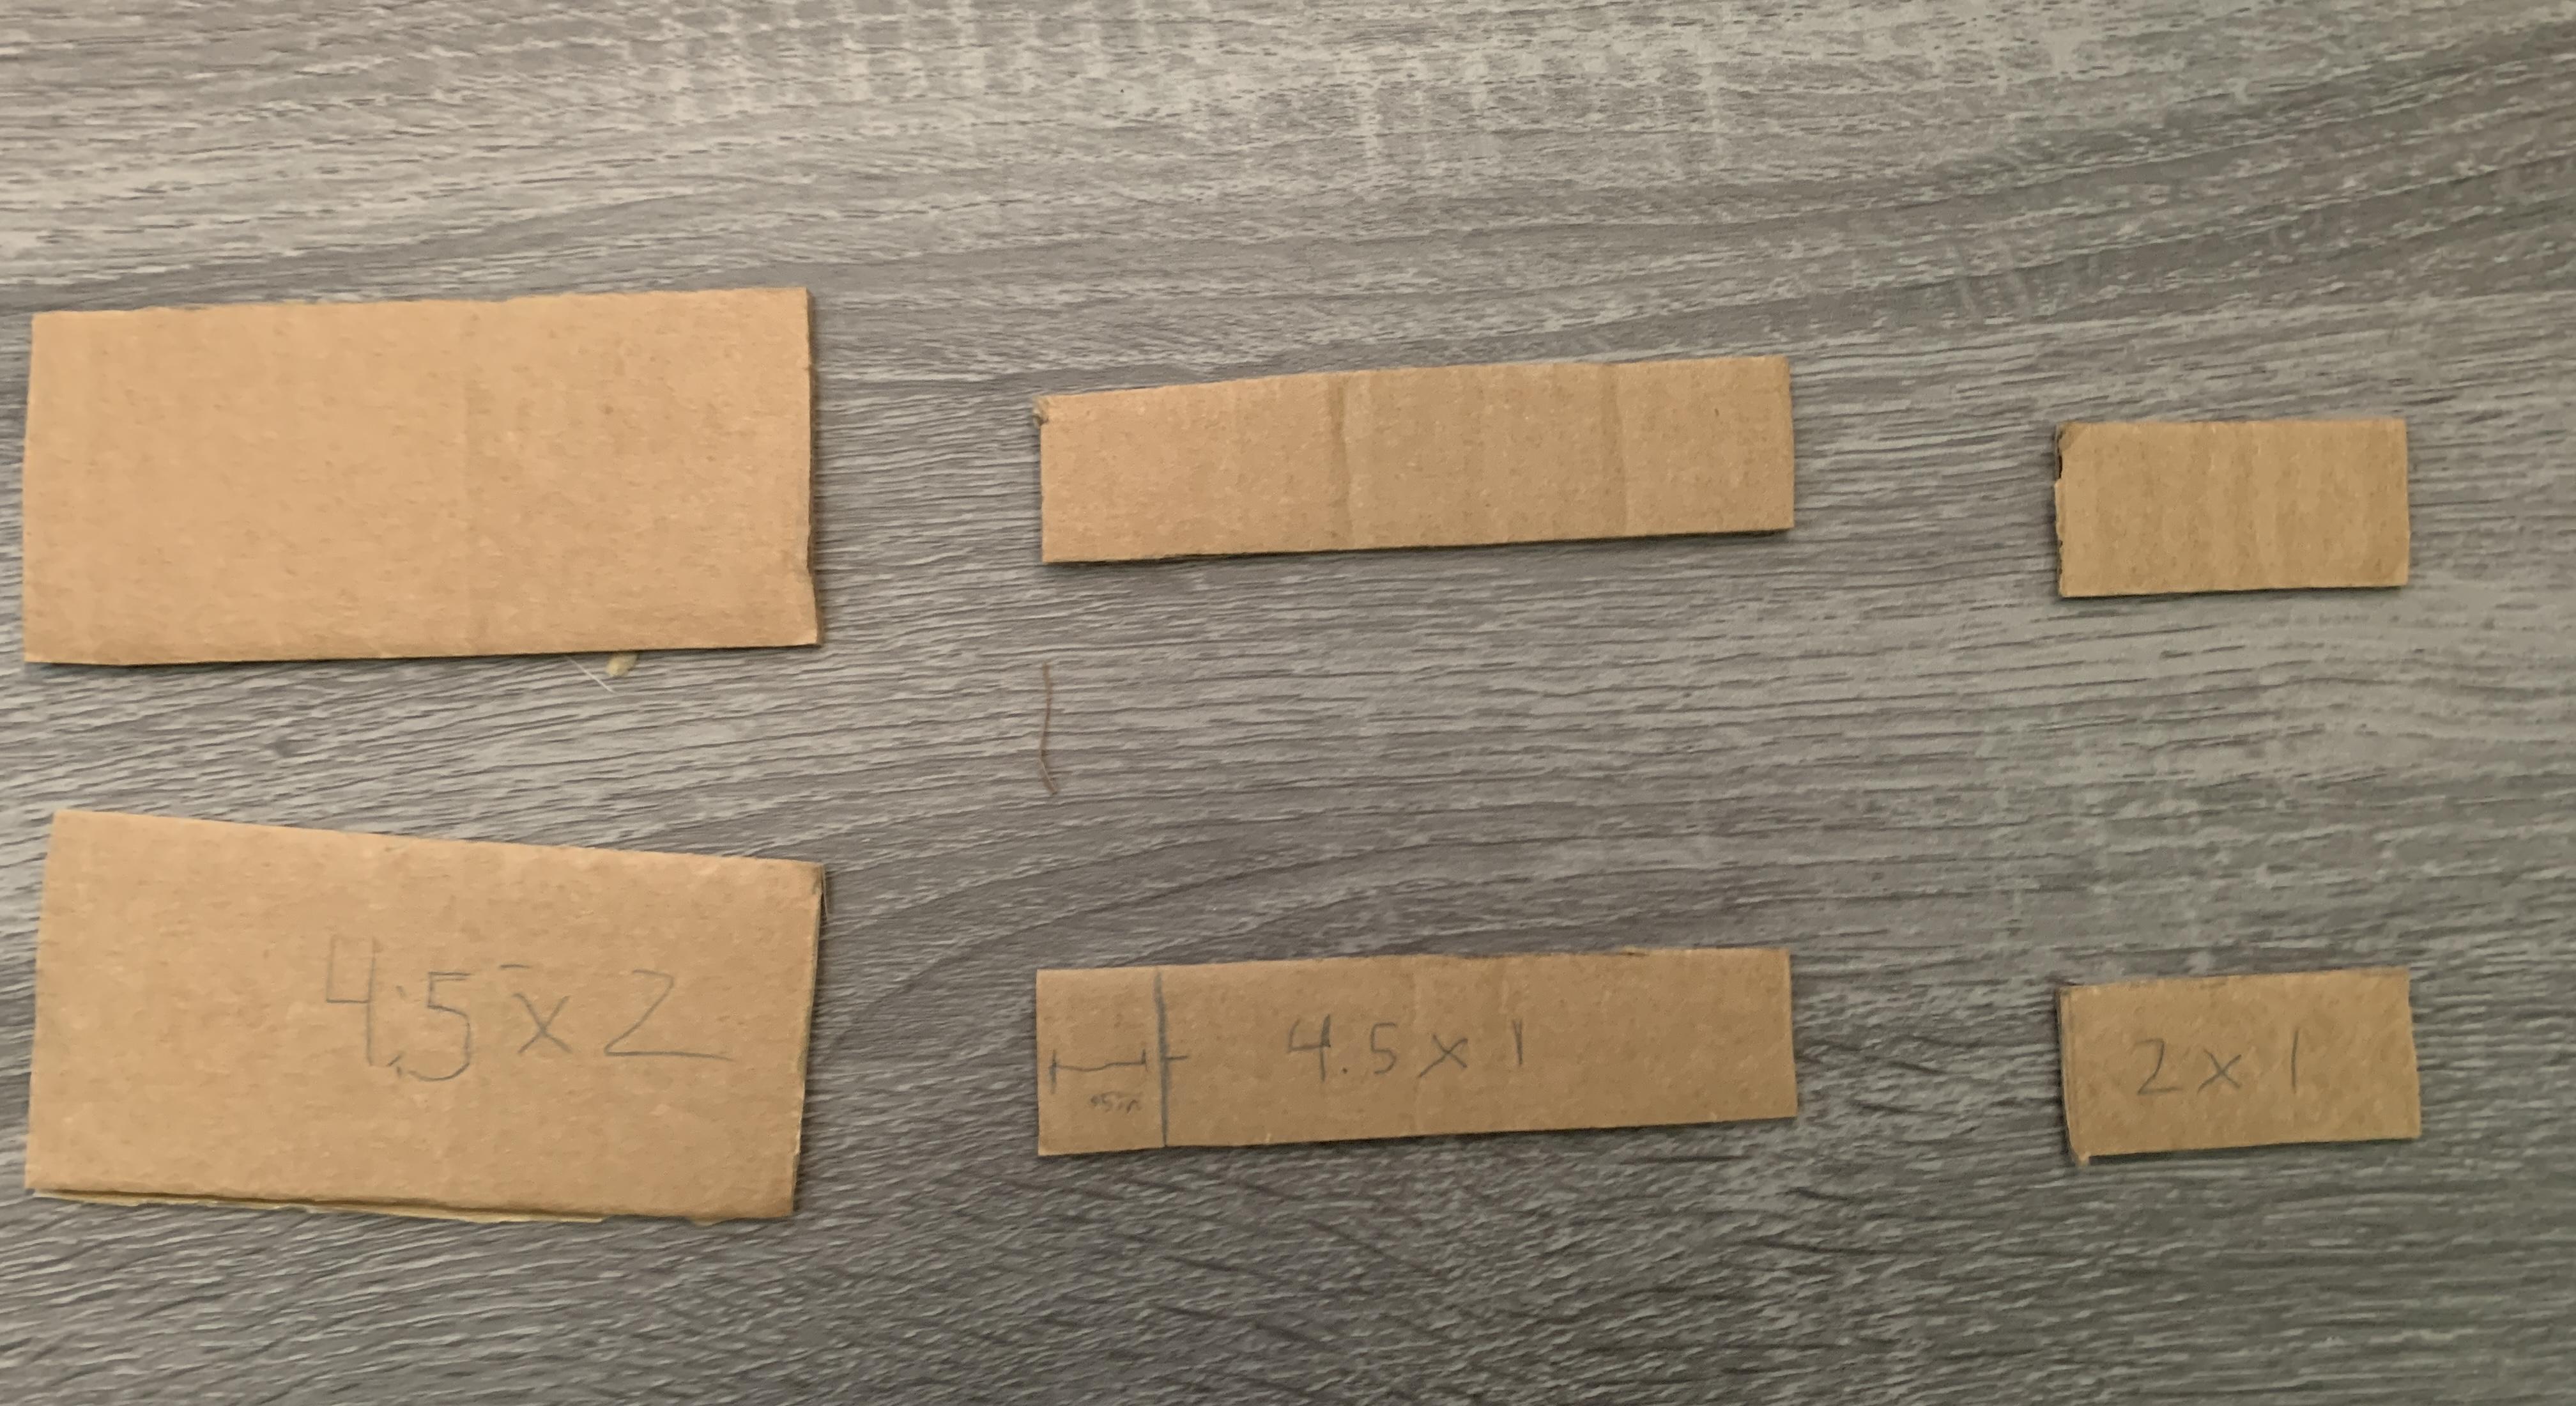
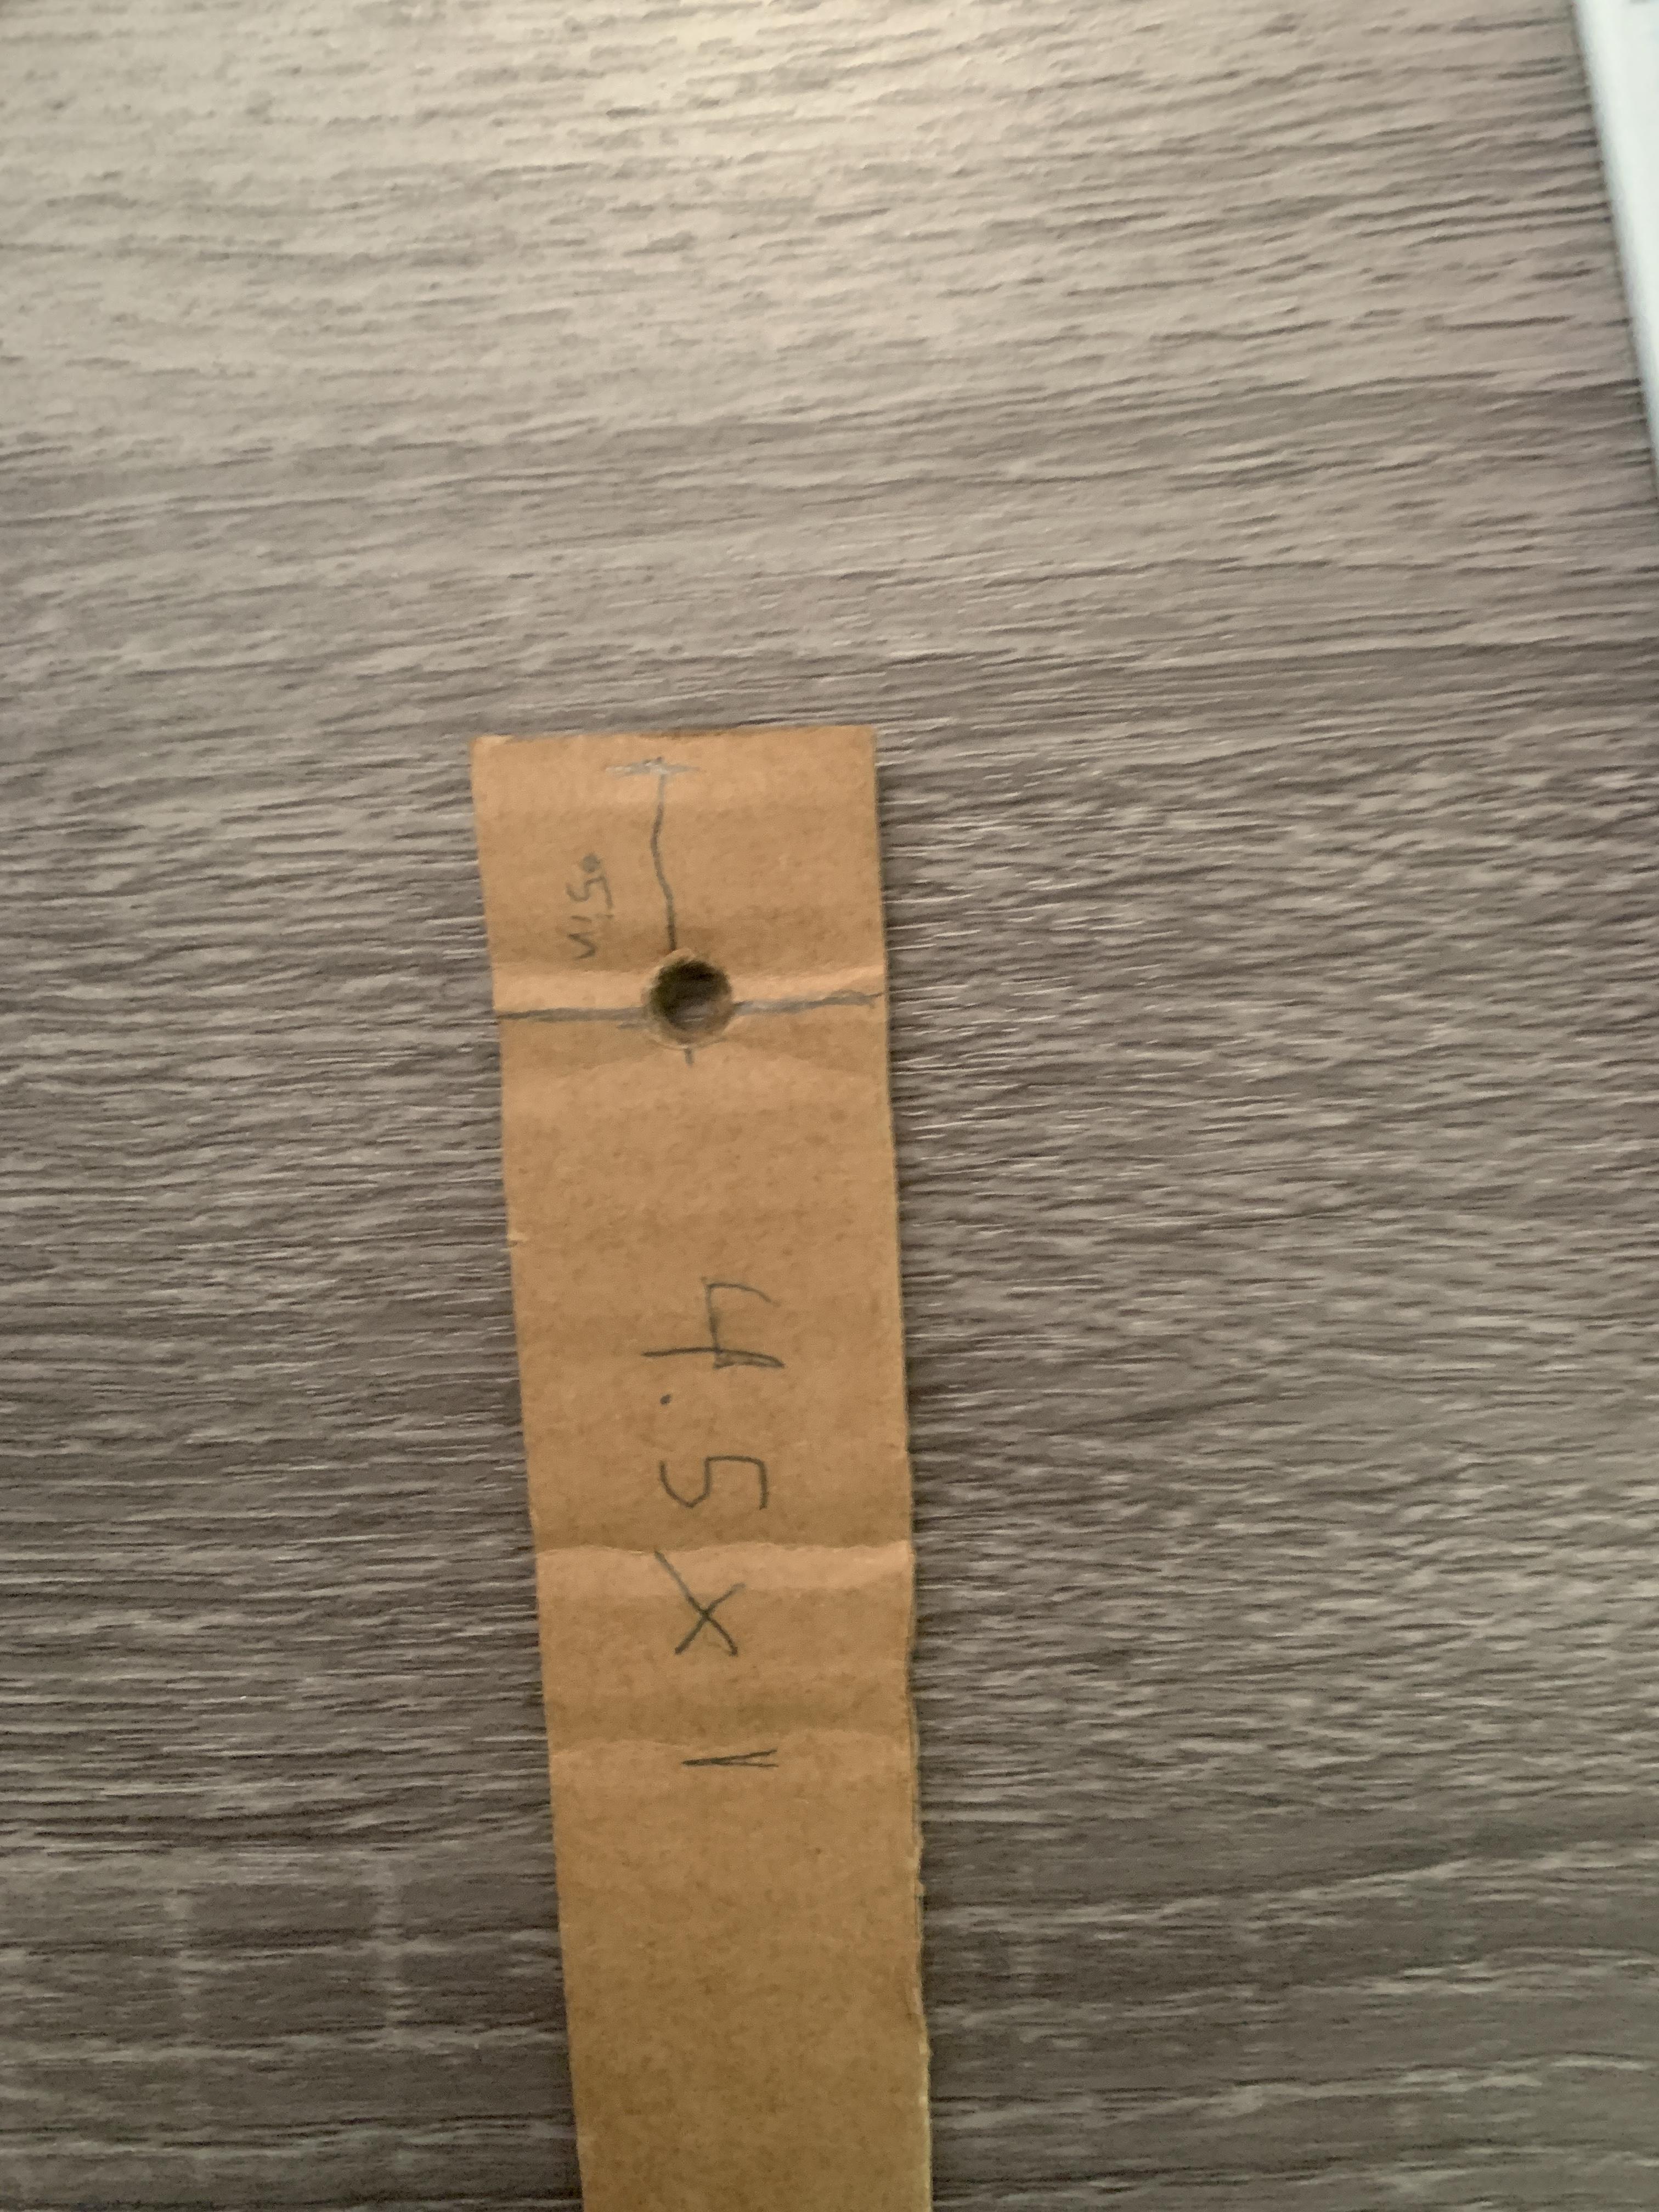

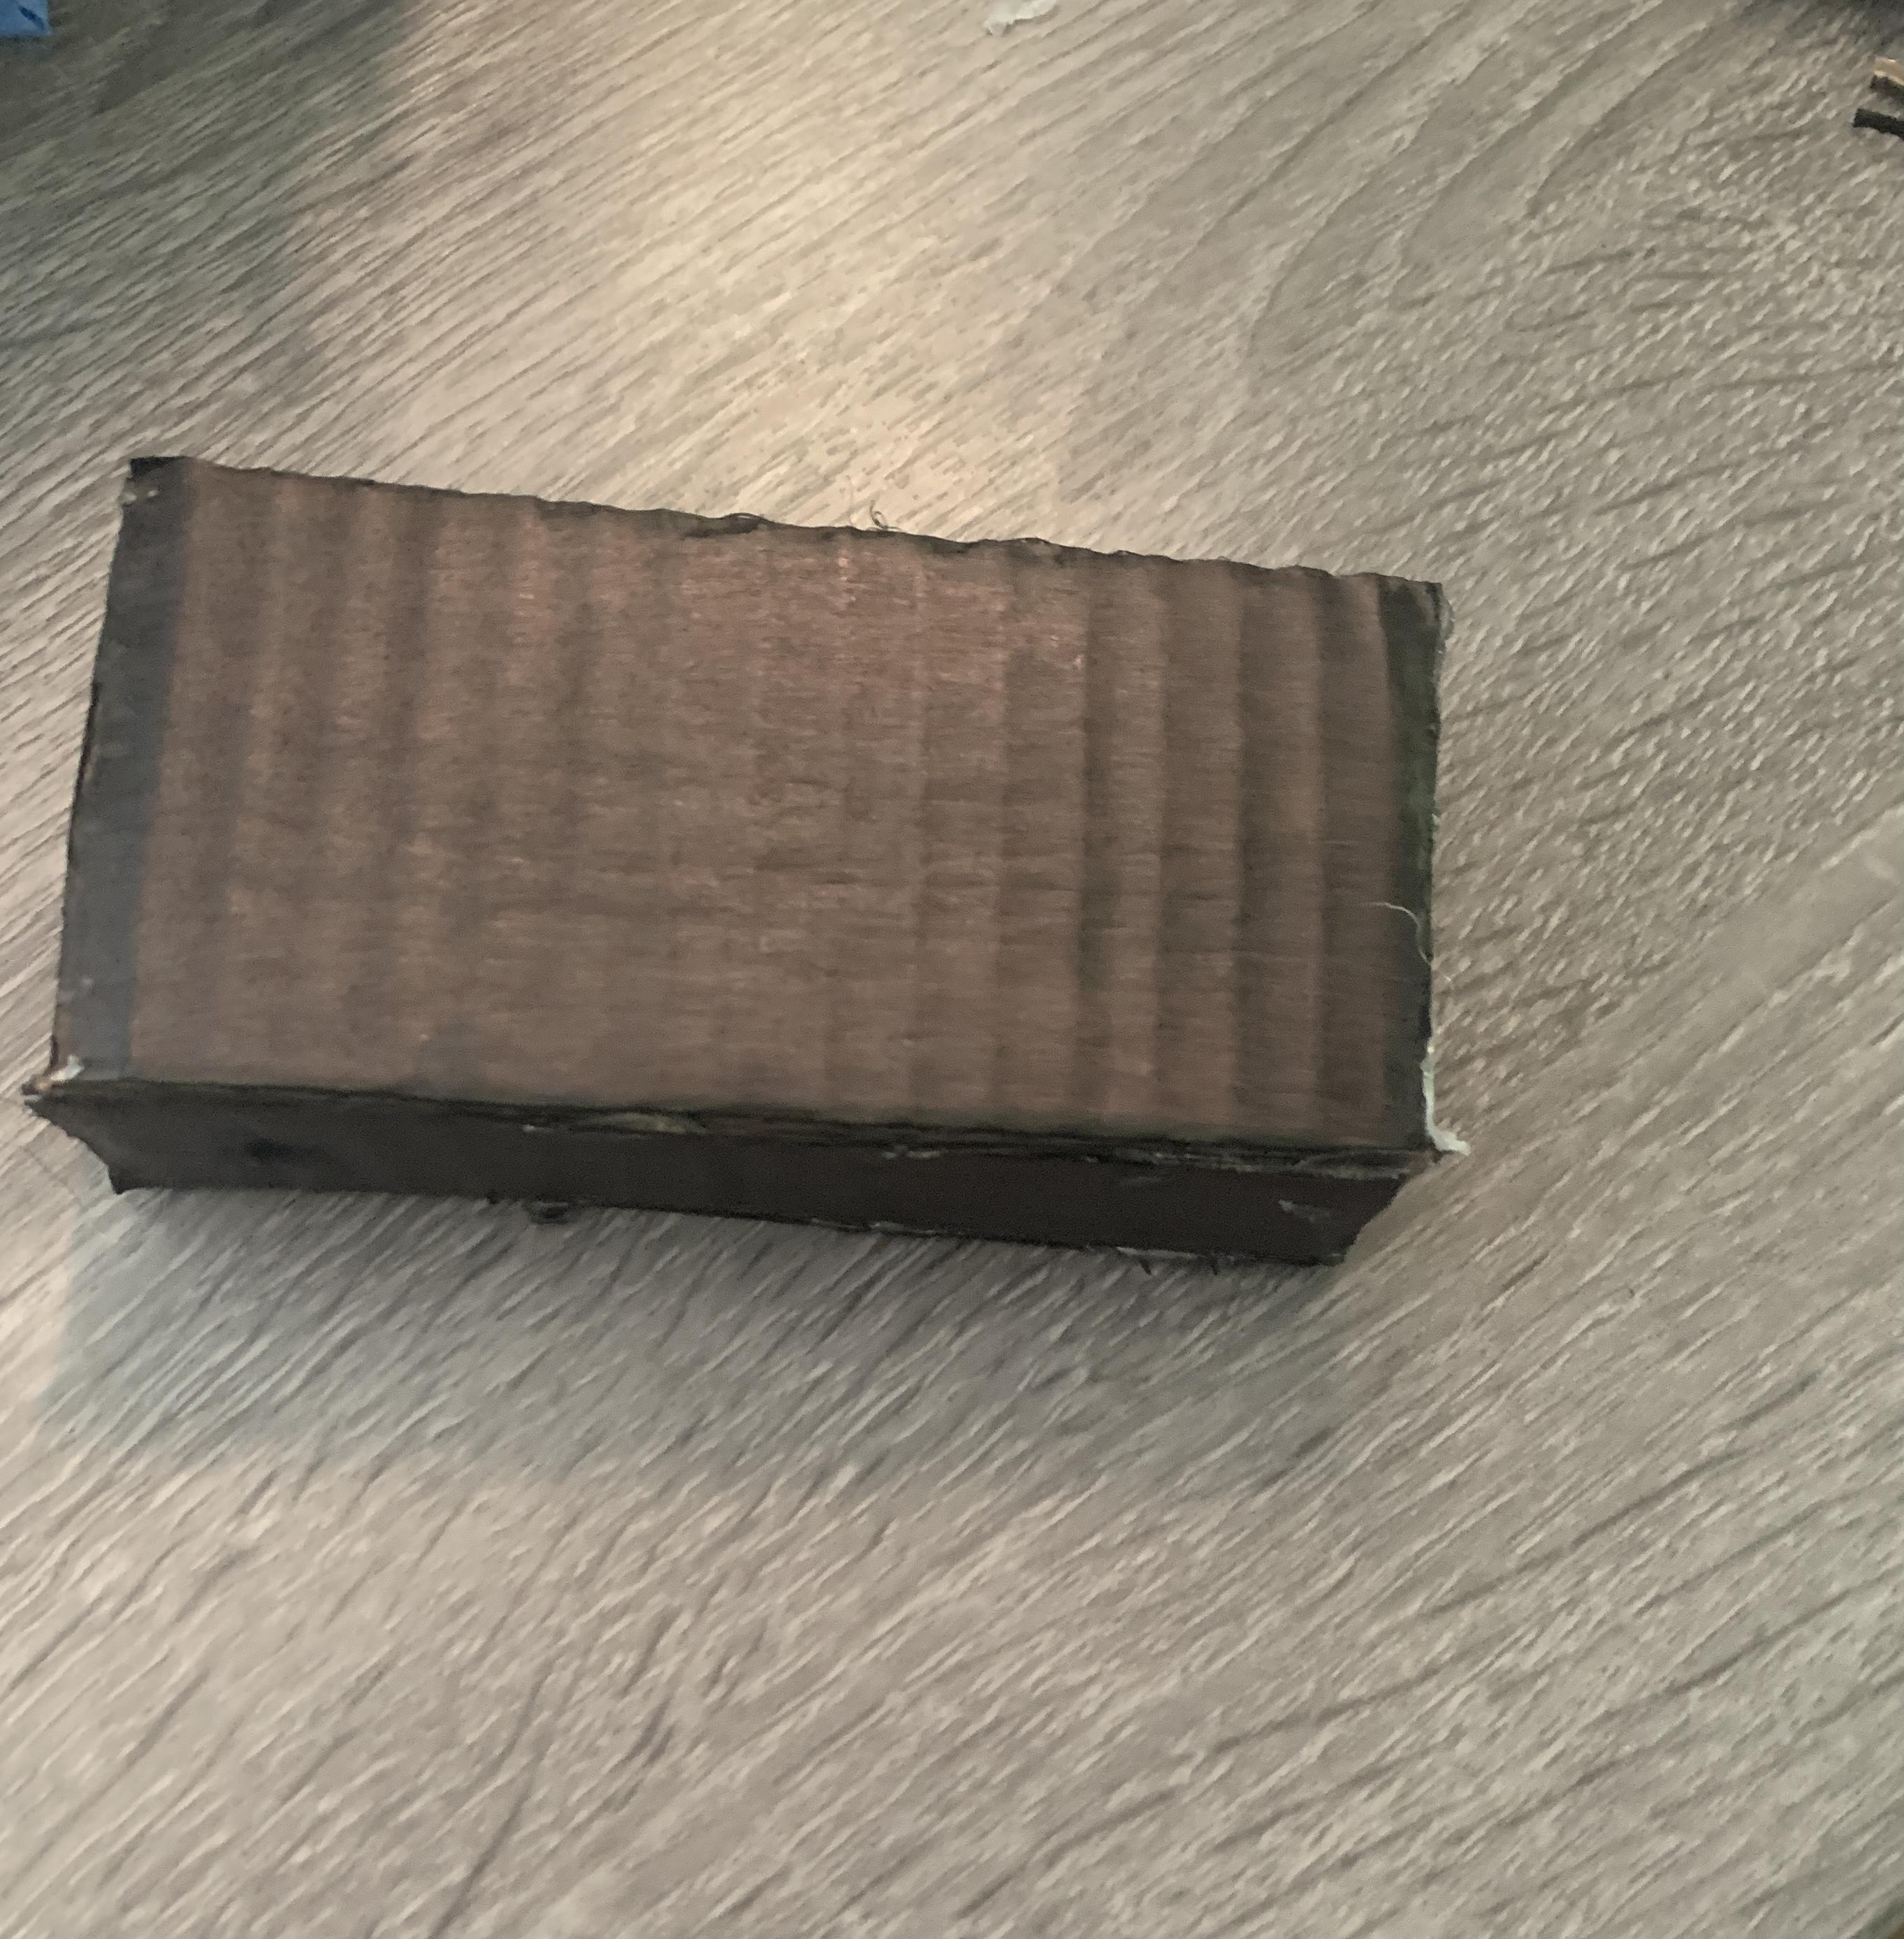
The Panda Arm will be used to open and close the mouth.
First, cut cardboard pieces to the following dimensions:
- Top and Bottom- 4.5in x 2in
- Front and Back- 2in x 1in
- Sides- 4.5in x 1in
On one of the side pieces, mark a spot that is .5 inches in and .5 inches down on the piece, then drill a 1/4" hole in that spot. This hole will allow the arm to be connected to the rest of the coin box.
Using your permanent marker, color one side of each piece completely black.
Glue all but either the top or bottom piece together to create the box. The piece you have set aside will go on later.
Putting It All Together
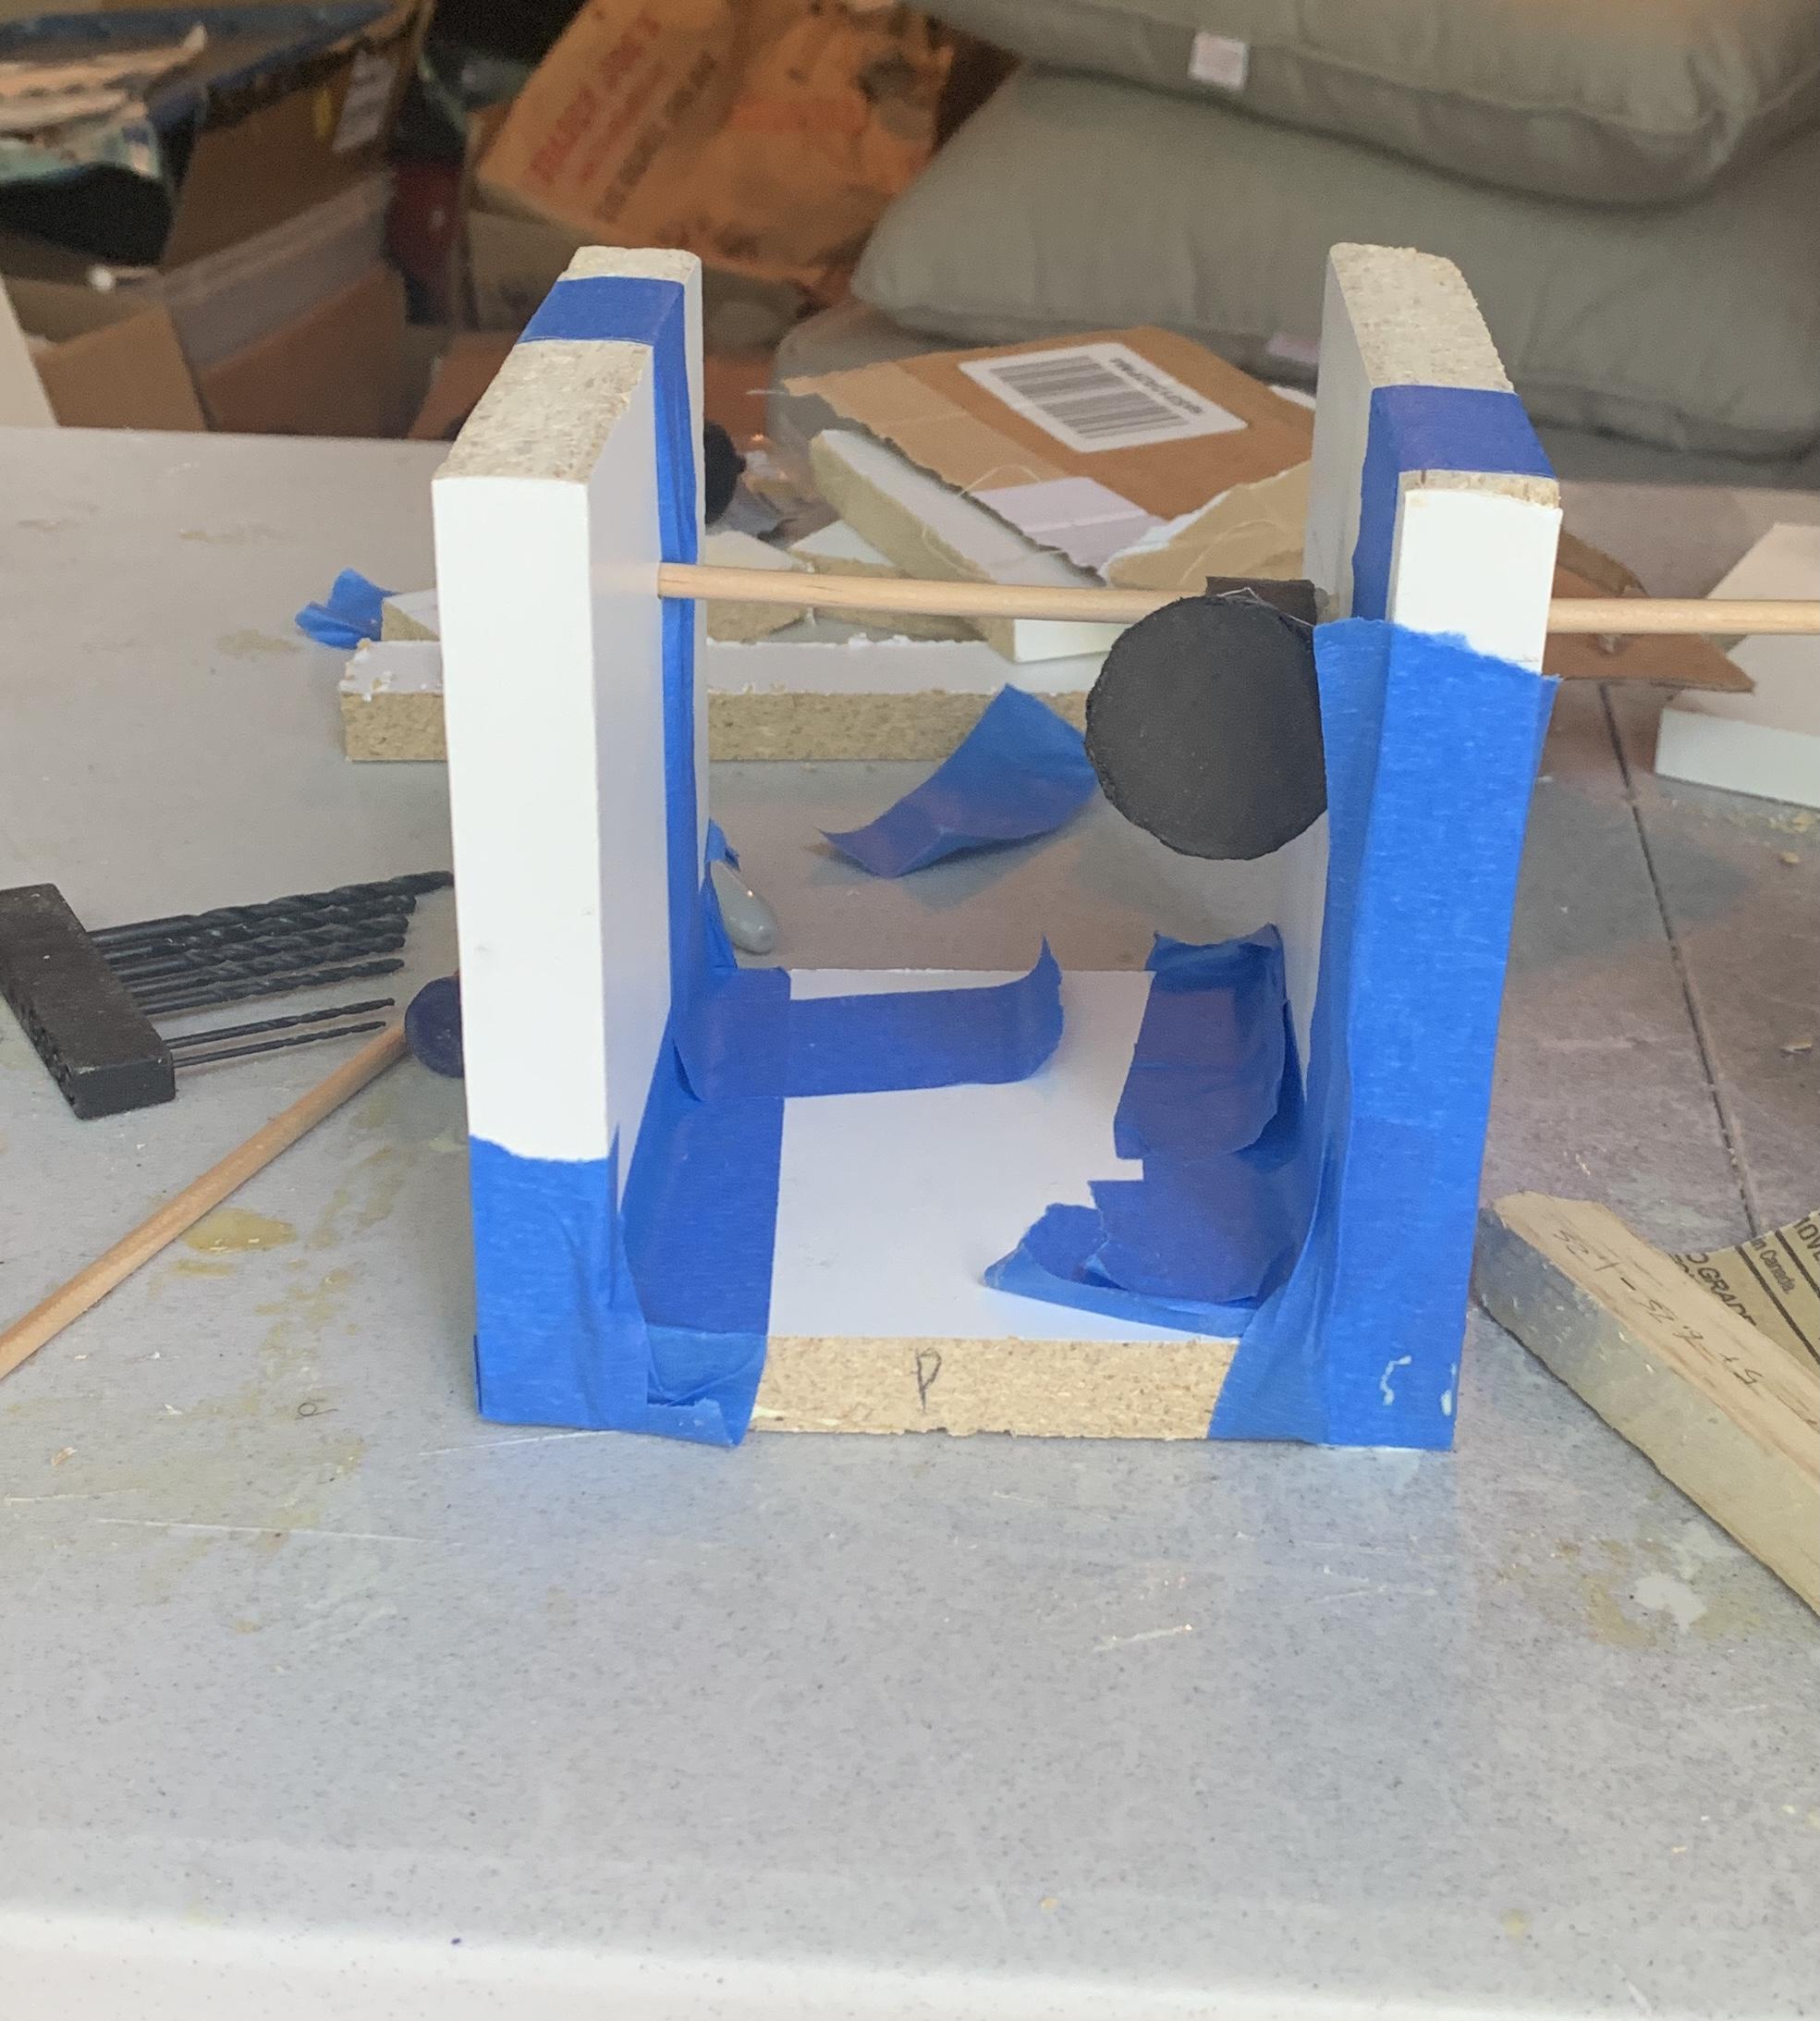
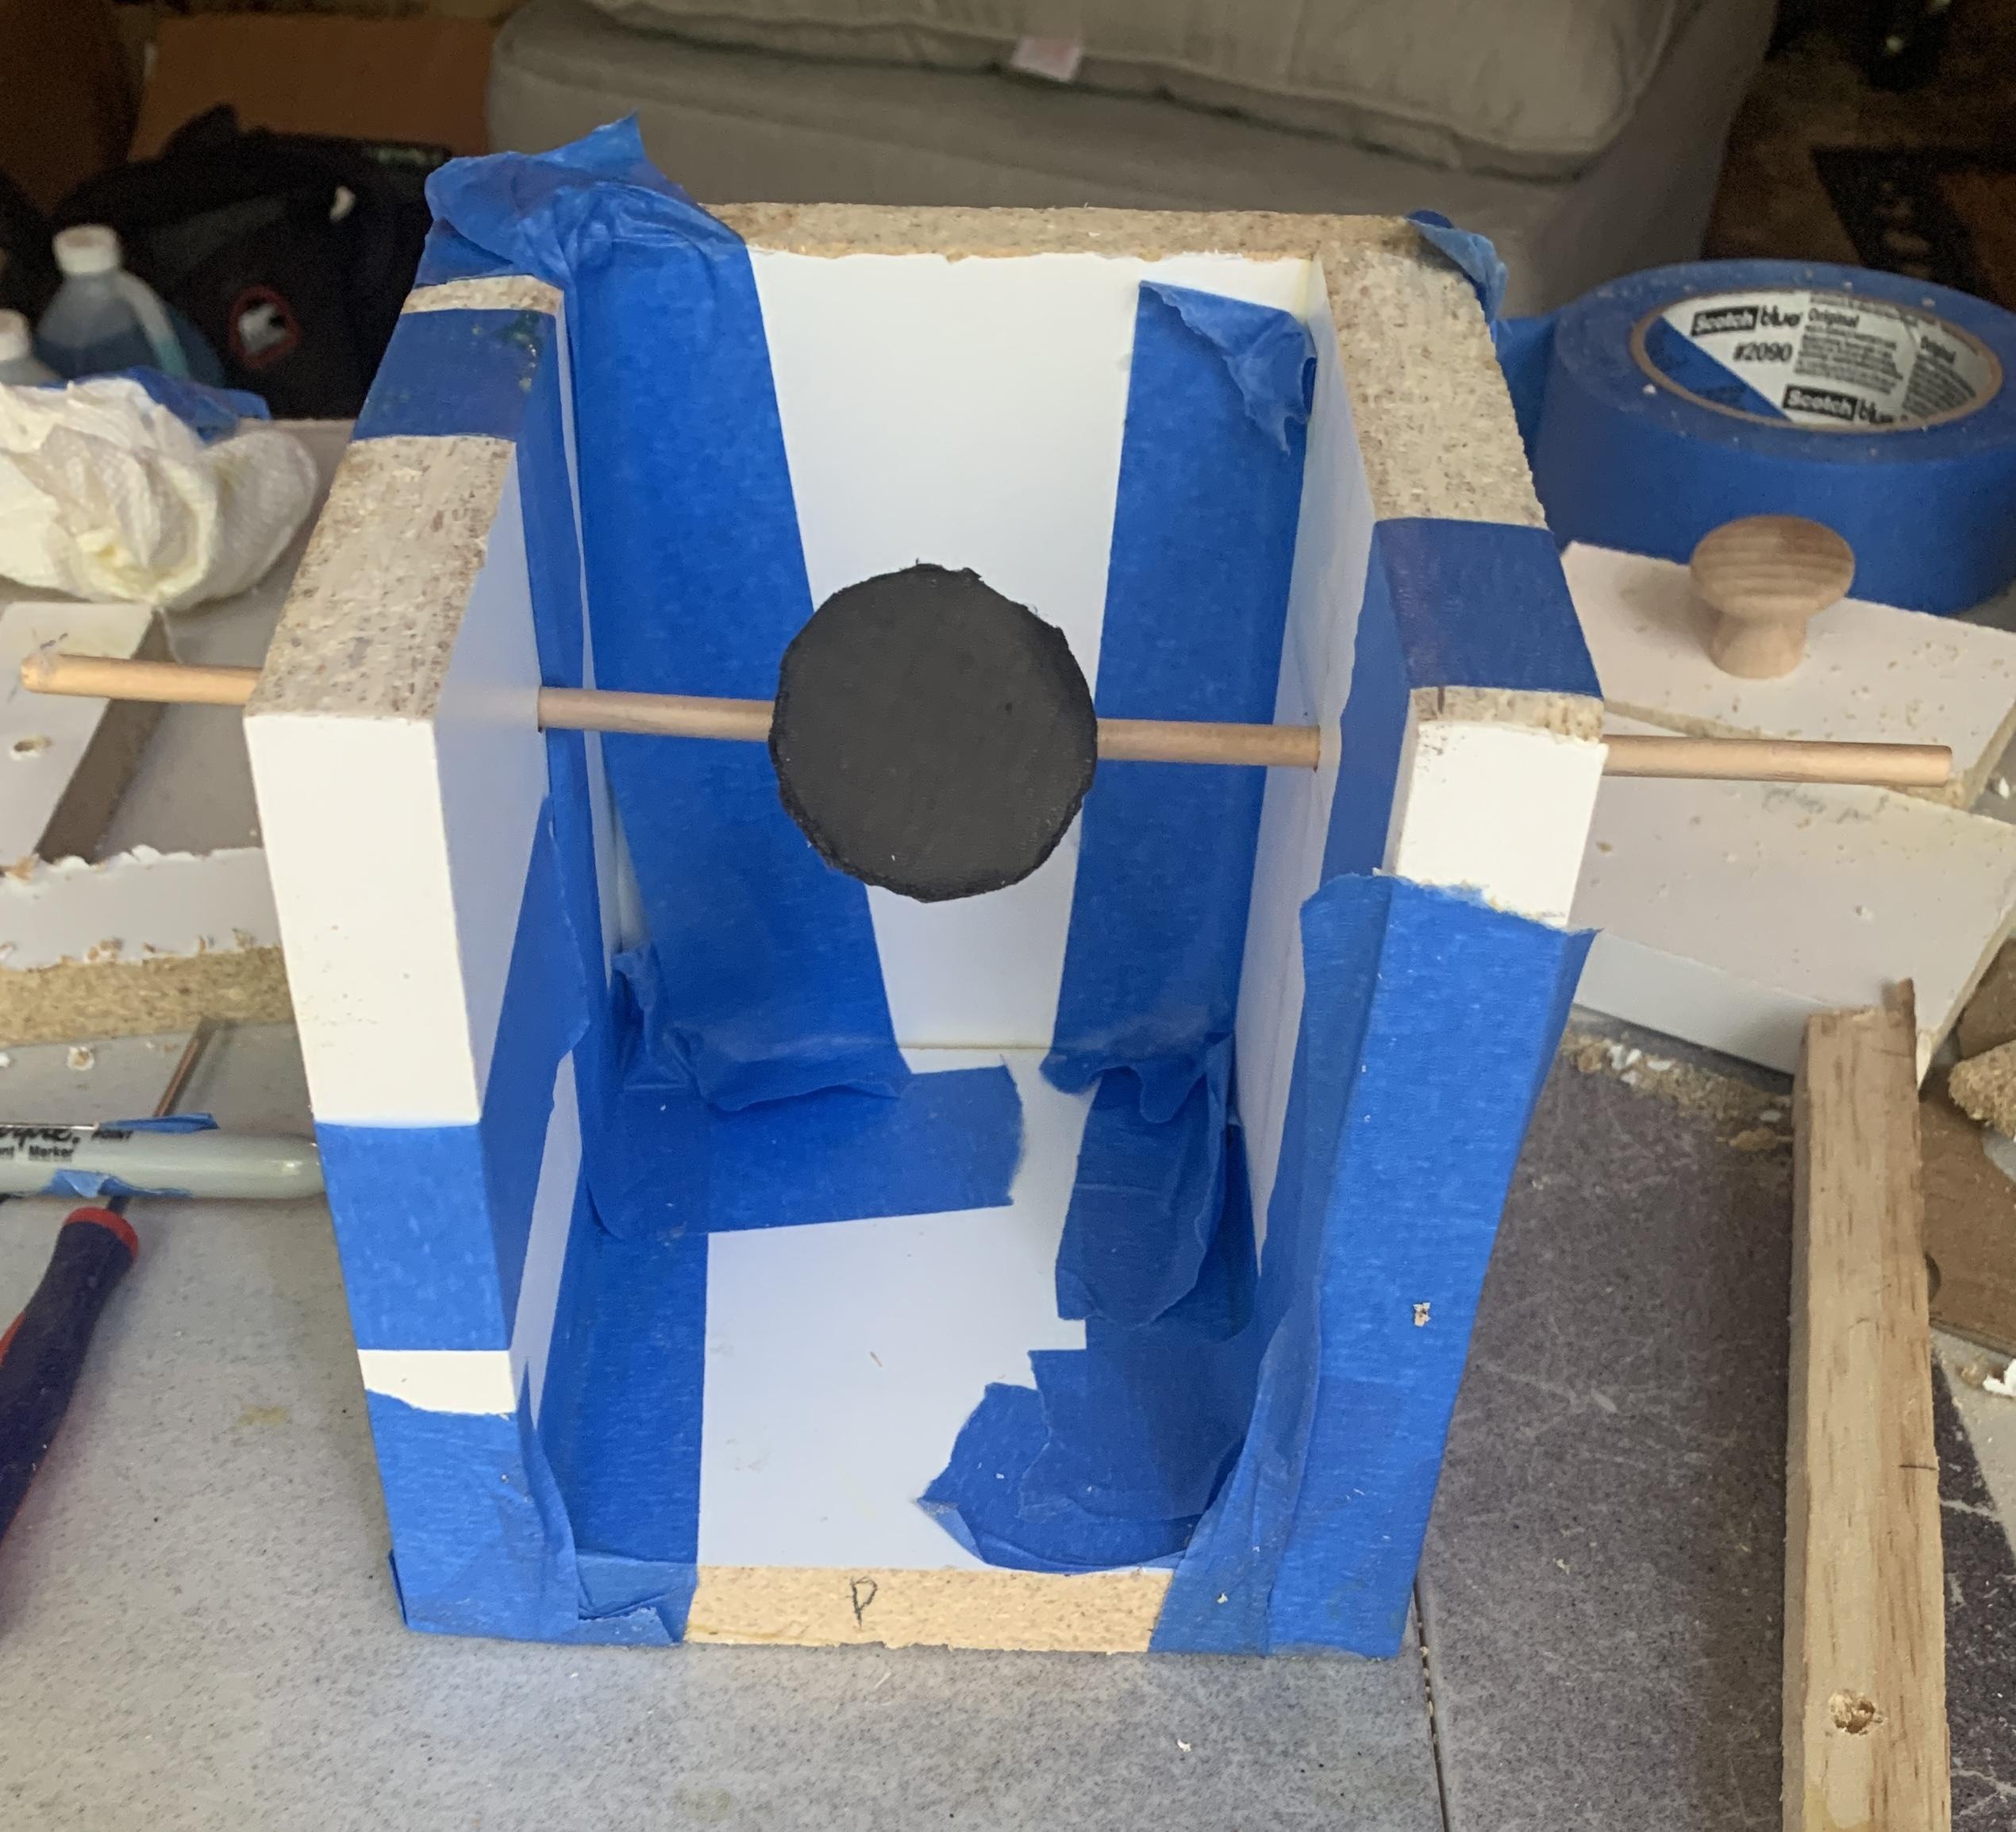
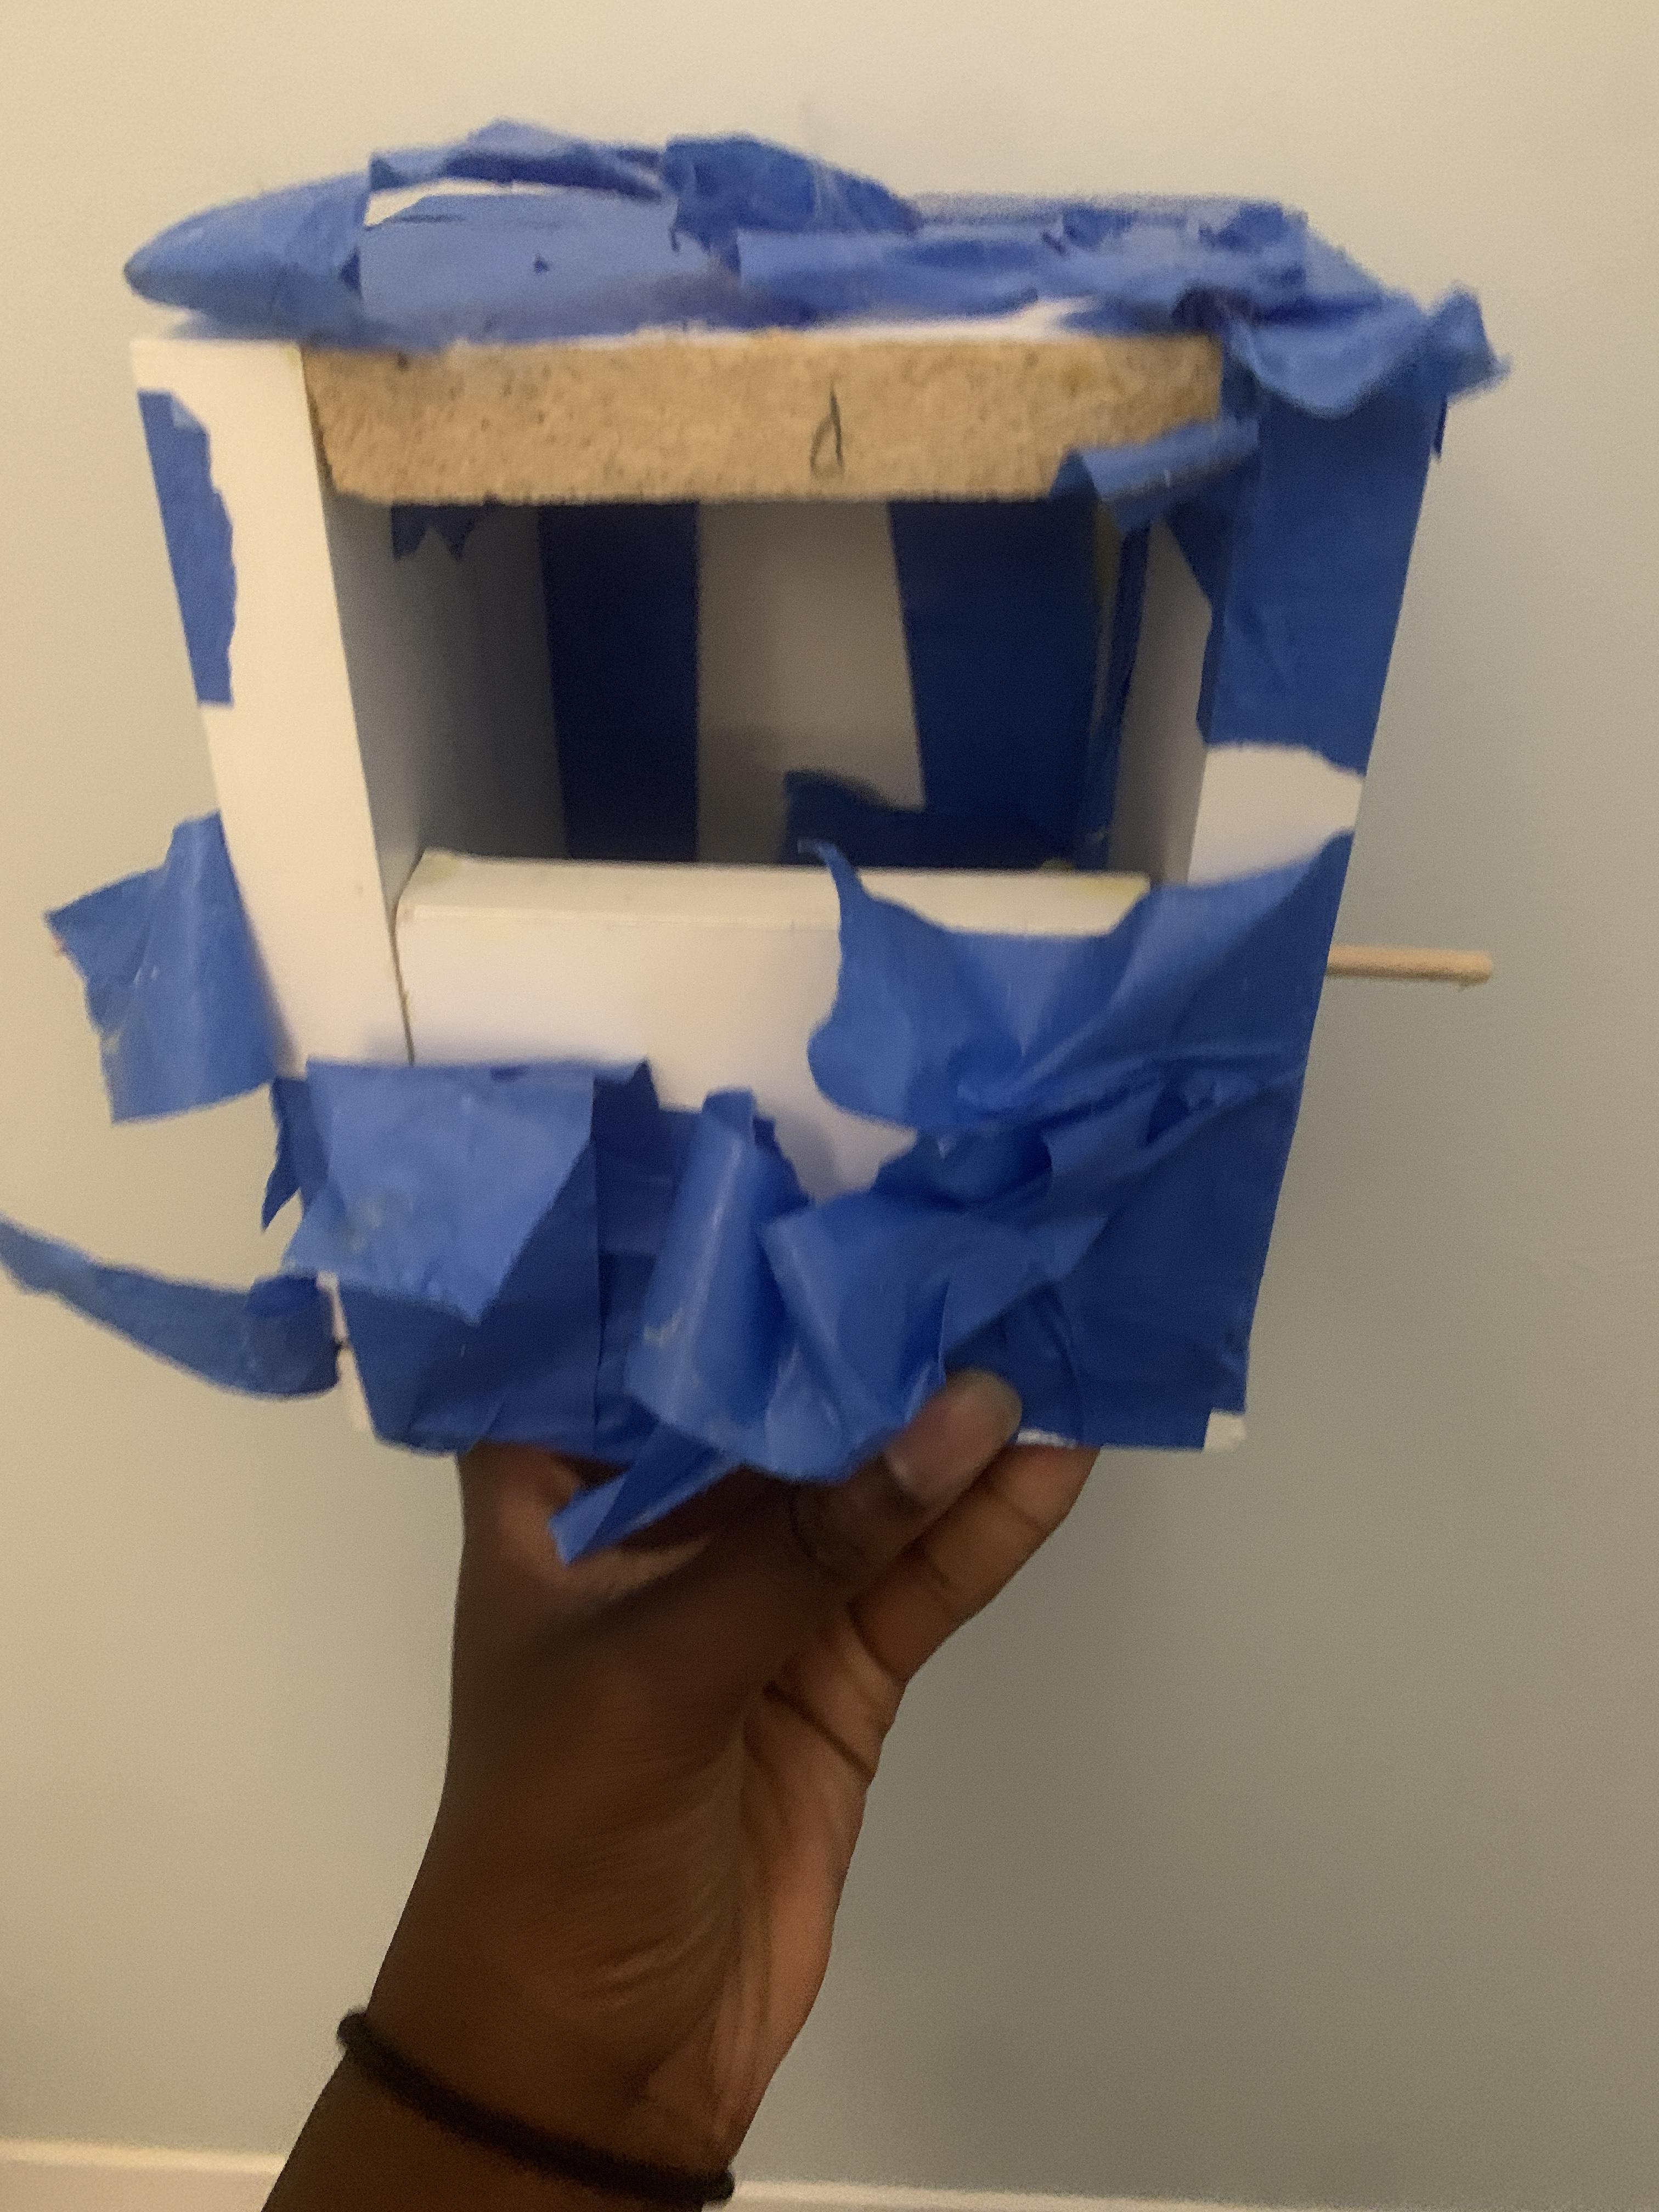
Place the dowel between the two sides of the box.
Using wood glue, glue the two side pieces to the bottom.
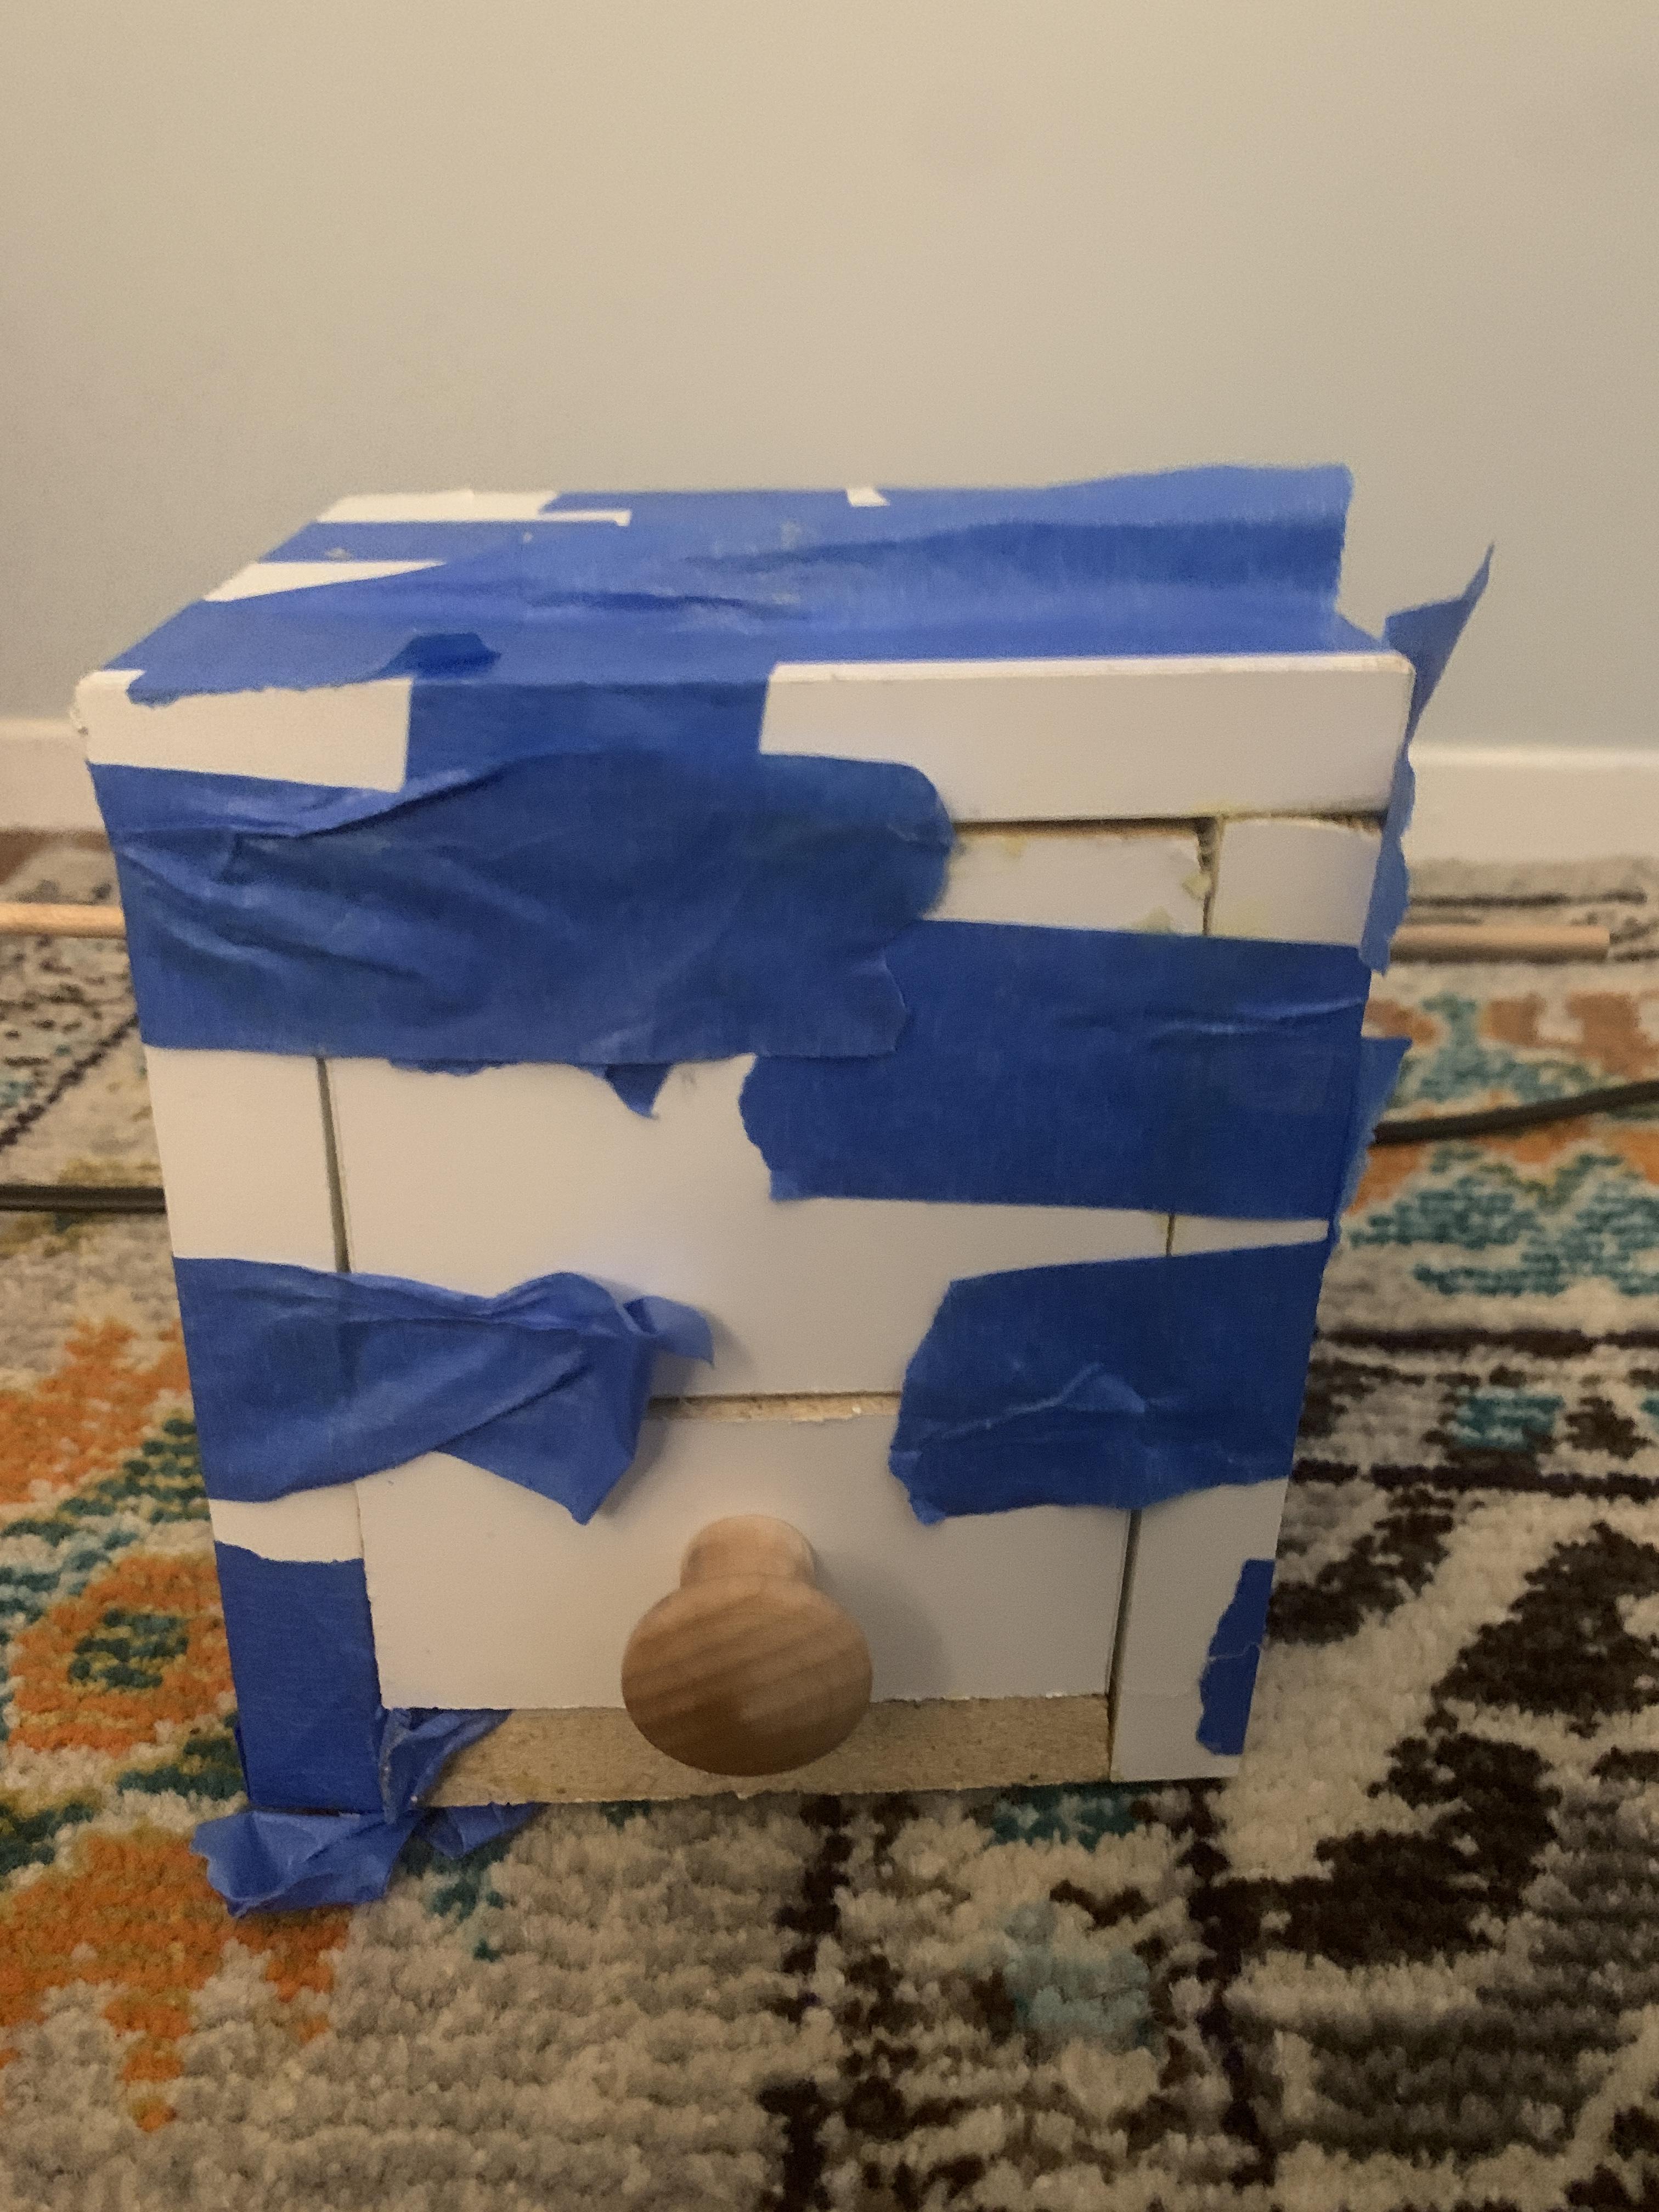
You can use wood clamps to do this but I only have tape, so to clamp the wood together use painters tape across the seams where the pieces of wood are being taped together and tape them together as tautly as possible. You will know that you have done this correctly when it feels like the pieces of wood will not slip or slide against each other.
Wait 30 minutes for the wood to dry a bit.
Glue the back on and repeat taping process with this piece.
Wait 30 minutes.
Glue the top on.
Wait 30 minutes.
Glue the top front part on.
Once again, wait 30 minutes. I recommend letting it rest upside down so that gravity isn't pulling the top piece down.
At this point, you can slide in the drawer to ensure that it fits, but don't leave it in, as the glue still needs 24 hours to dry and any stray glue might accidentally get on the drawer if it is left in.
Putting It All Together (Part 2)
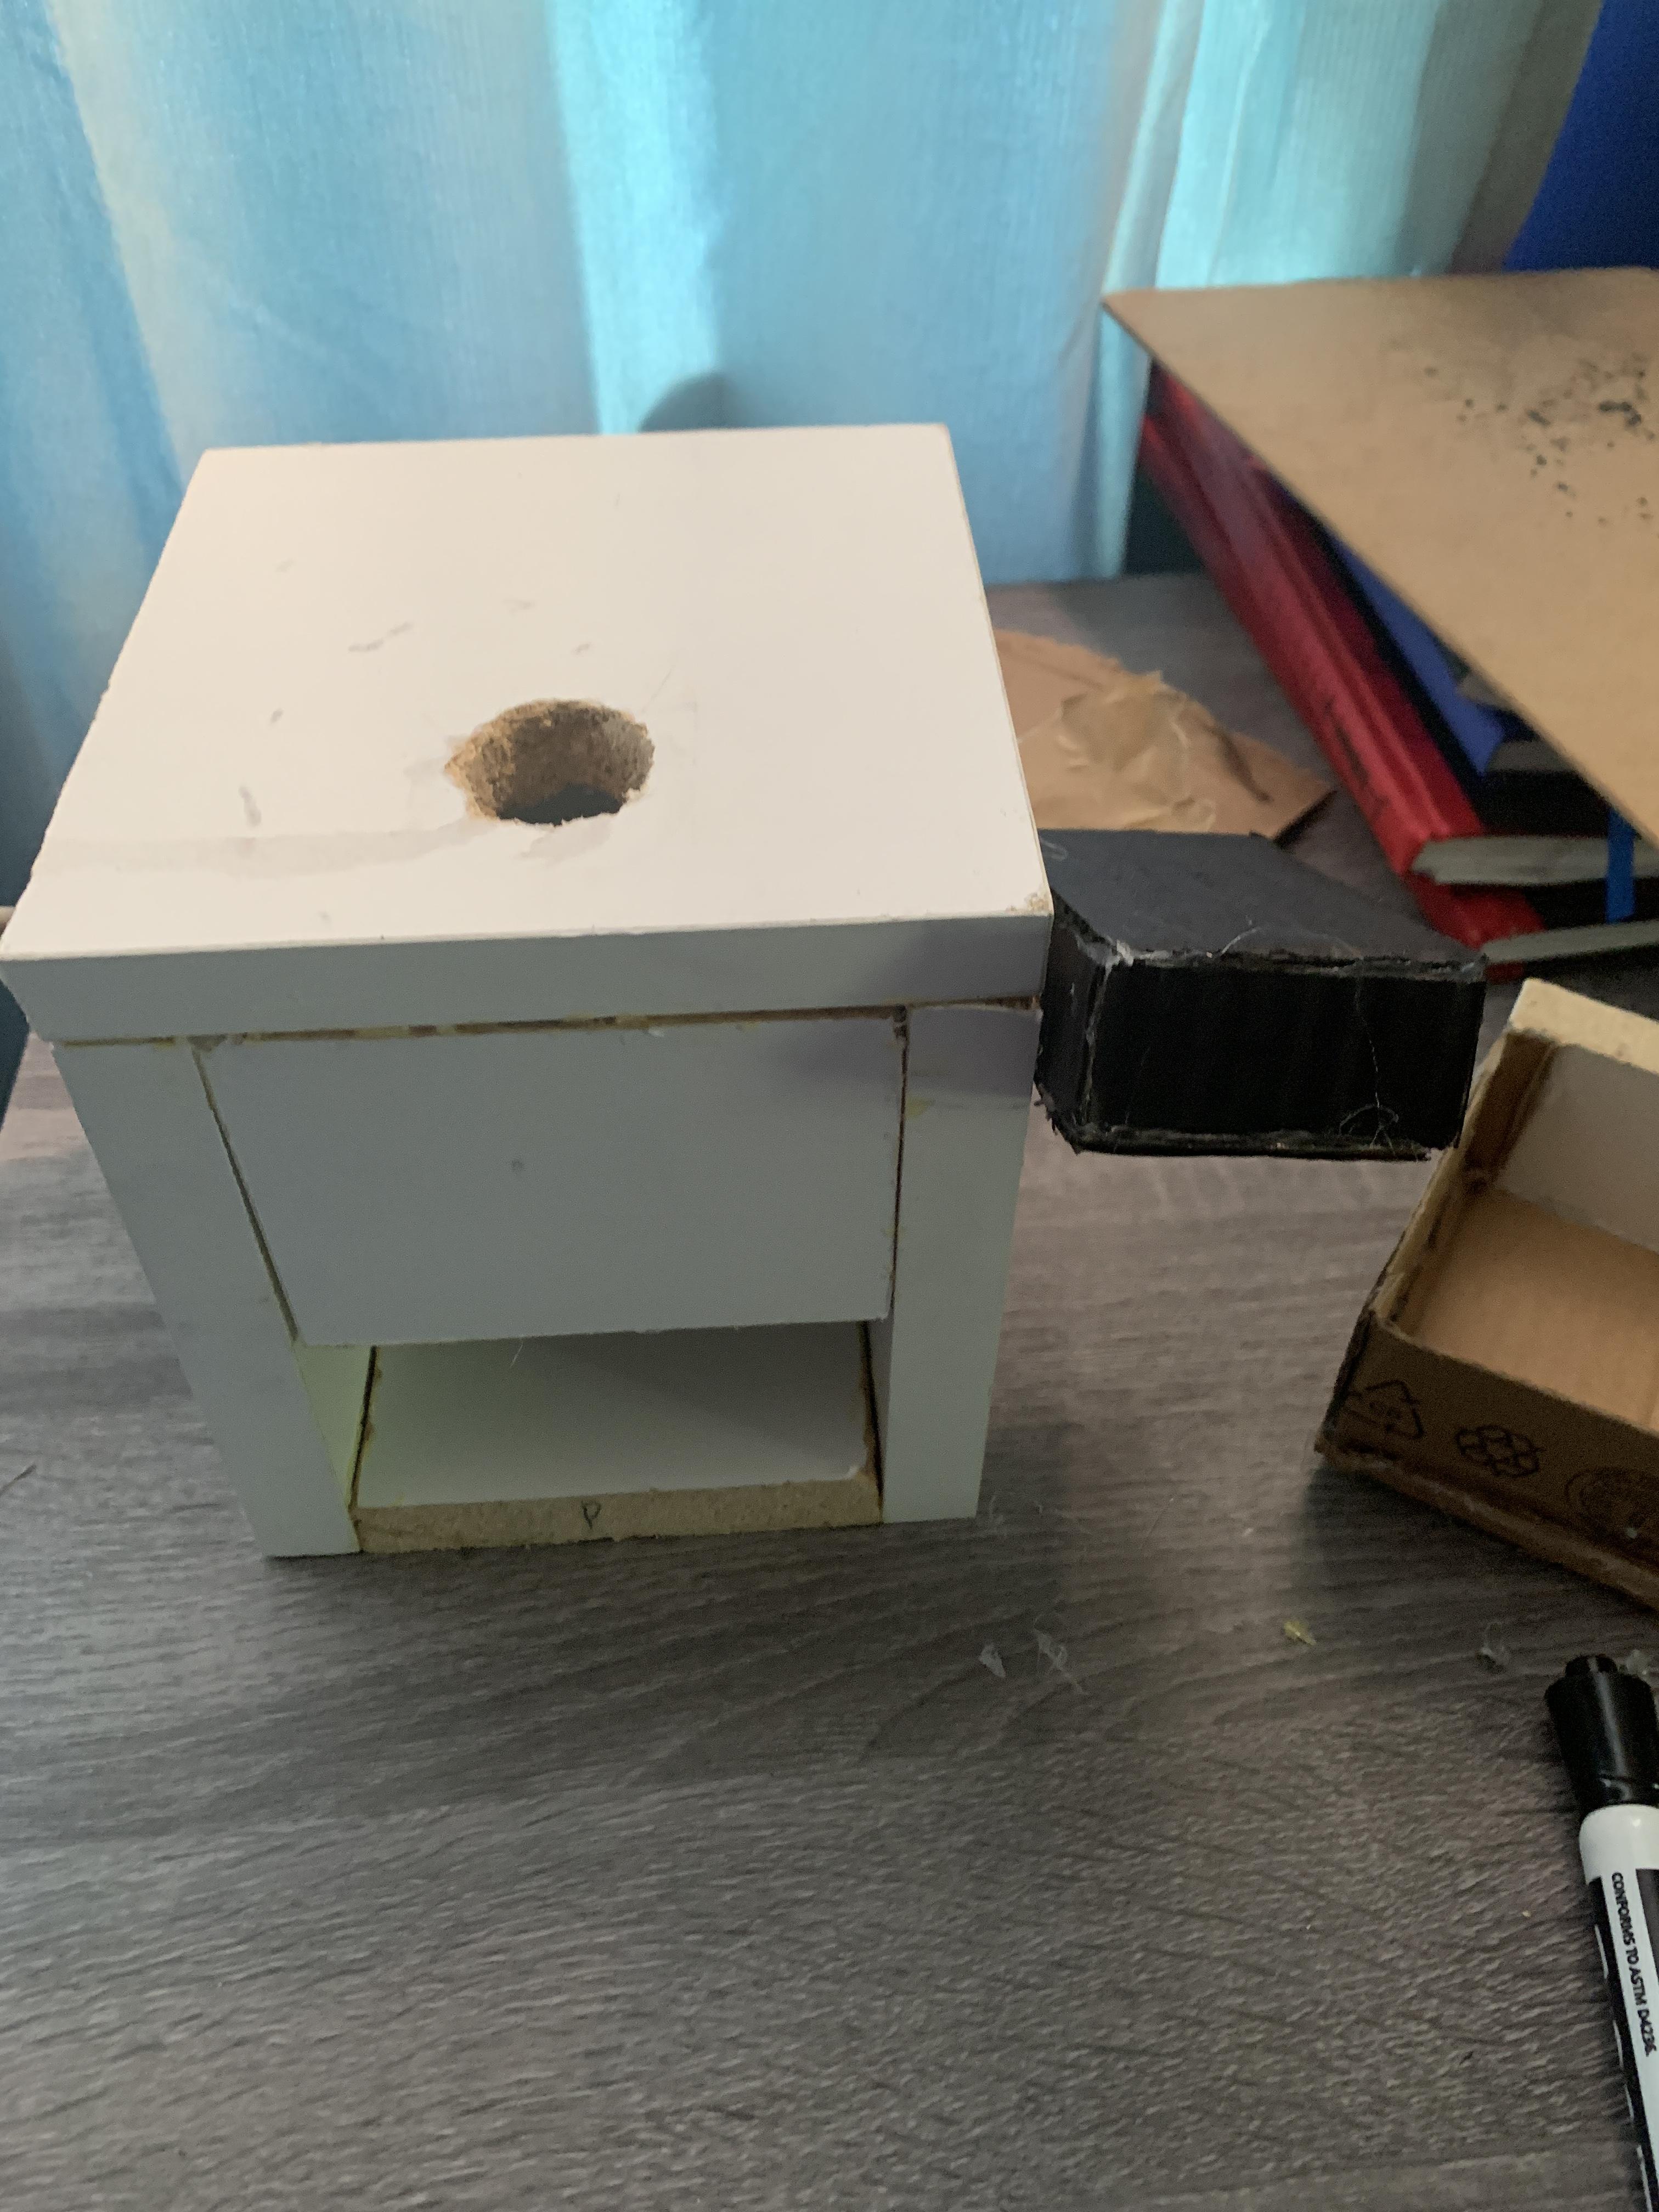
Once the glue has dried, remove the painter's tape from it.
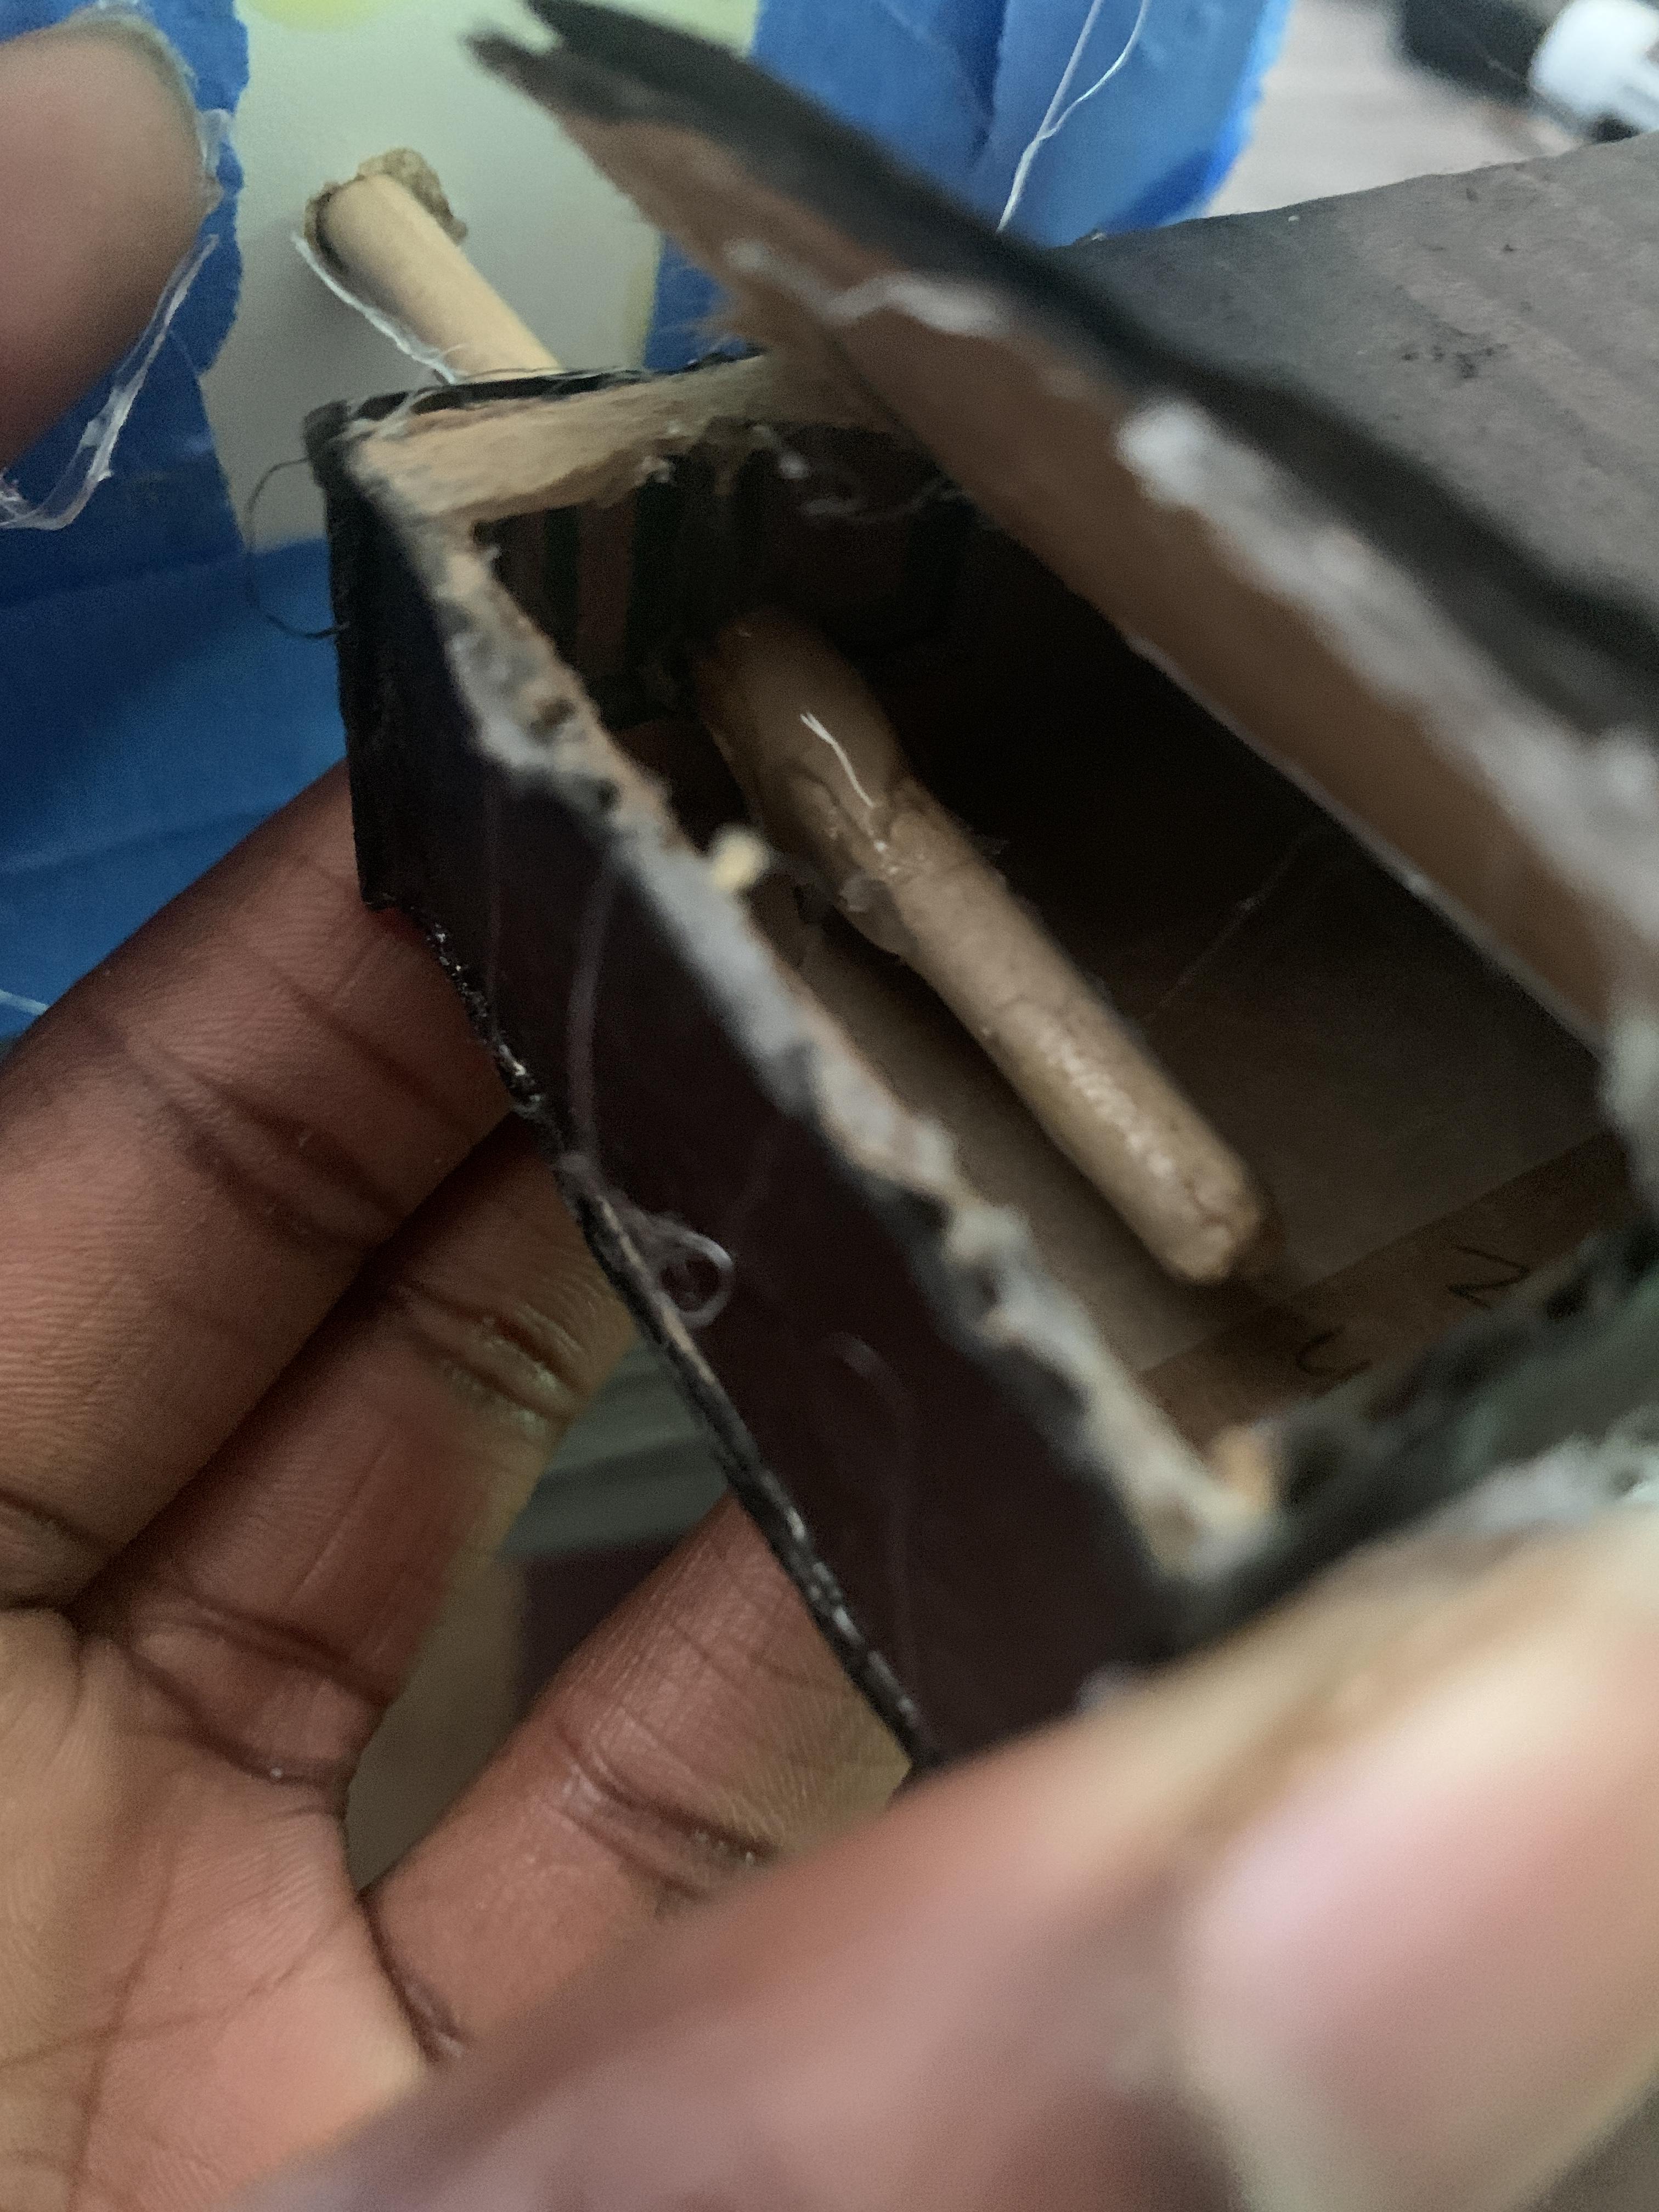
Now all that is left to do is attach the arm. Find the orientation of the dowel that leaves the mouth circle directly underneath the hole, and then mark n the right side of the dowel where it meets the wall of the box when it is in that position.
Shift the dowel to the right so there is more space to work with.
Slide the arm onto the dowel through the hole that you drilled earlier through one of the sides. Using hot glue, glue the dowel to the arm where the line is on the outside and the inside (hence why you left one of the sides of the arm off until now).
Once the dowel and arm are secure and can move together, glue the last side of the arm into place then slide the dowel back to the left until the arm is in contact with the wall of the box.
On the other end of the dowel, cut off the excess wood, then put some hot glue at the end of it so that the dowel can’t slide back and forth.
Decorating AKA the Best Part

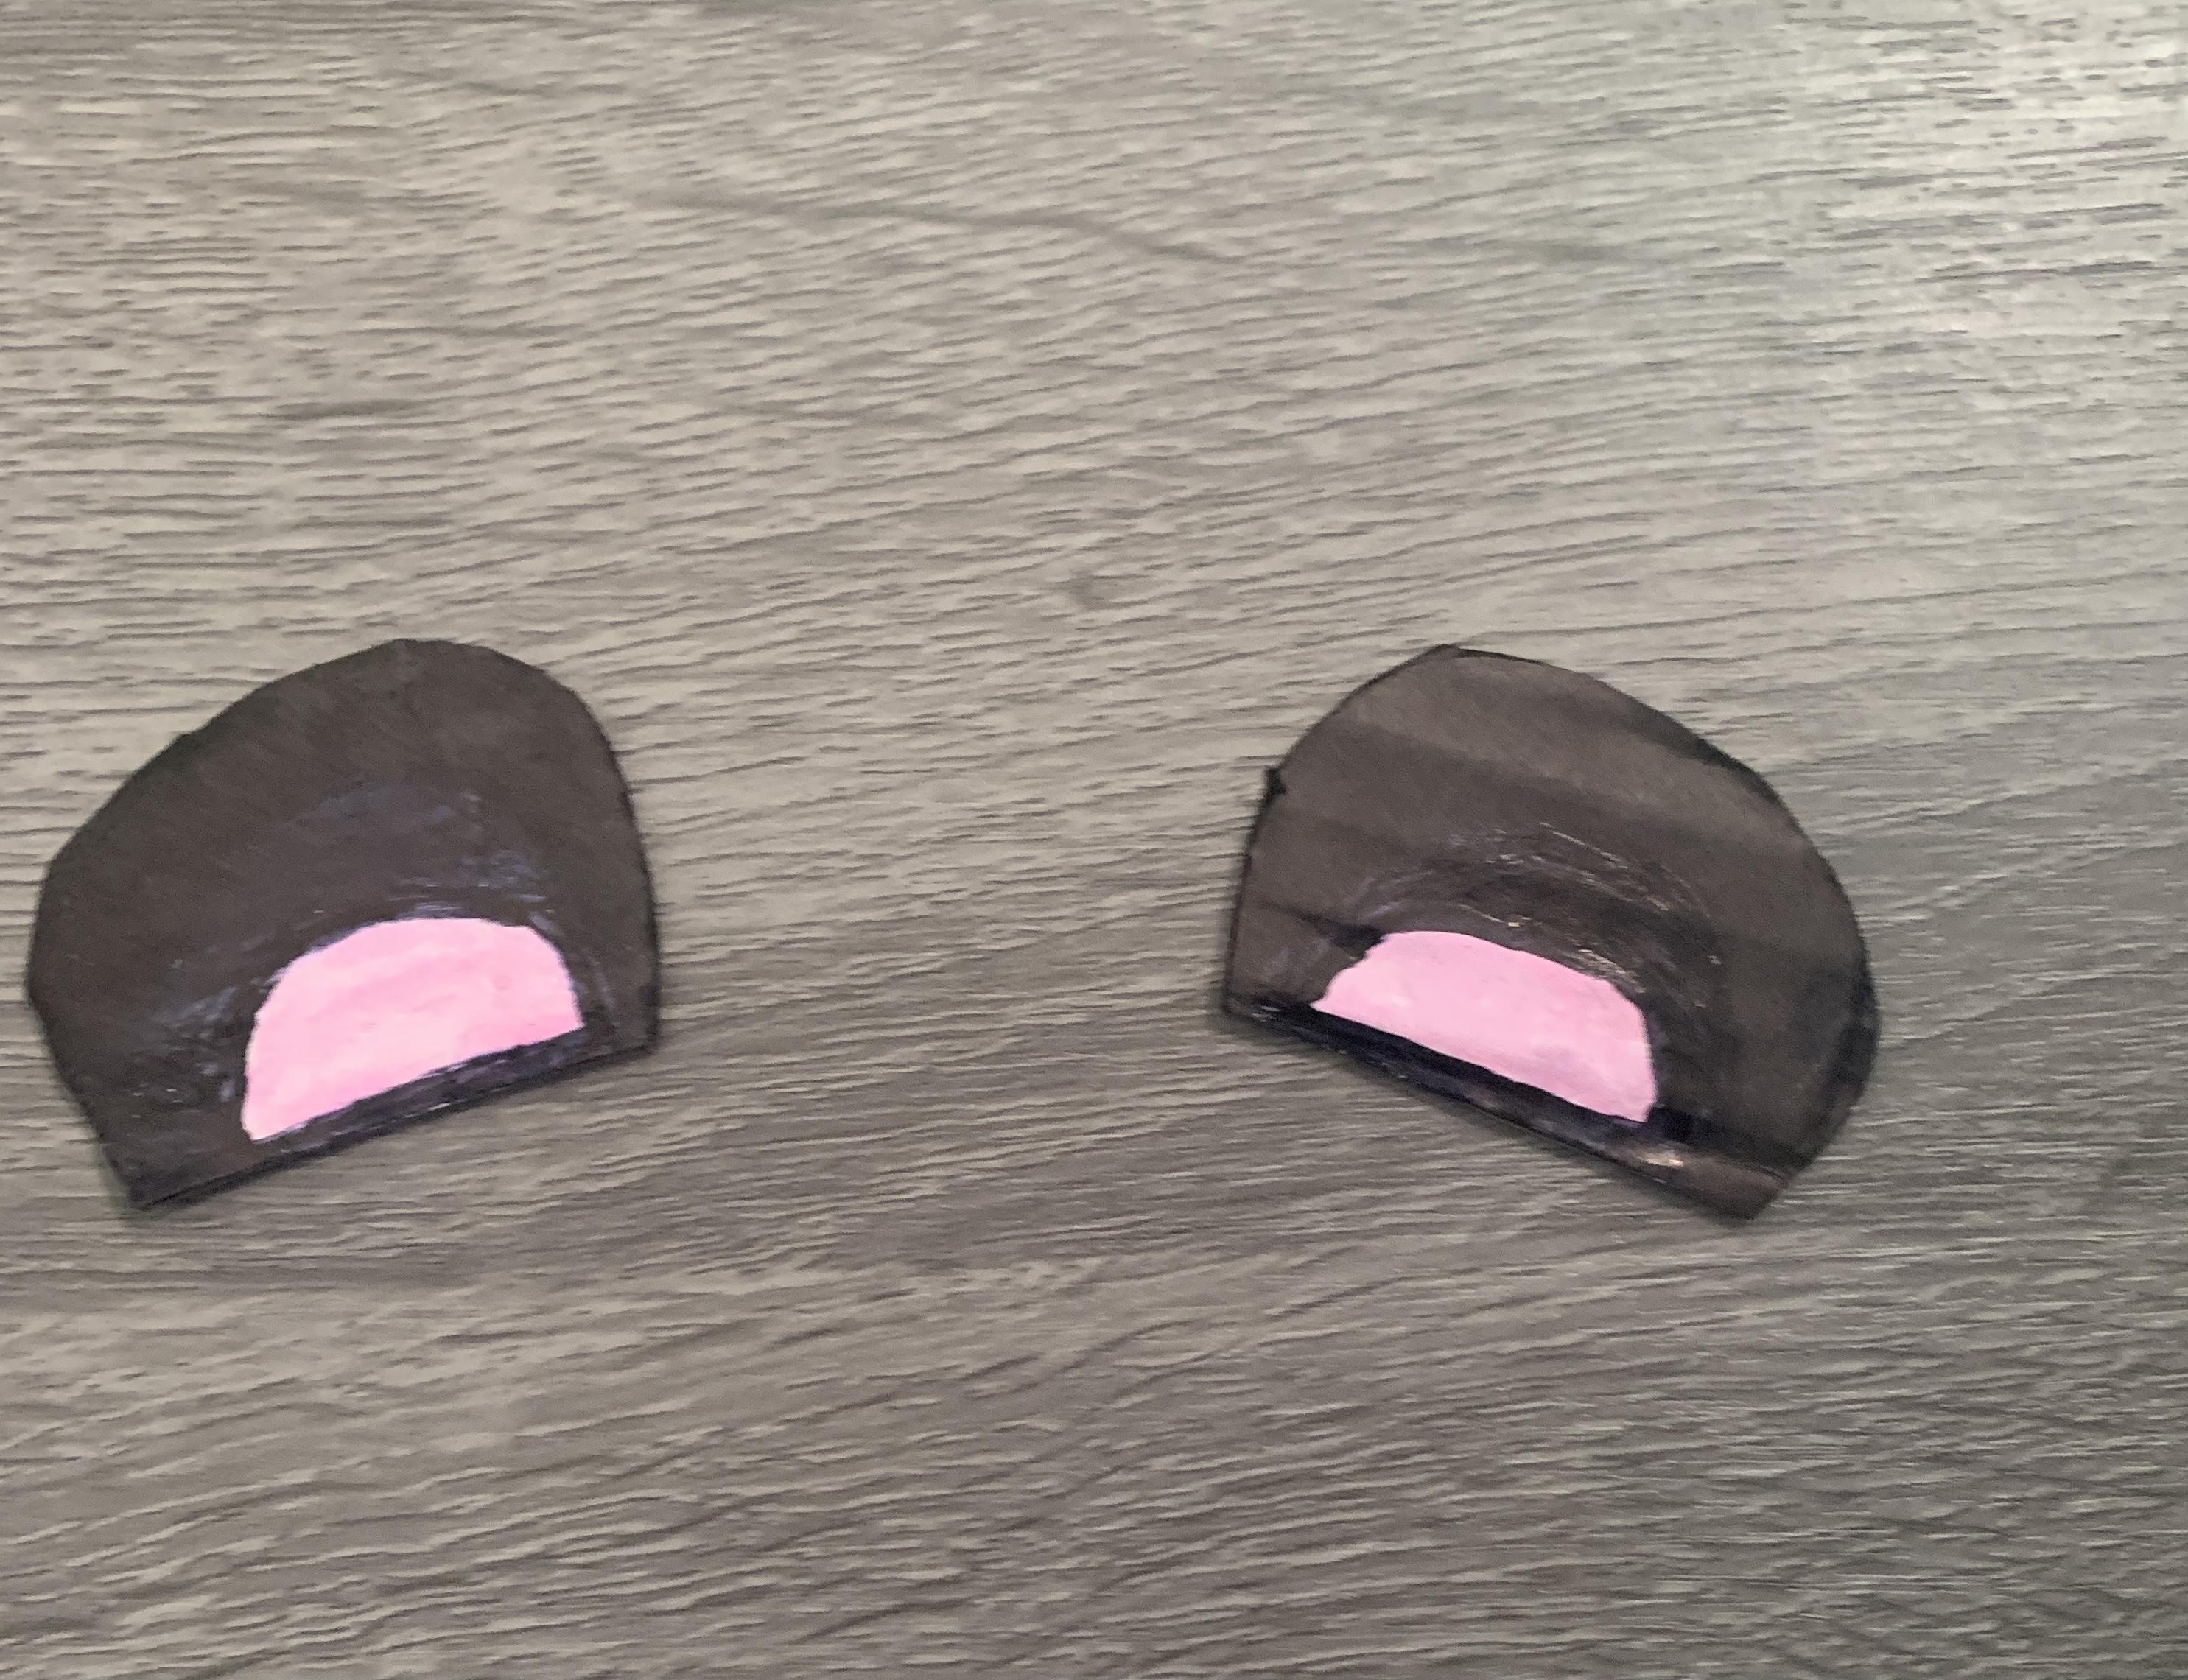
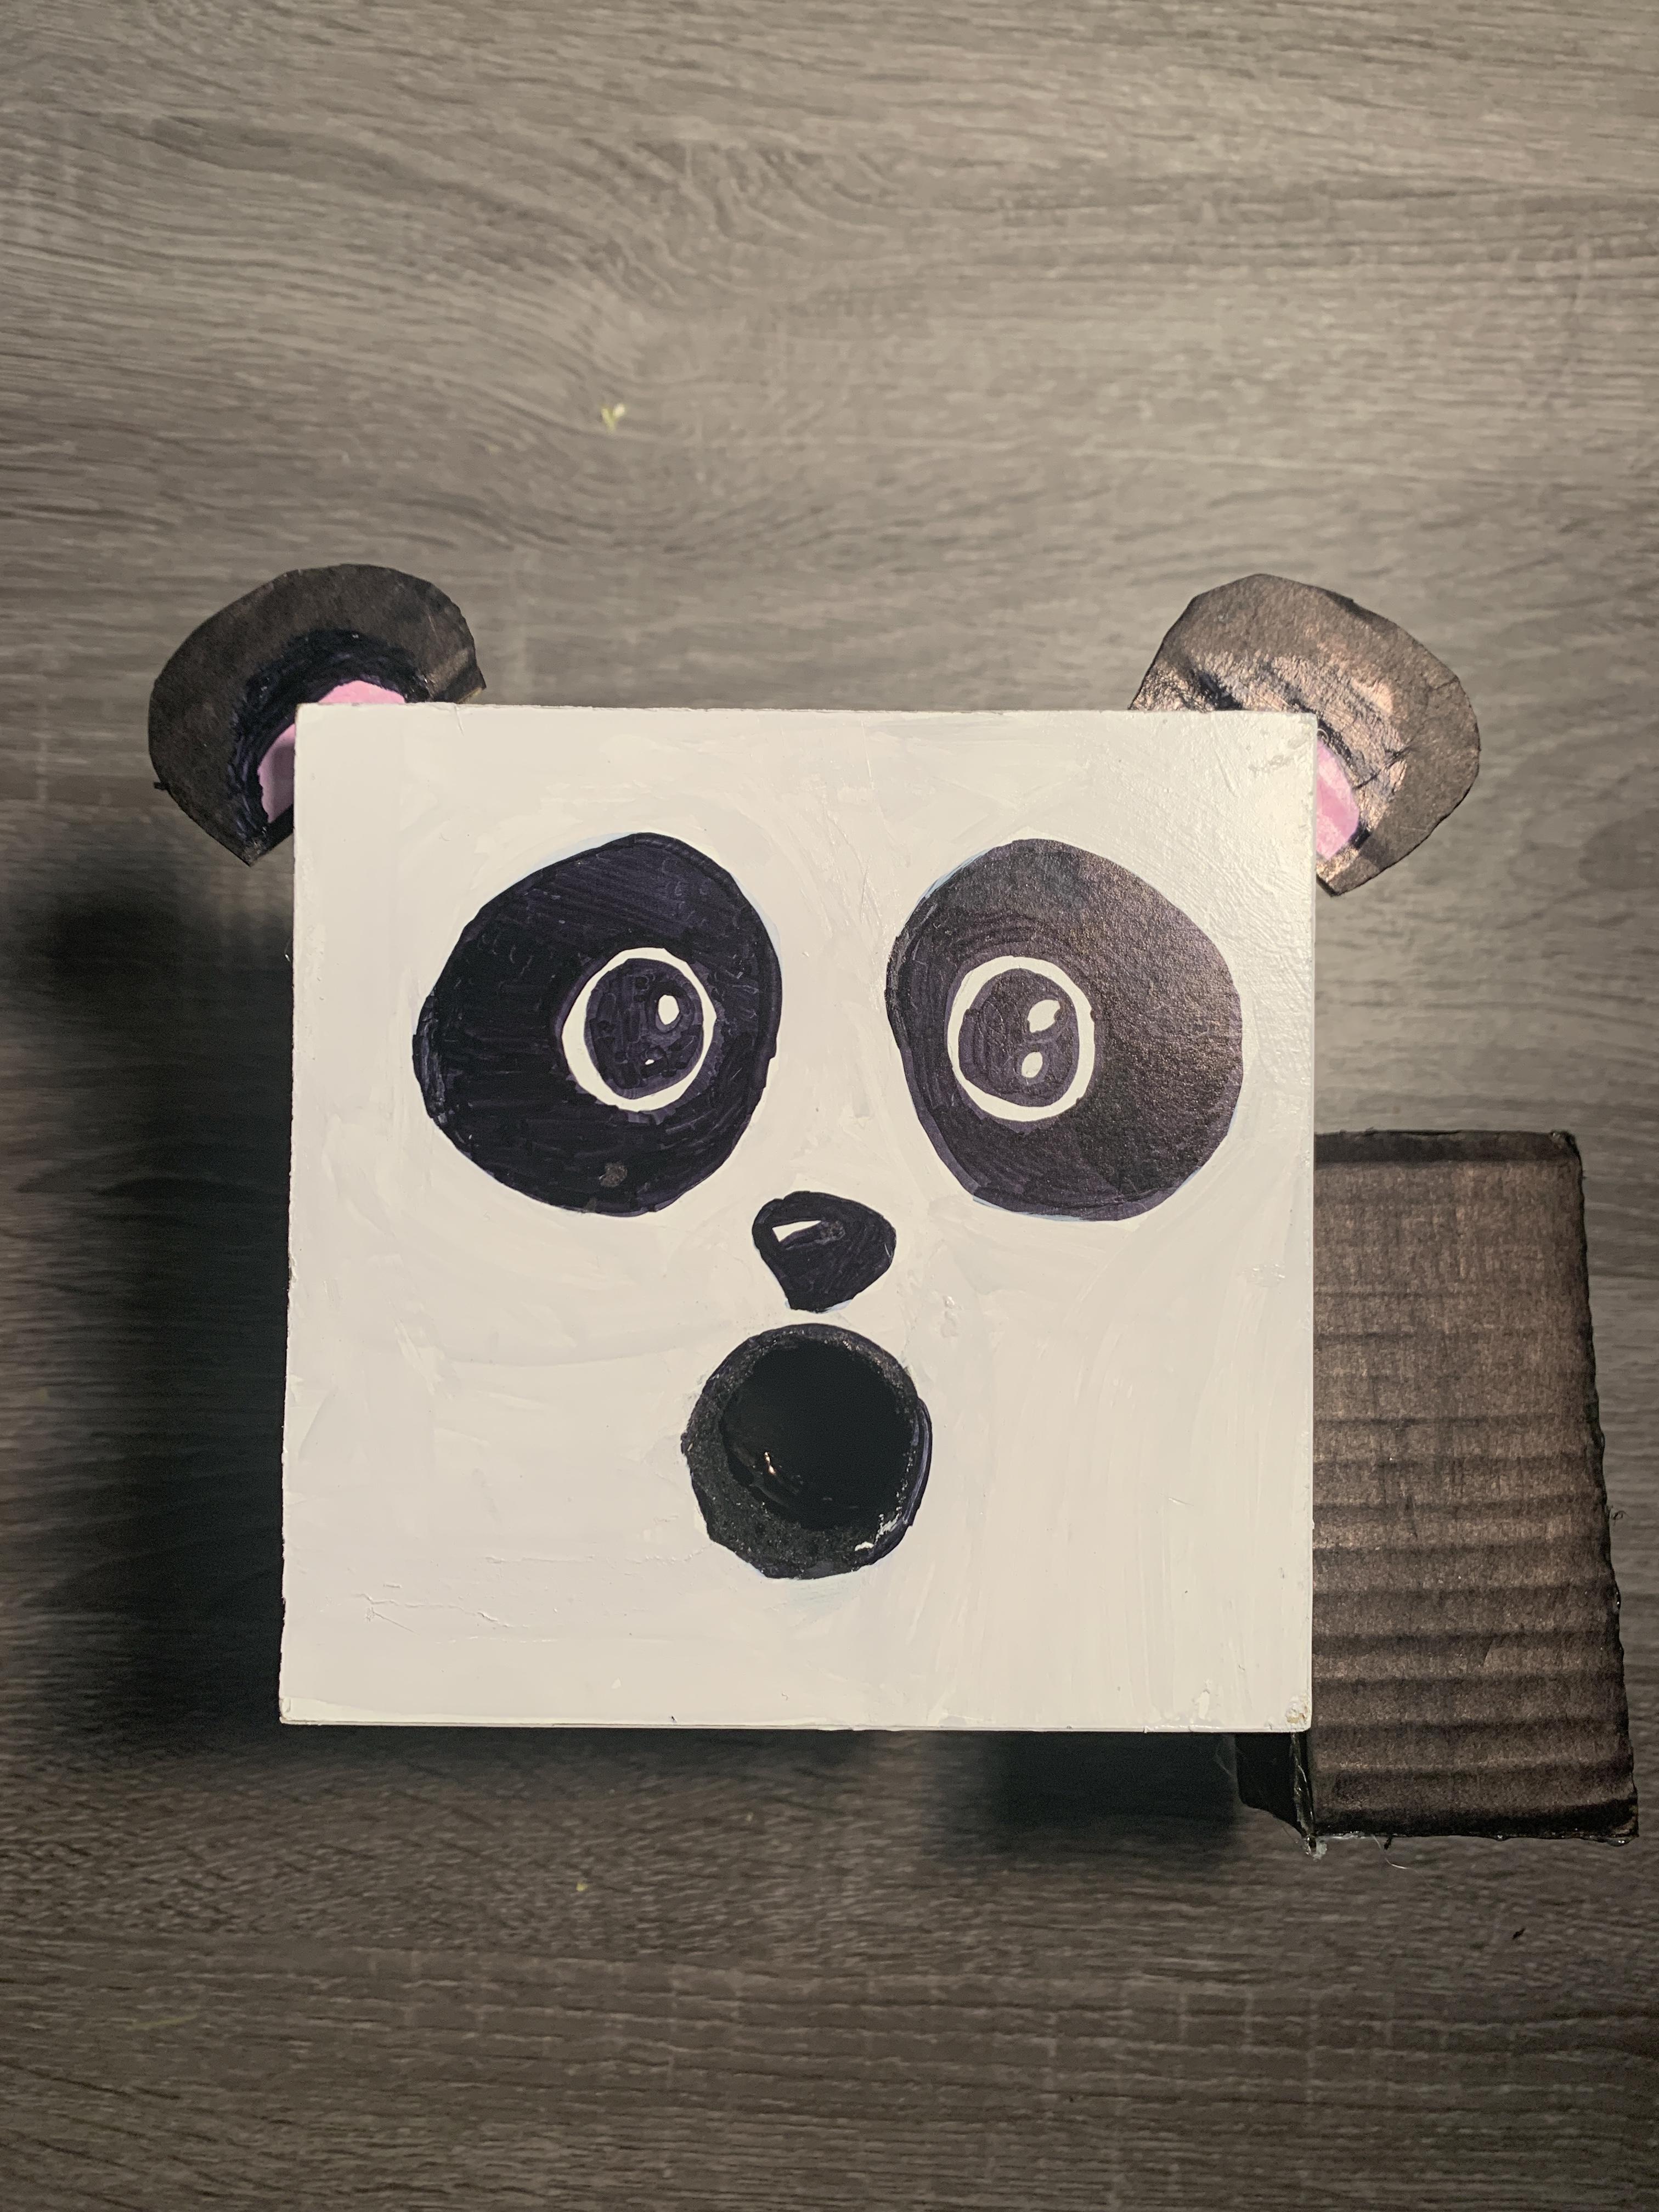
To finish this, you of course had to make this look like a panda.
To draw the eyes and nose use a permanent black marker and black paint to cover the sides of the mouth hole. Go over the top of the box with a thin layer of white paint (optional if the top doesn’t look clean).
After the paint dries, cut out two cardboard pieces in the shape of panda ears and put a bit of white paint down at the base of each ear so that you can color that part pink. Color the rest of the ear black. Glue the ears to the top left and right corners of the box. My box had some small chips at those corners and that allowed me to kind of tuck the ears under the top but you can just glue them down to the sides.
All Done!

Your Hungry Panda Coin Box is finally complete! Enjoy using this to gobble up and keep all of your coins!