IKEA Giraffe Lamp Mod
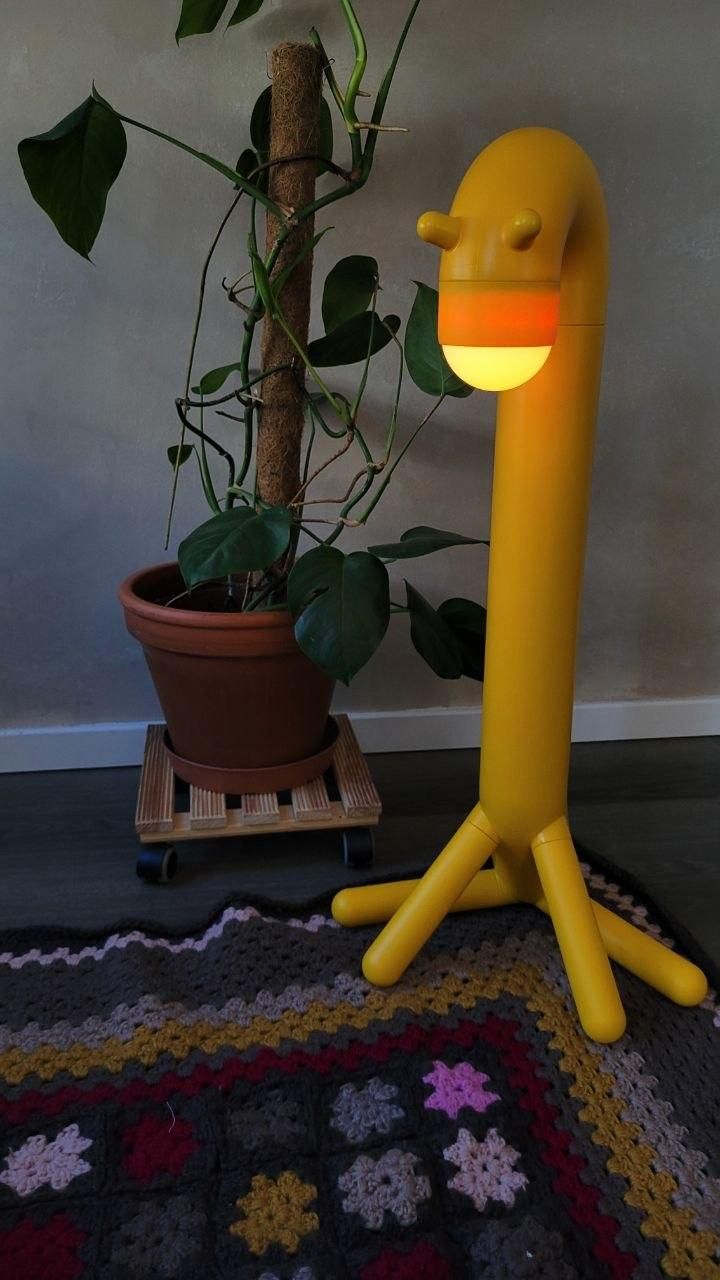
I love the design of this lamp but always found the timer they added to it a bit annoying. It does its job if you use the lamp for its purpose but I wanted the lamp to stay on as much as wanted.
This is not really an in detail guide since I am making it after the project has been finished, but it should be pretty straight forward with the materials needed and steps.
Supplies
Main materials:
- IKEA giraffe lamp (GREJSIMOJS)
- LED rgb light with USB and remote controller (link), I got one with a wood support because it was cheaper and then cut away the wood. It is also possible to buy them not rgb (only warm light) and without wood. Just make sure you get a remote controlled one.
- 3AA battery holder long (link) as I wanted to still keep the lamp free from cable I opted for a battery holder to fit in one of the legs that can be unscrewed. The batteries will fit pretty snug.
Other materials needed will be:
- soldering iron + tin and heat shrink cable covers
- something to glue the leds to the giraffe
- small flat head screwdriver (helps removing the original lamp from the semi transparent dome)
- a drill with a 3-5 mm drill bit (we will have to add small holes in the giraffe)
- some extra cables to make it easier to reach the bottom of the giraffe (battery to led)
Before You Start
Make always sure to test the cables and lamp during all the steps so that you don't put everything together at the end to then discover that the light does not work :)
Remove Old Light From the Dome.
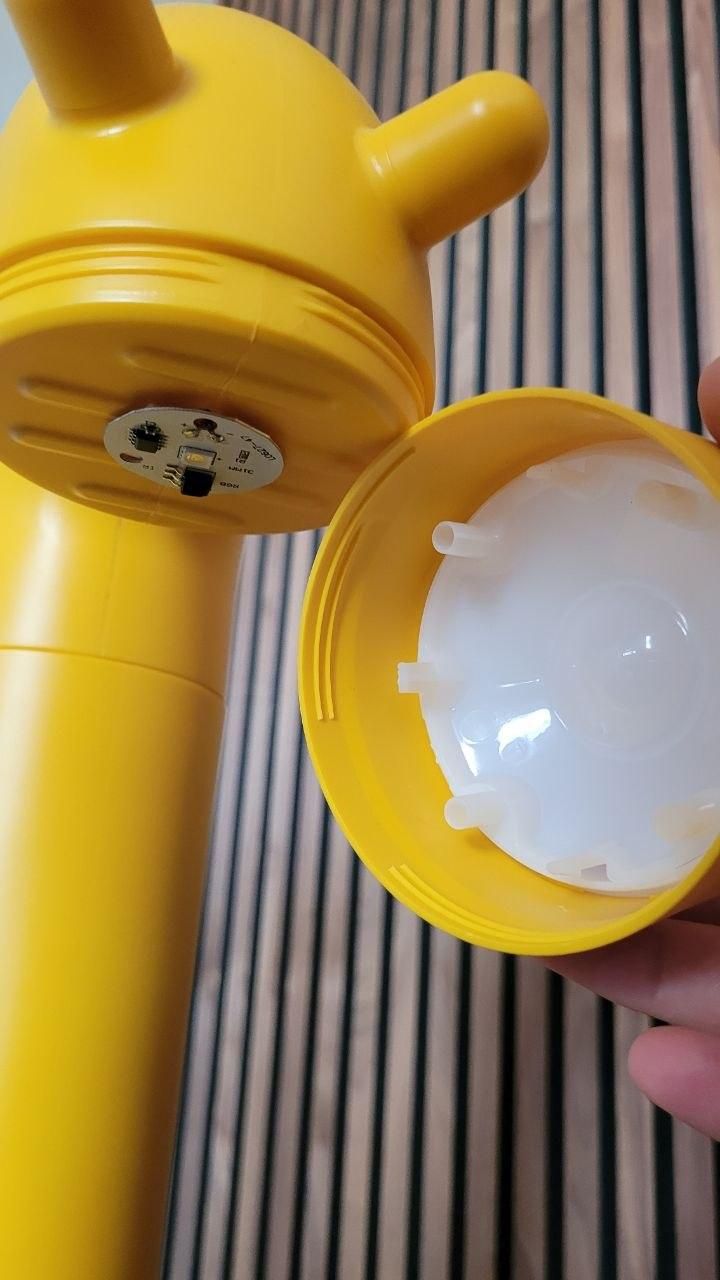
The head of the giraffe can be unscrewed pretty easily and the light removed by carefully using a flat screwdriver and unpinning the two parts (there are 4 pins to clip out). If you do it correctly you will be able to take the light out and the 4 springs that help the mechanism work with the small pushbutton (you can keep these in the case you want to have the original lamp again on a later date, the changes we will make will not be noticeable).
Drill 3 Small Holes.
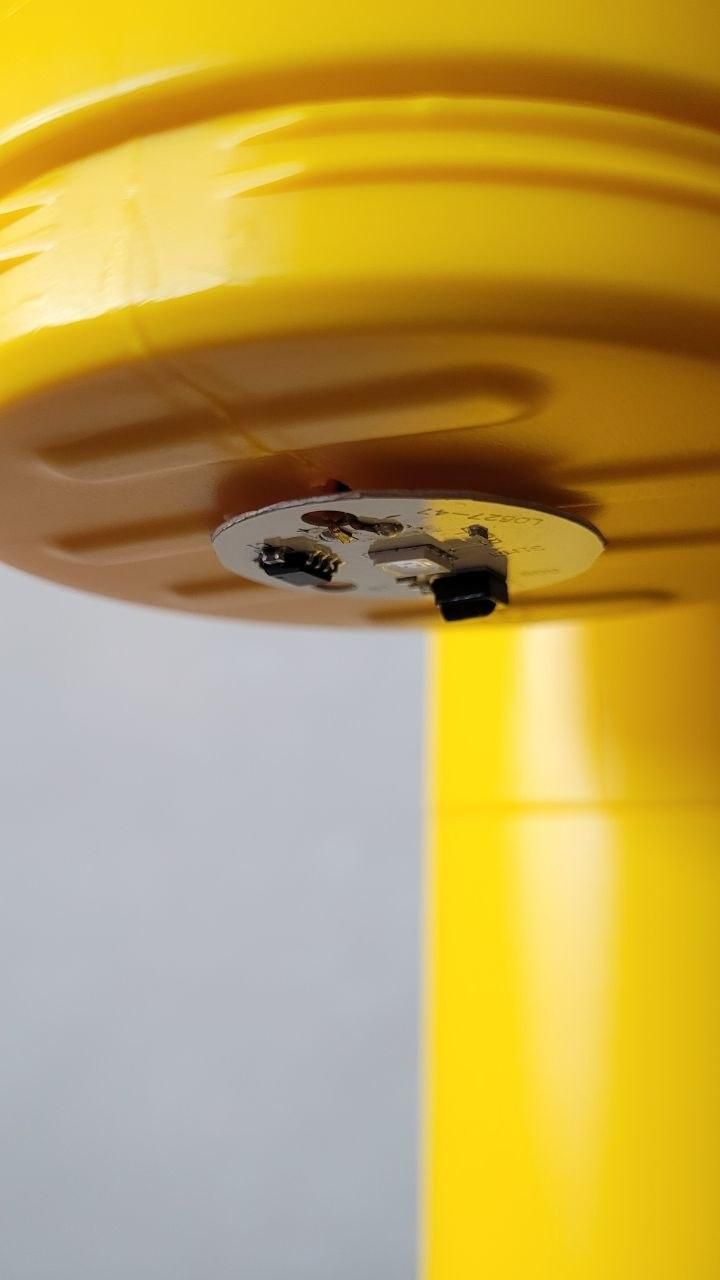
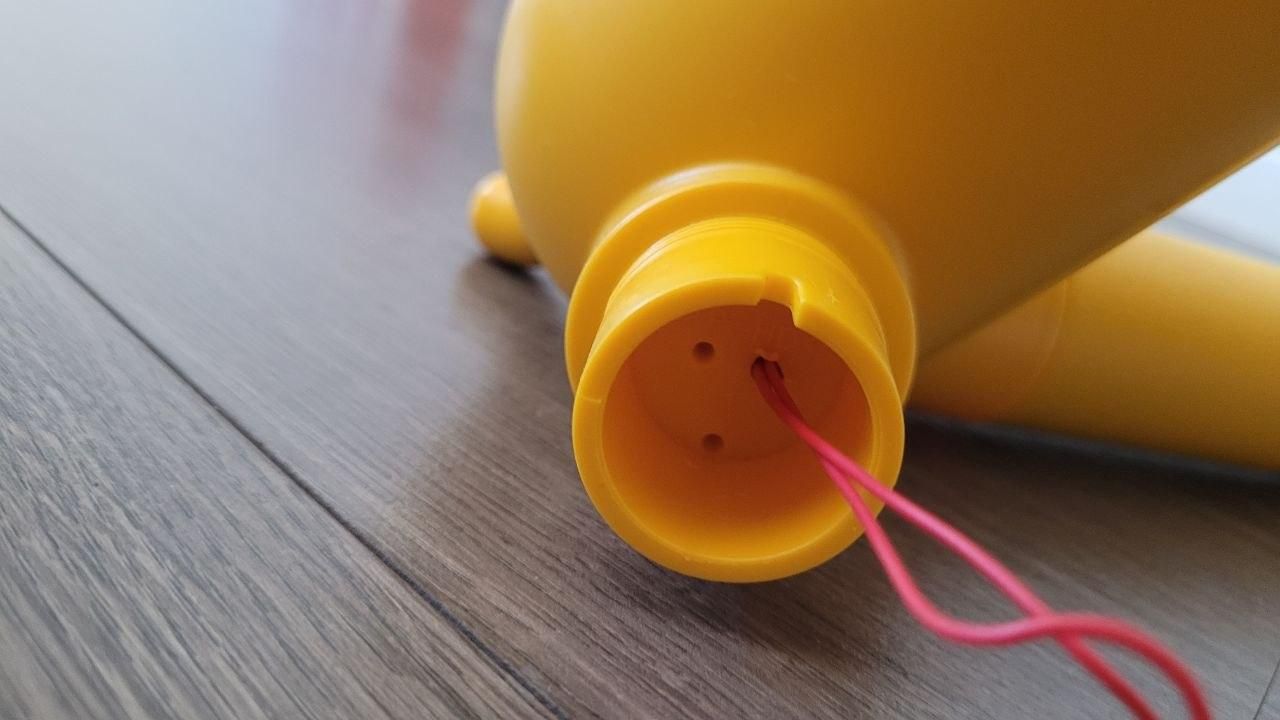
we want now to drill holes for the cable to go through the giraffe.
- The first hole will be on top of the head of the giraffe, the LED will have a cable coming out of the back and we can have it go directly inside of the hole. The hole will not be centred so that the LED is. I suggest using the LED itself to figure out the best placement for the hole.
- Drill the back of the giraffe head. The giraffe head is unfortunately a closed pipe so we will have to drill the opposite pipe as well so that the wire can come out of the other side and then into the body. for this hole you can also make a bigger one in case is too hard to make the wire go trough but with a bit of fiddling it is possible to have it going in from hole one and out of hole 2.
- we will drill one of the small holes in the leg area. The wire will come out from here and go to the batteries.
Wiring
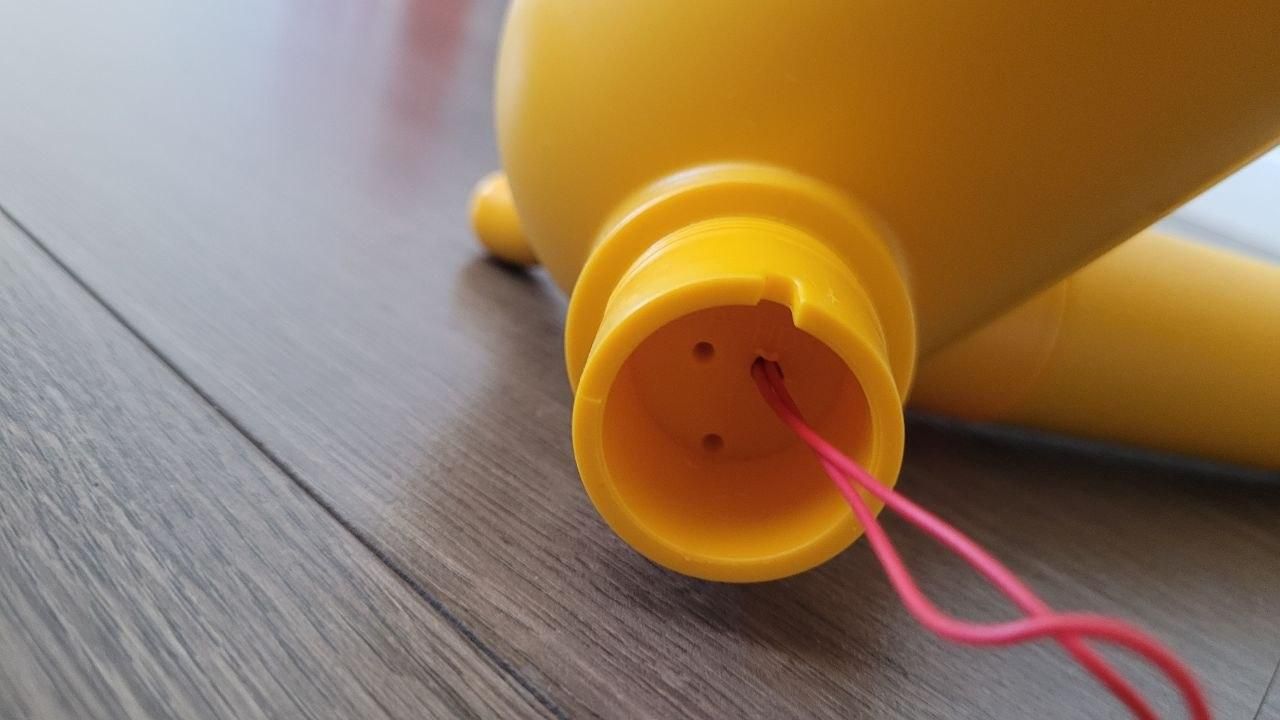
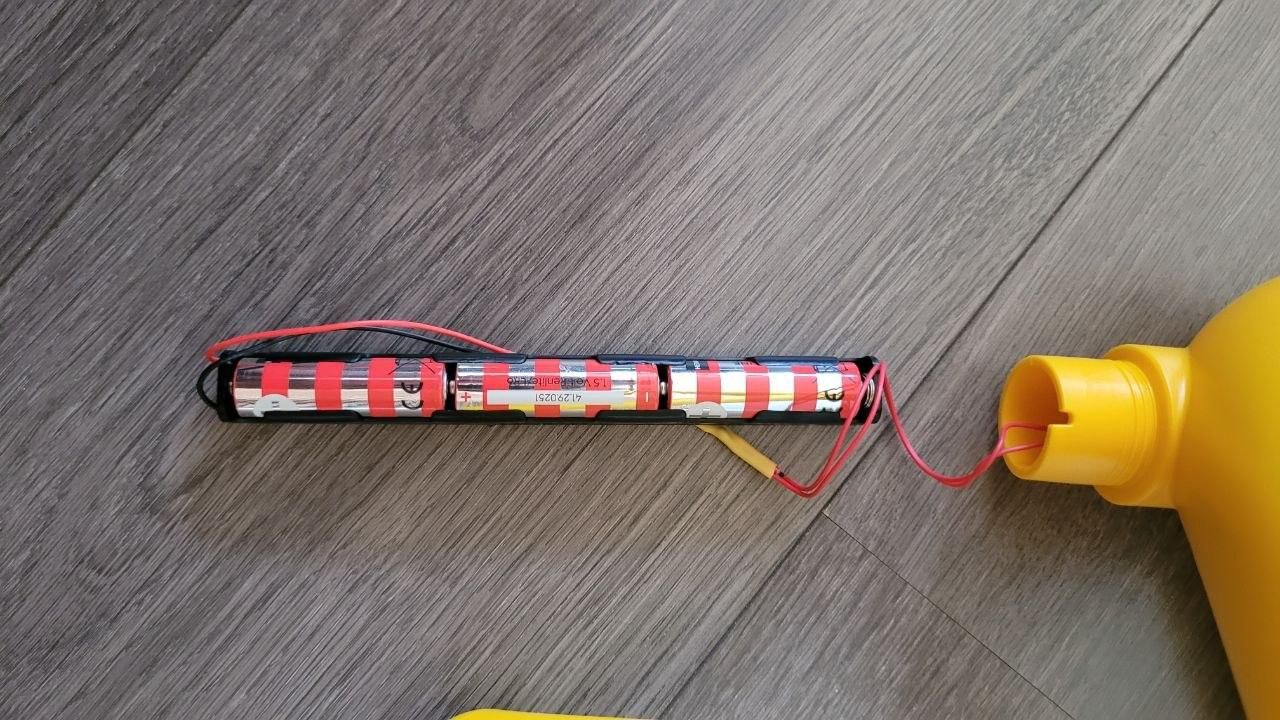
We want now to pull the wire from the head of the giraffe to the bottom leg.
If the LED comes with a on-off button on the wire we will have to remove it so that we can fit it trough the small holes we drilled.
Once cut the wires I soldered a new thin wire of about 60 to 80 cm to the LED. To fit and reach the leg hole from the top used some metal wire to then pull the wires from the bottom.
In this step you can also decide to have the lamp connected to a wall plug via USB. In that case you can just drill a hole in the bottom of the giraffe, have the cable coming out and add the wire you cut earlier to it again so that you have a on/off button and USB plug for it.
If you want to use batteries you get the wire out of the leg hole and then solder it to the battery pack.
MAKE SURE TO CHECK WHAT IS GROUND AND WHAT IS POWER IN THE CABLES AT ALL TIME.
I did not have 2 different coloured cables but I used shrink tubes to distinguish them. Plugging the wrong cables in the USB or batteries will make so that the lamp will not work and it could even get damaged.
Add Batteries and Enjoy Your Upgraded(?) Lamp
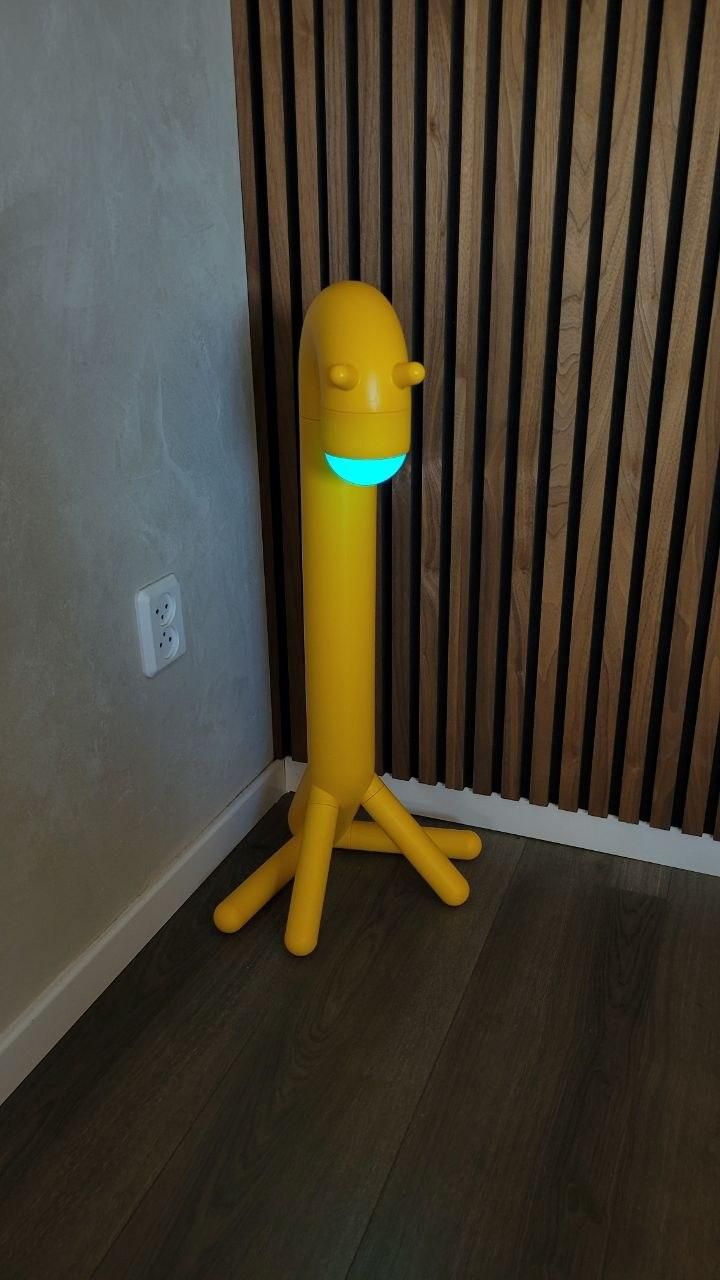
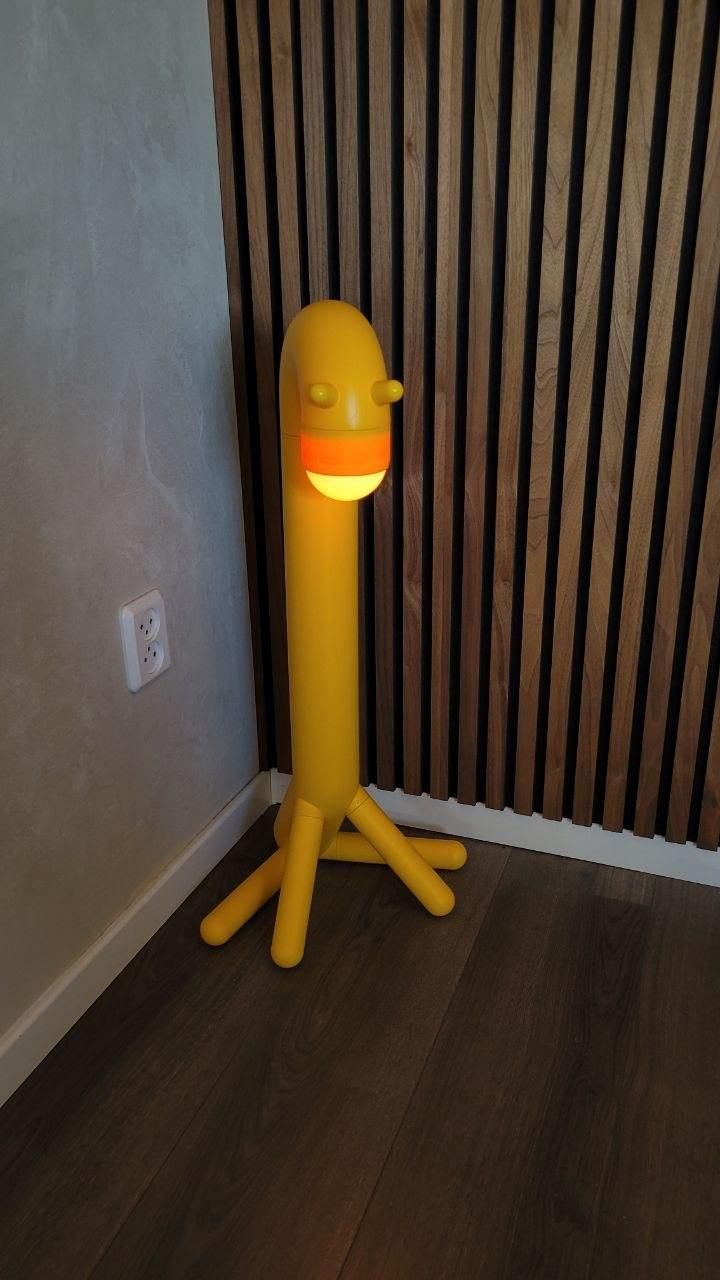
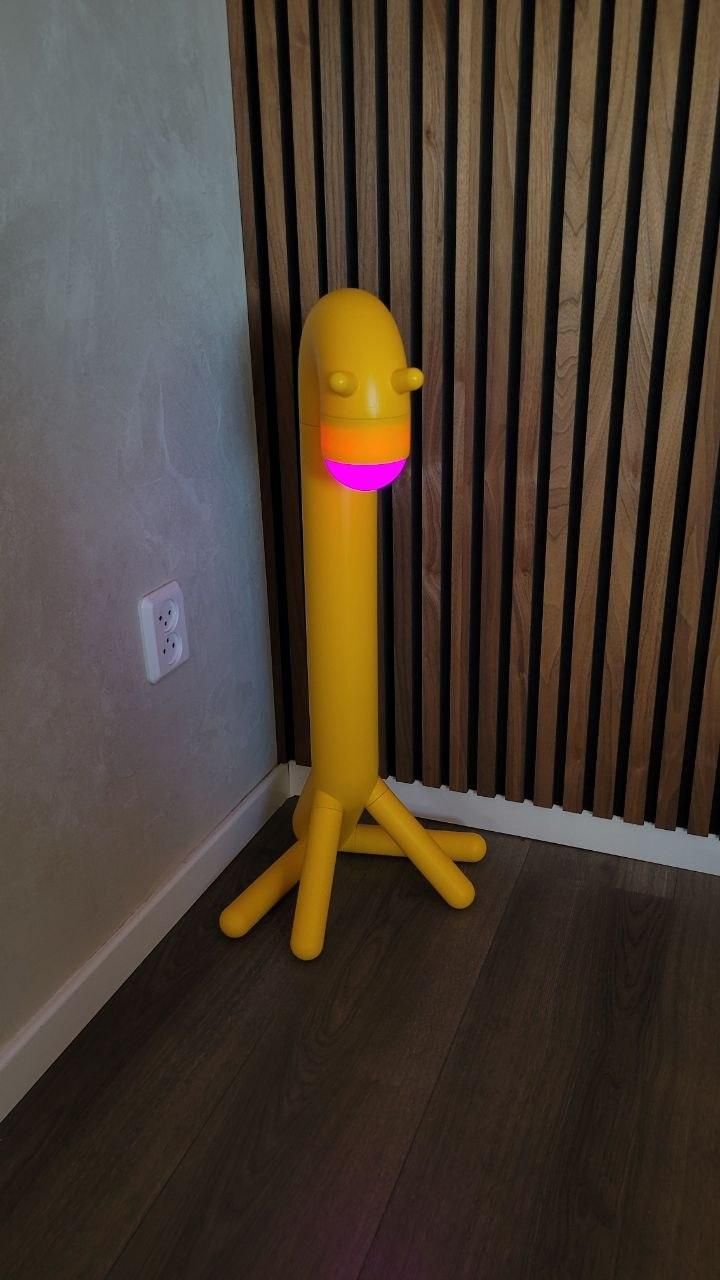
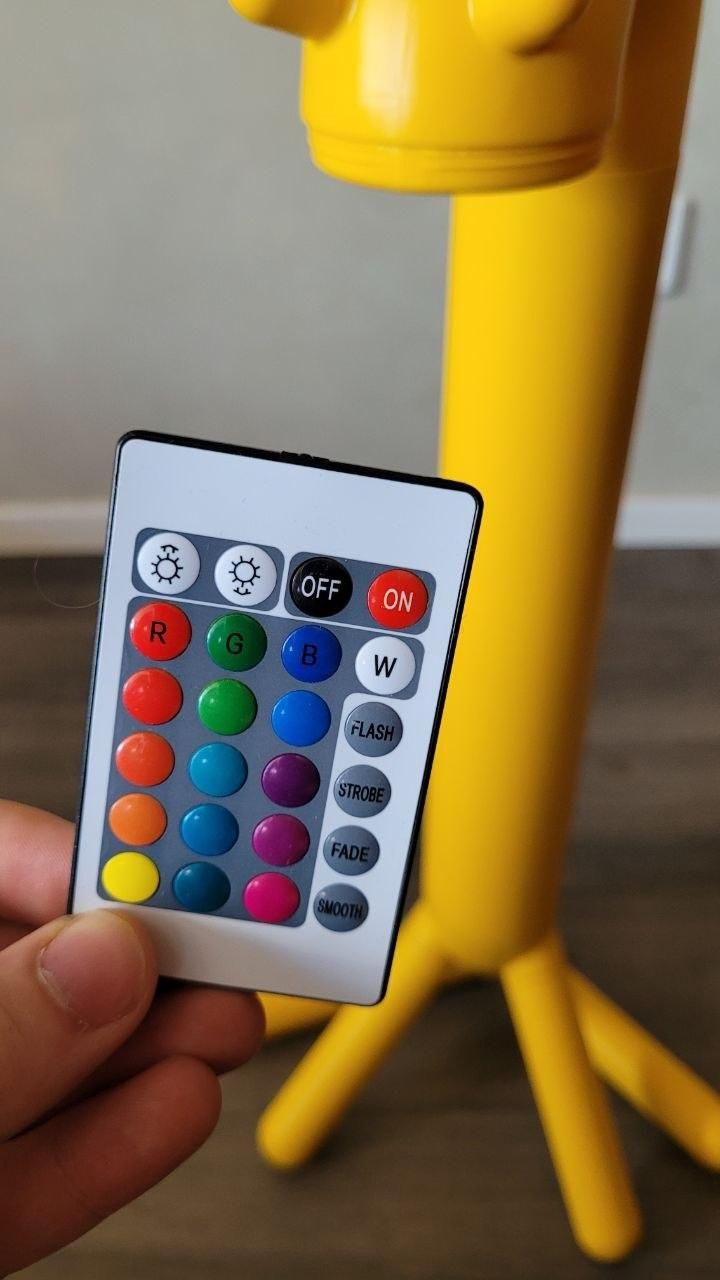
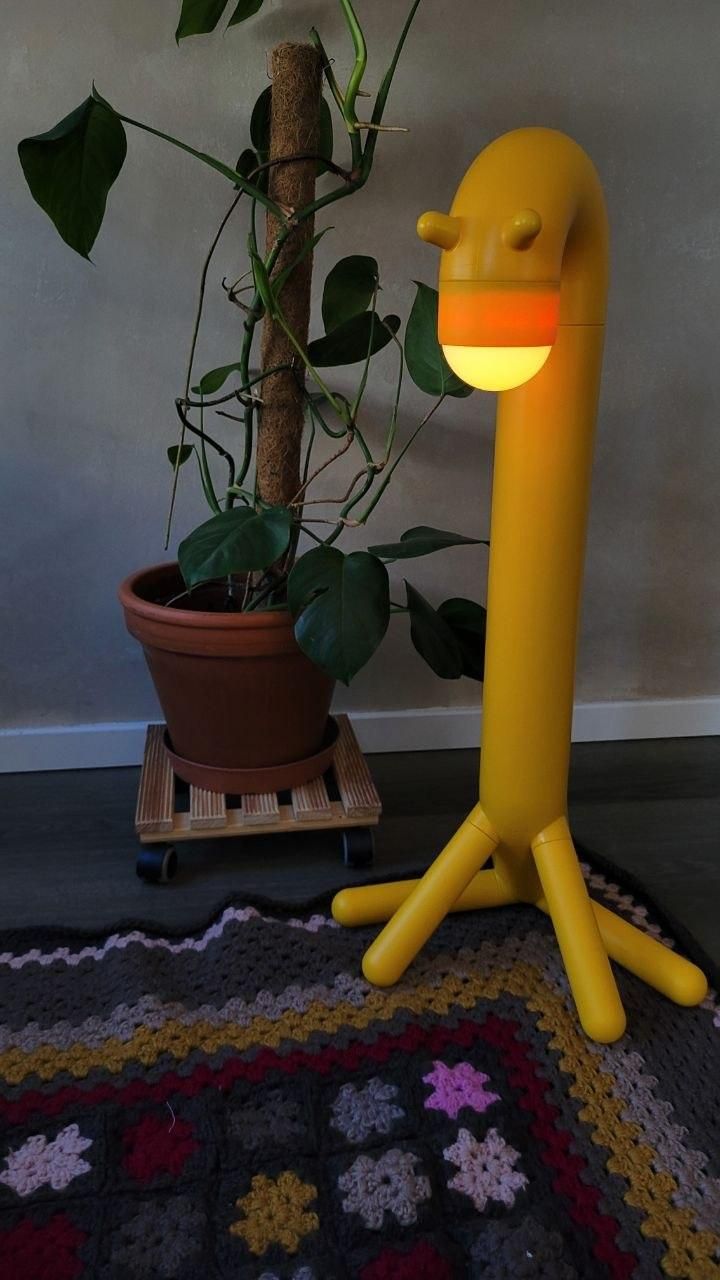
We can now put the giraffe back together and add batteries. The giraffe will now be a rgb lamp that can change color. It lost the cool feature of pressing the head to turn on/off but I thing is a good trade for a remote controlled lamp with many colours and even party mode.
Enjoy your cool giraffe lamp :)