Indoor Gardening 101: How to Re-Grow Vegetables Using Kitchen Scraps
by JamesDe in Living > Gardening
42 Views, 0 Favorites, 0 Comments
Indoor Gardening 101: How to Re-Grow Vegetables Using Kitchen Scraps
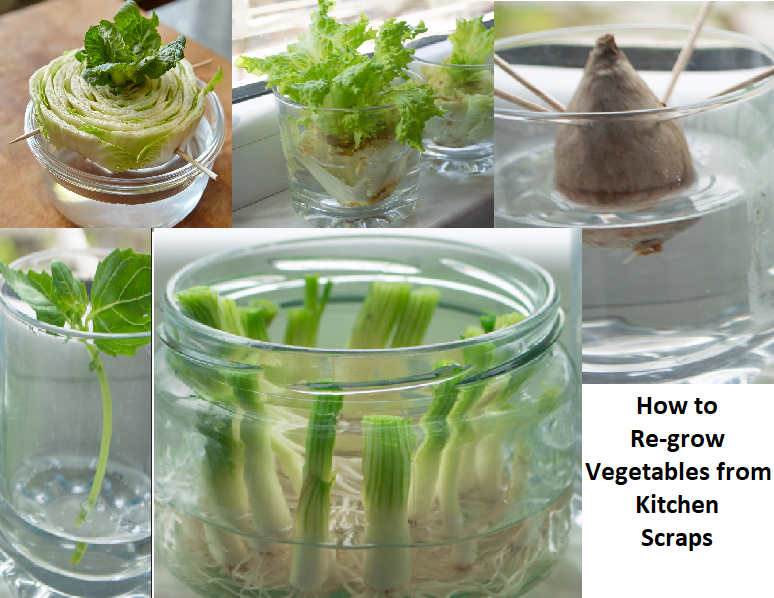
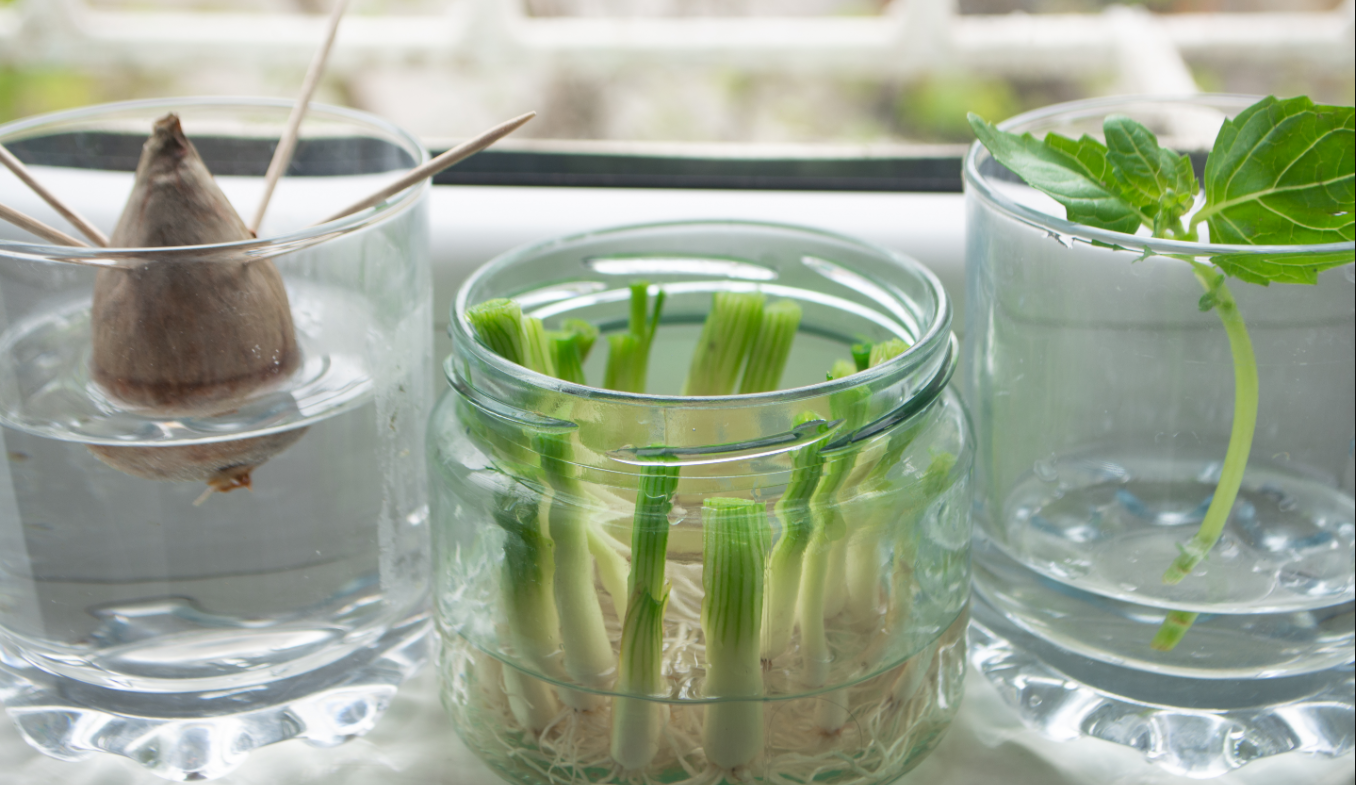
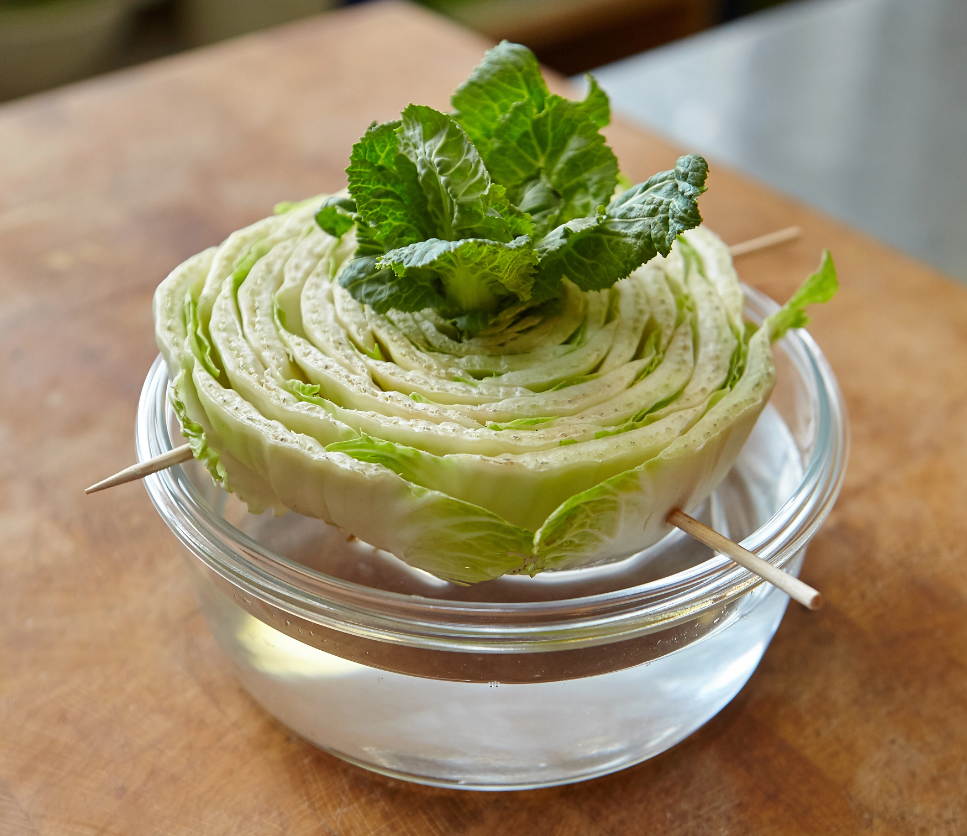
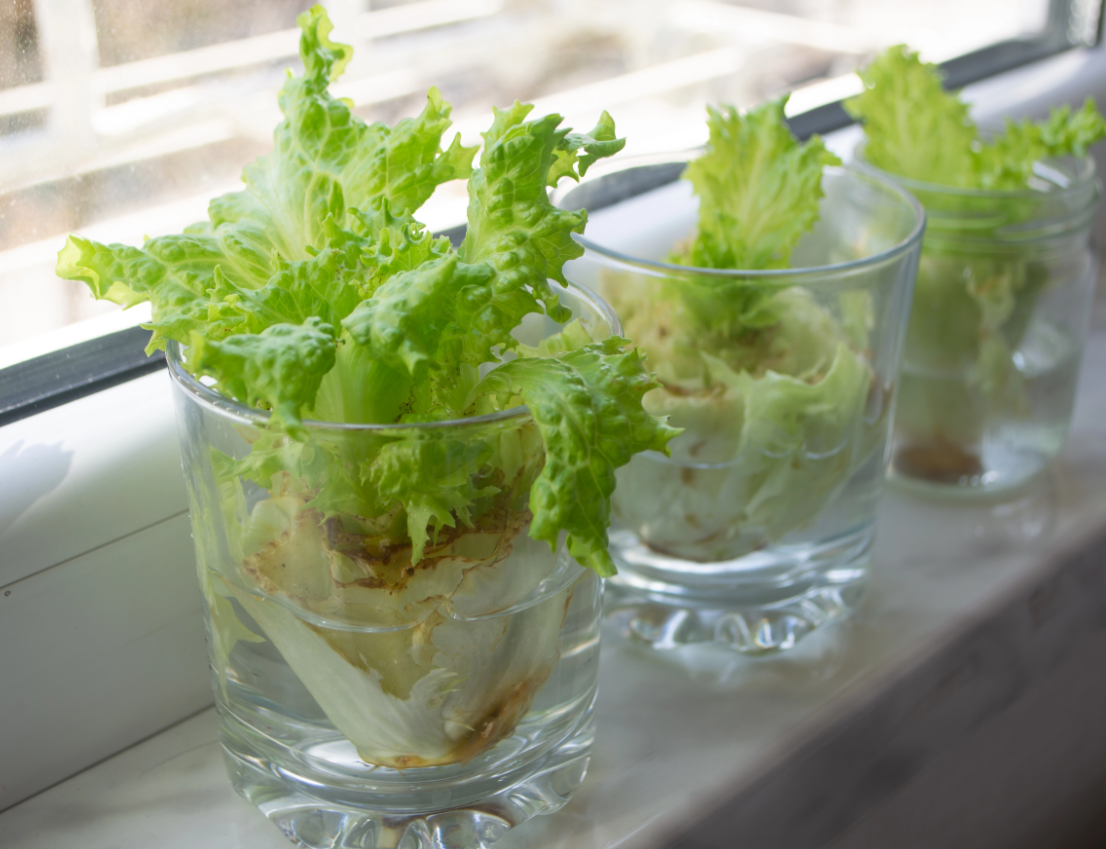
You’re interested in eating healthier this year while still saving money. The issue? You can’t squeeze tending to a vegetable garden into your already-full schedule.
Not a problem at all. You can quickly regrow vegetables right in your kitchen using your leftover veggie kitchen scraps. Put another way, you can turn your "refuse" into "refreshing produce" for the entire family.
This indoor gardening process is called scrap gardening, which involves saving your veggie scraps and using them to generate new plants, rather than tossing your scraps in a compost bin or trash can. In this way, you can enjoy living a more sustainable lifestyle and save money in the process.
Here’s a rundown on how to regrow vegetables using kitchen scraps.
Supplies
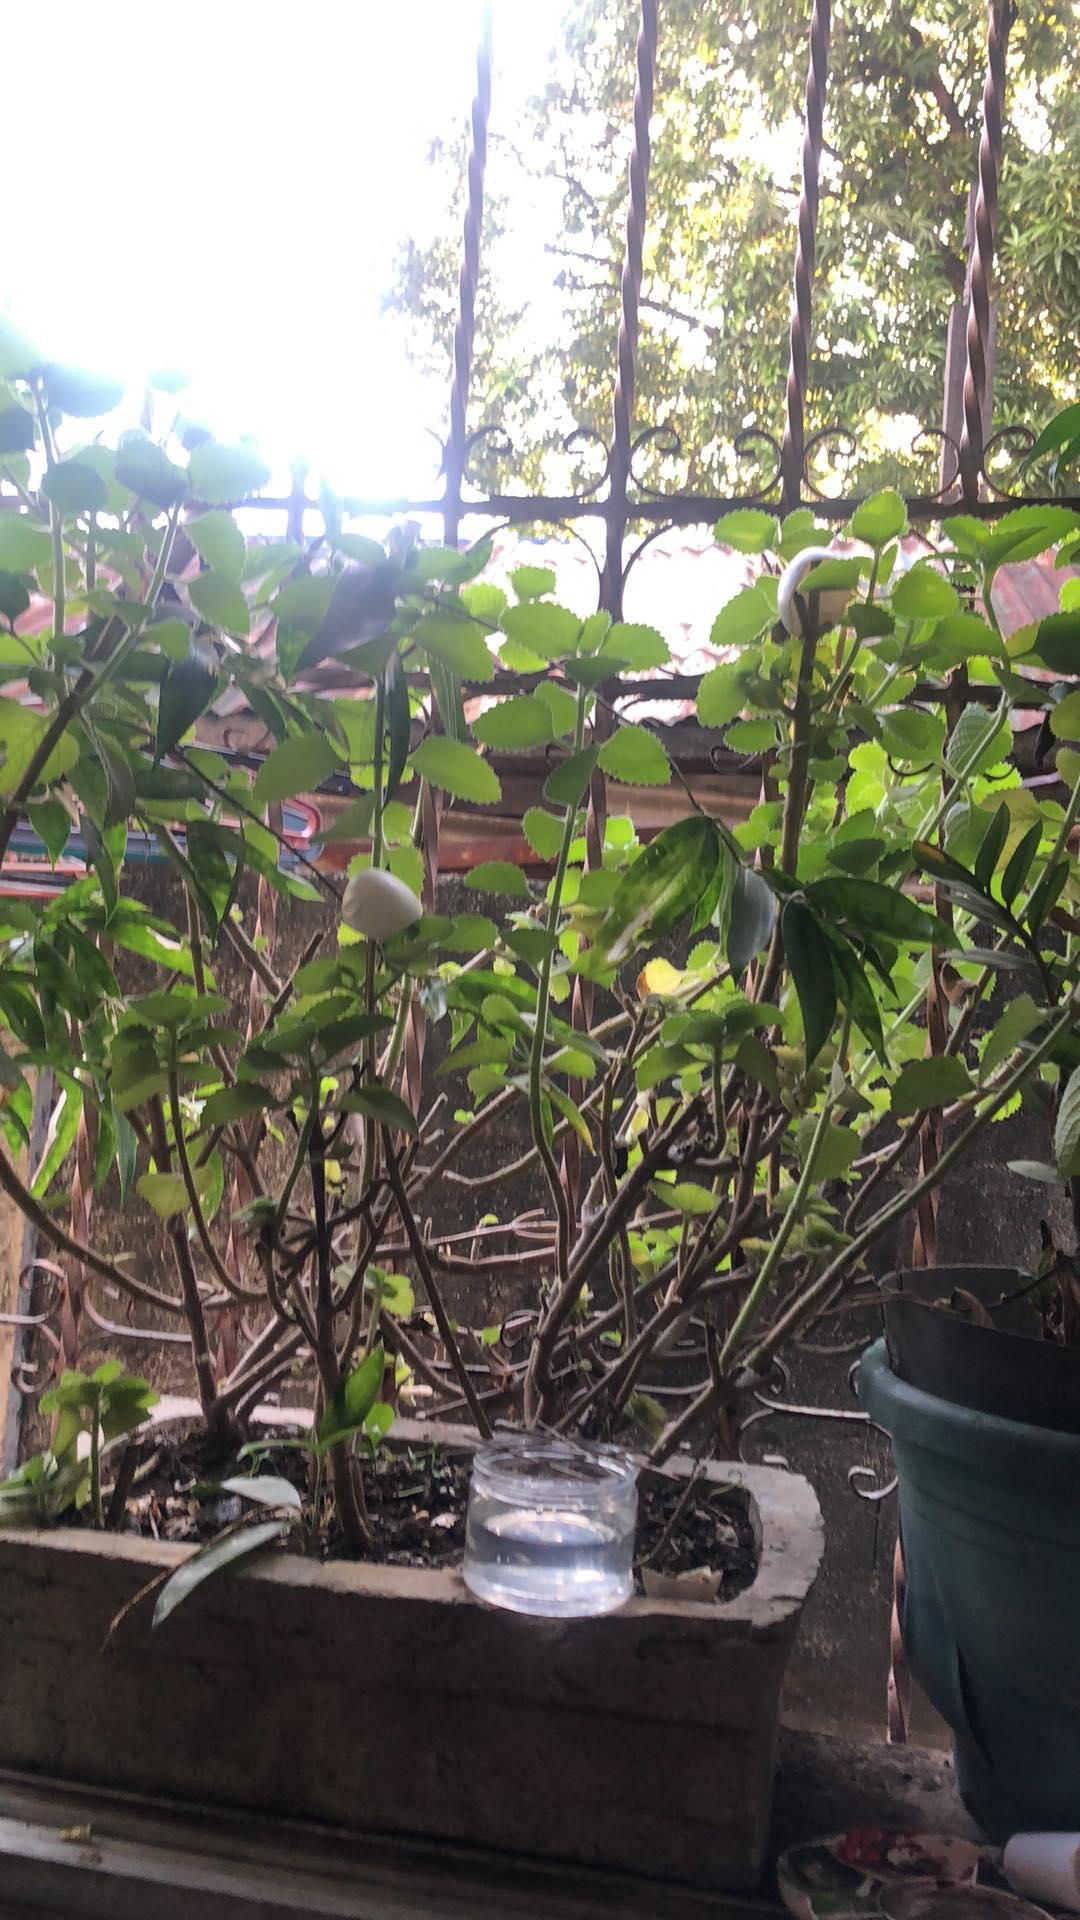
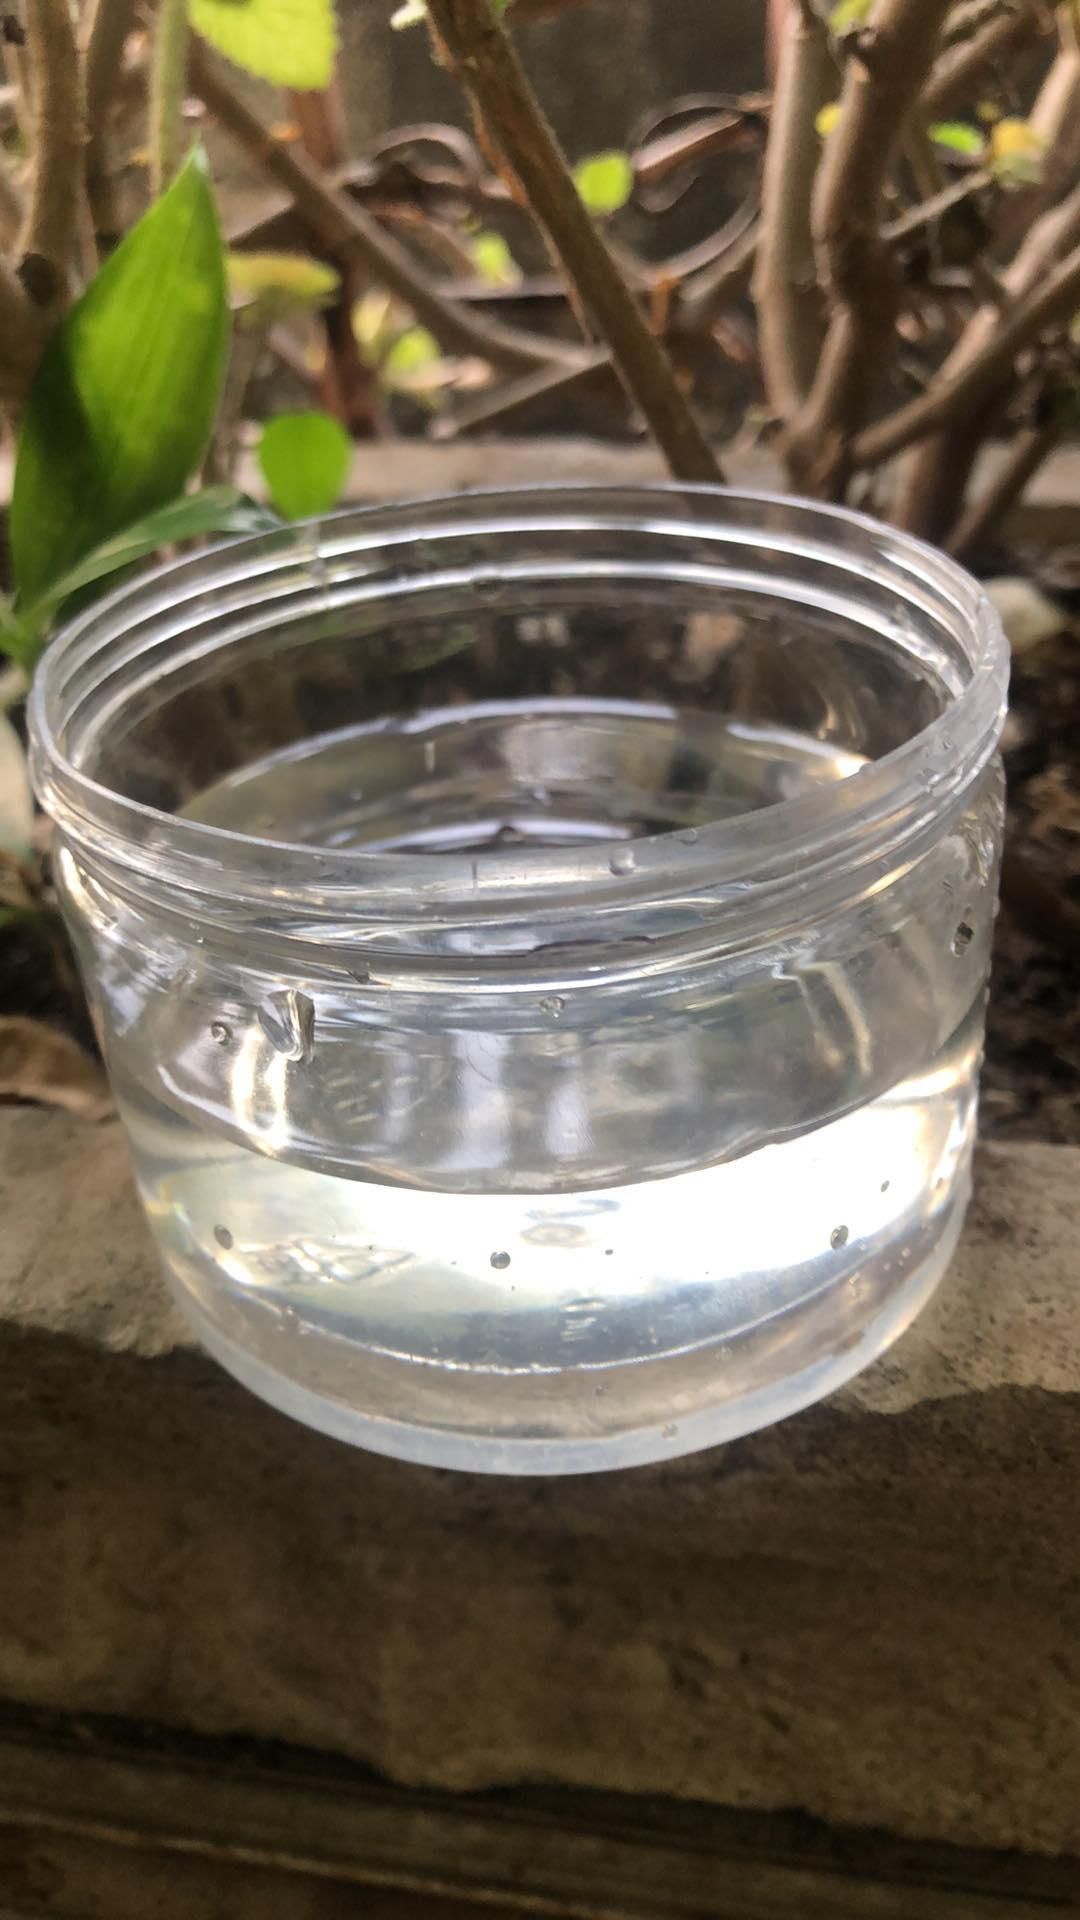
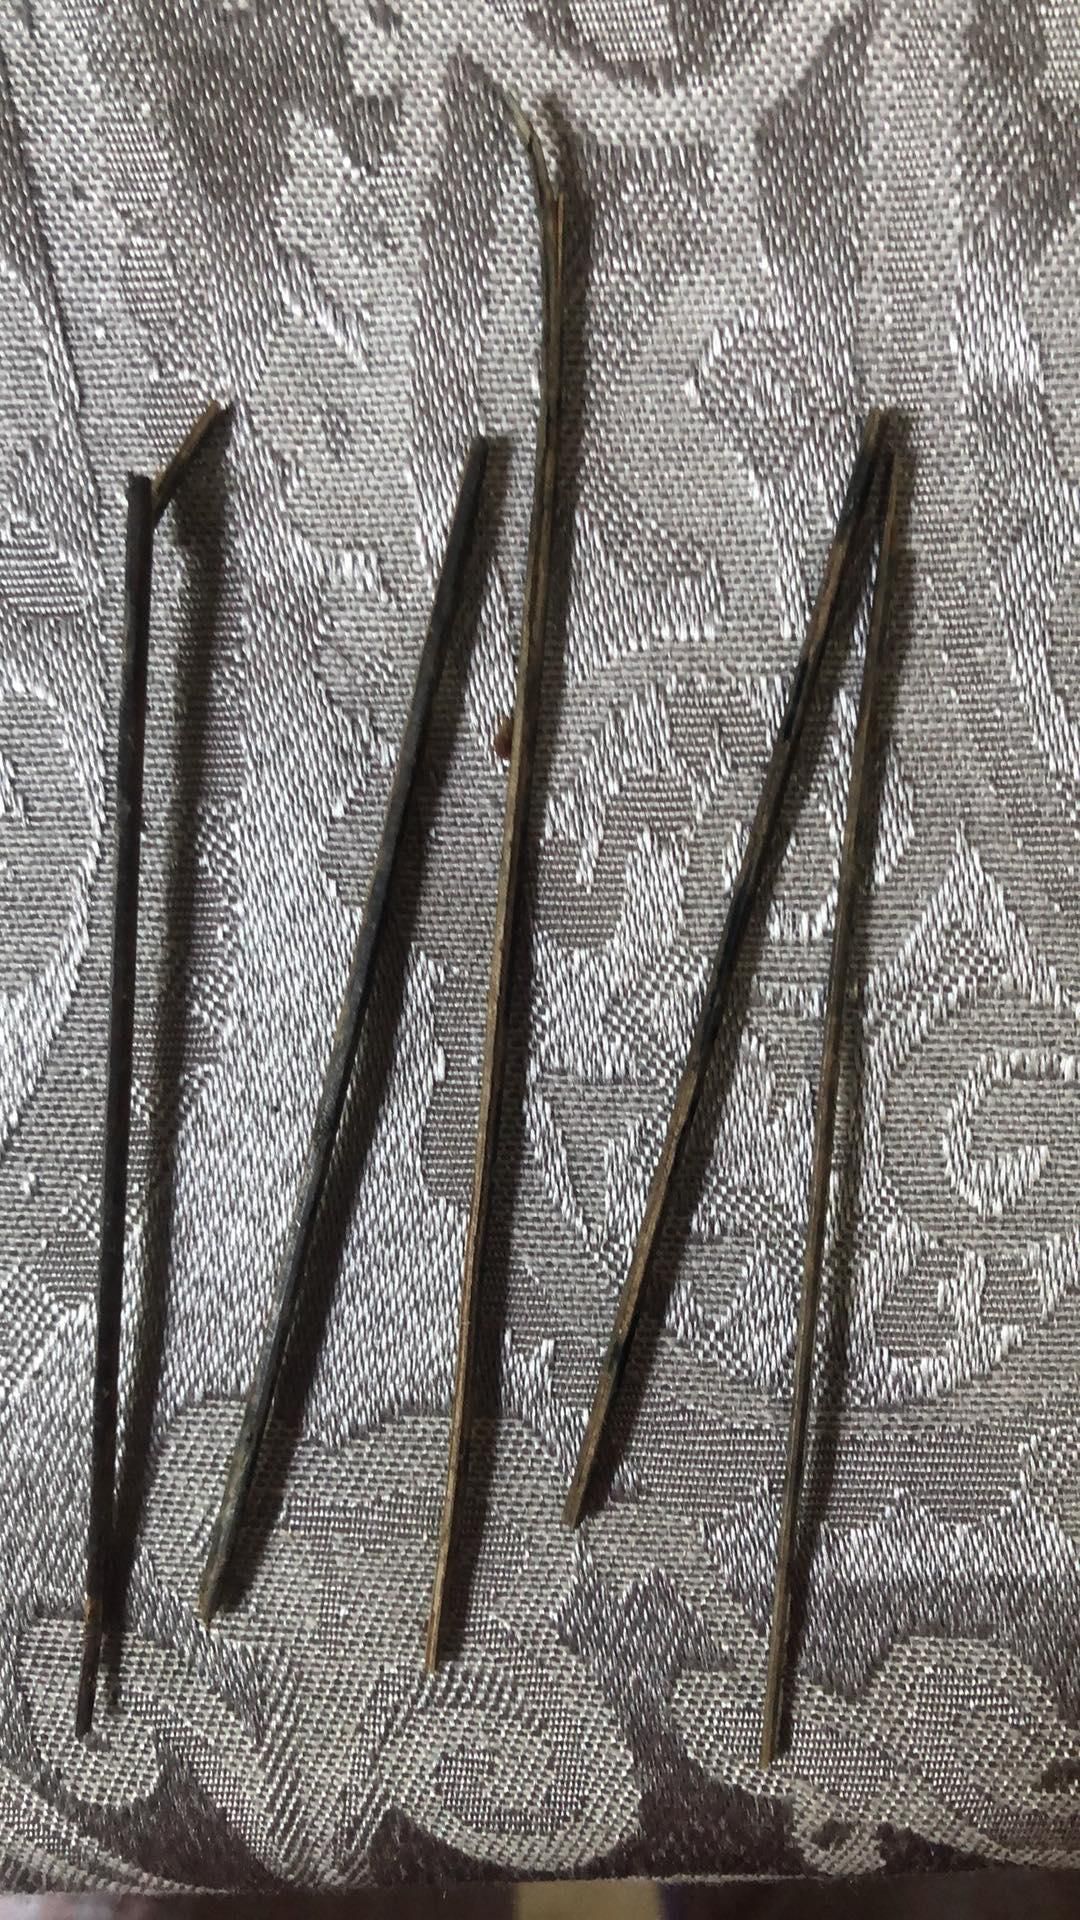
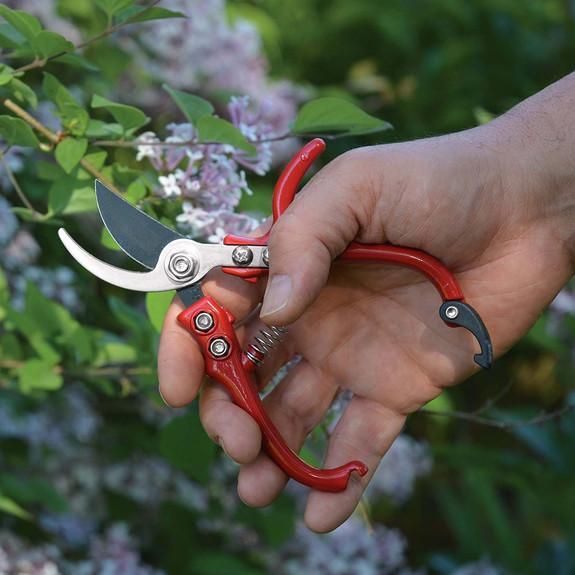
- Water
- Glass jars (such as clear mini Mason jars)
- Sunlit area (area featuring more than eight hours of sunlight a day)
- Vegetable scraps (e.g., Romaine lettuce, celery, basil, green onions)
- Dried Twigs or toothpicks
- Small bypass pruners
Create Your “Seed”
Cut your chosen vegetable scrap from its root end or stem. This will serve as your “seed.”
- For Romaine lettuce, you’ll want to leave the center part of the lettuce untouched, as this part has the power to produce new growth. Instead, cut the lettuce leaves around one inch from your lettuce bunch’s bottom area.
- For celery, you’ll want to cut the base of the celery from the celery’s stalks, leaving around 1-2 inches. The celery’s central part features the nutrients needed to produce new stalks.
- If you’re interested in growing homegrown basil, perfect for pesto, you’ll want to cut your basil plant several inches below the highest bunch of leaves. Several inches of the basil’s stem should be left bare, as this is the part that will need to go in the water.
- For a green onion, cut your onion slightly above its white root. Leave some of your vegetable’s light green portion. If you cut right at your onion’s white part, this will elongate your regrowing time.
Prepare Your Glass of Water
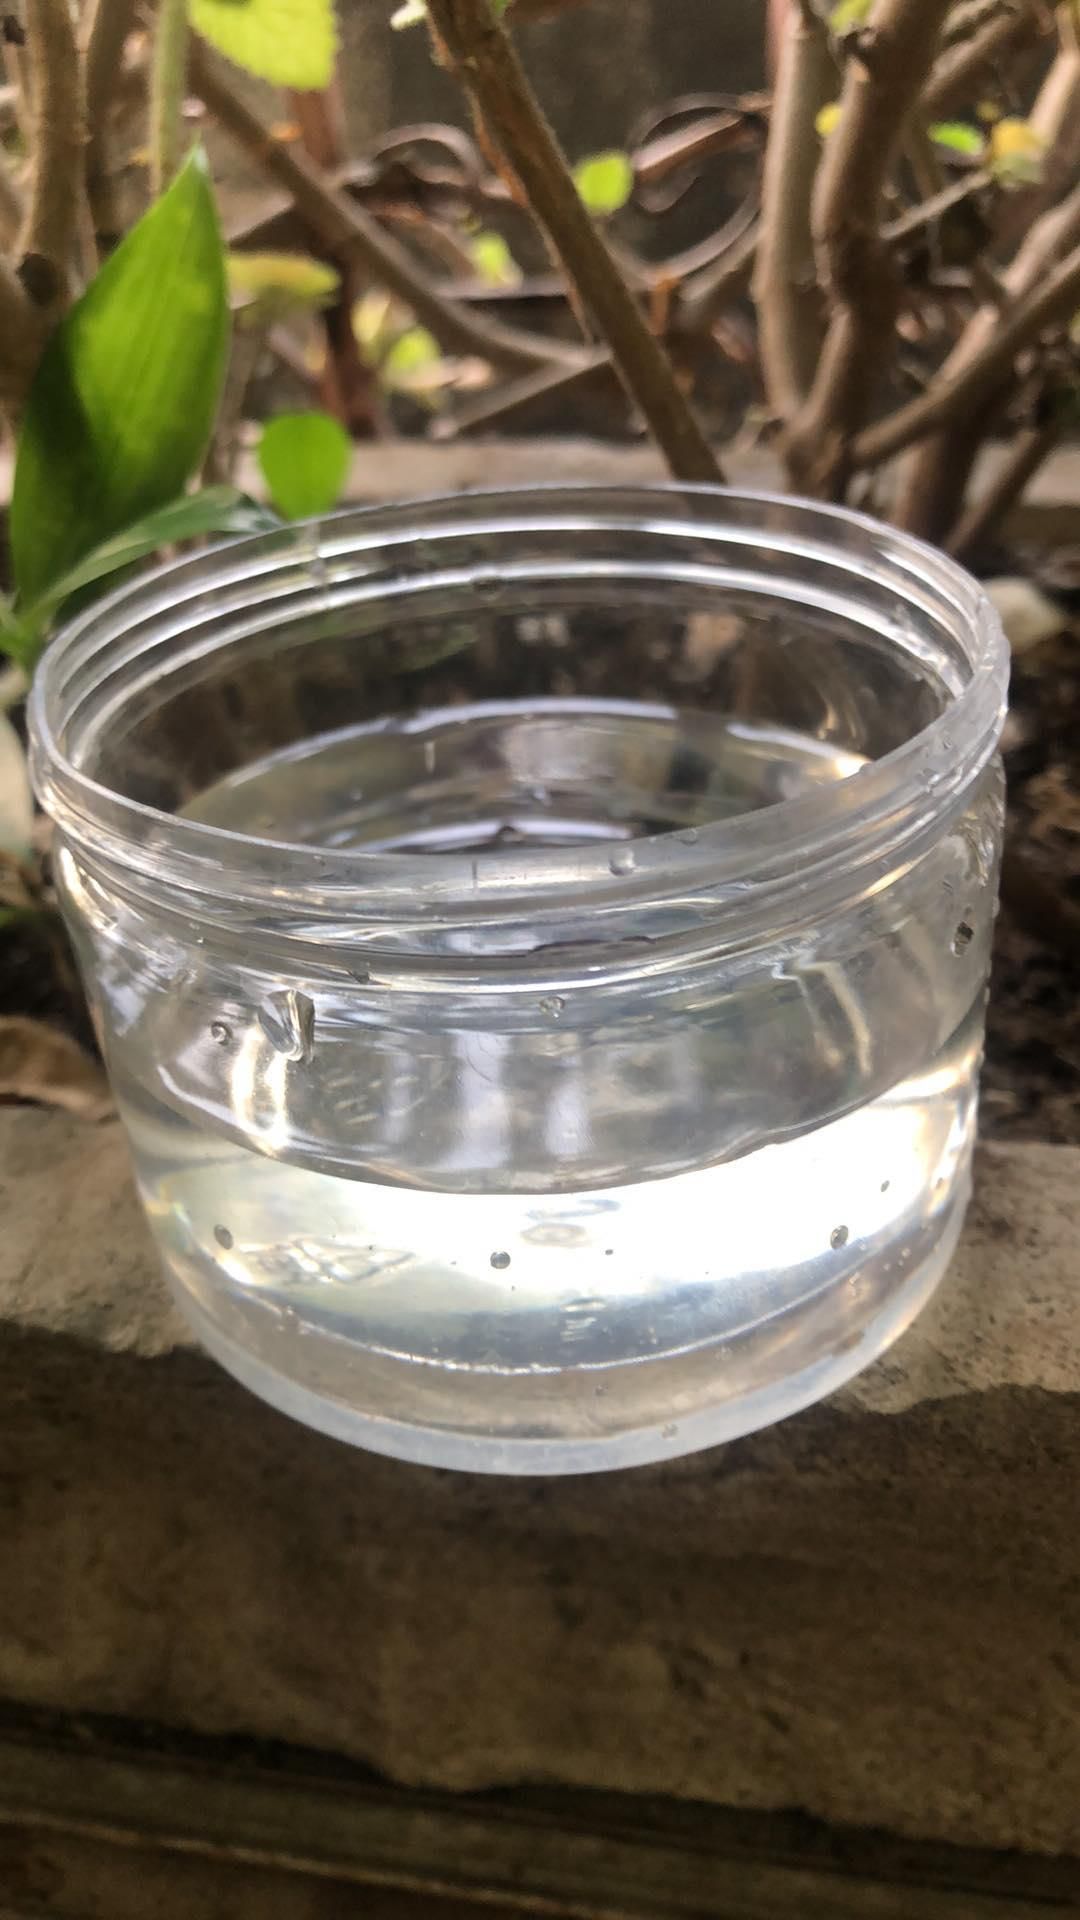
Fill your glass jar with water (several inches). Note that more water will need to be added as your vegetable grows.
Add Your “Seed” to the Water
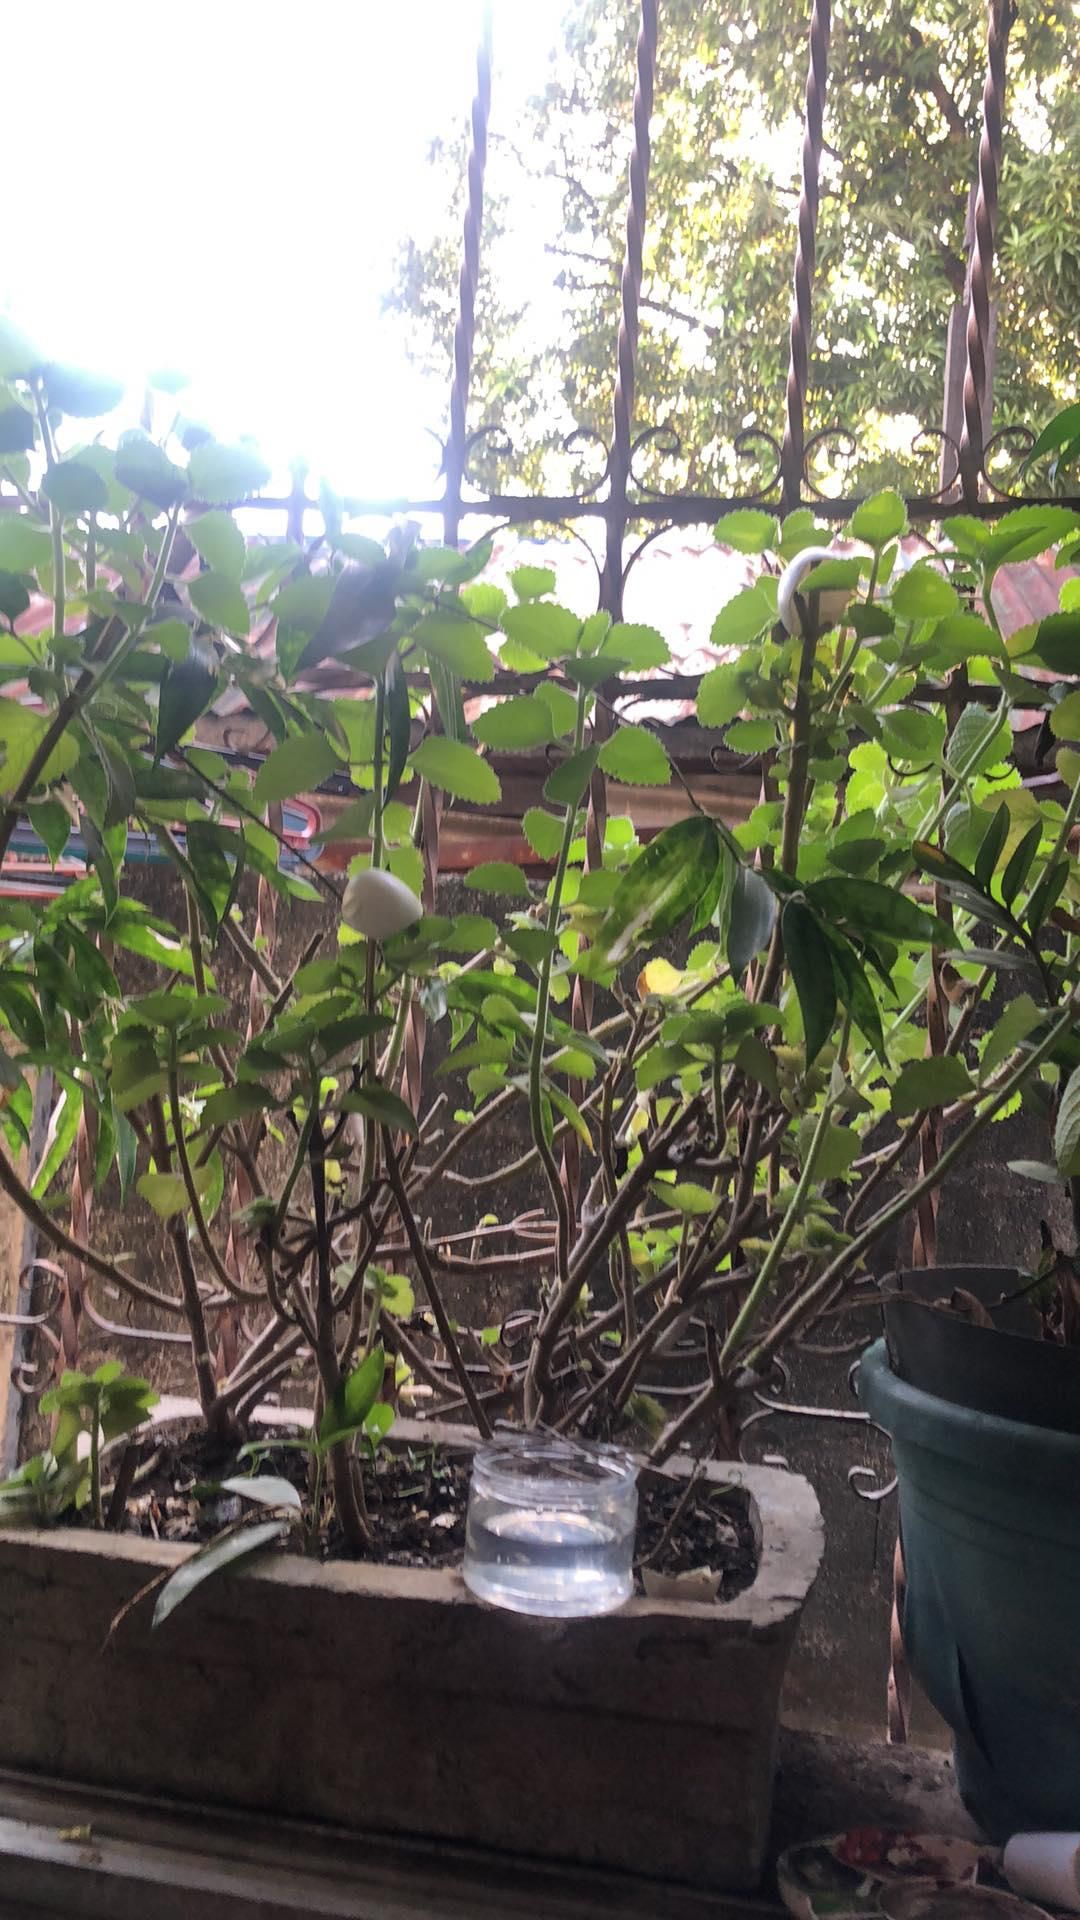
Insert your scrap vegetable into the jar of water with the stem/root side pointing downward. Then, place the jar in an area (e.g., a windowsill) with plenty of sunshine.
Change the Water Regularly
Change your plant’s water regularly. For lettuce and celery, it’s best to change the water every two days, as this will keep your roots fresh. For onions and basil, change the water every 2-3 days.
Step 5: Transplant Your New Growth
Allow your roots to sprout. Once you see several roots on your celery, onions, or basil, you can begin transplanting them to soil with the root side going down/ the leaf side going up. The leaves should be exposed, not in the soil.
Transplanting Certain Vegetables
- For celery, the roots can be transplanted into topsoil after being in the water for eight days.
- For onions, you can transfer your green onion to a plant pot if you want the vegetable to last much longer. You can expect new growth to be ready for harvesting after seven days.
- For basil, be prepared to transfer the plant to a plant pot after it’s begun to sprout hairlike roots. This typically happens around 15 days.
Transplanting Tip #1
Rather than using a pot plant, consider transplanting your new veggies to an indoor grow bag. The mesh of this fabric pot will allow your roots to absorb more oxygen and nutrients and breathe. That’s because it promotes a process called air pruning, where the tip of the root stops growing when it is exposed to fresh air in the area of your grow bag’s walls. In essence, the tip of the root prunes itself. Afterward, the remainder of the plant root branches off and produces many healthy, tiny feeder roots.
Transplanting Tip #2
Avoid transplanting your homegrown veggies to the soil you’ve gathered from your outside garden, as this soil may contain fungi, insects, and pathogens. Instead, select a potting mix designed for use indoors. Alternatively, choose a soilless mix for houseplants that contains peat moss combined with vermiculite or perlite.
Watch Your Veggies Grow
Keep your newly transplanted vegetables watered, and get ready to watch all of them grow!
Note that for a lettuce stem, no transplanting is necessary. Instead, after you’ve left your lettuce stem in your Mason jar for 10-12 days, you should begin to see new leaves grow from its center area. Your new lettuce growth will be perfect to use for a small salad or to top a sandwich.