A New Take on Solar Ovens

As a youth I made two parabolic solar reflectors. My largest was 4 feet in diameter and my smallest was about a foot across and I used it as a demonstrator for a school project. It had a black painted test tube that was located at the focal point and I was able to boil water with it. I really enjoyed making those projects but I wanted something more practical that went beyond boiling water. Besides, not much food fits in a test tube!
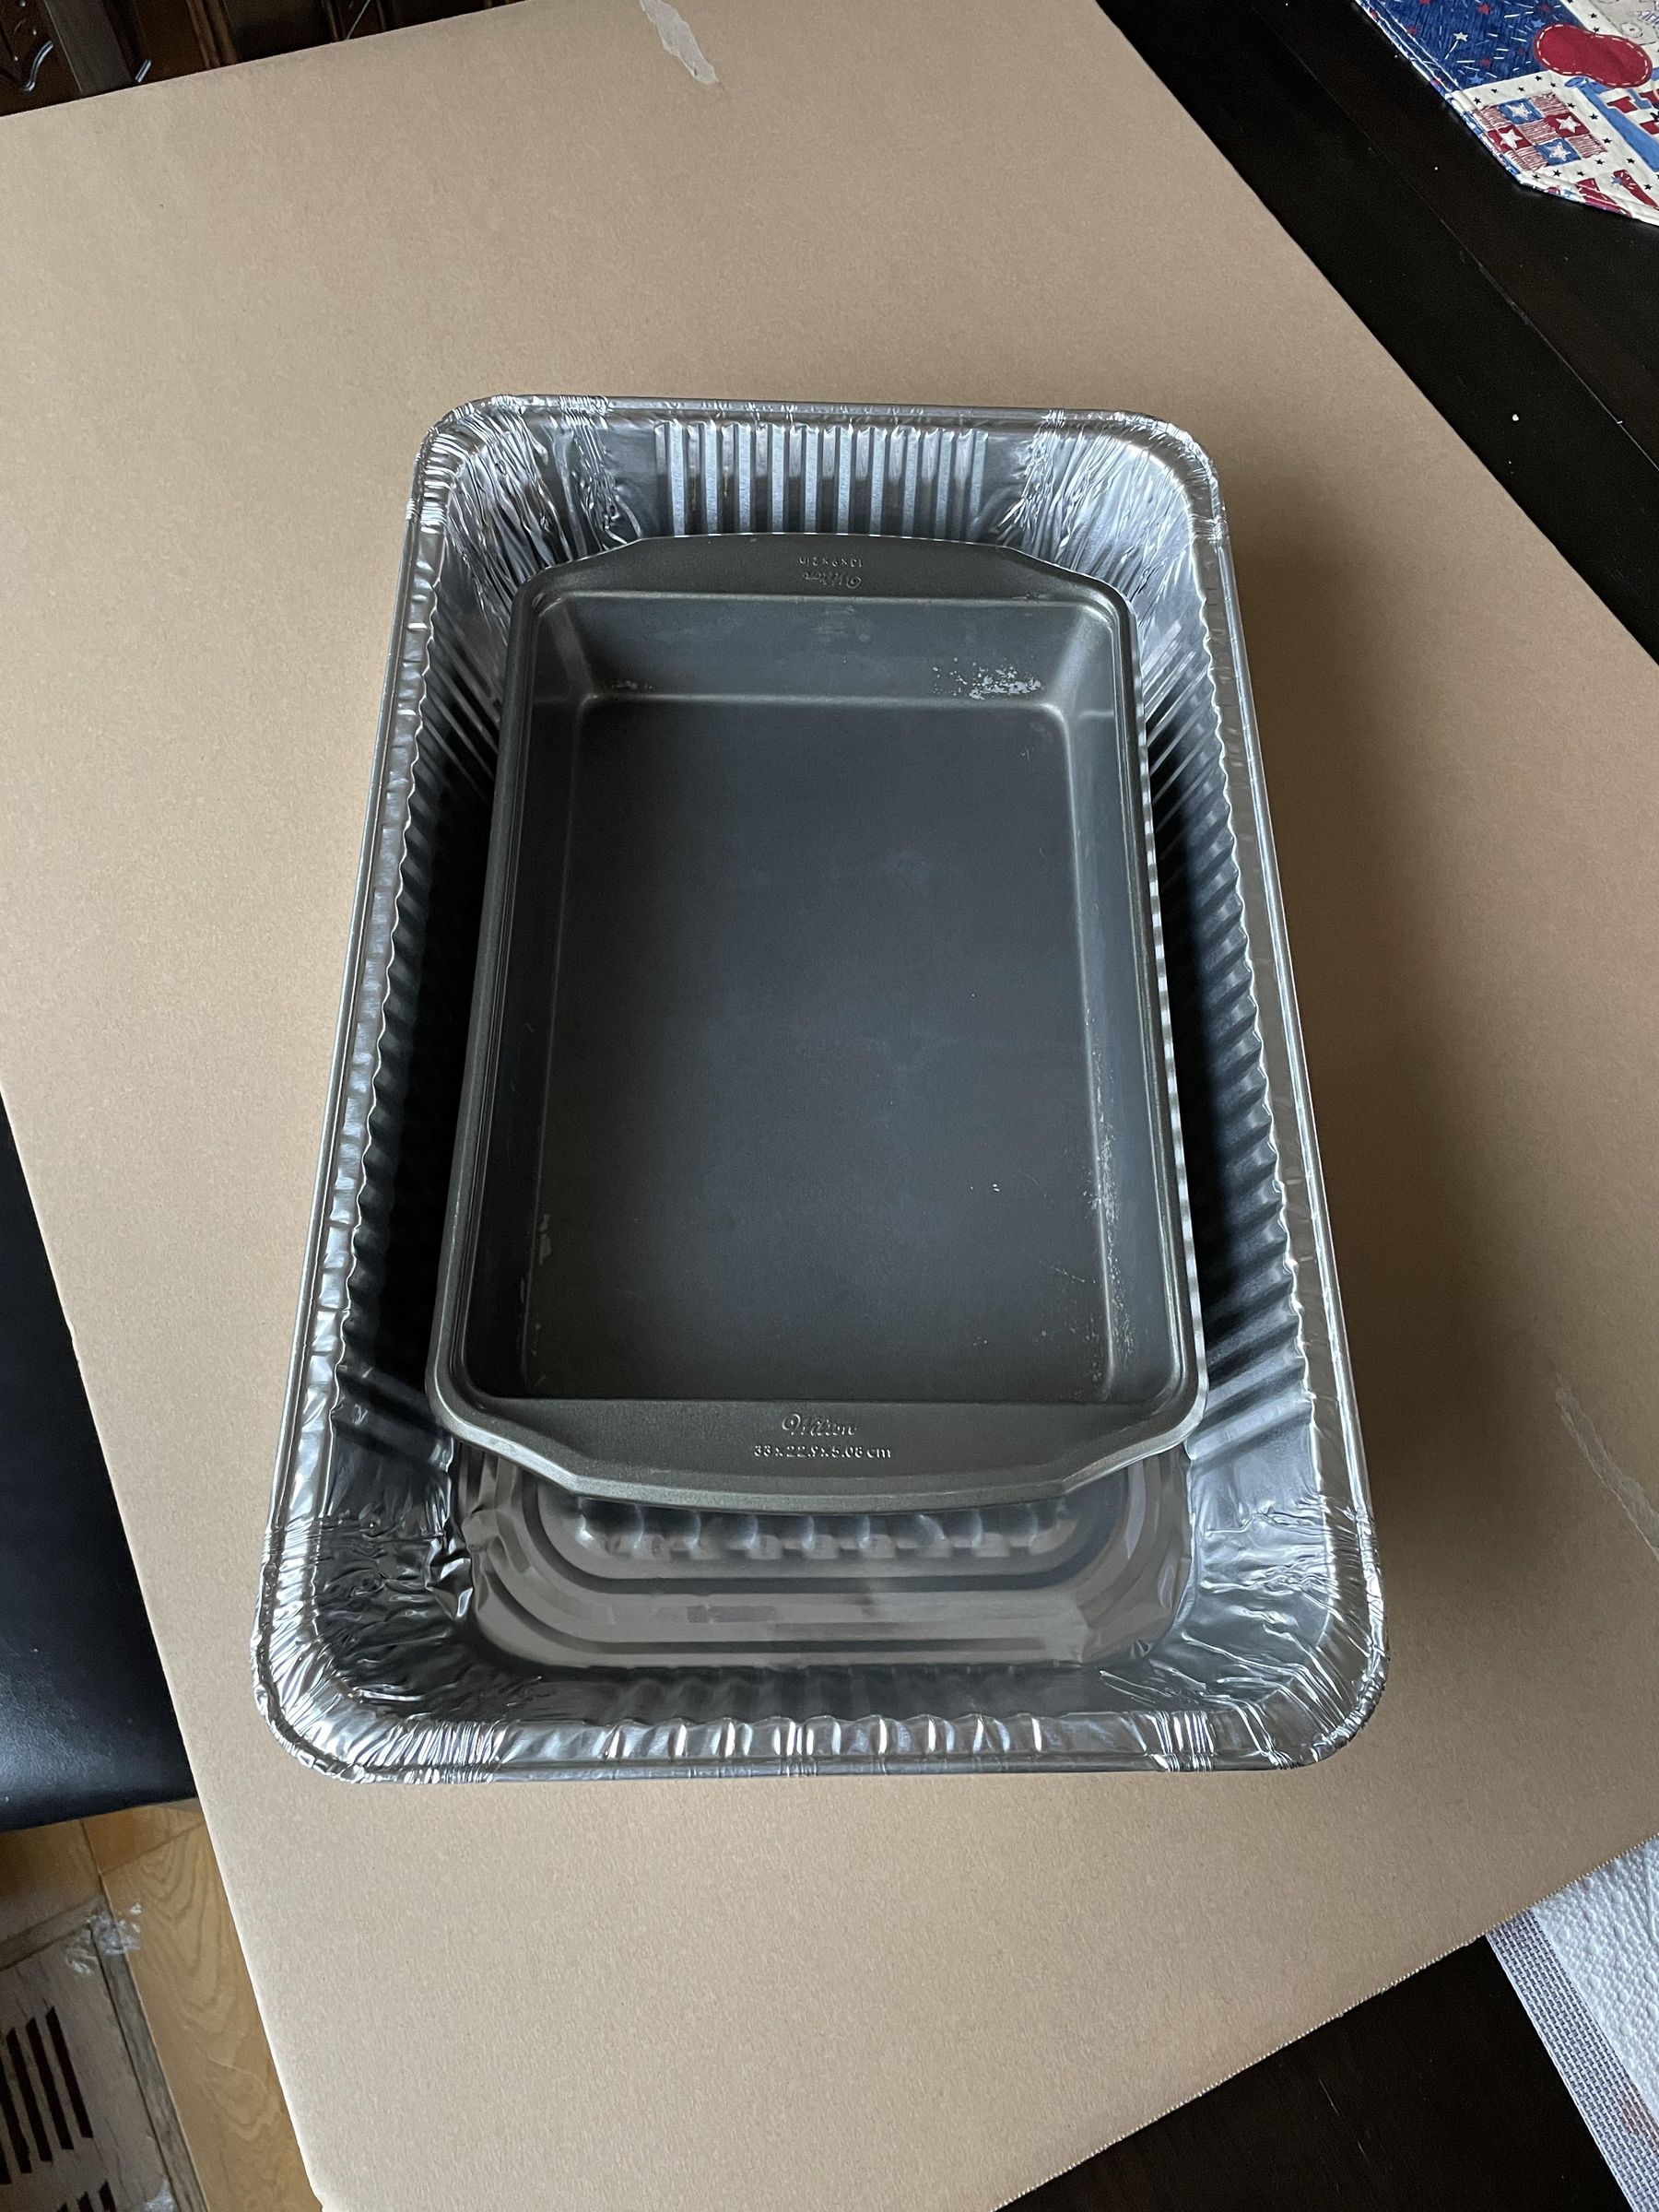
I wanted to make a solar project that I could easily BAKE in. And I wanted to be able to bake using a 9" x 13" pan! It's a tall order but I'm going for it!
Here are some items I wanted to explore with my design:
A. Make a 'large' oven to fit my 9" x 13" pan. Baking requires a fairly large oven volume and also higher temperatures than are casually achieved in DIY solar ovens. So I started trying to 'think outside of the box'. Well, a different shaped box! Virtually all solar oven designs have the glass of the oven angled so that sunlight enters perpendicular to the glass, at a right angle to the plane of the glass.
I wanted to see if I could incorporate some design features that would allow the glass and cook chamber to be horizontal and still perform acceptably. Most conventional ovens are designed with horizontal oven racks anyway, aren't they? And lots of foods don't lend themselves to an slanted cooking position.
My thought was that having the glass horizontal would allow me to keep the food level, reduce the oven volume to allow faster heating and also reduce the oven wall surface area that would be losing heat.
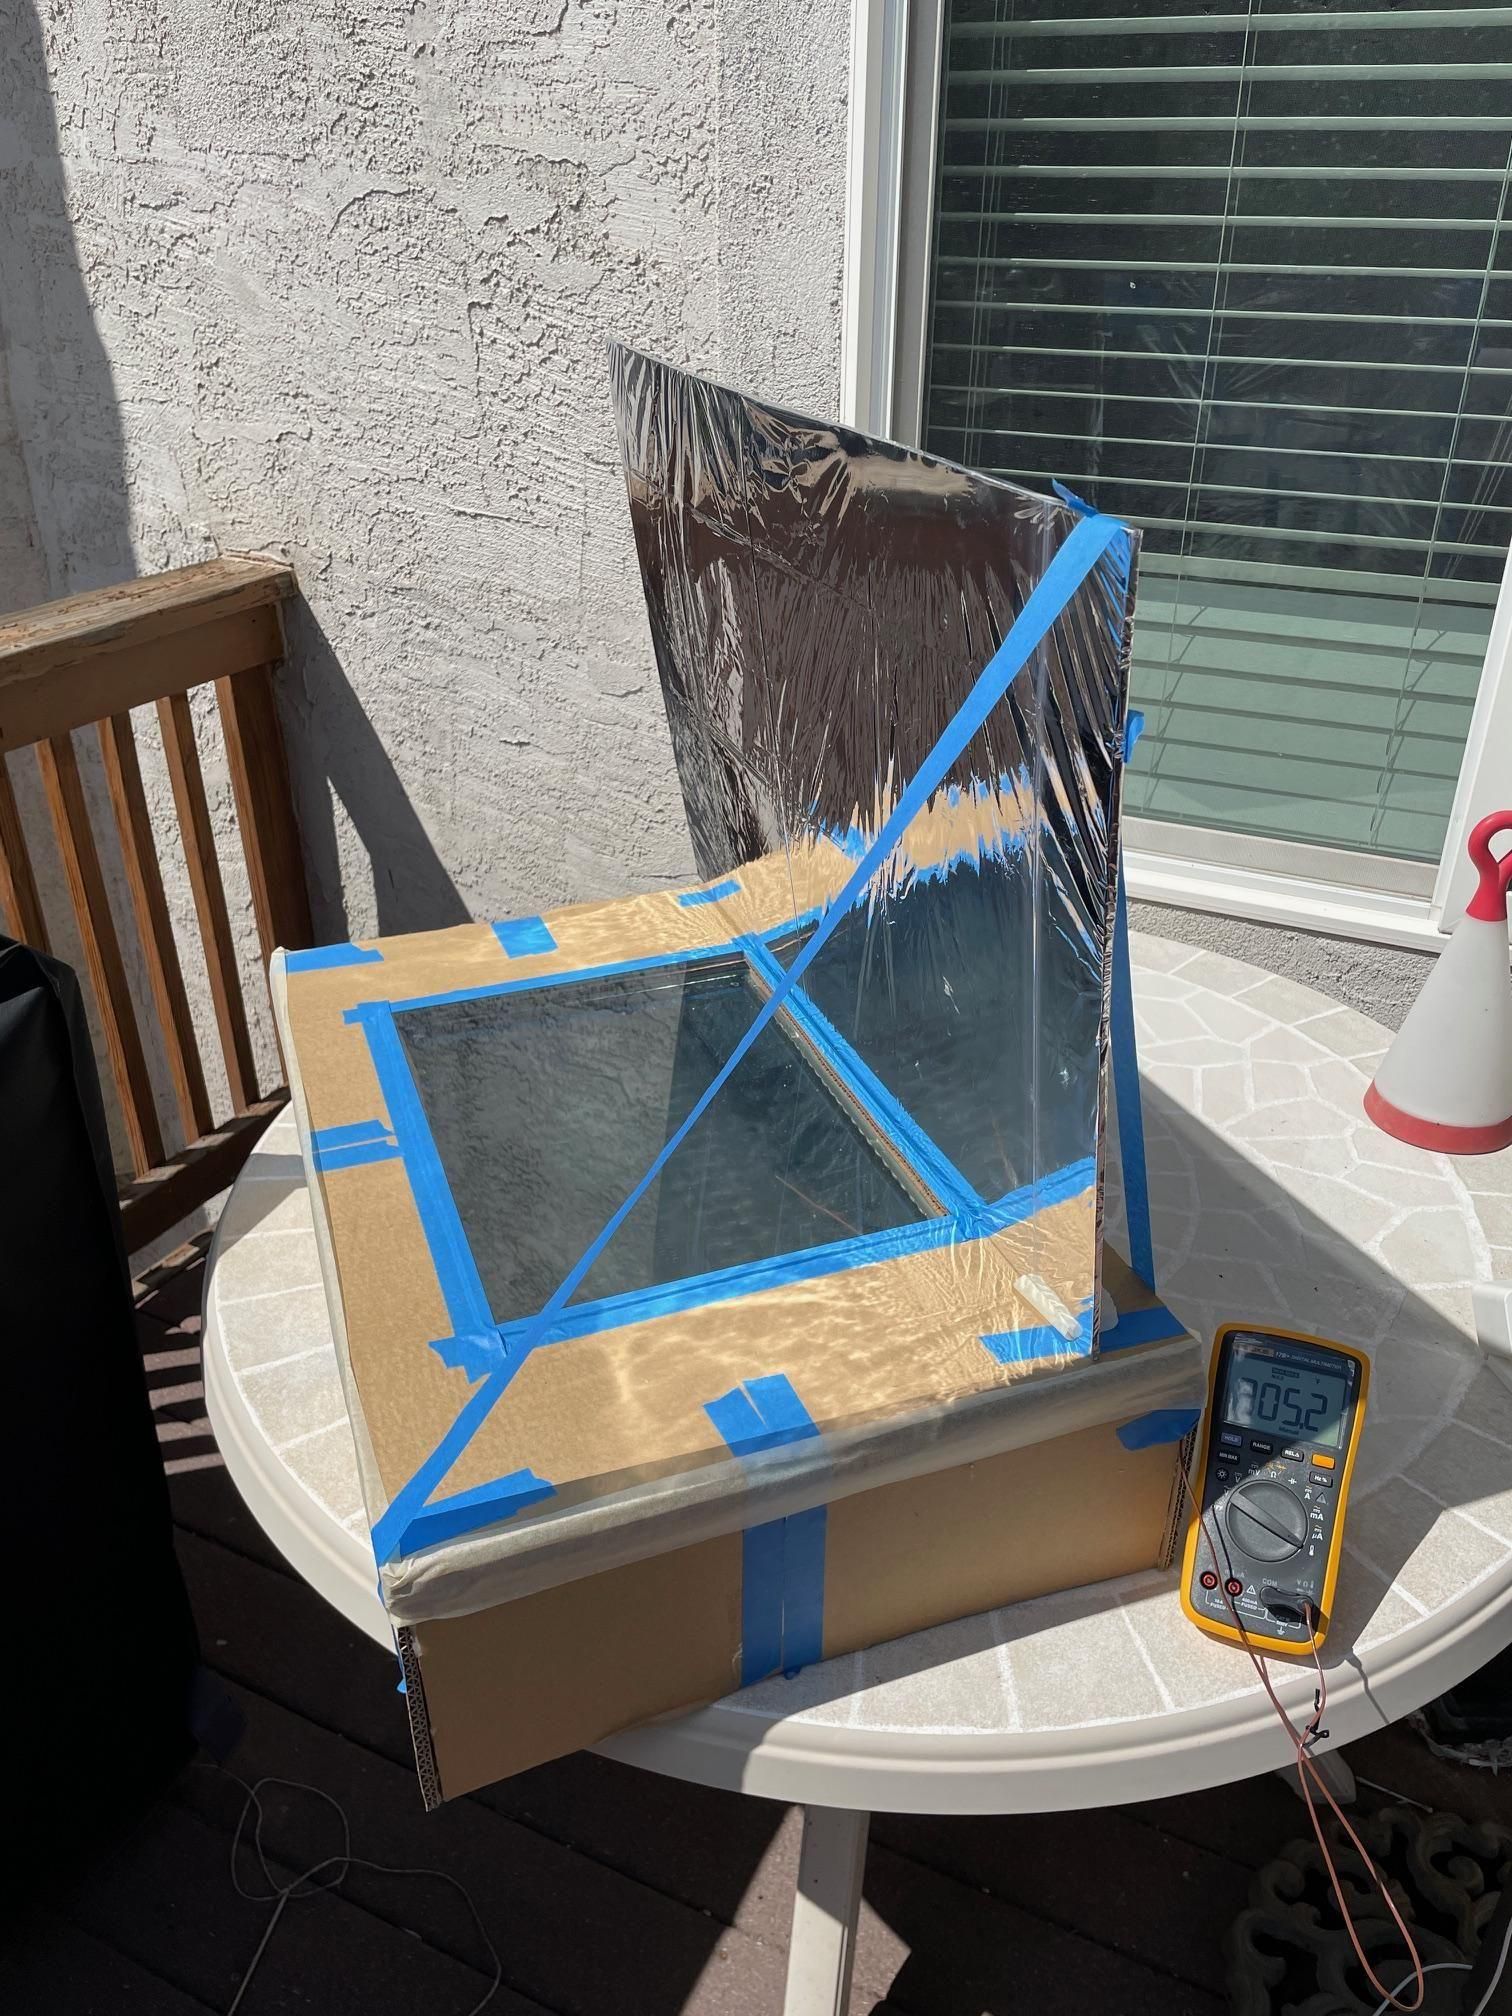
B. Use Helpful Reflectors. Along with having the glass horizontal was the thought to position external reflectors to compensate for the horizontal glass and reflect sunlight into the oven even though the glass was horizontal. I also wanted to have the reflectors fold inward for storage and to protect the glass.
C. Try a different thermal insulation. I wanted to explore the use of spray expandable urethane foam (a.k.a. "Great Stuff") to insulate the oven compartment. I know that other designs used crumpled newspaper, shredded cloth, chopped cardboard, sheet EPS foam (not high enough temperature rating for where I wanted to go), fiberglass and just plain wood.
Because I was using chemical foam insulation (rated up to 240 F, still not high enough) I thought it wise to keep the foam insulation isolated from the oven chamber in case any nasty chemicals came from the foam. To do this I used an aluminum cooking tray as the oven compartment. Think disposable roasting pan. I sprayed the outside of the pan with foam and used the interior as the oven compartment.
D. Be air-tight to keep the heat in. I thought I should try to make the oven cavity nearly air-tight to prevent hot air from escaping. I decided to use a silicone gasket to seal the oven 'door'... The oven really does not have a door. Access to the oven compartment is by lifting off the glass window assembly.
With the oven compartment being a roasting pan the only path for hot air to escape was the opening the glass covered - hence the idea of sealing the aluminum roasting pan to the glass with a silicone gasket and try to make the oven compartment as close to air tight as possible. I know baking releases moisture, so I may have to experiment with providing some type of vent to allow moisture to escape.
E. Use two panes of glass. I wanted to use a double pane glass arrangement to reduce the heat loss through the glass. I used tempered glass as the first layer over the oven compartment followed by generic window glass as a second pane with a space between the two.
F. Keep cost down. I wanted this project to not be too expensive. Note I didn't say "inexpensive", since you can build a solar oven with a cardboard box and some foil. But I wanted to do things a bit different and that usually involves some cost. But I tried to keep the cost down.
So I constructed the oven primarily out of cardboard, and used other materials in non-traditional ways, for example the tempered glass window is a tempered glass cutting board; much cheaper than trying to purchase tempered glass as a sheet of glass.
Supplies
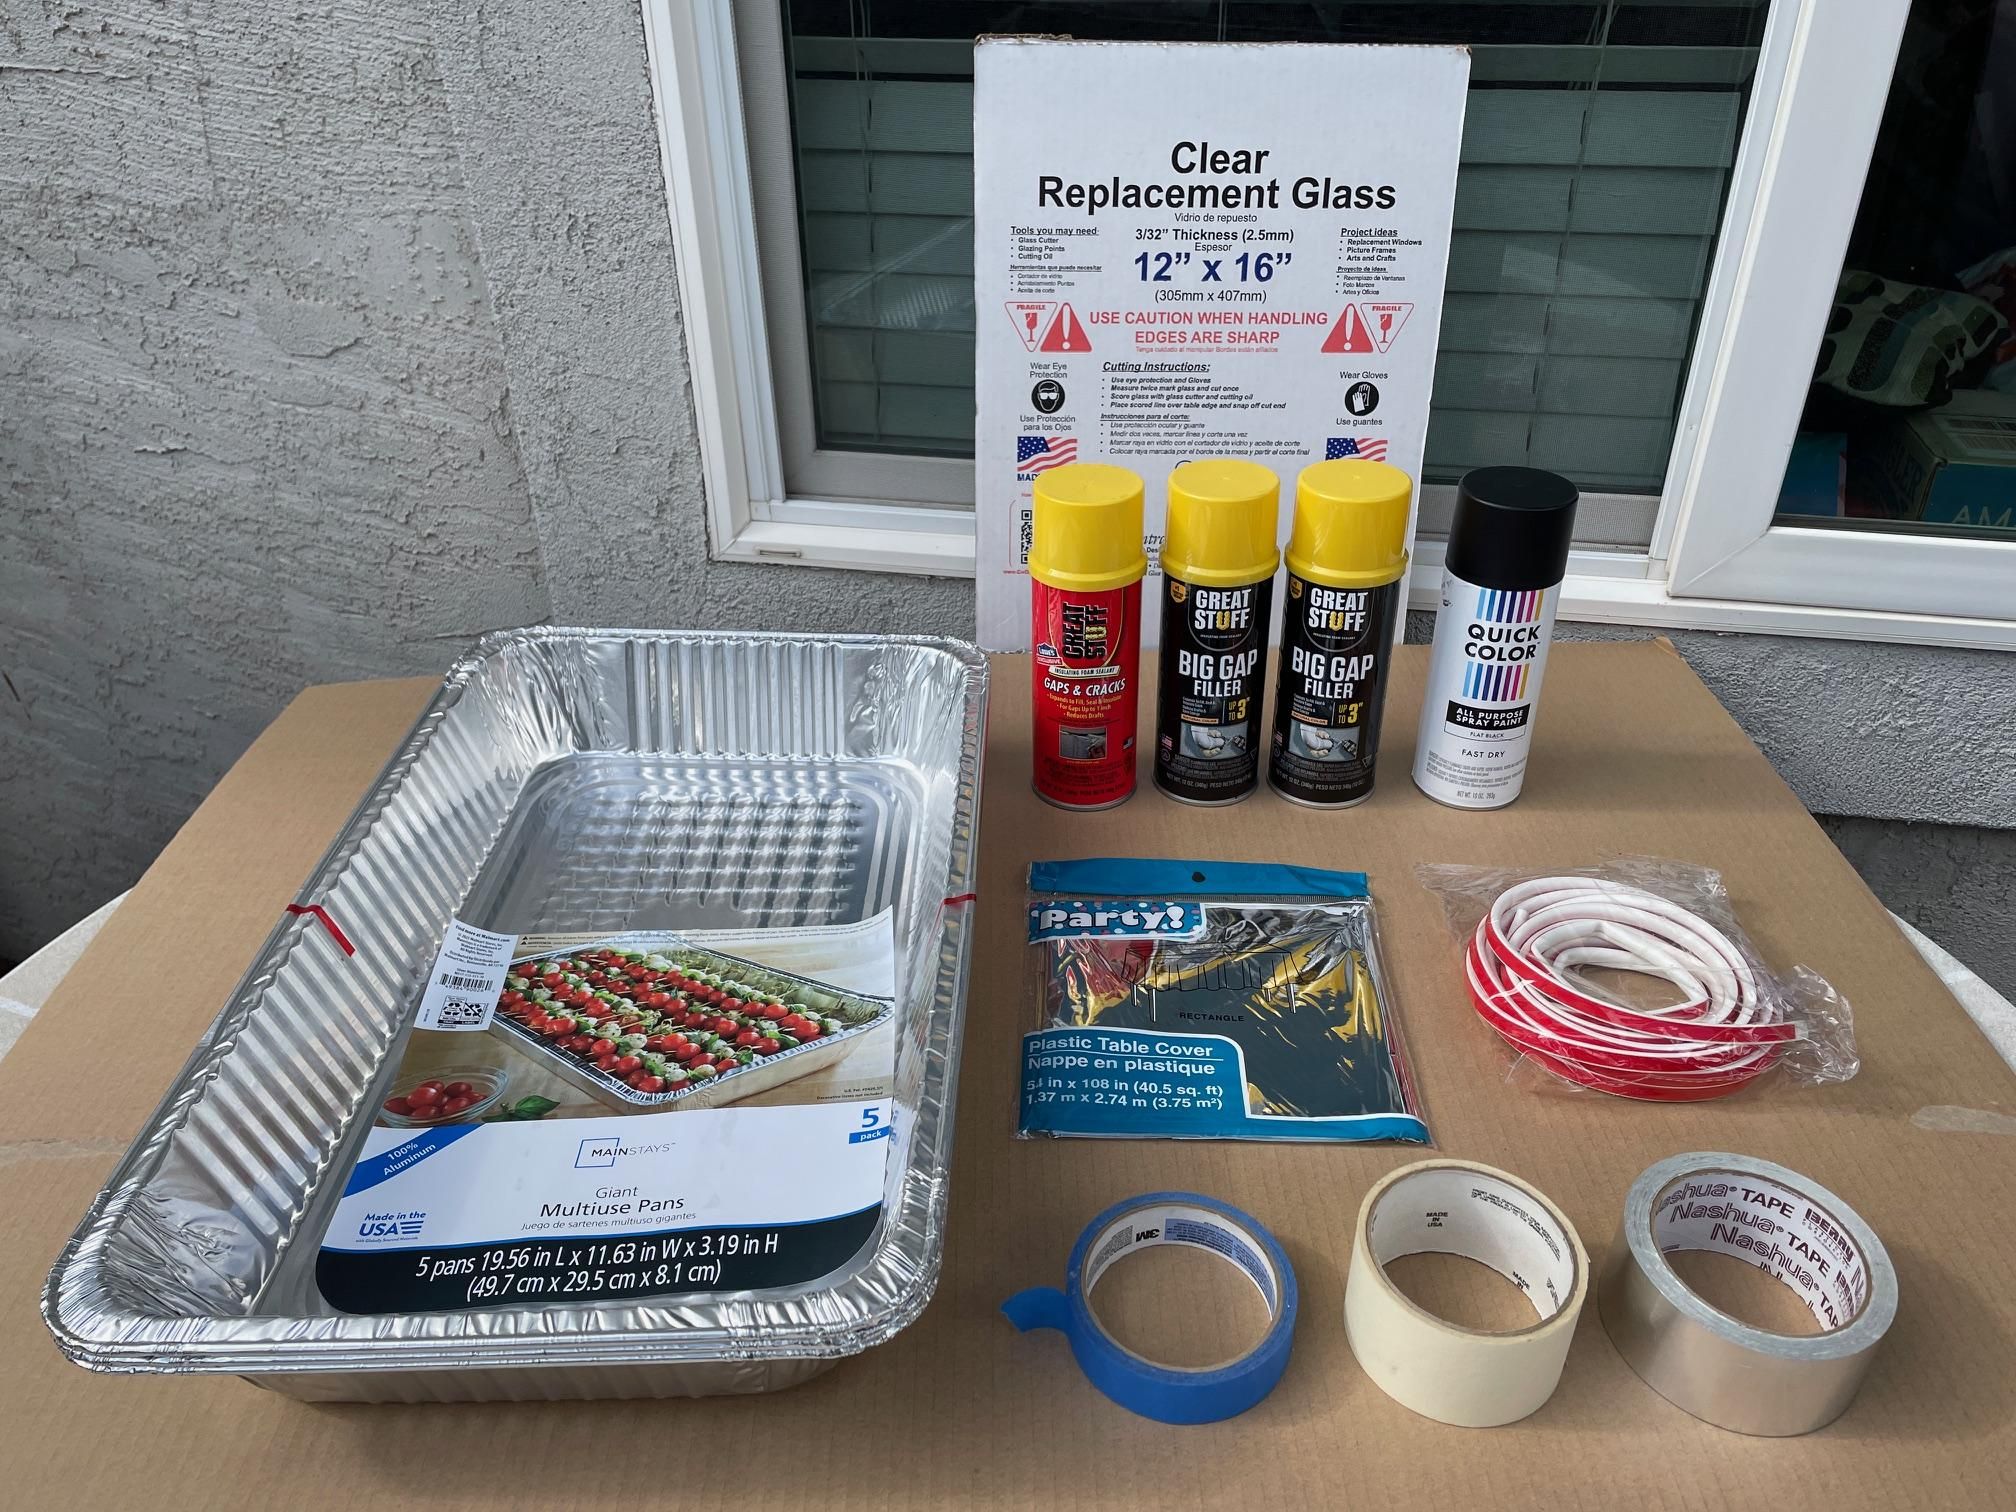
Here is what I used for this project. You may want to try other materials or use what you have on hand.
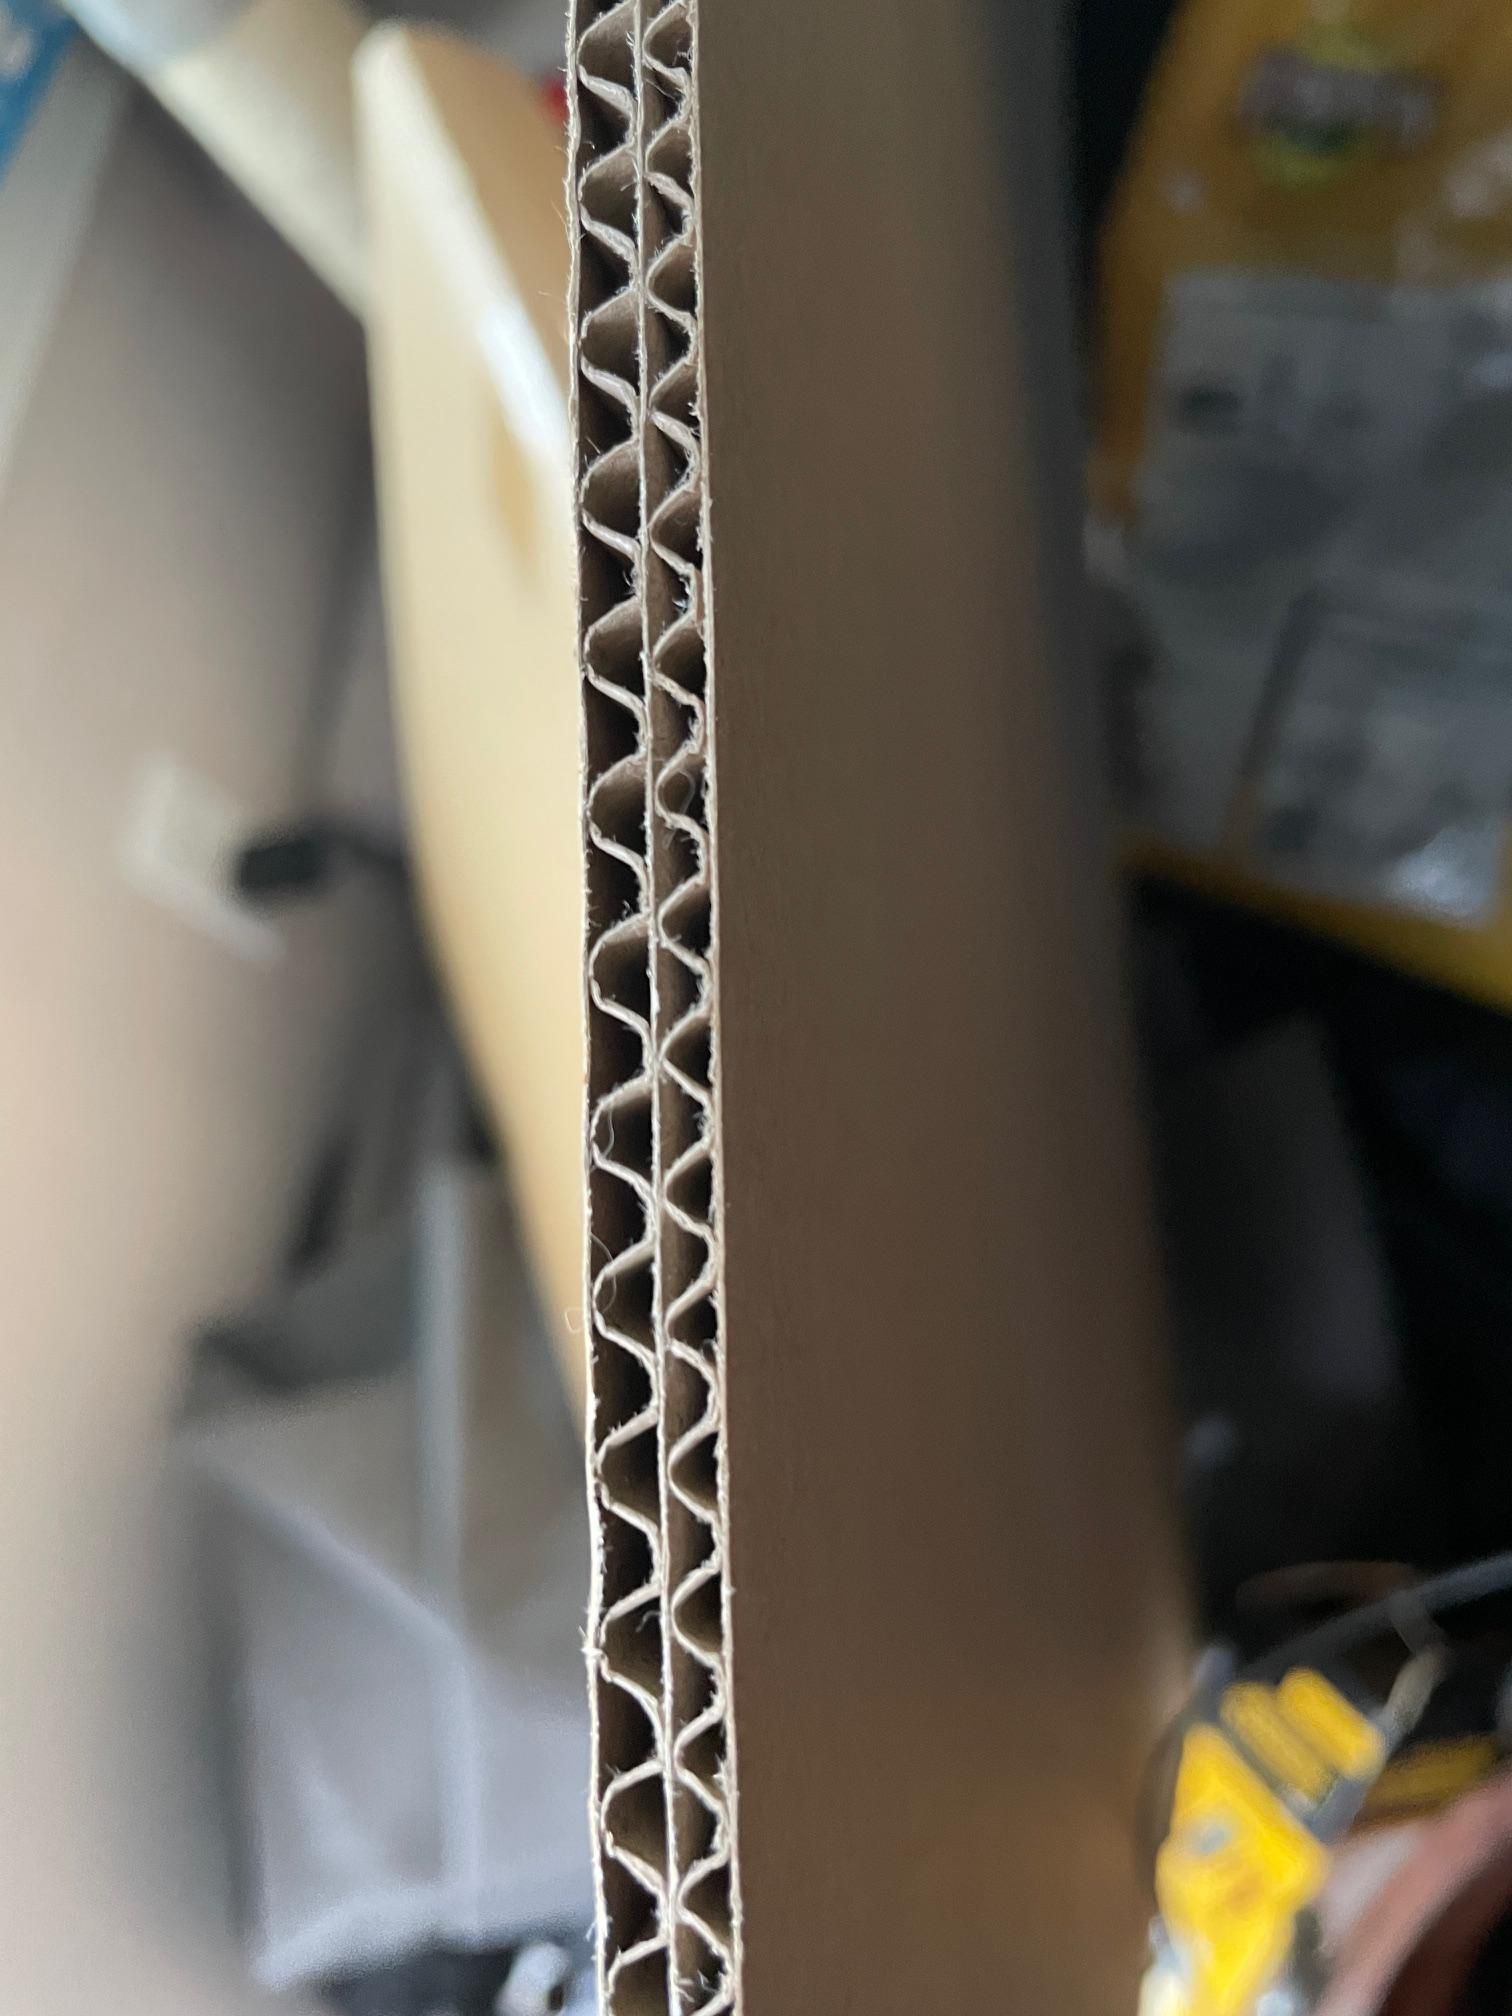
- The structure of the solar oven is make primarily from double flute cardboard, also known as double-wall corrugated board. I started with two 28" x 40" pieces that I had on hand and cut it down for the parts.
- The oven Compartment is made from a Disposable Aluminum Full Size Steam Table Pan, (19.56 in x 11.63 in x 3.19 in). I selected this size because I wanted to be able to bake with a 9 x 13" pan.
- The thermal insulation is Great Stuff (spray urethane foam). I used 2 cans of Big Gap variety and 1 can of 'normal' Gaps and Cracks.
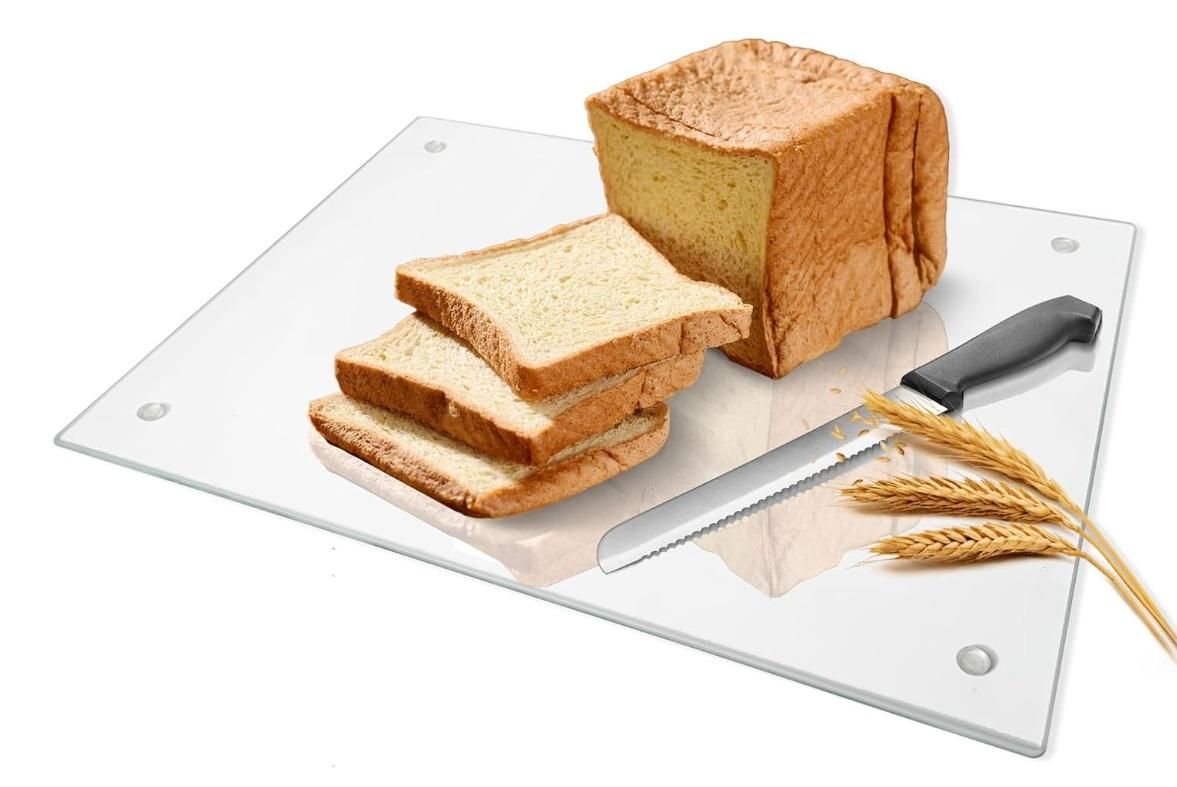
- There are two panes of glass. Both 12" x 16". First (over the oven compartment) is a tempered glass cutting board. An inexpensive way to get tempered glass. The Second pane (top layer) is just 12" x 16" window glass 3/32" thick.
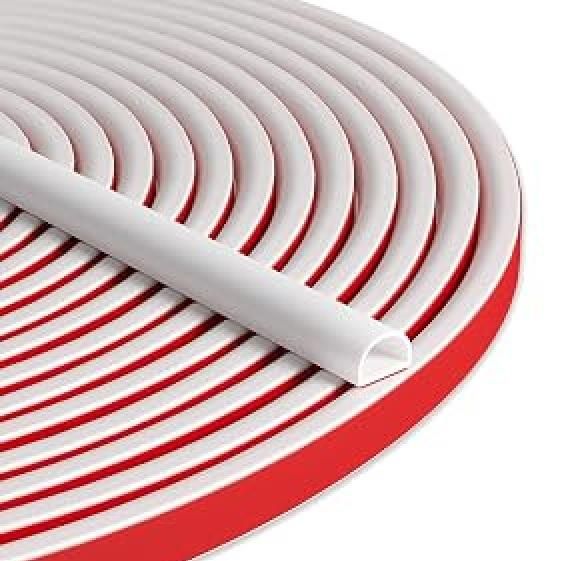
- Gasket: D-shaped Silicone Weather Stripping with adhesive.
- High Temperature Aluminum Foil Self-Adhesive Tape, 2" wide.
- Aluminized Mylar. ('space blanket' or Silver Plastic Table Cover at Dollar Tree Store)
Not Shown:
- Hot Glue Gun and Glue
- Razor Knife
- Masking Tape
- Marking Pen
- Flat Black Spray Paint
- Heavy Duty Aluminum Foil (optional)
- Oven Thermometer (optional)
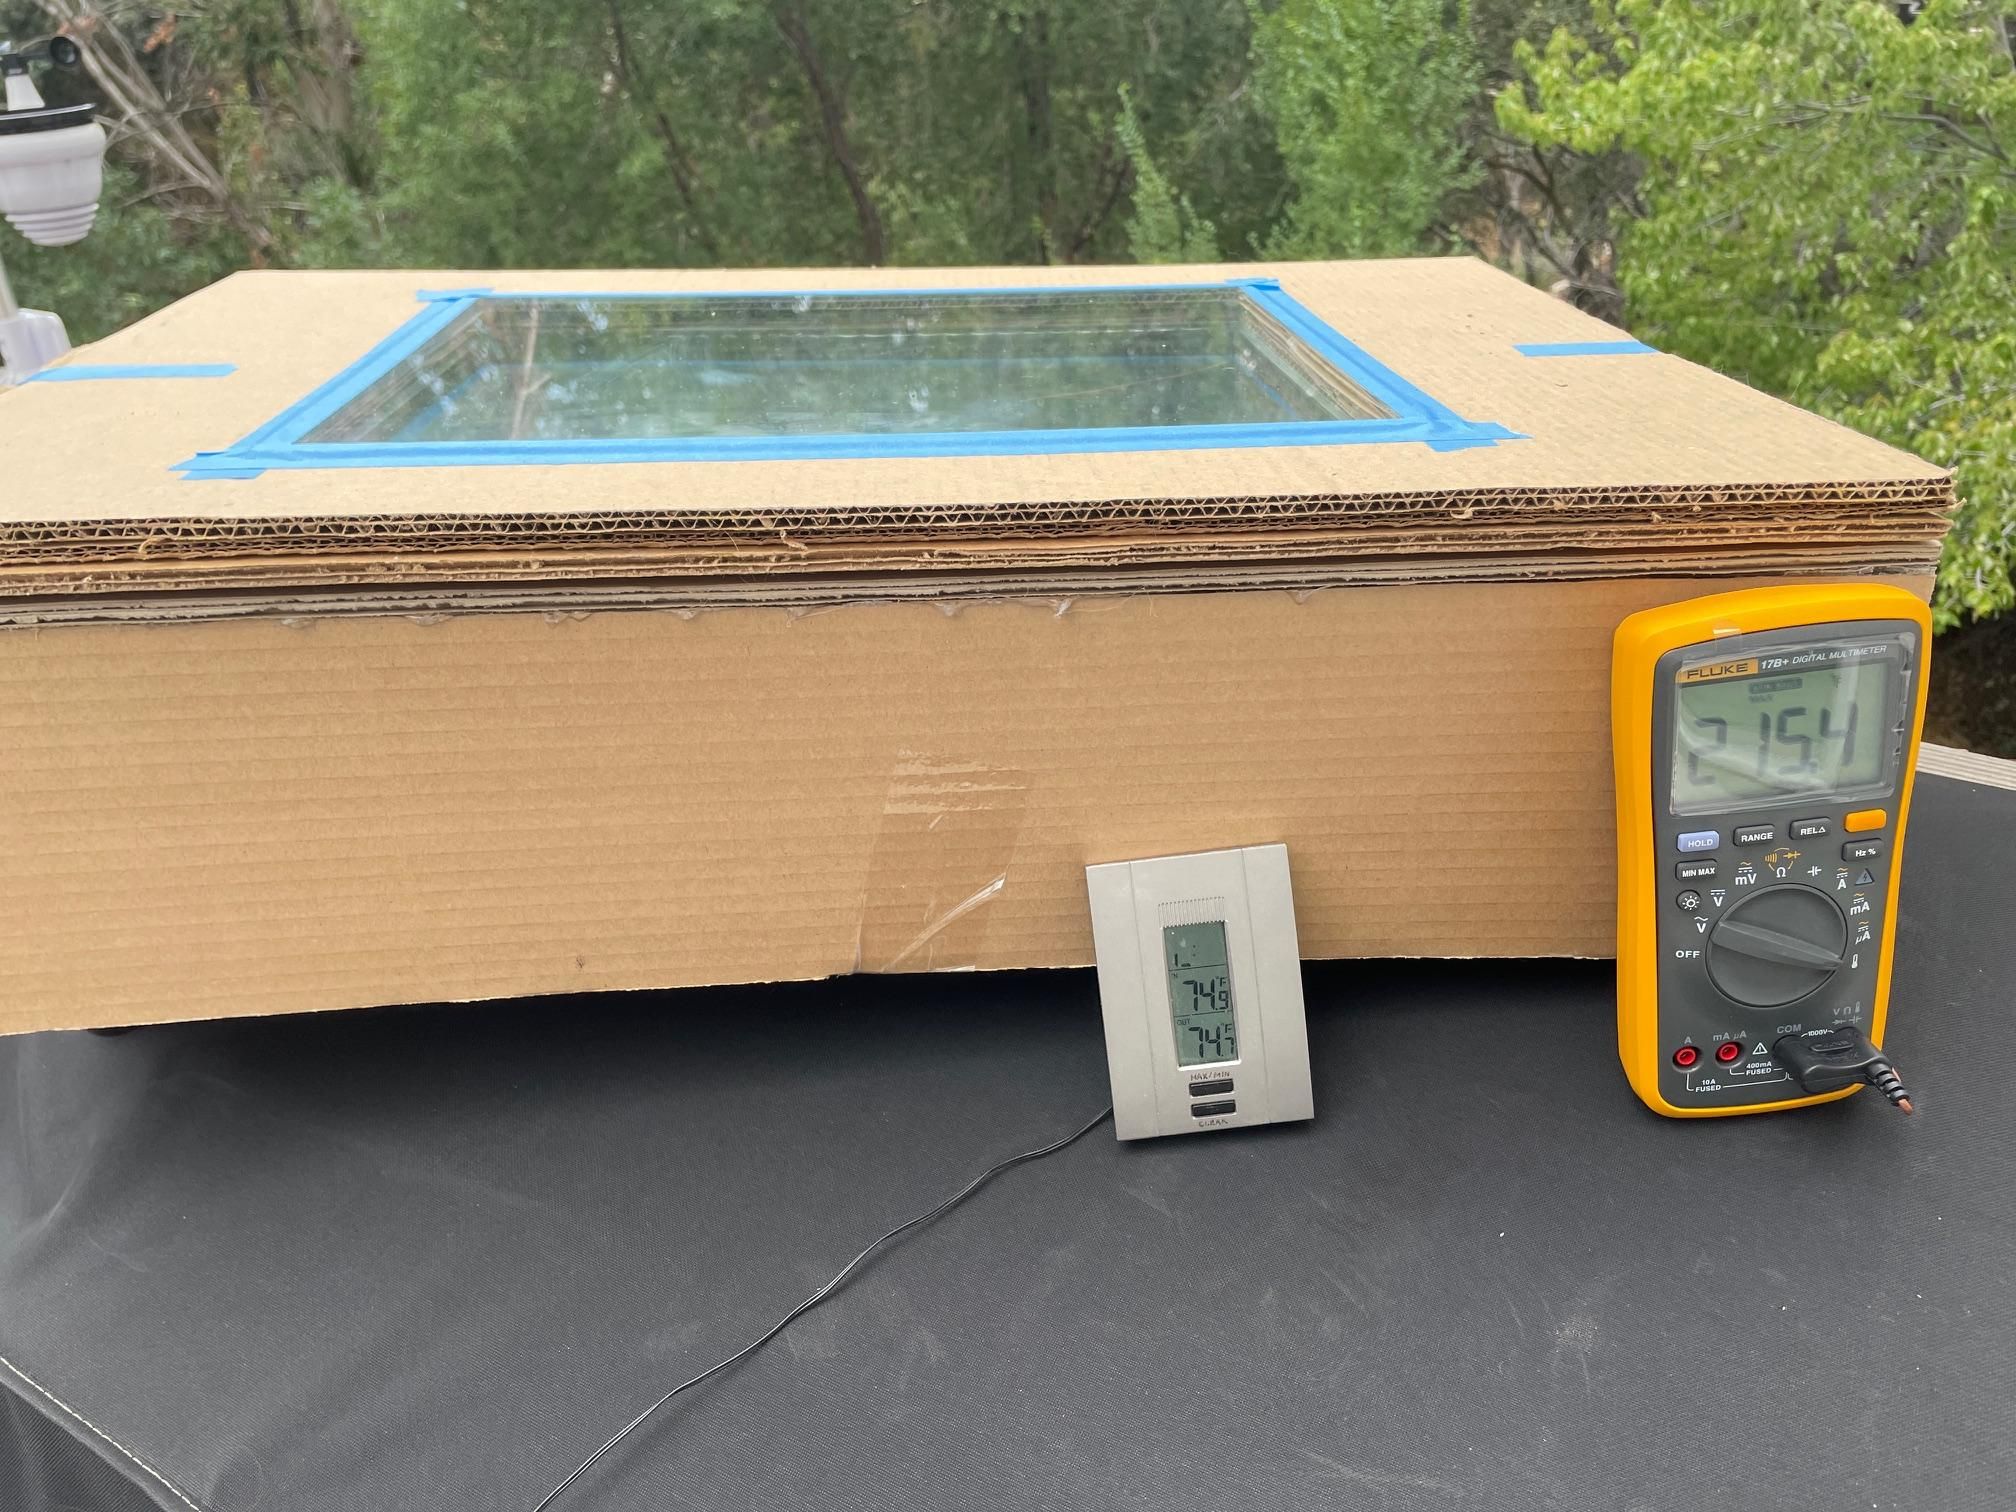
Note: I took temperatures by using a digital multimeter that had a thermocouple feature.
Mark Out the Cardboard and Cut
It's a BOX. So you are going to make a box.
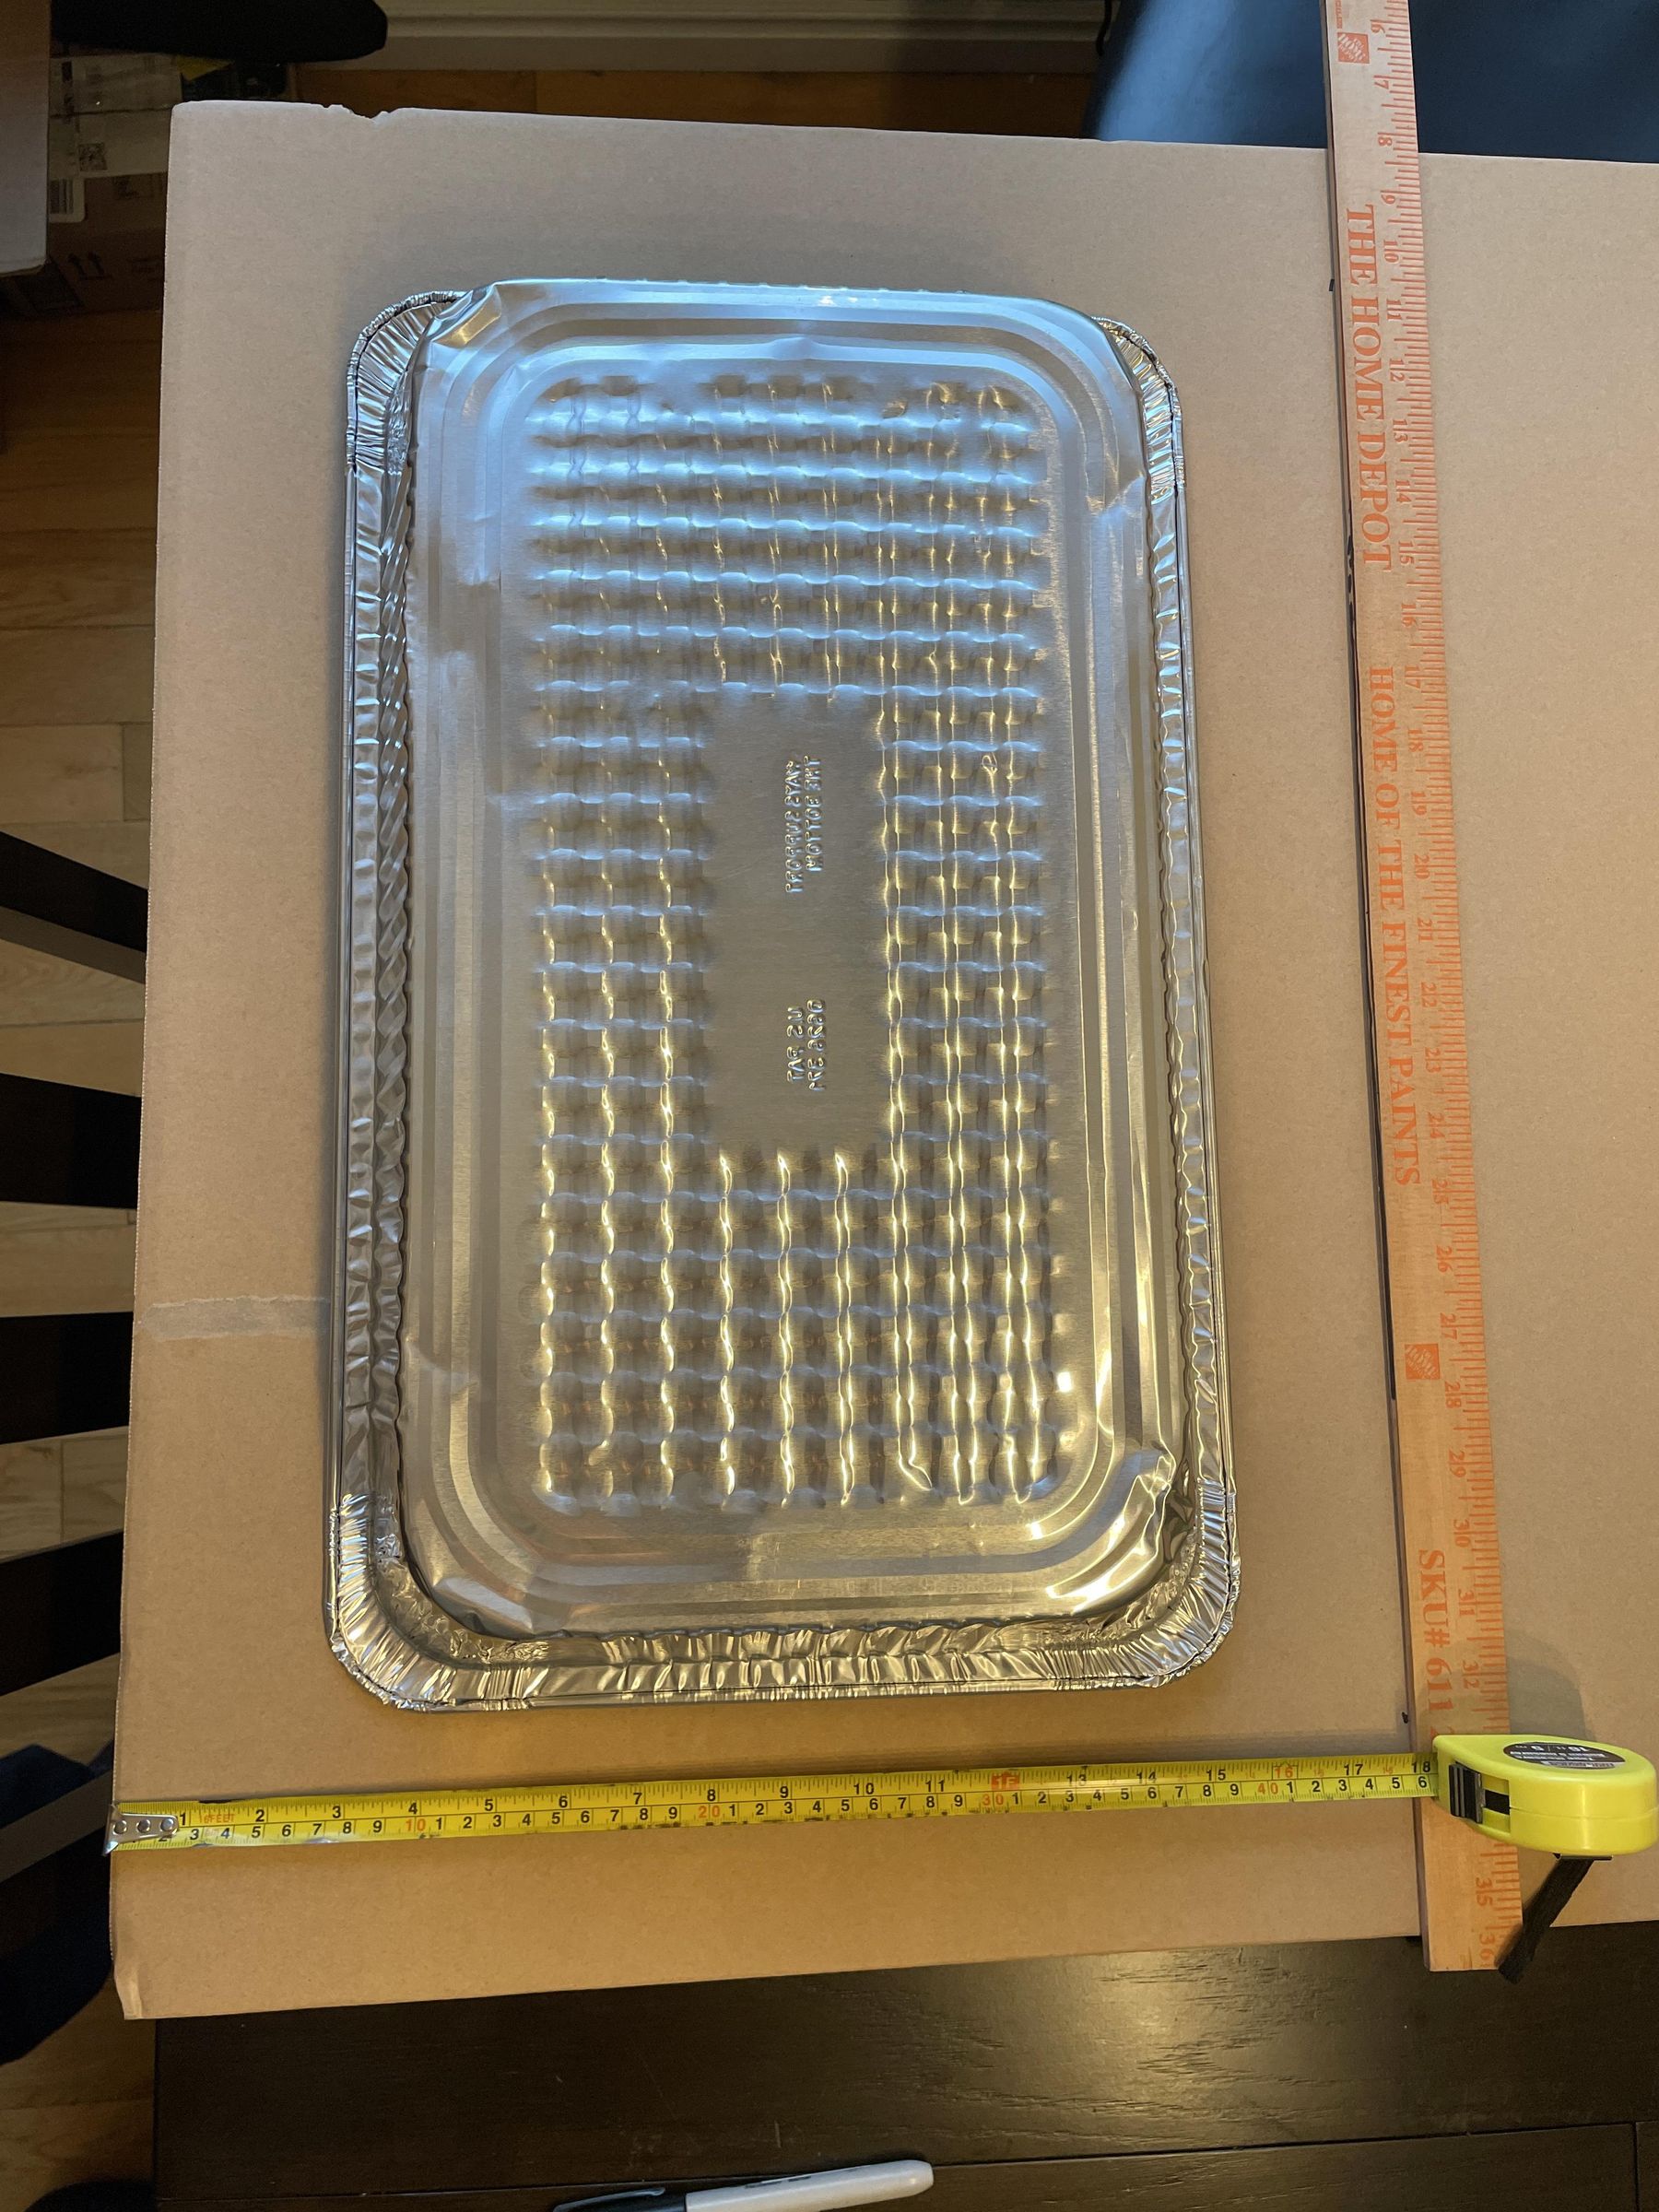
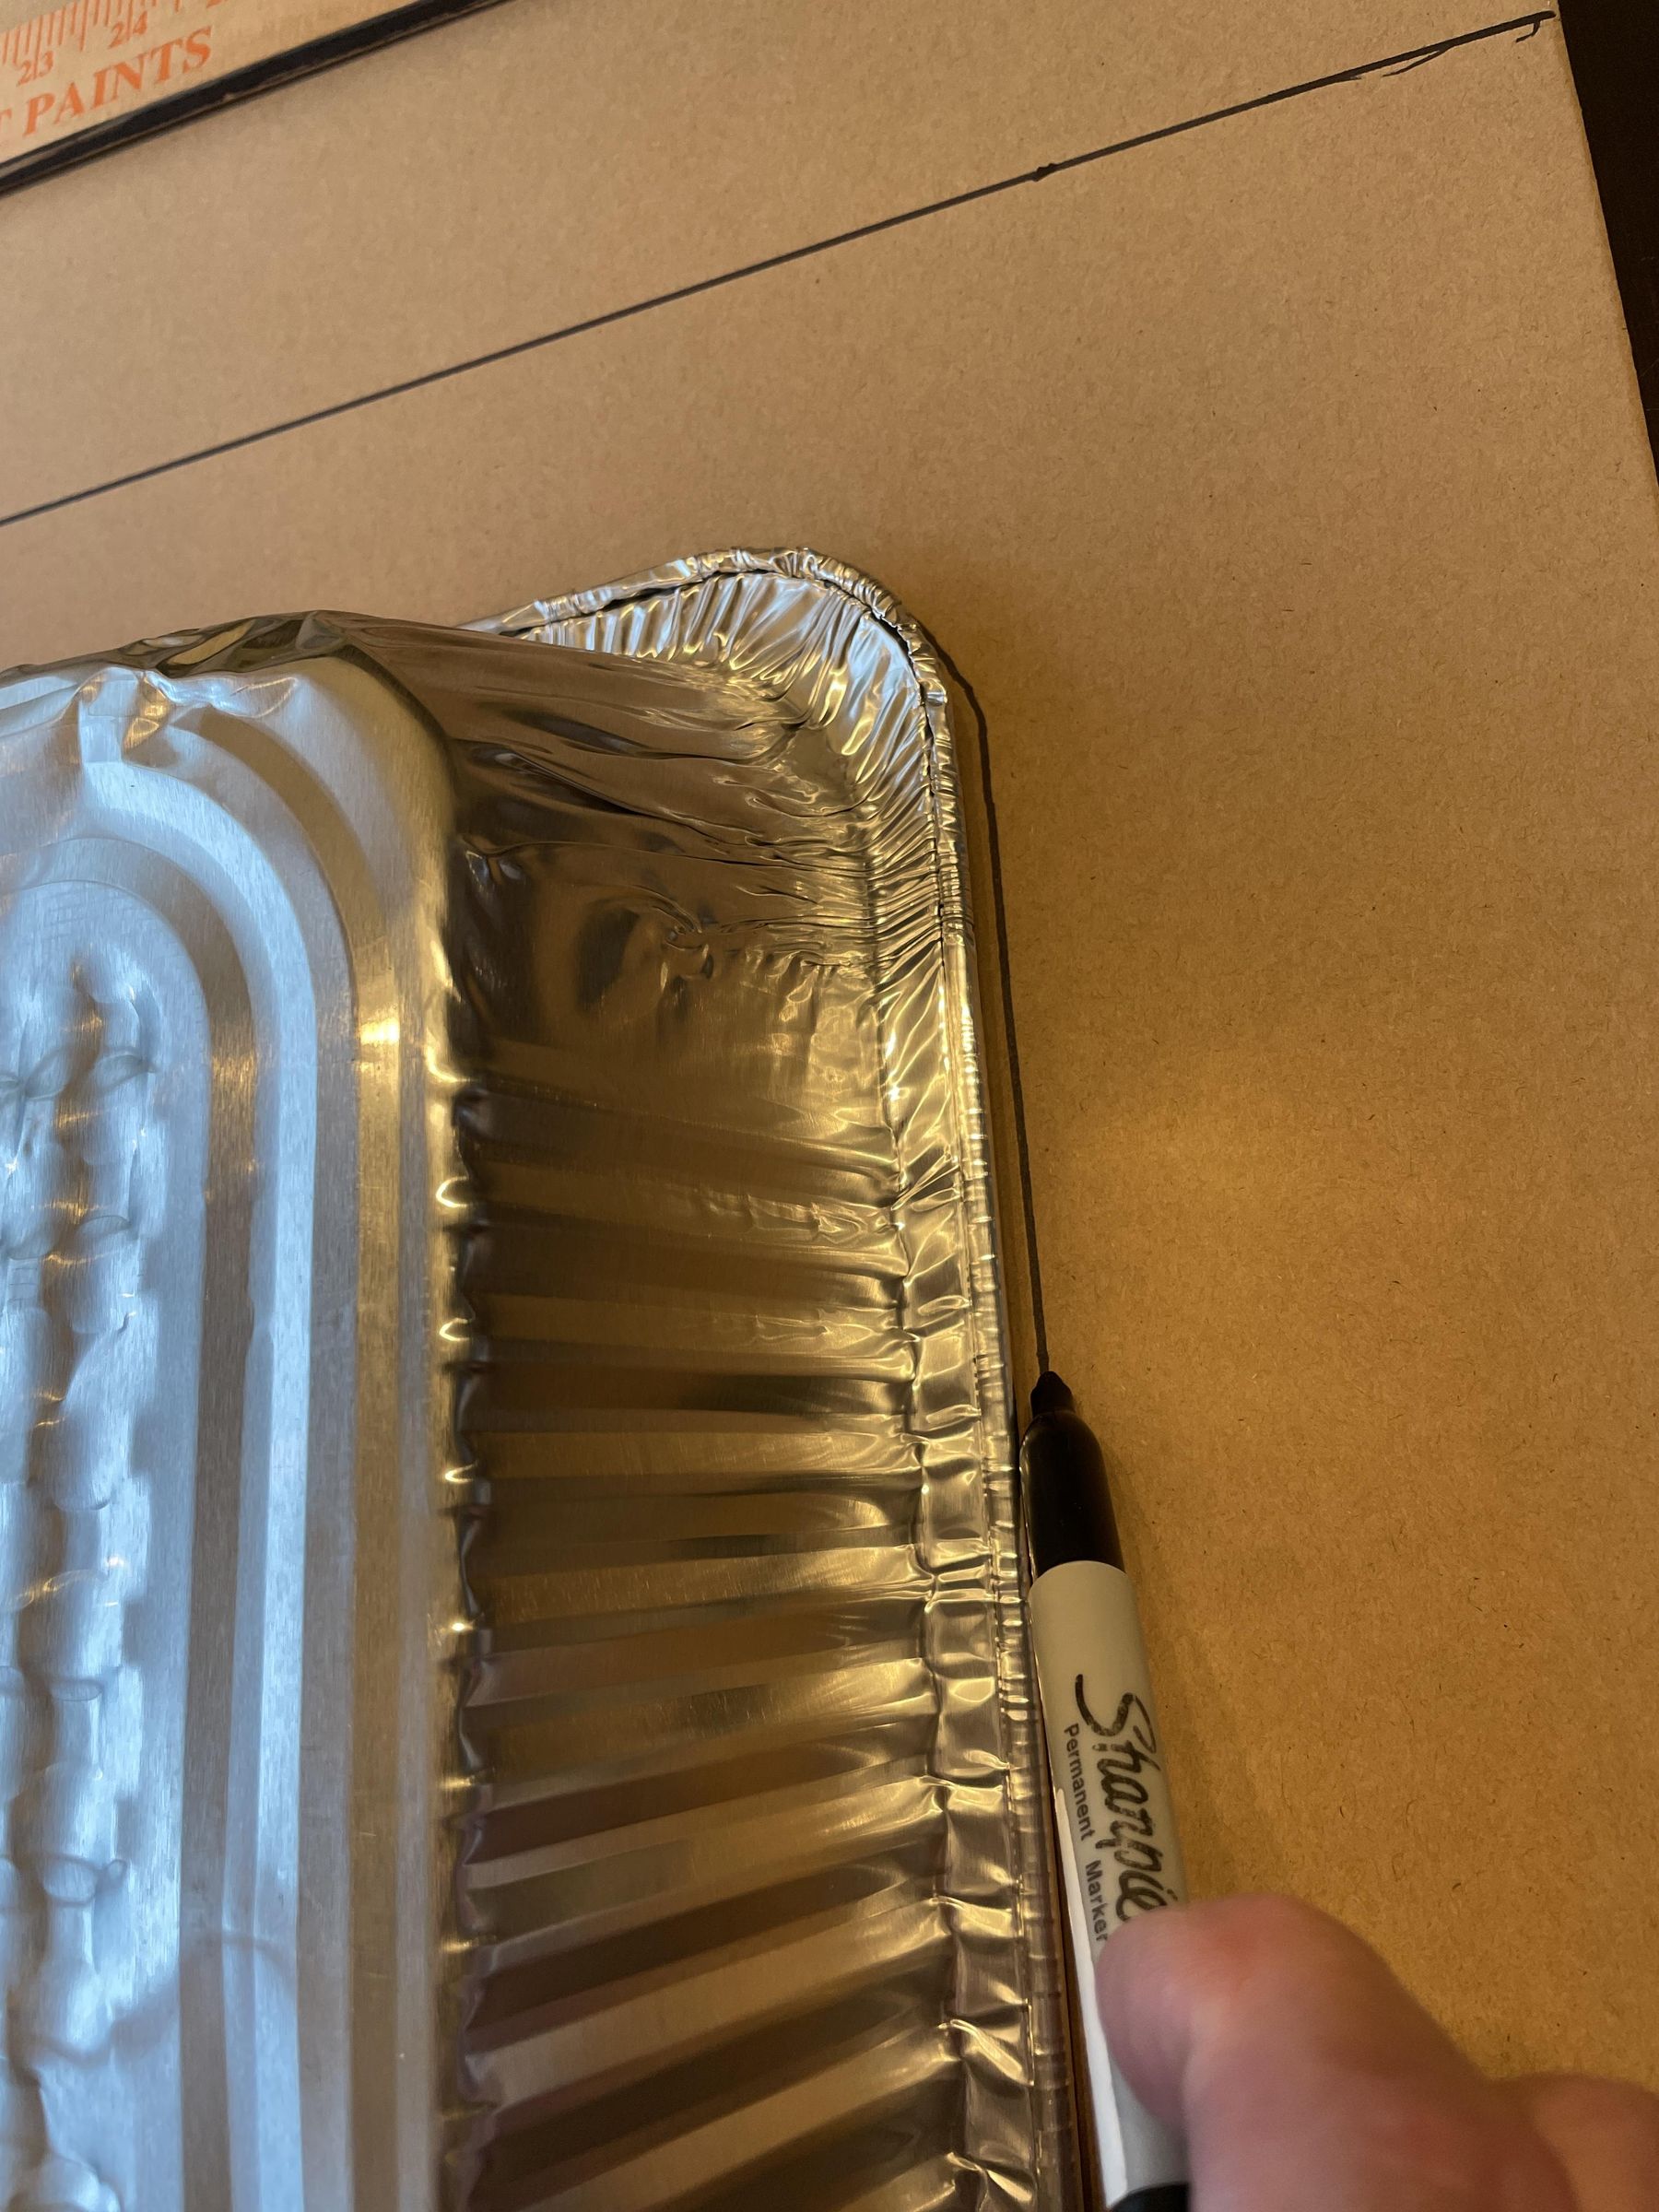
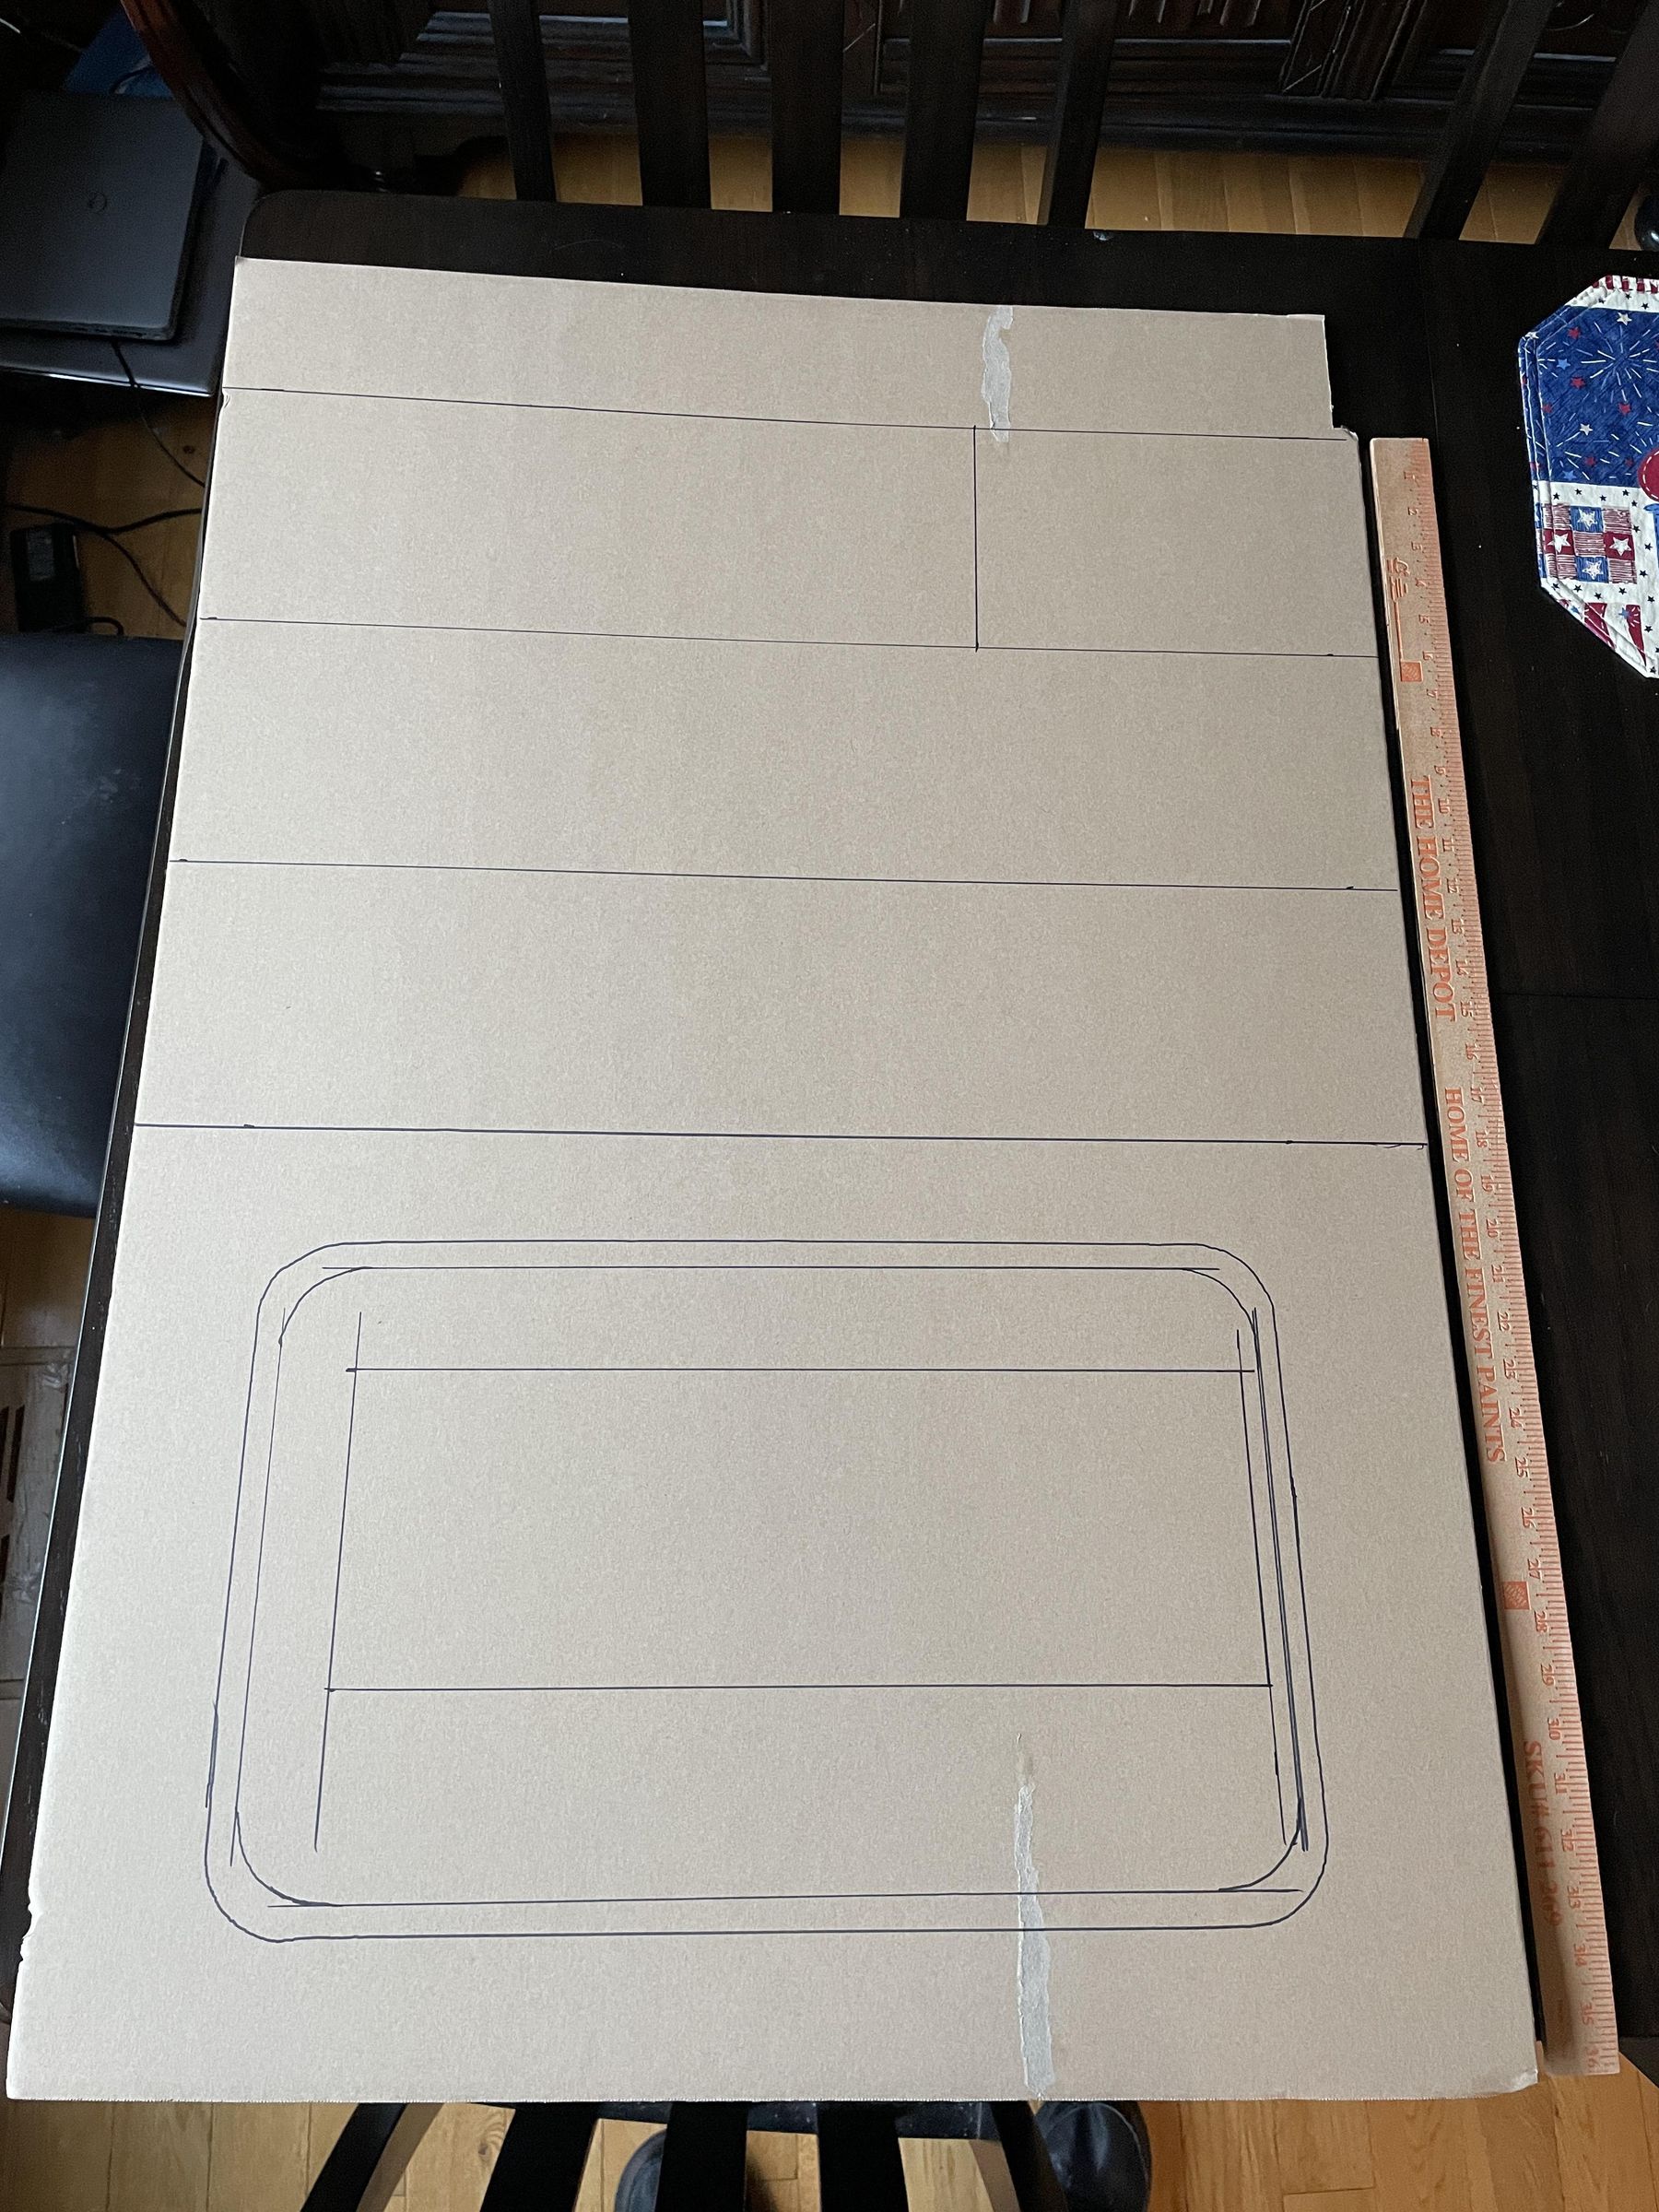
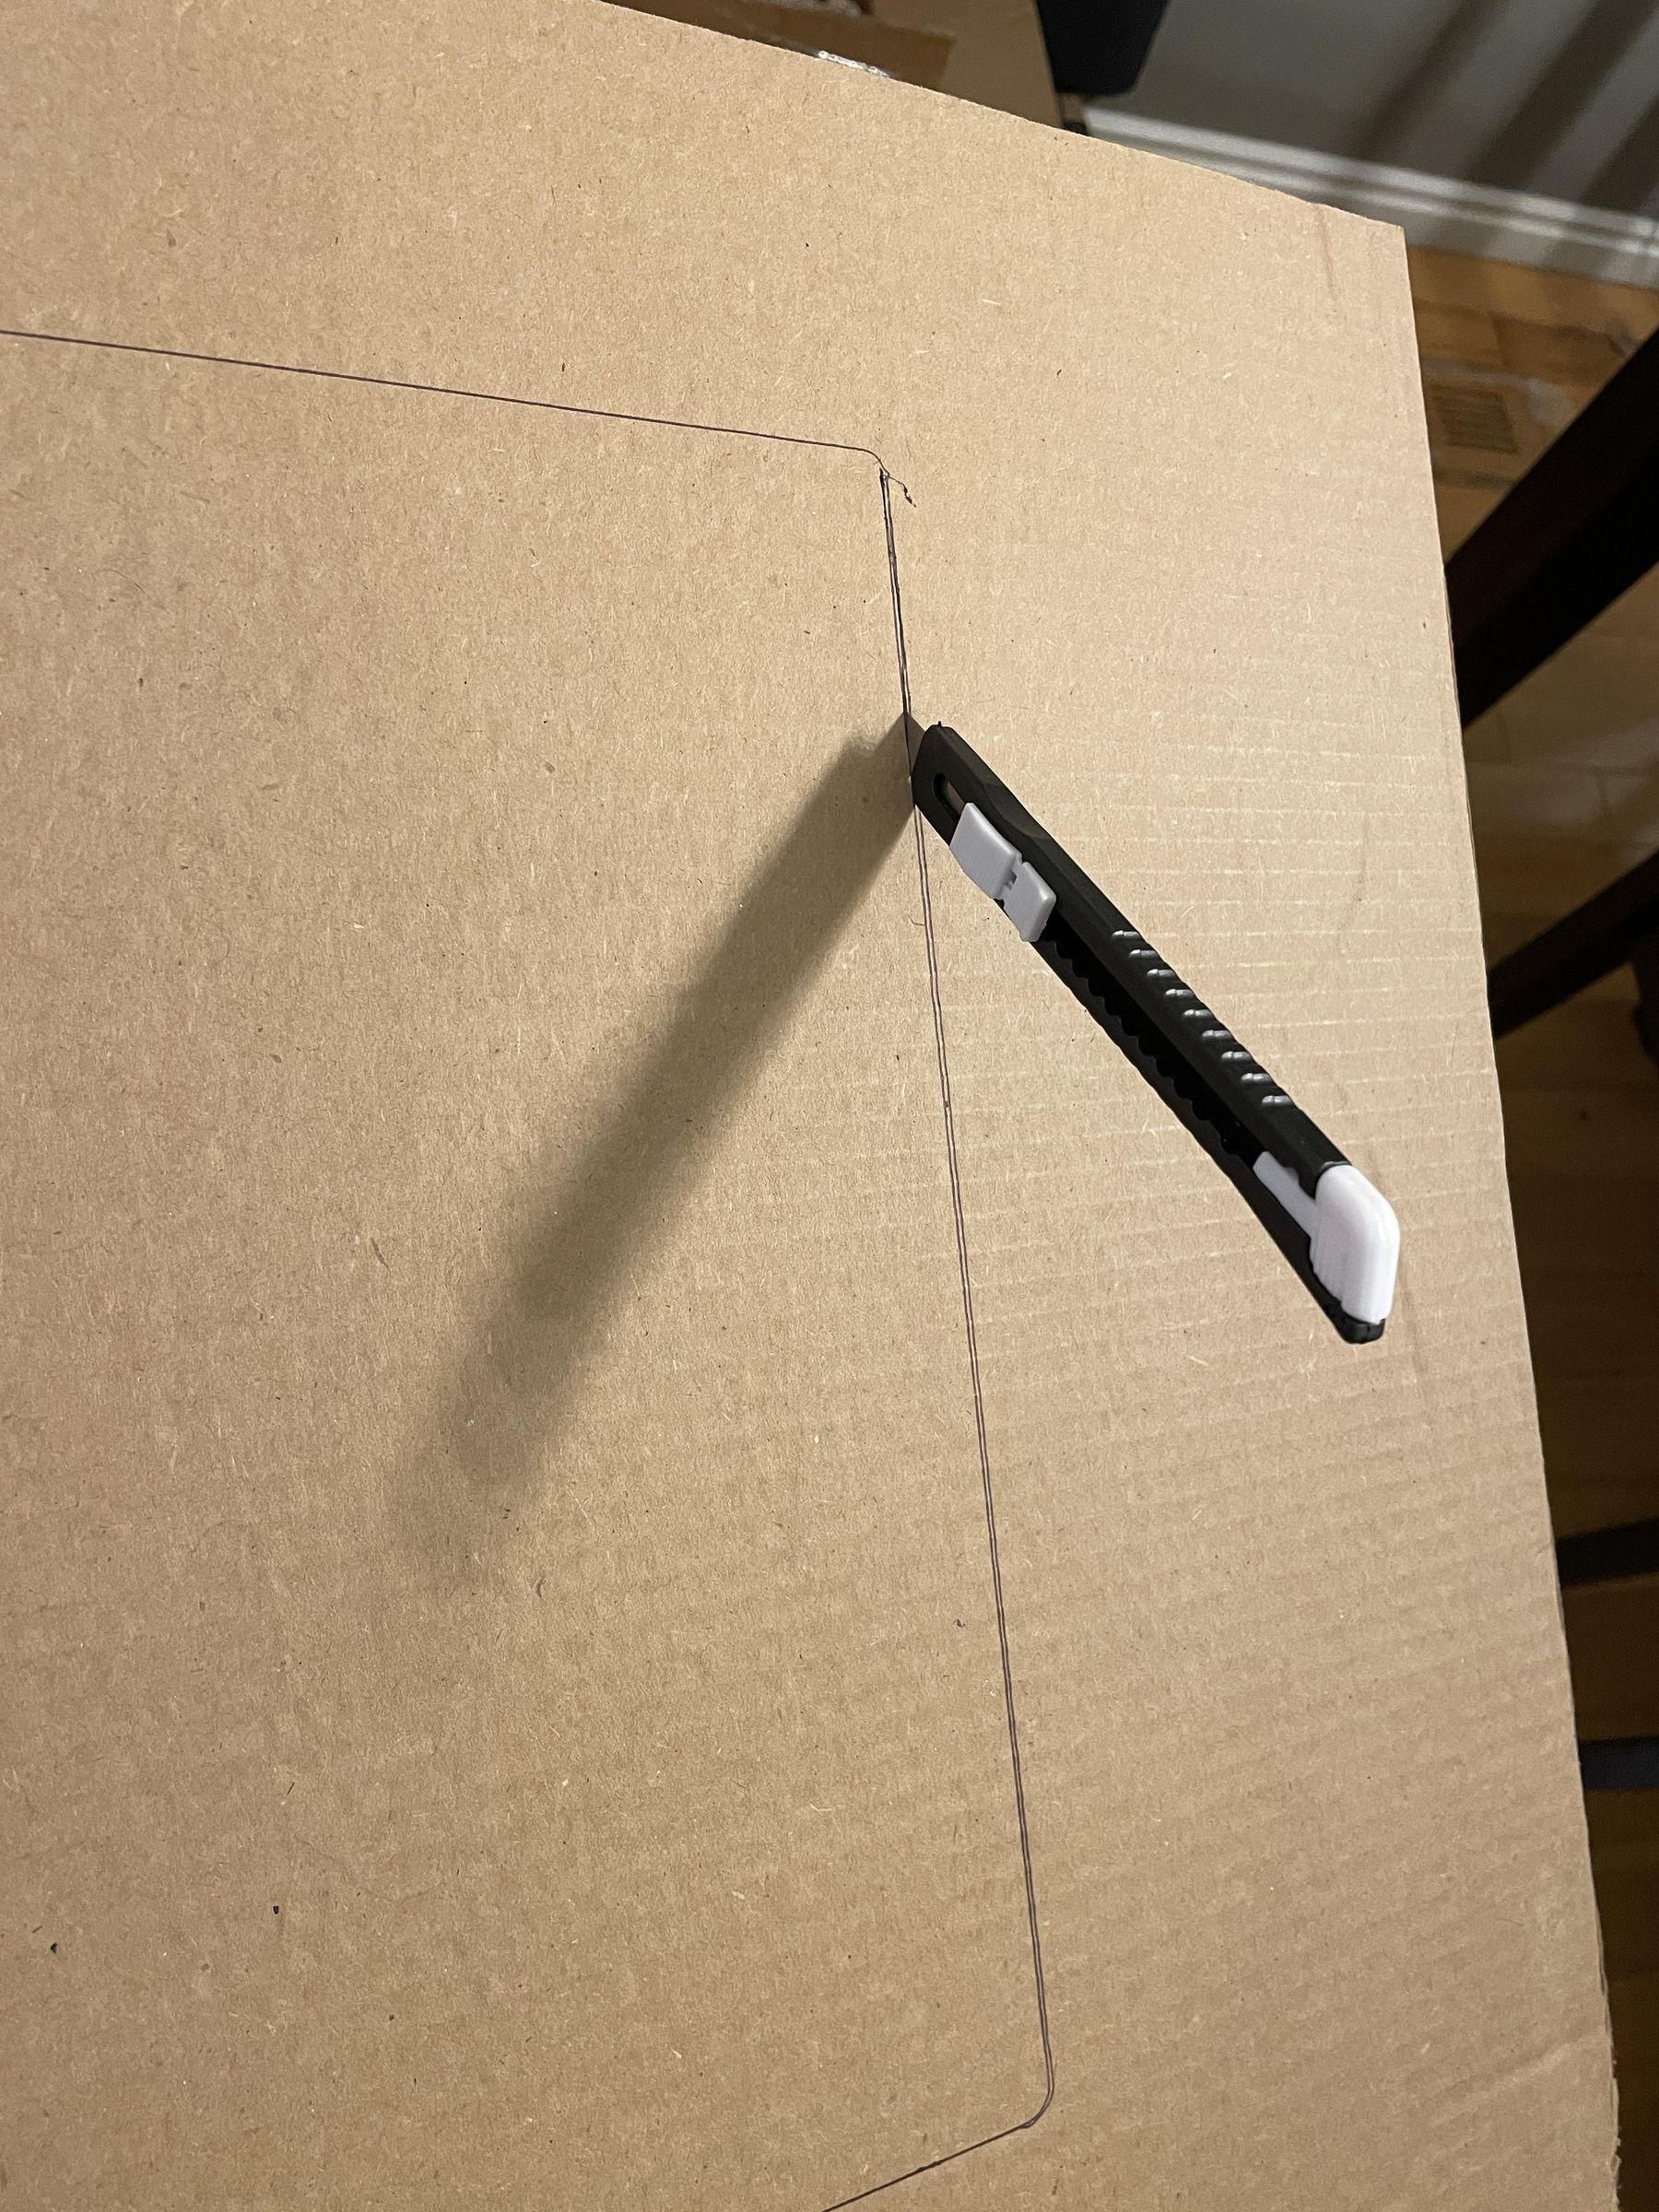
The oven is primarily an 18" x 28" x 6" cardboard box. I took the sheet of double wall cardboard (you could probably use single wall) and laid the aluminum pan on it and marked where I needed to cut (the cardboard - not anything else!) allowing about a 3 inch gap around the pan for insulation. I don't know if that is the right amount of space, but it seemed like a good number for insulation.
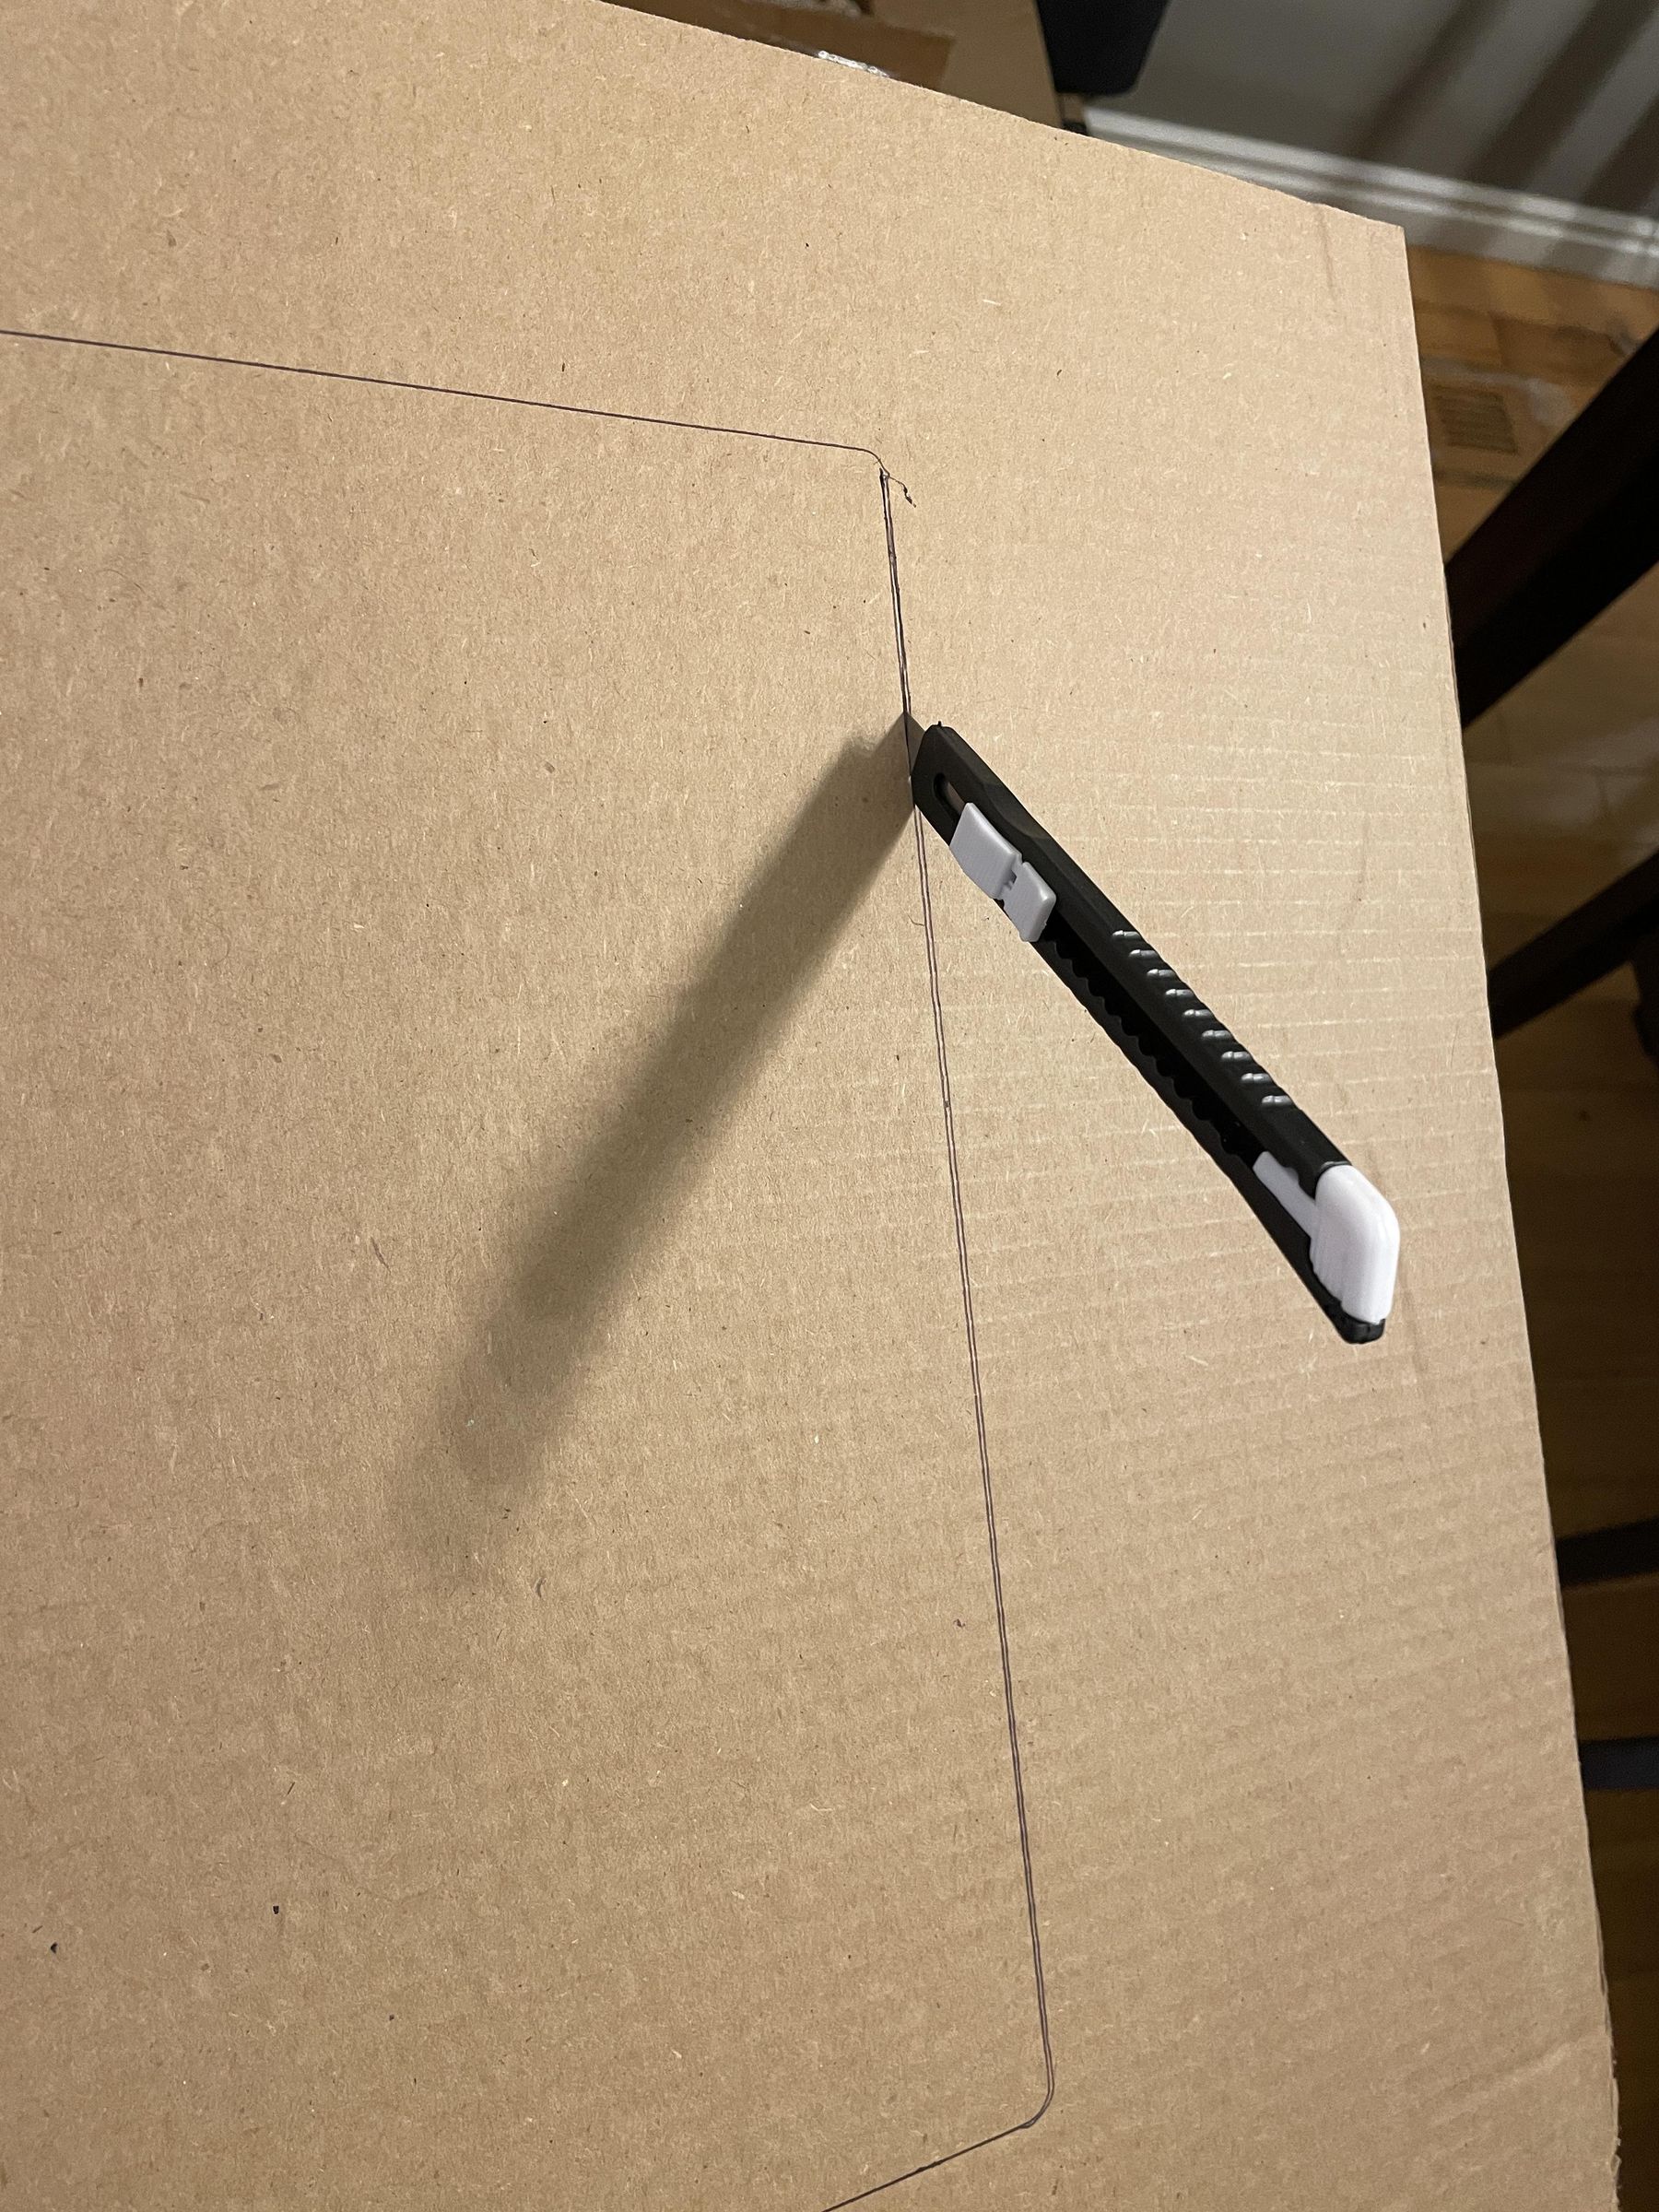
After the top piece was marked out I traced the pan for the cut out that the pan would end up fitting into.
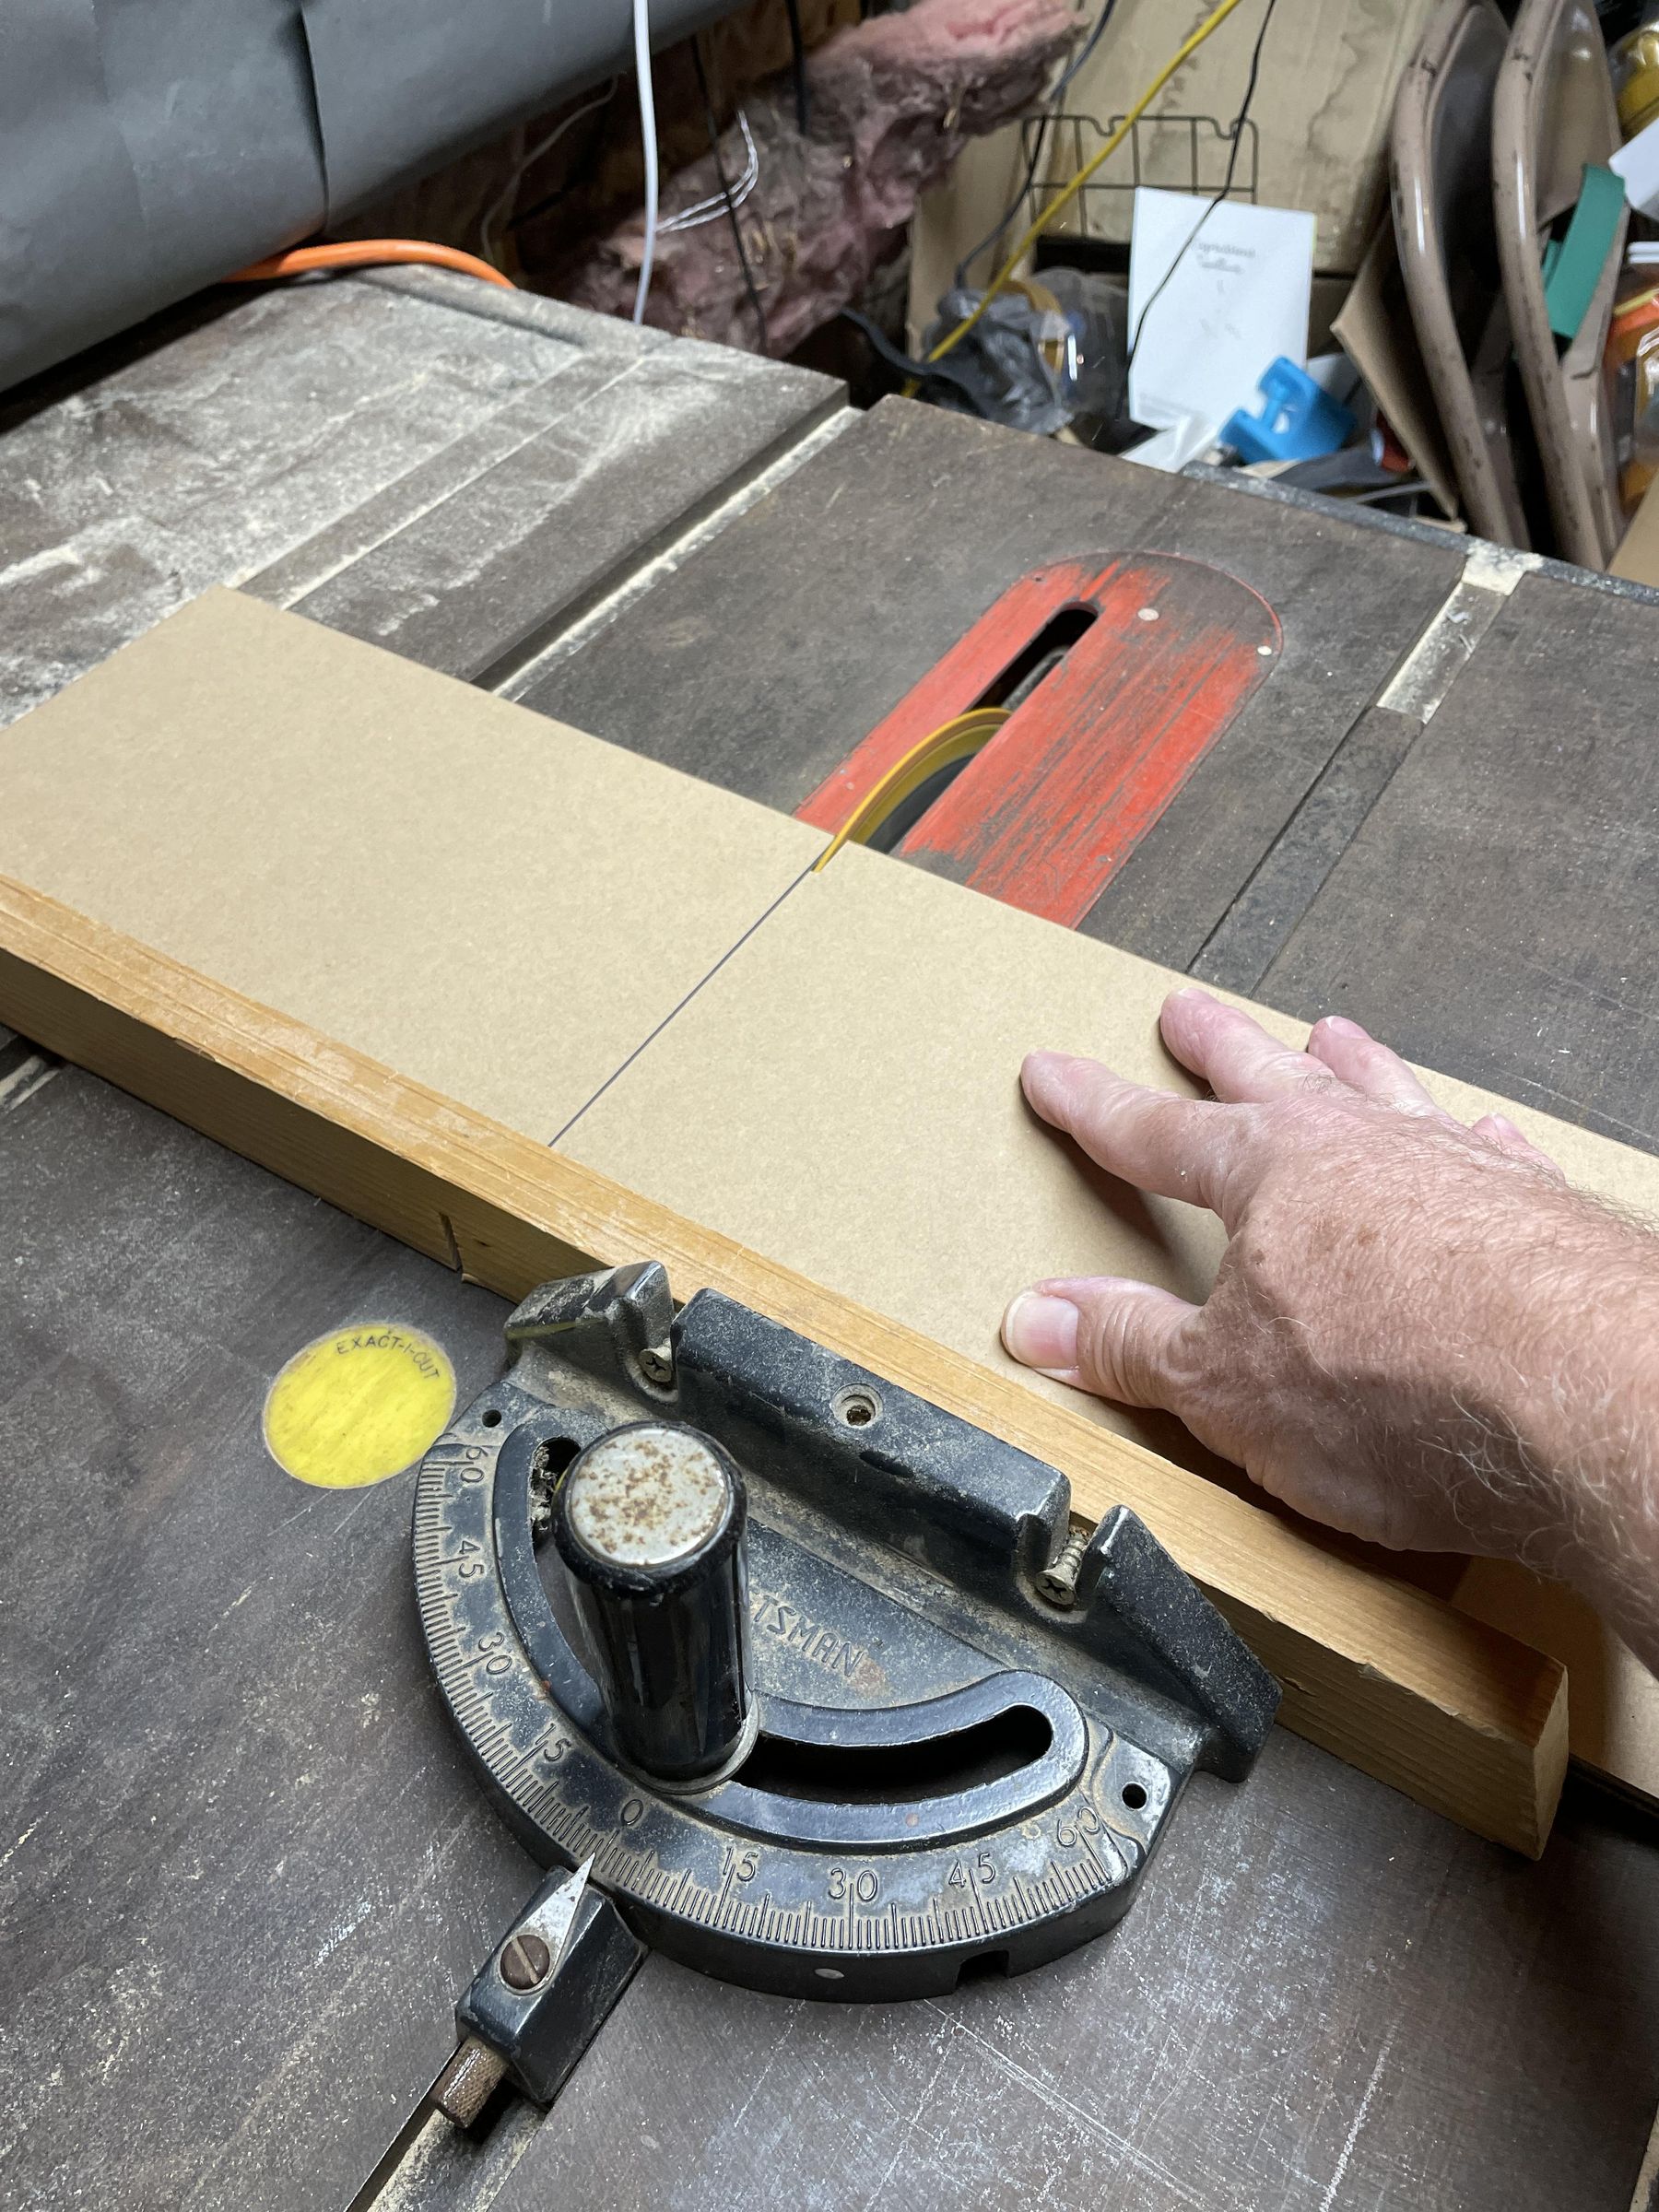
For some cuts I used a razor knife and for others I actually used a table saw (I'm lazy) to cut the cardboard and get nice straight cuts.
Assemble the Box
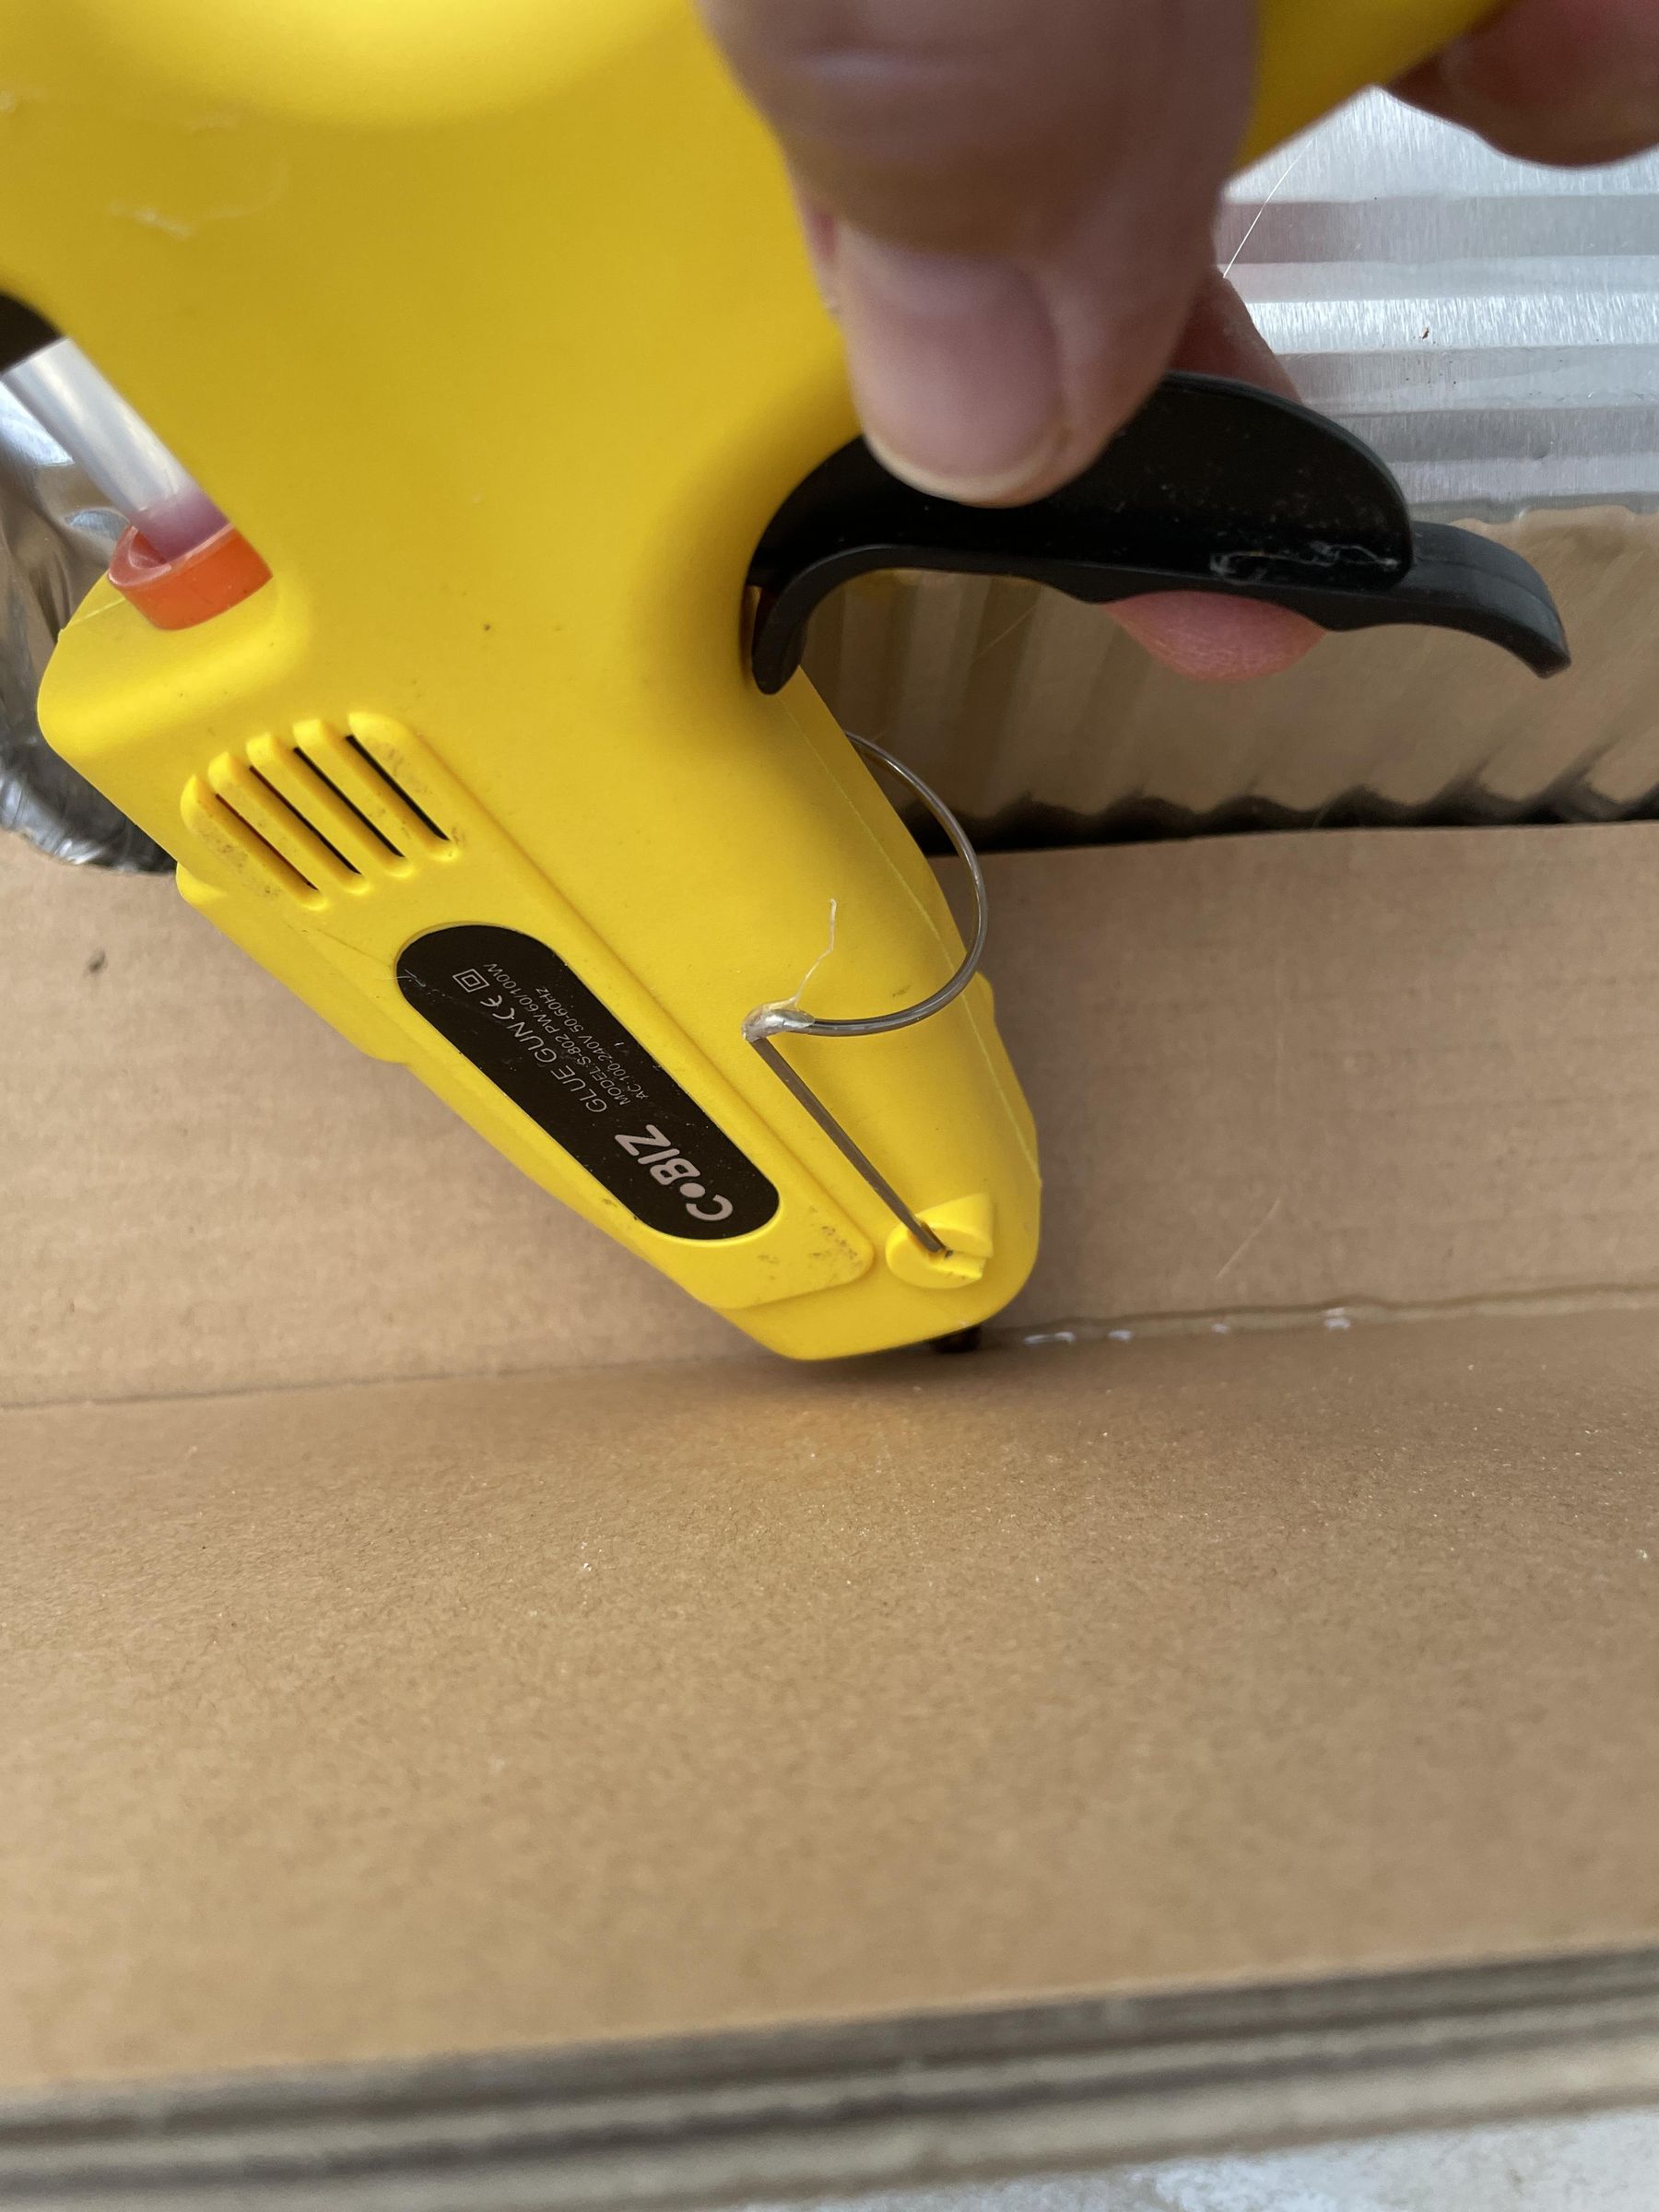
Tab A goes into Slot B.
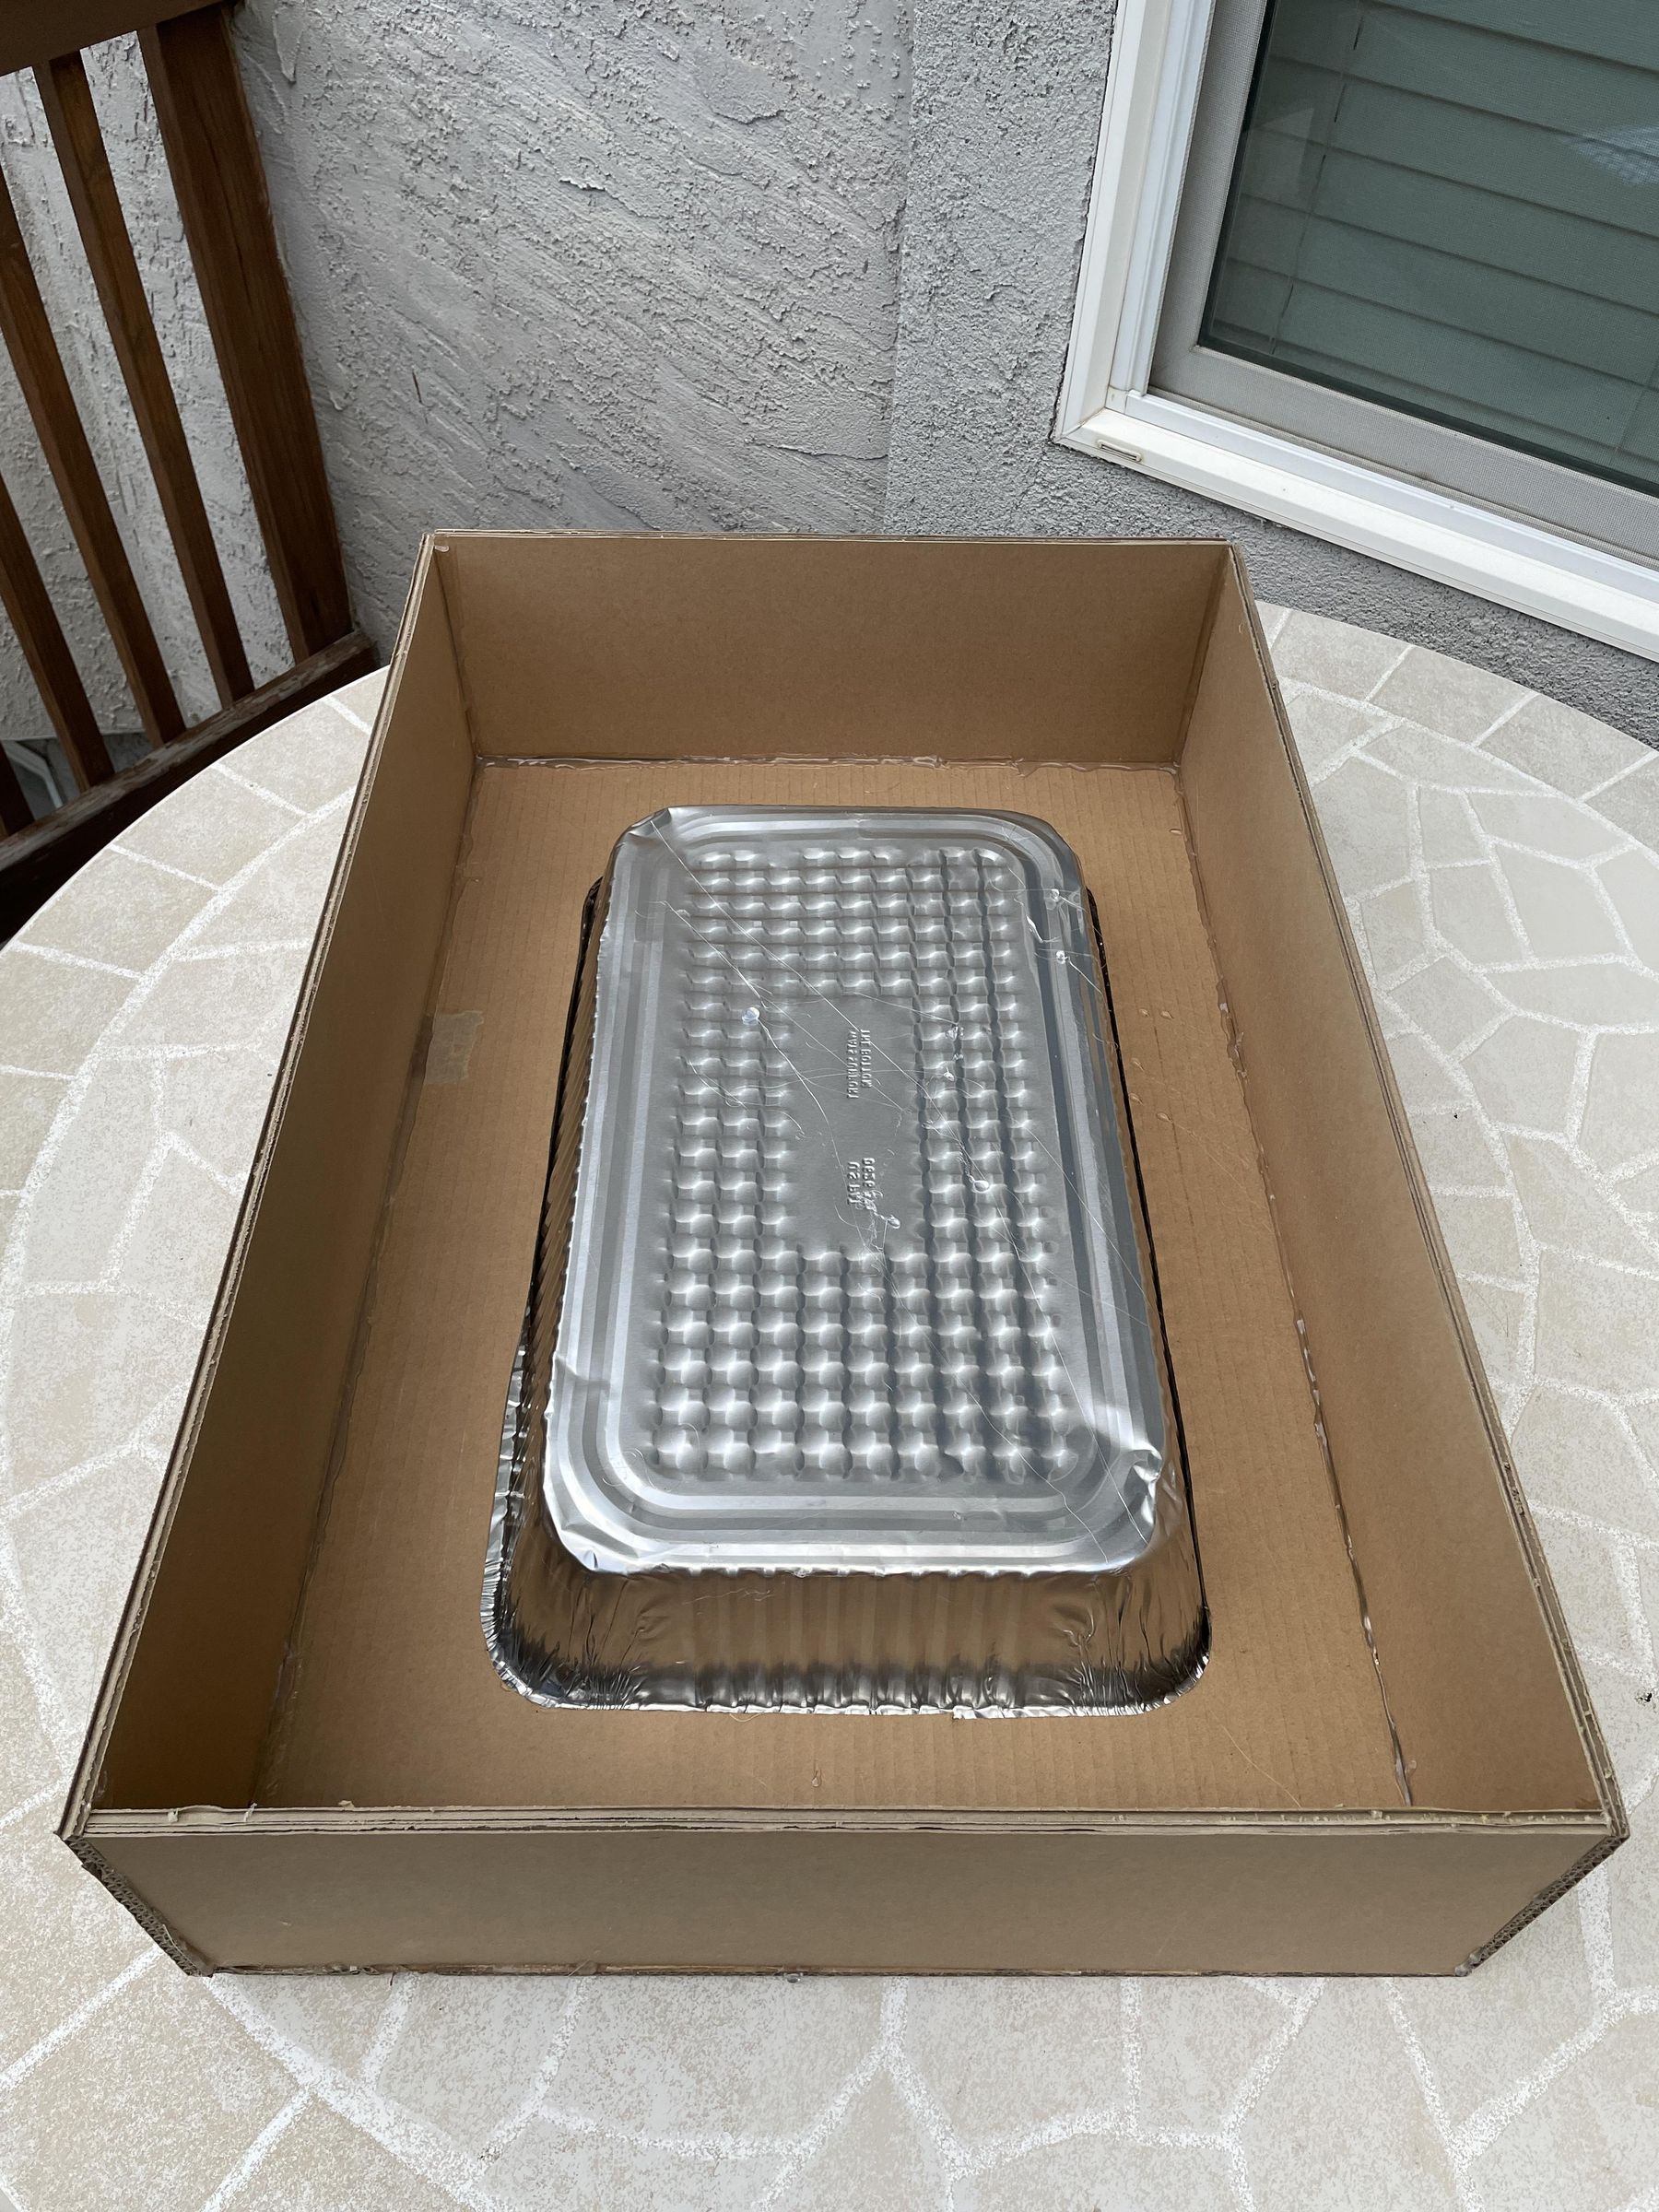
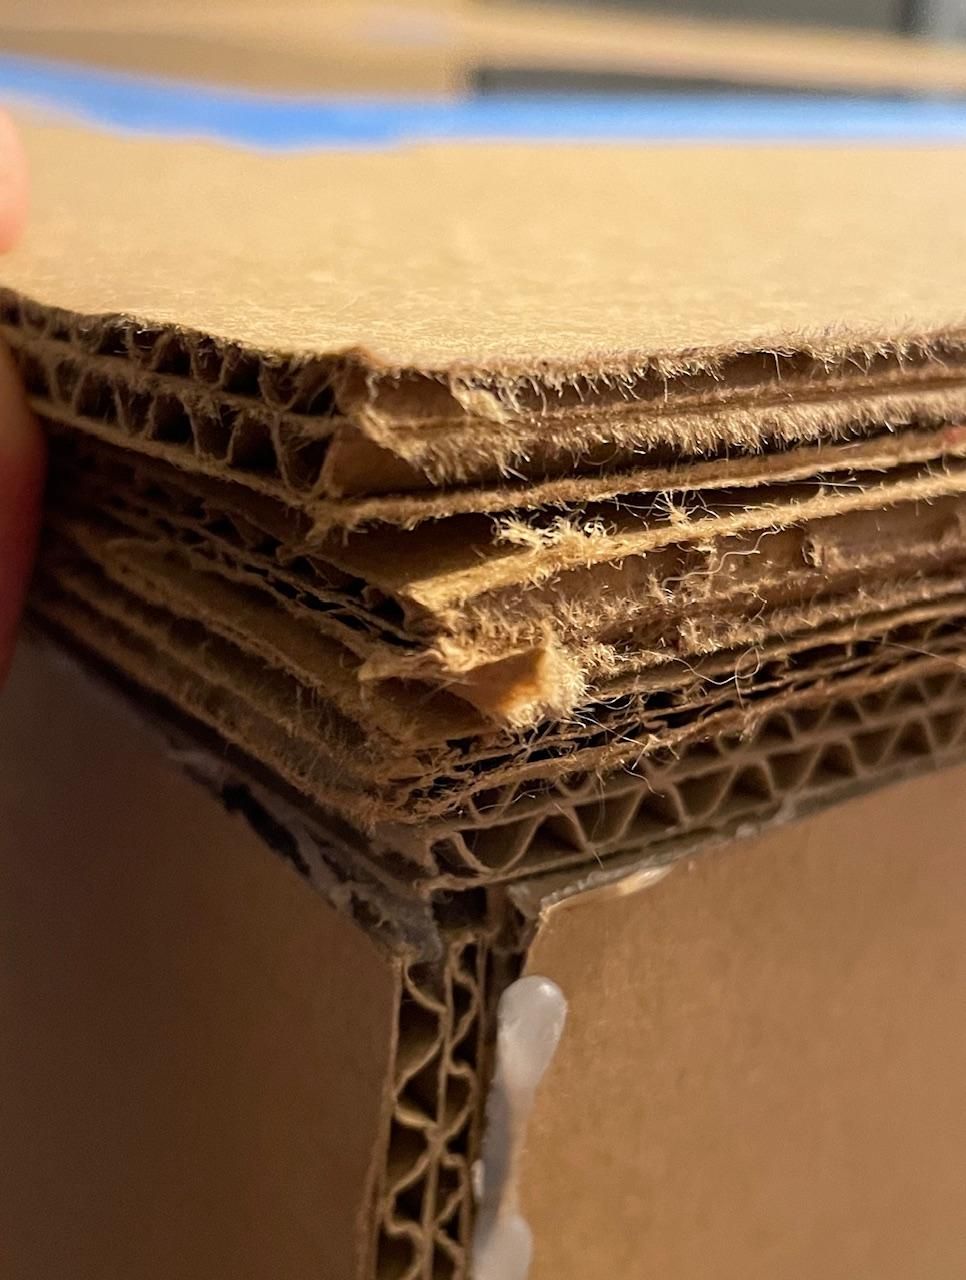
Well, not really. You just hot glue the sides onto the upside down top piece and to each other. I also ran a bead of glue along all the joints to help strengthen them. There are only 5 pieces of cardboard, so please don't screw it up!
Add the Spray Foam Insulation
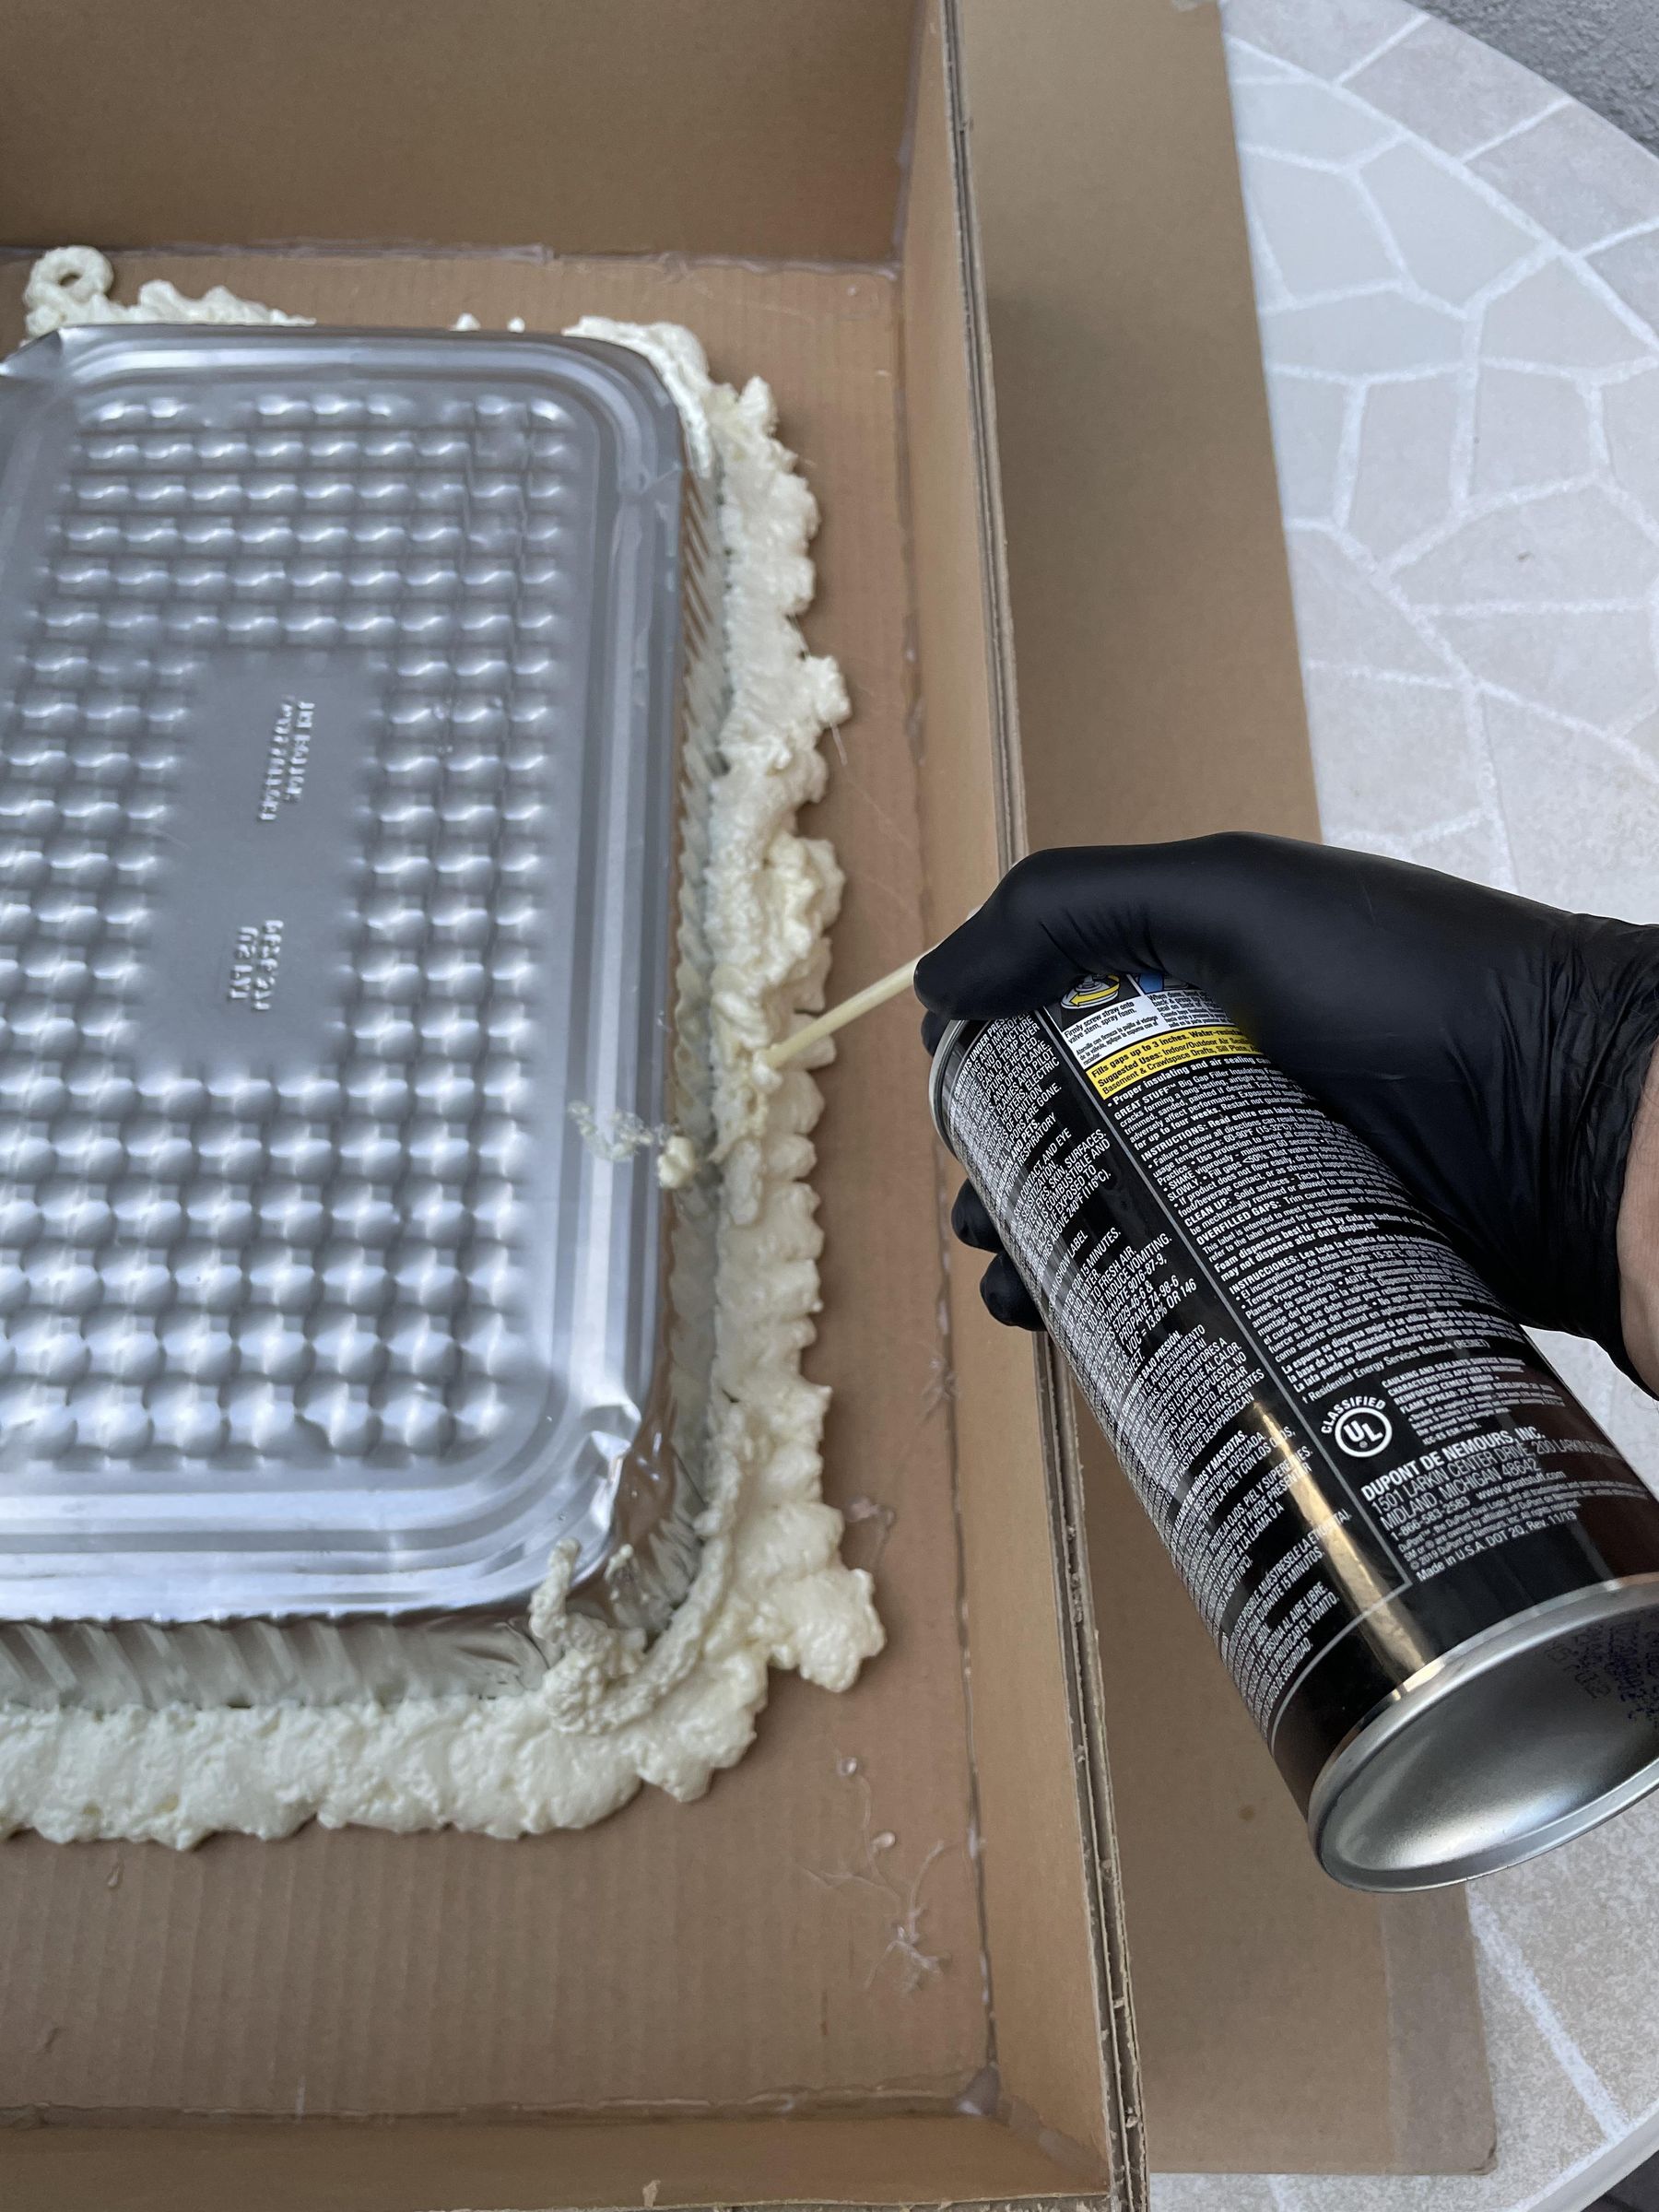
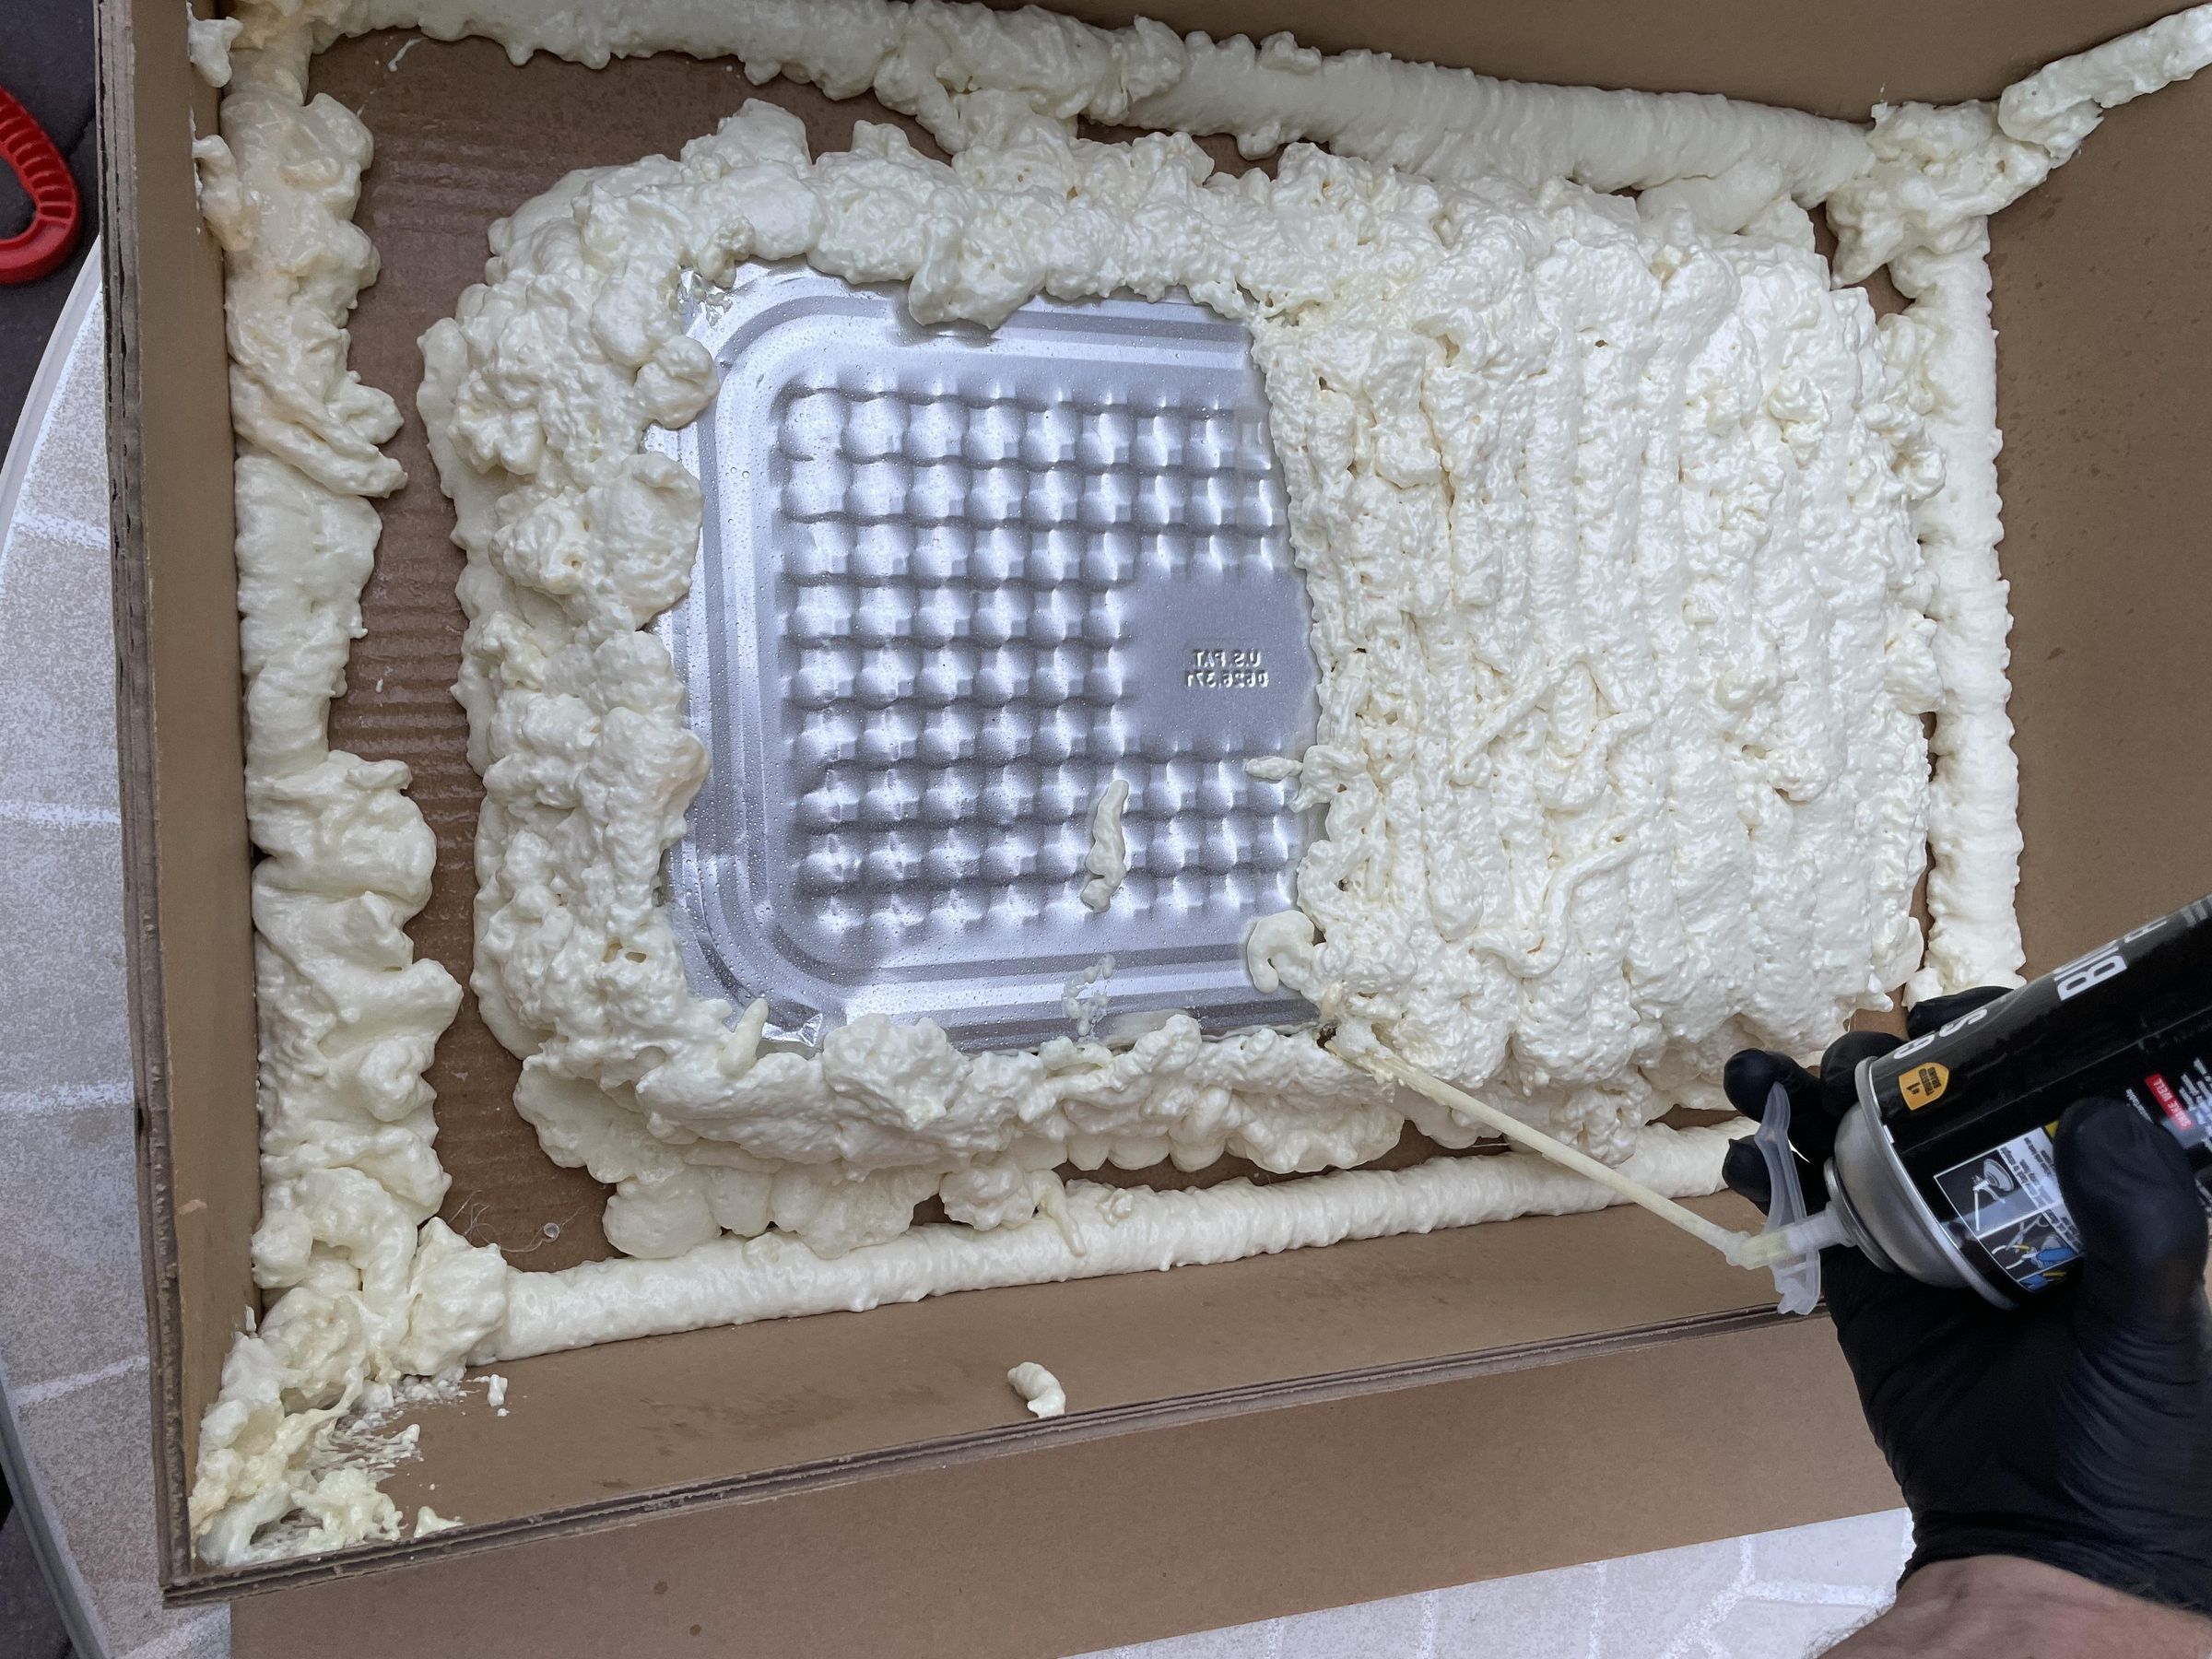
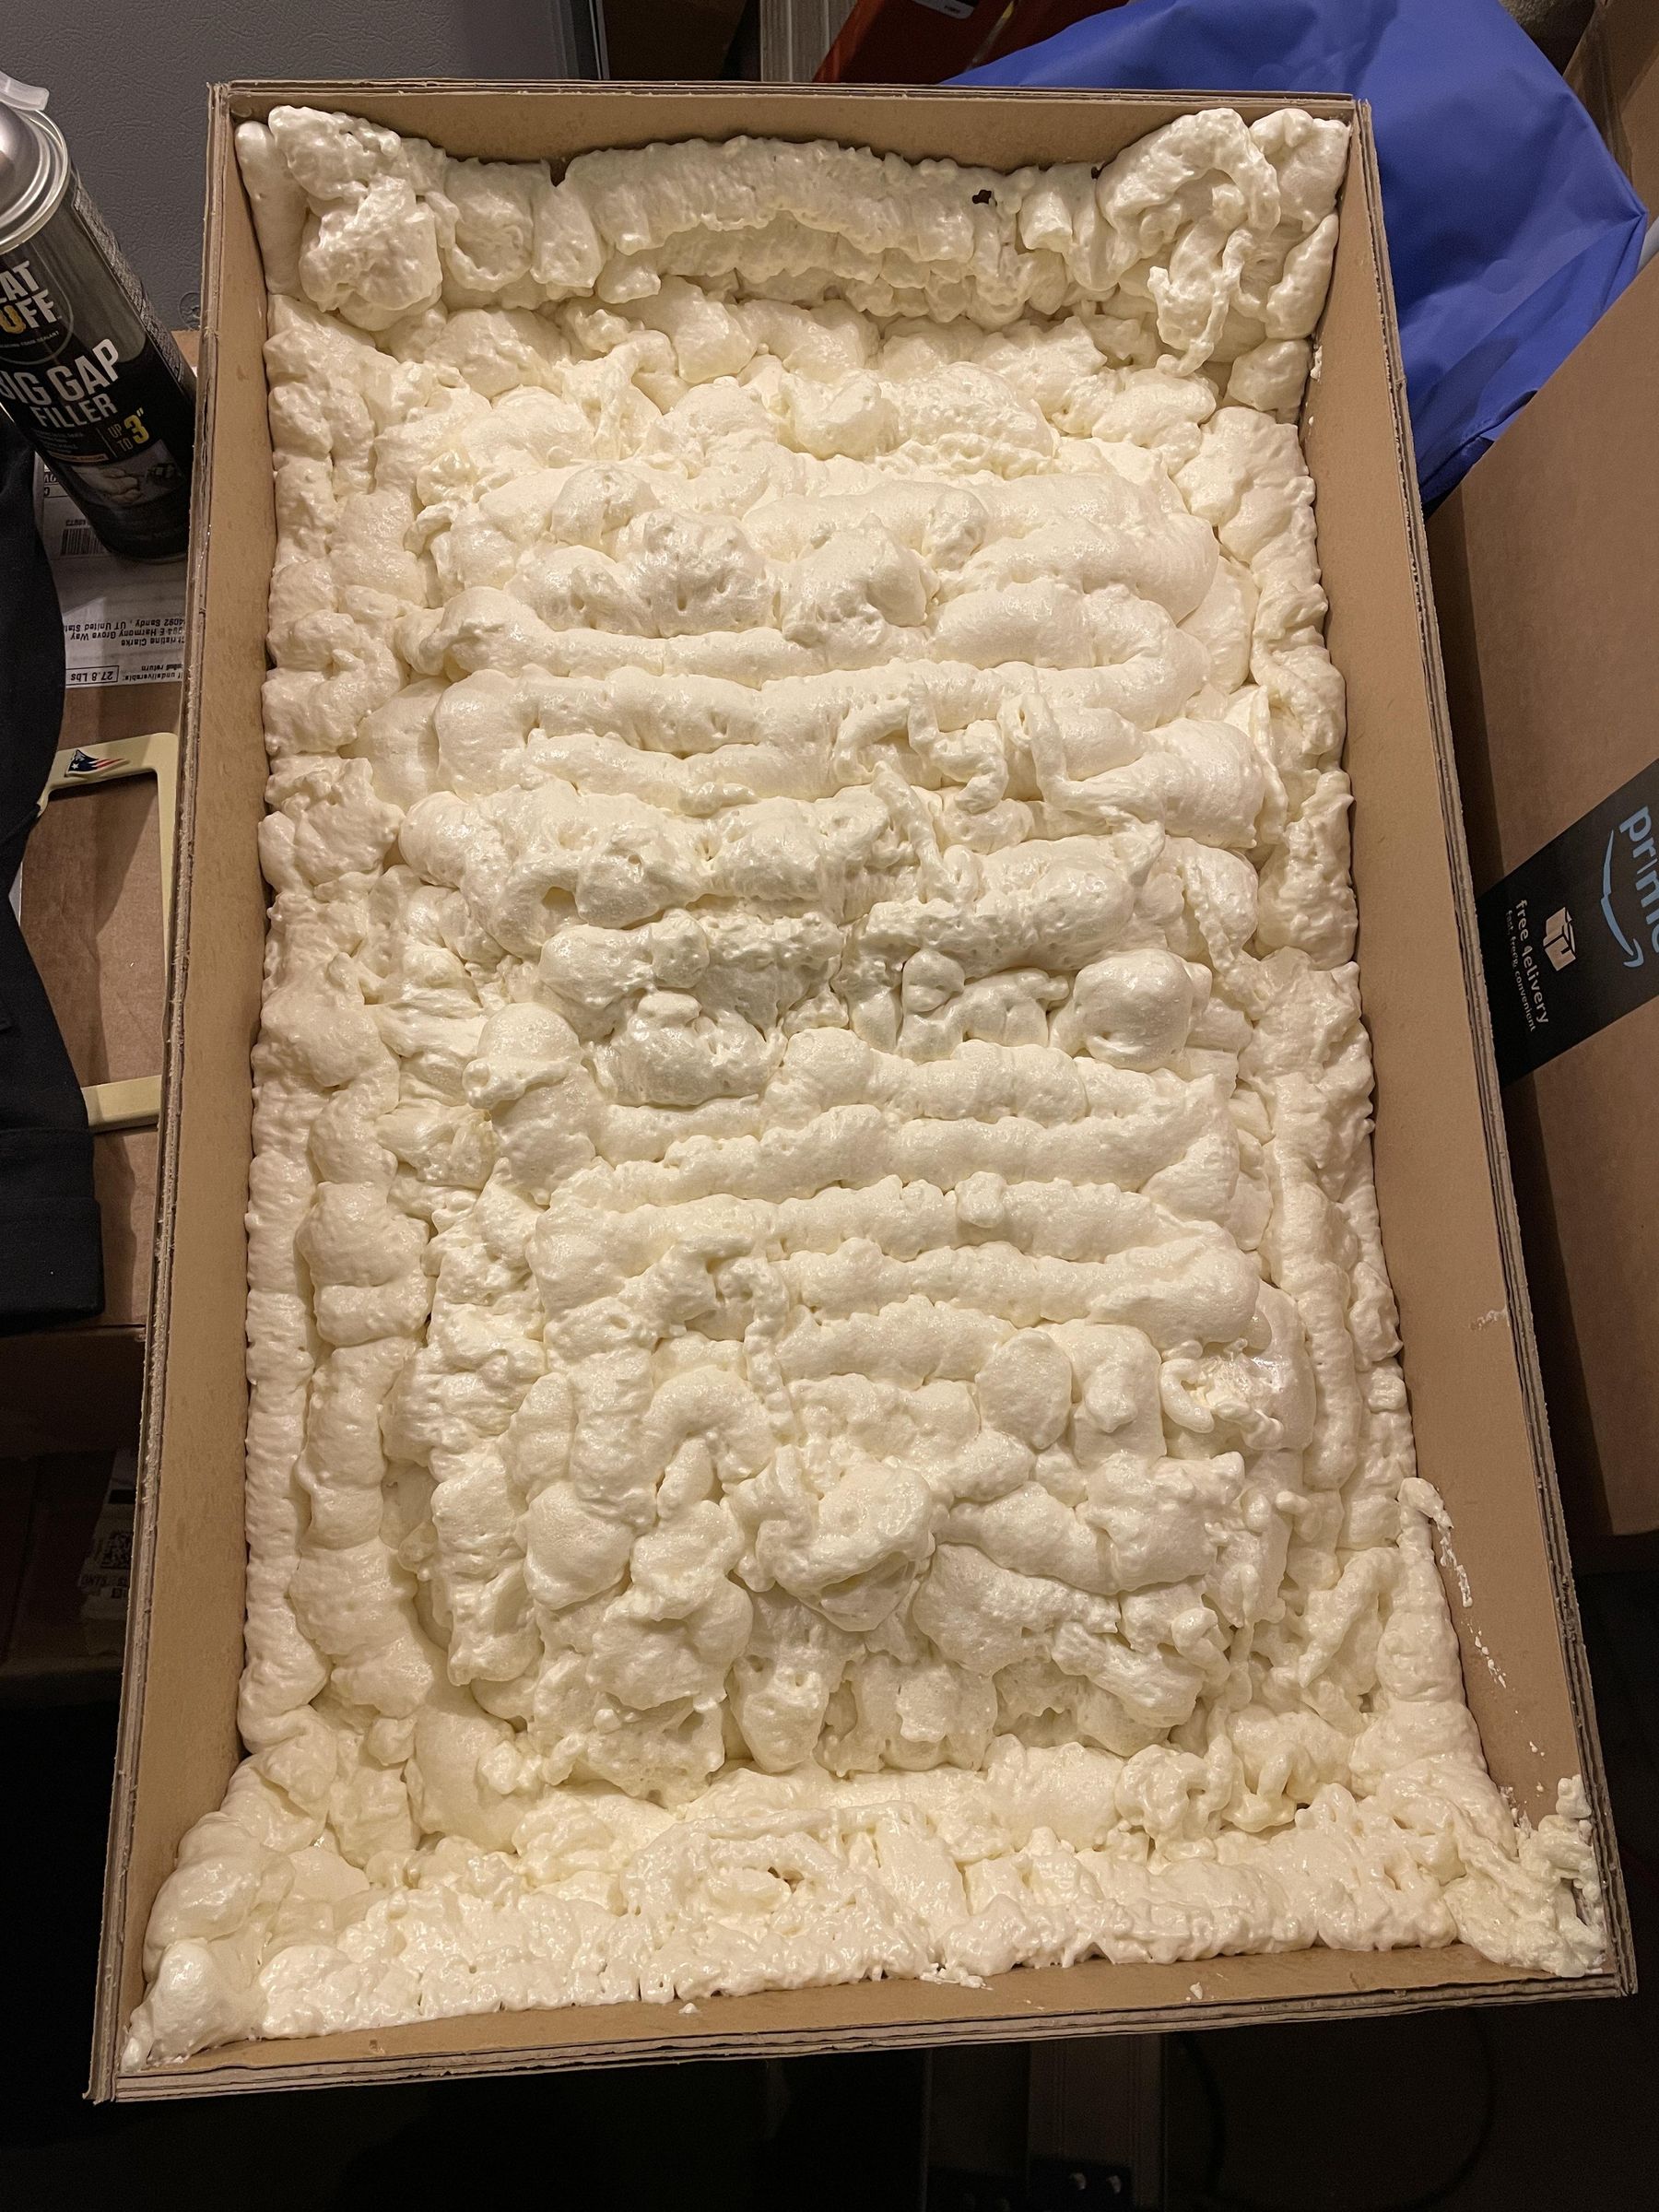
Here we are going to go non-traditional. We are going to use spray foam. And not the cheapest - about $6 a can. And it's only rated up to 240F - But I really wanted to try using it in a solar oven. So there.
Be very careful applying the foam insulation. It is very sticky and not easy to remove (from anything!). Use gloves and a drop cloth.
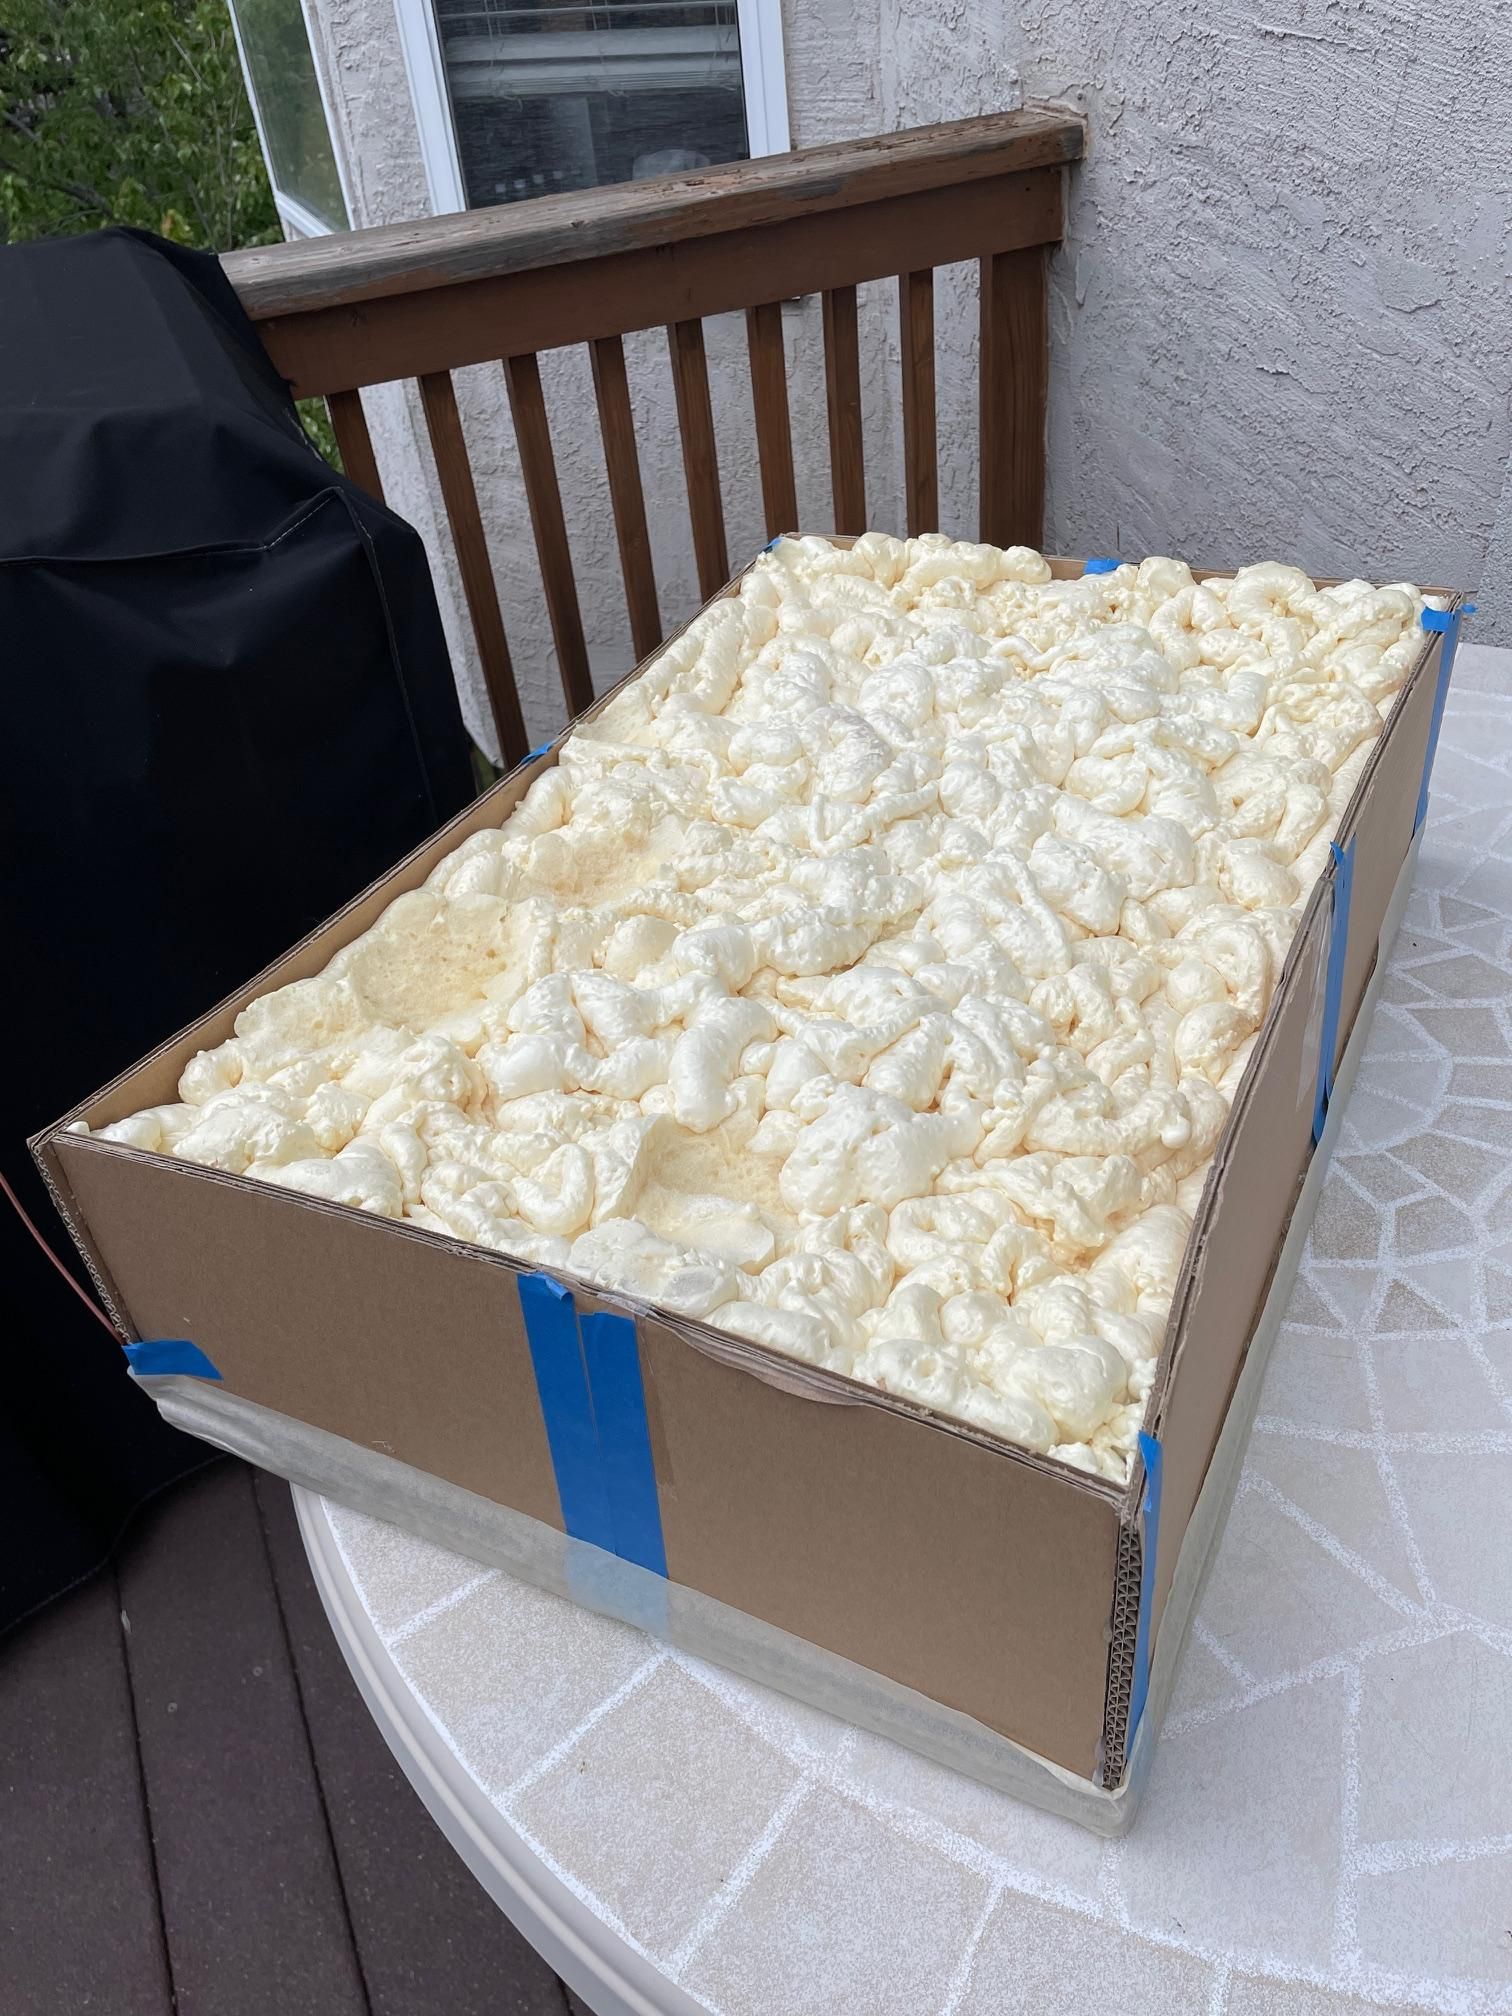
Contrary to what is shown in my photos, I would not cover the entire pan with foam just yet. I would start by just sealing it in place - spray a bead around the pan perimeter where the pan and cardboard top piece meet. Essentially stop after the first photo.
If you don't heed this warning and just want to go for it and cover the whole pan YOU WILL REGRET IT!
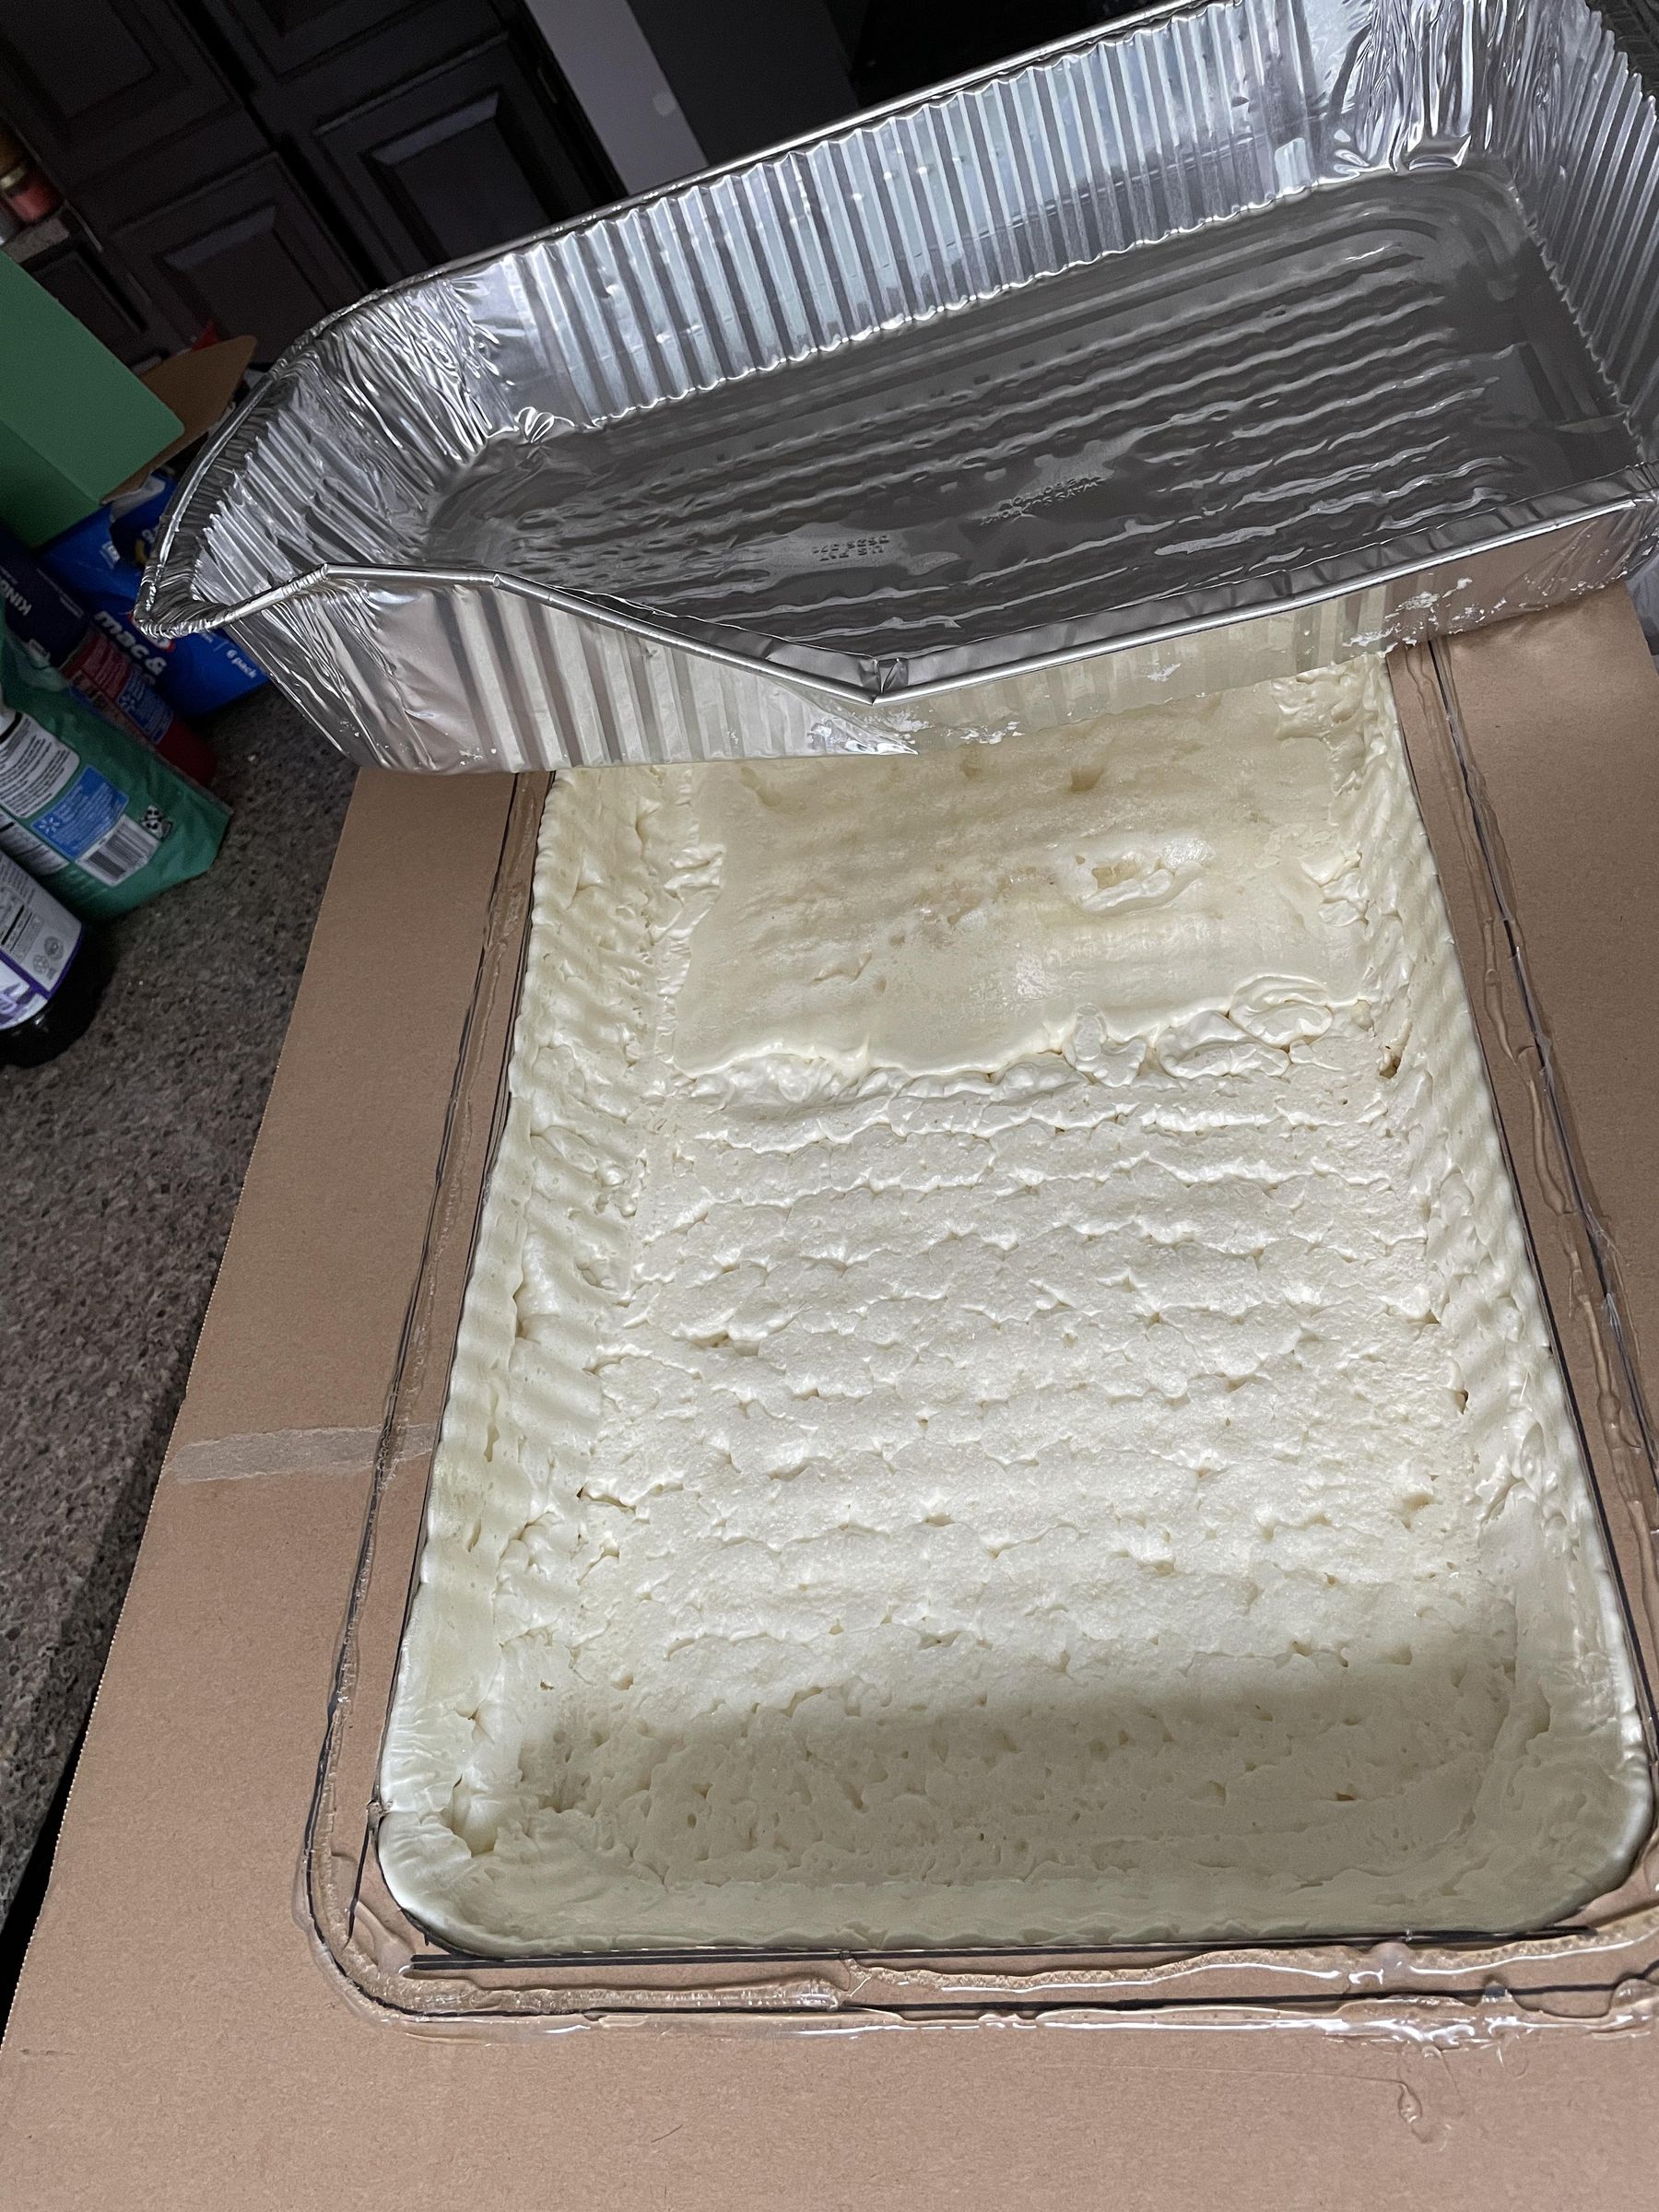
I mentioned stopping because the foam is odd to work with. I give the foam manufacturer credit - they state NOT to fill large voids with it. I covered the entire pan. I even went so far as to mist it with water as the instructions state that moisture will accelerate the cure.
However, my actions had unforeseen consequences. I believe my misting with water ended up curing the outermost layers while the internal foam continued to expand, slowly expand, and expand. The foam ended up pushing the pan about half inch out of the box. I thought my project was ruined. It almost was.
I'm glad the pans came in a 5-pack because I decided to pull the pan out of the growing disaster of foam, trim the foam back and install a new pan.
Guidance for applying foam: I would seal the pan in place by applying foam just around the perimeter. Allow it to fully cure (>24 hrs.) Then I would build a single layer over the pan. Then let that cure completely. Then add additional layers allowing each to cure before adding more layers. Continue until the box is full of foam. Cured, non-expanding foam.
Fix My Foam Disaster
Hopefully you will not have to use this step and will learn from my mistake!
Grumble, grumble...
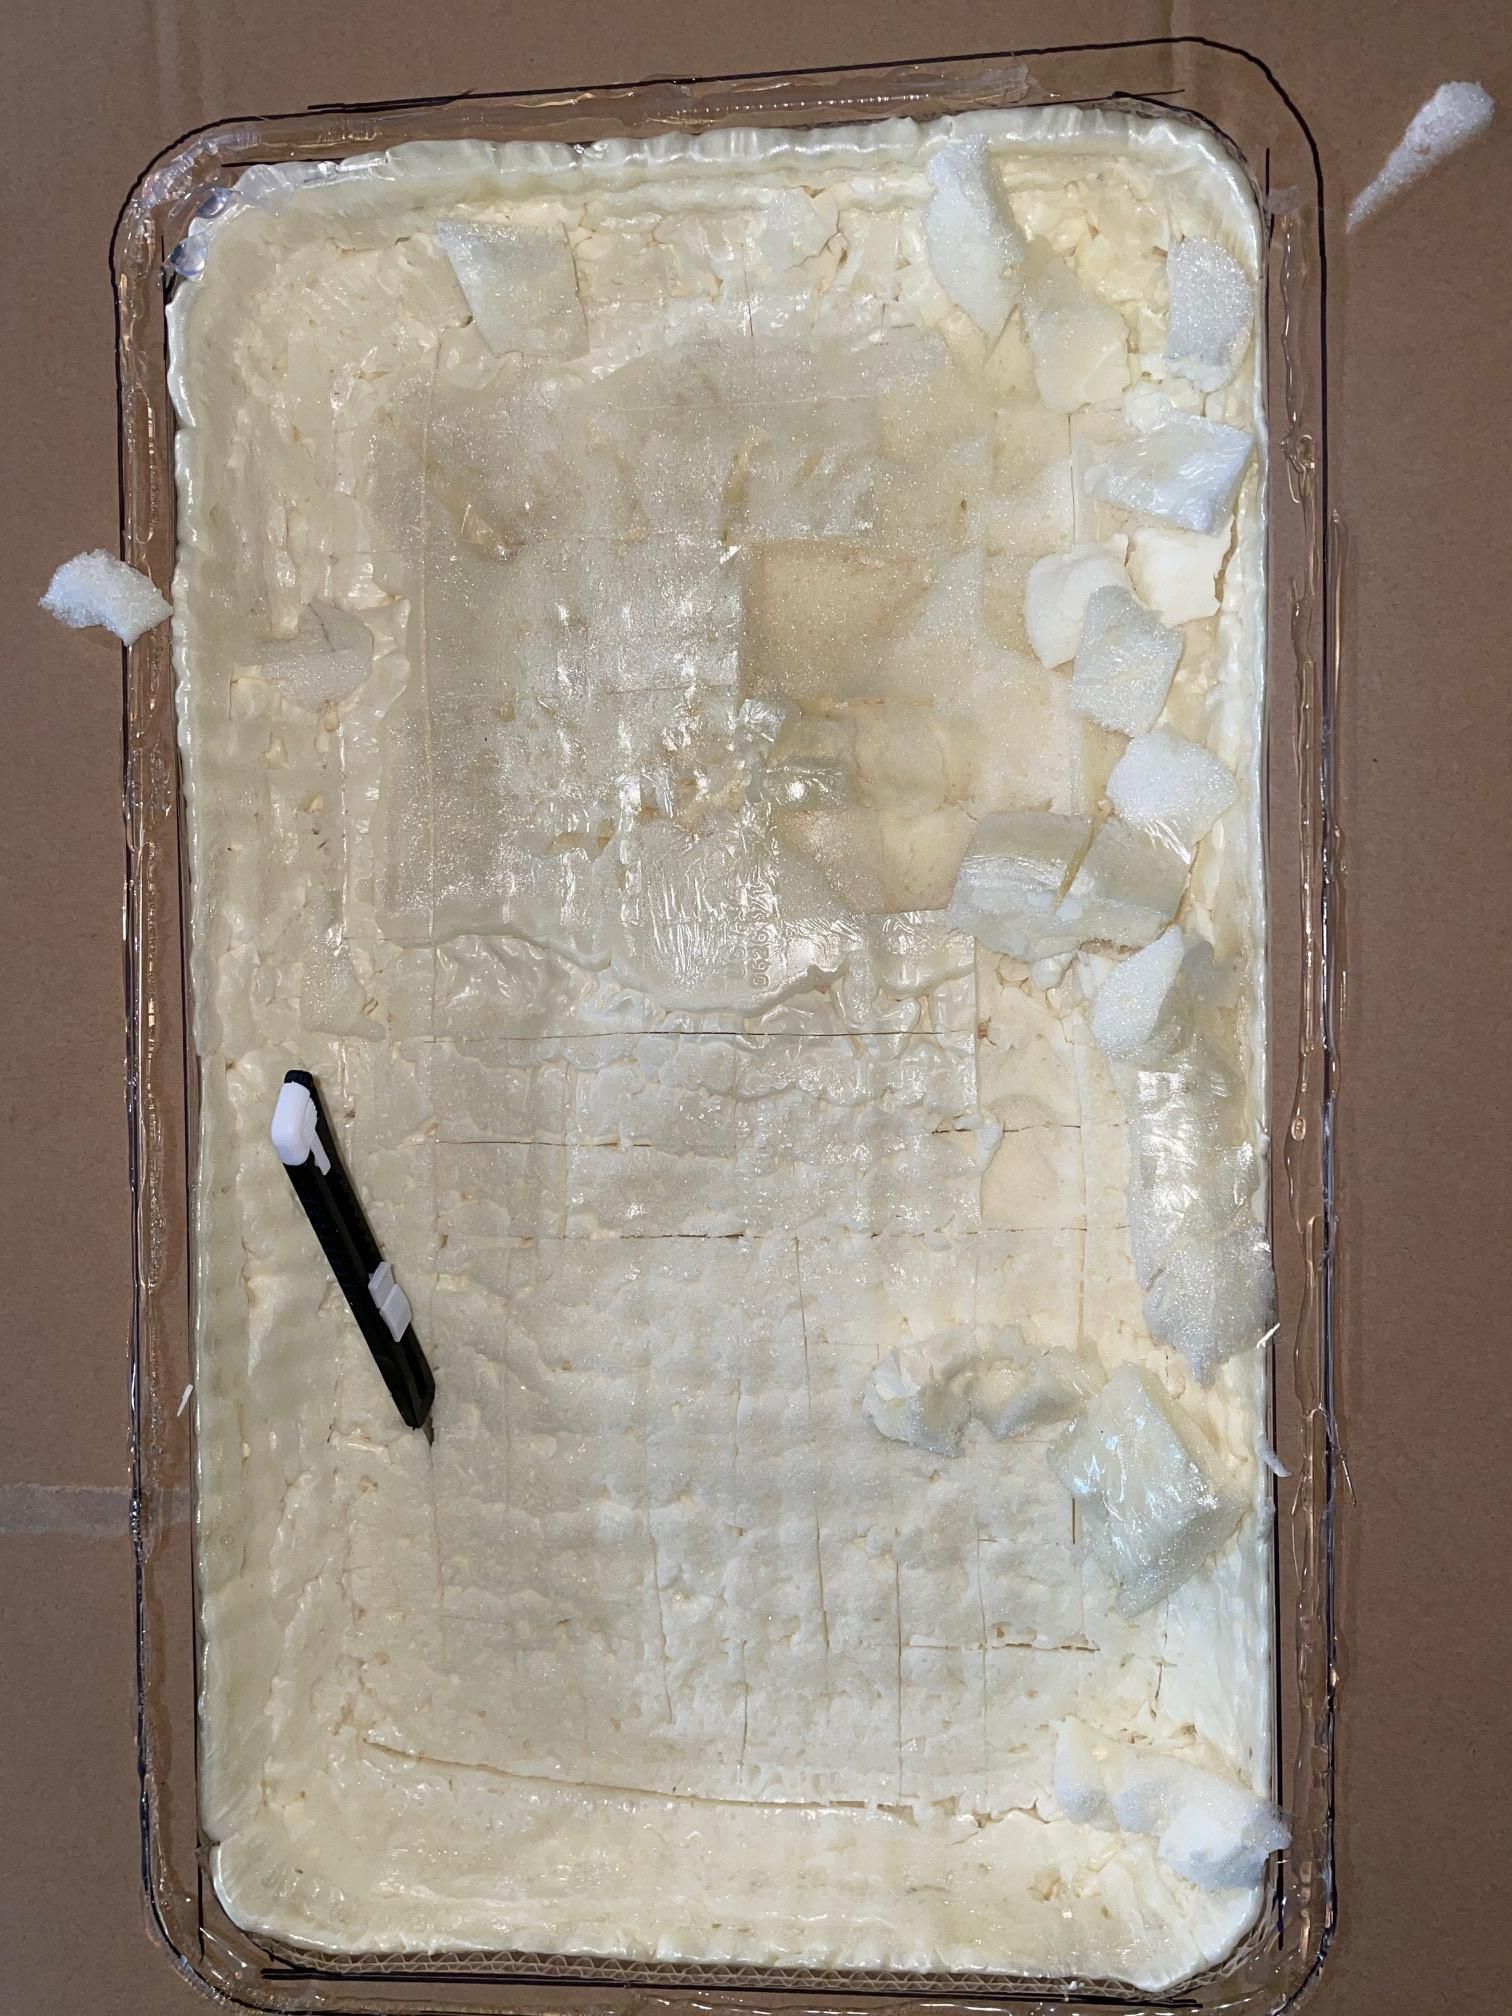
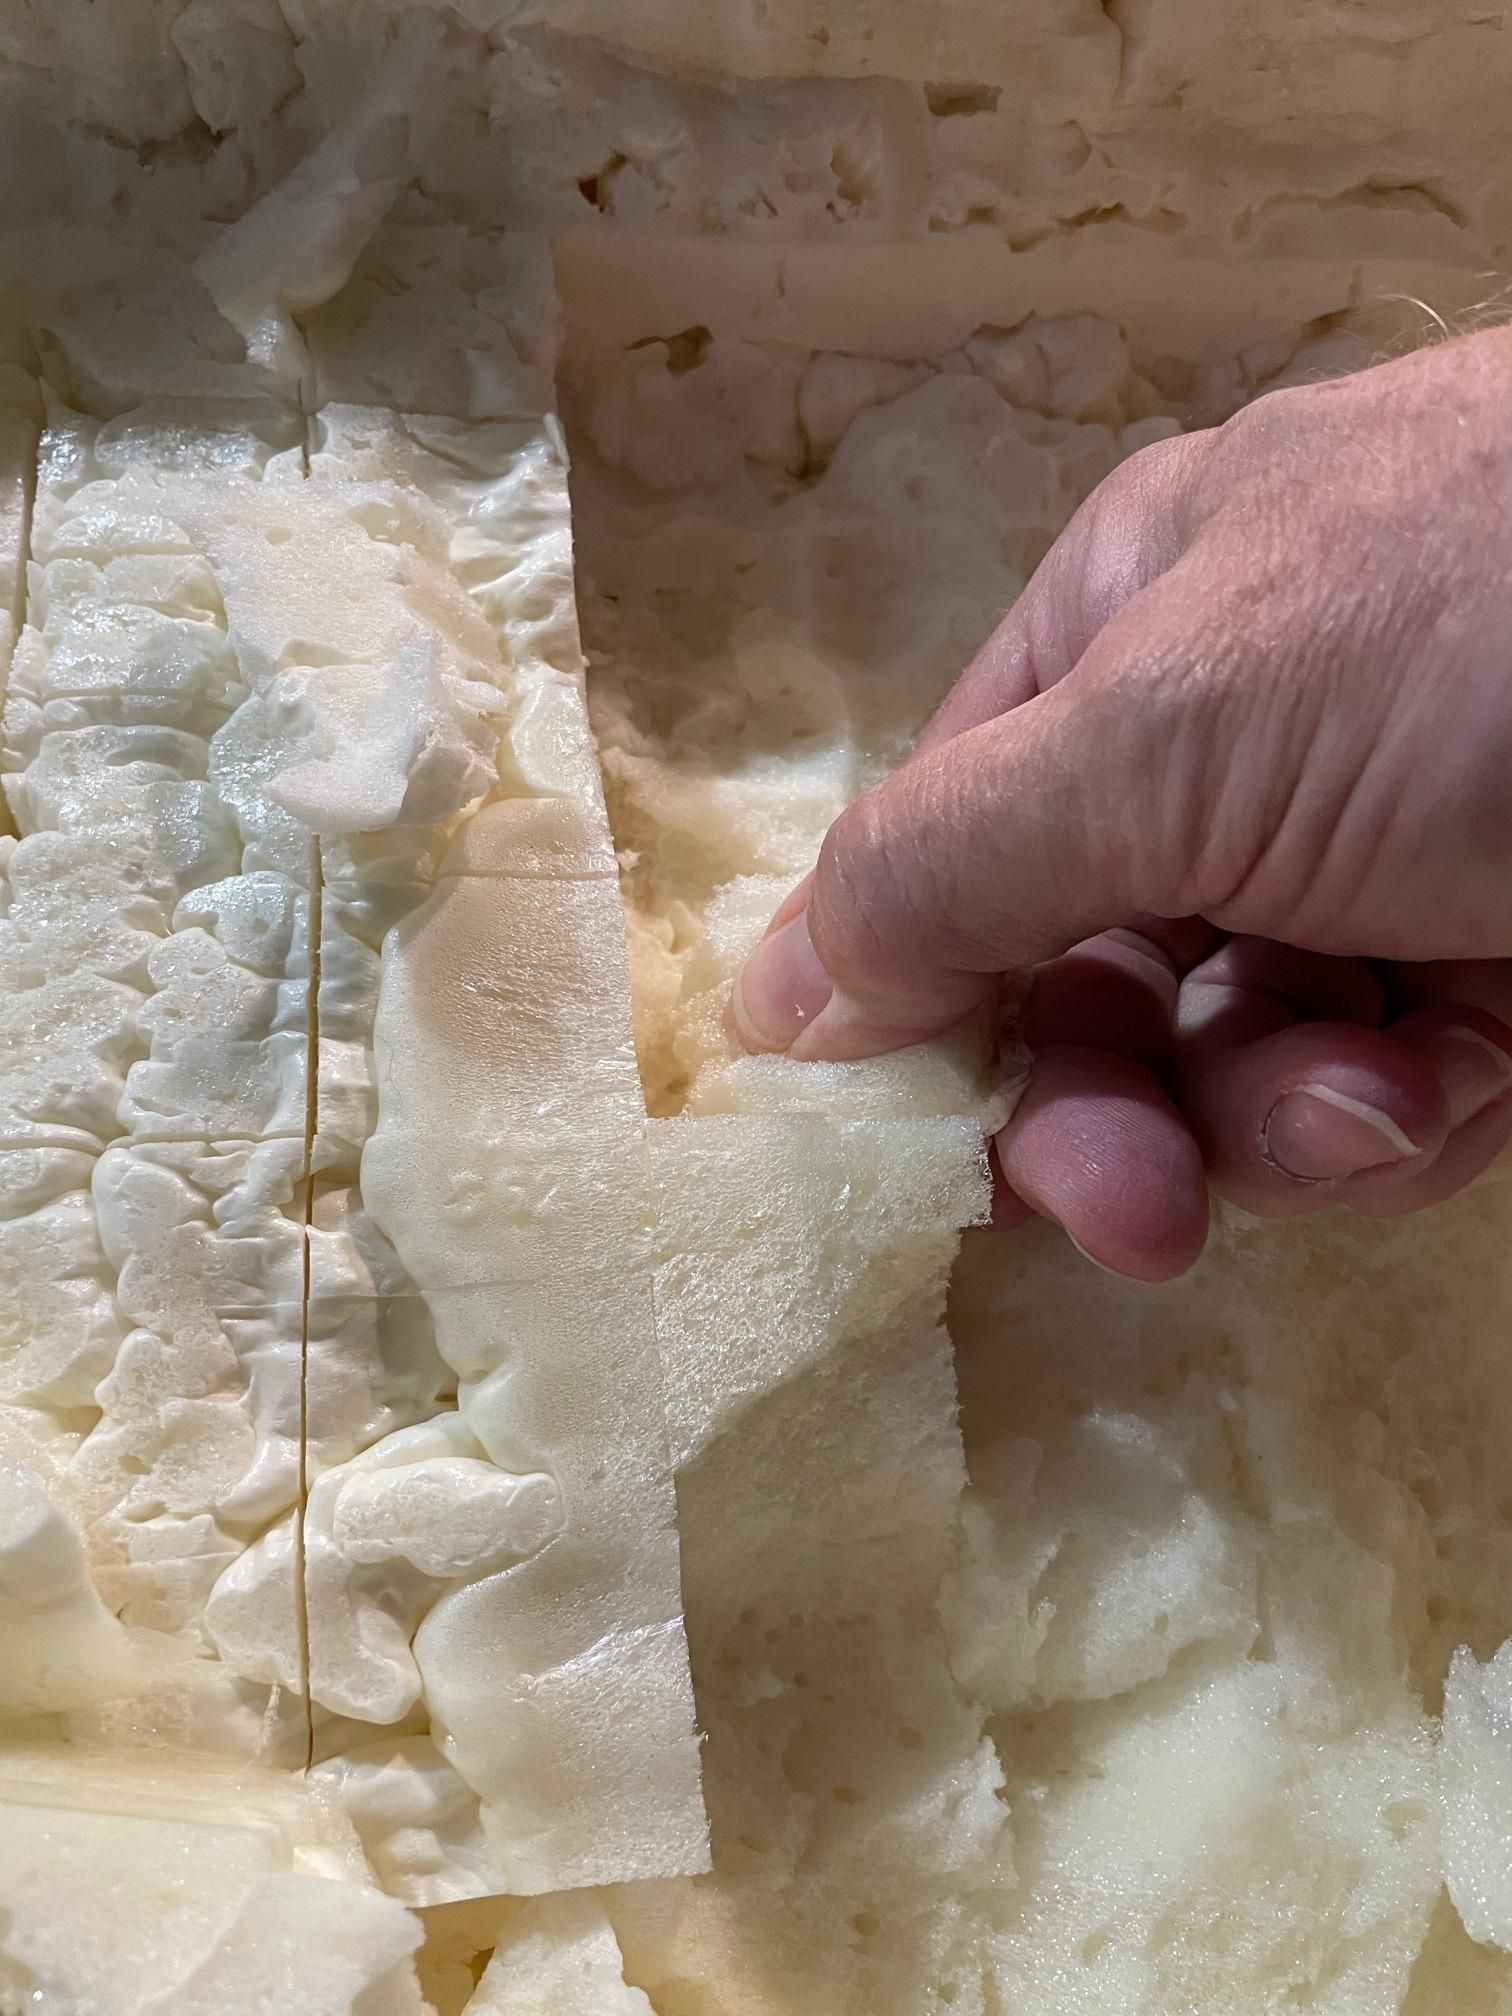
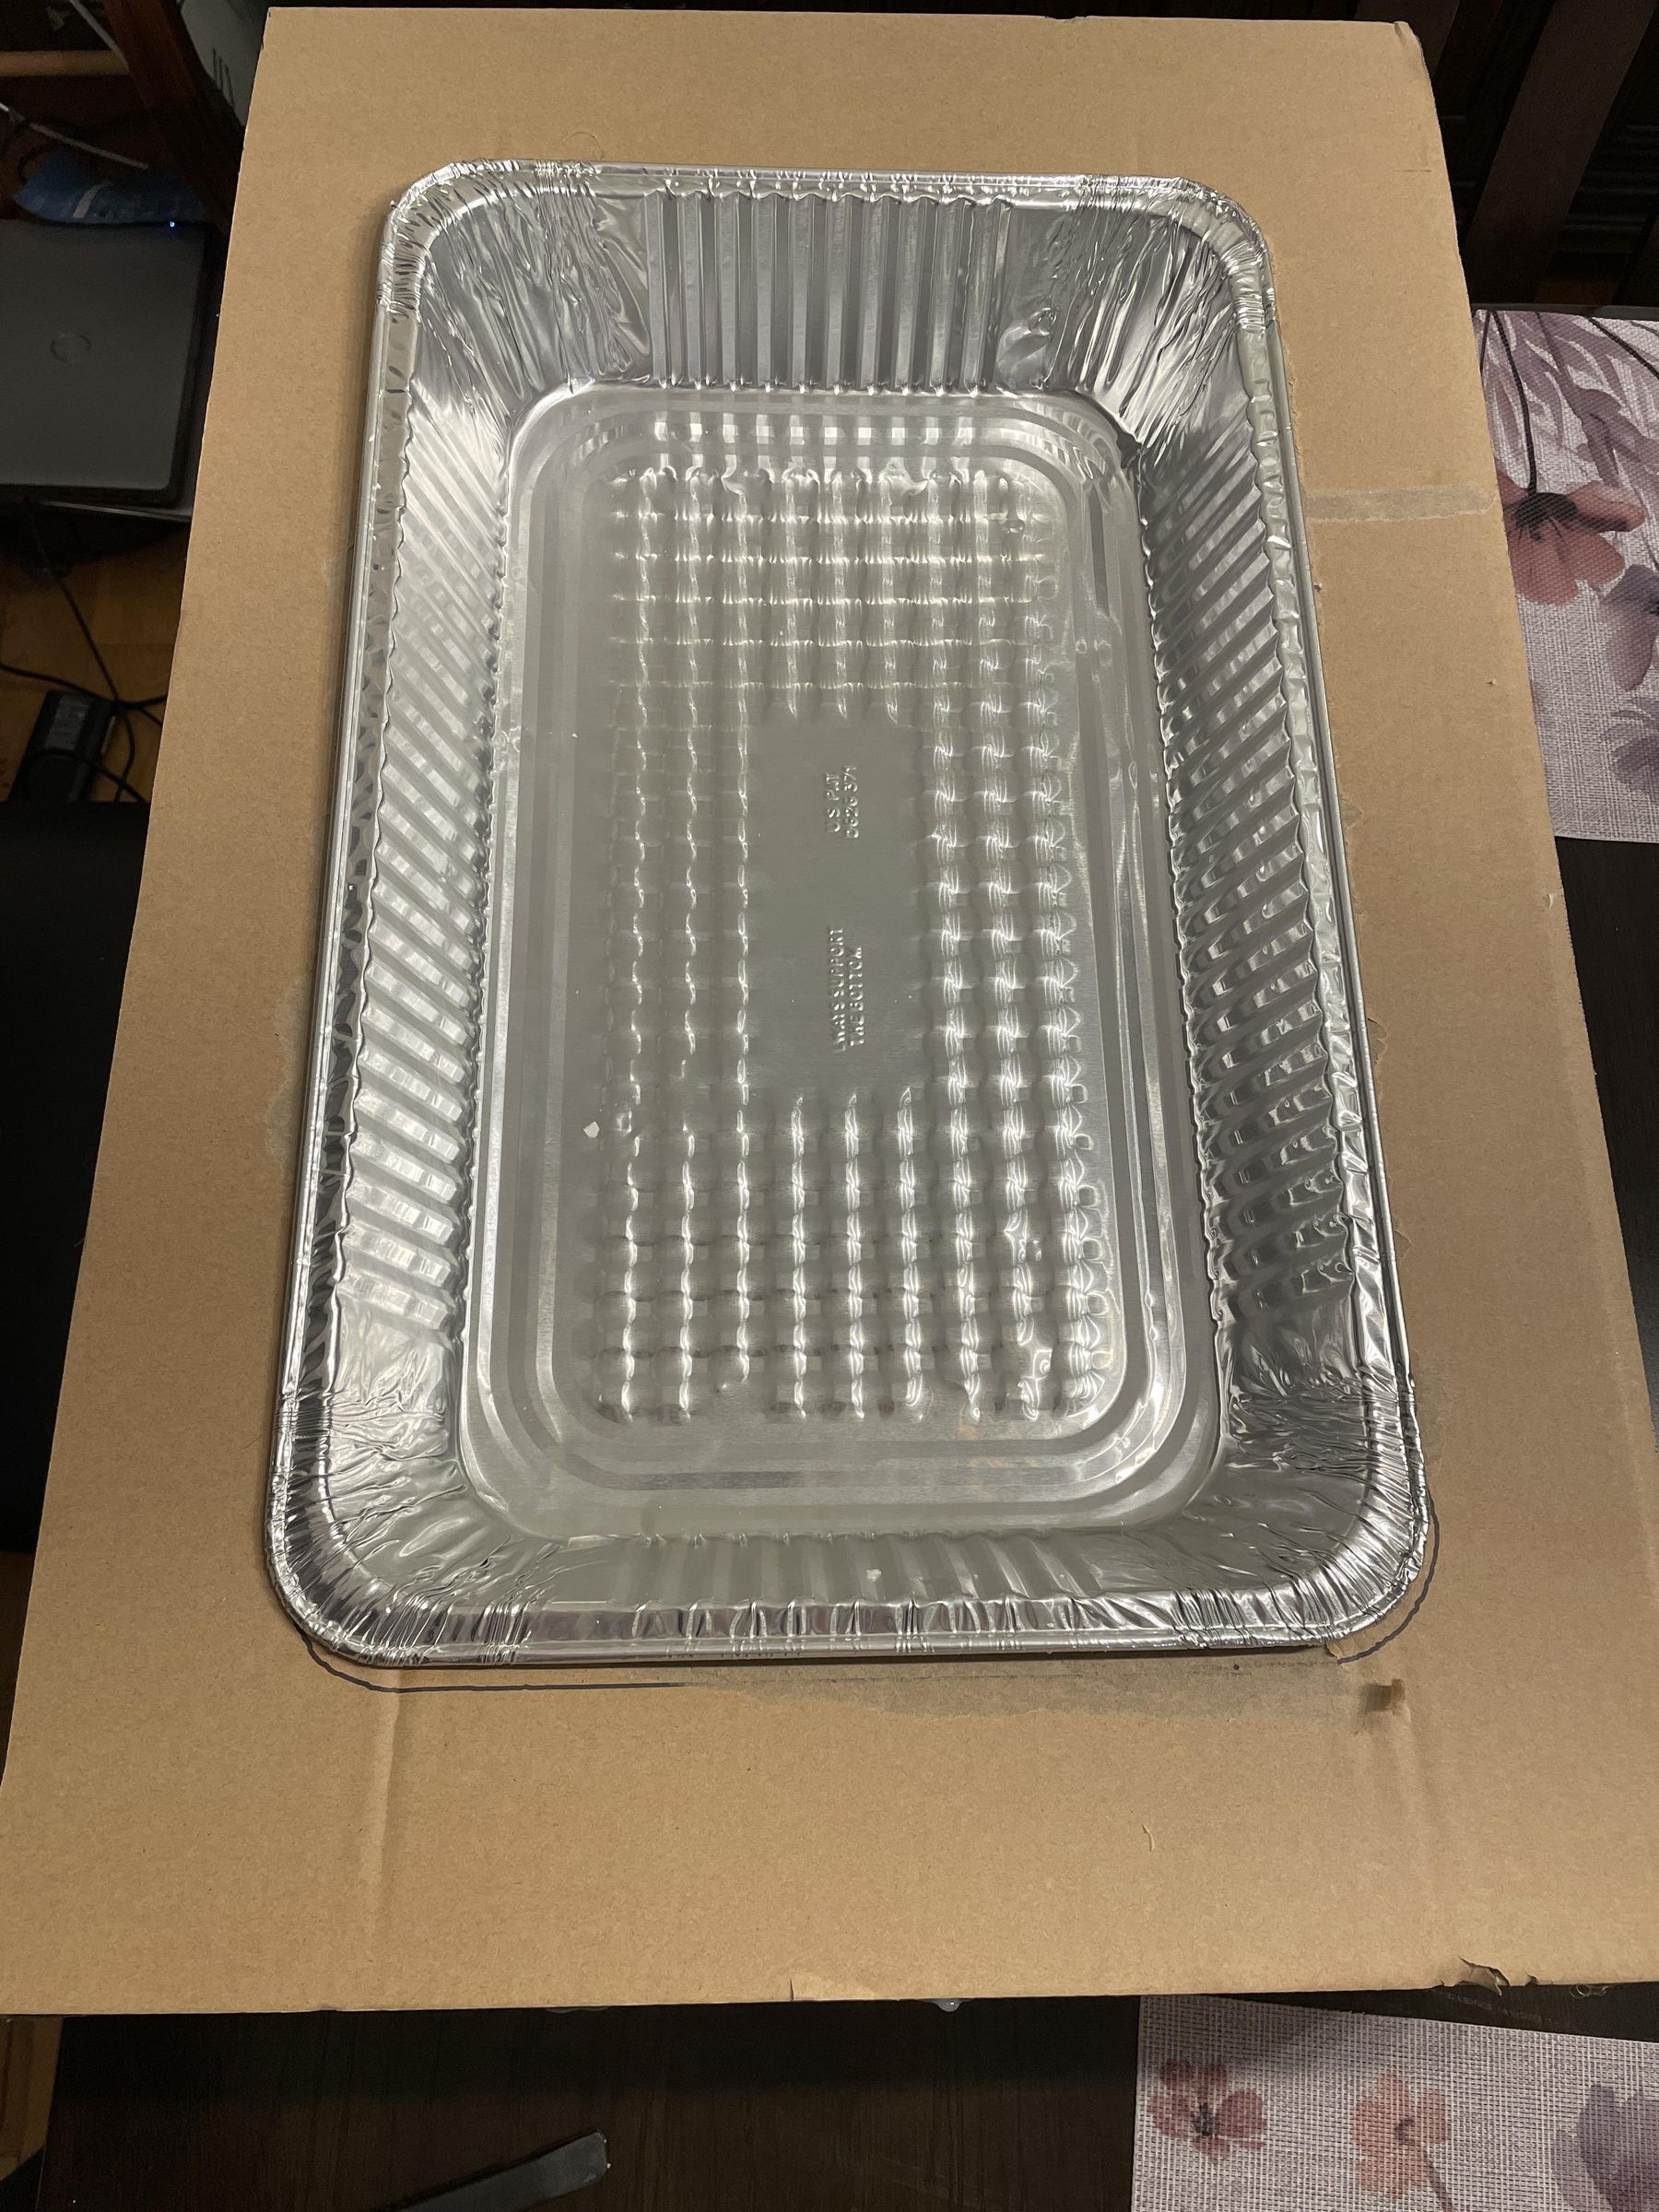
As mentioned, I pulled the pan out of the foam from the top. I then played dice-it-up and made a grid of cuts in the foam to remove enough foam where the replacement pan would fit.
I ended up pulling most of the foam 'cubes' out by hand along with some horizontal cuts after some of the foam was removed. In places I had to remove over an inch of foam depth. In the process of removing the excess foam I even ended up cutting all the way through the foam. Oops! I would patch these with more spray foam after the pan was reinstalled. I removed enough foam so the new pan would fit into the pan hole, touch the cardboard top piece and not bottom out, hitting the remaining foam.
After the new pan was installed and the foam fully cured I noted that the side of the cardboard box had been pulled in, some type of 'tummy tuck'. Apparently the foam had shrunk for some reason. Oh well, I can't see that effecting performance that much. Besides, at this point I'm not going to fix it.
Seal the Pan and Install the Gasket
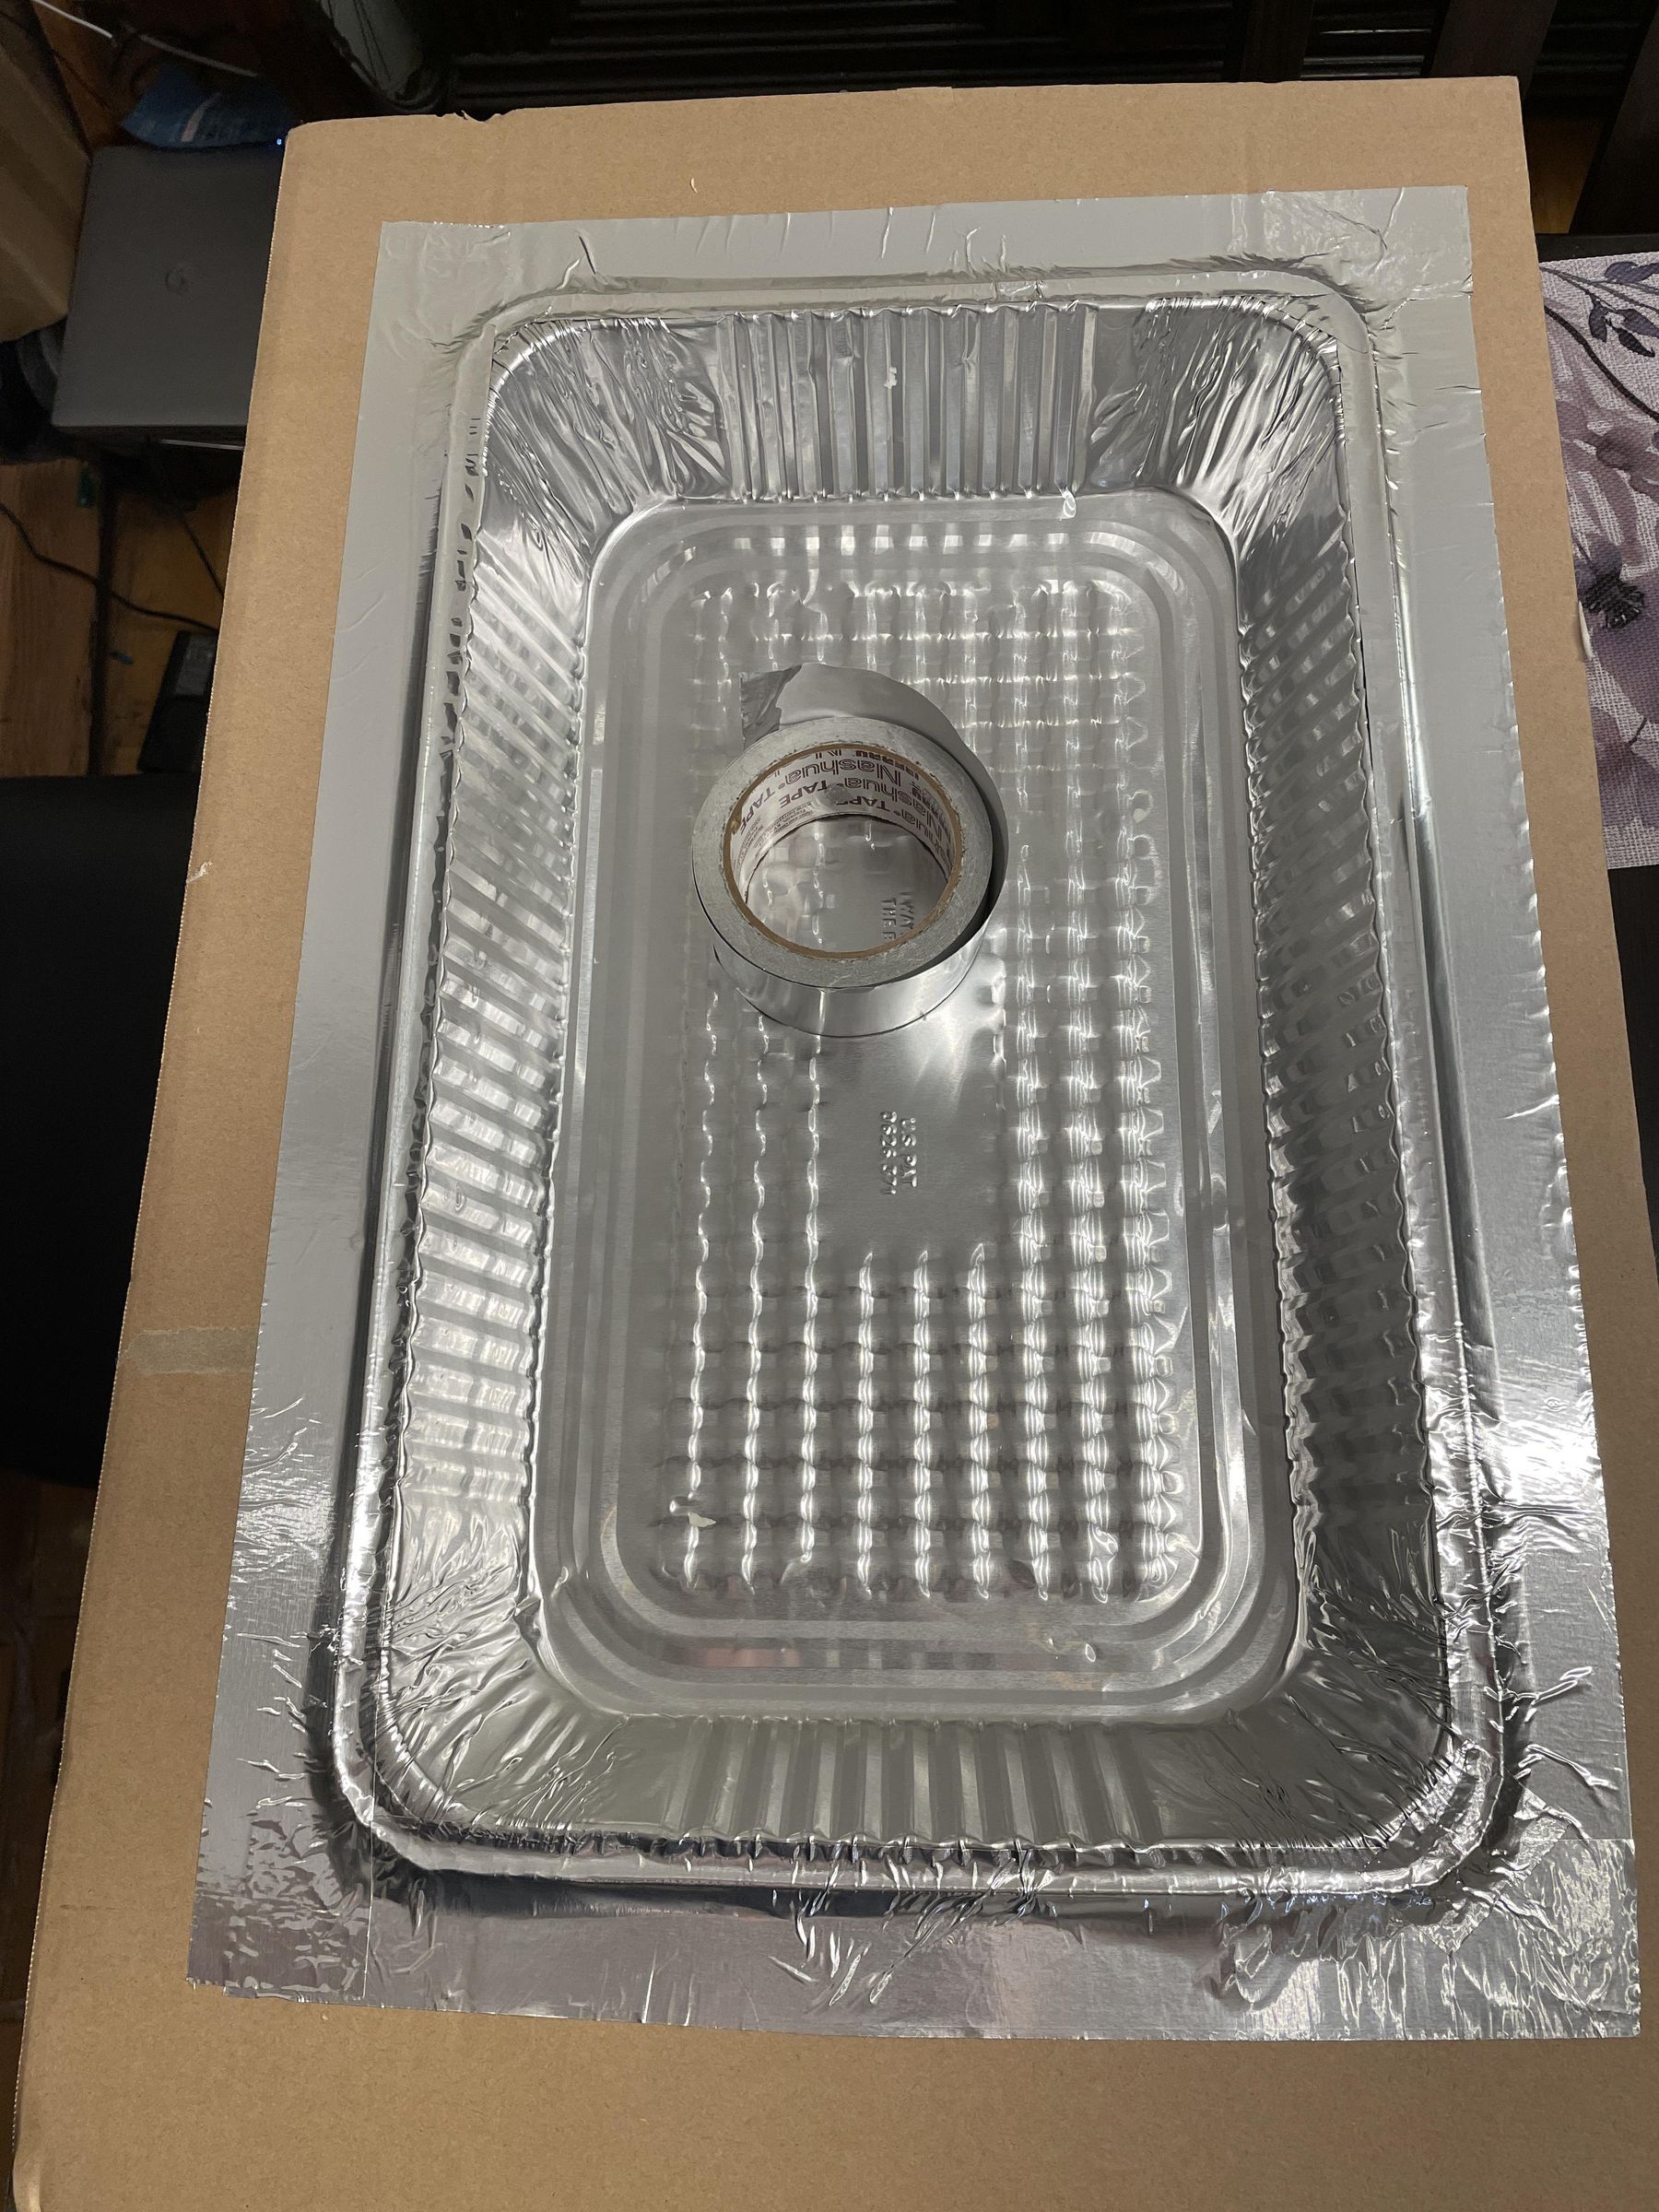
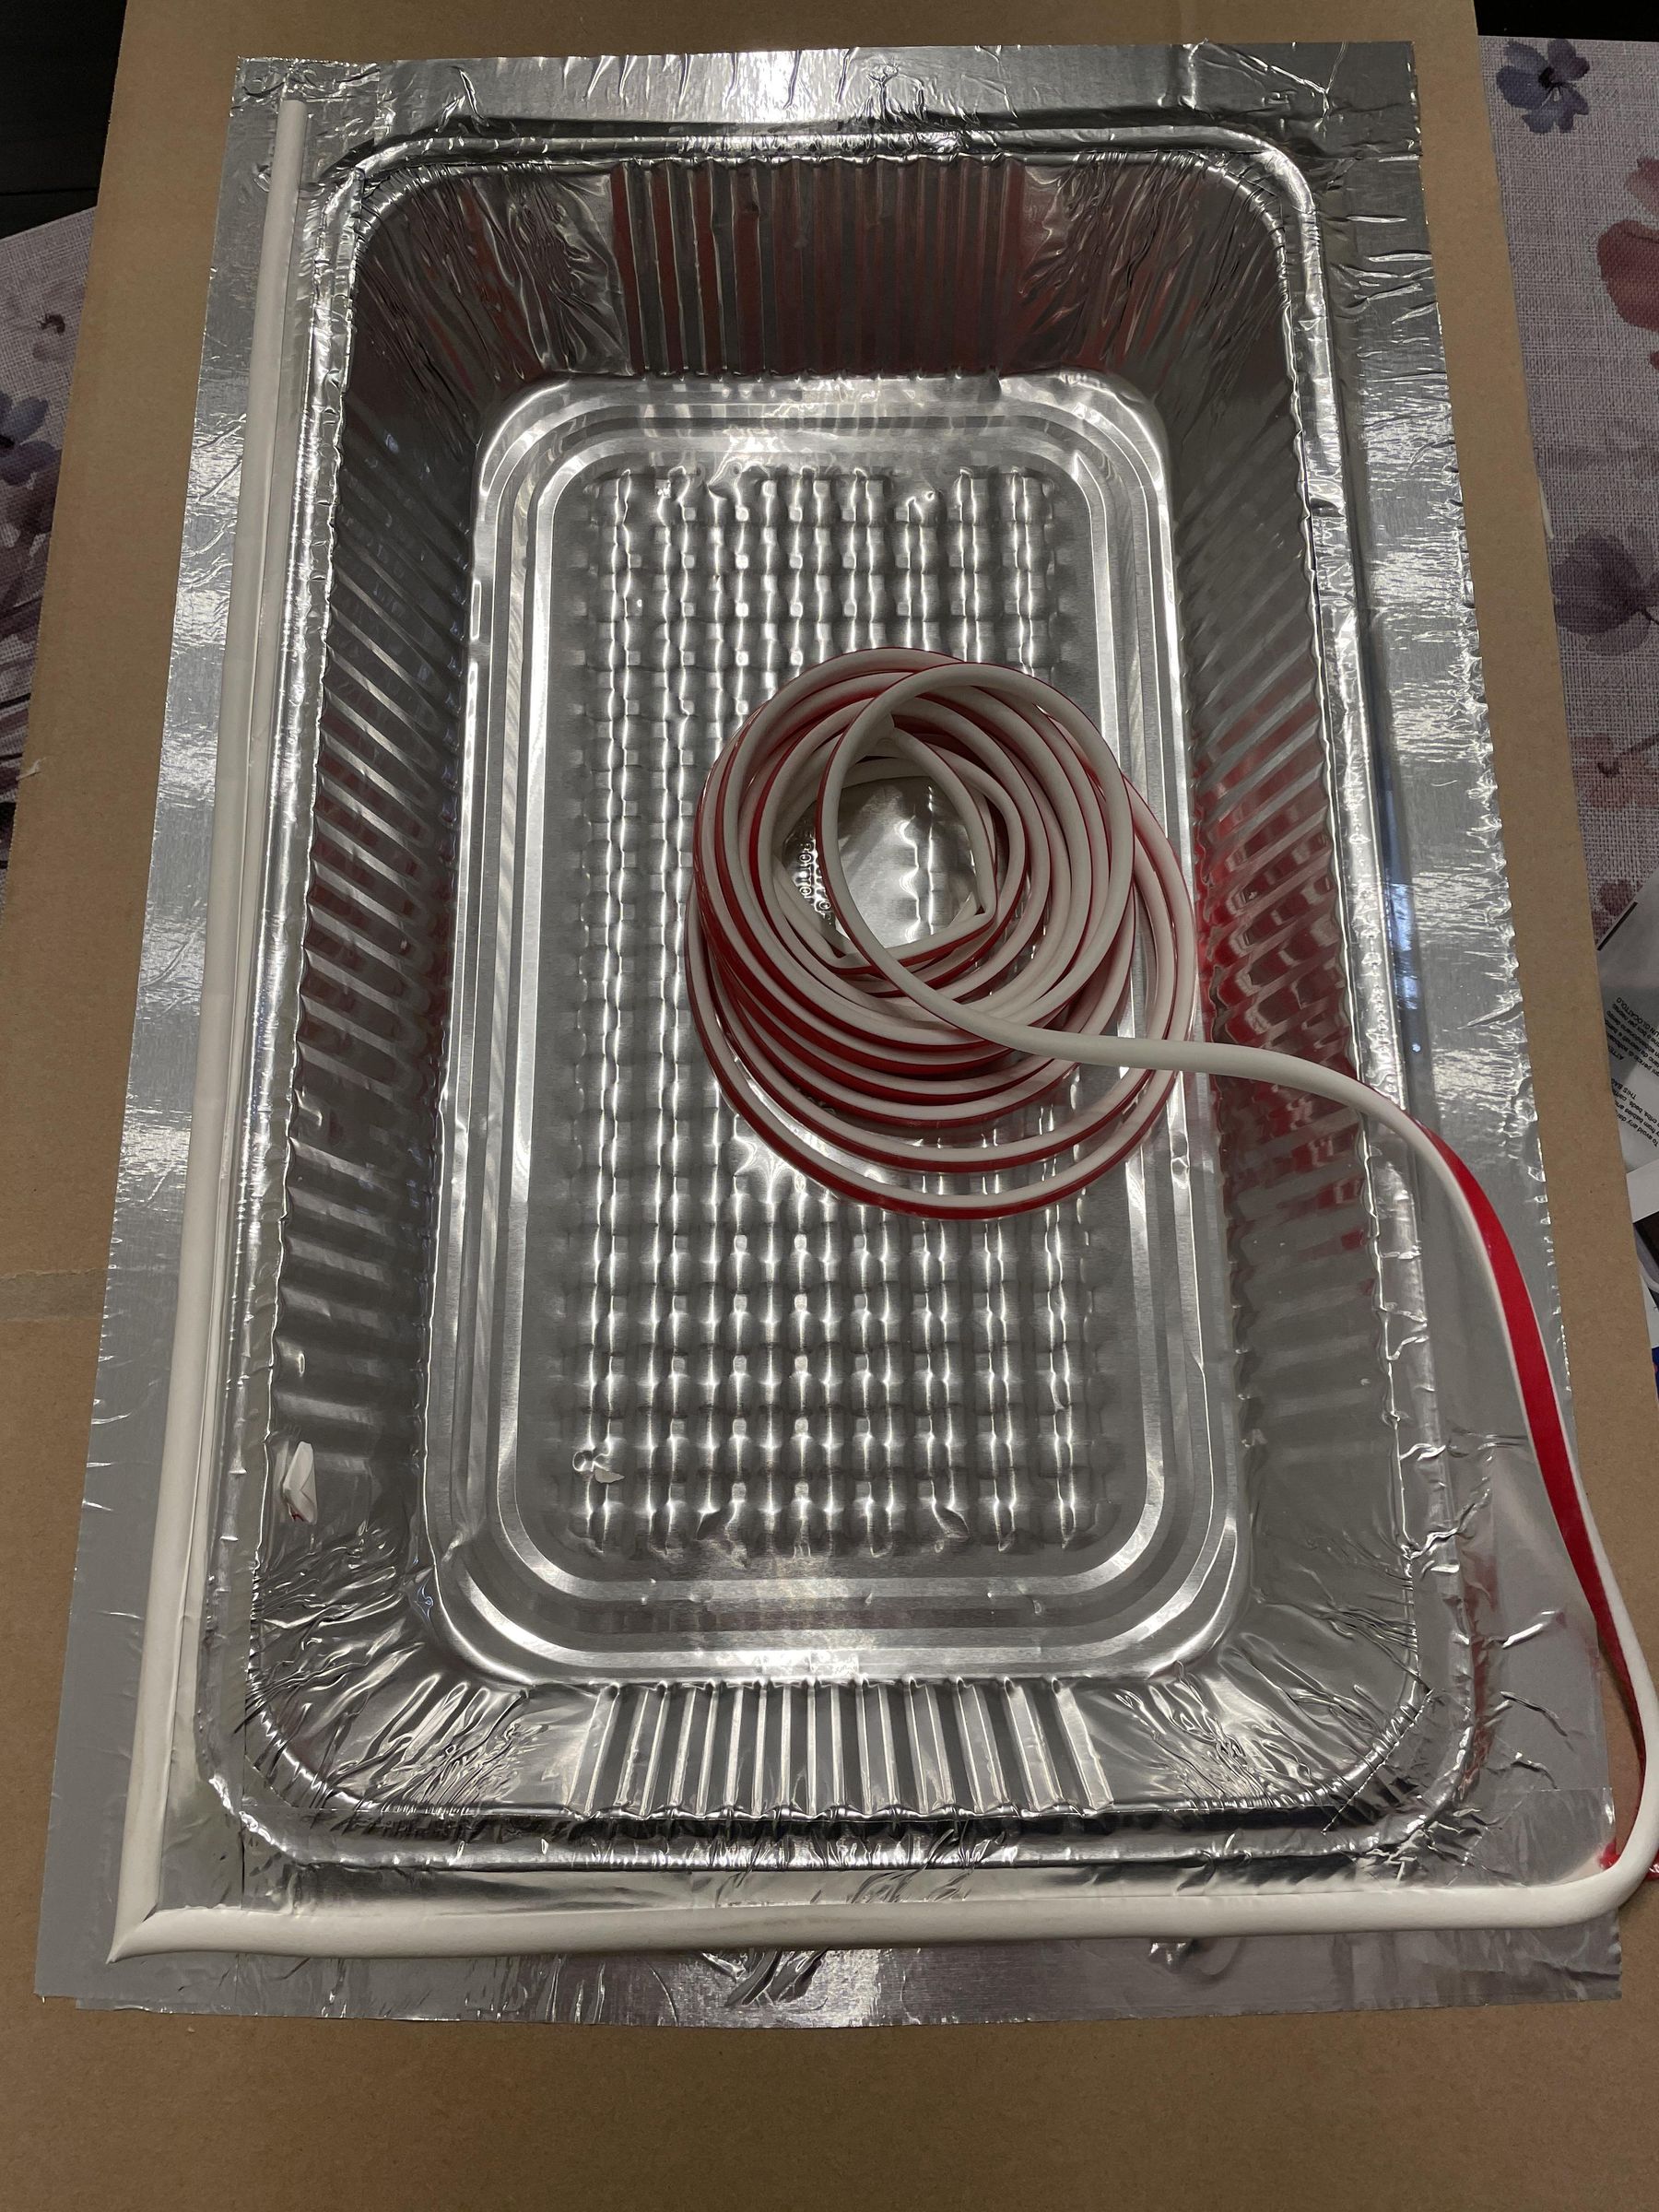
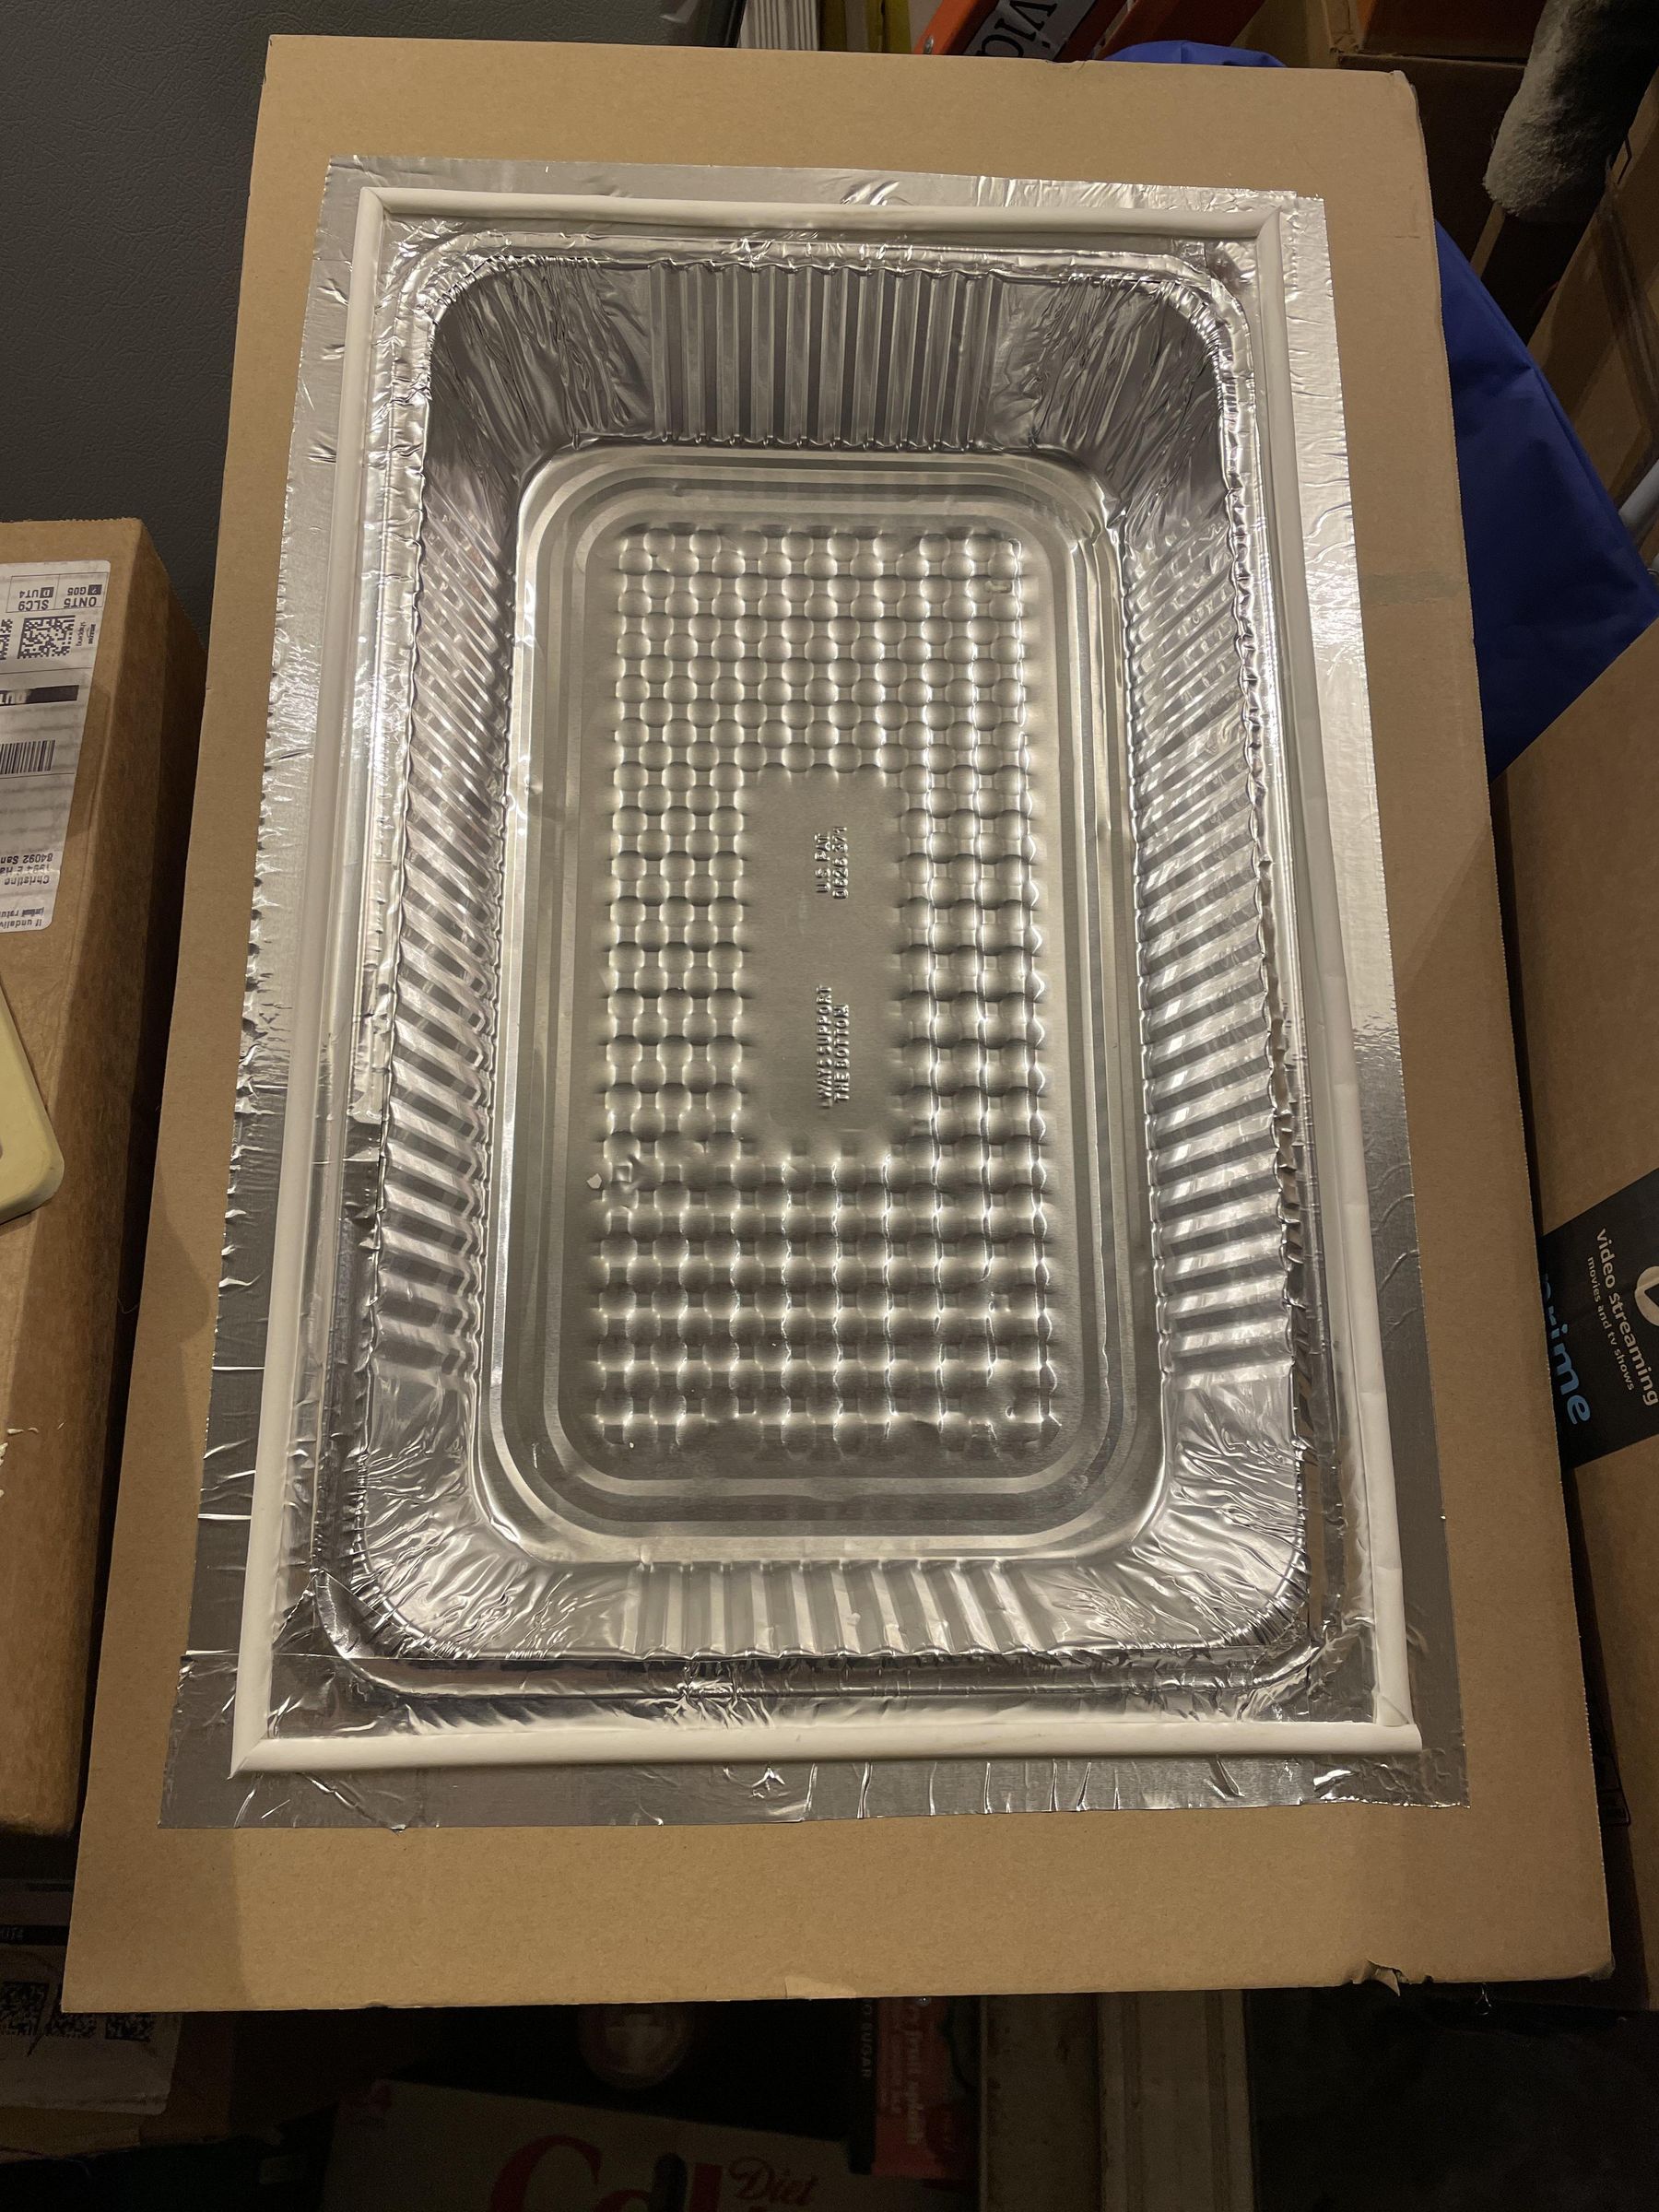
One of my goals was to make the oven compartment nearly air tight to prevent heat loss. To do this I used aluminum tape to connect the pan to the top cardboard. I had removed the original hot glue; which probably would not have done much when the pan got hot.
This aluminum tape provided a surface where I could stick the silicone weatherstripping (gasket). The tape also provided a continuous waterproof surface from the pan to the gasket. I don't think it would be really go to have exposed cardboard in the oven chamber it I had lots of moisture there.
Spray Paint the Pan Flat Black
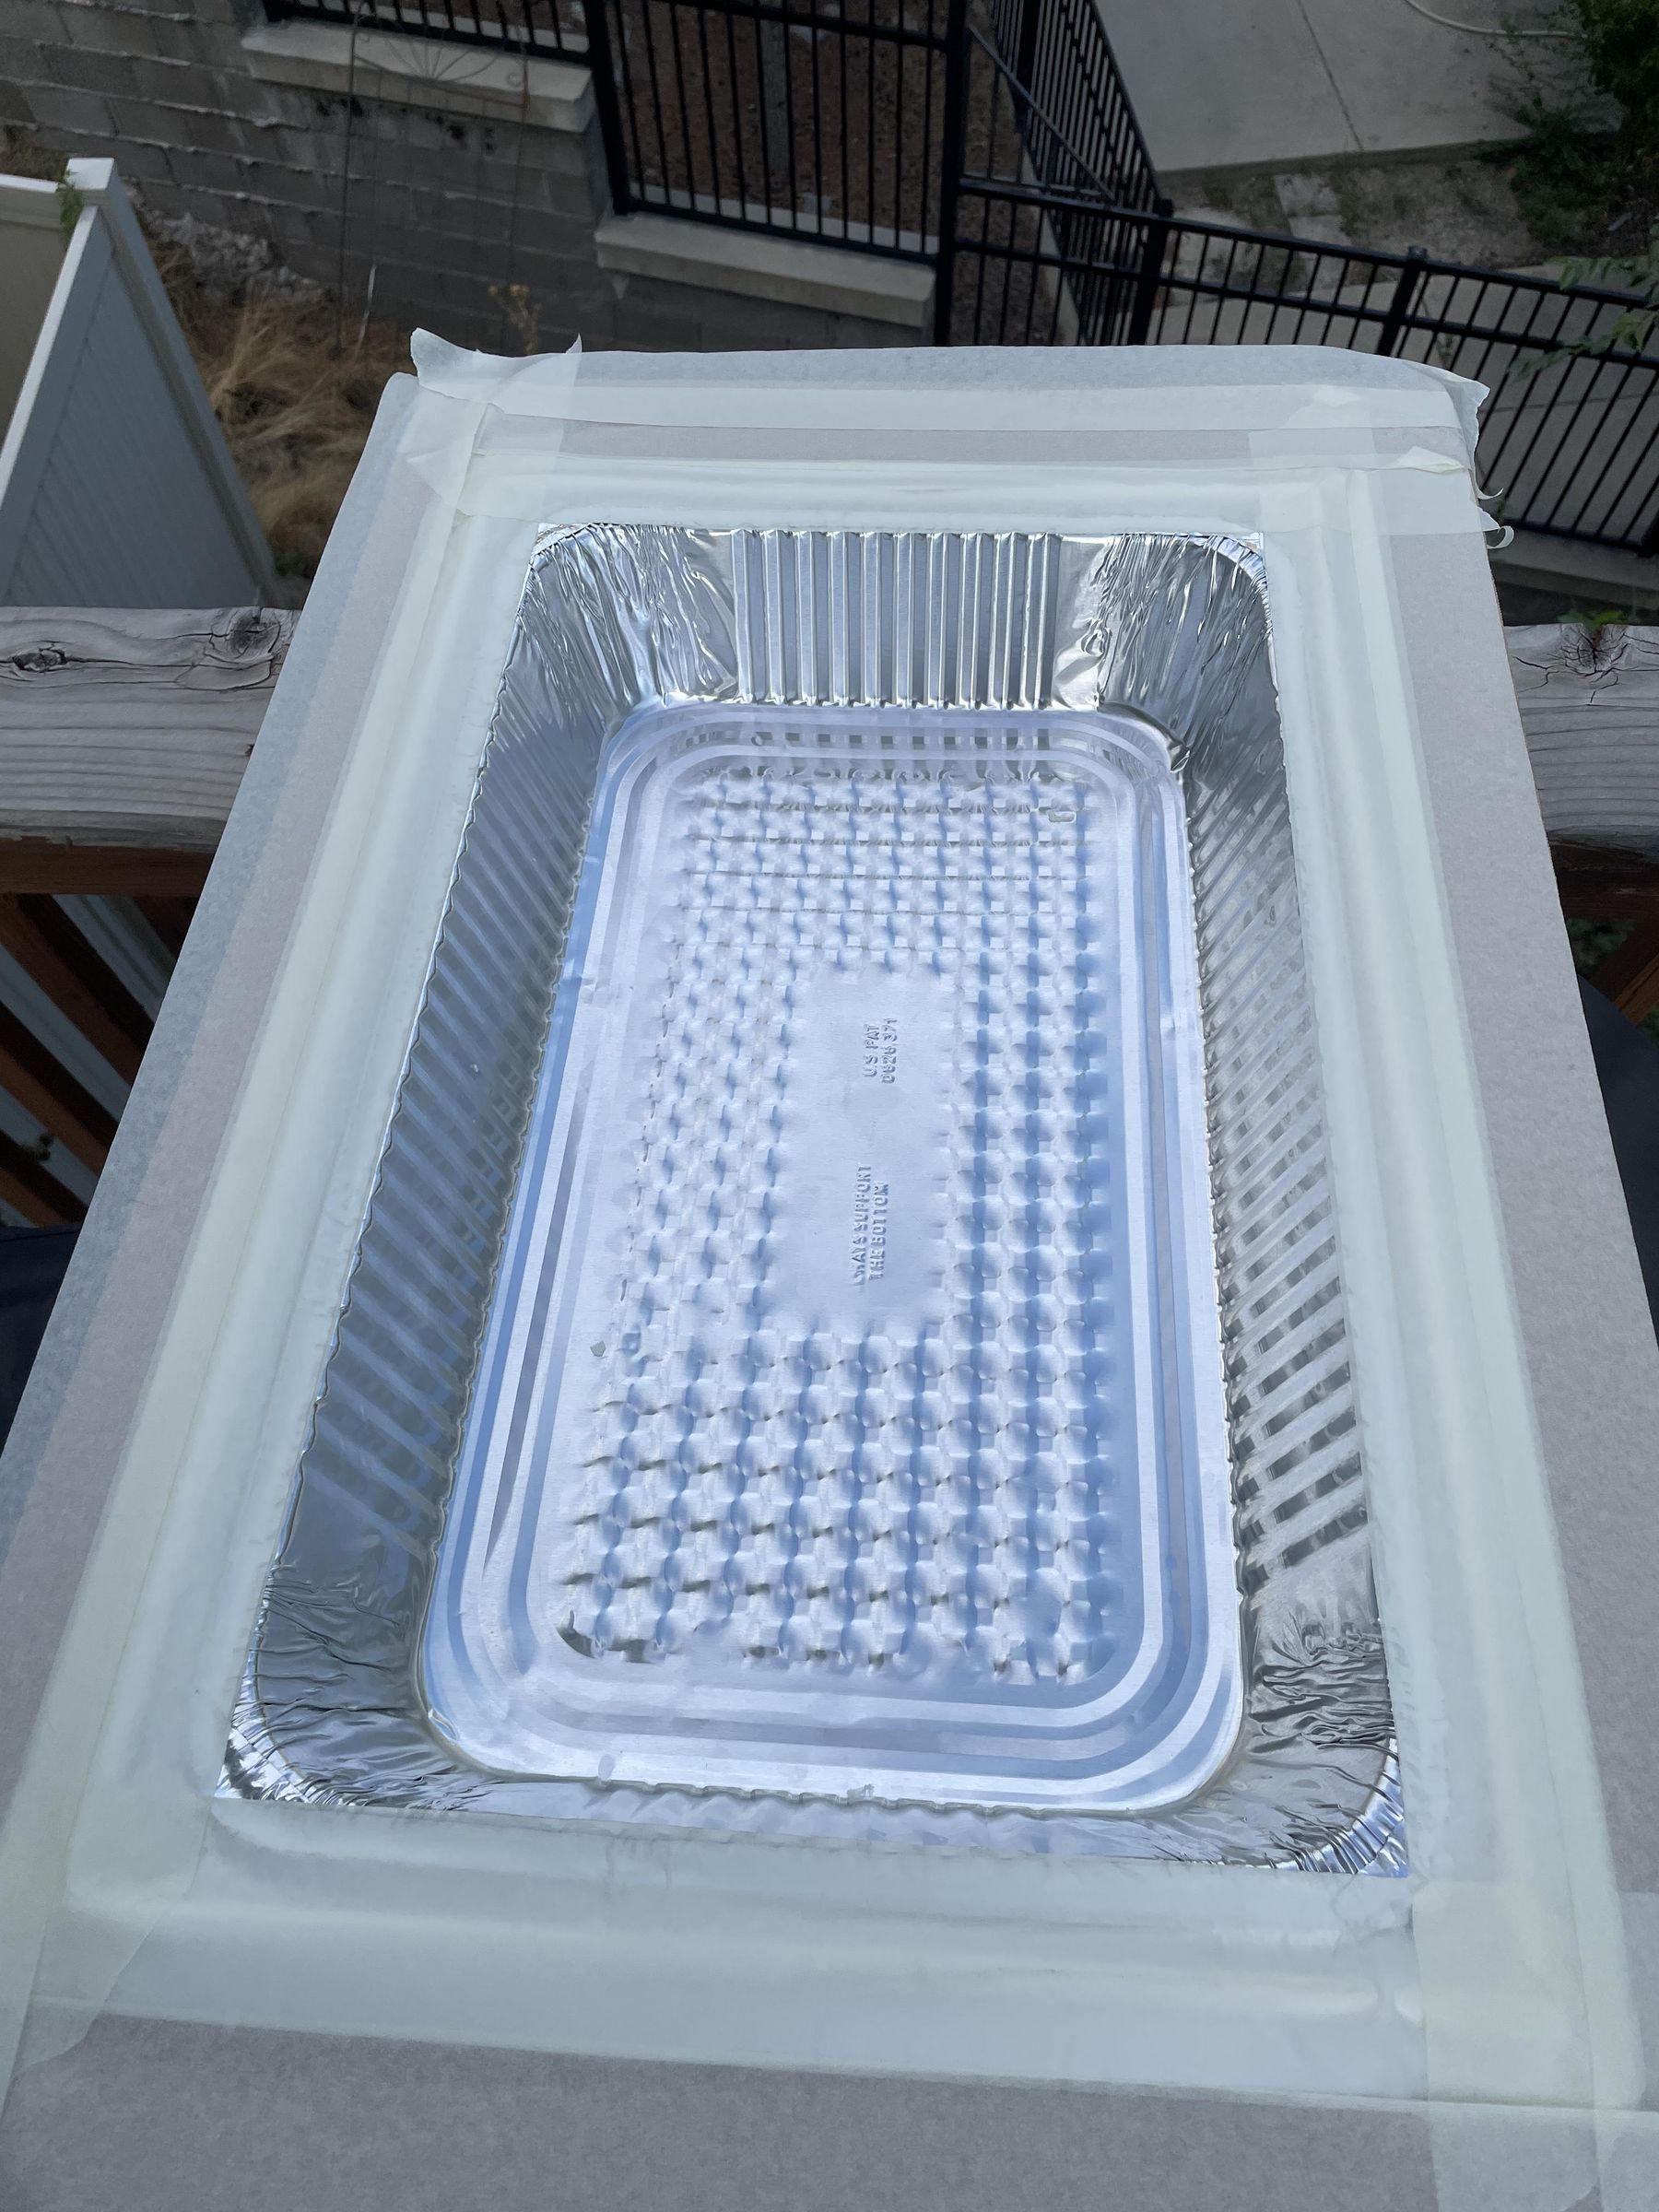
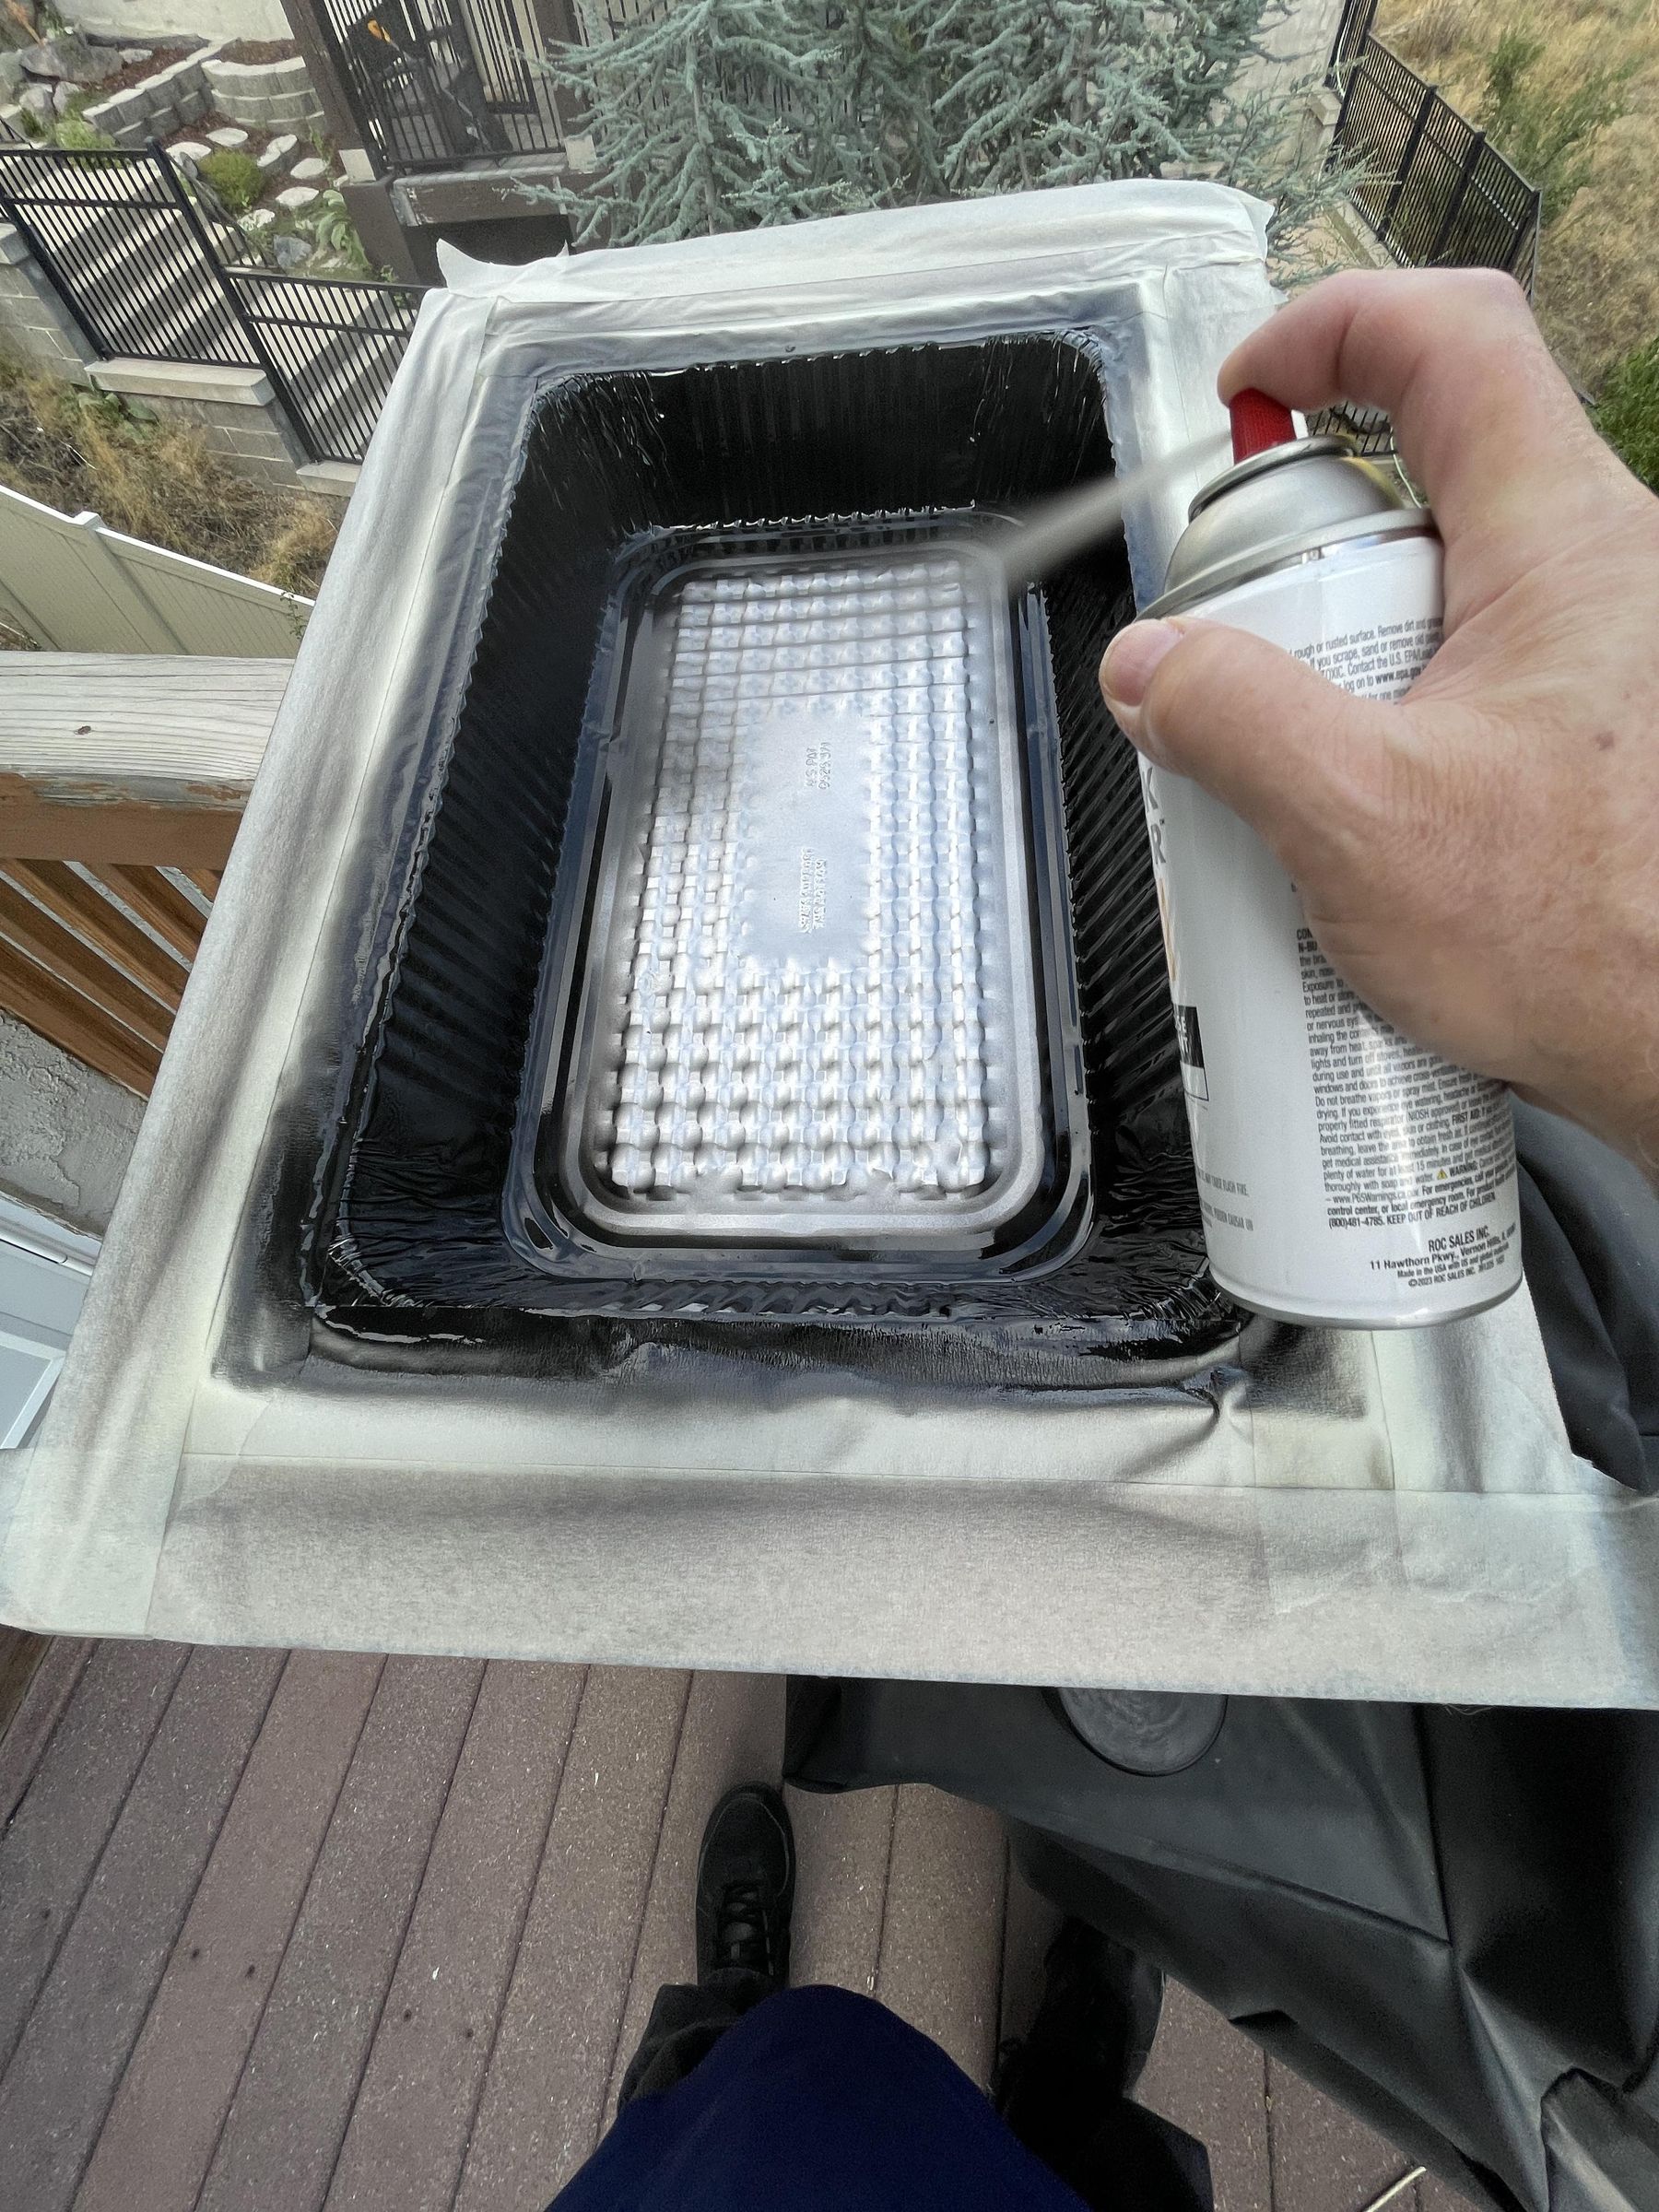
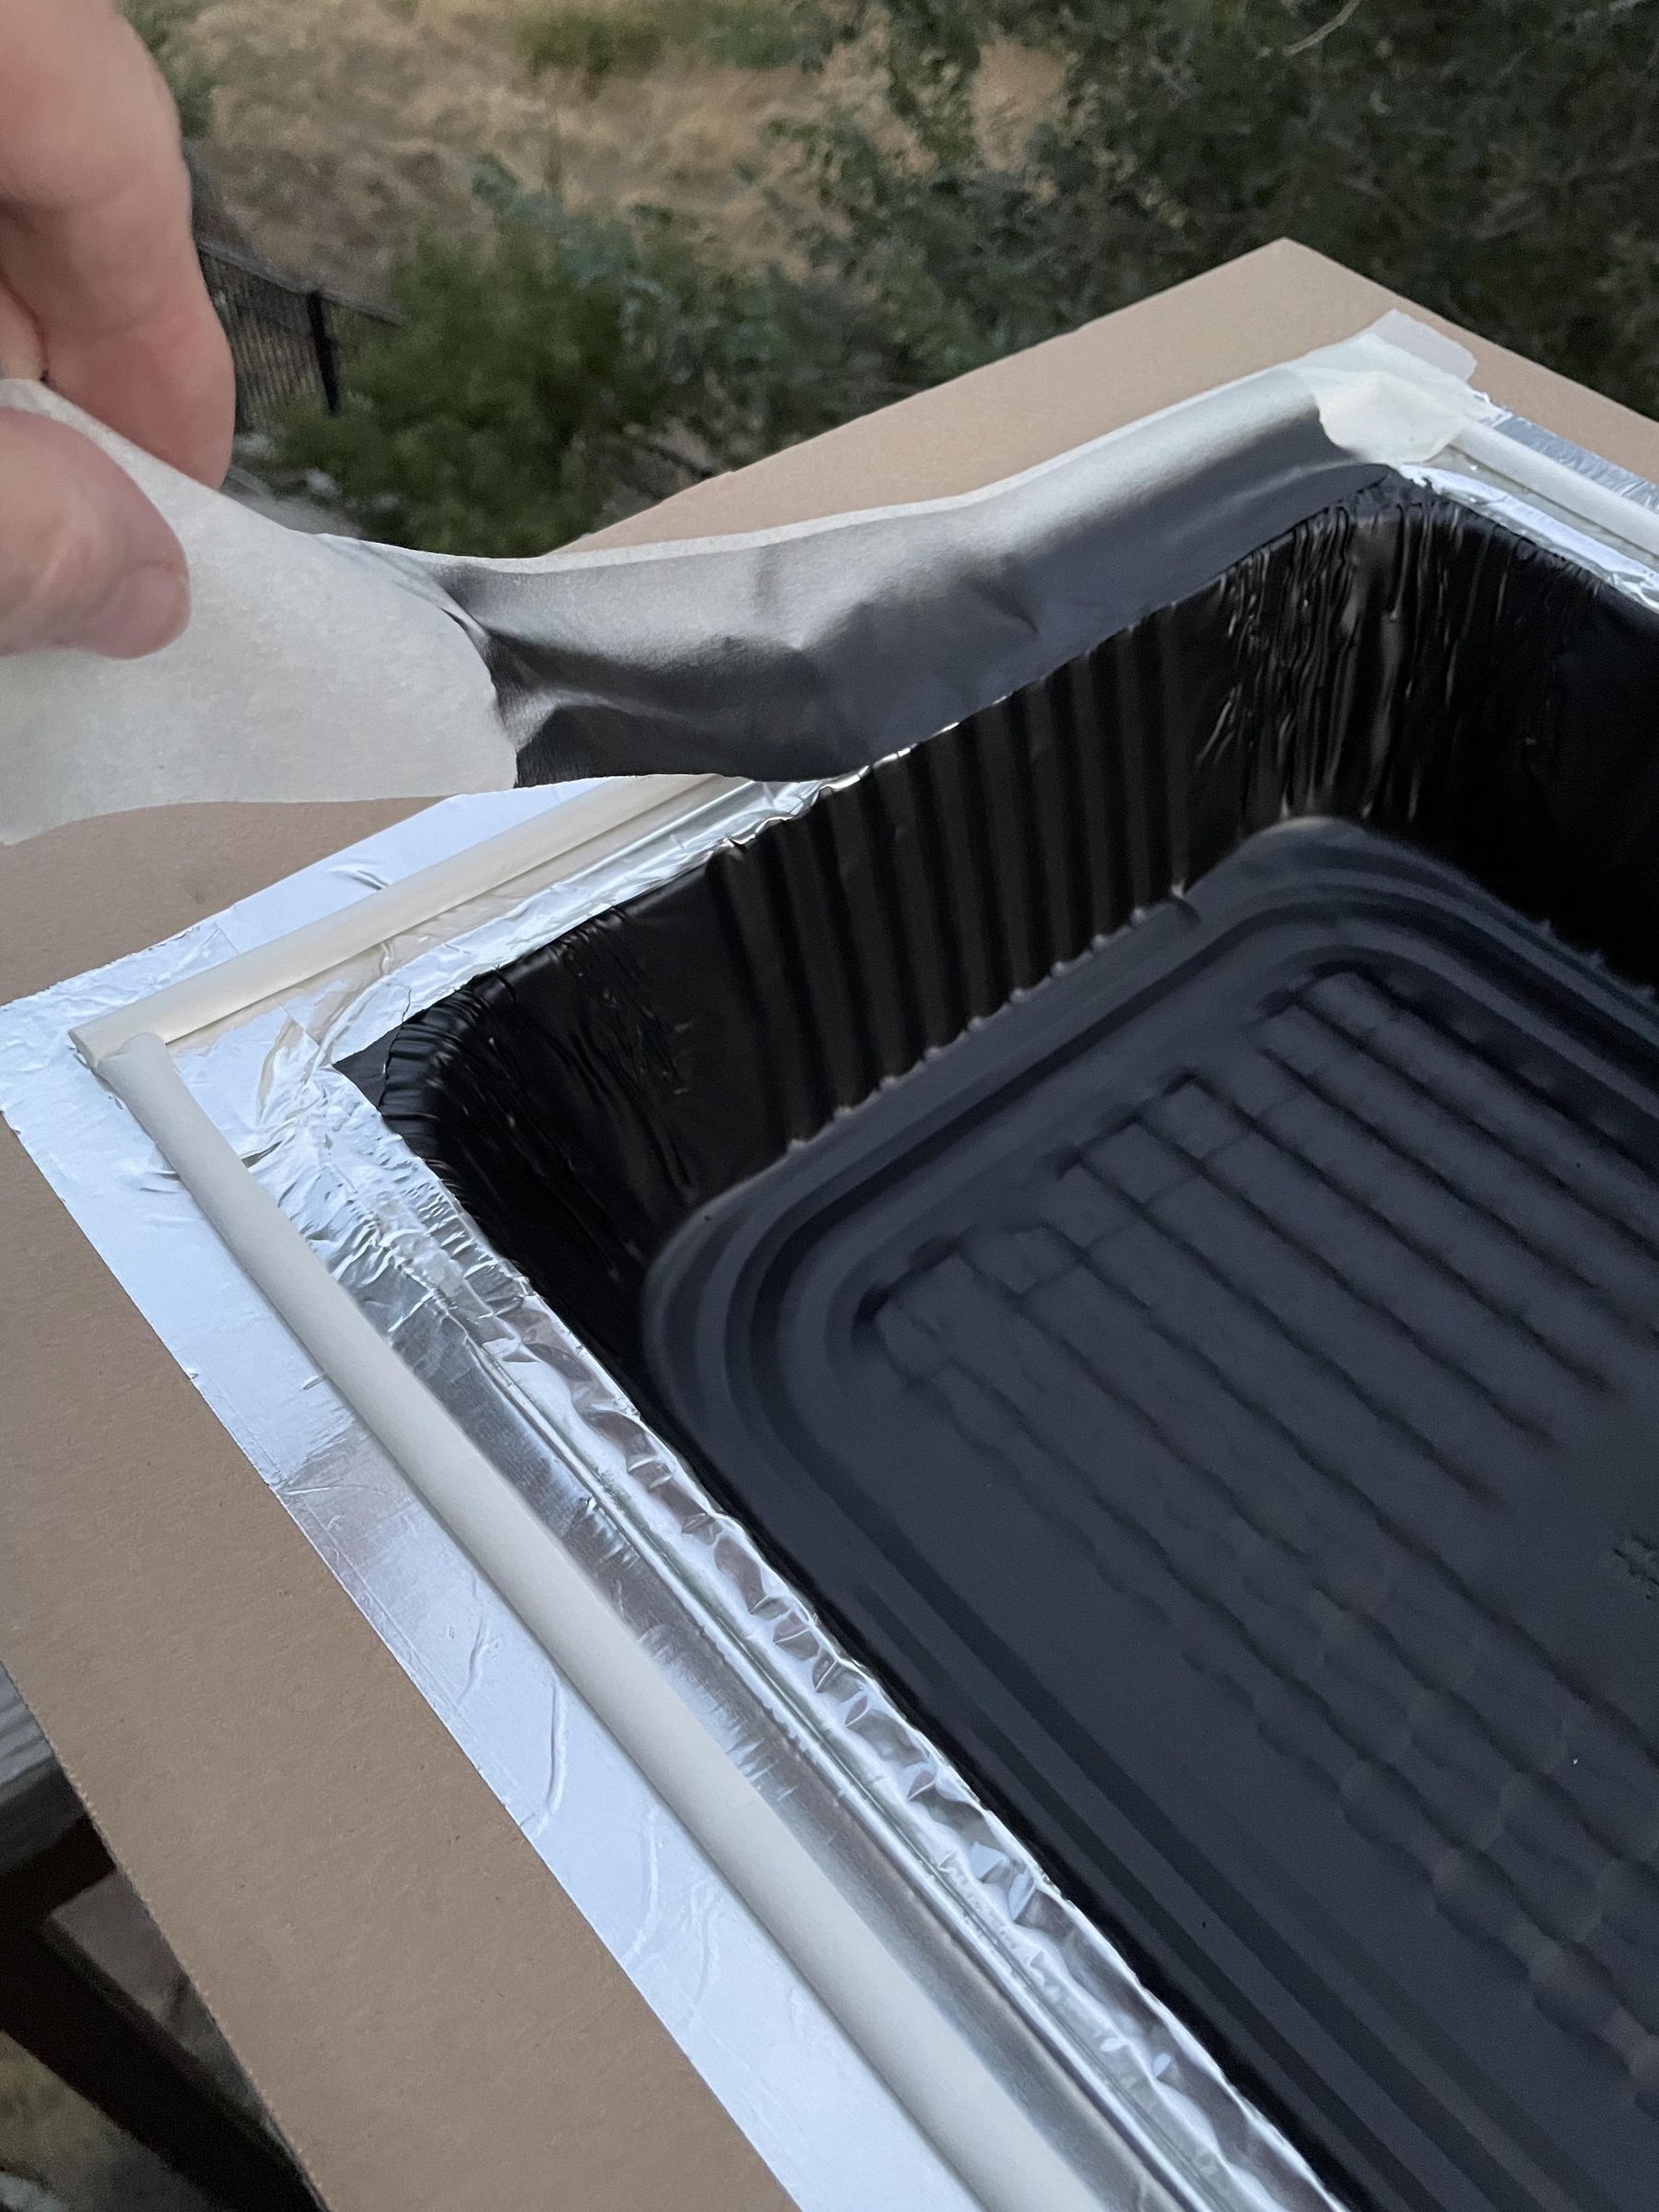
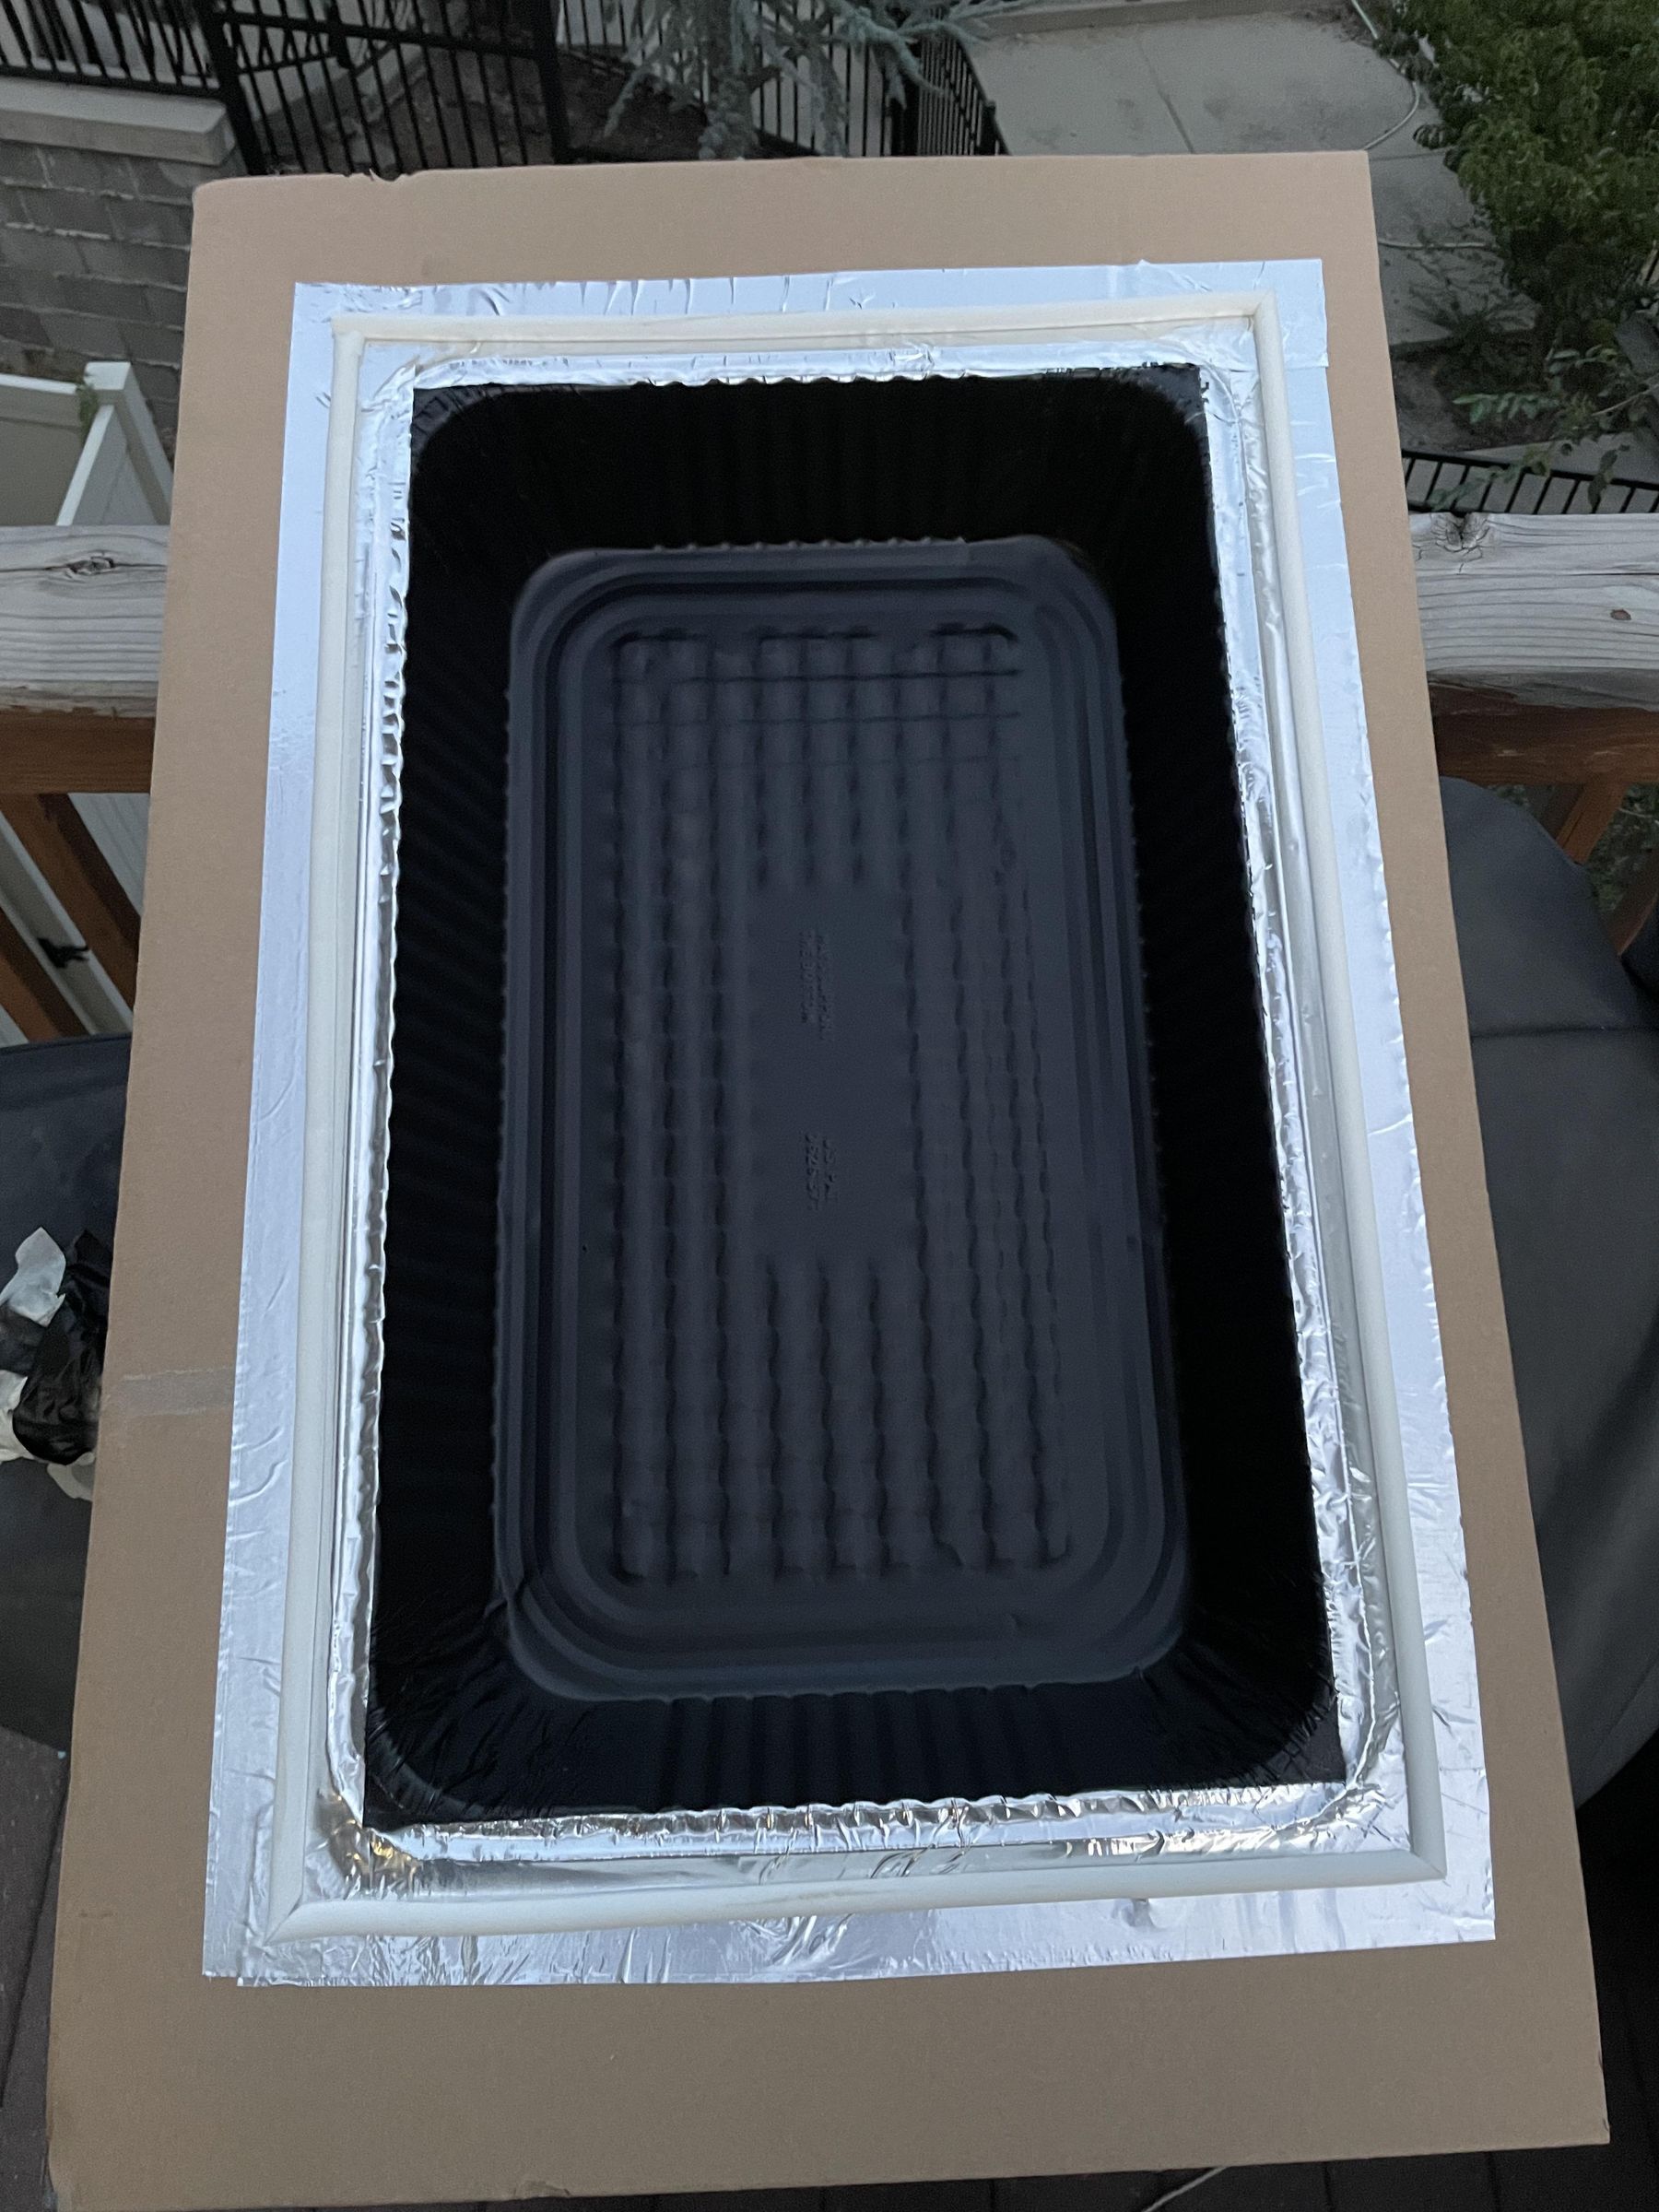
To paraphrase, Mr. Ford said you can have your car any color you want as long as it is black.
The same is true for solar ovens. because you want to absorb as much of the sunlight as possible and turn it into heat. So black, more specifically, Flat Black is what you want. [However, I recall one time reading an article that said that dark dark green did a better job pulling in all wavelengths of sunlight - think green leaves.]
But we are not going there. We are painting the oven pan flat black. Mask the pan off to control overspray and paint it flat black. In hindsight I probably should have used high temperature BBQ paint.
I should also caution that a person might want some assurance that the paint does not give off toxic fumes at high temperatures. I did not investigate this - hopefully I will not regret this one.
Build the Glass Window Frame
The sunlight has to get inside the oven somehow. We will install a window.
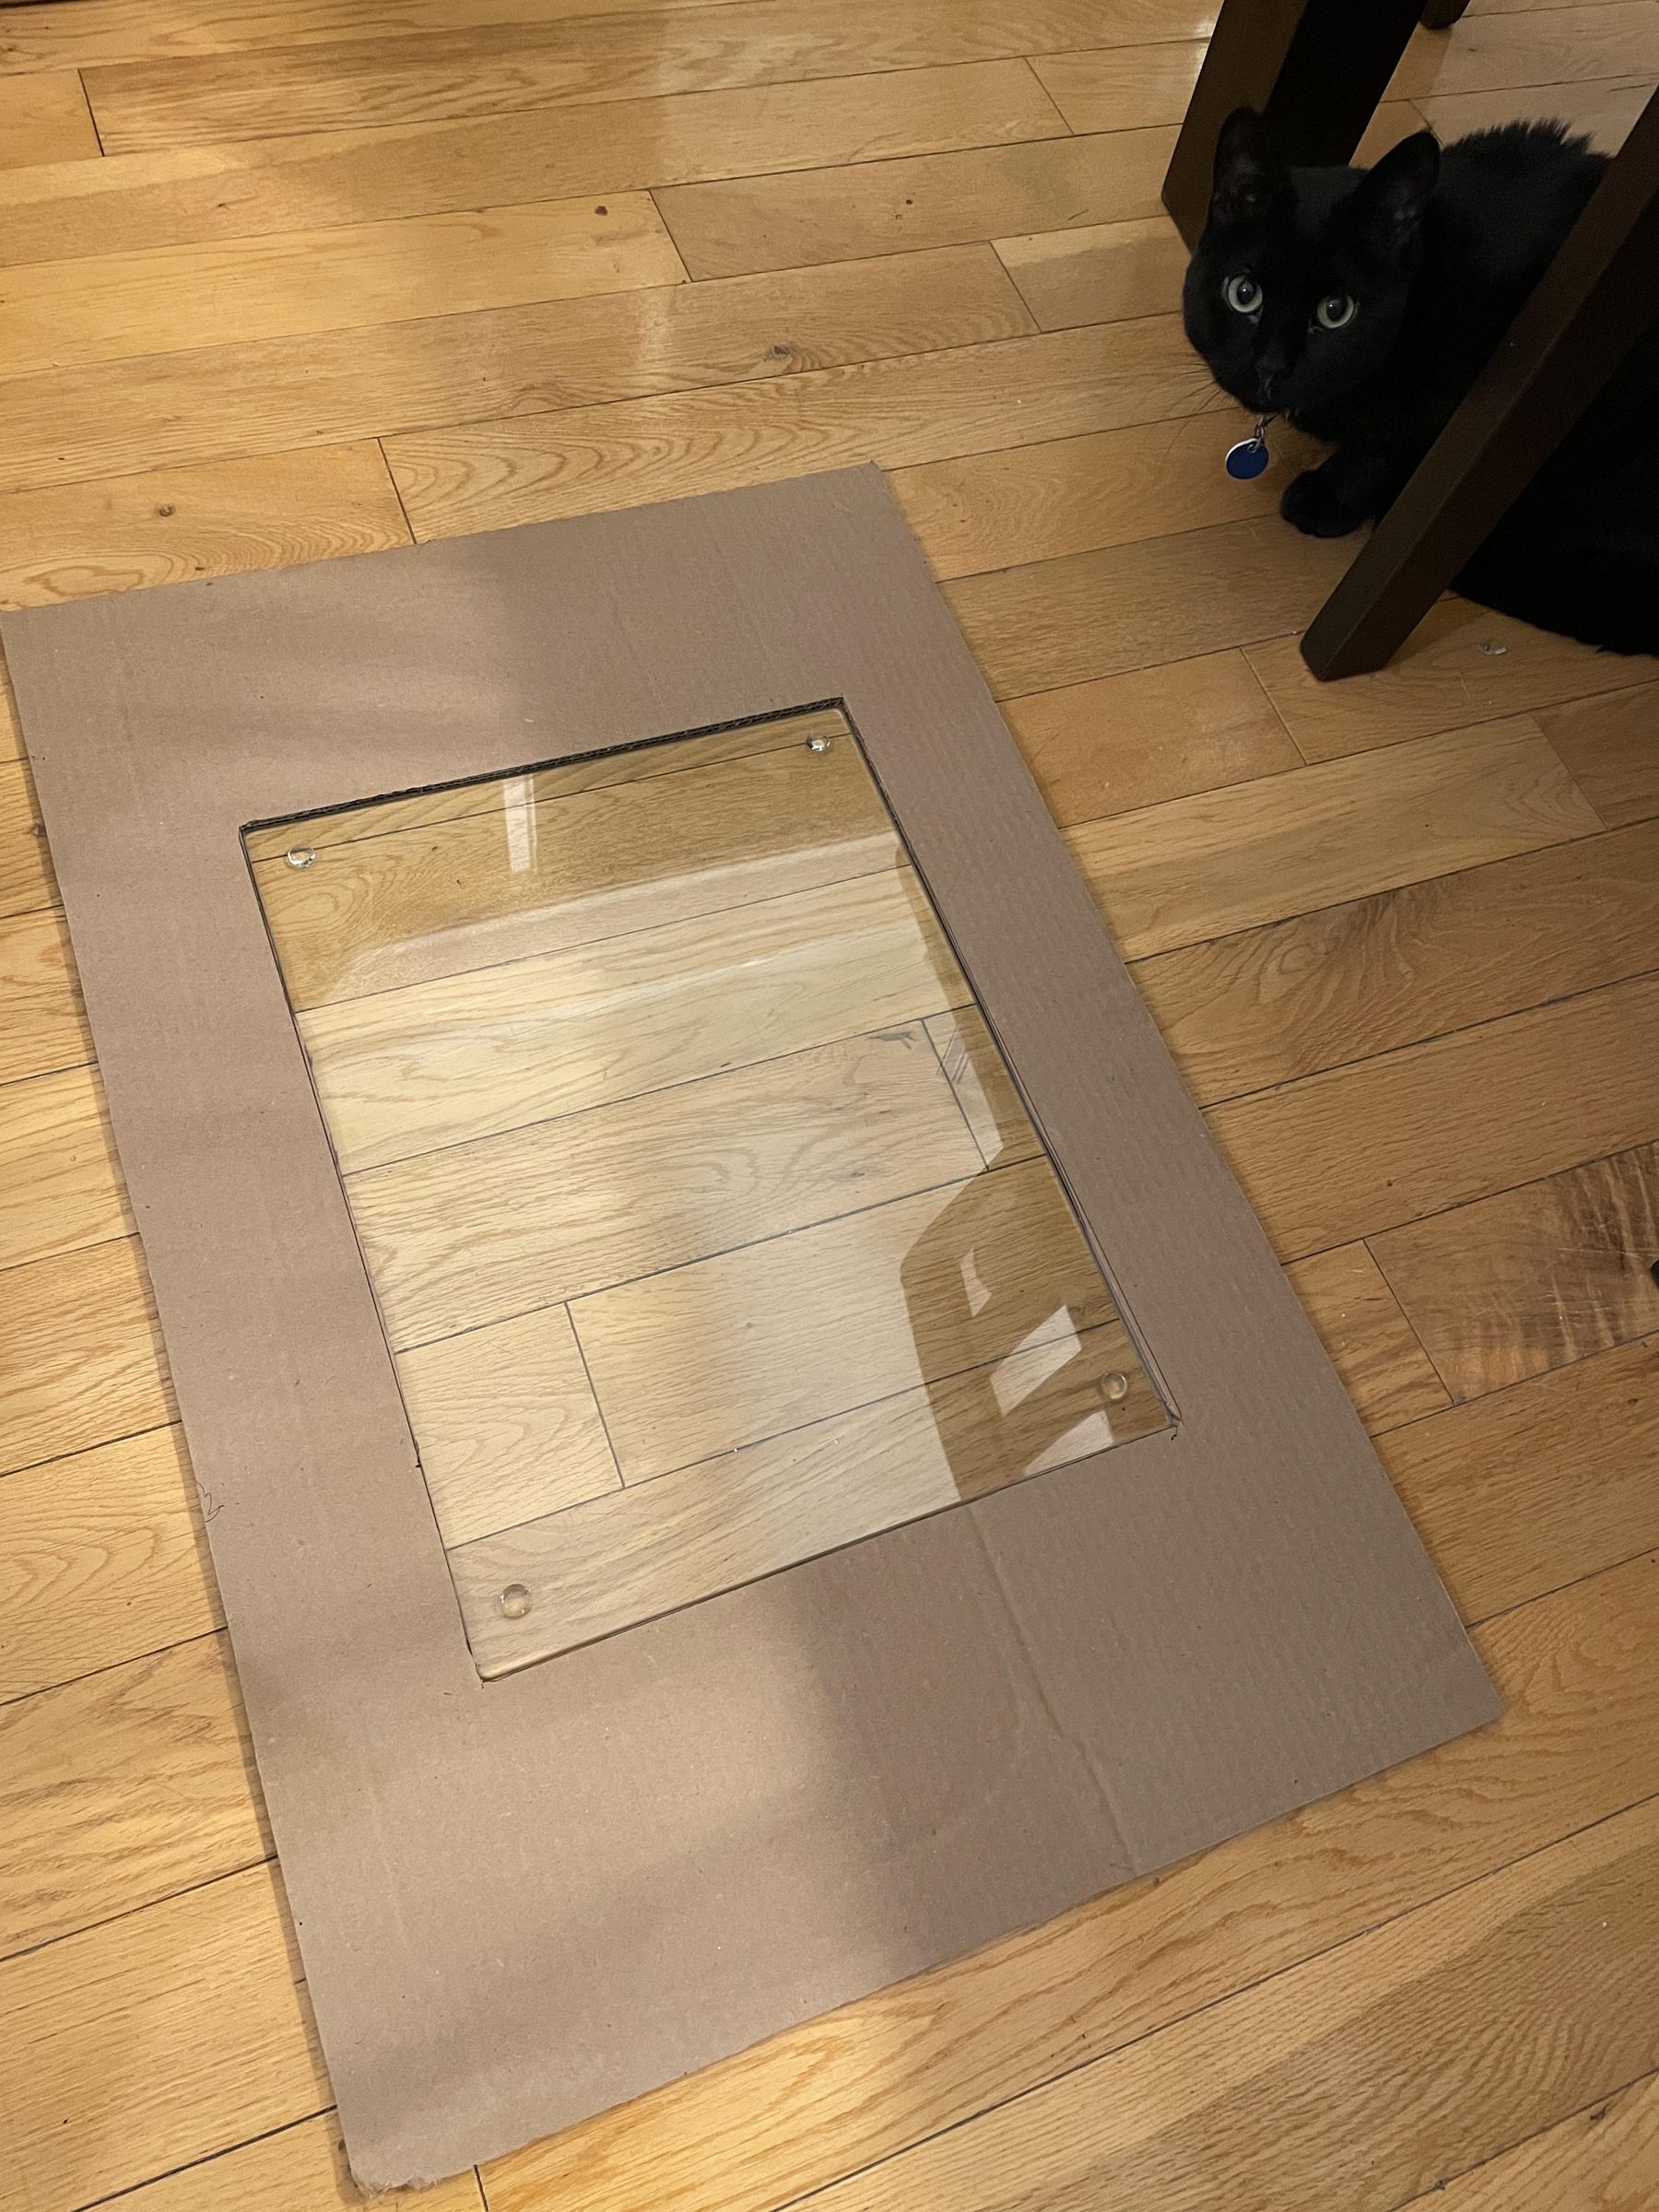
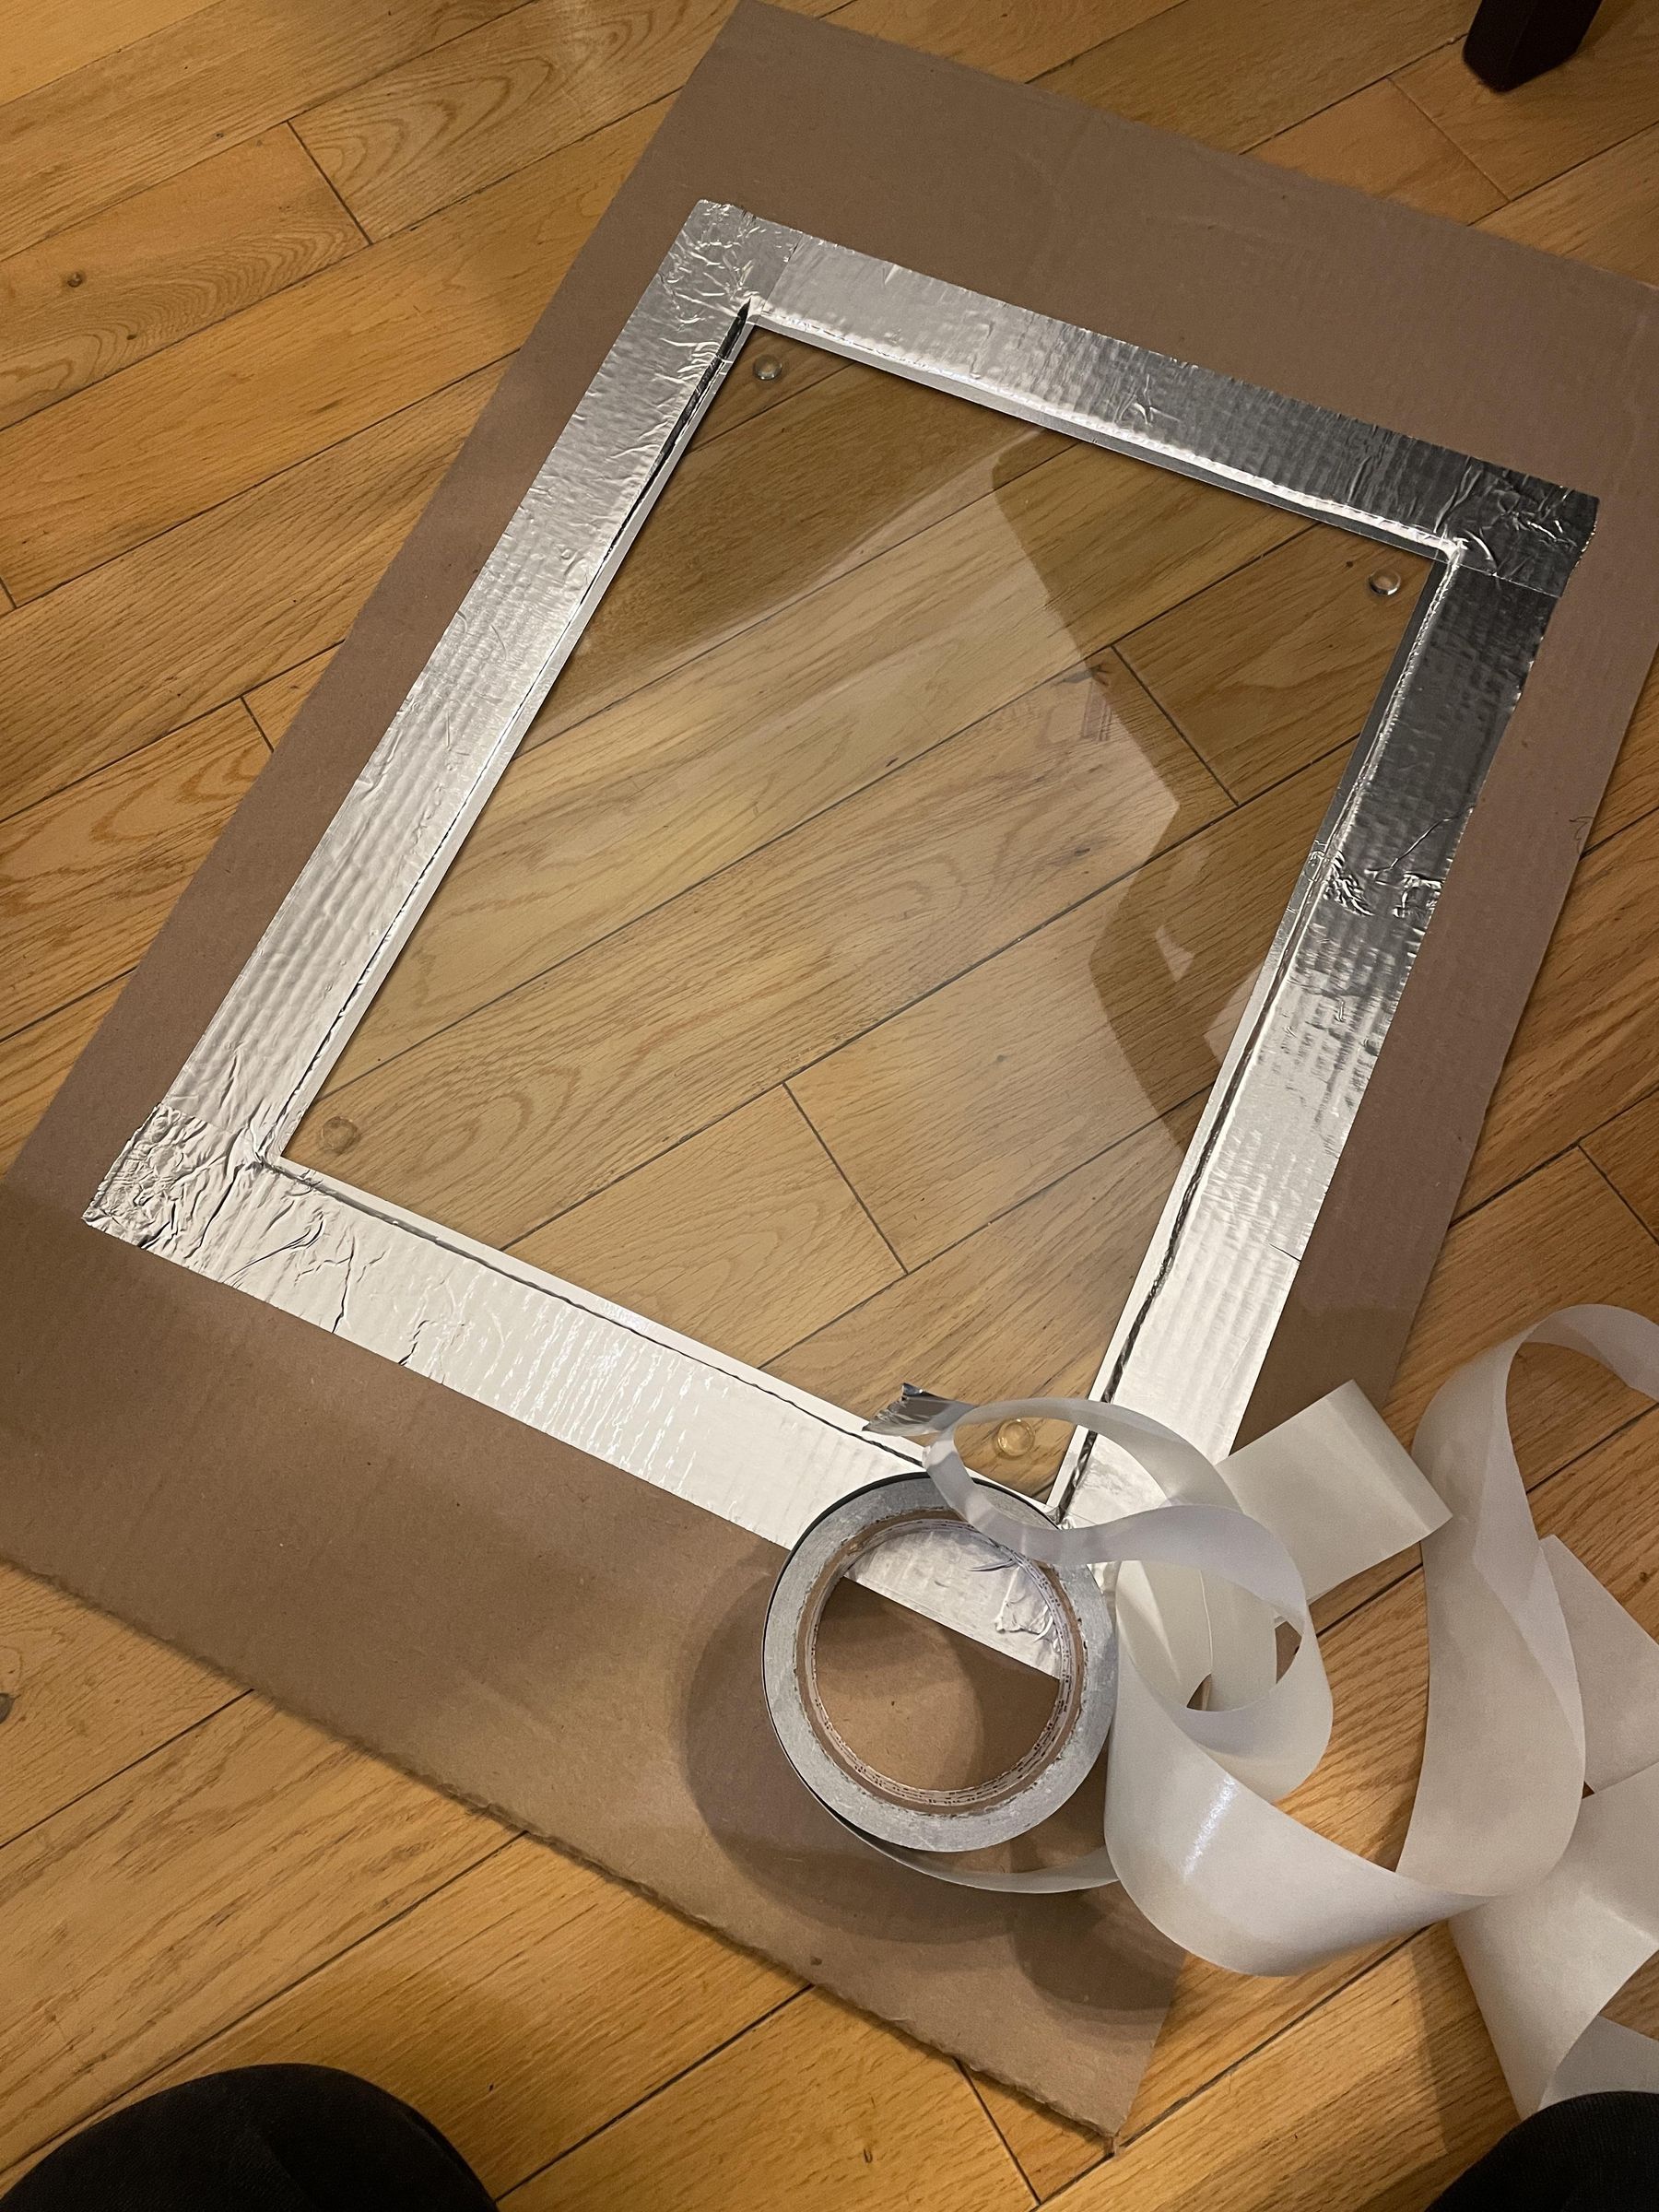
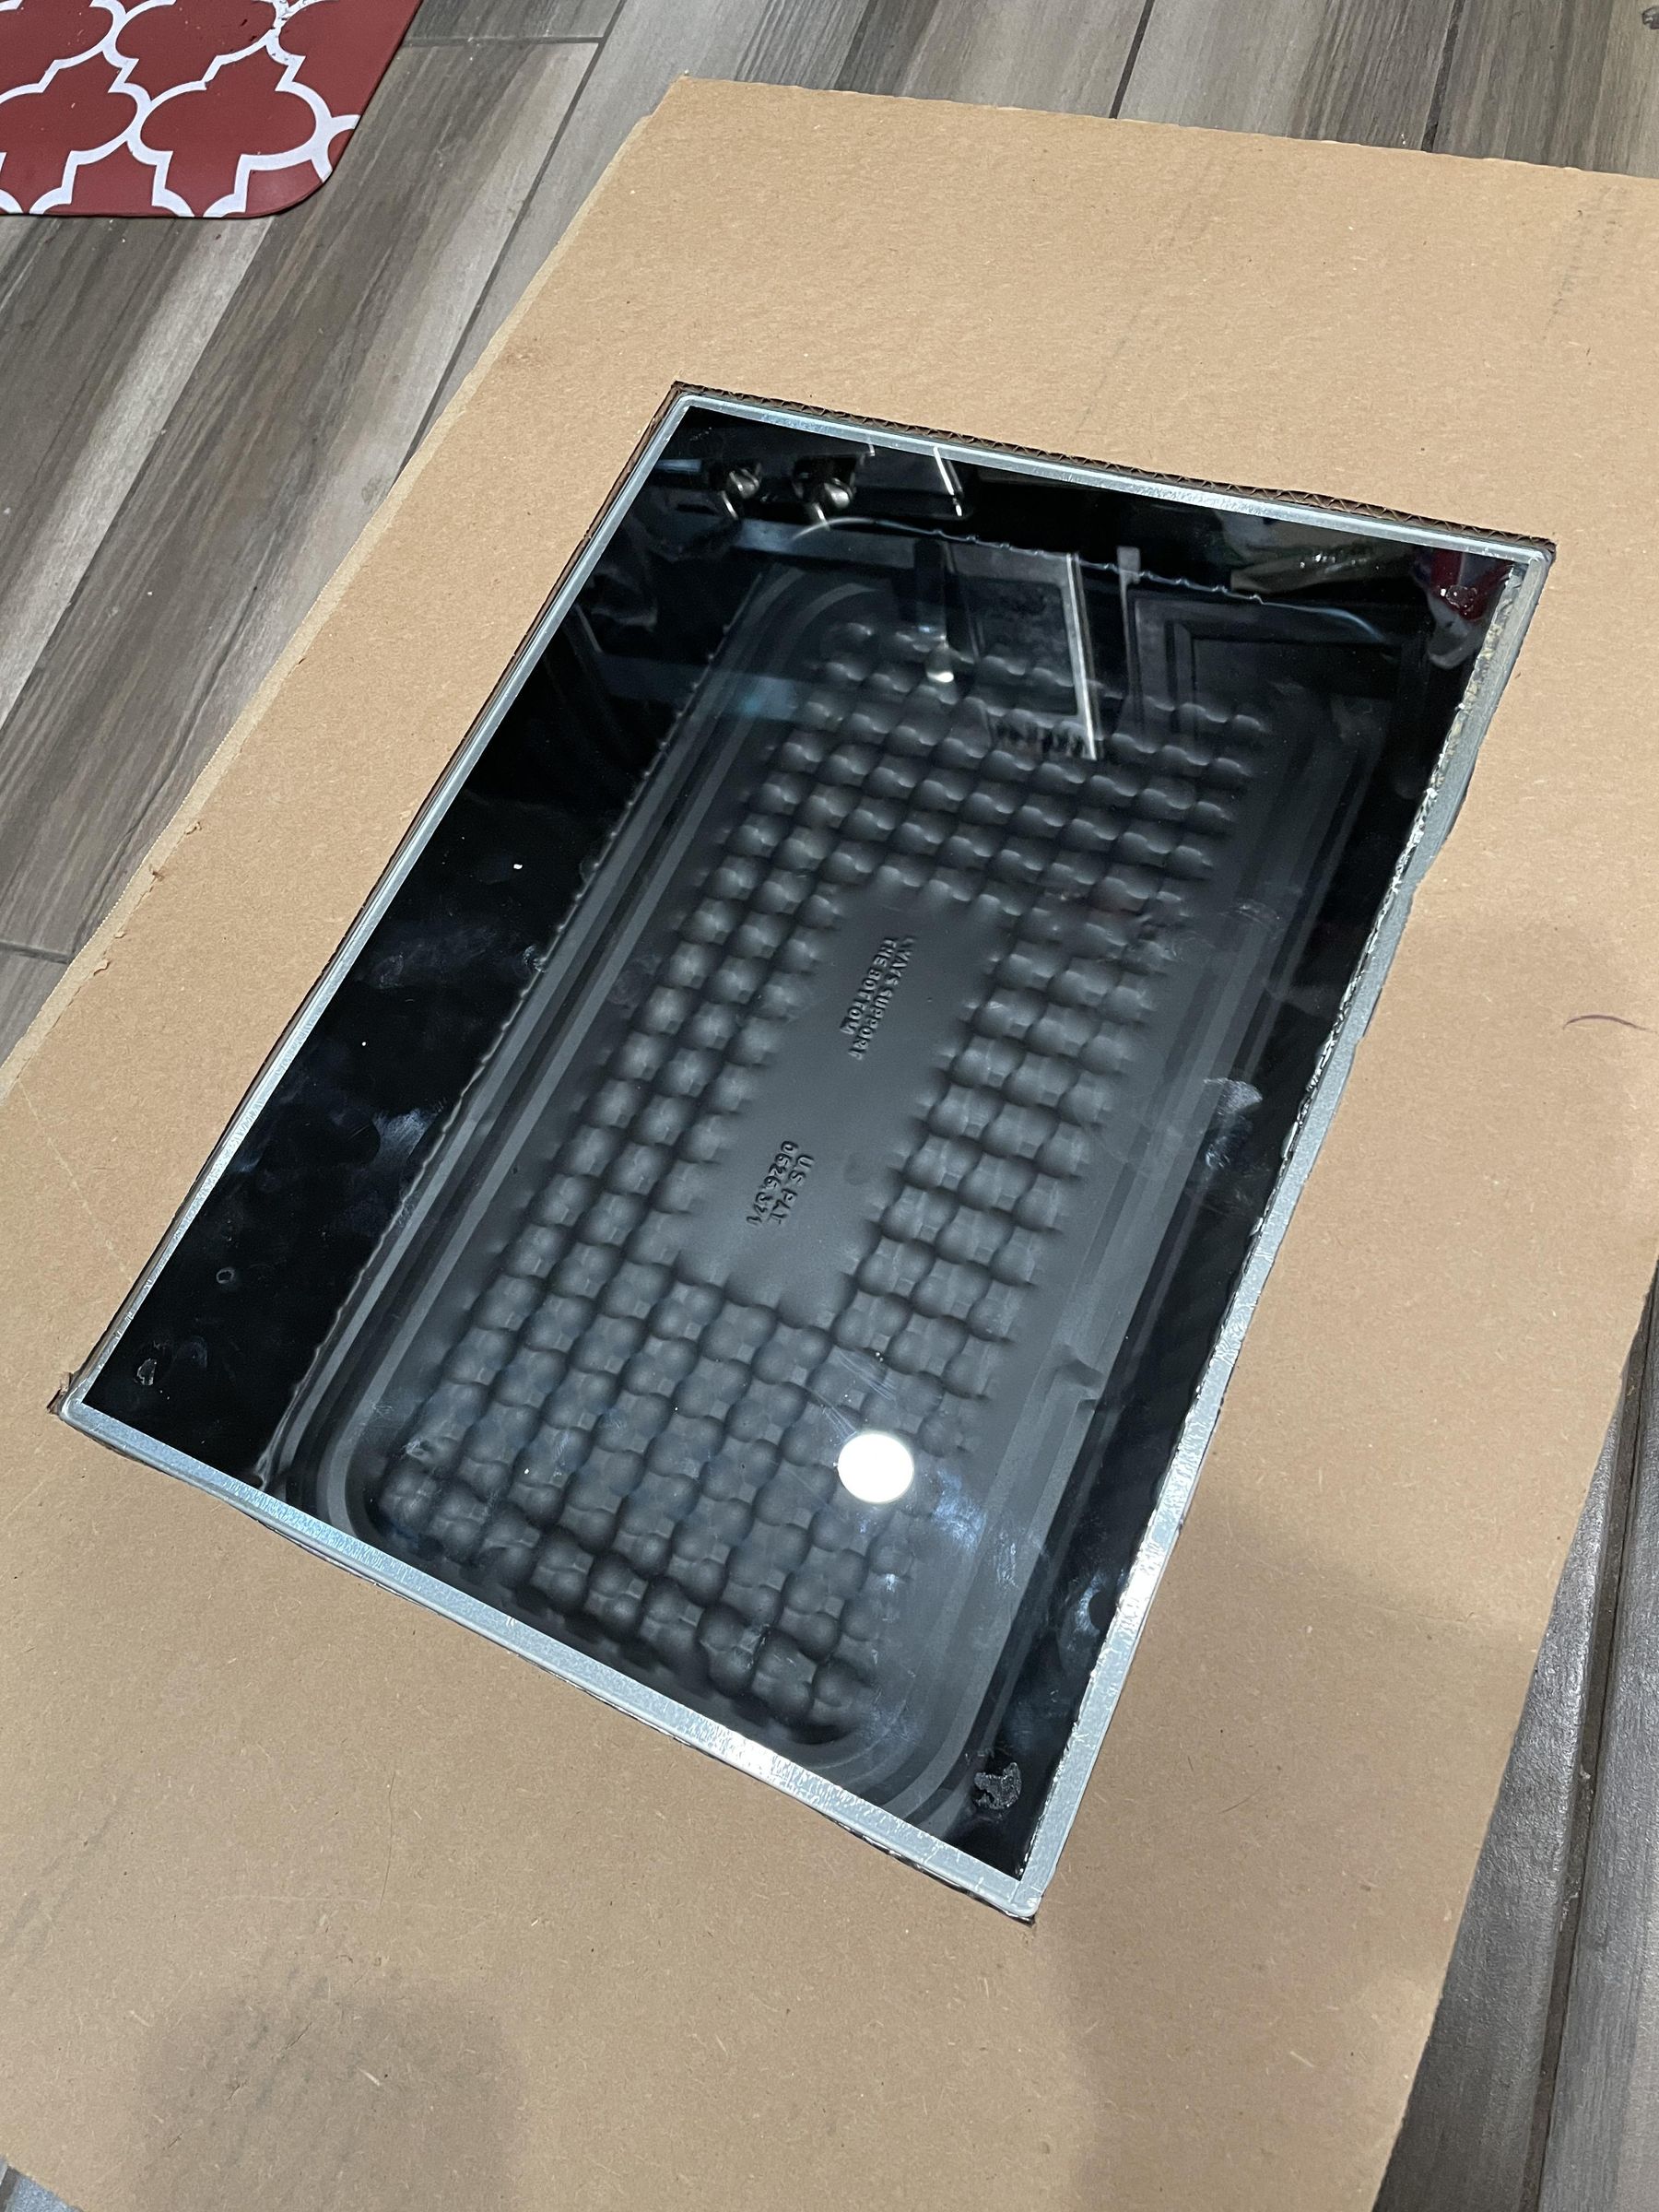
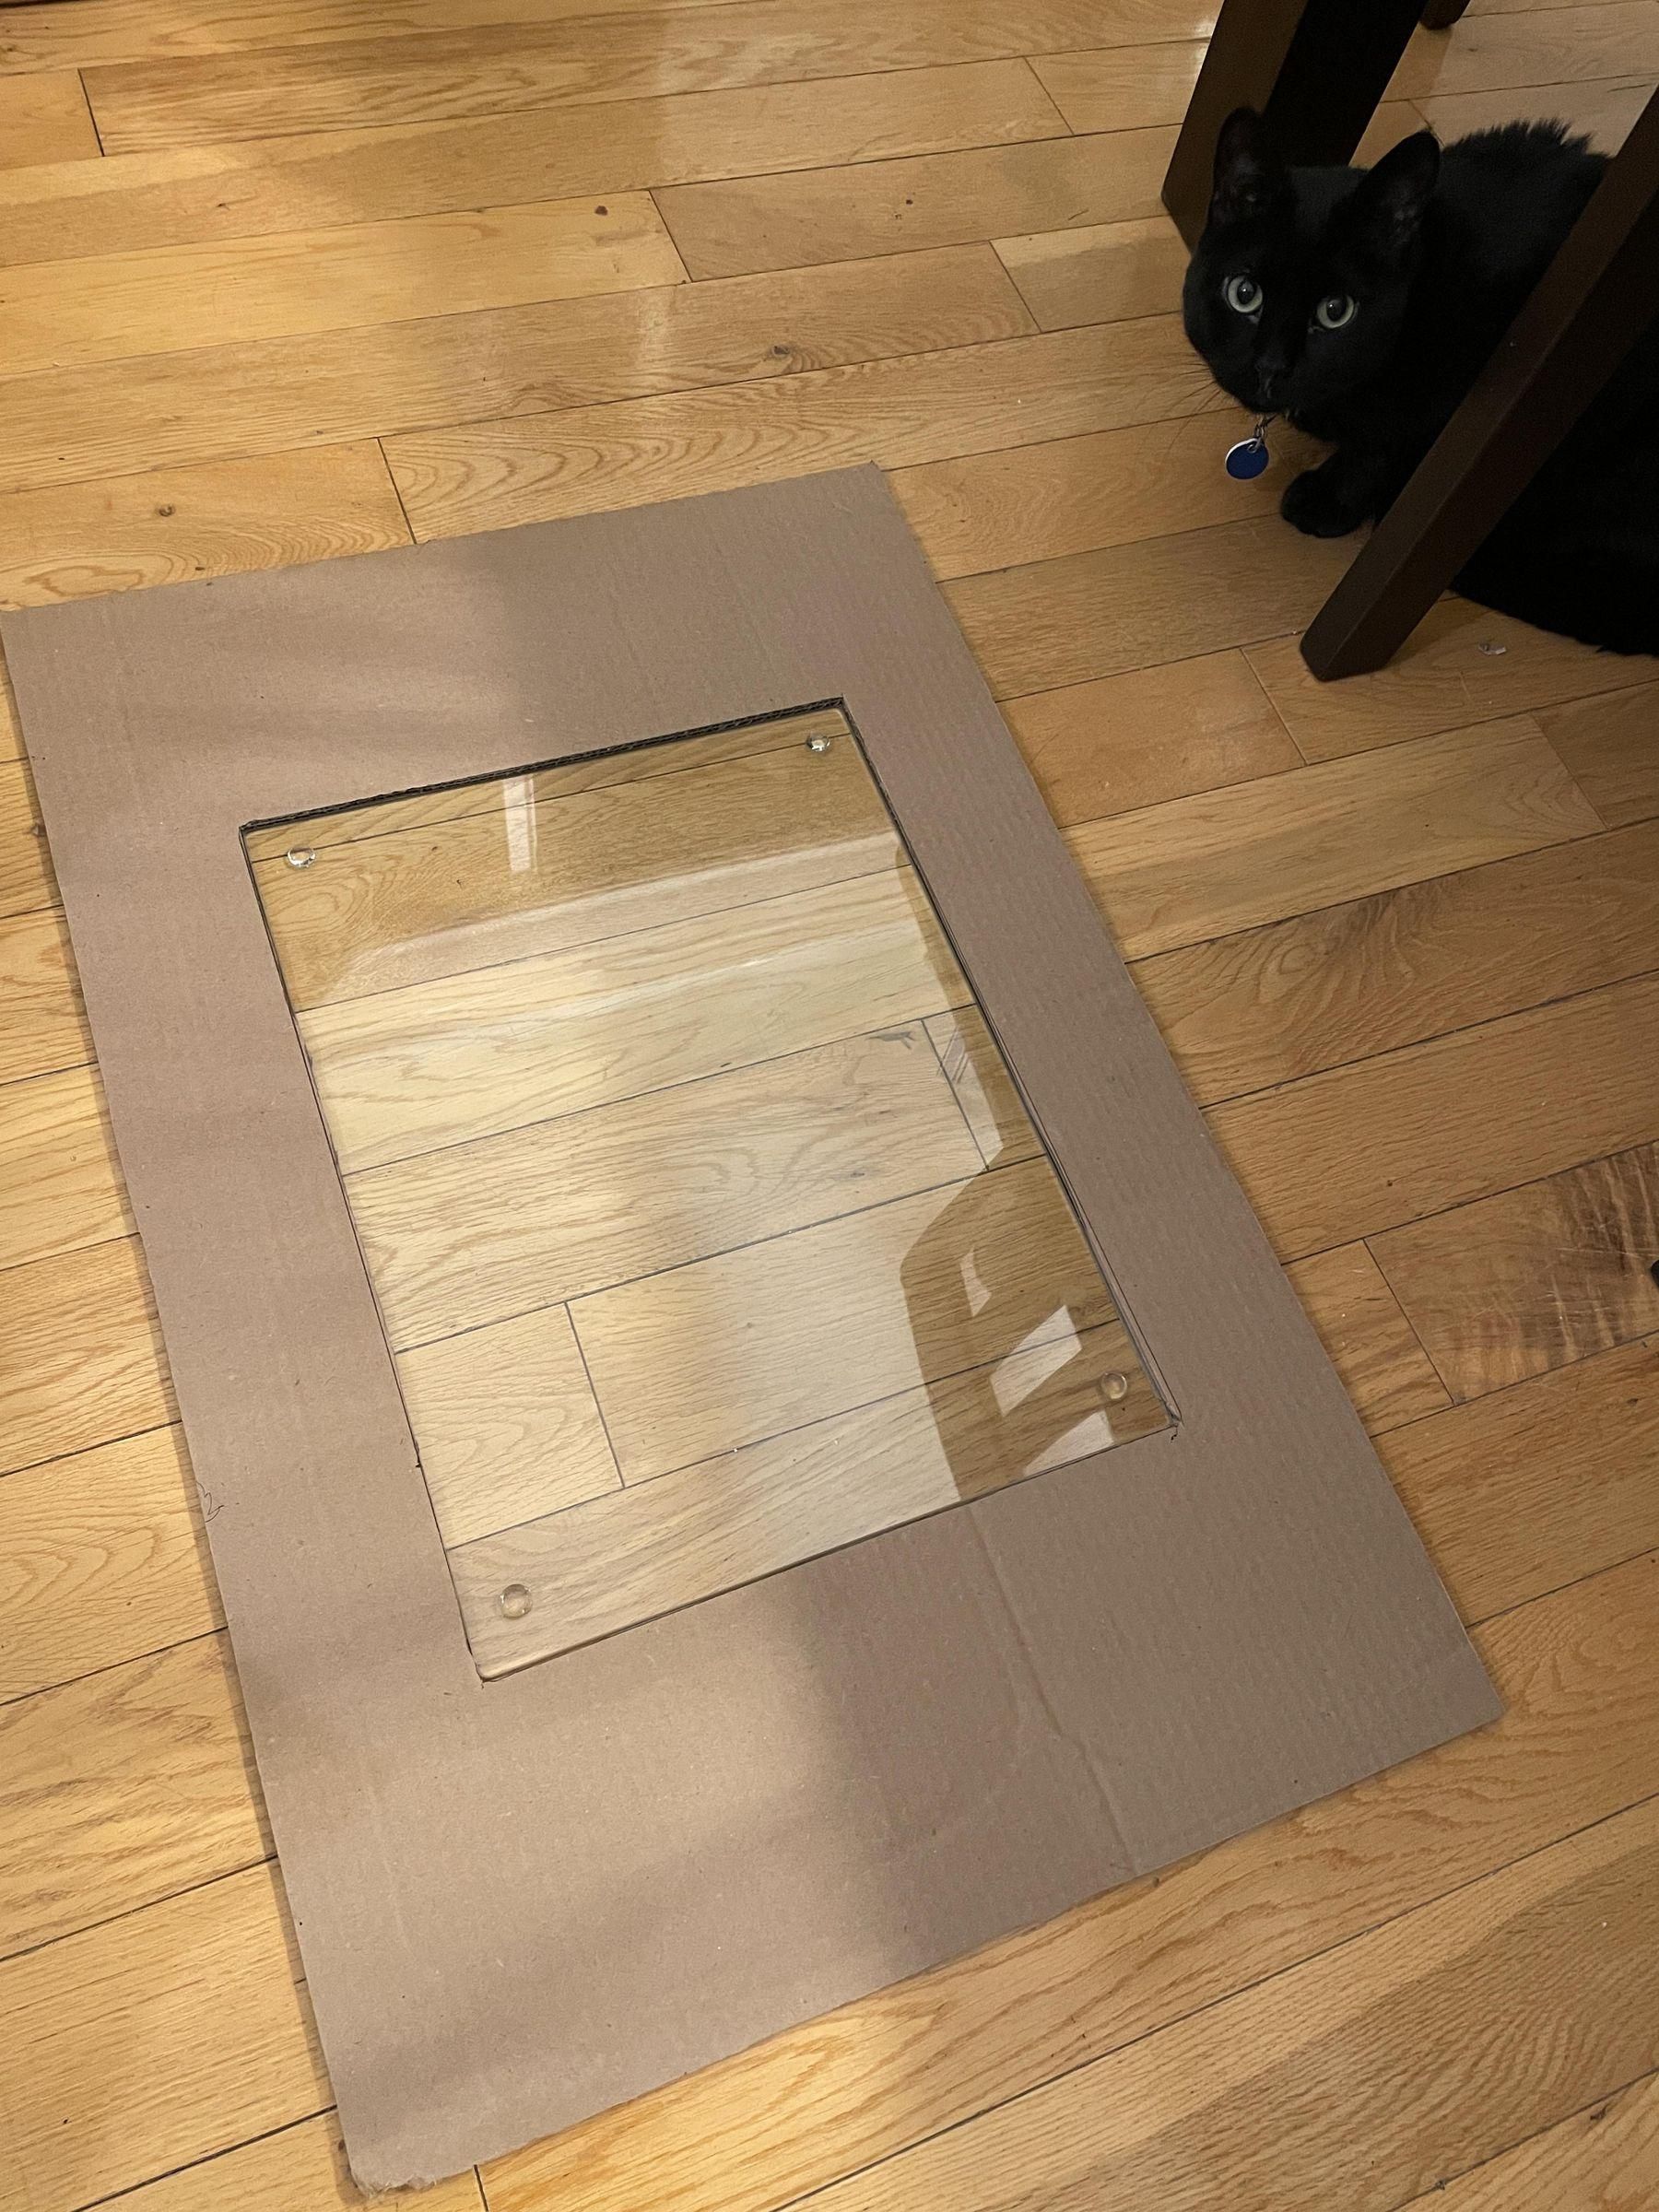
The glass window (1st pane) is the tempered glass (what a great use for a tempered glass cutting board!) and it is mounted in a cardboard frame. I cut a piece of cardboard the same size as the top of the oven box. I centered the glass on it and traced it. I then cut out the center opening. The glass fit perfectly into the cardboard frame.
I mounted the glass in place with more aluminum tape. I did several rows of tape so that the tape extended from the glass out to where the tape would come in contact with the gasket on the oven box. This would again provide a waterproof seal from the glass (oven compartment) to the gasket.
I may modify this step. I did some research and the acrylic adhesive on the aluminum tape may give off some nasty toxic chemicals if it gets too hot. Check the rating of the tape you plan to use. Some may be rated 200F but there are some that are rated up to 325F. No one wants to eat toxic food so purchase high temperature tape.
As an alternative, I am considering using heavy duty aluminum foil to cover the entire side of the cardboard frame the glass is mounted in that faces the oven pan.
I plan on taking the cardboard frame without the glass in it and laying it on top of the aluminum foil and then cut an 'x' in the foil from corner to corner of the opening in the frame to create 4 flaps. Fold those flaps back through the opening onto the top surface of the frame and tape them in place. They will be attached outside of the oven chamber. The glass would then be pushed into the opening and sealed in place with 100% silicone caulk, which has a high temperature rating.
Build the 2nd Glass Window
If one window is good, then two ought to be better. We will make a second window.
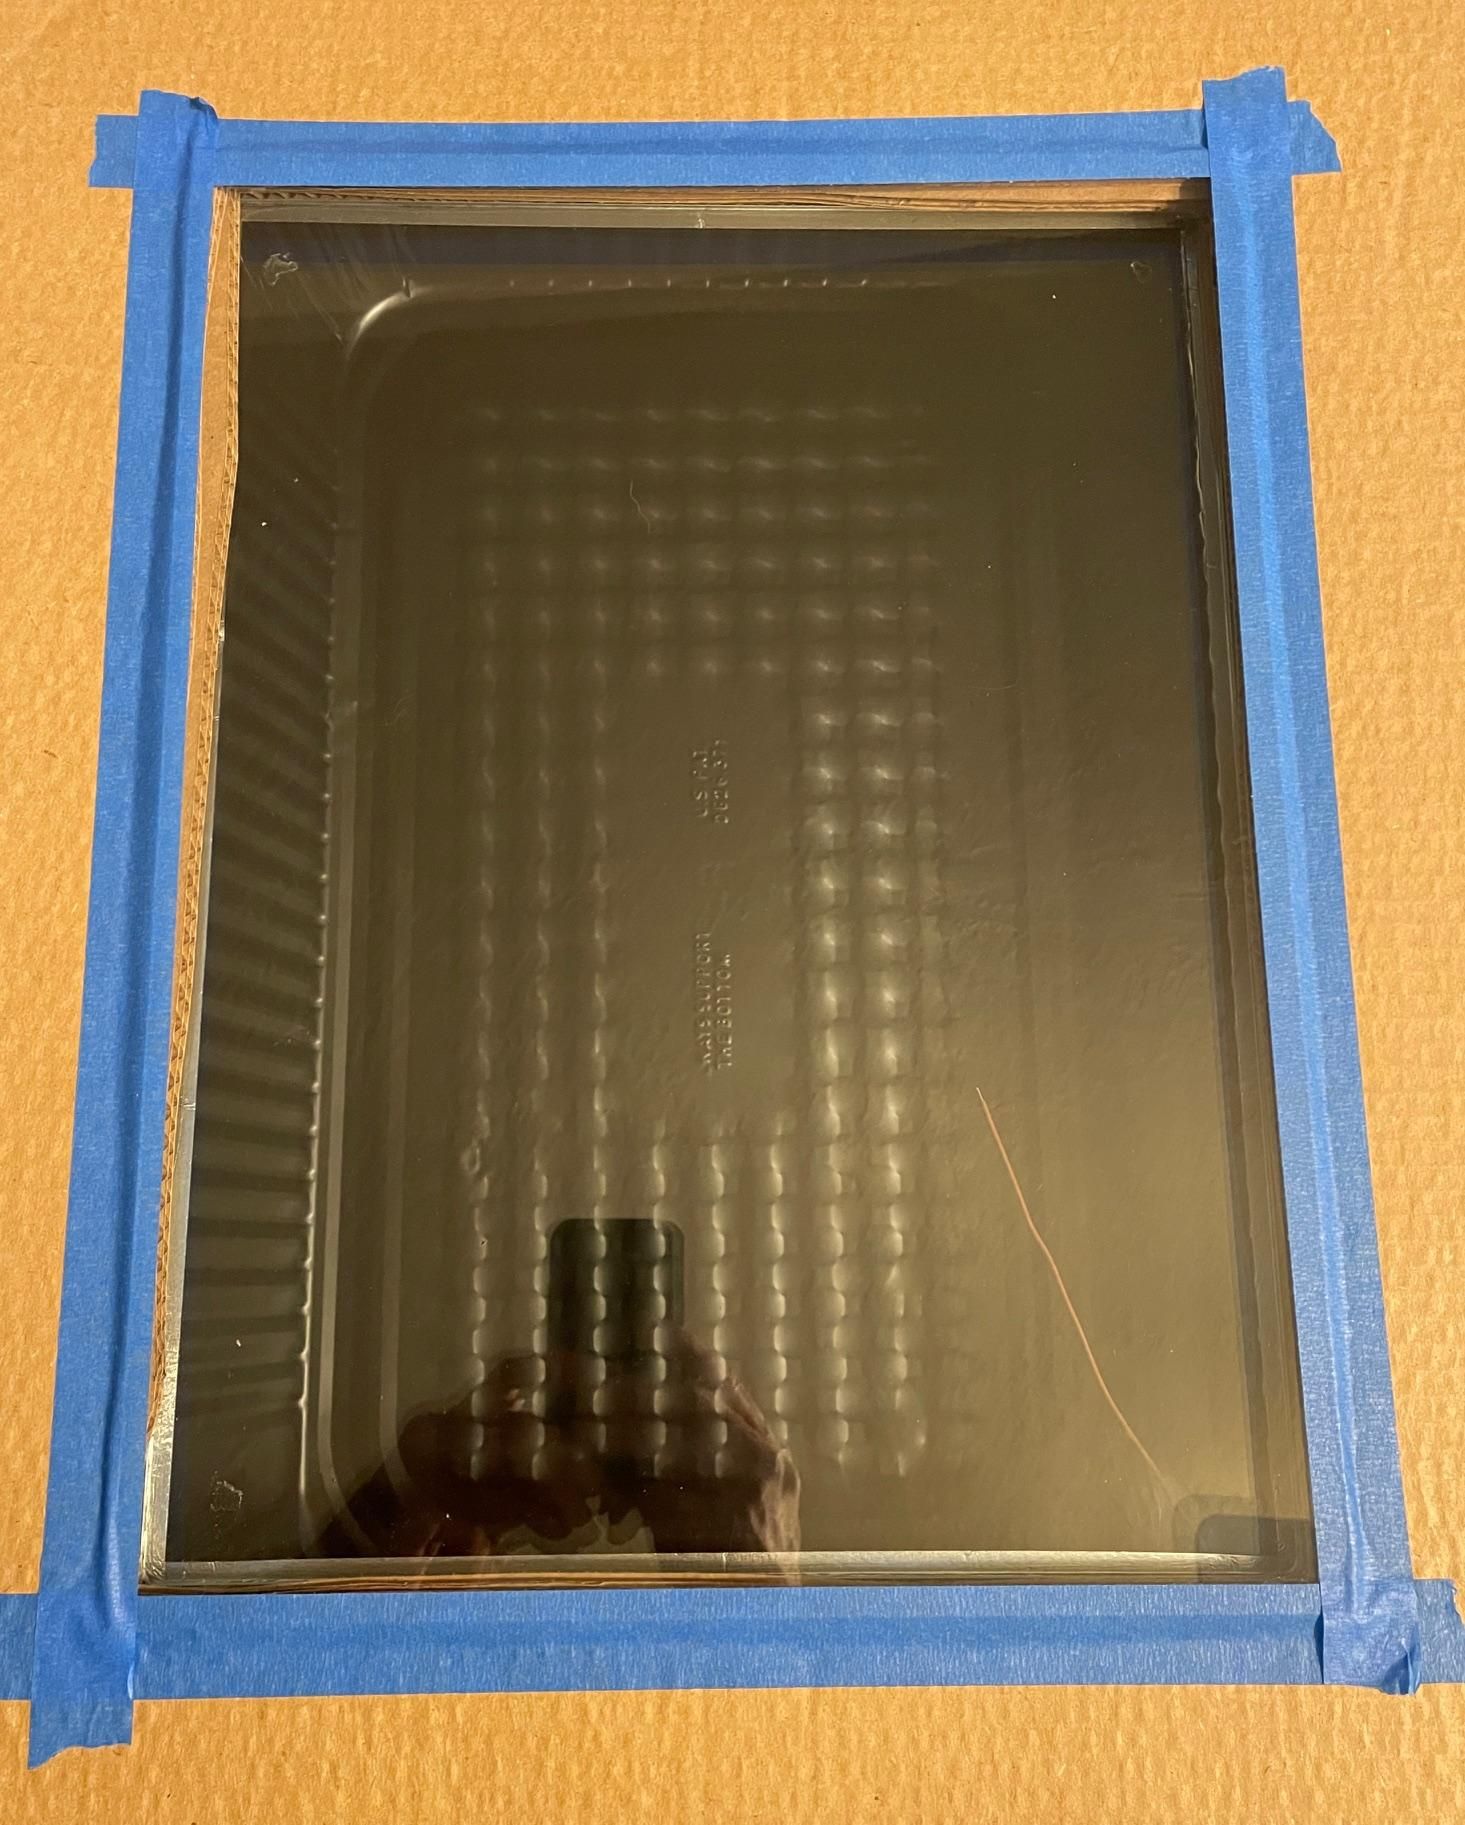
The top glass in mounted onto yet another cardboard frame. The opening in this frame is slightly smaller than the glass so the glass will not fit into the opening, but is taped on top of the frame with masking or aluminum tape.
There are three frames in total. The bottom tempered glass frame. A middle frame that just acts as a spacer to provide a good air gap between the two pieces of glass. And then the top frame that supports the regular glass.
The frames are stacked and some masking tape from the top frame to the oven box holds them in place.
Ultimately I anticipate cleaning up the edge of the three frames by covering them with tape and making them one unitized assembly.
Try Making a Mylar Reflector
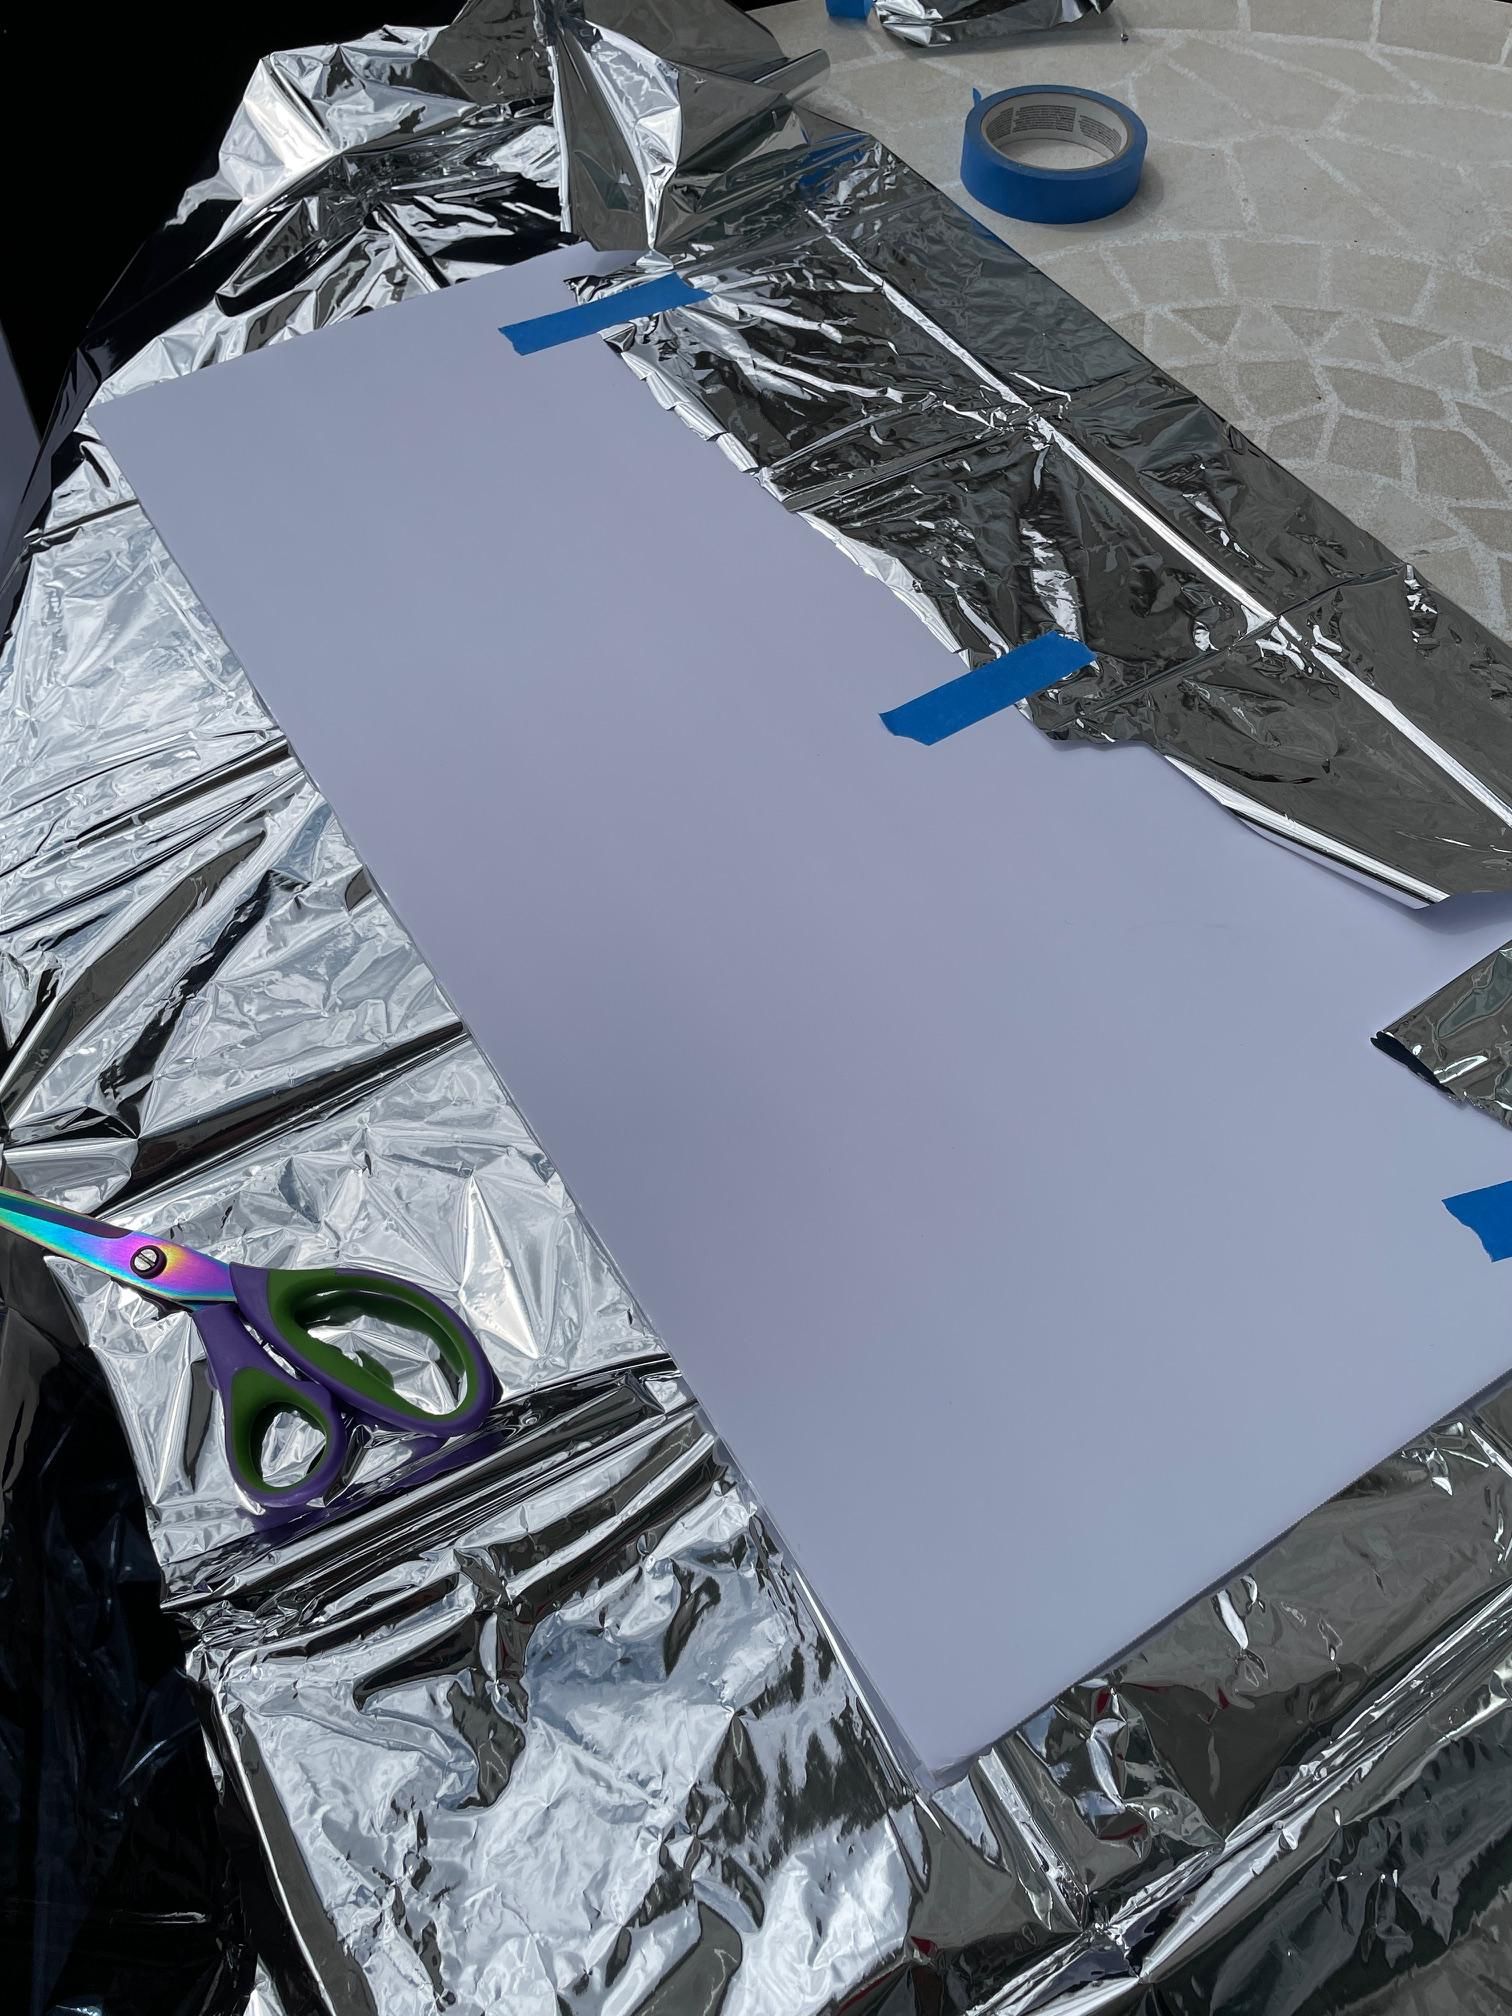
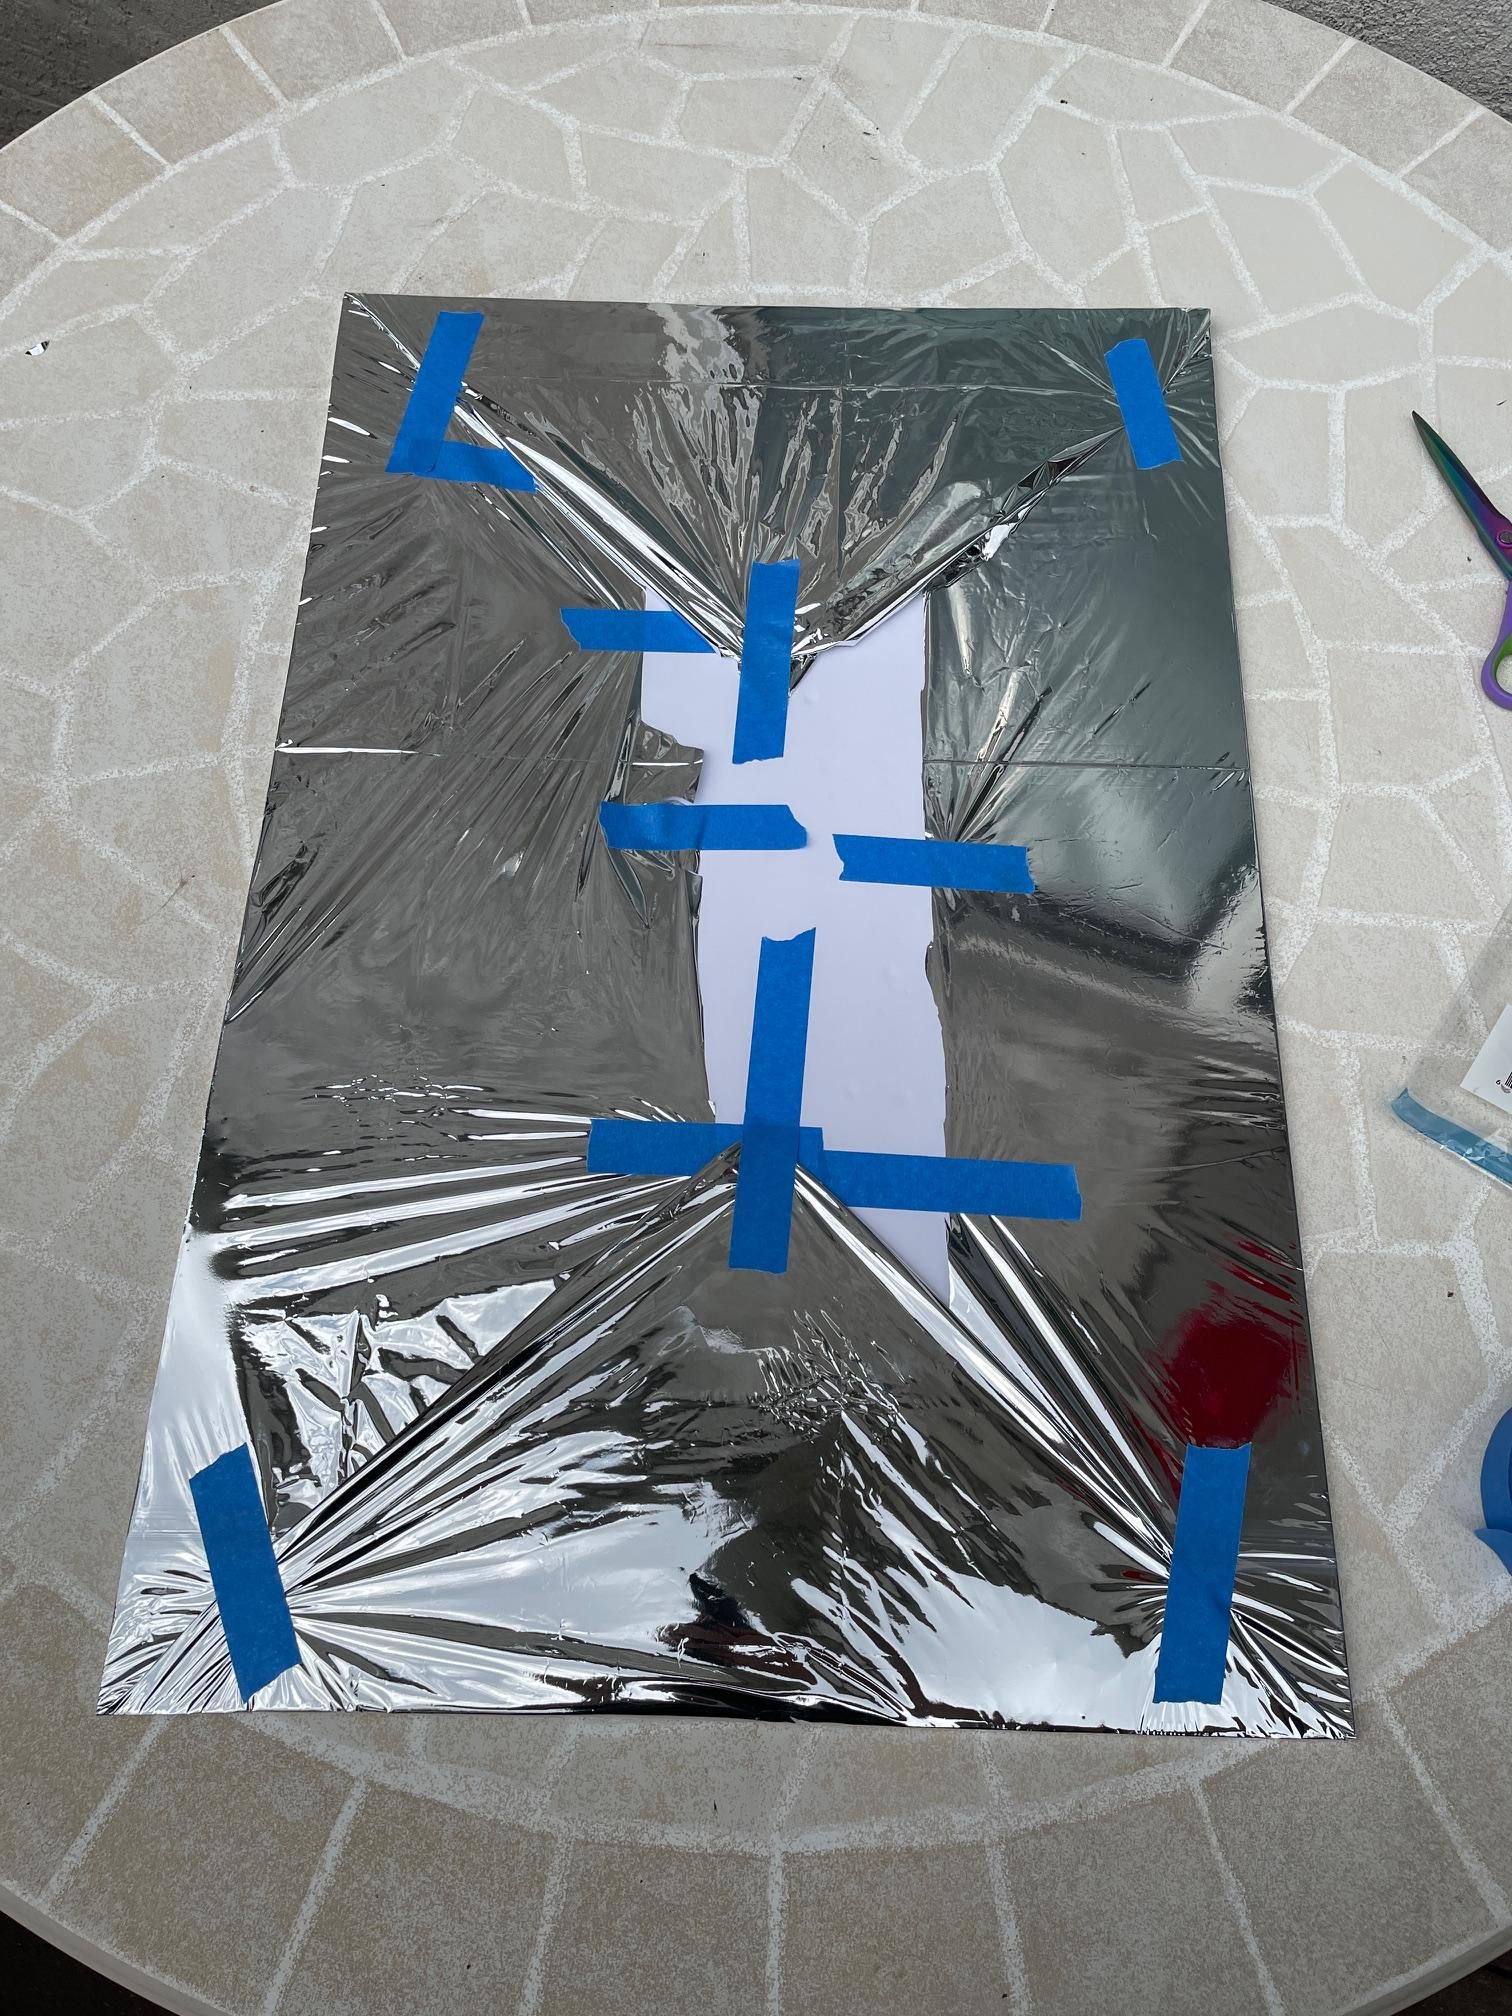
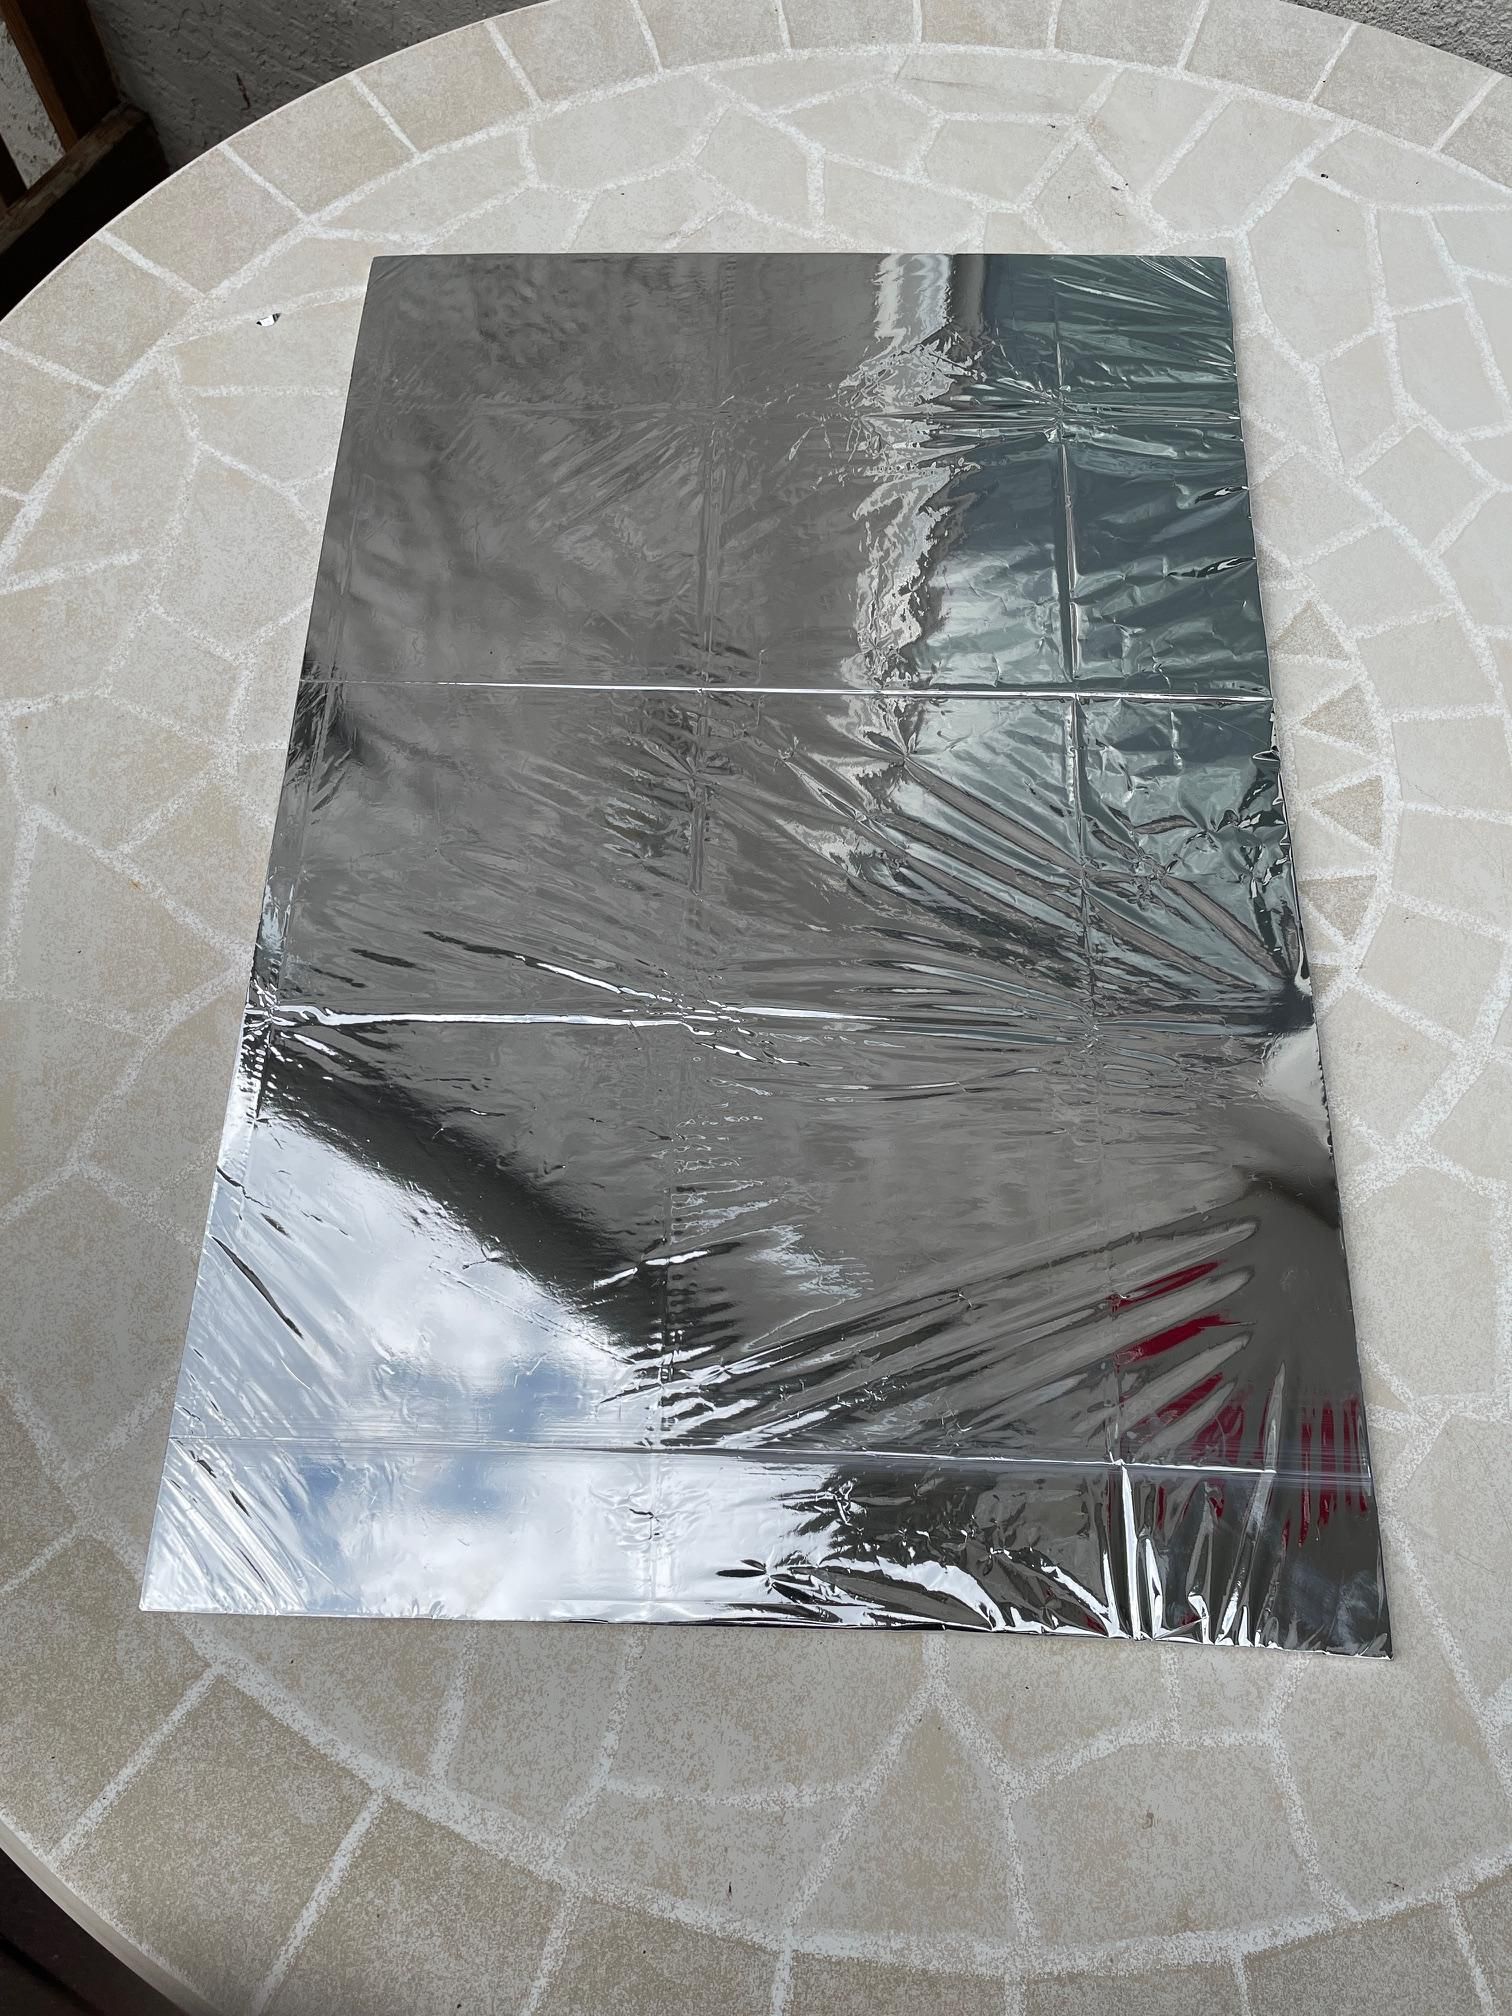
Reflectors have their place and I wanted to try them. I was only partially successful, at least in my opinion. I hope this doesn't 'reflect' negatively on me. (Sorry, I couldn't resist).
I wanted reflectors since I was going to see if they could overcome the perceived disadvantage of having the oven glass horizontal instead of angled toward the sun.
Aluminum foil can be used, but aluminized mylar is supposed to be more reflective. I have used 'space blankets' for this purpose on other projects. I found that a cheaper source of aluminized mylar is a mirror-like silver table cloth from the dollar store!
I tried using 3M 77 spray adhesive on foam core board and placing the mylar onto it, but the adhesive is such that if the mylar touches it you are stuck there. And getting the mylar down smooth without major wrinkles is also big challenge.
This time I tired a new approach. Just laying the mylar out and placing the foam core board on top of it. Then stretching the mylar taut and taping it in place. This seemed to give reasonable results, but by no means do you end up with anything resembling a mirror. I will have to continue to explore this area.
Find Some Sunshine
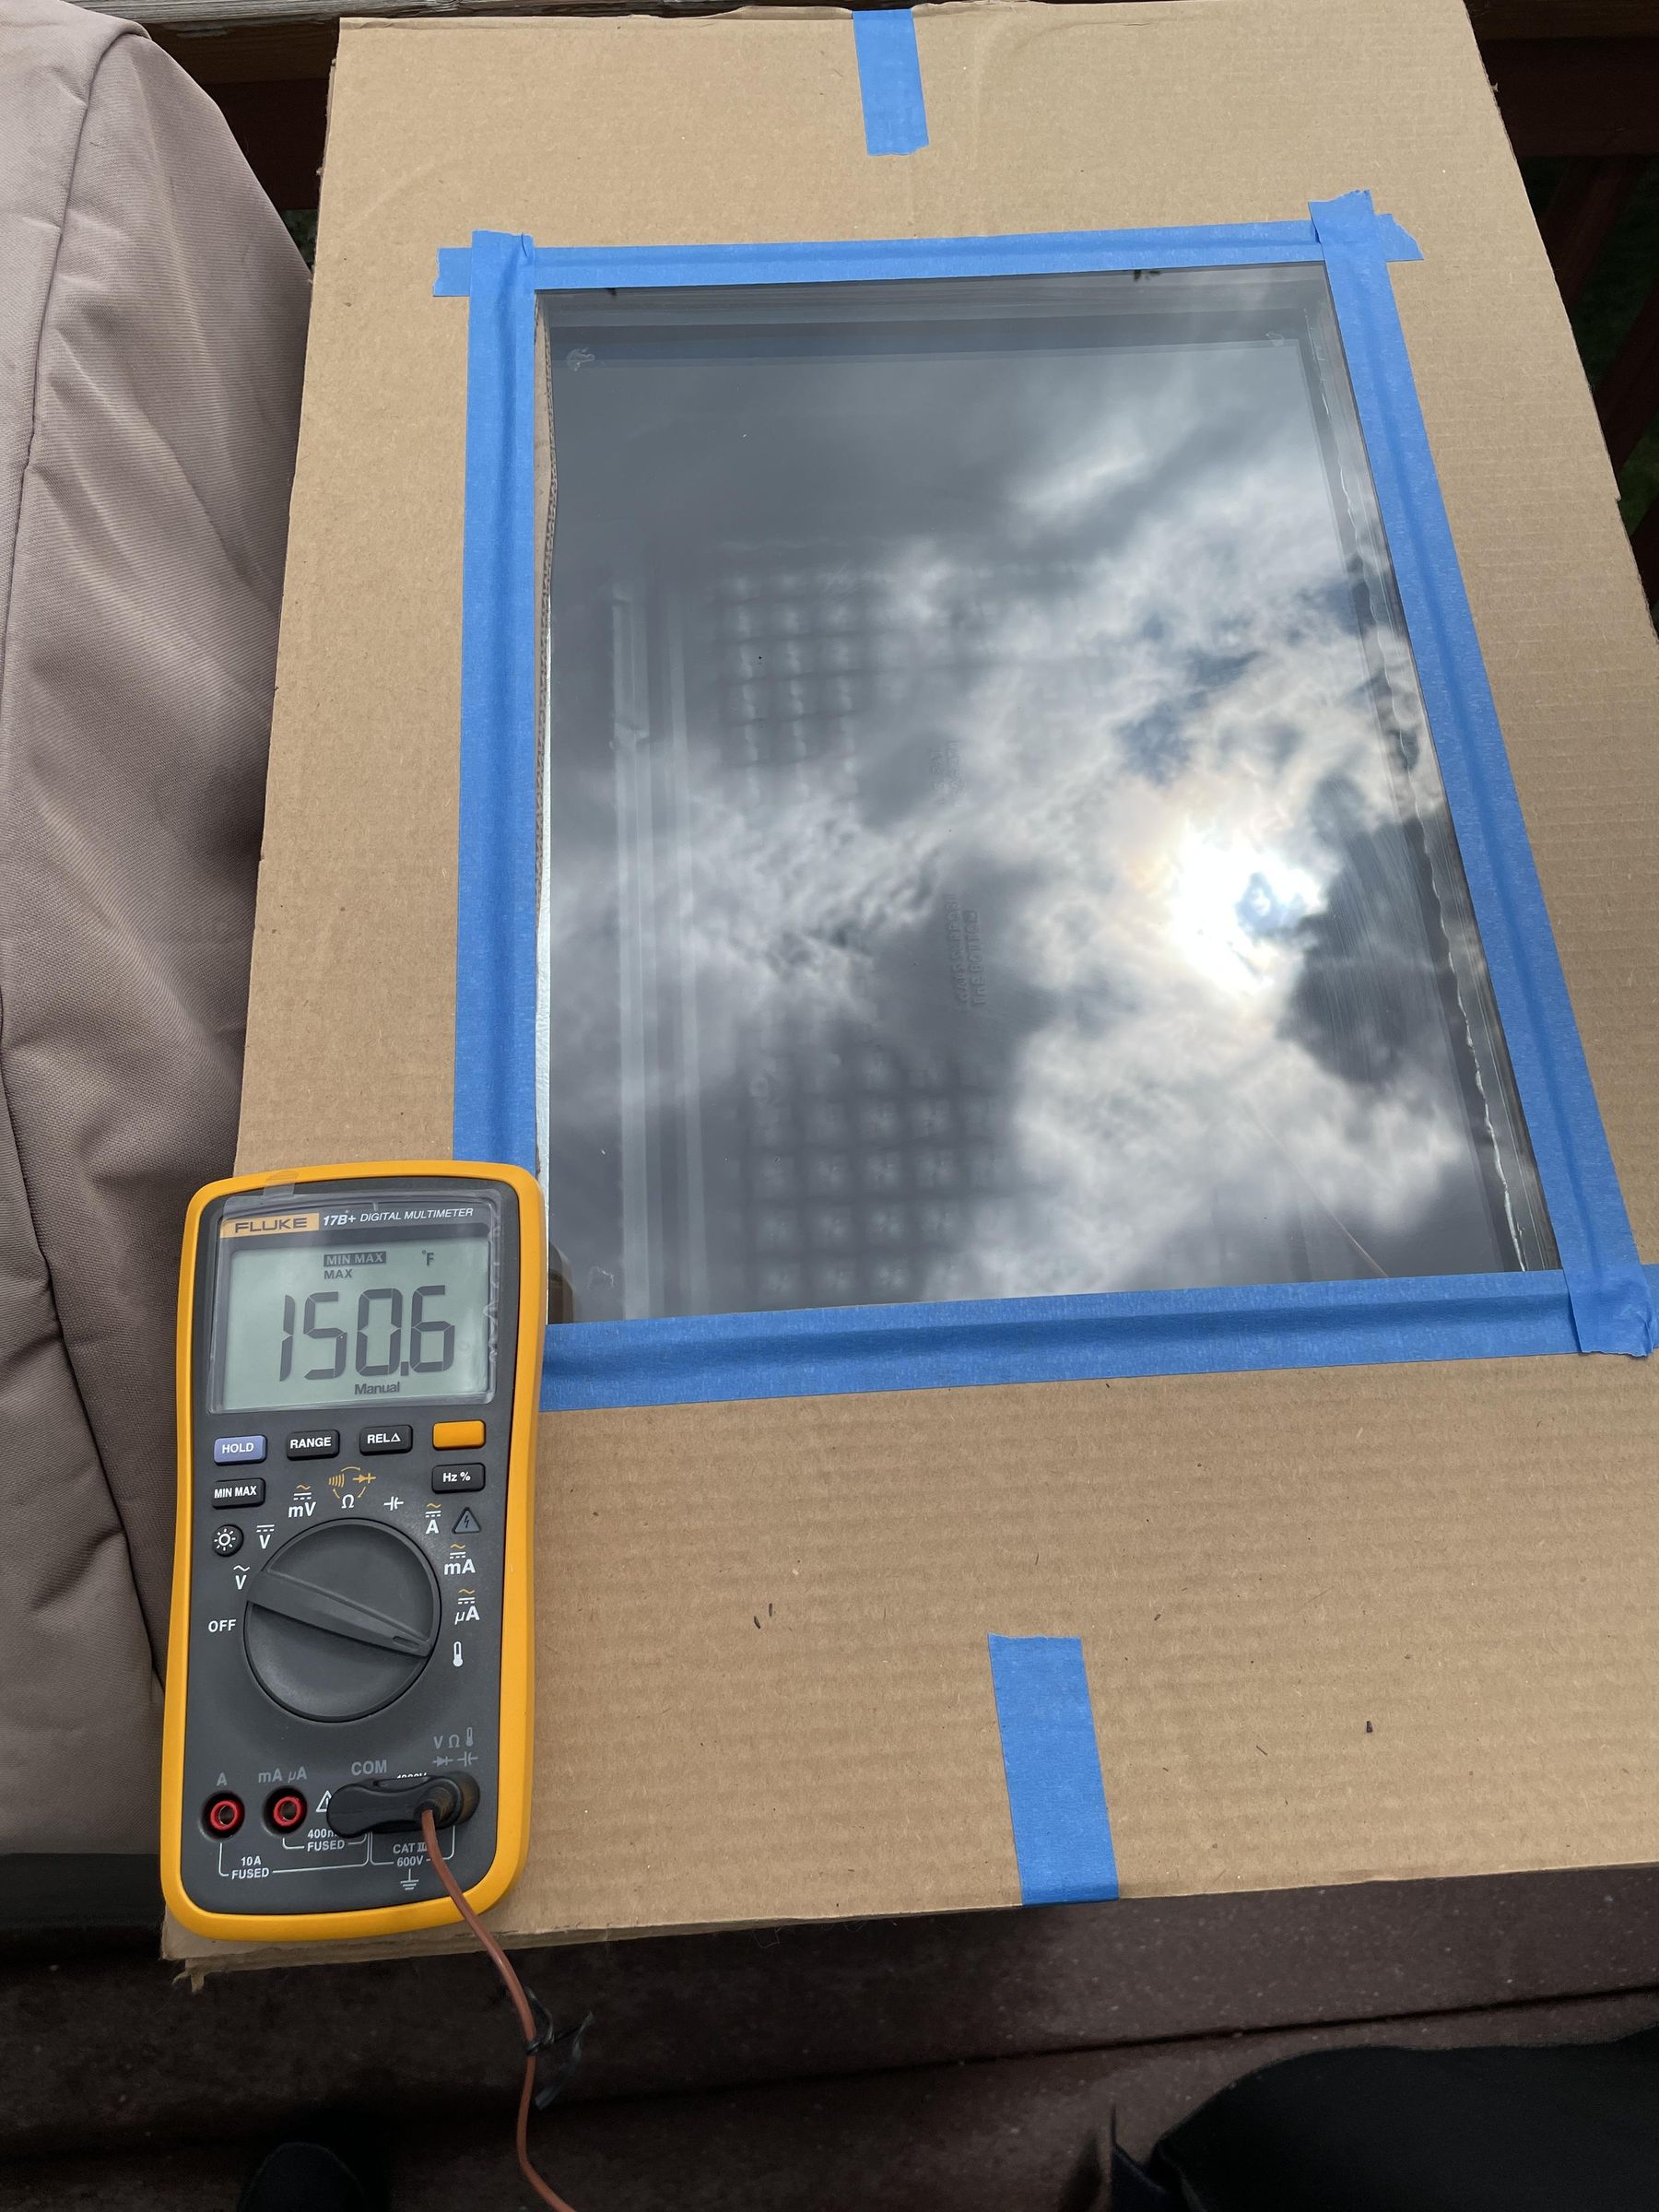
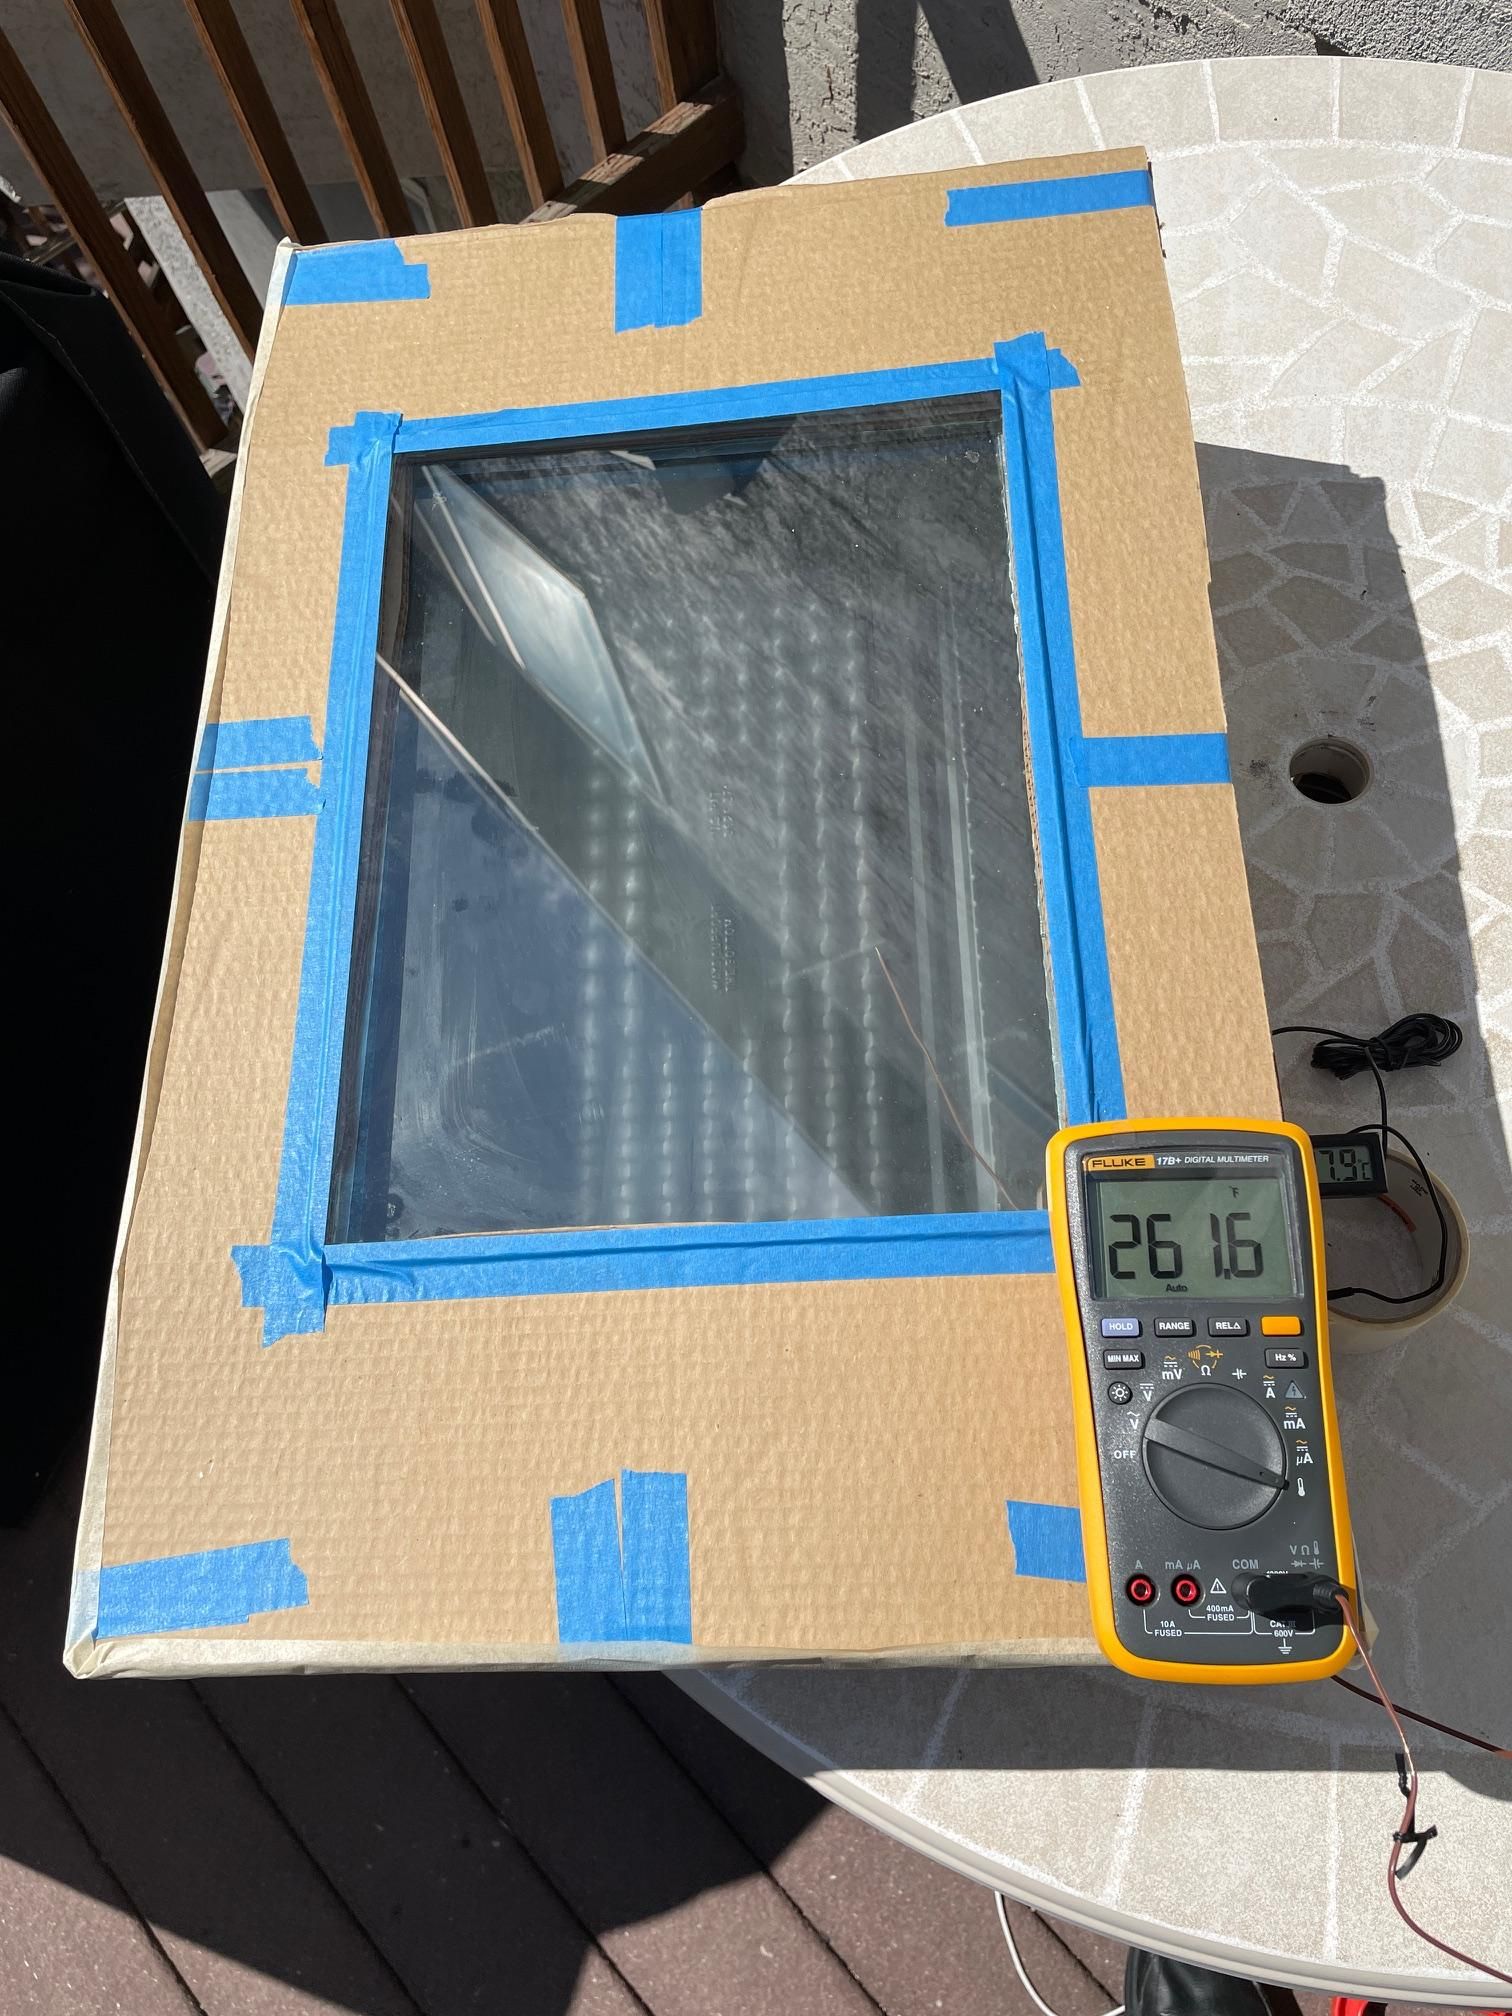
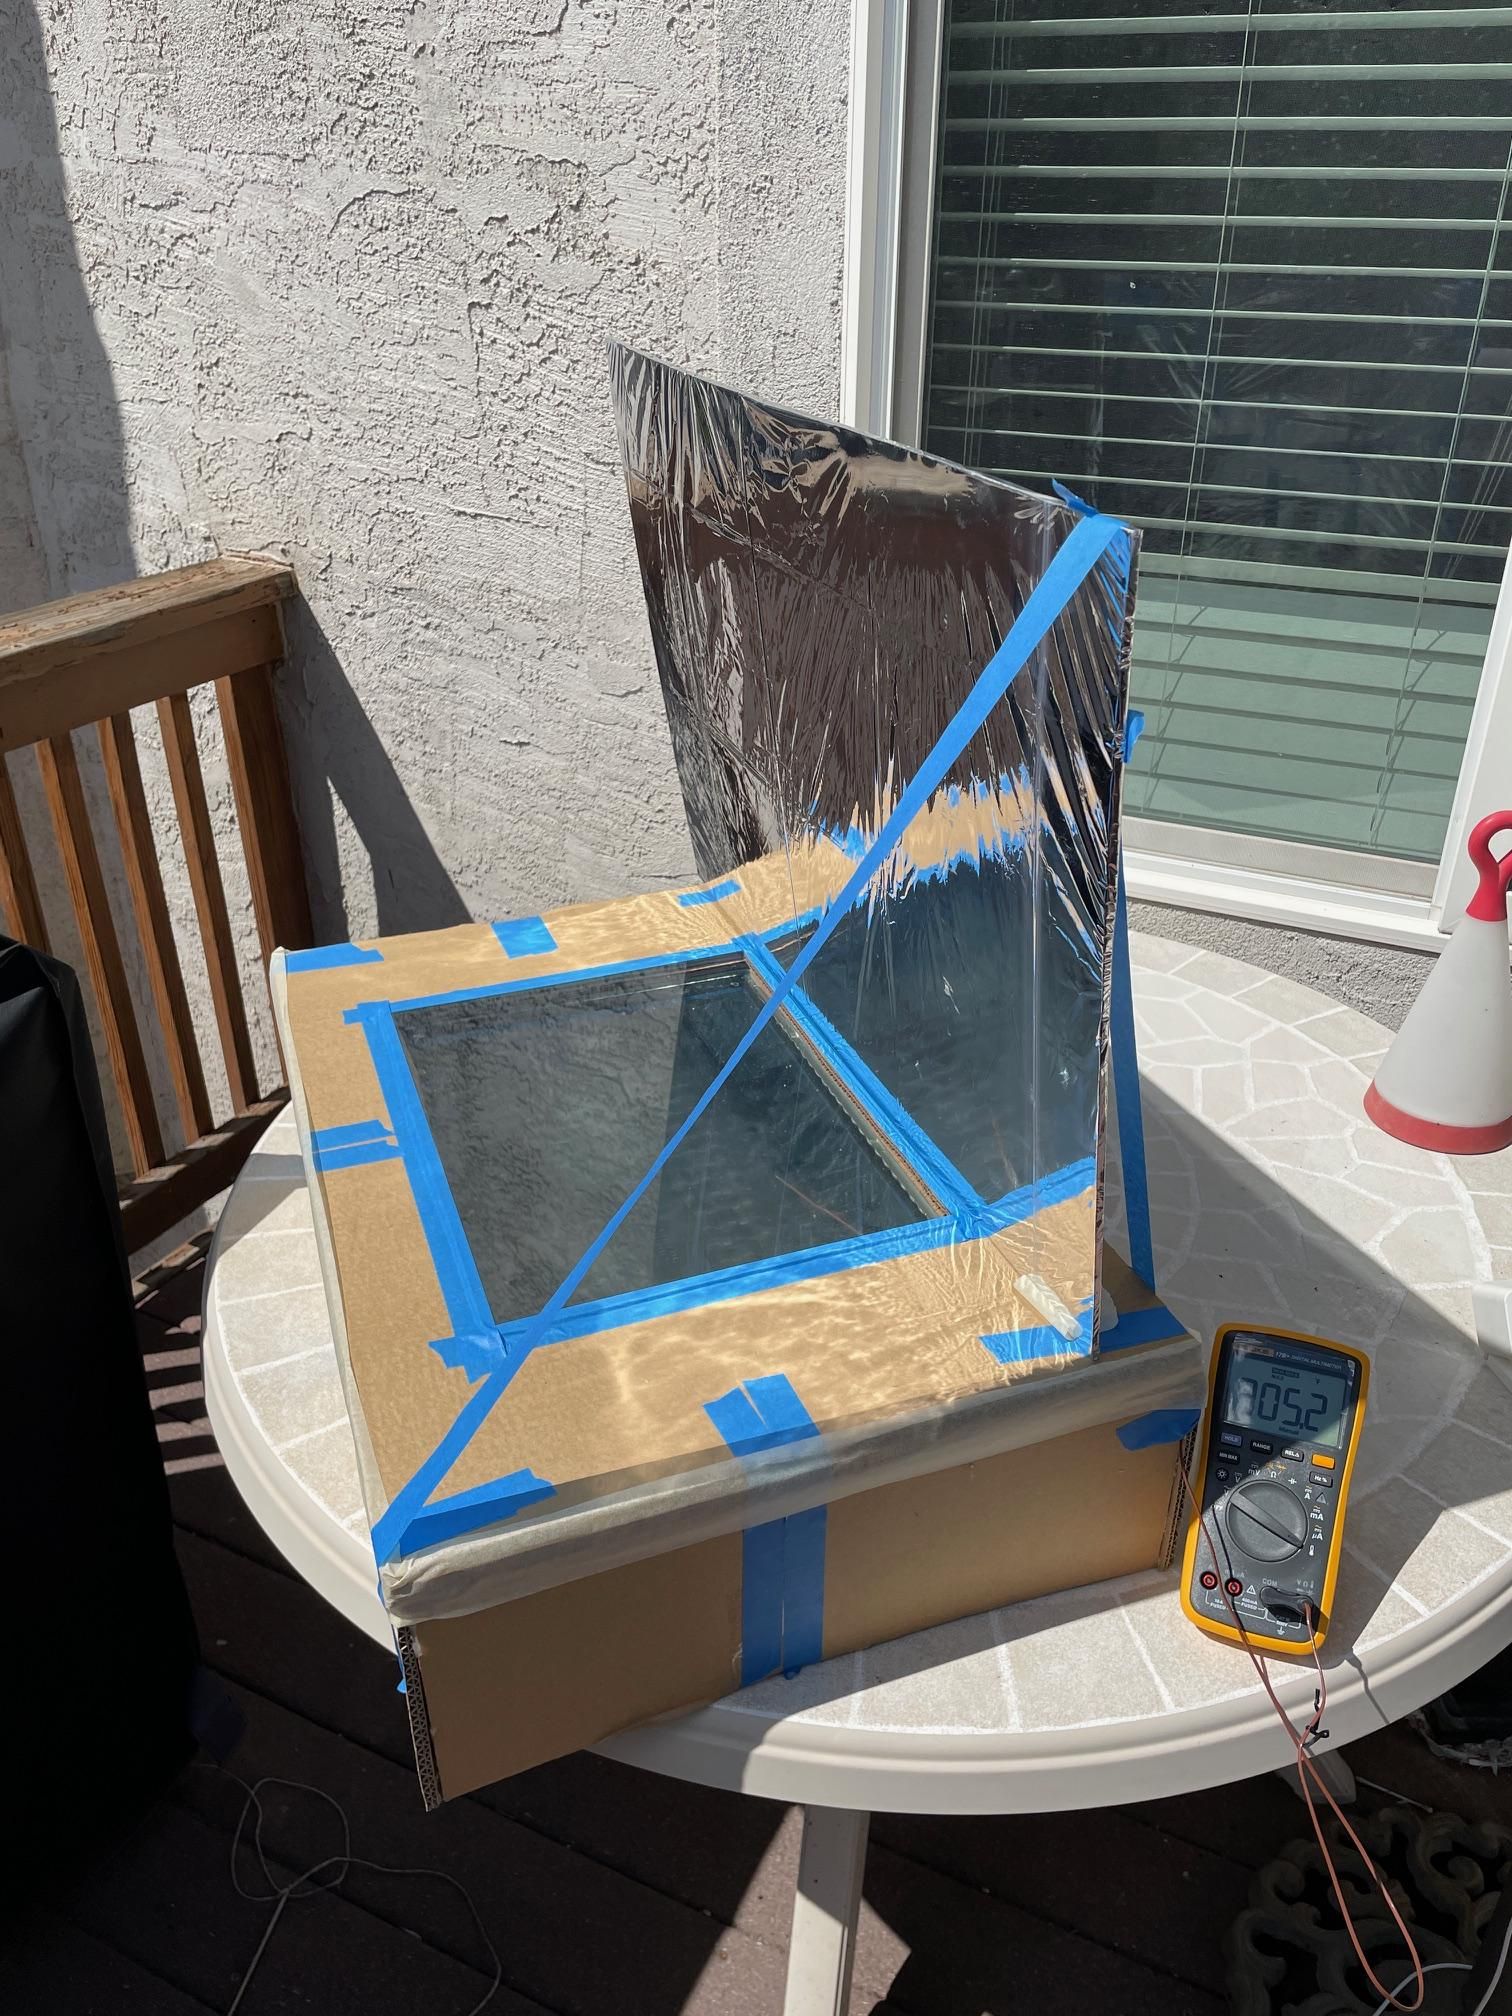
Sun is critical to Solar Ovens! (Go figure!)
After completing my oven the weather didn't cooperate as seen in the reflection of clouds in the glass of the first photo. No fun finishing a solar oven and then not being able to test it out :-(
However, a few days later I had full sun for several hours. With the oven horizontal and no reflector, the oven reached 261°F.
Again, with the oven horizontal and with a single mylar reflector it reached 305°F.
I have some ideas on modifications, including different reflectors, that I might try and hope for even better performance. I still have the goal of baking in it and I'm getting closer with every iteration.
Go find some sunshine!
Enjoy!