Instructables Robot Party Hat
by ntvdl58 in Craft > Parties & Weddings
88 Views, 0 Favorites, 0 Comments
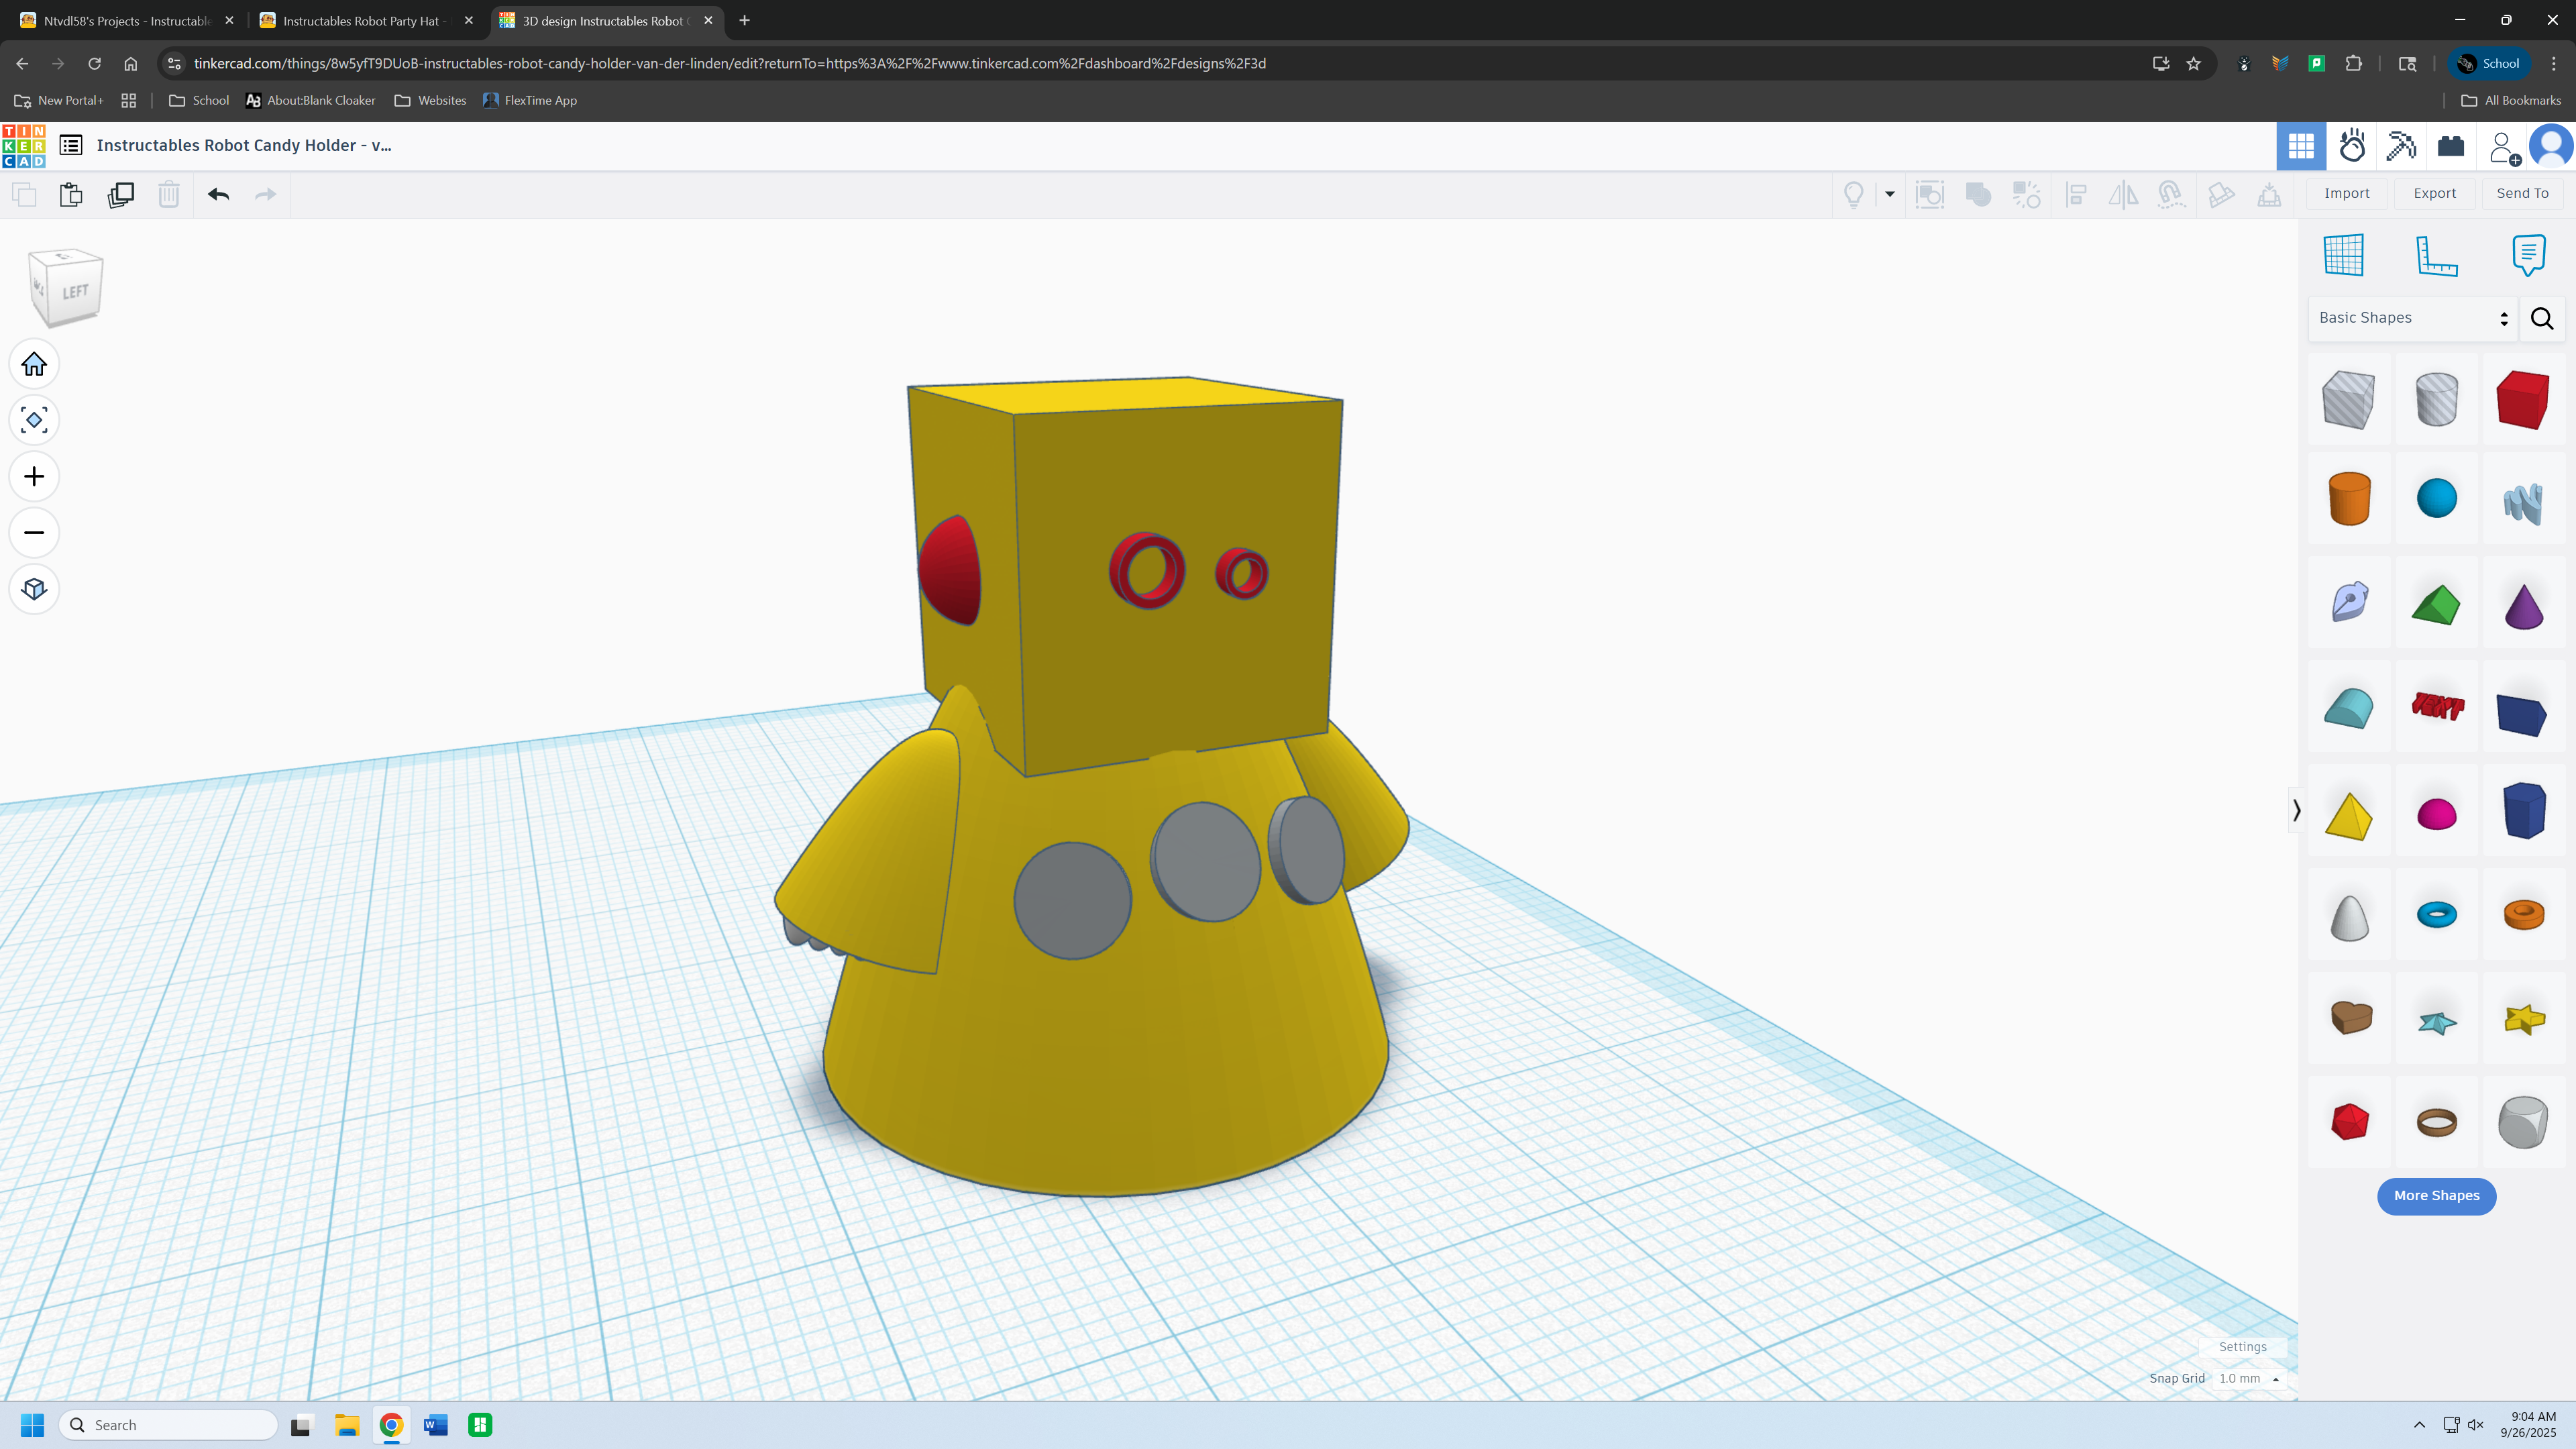
Instructables Robot Party Hat
.png)
.png)
This is how to make an Instructables Robot Party Hat!
Supplies
Create a new Tinkercad workplane.
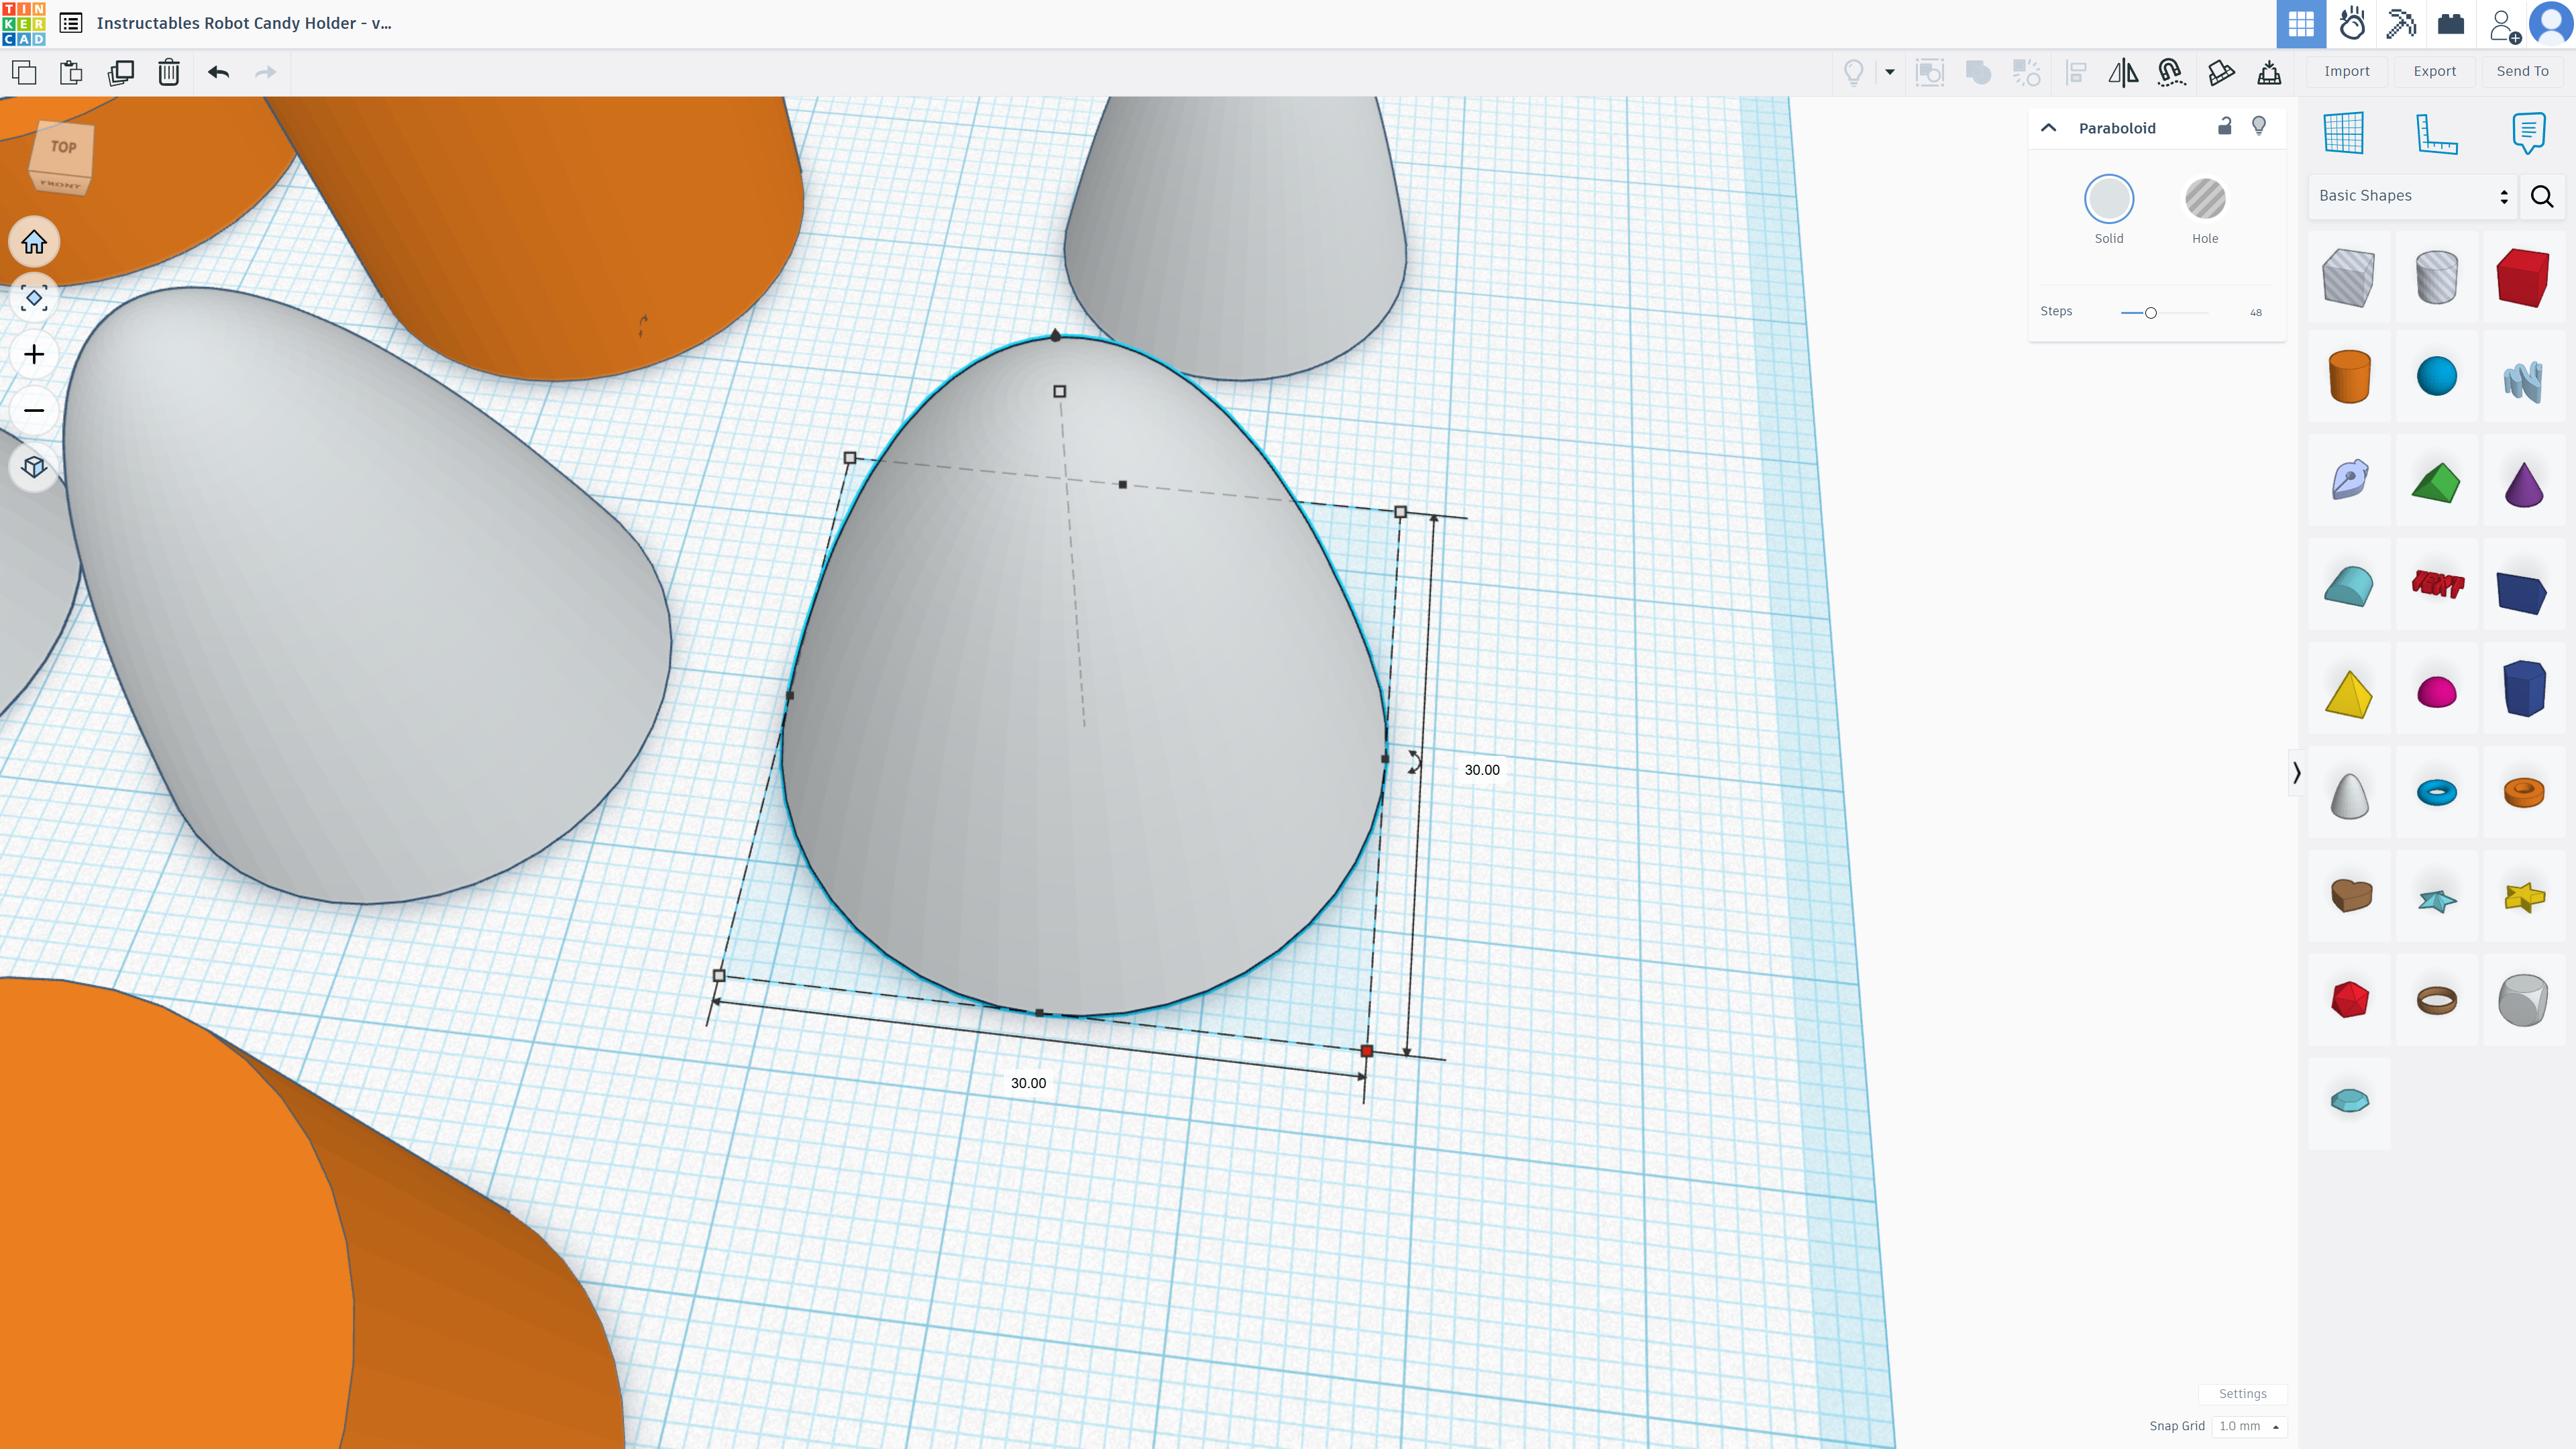
Making the Torso
.png)
Increase one paraboloid width and length to 30mm.
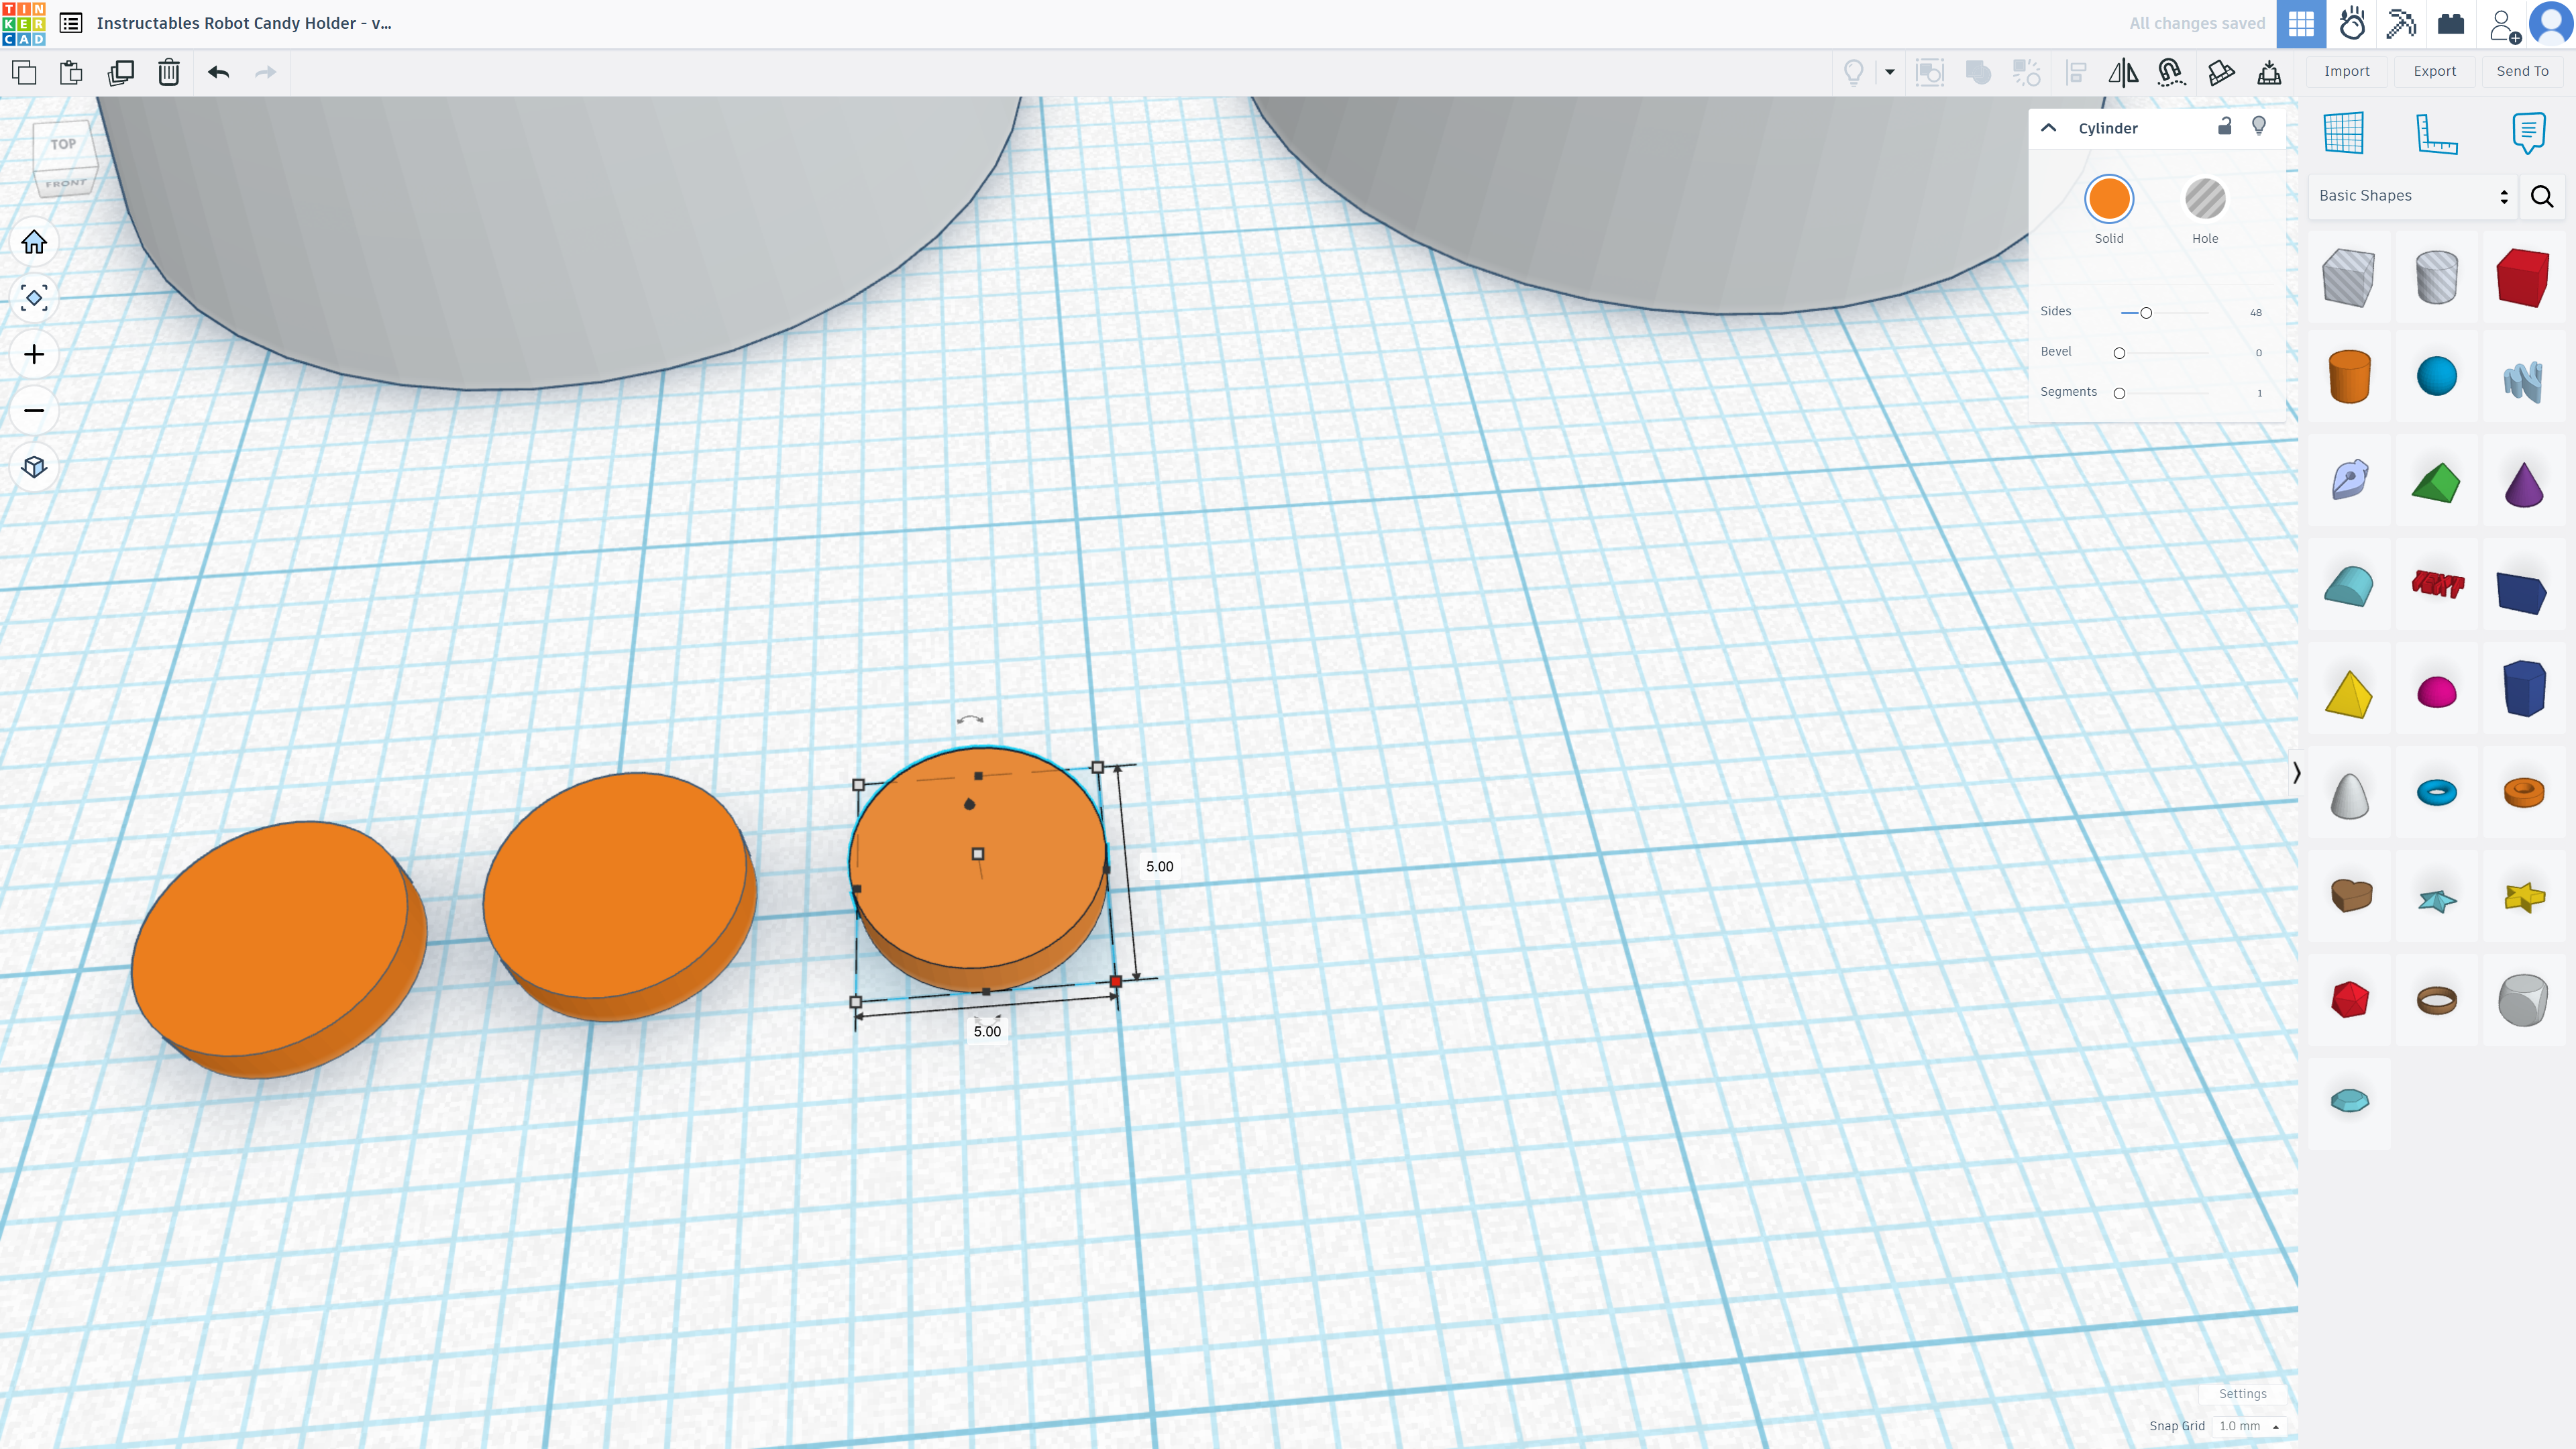
Making the Buttons
.png)
Change 3 cylinders to have a 1mm height and 5mm length and width.
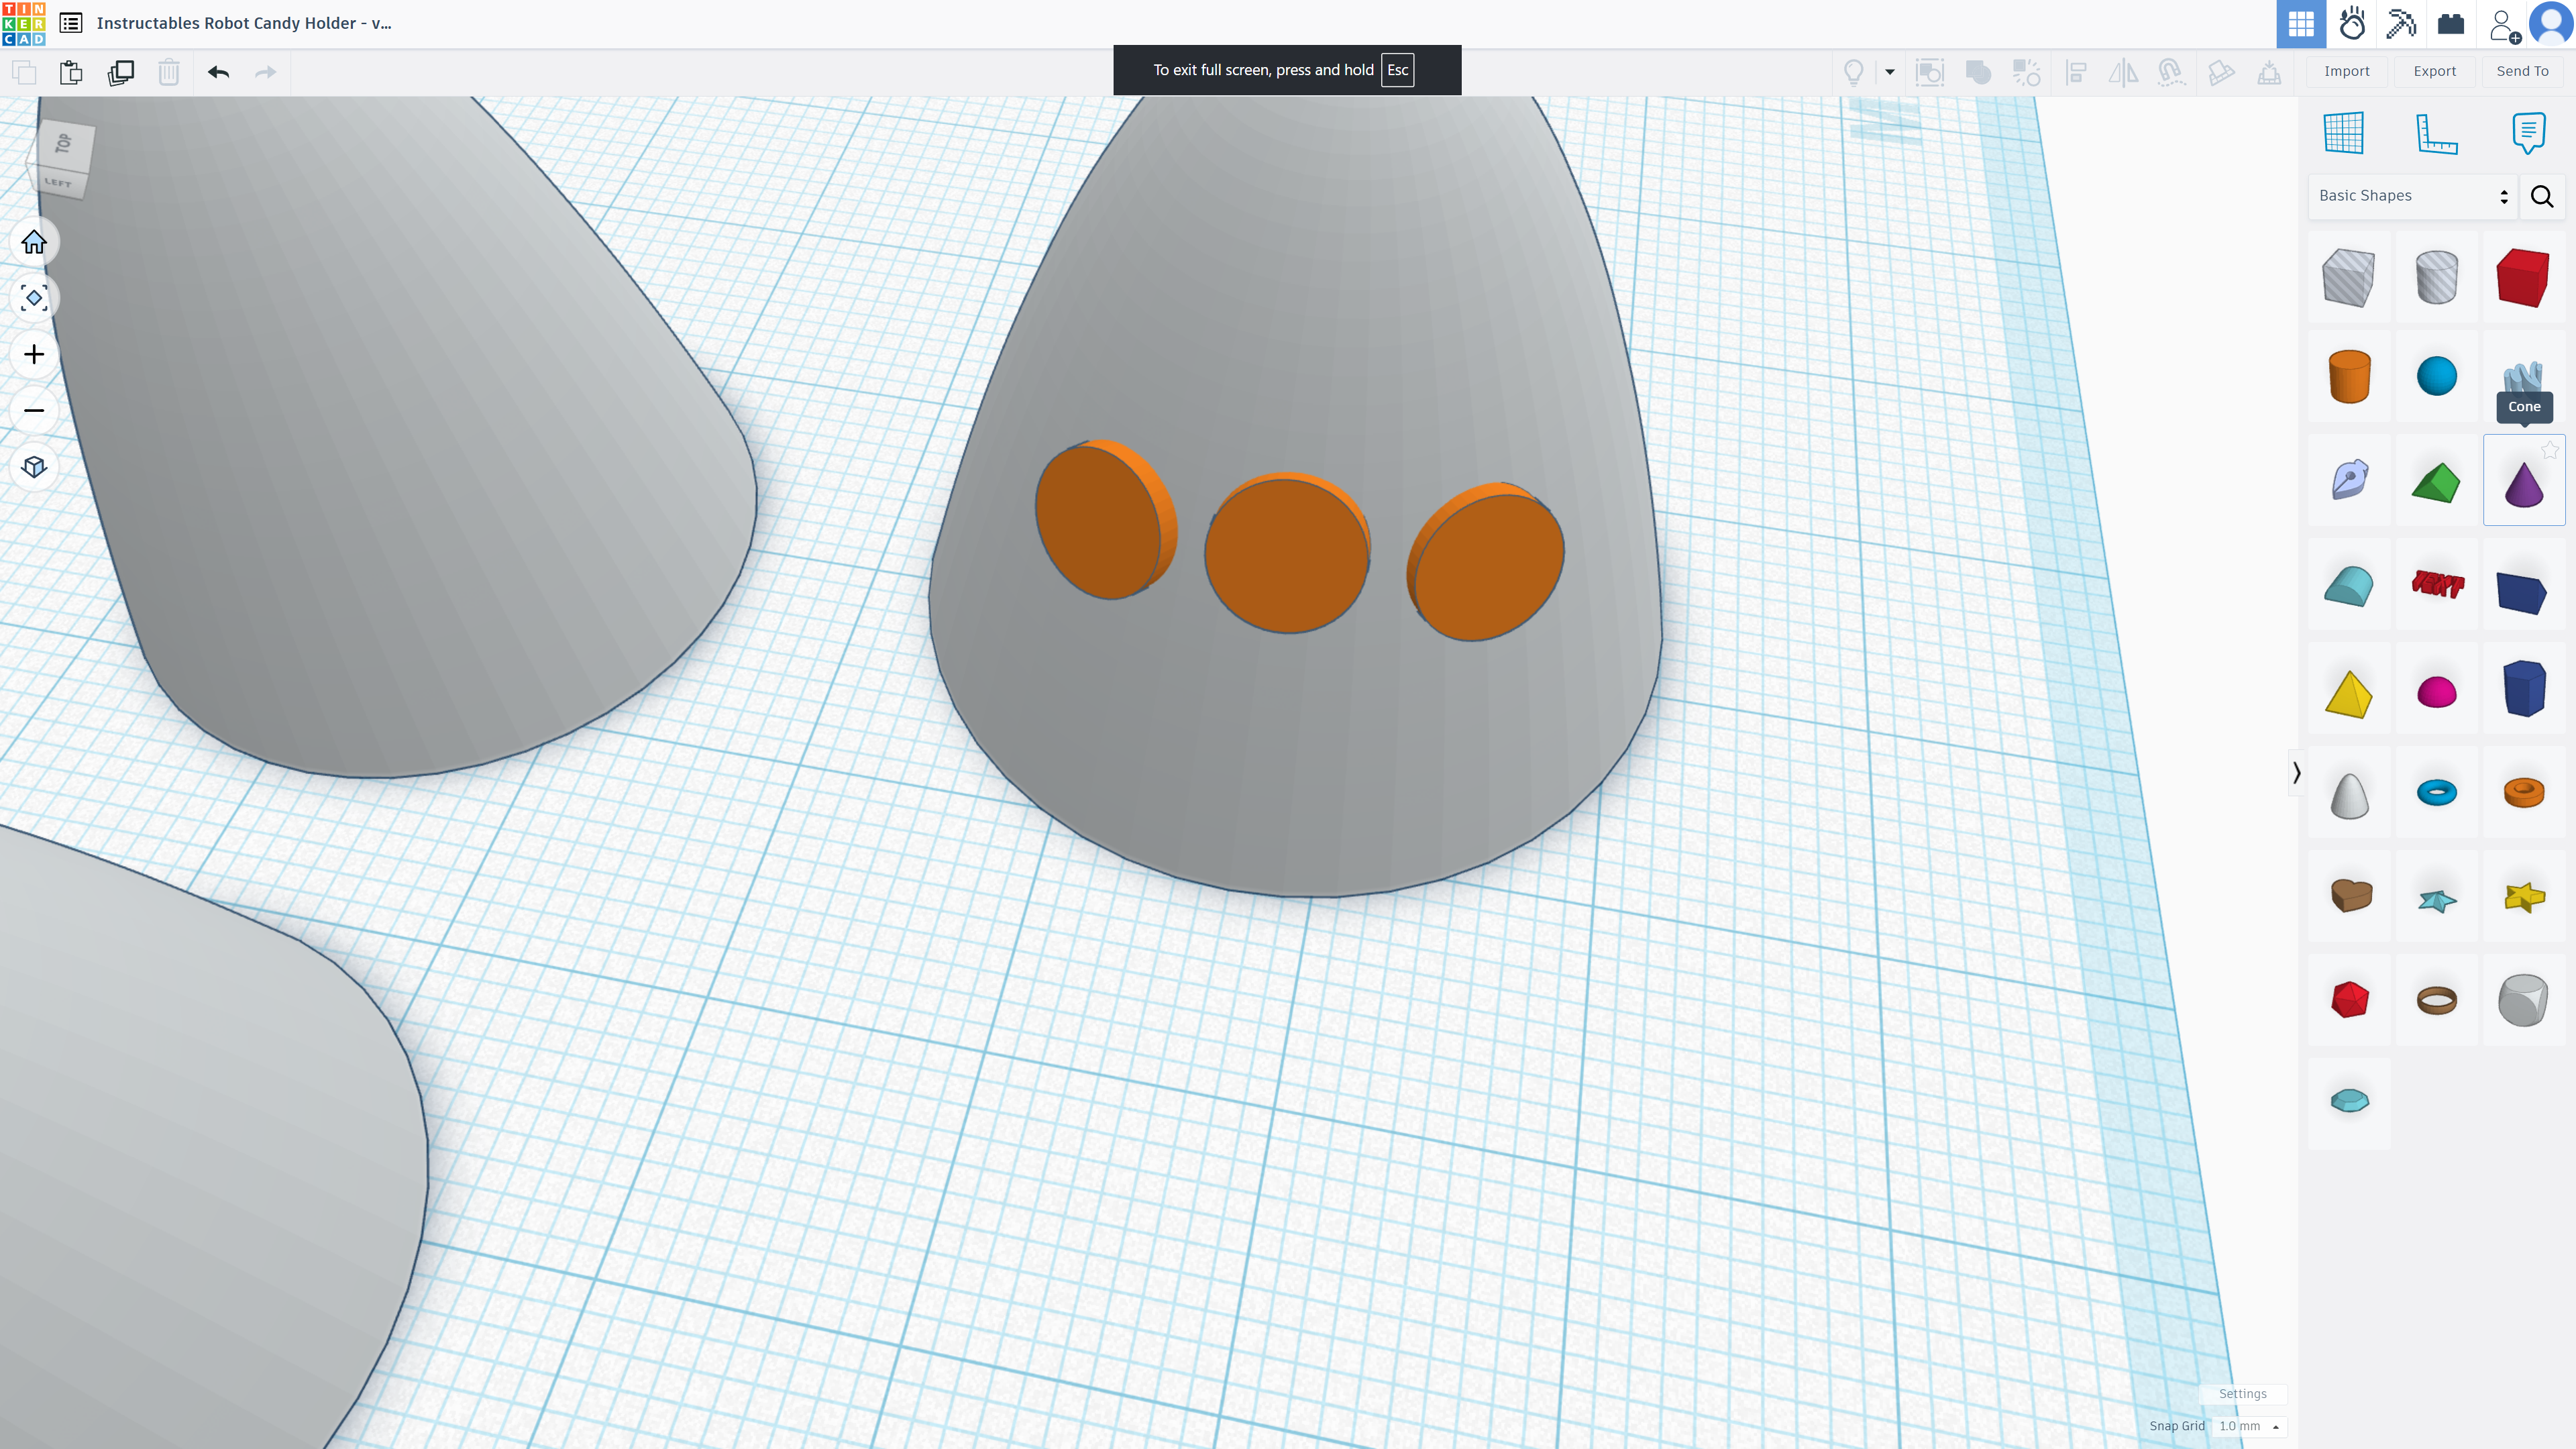
Adding the Buttons to the Torso
.png)
.png)
Rotate the buttons 90 degrees then attach them to the torso. You can rotate the buttons until they fit to your liking.
Making the Arms
.png)
.png)
.png)
.png)
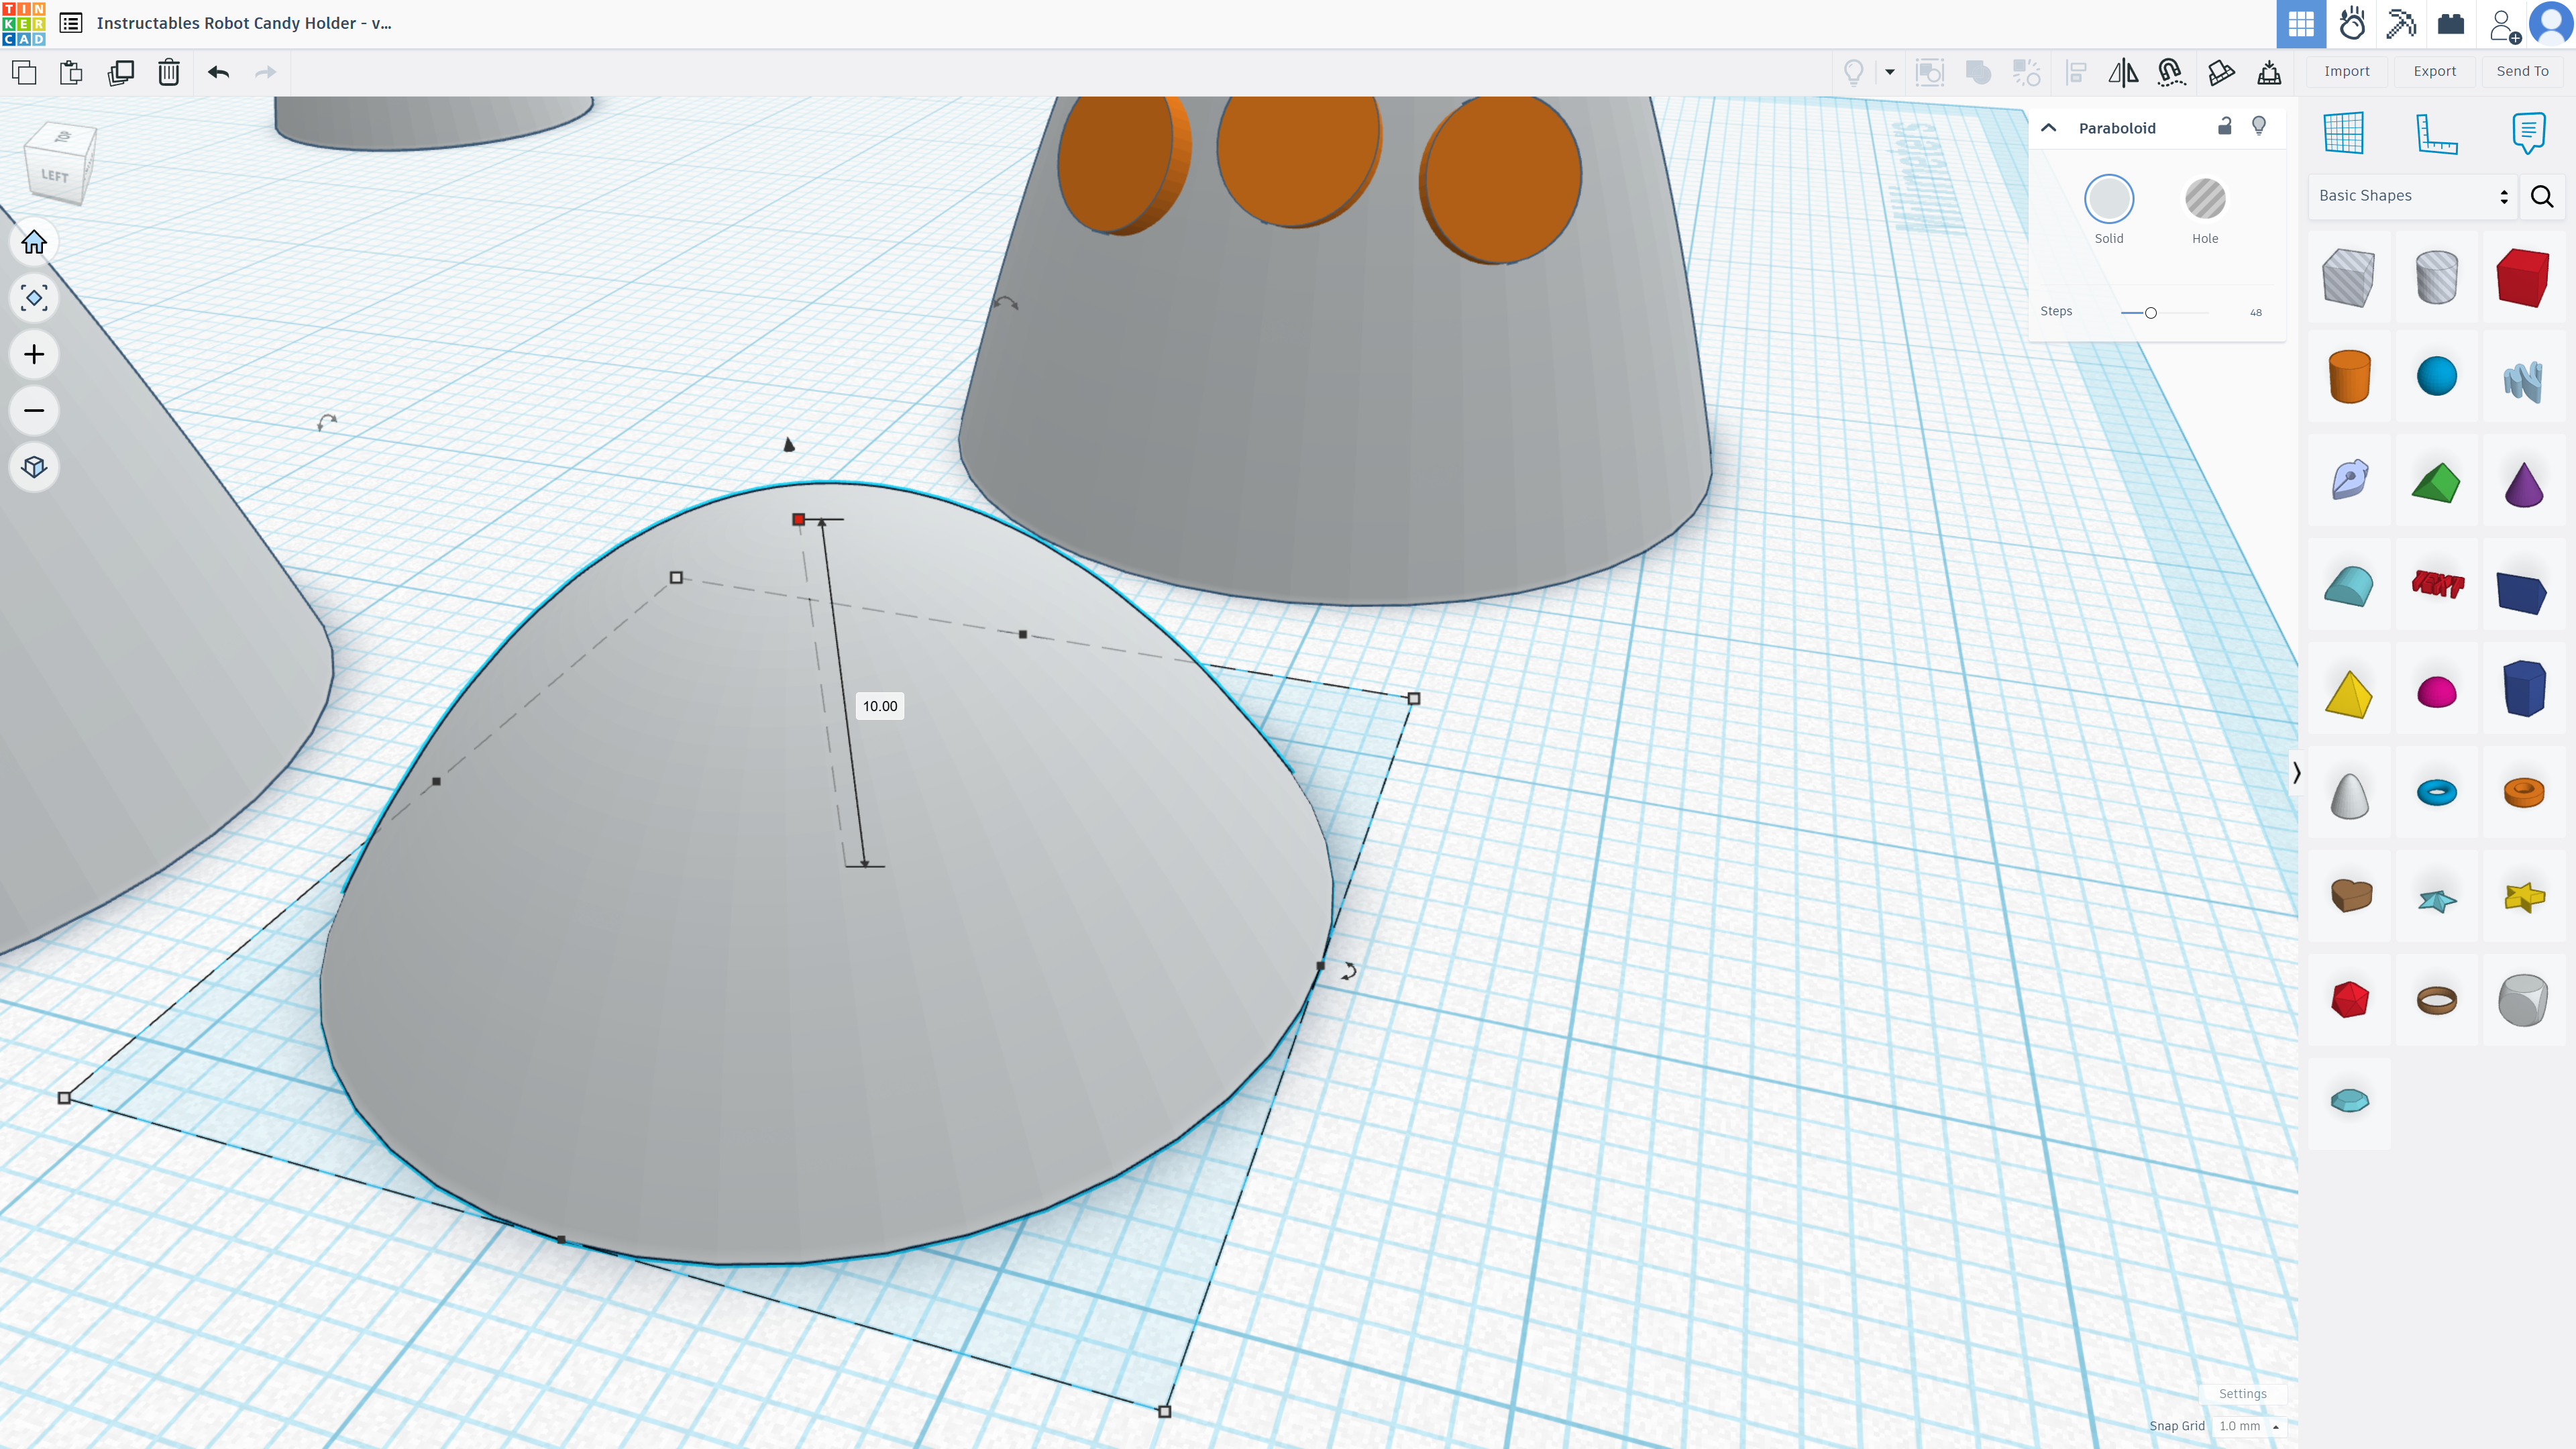
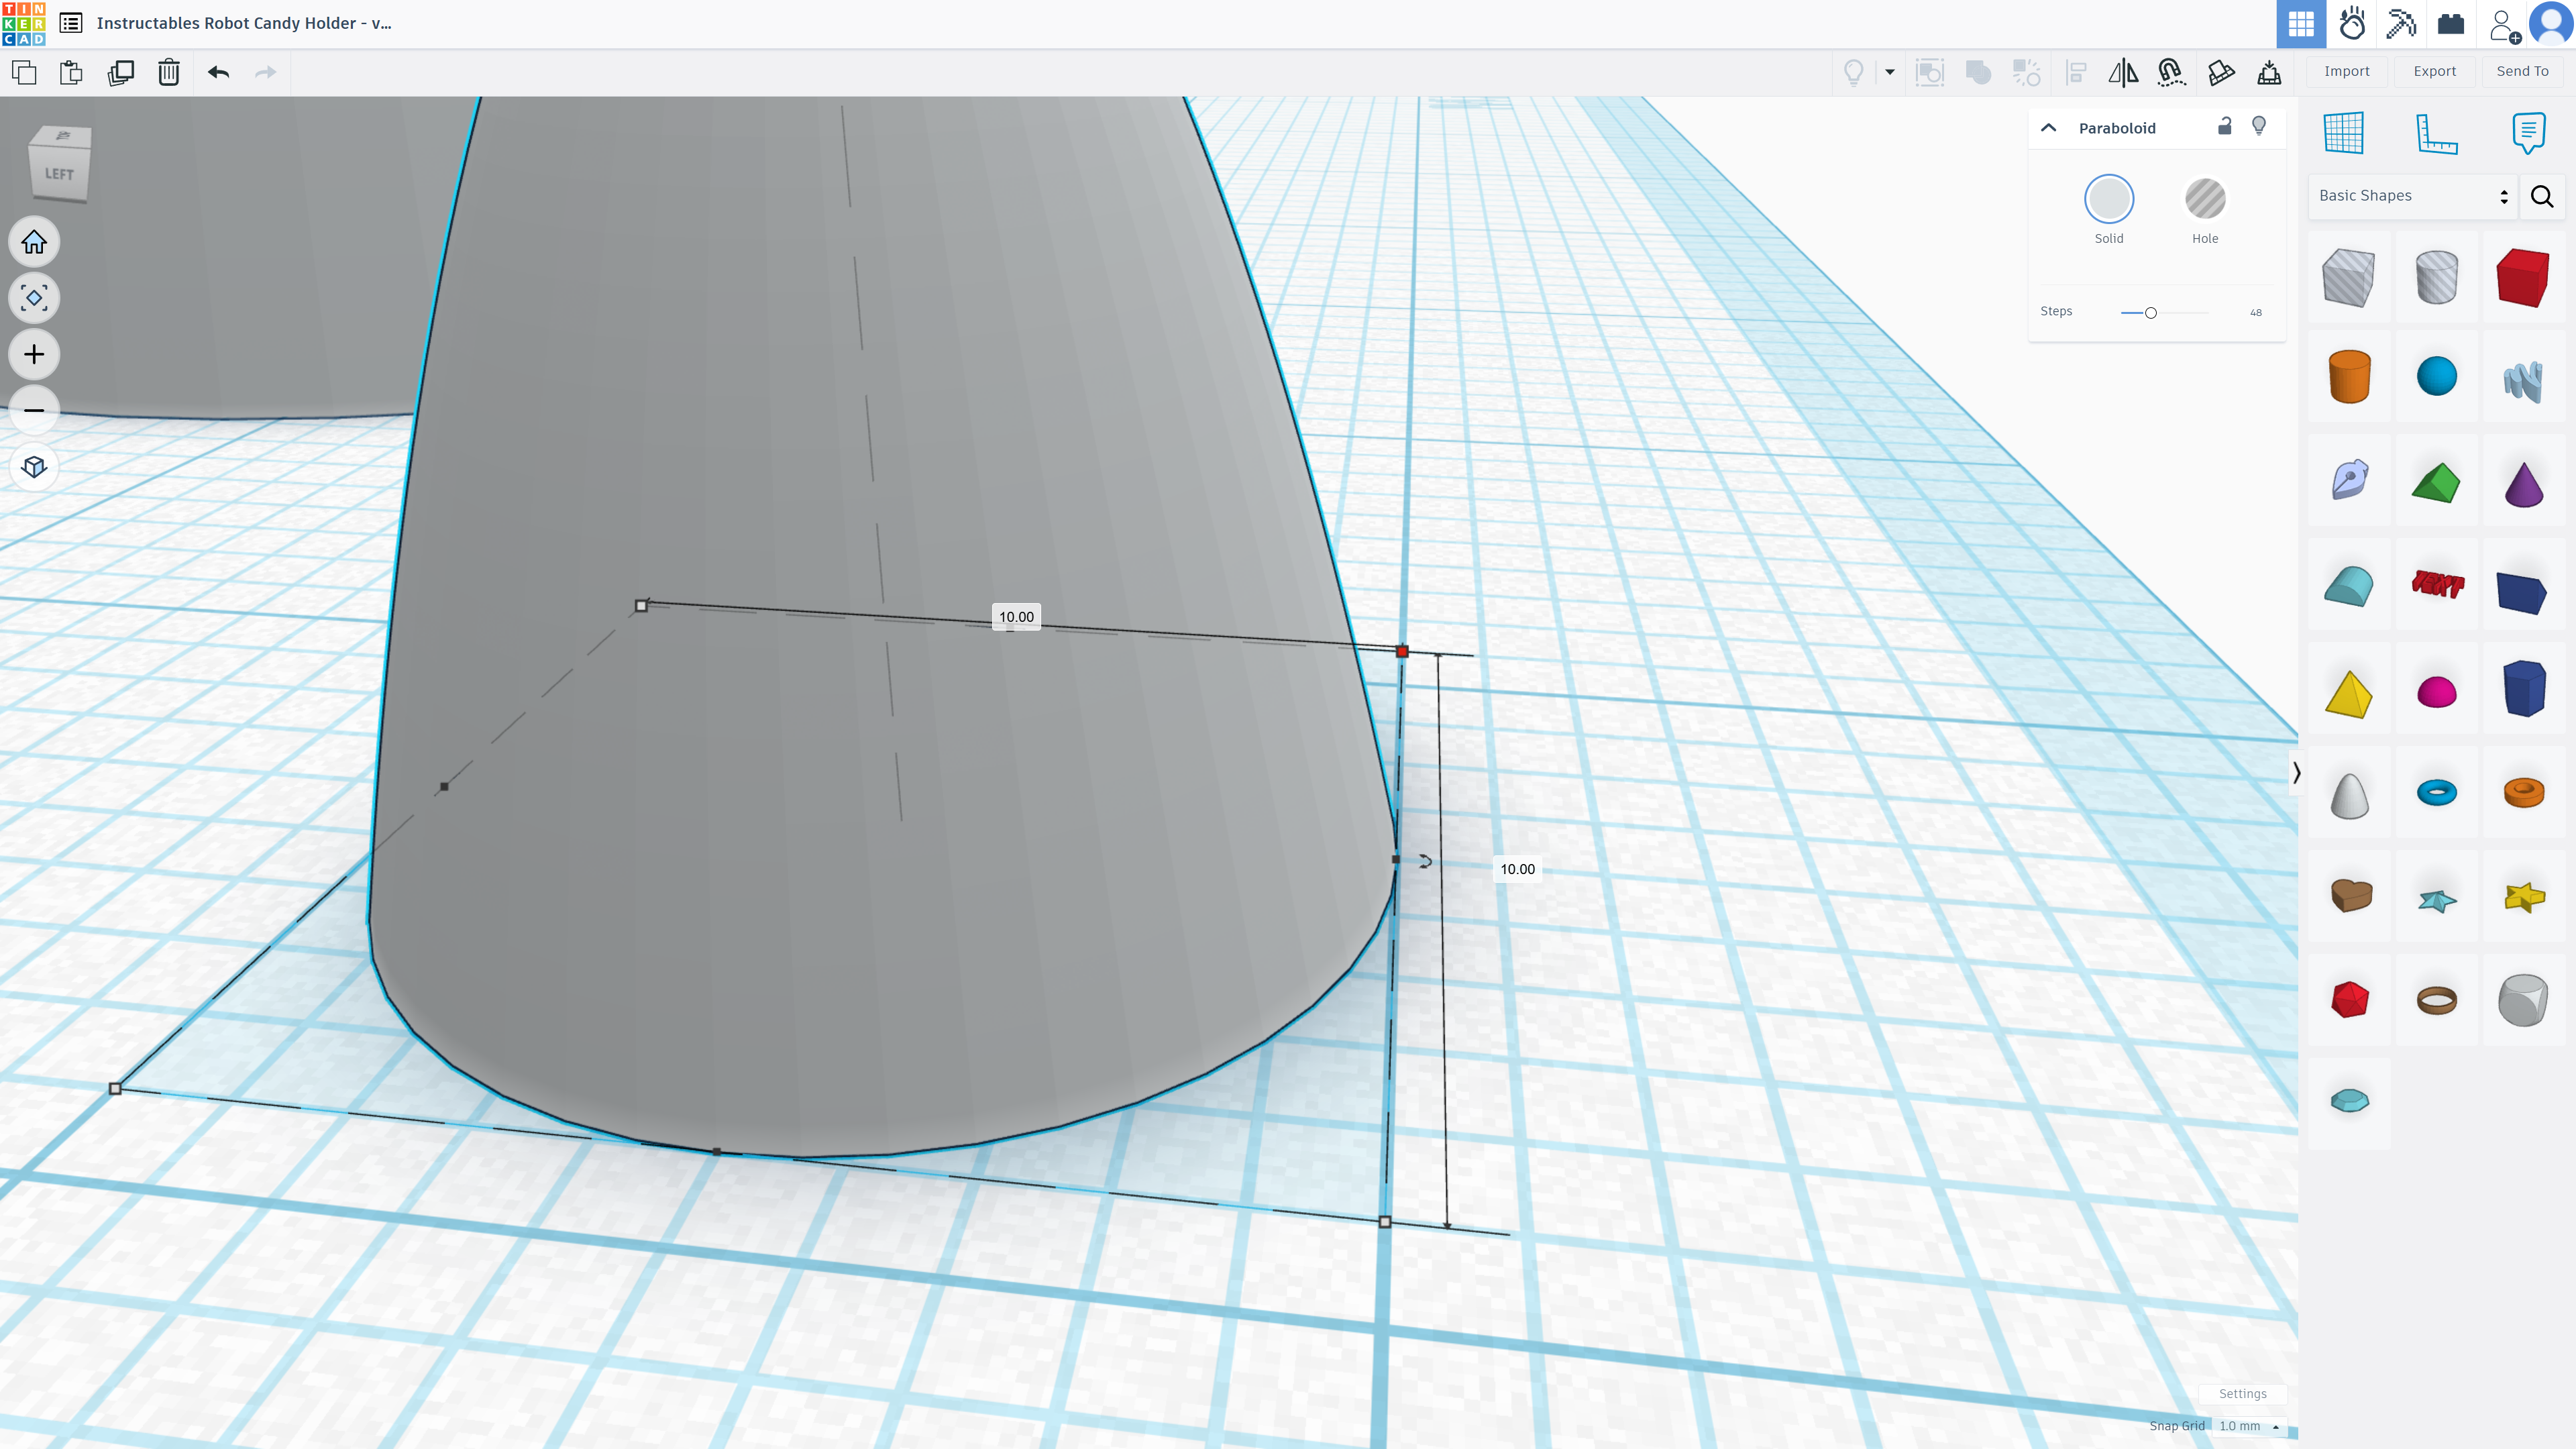
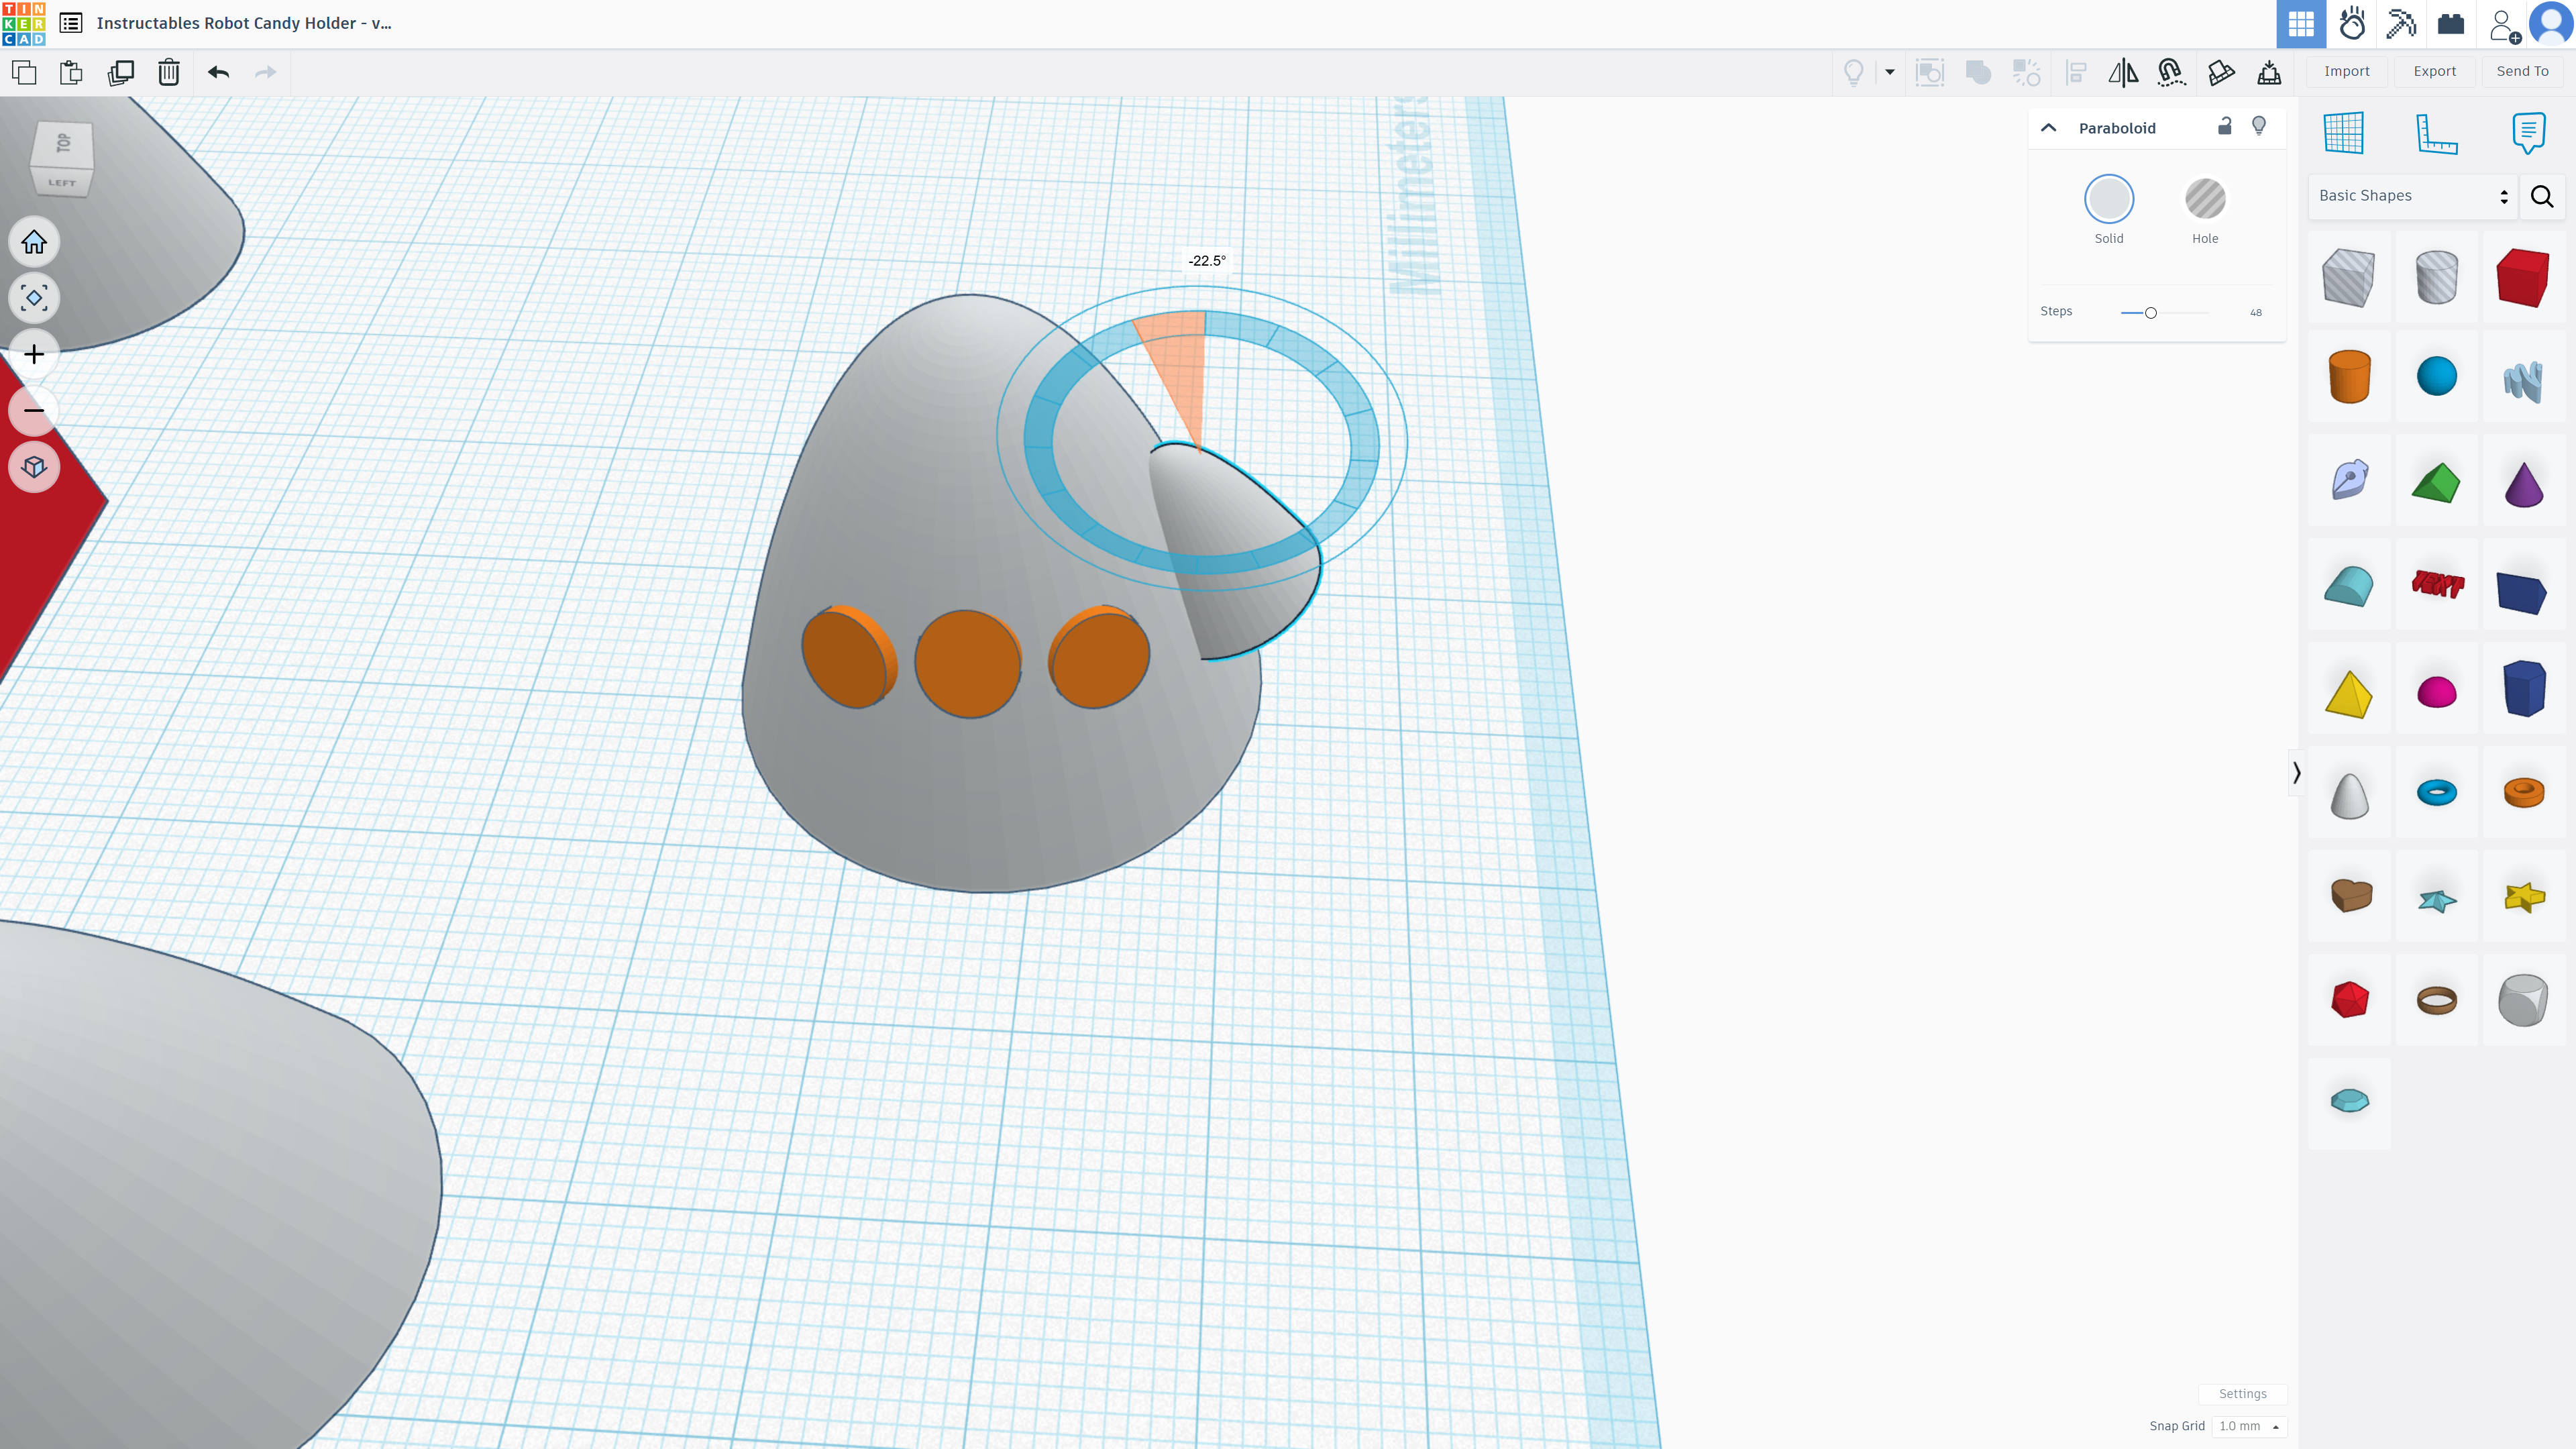
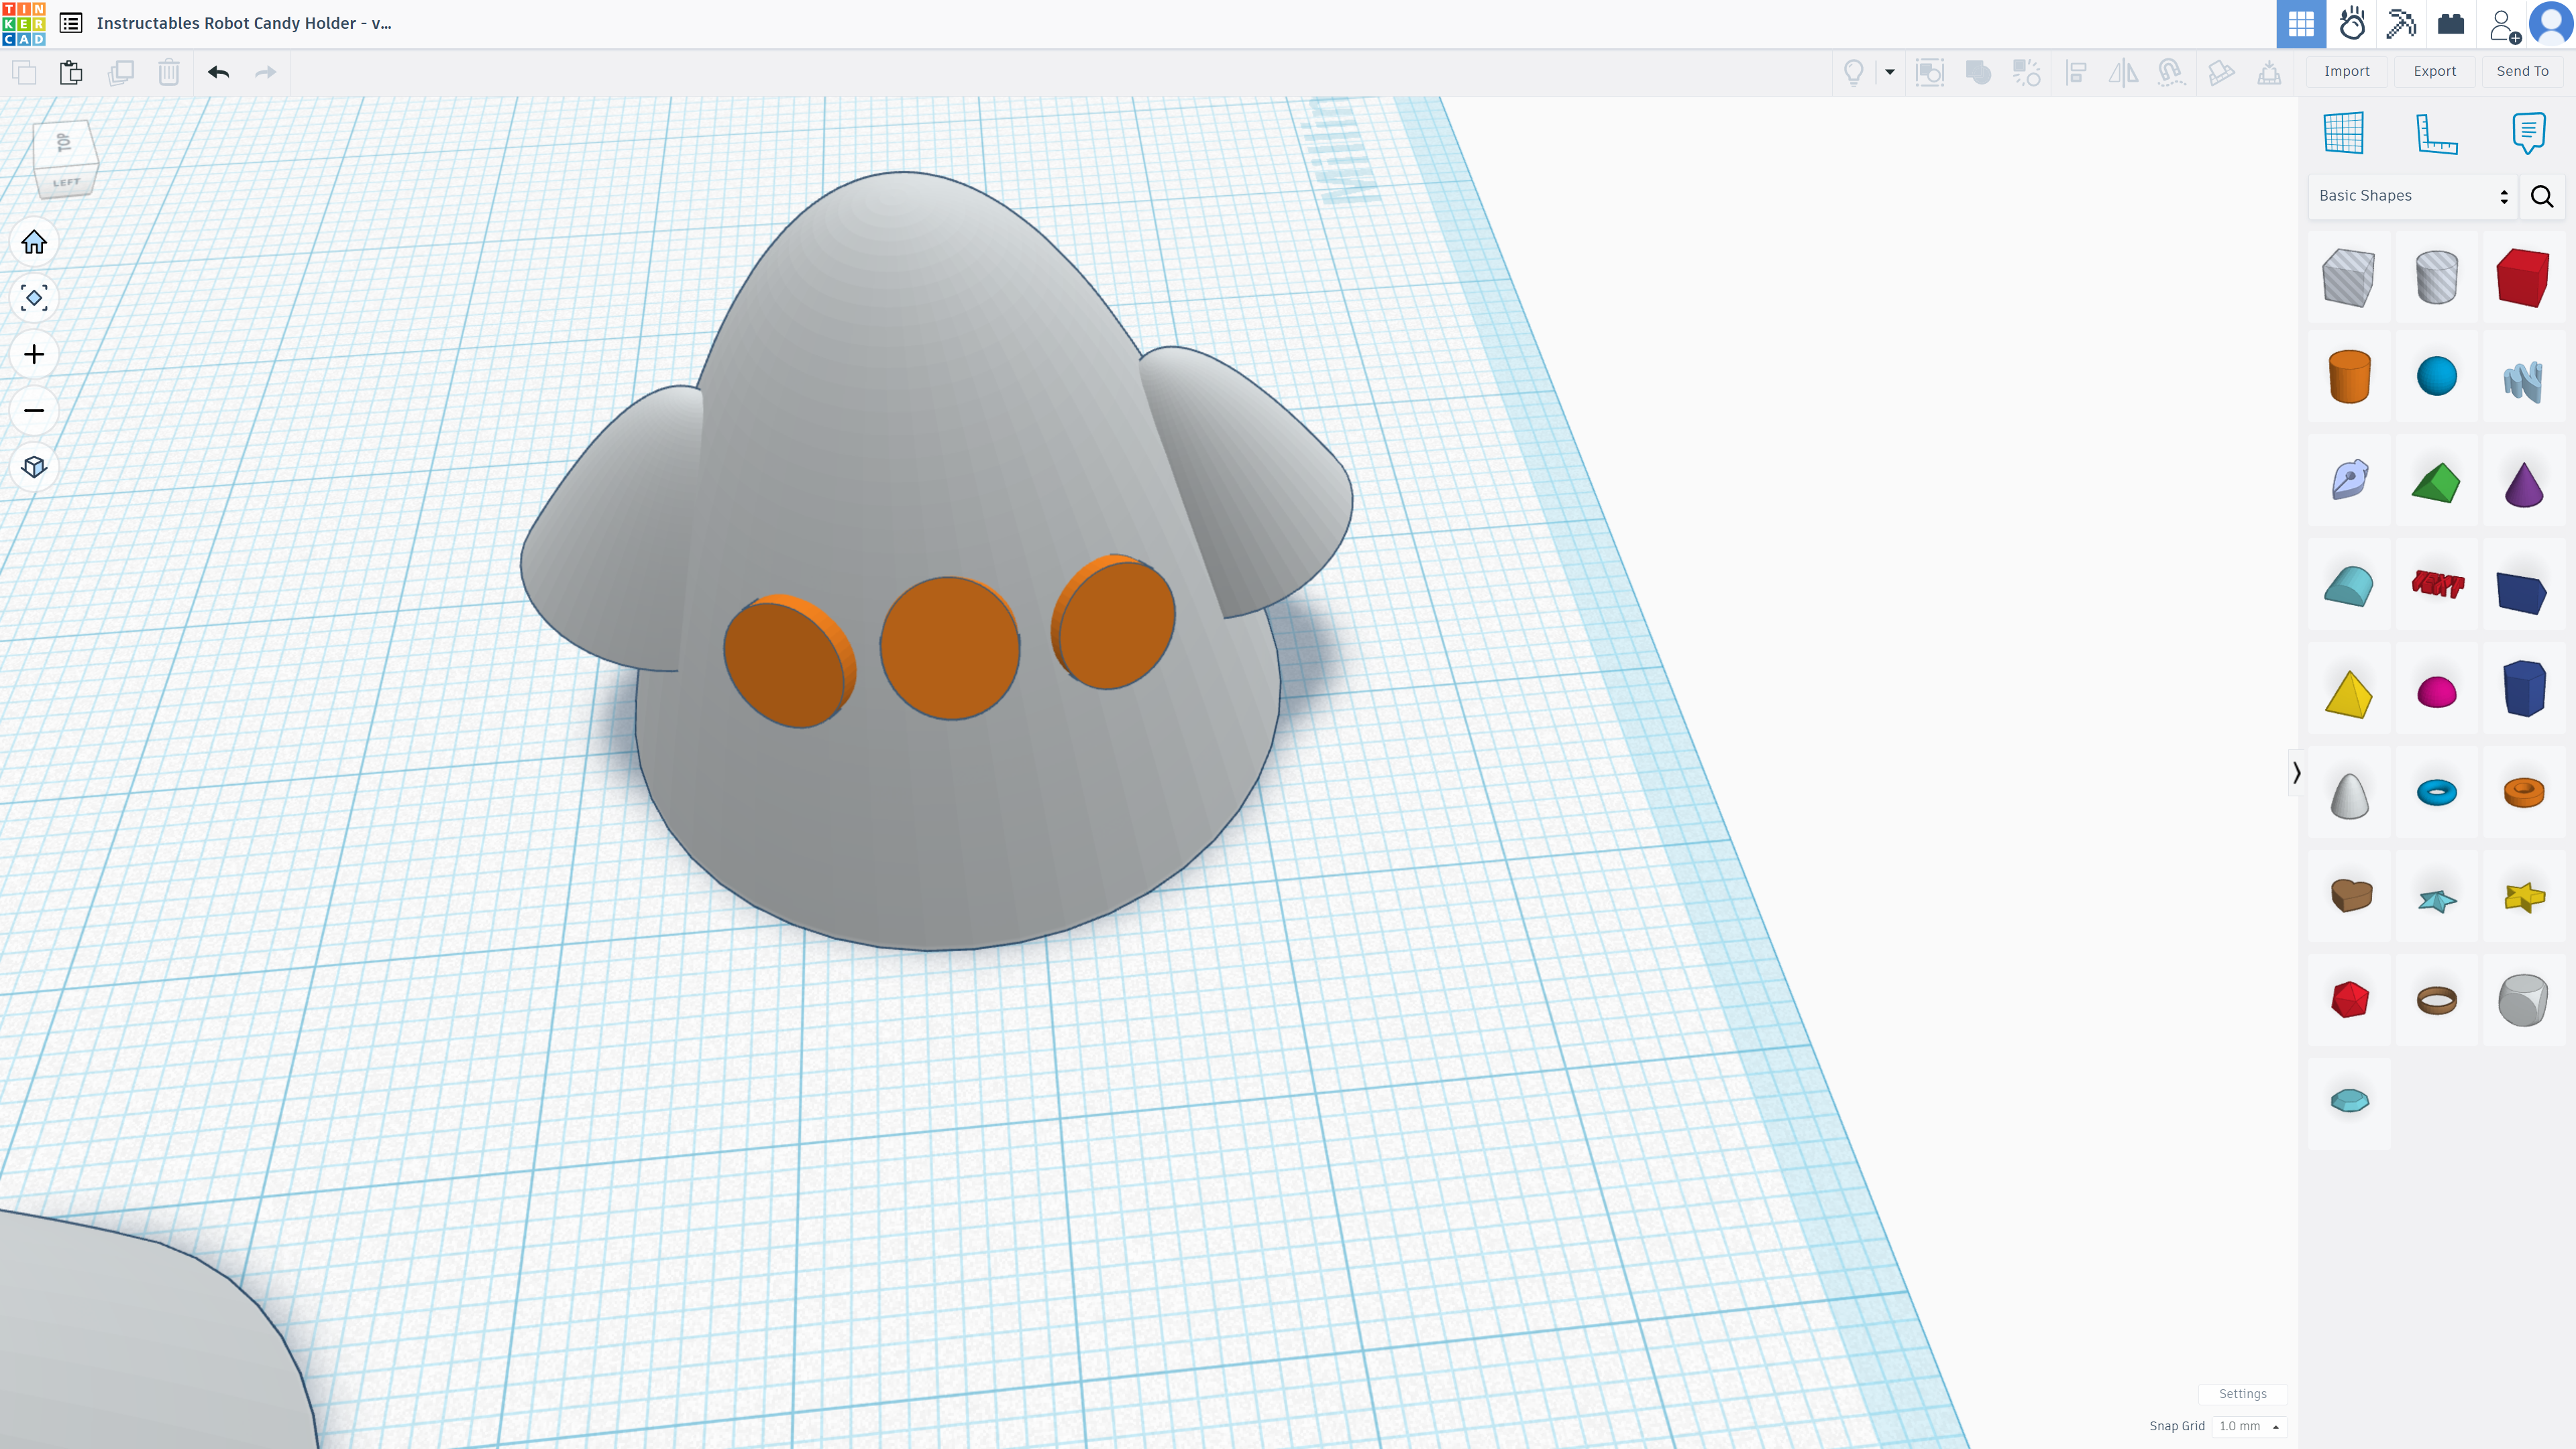
First shrink the a paraboloid to be 10mm tall, and then 10mm in width and length. Then attach the arm to the side of your torso. You can rotate it to your liking. Then duplicate it and add it to the other side of your model.
Making the Fingers
.png)
.png)
.png)
.png)
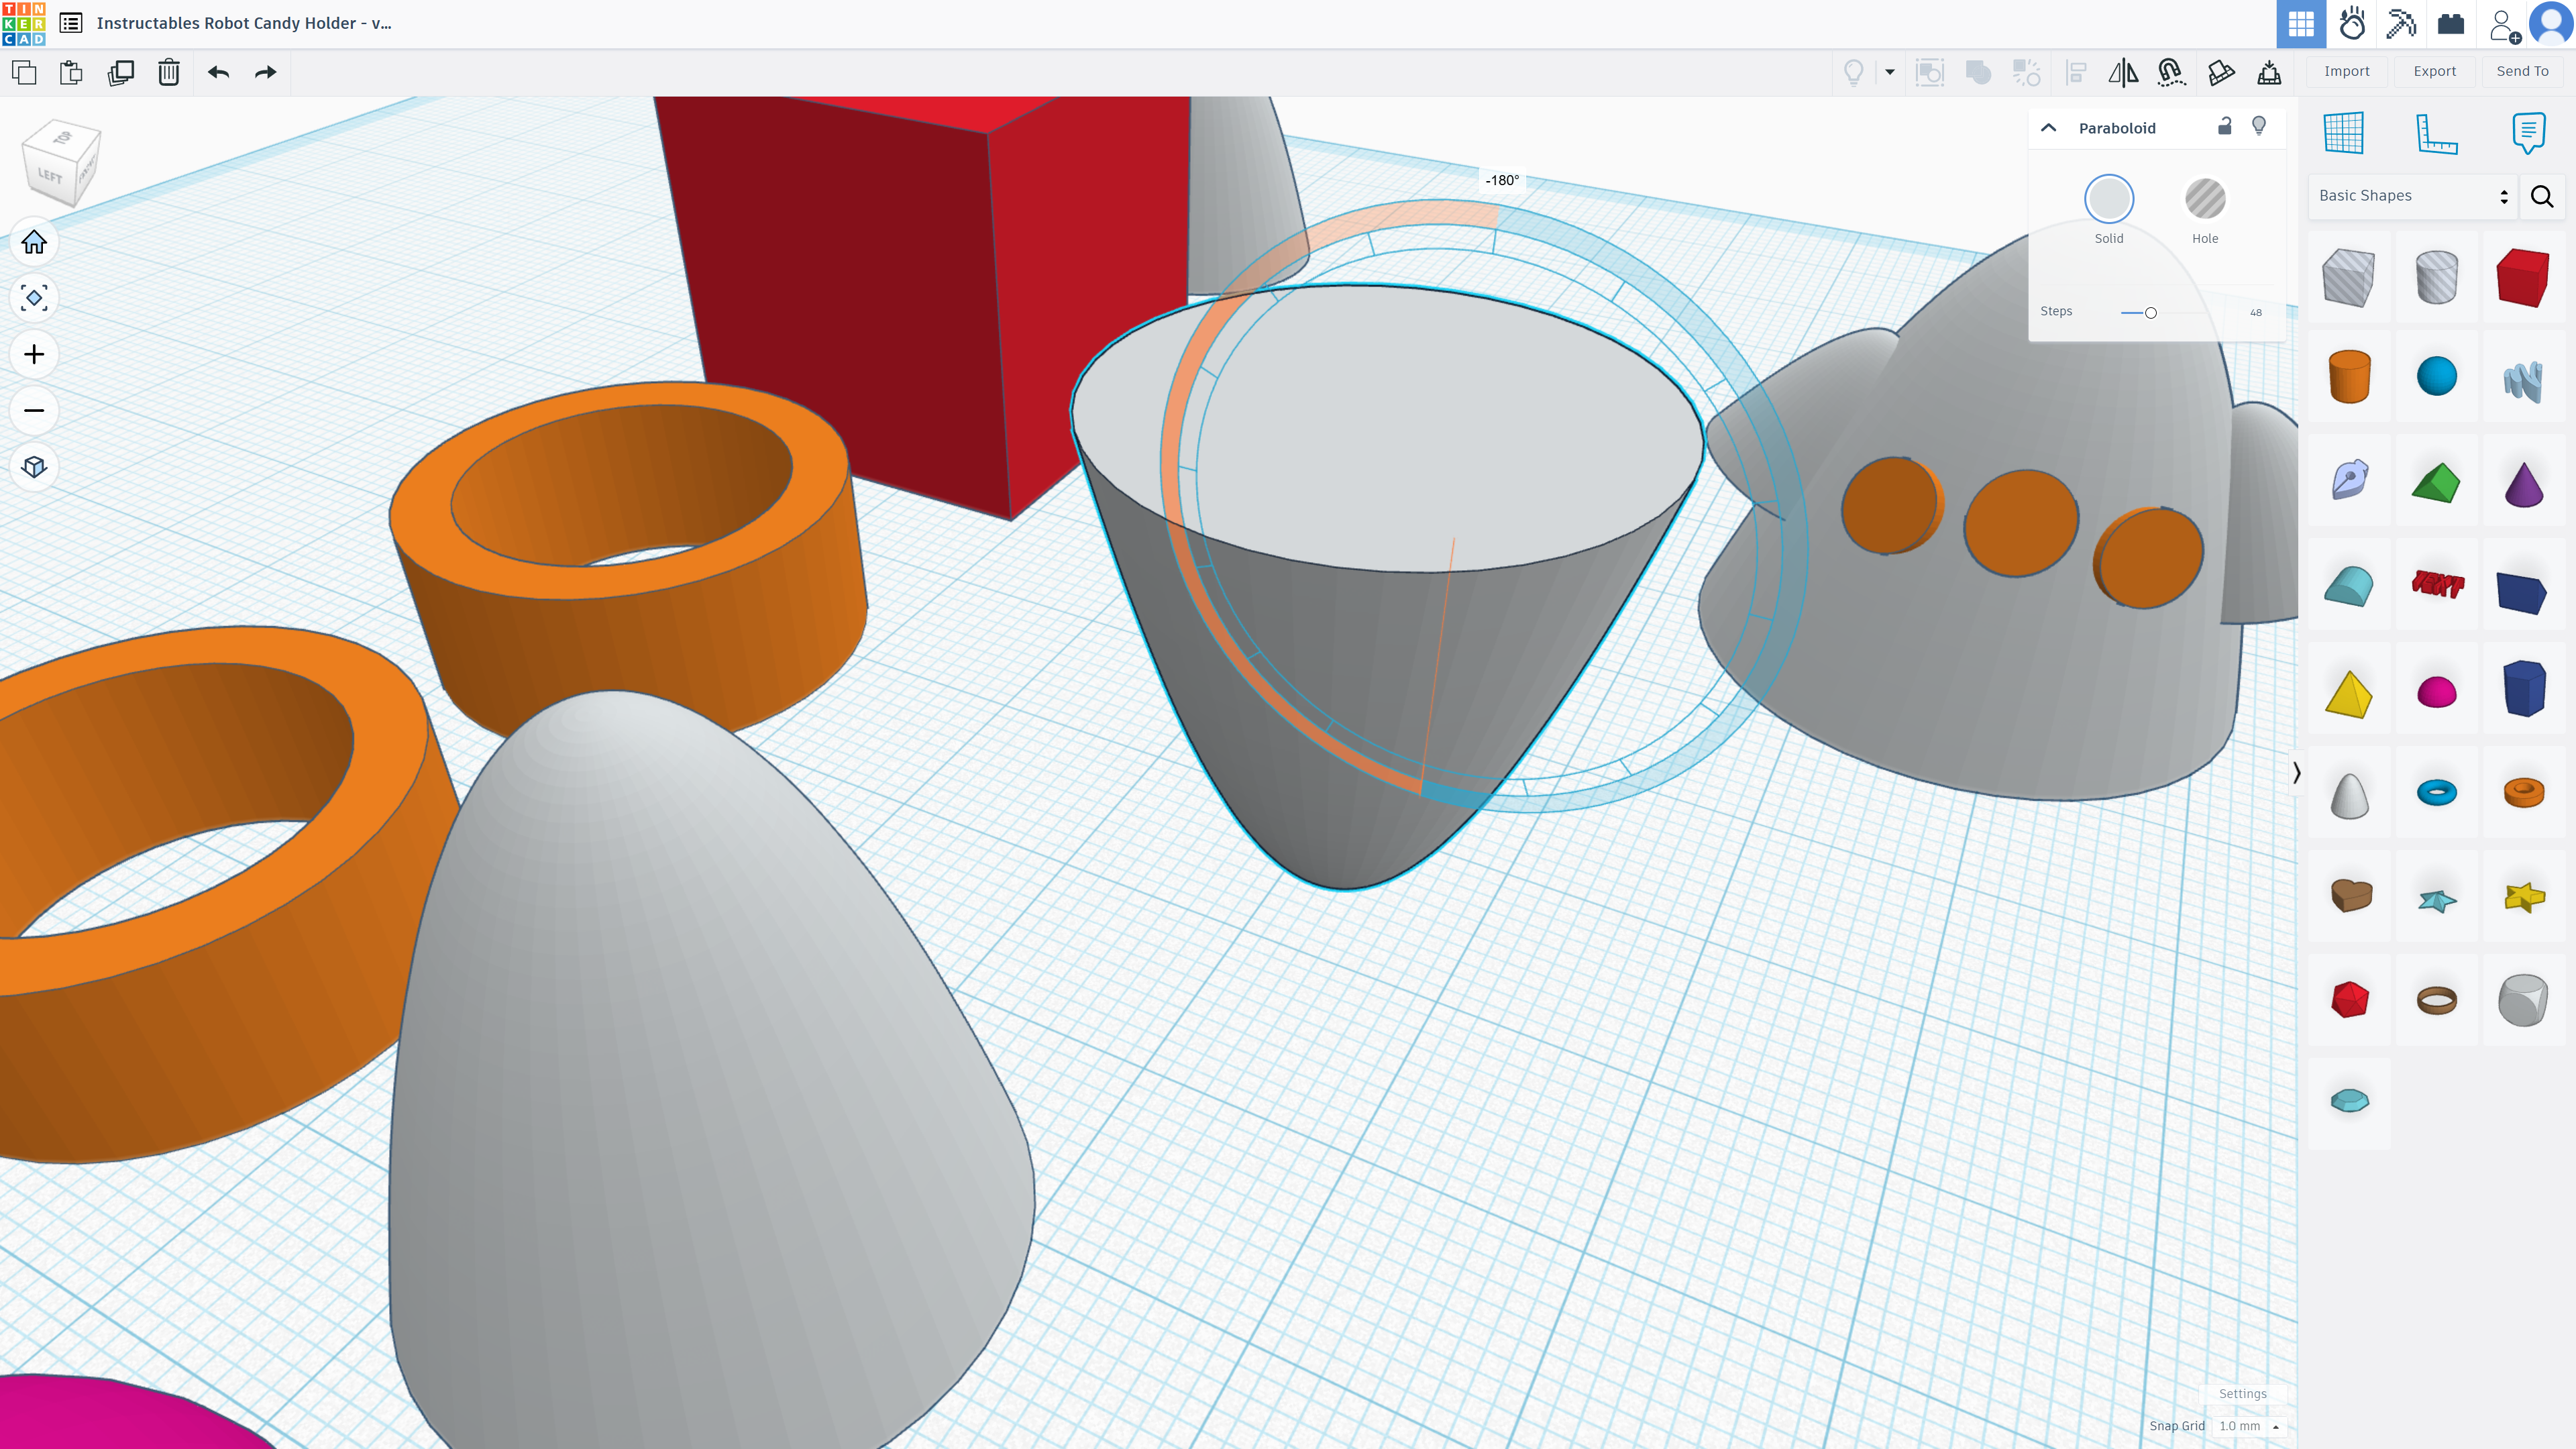
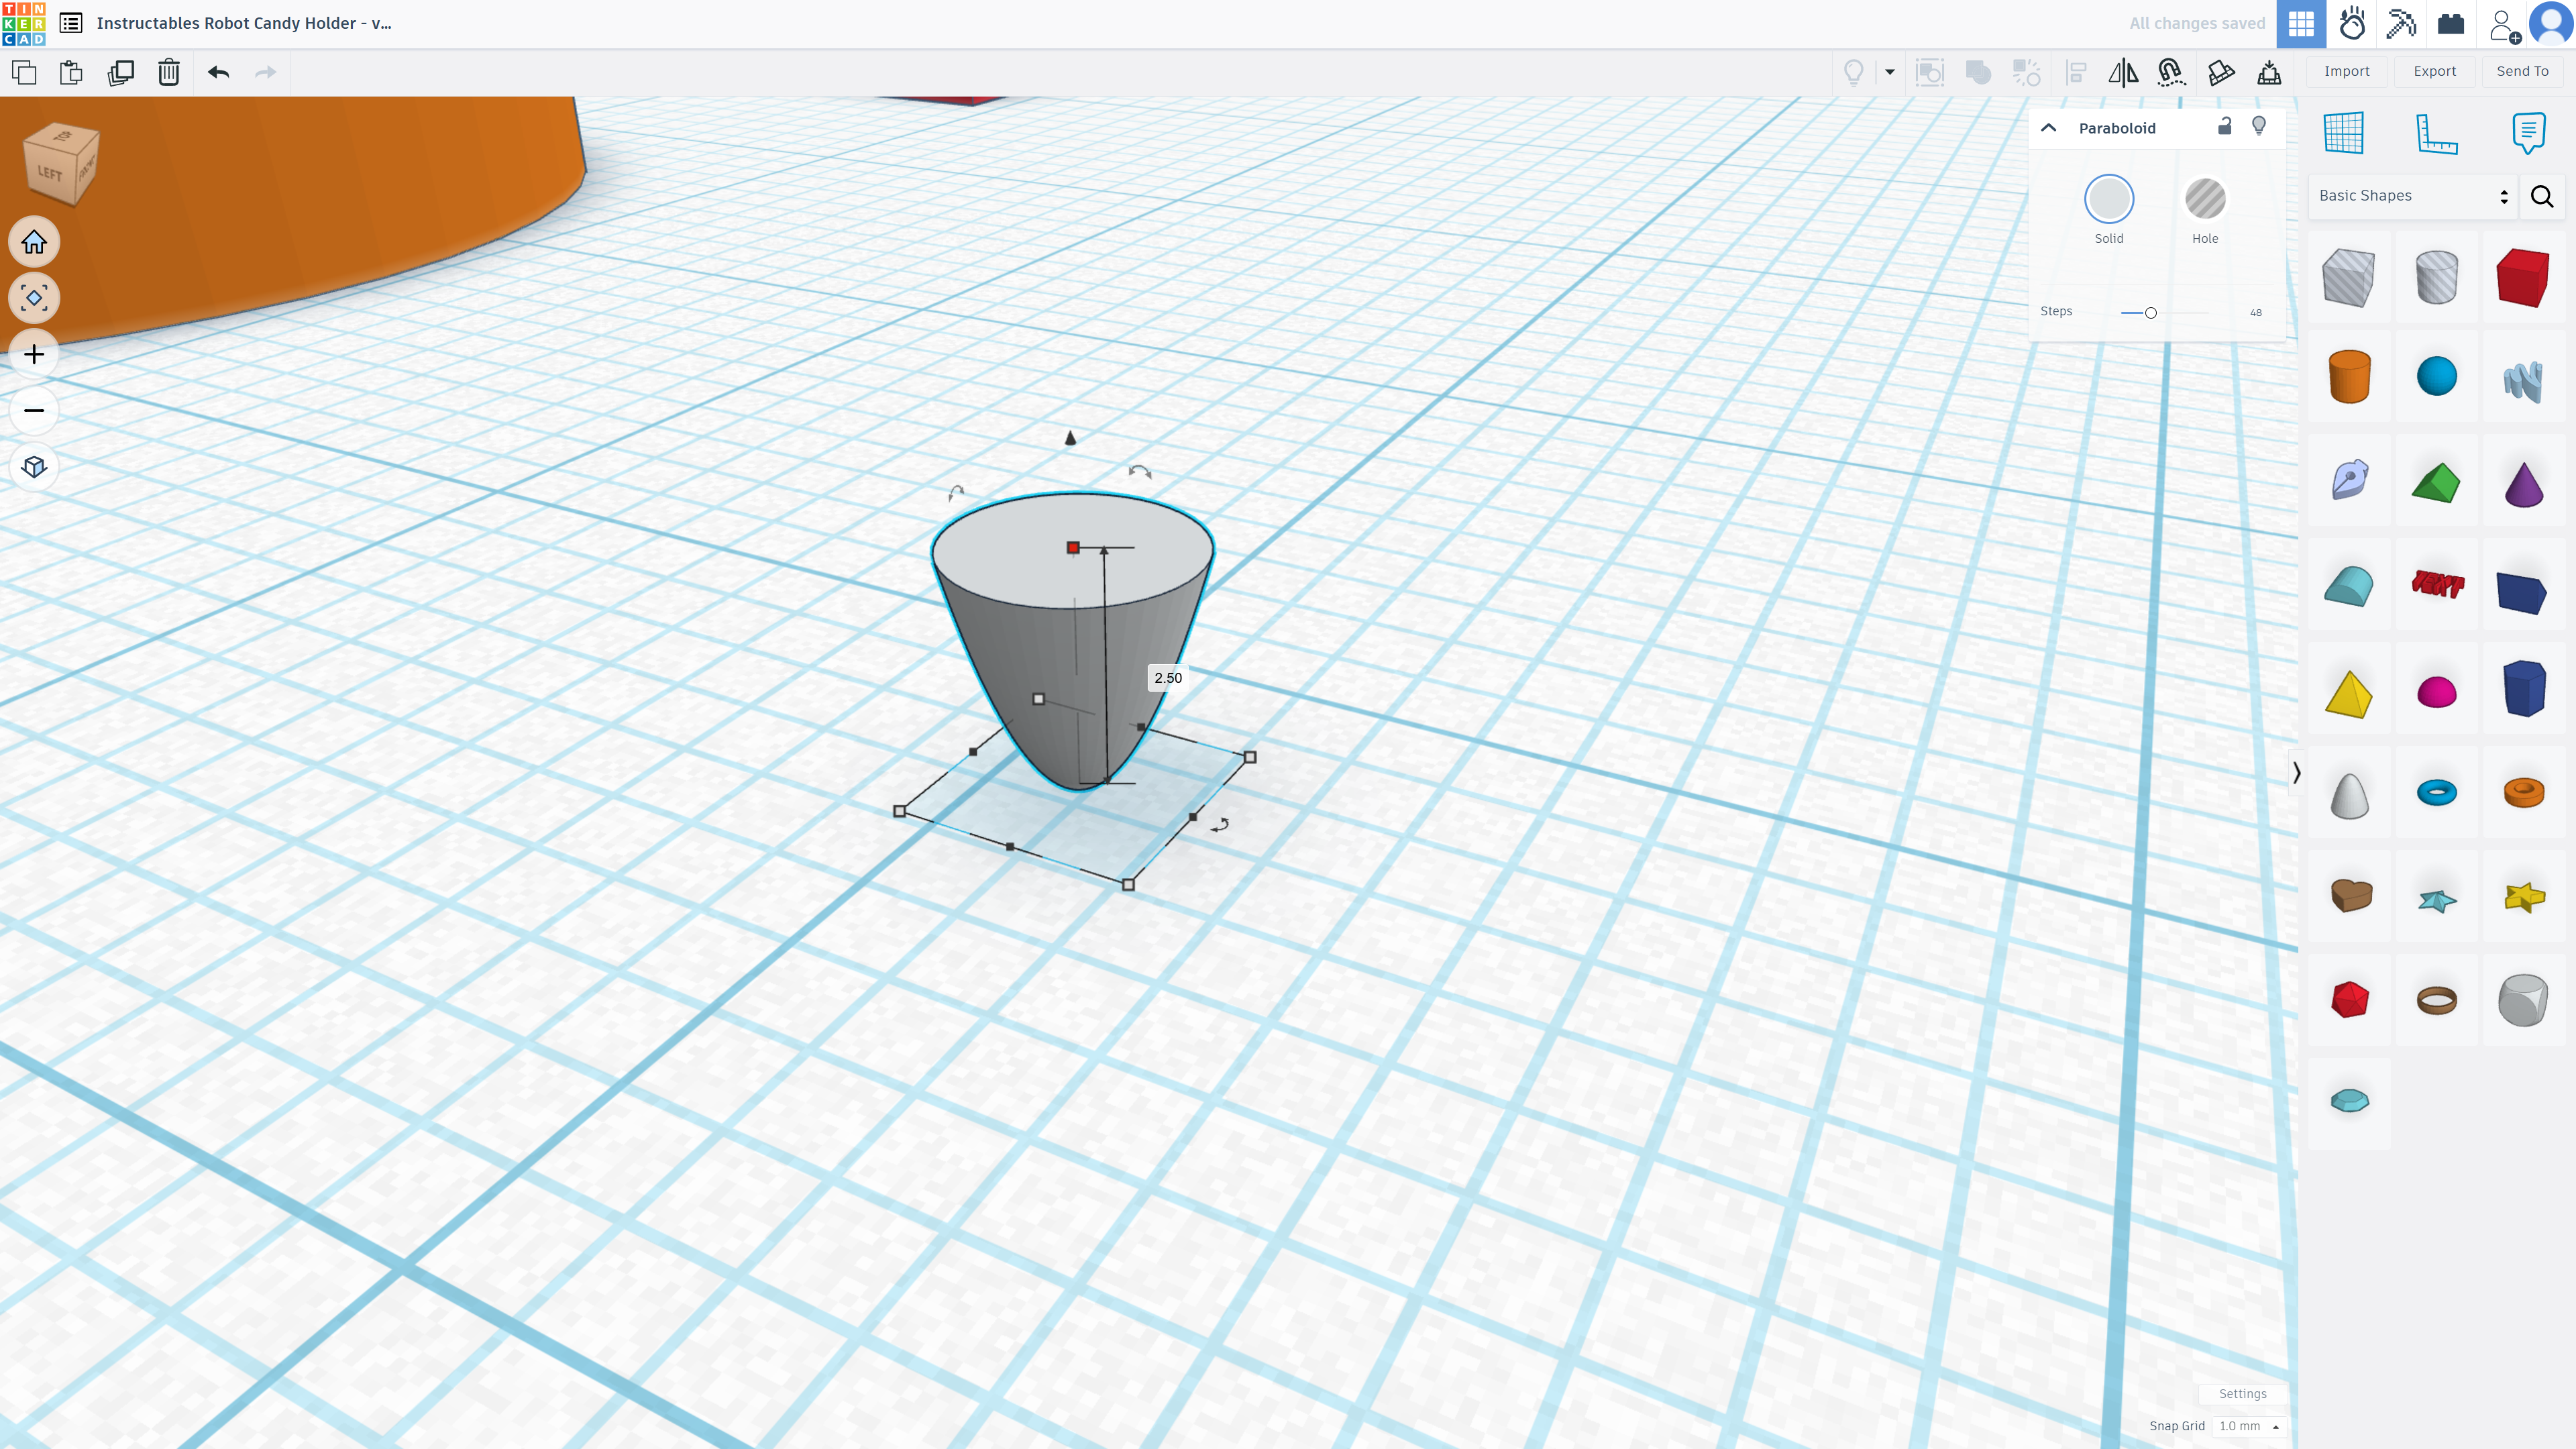
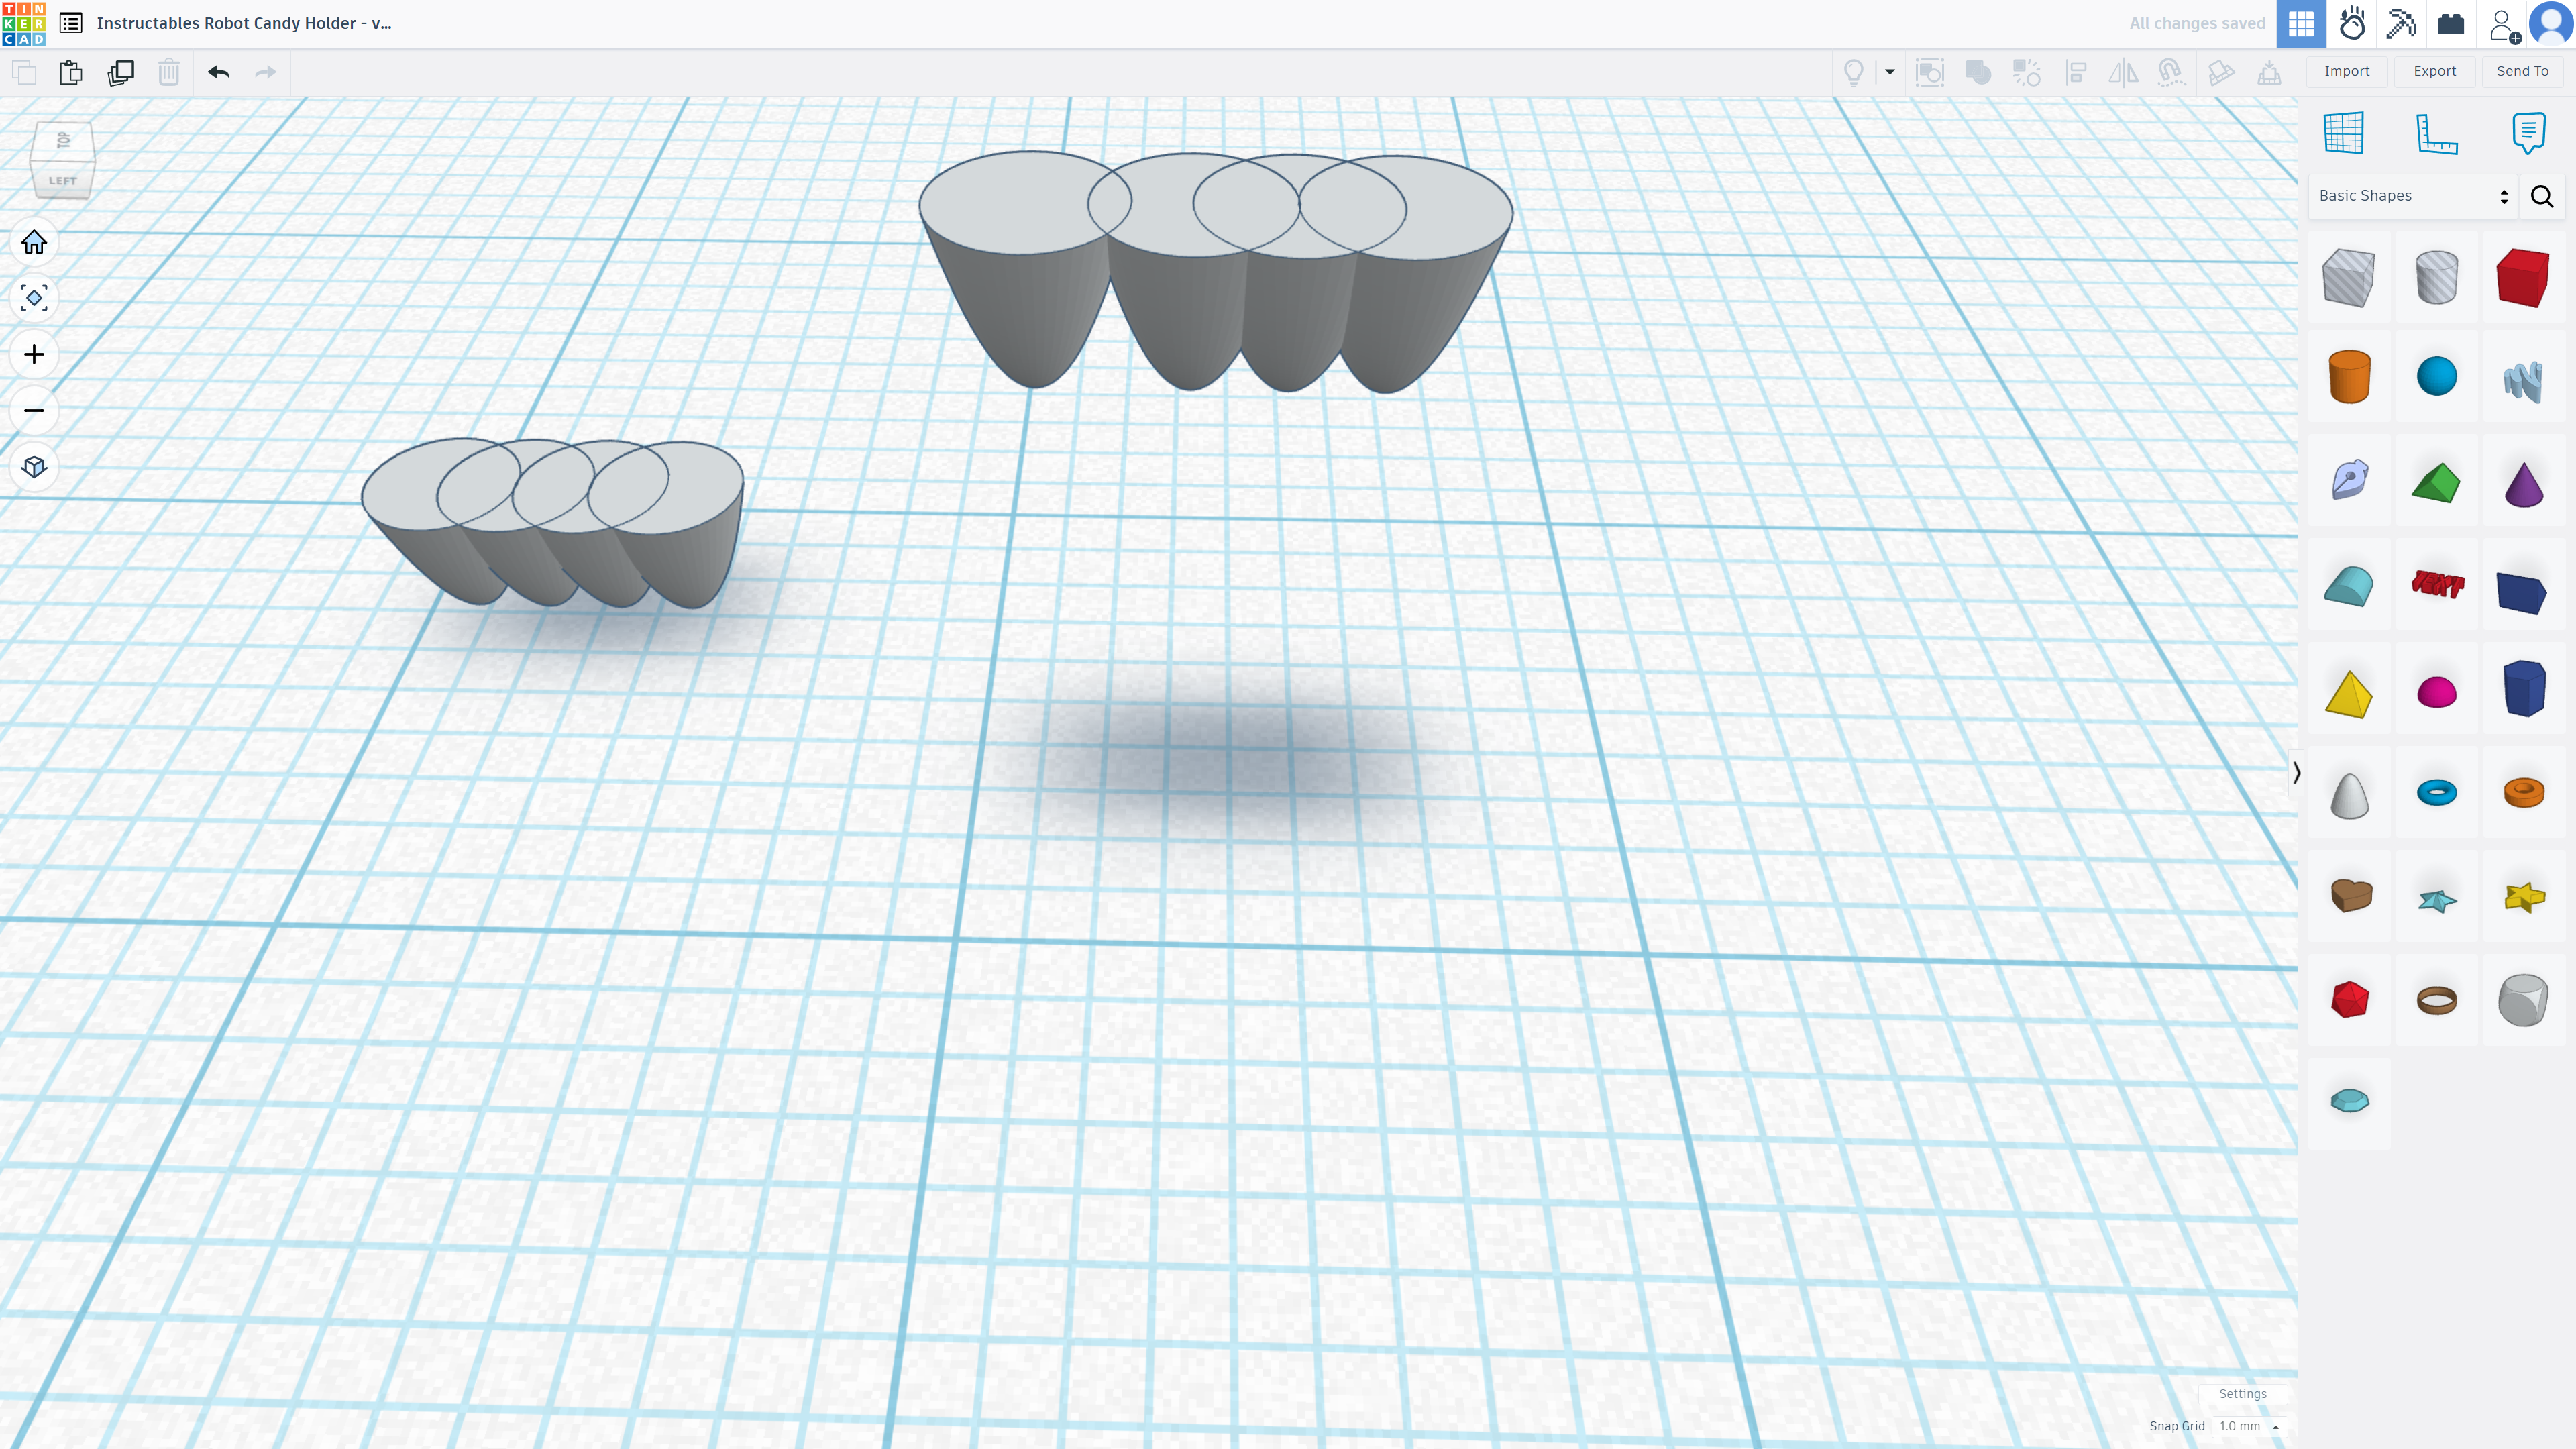
Rotate a paraboloid 180 degrees. Then change its height to 2.5mm, width and length to 2.5mm. Then duplicate the model 8 times.
Adding the Fingers
.png)
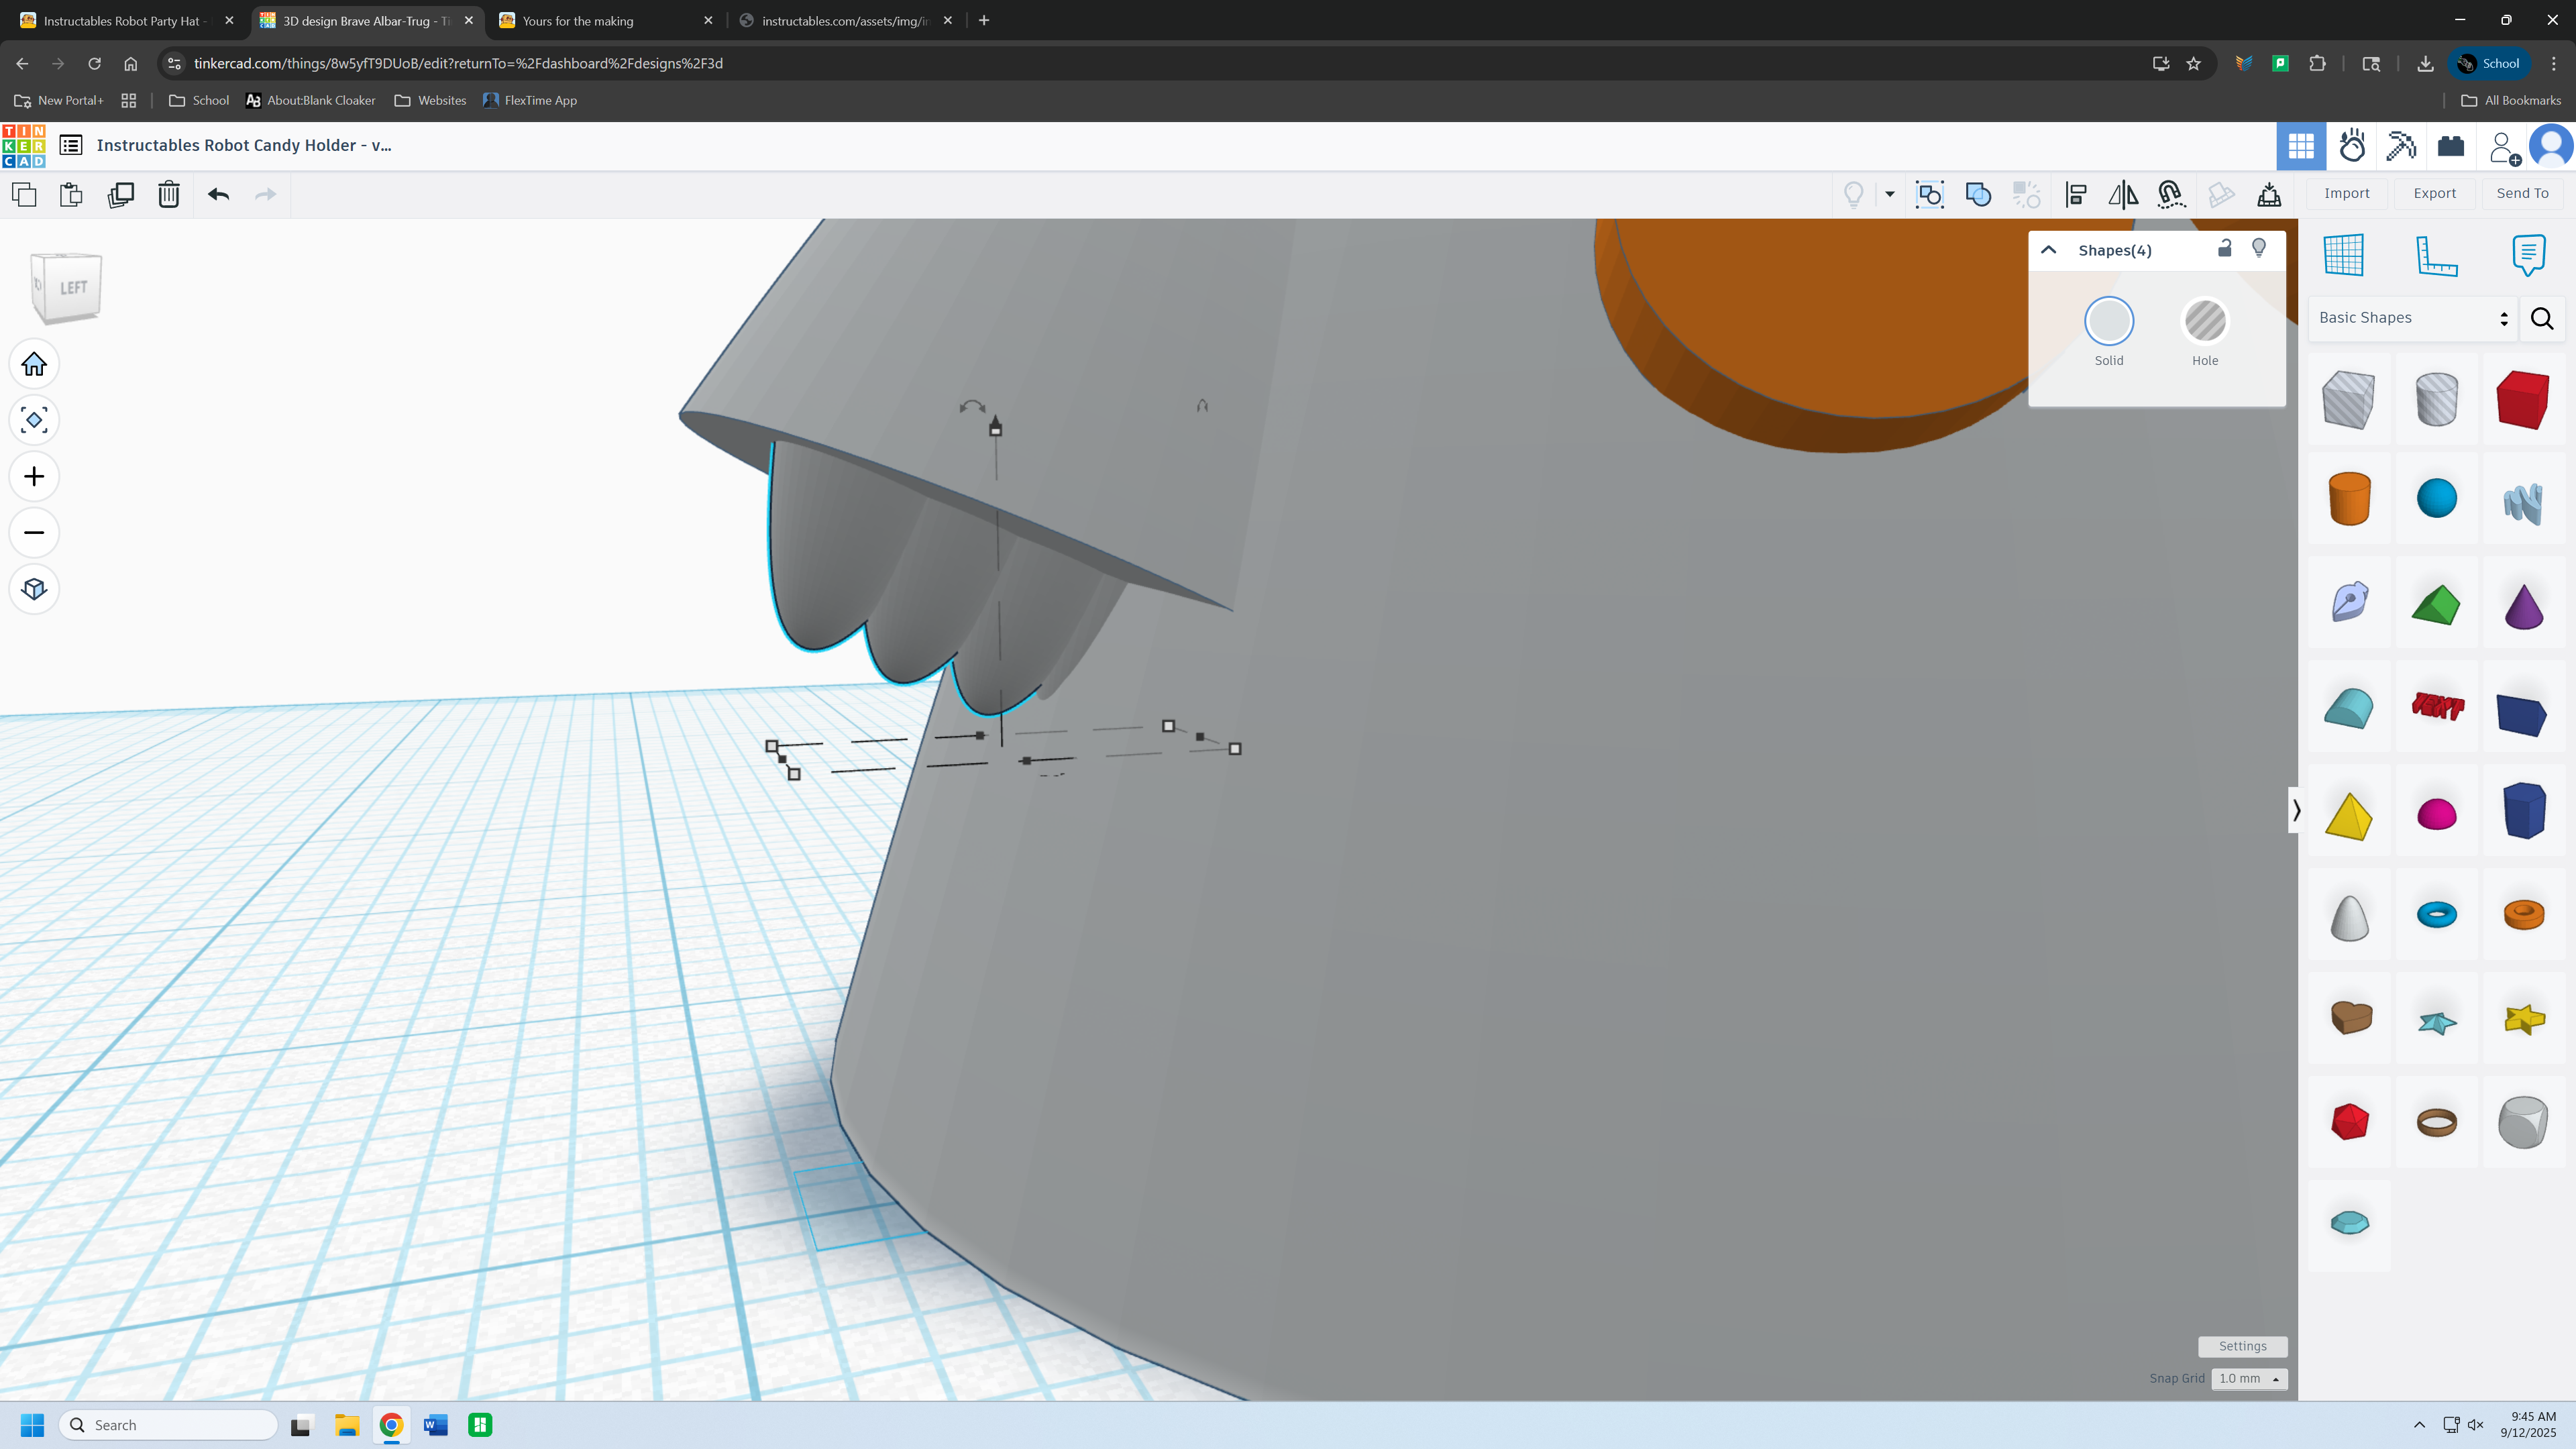
Add the fingers to the arms, you can rotate them to your liking to make sure they look nice.
Adding the Head
.png)
.png)
.png)
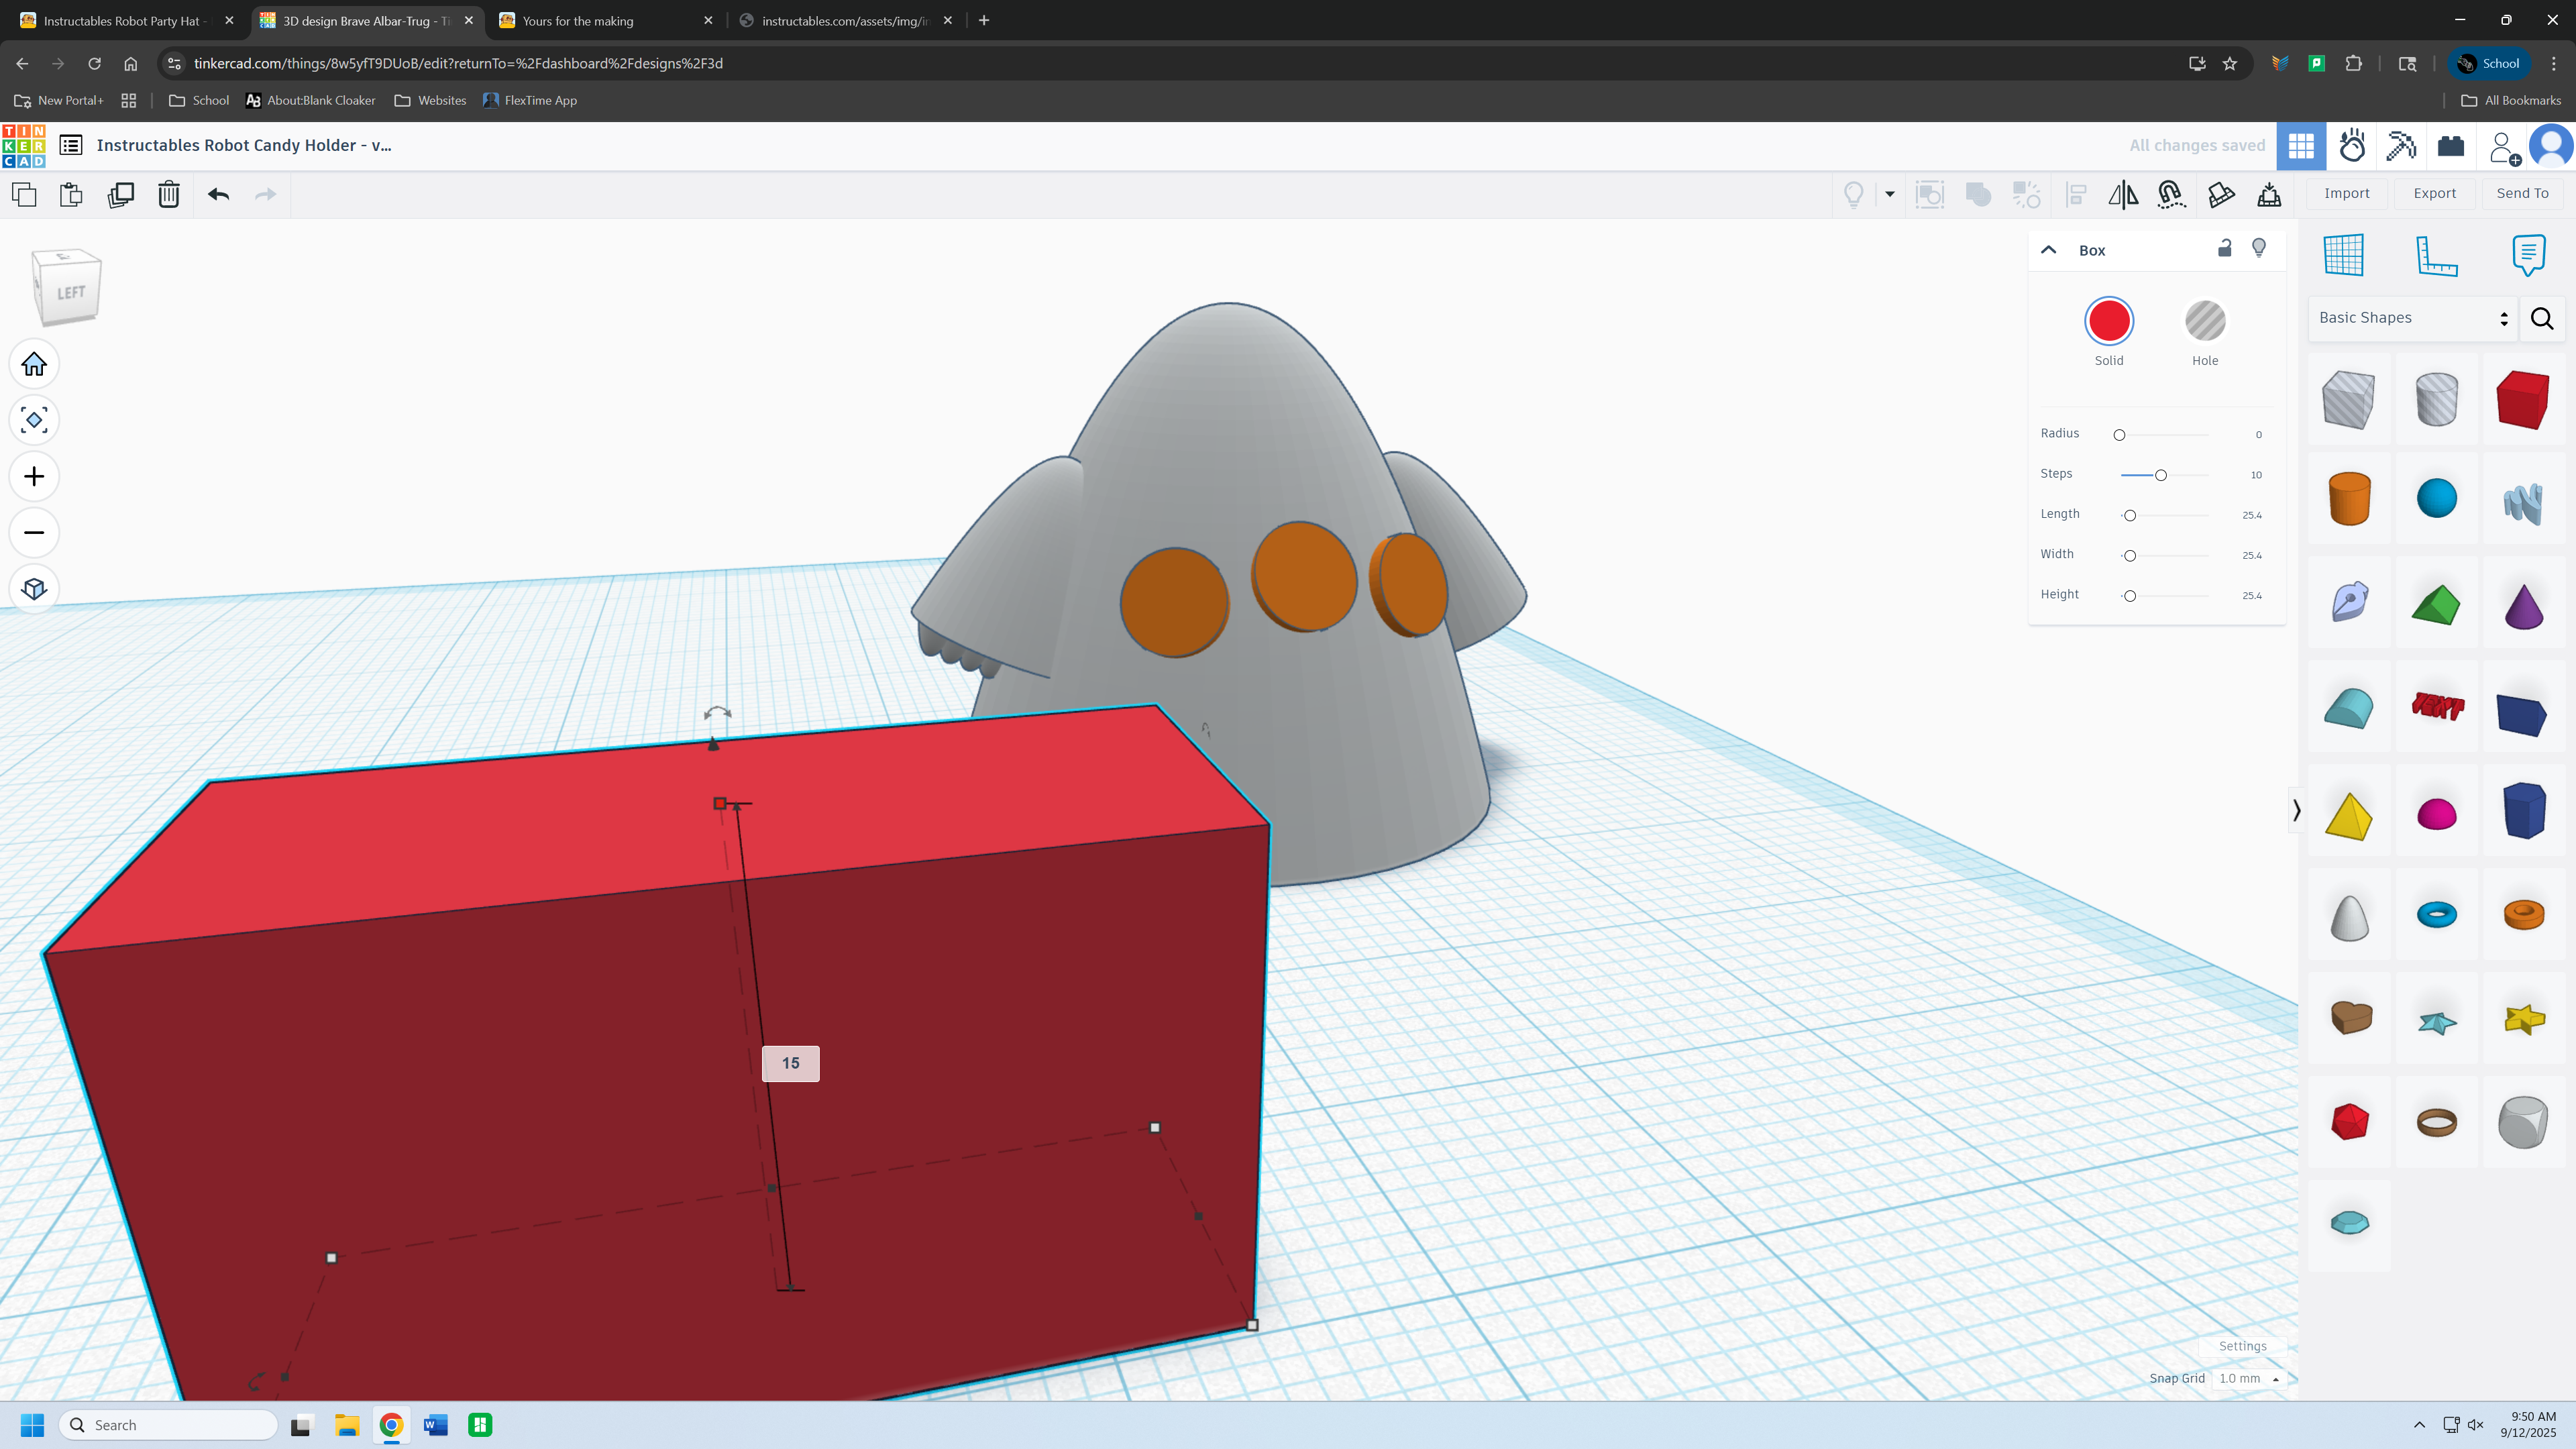
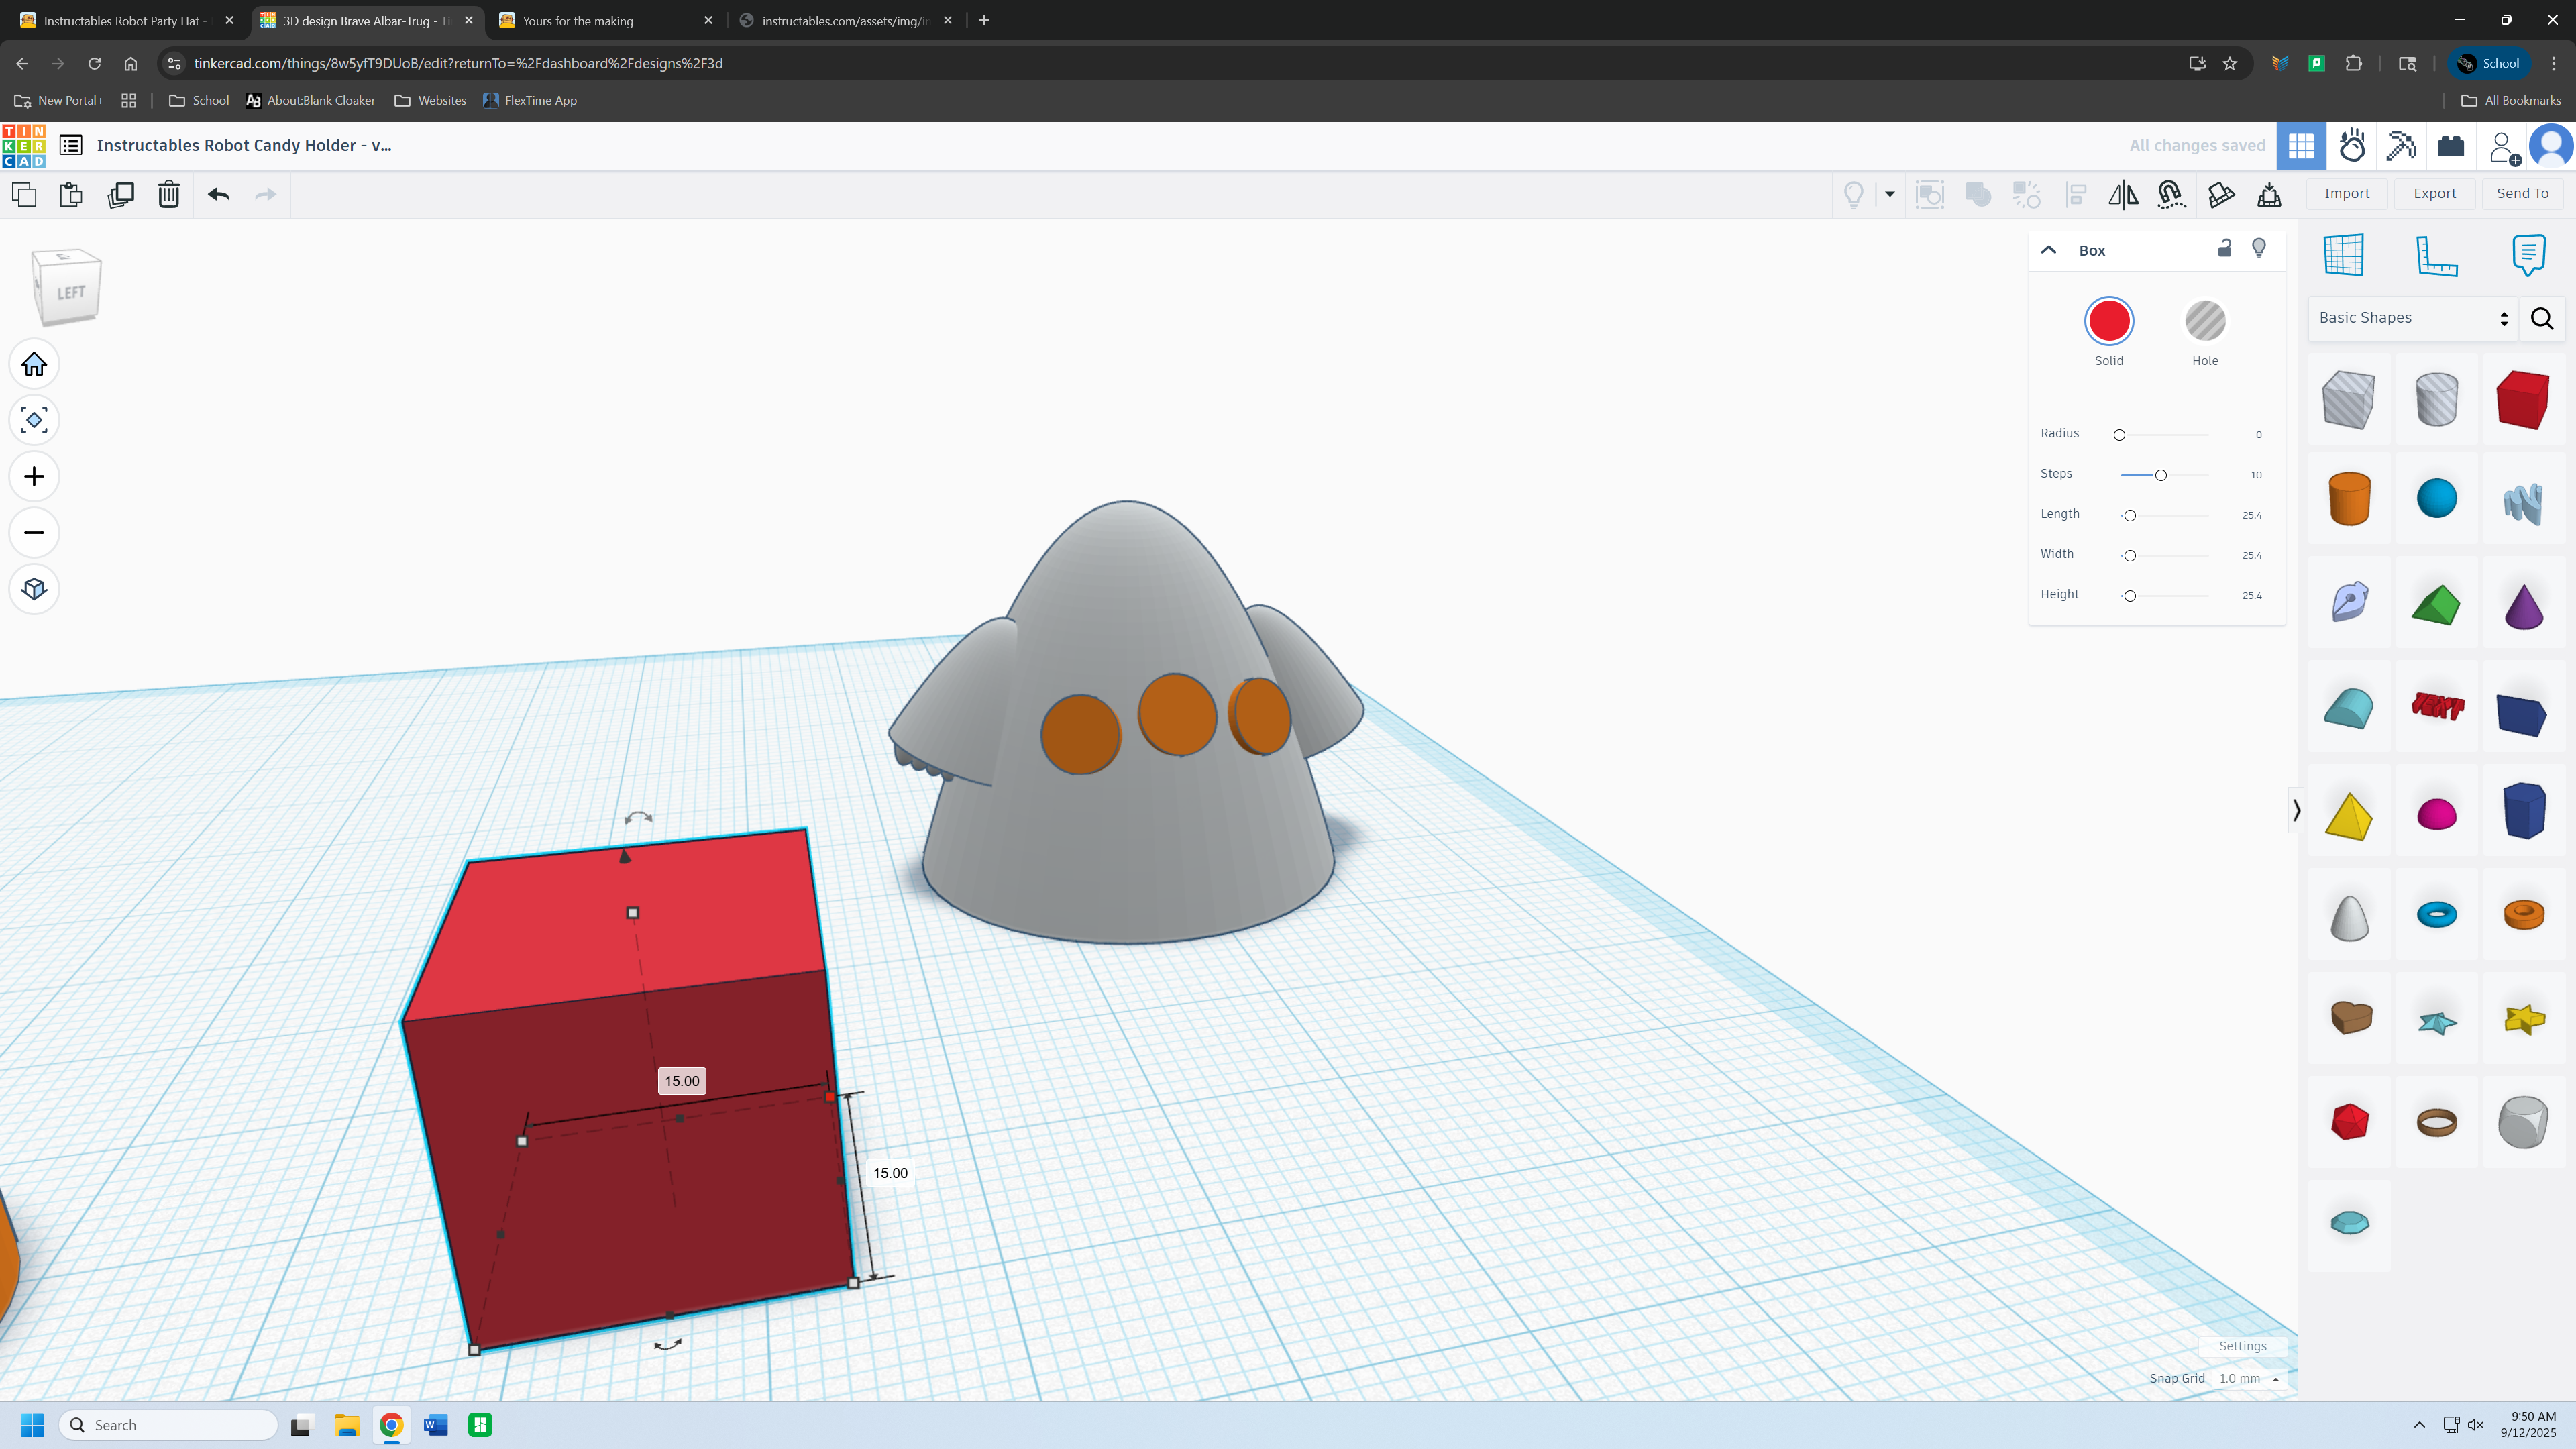
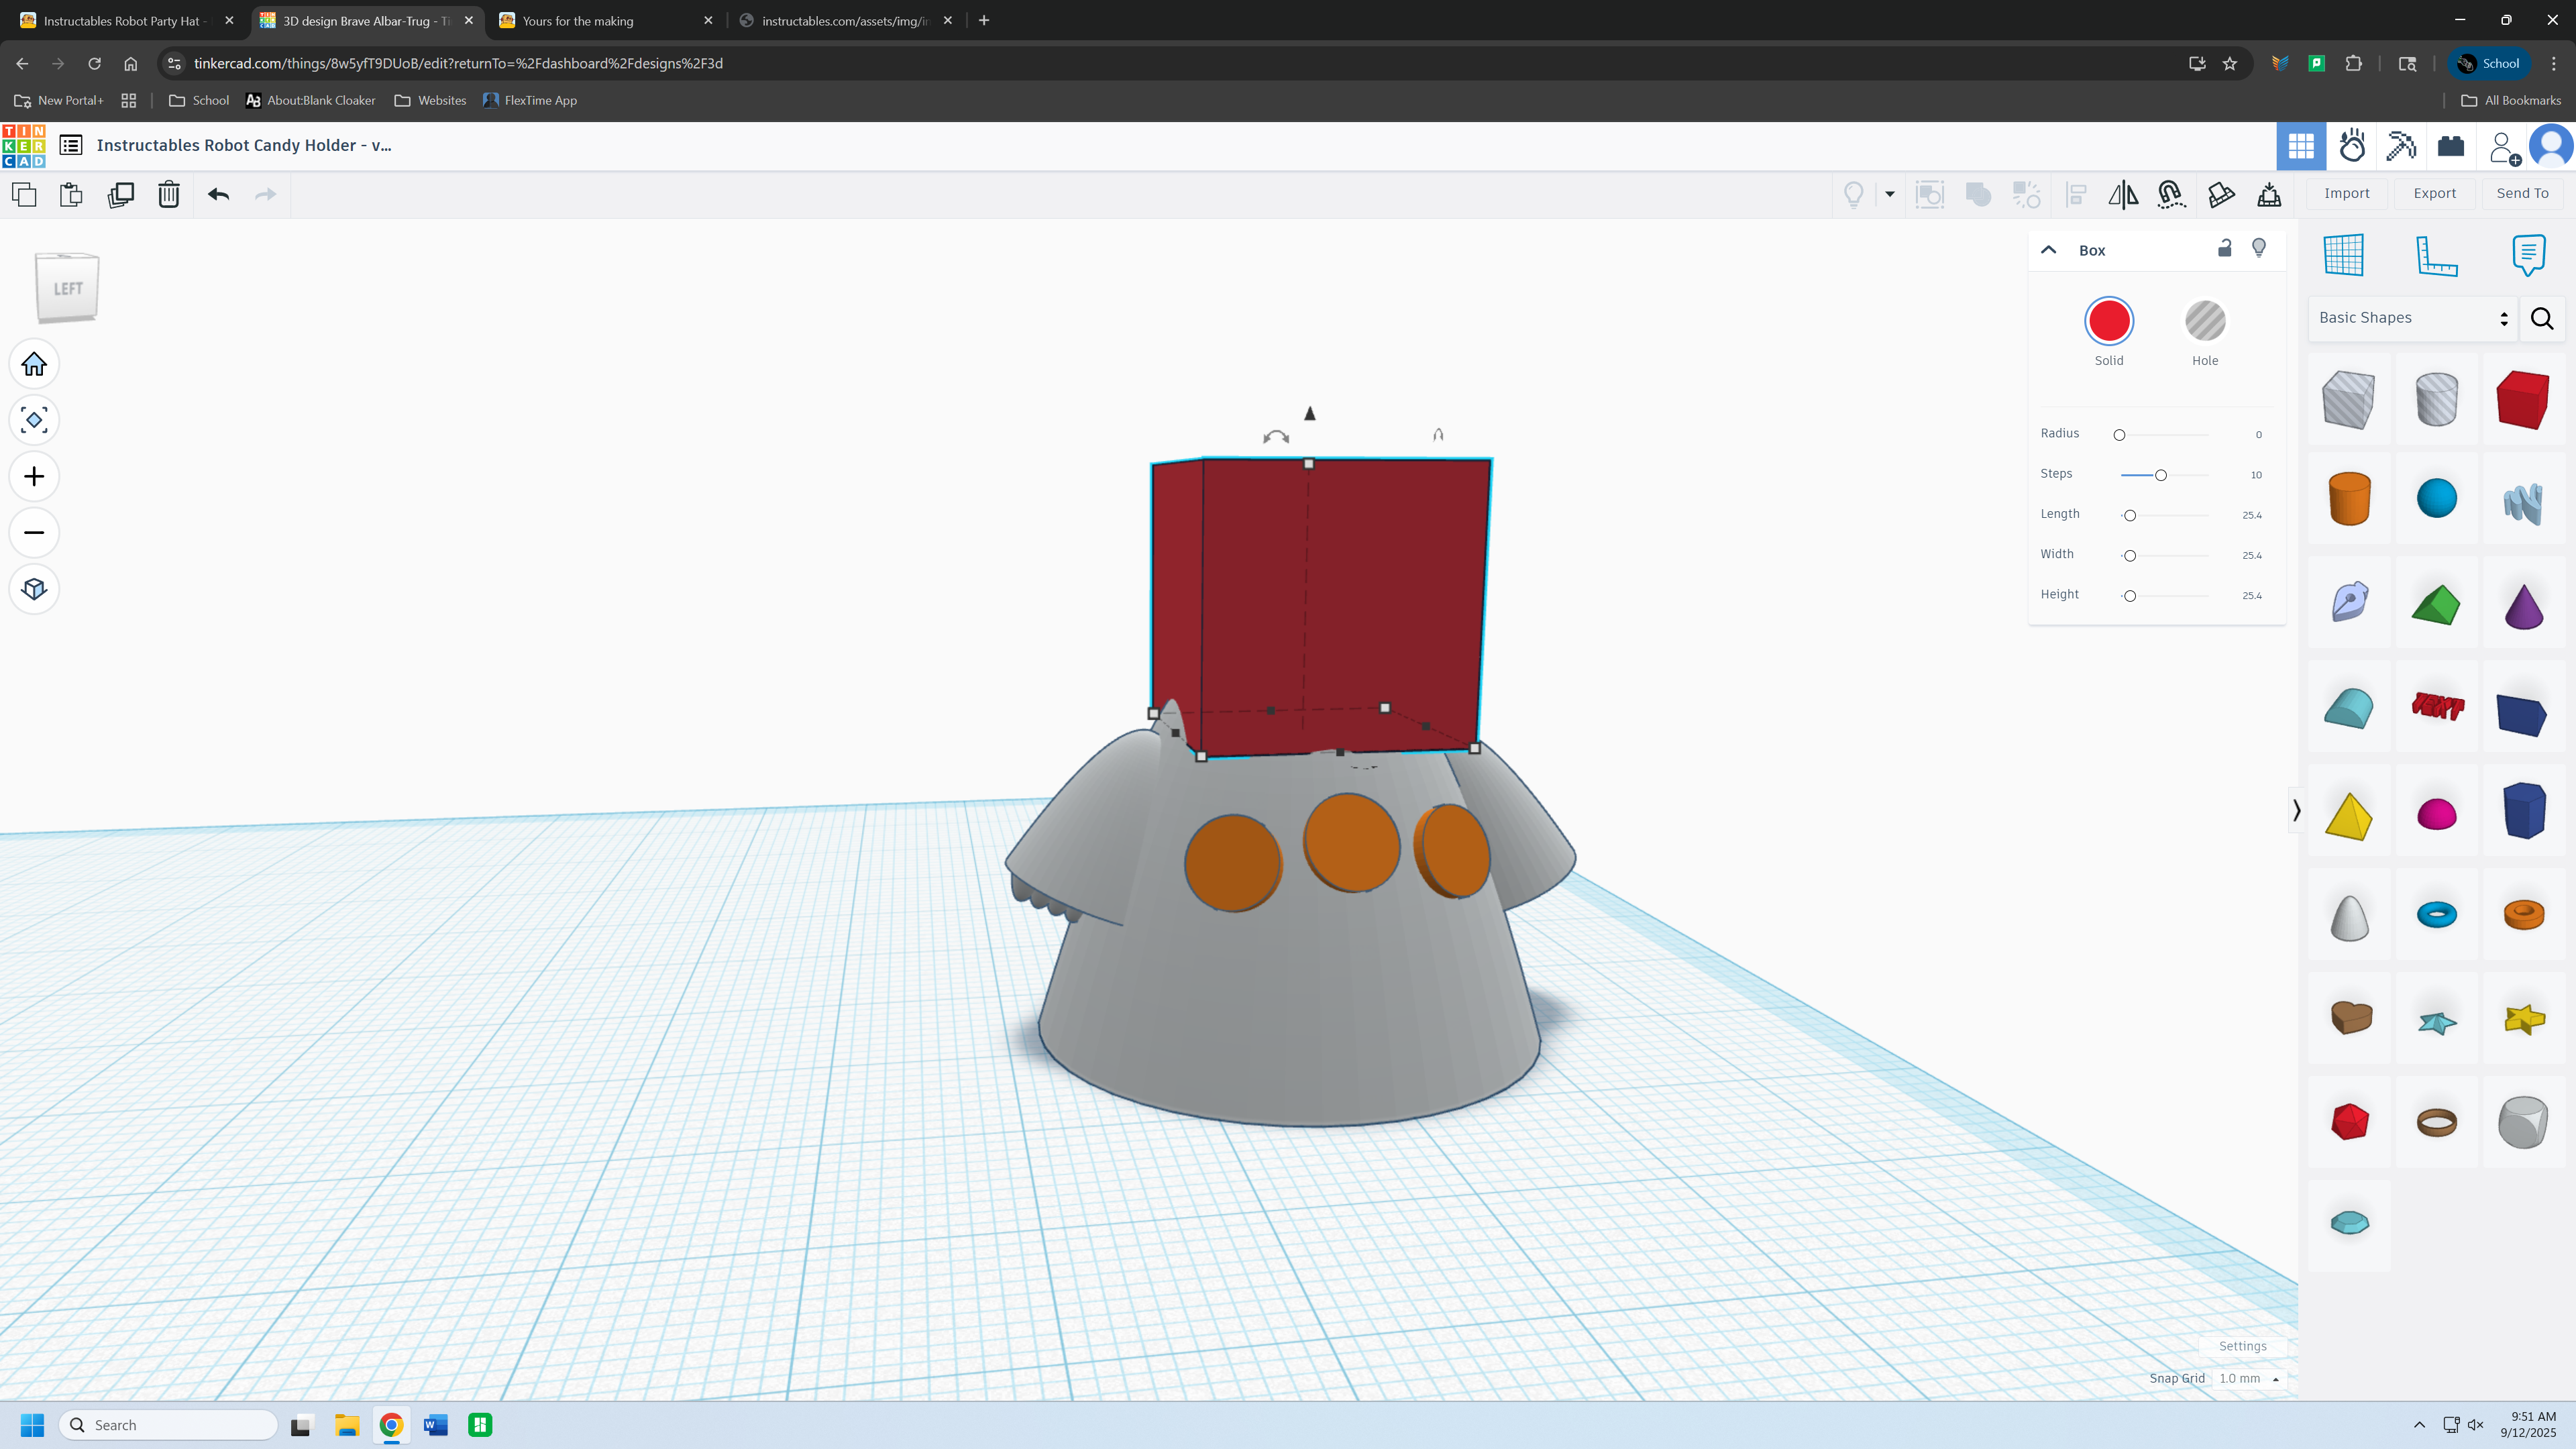
Grab a box and size it to be 15mm in height. Then 15mm in length and width. Then add it to the top of your robot.
Making the Eyes
.png)
.png)
.png)
.png)
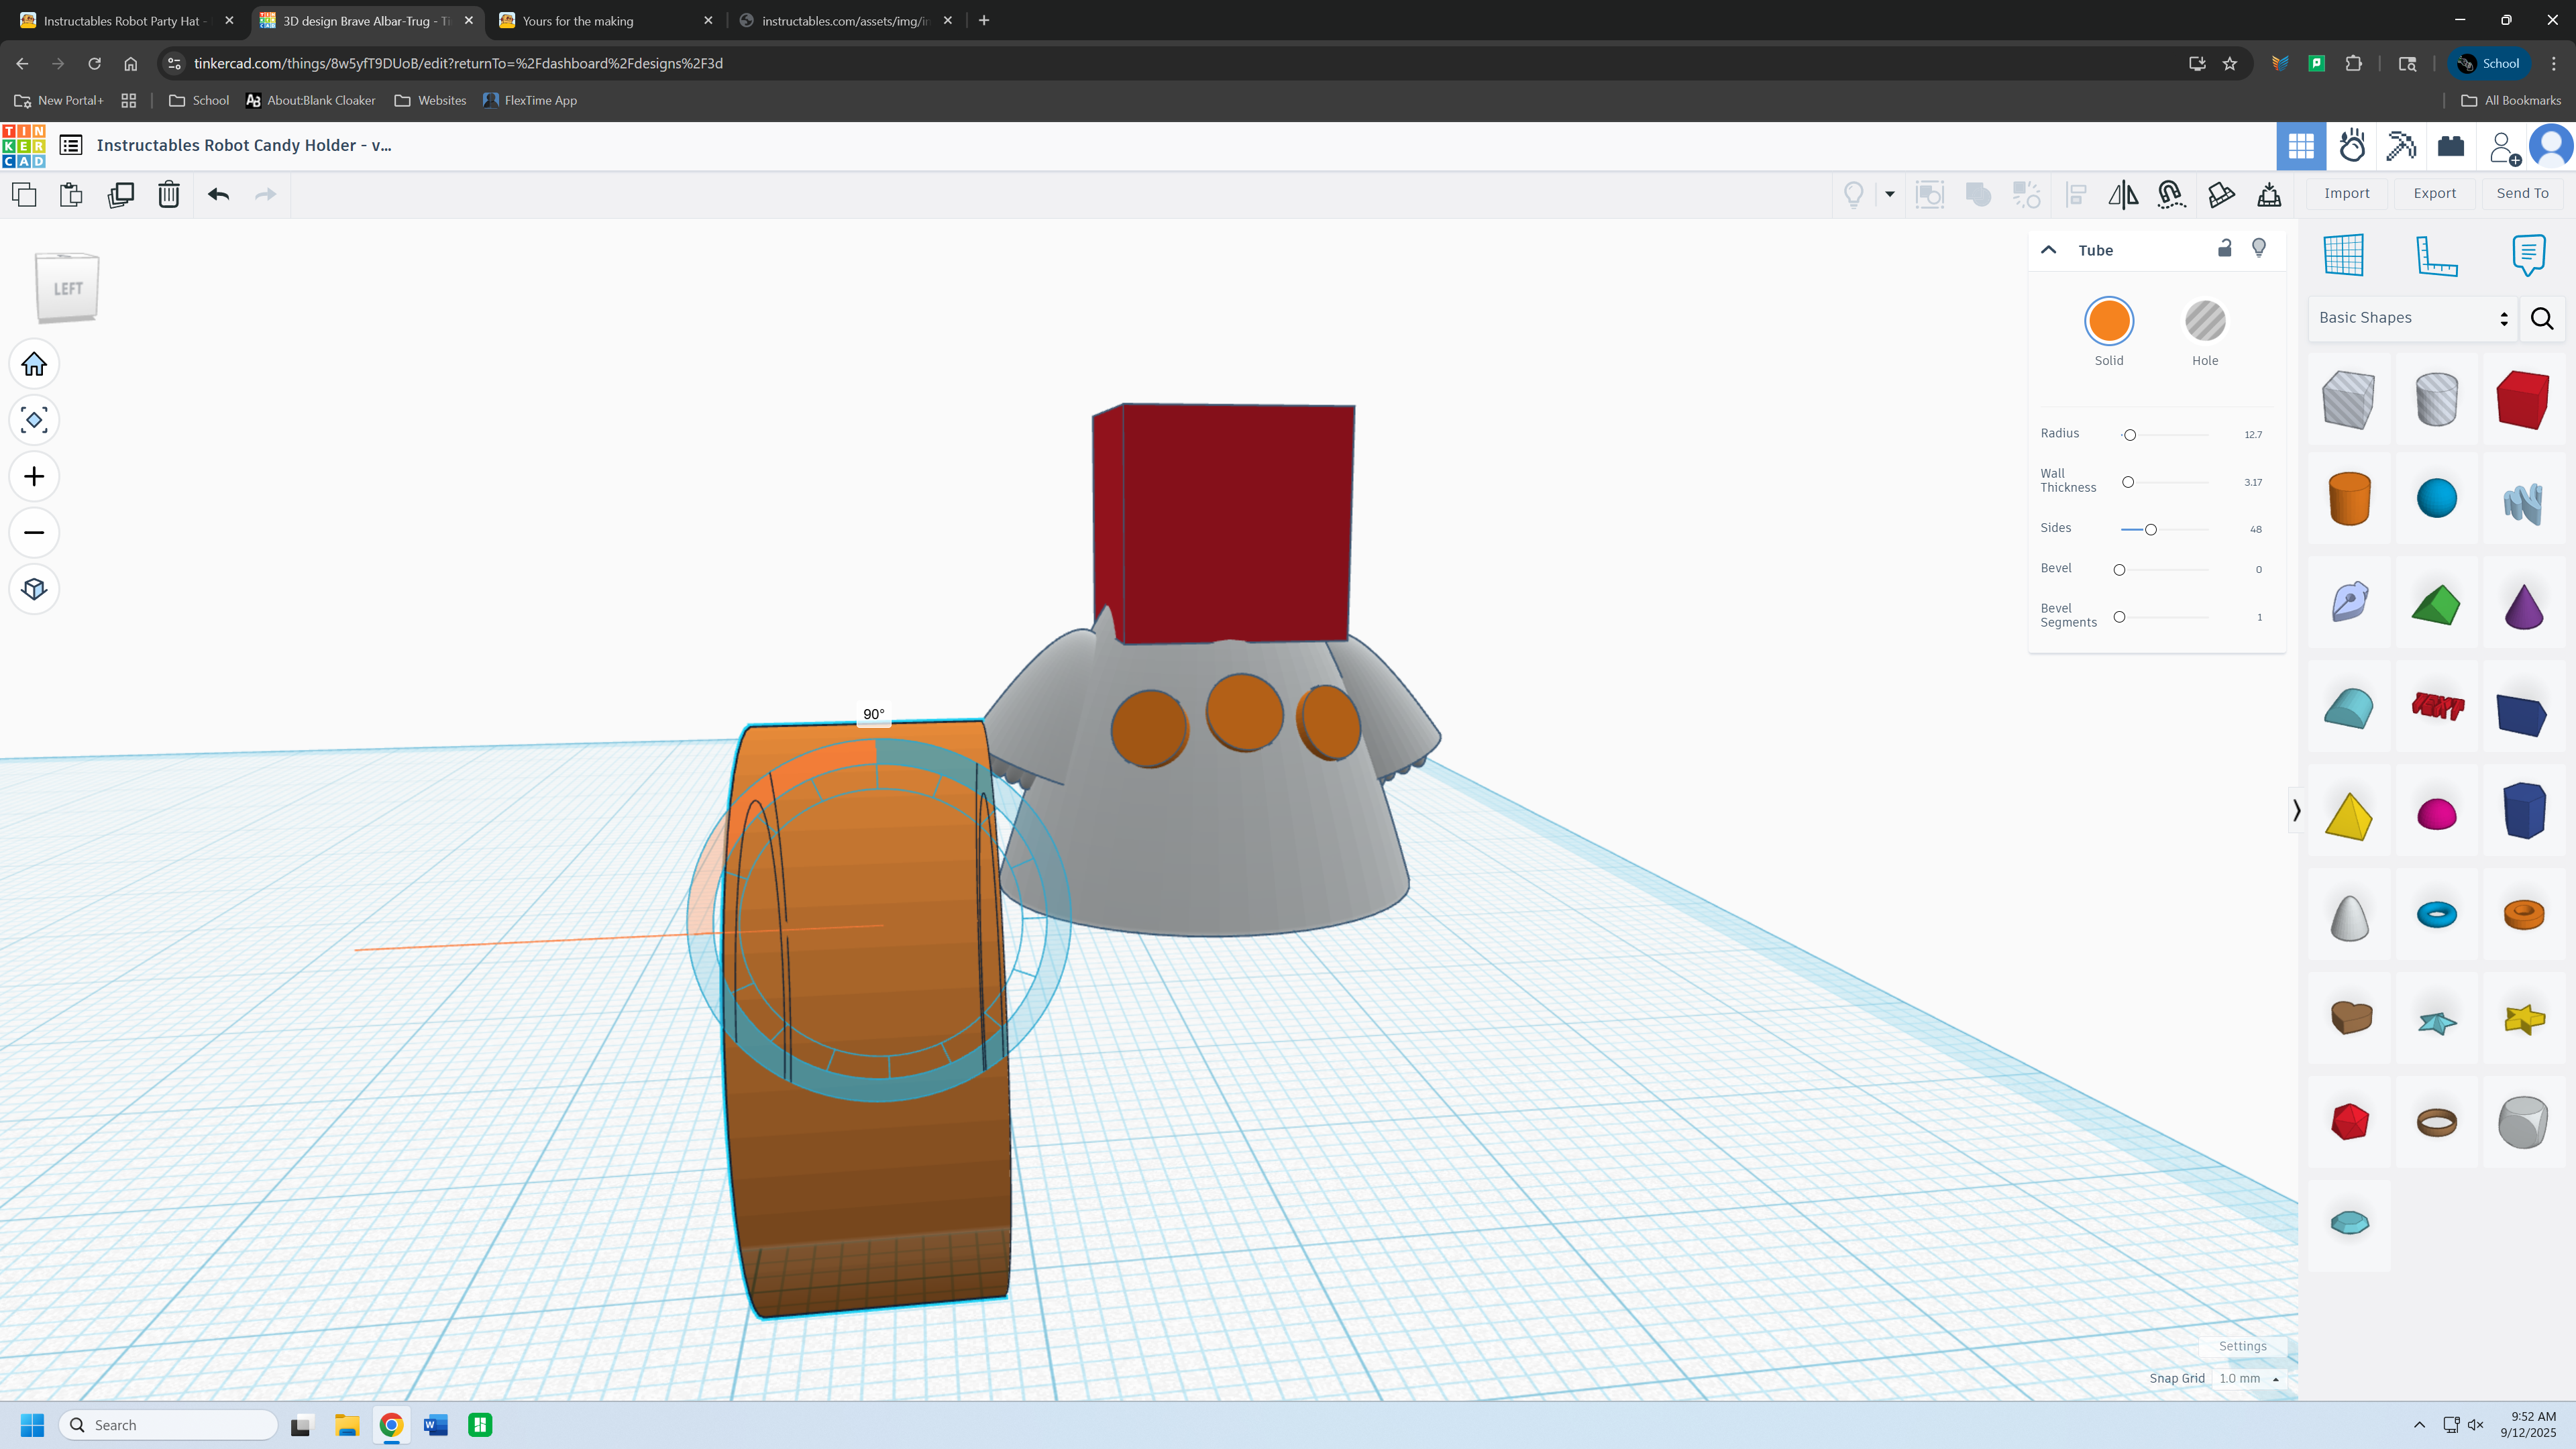
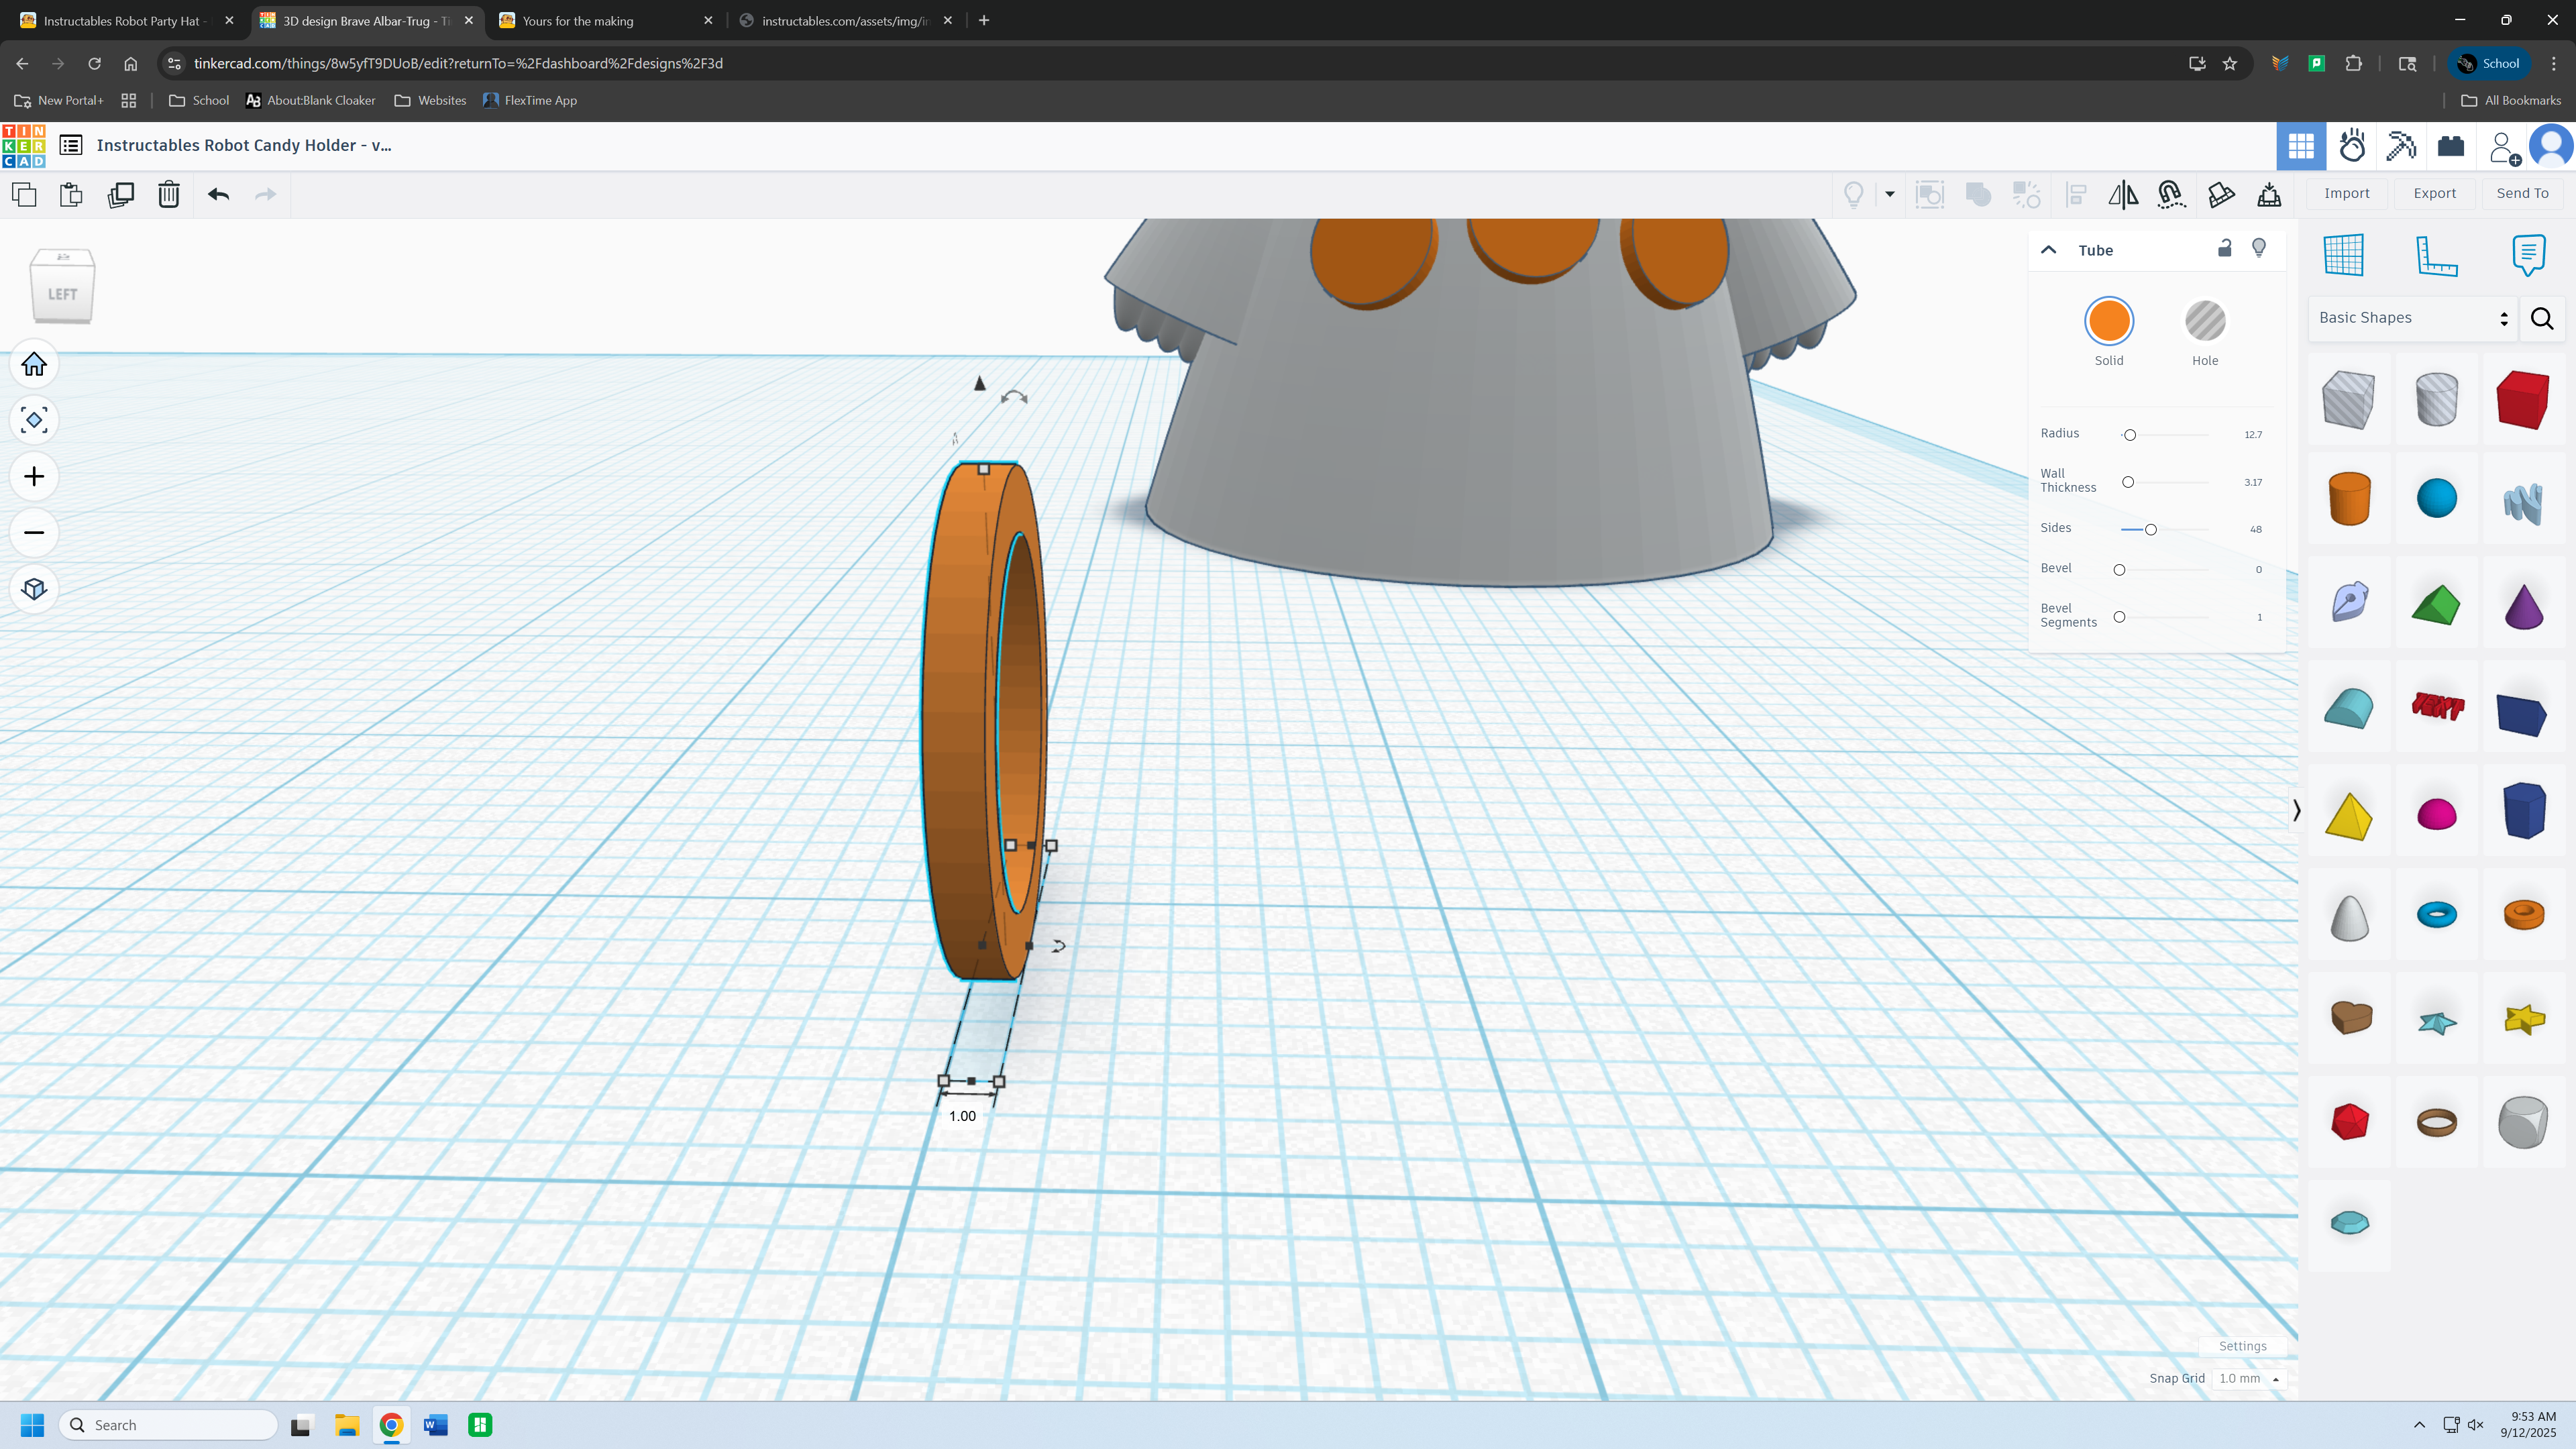
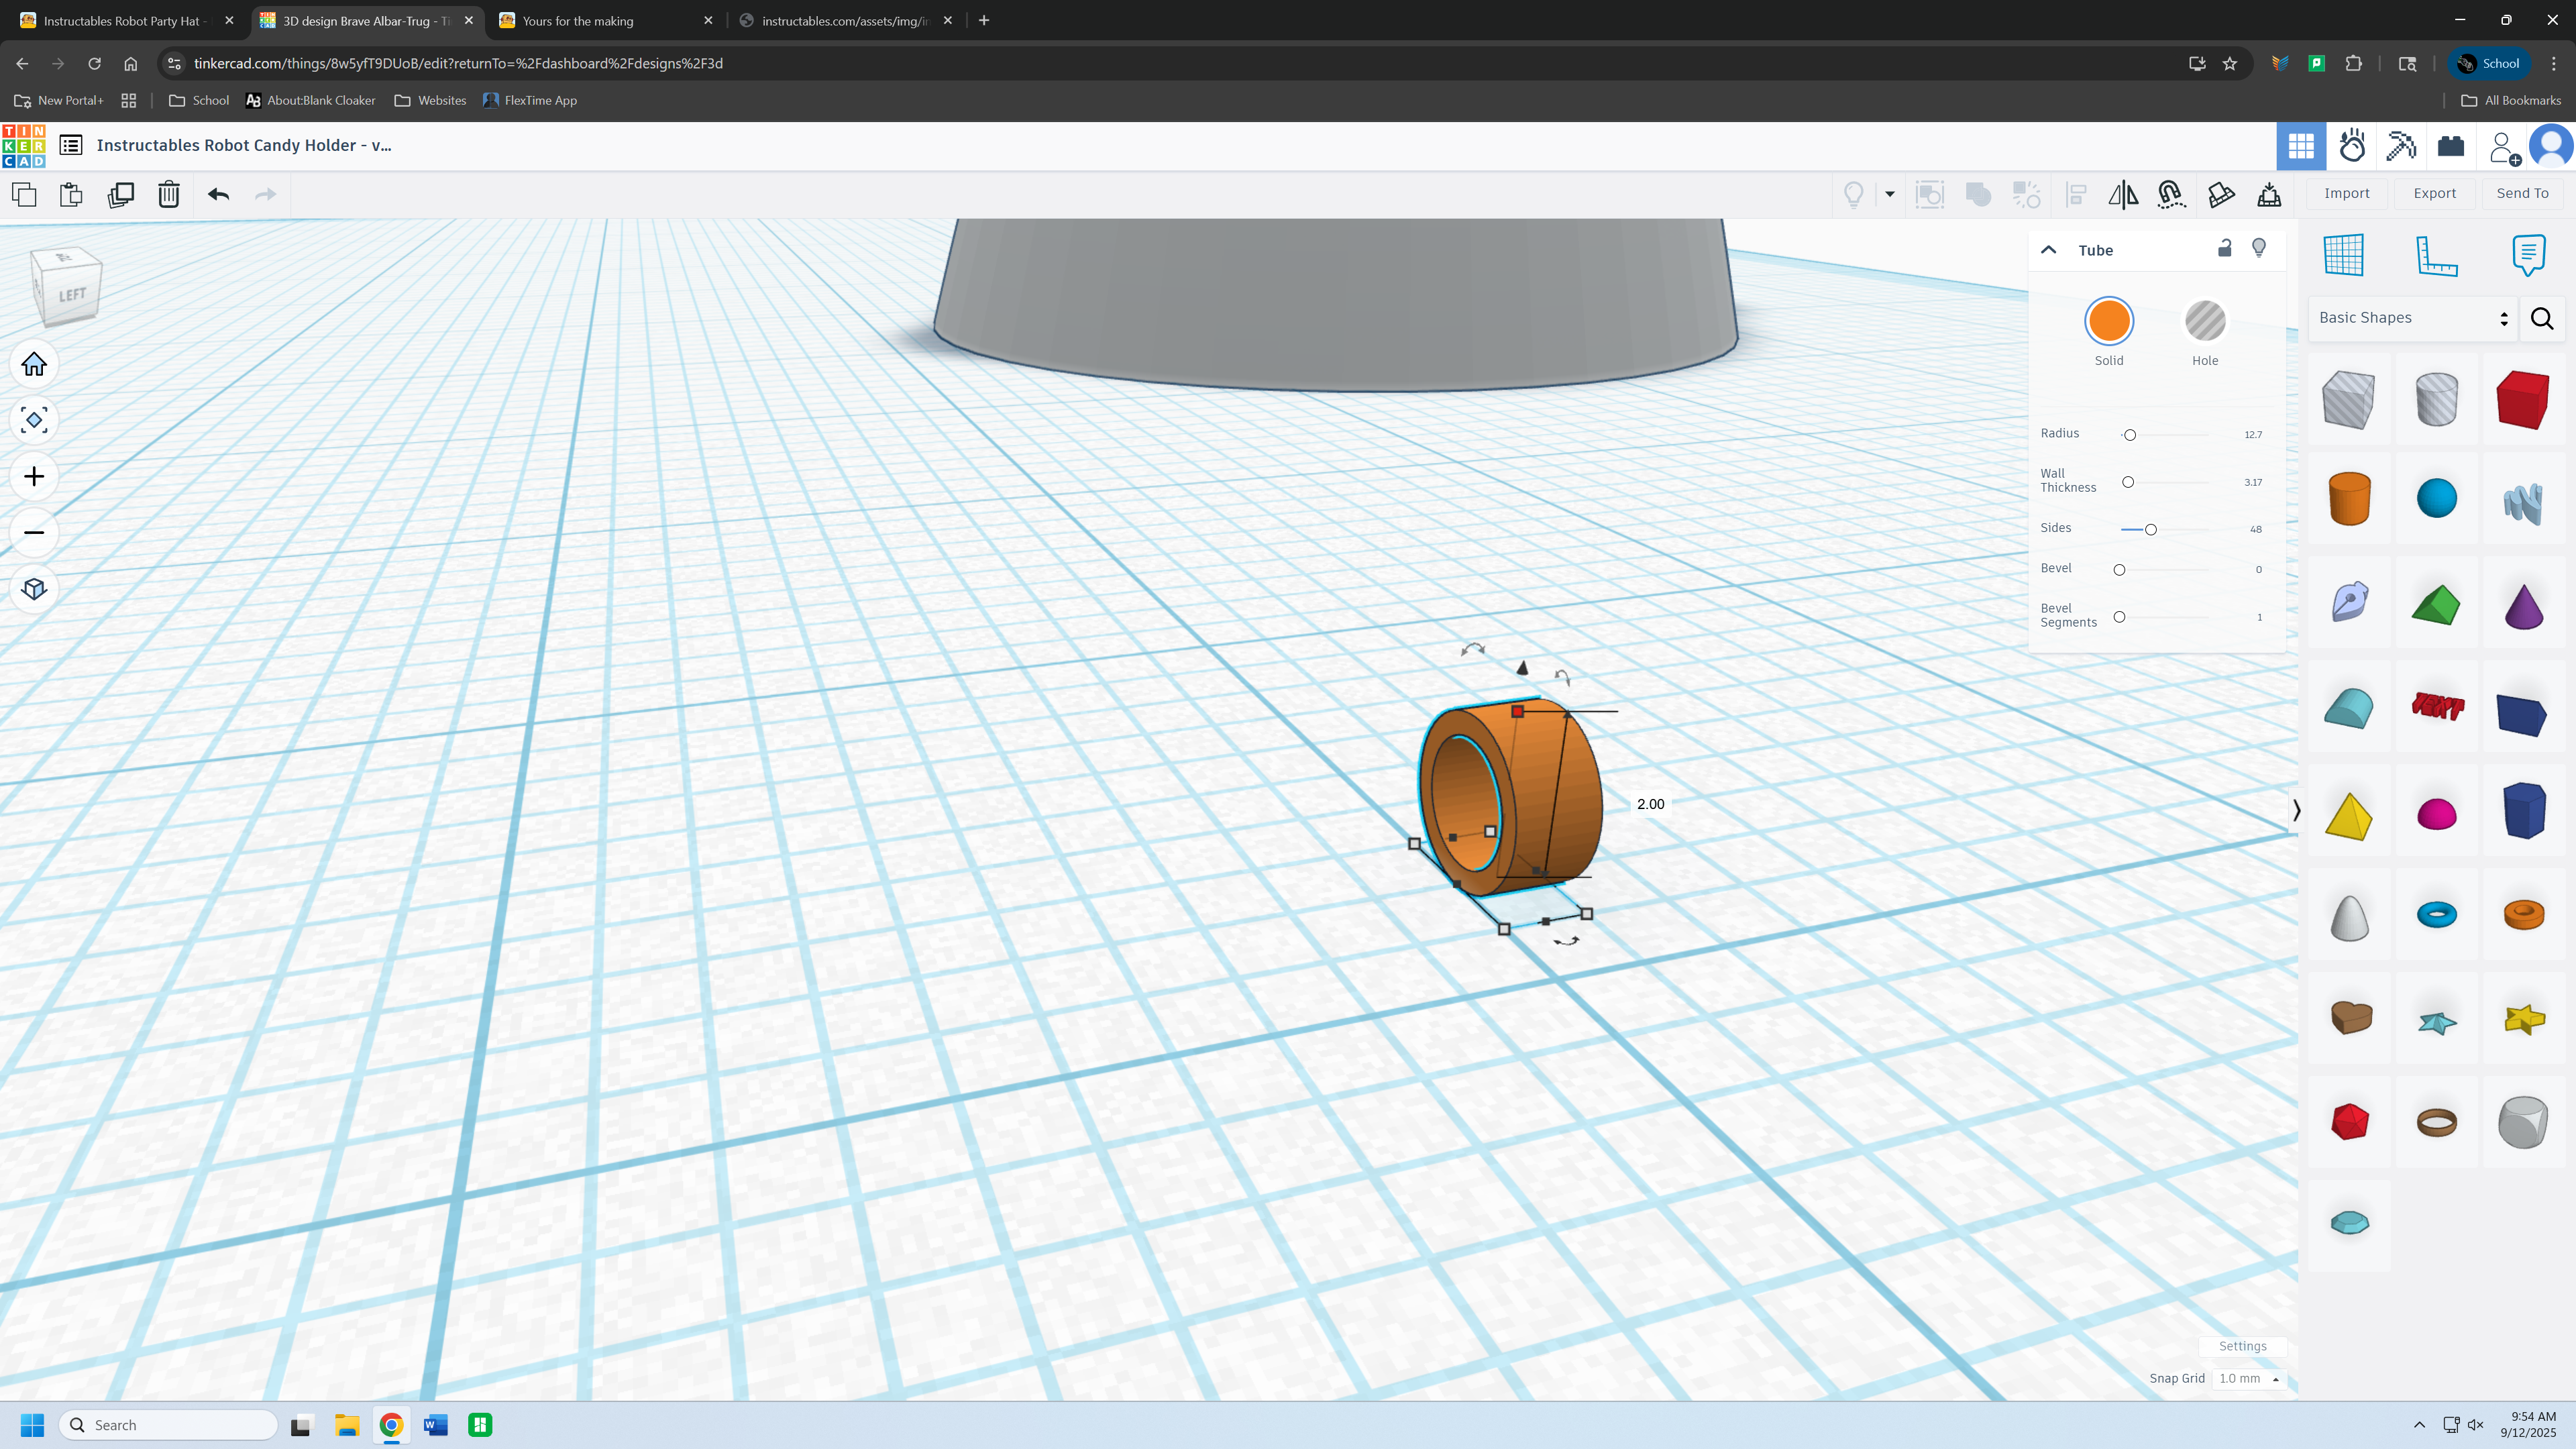
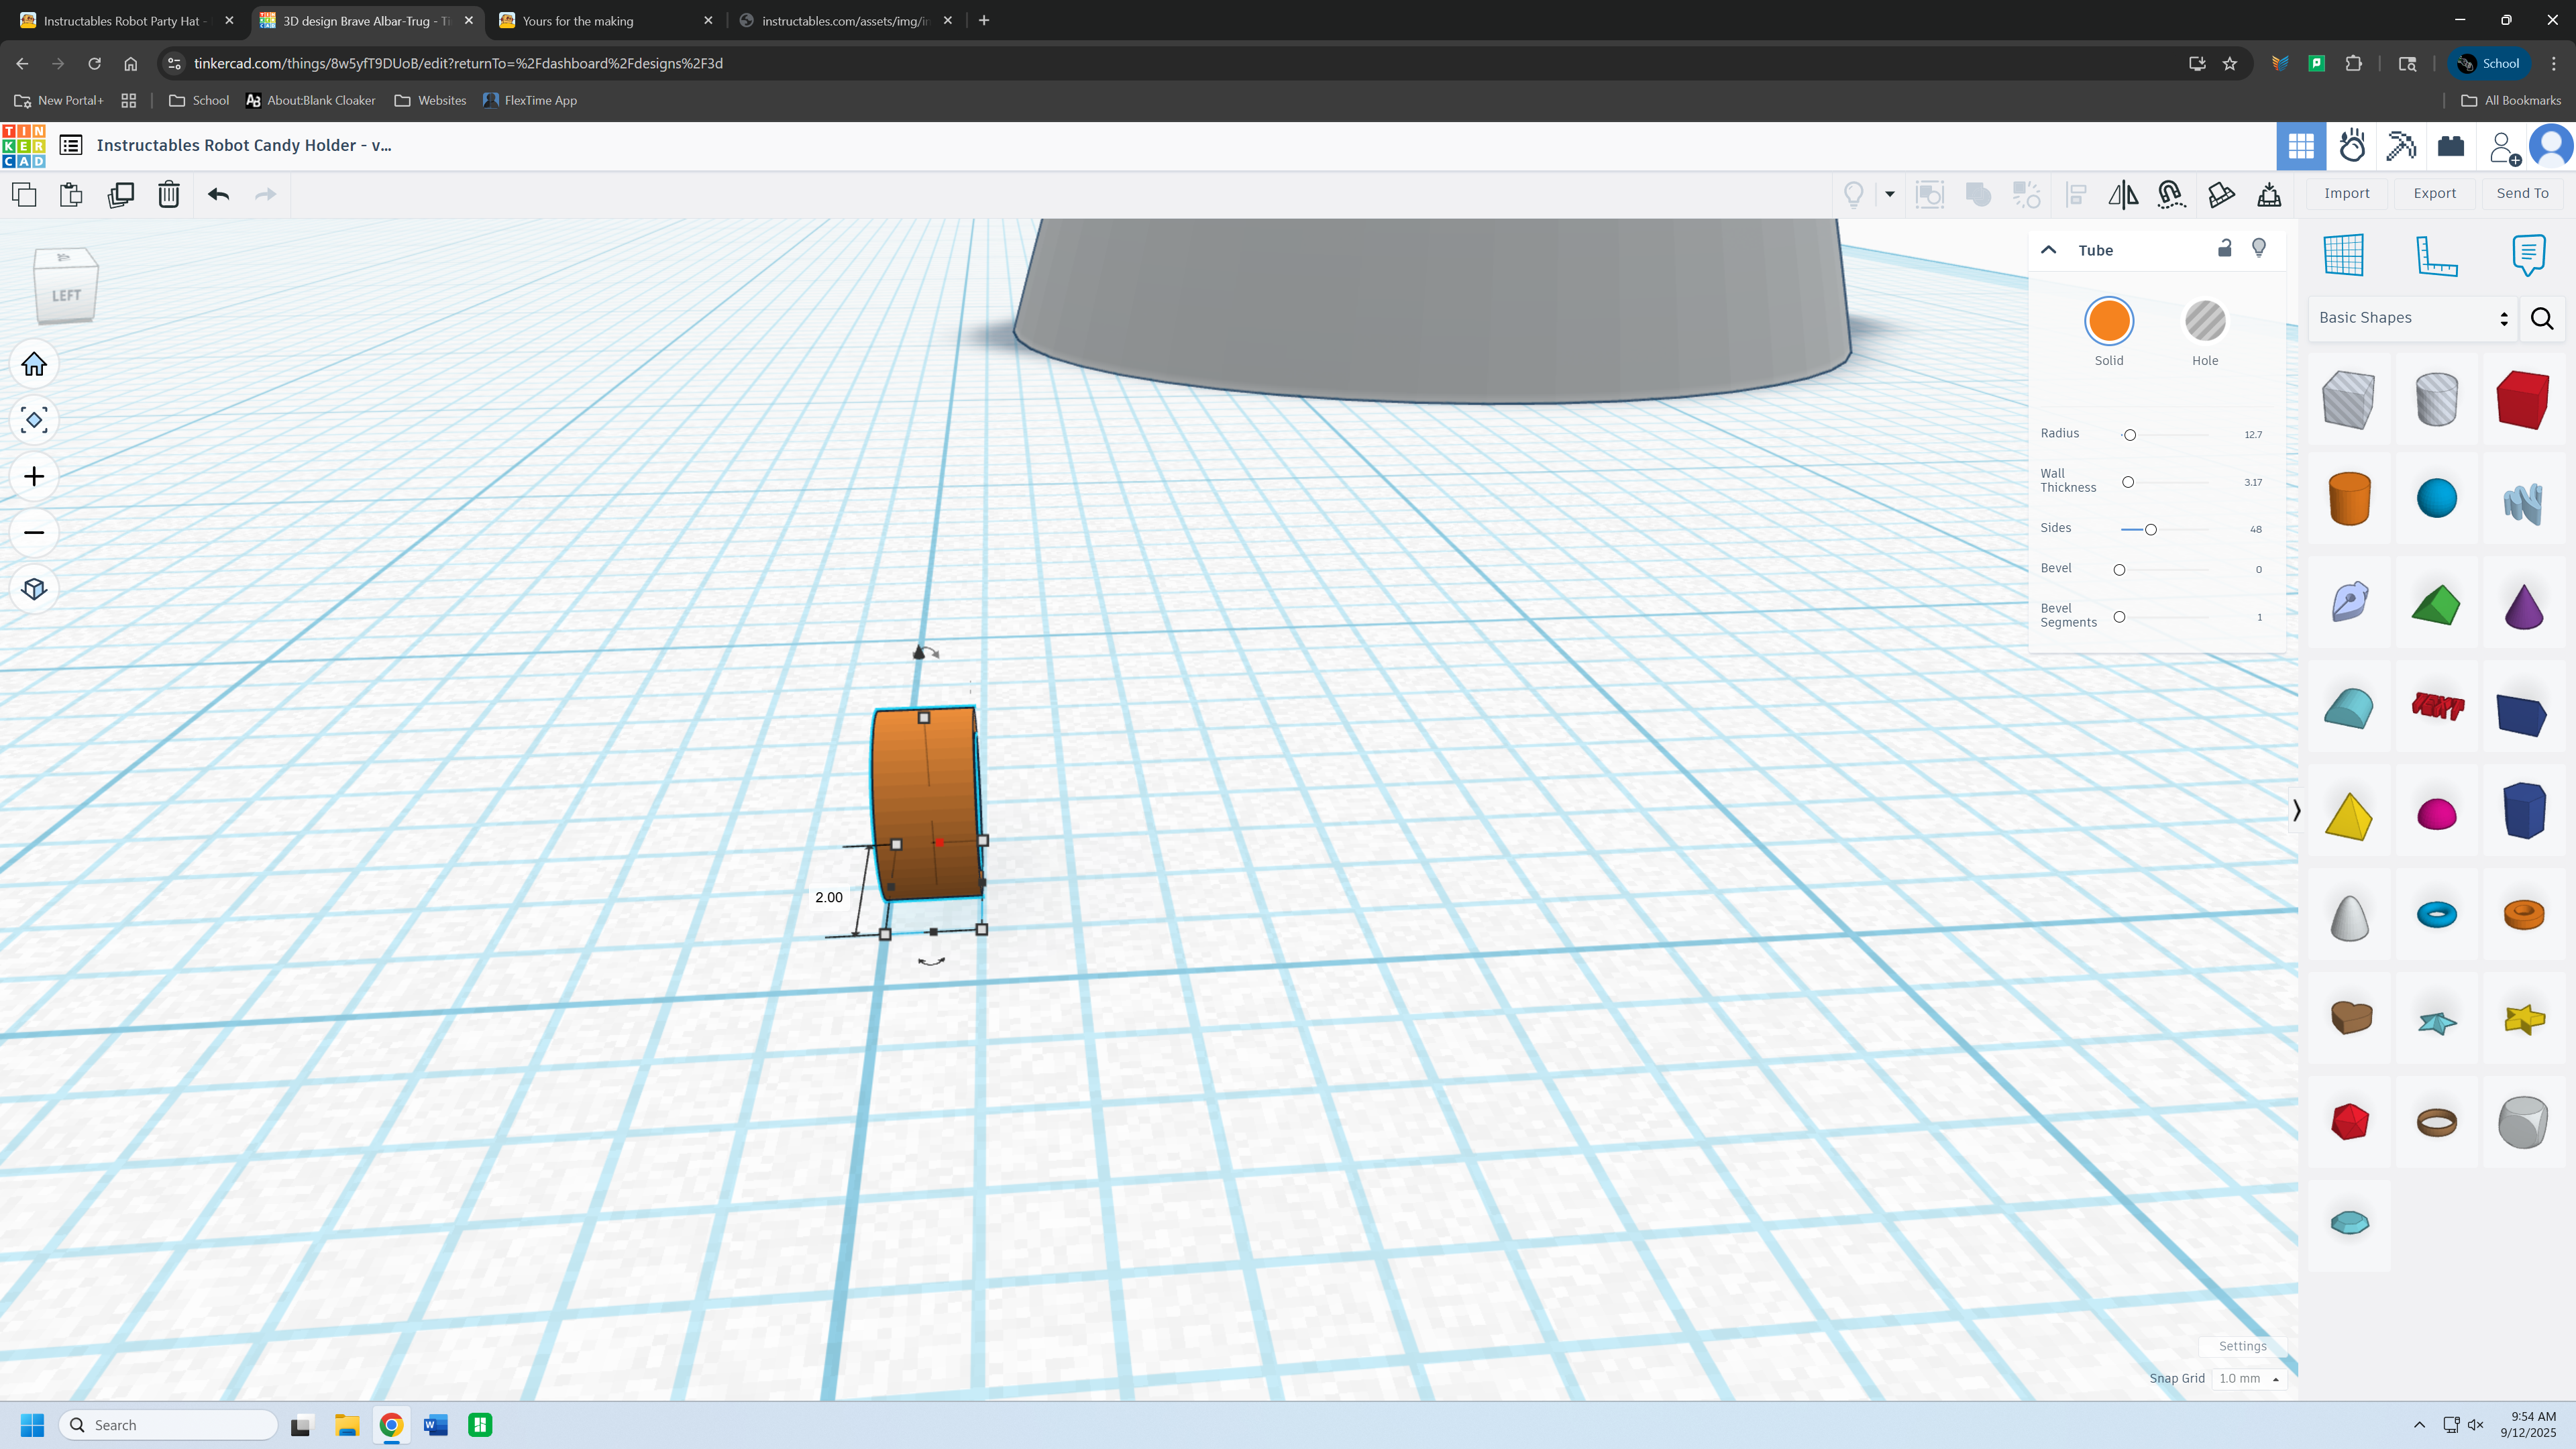
Rotate a tube 90 degrees. Then make it 1mm thick. 2mm tall, and 2mm in length.
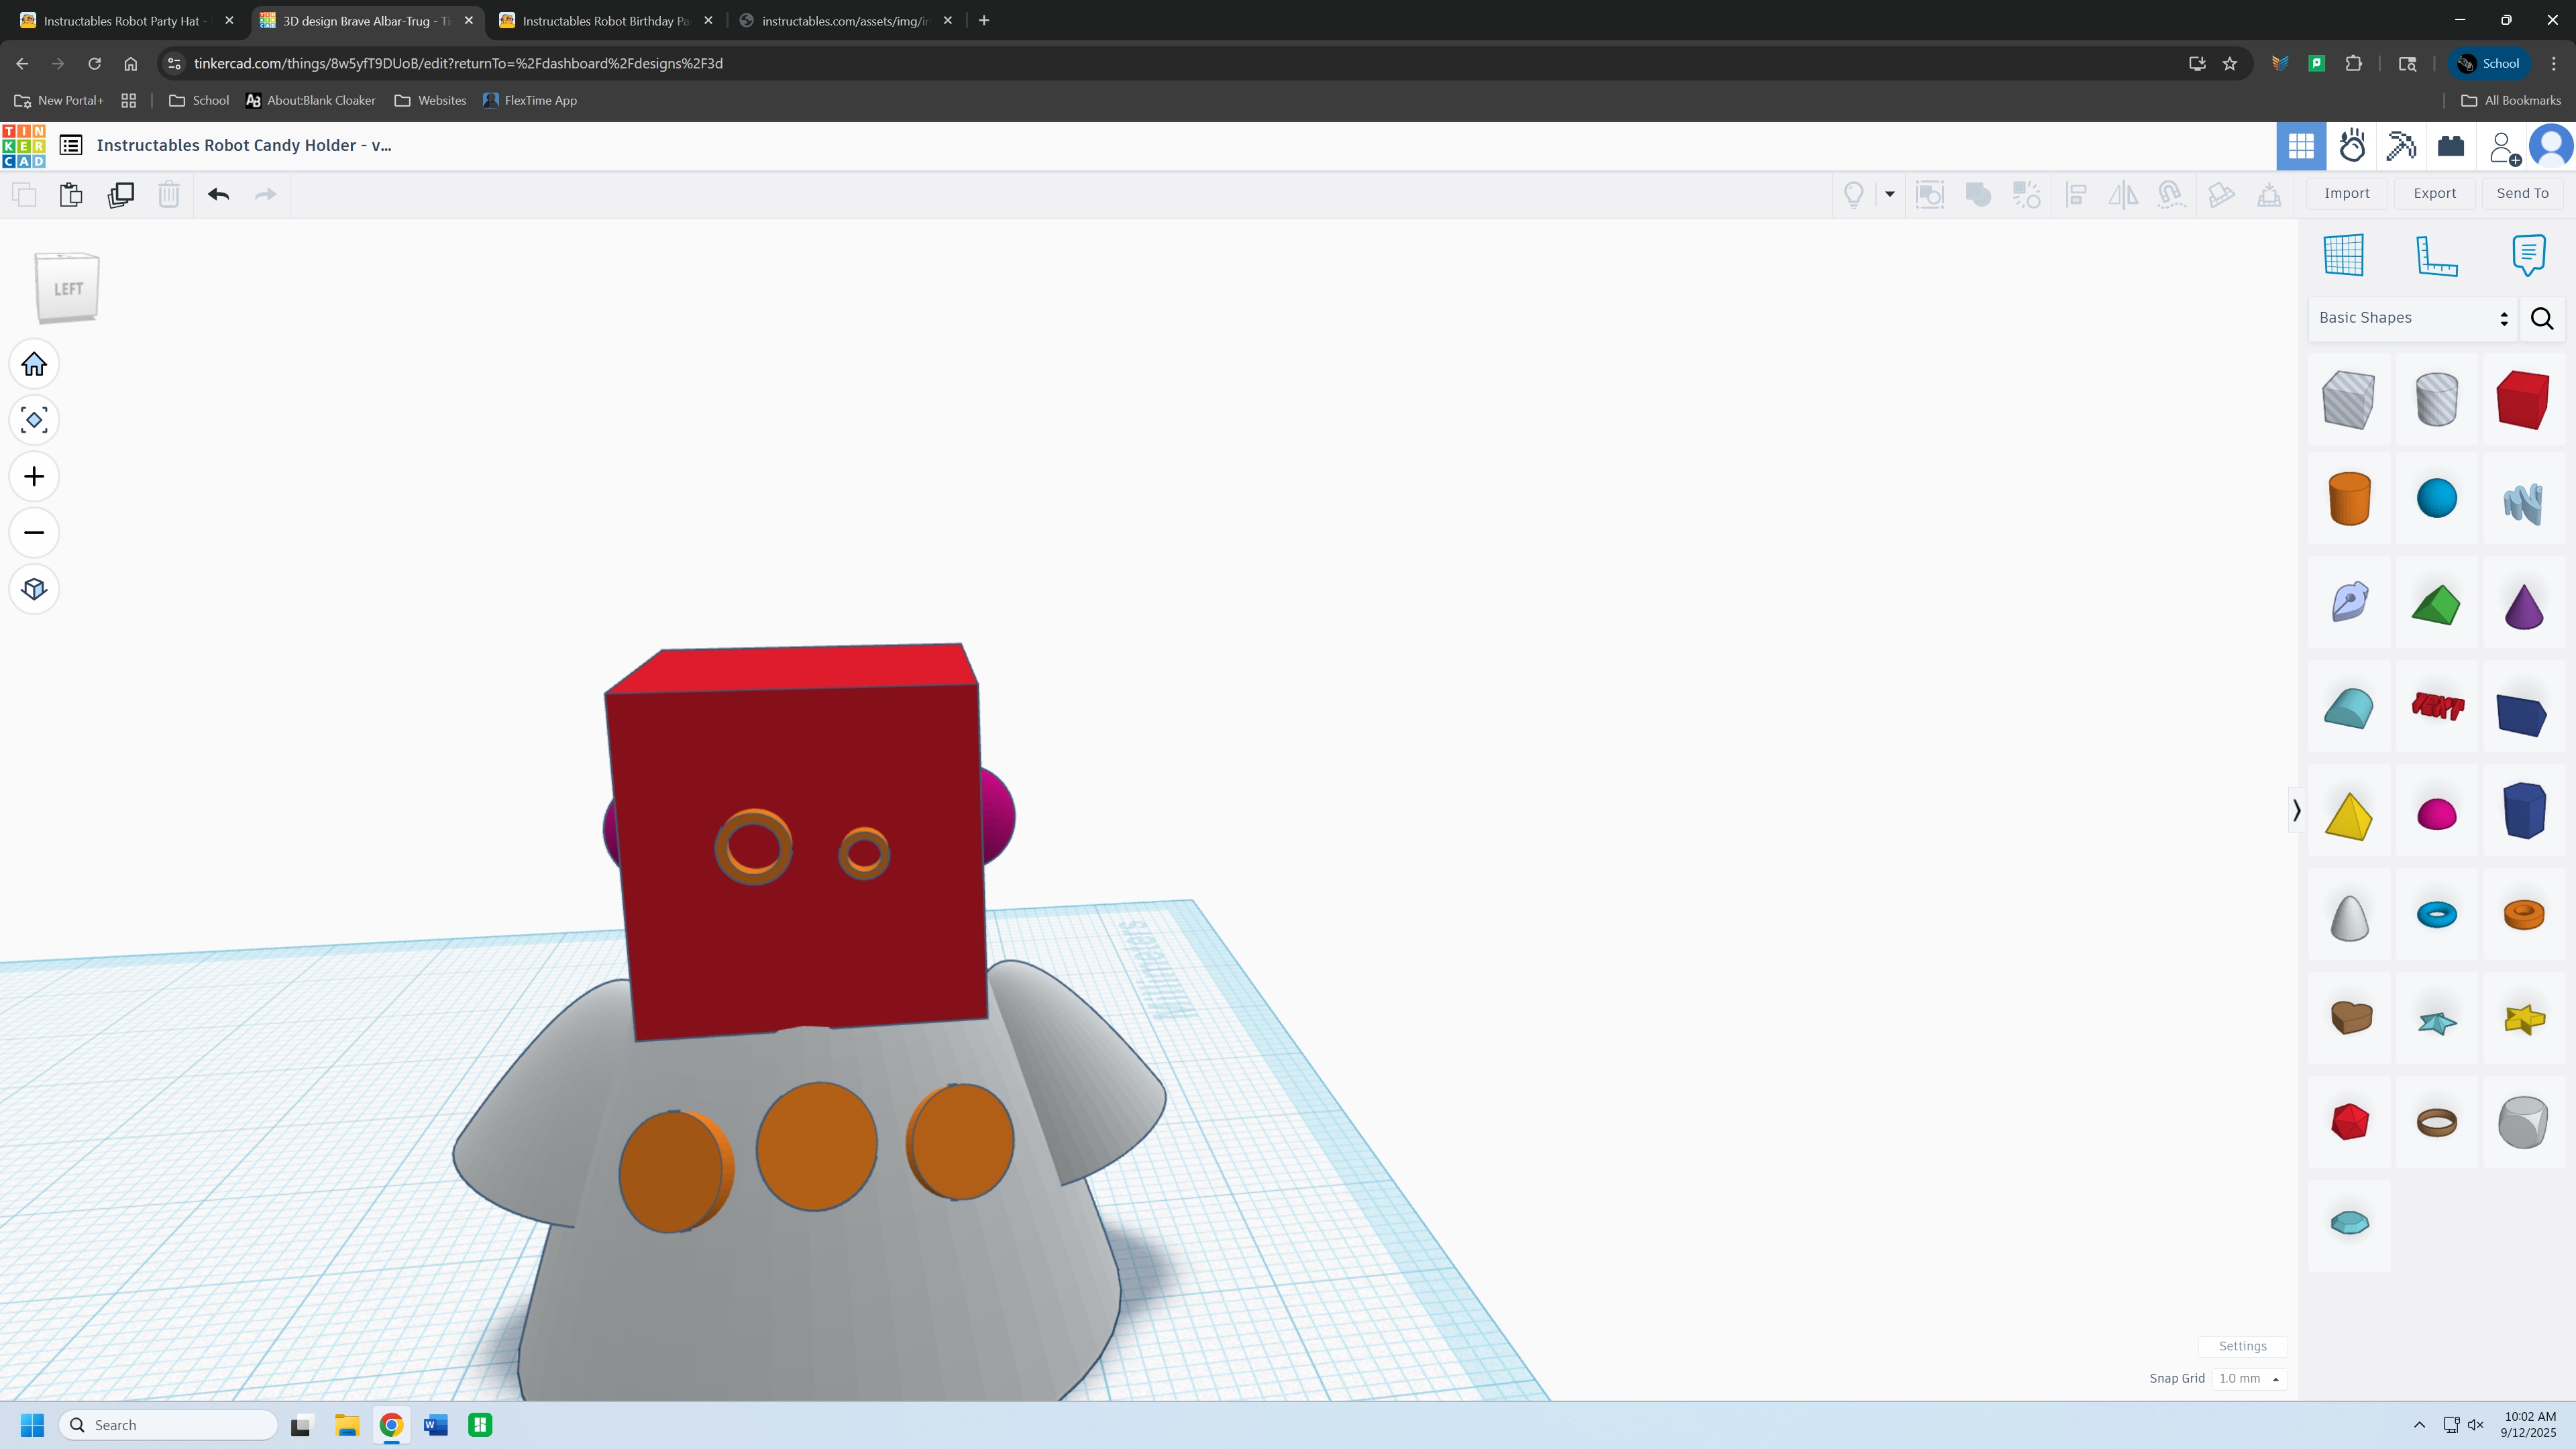
Adding the Eyes
.png)
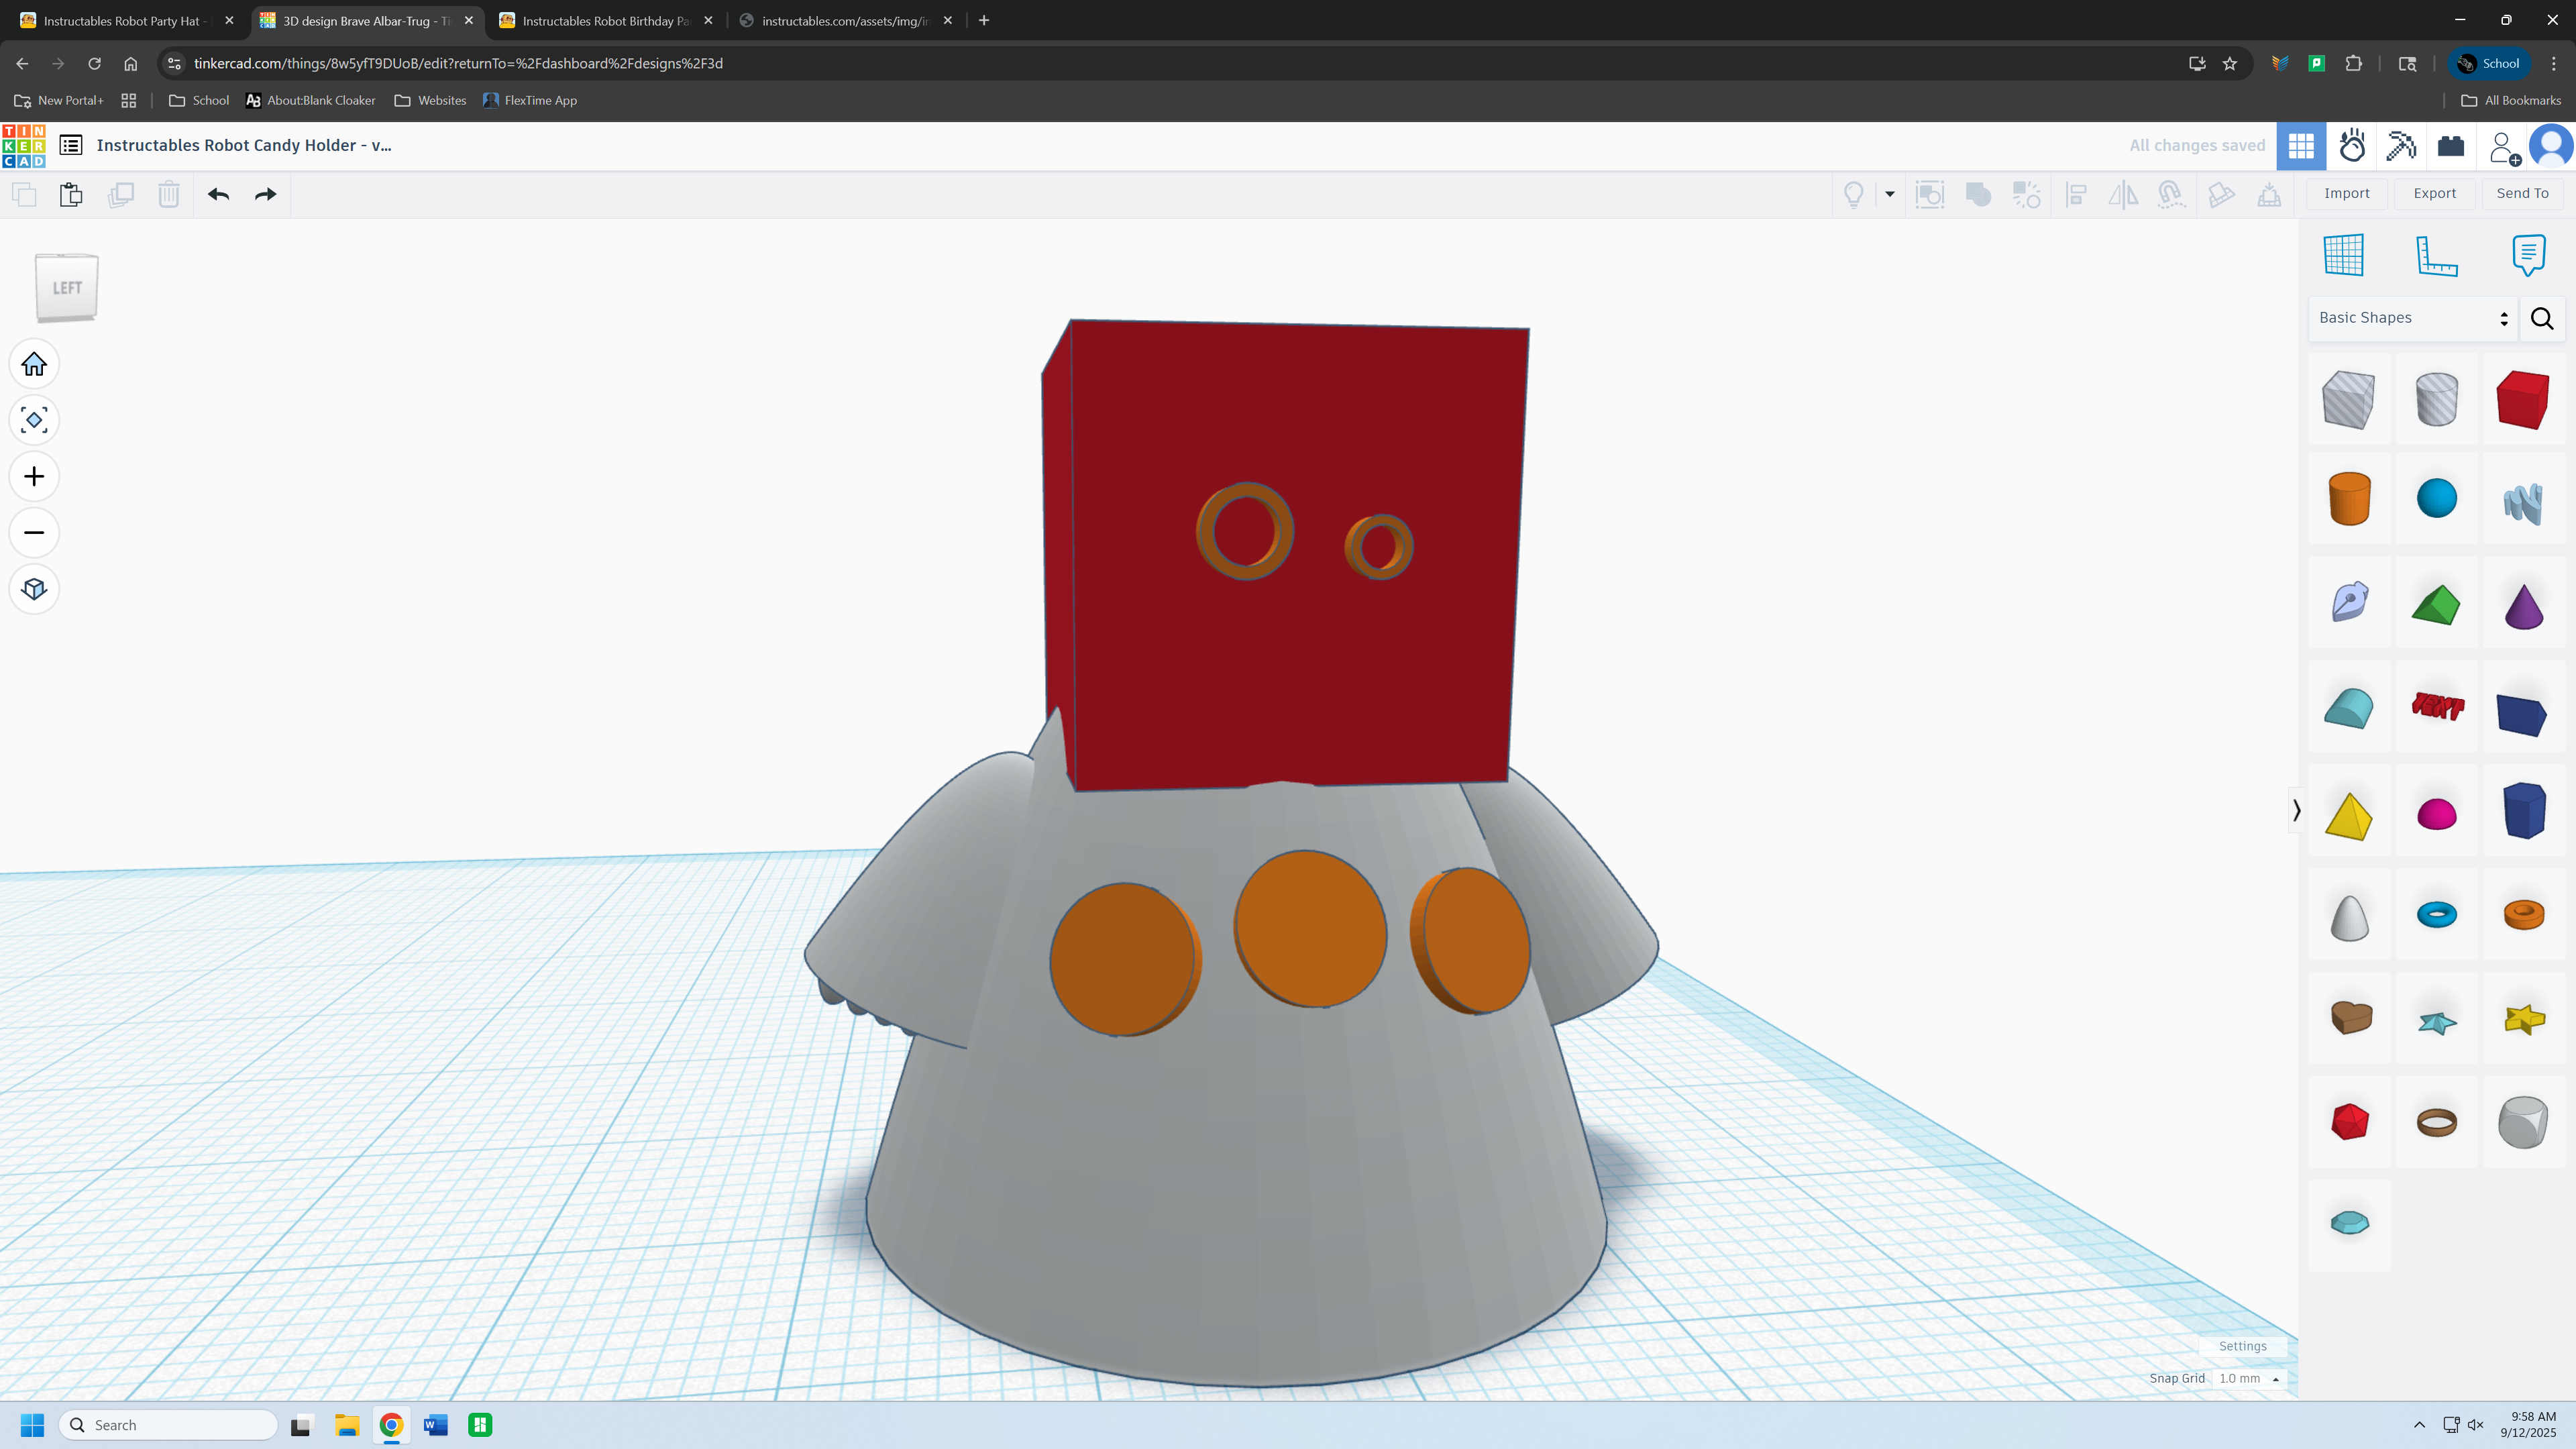
Add the eyes to the head, you can make one eye bigger so it is more like the mascot.
Adding the Ears
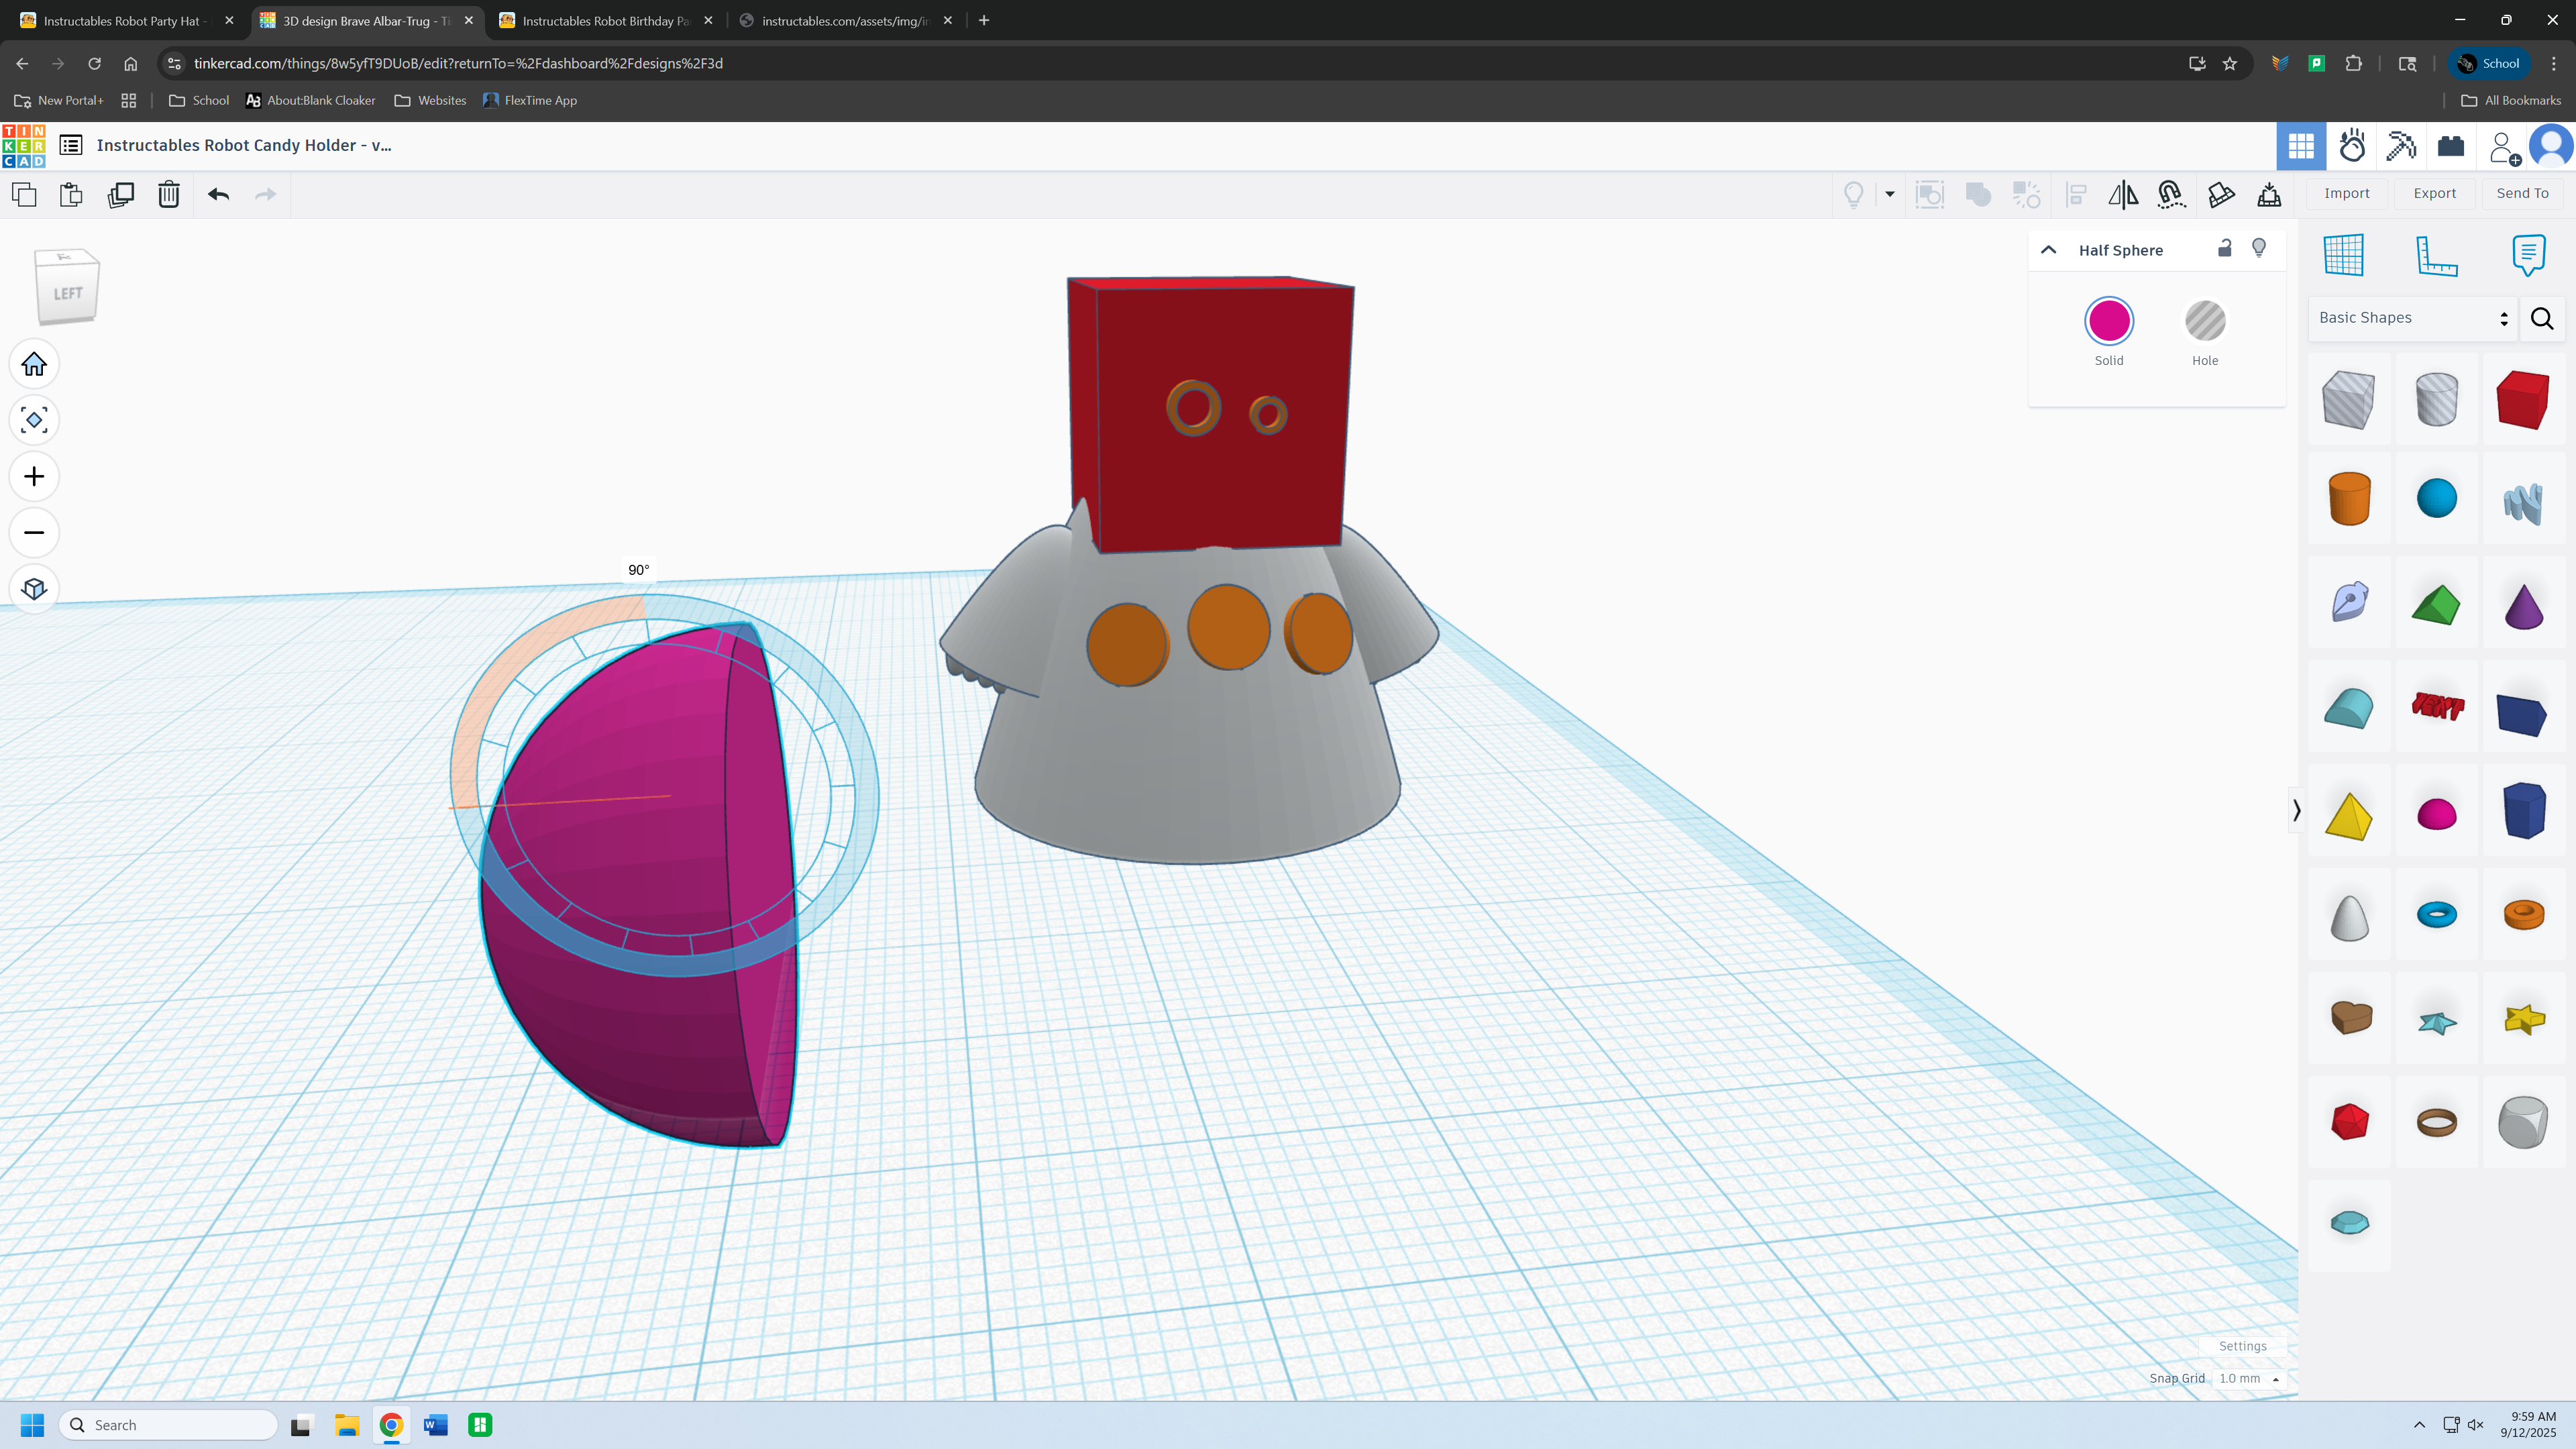.png)
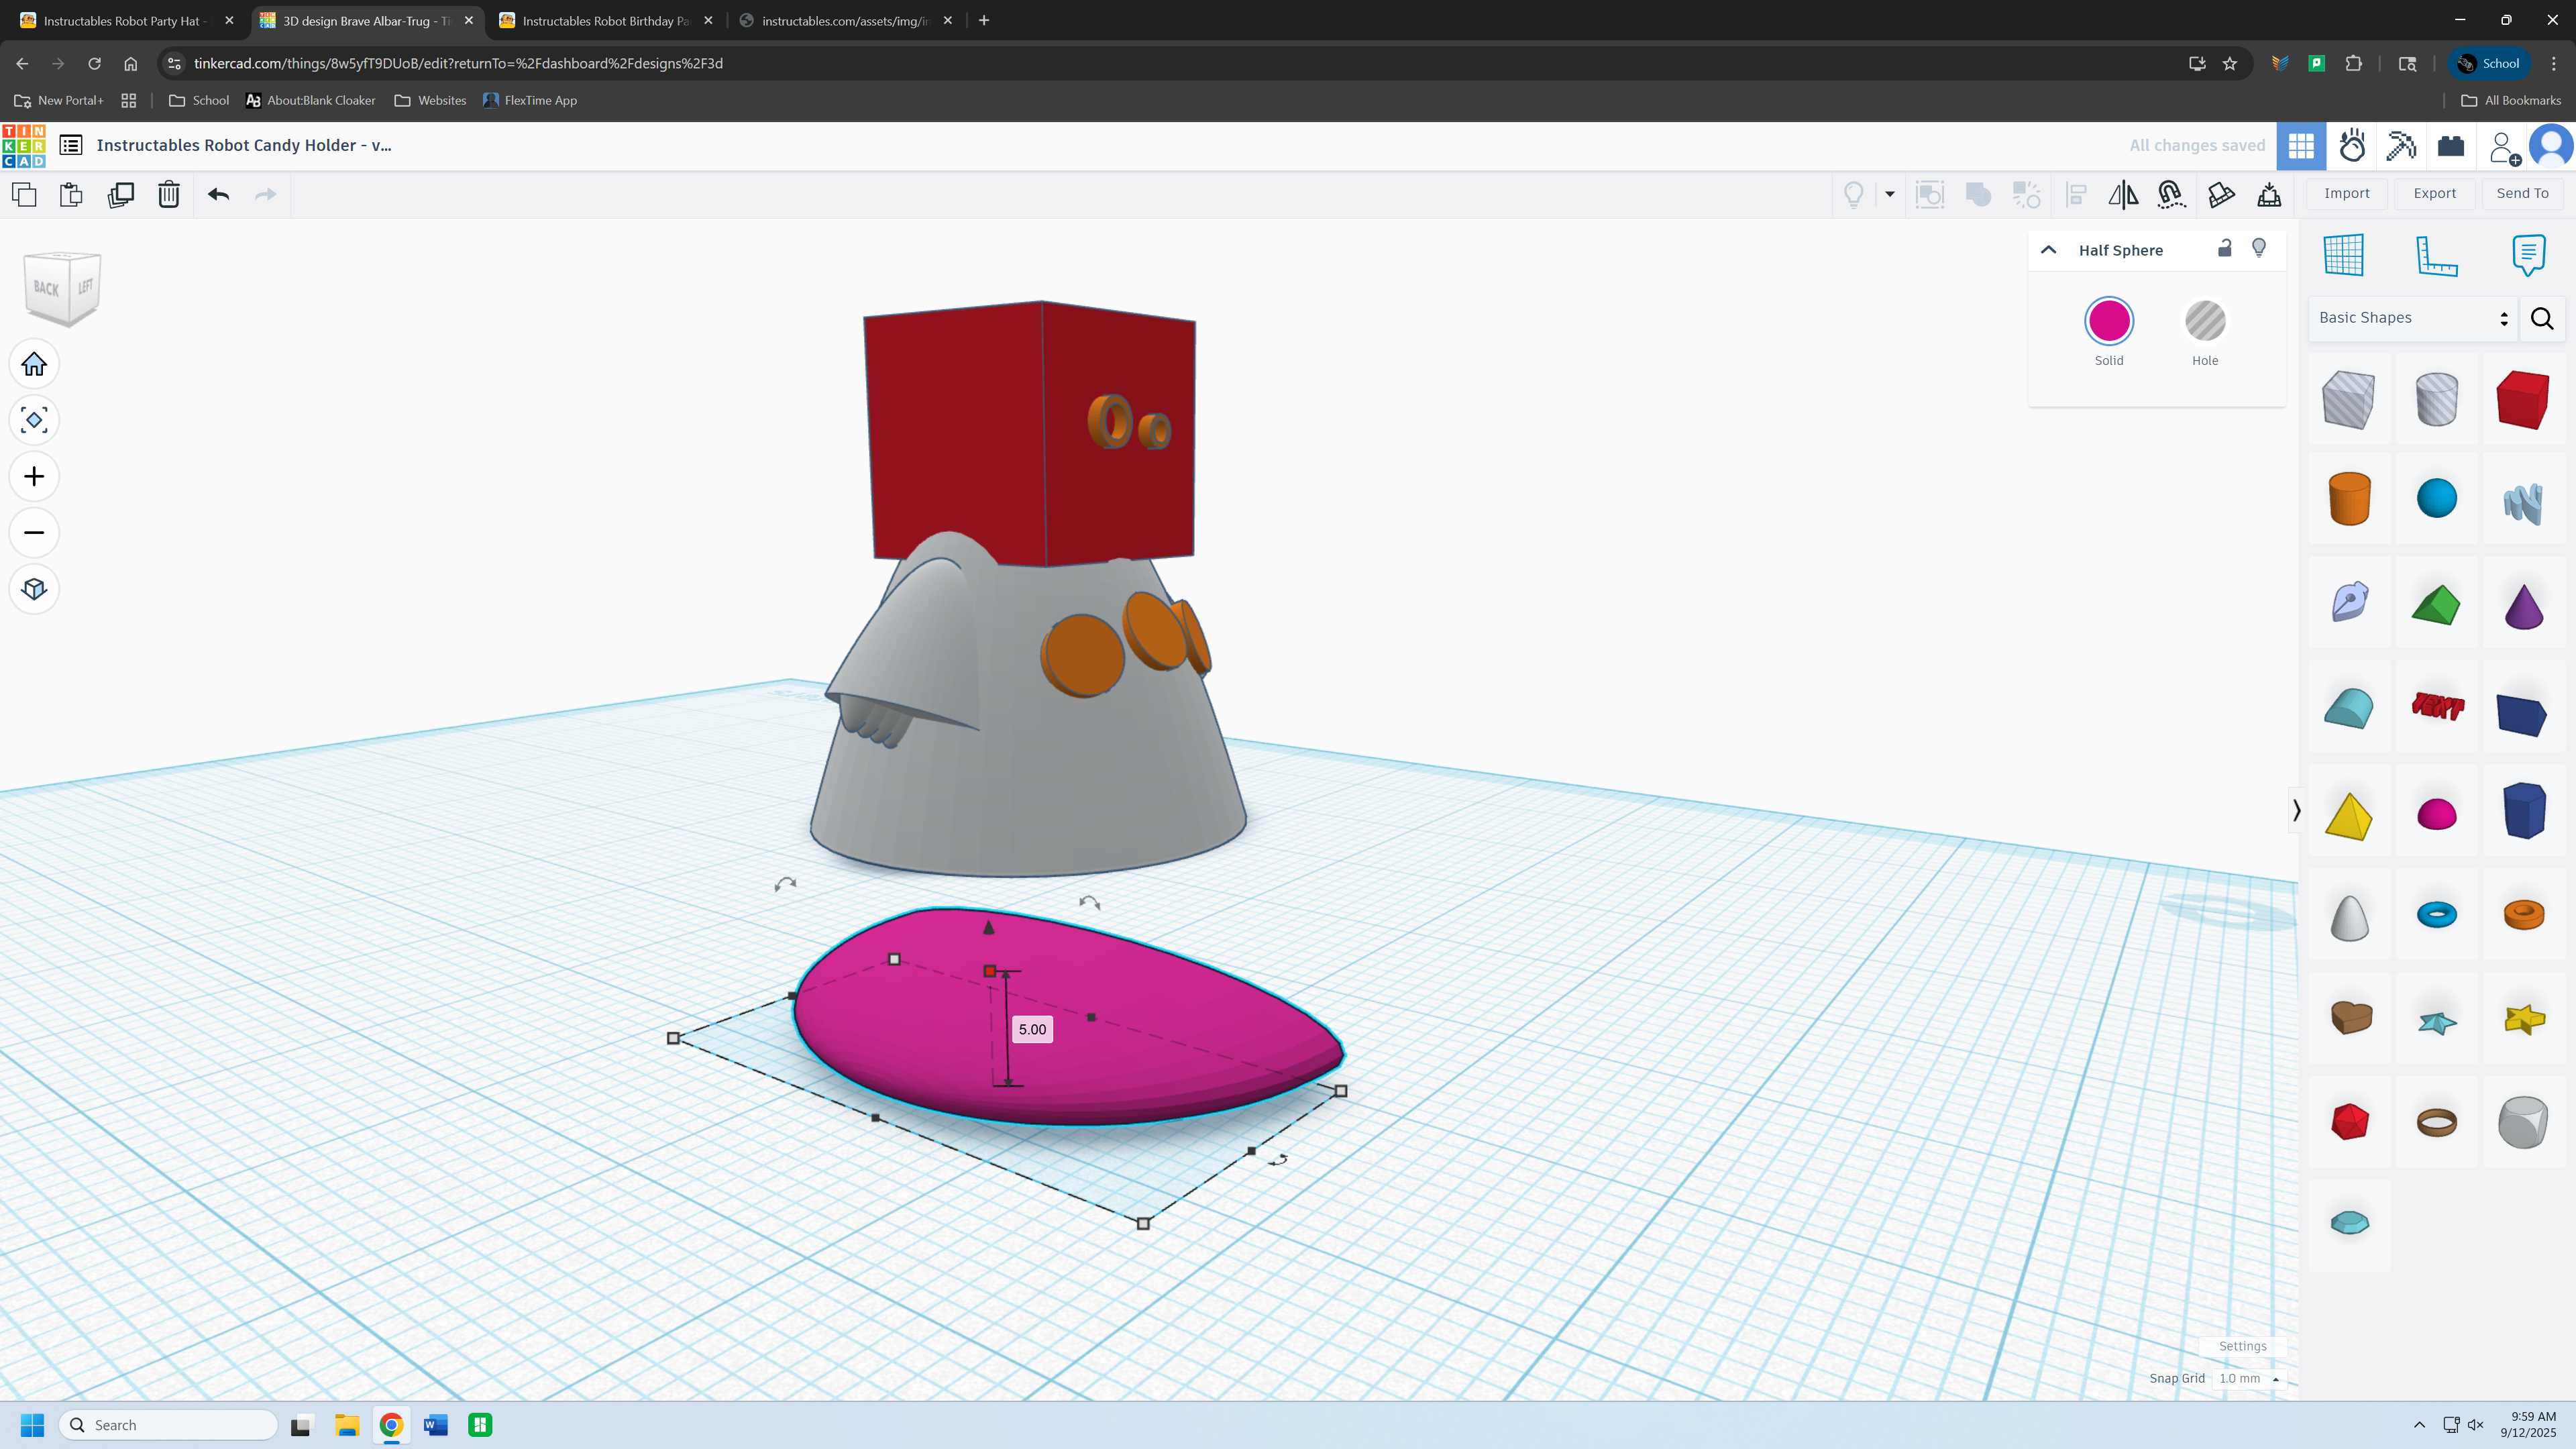.png)
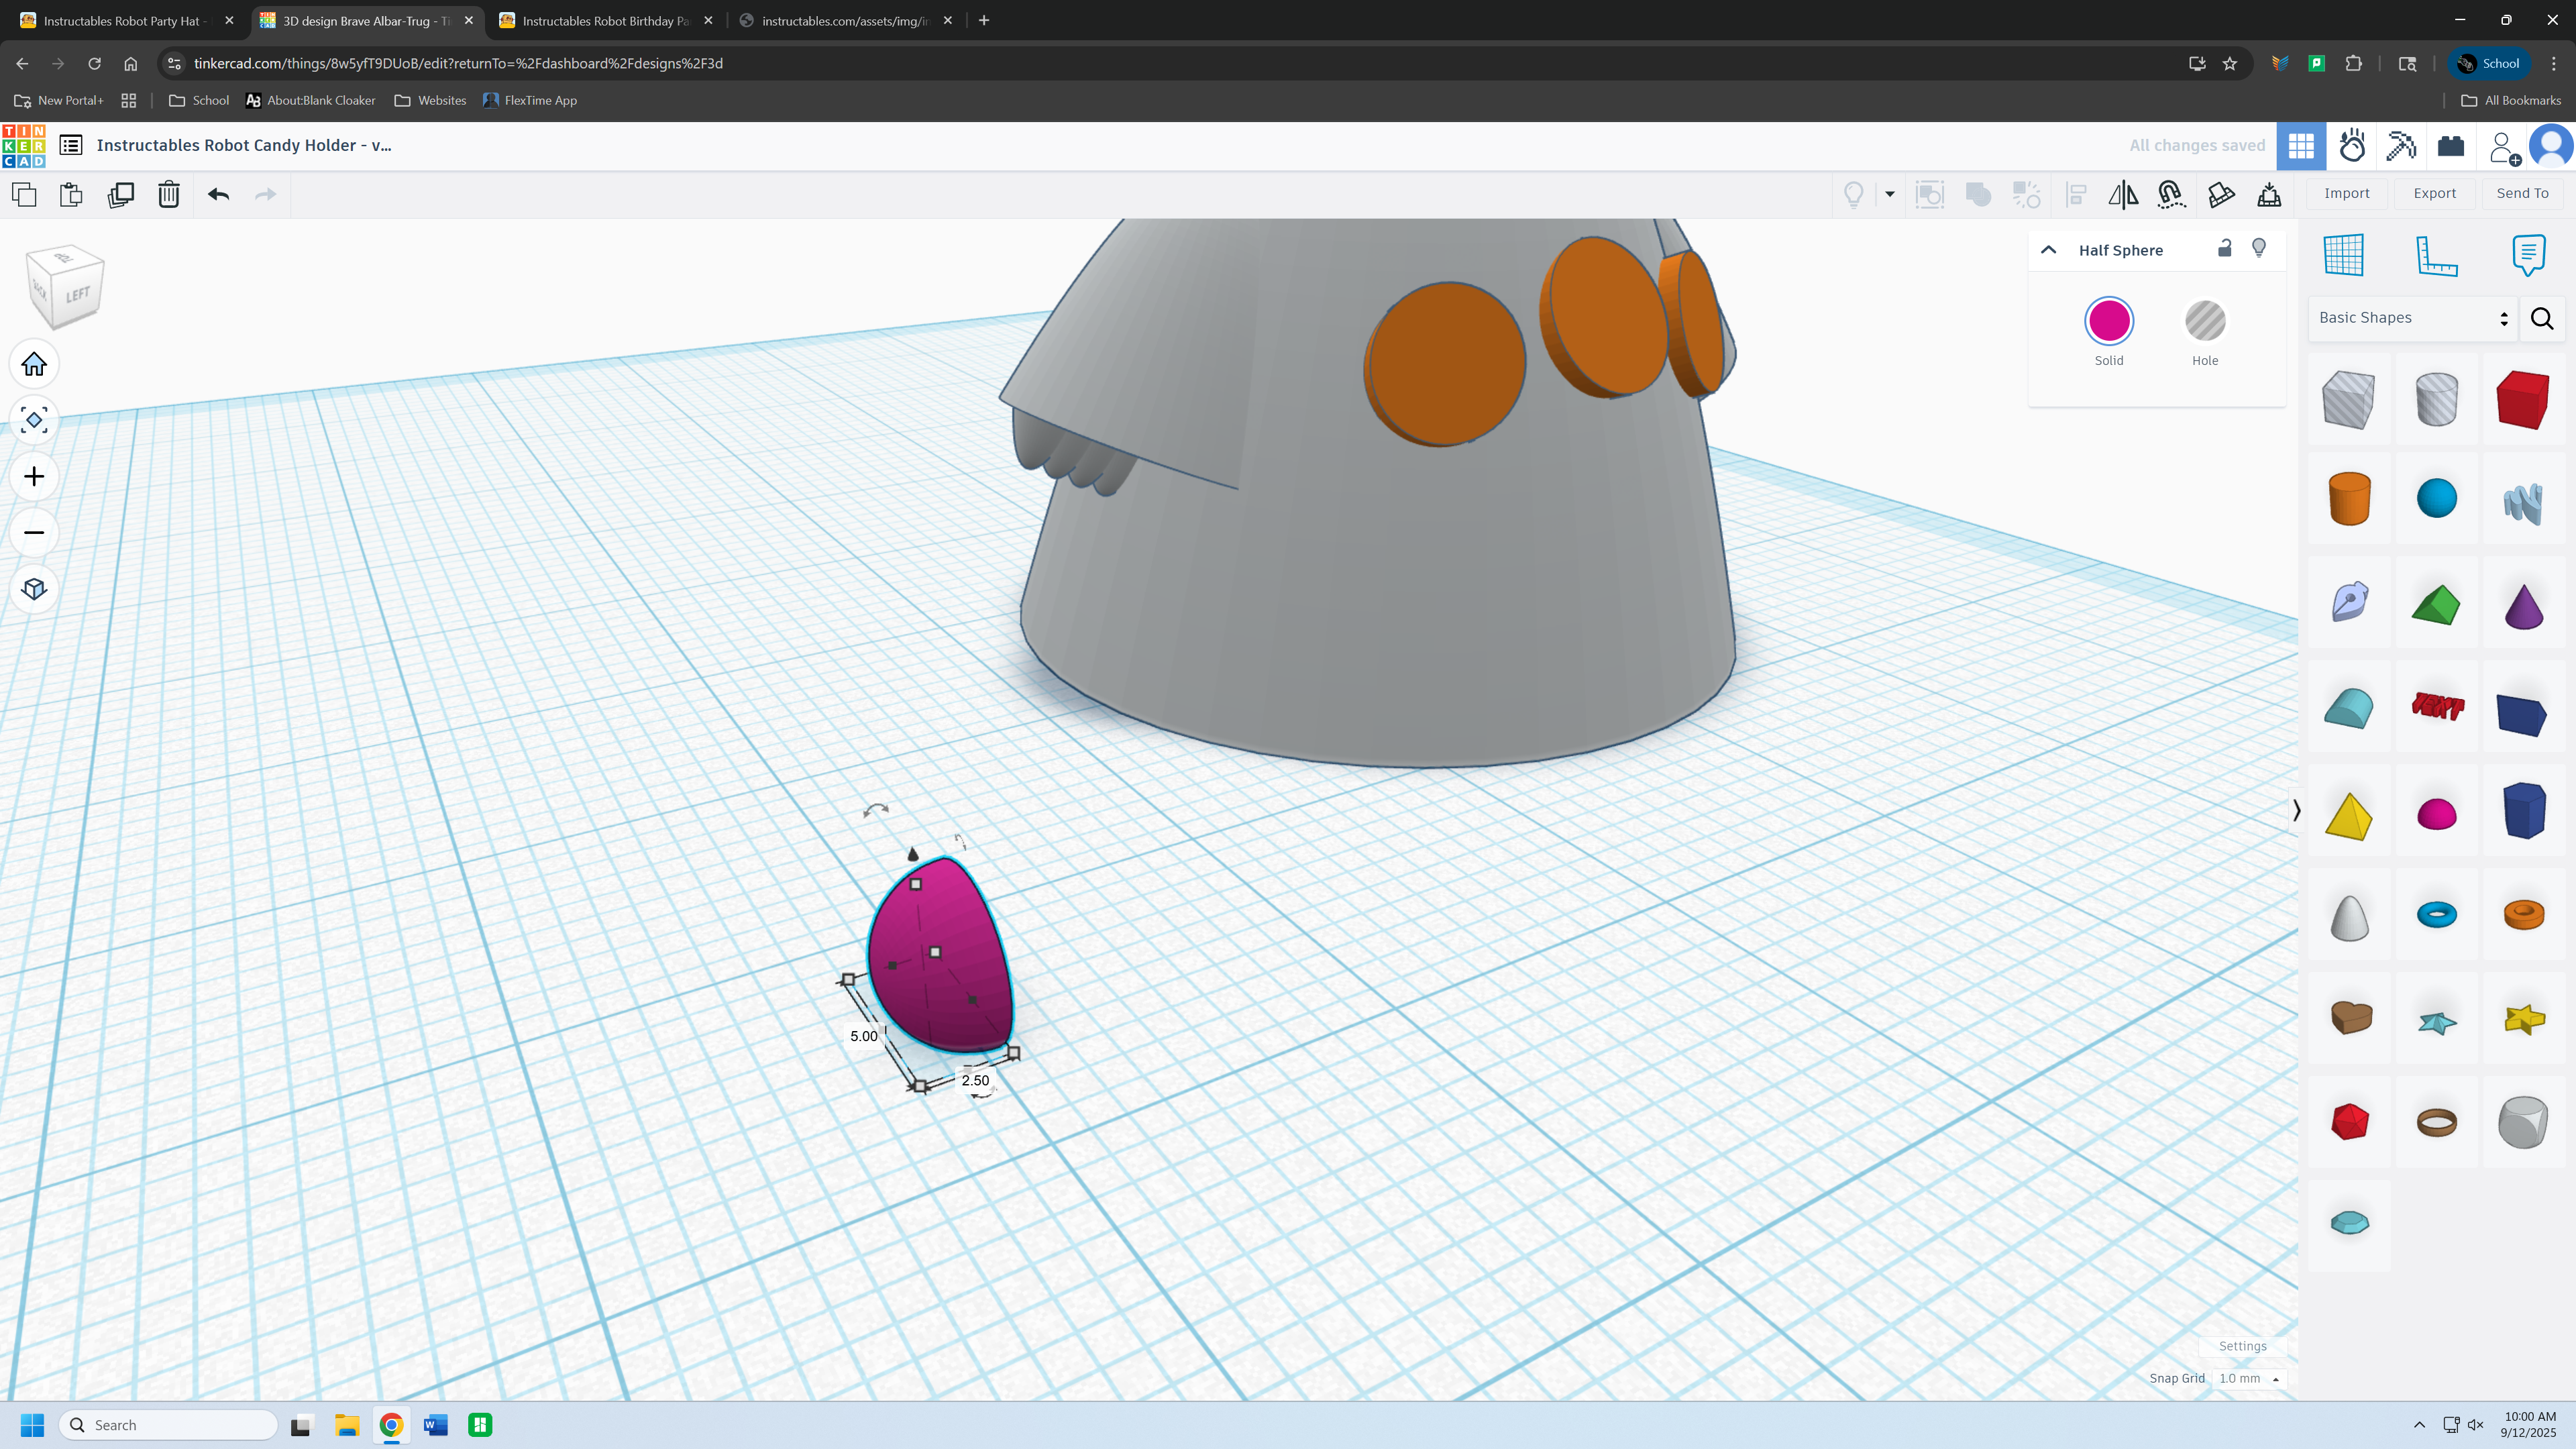.png)
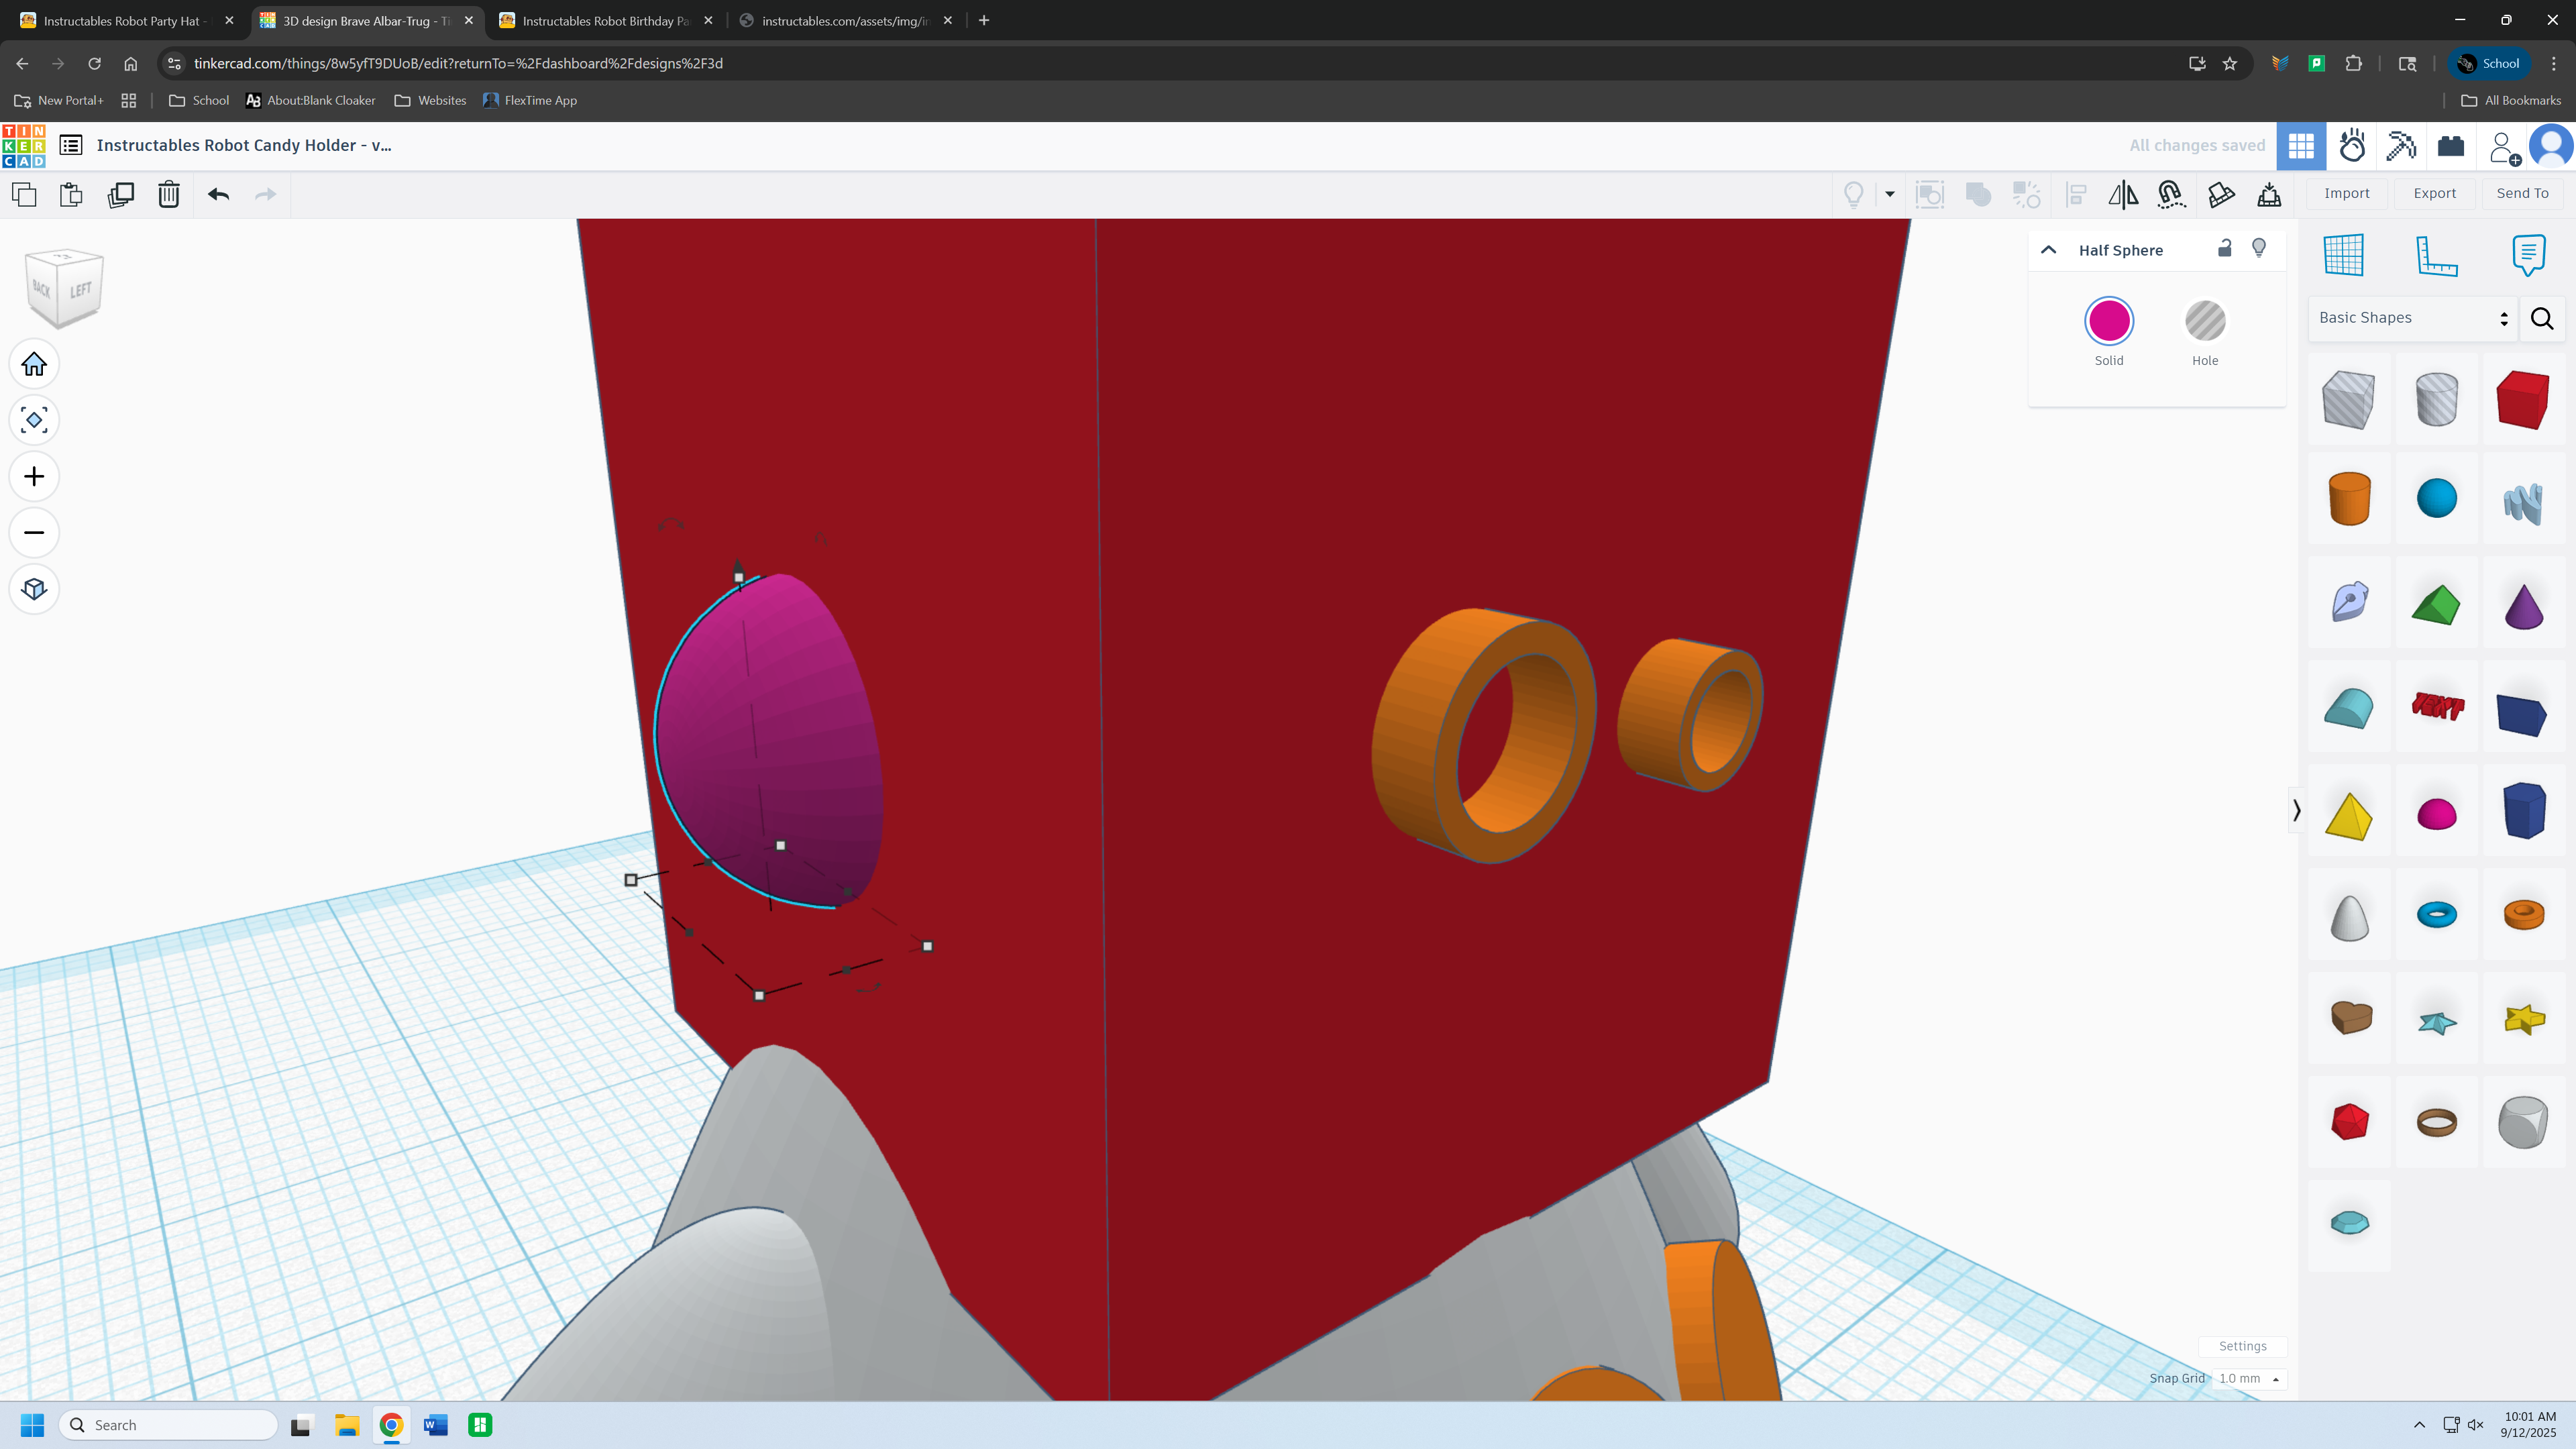.png)
.png)
Add a half sphere, rotate it 90 degrees. Make it 5mm tall, 2.5mm thick, and 5mm in length. Then add it to the side of the head and duplicate it for the other side.
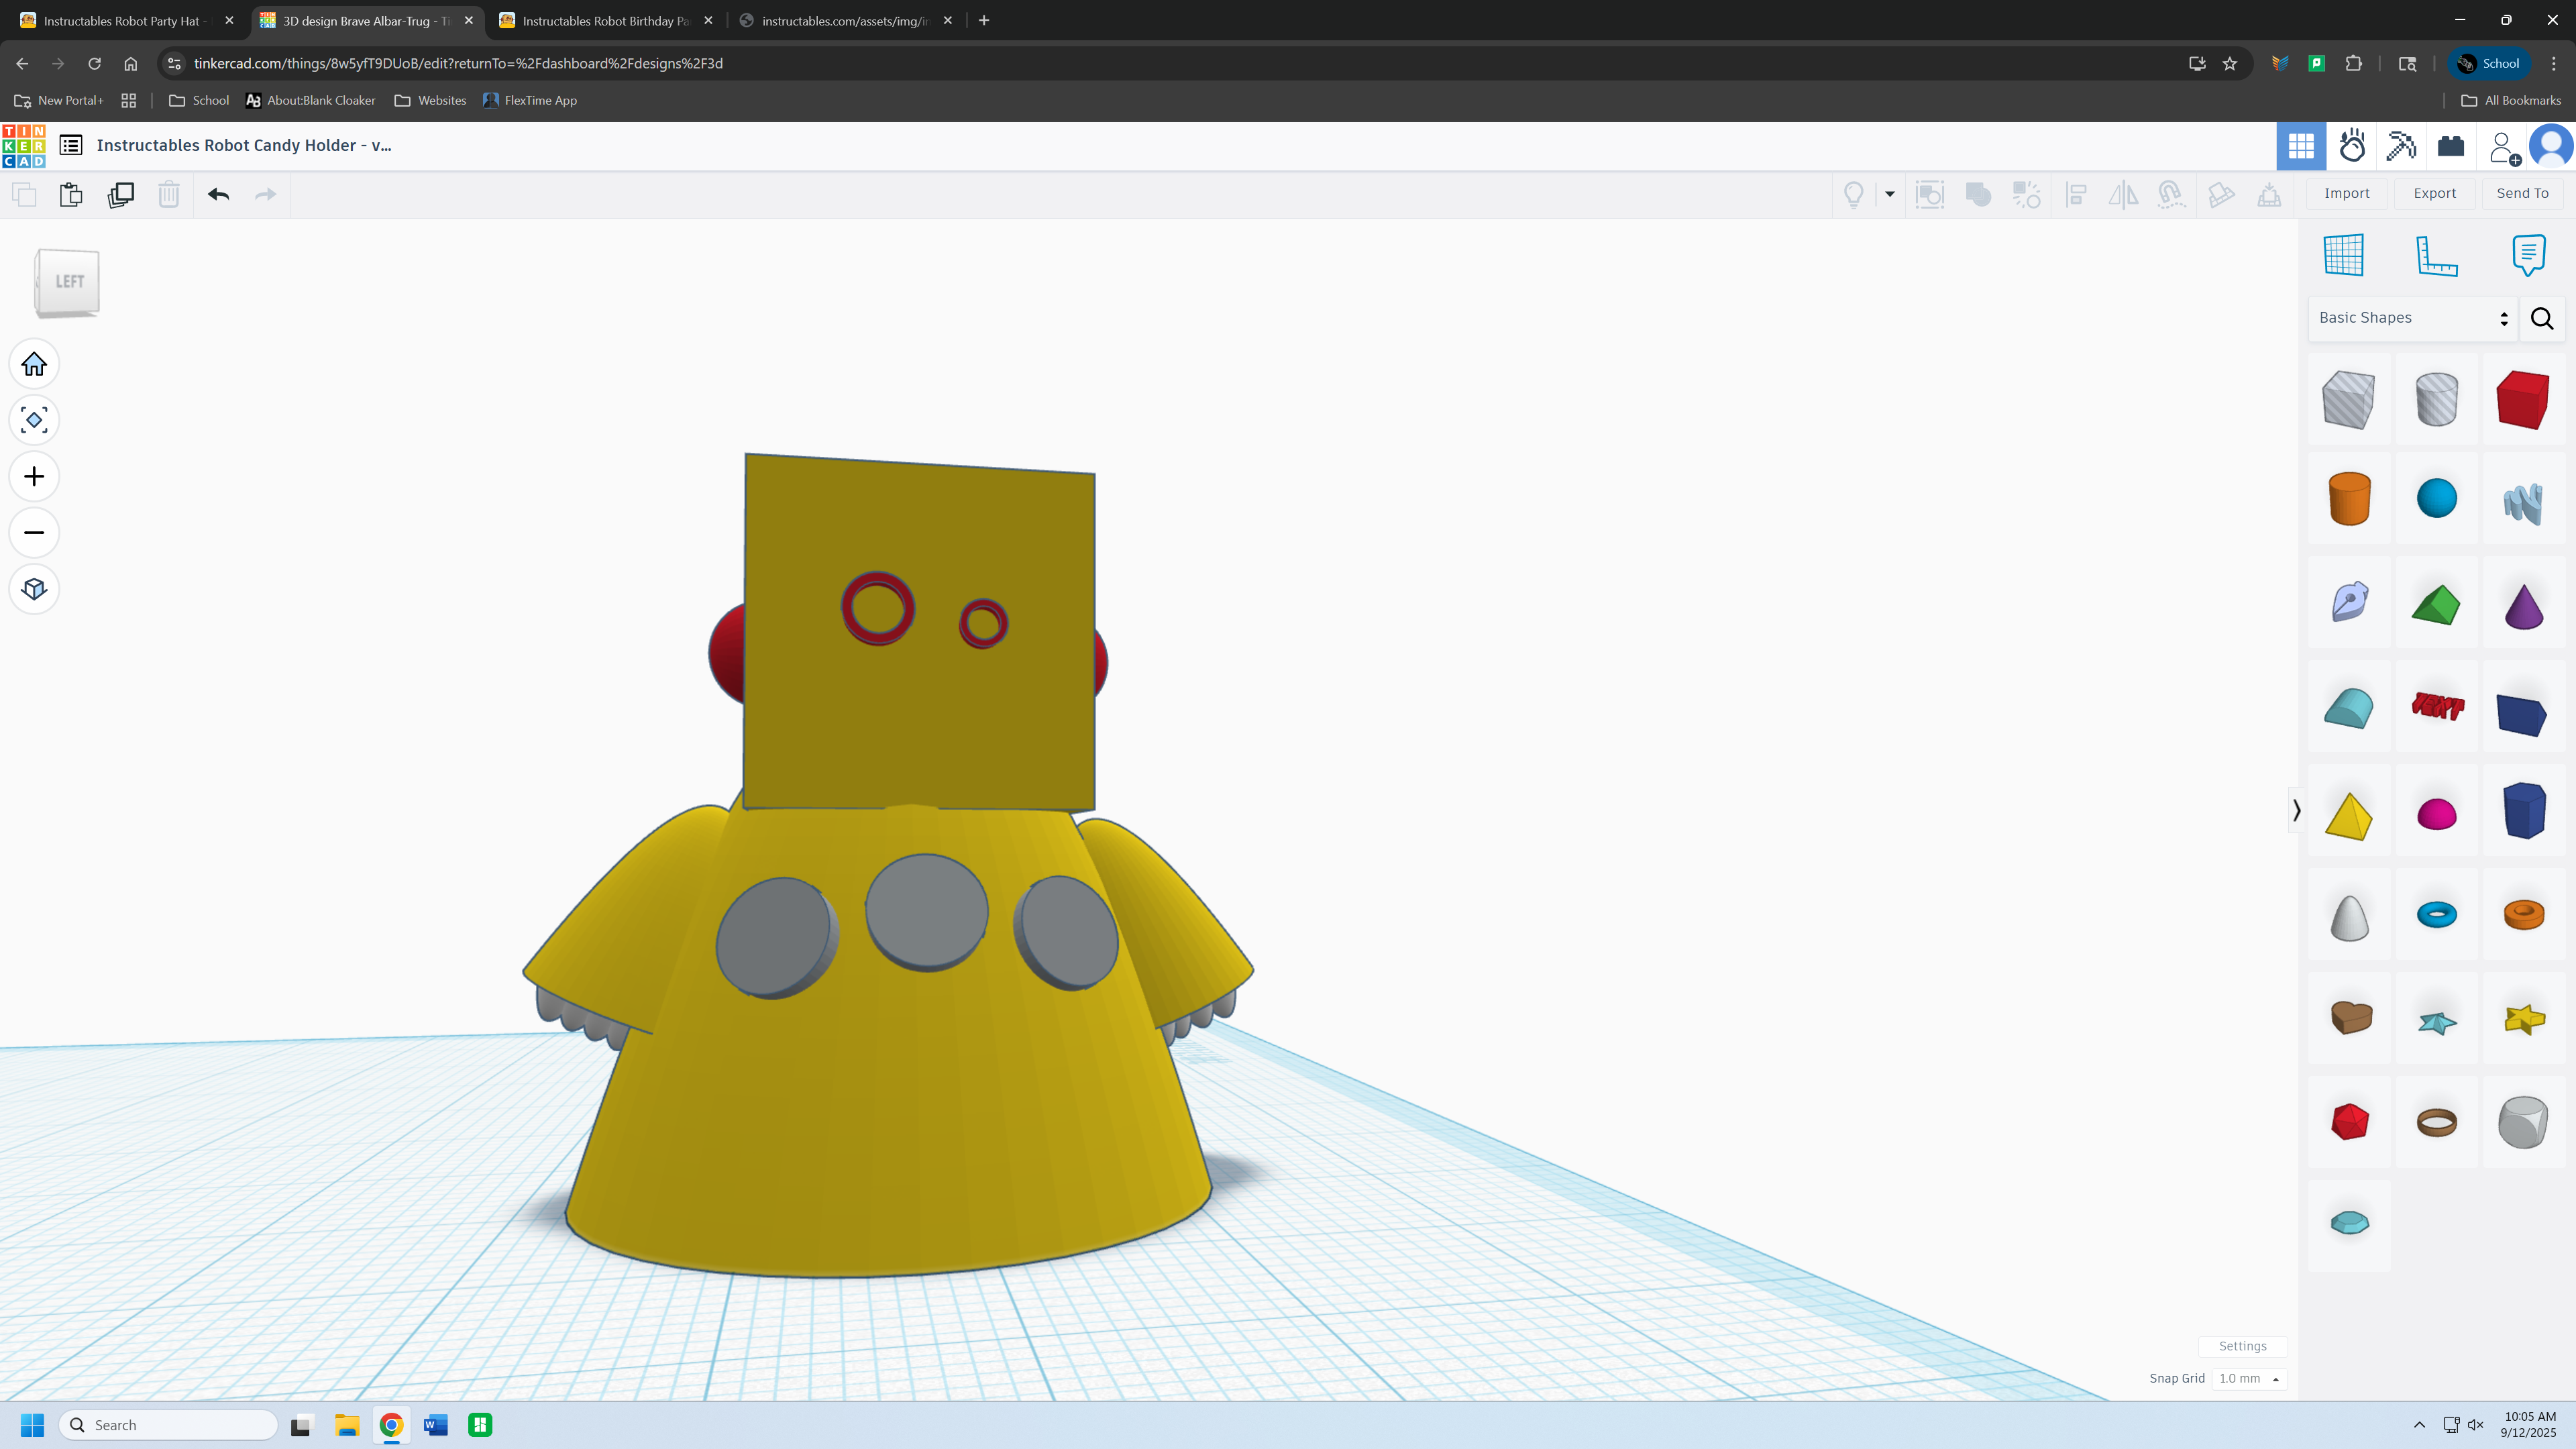
Coloring It
.png)
Color the parts to your liking, I made mine the colors of the mascot.
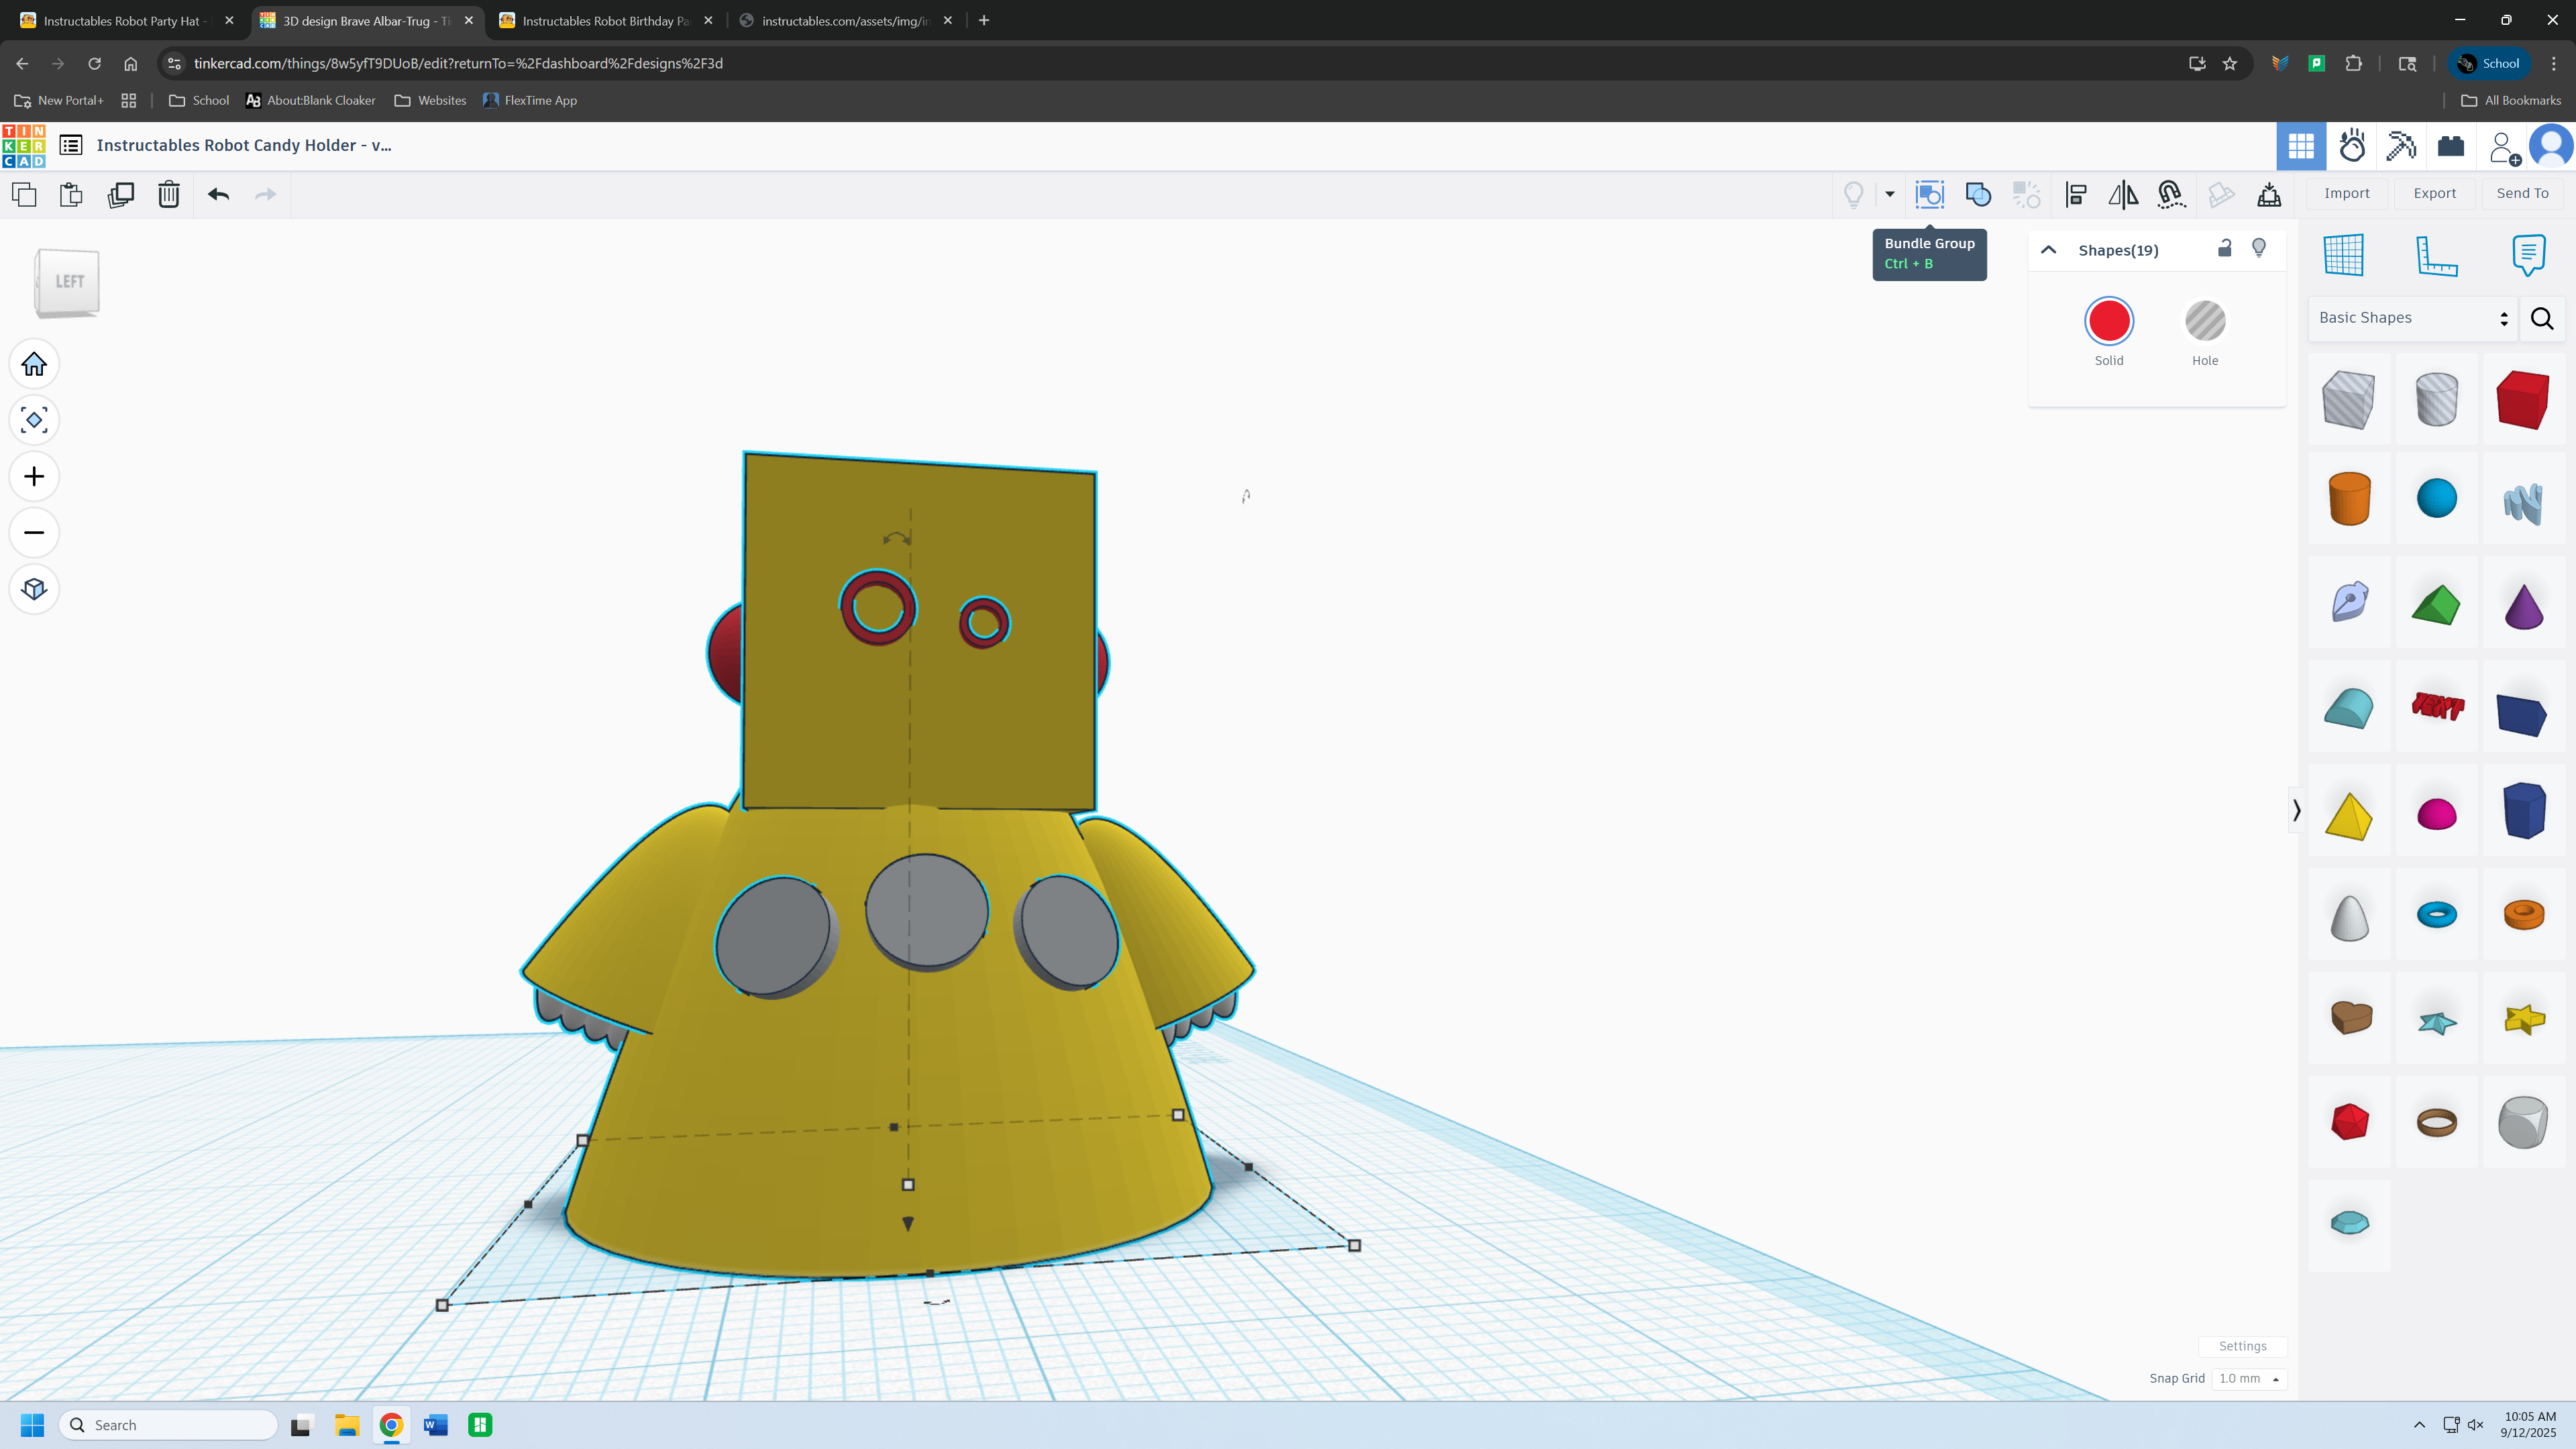
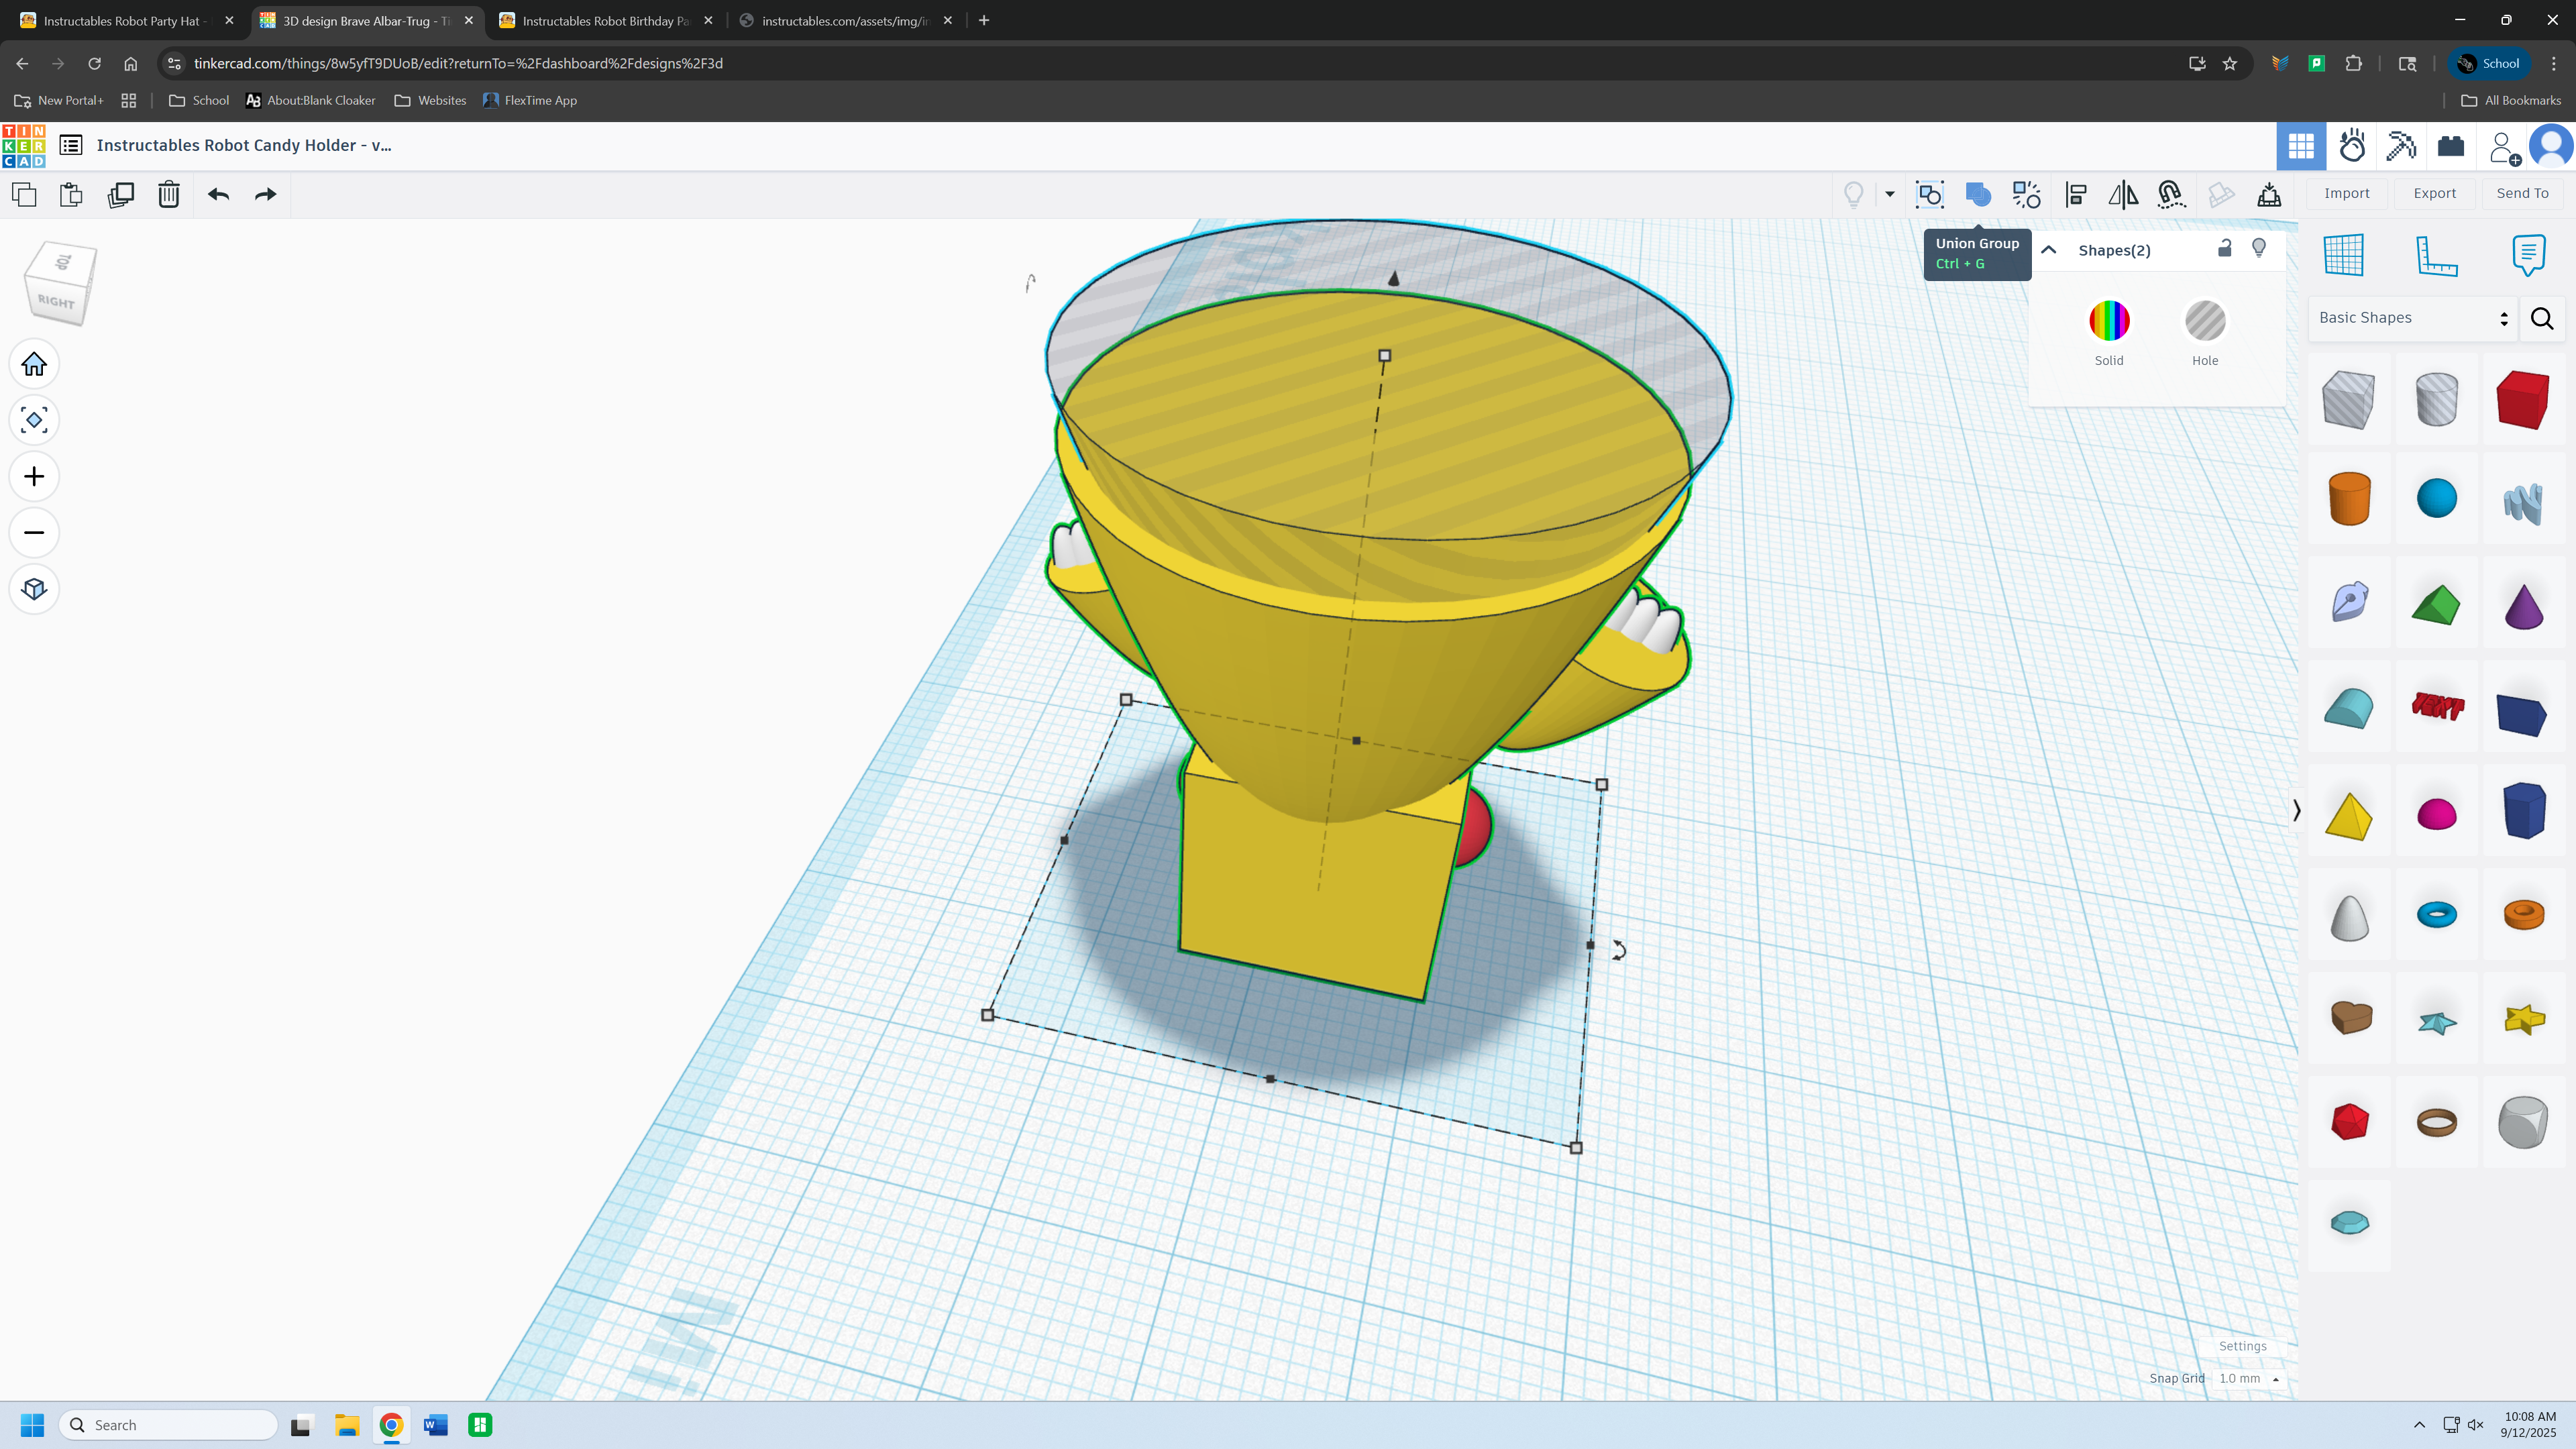
Group It
.png)
Group the model
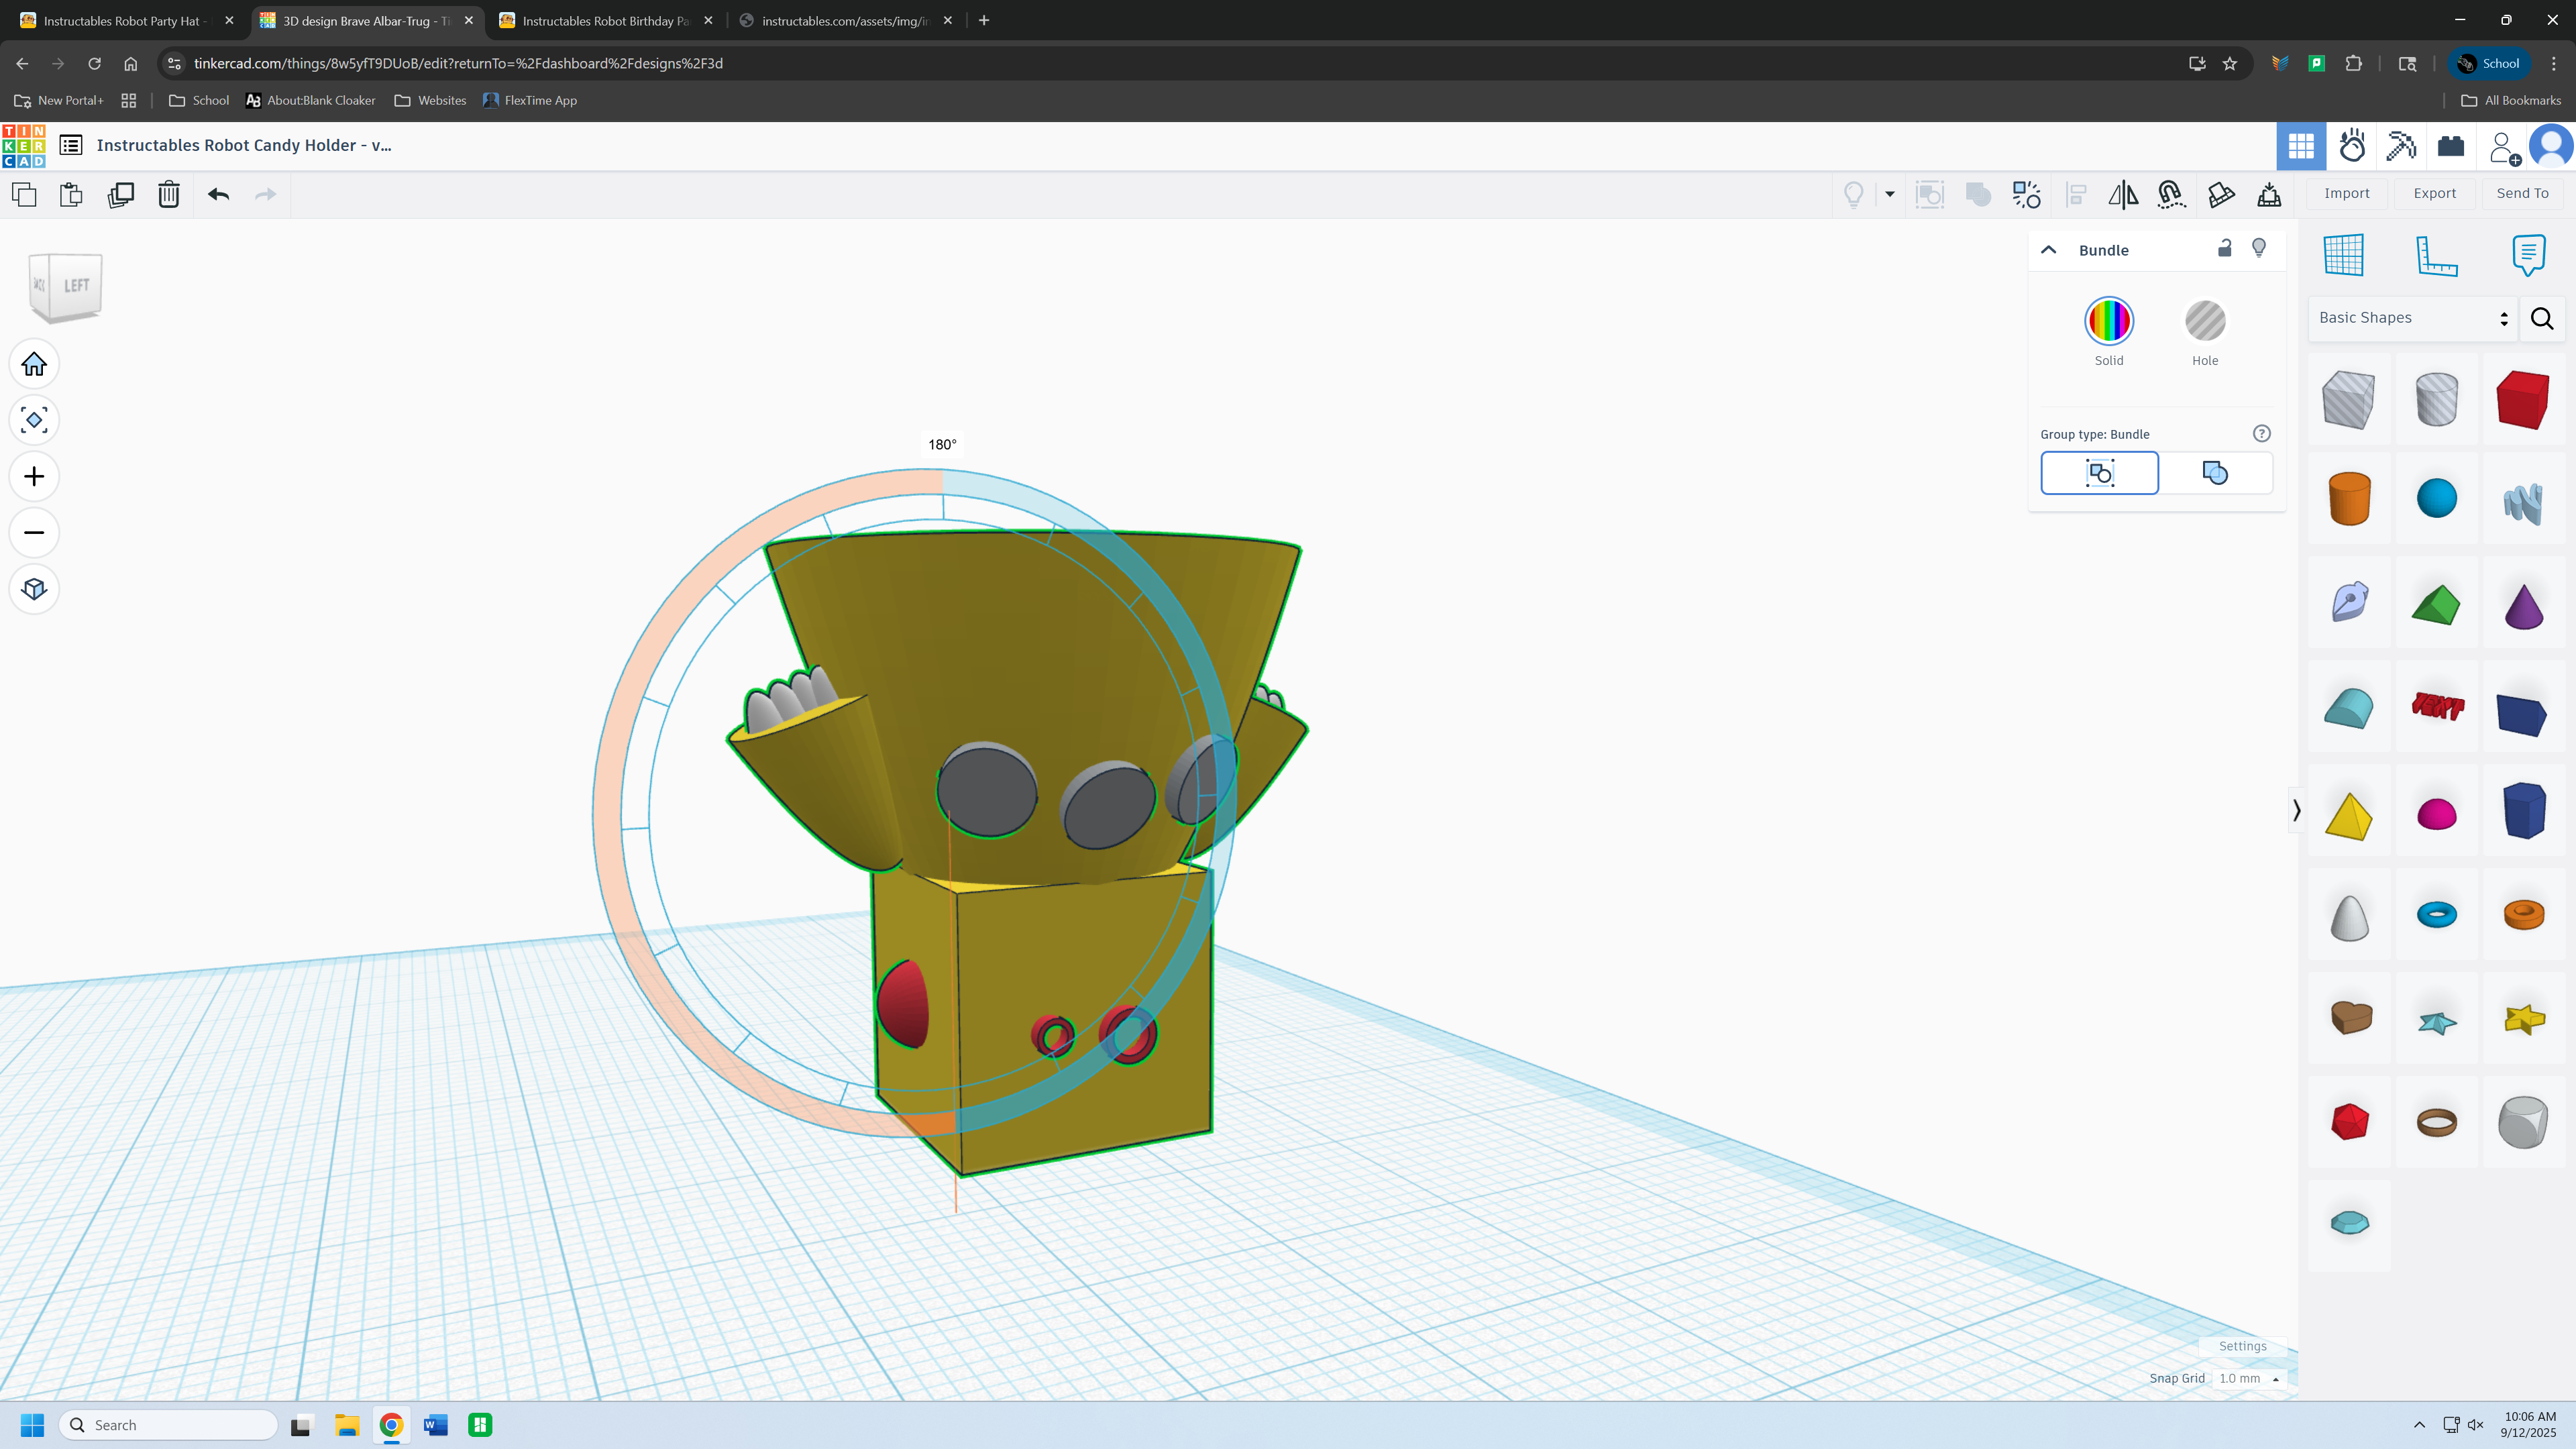
Hollow It Out
.png)
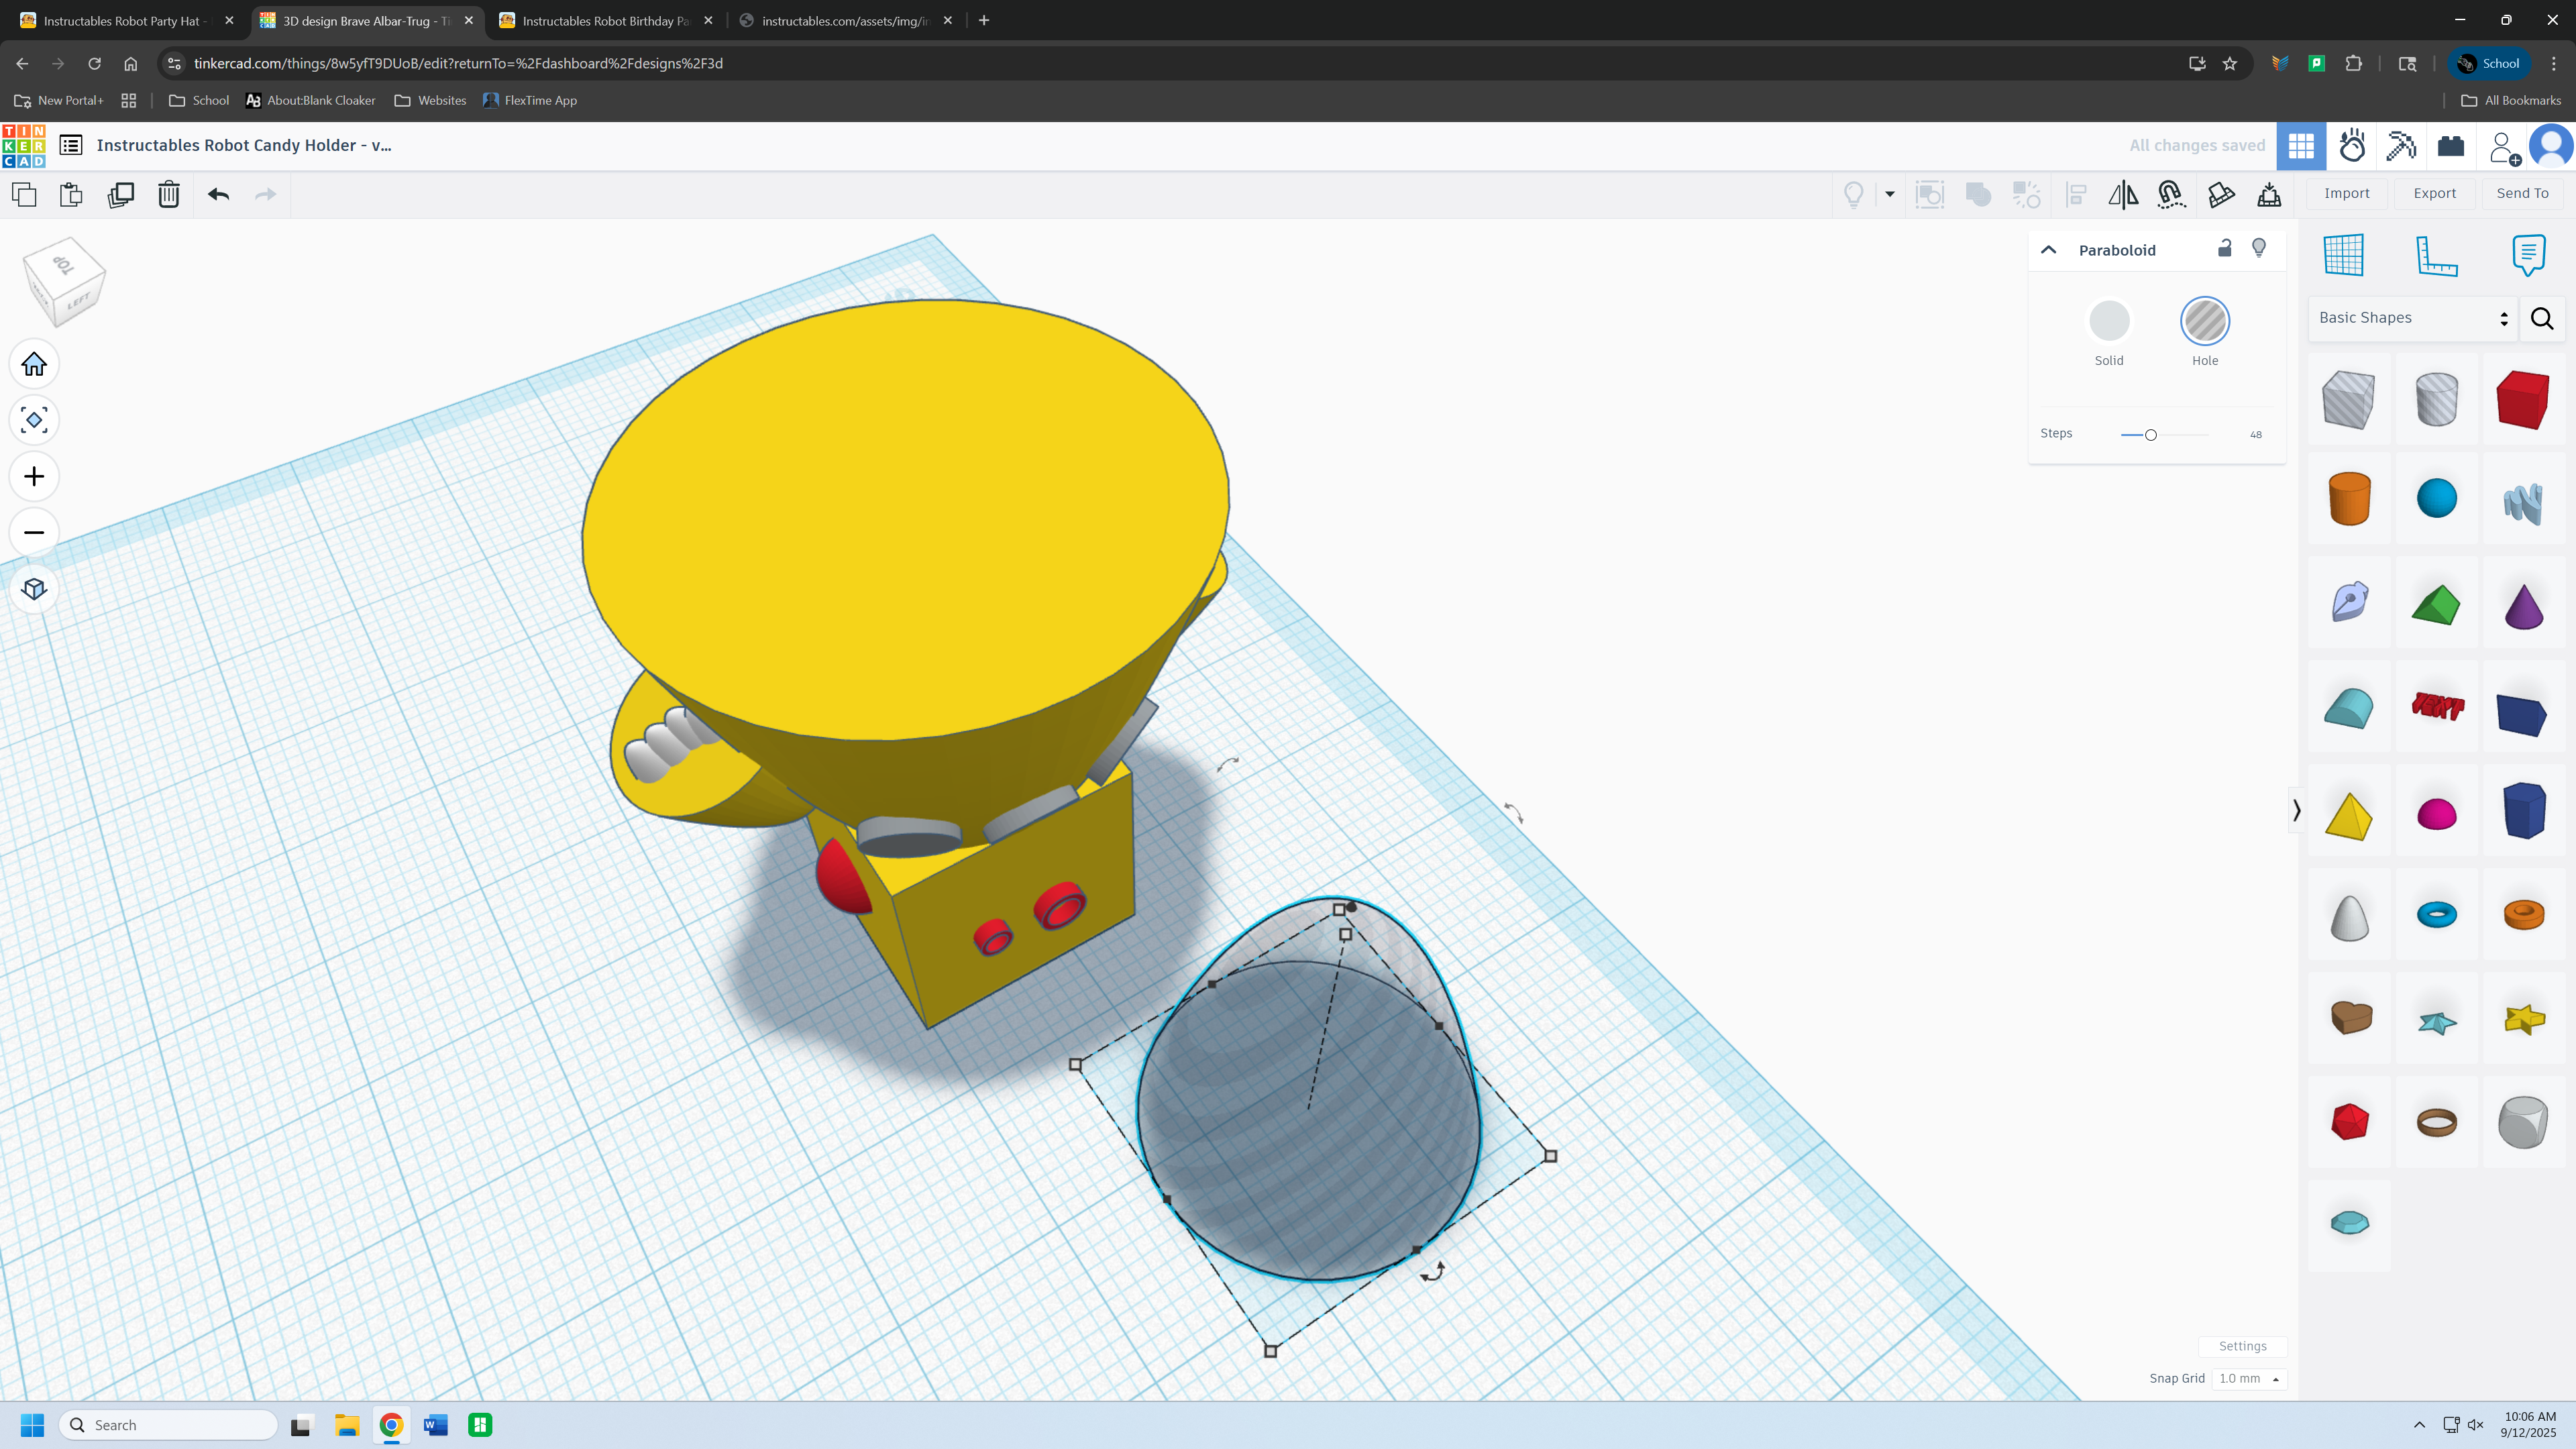.png)
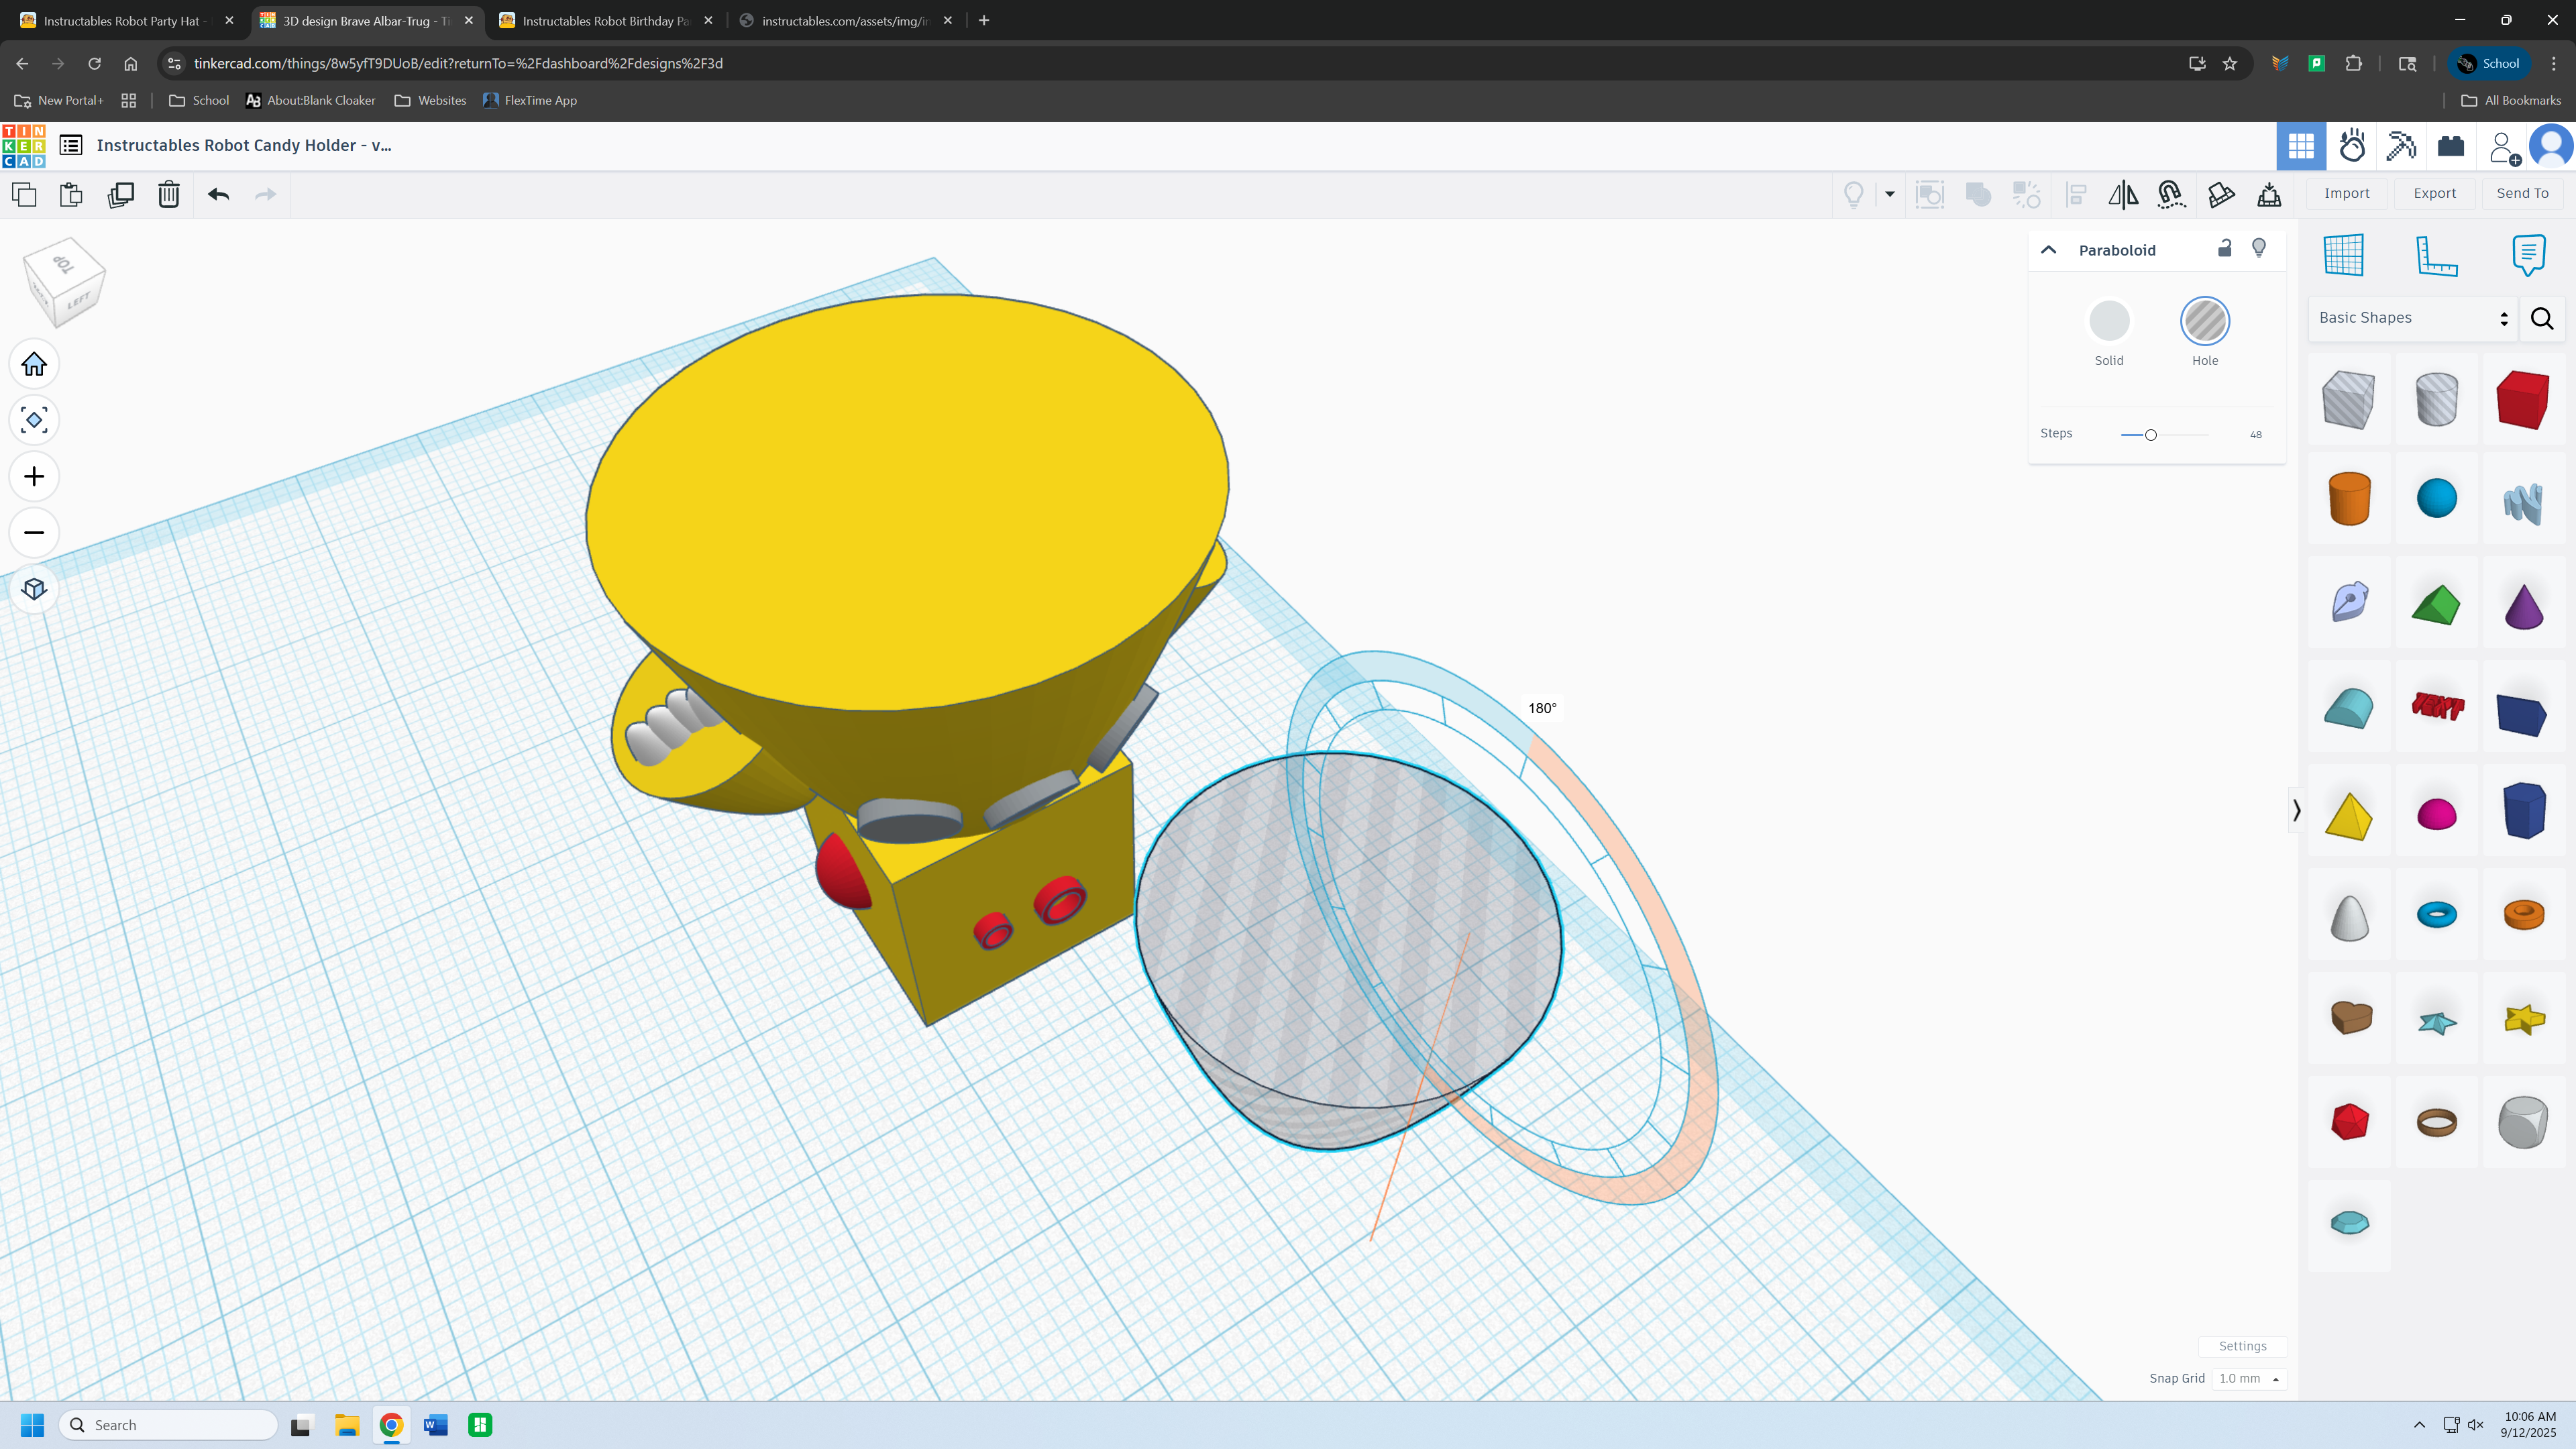.png)
.png)
.png)
.png)
Rotate the model 180 degrees, then get a Paraboloid and make it a hole. Put it inside your model and fit it to be as big as possible but still leaving a gap for the edges.
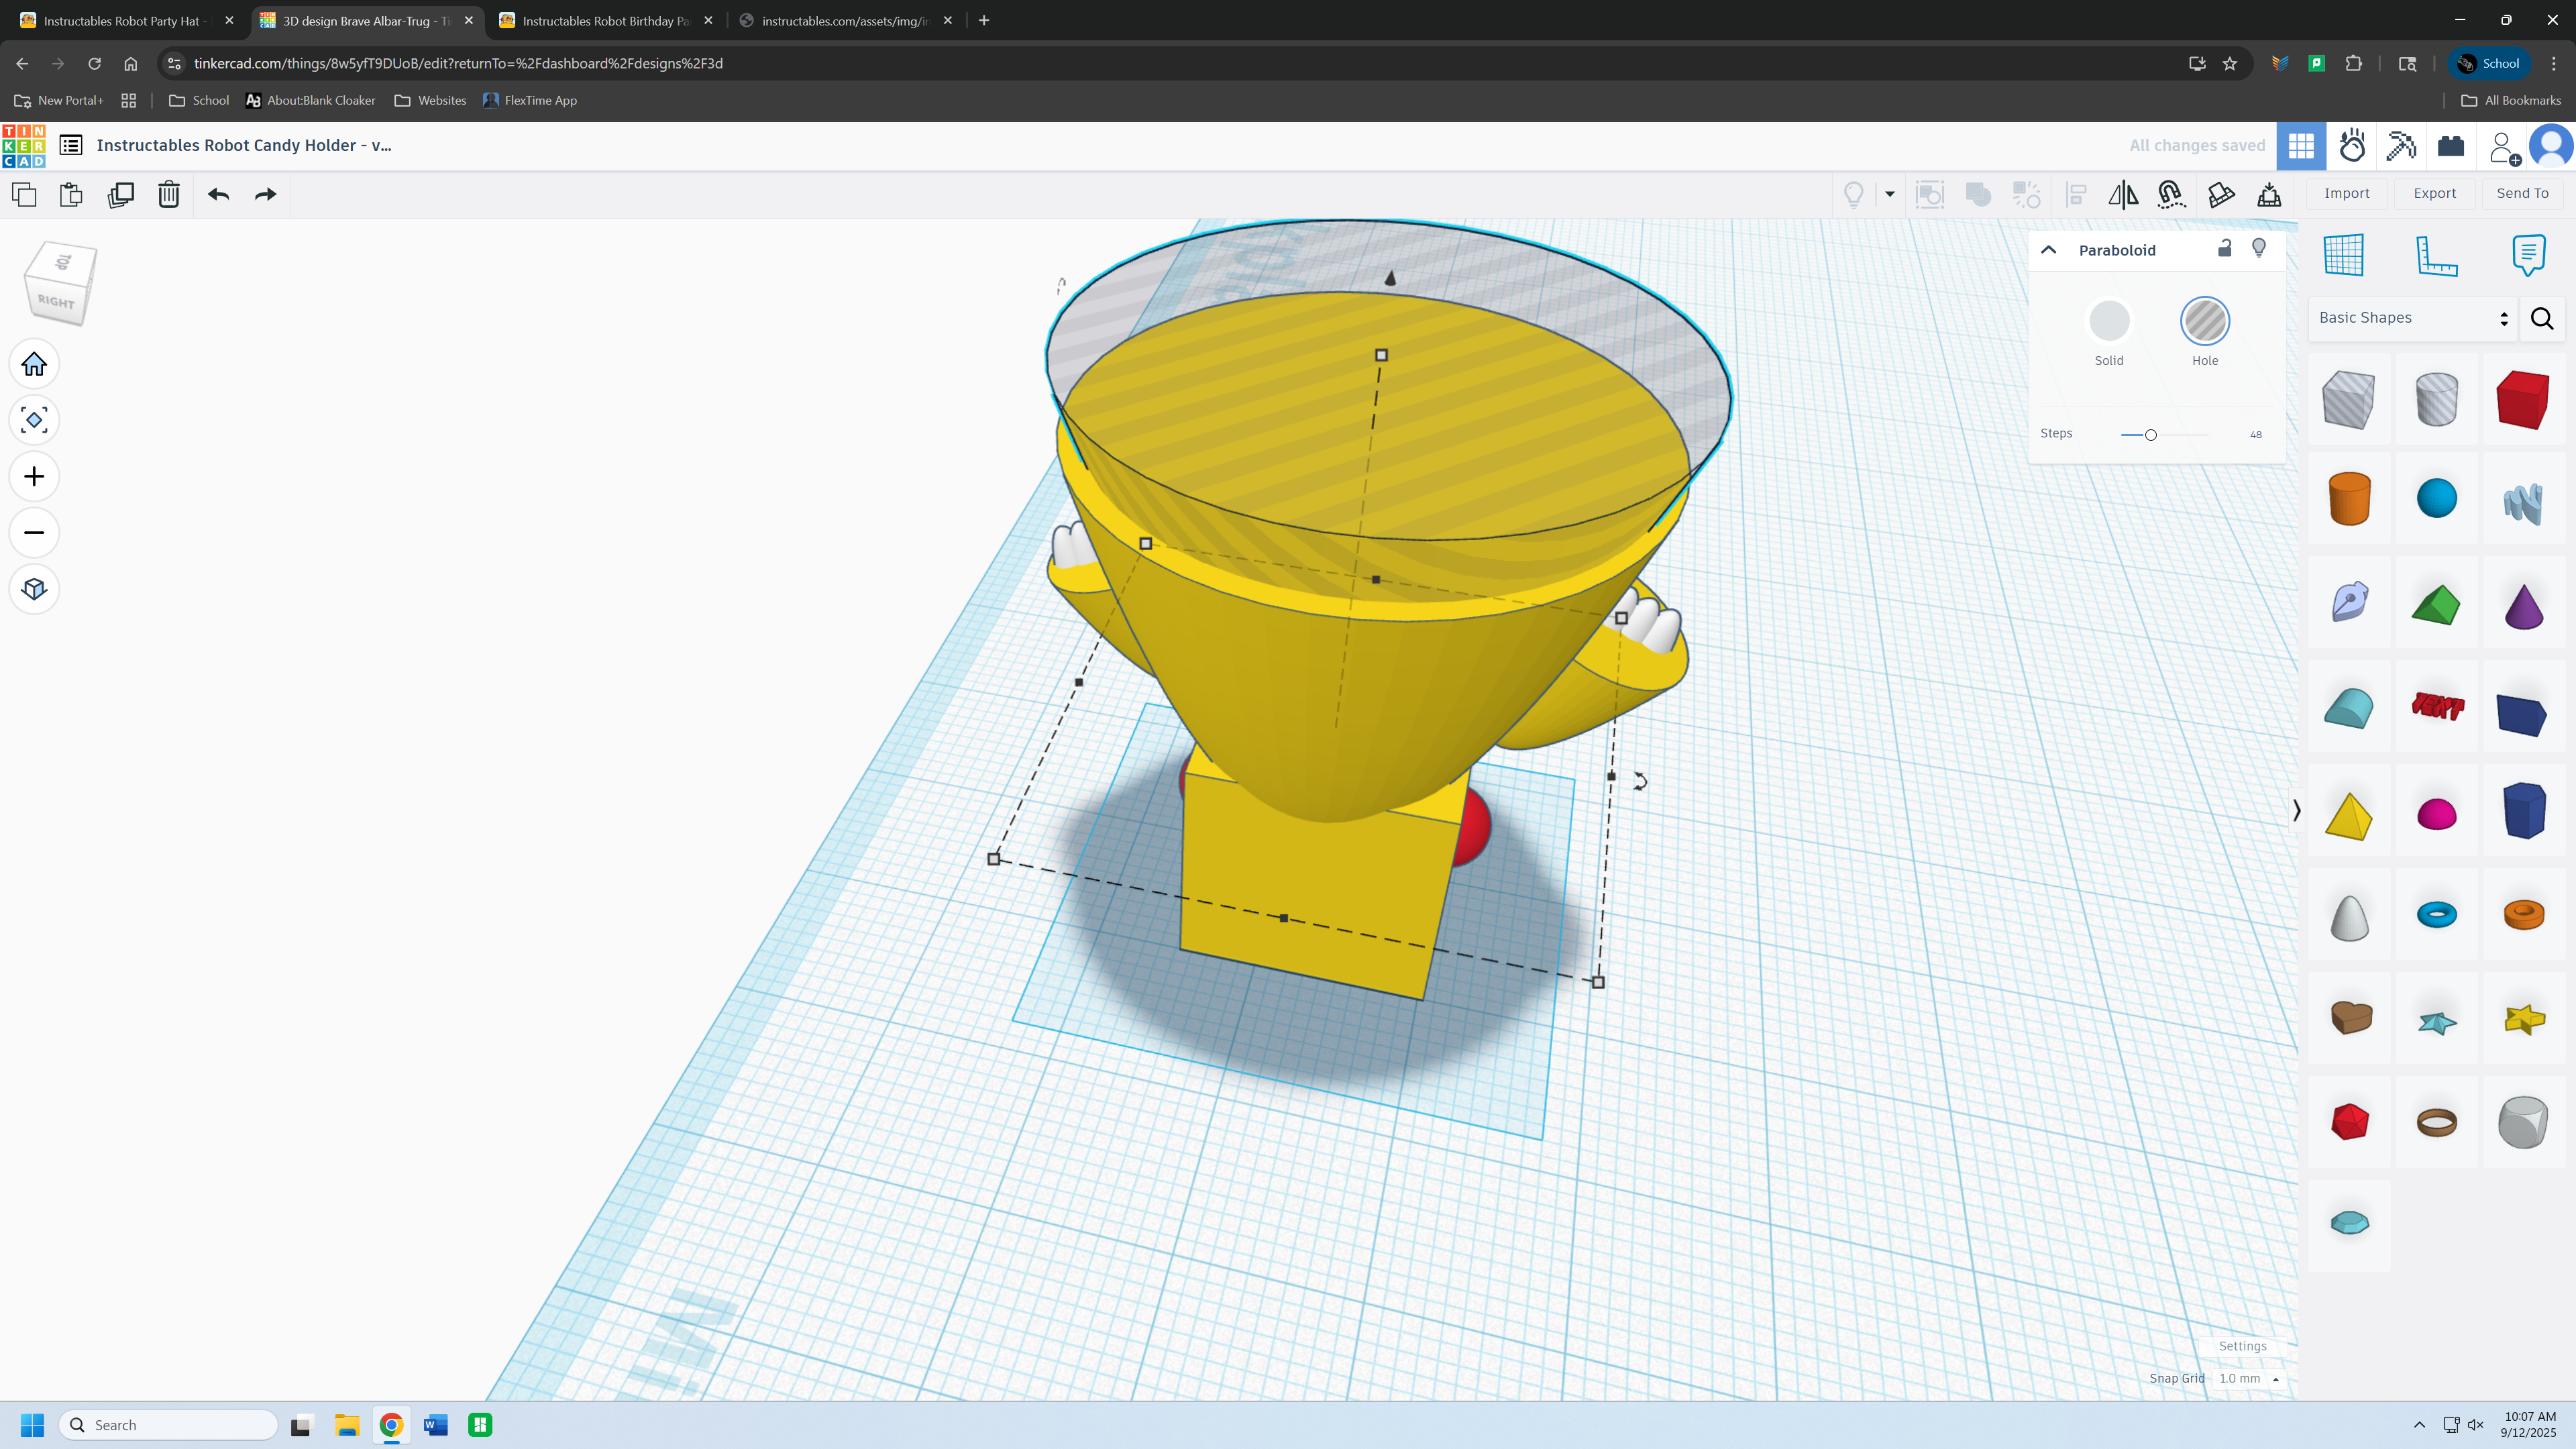
Now You Are Finished!
.png)
Rotate the robot back 180 degrees. Now you are finished, the final step is to make it the size you want it and 3D print him at home. He can be a party hat, a bowl, or whatever you want!