Interactive Rainbow Sensory Cube
by livy_jjj in Craft > Fiber Arts
102 Views, 1 Favorites, 0 Comments
Interactive Rainbow Sensory Cube
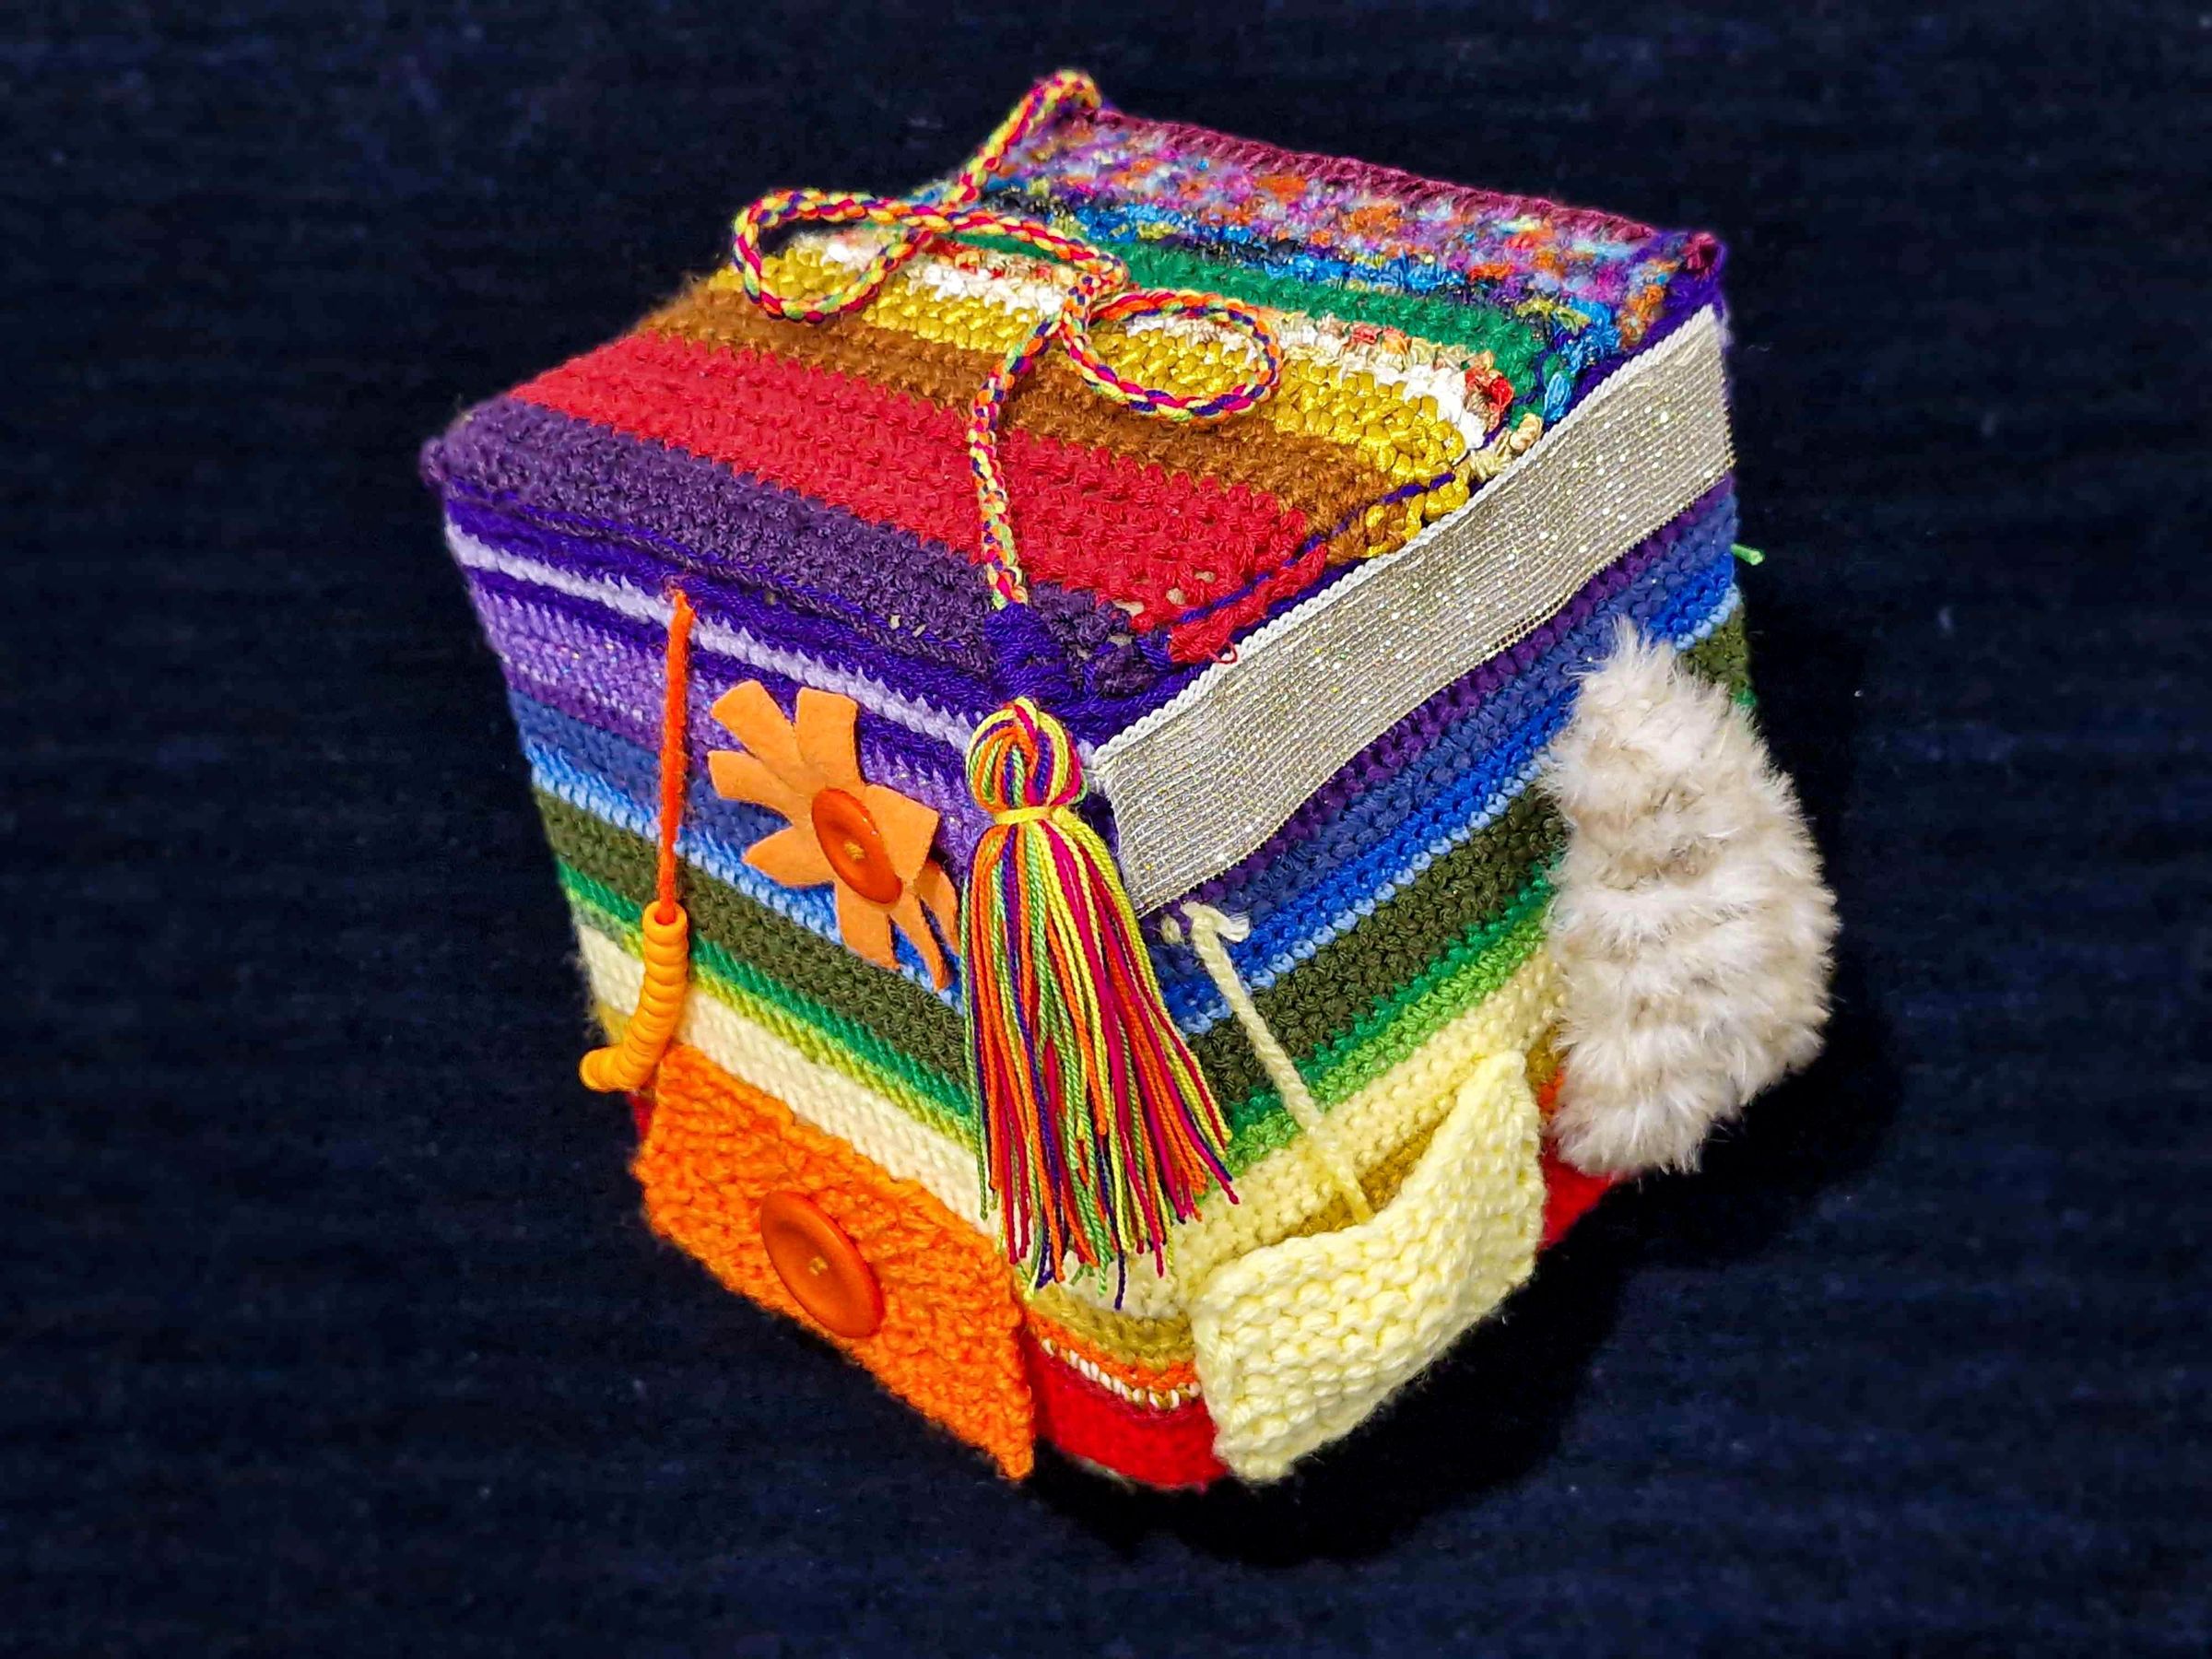
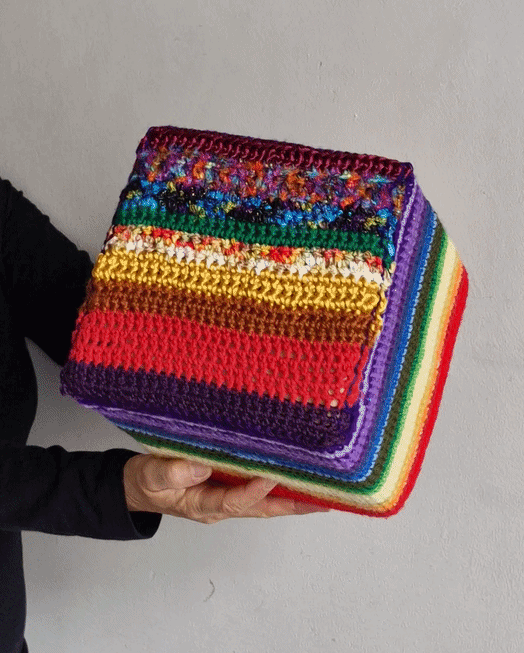
Color has the power to spark curiosity, inspire learning, and bring ideas to life. In this project, I created an Interactive Rainbow Sensory Cube, crafted entirely by hand by combining crochet and knitting (two-needle) techniques.
I created this project with a very special pedagogical and affectionate purpose: to stimulate fine motor skills and cognitive development in young children through exploratory play. The cube not only celebrates the vibrant spectrum of the rainbow across its full horizontal and vertical extent, but also dedicates each of its faces to a distinct sensory and interactive experience. Through this cube, children learn to:
- Zip and unzip zippers.
- Button and unbutton fasteners.
- Develop progressive counting skills.
- Distinguish shapes, colors, and extreme texture contrasts (soft vs. rough, hard vs. flexible).
It is a comprehensive craft project that blends yarn, ribbons, buttons, and beads over a cushioned foam core, transforming the rainbow spectrum into a tactile, interactive, and portable learning toy.
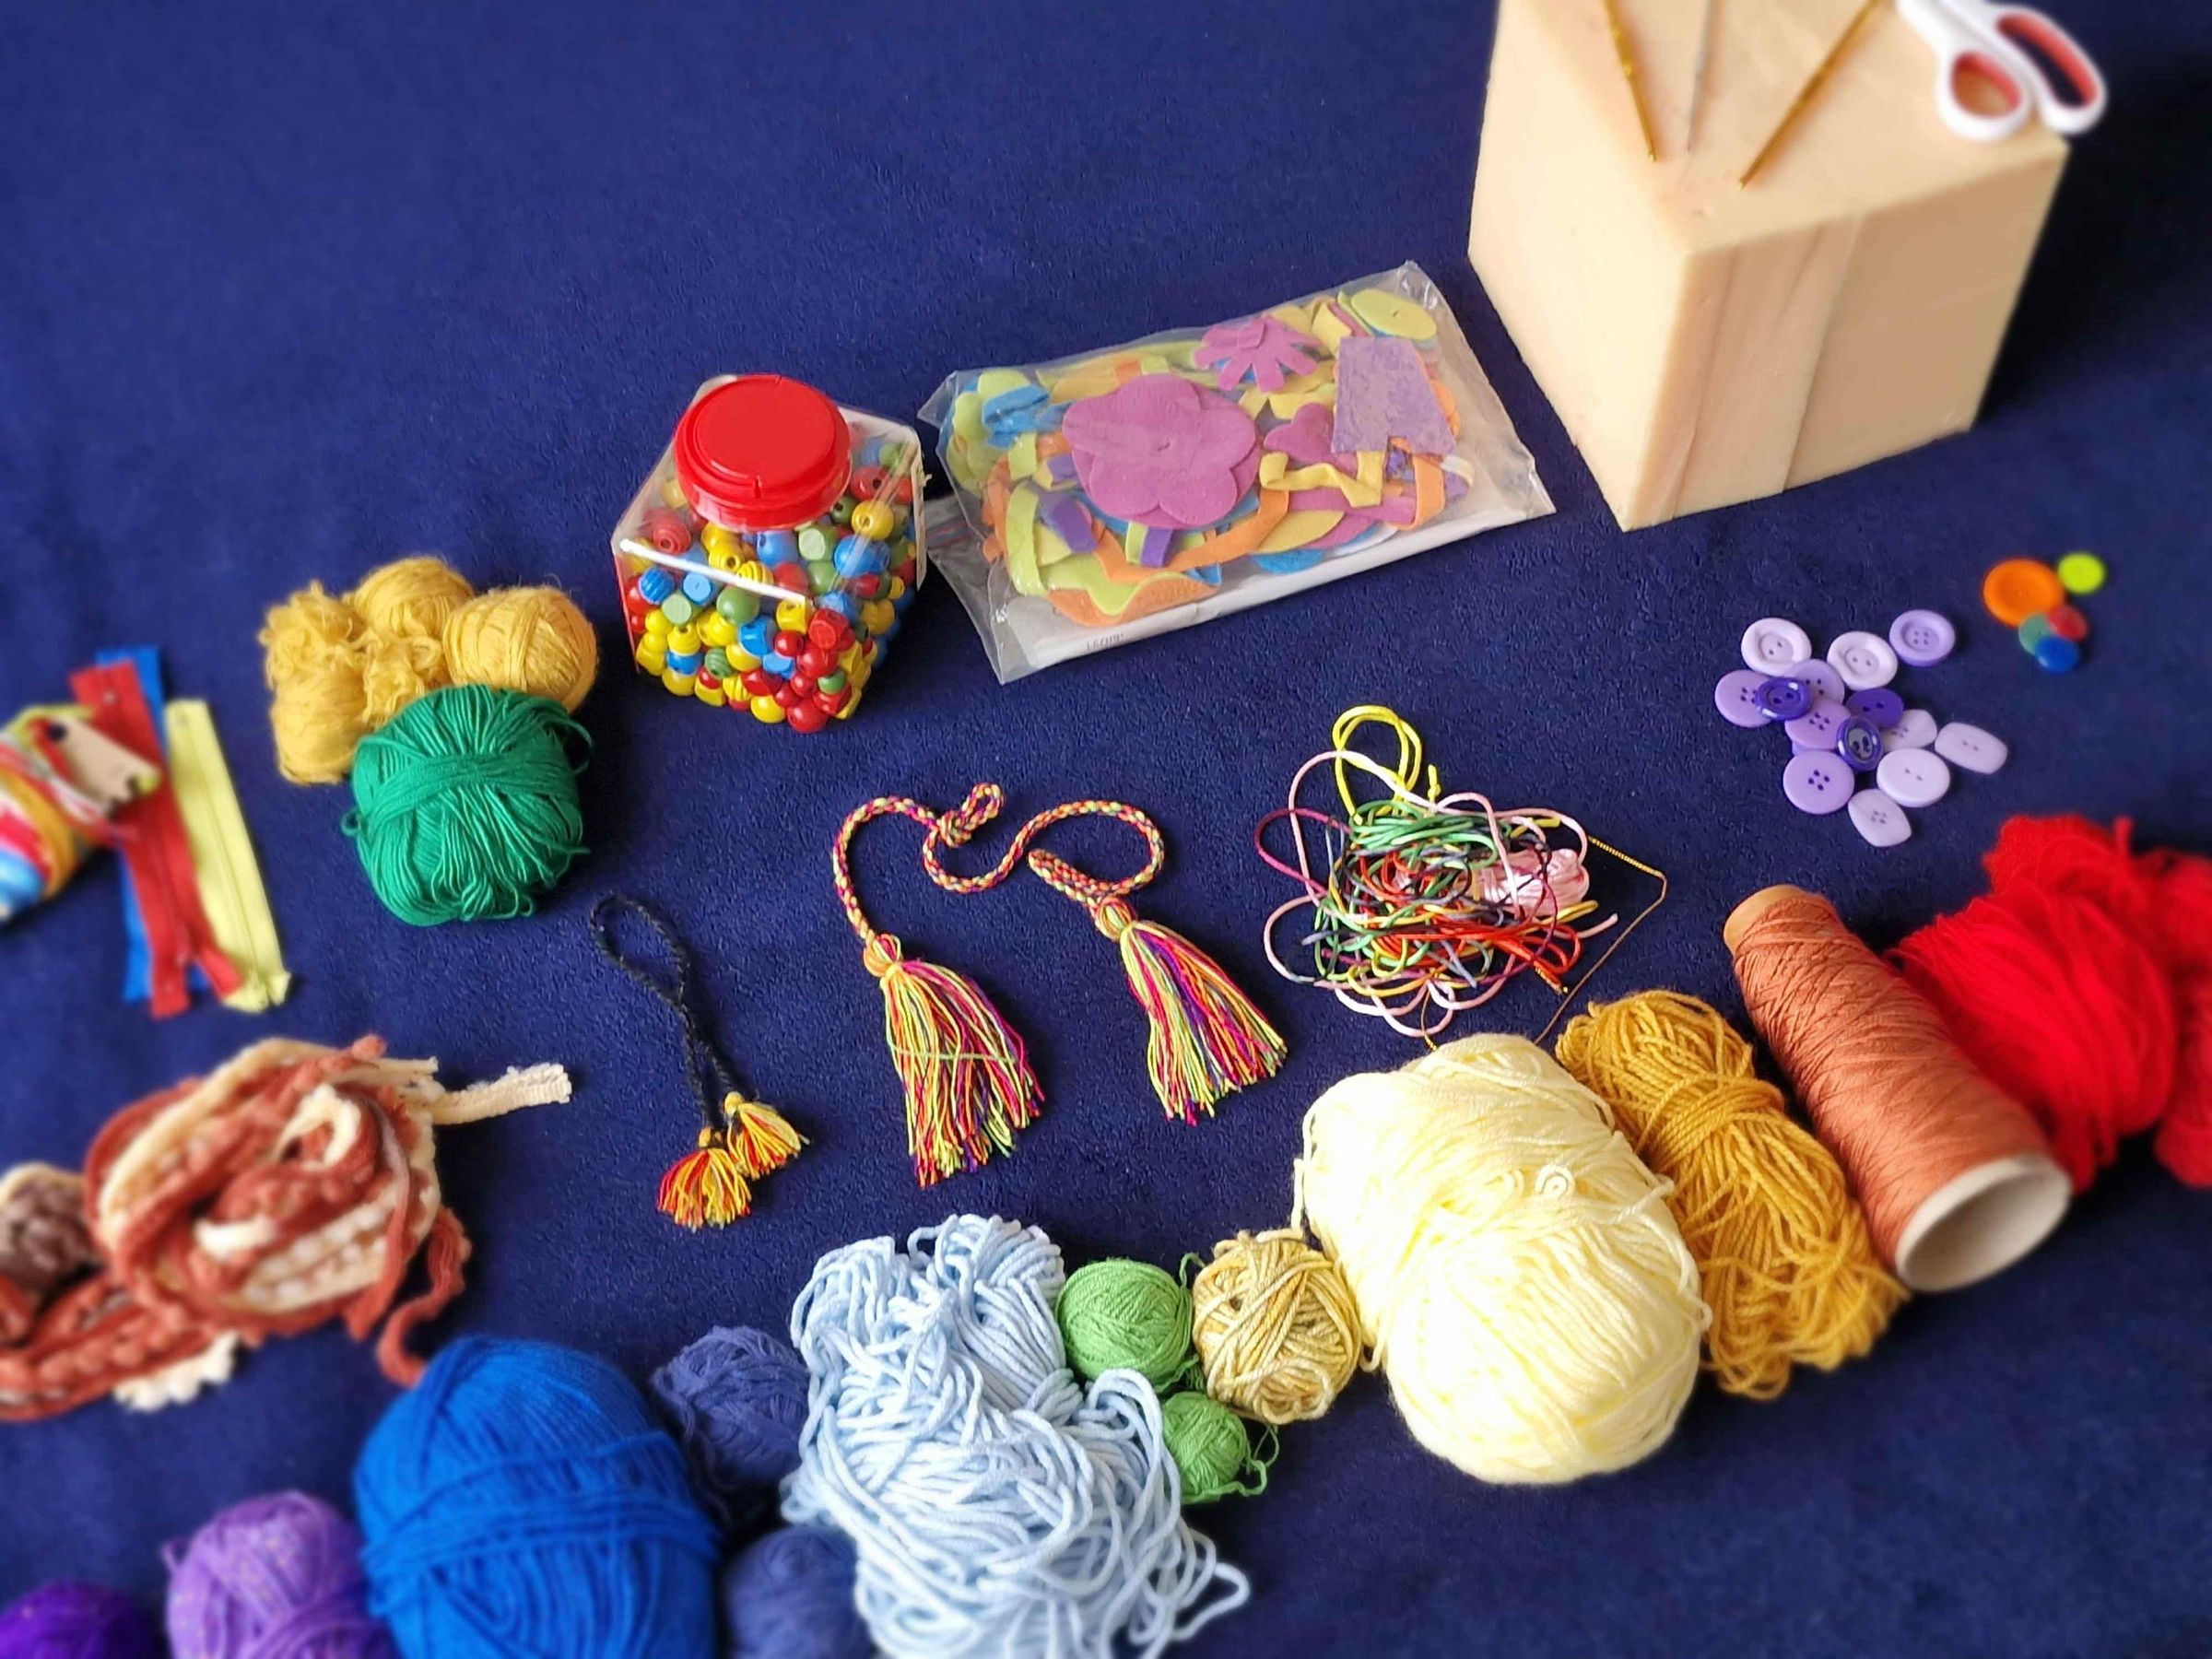
Supplies
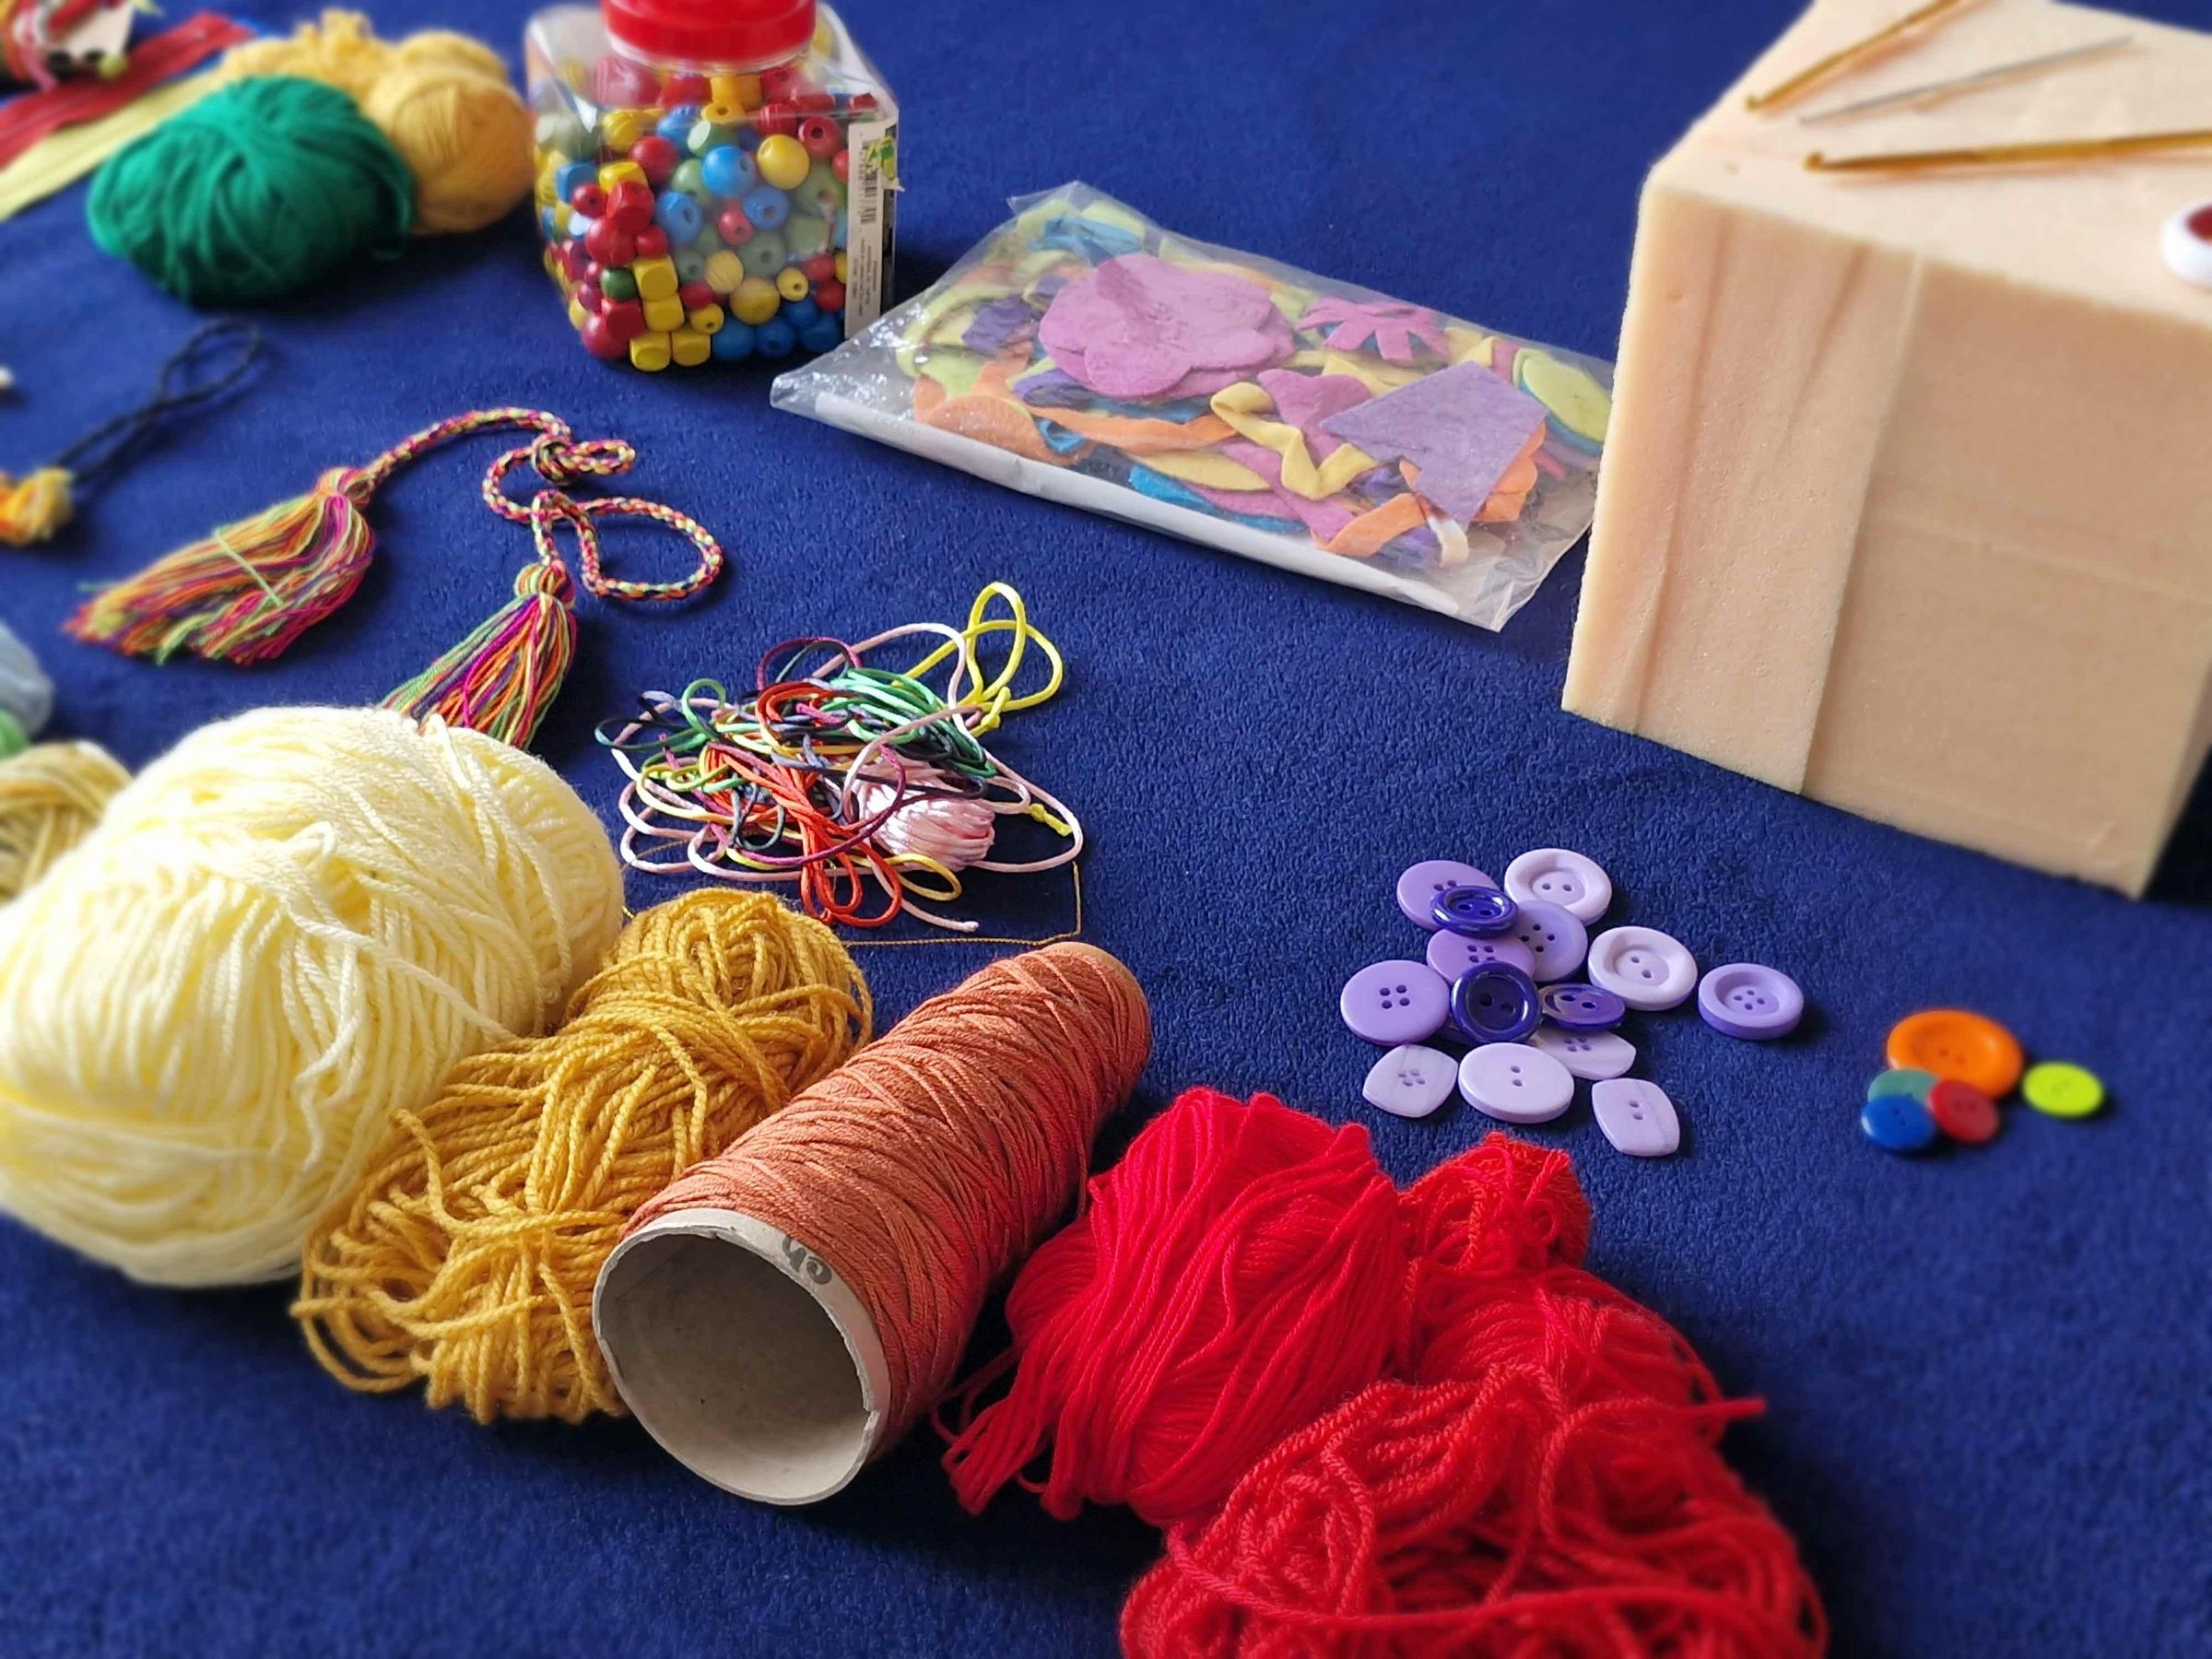
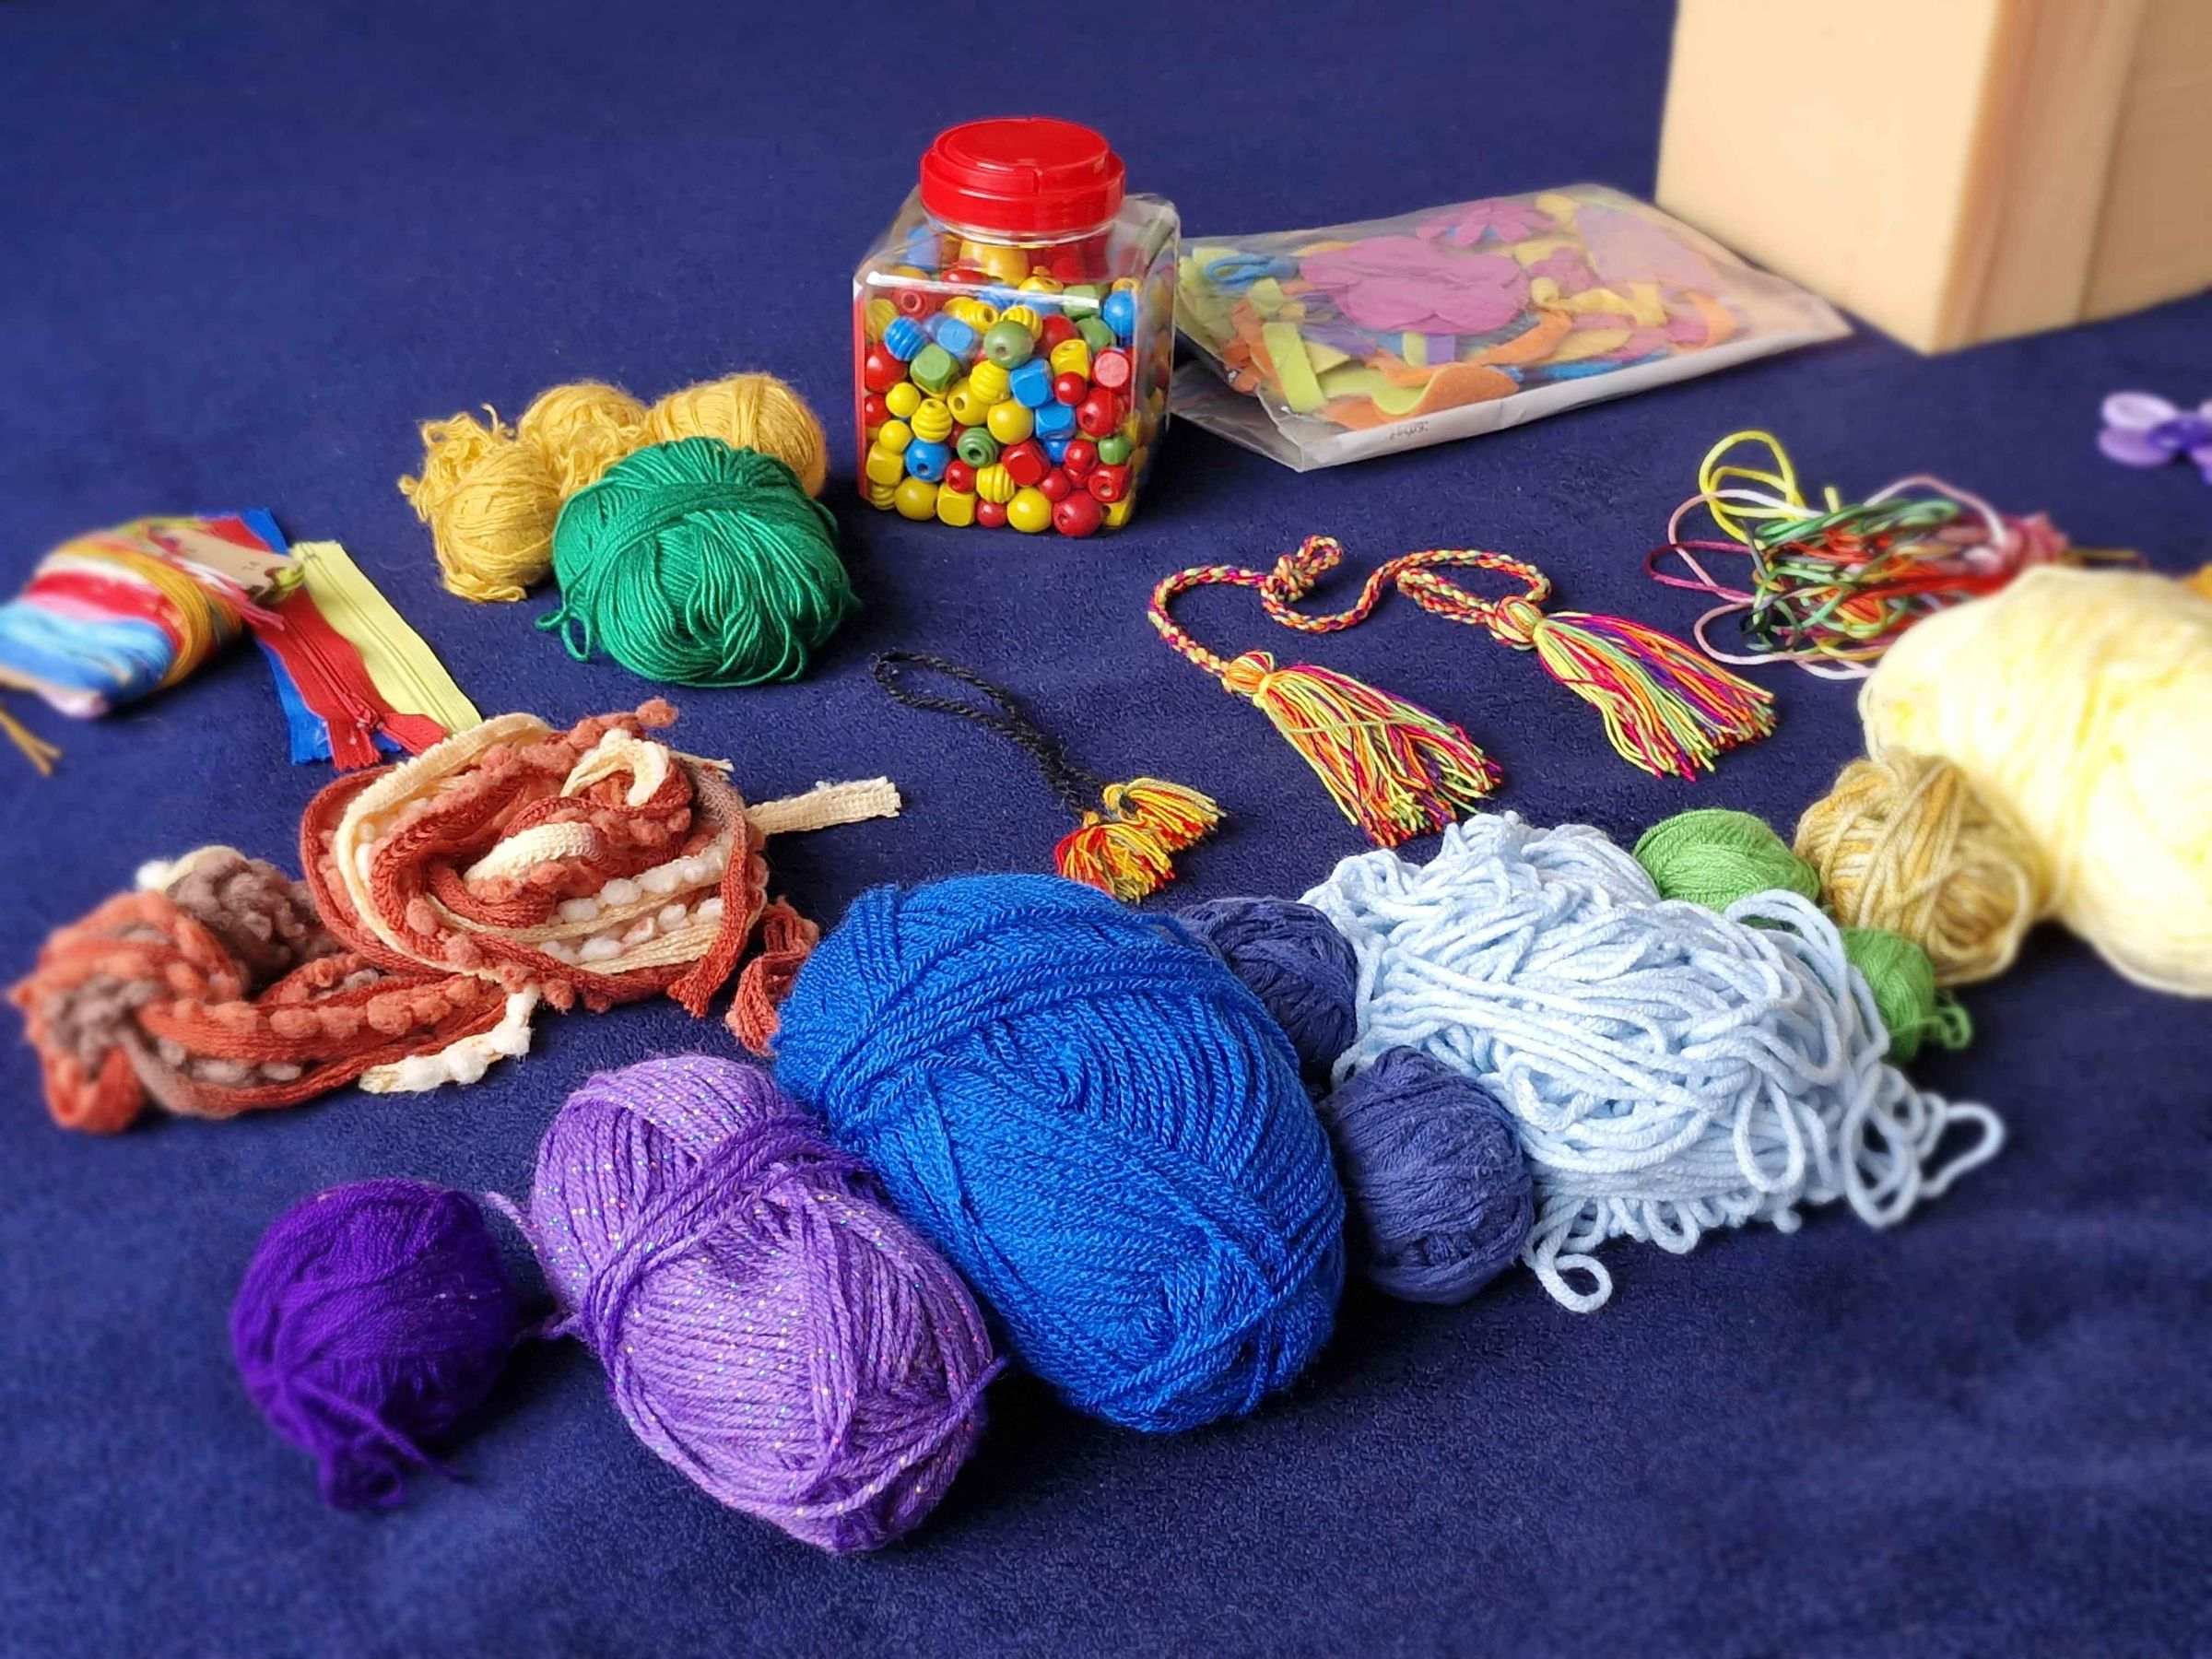
Core Structure:
- 1 Cubical foam block (19 cm×19 cm×19 cm19 cm×19 cm×19 cm / approx. 7.5 in×7.5 in×7.5 in7.5 in×7.5 in×7.5 in).
Yarns and Fibers (Rainbow Palette):
- Cotton/acrylic yarns across the full rainbow spectrum: red, variegated red, orange (light and dark), yellow, green (various shades), blue, and violet/purple.
- Ultra-soft fleece/plush novelty yarn.
- Thick green knitting yarn.
Ribbons and Fabric Elements:
- Multicolor variegated ribbons.
- Blue variegated ribbon.
- Yellow ribbon.
- Metallic gold shiny ribbon.
- Rough-textured ribbon/webbing (for tactile contrast).
- Decorative felt / craft felt.
Sensory & Interactive Accessories:
- 1 Red zipper.
- 1 Red elastic rubber band/cord.
- Craft foam balls in various colors (red, yellow, etc.).
- Beads / seed beads / plastic beads in green, orange, and red tones.
- Assorted buttons (specifically orange and purple).
Tools:
- Crochet hooks: 3 mm and 5 mm (US D-3 / H-8).
- Knitting needles: 5 mm, 7 mm, and 8 mm (US 8, US 10.5, US 11).
- Tapestry needle and hand-sewing needle.
- Heavy-duty sewing thread.
- Fabric scissors.
- Tape measure.
Preparing the Base Foam Block
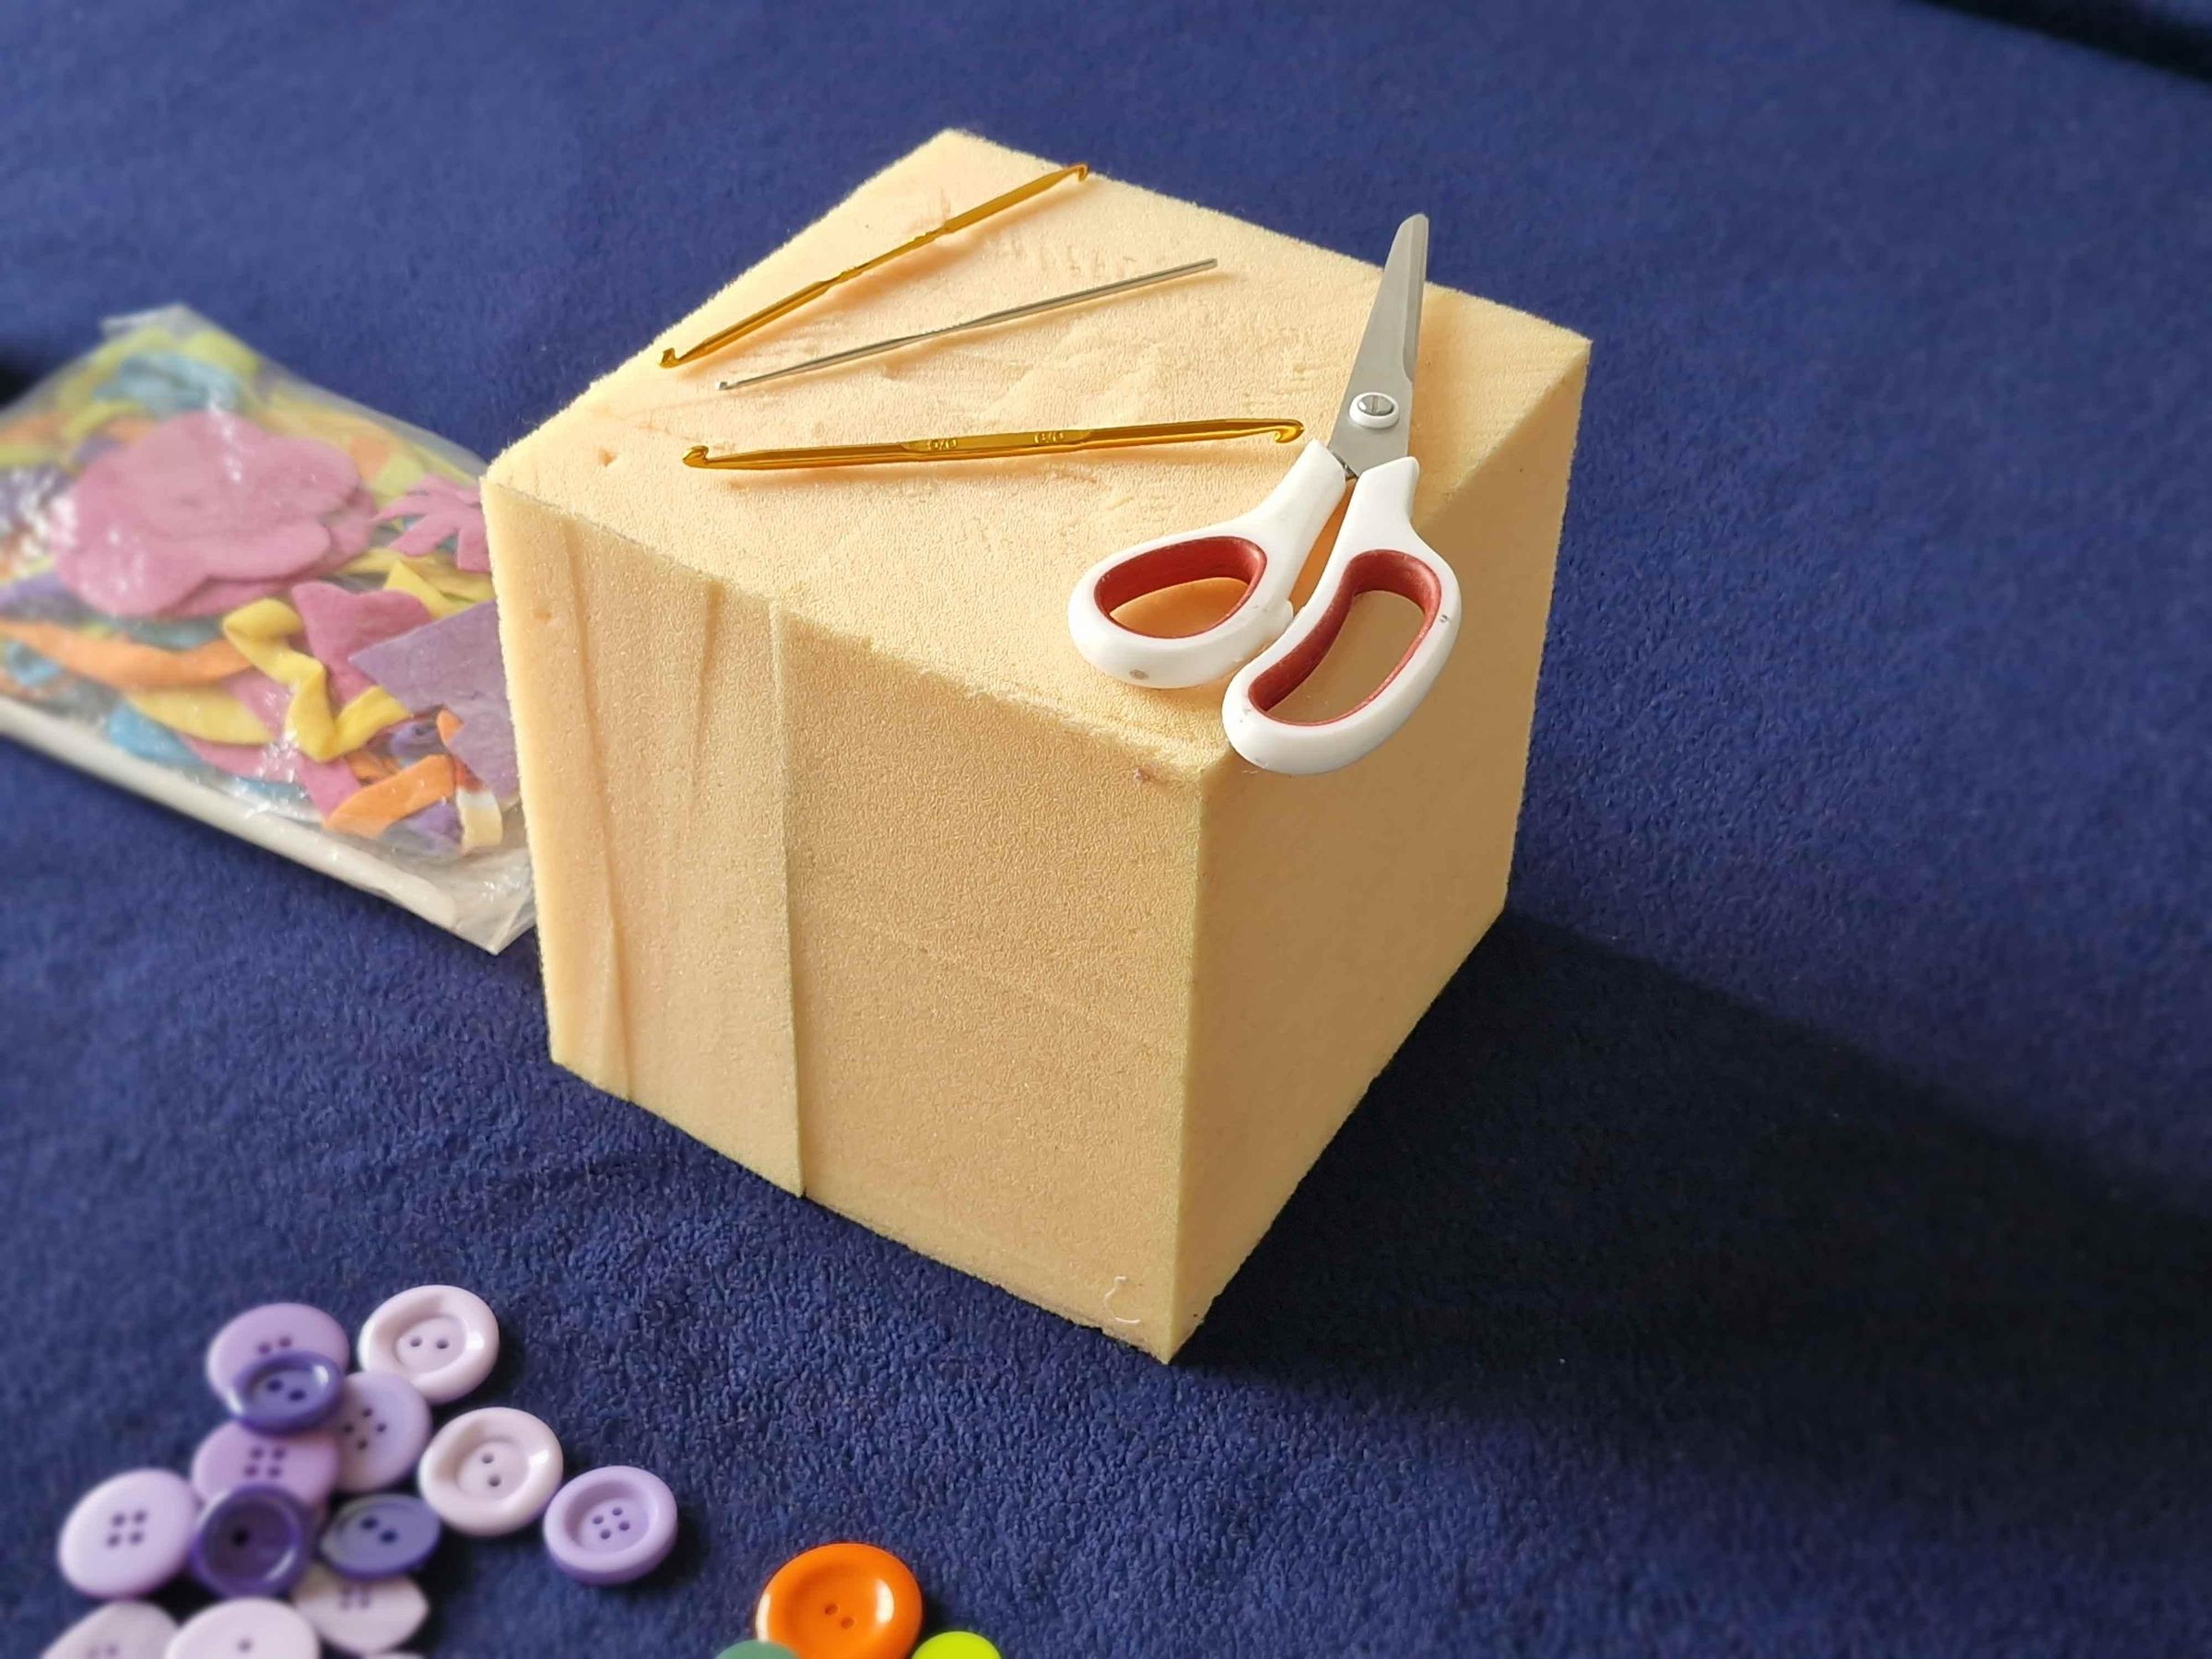
- Using the tape measure, measure the foam block to ensure exact dimensions of 19 cm19 cm (7.5 in7.5 in) on all sides.
- Verify that the corners are square and sturdy. This cubic core will serve as the inner foundation over which the knitted/crocheted cover will be fitted and sewn.
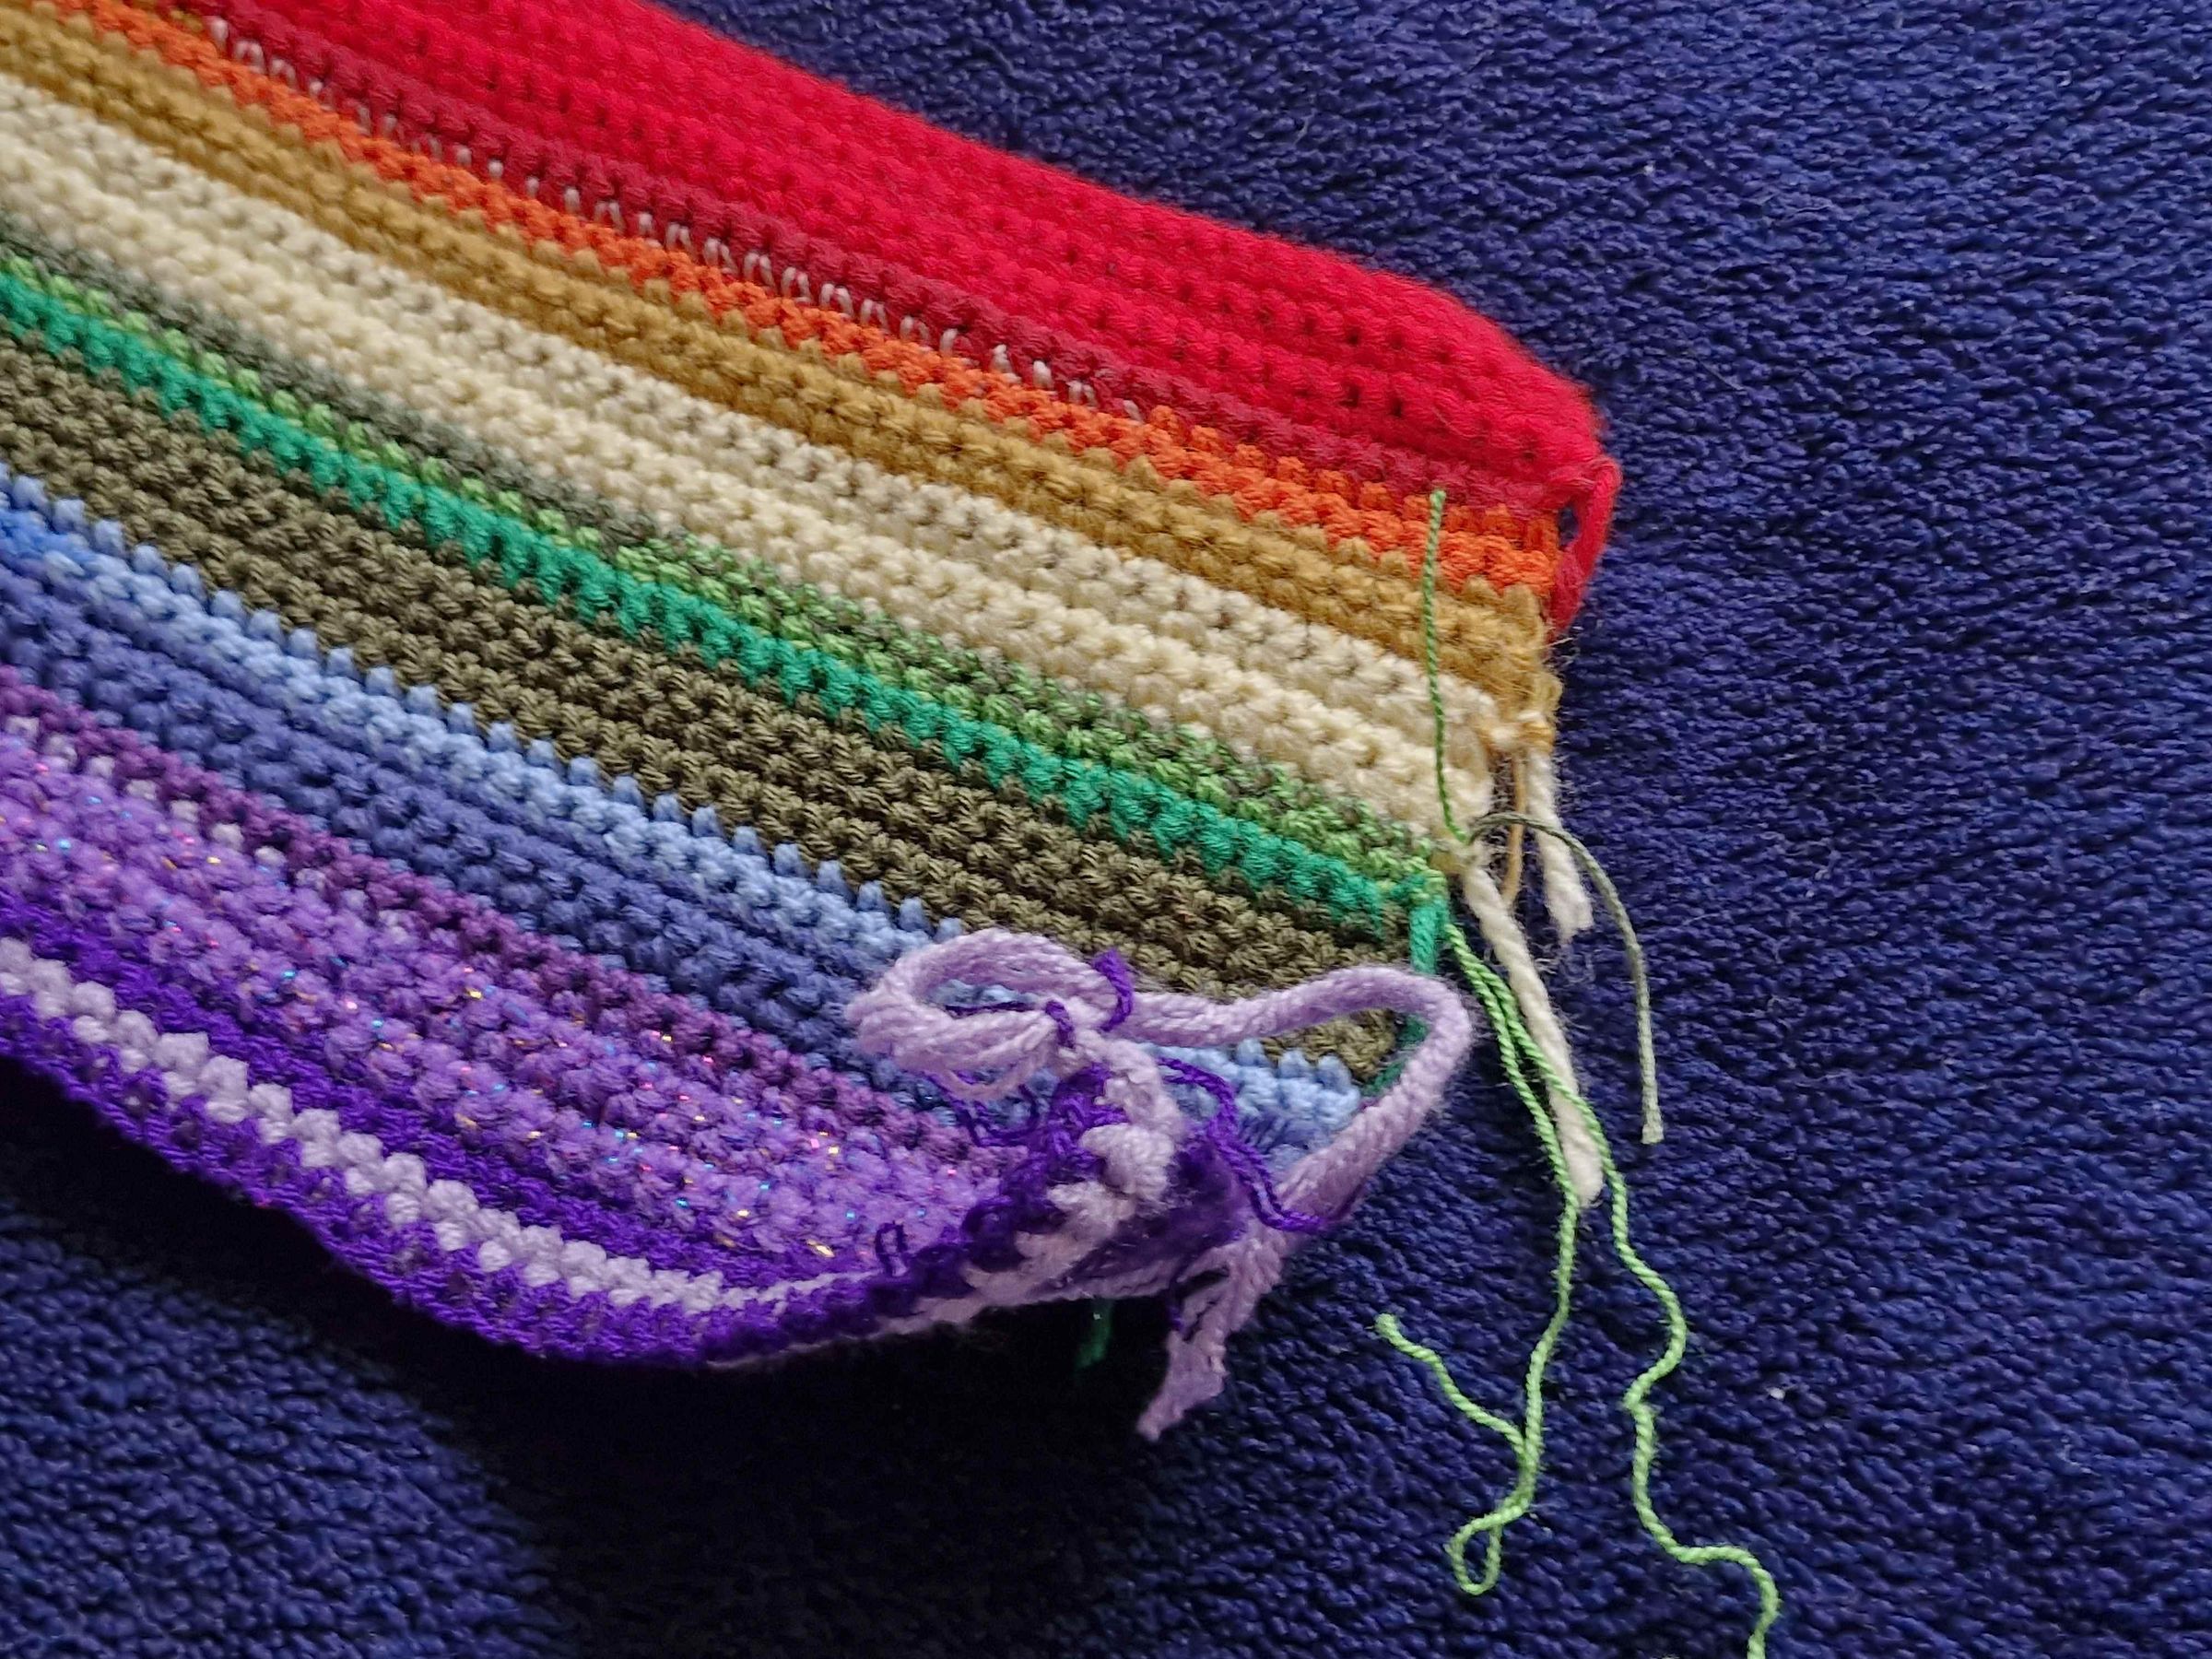
Crocheting the Continuous Side Body (Rainbow Gradient)
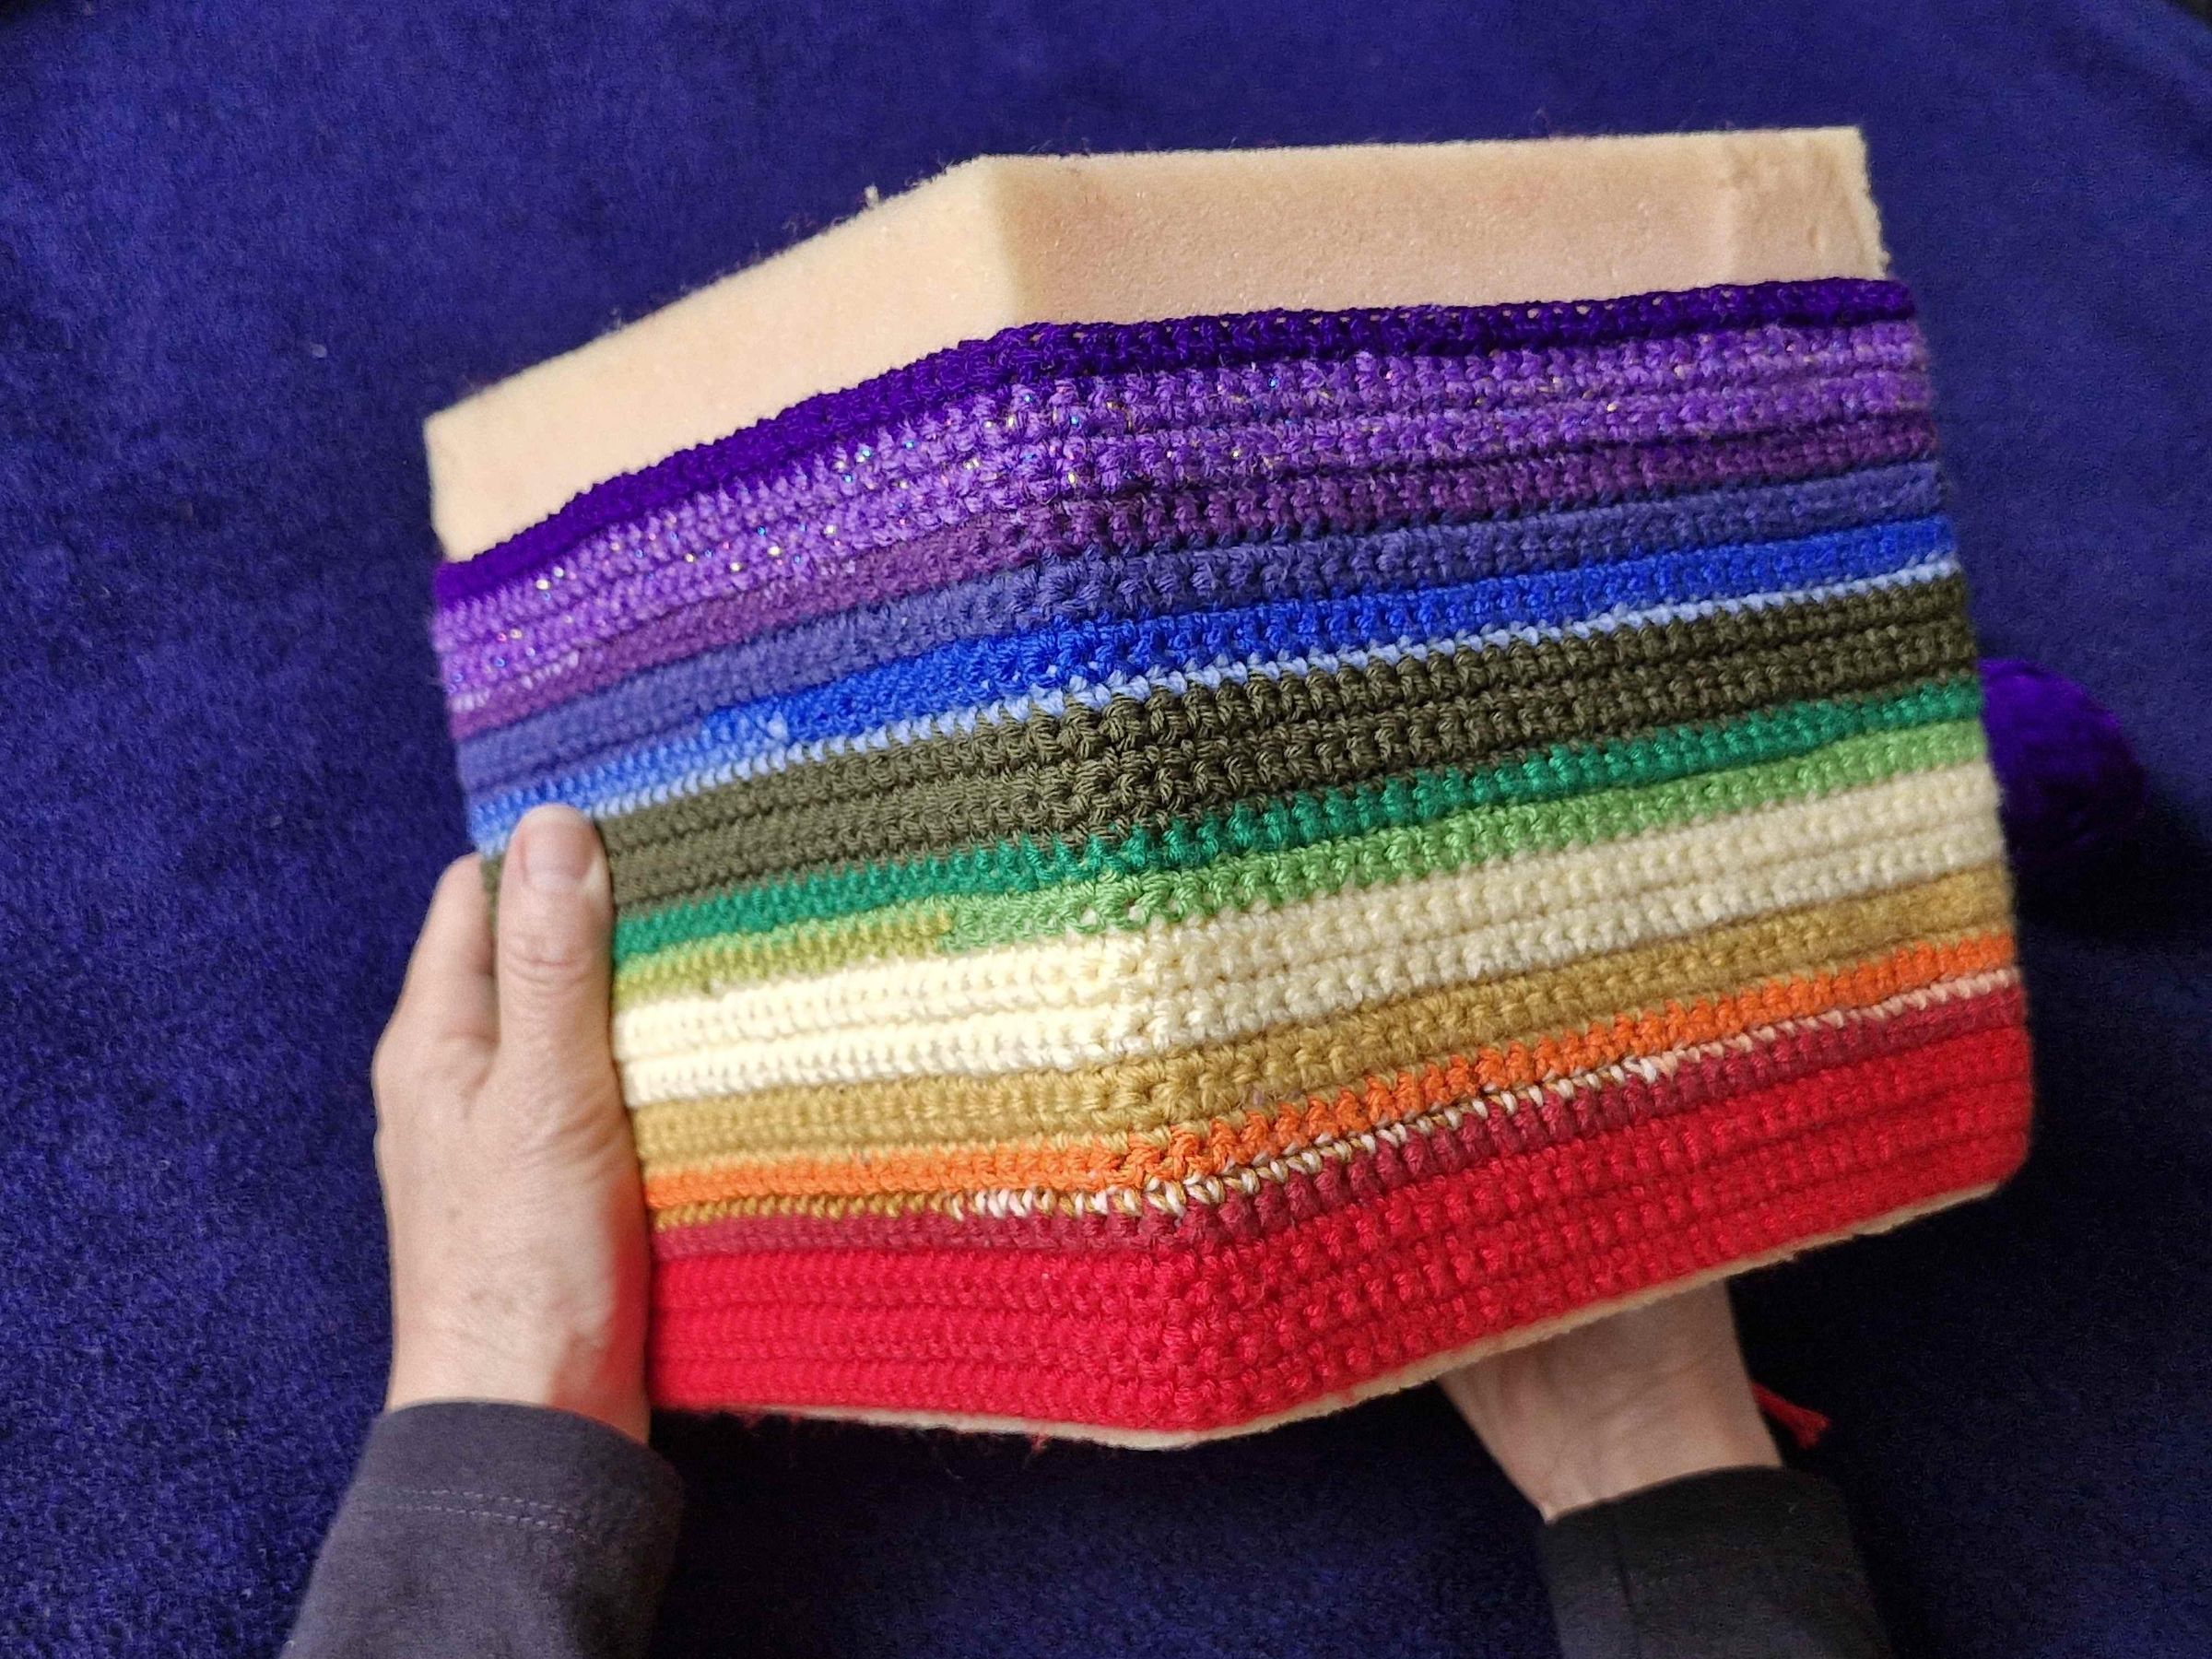
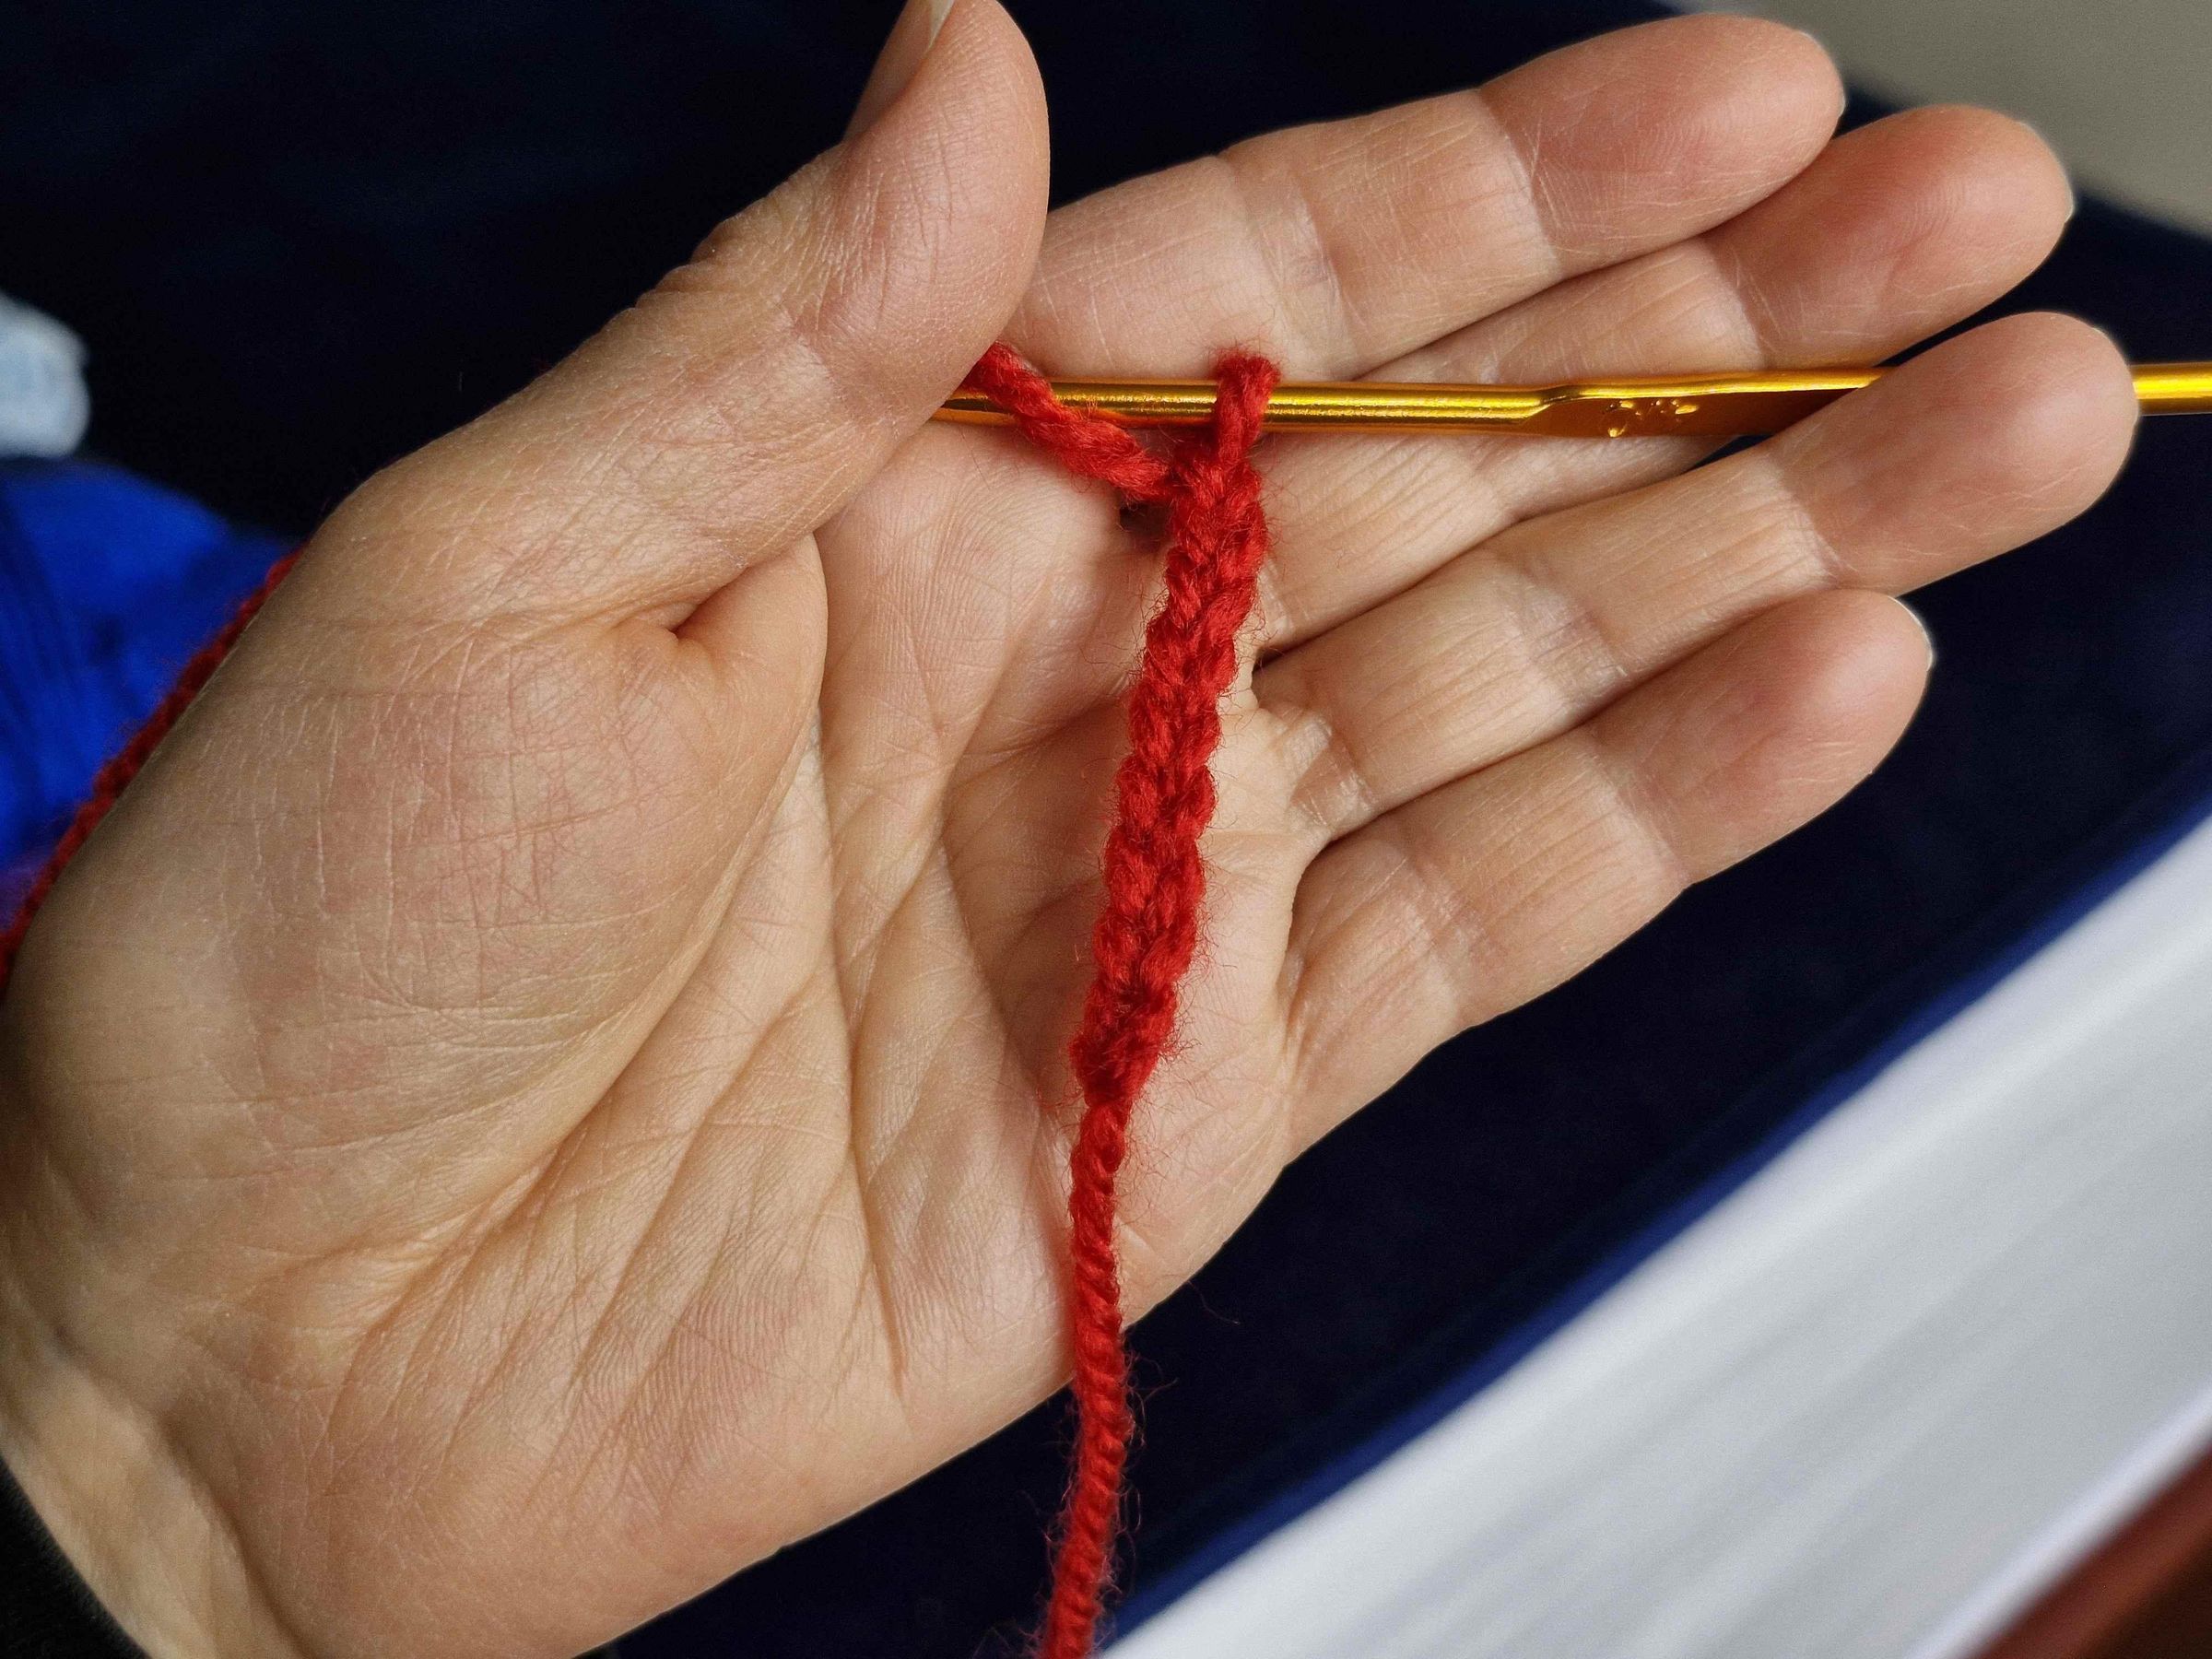
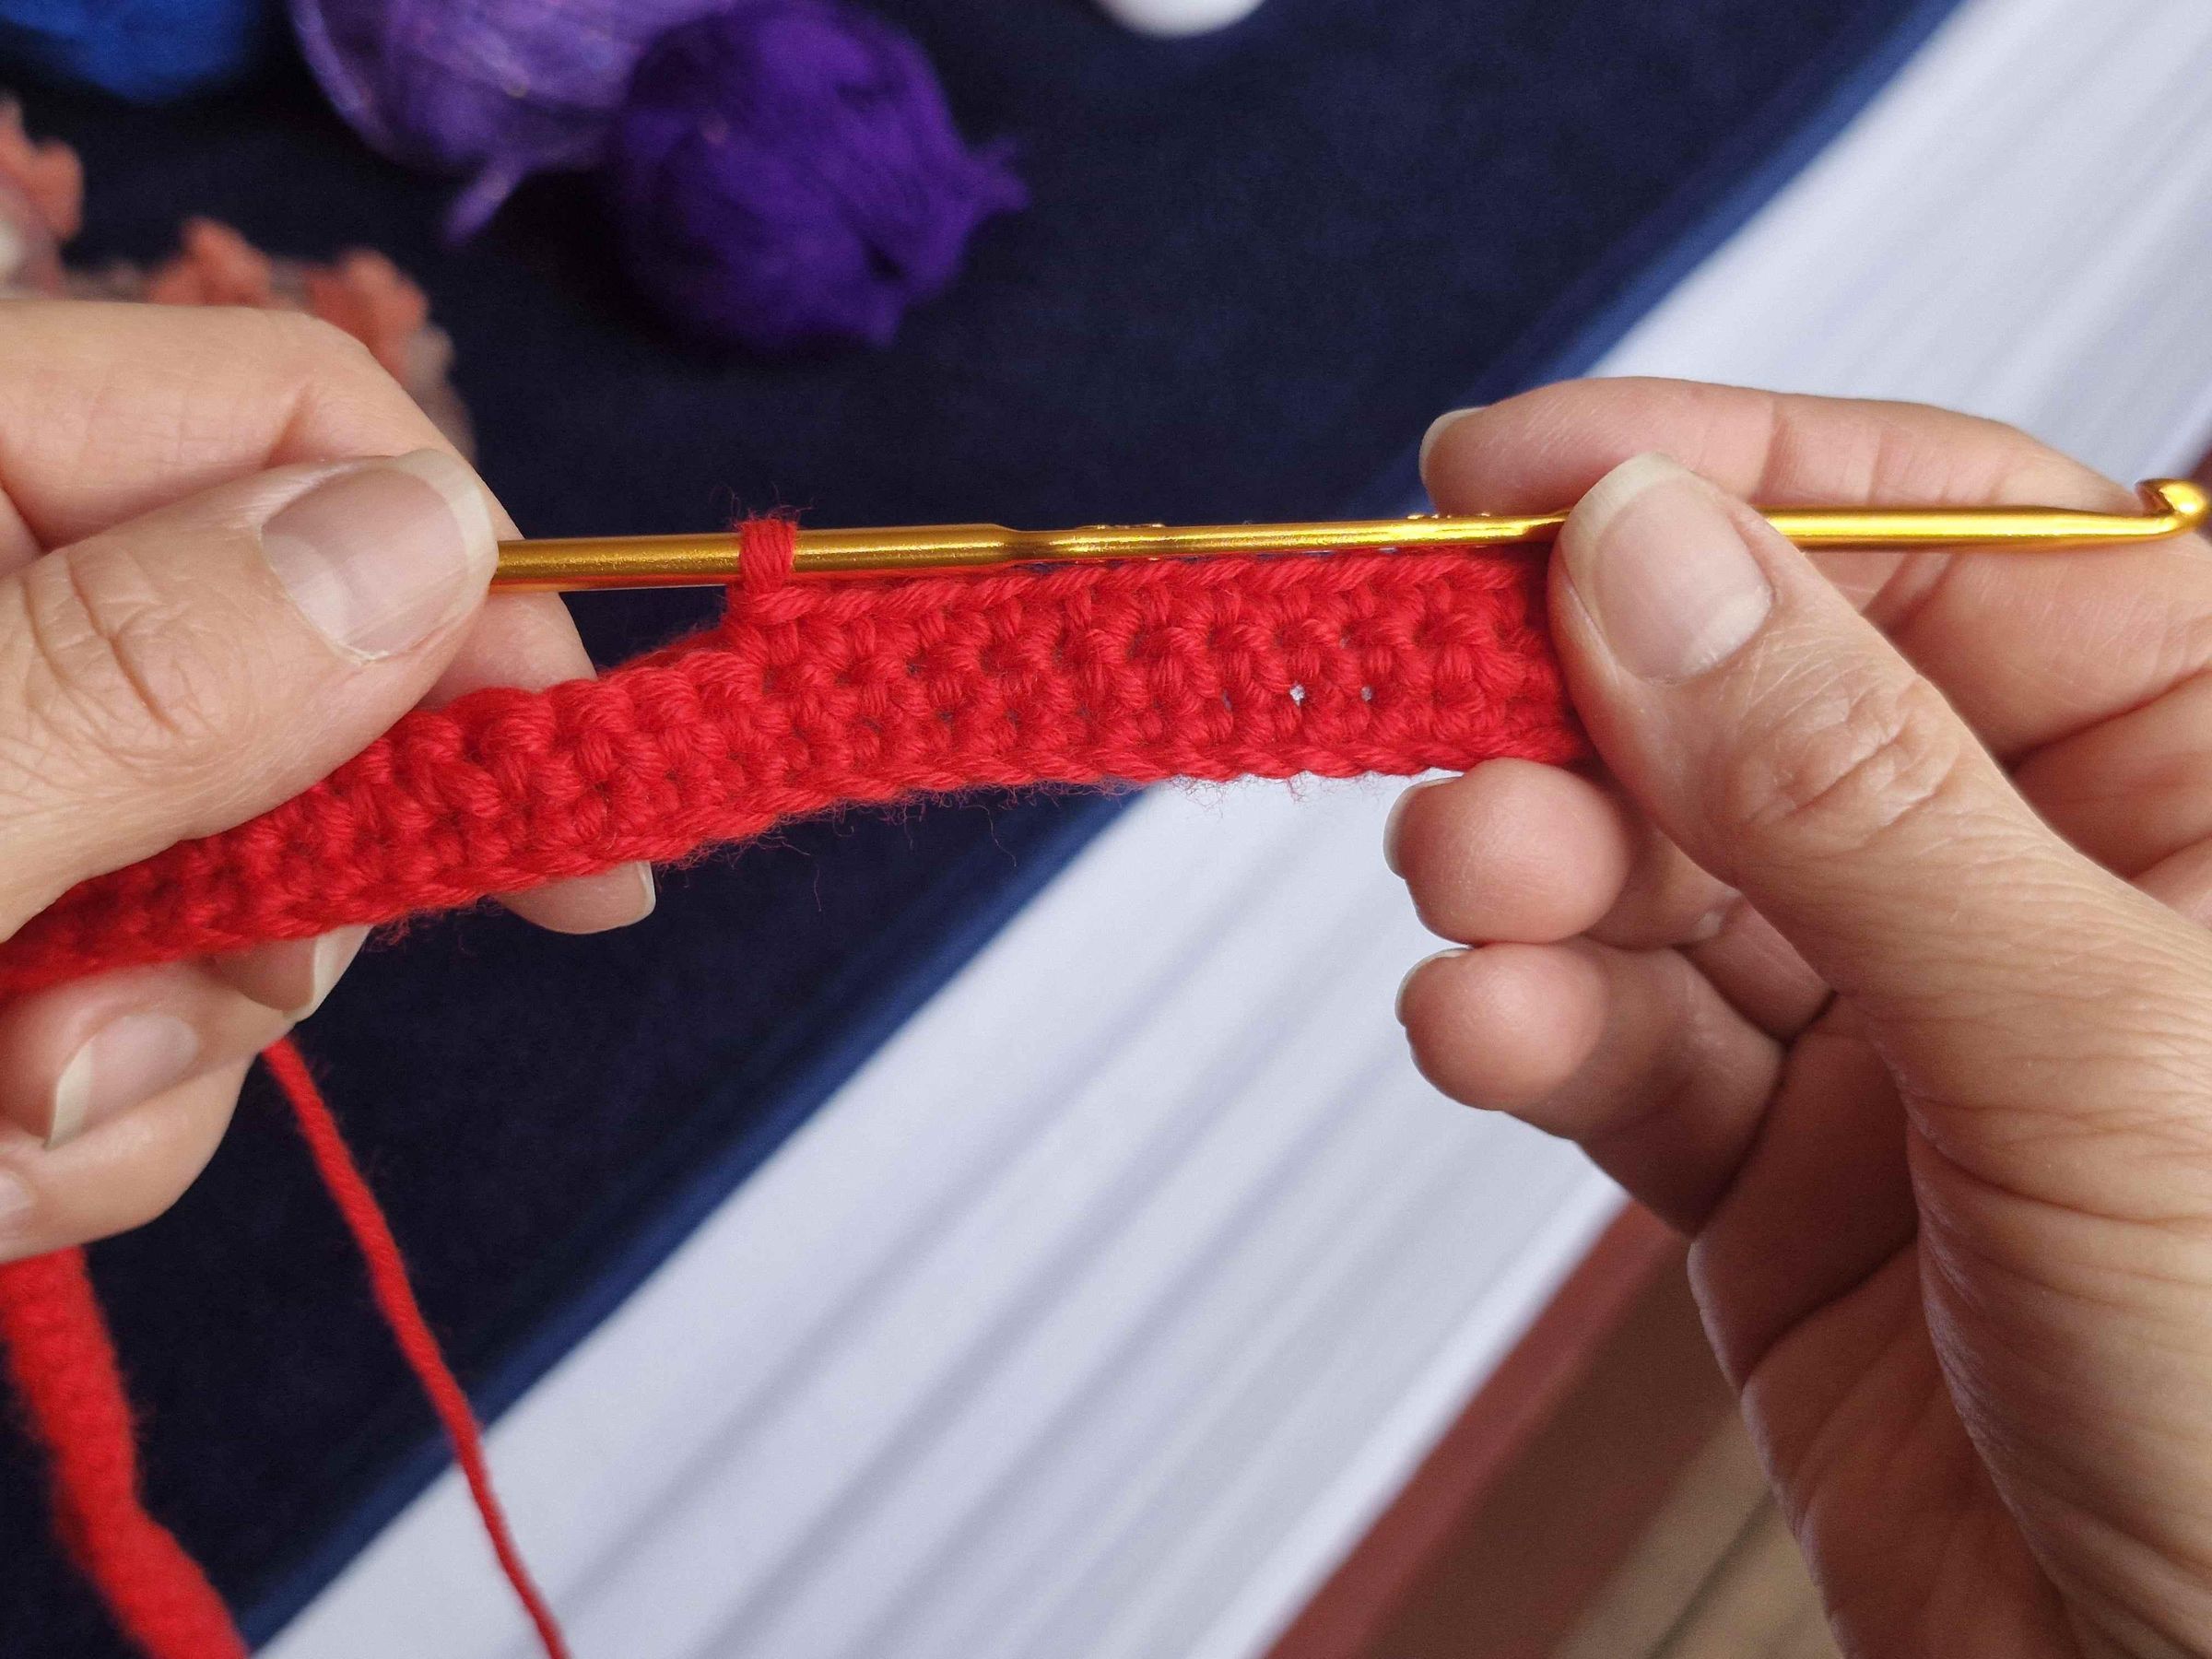
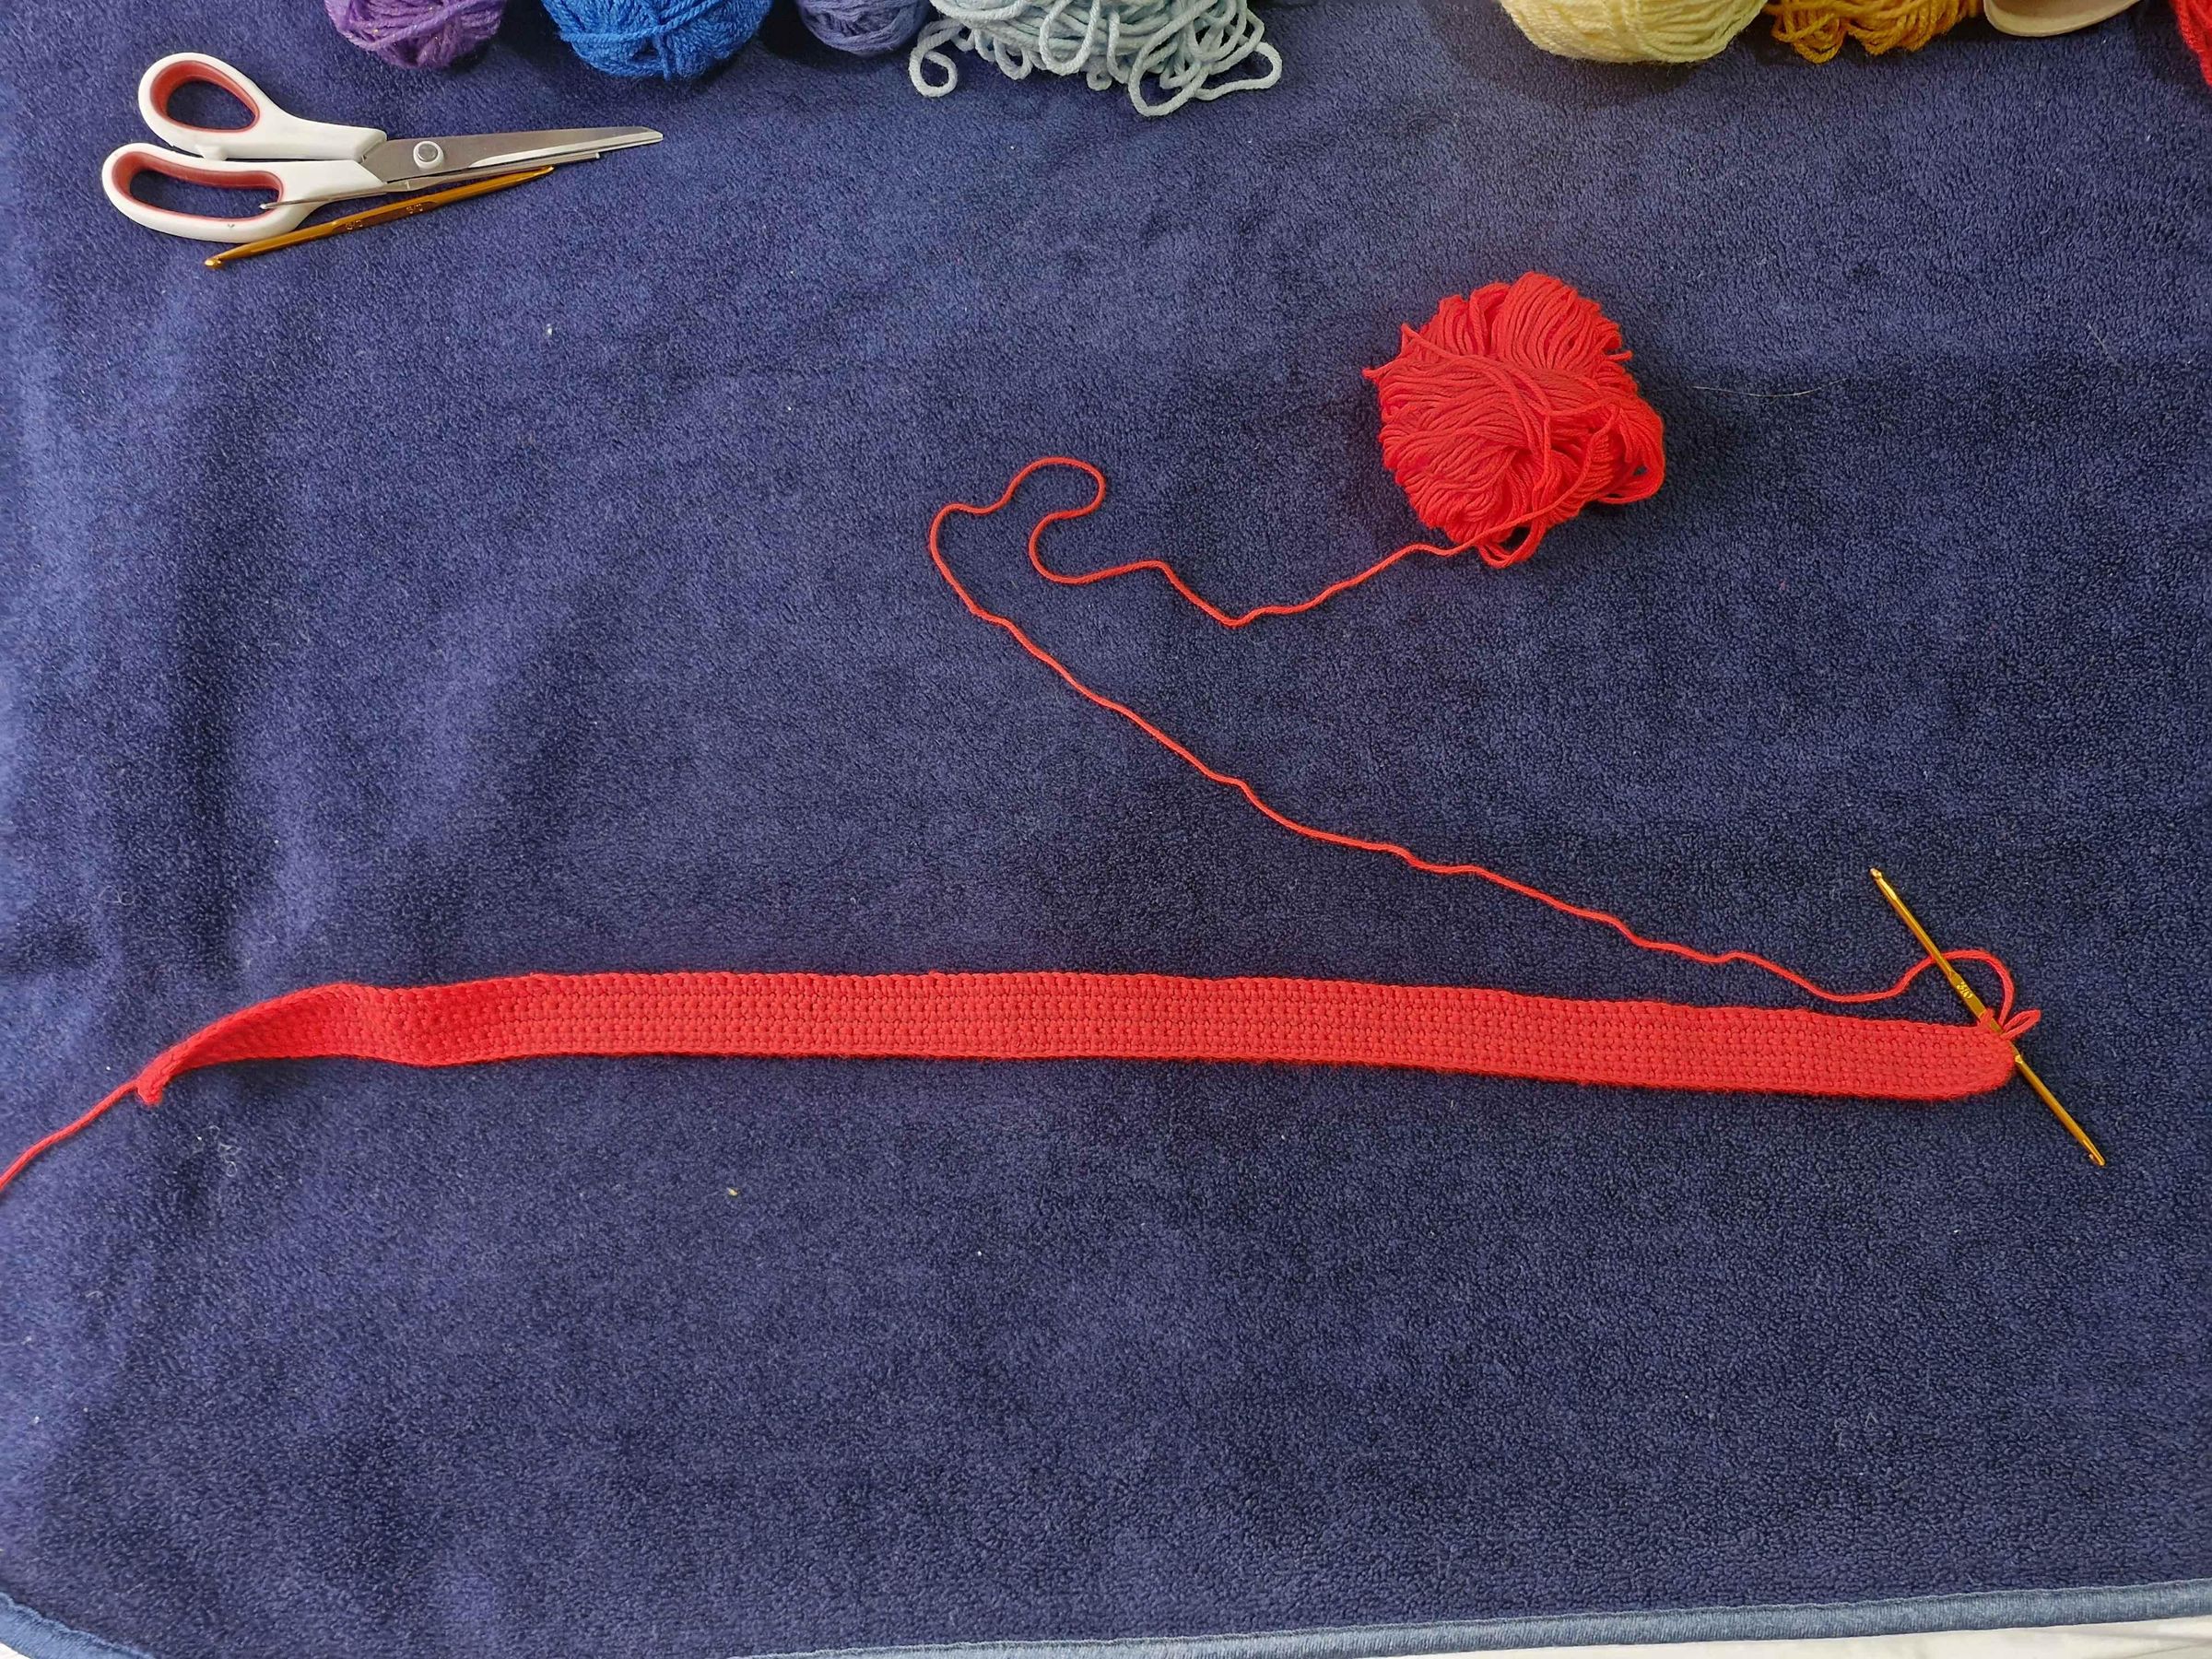
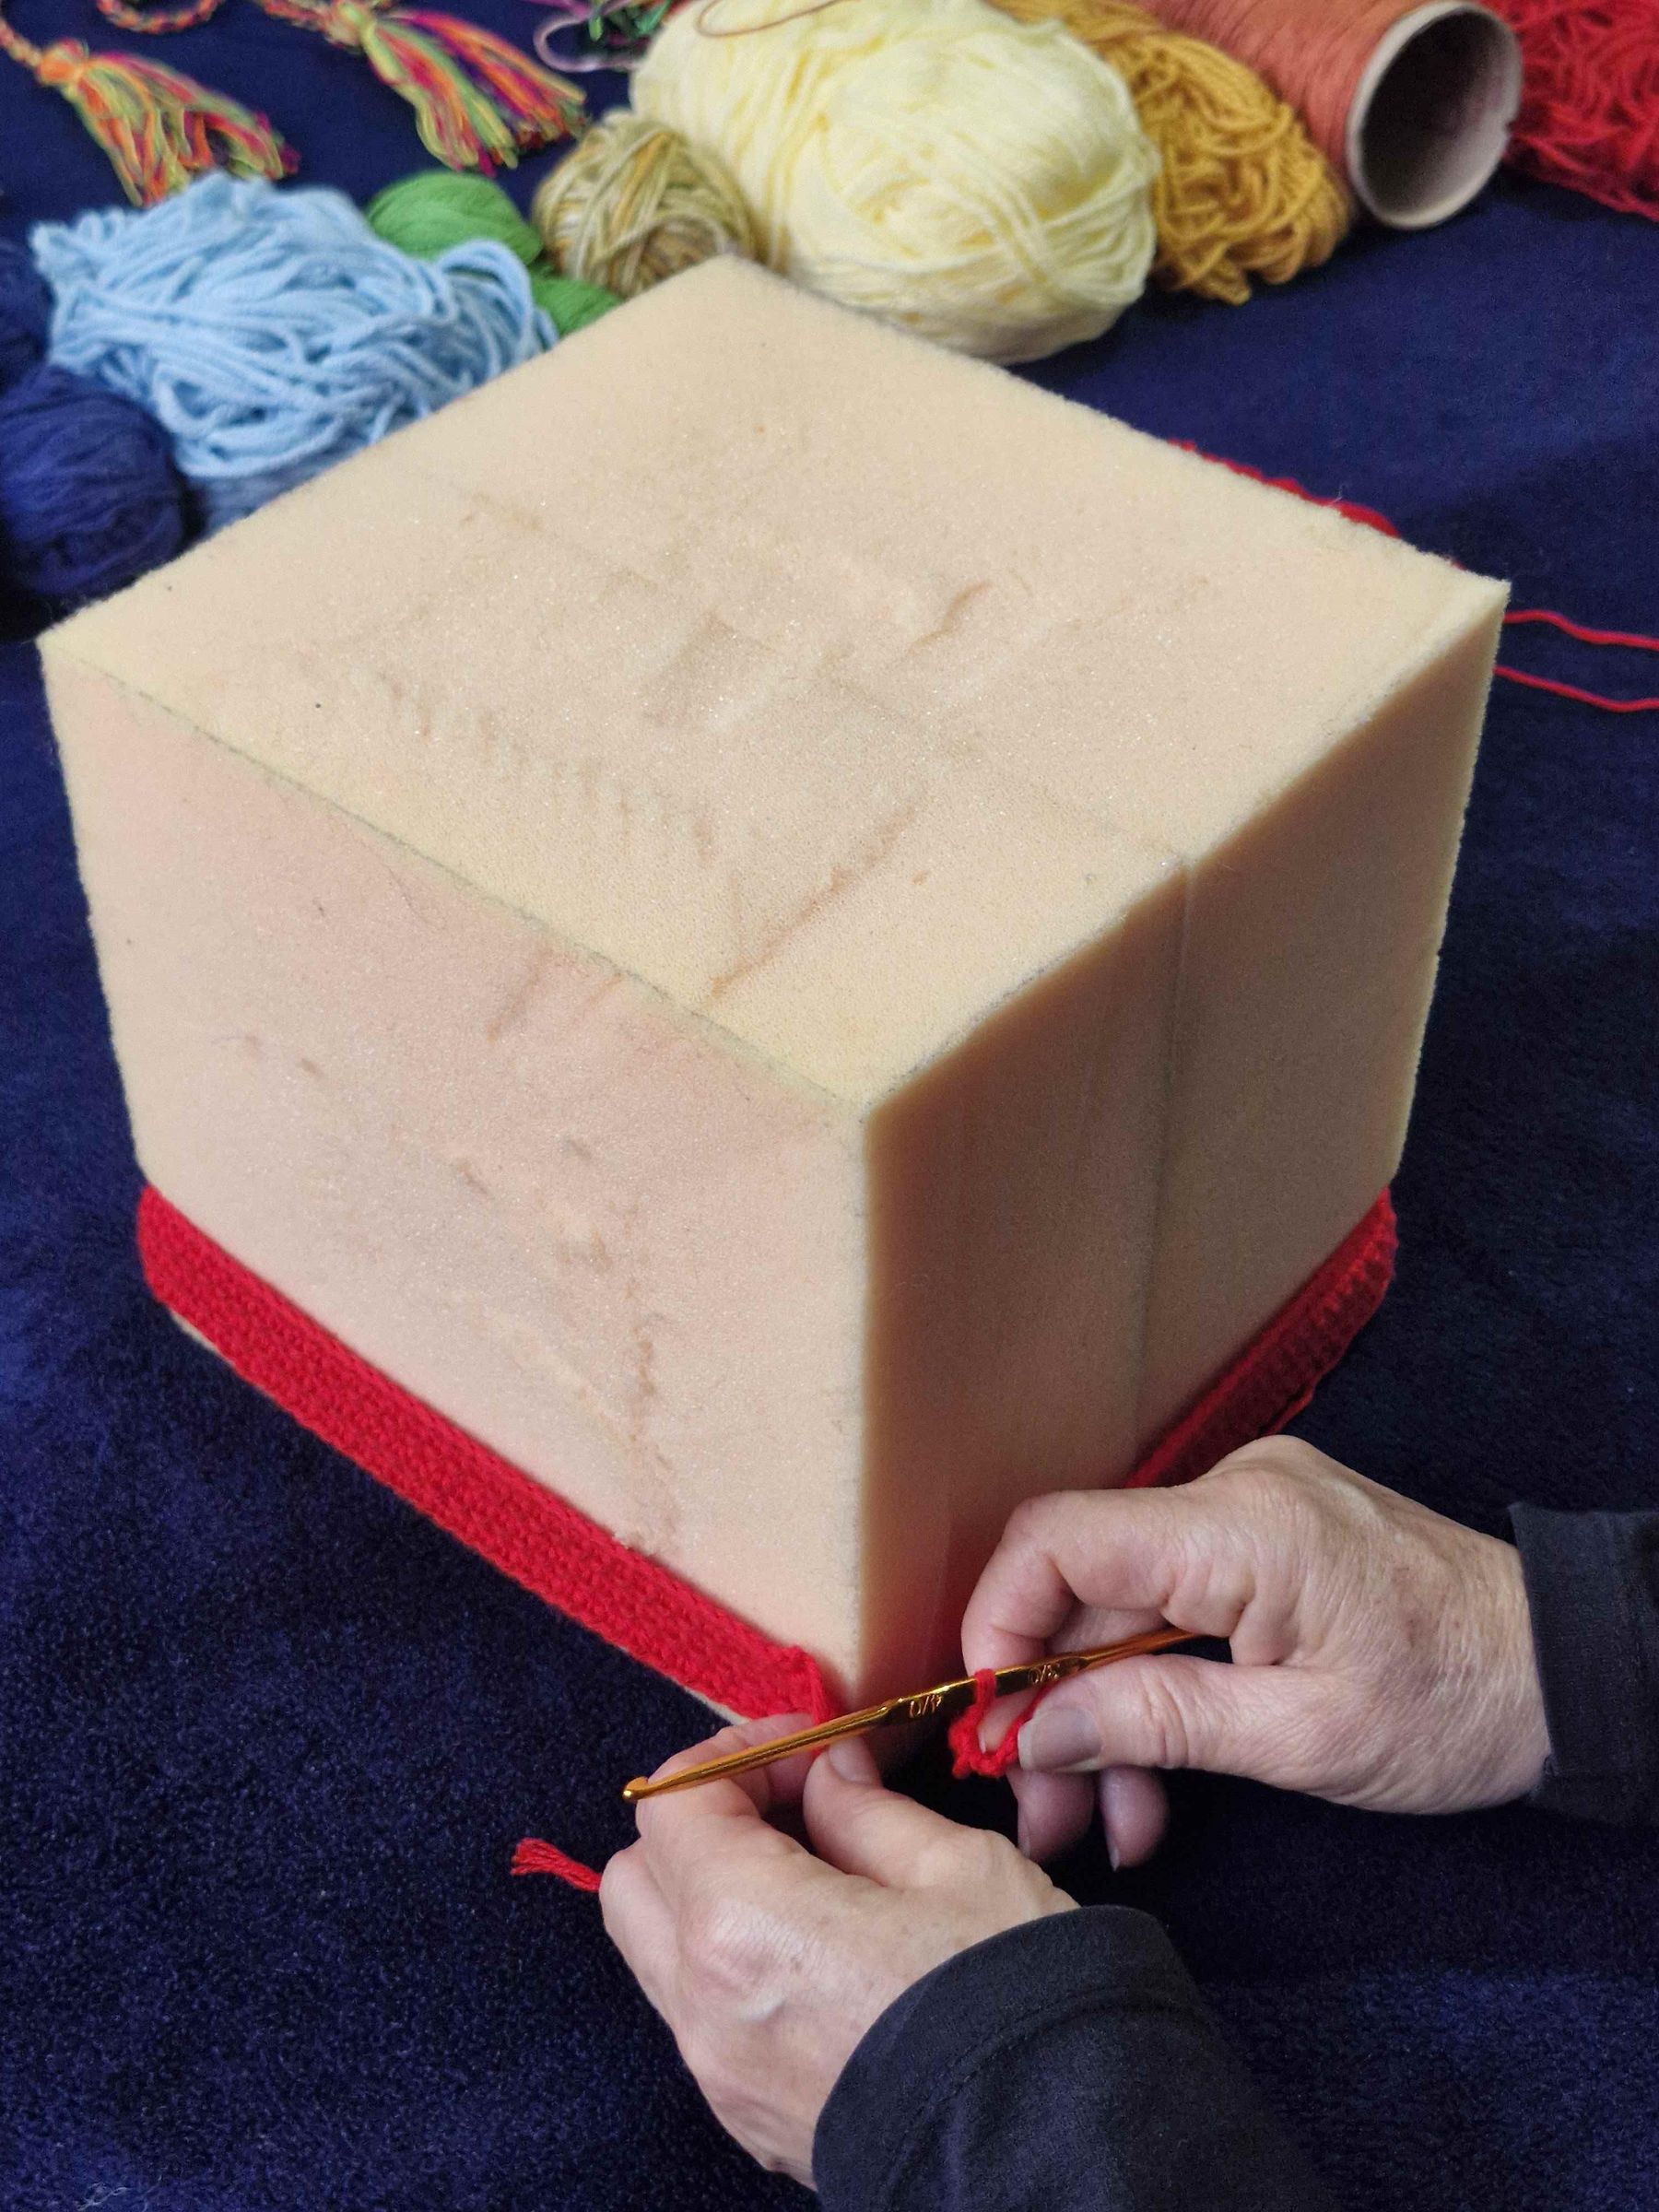
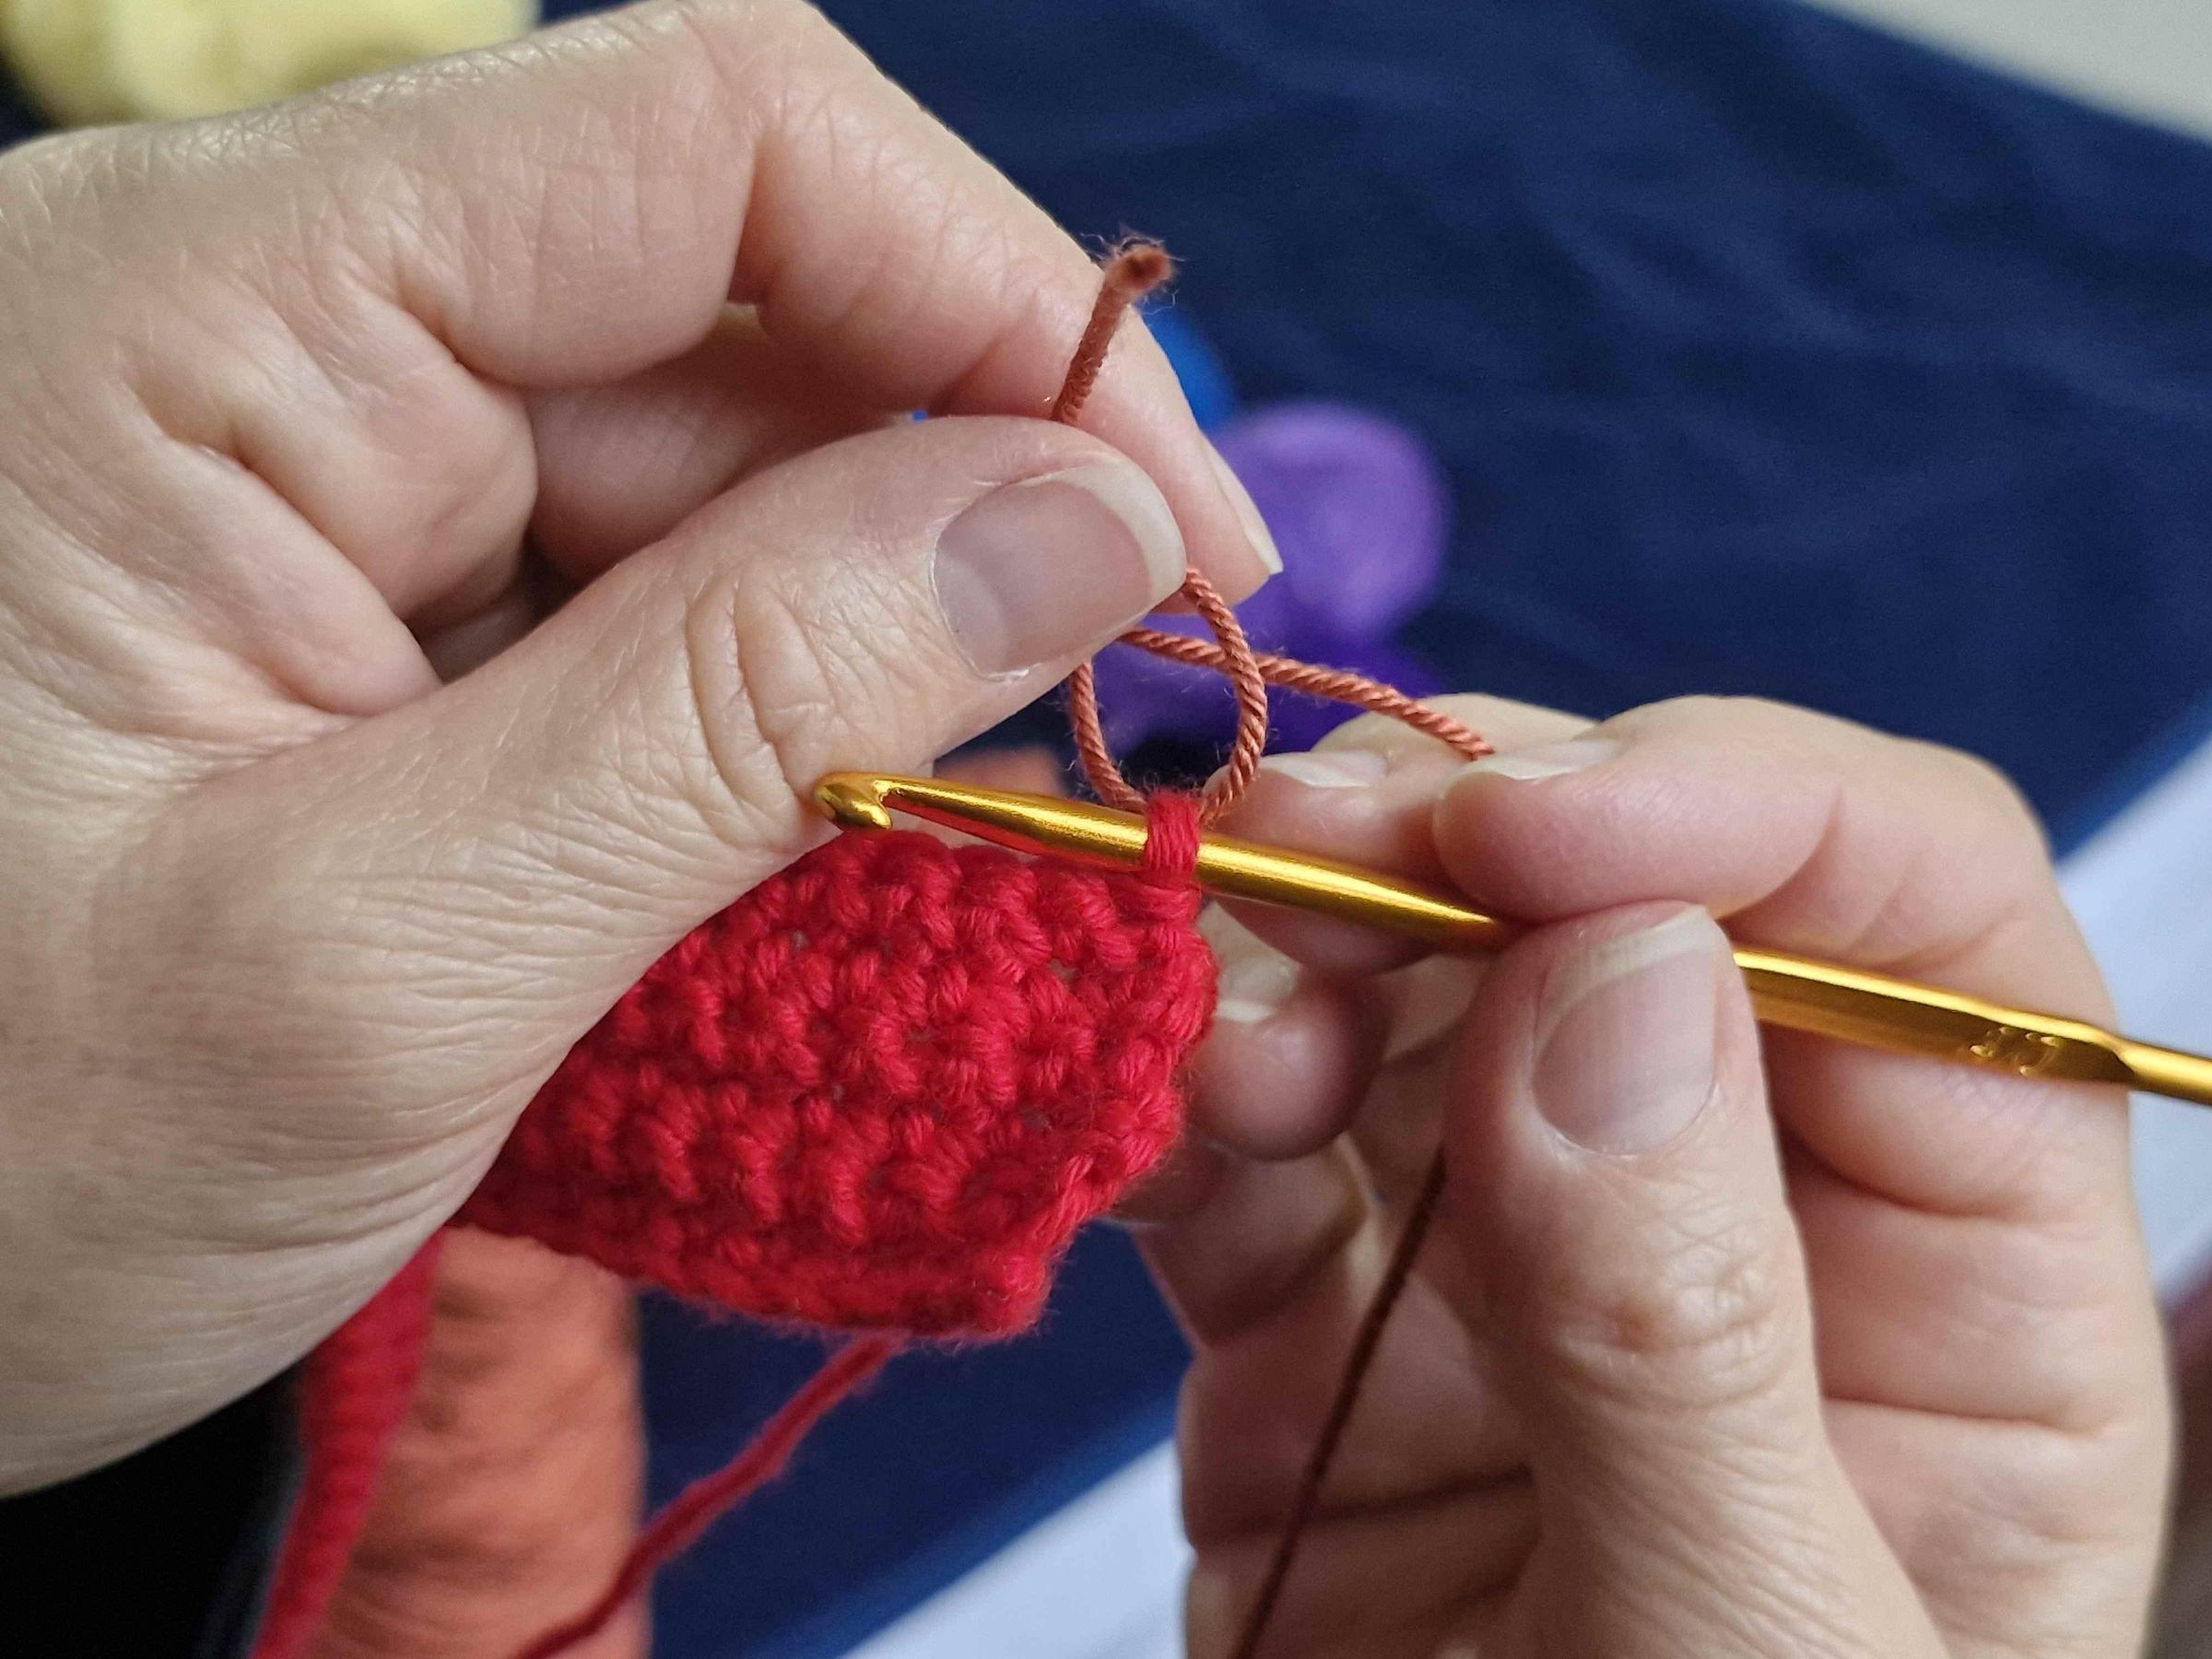
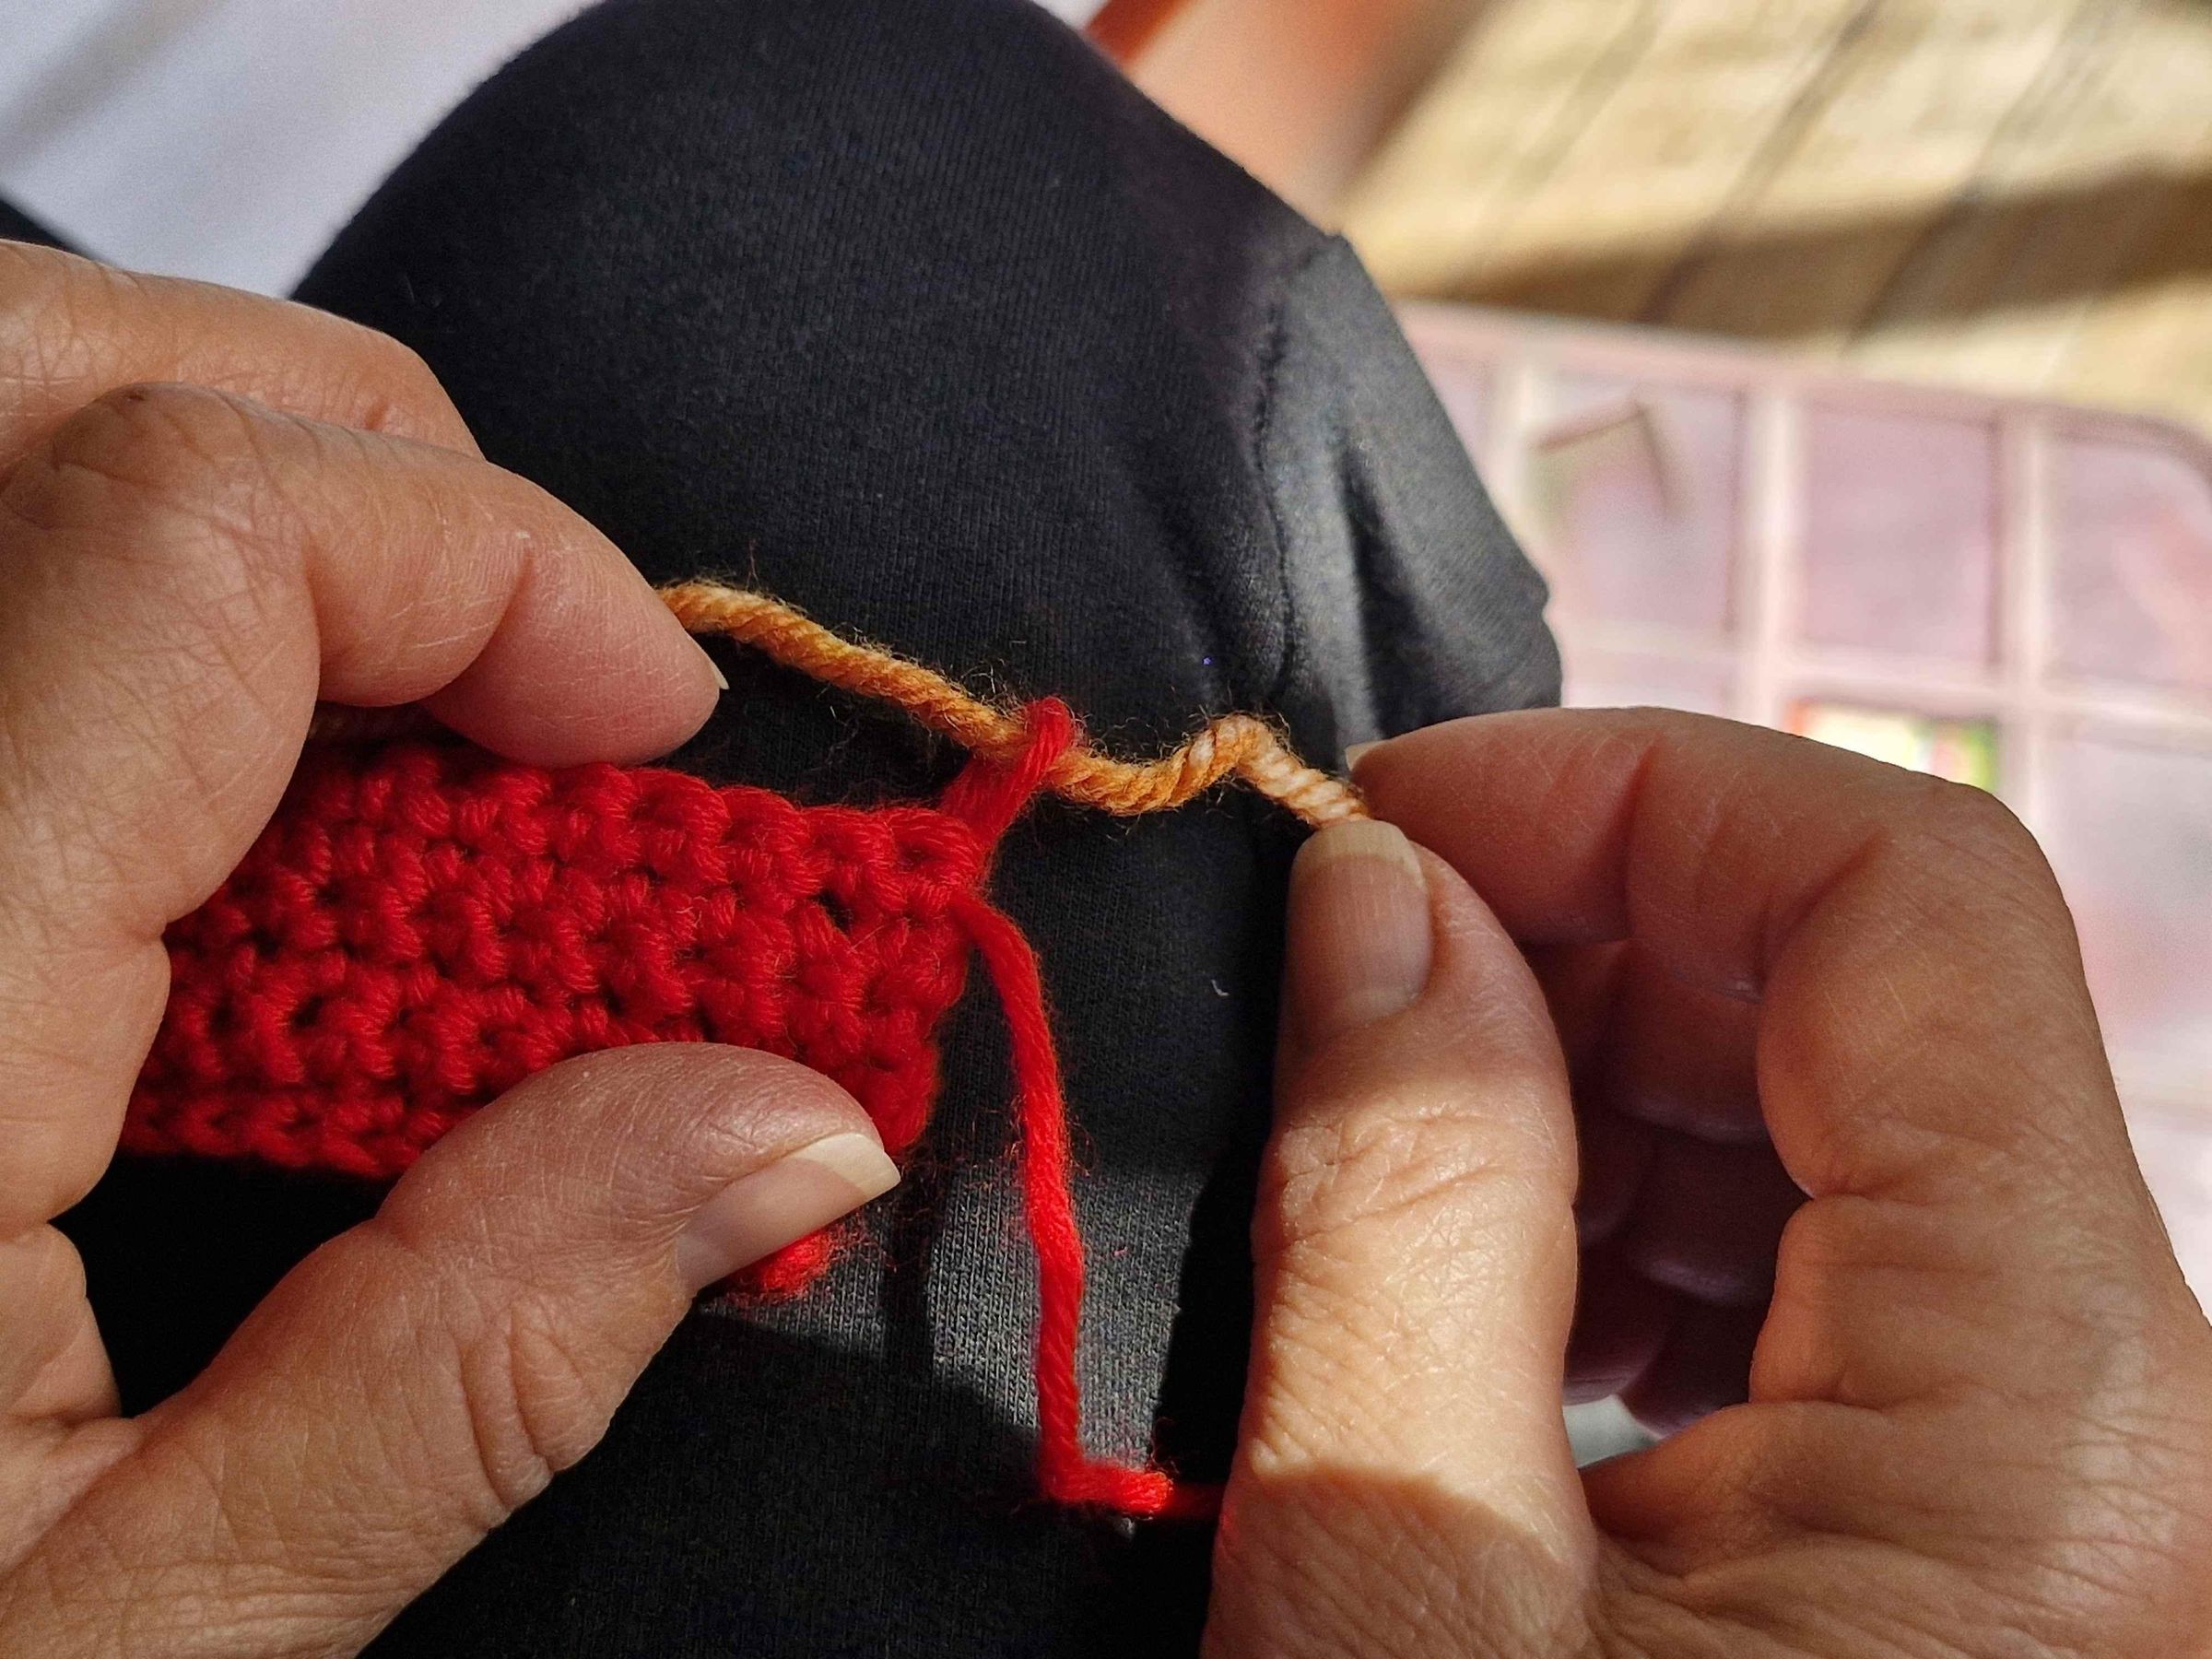
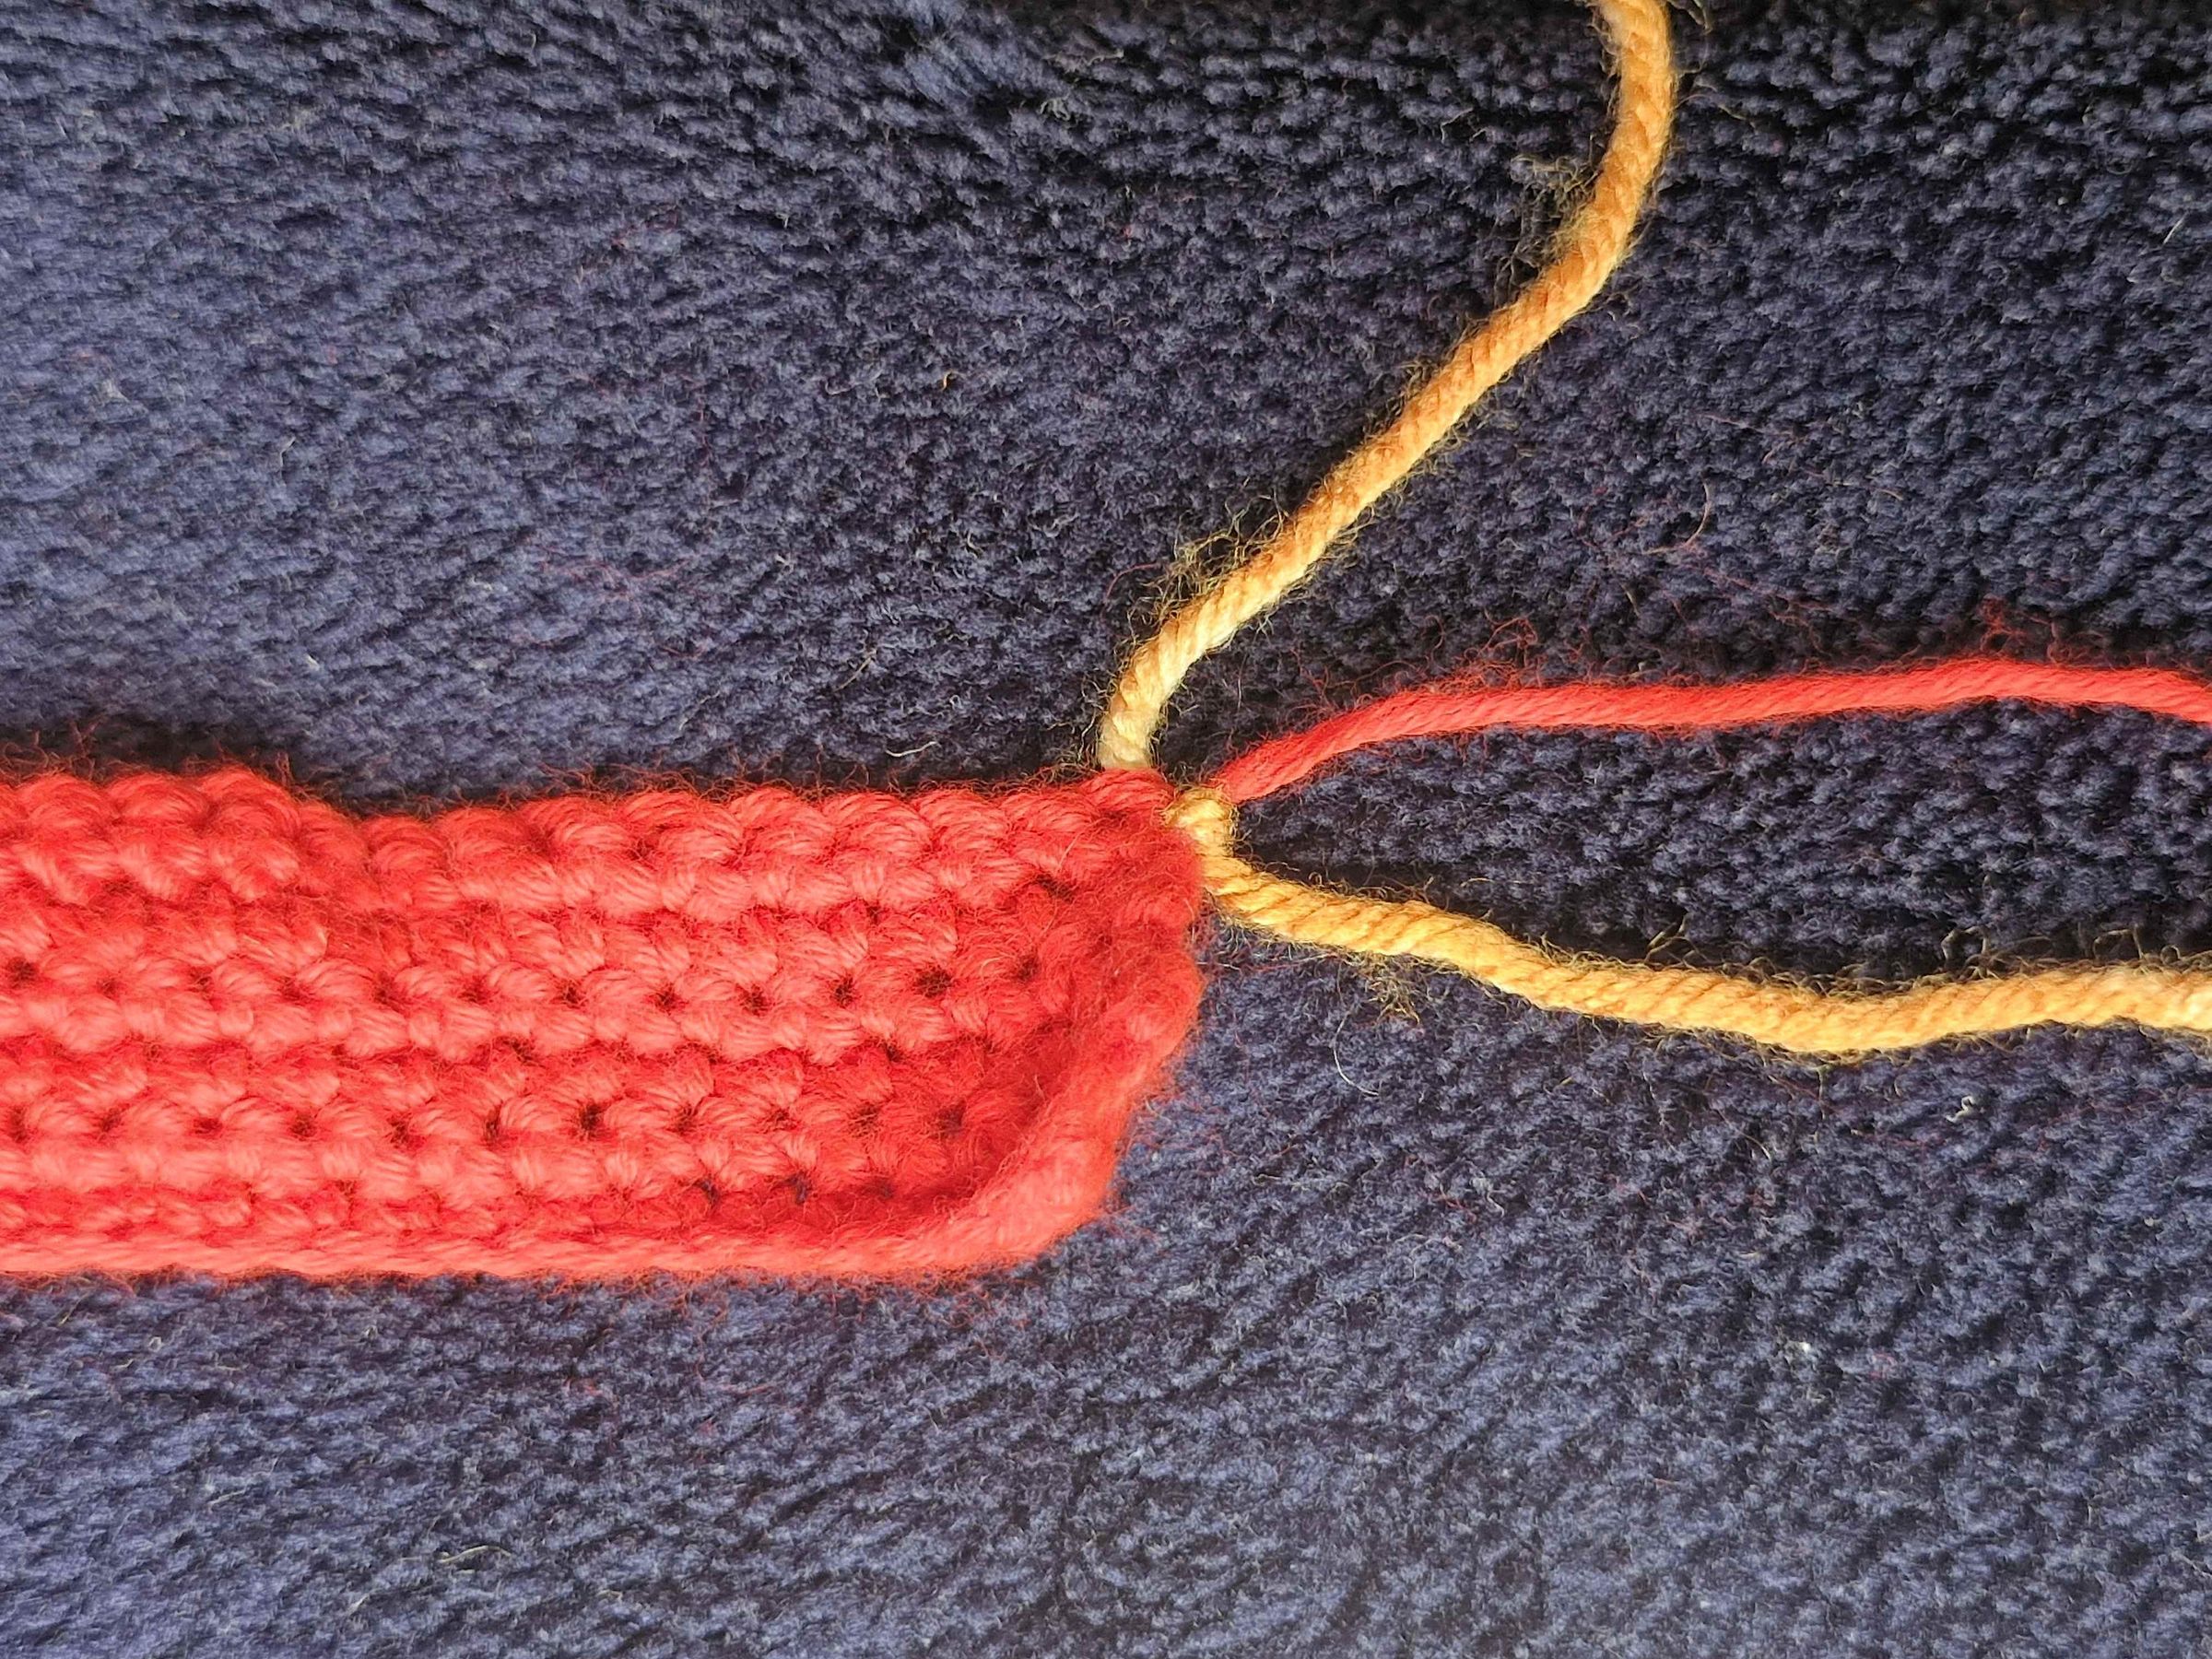
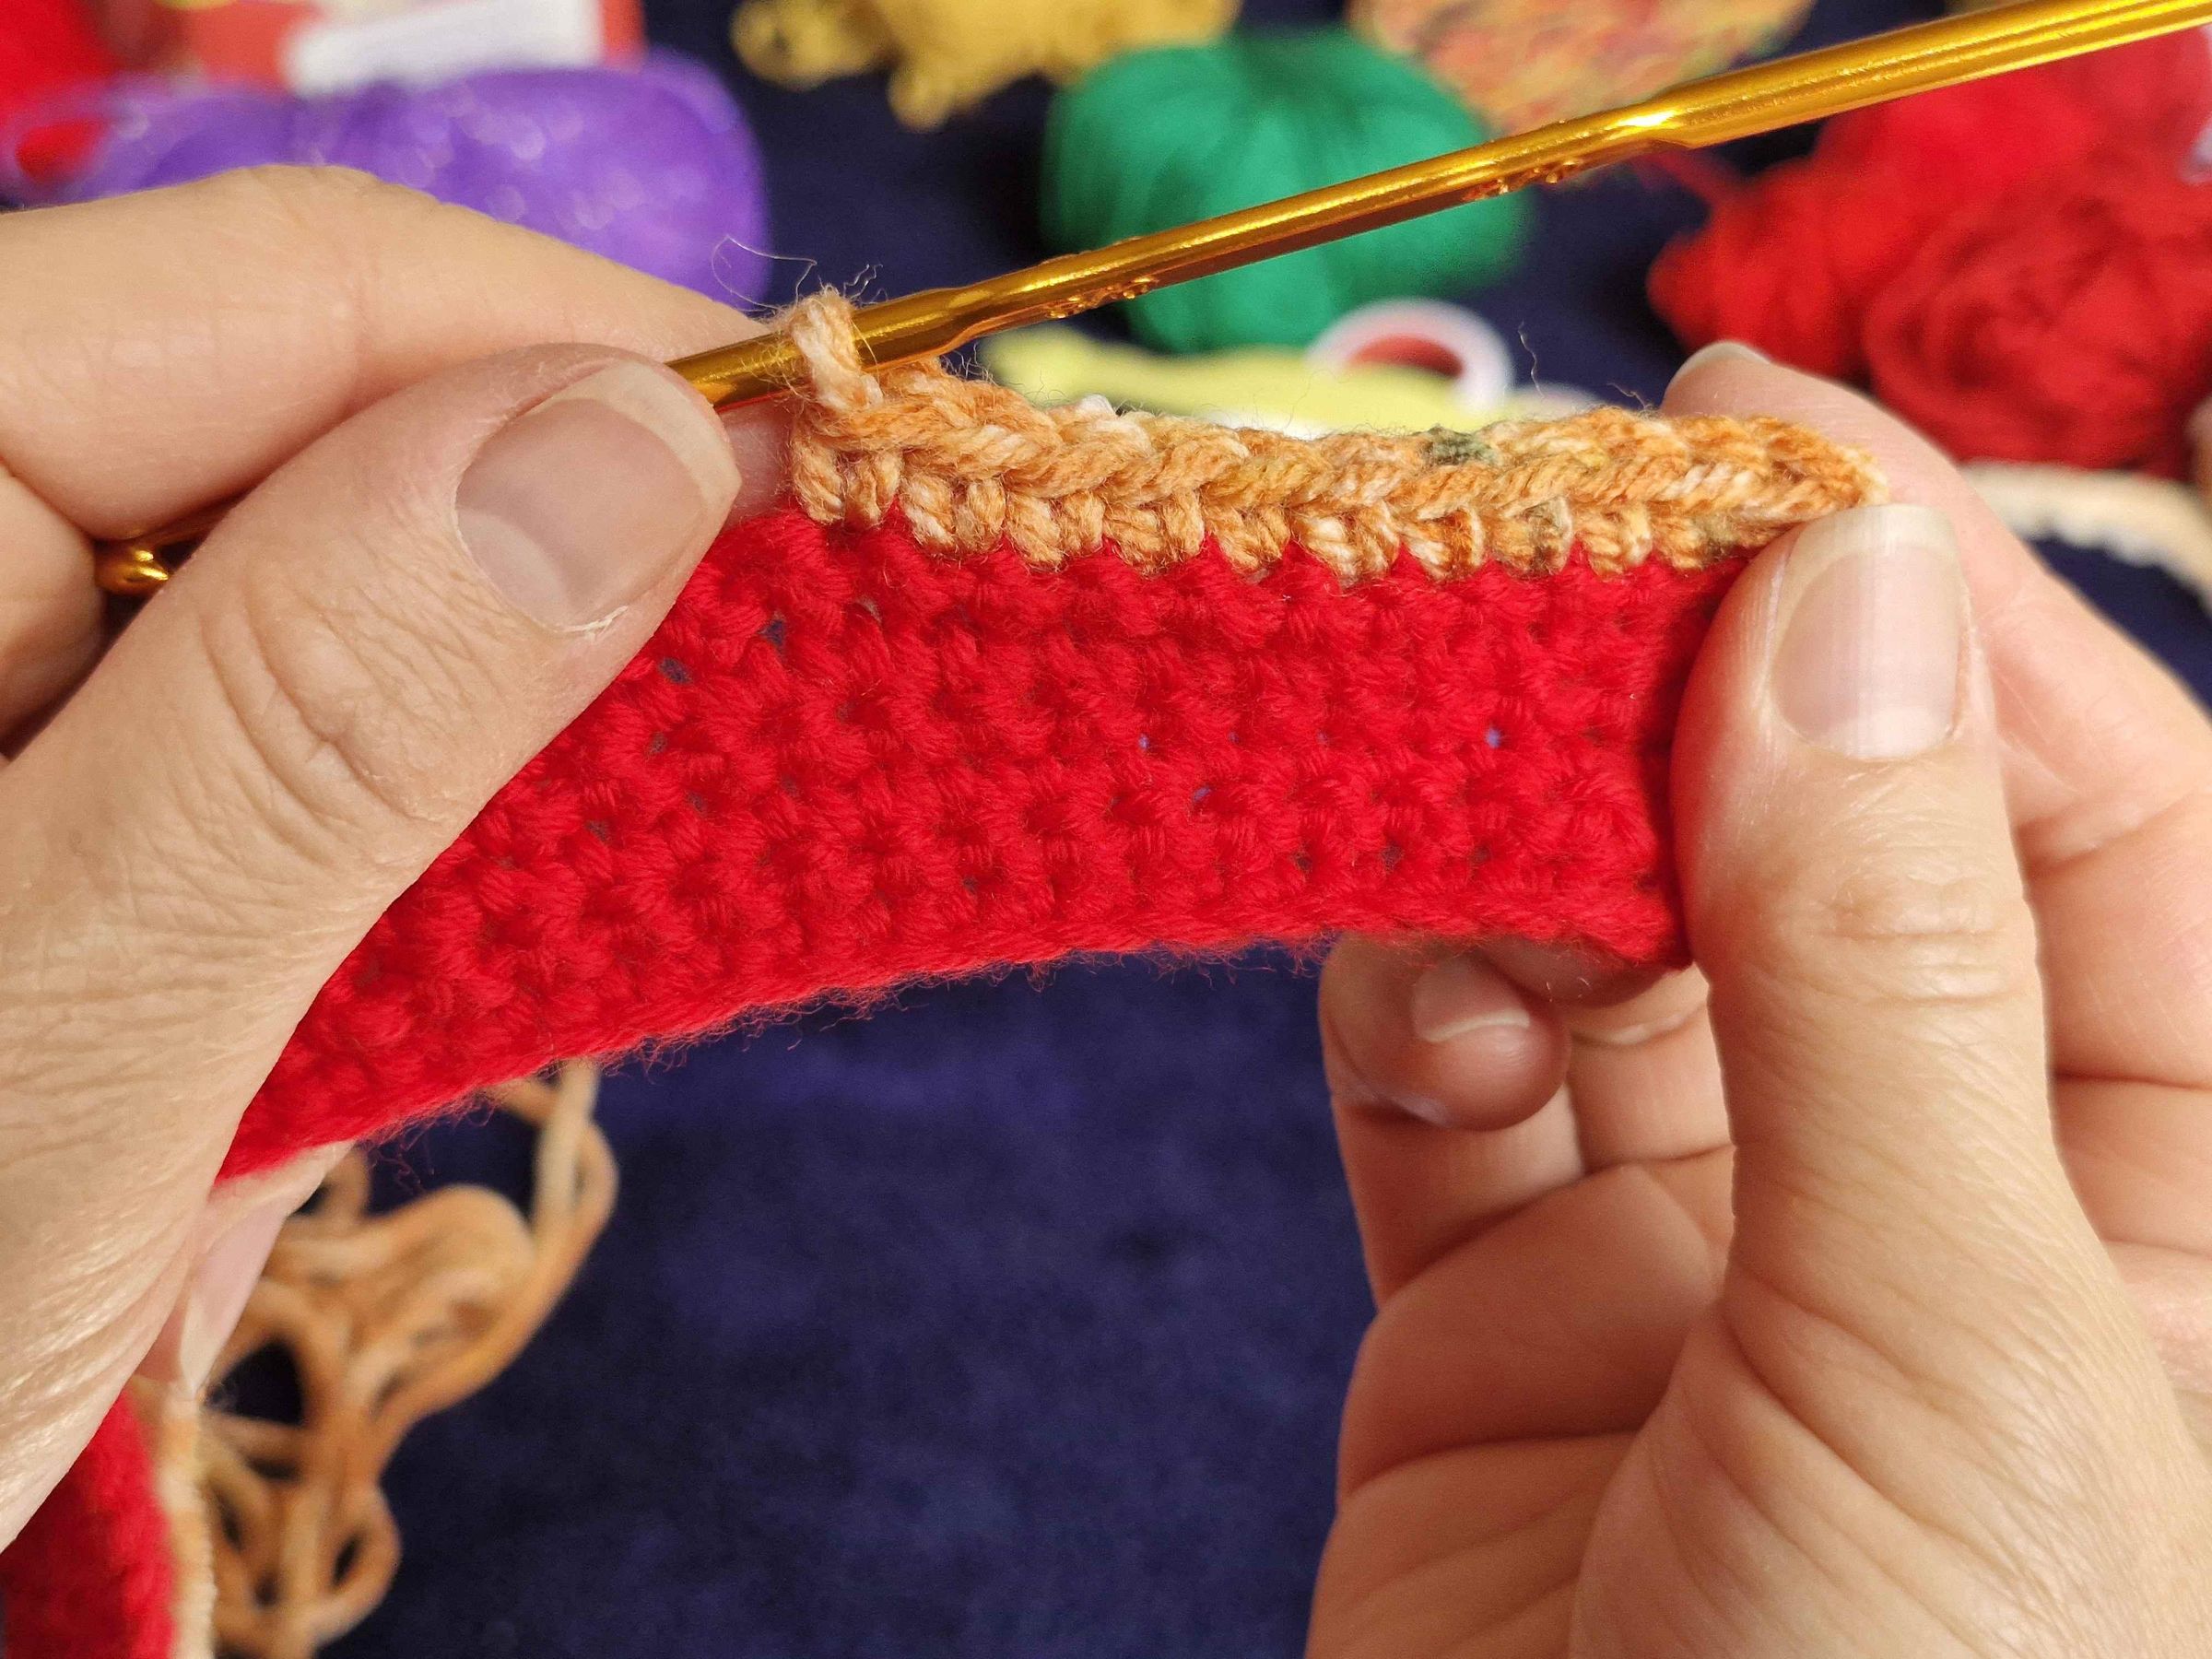
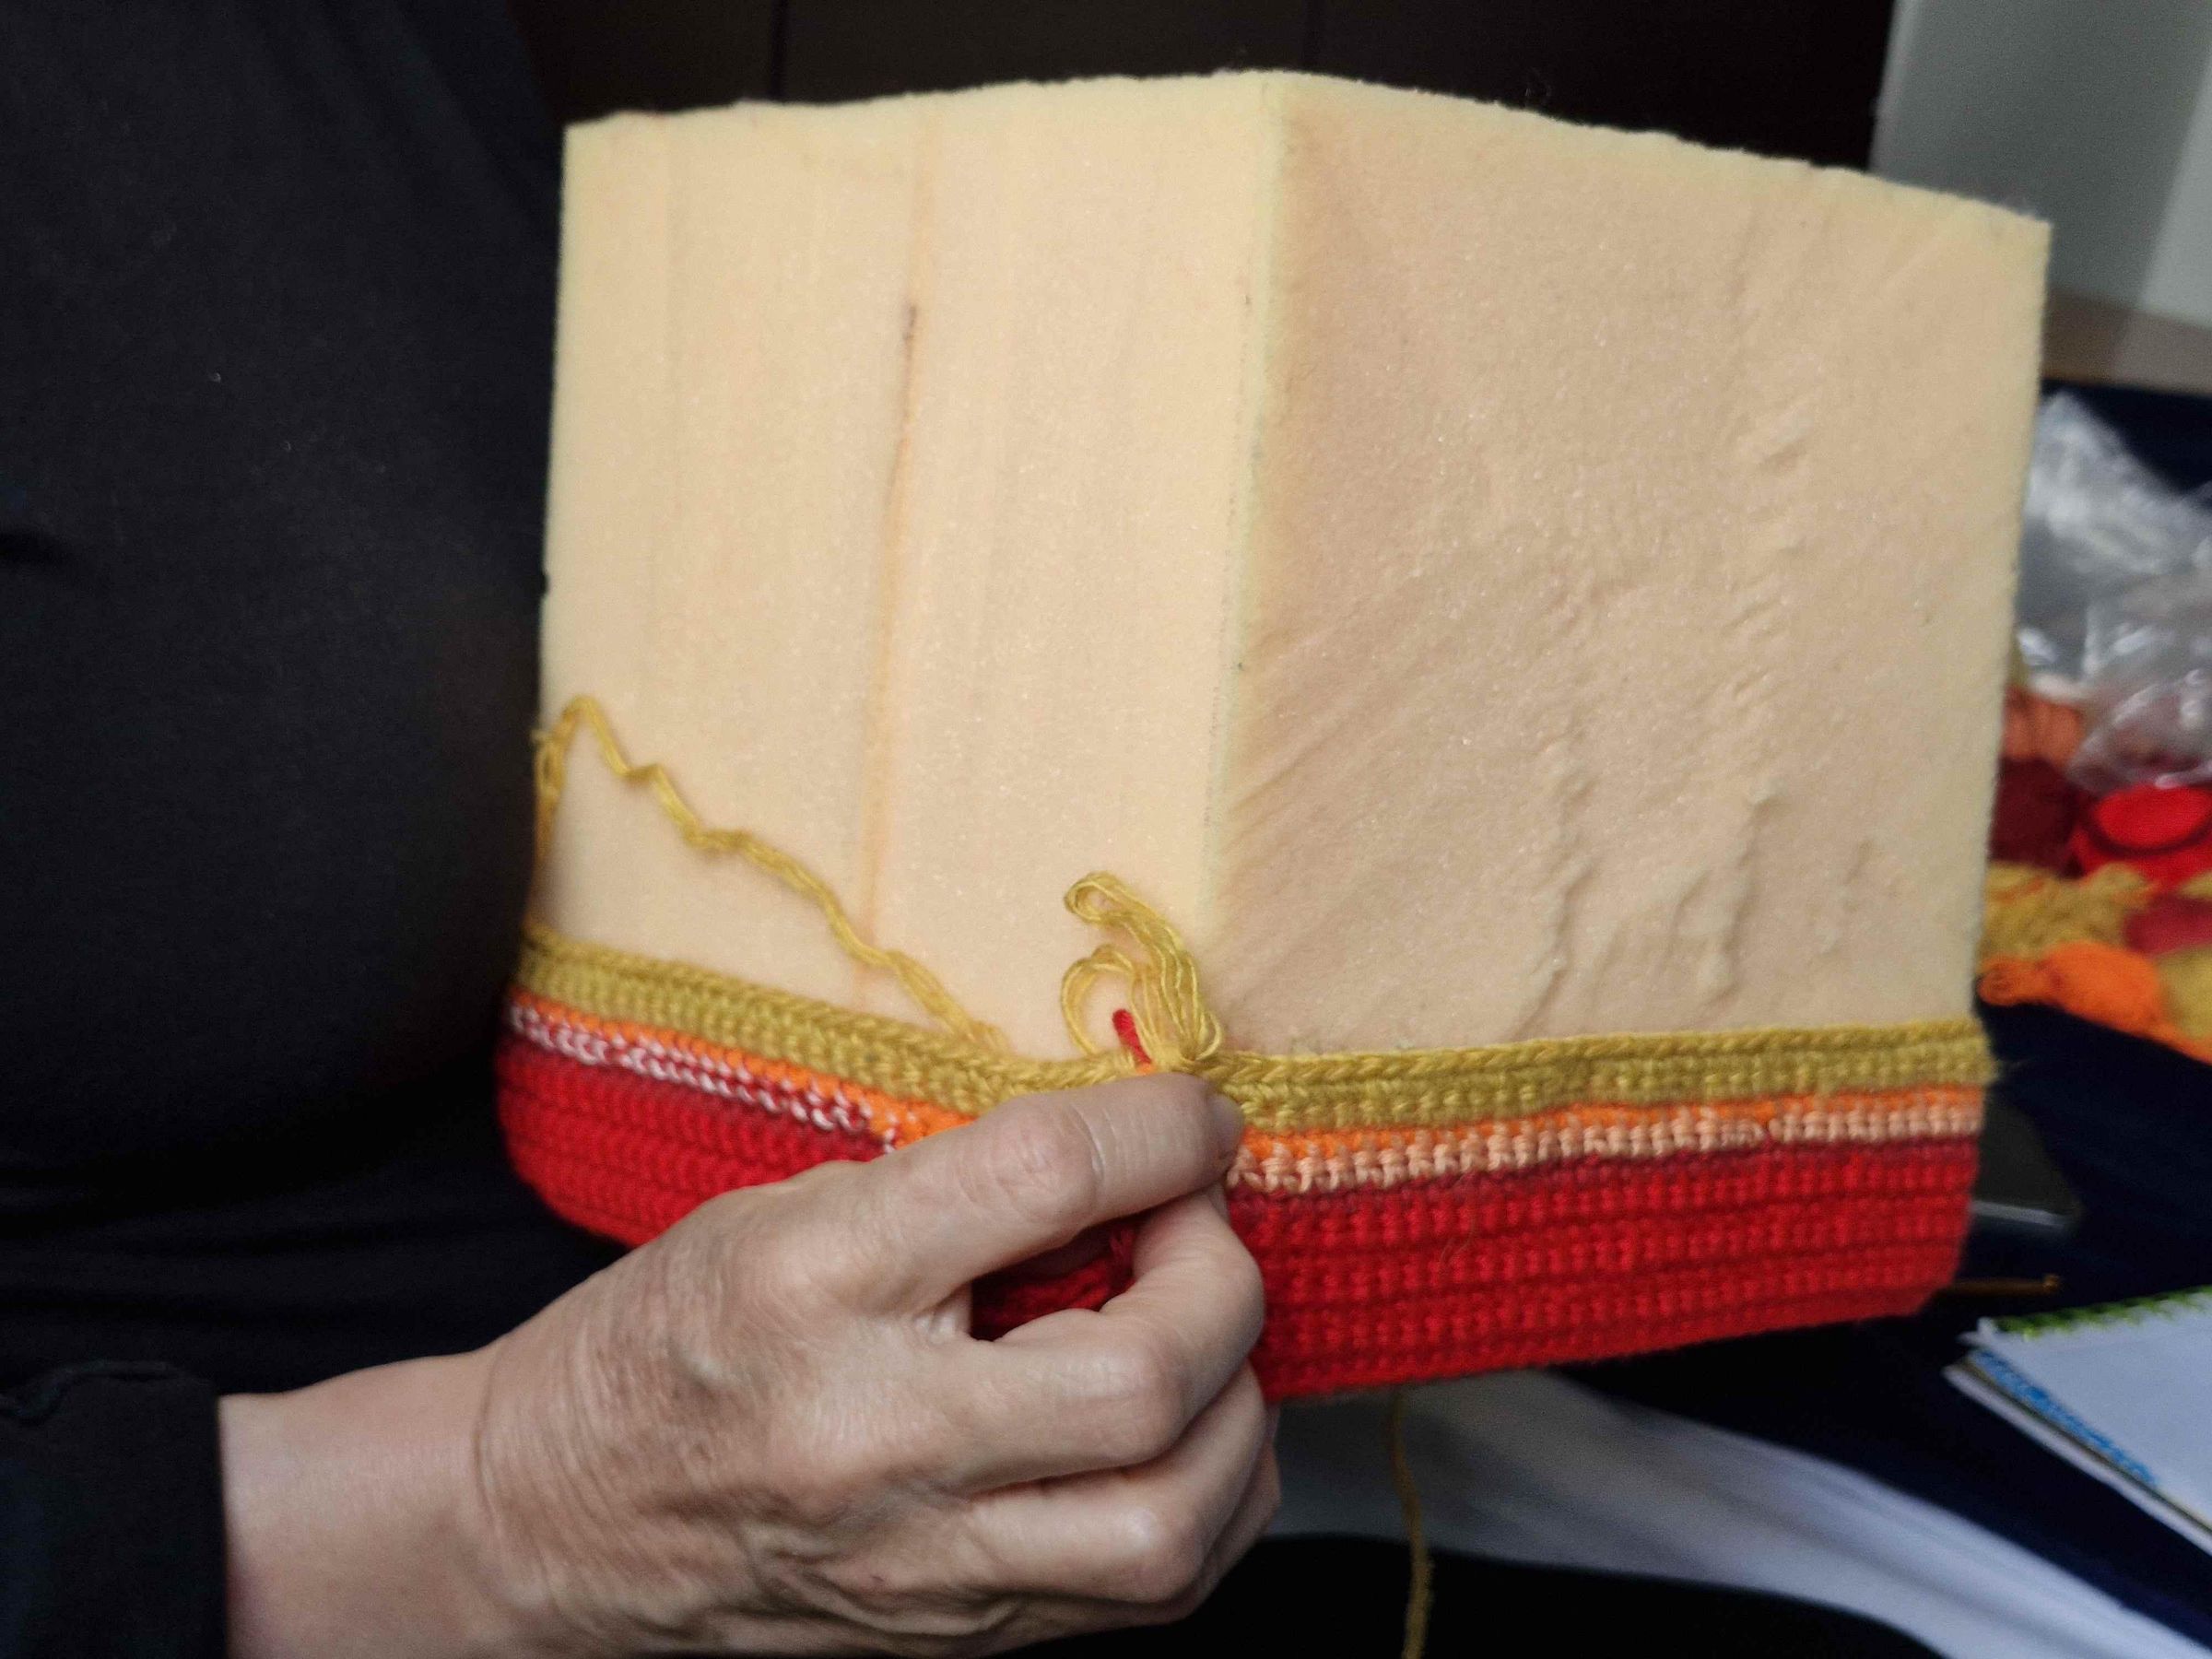
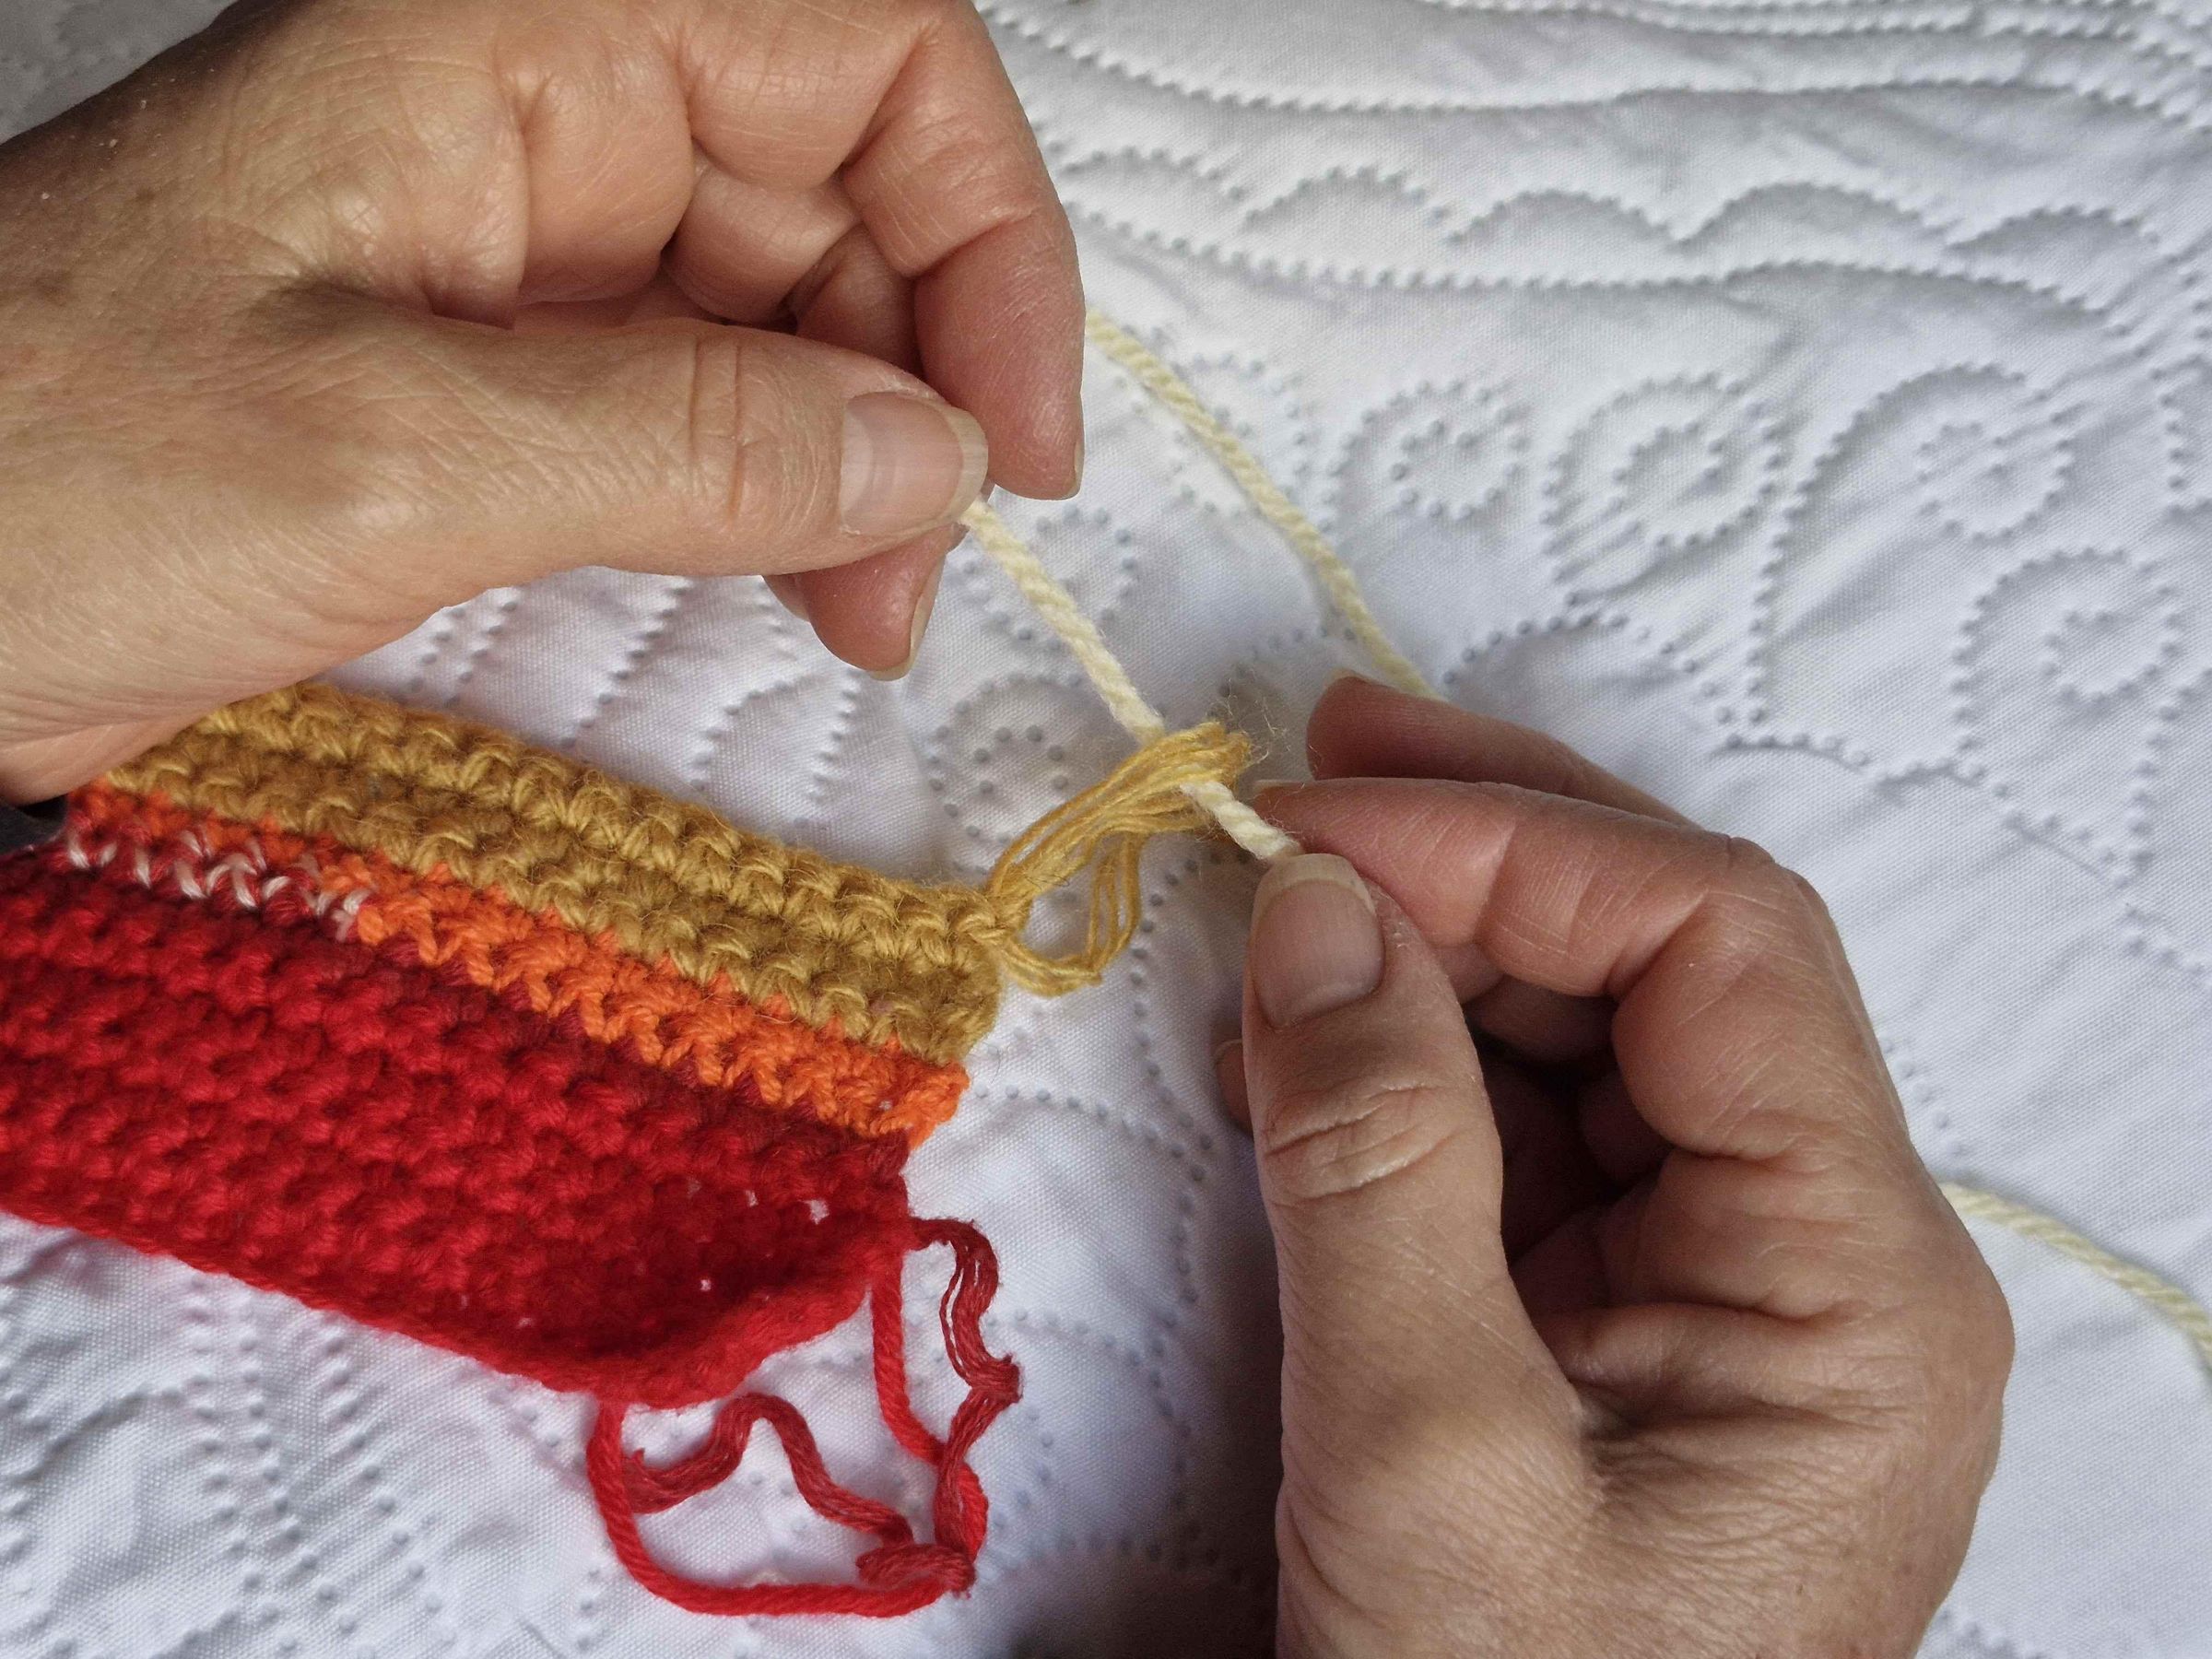
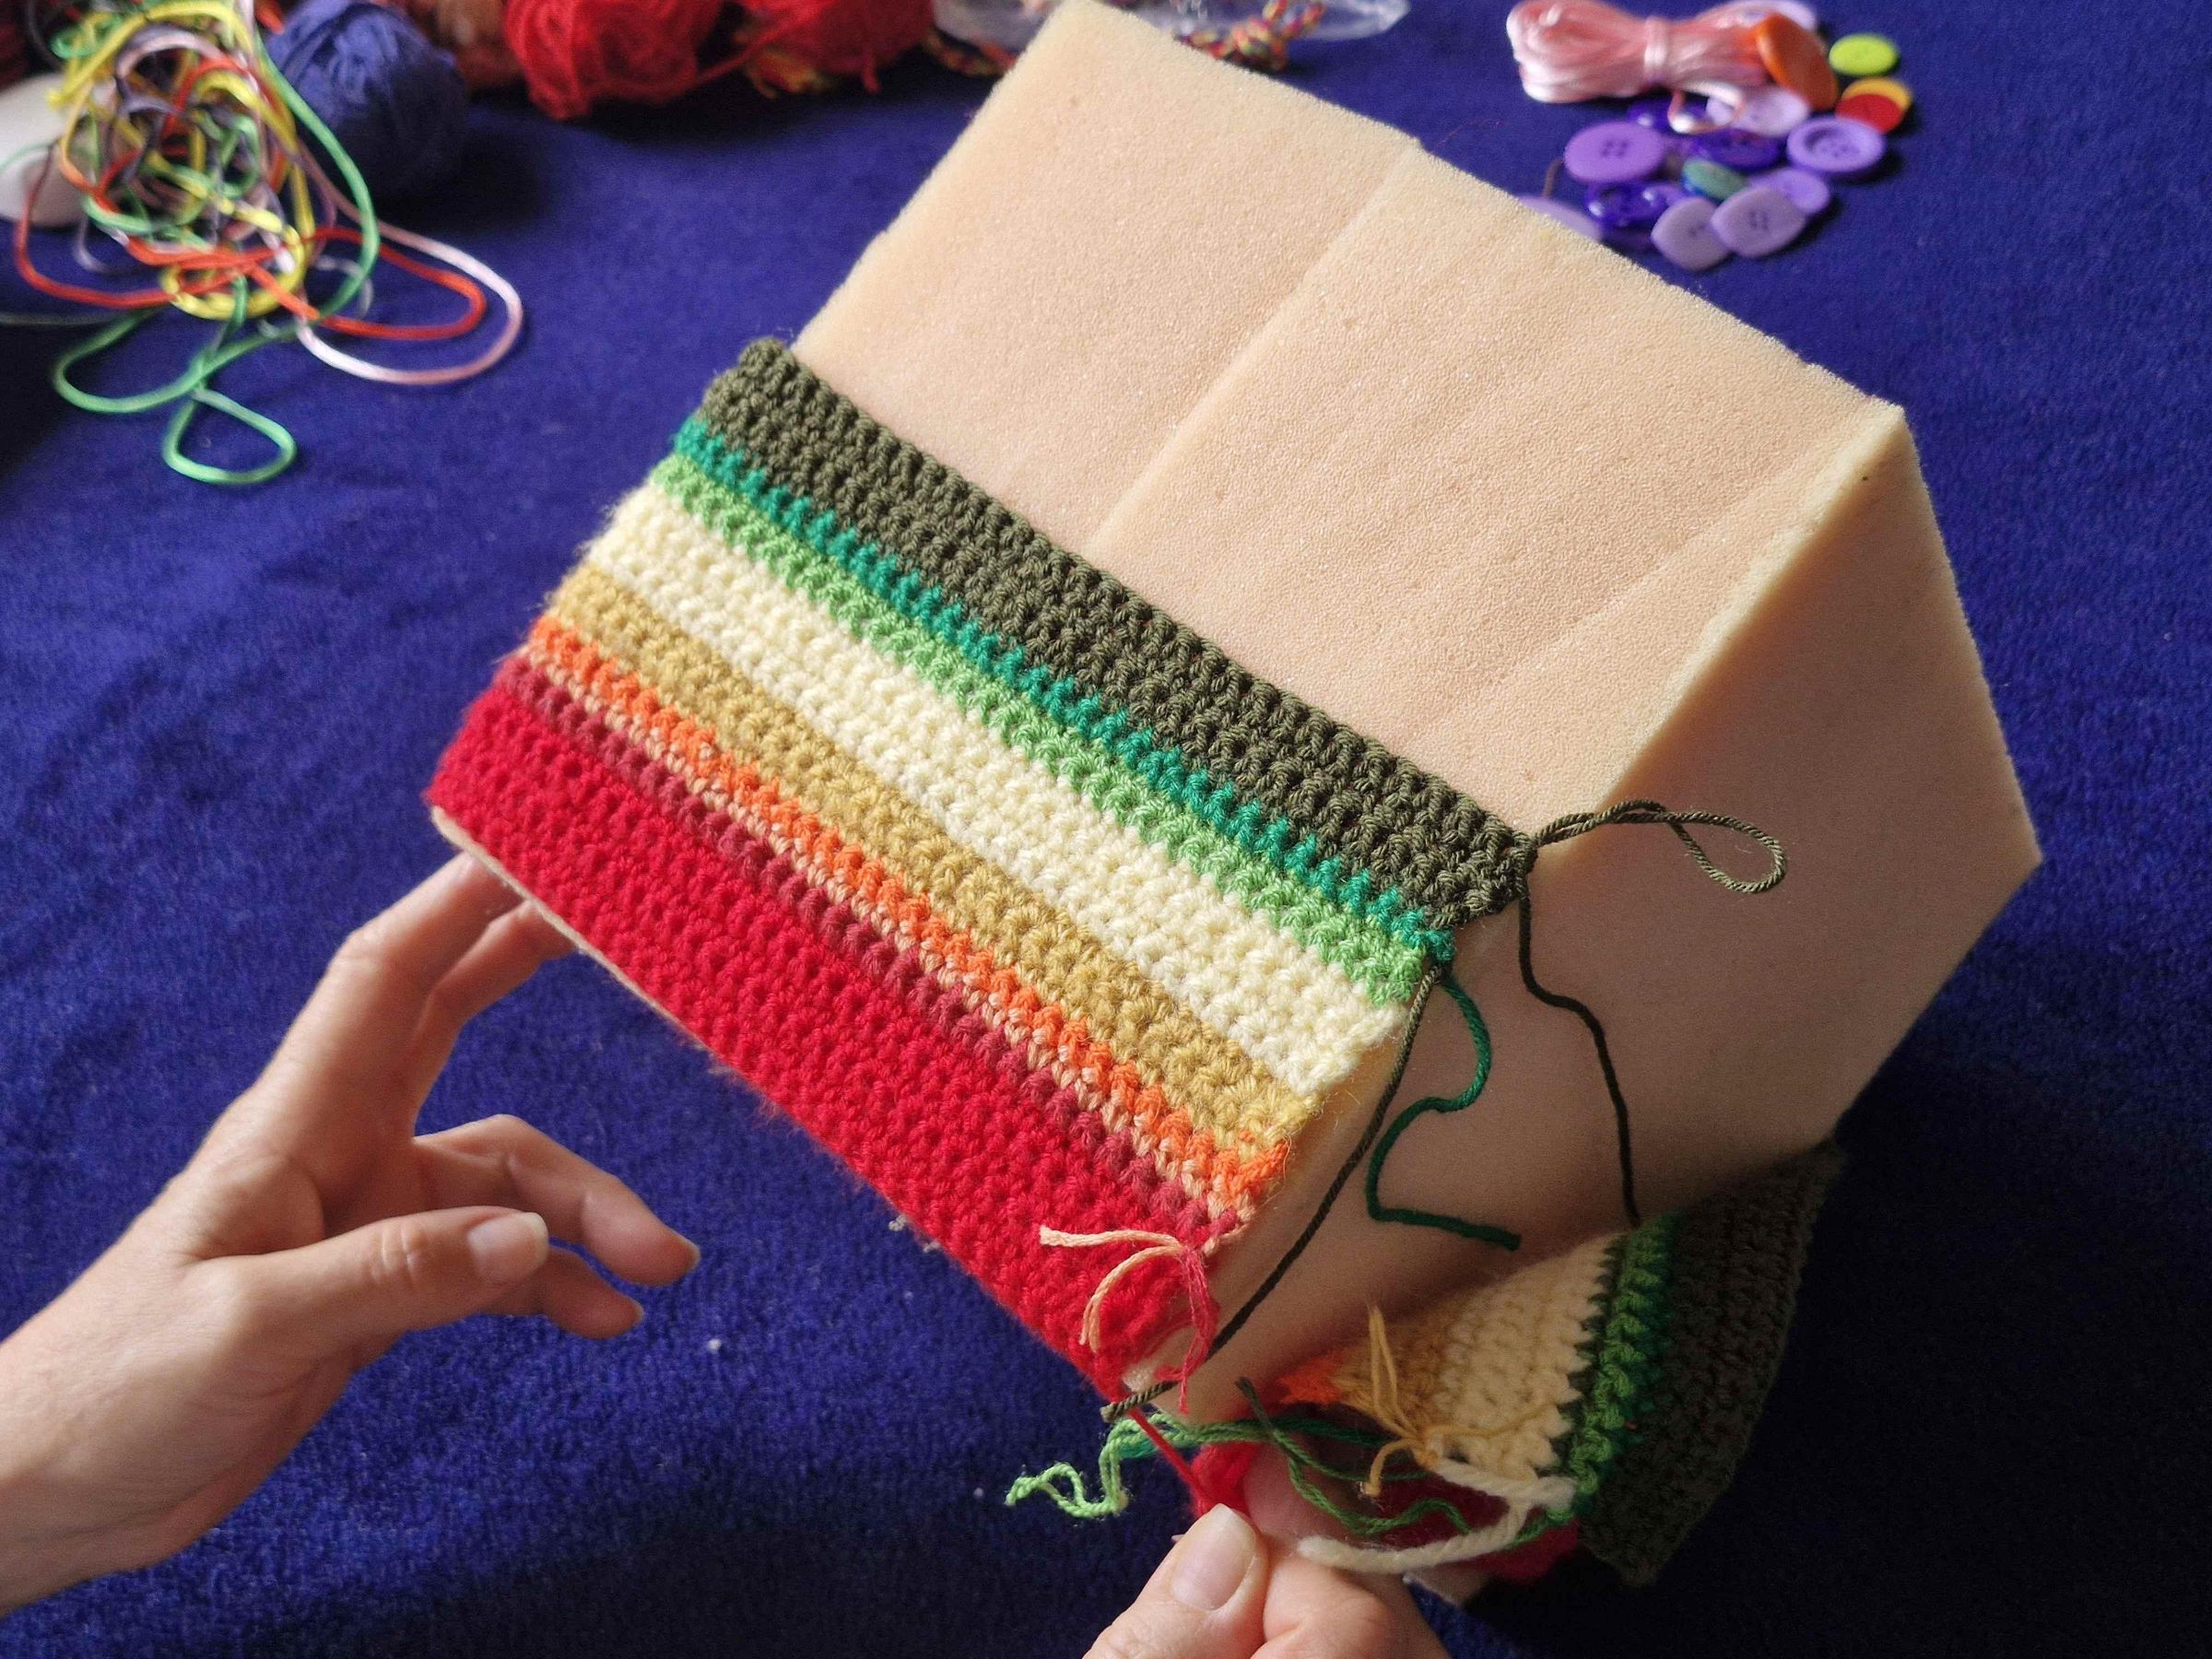
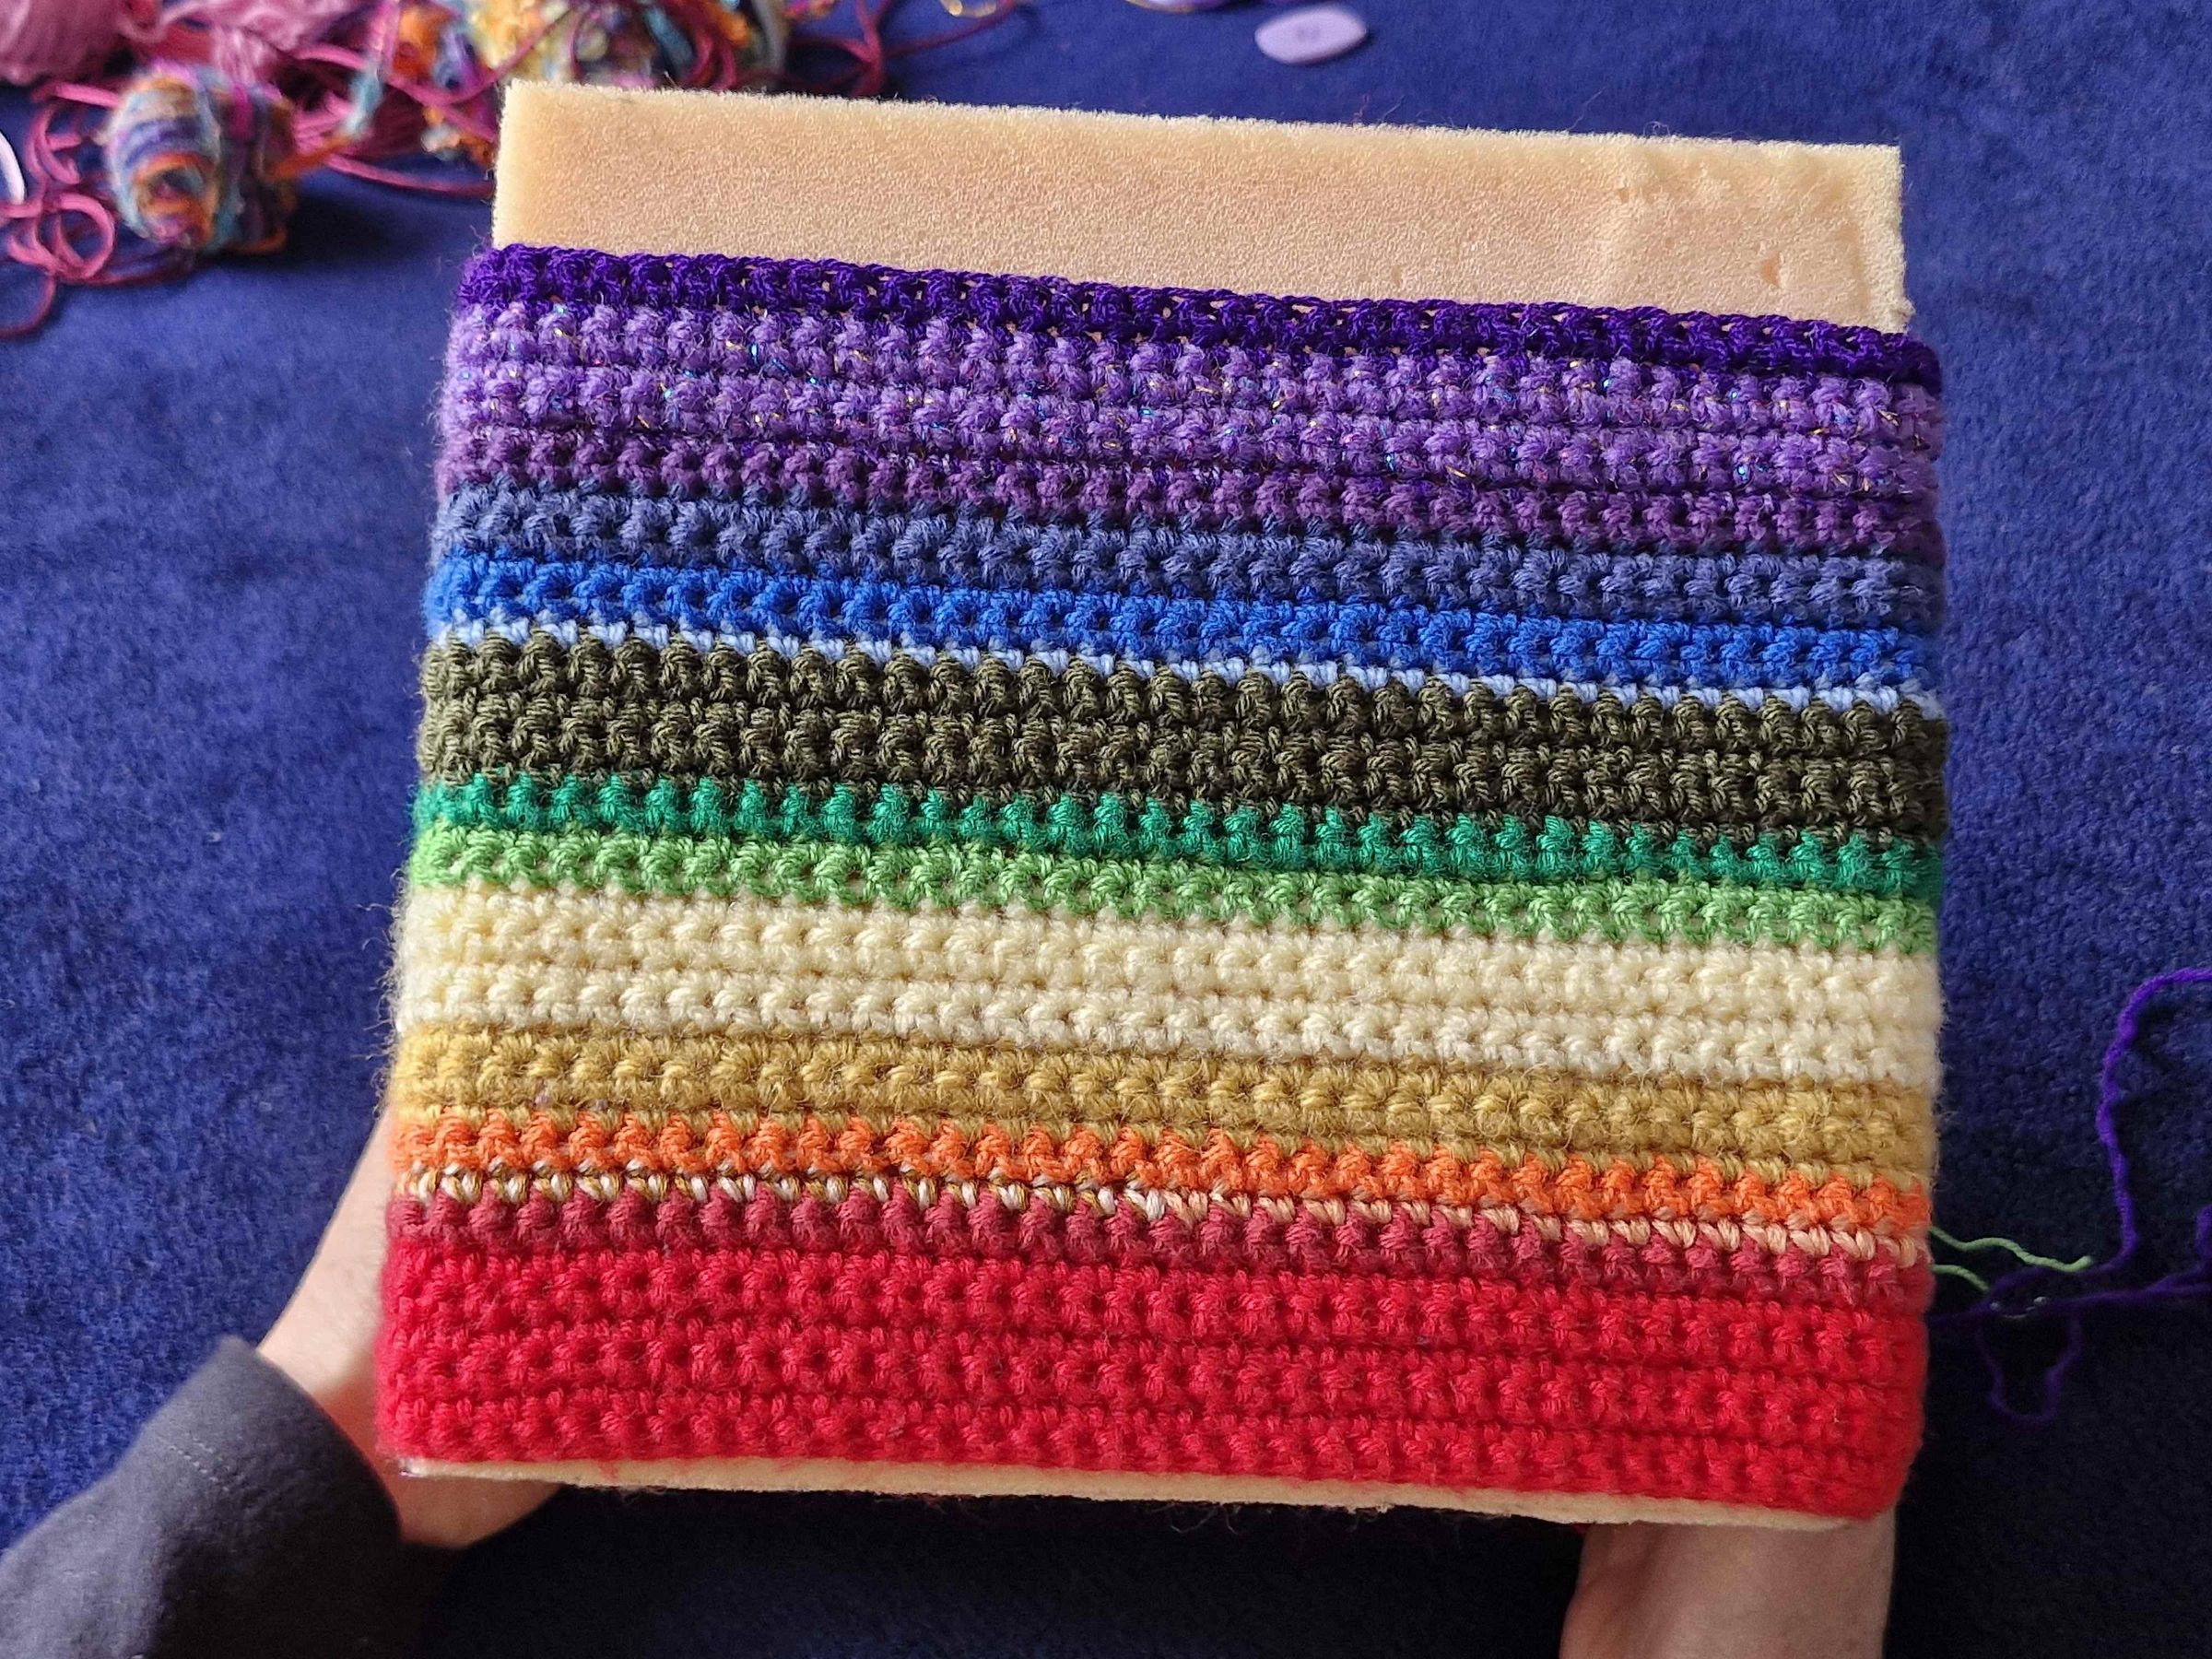
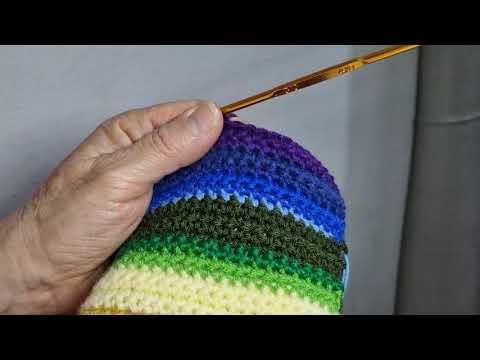
The main body surrounding the four lateral sides of the cube is crocheted as a single continuous band using a 3 mm crochet hook:
- Foundation Chain: Chain 134 stitches using the red yarn.
- Red Stripe: Crochet 6 rows in single crochet (or half double crochet) using solid red yarn.
- Variegated Stripe: Switch to a variegated red thread combining multiple red tones and crochet 1 row.
- Orange Stripe: Switch to orange yarn and crochet 1 row.
- Yellow Stripe: Join the yellow yarn and crochet 7 continuous rows.
- Green Stripe: Switch to green shades and crochet 6 rows.
- Blue Stripe: Change to blue yarn and crochet 5 rows.
- Purple/Violet Stripe: Finish the strip by switching to purple yarn and crocheting 10 final rows.
- Fasten off and weave in ends. You will have a long crocheted band covering the complete color gradient of the rainbow.
Crocheting Top / Bottom Cover 1 (Yellow & Green Gradient)
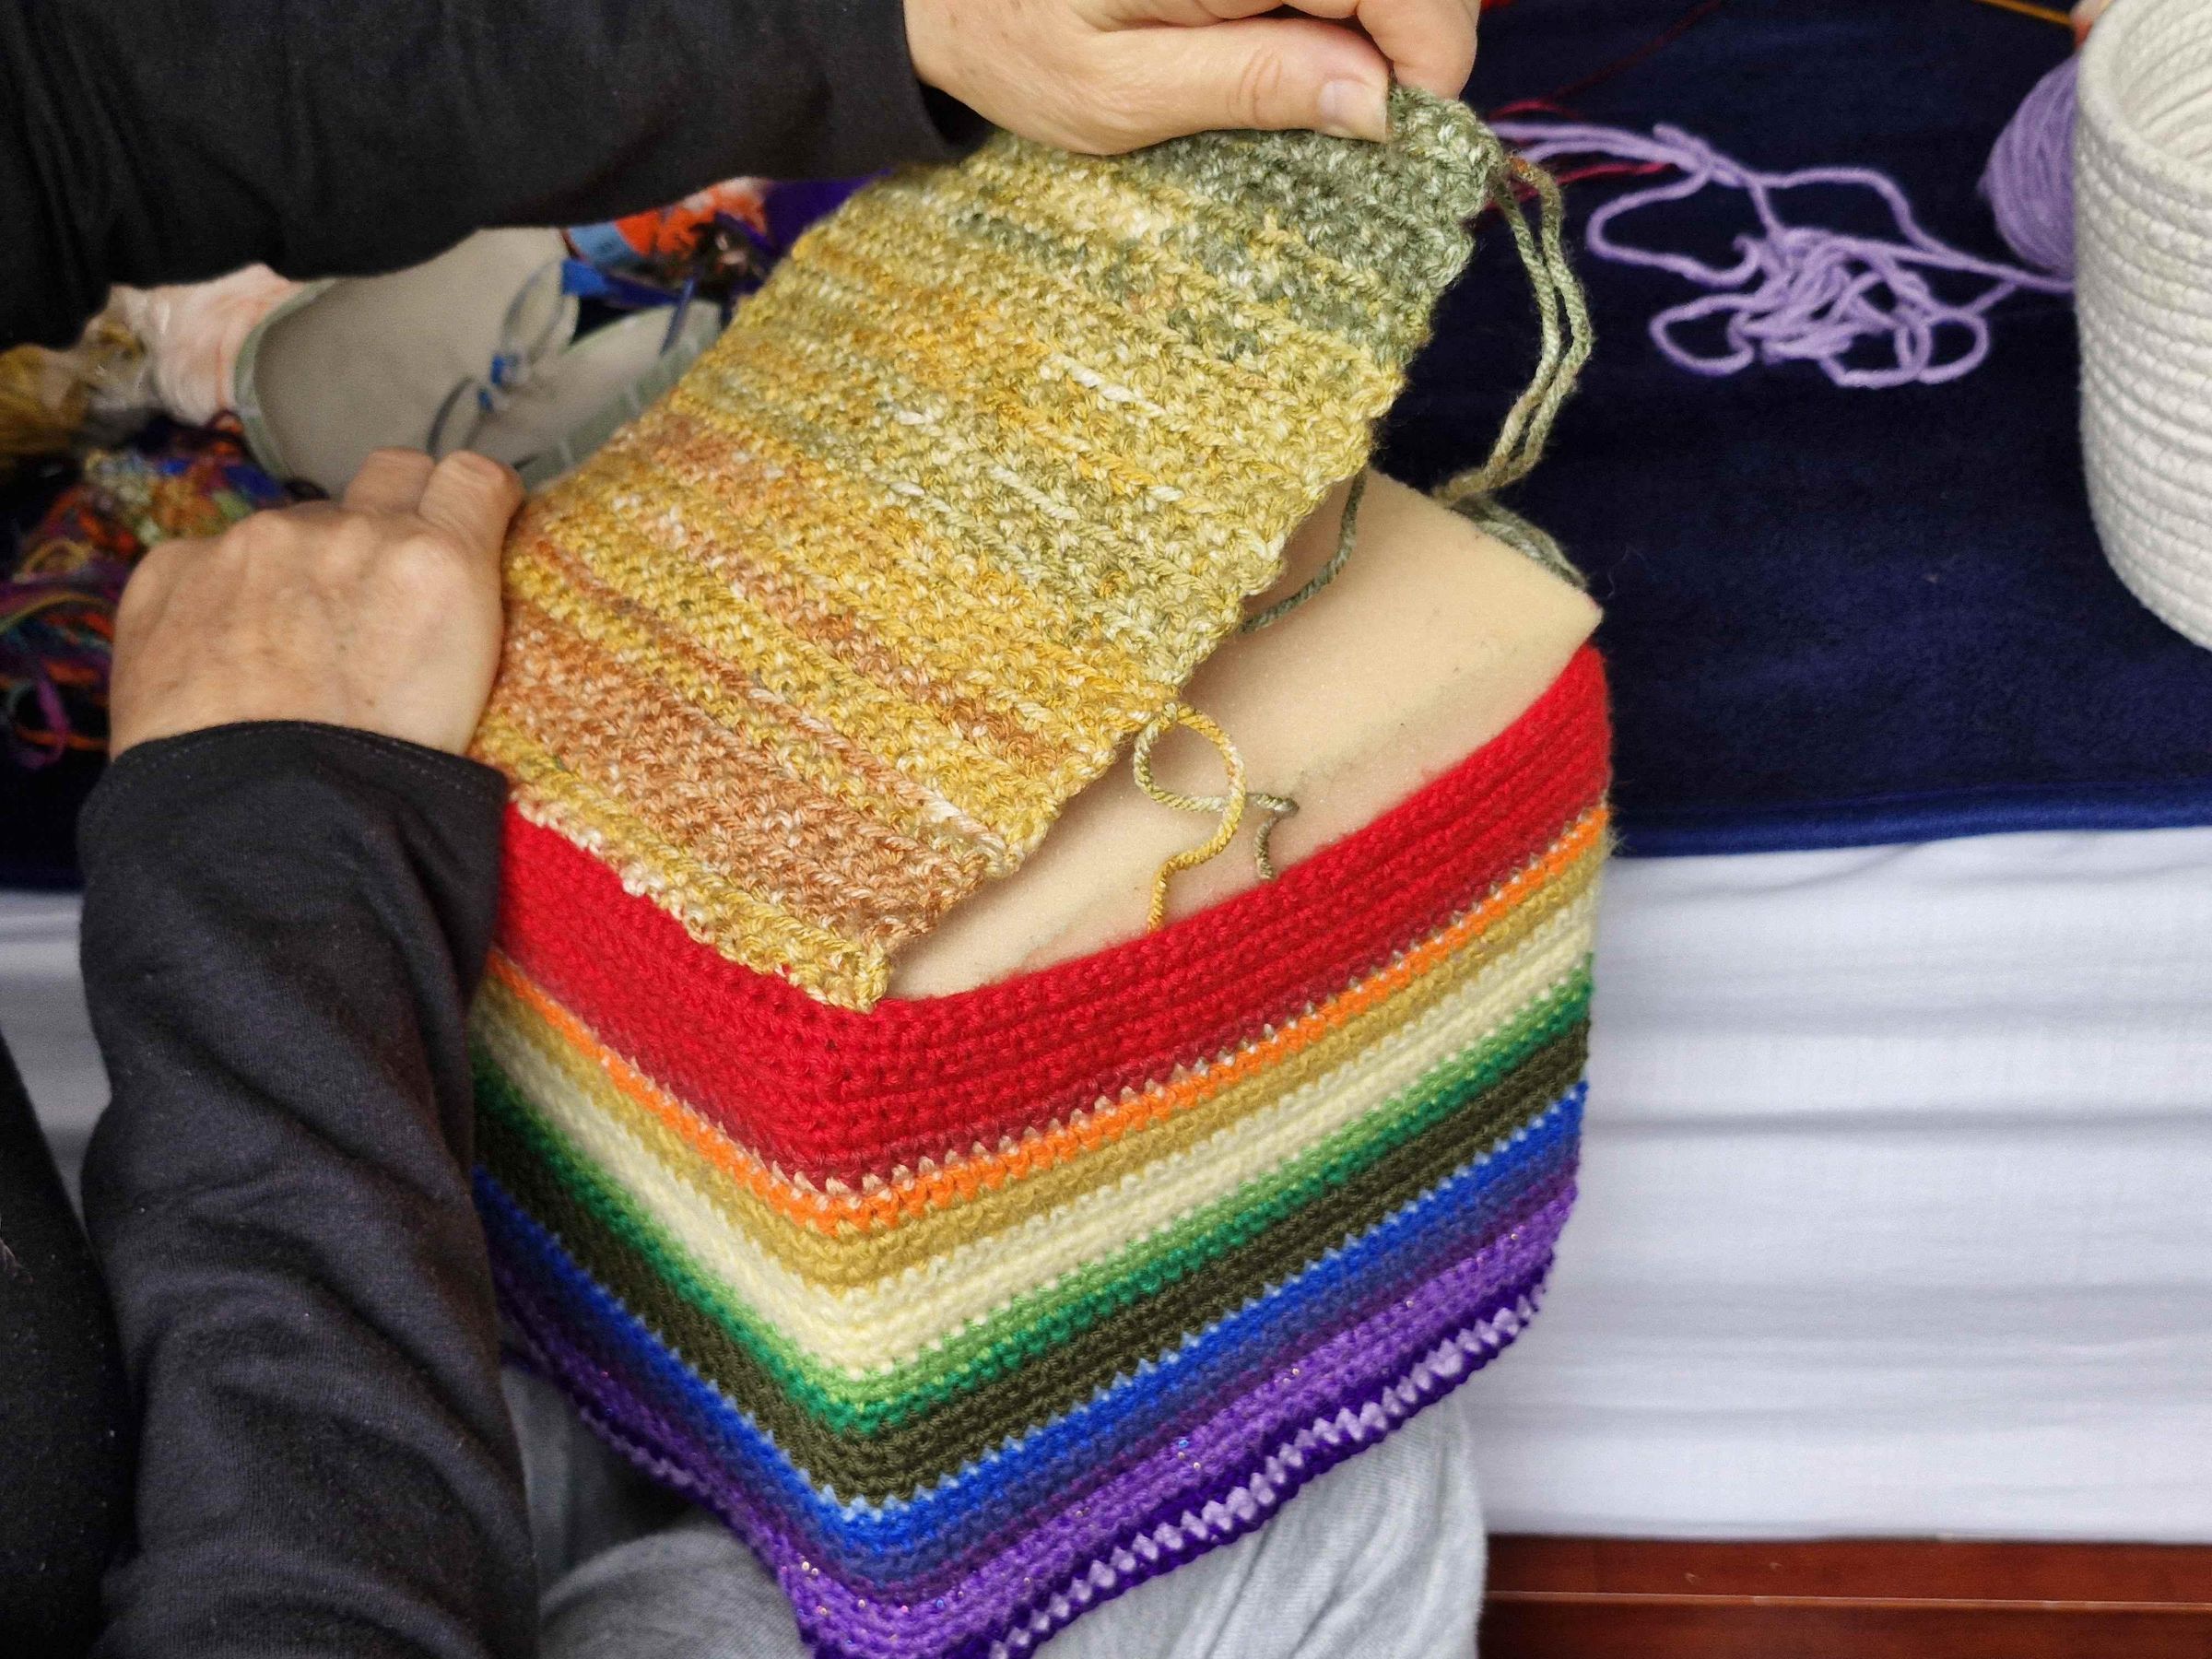
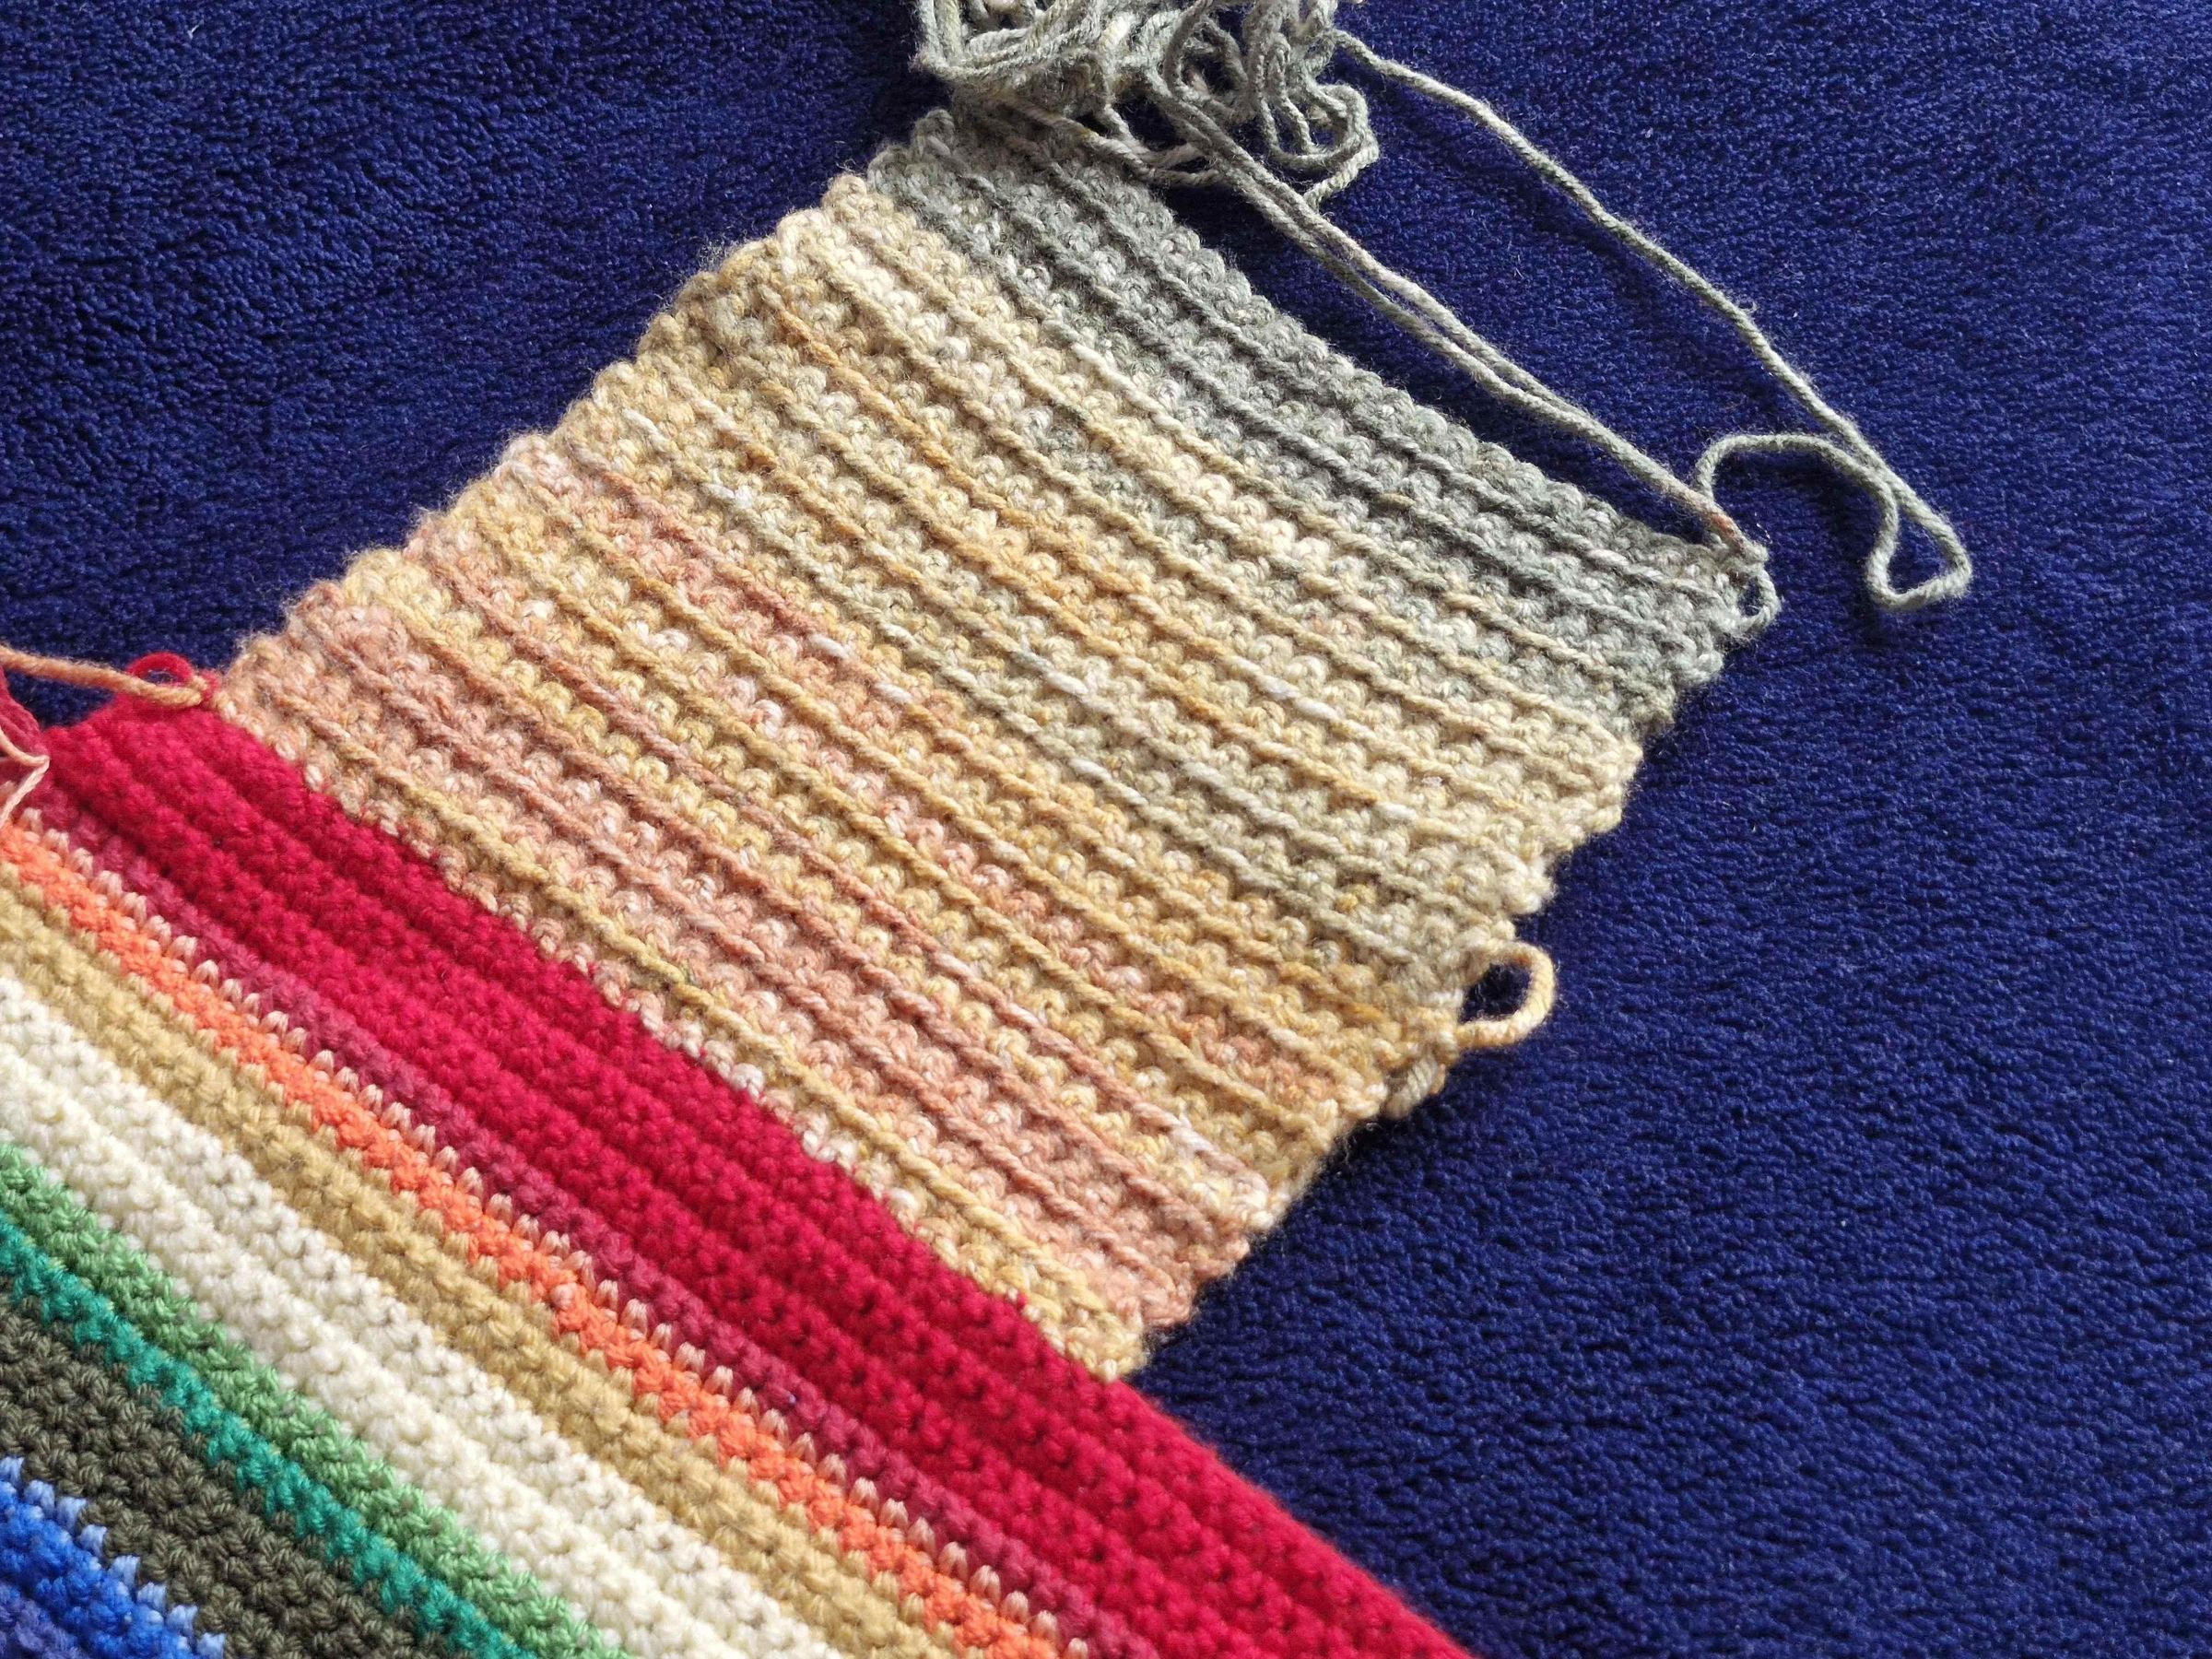
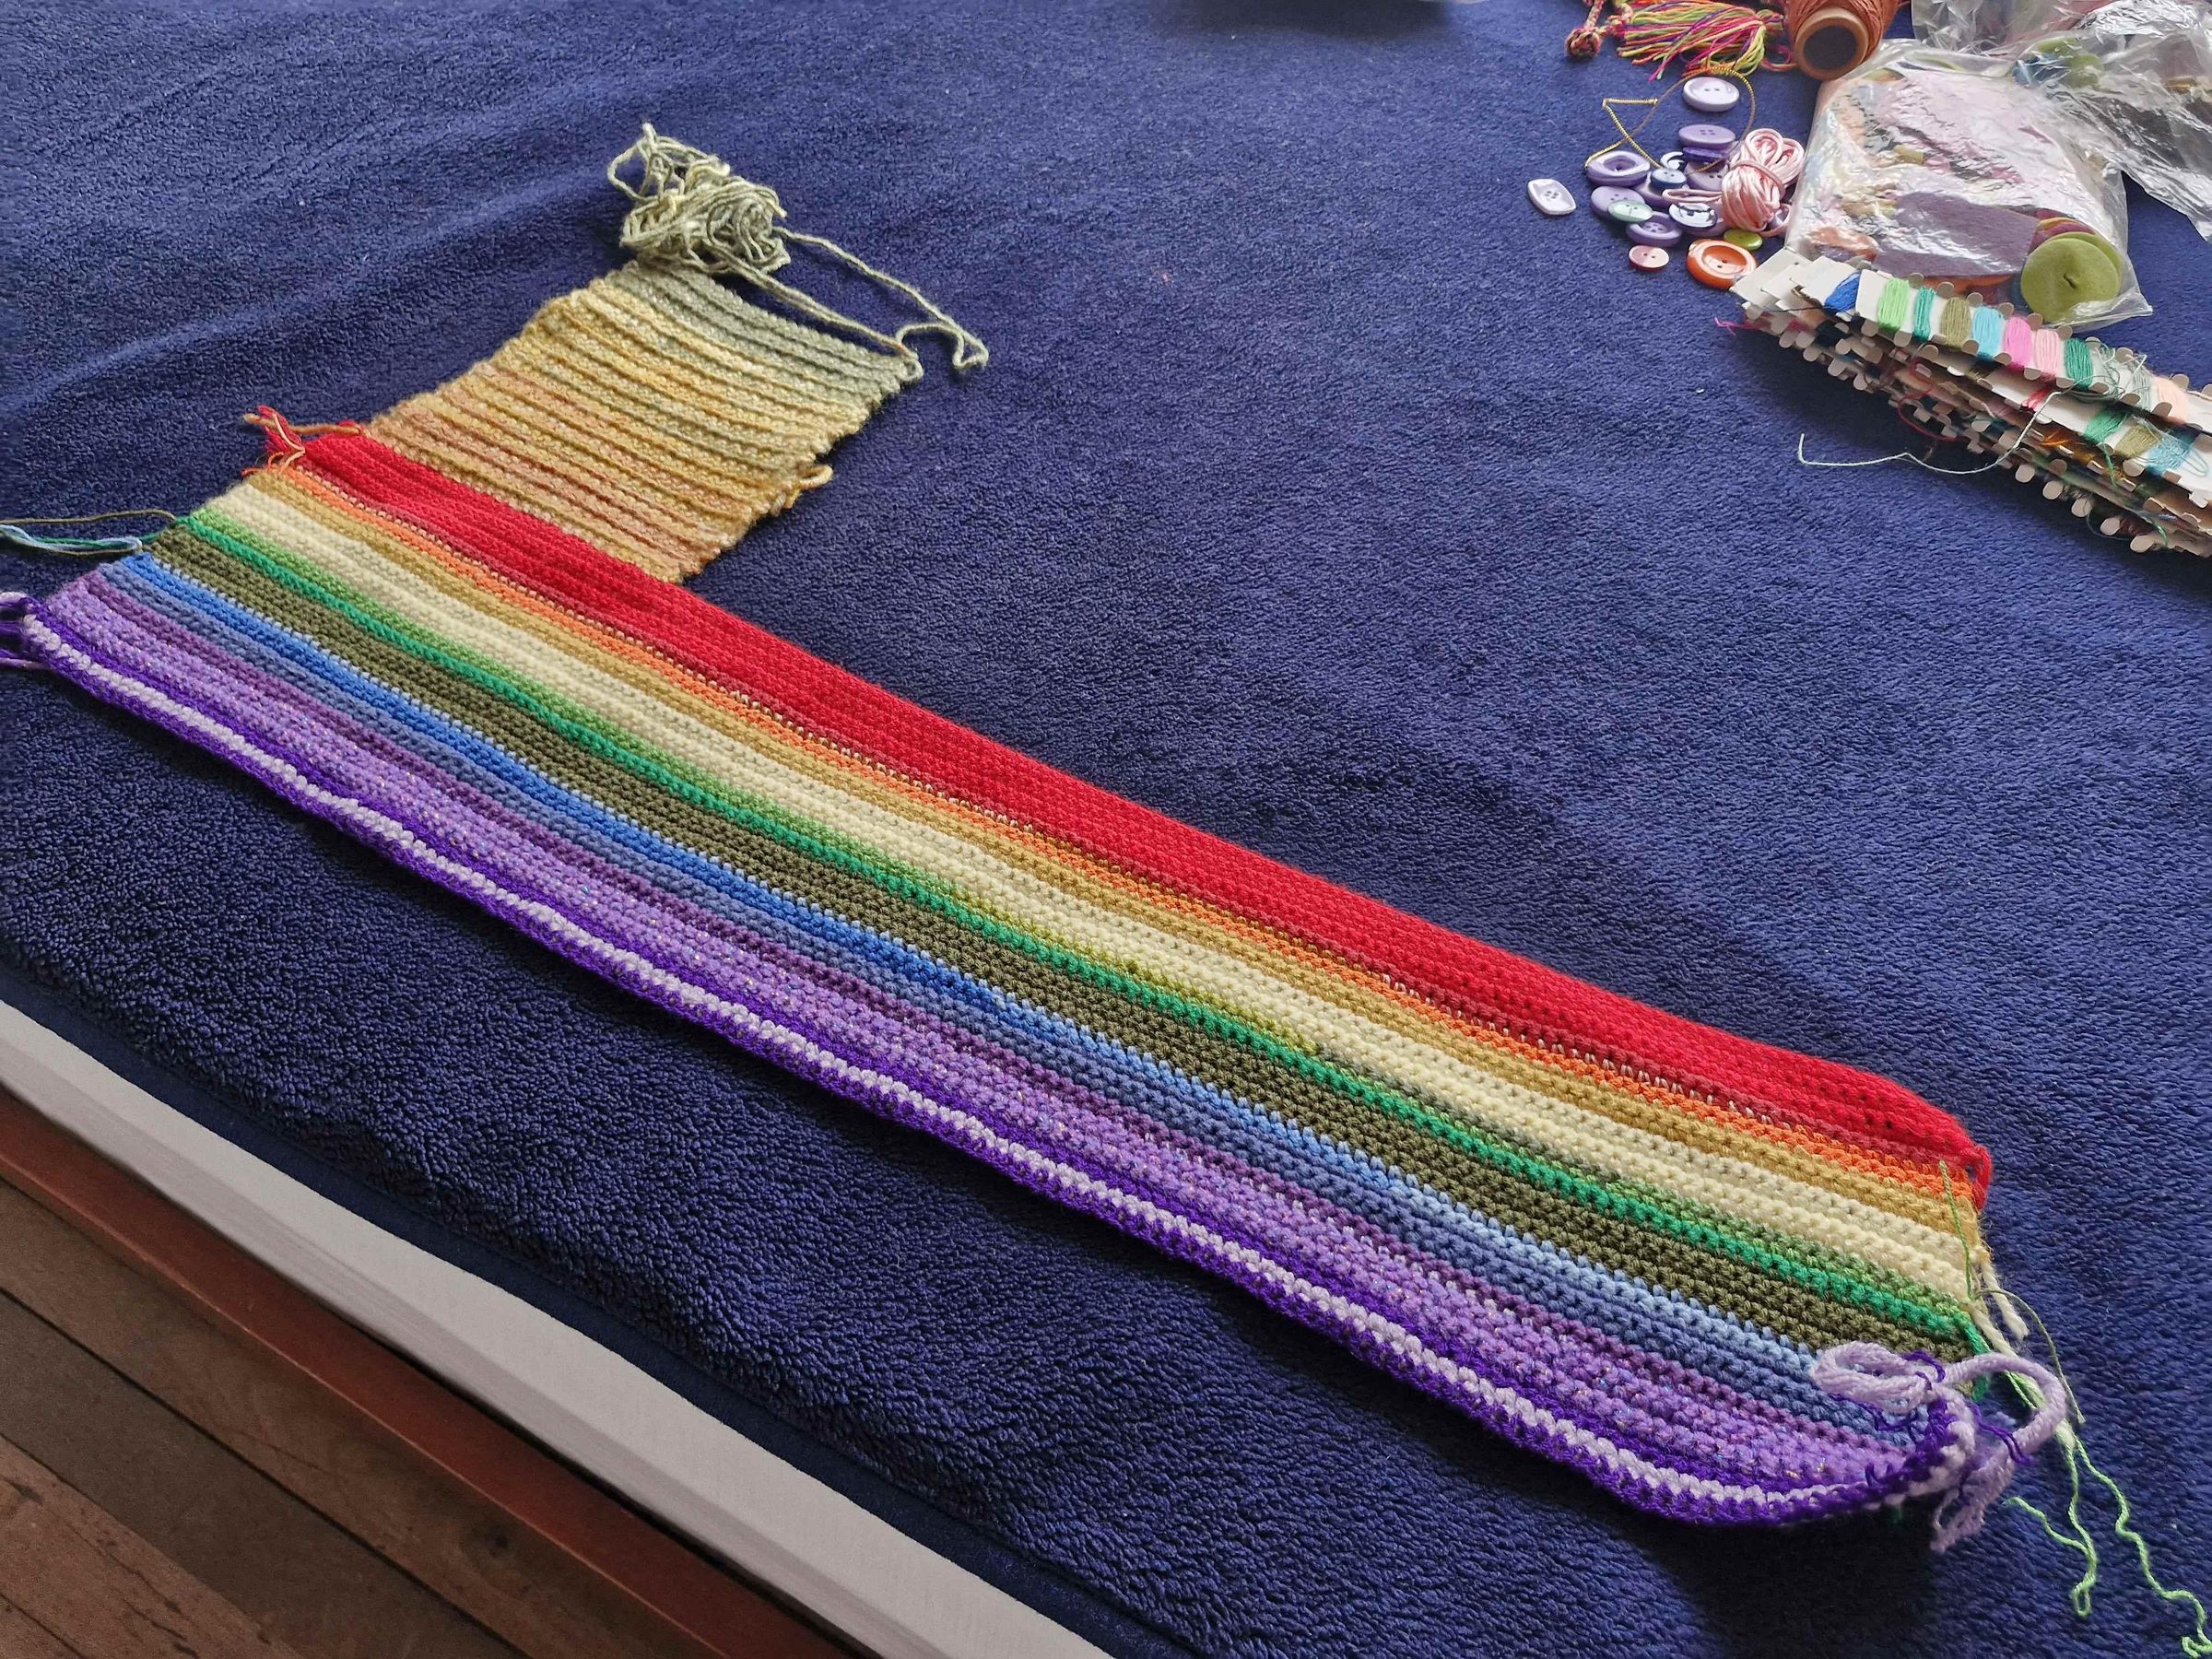
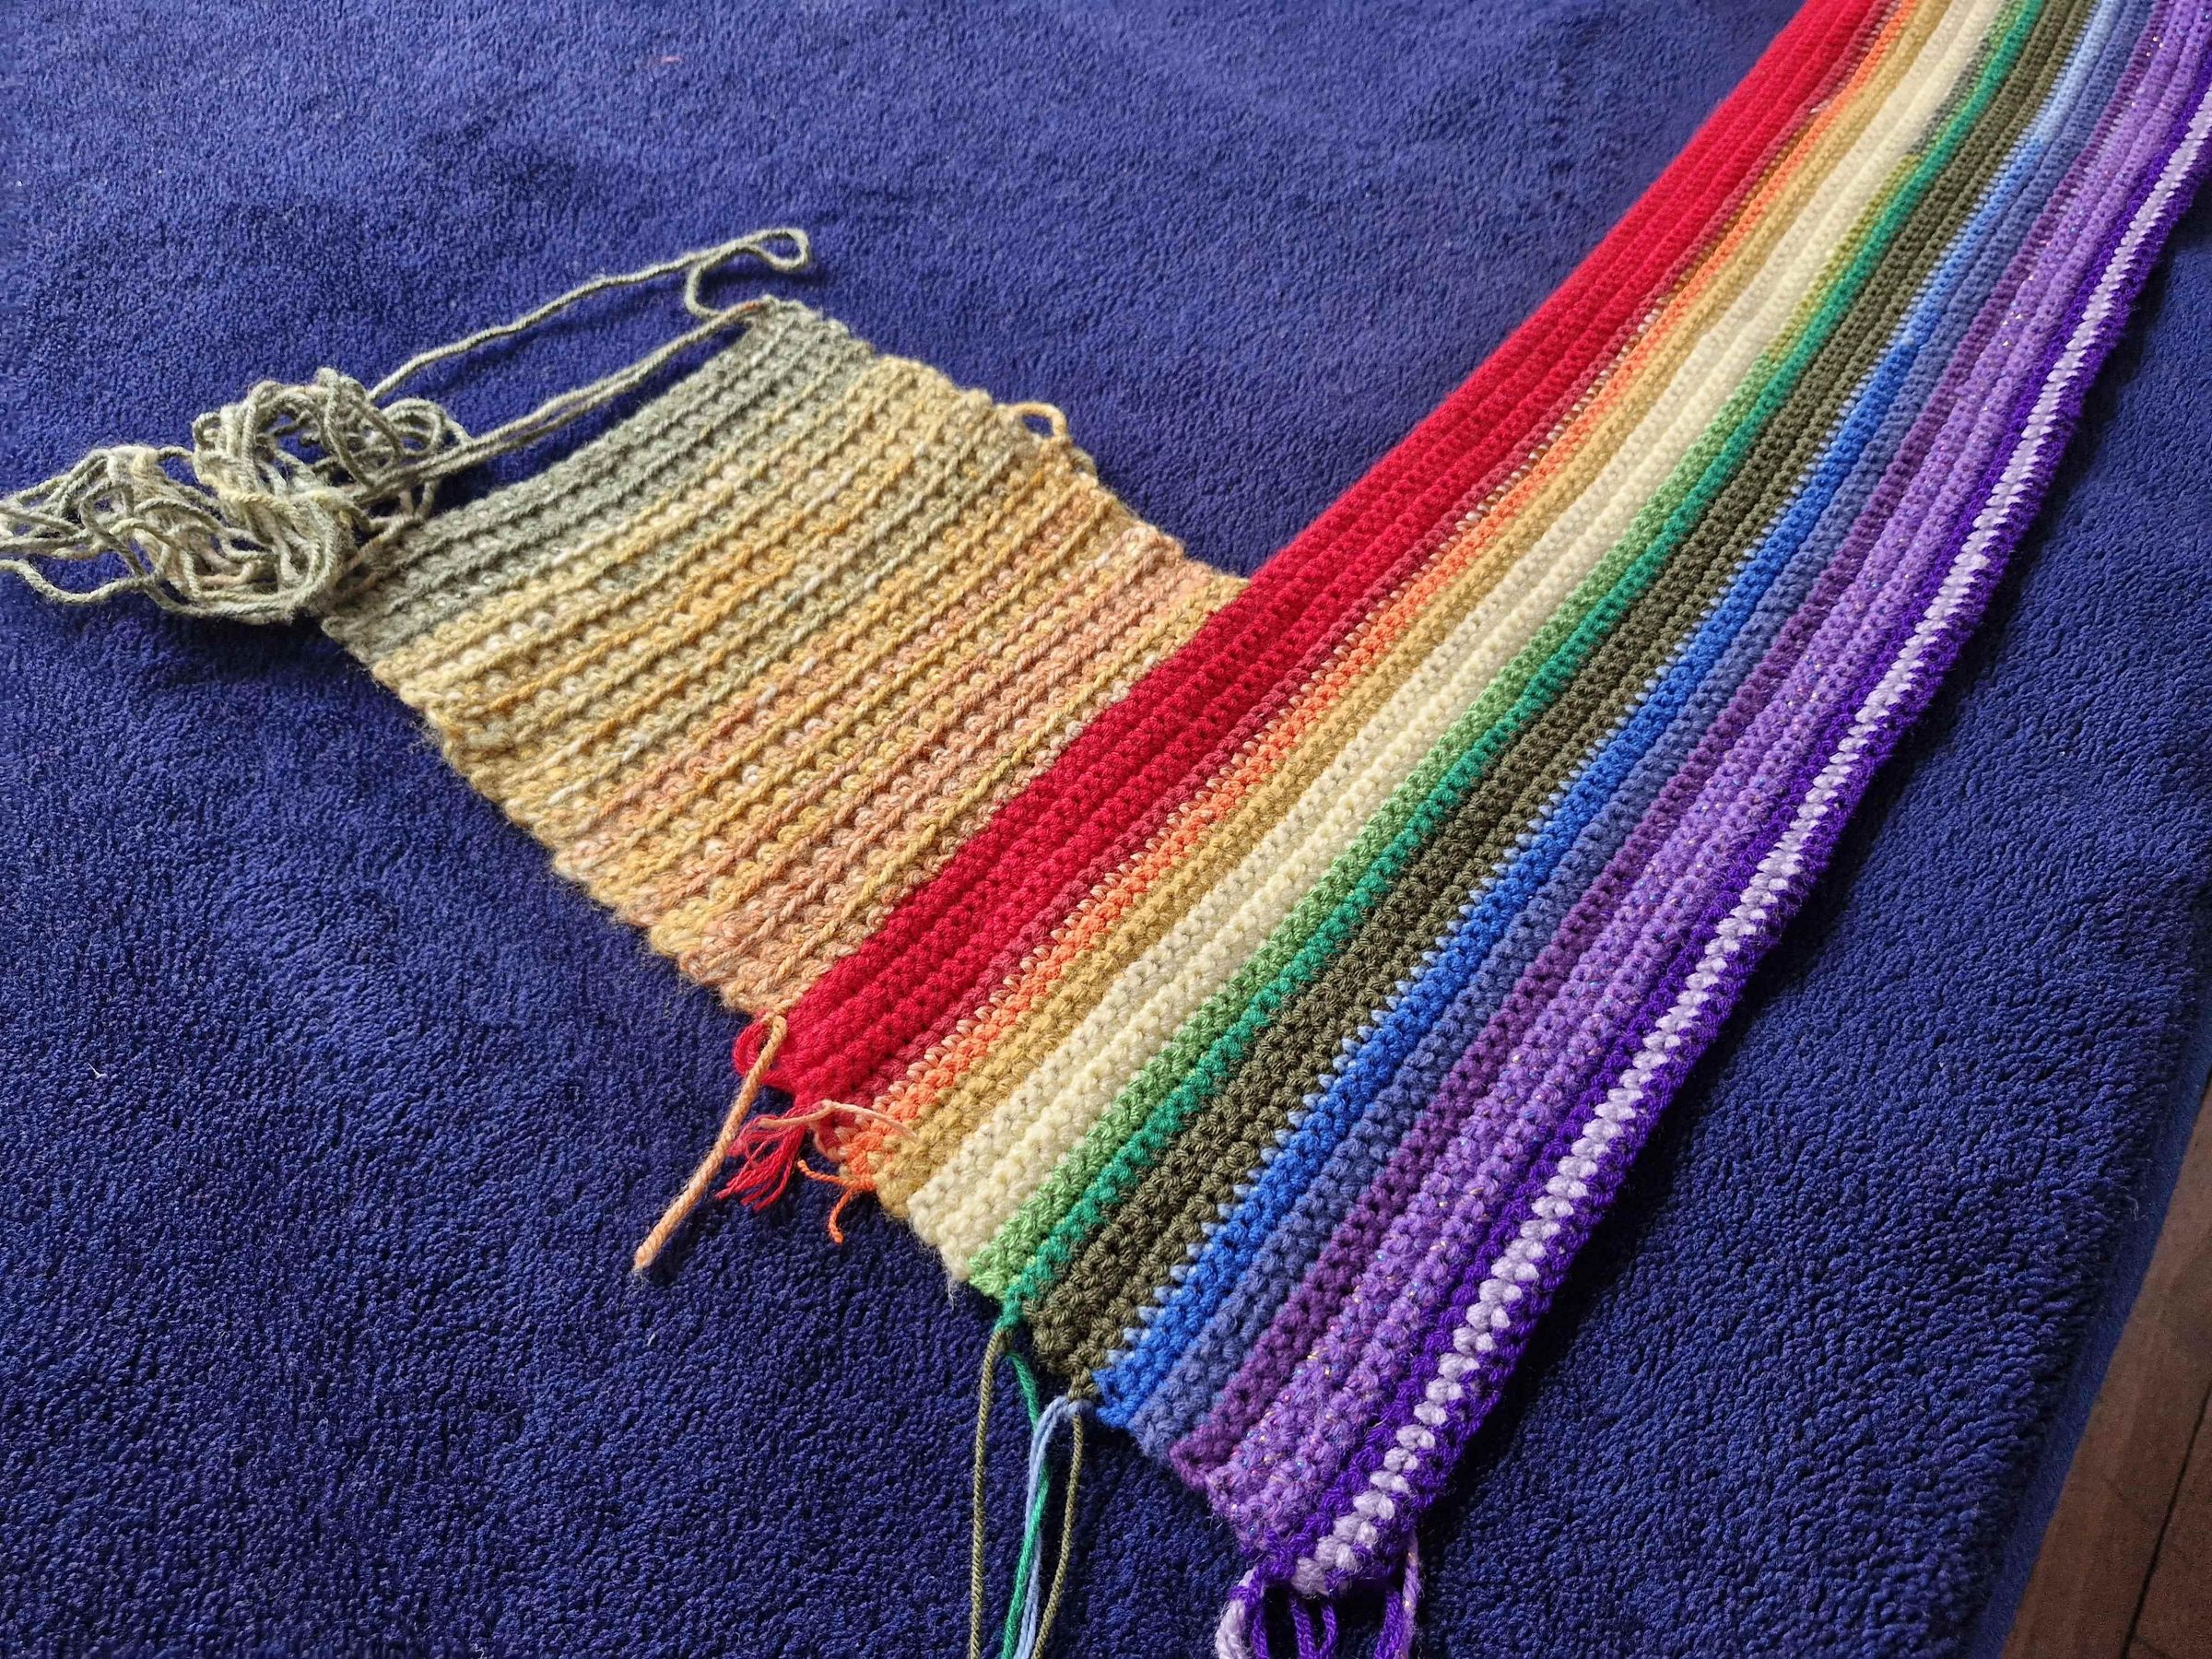
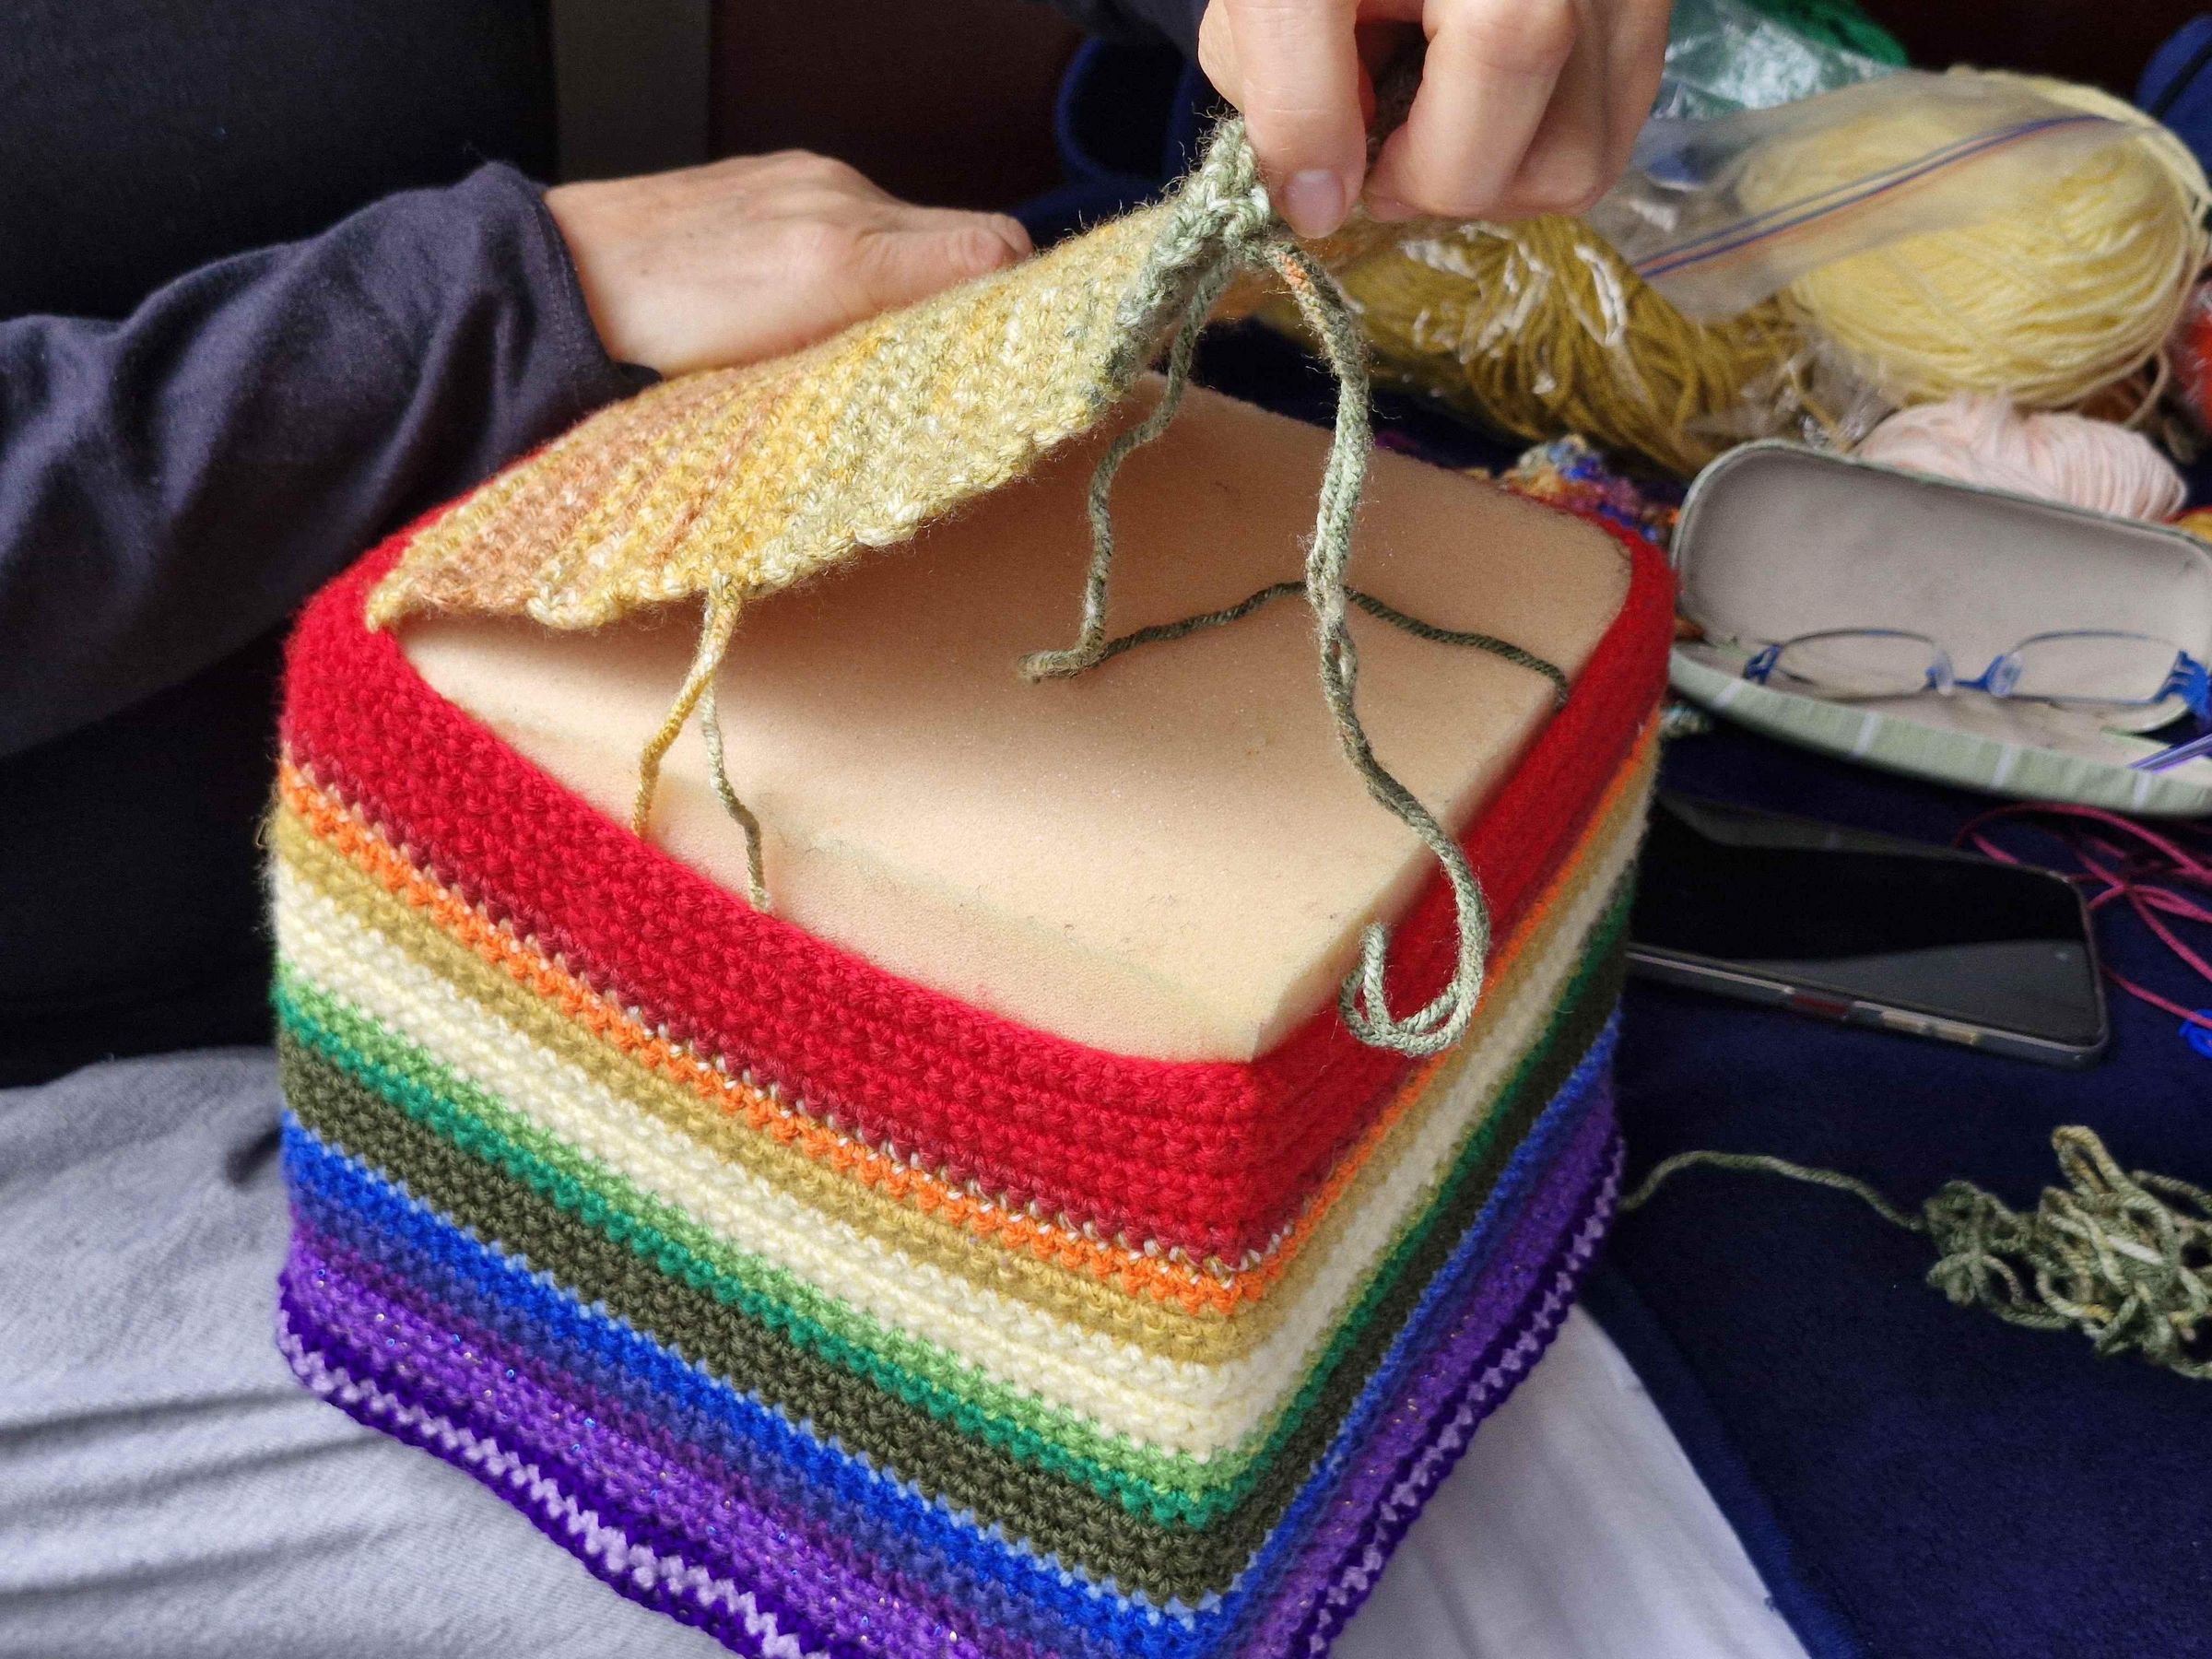
To make one of the cube's end covers (bottom or top):
- Take the 3 mm crochet hook and yellow yarn.
- Work a foundation chain of 28 stitches.
- Crochet a total of 32 rows, transitioning gradually from yellow to green to create a smooth color gradient.
- Cut the yarn, leaving a long tail for assembling and seaming later.
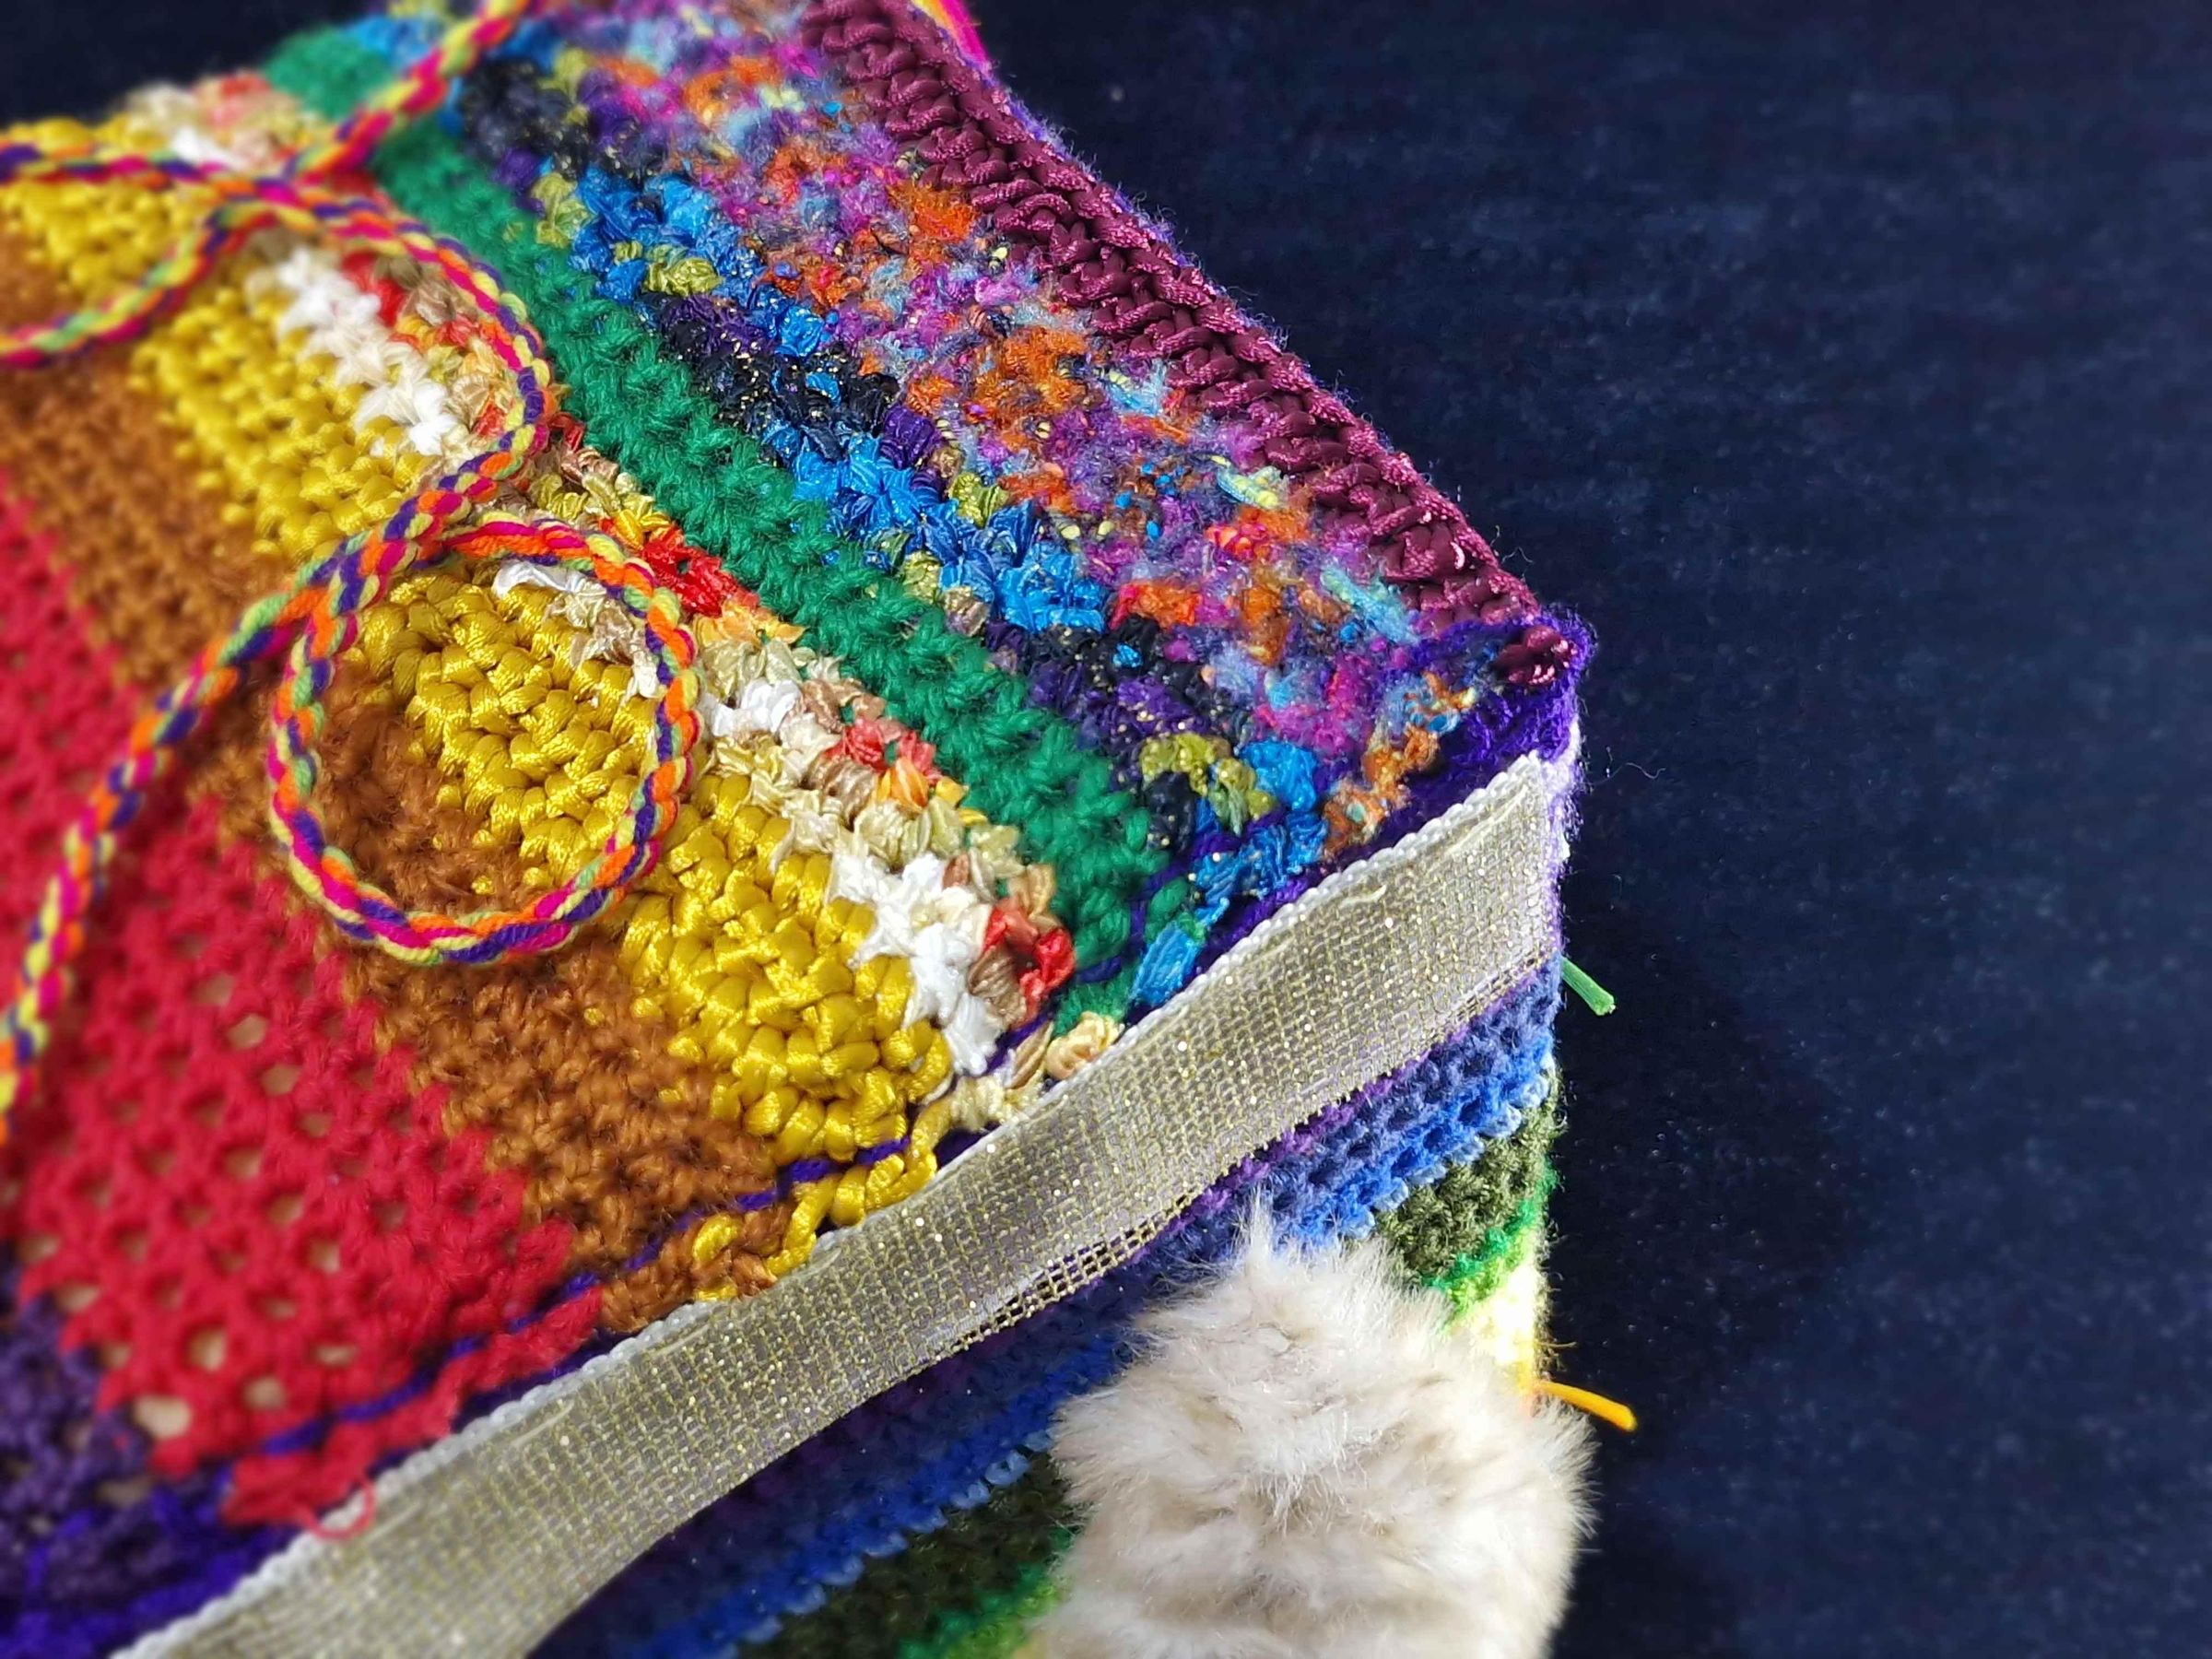
Crocheting Top / Bottom Cover 2 (Multi-Textured Ribbons & Yarn)
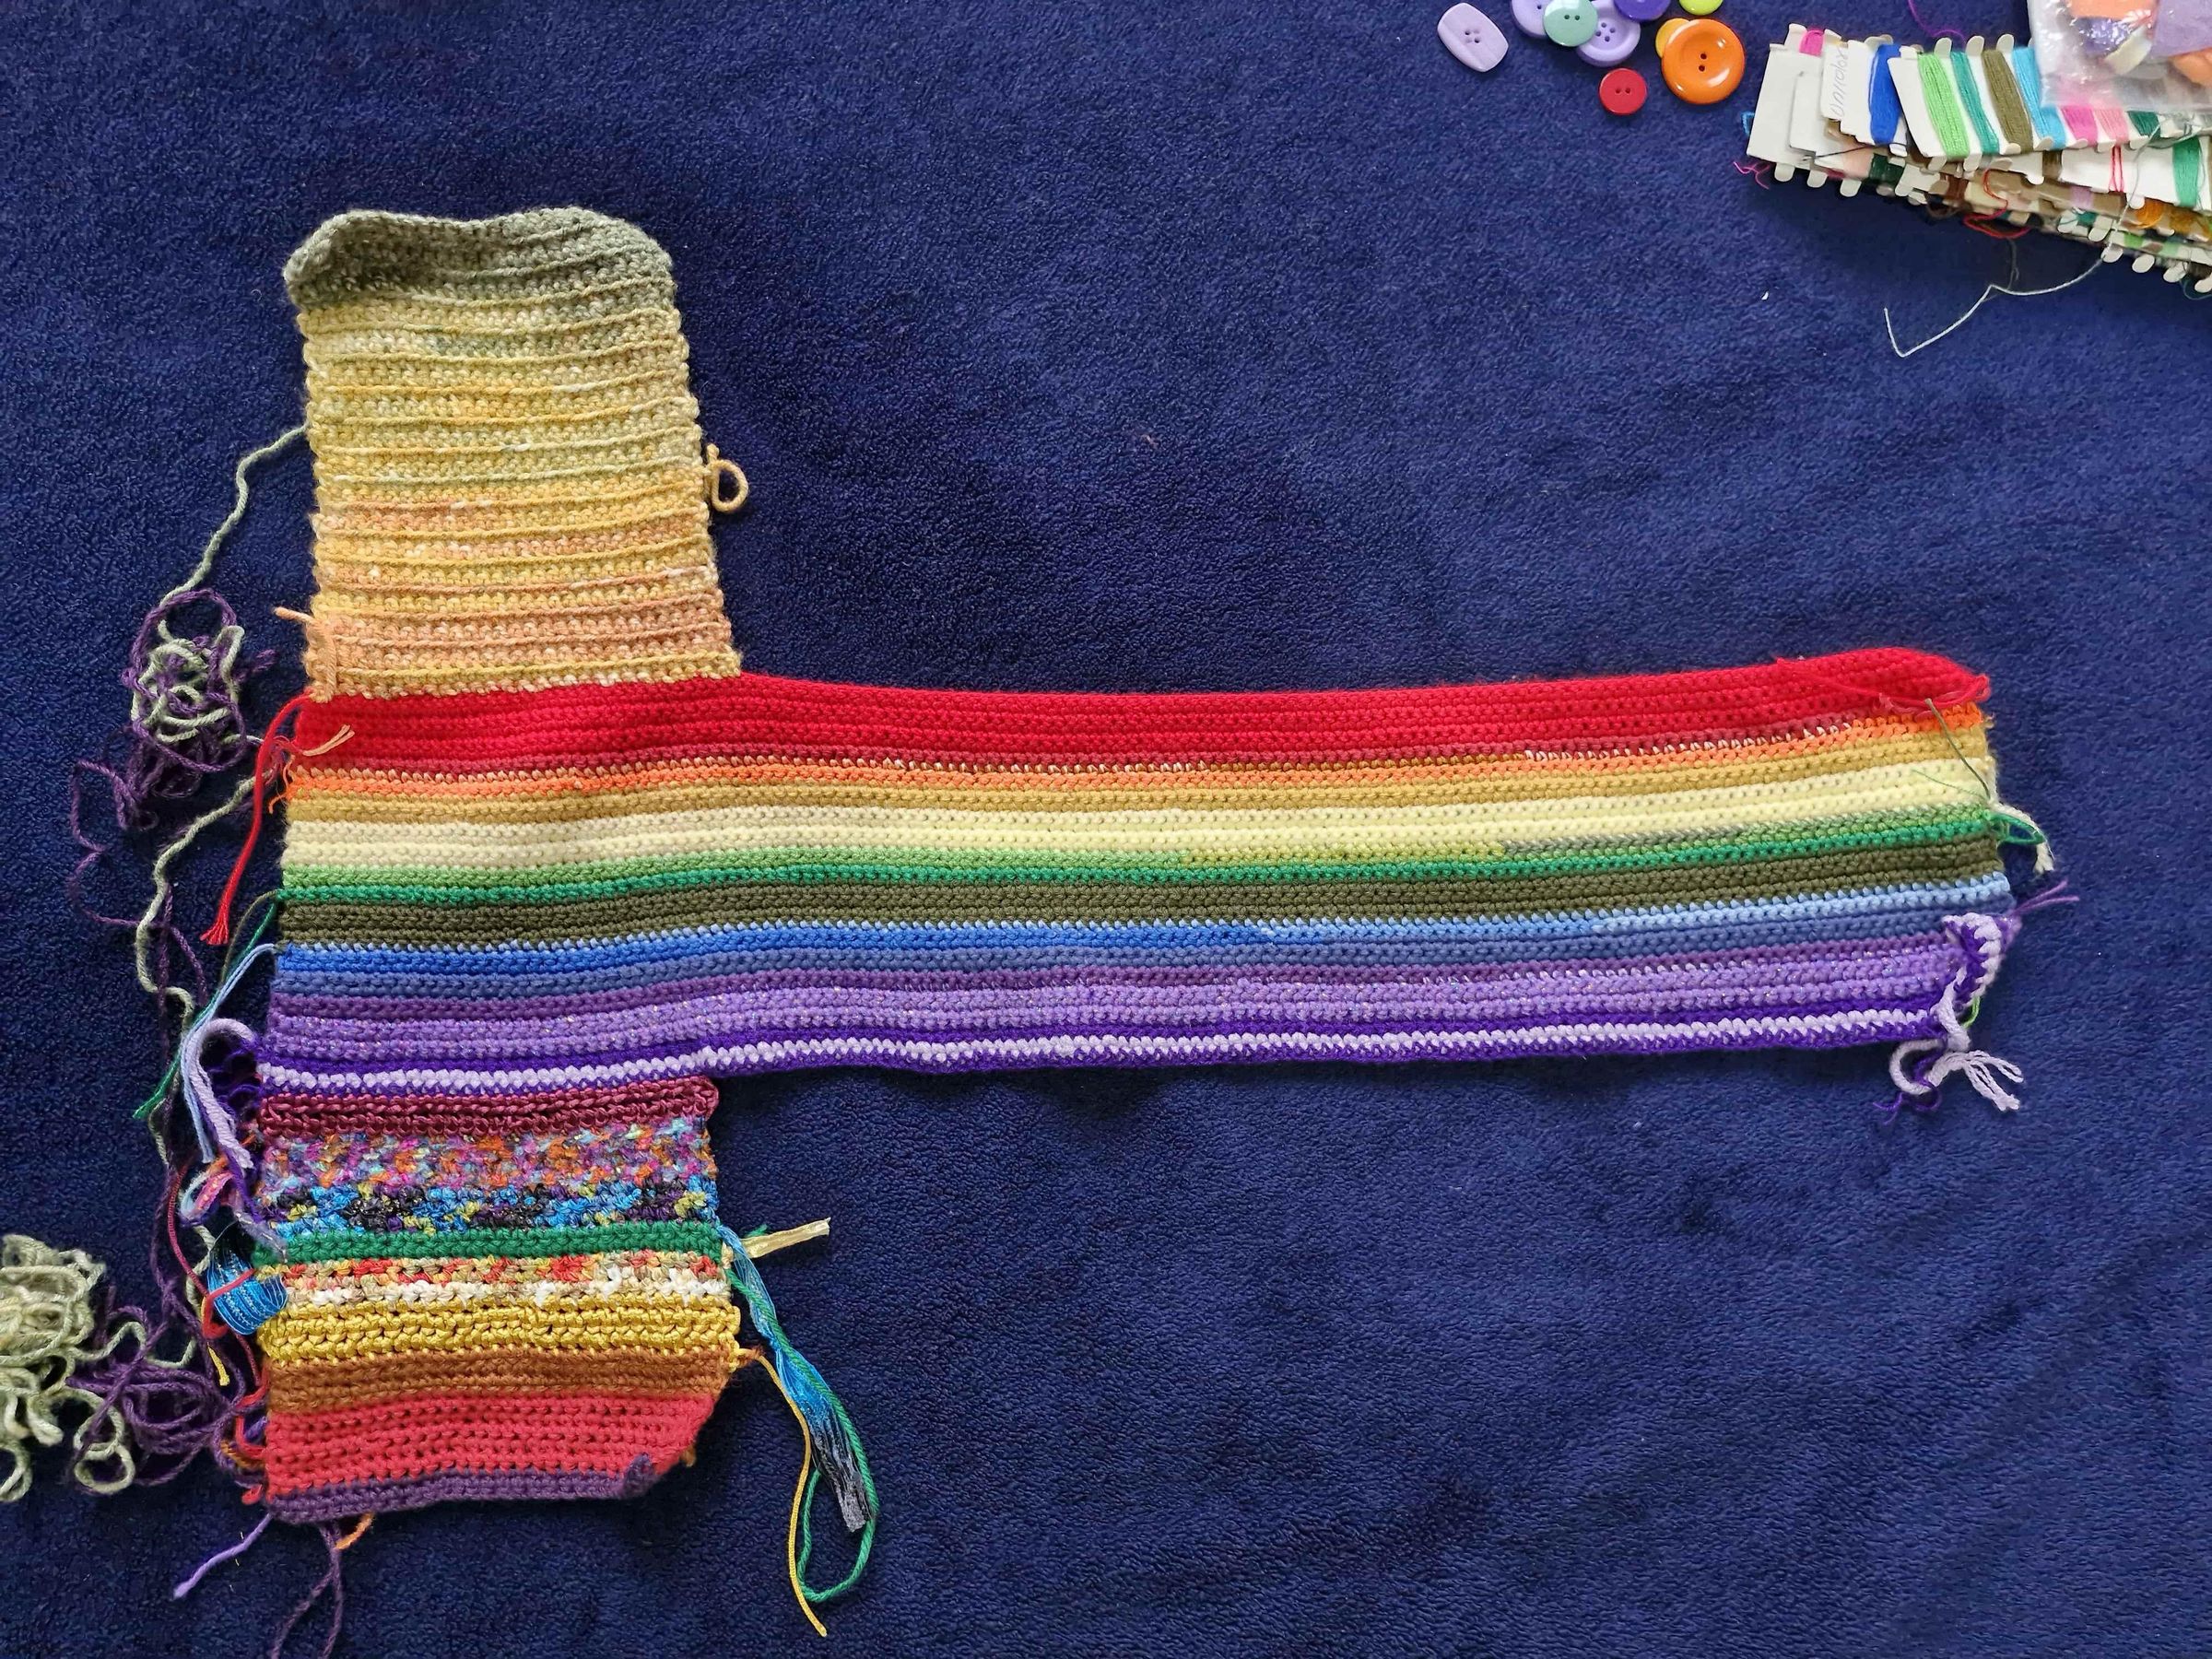

For the opposite end cover, a mixed-media technique incorporating decorative ribbons and mixed yarns is used with a 3 mm crochet hook:
- Work a foundation chain of 29 stitches.
- Crochet the sequence of rows following this exact material order:
- 2 rows in purple yarn.
- 4 rows working with the multicolor variegated ribbon.
- 6 rows working with the blue variegated ribbon.
- 2 rows in green yarn.
- 4 rows in yellow ribbon.
- 2 rows in metallic gold ribbon.
- 3 rows in dark orange yarn.
- 6 rows in red yarn.
- 4 rows in violet yarn.
- Fasten off. This cover provides a rich visual and tactile contrast between the soft flexibility of yarn and the firm structure of woven ribbons.
Assembling the Outer Cover Onto the Foam Core
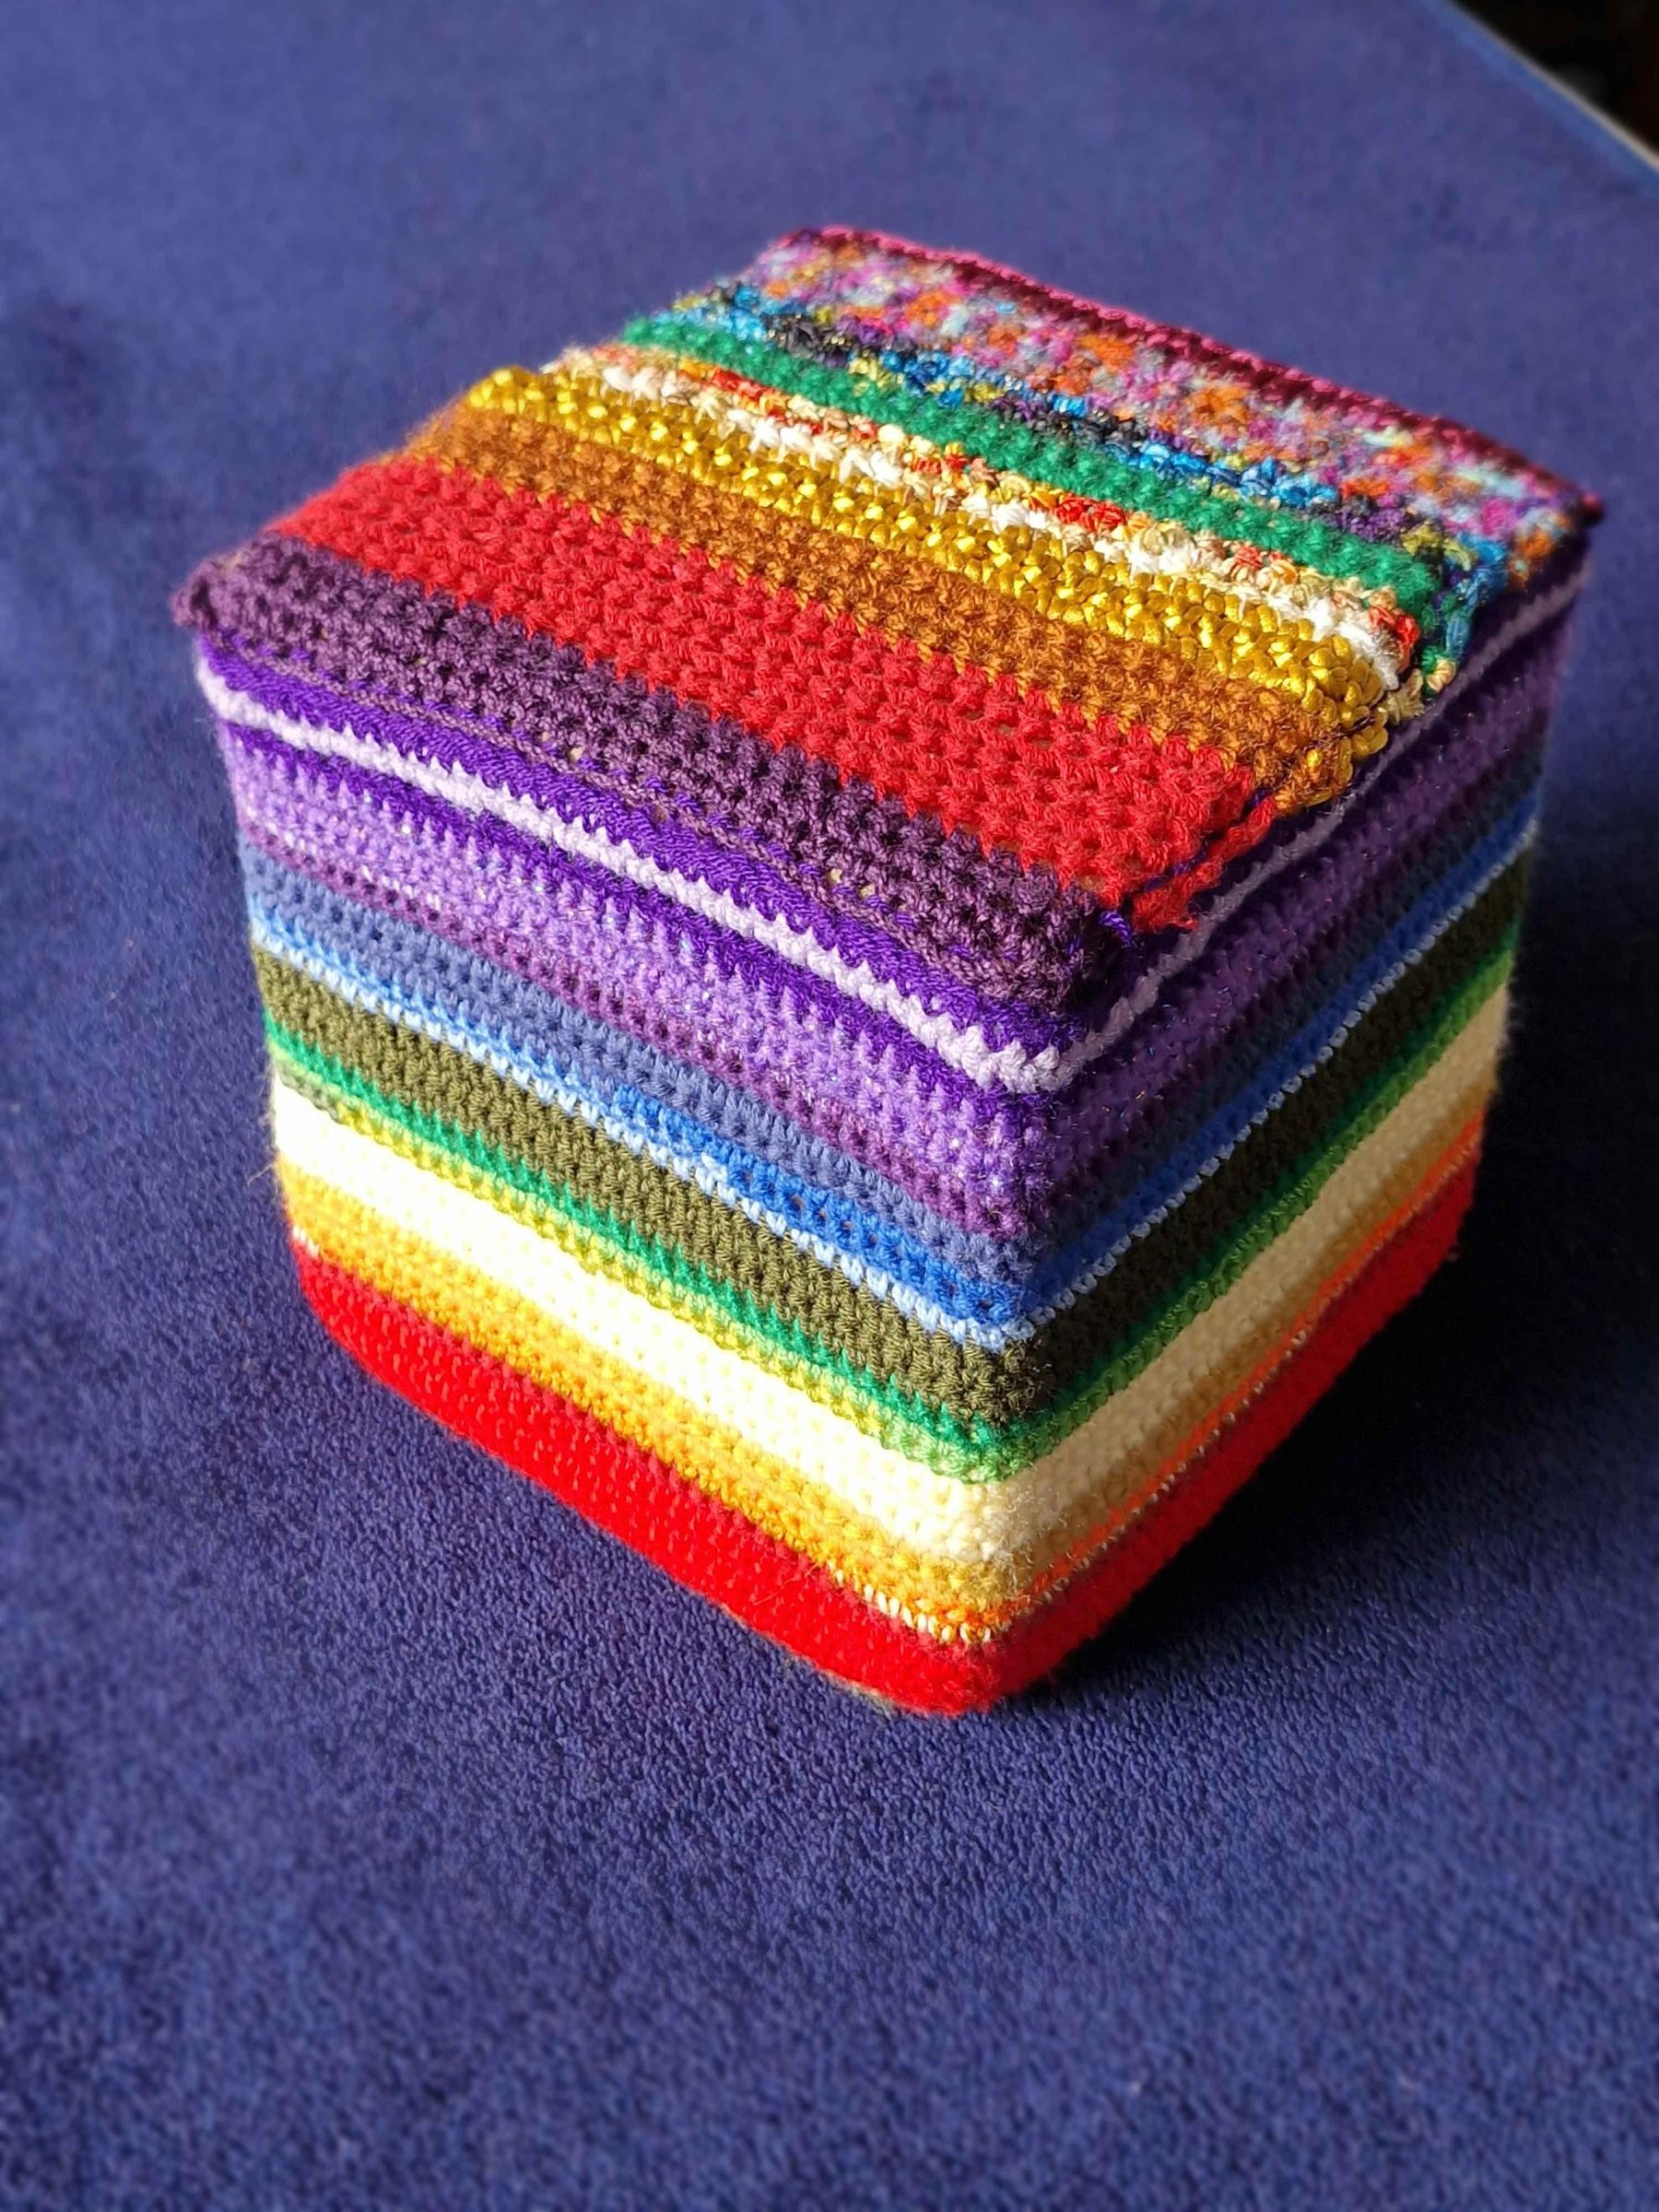
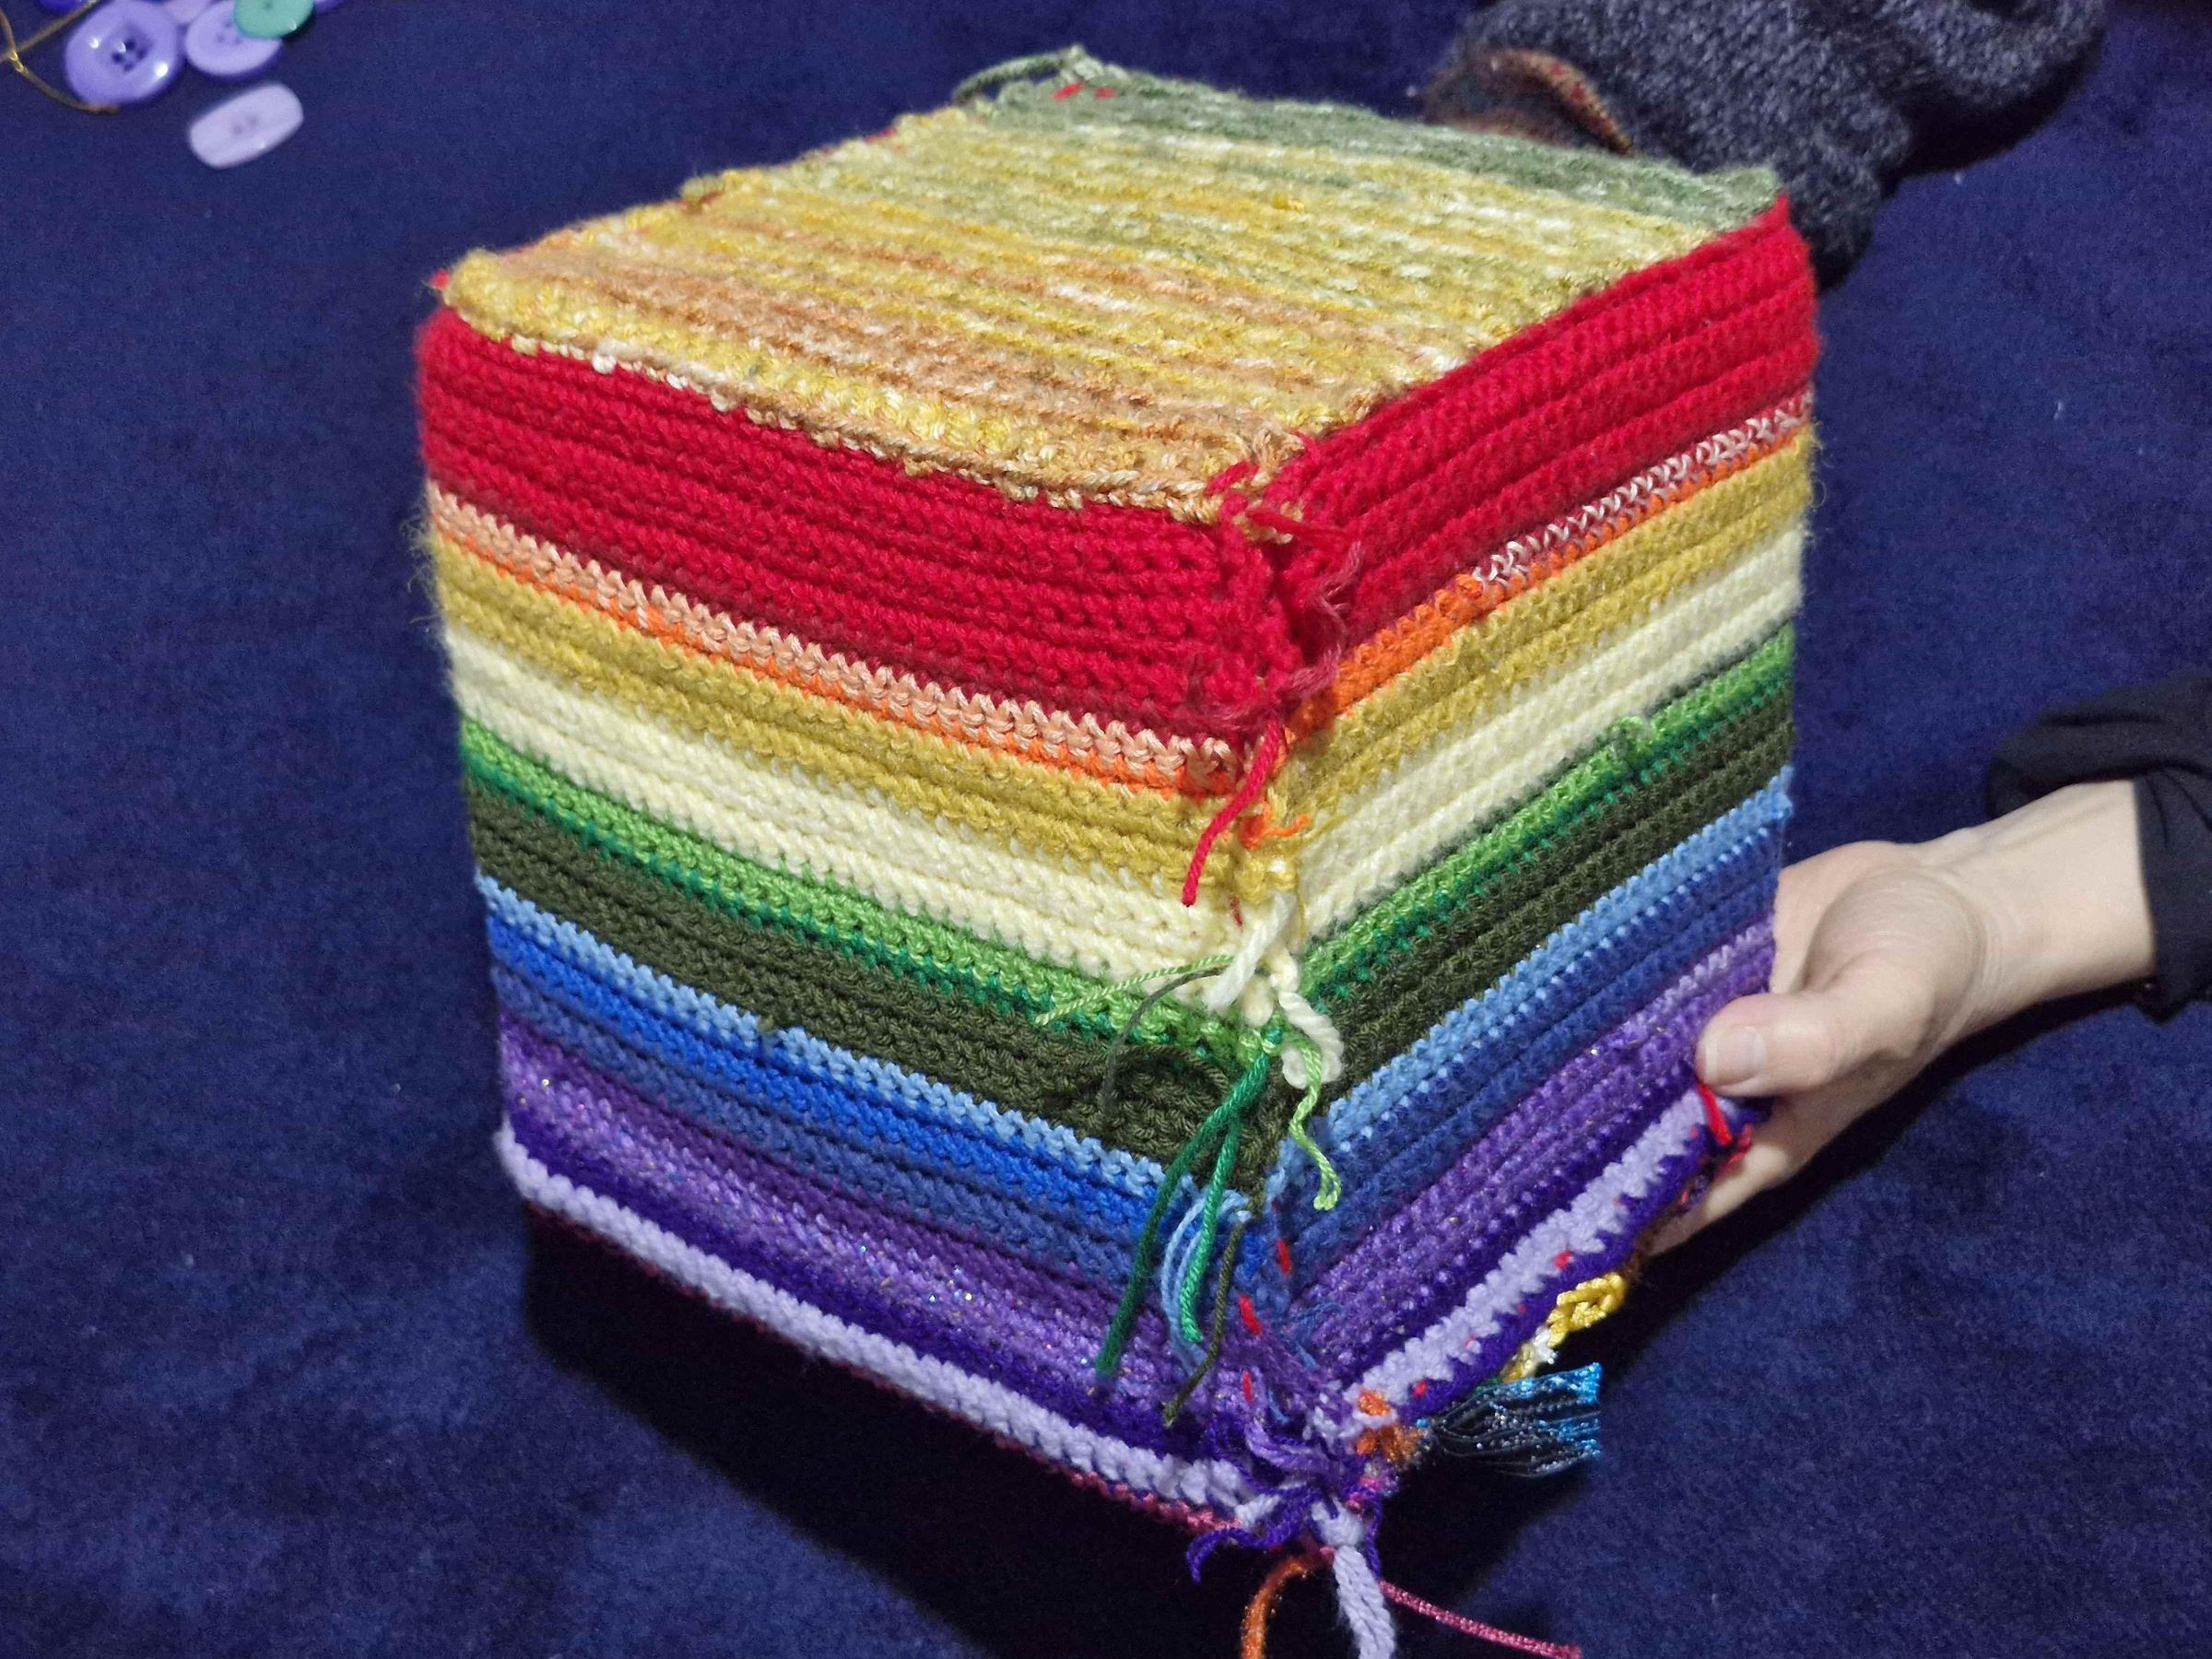
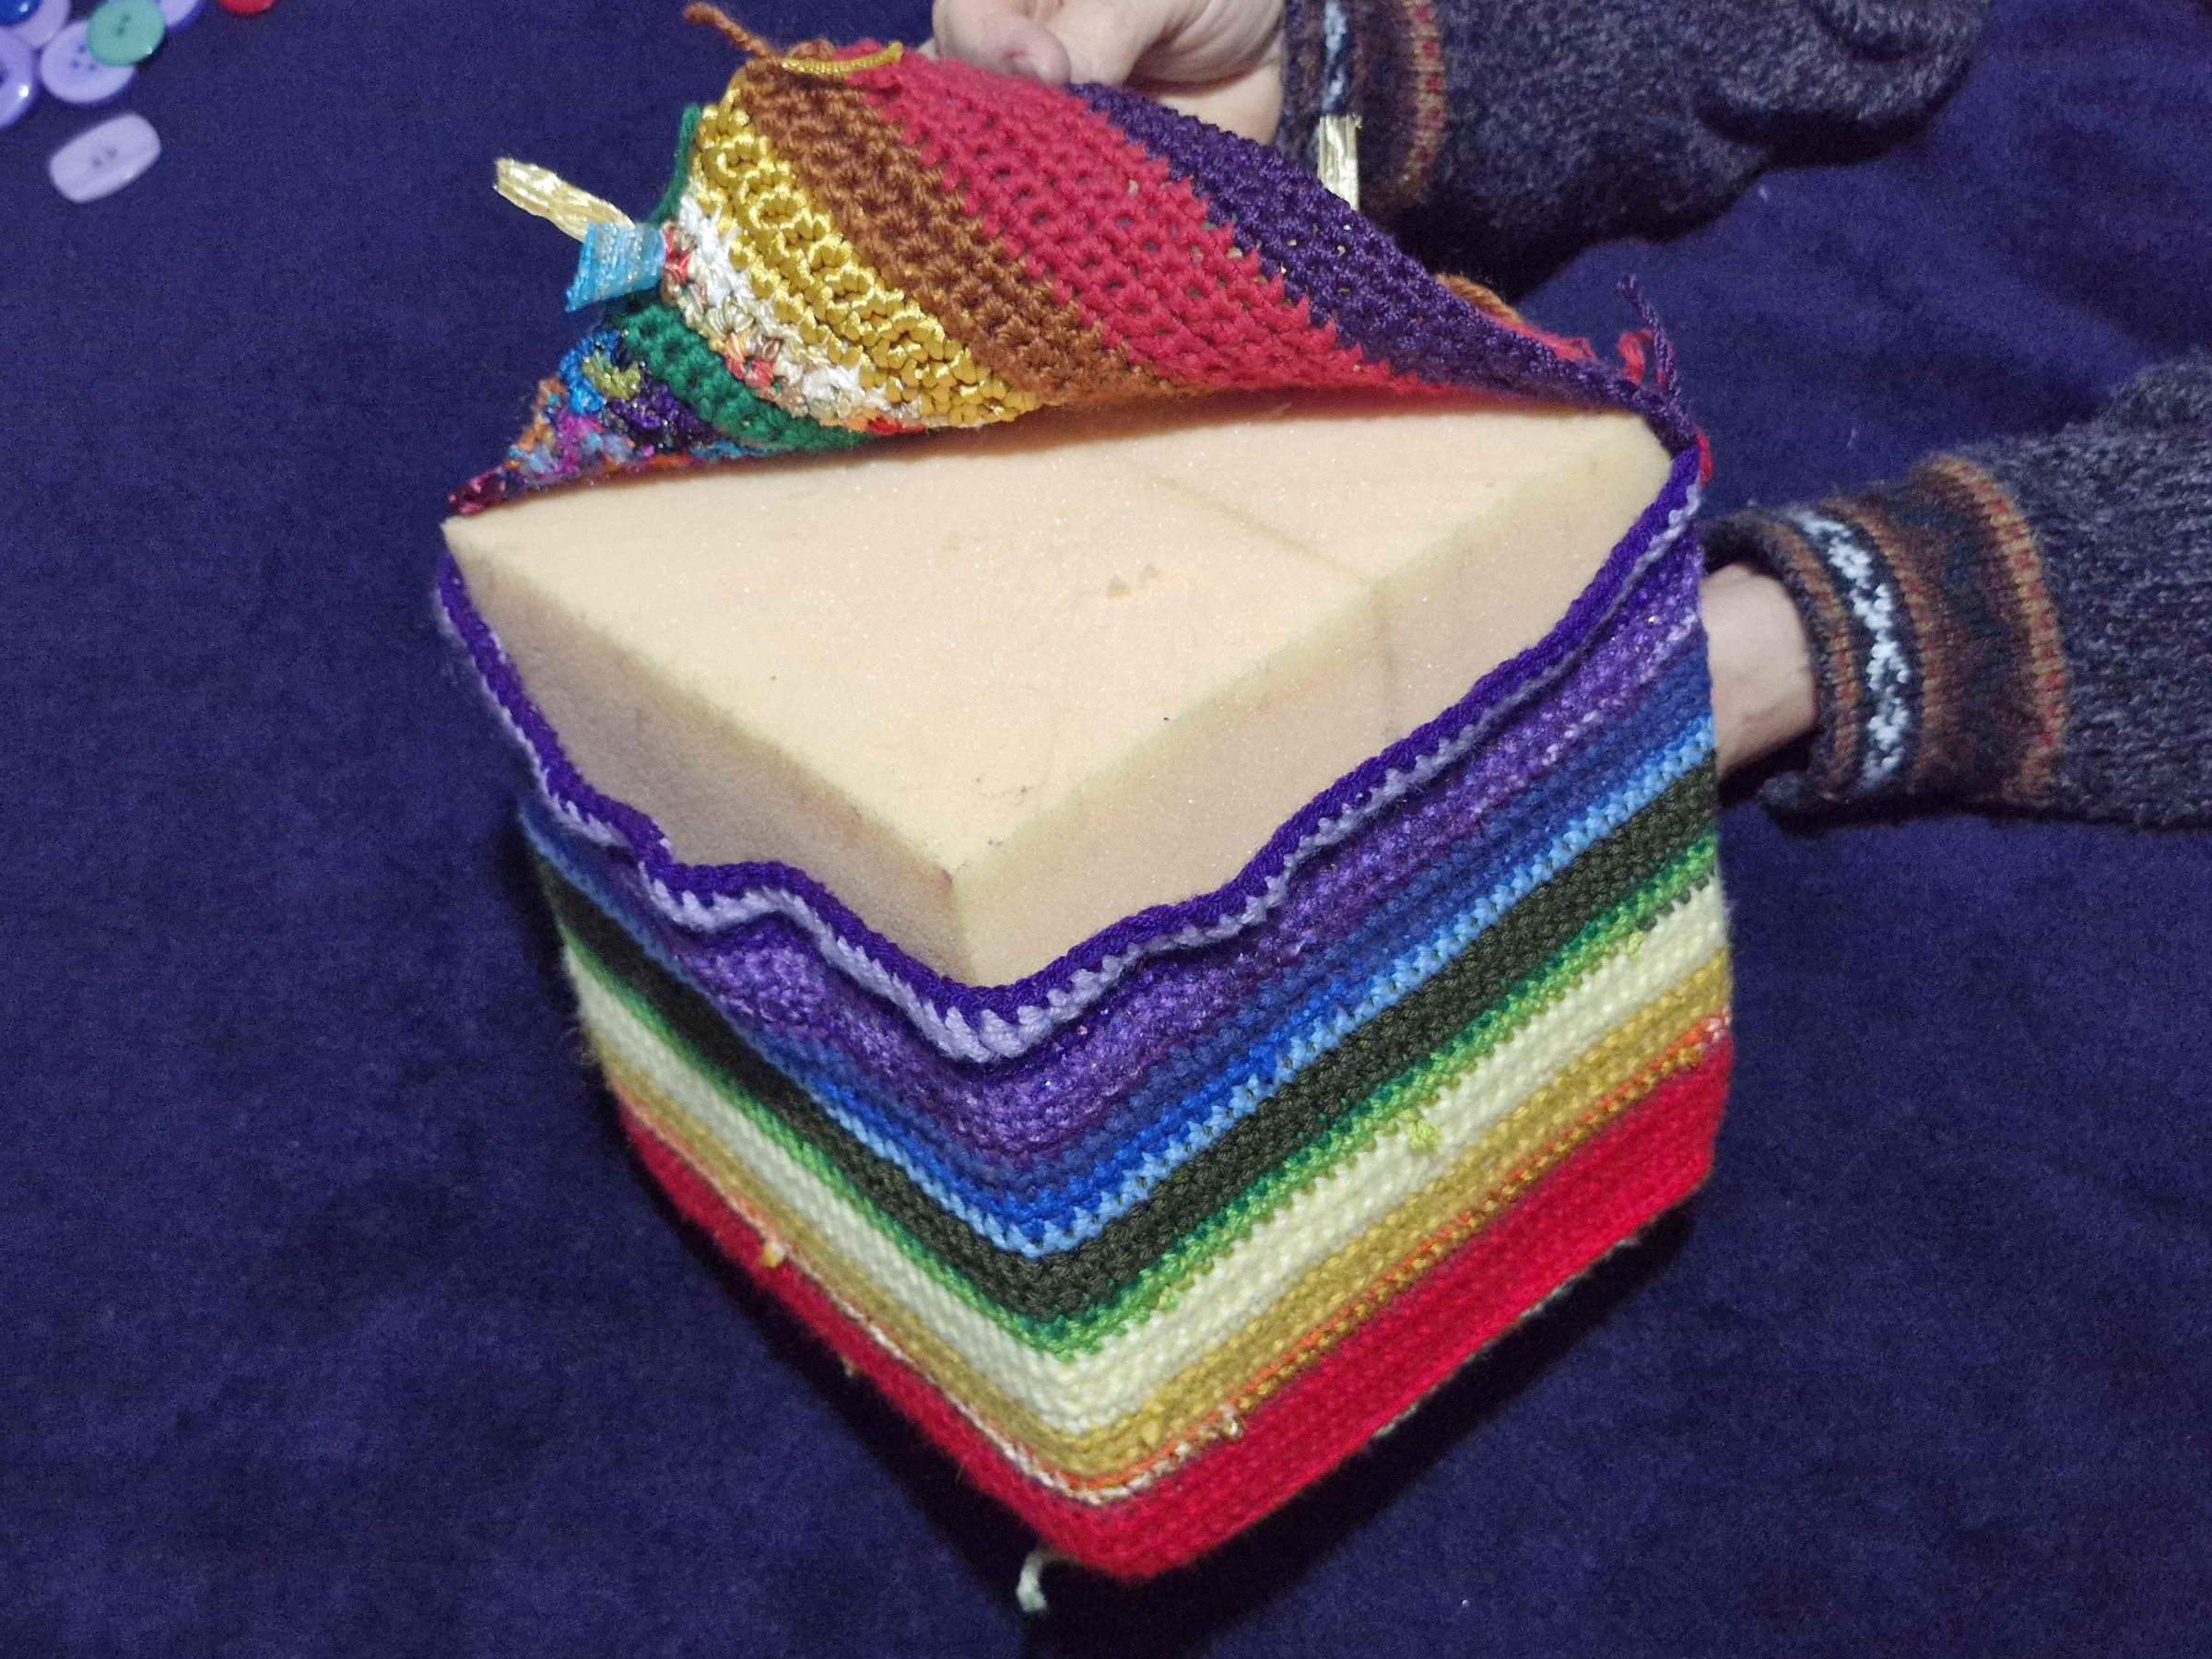
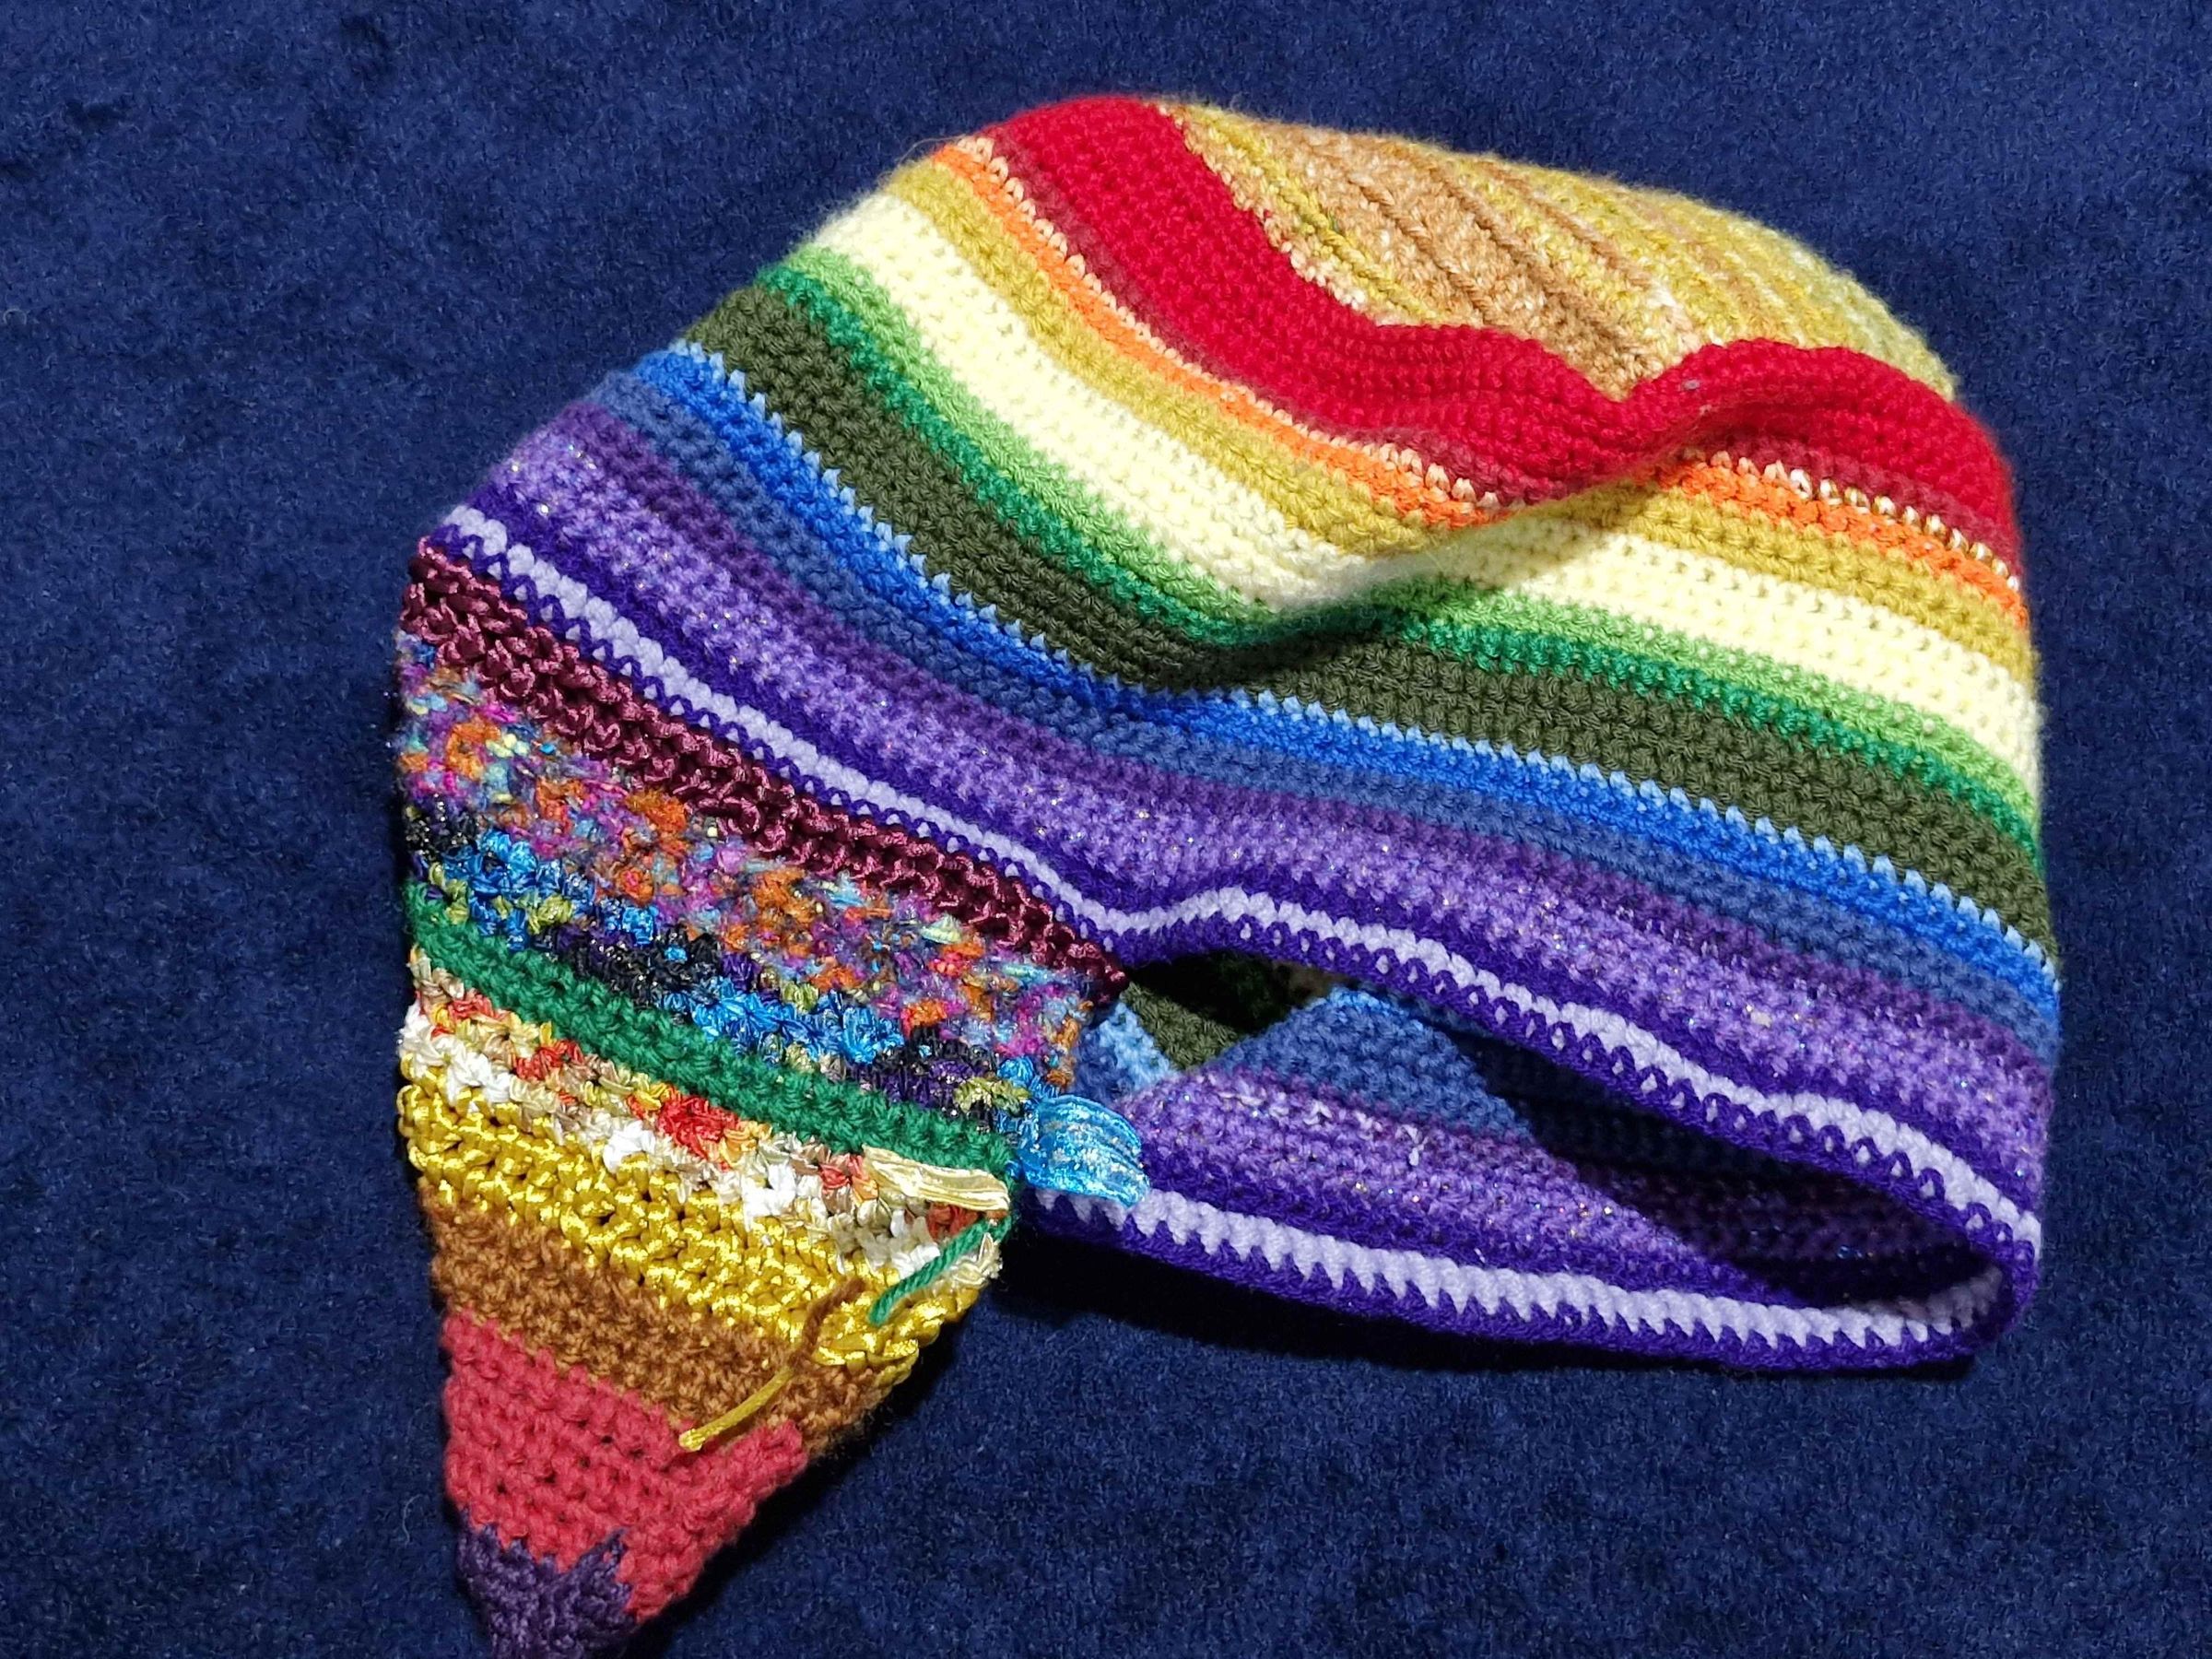
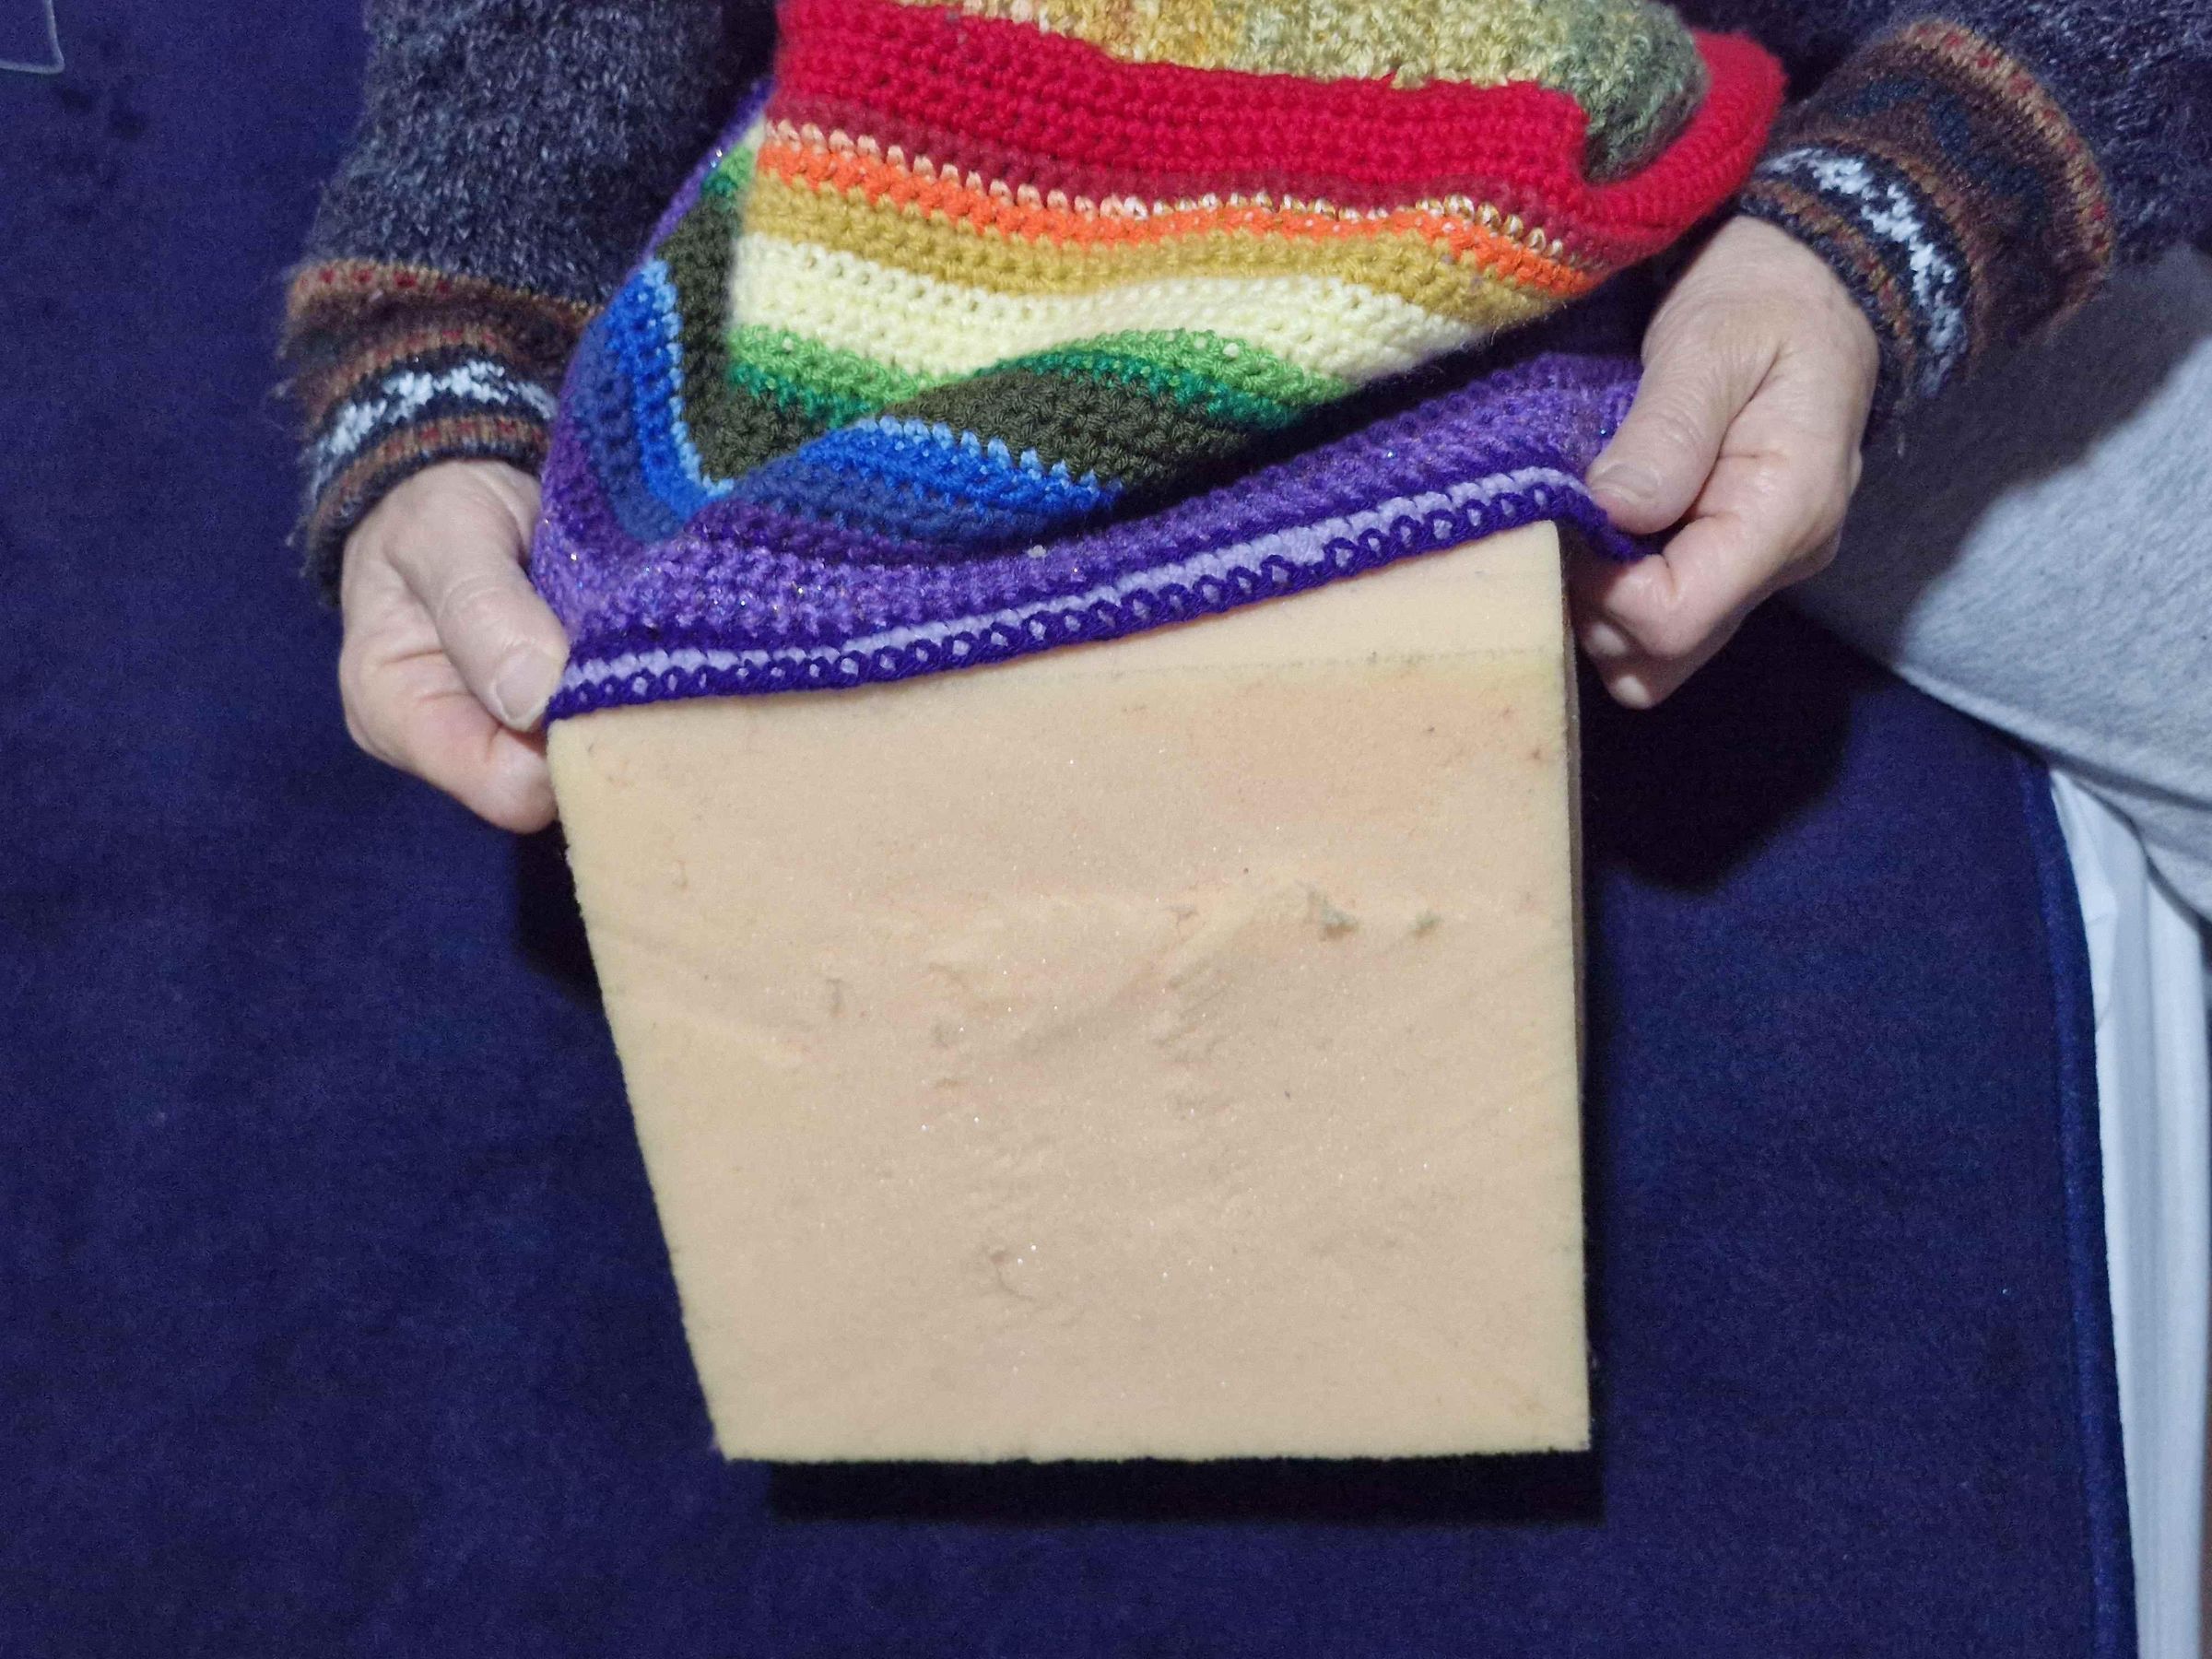
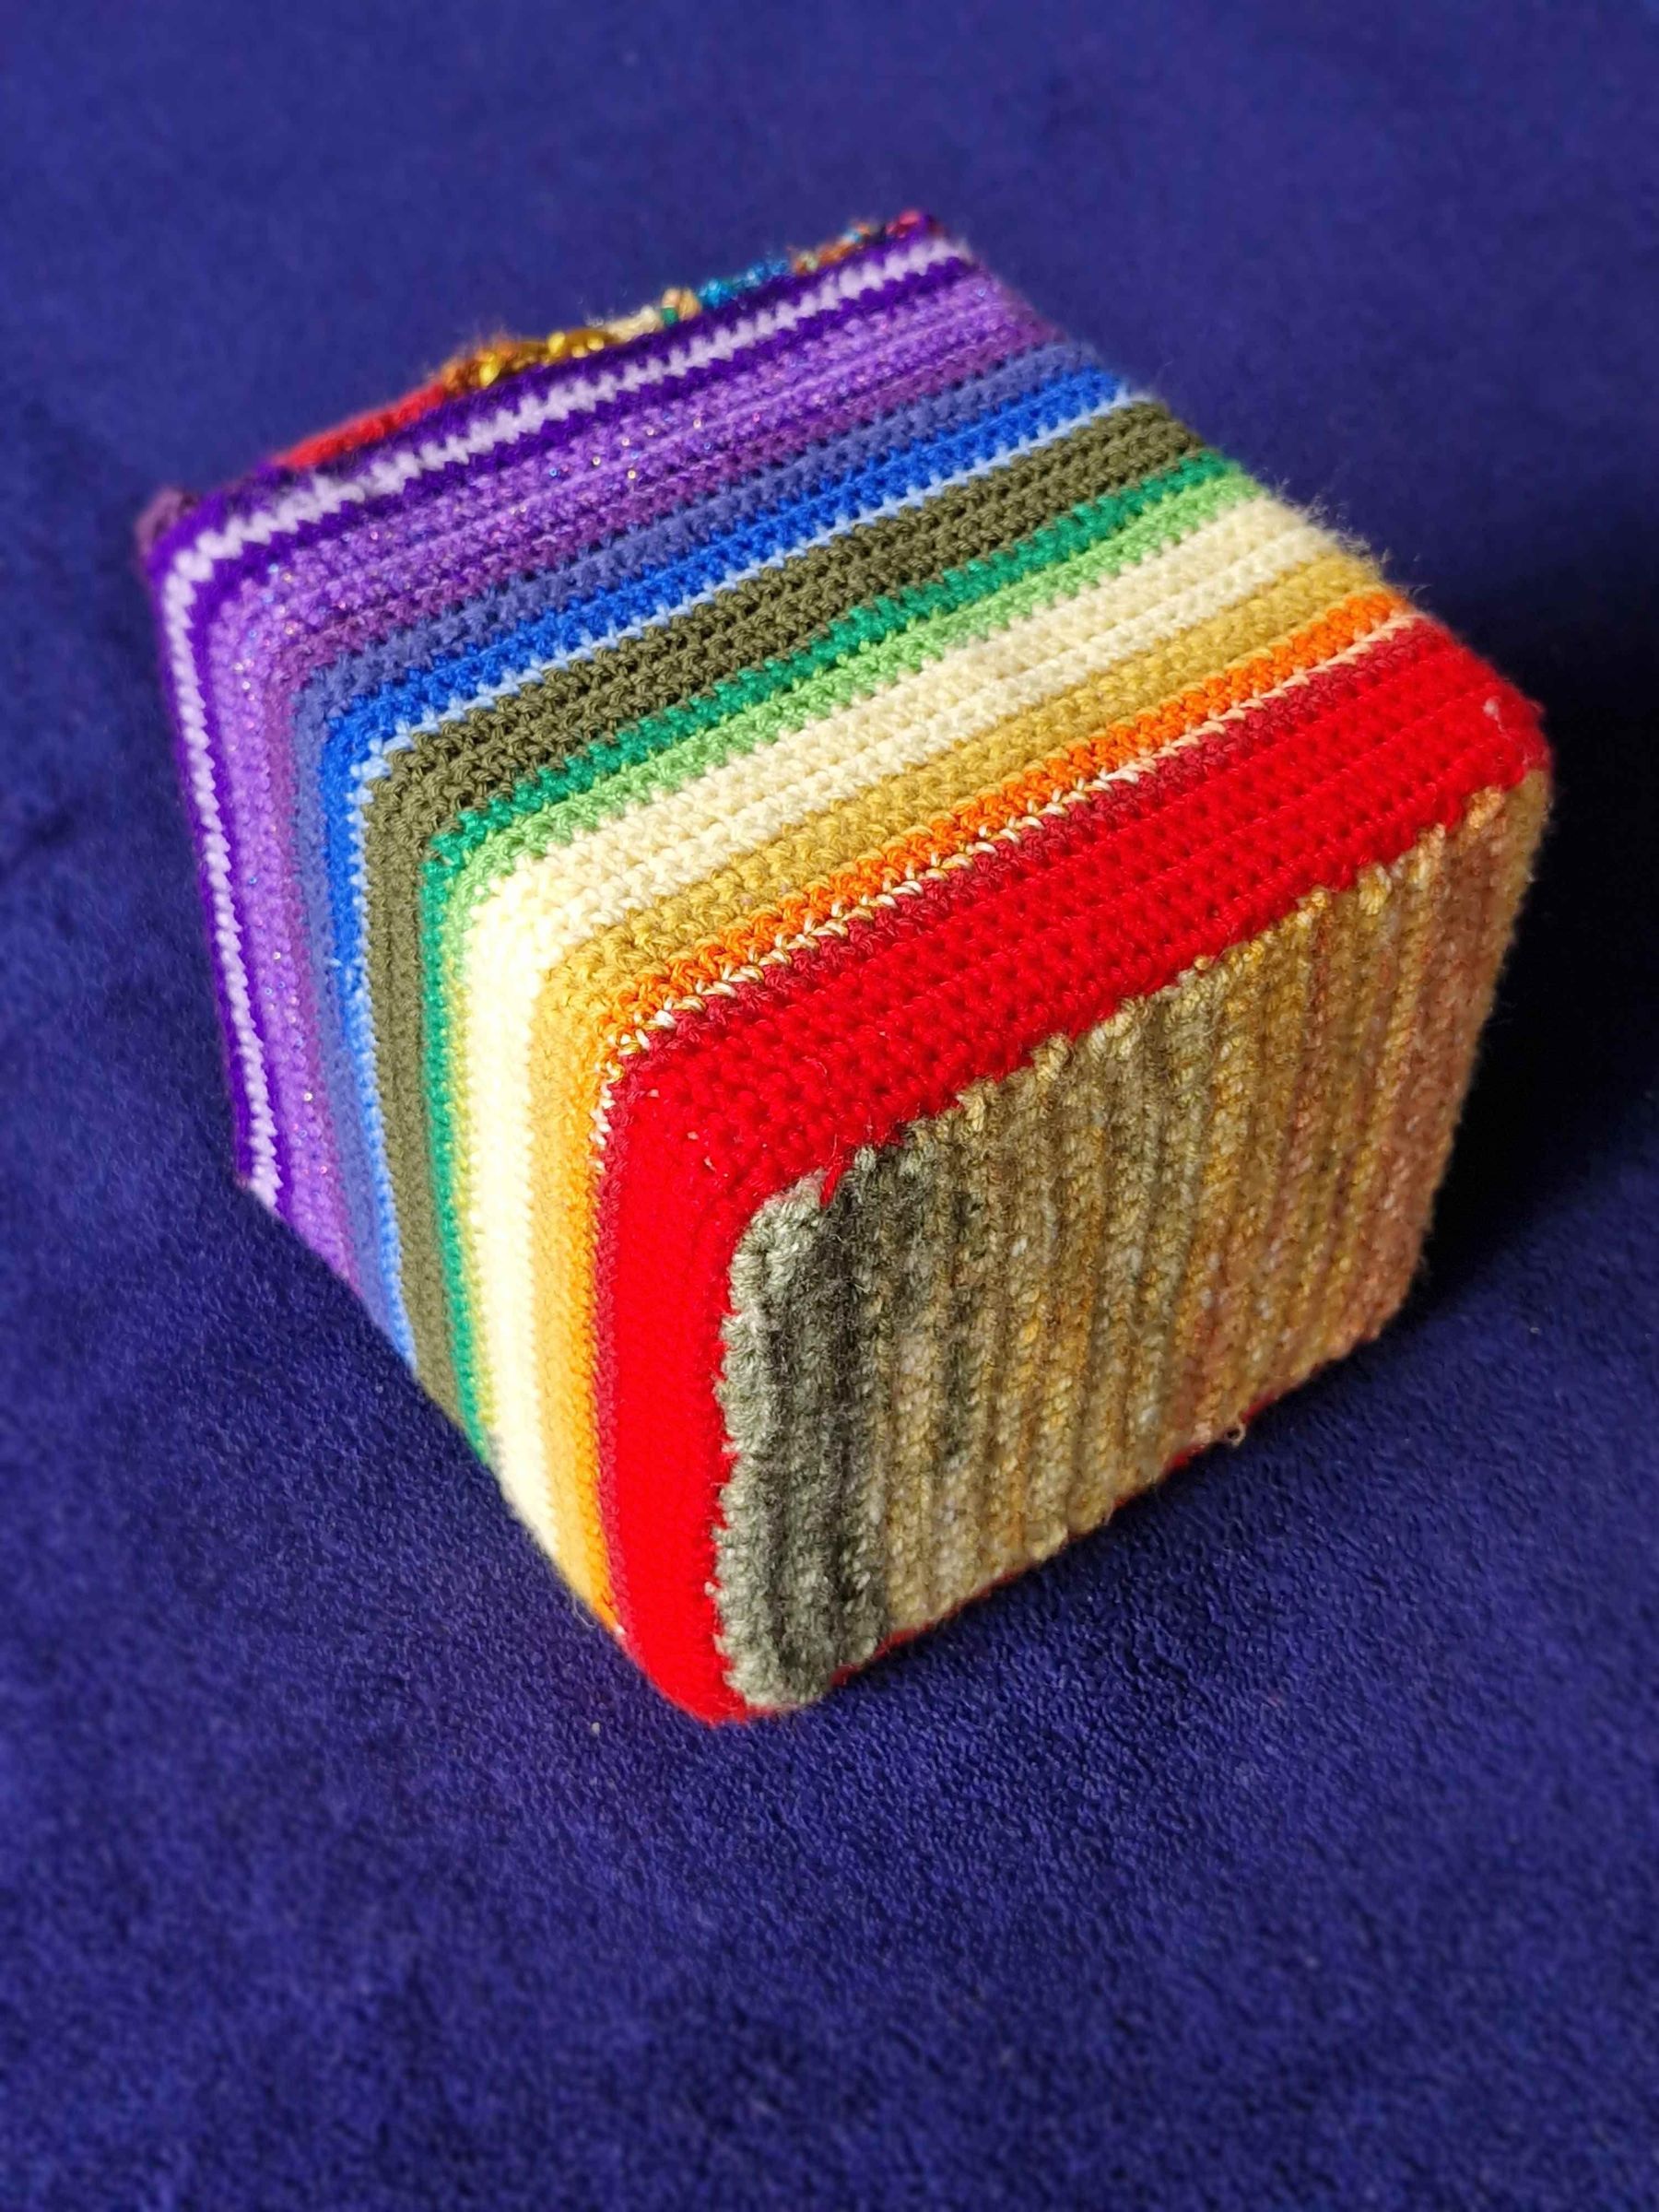
- Take the continuous side band crocheted in Step 2 and wrap it tightly around the 4 side faces of the 19 cm19 cm foam block.
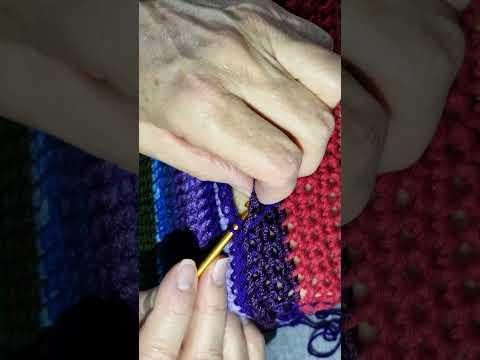
- Using a tapestry needle and strong thread, join the two ends of the band together using a neat mattress stitch / invisible seam.
- Position Cover 1 on the bottom face and Cover 2 on the top face.
- Carefully whipstitch or mattress-stitch the perimeter of both covers to the edges of the side band, ensuring the fabric is evenly taut over the foam without warping the cube's shape.
Sorting and Preparing Interactive Materials by Color
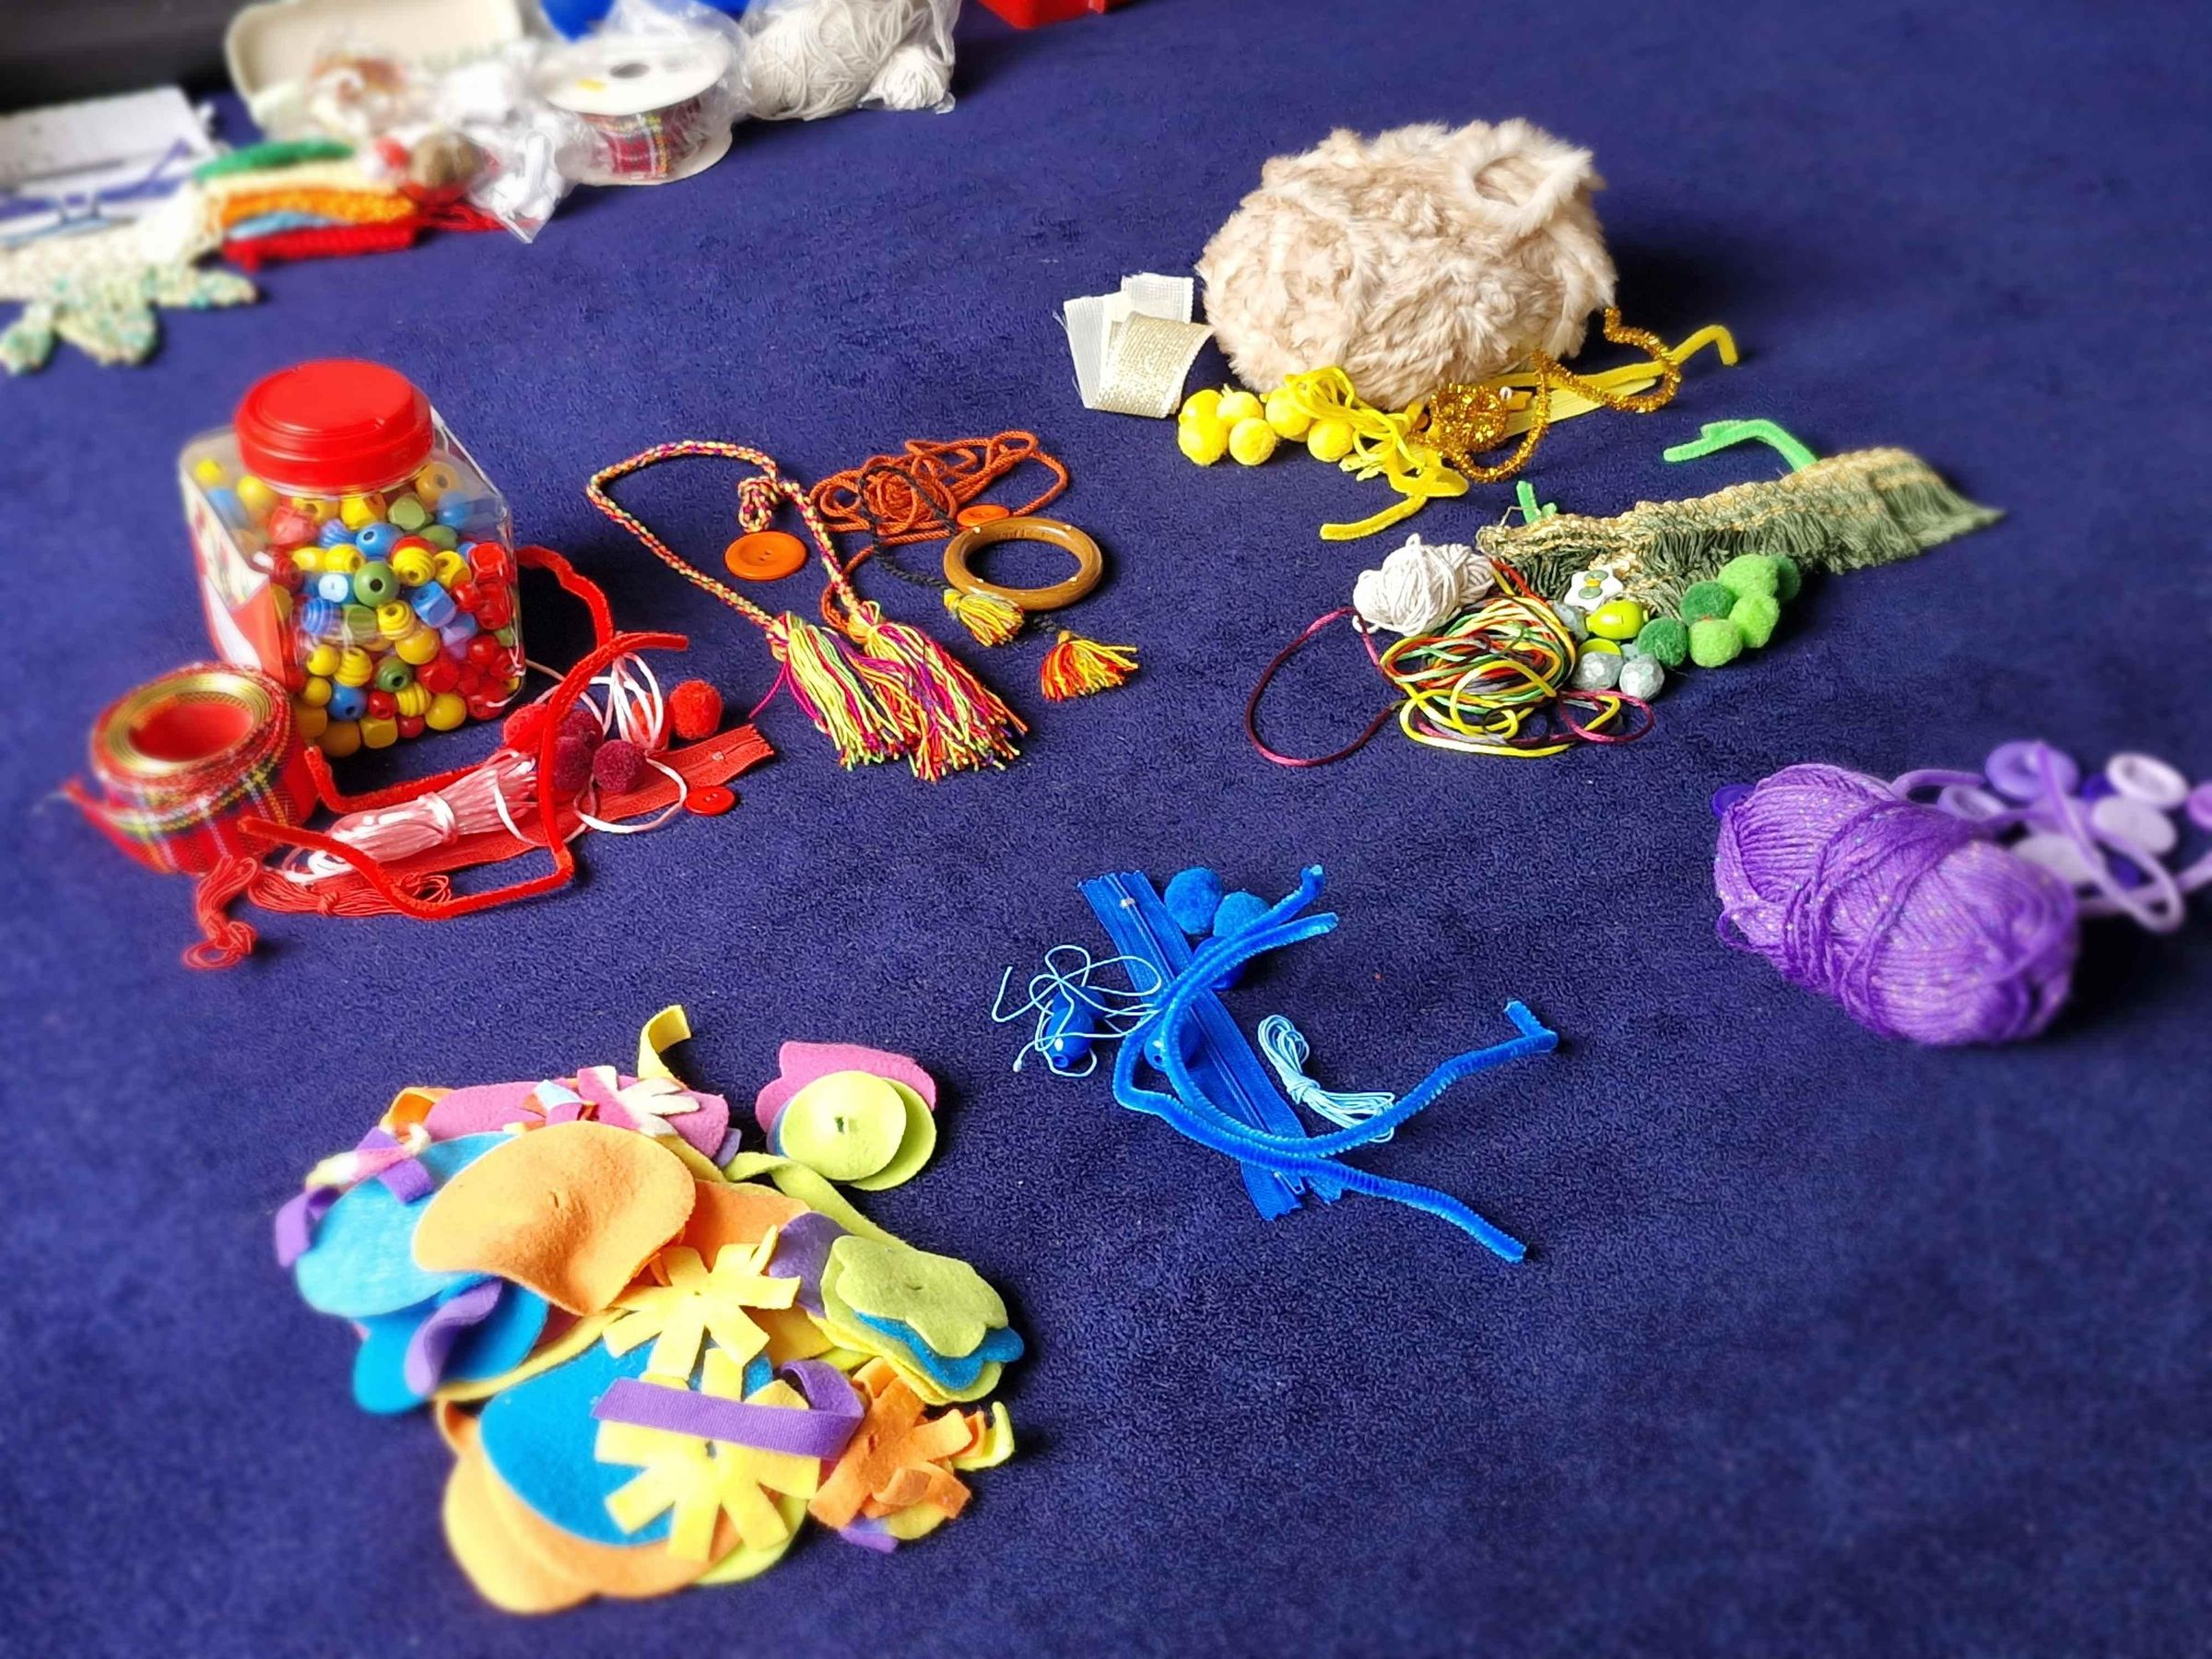
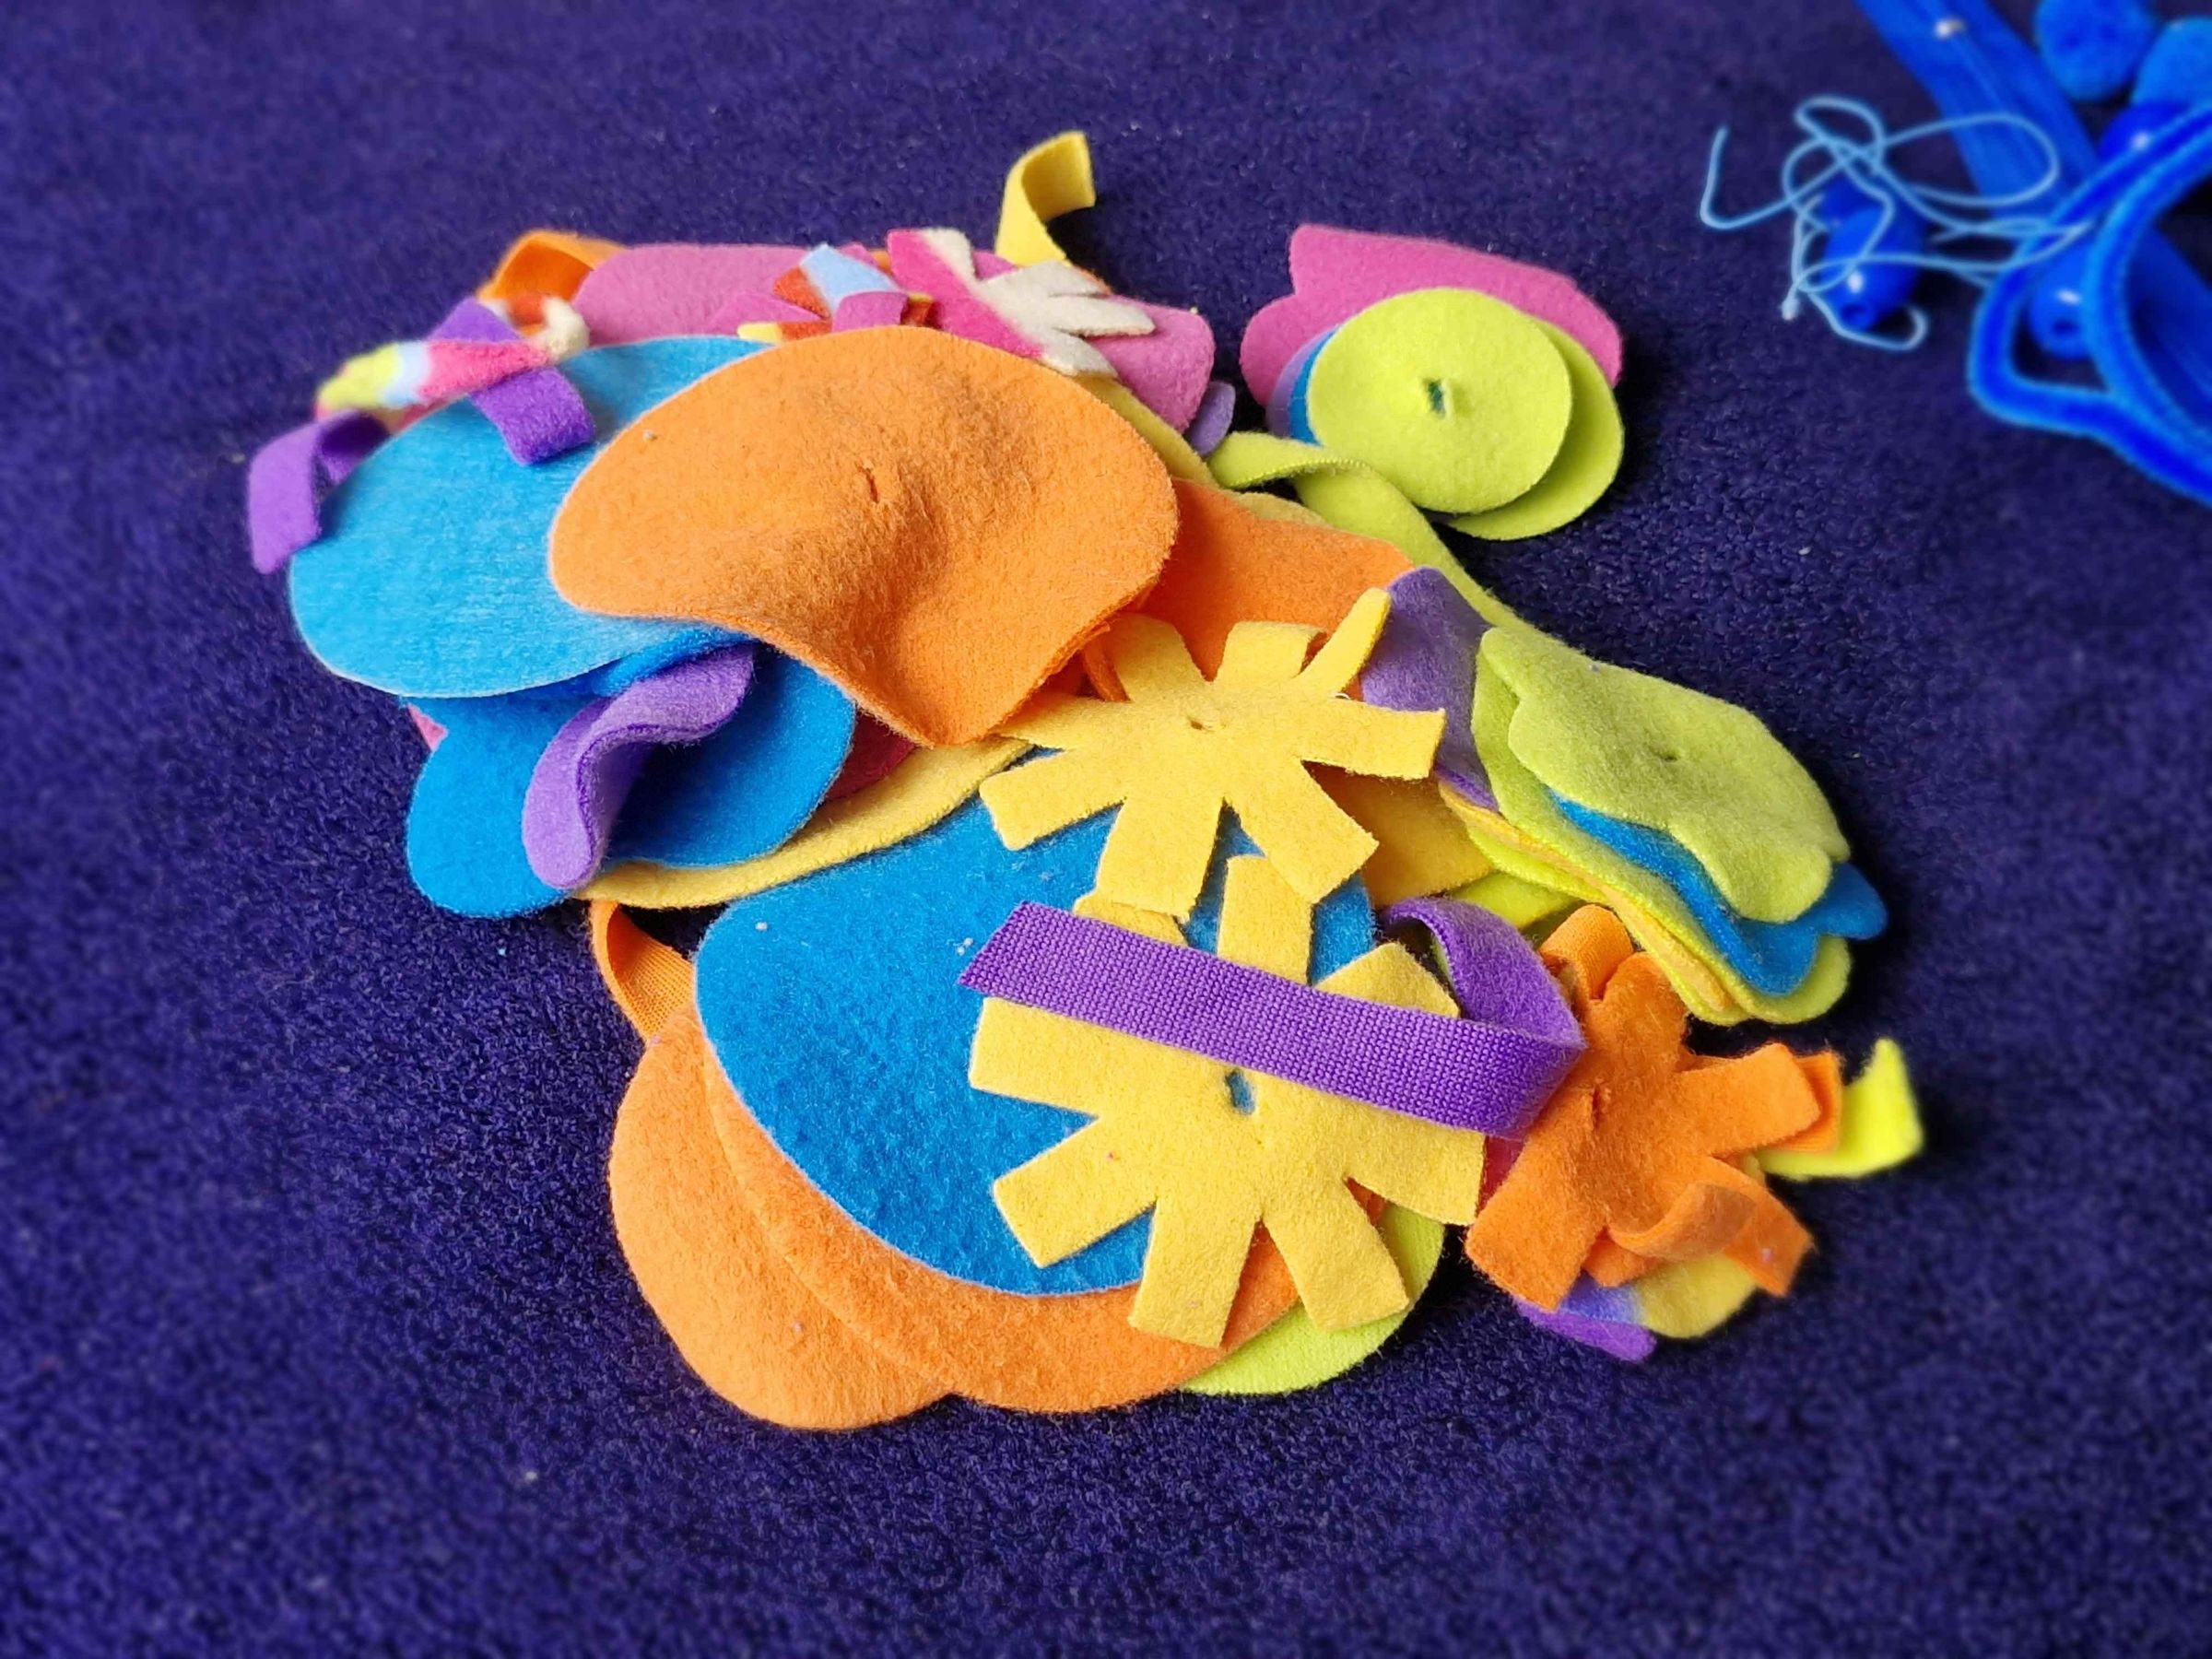
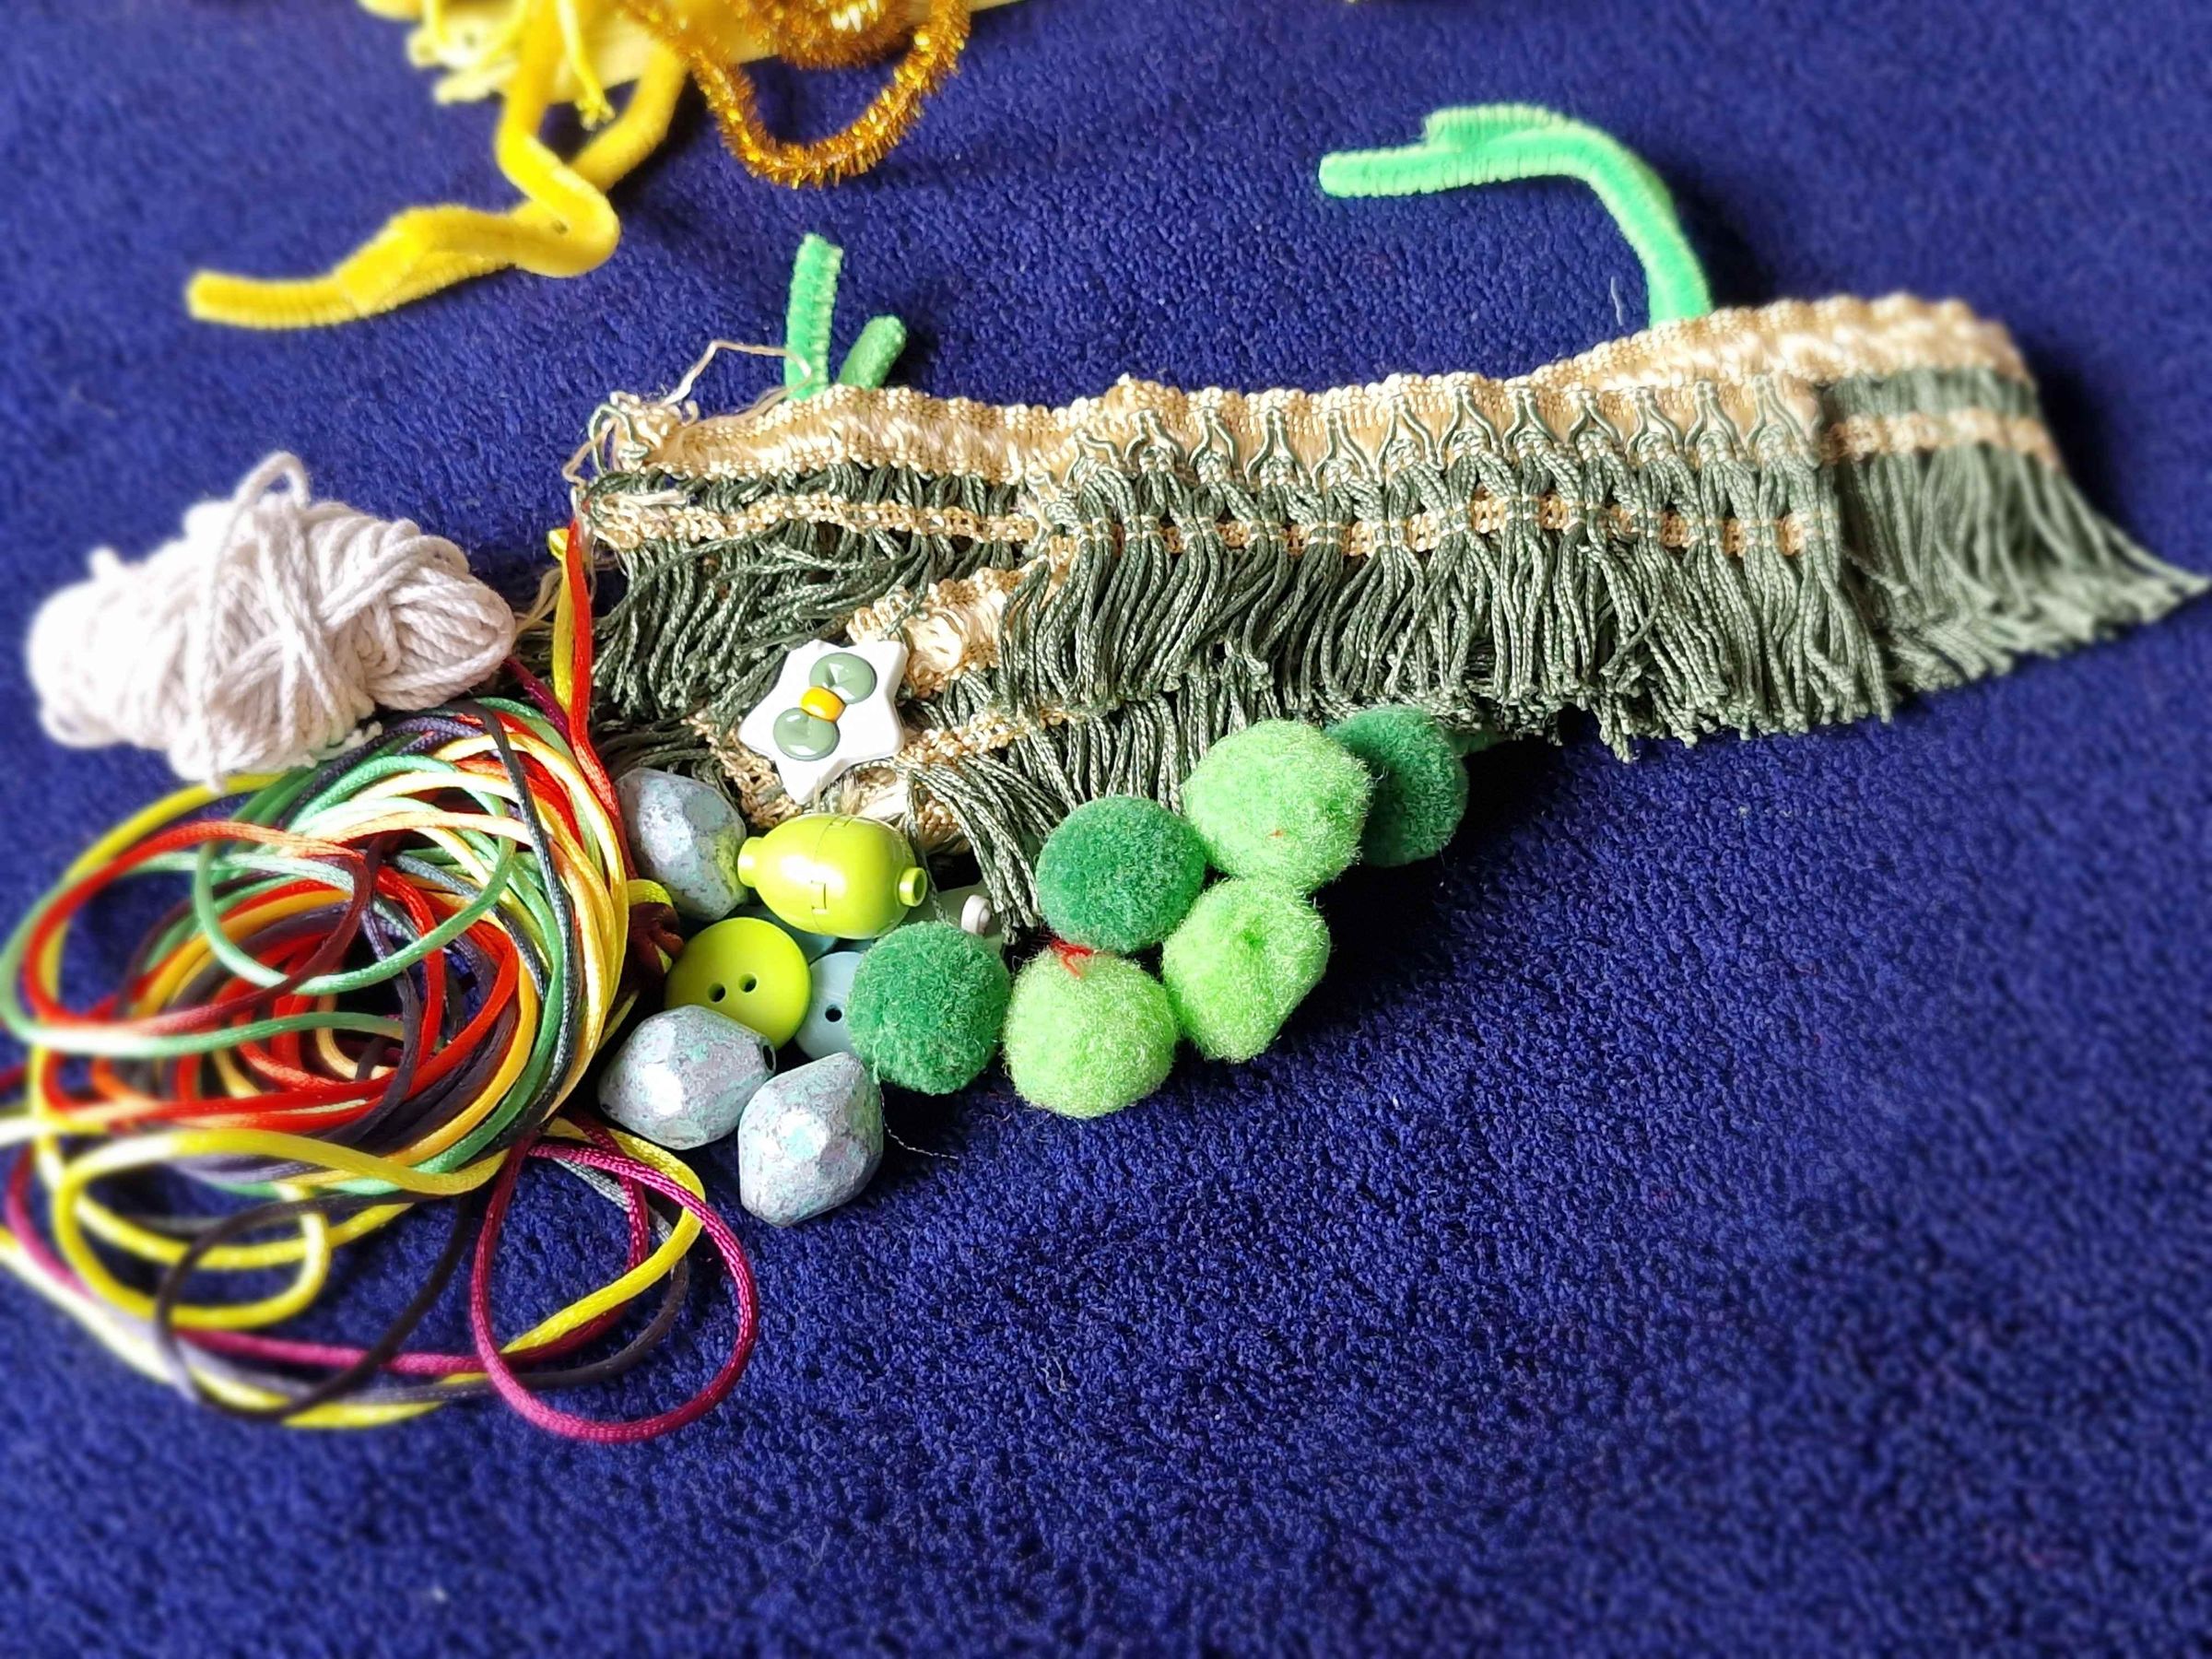
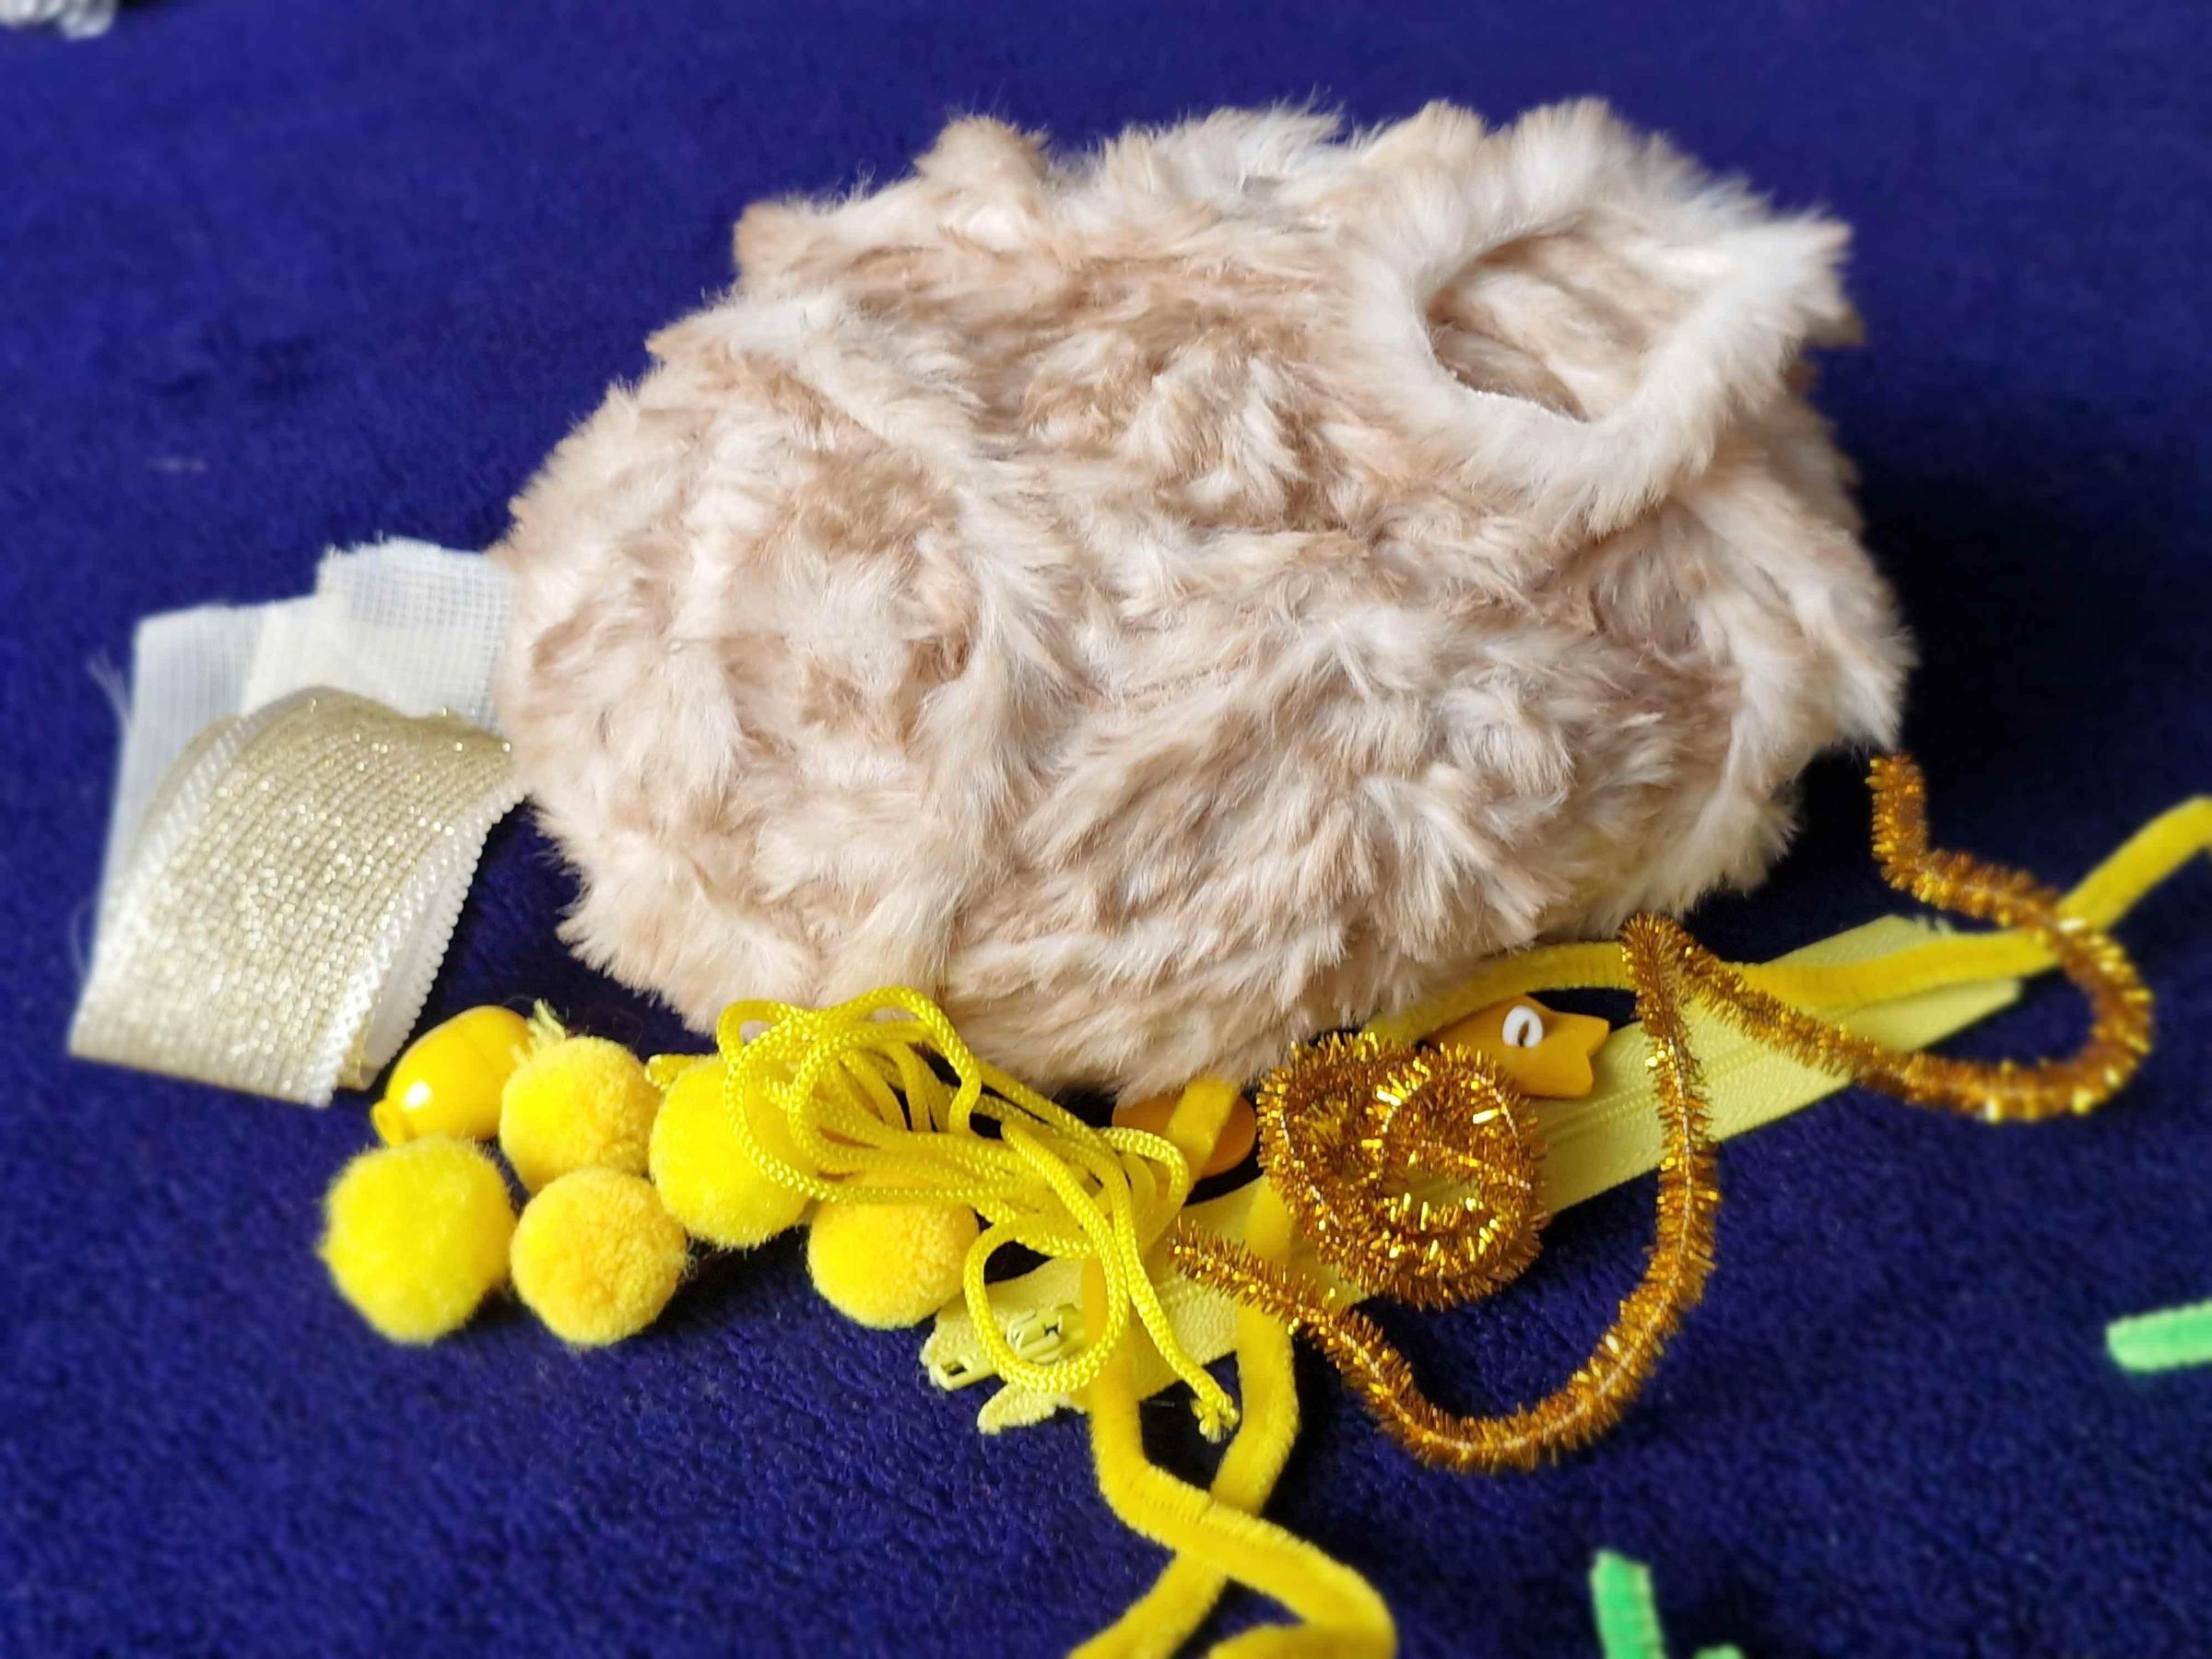
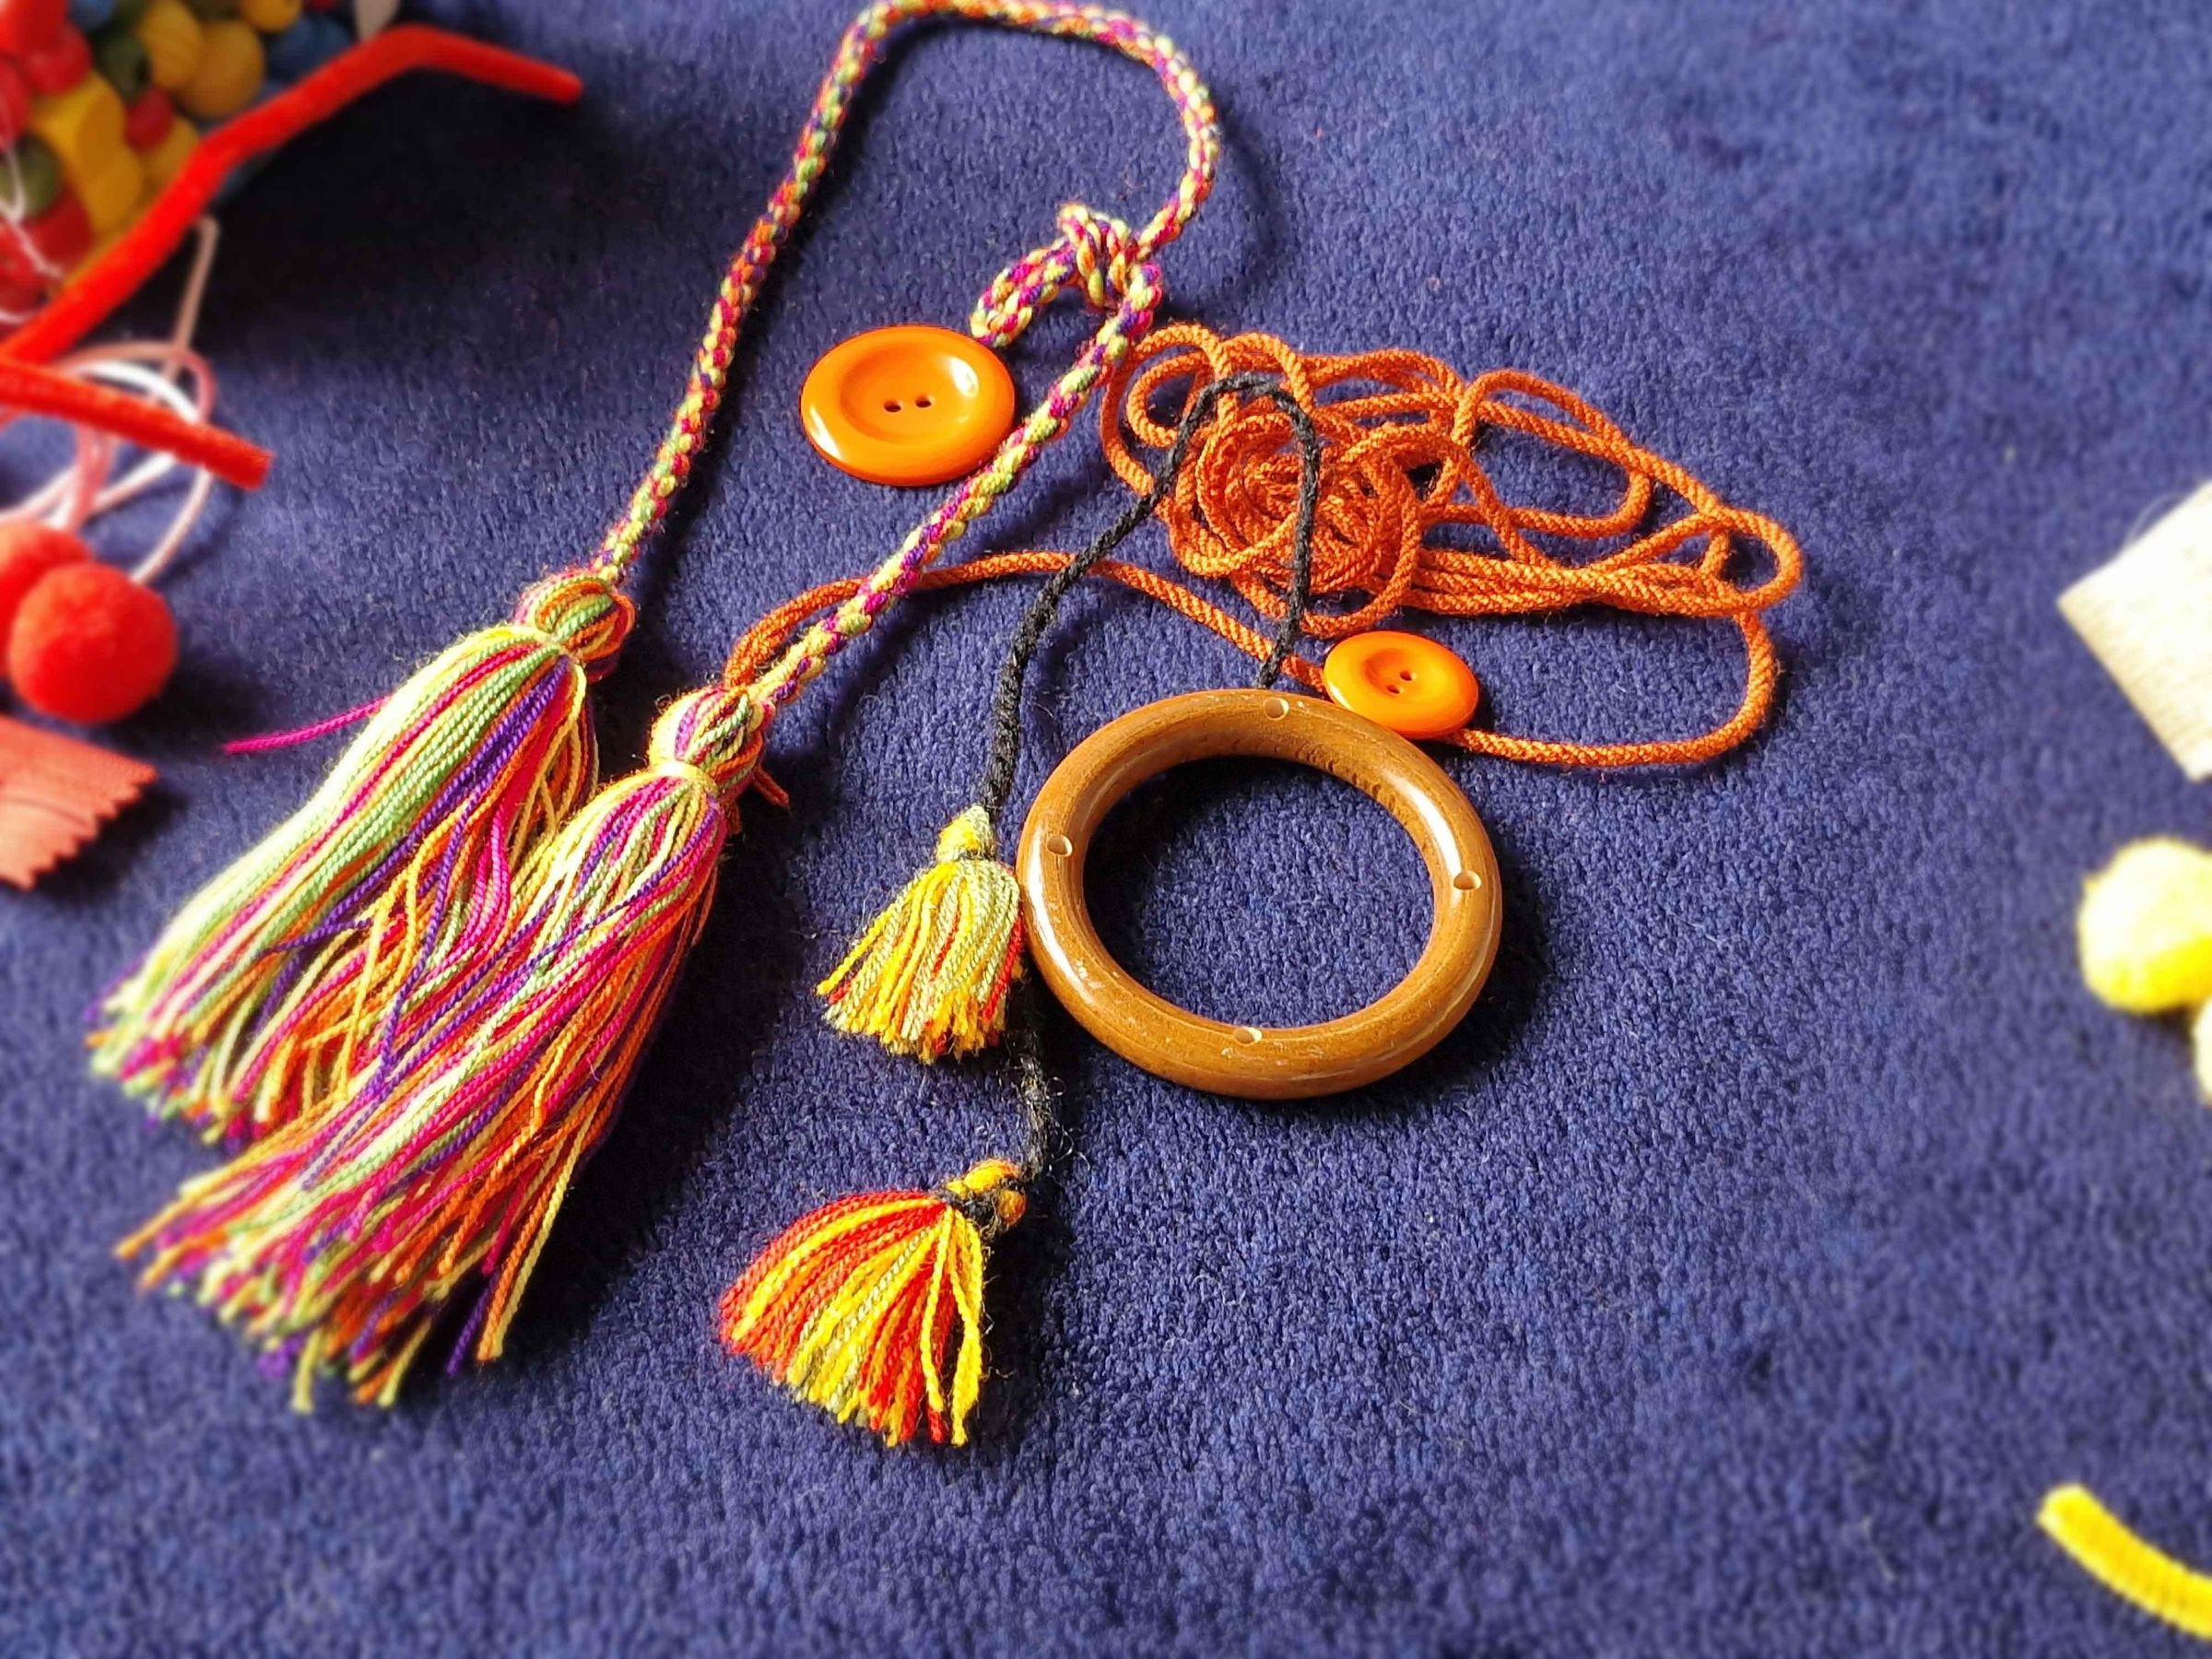
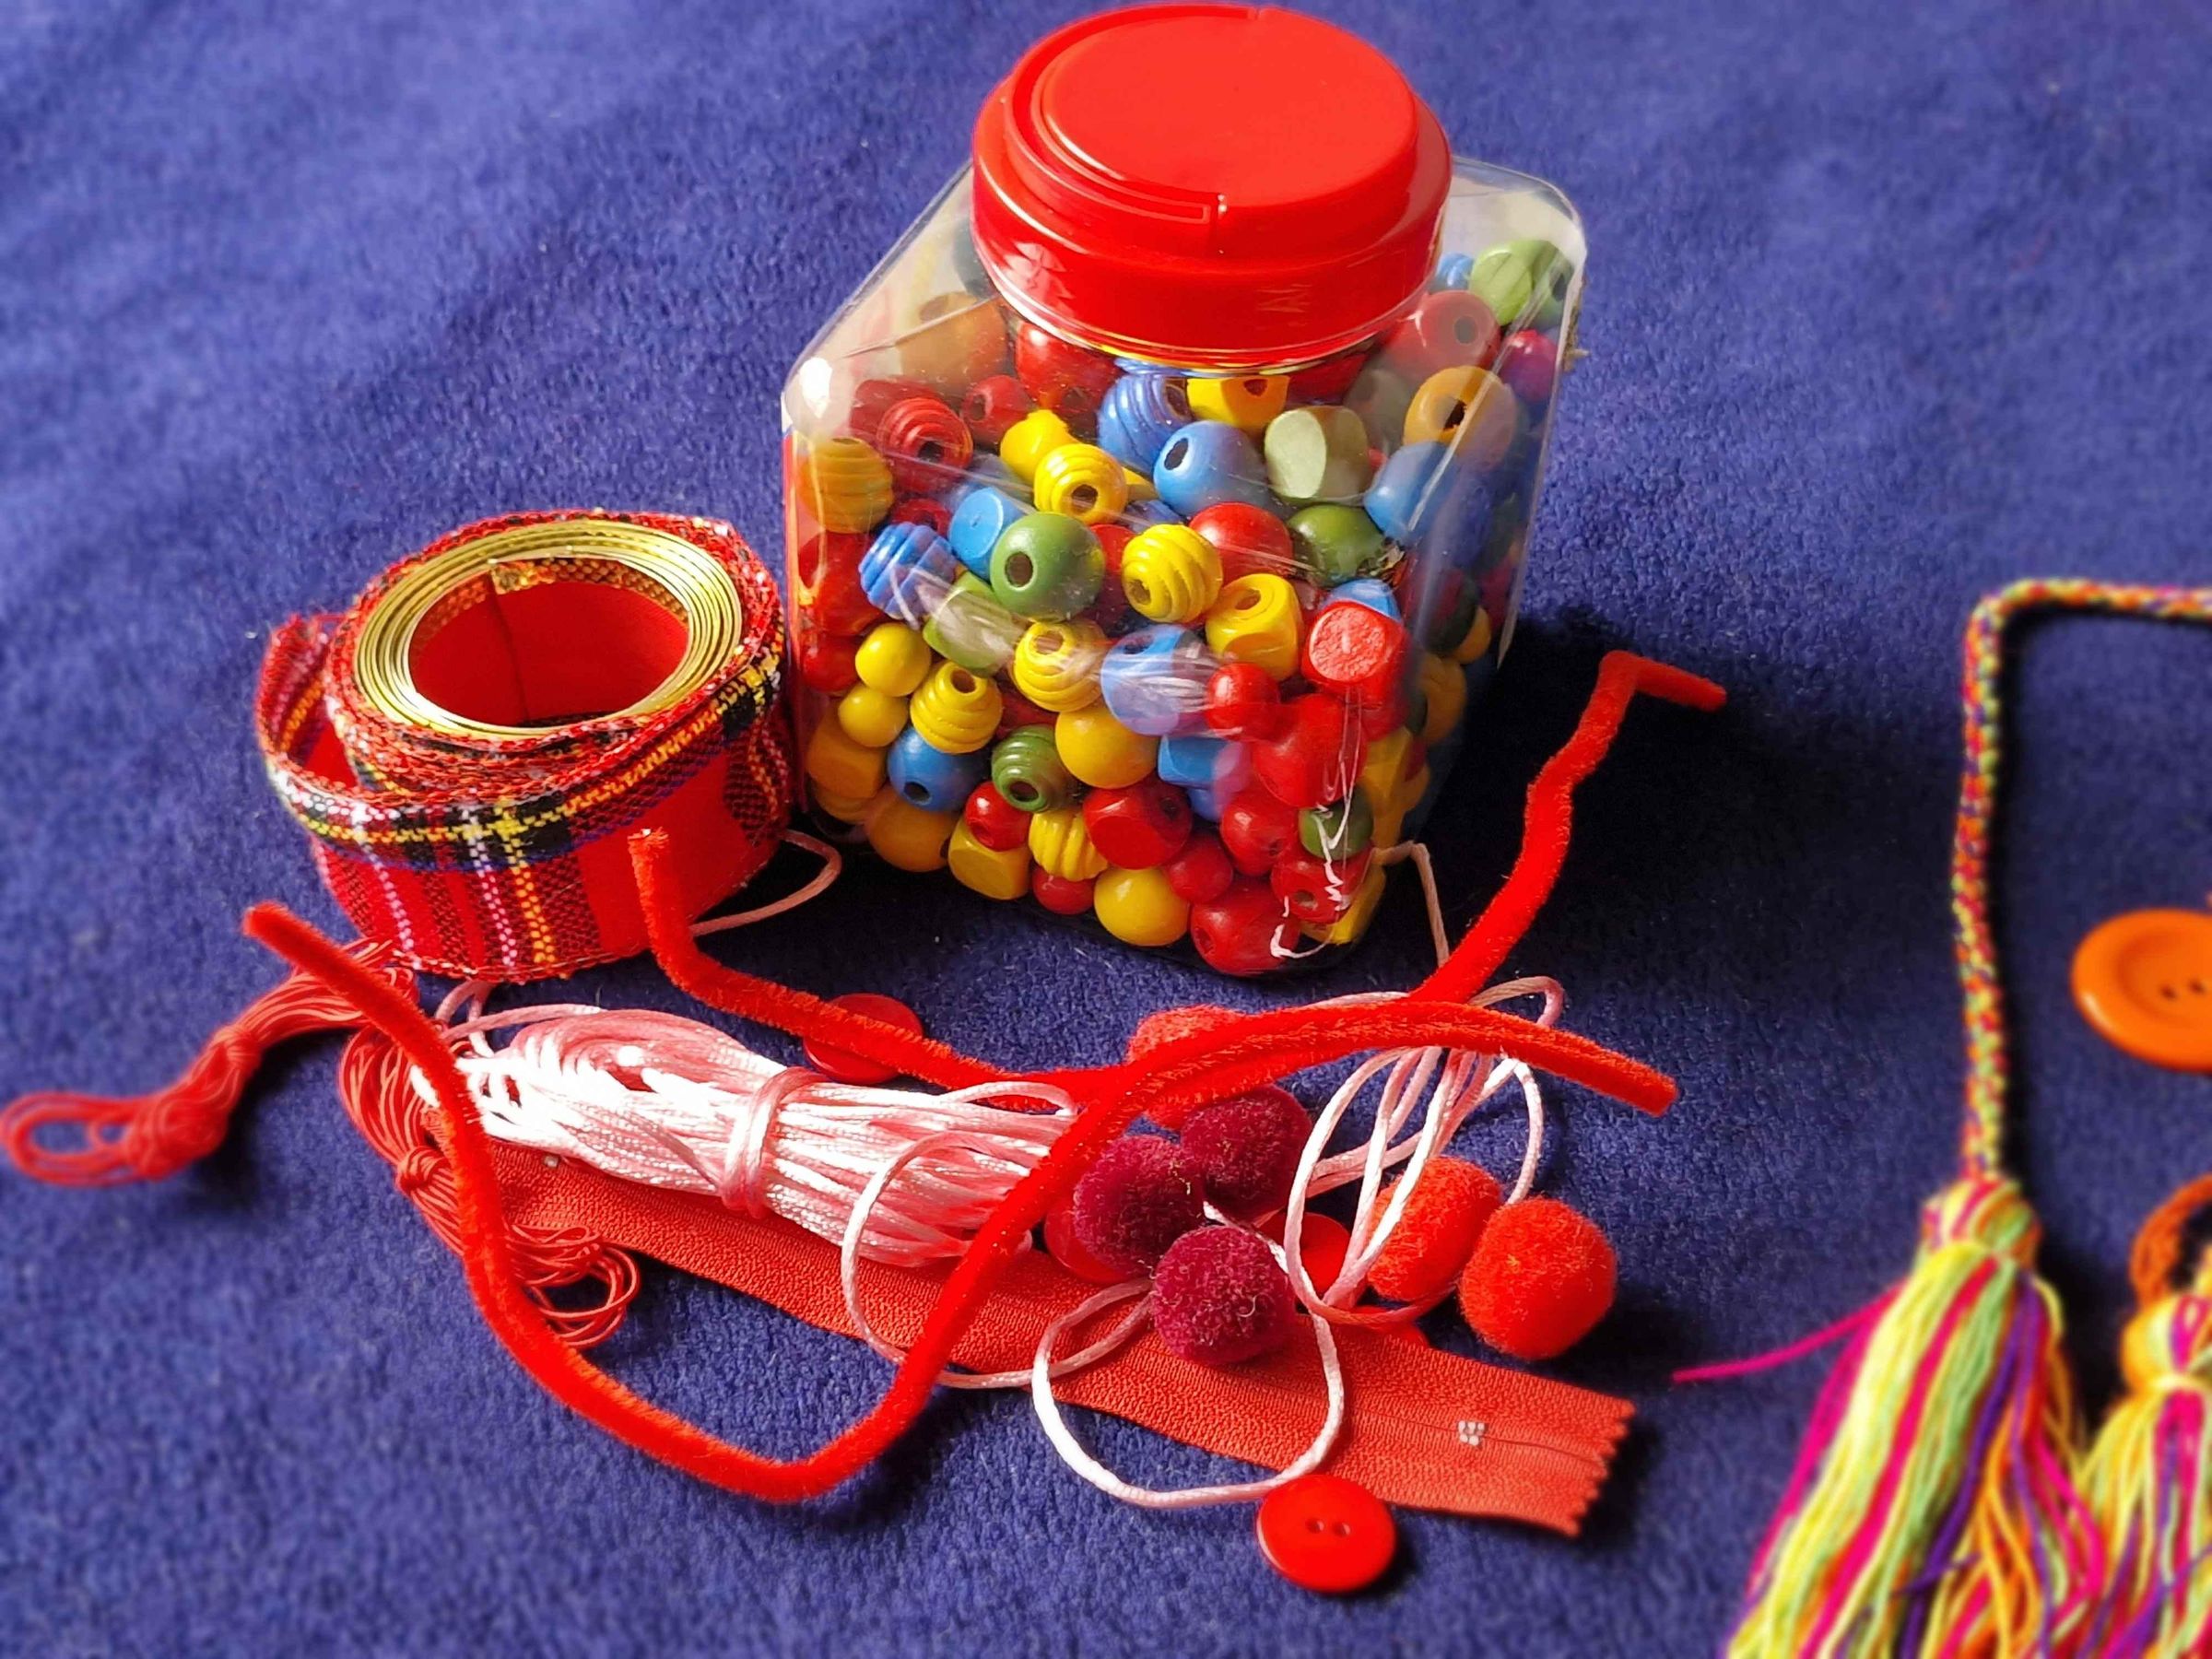
Before fixing components onto each face, sort and organize all accessories and sensory elements according to the corresponding rainbow color for each panel. This ensures that every face retains its monochromatic identity and dedicated activity:
- Red Group: Gather the red zipper, red elastic band, 3 dark red cotton beads, red pocket yarn, and red craft foam ball.
- Orange Group: Separate the orange buttons, orange seed beads, orange knitted flap, and orange felt fabric cutouts.
- Yellow Group: Prepare the yellow yarn for the knitted pouch, yellow foam ball, soft fleece plush patch, and rough-textured ribbon.
- Green Group: Sort the 4 thick green yarn strands and the hard green beads selected for the progressive counting sequence (1, 2, 3, and 4 beads).
- Blue, Purple & Accessory Groups: Organize the blue ribbons, tassels, and the multicolor yarn bundle for the braided handle.
Crafting the Interactive Red Face (Zipper, Pocket, and Elastic Beads)
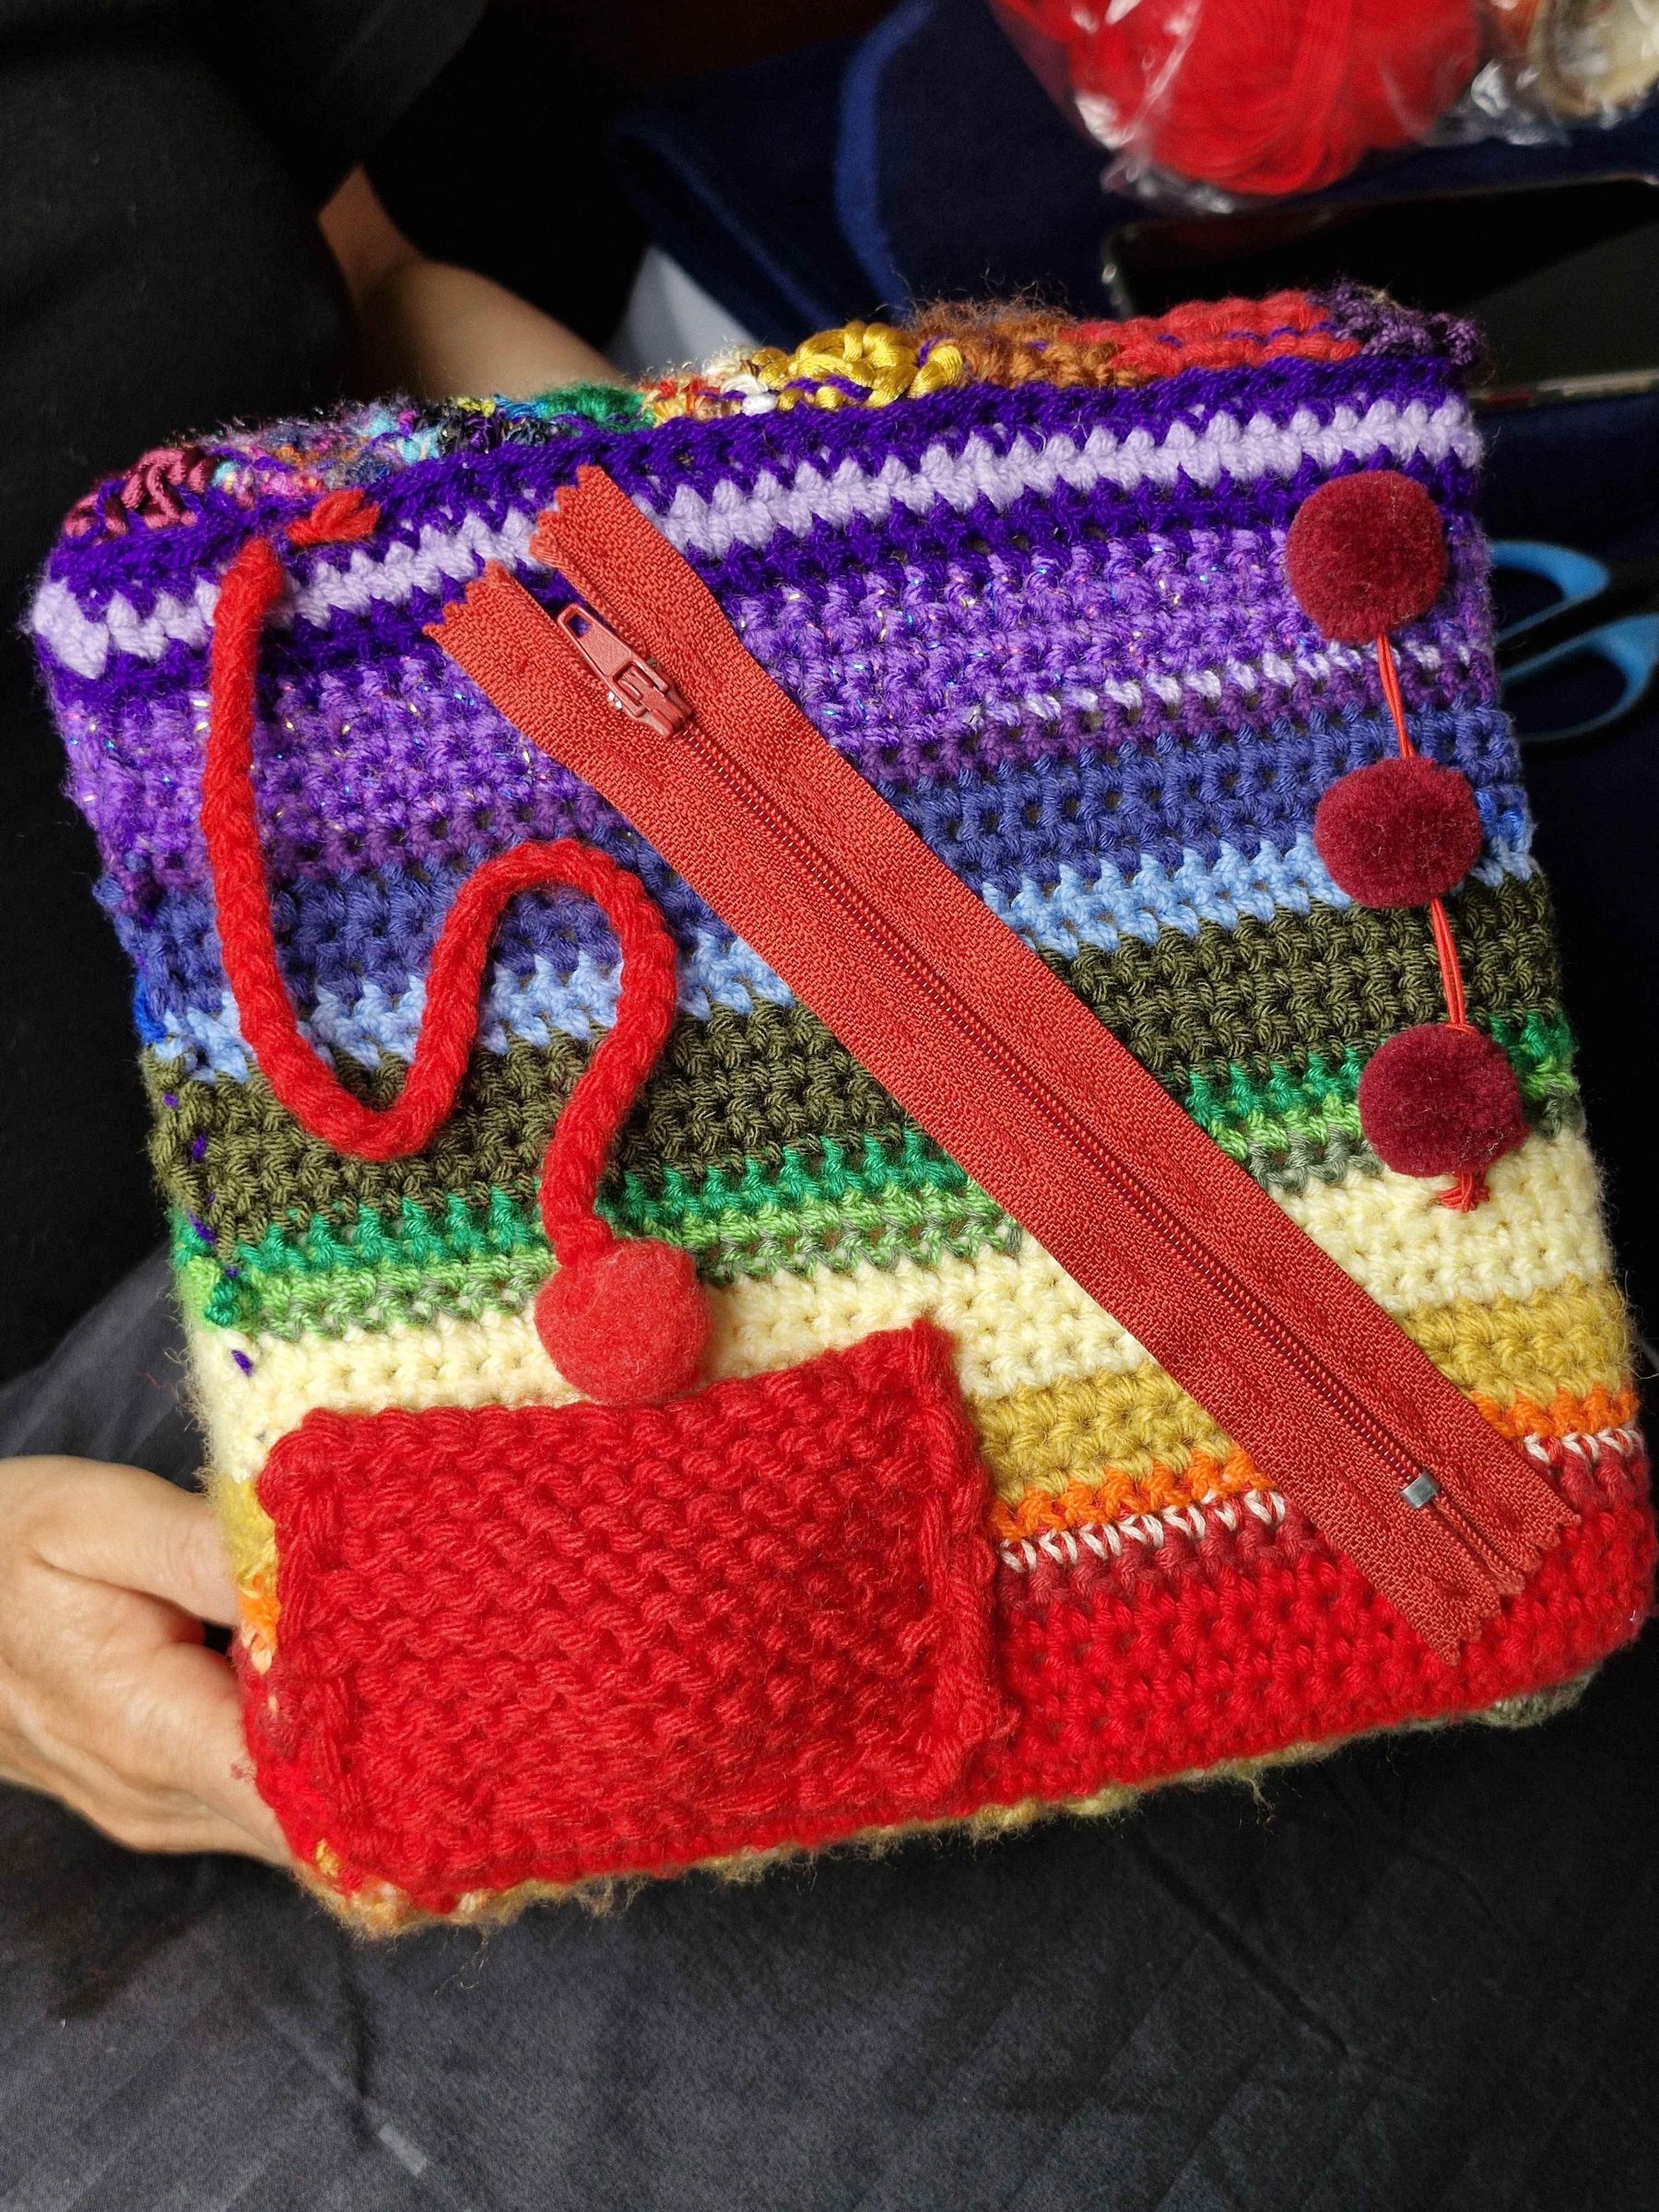
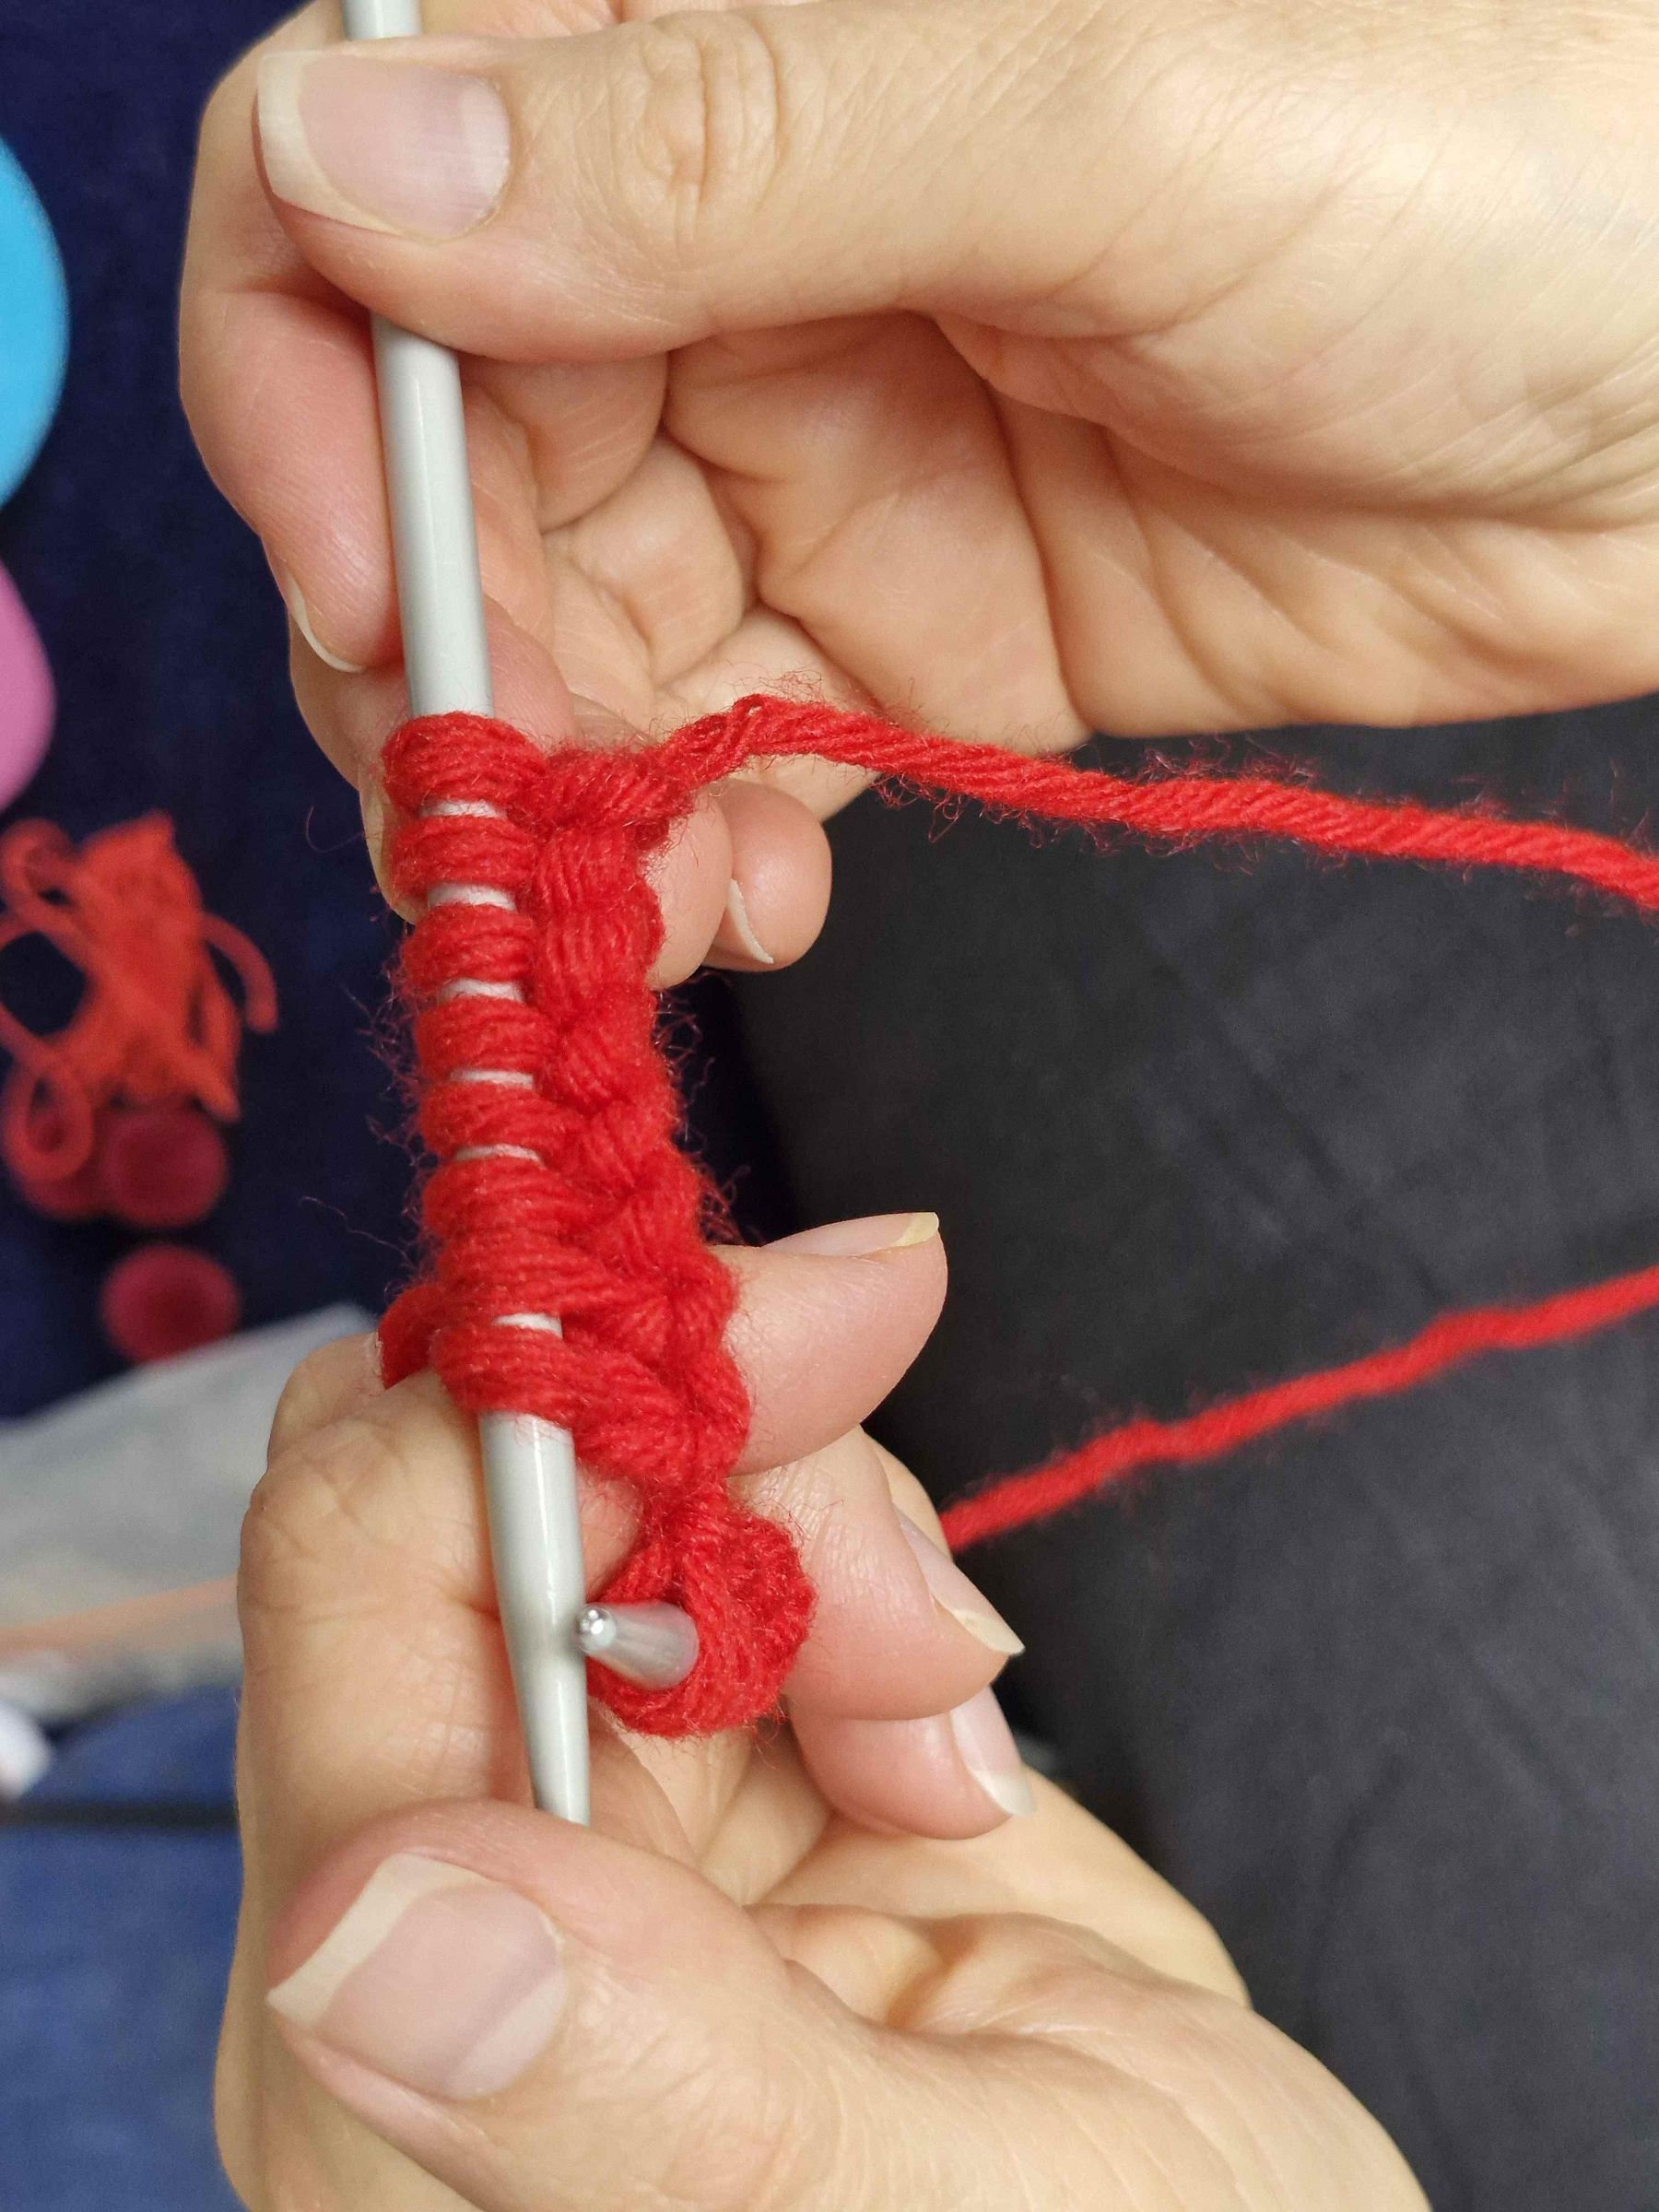
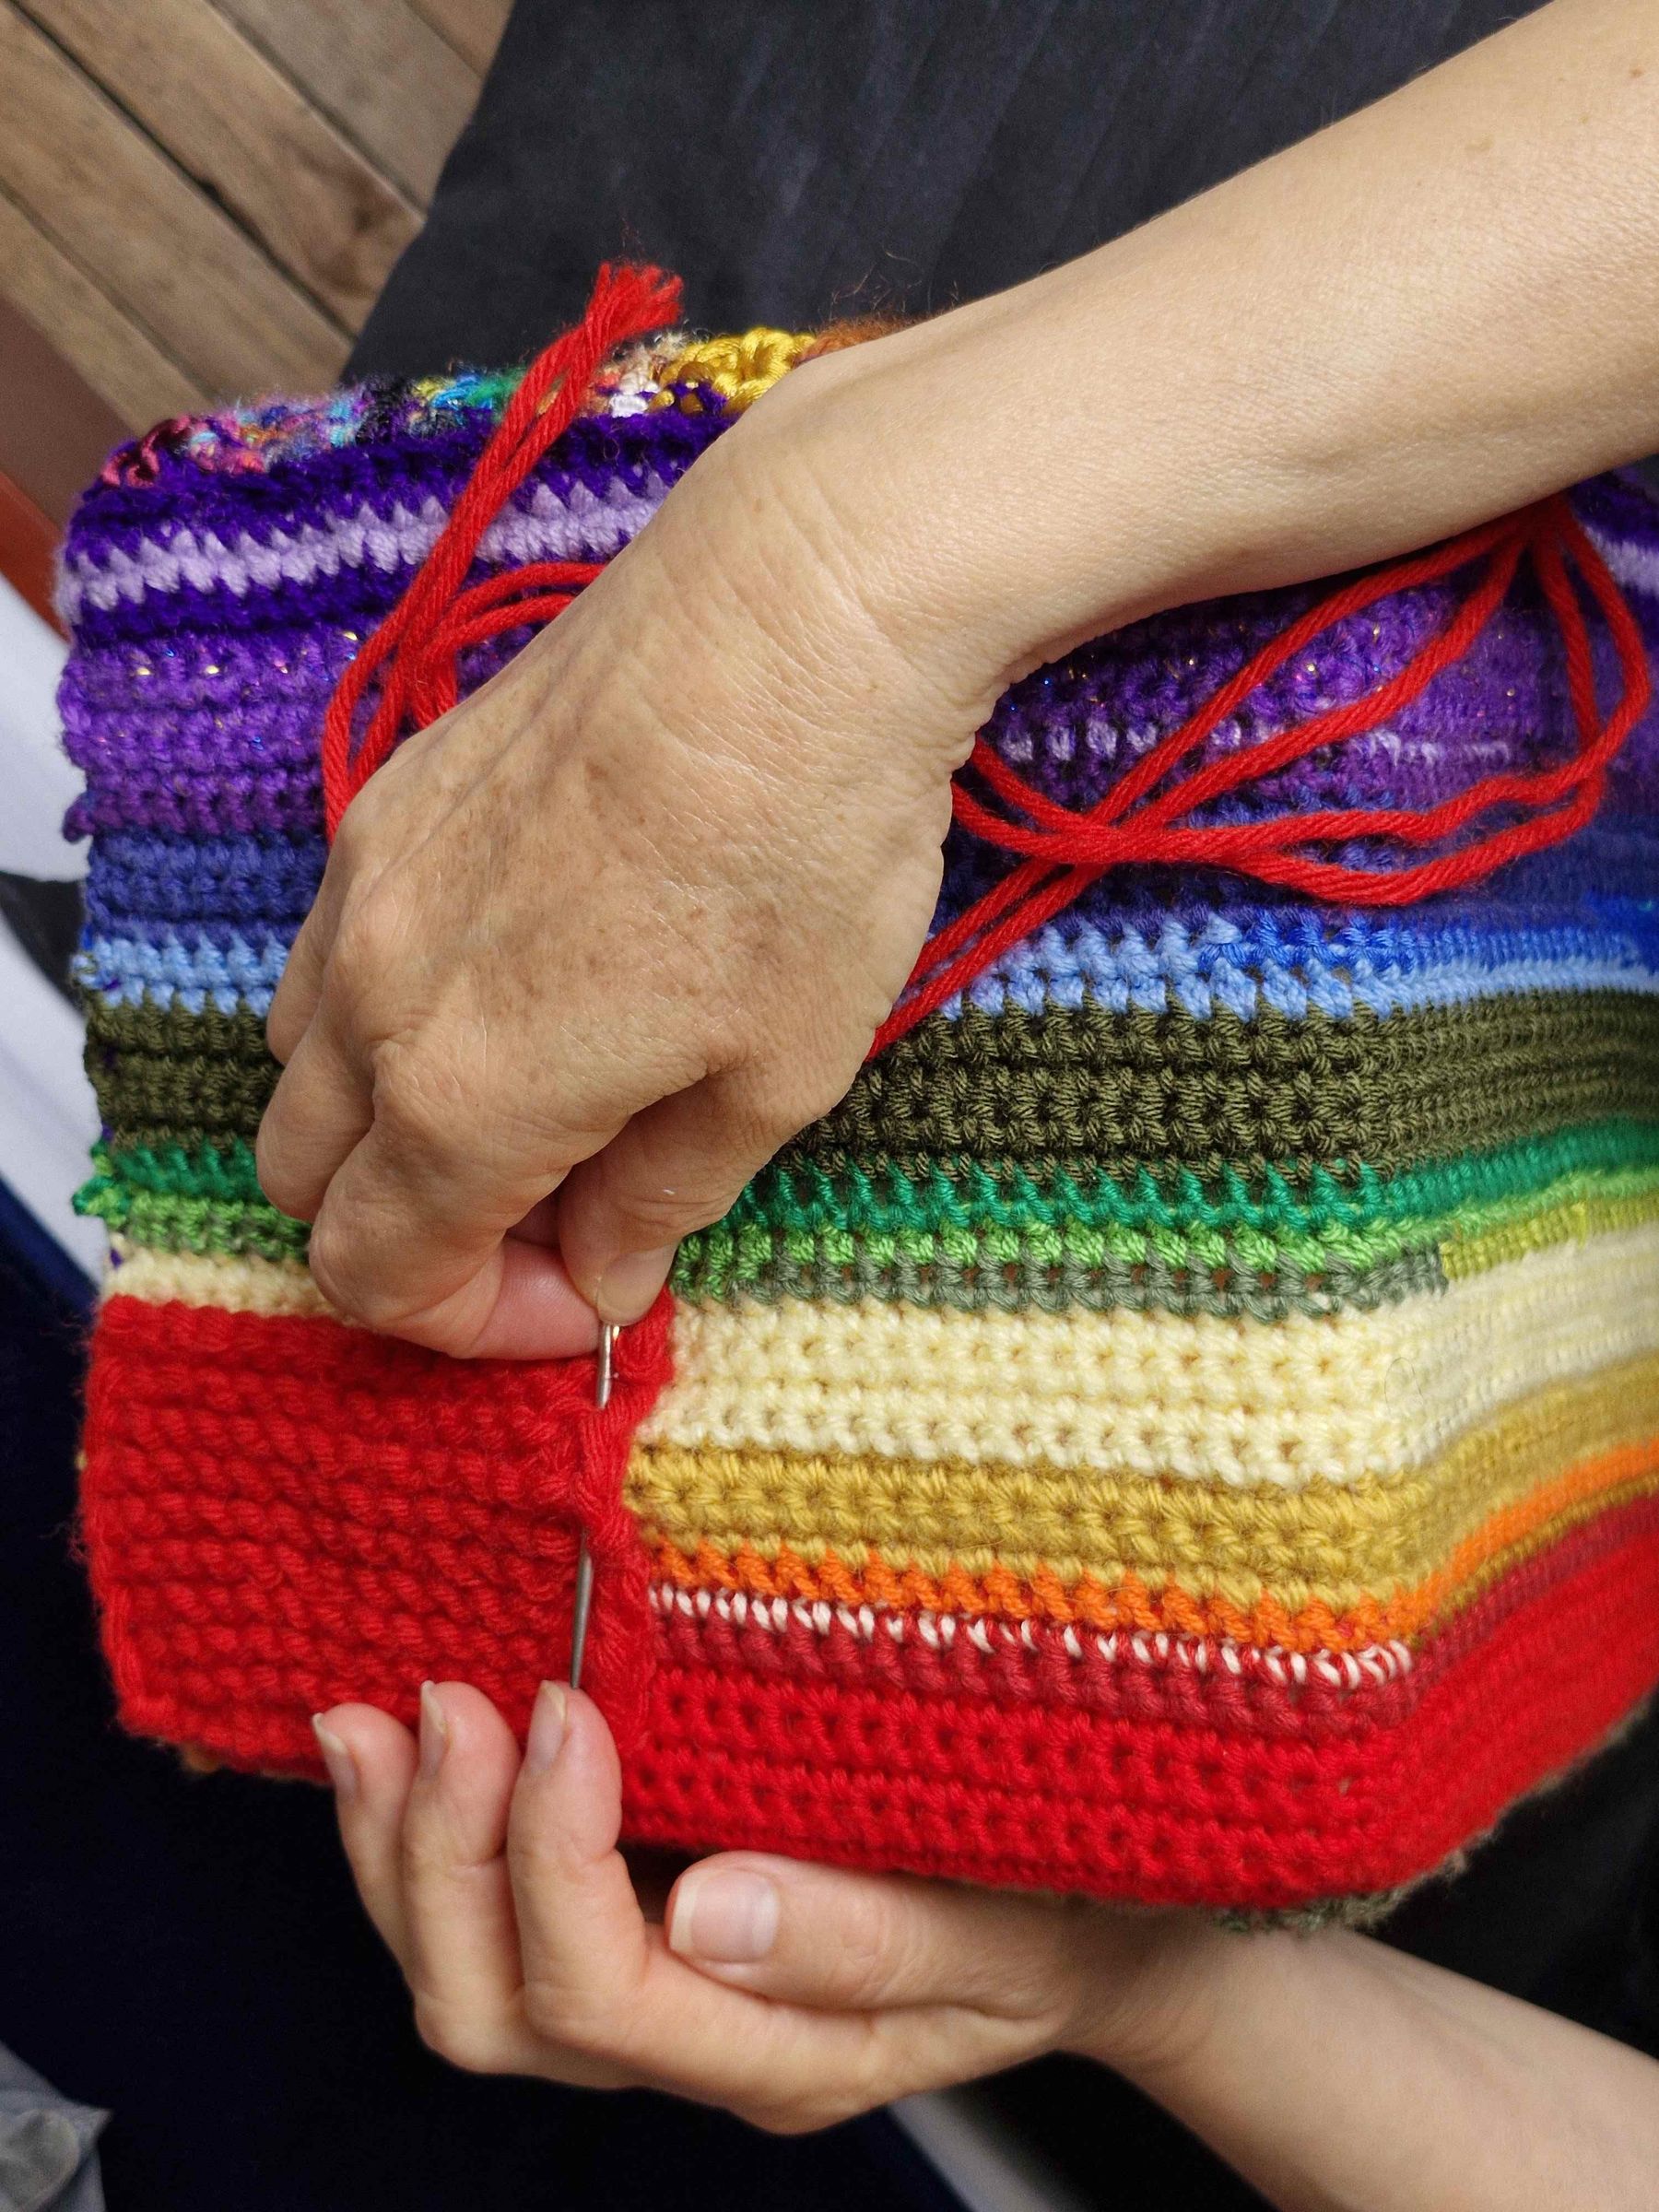
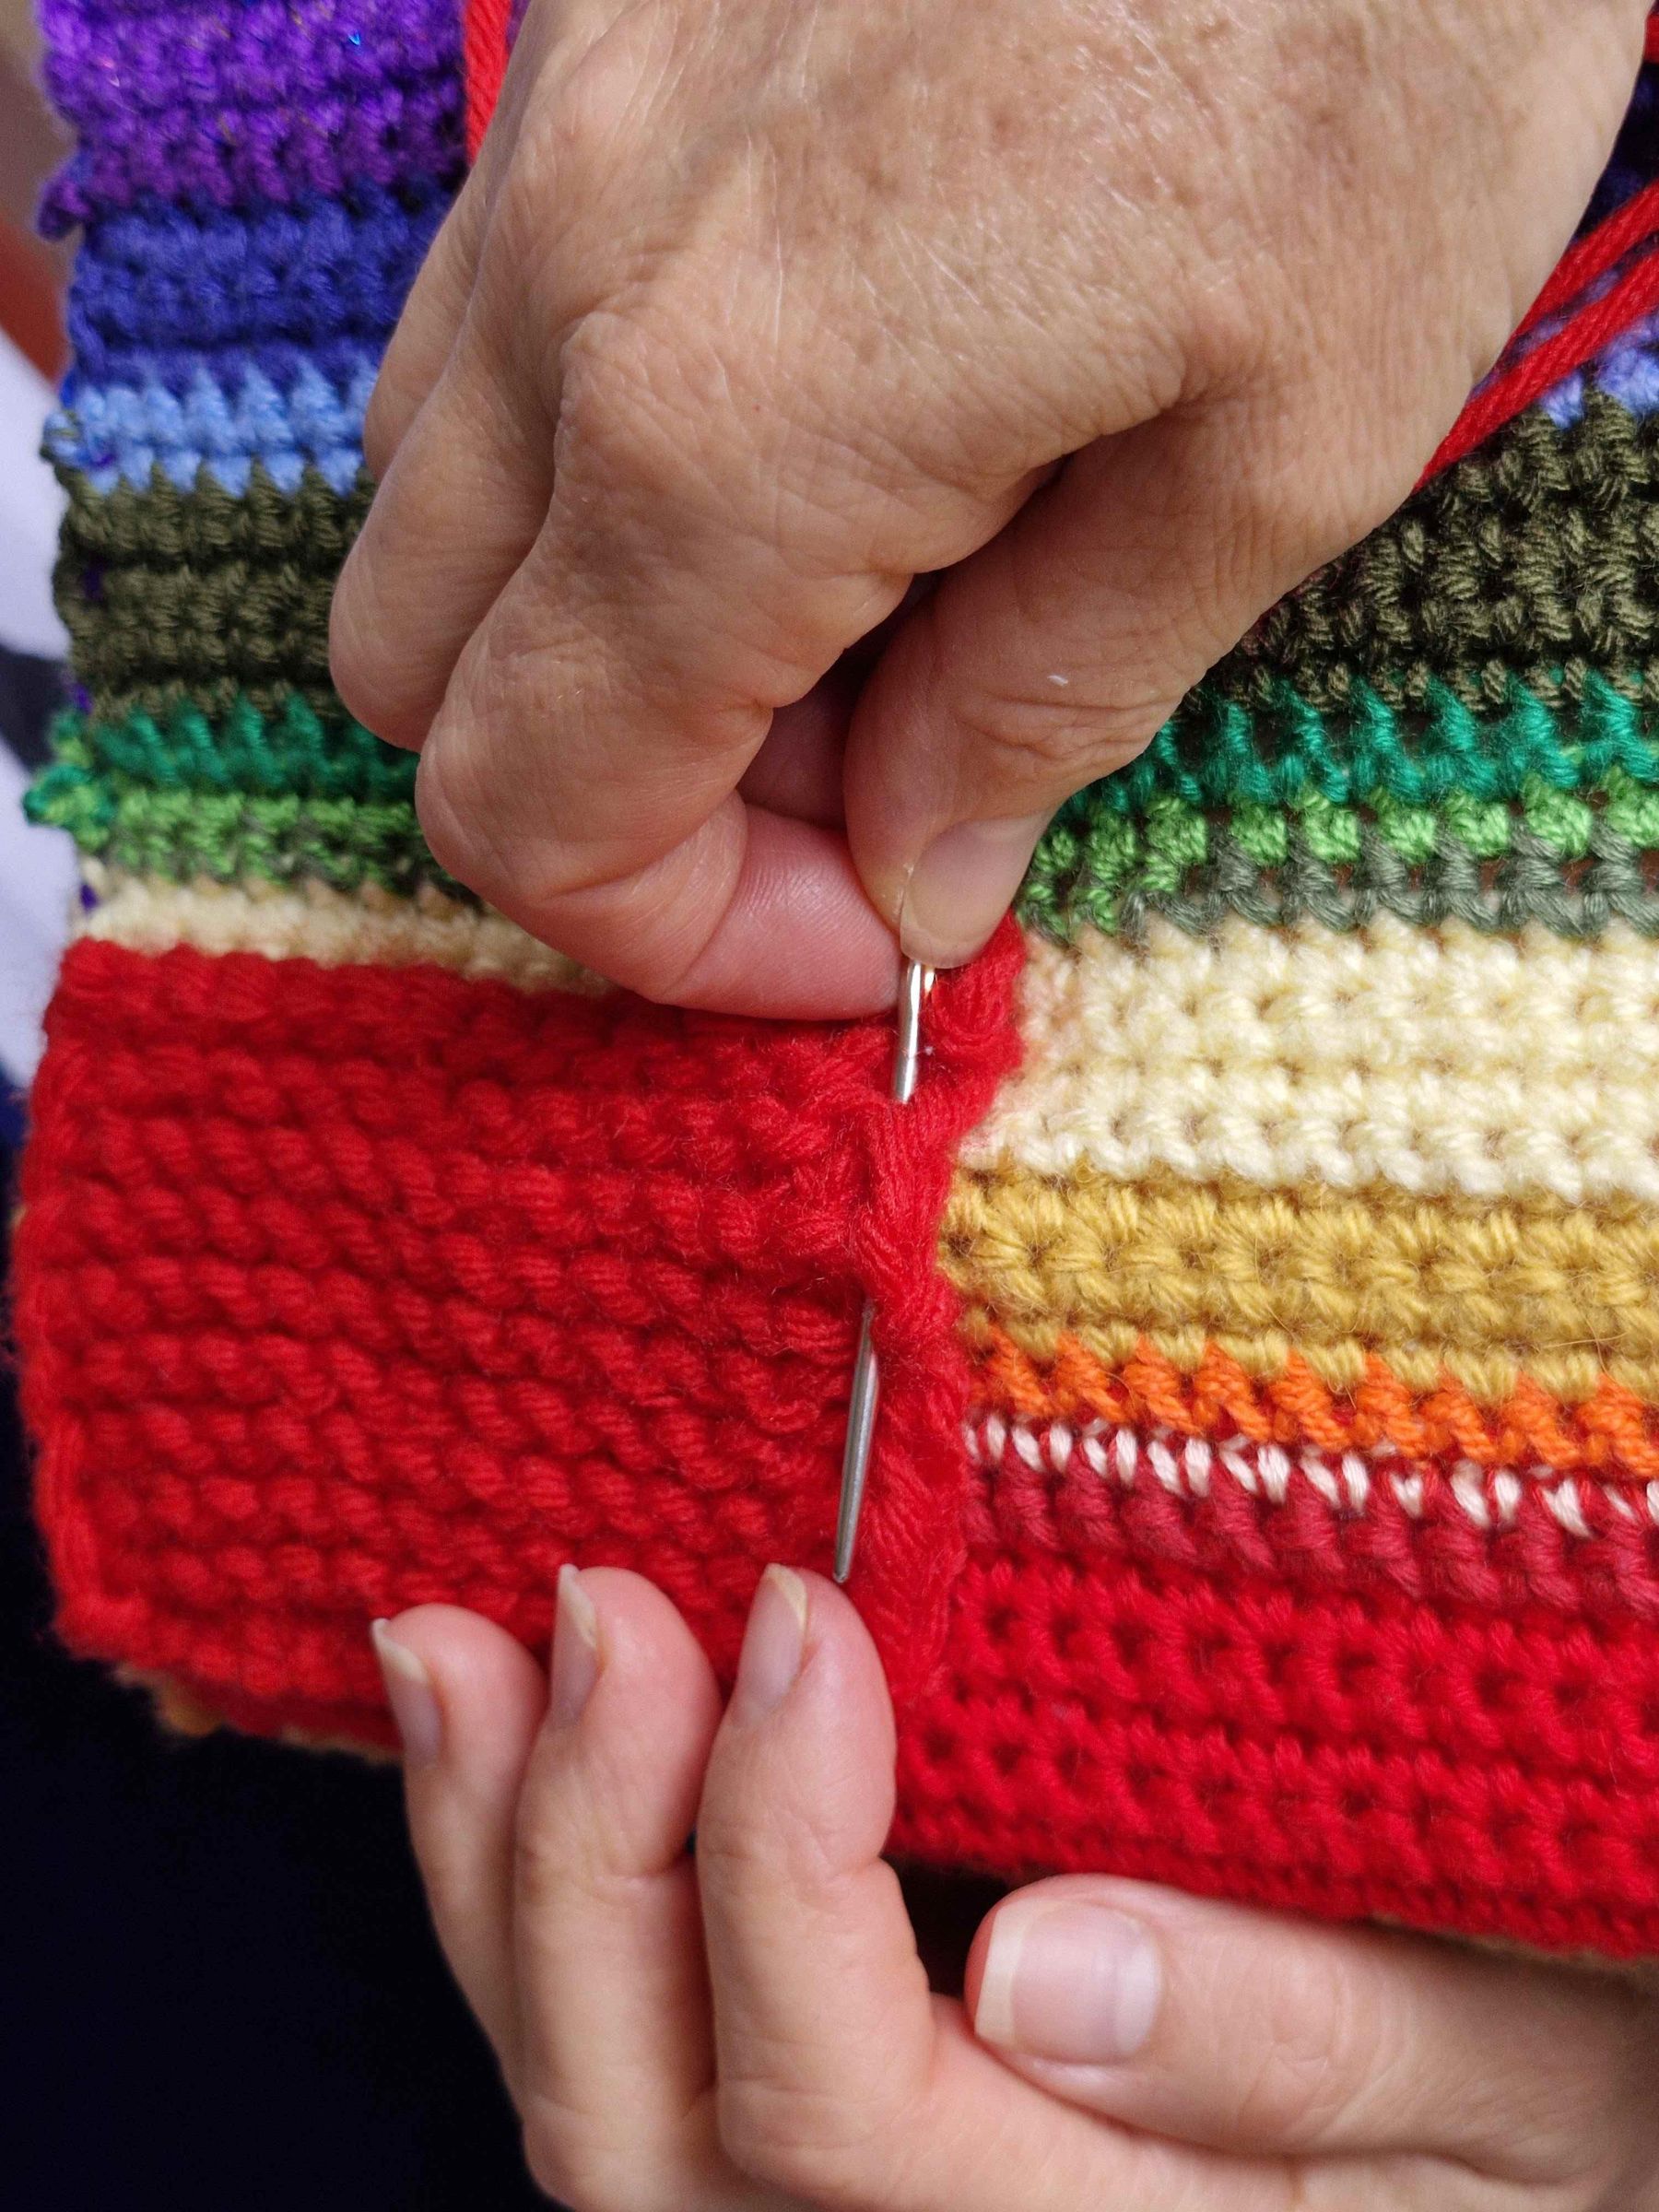
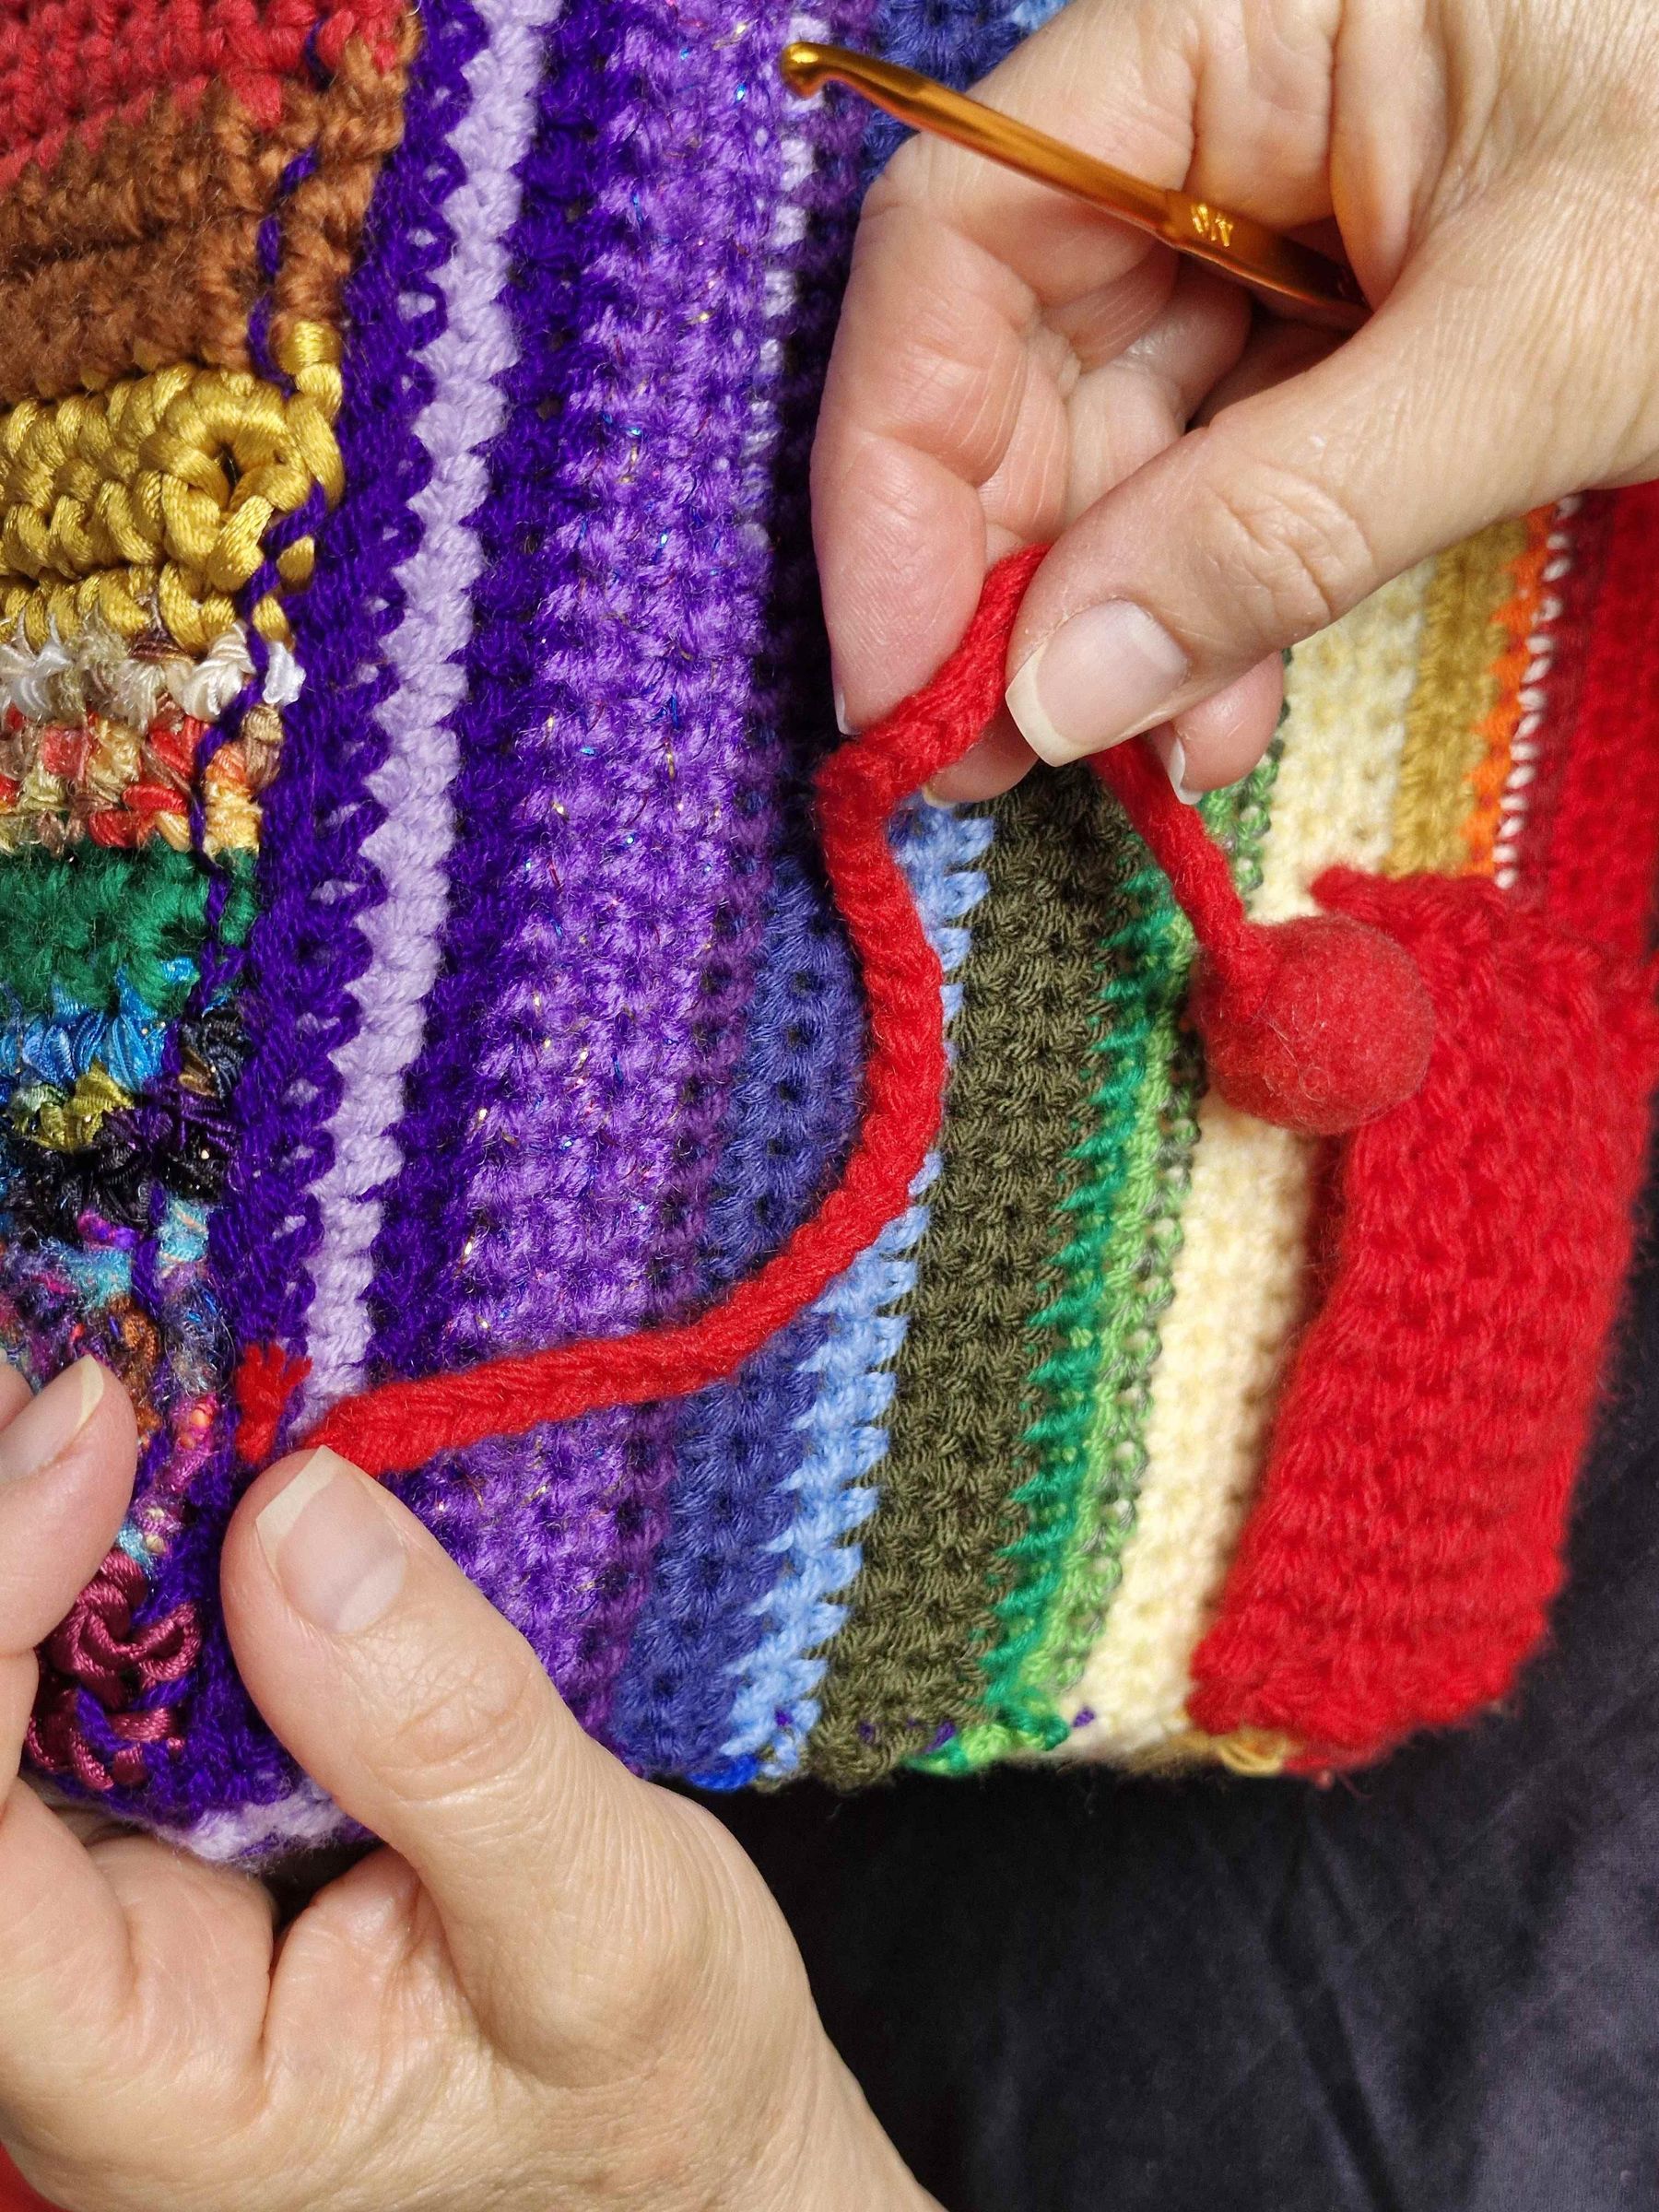
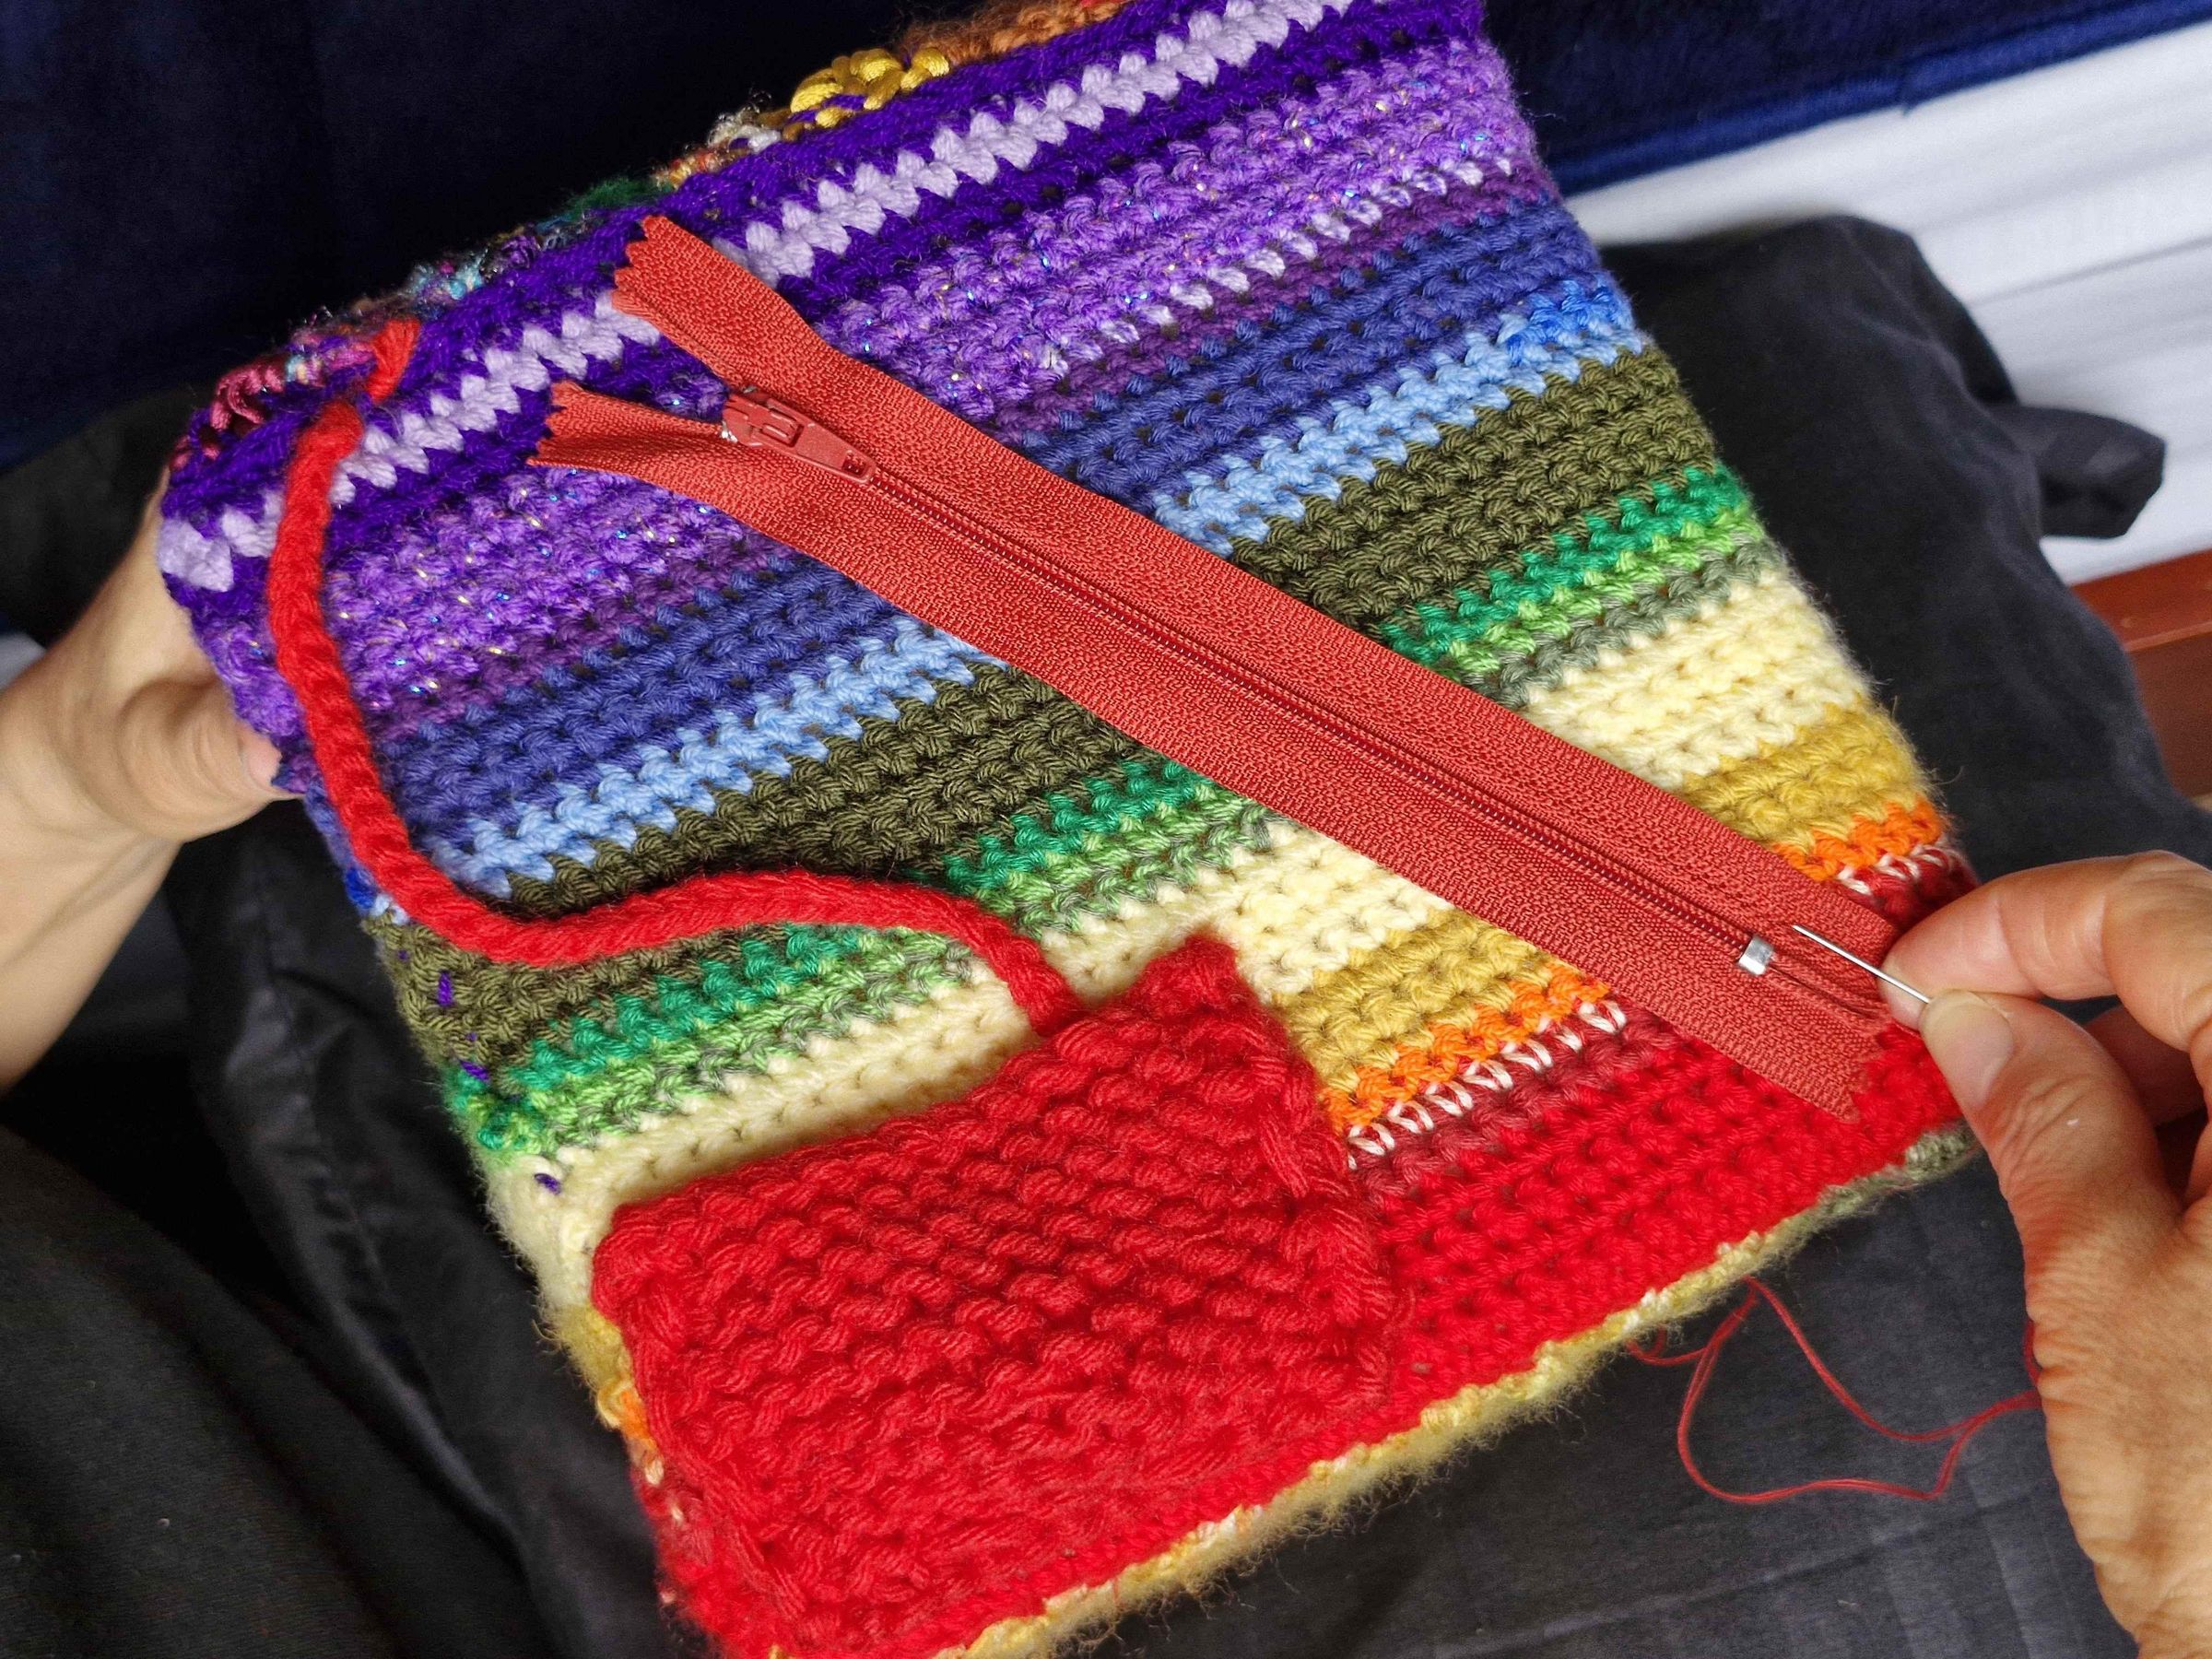
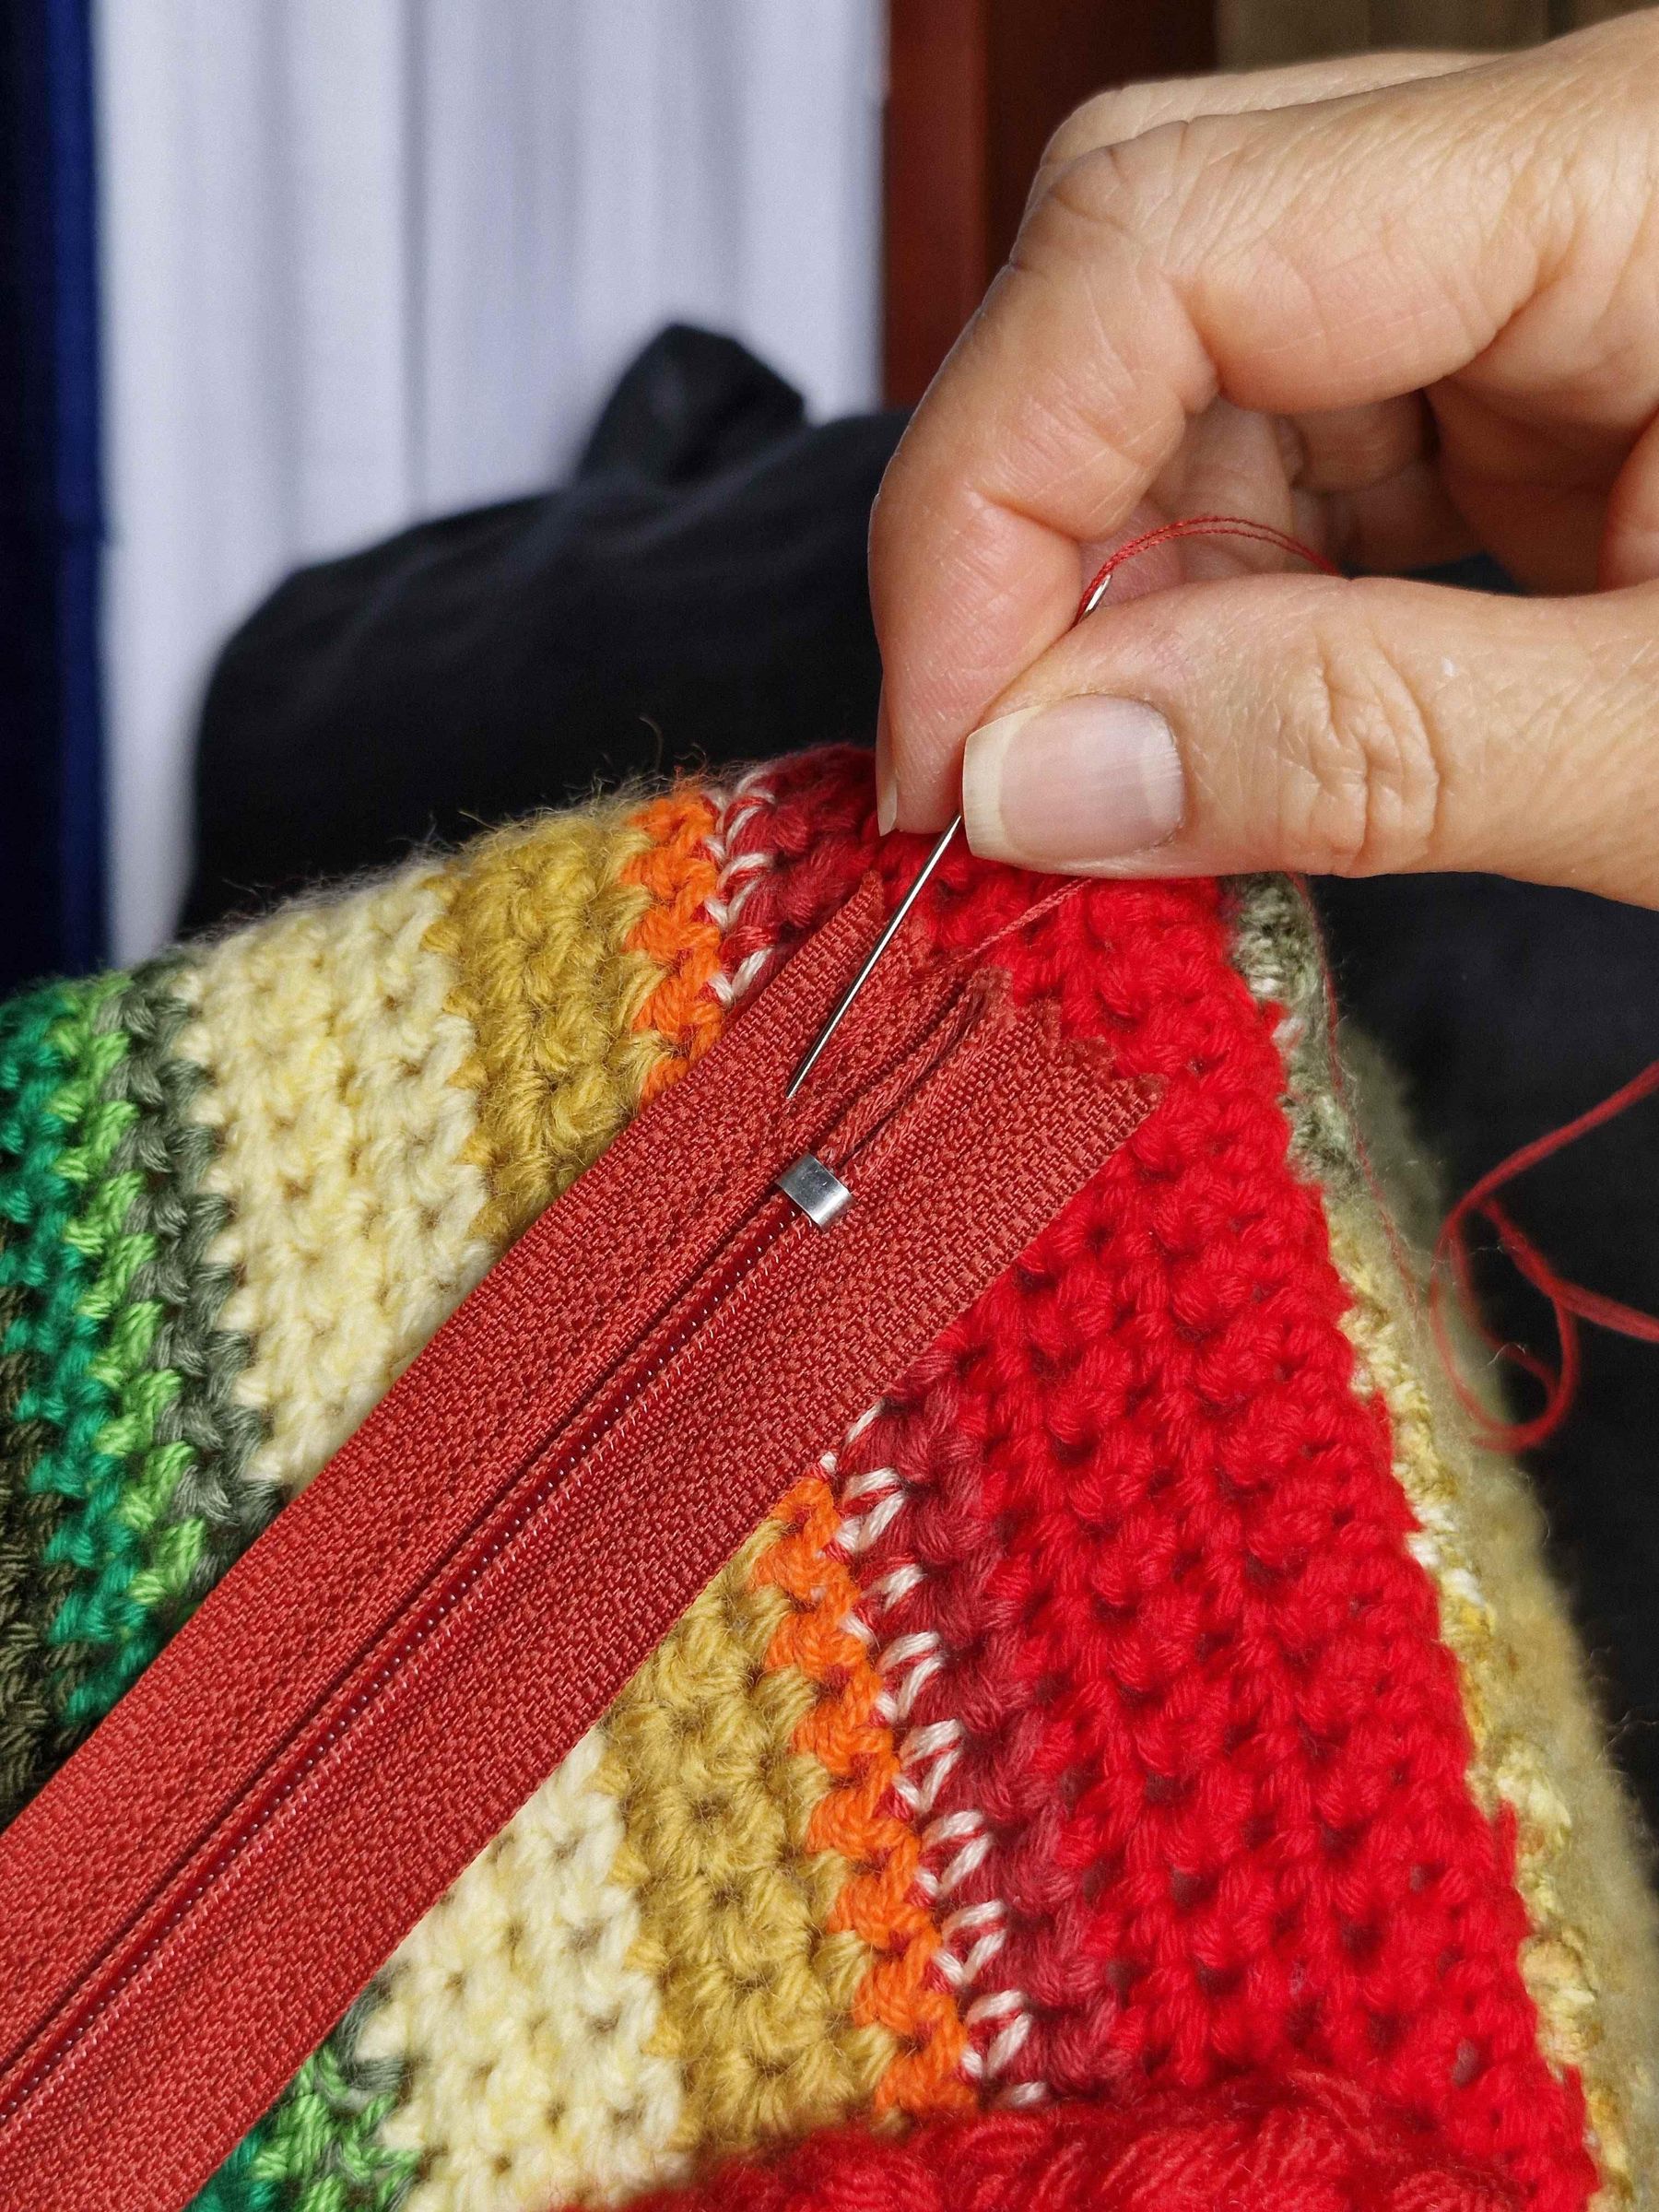
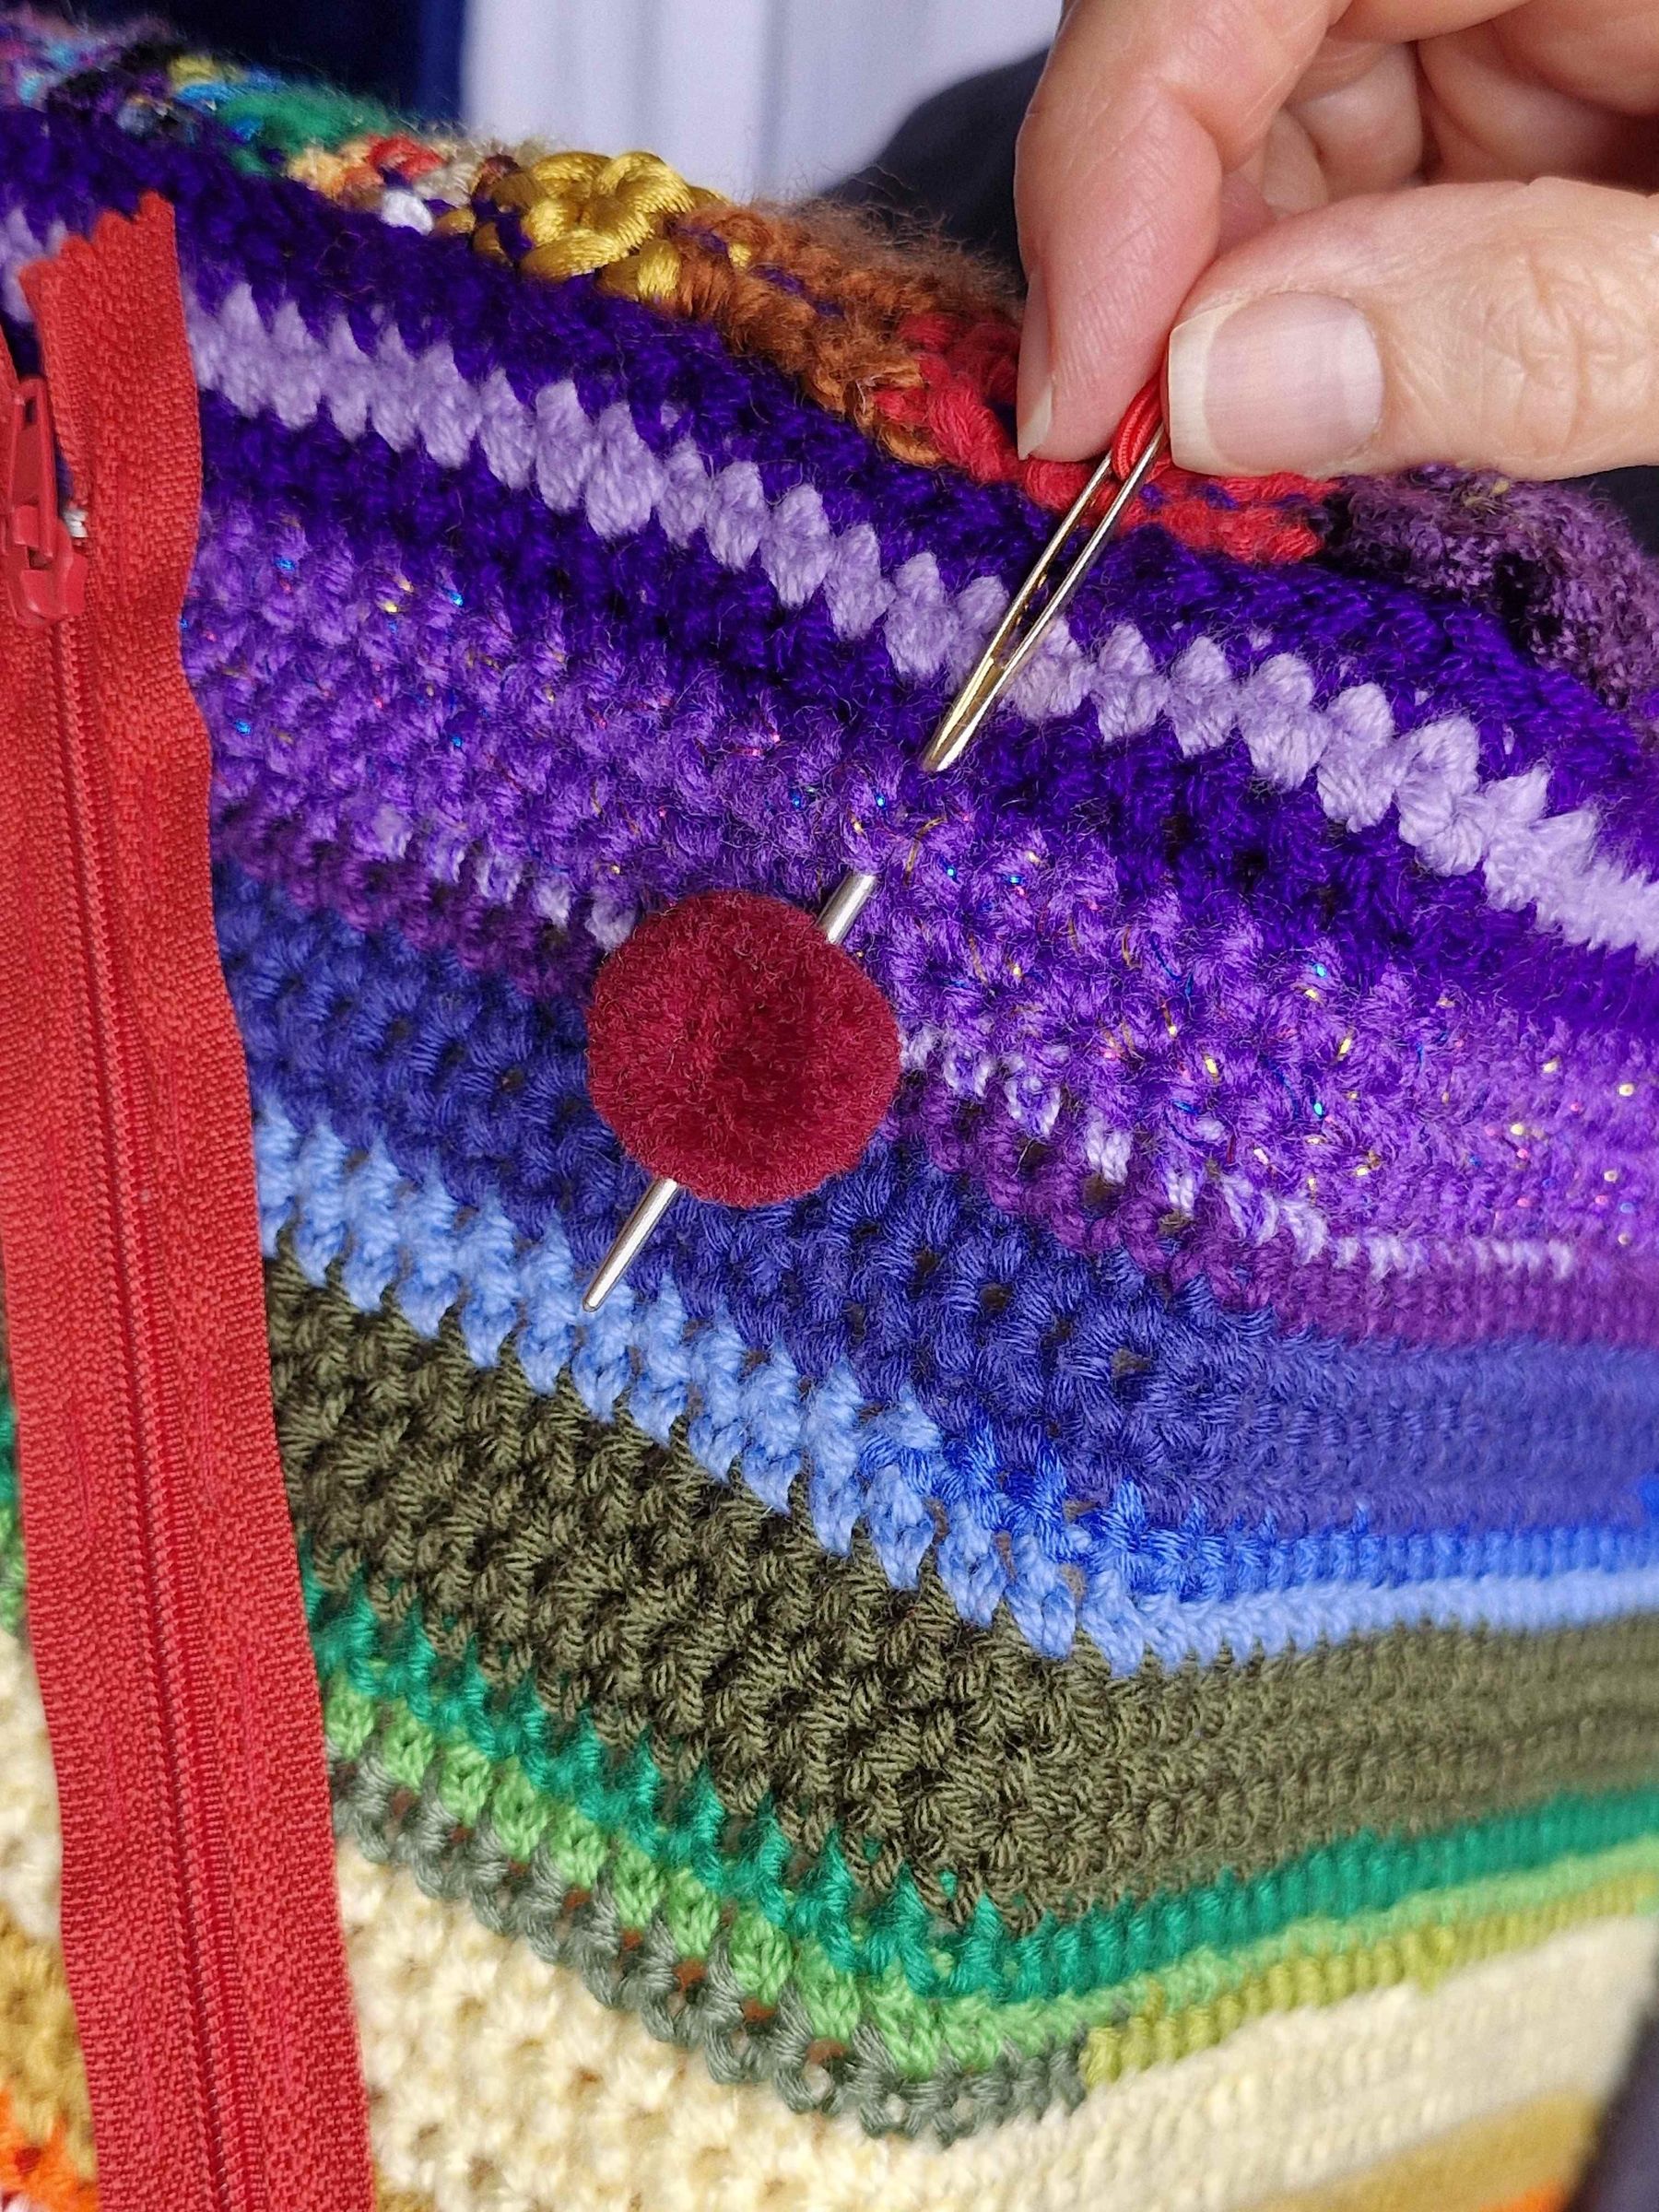
This face focuses on learning through the color Red:
- Receiving Pocket: Using crochet or knitting (5 mm needles), craft a small open pocket in red yarn. Sew it securely onto the red section of this face.
- Tucking Activity: Place a red craft foam ball inside (or tethered to) the pocket so the child can practice inserting and removing objects from a container.
- Zipper Activity: Hand-sew a red zipper onto the knitted fabric. The child can slide the zipper pull up and down to develop a fine motor pincer grasp.
- Sliding Beads: Thread 3 dark red cotton beads onto a short piece of red elastic cord. Sew both ends of the elastic securely under tension so the beads can slide back and forth along the cord.
Crafting the Interactive Orange Face (Buttoning and Counting)
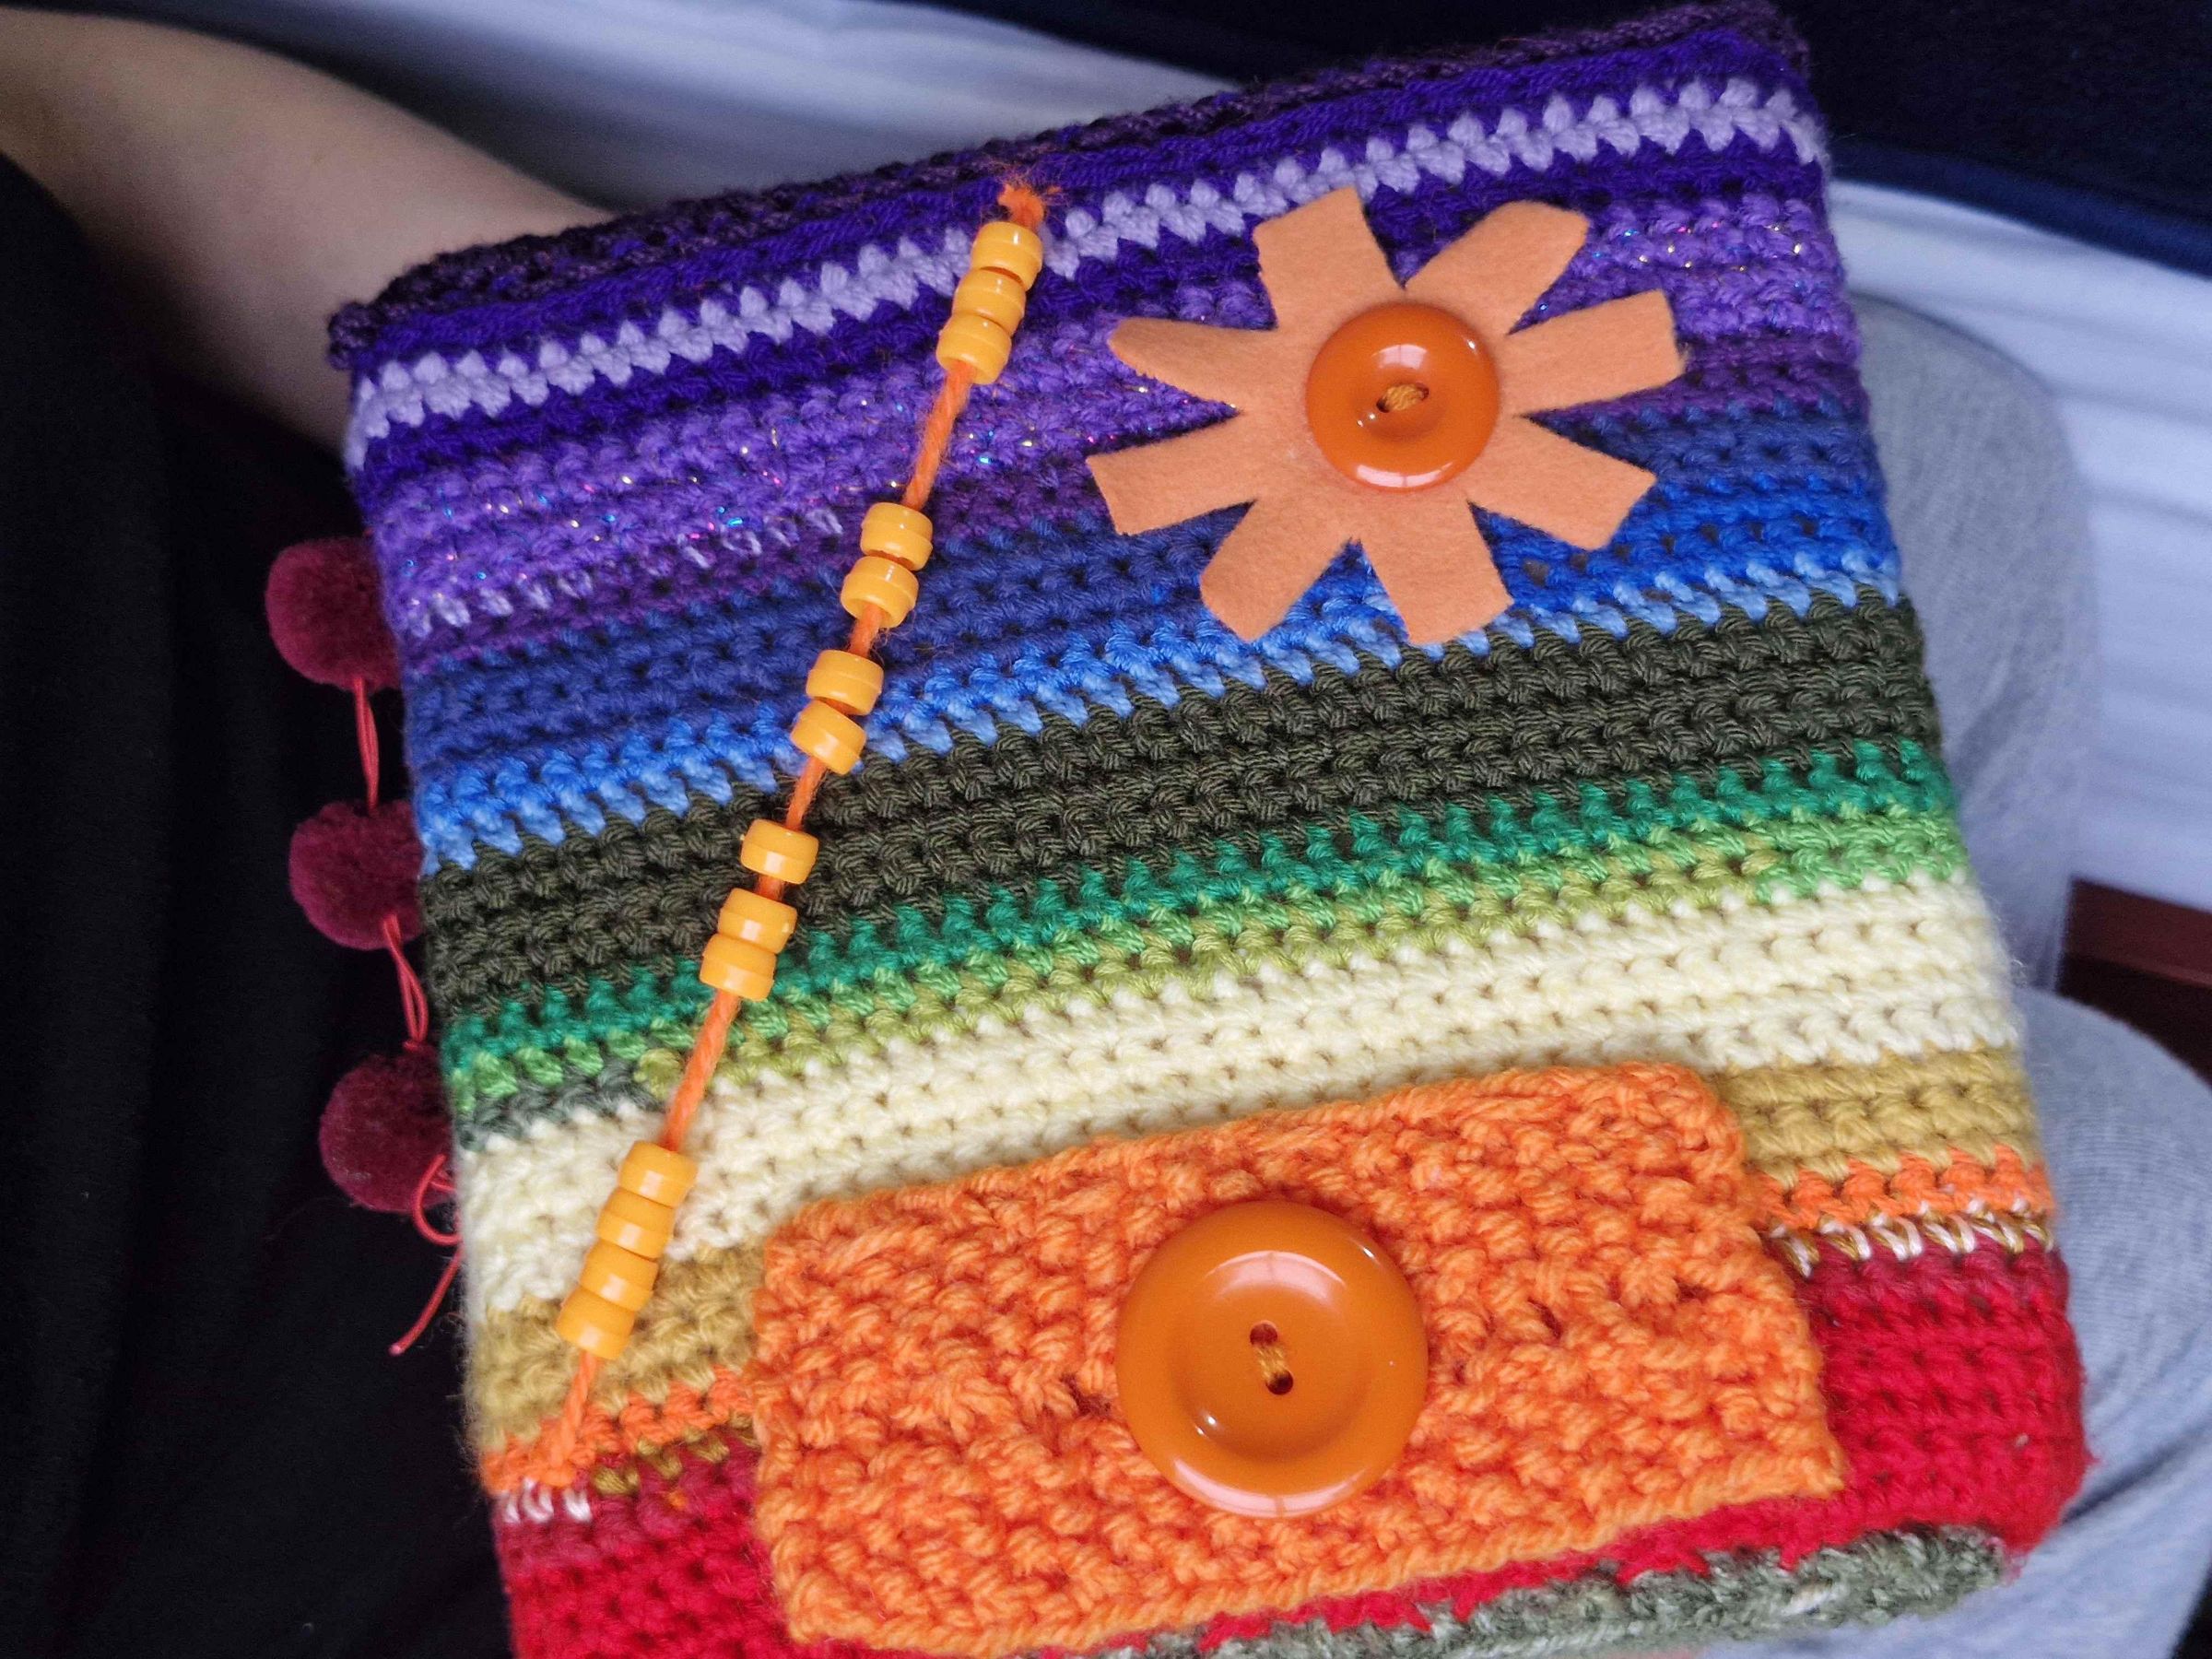
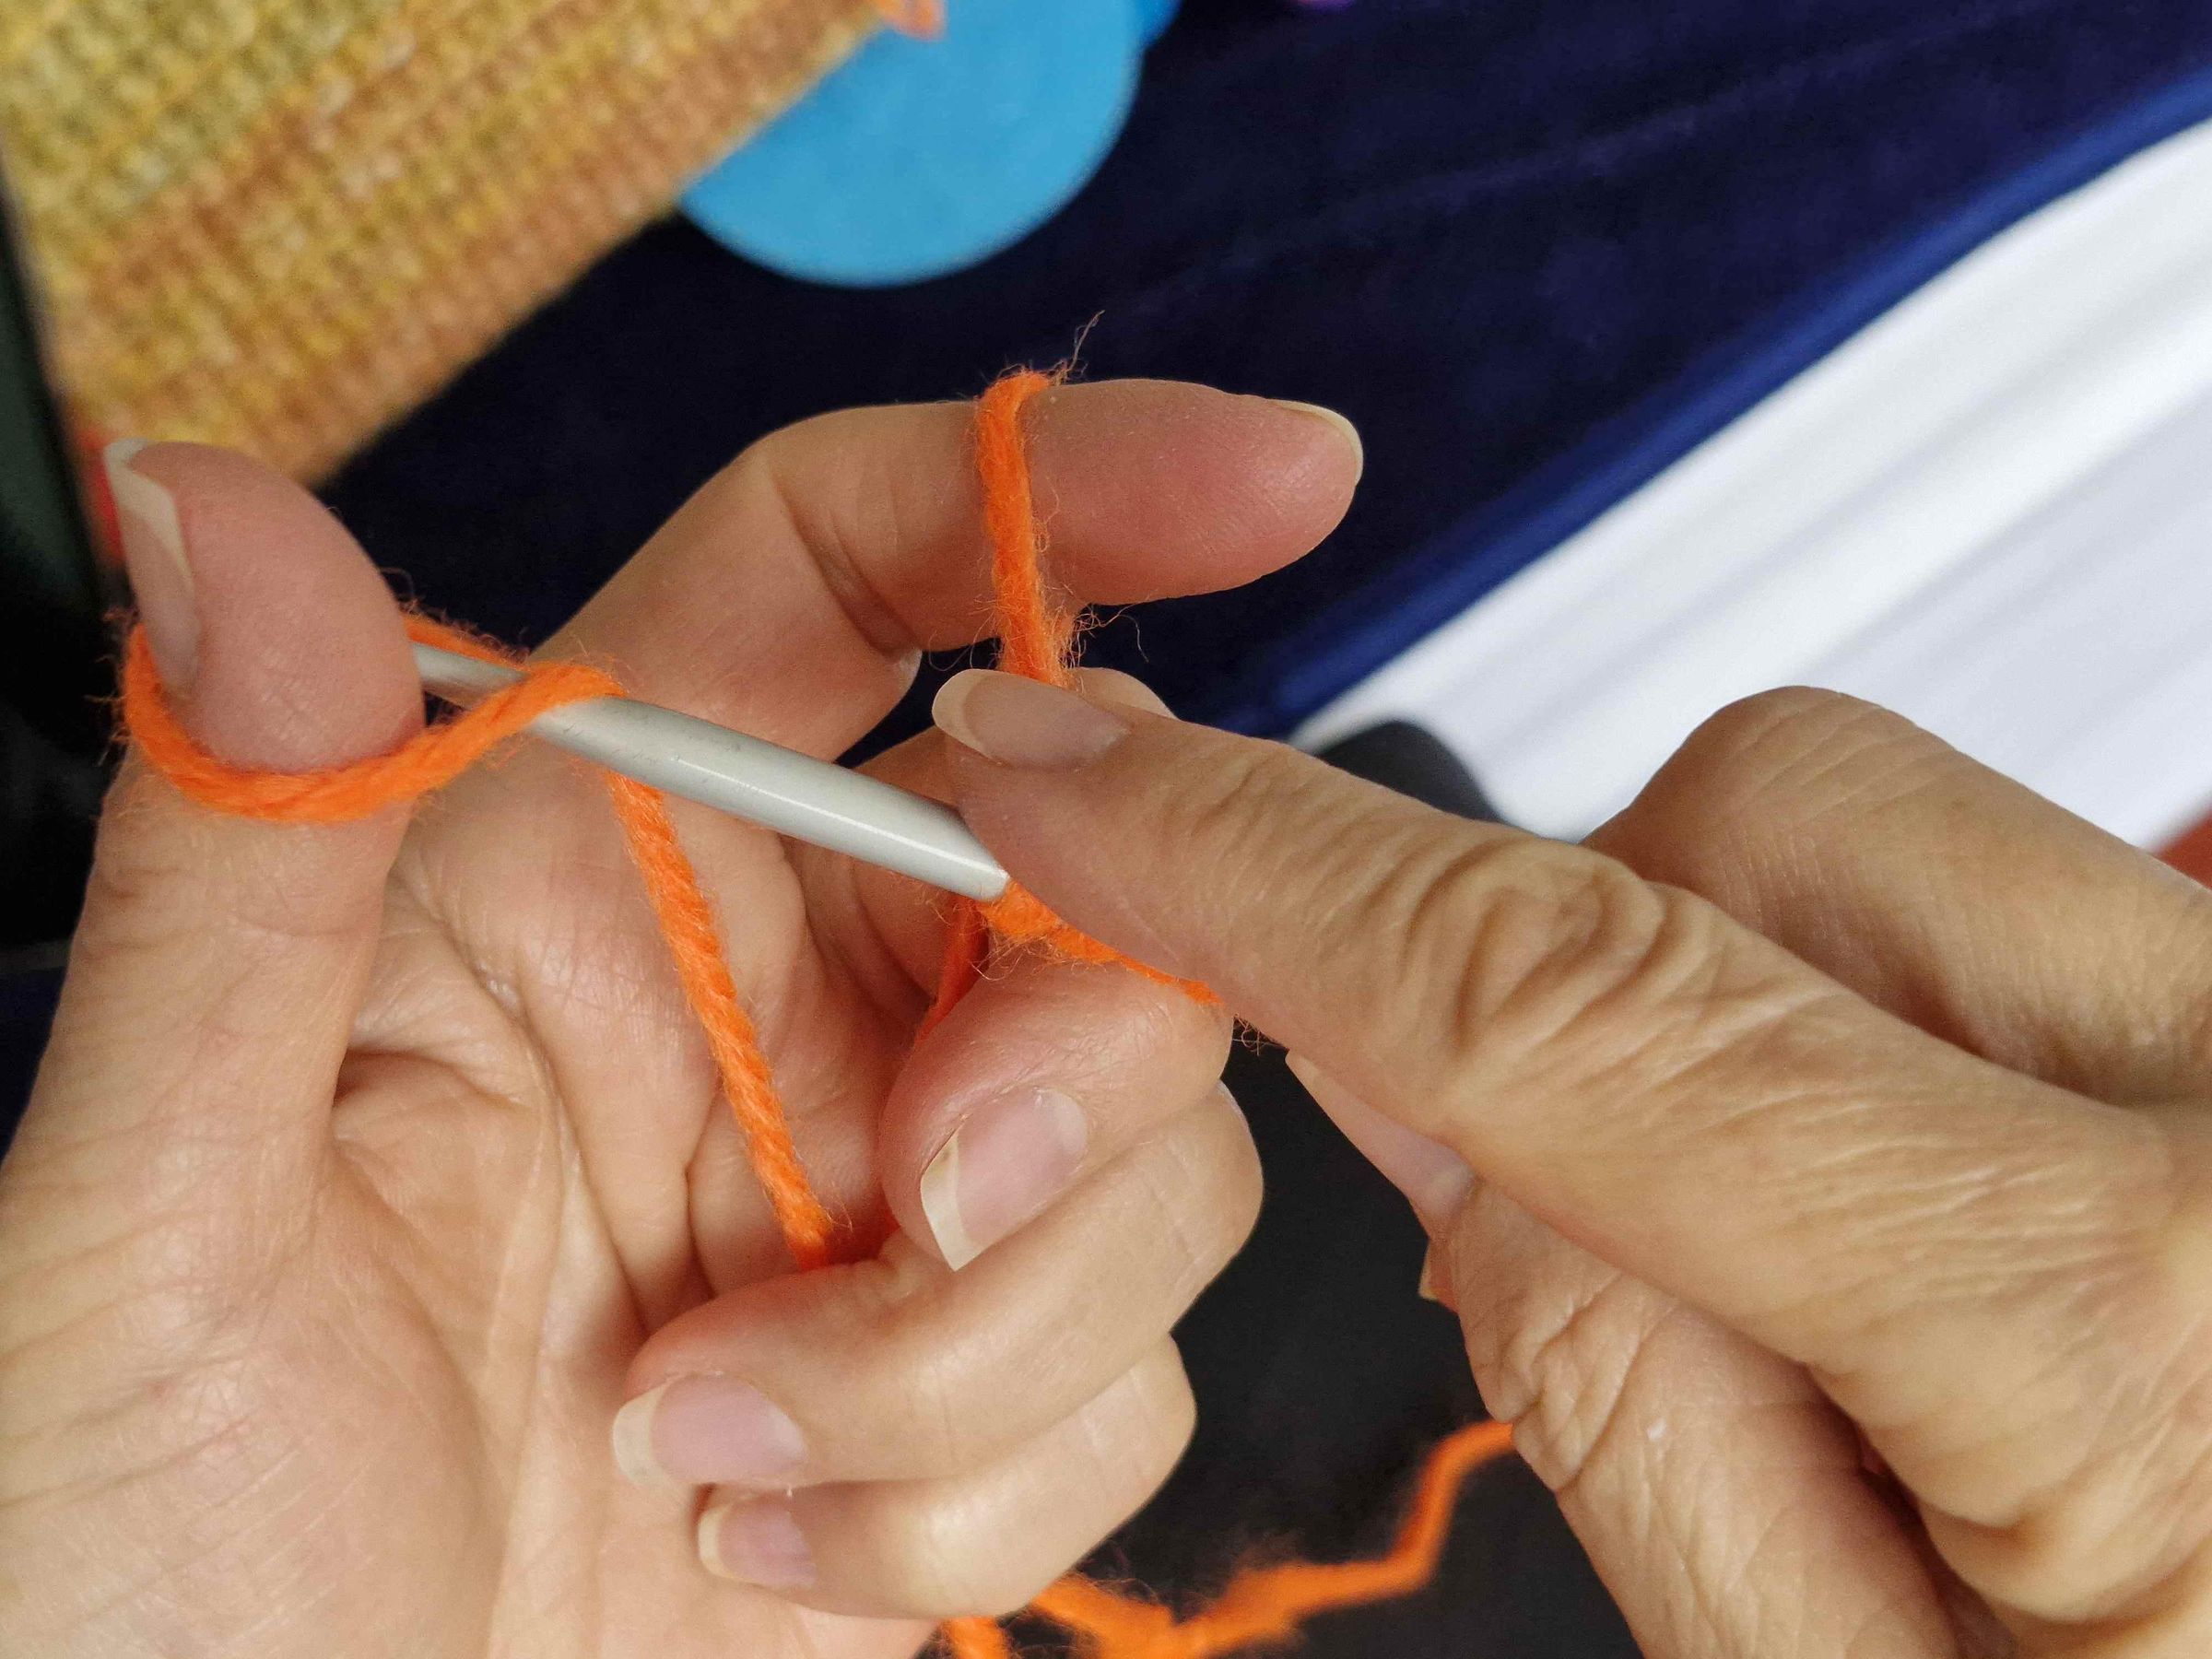
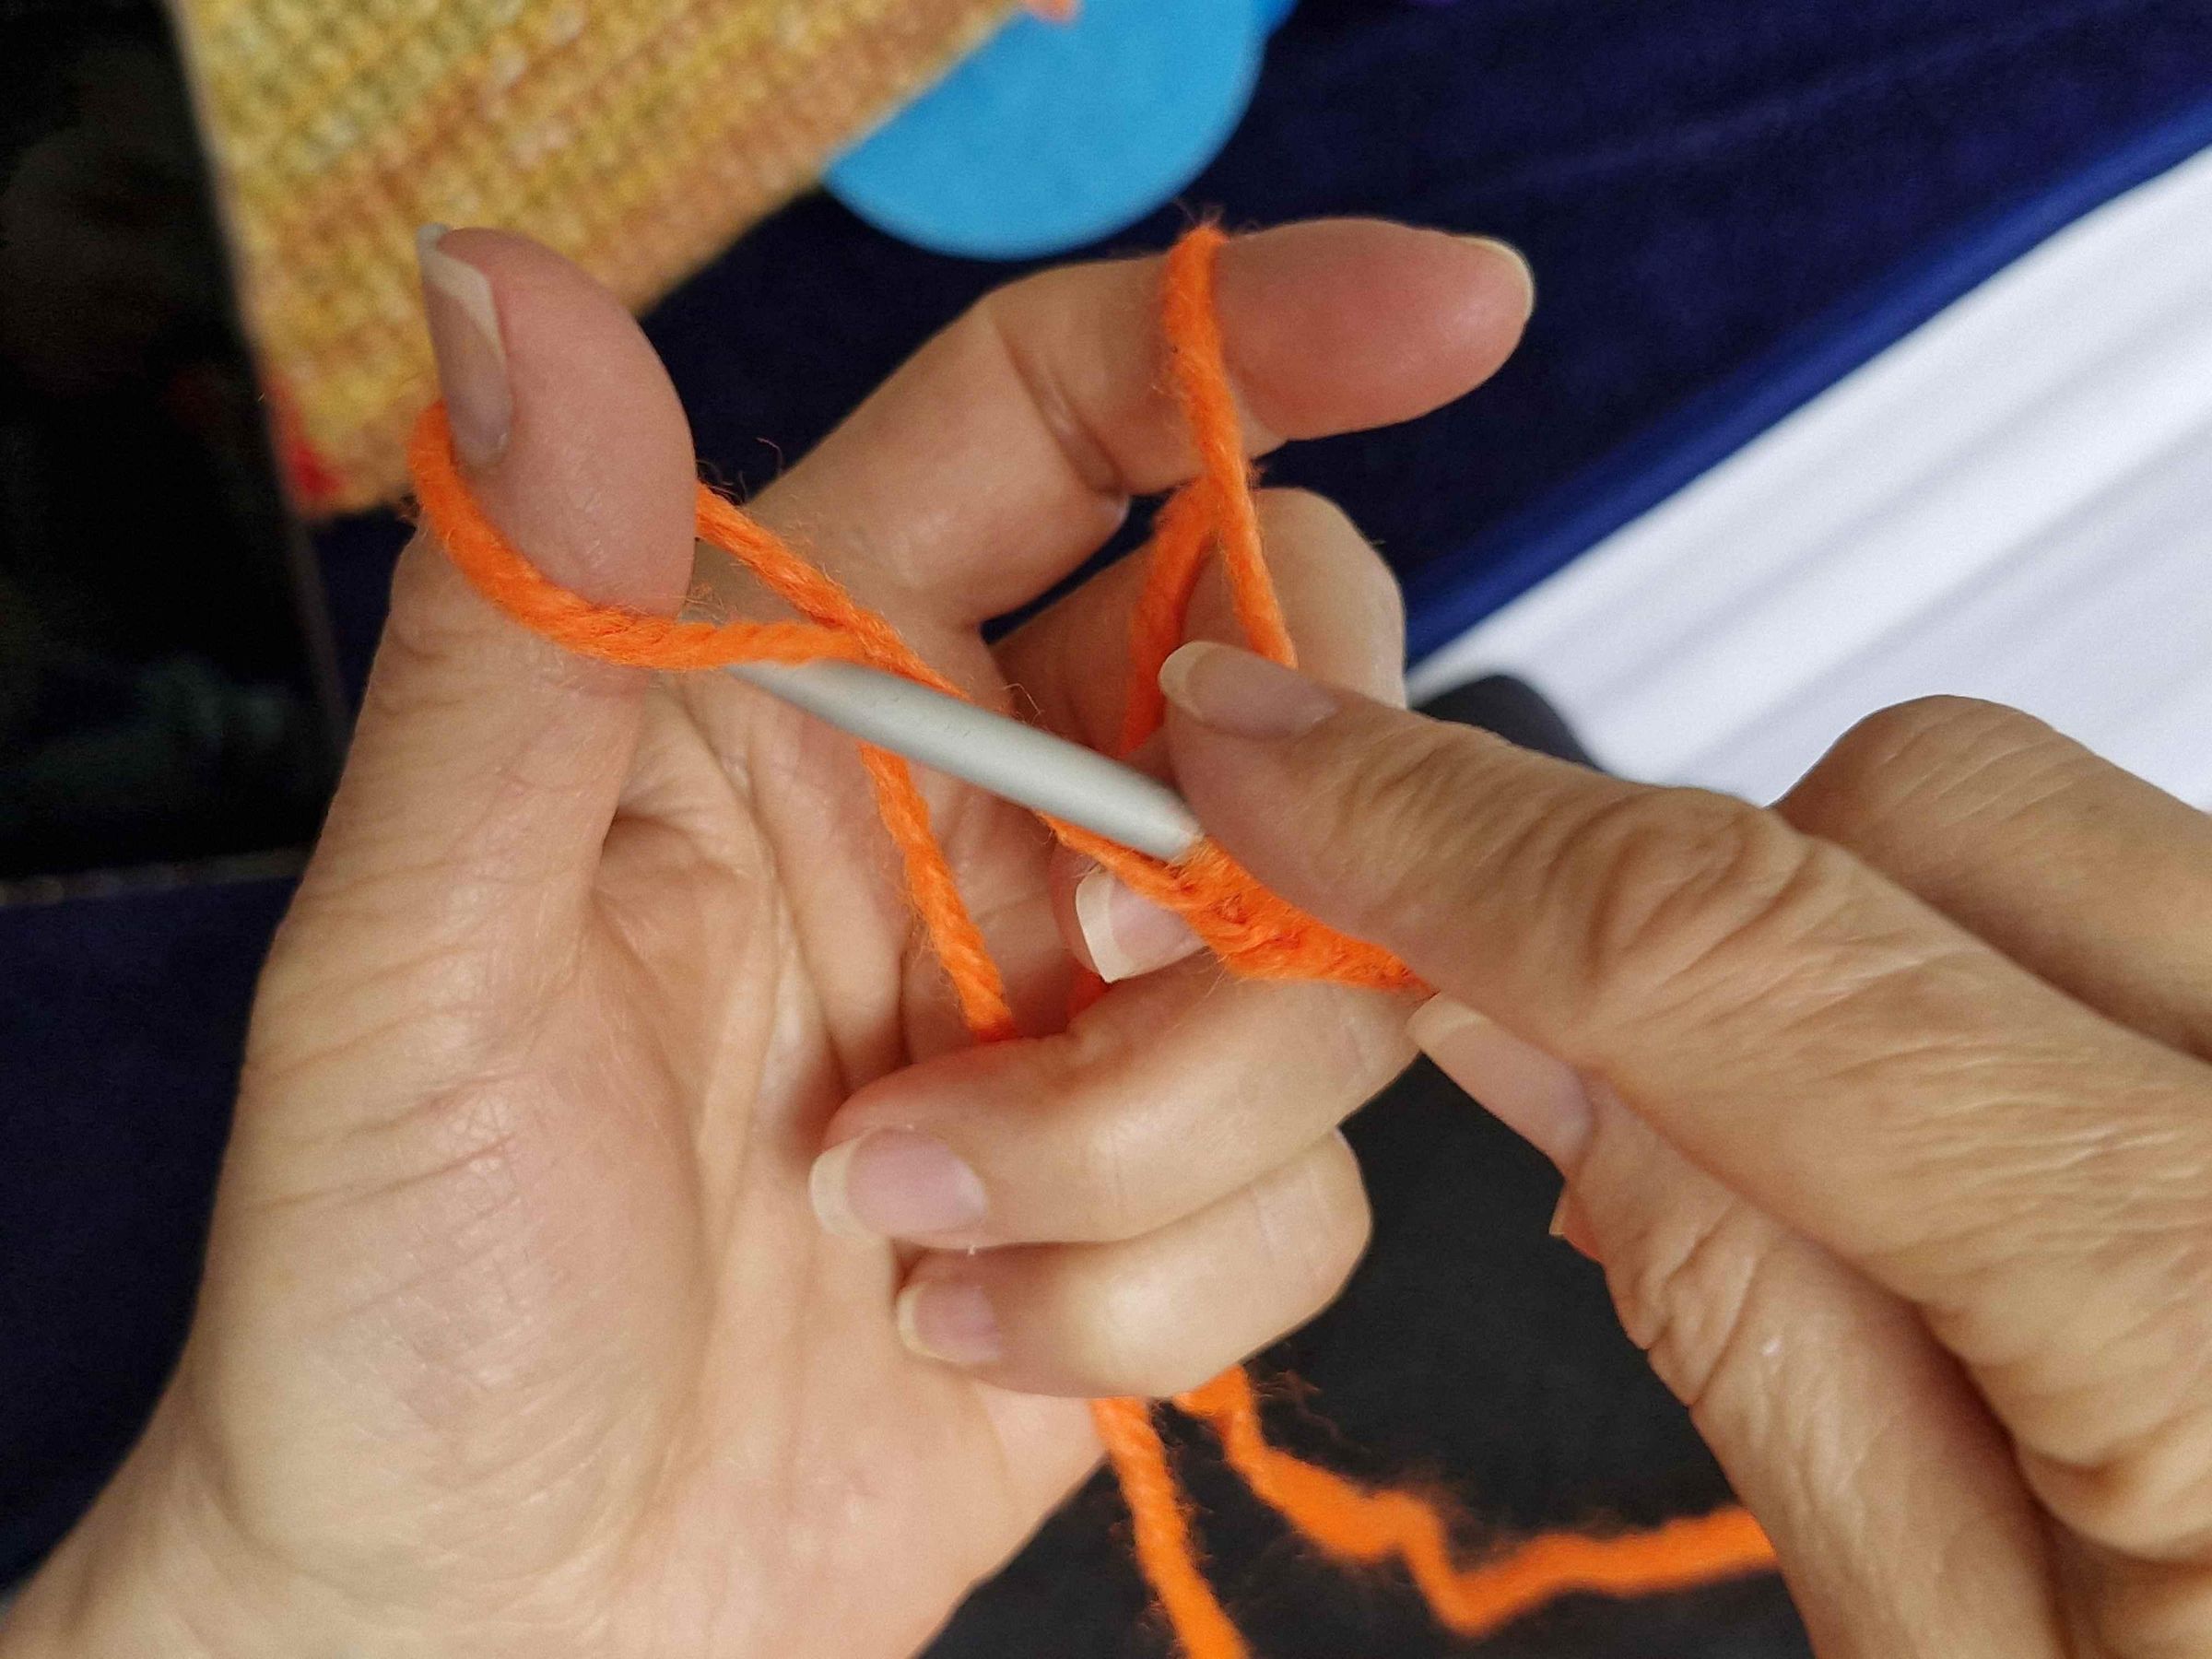
Focused on the Orange color theme and refining finger dexterity:
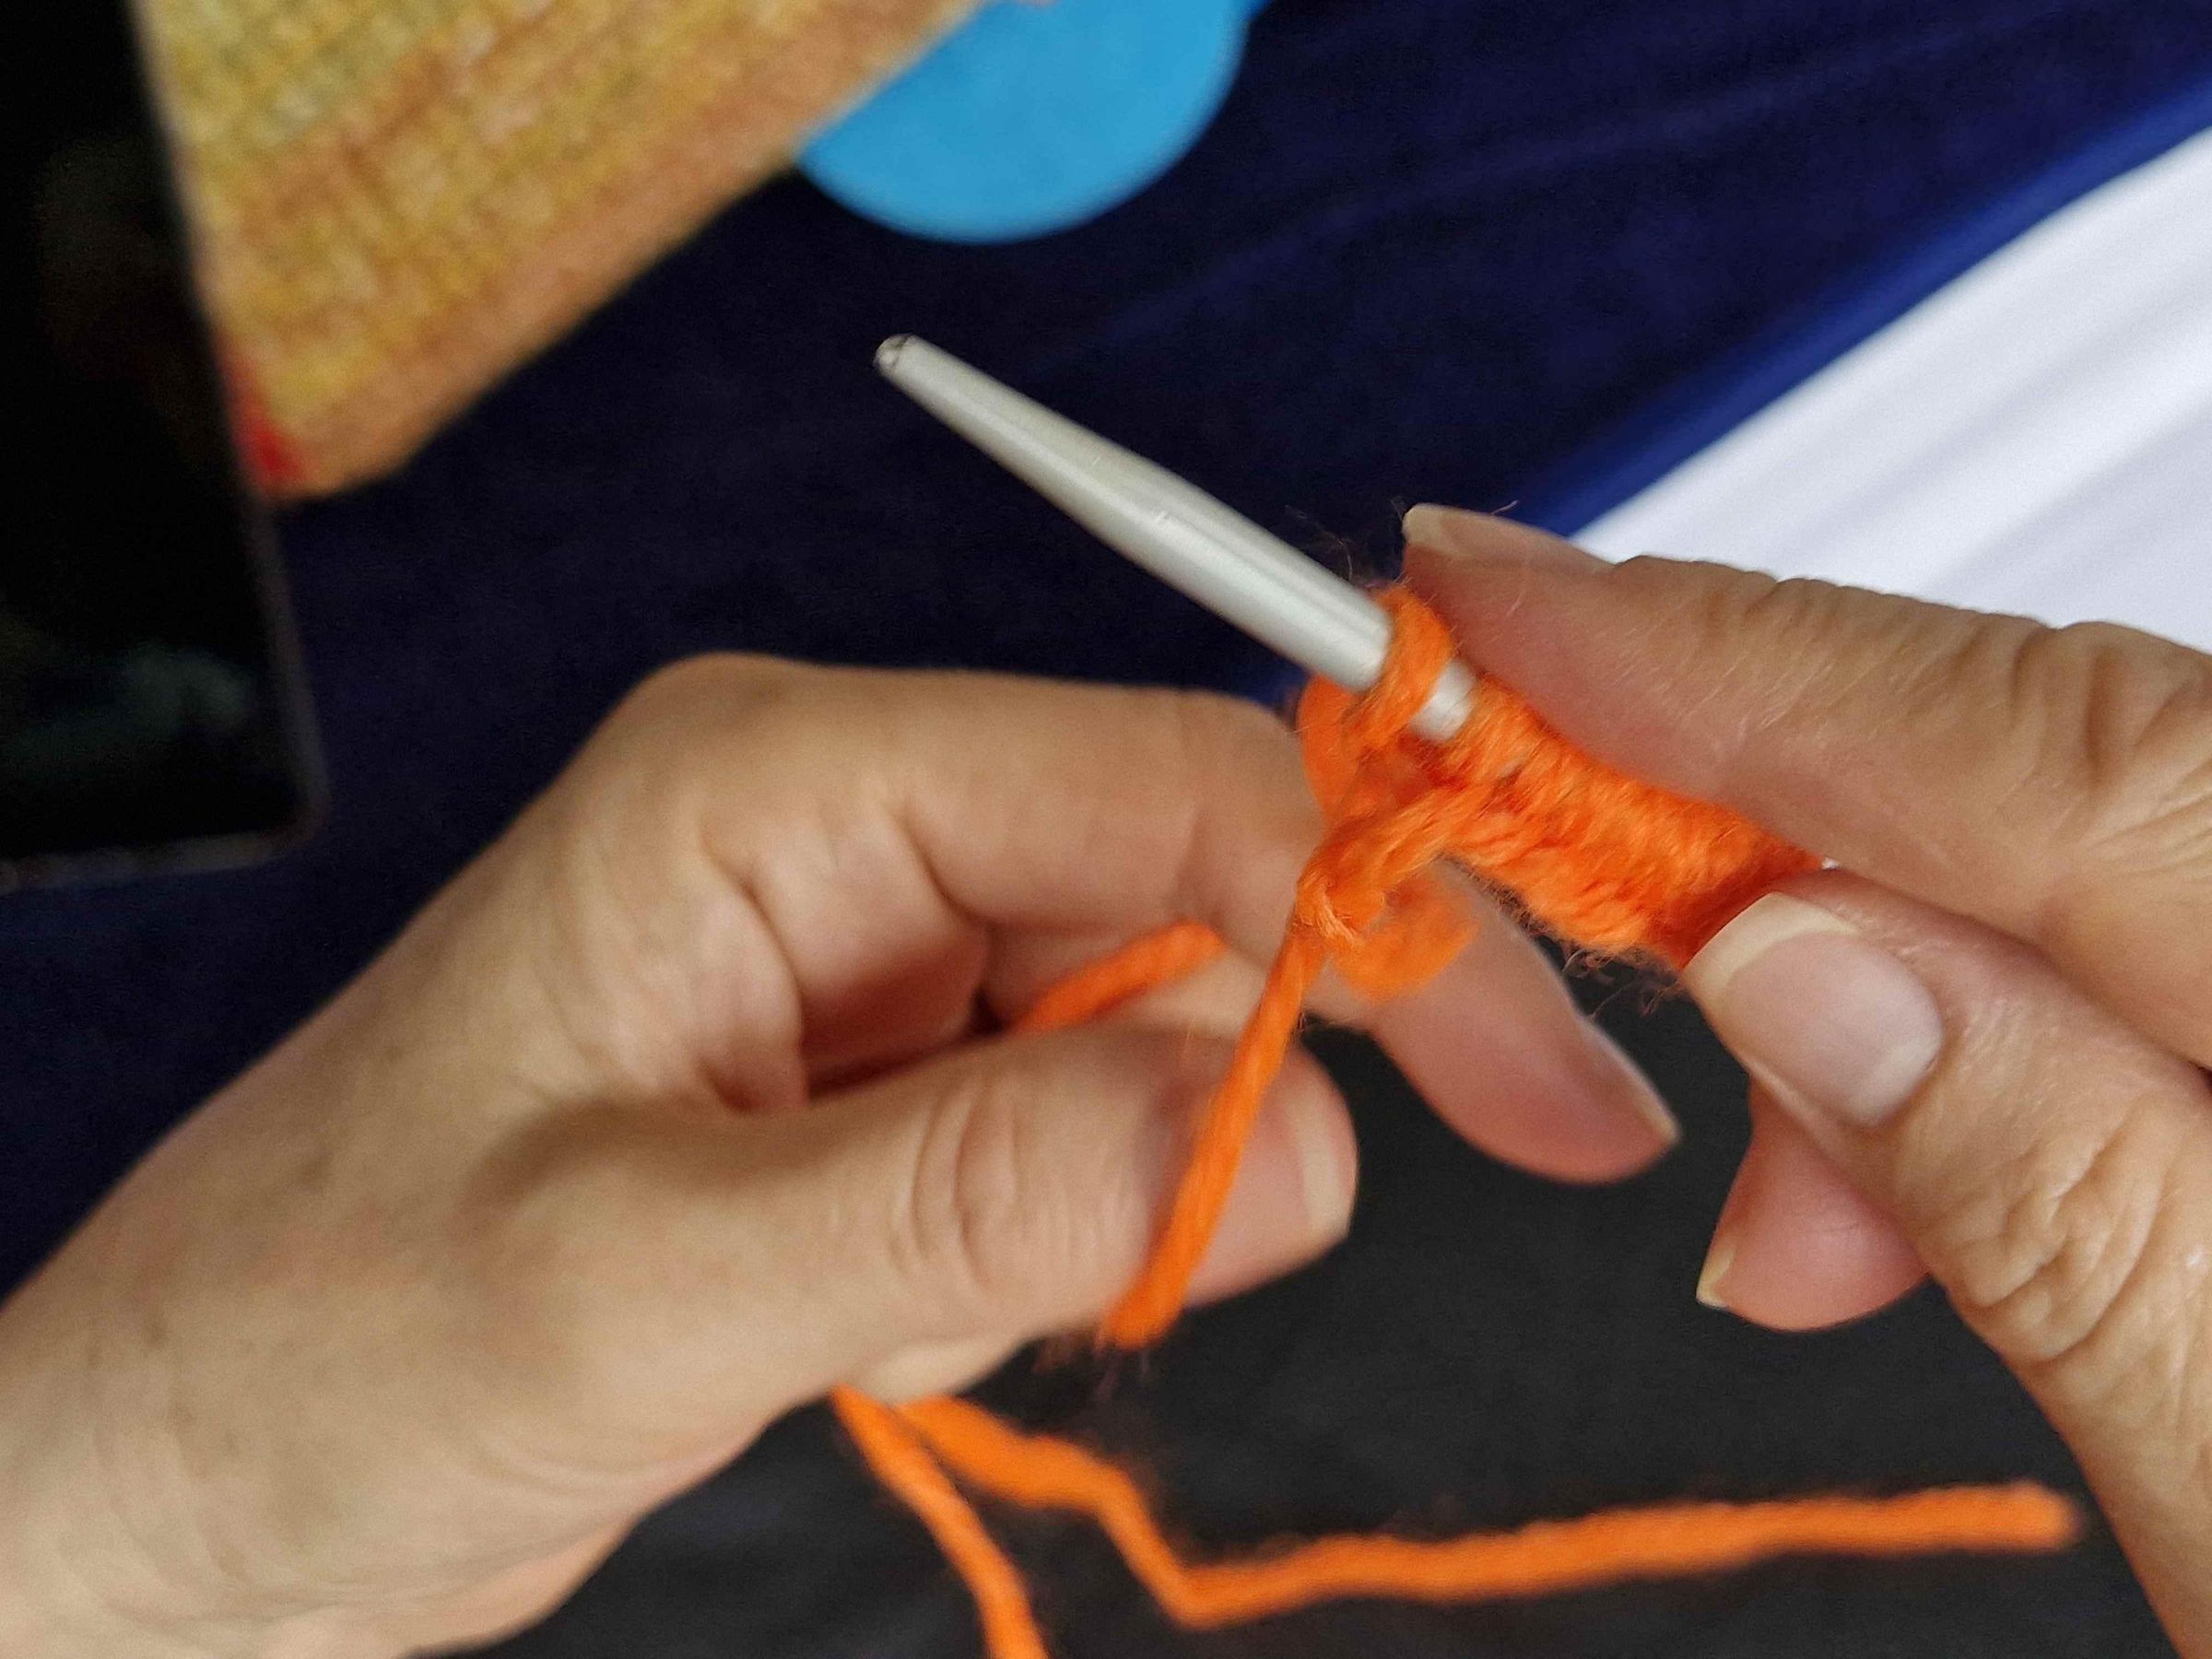
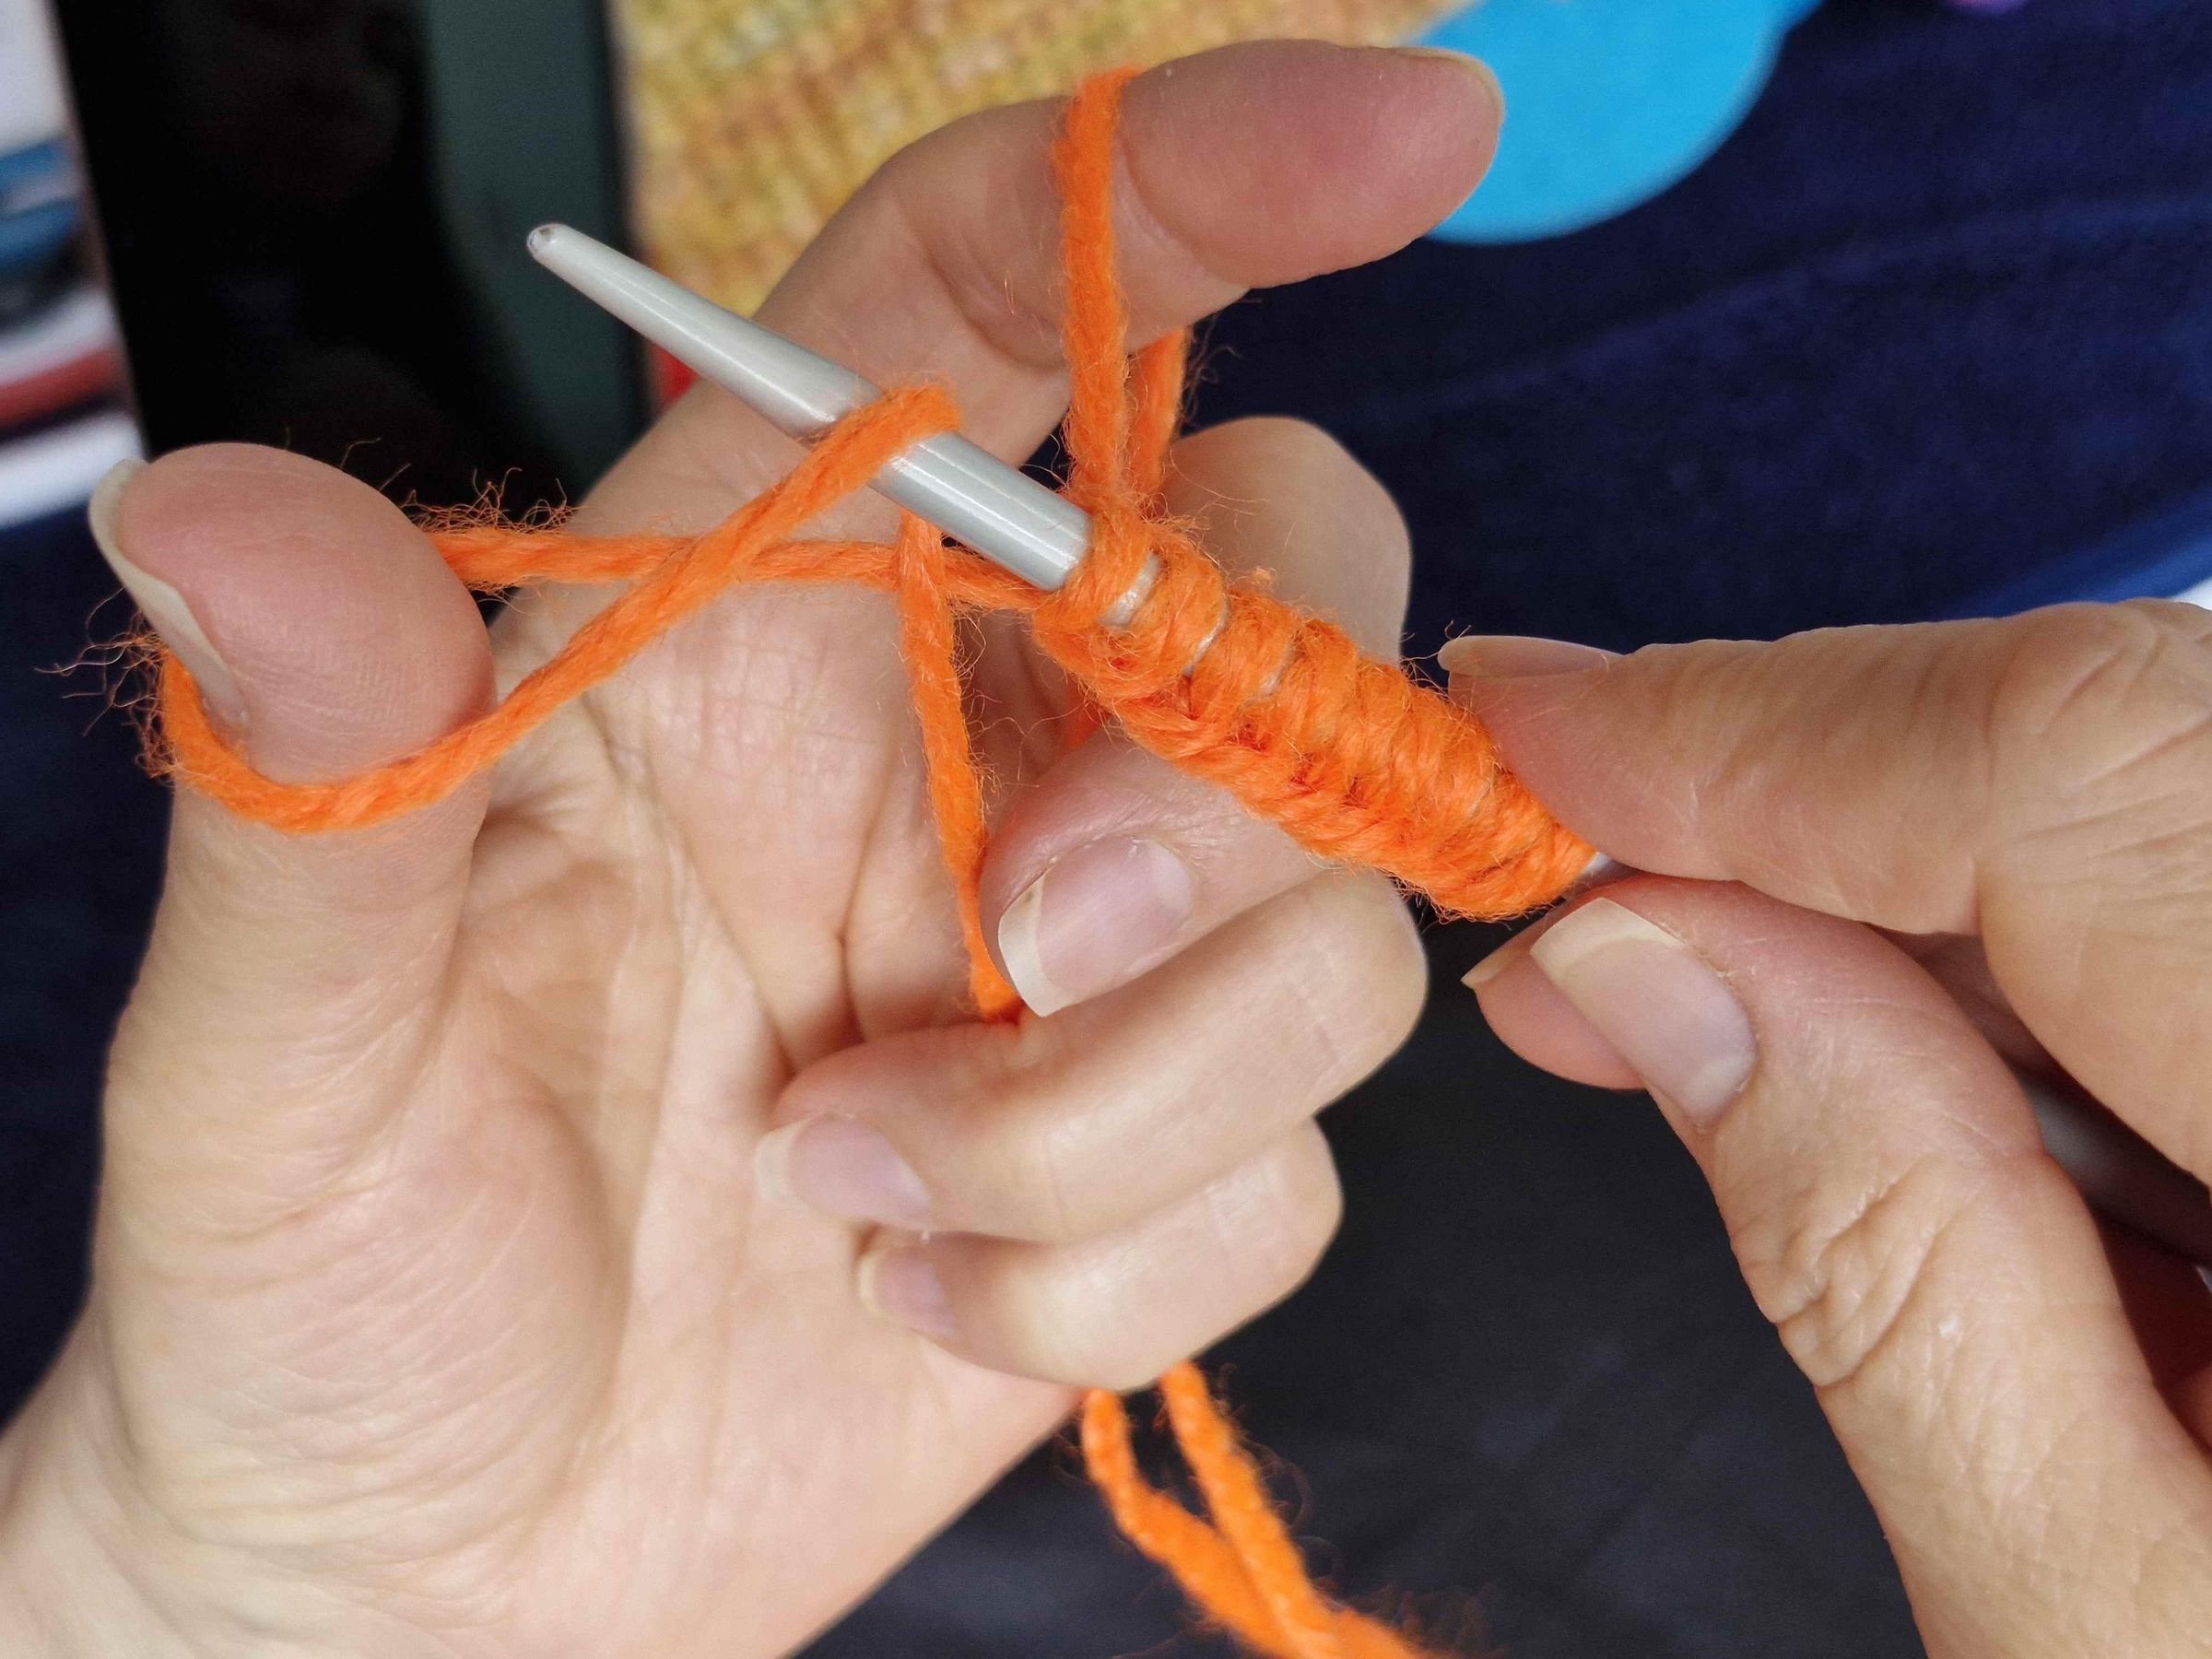
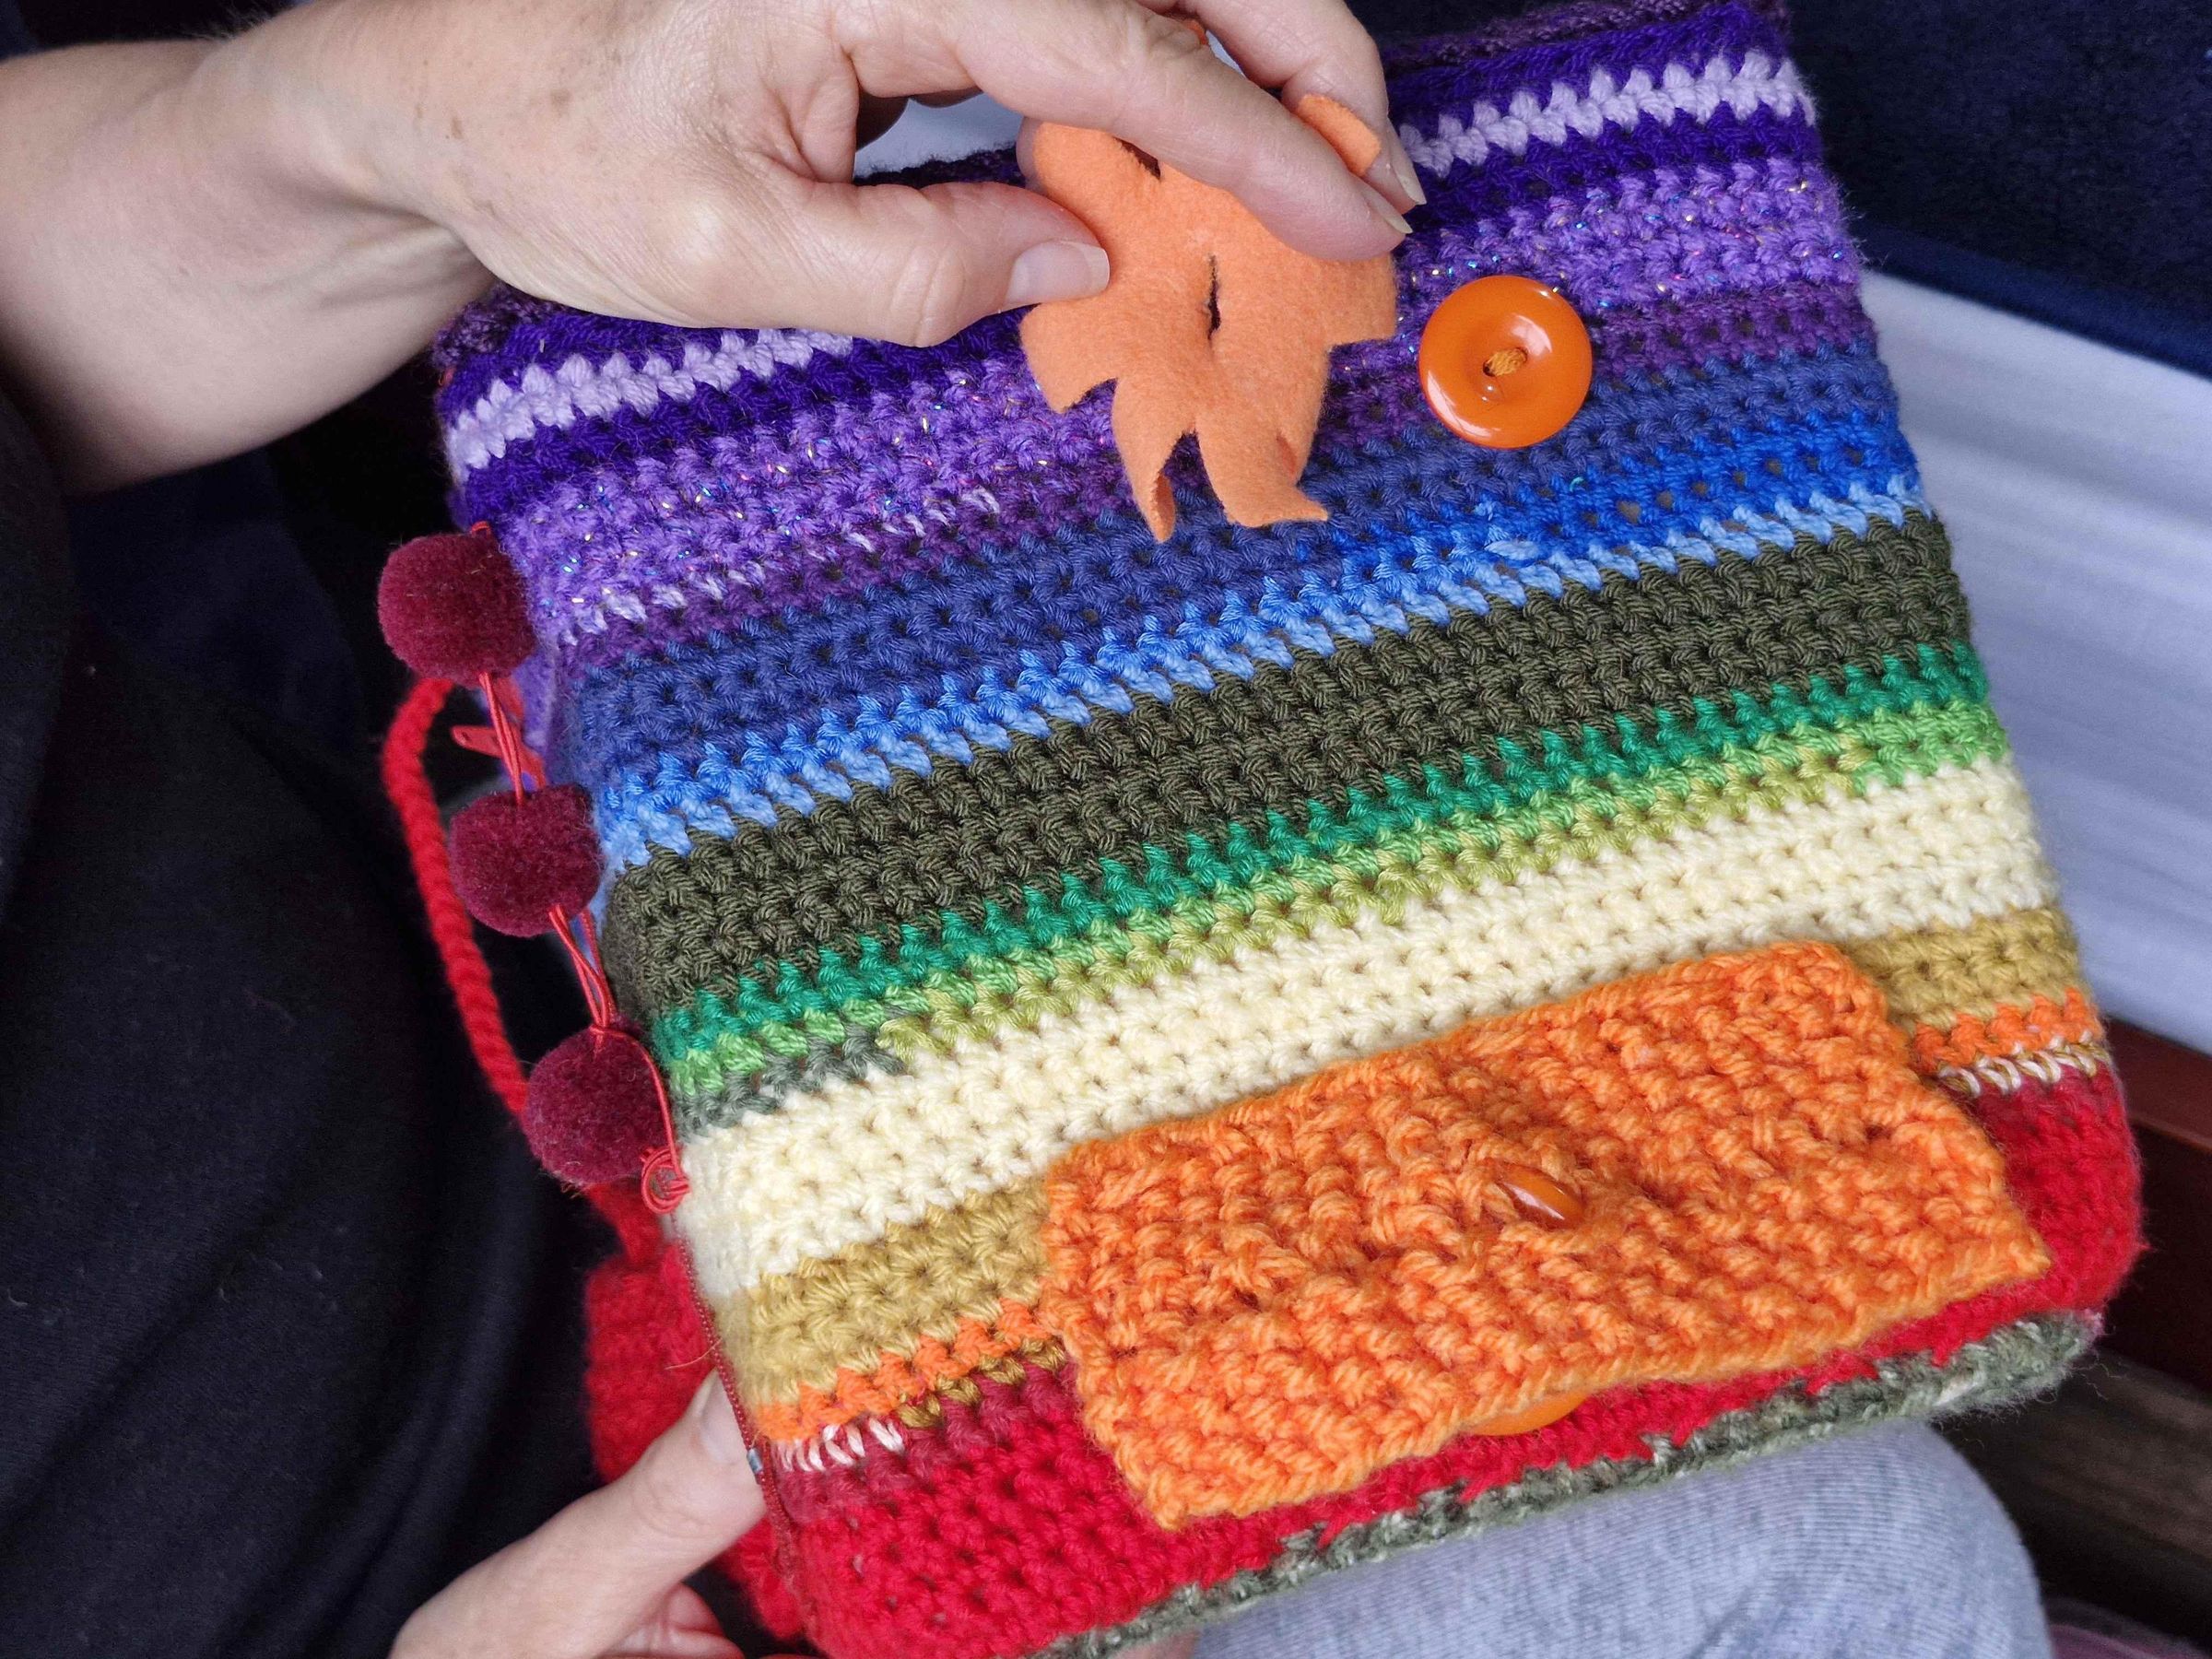
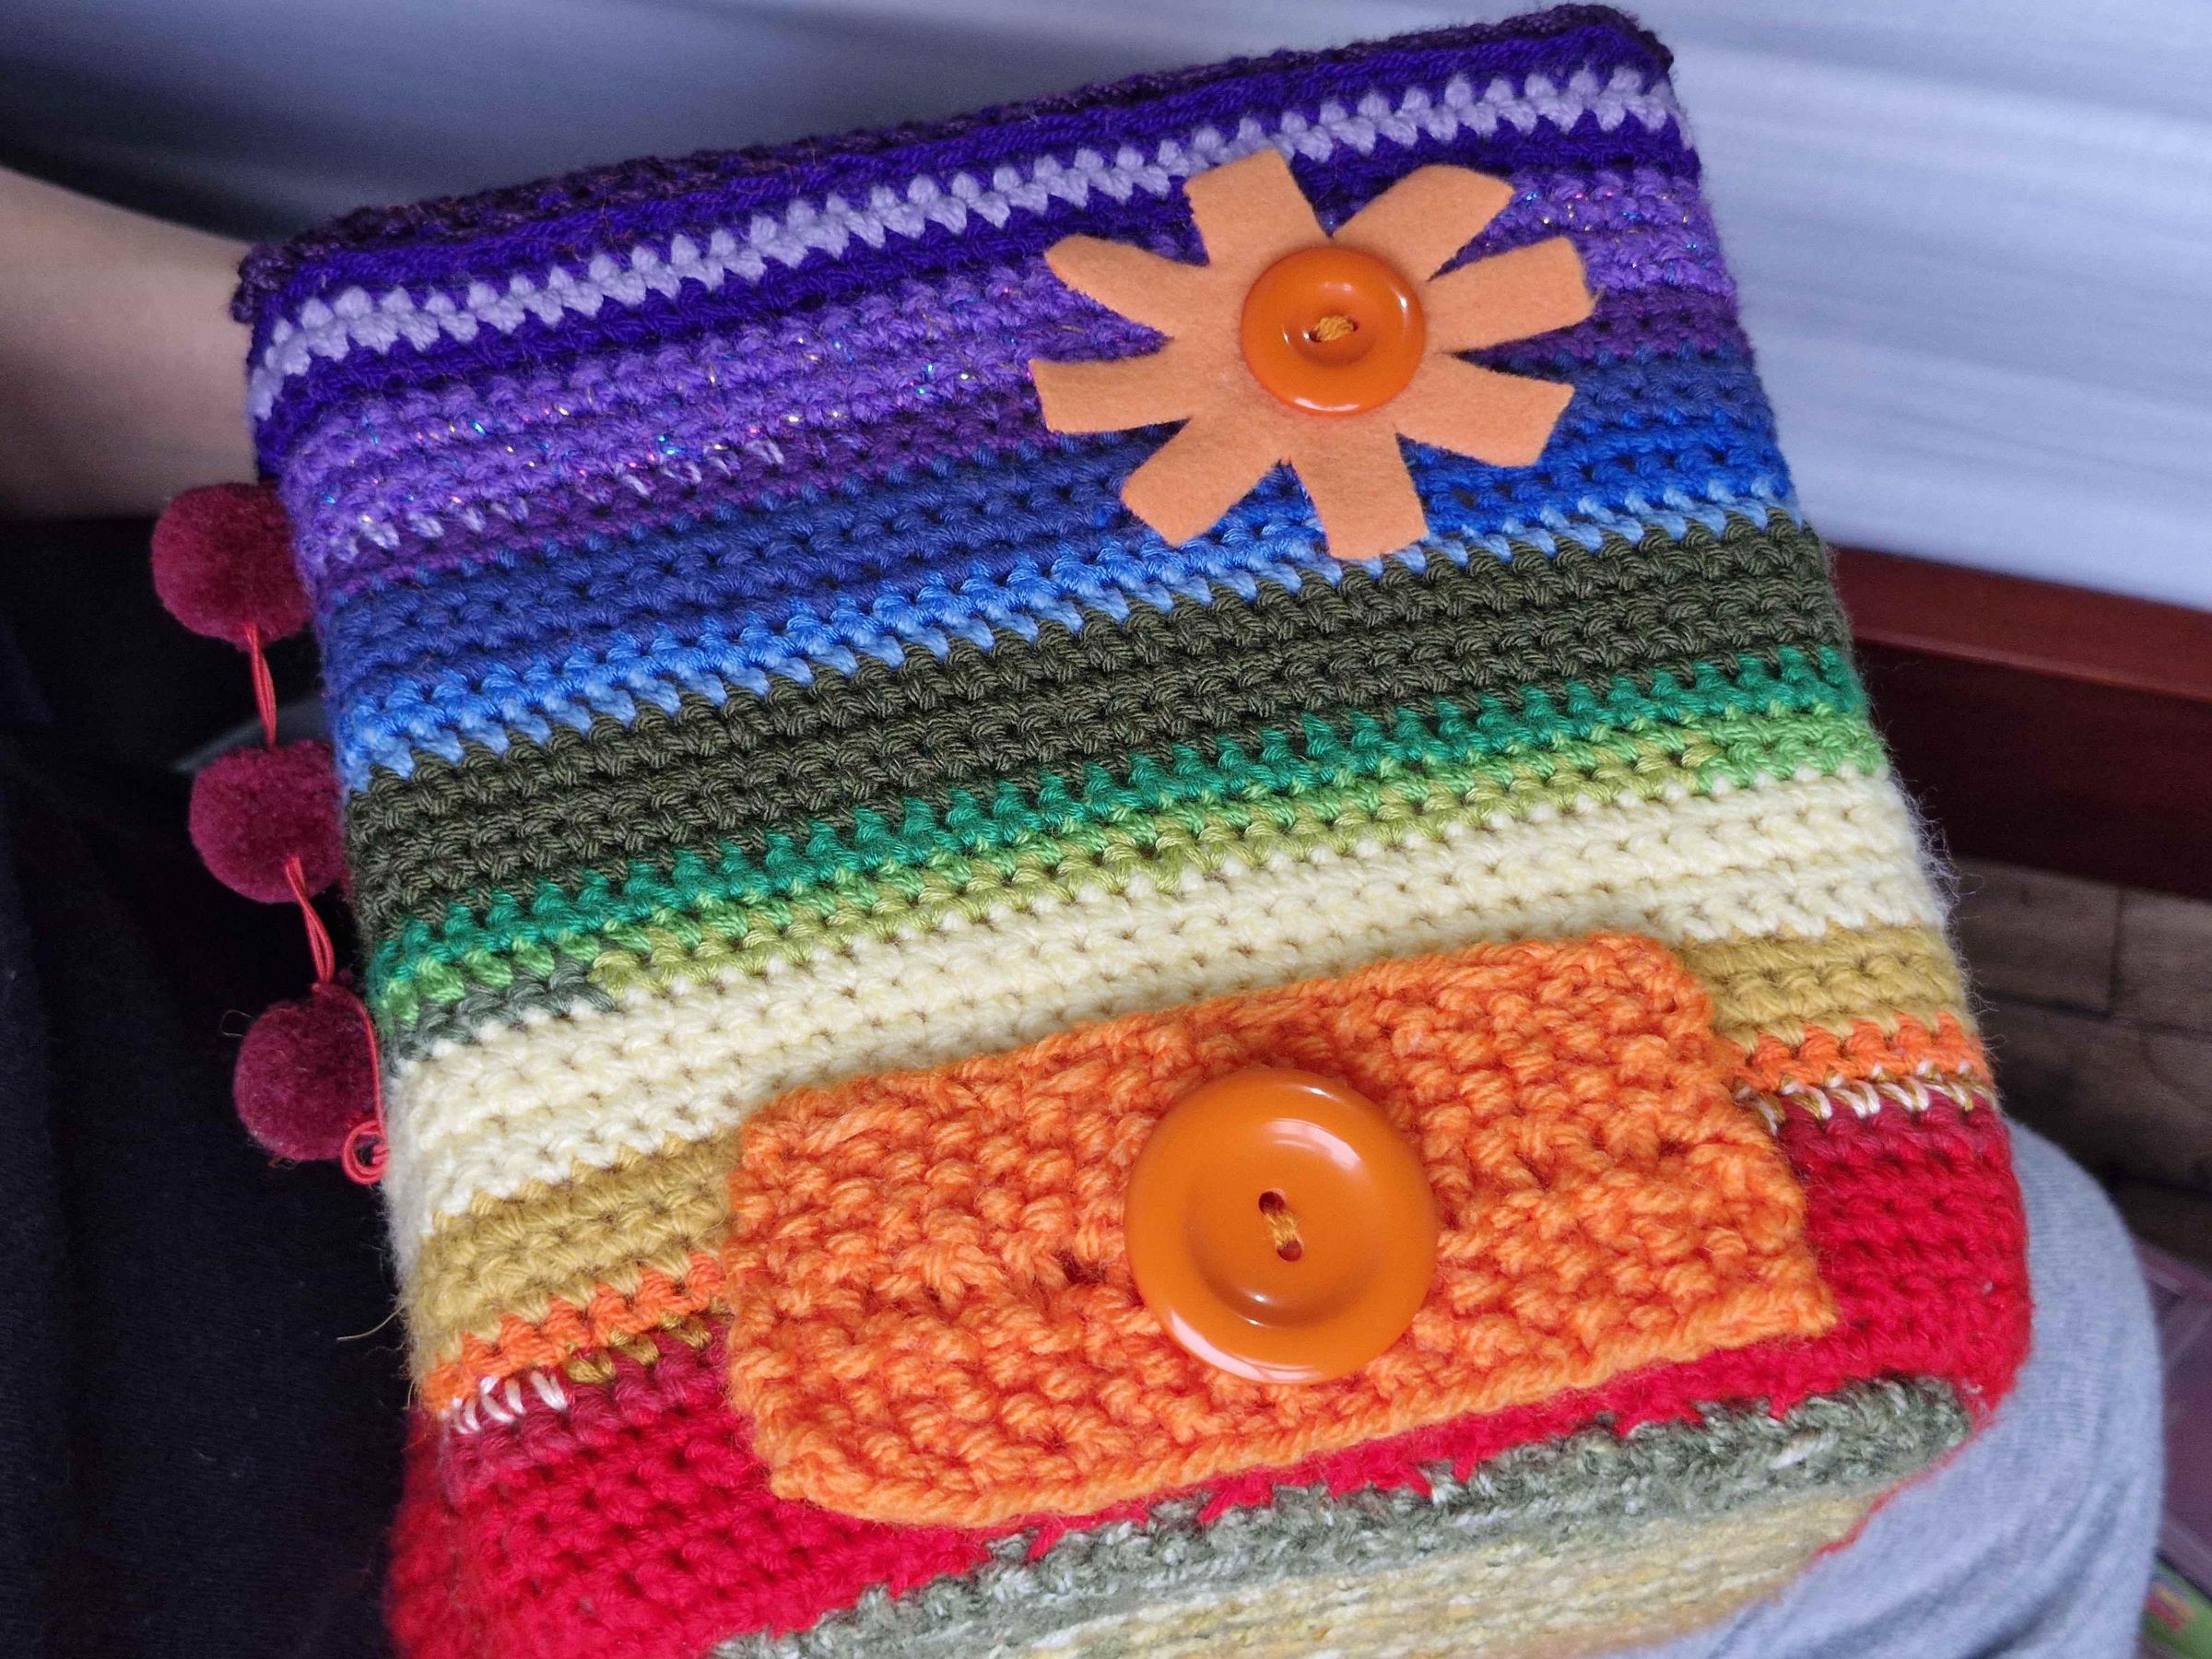
- Button Flap: Knit or crochet a short strap/flap in orange yarn. Create a custom buttonhole in the center.
- Sew a sturdy button onto the face and attach the center of the flap. This activity teaches children how to button and unbutton independently.
- Counting Feature: Sew or string orange seed beads around the surface to encourage touch, sliding, and early counting exploration.
Crafting the Interactive Yellow Face (Texture Contrast and Pocket)
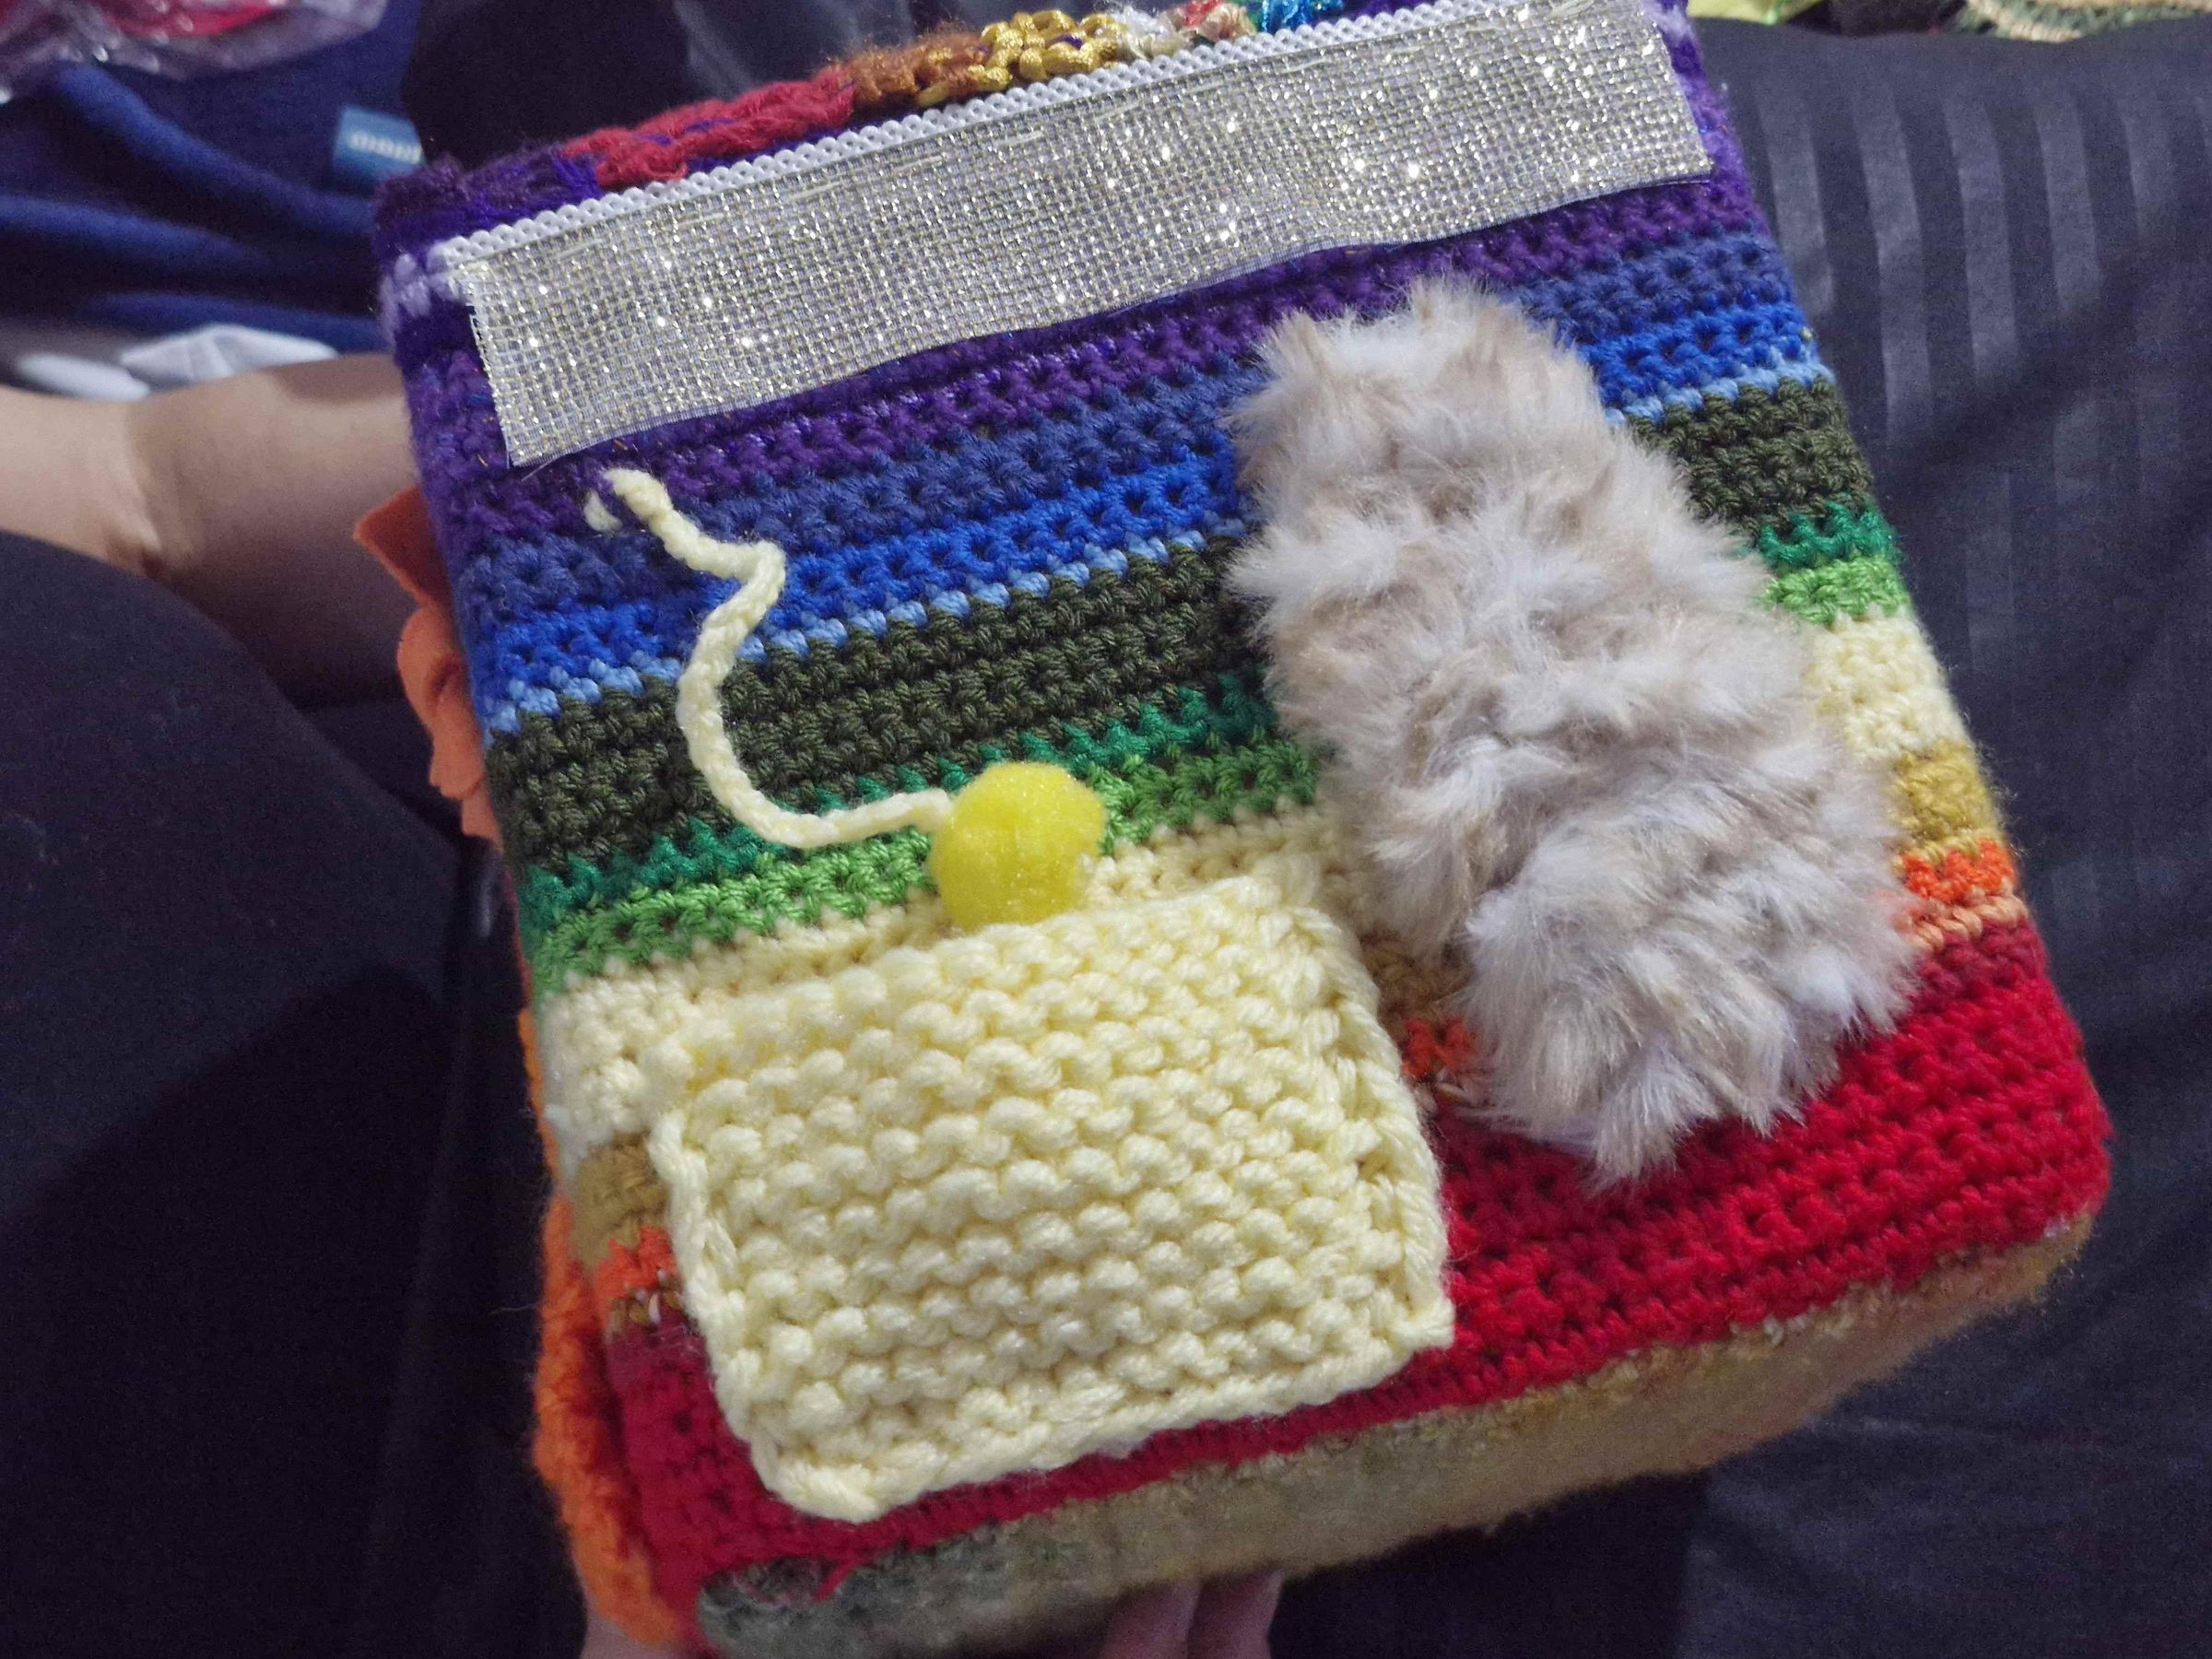
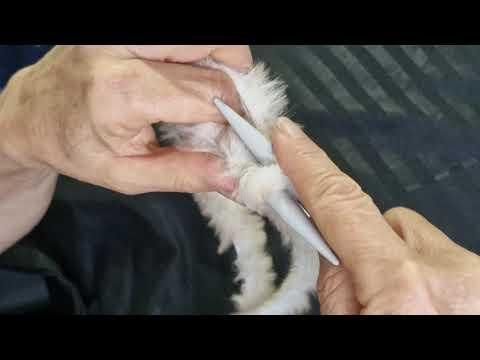
Designed around the Yellow color theme and sensory tactile discovery:
- Yellow Container: Using knitting needles (5 mm or 7 mm) and yellow yarn, knit a dense stockinette pocket. Secure it to the face as a pouch for storing and retrieving another soft foam ball.
- Soft Texture Zone: Knit or sew a patch using ultra-soft fleece plush yarn onto the surface.
- Rough Texture Zone: Attach a strip of rough/coarse-textured ribbon adjacent to the soft patch.
- The goal of this panel is for the child to stroke both areas alternately, learning to distinguish between soft and rough sensations.
Crafting the Interactive Green Face (Progressive Counting)
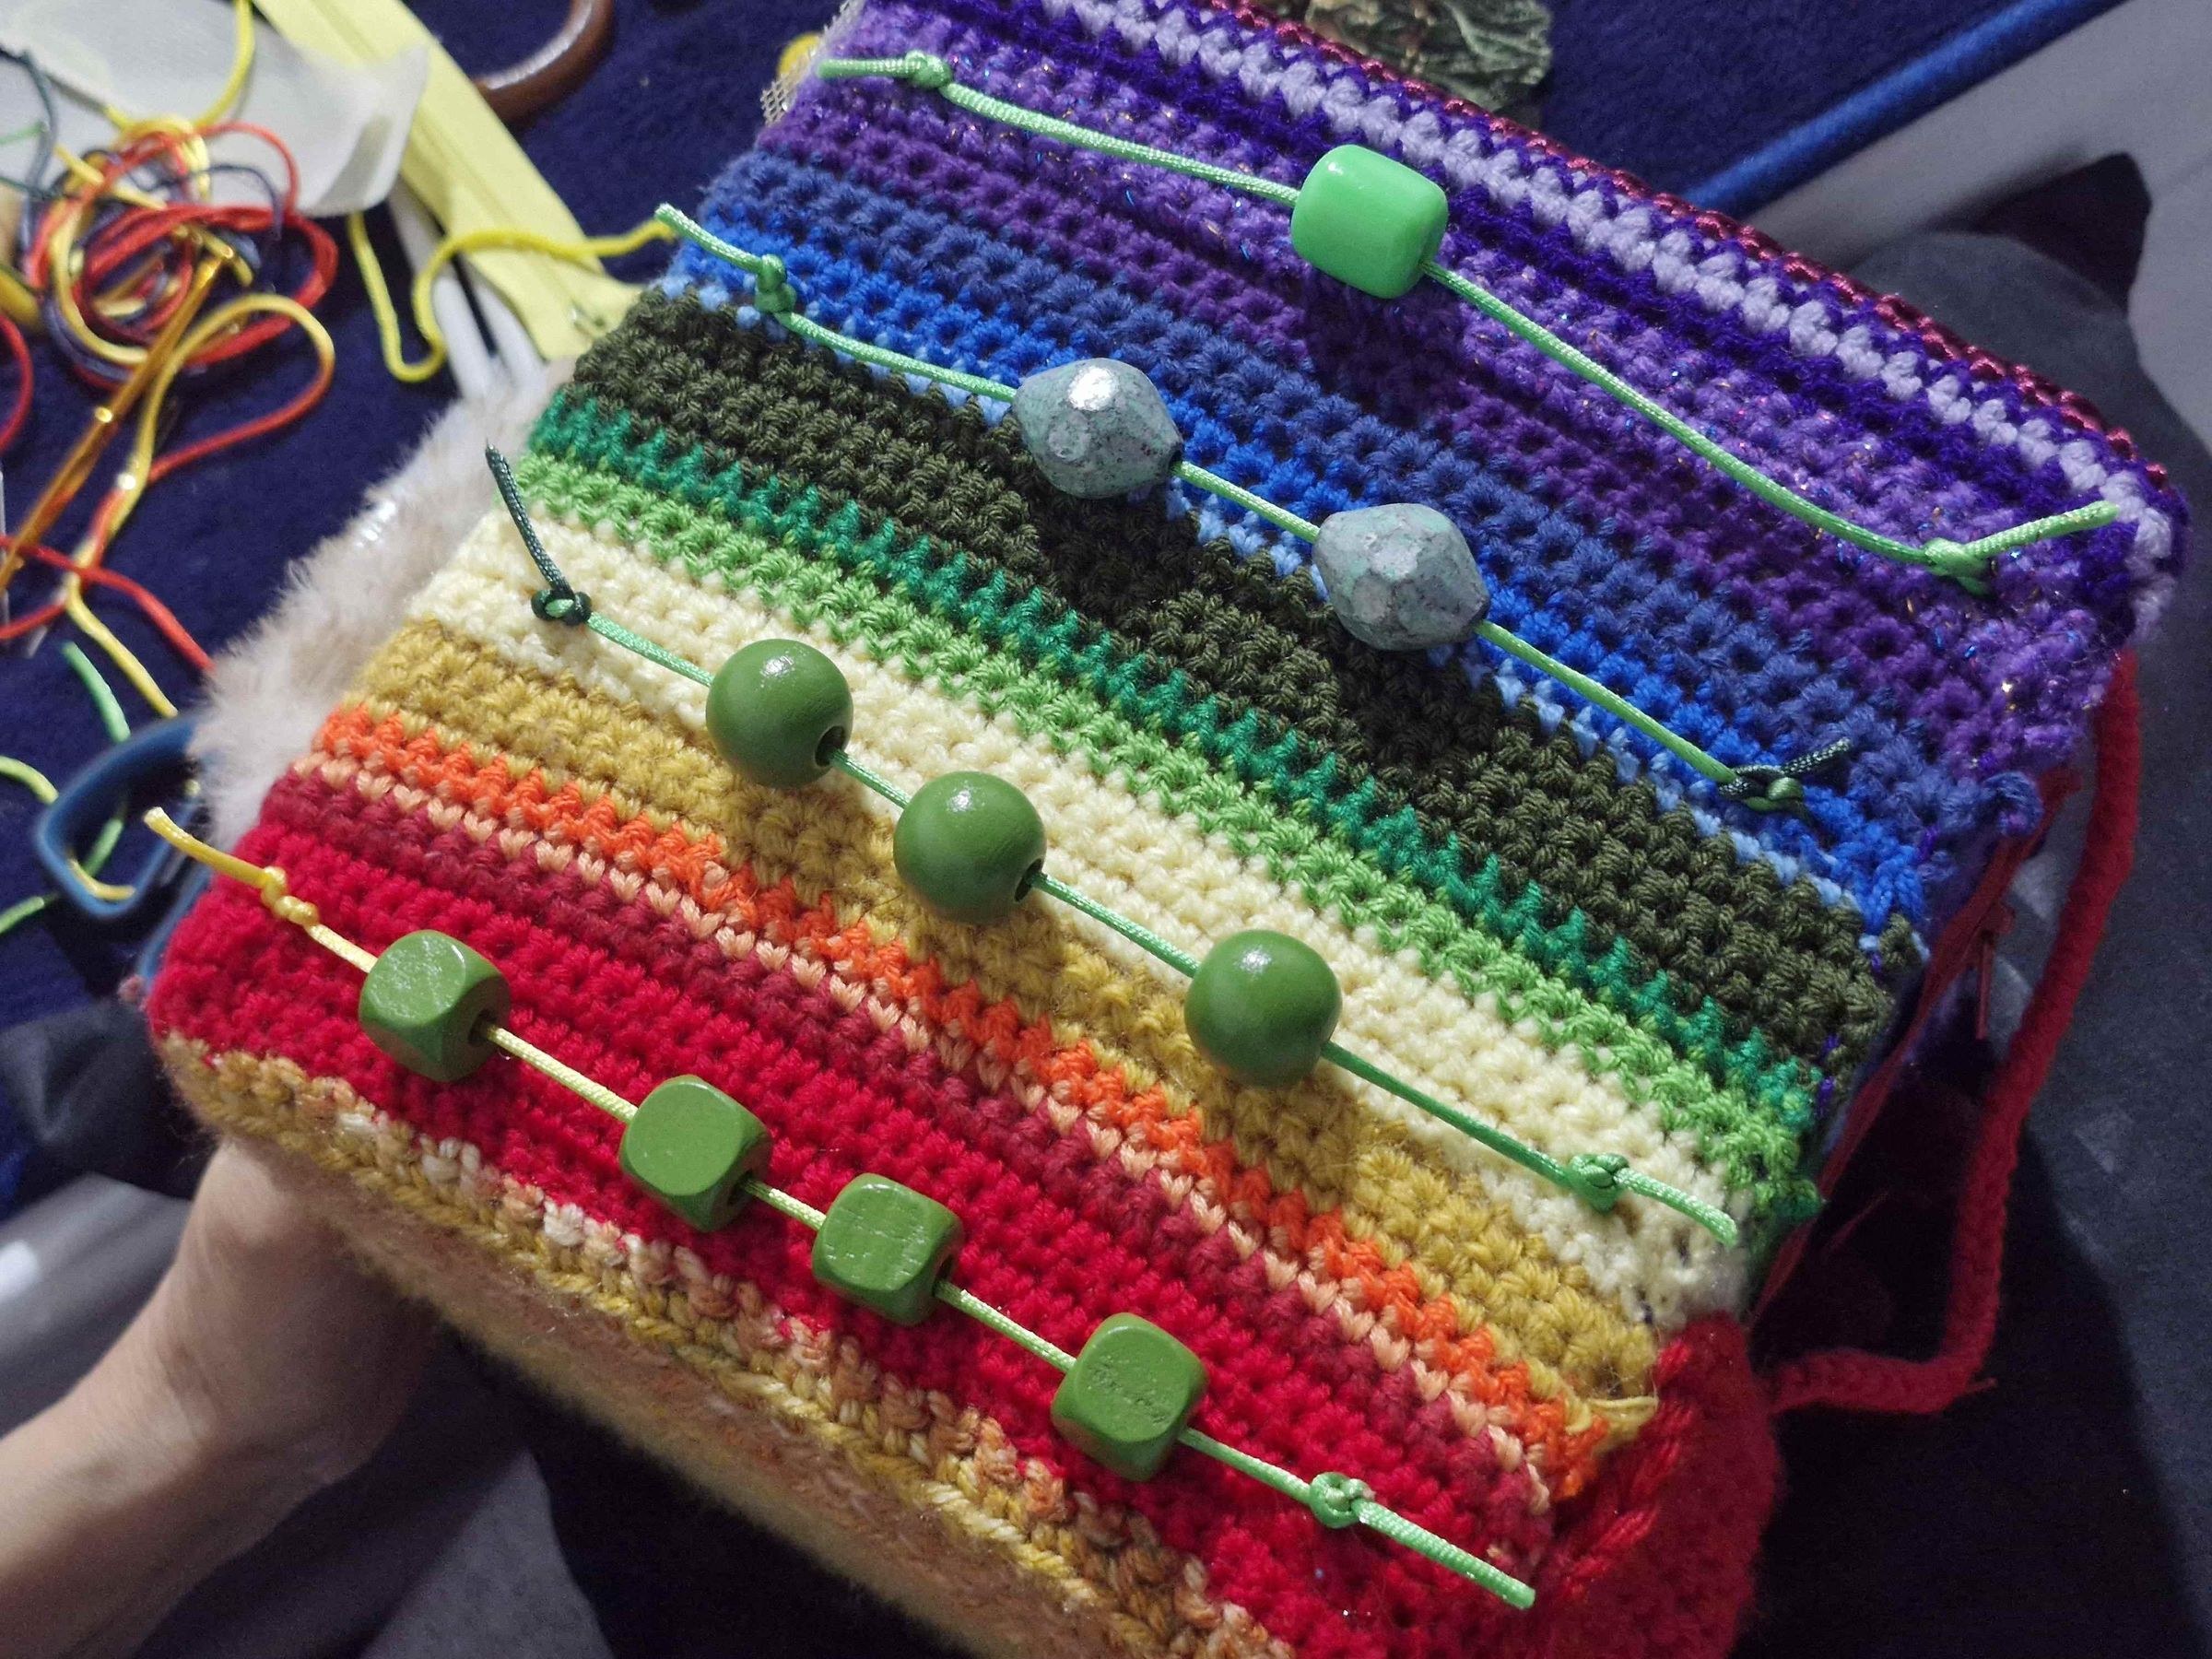
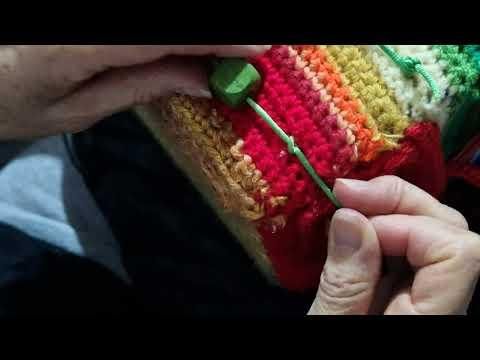
Dedicated to the Green color theme and early mathematical concepts:
- Prepare 4 thick green yarn strands and attach one end of each horizontally across the green section of the cube to create 4 parallel tracks.
- Thread hard green beads onto each track following a progressive numerical sequence:
- Row 1 (top): 1 green bead.
- Row 2: 2 green beads.
- Row 3: 3 green beads.
- Row 4 (bottom): 4 green beads.
- Secure the opposite end of each strand tightly to lock the beads in place. This activity encourages counting from 1 to 4 while offering tactile feedback from the hard beads.
Making the Rainbow Braided Handle and Tassels
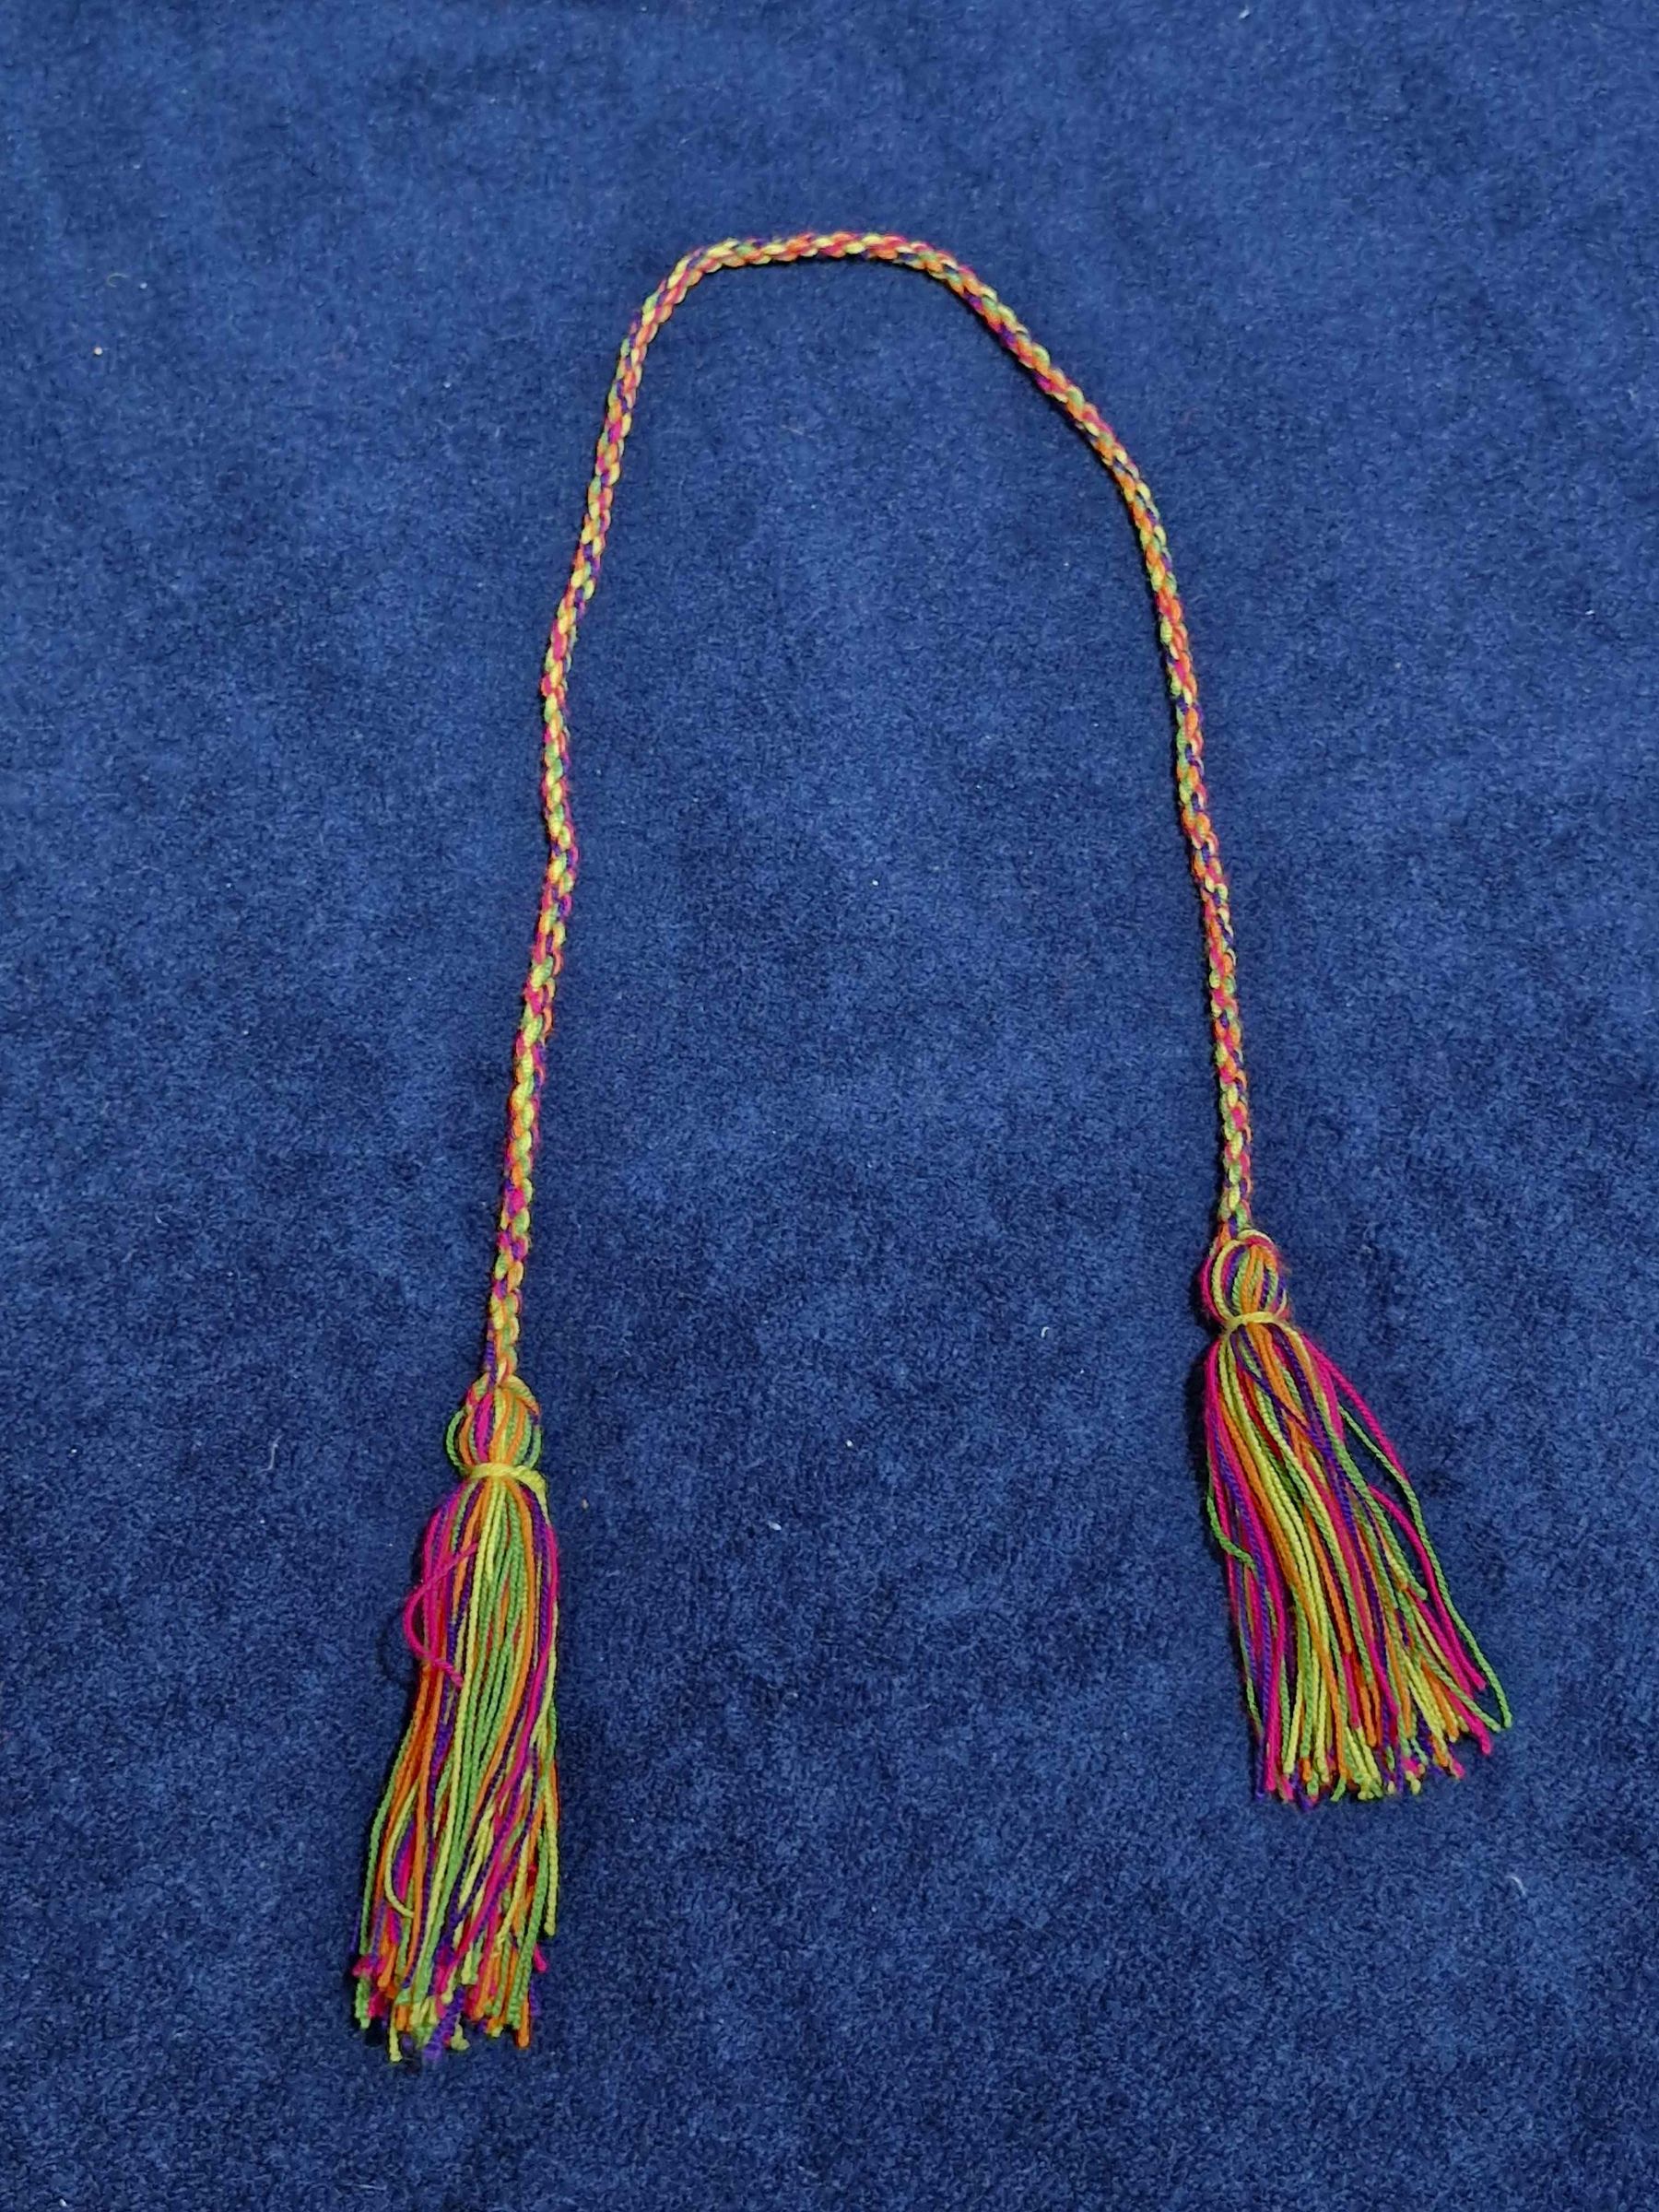
To make the sensory cube easily portable for small hands:
- Braided Handle: Gather several strands of yarn in every color of the rainbow (red, orange, yellow, green, blue, purple) and braid them tightly into a sturdy strap approximately 35 cm−40 cm35 cm−40 cm (14 in−16 in14 in−16 in) long.
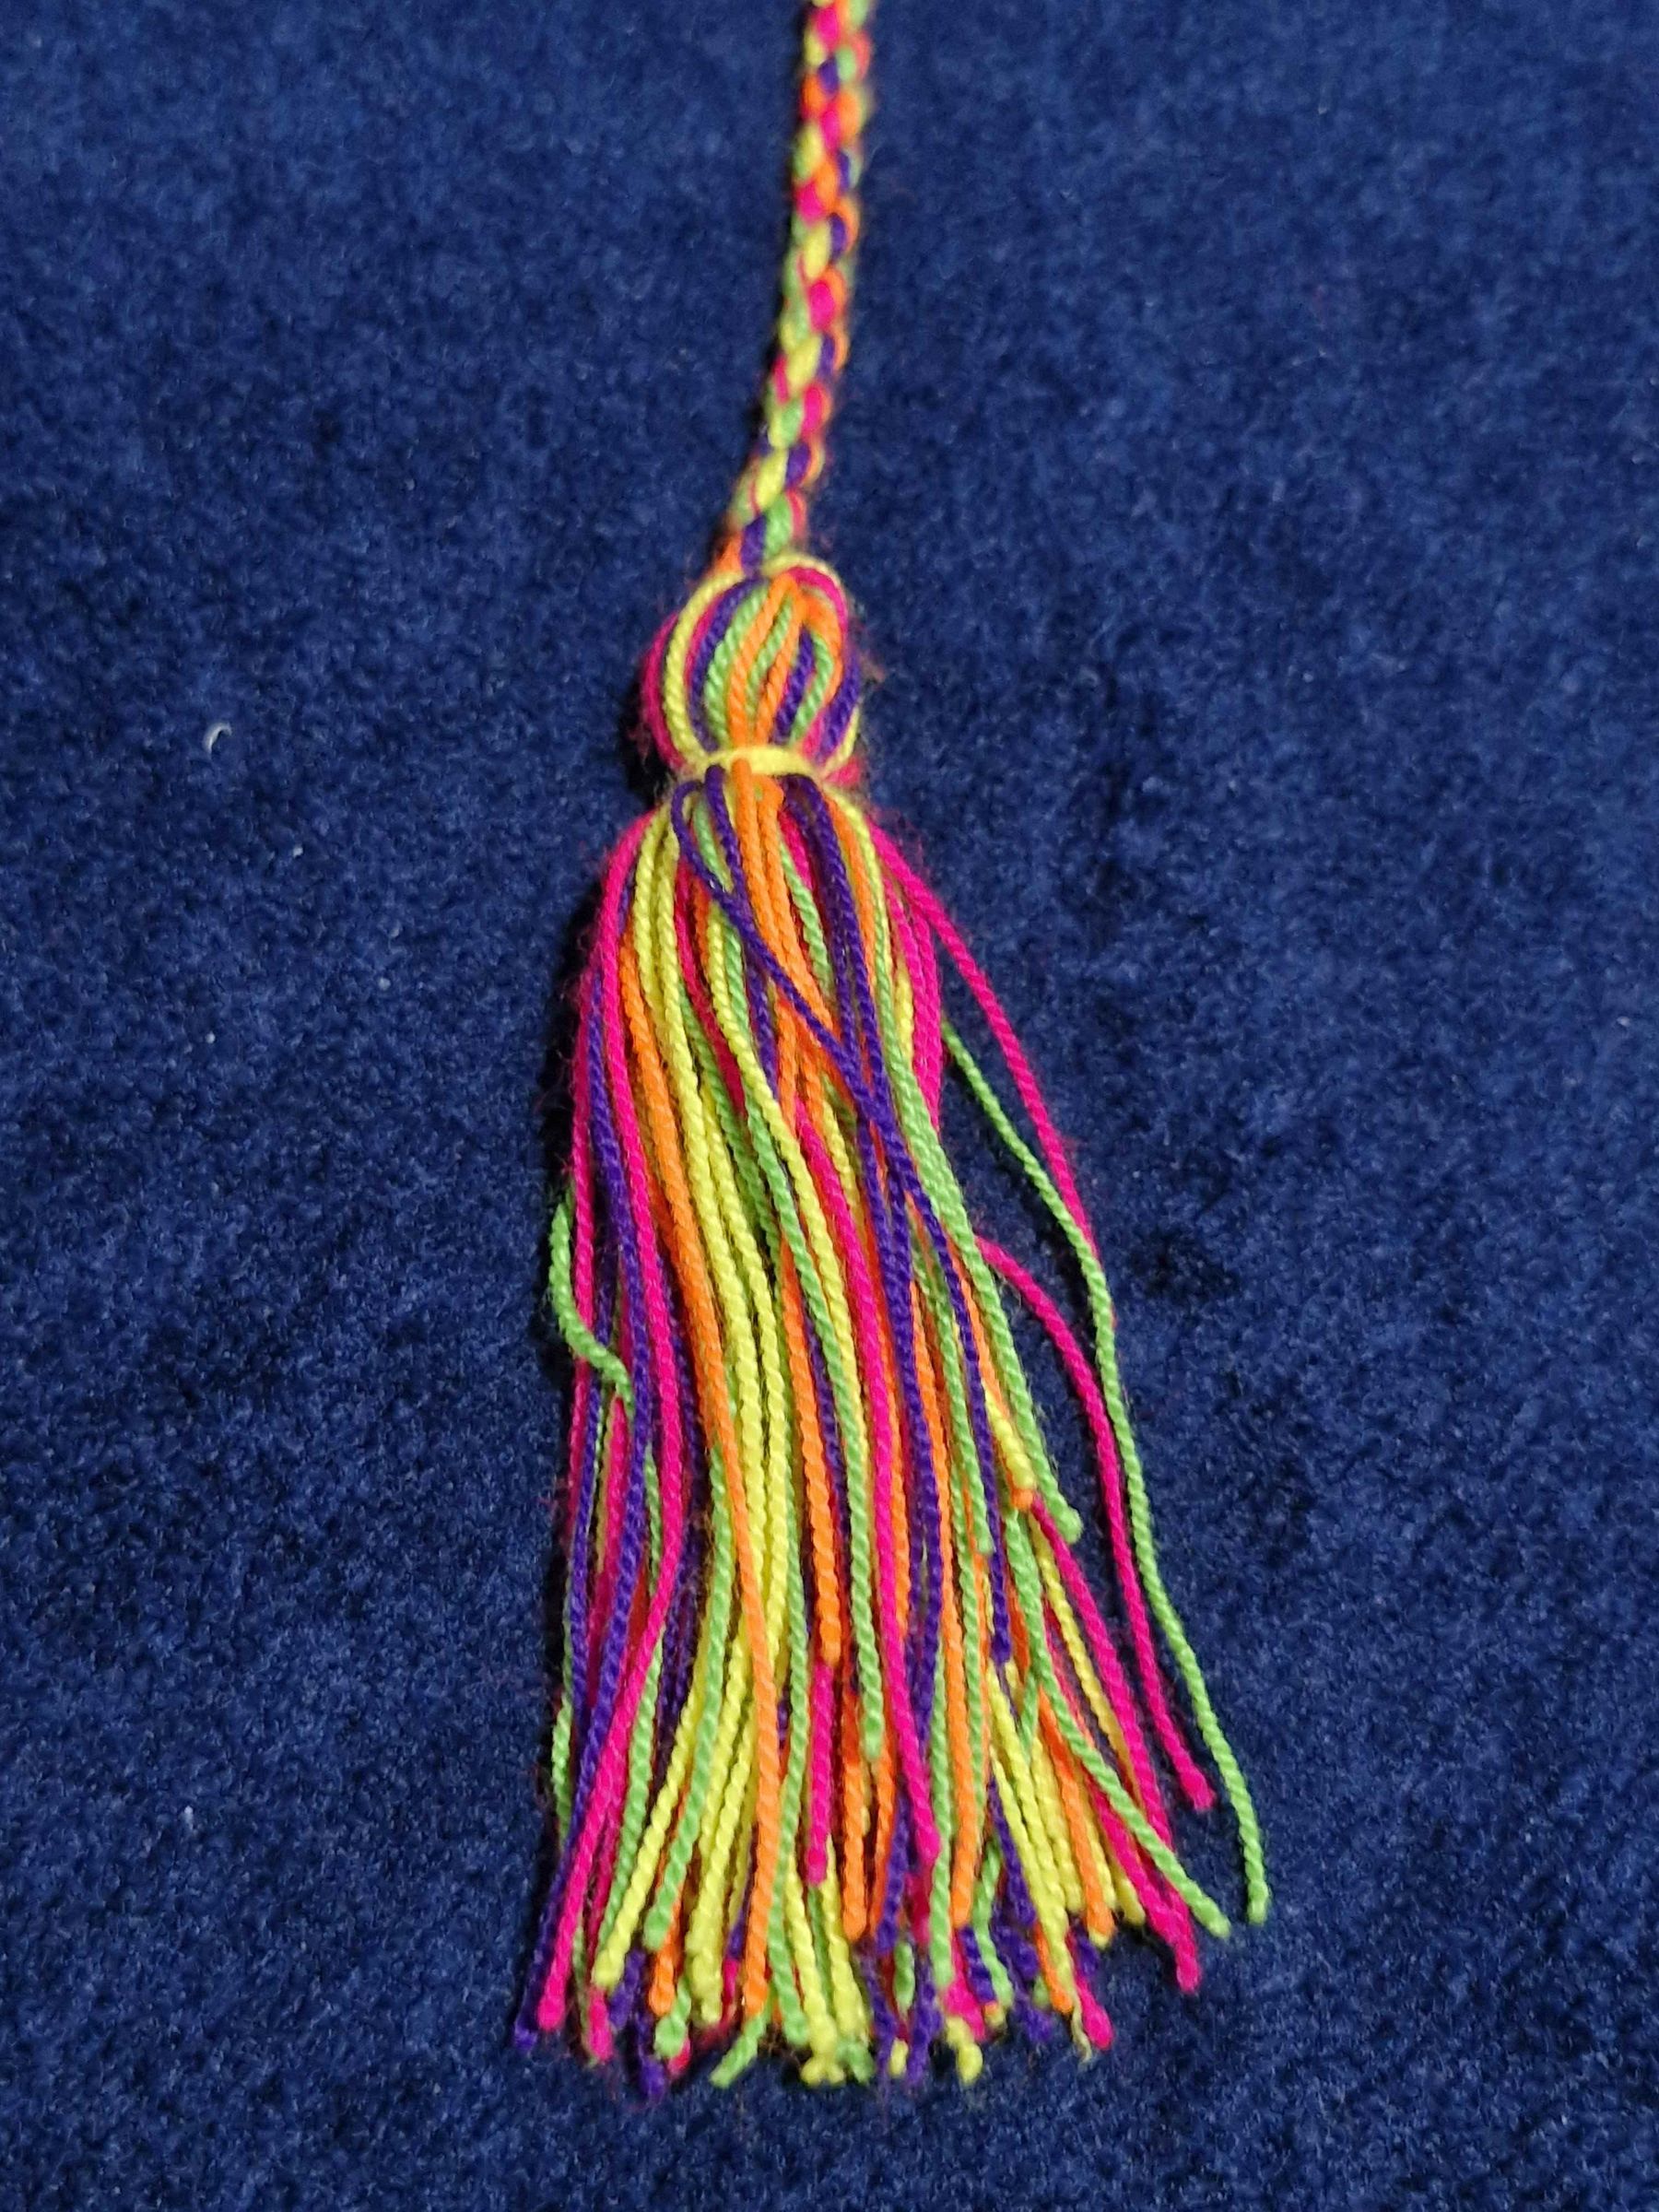
- Tassels: Using leftover rainbow yarn, make 2 full, fluffy tassels.
- Attach one tassel to each end of the braided handle.
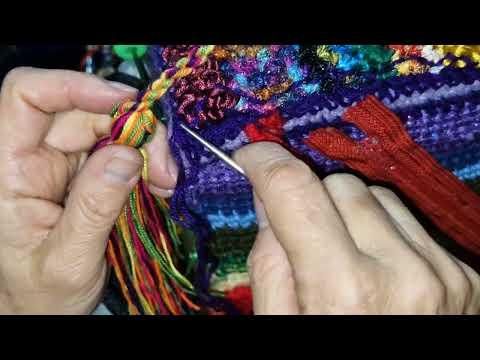
- Firmly stitch both ends of the handle onto the top edges of the cube. Children can now grab and carry their interactive rainbow cube wherever they go.
Conclusion
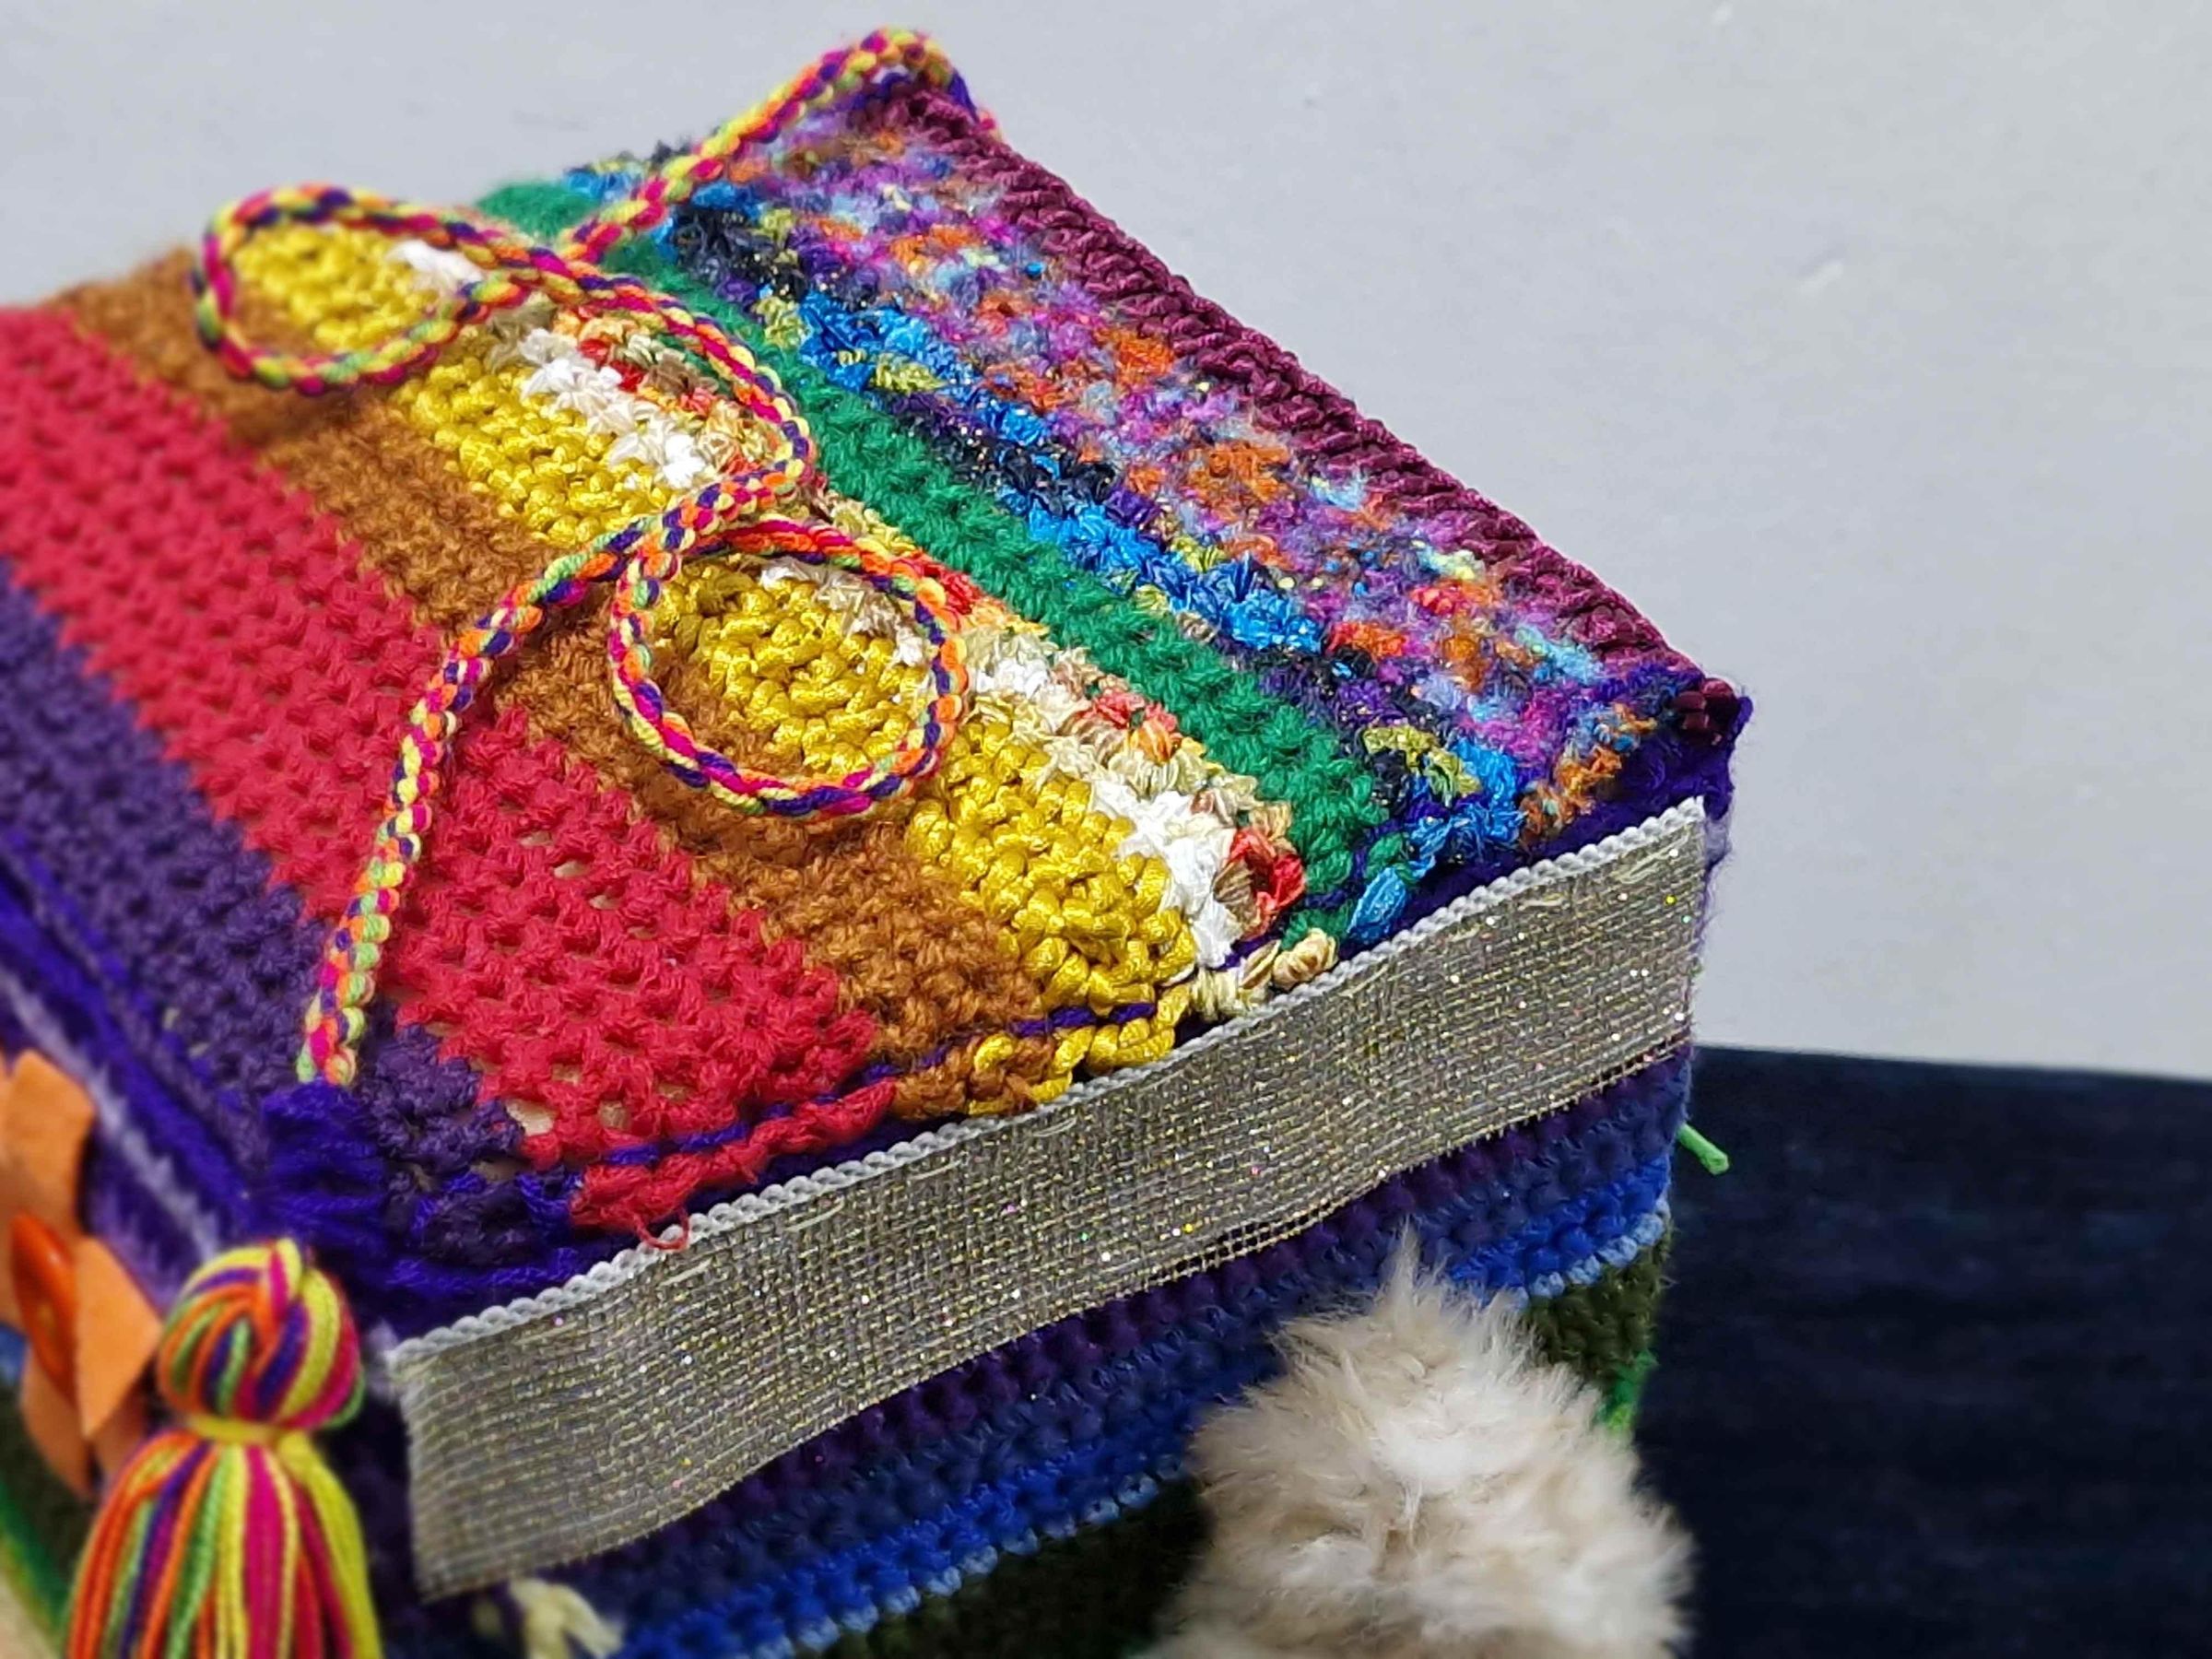
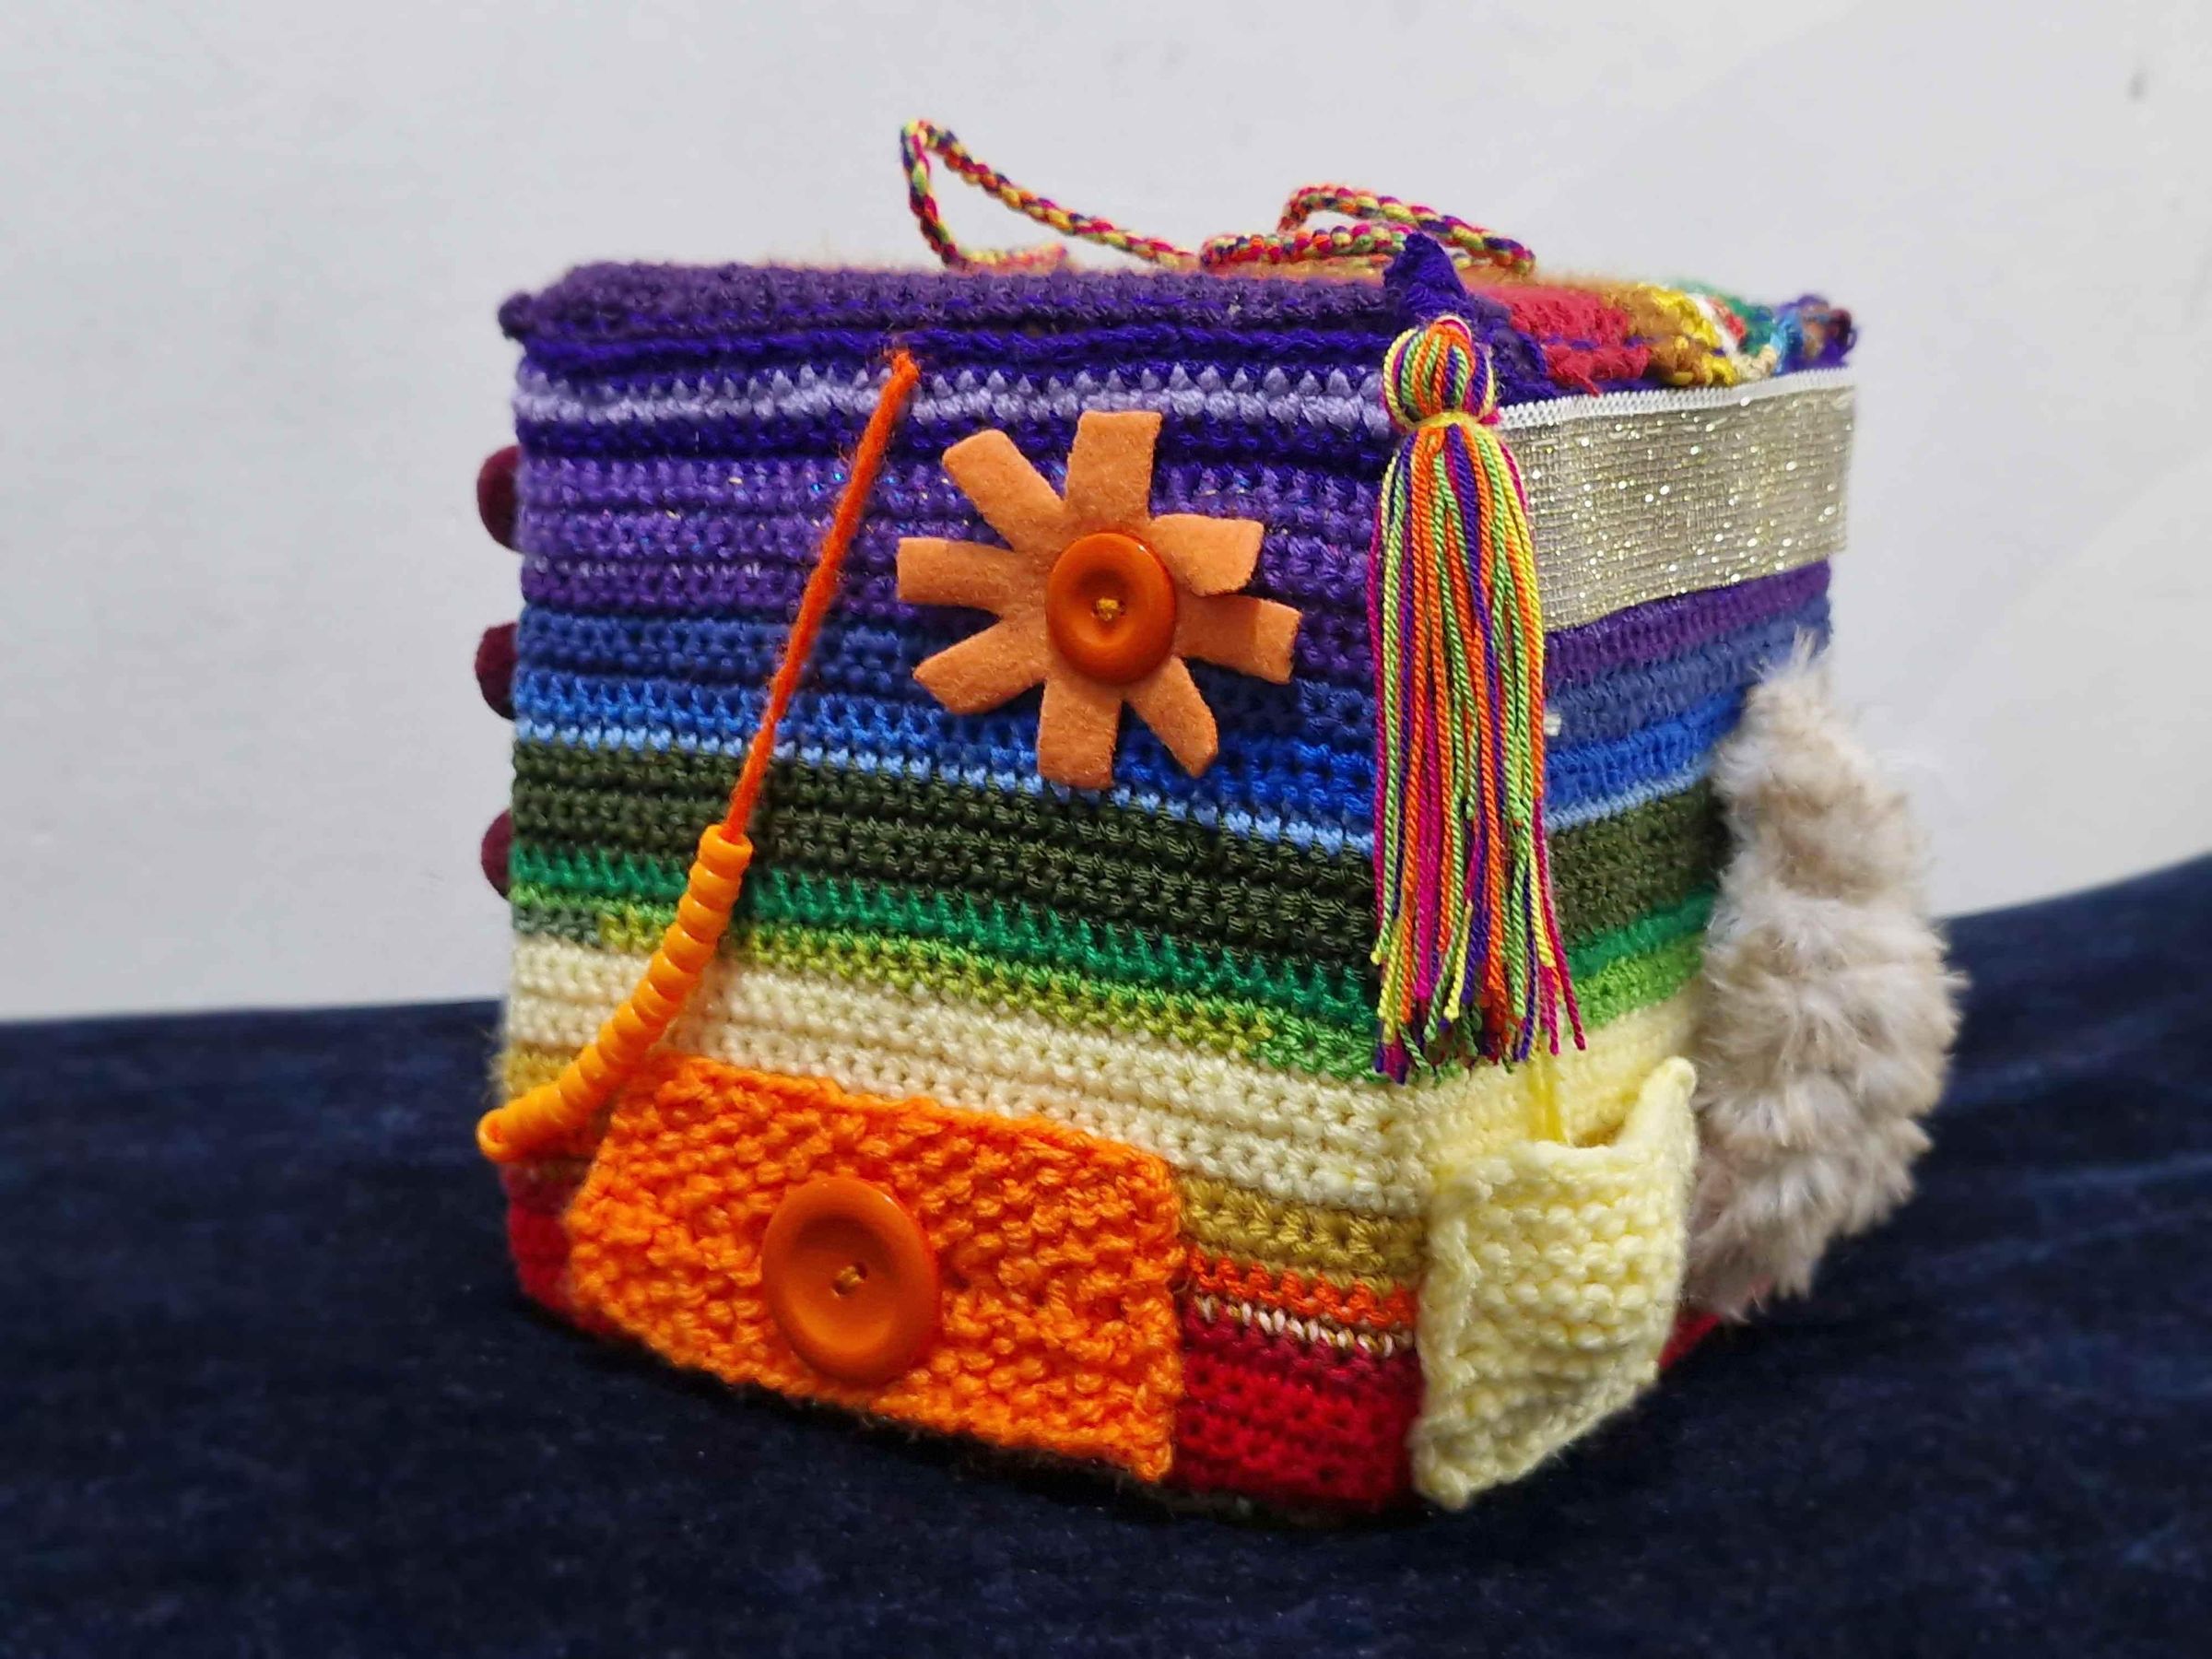
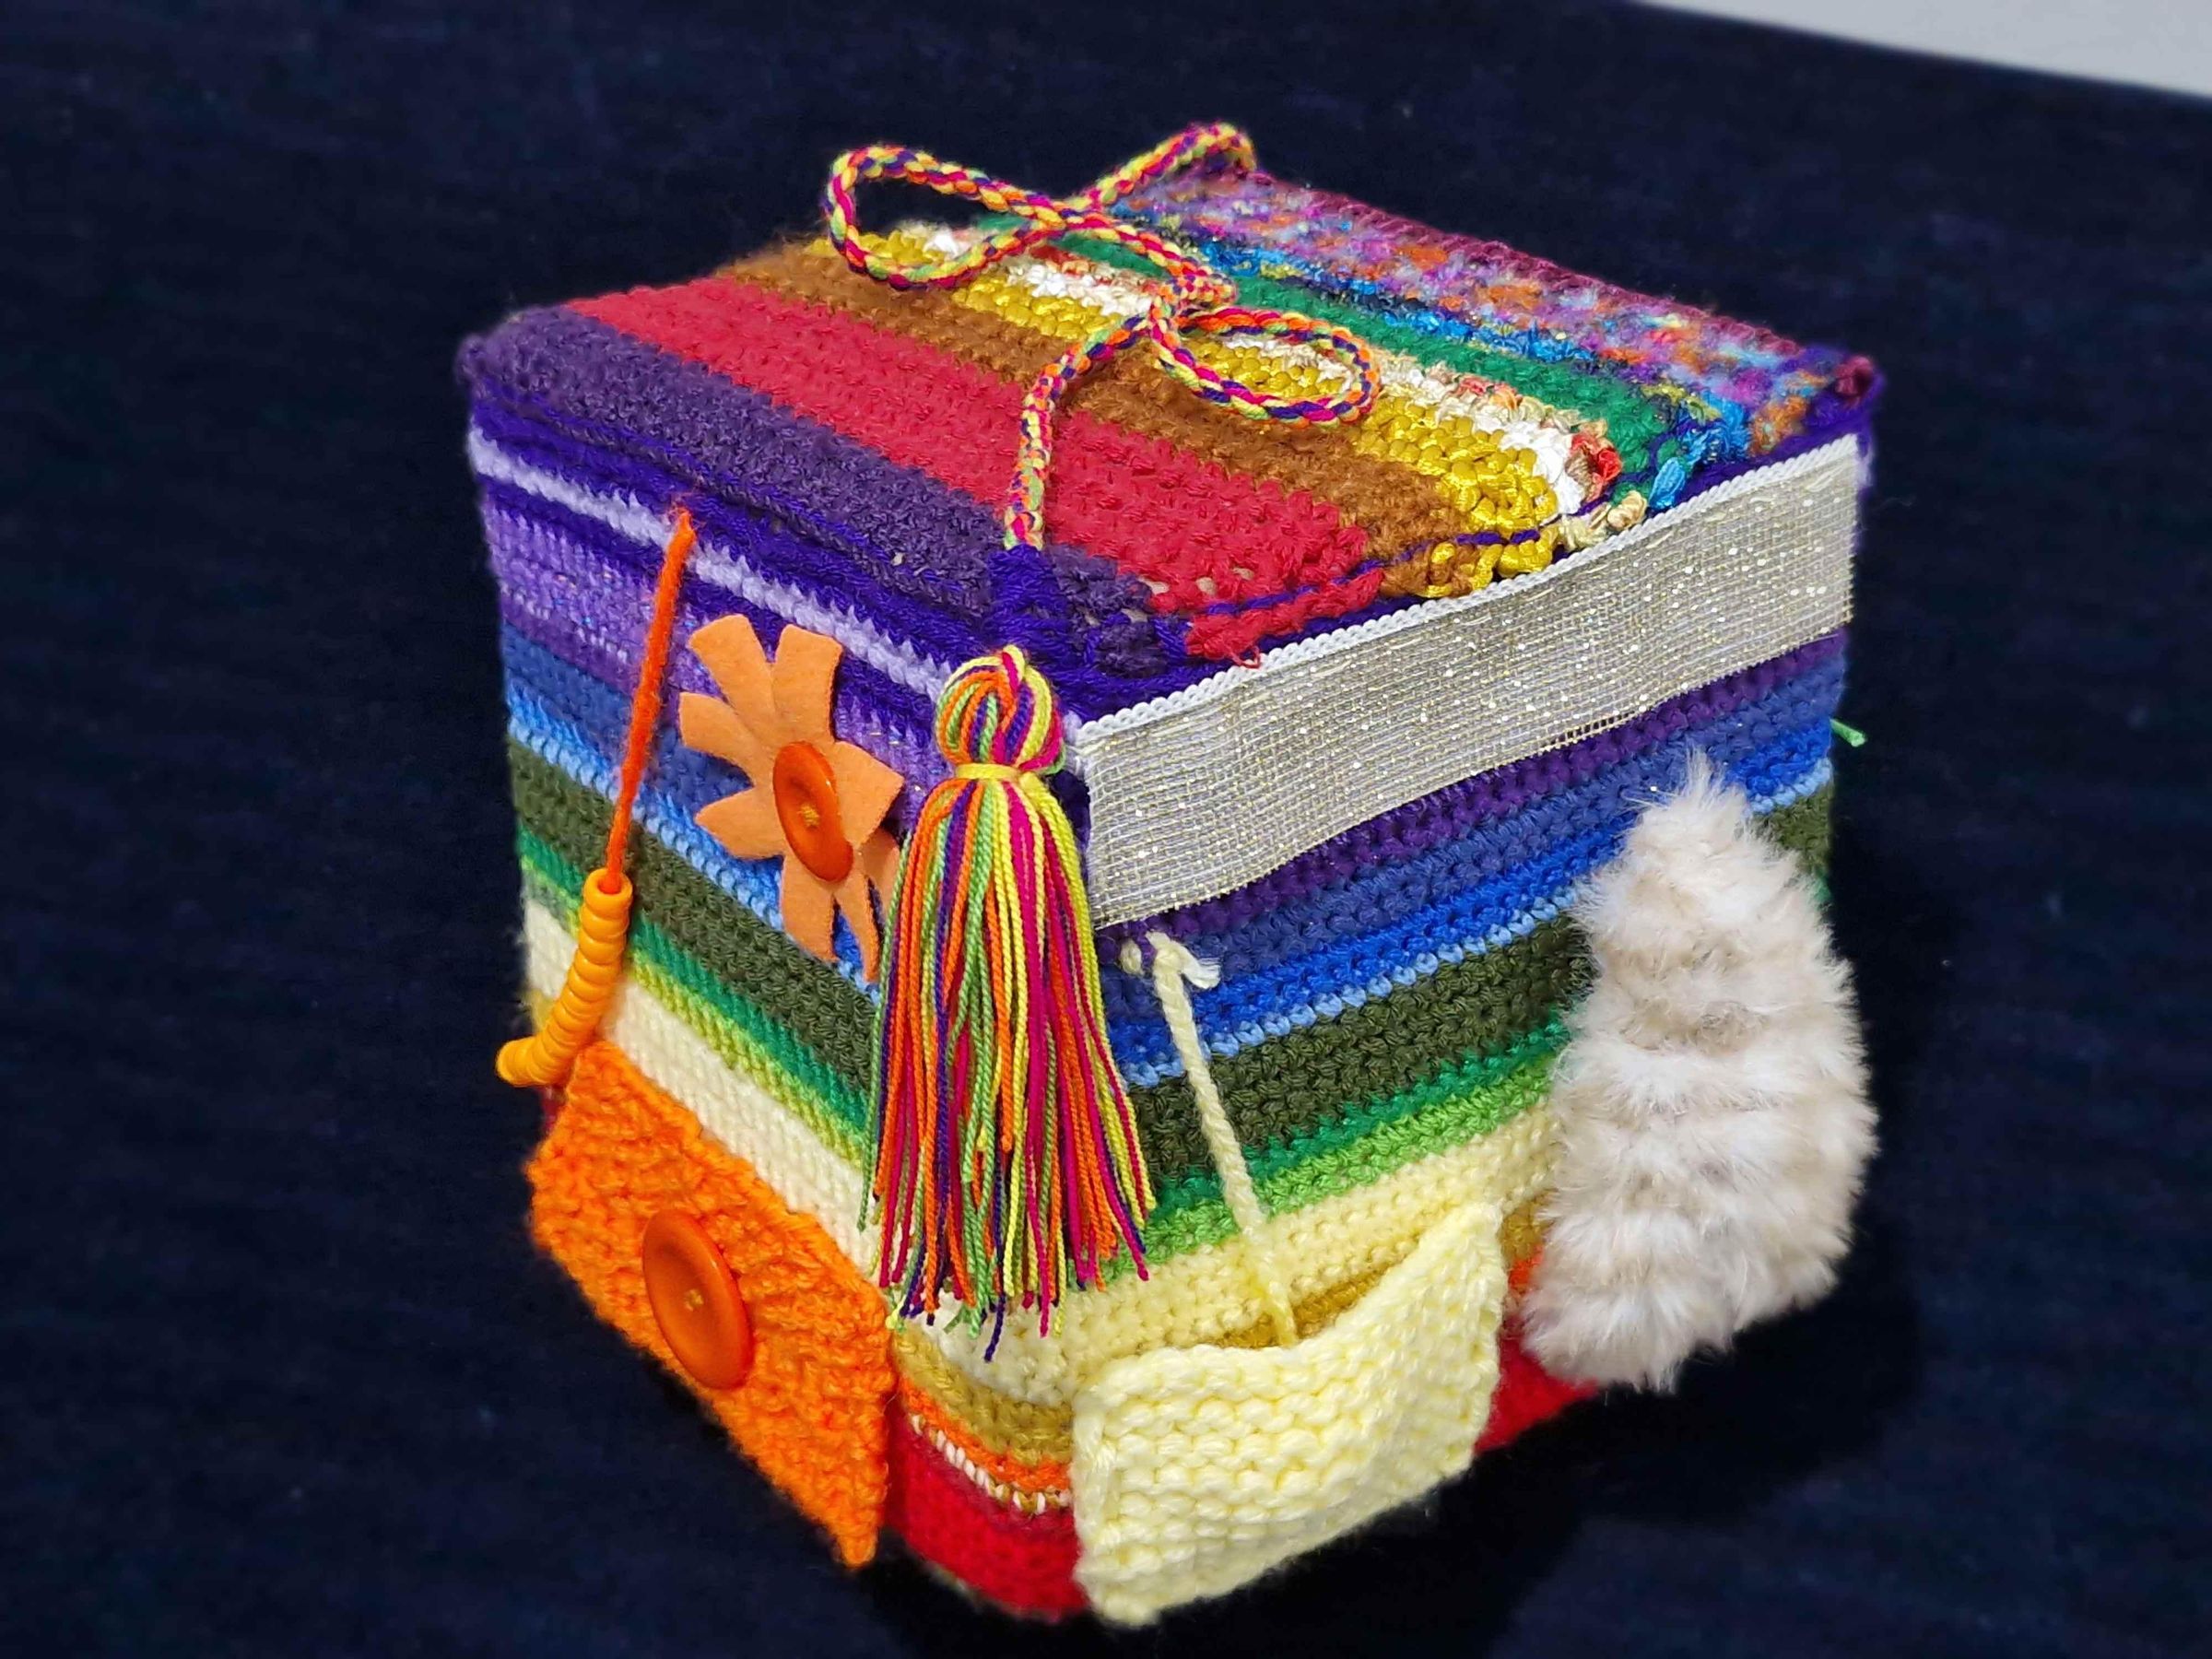
The Interactive Rainbow Sensory Cube is much more than a handmade craft; it is a holistic learning tool built with love, care, and pedagogical intention. By combining diverse textile techniques (crochet and knitting) with everyday tactile elements (zippers, buttons, elastic cords, and ribbons), a simple block of foam is transformed into an engaging world of tactile discovery.
This project demonstrates that color is not merely a visual accent, but a vital gateway for early childhood learning. I hope this step-by-step tutorial inspires you to build your own version, customize sensory elements for your little ones, and celebrate the beauty of the rainbow spectrum in handmade craftwork.