Internet Controlled Mains Switcher
by alistair_uk in Circuits > Microcontrollers
9144 Views, 116 Favorites, 0 Comments
Internet Controlled Mains Switcher


This is a very low cost and basic from of home automation allowing you to turn on and off lights and other devices using your computer or mobile phone.
It has been built and tested use using UK power plugs, but the same protocol is used on many budget remote power switchers from around the world.
What You Will Need


You will need...
- A Spark Core wi-fi development kit
- A remote controlled mains sockets set *
- A 433MHz Transmitter Module **
- A short length of wire (>9cm)
- 3 Jumper wires
- A 5V PSU and USB cable ***
- A web server with PHP installed (optional)
...and the following tools...
- A soldering iron (and some solder)
- Wire cutters and strippers
- A computer with Internet access
...and if you want to build the red box (totally optional) you will also require...
- A laser cutter or laser cutting service
- Contact glue
- Feet / pads (even more optional than the rest)
* As a rule of thumb if the pack contains 3 sockets and is the cheapest in the shop, if the remote control can be set to 1 of 4 "groups" or "channels", and and if the remote control has on and off buttons for 3 or 4 devices, then the odds are it will be compatible. Unfortunately the protocol used does not have a global name and you will not find anything printed on the packaging to say the sockets are compatible. I have use sockets purchased from Clas Ohlson (now replaced by a new set that I have not tested) and friends have used sockets for clearance shops and from Maplin (although this is the more costly option).
** The transmitter module is normally available thought ebay for under £1 sterling and under $1 US, or slightly more if you want a quick delivery.
*** The Spark Core comes with a very short power cable and you may be able to power it from another device such as a network router.
Construct the Antenna


The first task is to attach an antenna to the transmitter module. This requires some basic soldering. If you know what you are doing just solder exactly 87mm of wire on to "Ant" on the module and move on to the next step.
If you have never soldered before then you can absolutely still do this. I recommend following an online tutorial and having a practice fist, and then coming back here.
The antenna should be 87mm long. Making it longer does not make the signal better unless it is an "Harmonic" of the base wavelength. I have a blog post with the antenna lengths you can use and a little of the maths behind working that out.
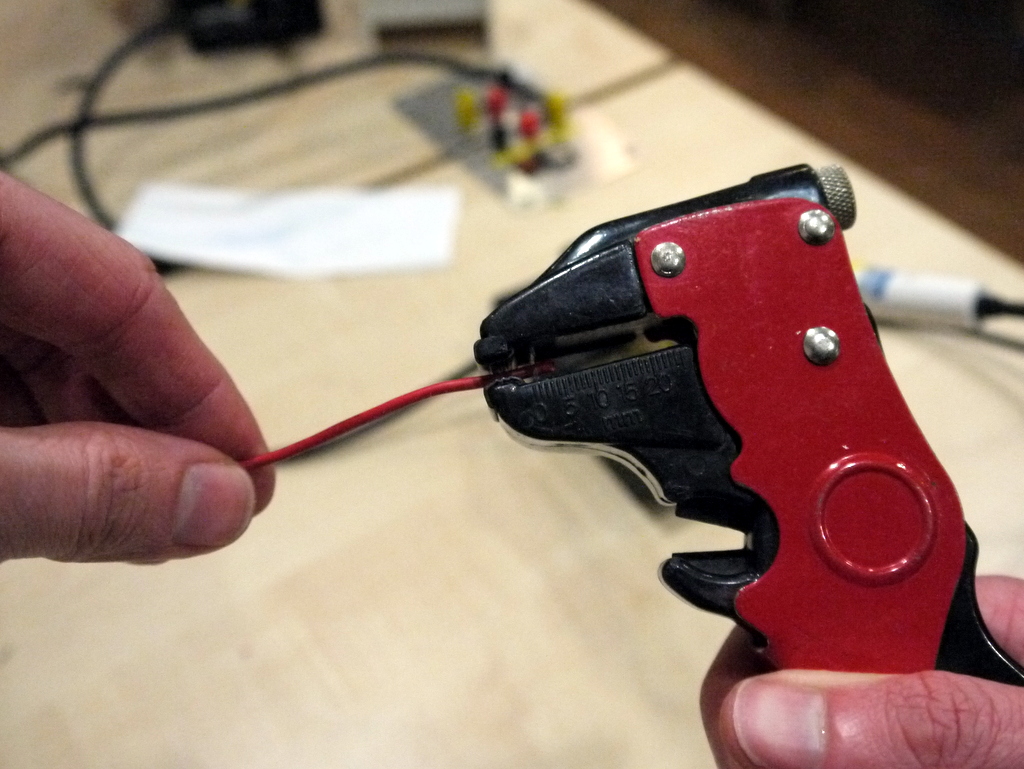
After measuring, cutting and stripping the wire you will need to tin the end of it. Also add just a little solder of the "Ant" point on the module. Place the antenna on the "Ant" point, heat them with the soldering iron, wait until they meld together, remove the soldering iron, hold it still until the solder solidifies, and you are done.
Wire Up the Microcontroller


Wiring this up is really simple. Just leave the Spark Core in the middle of the breadboard an plug the 433MHs transmitter module in the far corner. You then simply connect three jumper wires between a "GND" on the Core and the "GND" on the module, between the "VIN" on the Core to the "VCC" on the module, and between D0 on the Core and "ATAD" (sometimes "DATA"). That is it. That is all the wiring now done.
Upload the Firmware
If you have not already set up you Spark Core and associated it with an account then follow the instructions on the web site.
When you are set up go to the Spark Web IDE and select the Code button (with the <> icon) if you can not see the Spark Apps sidebar. Click "Create New App", type in a name of your choosing ("Remote Gateway" is good) and press enter, then paste the contents of sc2262-remote-emulator.txt in to the online editor replacing anything already in the file. After that click Flash (the lightening icon) and the firmware should be compiled and uploaded to you Core.
Downloads
Construct the Box (optional)


If you have access to a laser cutter or want to send off to have some 3mm acrylic cut then you will fine the design in the file spark-core-box-1.dxf. You don't actually need a case. This is a very basic design and you can use it for this and other projects.
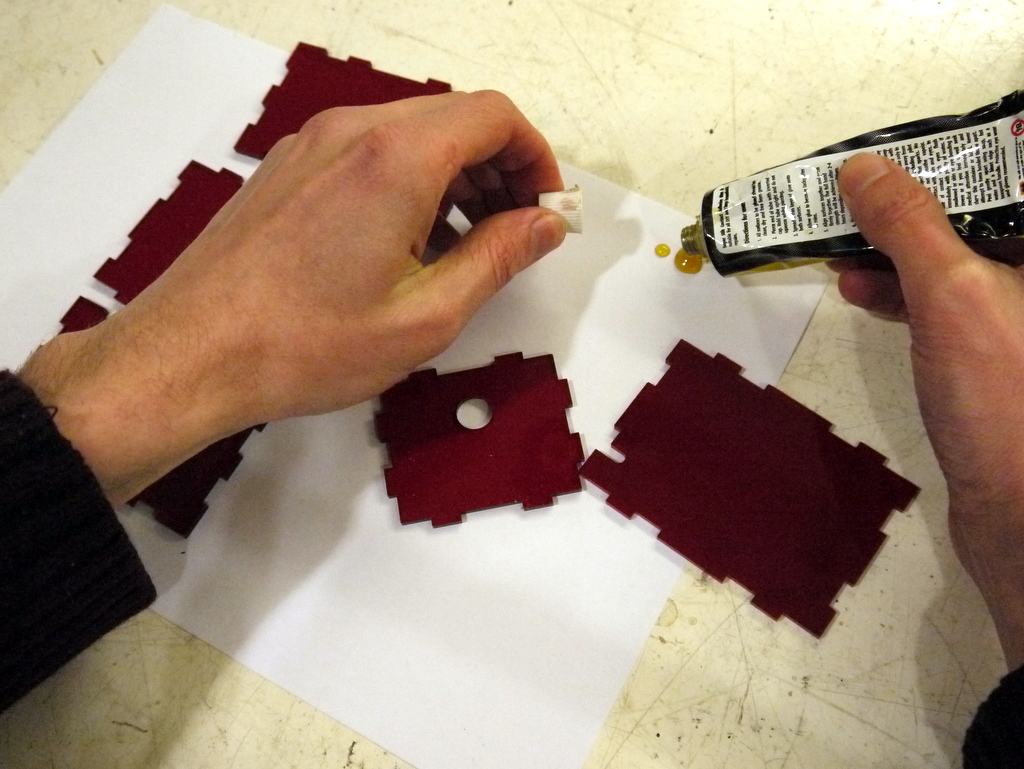
To build you are best laying out the parts and putting the top (the one with a small slit for the antenna) to one side as this does not require gluing. Also be cartful to put the cut out circle at the bottom as this is for the USB power connector to fit through.
You are best putting a little glue on some paper and using a match stick to apply it to the edges. You only need to apply glue to the the cut out slots. Once you have the 5 parts together leave the glue to dry. A rubber band may help hold it all together while this is happening. A quick tip is to leave the match in the glue on the paper as when that sets you know the box has also set.
After the glue has set you might want to sick on some rubber feet.
Then simply drop the breadboard in to the box with the USB socket pointing towards the hole, connect the cable, and then pop on the top on so the antenna is passing through the slit. It will still work in most scenarios if you place the antenna all inside the box.
Downloads
Test the Hardware

Now we have put together the hardware and uploaded the firmware the controller everything should be working.
To test it out we will need the Core's device ID and your Spark access token. To get the device ID browse to https://www.spark.io/build/ and select the "Cores" icon to find it (the target). To get your Spark Access Token select the "Settings" icon (the cog). You access token is like a password and should be kept secret. If your access token is no longer a secret you can cancel the old one and create a new one by clicking "Reset Token".
The remote device number is labelled differently on different remote control system so you might find this lookup table of help to find the correct number.
Once you have these details power up the Core and wait until the LED starts to beat. The you can then use the Spark Remote Tester to send the commands and switch the sockets.
Set Up a Web Page
Now we have a basic working system we should create something to control it. My hope is that you will create amazing web pages, mobile apps, and hardware devices to do this, but to get you started I have created a very very simple PHP script that you can use. You will need a web server with PHP installed and with the CURL plugin enabled. Most shared servers have this as standard.
To install this script download example-controller.php, edit the file replacing the long string of "d"s with your Core's Device ID (again browse to https://www.spark.io/build/ and select the "Cores" icon to find this) and the long string of "a"s with your Spark Access Token (again browse to https://www.spark.io/build/ and select the "Settings" icon to find this). Then rename it to something sensible (with a .php extension at the very end) and upload it to your web server. The way you do this will depend on your hosting provider.
When it is live browse to the page, select the device you want to switch and the state you want to switch it to, and then click "Submit" to make it happen.
One important note is that this has no security. You Access Token (kind of like a password) is kept as a secret between you and you hosting company, but anyone who can browse to the page can switch your devices remotely.
Downloads
All Done


...and we are finished. Hopefully you now have the ability to turn on and off your desk light from anywhere in the world.
One final note is that this is not 100% reliable or secure. Your Internet connection will fail at some point, the Spark Core will behave like any other computer and then and do odd things at some point, and interference will at some point stop a socket from switching. Also anyone with the same sockets as you may well switch your devices with their remote by accident, or even on purpose. Using this to switch the odd light is okay as it does not matter if it does the wrong thing, but using it on anything more is perhaps foolhardy.
I hope you found this useful.