IoT Automatic Plant Watering System
by Orion Maker in Circuits > Wireless
71656 Views, 280 Favorites, 0 Comments
IoT Automatic Plant Watering System


Greetings, everyone. Now I am back with new project!!!
This project inspiration came from my guinea pigs. Since I am too lazy to water their beloved wheat grass every day, I decided to make IoT automatic plant watering system which can be controlled through smartphone.
For those who are tired of watering their plants by themselves, congratulations!!!
I recommend this project for people who have just started learning about Internet of Things.
Materials and Tools


Materials
- 8x 3-Way Corner Elbow PVC Fitting Connector (for 1/2")
- 4x 245 mm long of 1/2" PVC pipes
- 4x 163 mm long of 1/2" PVC pipes
- 4x 320 mm long of 1/2" PVC pipes
- 1x 200 mm long of 3/8" PVC pipes
- 3D Printing parts
- GT2 6mm wide belt approximate 1 meter
- 1x GT2 20T pulley
- 1x GT2 Idler pulley bore 5 mm
- 1x M5 x 30mm screw with nut and 2 washers
- M3 x 10mm screws
- Nylon cable tie
- 1x 28BYJ - 48 12V stepper motor
- 1x ULN2003 stepper motor driver board
- 1x Priming Diaphragm Pump Spray Motor 12V
- 1x L298N Dual H Bridge motor driver board
- 1x LM2596 step down power module
- 1x NodeMCU
- 1x 10K ohm resistor
- 1x MX1382-02 micro switch
- 2x Breadboard 170 holes
- Electrical wire
- Dupont wire
- Heat shrink tubing
- 1x DC Jack 5.5x2.1mm DC power female jack connector (I didn't use this part. I use my DIY jack connector)
- 12V power adapter
- 5/16" Silicone rubber tube approximate 2 meter
- 2x 60mm x 60mm 3mm thick acrylic sheets
- 1x 80mm x 140mm Coroplast sheet
Tools
Basic tools such as screwdrivers, pliers, utility knife, etc. Soldering tools
This project use 3 kind of glues, hot glue, epoxy glue, and epoxy putty.
Prepare Your Smartphone and Computer


This is the basic setting up before you can use NodeMCU and Blynk App.
- Install Arduino IDE. You can download it from Arduino website
- Install Arduino core for ESP8266 WiFi chip. For more information and download, see this GitHub
- Install Blynk library for Arduino IDE and download Blynk App for your smartphone. You can find all information on Blynk website
Now, you can enjoy NodeMUC and Blynk!!!
Create IoT Automatic Plant Watering System App


- Open Blynk App and create a Blynk account if you haven't got one.
- Create new project and give it a name ("IoT Plant Watering" for me) then select the hardware to NodeMCU.
- Press the "Create" button then you will get Auth Token send to your E-mail. This Auth Token will be use in NodeMCU code.
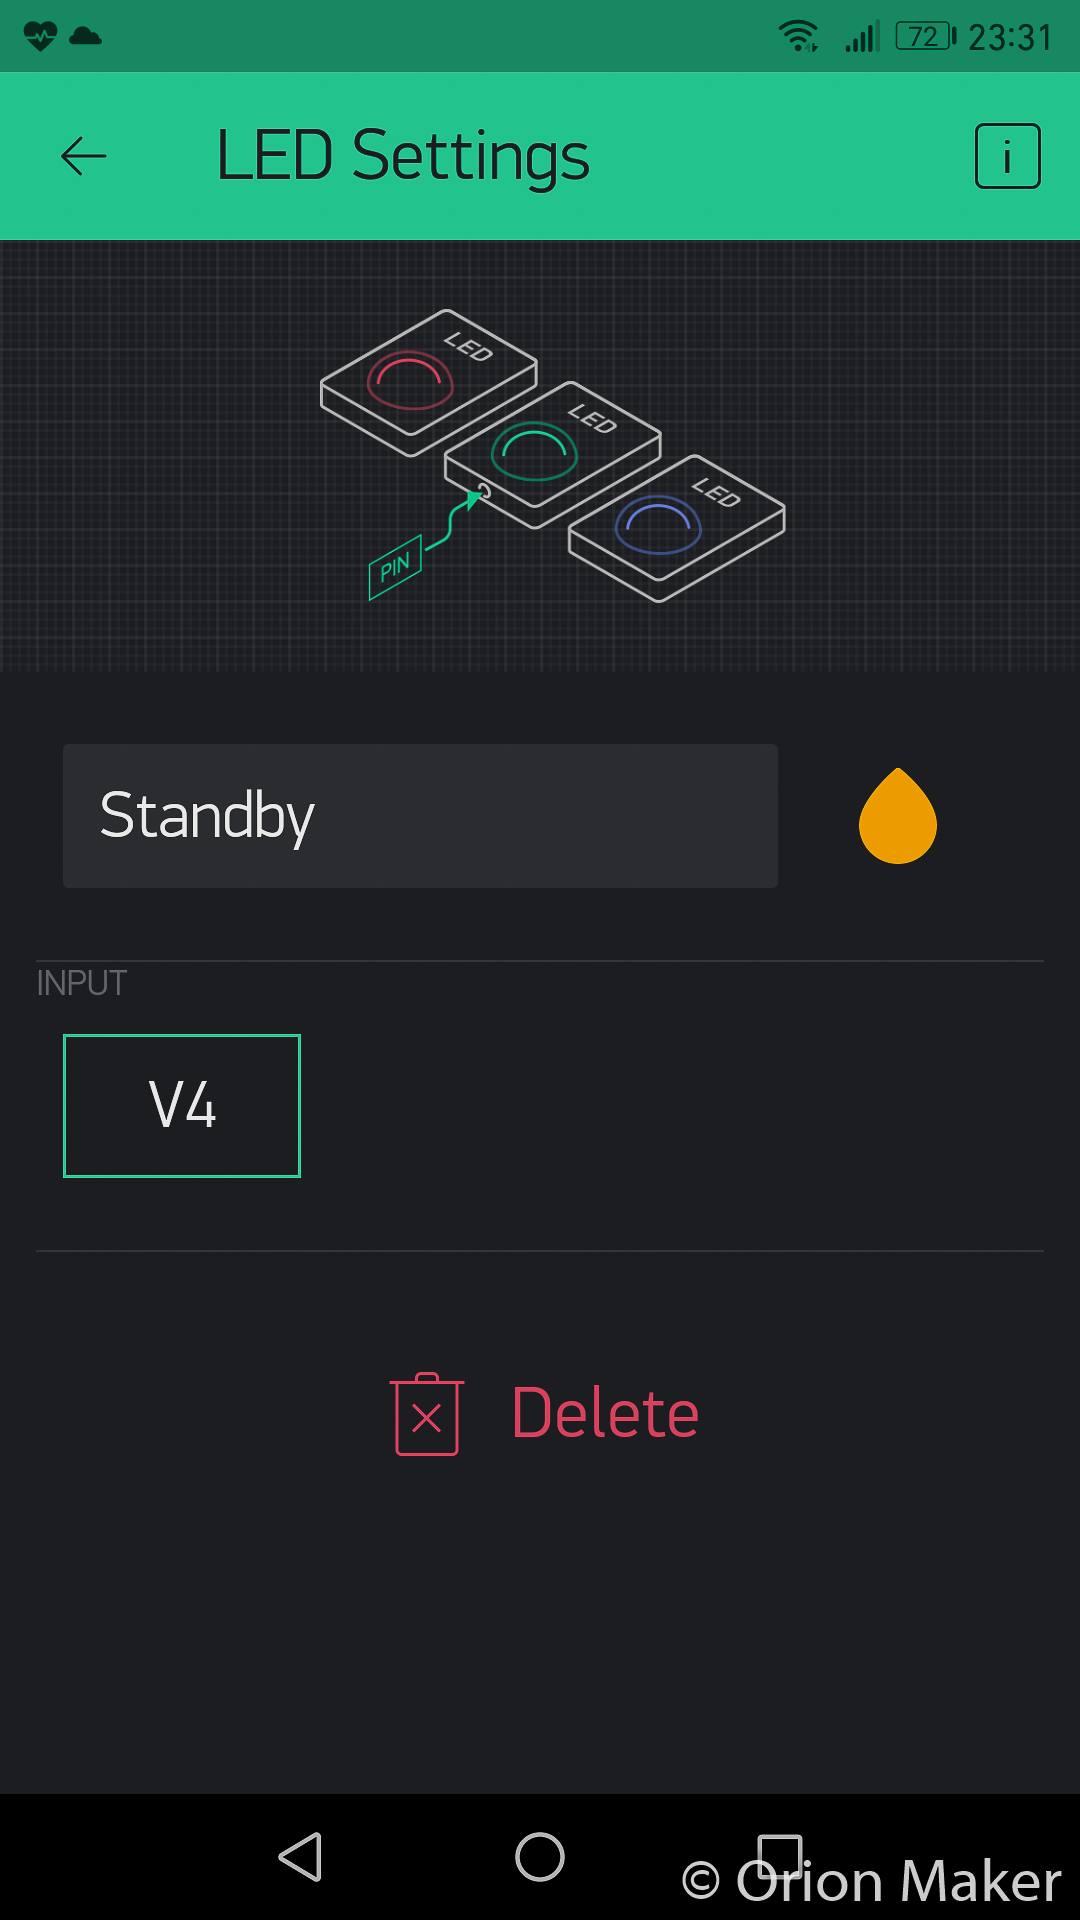
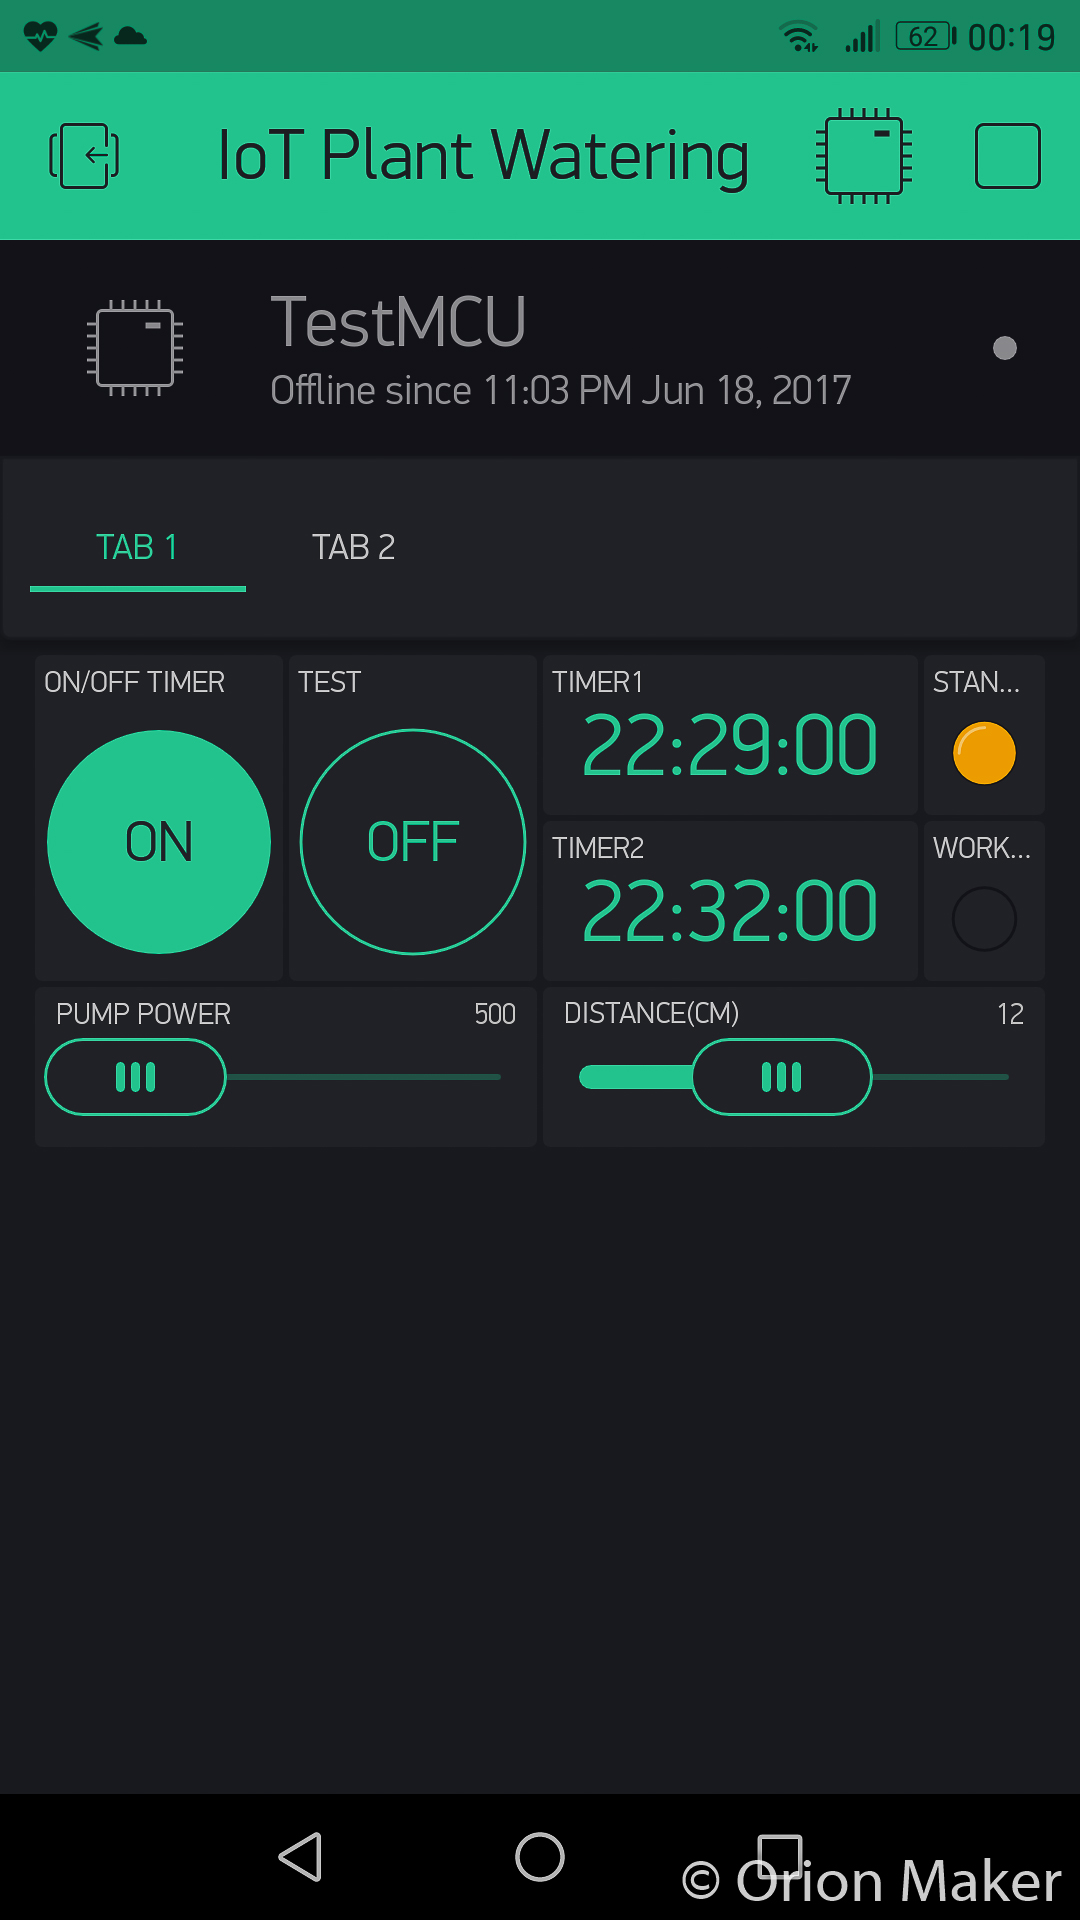
- Add widgets to your project and set up them all (See more details in pictures.)
Now you have an App for controlling your Automatic Plant Watering System!!!
Notes: For more details and information you can check it on Blynk Docs Page. There are really good instructions.
Make Watering Tube


- Drill 1 mm holes, 20 mm apart from others in 3/8" 200 mm long pipe leaving 40 mm at each end; these holes are water vent.
- Drill a 5/16" hole in the middle on the other side of the pipe; the water from the rubber band will pass this hole.
- Seal two ends of the pipe with epoxy putty.
Prepare Linear Slide Part


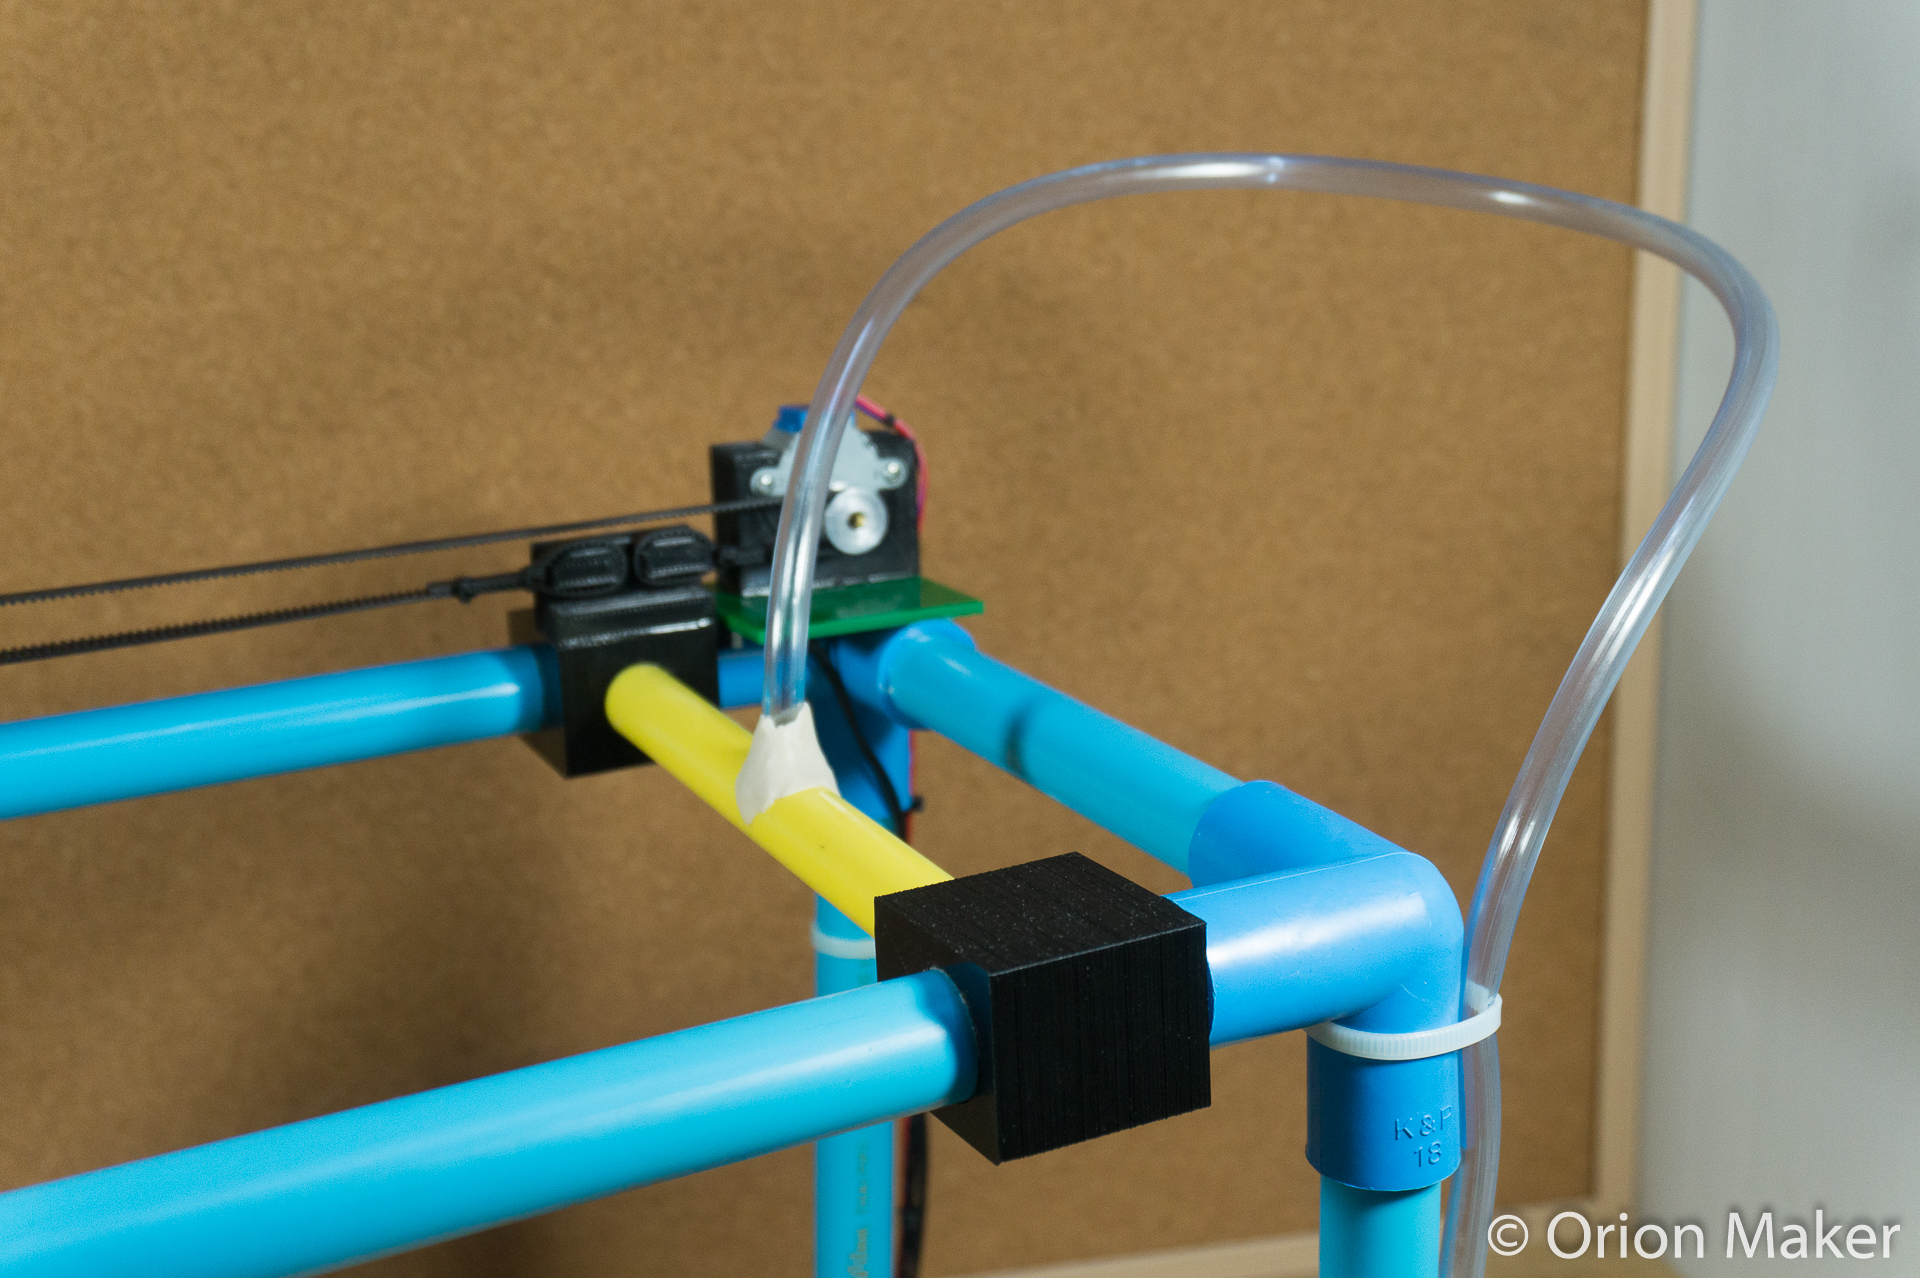
Attach the tube to the 3D printed linear slide part with epoxy glue. (see how to attach them together in the pictures)
Other side will be attached in next step.
NOTES: ONLY ONE SIDE!!!
Assembly Frame


- Make the base: Attach two 163 mm long tubes and two 320 mm long tubes to four 3-way corner elbows, putting 10 mm of the end of each tube into the 3-way corner elbow. (more details in the pictures)
- Make the top part: Attach one 163 mm long and two 320 long tubes to two 3-way corner elbows. (more details in the pictures)
- Insert the linear slide part:
- Attach the other end of the watering tube to the 3D printed linear slide part WITHOUT GLUE!!!
- Insert it into the top part
- Finish the top part:
- Attach two 3-way corner elbows to one 163 mm long tube.
- Attach it to the top part.
- Adjust the linear slide part:
- Move the linear slide part.
- Adjust the frame until the linear slide part moves smoothly.
- Secure every joint with hot glue.
- Attach the acrylic plates: Attach the acrylic plates to two corners of the top part - the side with the glued linear slide part - with hot glue then secure them with epoxy glue.
Assembly 3D Printed Parts


- Assembly the GT2 Idler pulley bore holder part: Assembly the GT2 Idler pulley bore holder with GT2 Idler pulley bore 5 mm, GT2 20T pulley, 1x M5 screw, nut, and 2 washers.
- Assembly the stepper motor holder part: Attach the stepper motor with GT2 20T pulley, then insert it into the stepper motor holder and secure it with M3 screws.
- Attach the belt holder part onto the 3D linear slide part: Attach the belt holder part onto the 3D linear slide part (the glued one) and secure it with epoxy glue.
- Attach the GT2 idler pulley bore 5 mm holder to the right platform: Use the belt to make the GT2 idler pulley bore 5 mm holder be in the same line as the belt holder on the right platform, then secure it with hot glue.
- Attach the stepper motor holder to the left platform: Use the belt to make the motor holder be in the same line as the belt holder on the left platform, then secure it with hot glue.
See pictures for more details.
Add the Belt


Add the belt: Put one side of the belt through the motor and the other side through the pulley. Secure each end on the belt holder with nylon cable ties.
Insert Rubber Tube

Insert rubber tube into watering tube, then secure it with epoxy putty.
Limit Switch


- Cut Dupont wire M-M in the middle.
- Solder each wire end with one wire.
- Solder one wire end with COM pin and the other with NO pin.
Extend Motor Wires


Since the original motor every wire is not long enough, I decide to add more 60cm extra wire to each wire. In order to do that, you need to cut the original wires in the middle and add extra wires, then solder them together and finish the job with heat string tubings.
Solder Wires to Pump Motor


Solder two 45 cm long wires to the pump motor.
I used the red wire for the positive anode and the black one for the negative anode.
Group Electronic Modules


- Cut 80mm x 140mm Coroplast sheet.
- My NodeCMU is too big to attach to one breadboard. So, I attach it to two small breadboard instead.
- Attach all modules (breadboards with NodeCMU, ULN2003 module, L298N module, and LM2596 module) to coroplast sheet.
Wiring


Details in pictures
Notes: Don't forget 10K ohm resister.
Install Limit Switch


Attach the limit switch under the motor platform with hot glue. Before sticking it, make sure that the moving part hits the limit switch before the motor platform
Neaten


- Use nylon cable ties to tie wires with the frame. (See how to arrange each wire in pictures)
- Make sure that the rubber tube is long enough to move to further end, then use nylon cable ties to tie it with the frame.
TIPS: You can use the nylon cable ties to neaten wires.
Make Circuit Enclosure


I used my lunch (yakisoba) container for the enclosure lol
You can choose your enclosure as you want.
Make holes for I/O ports and put the circuit board in the enclosure.
Set Up Water Pump


- Make holes on the cover of the enclosure to attach the motor on it by nylon cable ties.
- Insert 2 rubber tubes to the motor. One for the water to get in, and the other for the water to go to the watering tube.
Done ... But Not Finished


Close the enclosure and arrange and neaten wires.
Set and Upload Your Sketch


Before you can upload your sketch to a NodeMCU, you have to set your own parameters.
- Open "IoT_Watering_System.ino" using Arduino IDE or another Text Editor. I suggest ATOM. It is a nice text editor for programming and it's Free!!! If you want to write your own sketch, you will love this program.
- Enter your Auth Token that you get when you create your IoT Plant Watering project in Blynk App.
- Enter a network name that you want to connect and its password.
- Save it.
- Connect your NodeMCU using the USB cable.
- Open your sketch that you have already edited using Arduino IDE.
- Select board and port in Tools menu (more setting details in picture)
- Click the Upload button.
Now your IoT Automatic Plant Watering Sysem is ready to work!!!
Downloads
Prepare Your Machine


- Place your machine where you want.
- Place your plant.
- Fill the water tank.
- Plug in the machine.
Prepare Your App


- Press the play button to run program.
- Press the on timer button. Move the pump power and distance button in order to activate them.
- Adjust the pump power and distance until you are satisfied.
- Enjoy your more free time you have from not having to water your plant by yourself anymore.
NOTES:
- You need to redo the second process every time that you restart the program.
- The first time you set up the machine, you need to press "Test" button with 0 cm distance to move the watering tube to the starting point.
One More Thing ...

- Thank you to my sister who helped me writing these instructions in English.
- Thank you in advance, to everyone who shares important information about this project to help improve it.
- Thank you for visitting.
If you like this project, please vote me : ) and follow my Youtube channel.