Japanese-Inspired Sensu - Cardboard Handheld Folding Fan
by TheSimonSays in Craft > Cardboard
293 Views, 6 Favorites, 0 Comments
Japanese-Inspired Sensu - Cardboard Handheld Folding Fan
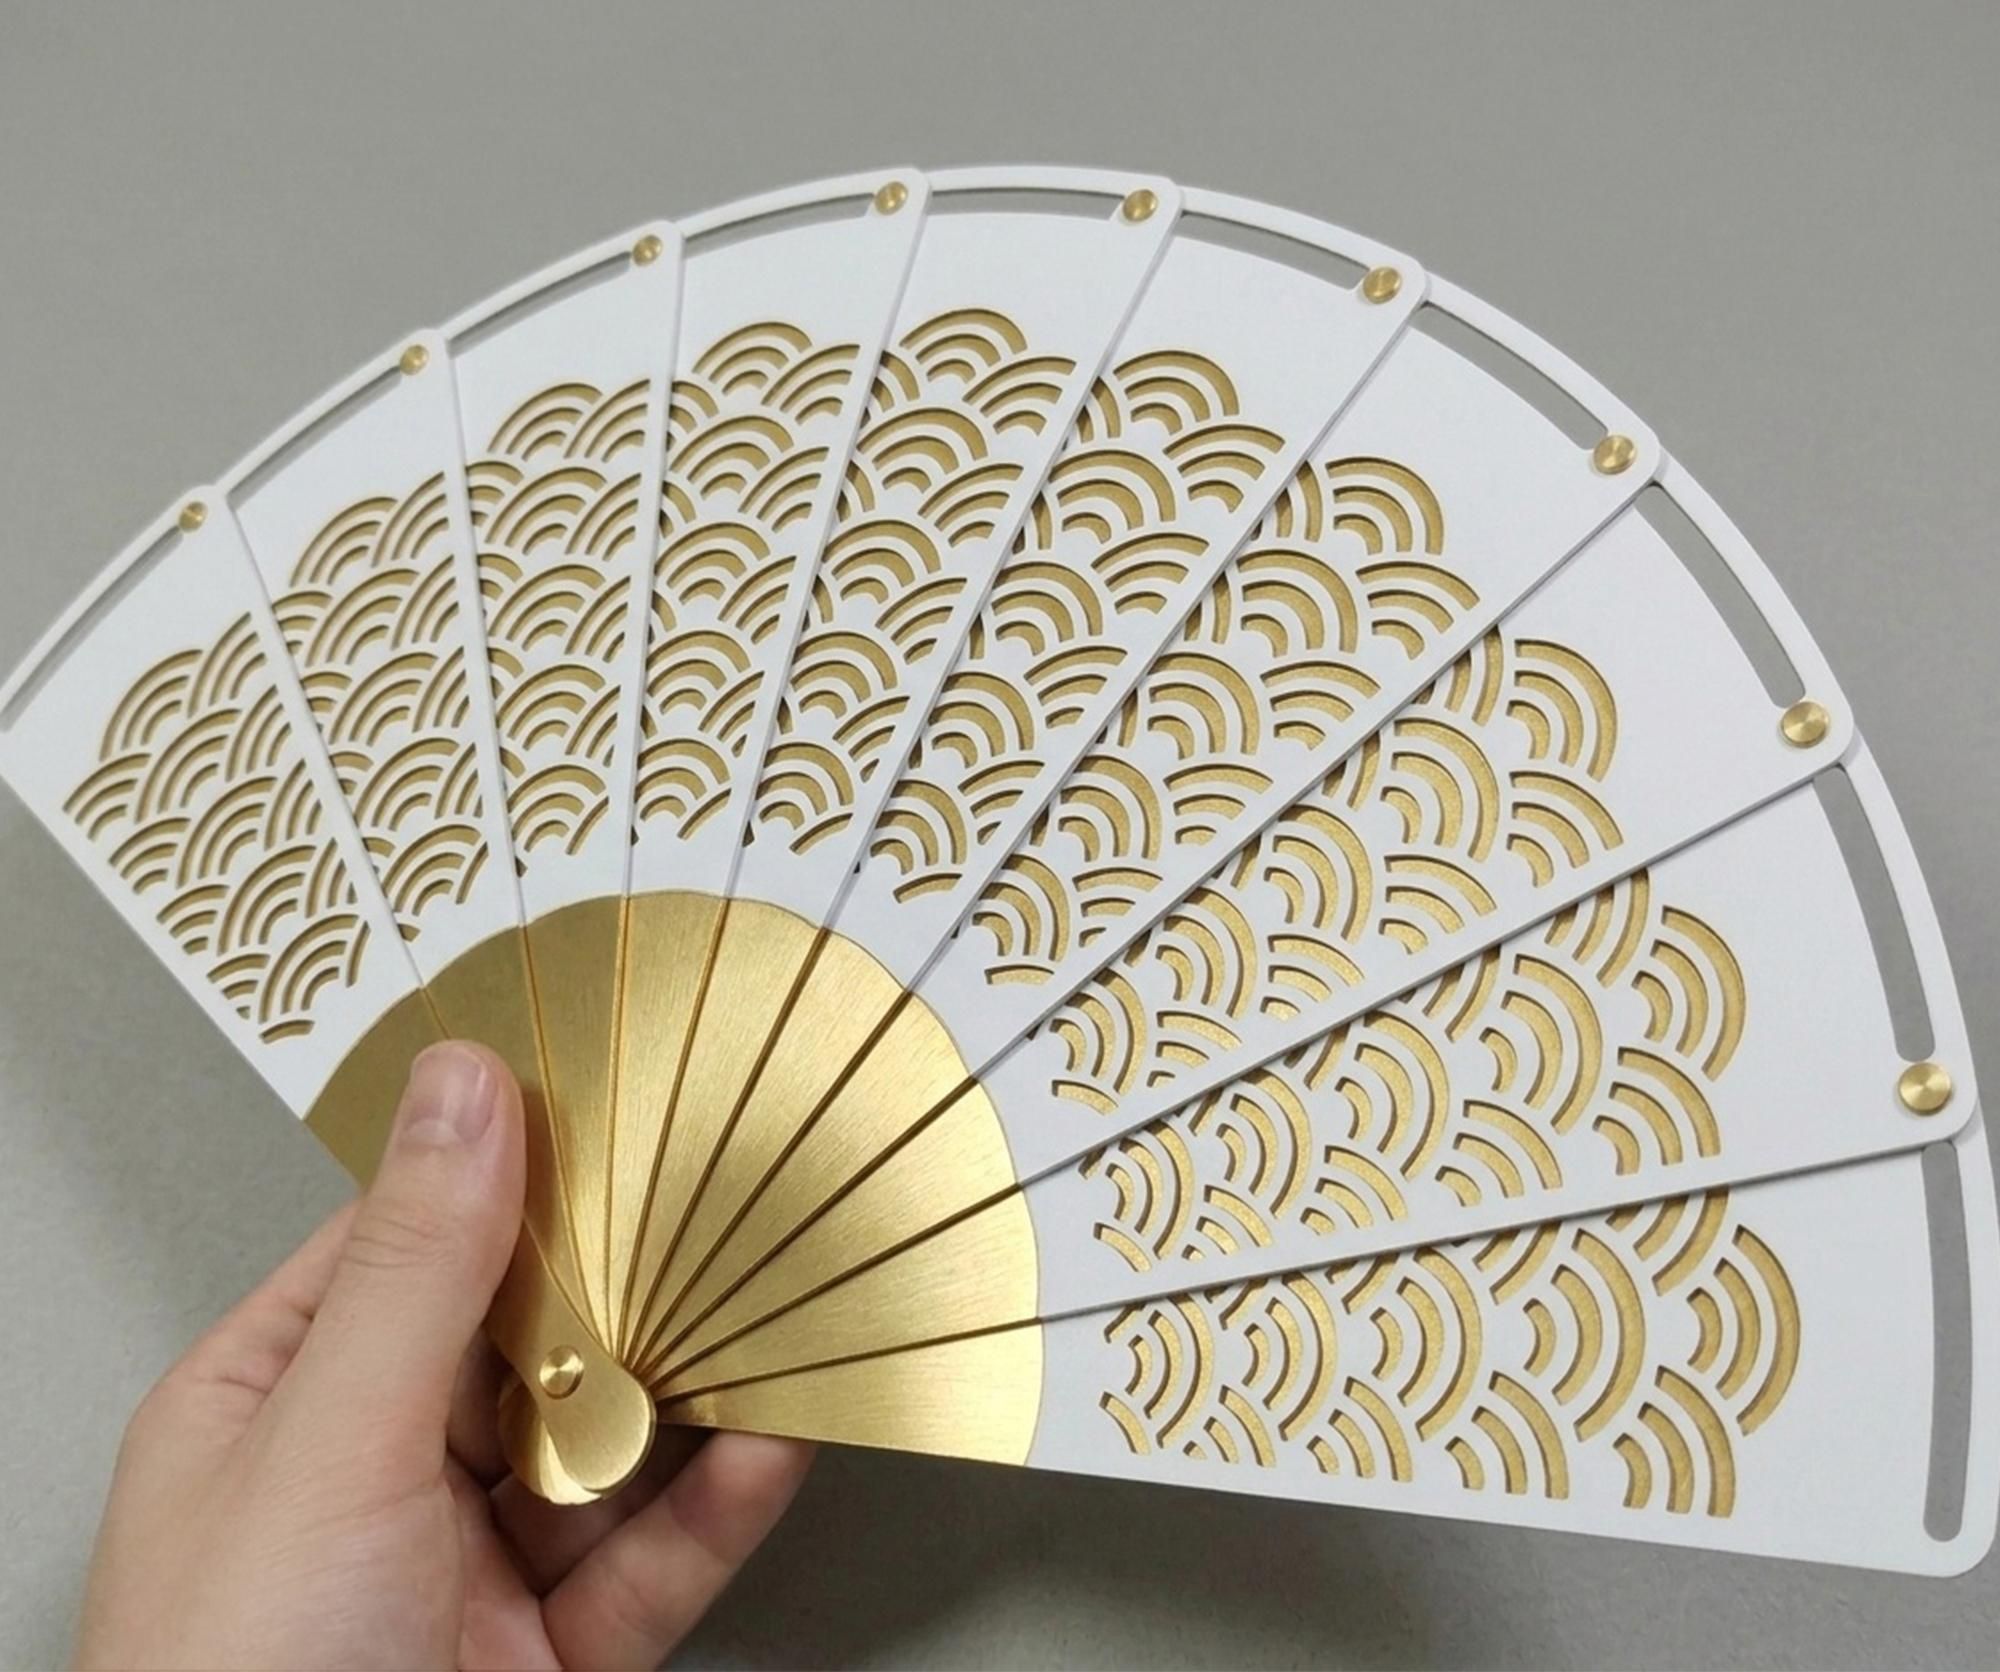
Welcome to my project: Japanese Inspired Sensu - Cardboard Handheld Folding Fan
At this time of year, when the heat wave is here, we need an elegant solution to beat the heat.
Well, today I'm going to show you how to make a classy sensu fan out of low-cost materials, inspired by the traditional Japanese folding hand fan.
Supplies
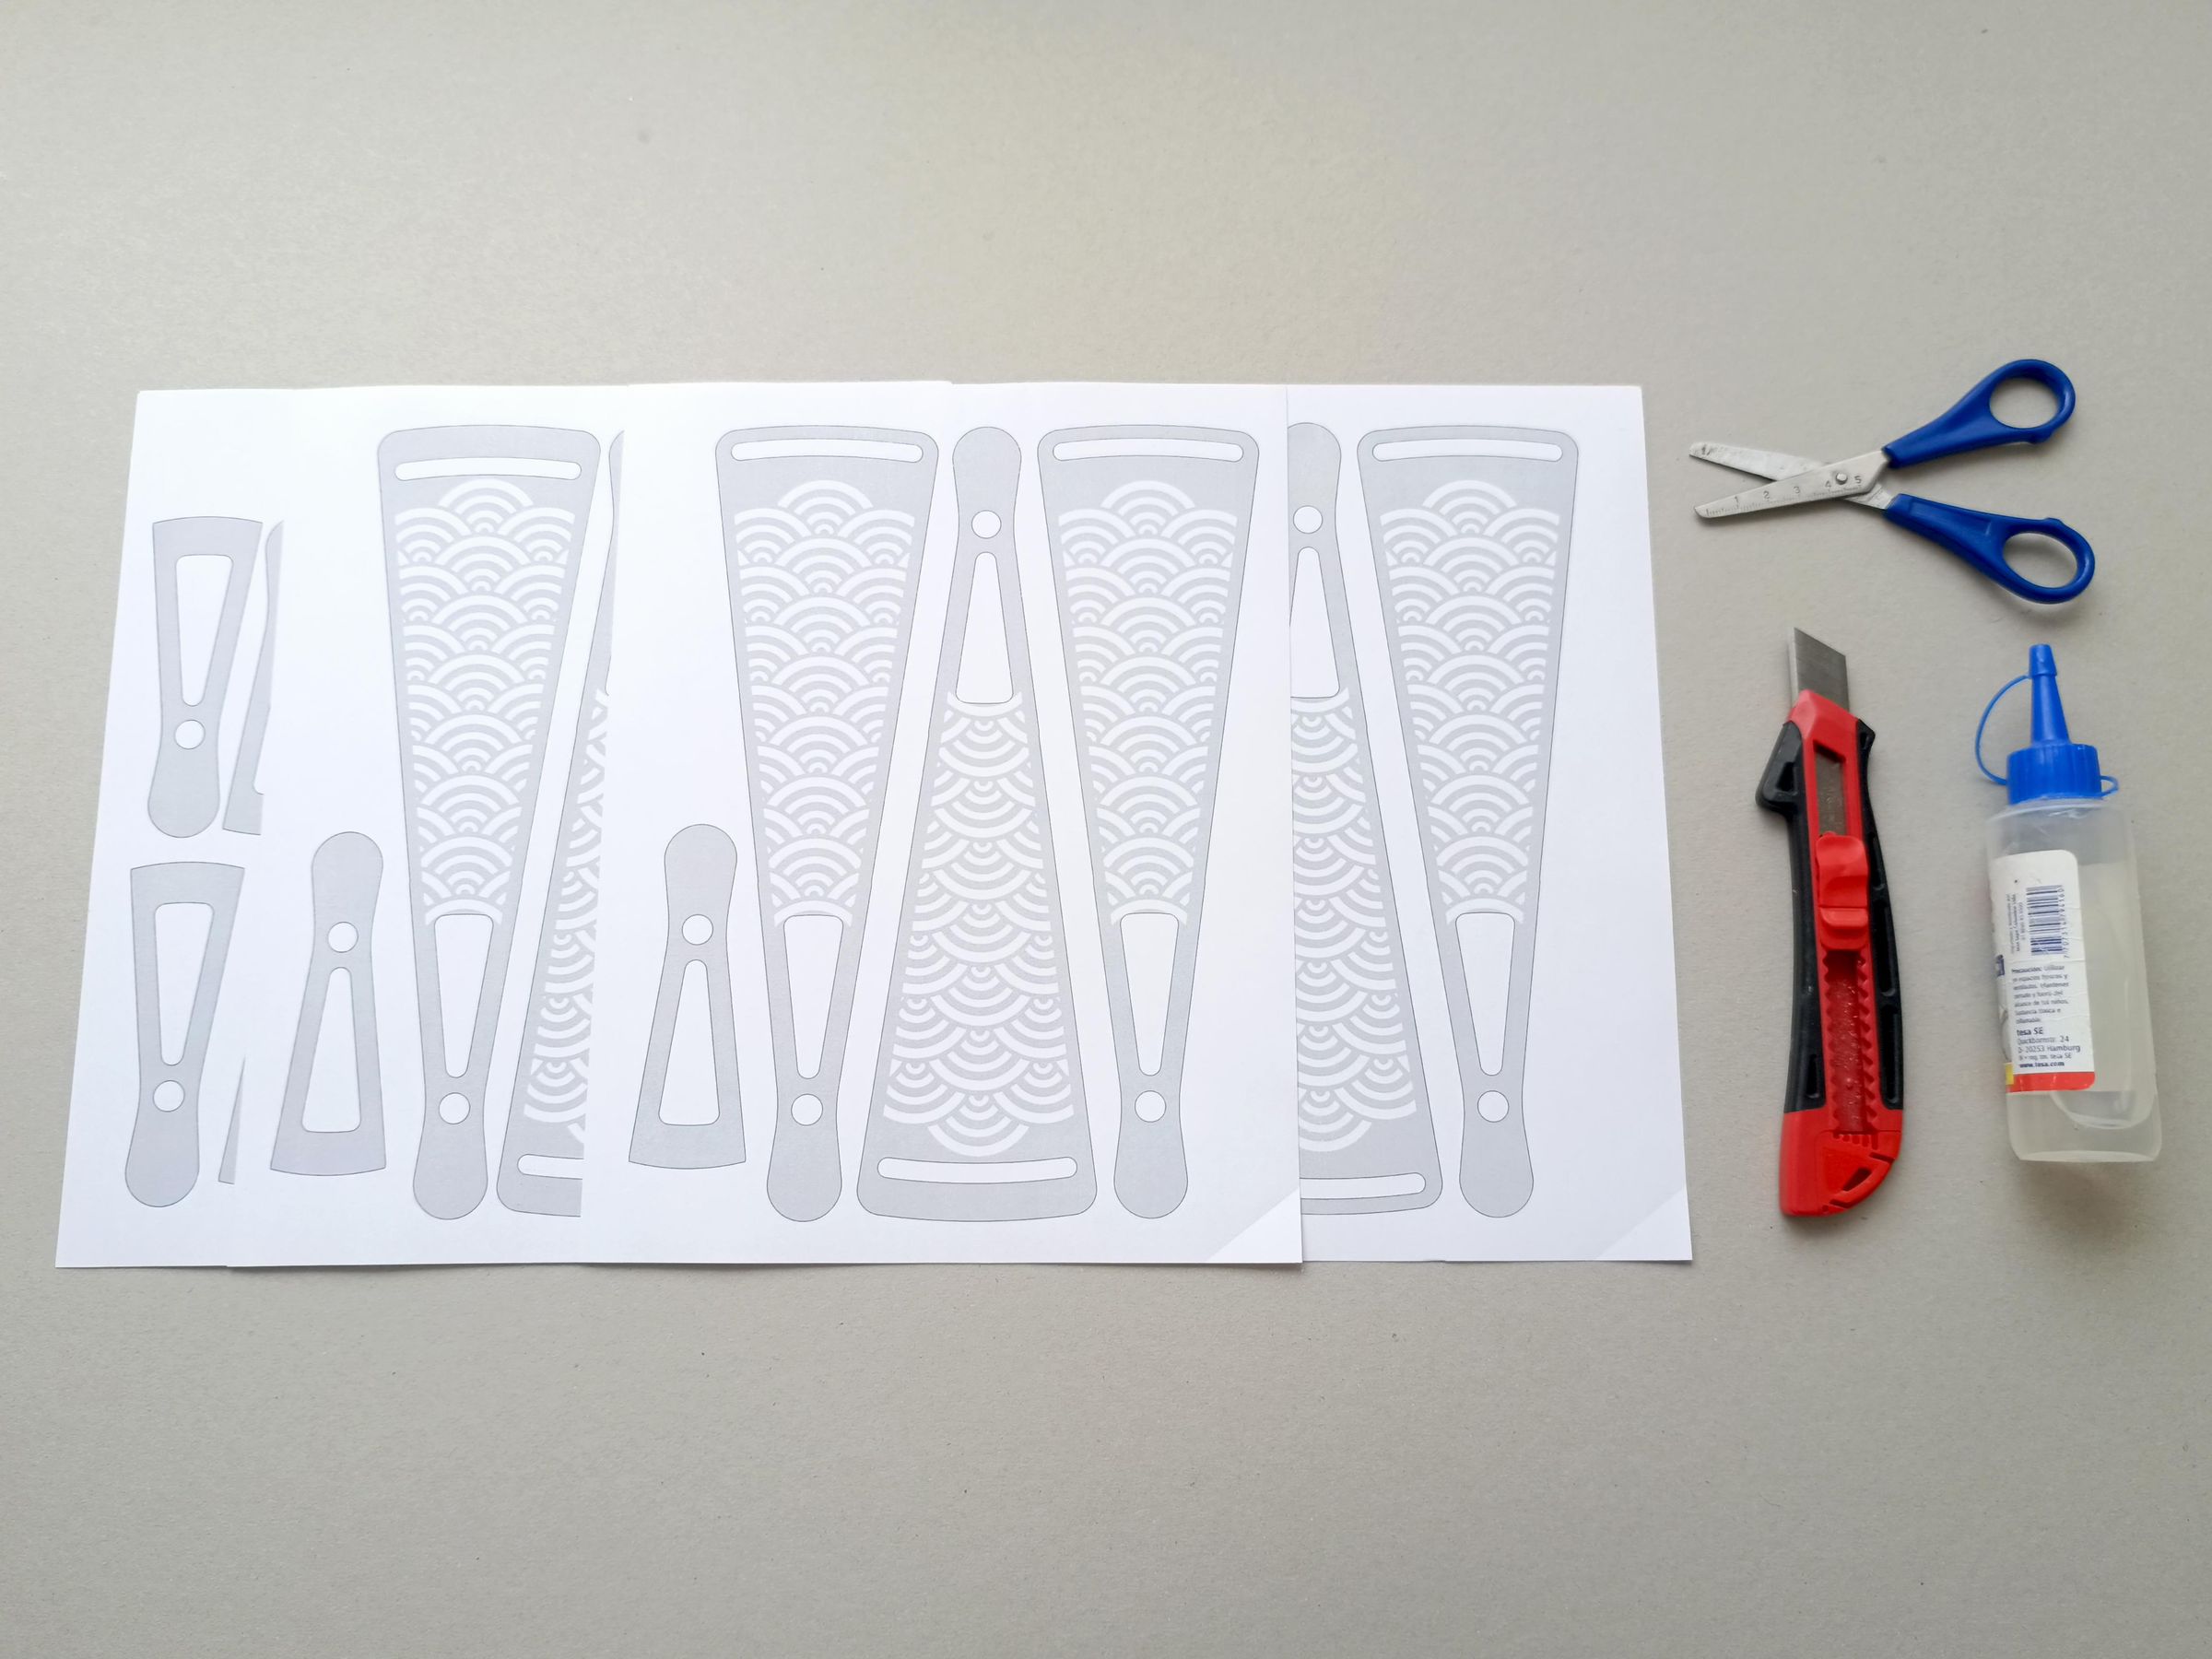
220g-260g letter-size cardstock
Templates
Scissors/Cutter
Glue/Hot Glue/Contact Cement
Sensu
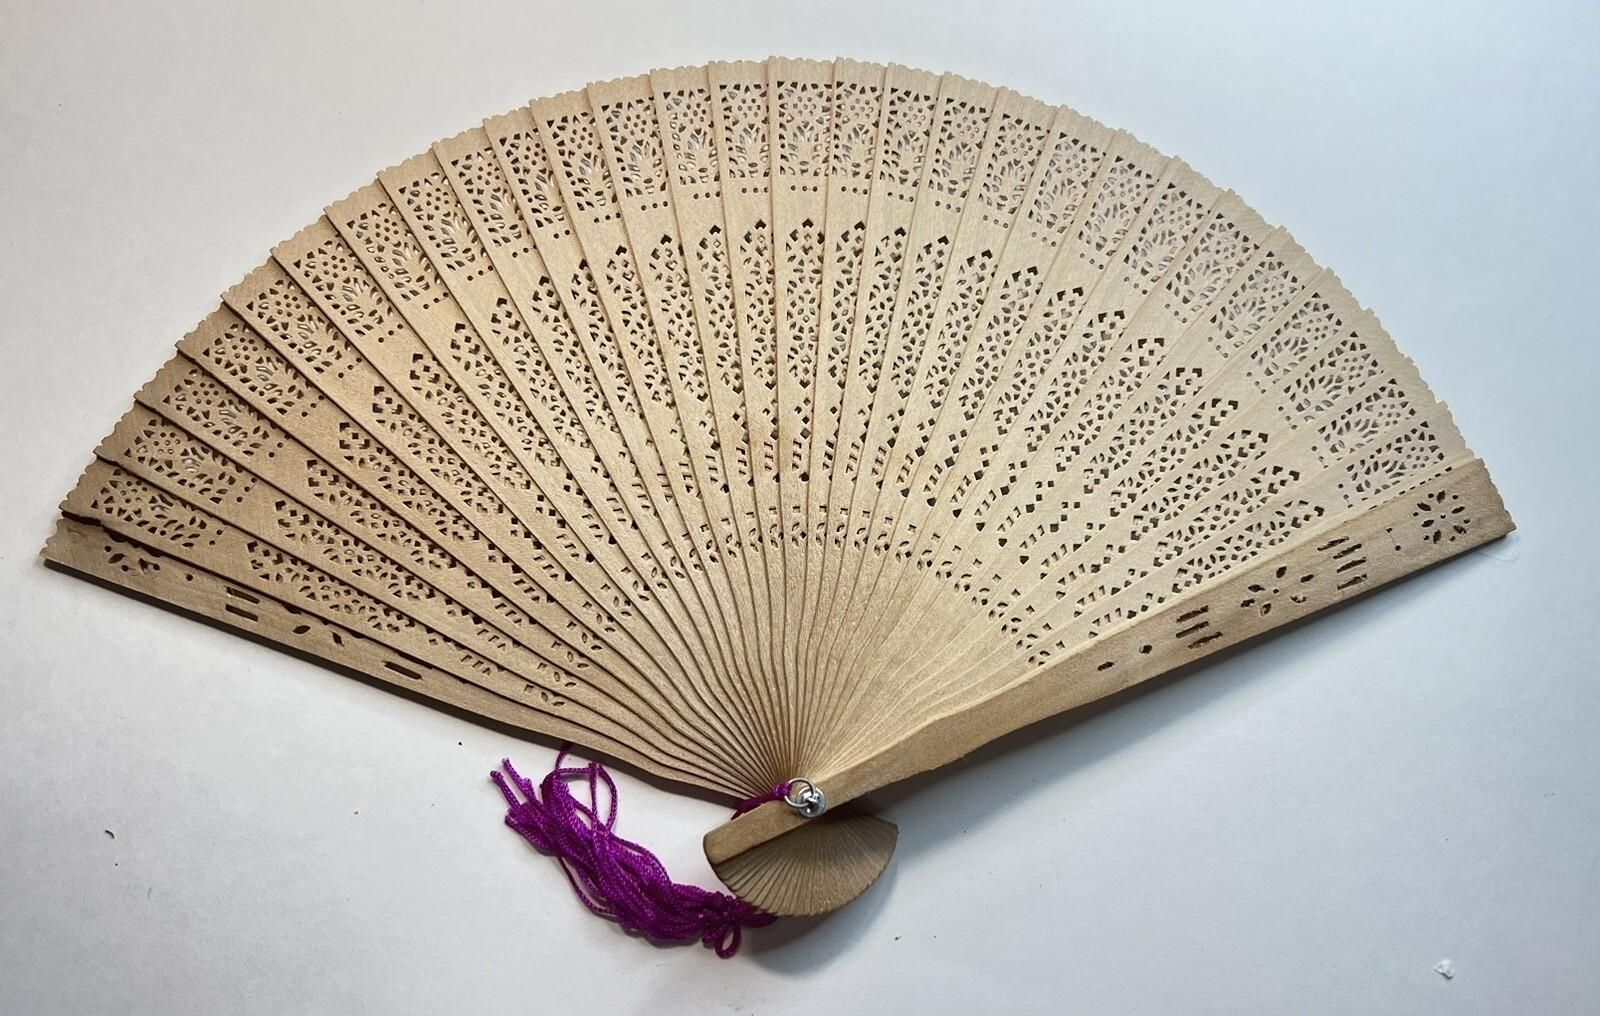

For this project I was inspired by the old designs of the sensu, retractable folding fans that served countless purposes in ancient Japan, including to beat the heat.
The Natsu-Sensu:
They were folding summer fans for everyday use, designed for personal cooling, with distinctive seasonal prints for men and women.
But wait, the fan was more than just a cooling device; it's an inseparable part of Japanese culture. The Japanese fan has always been closely linked to the fascinating history of the Land of the Rising Sun. Today, it's primarily a fashion accessory and an artistic expression.
Traditional Japanese fans served a wide variety of functions that went far beyond simply providing air. They were symbols of social status, communication tools, military accessories, and ceremonial or artistic instruments.
Sensu Functions:
Climate and Daily Life: They were used to cool off during the summer, ward off insects, and as a fashion accessory alongside traditional garments like the yukata.
Status and Hierarchy: In the imperial court, the number of ribs or the materials of the fan indicated the exact rank of the person. Court women were required to use them according to their social position.
Communication and Notes: When closed, they served to carry written messages, maps, calendars, or poems without others seeing their contents.
Military Use (Samurai): Commanders used special variants like the Gunsen (folding metal fan) or the Gumbai (rigid fan) to give orders and direct troops on the battlefield.
Performing Arts and Religion: They are fundamental elements in traditional dances and classical plays like Noh and Kabuki, and are also used today by sumo referees (gyoji) to signal decisions.
Image Credits to its author.
Templates
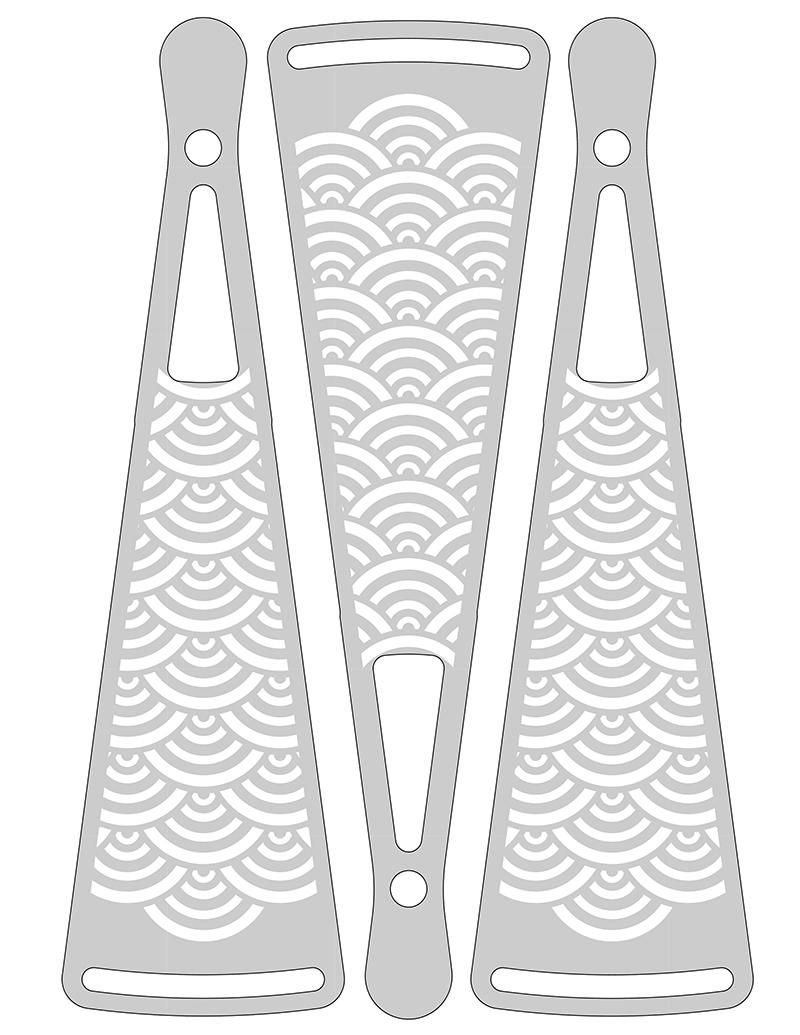
Here you can download the templates for the Sensu Cardboard Folding Fan
then review step by step which one corresponds and guide you through the assembly.
Cut
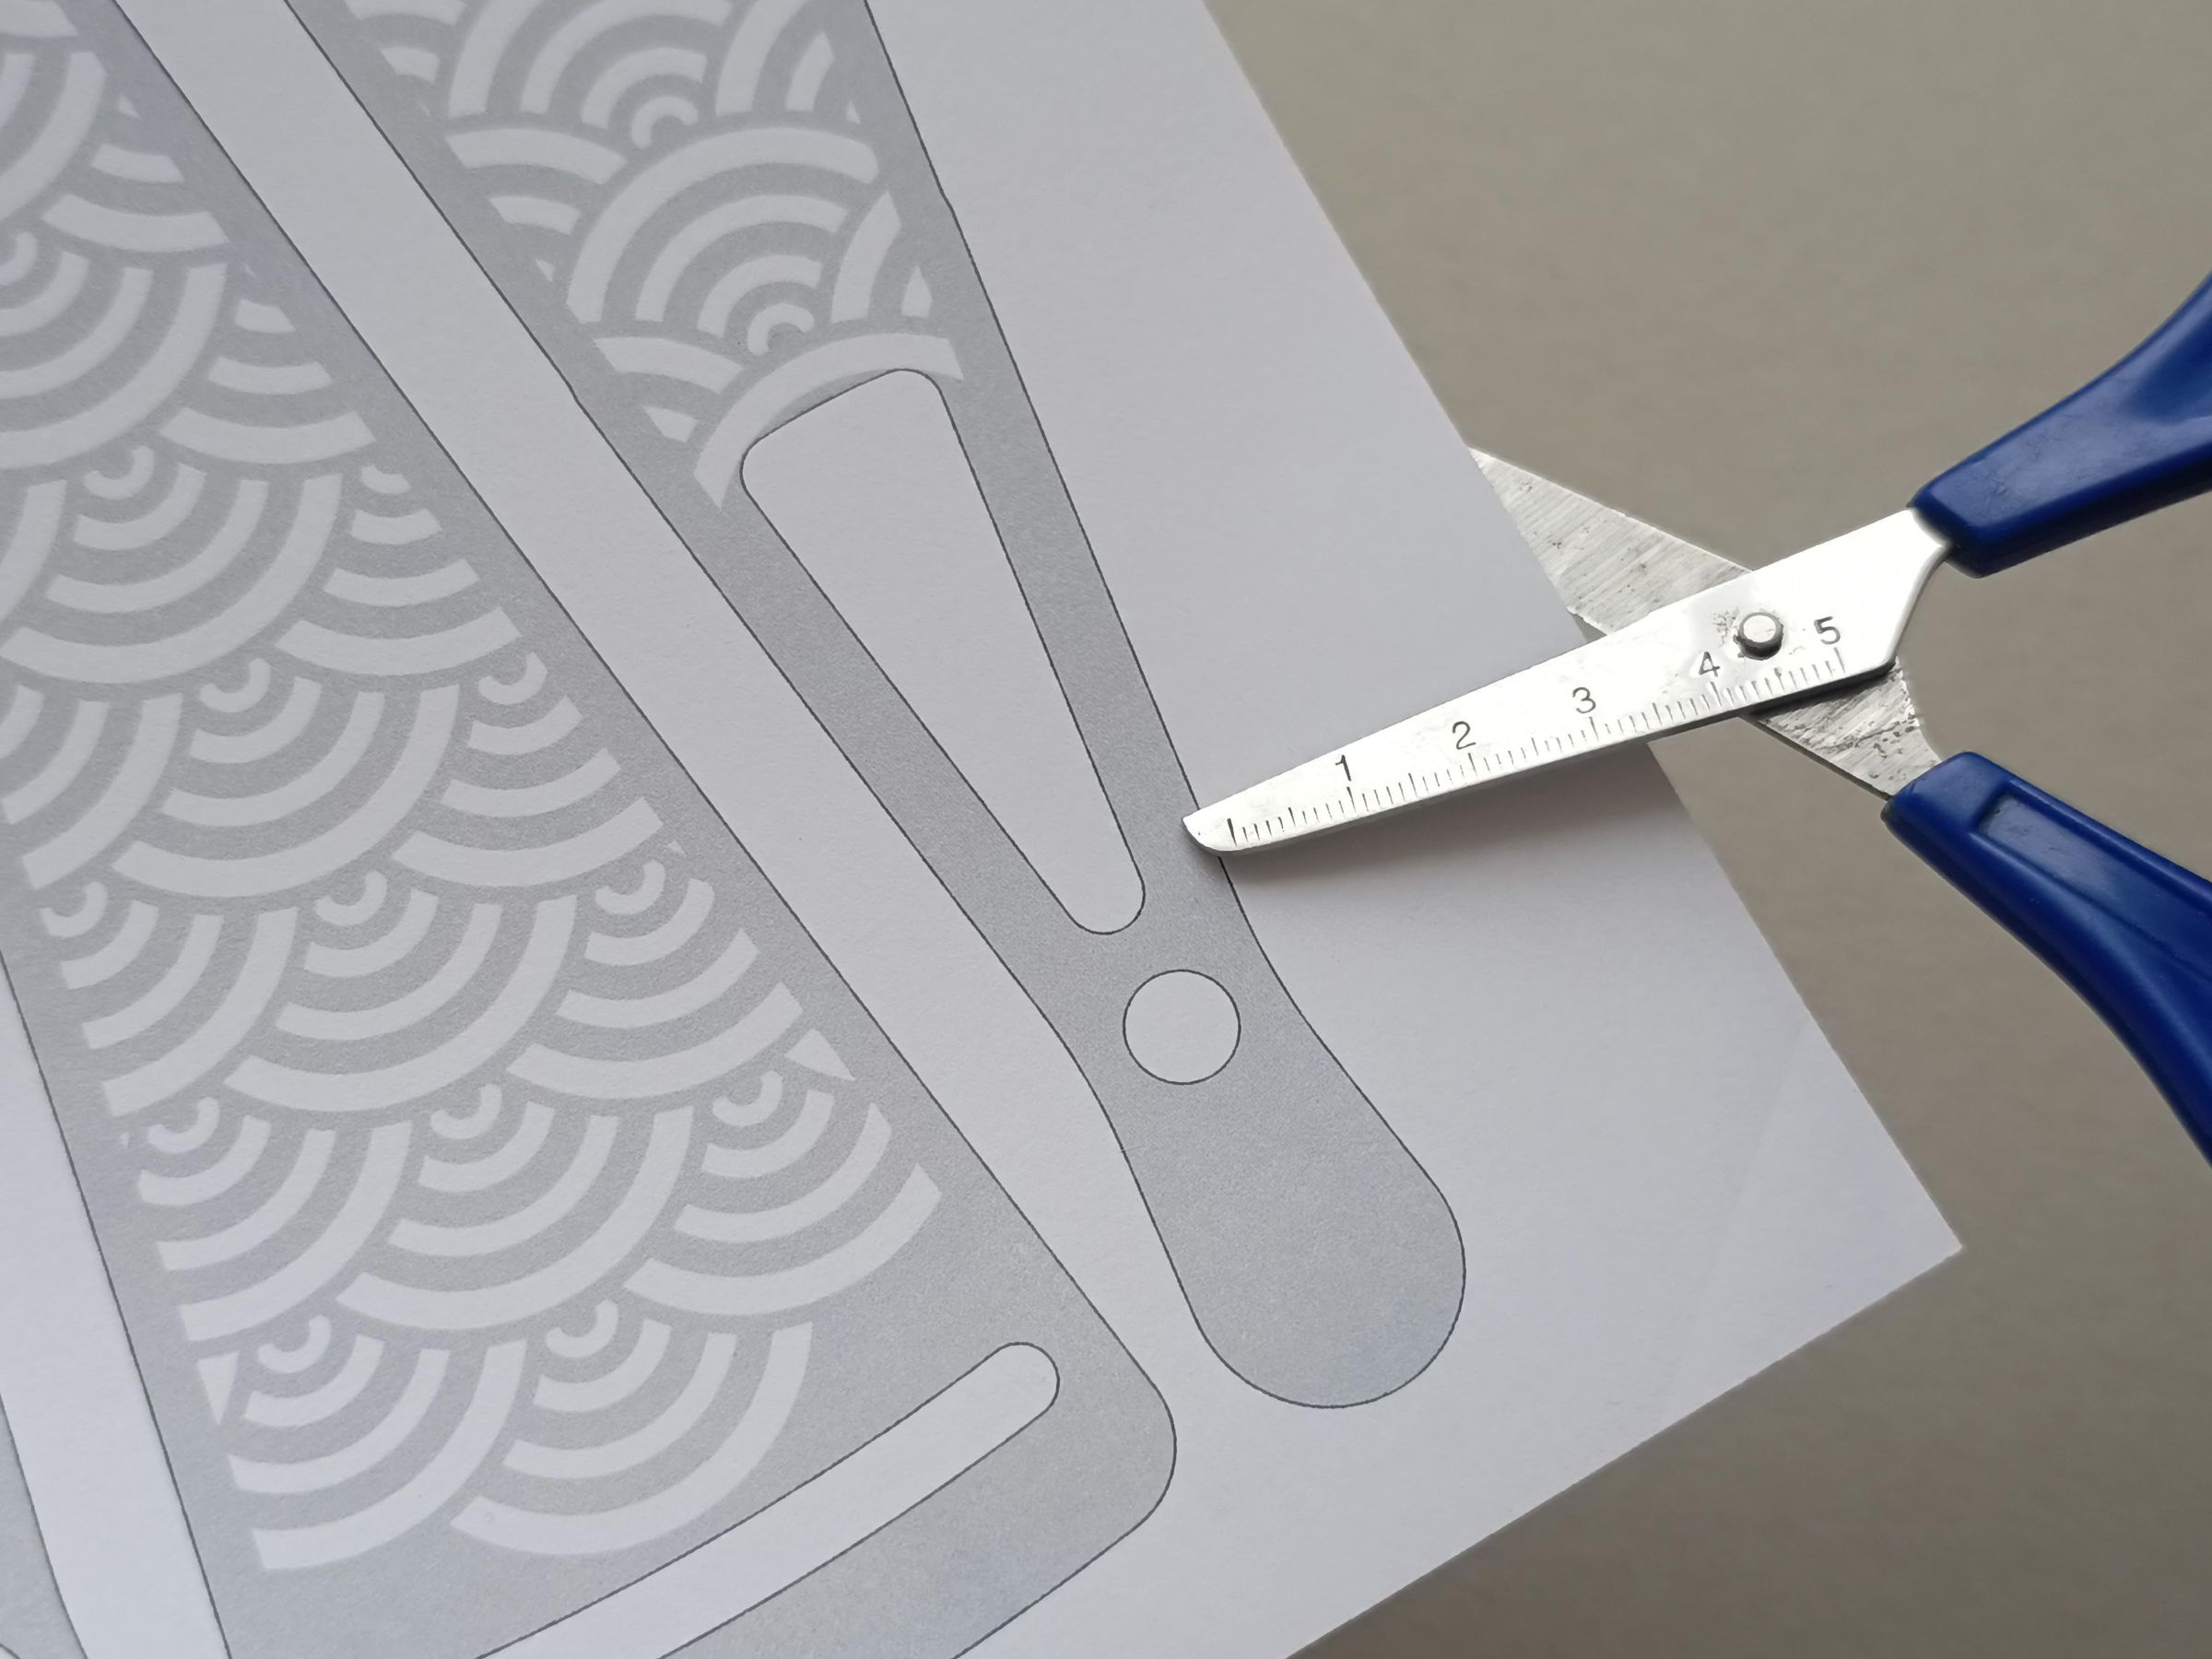
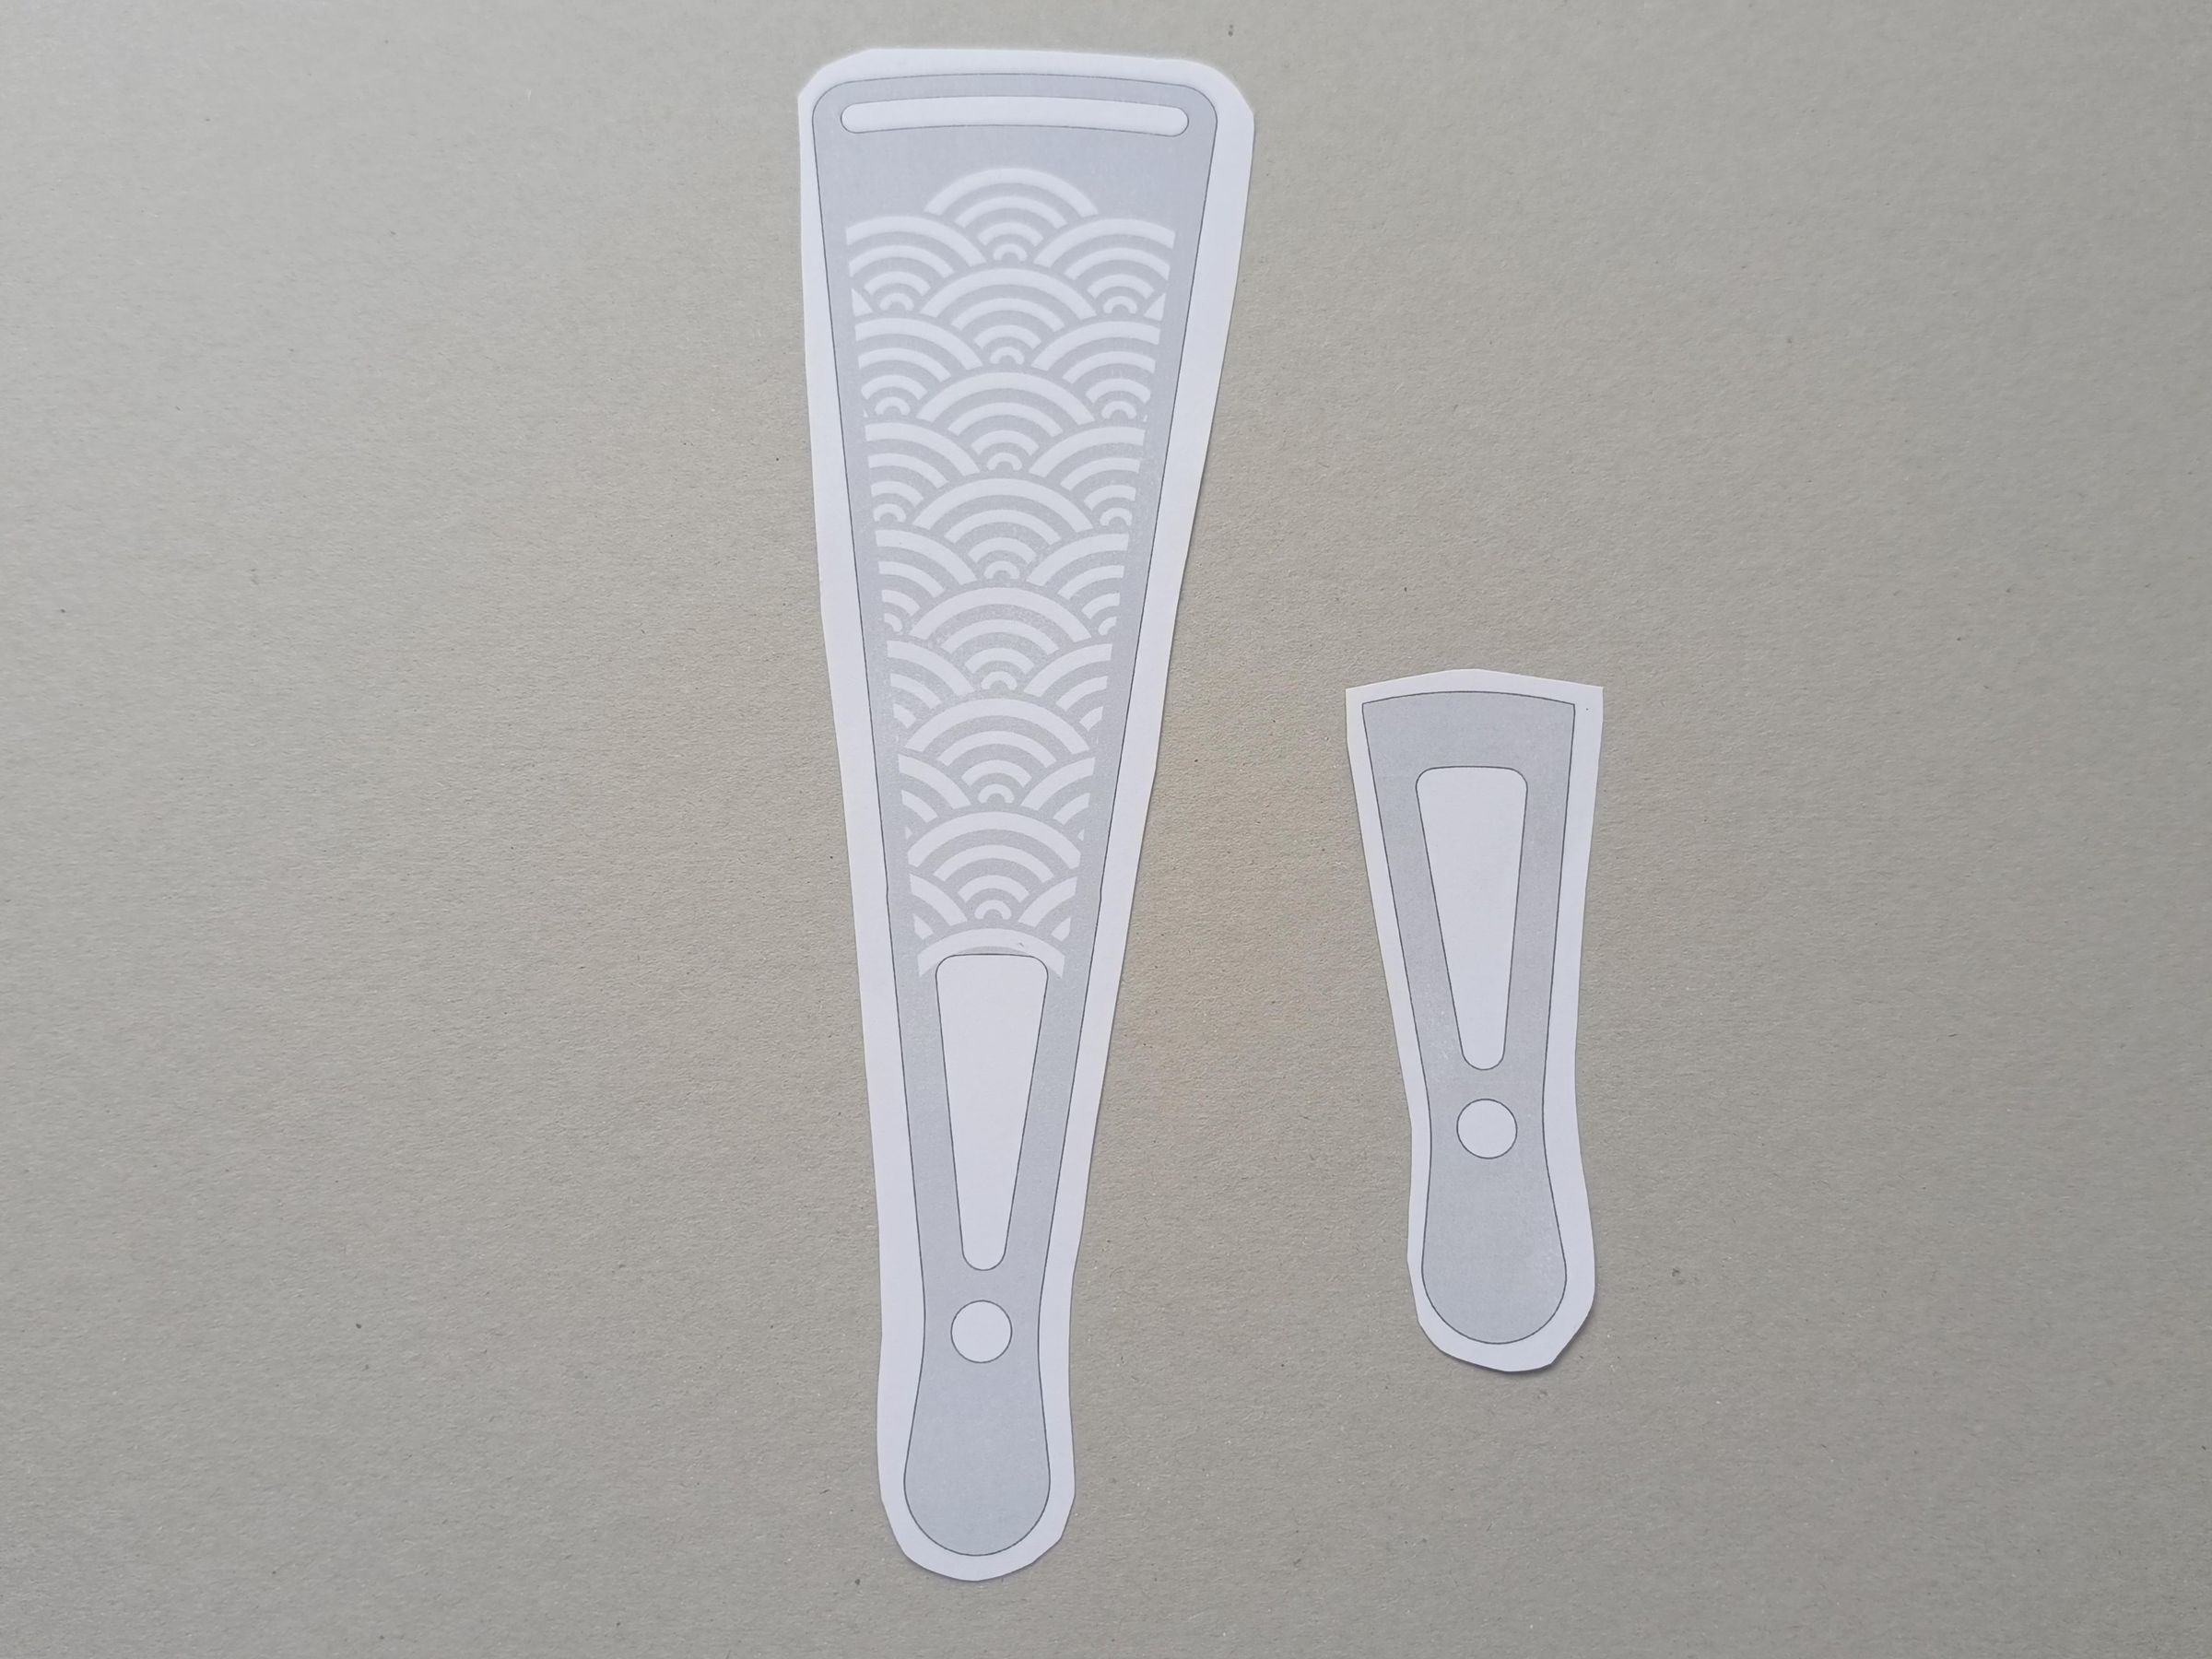
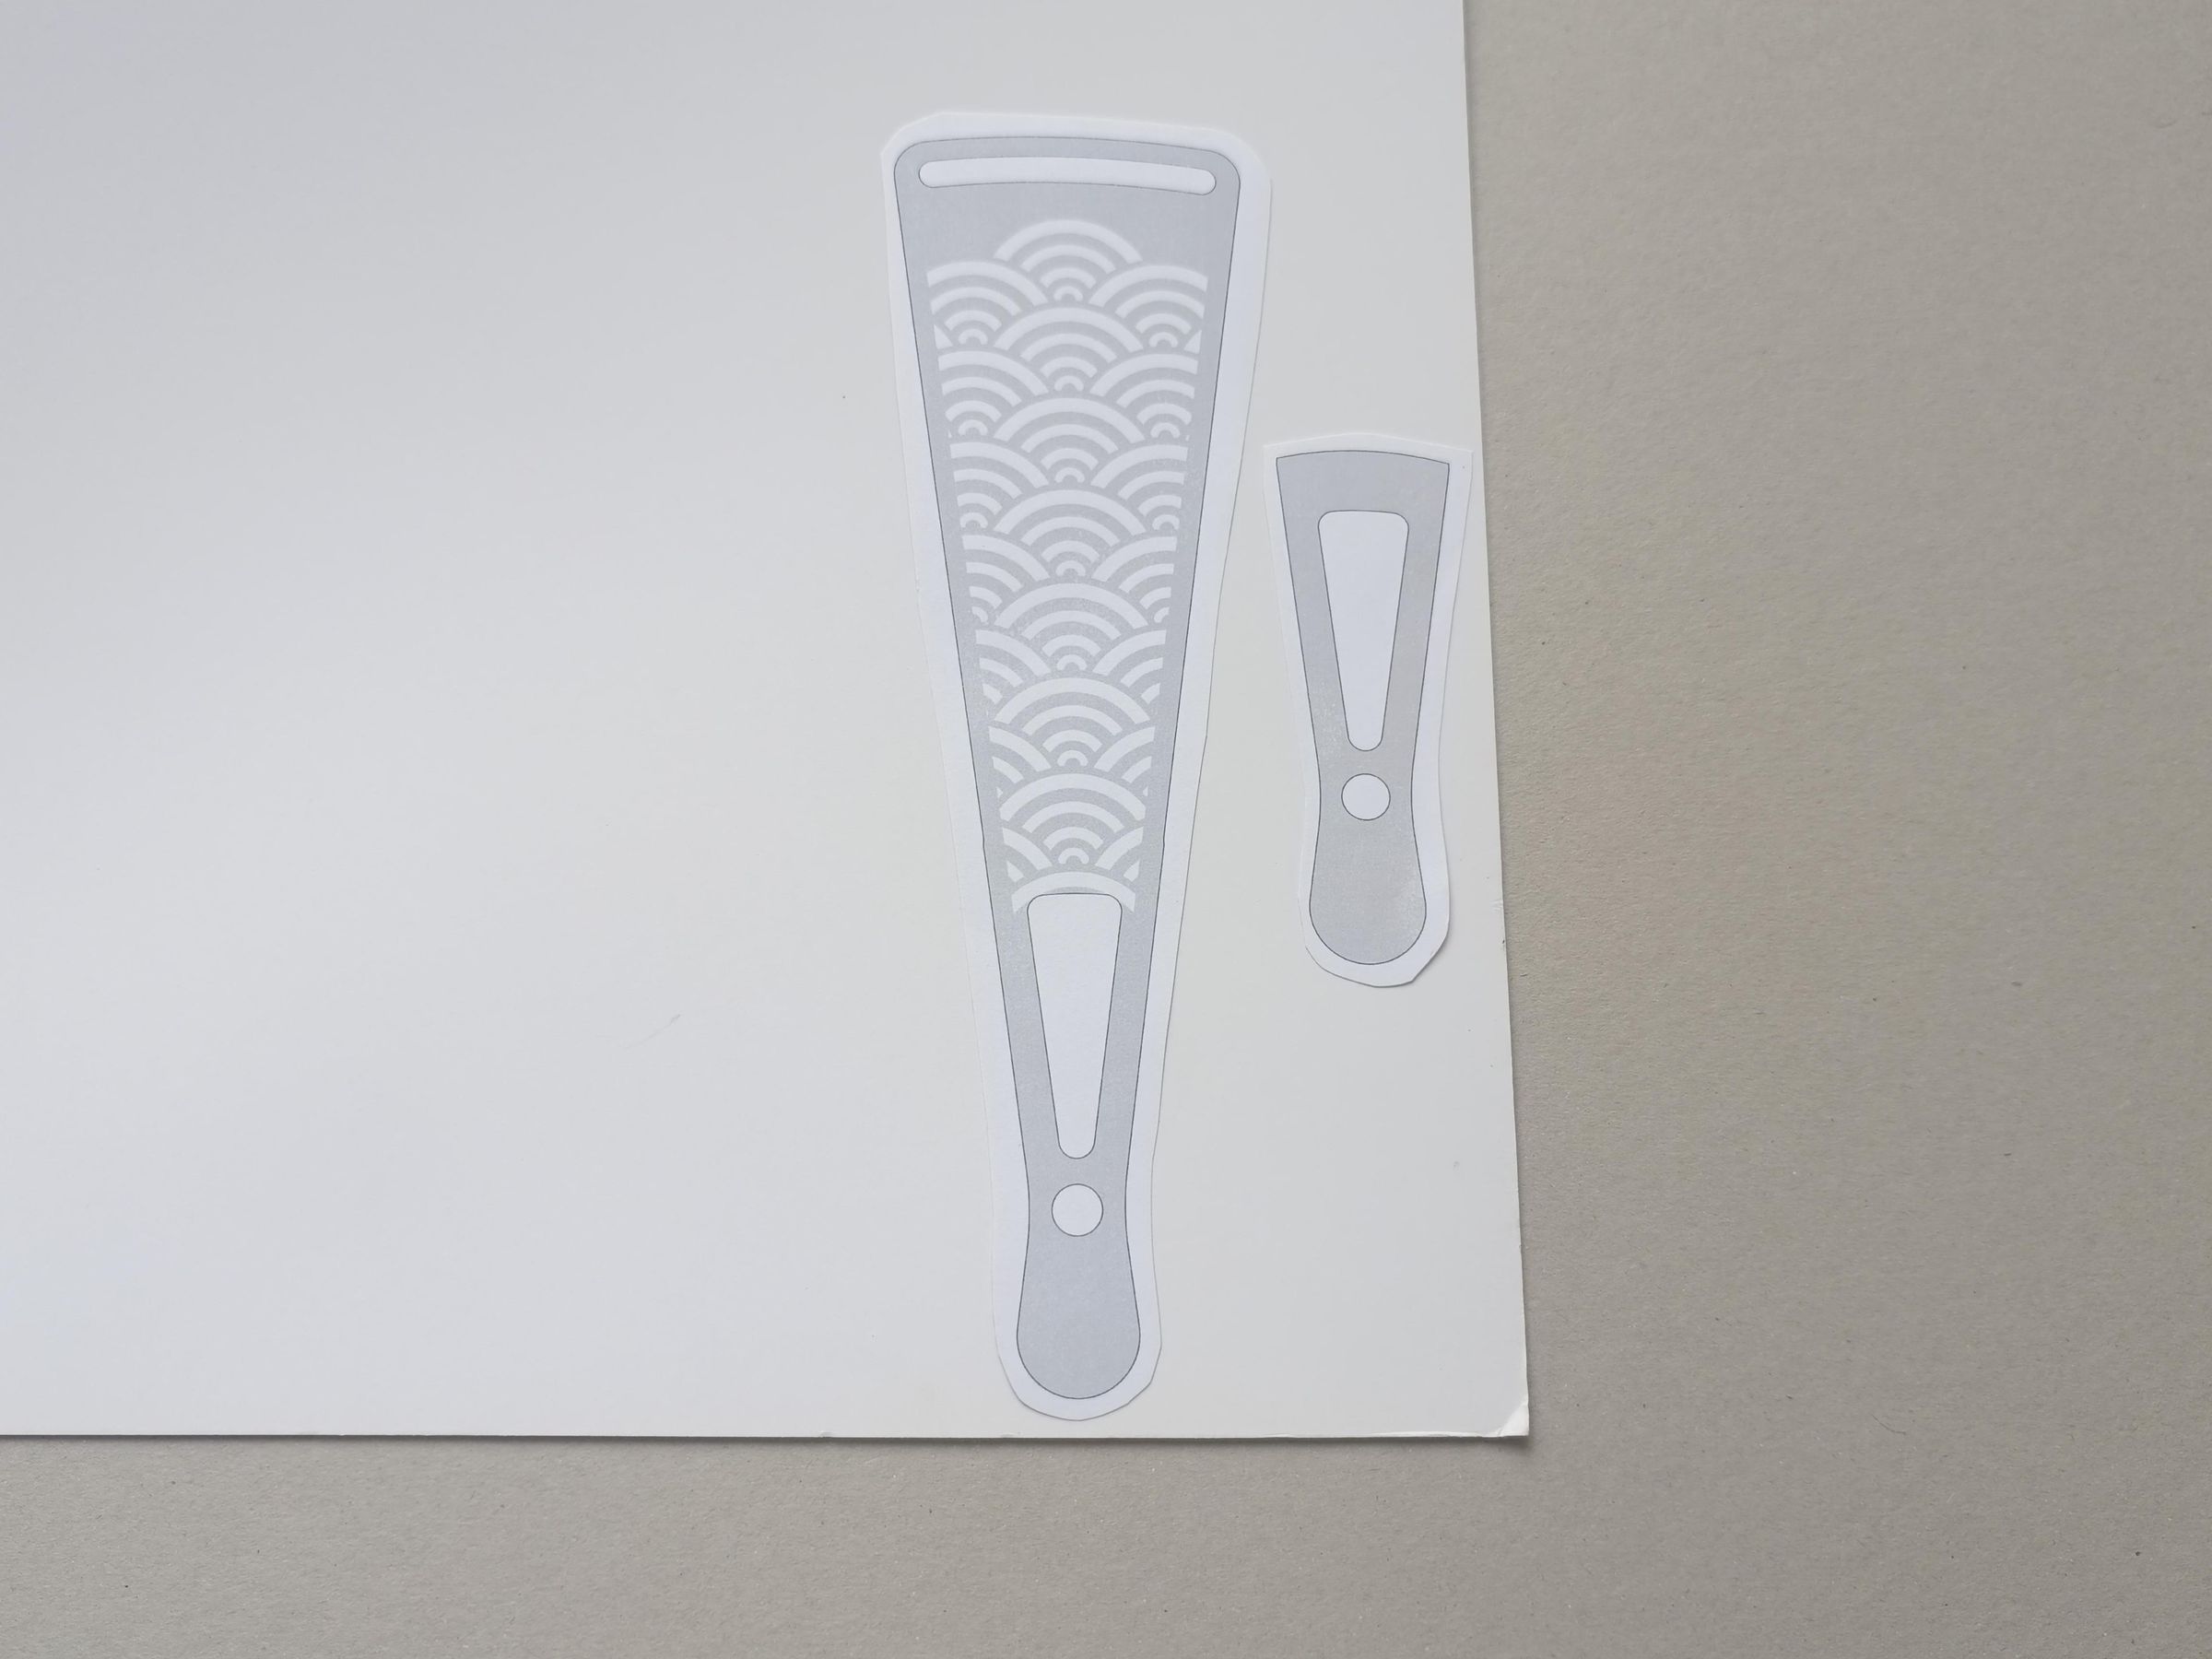
Cut out all the pieces, Please note that you should print the templates for this project on very heavy paper
The three layers of cardstock will give the fan firmness.
Transfer
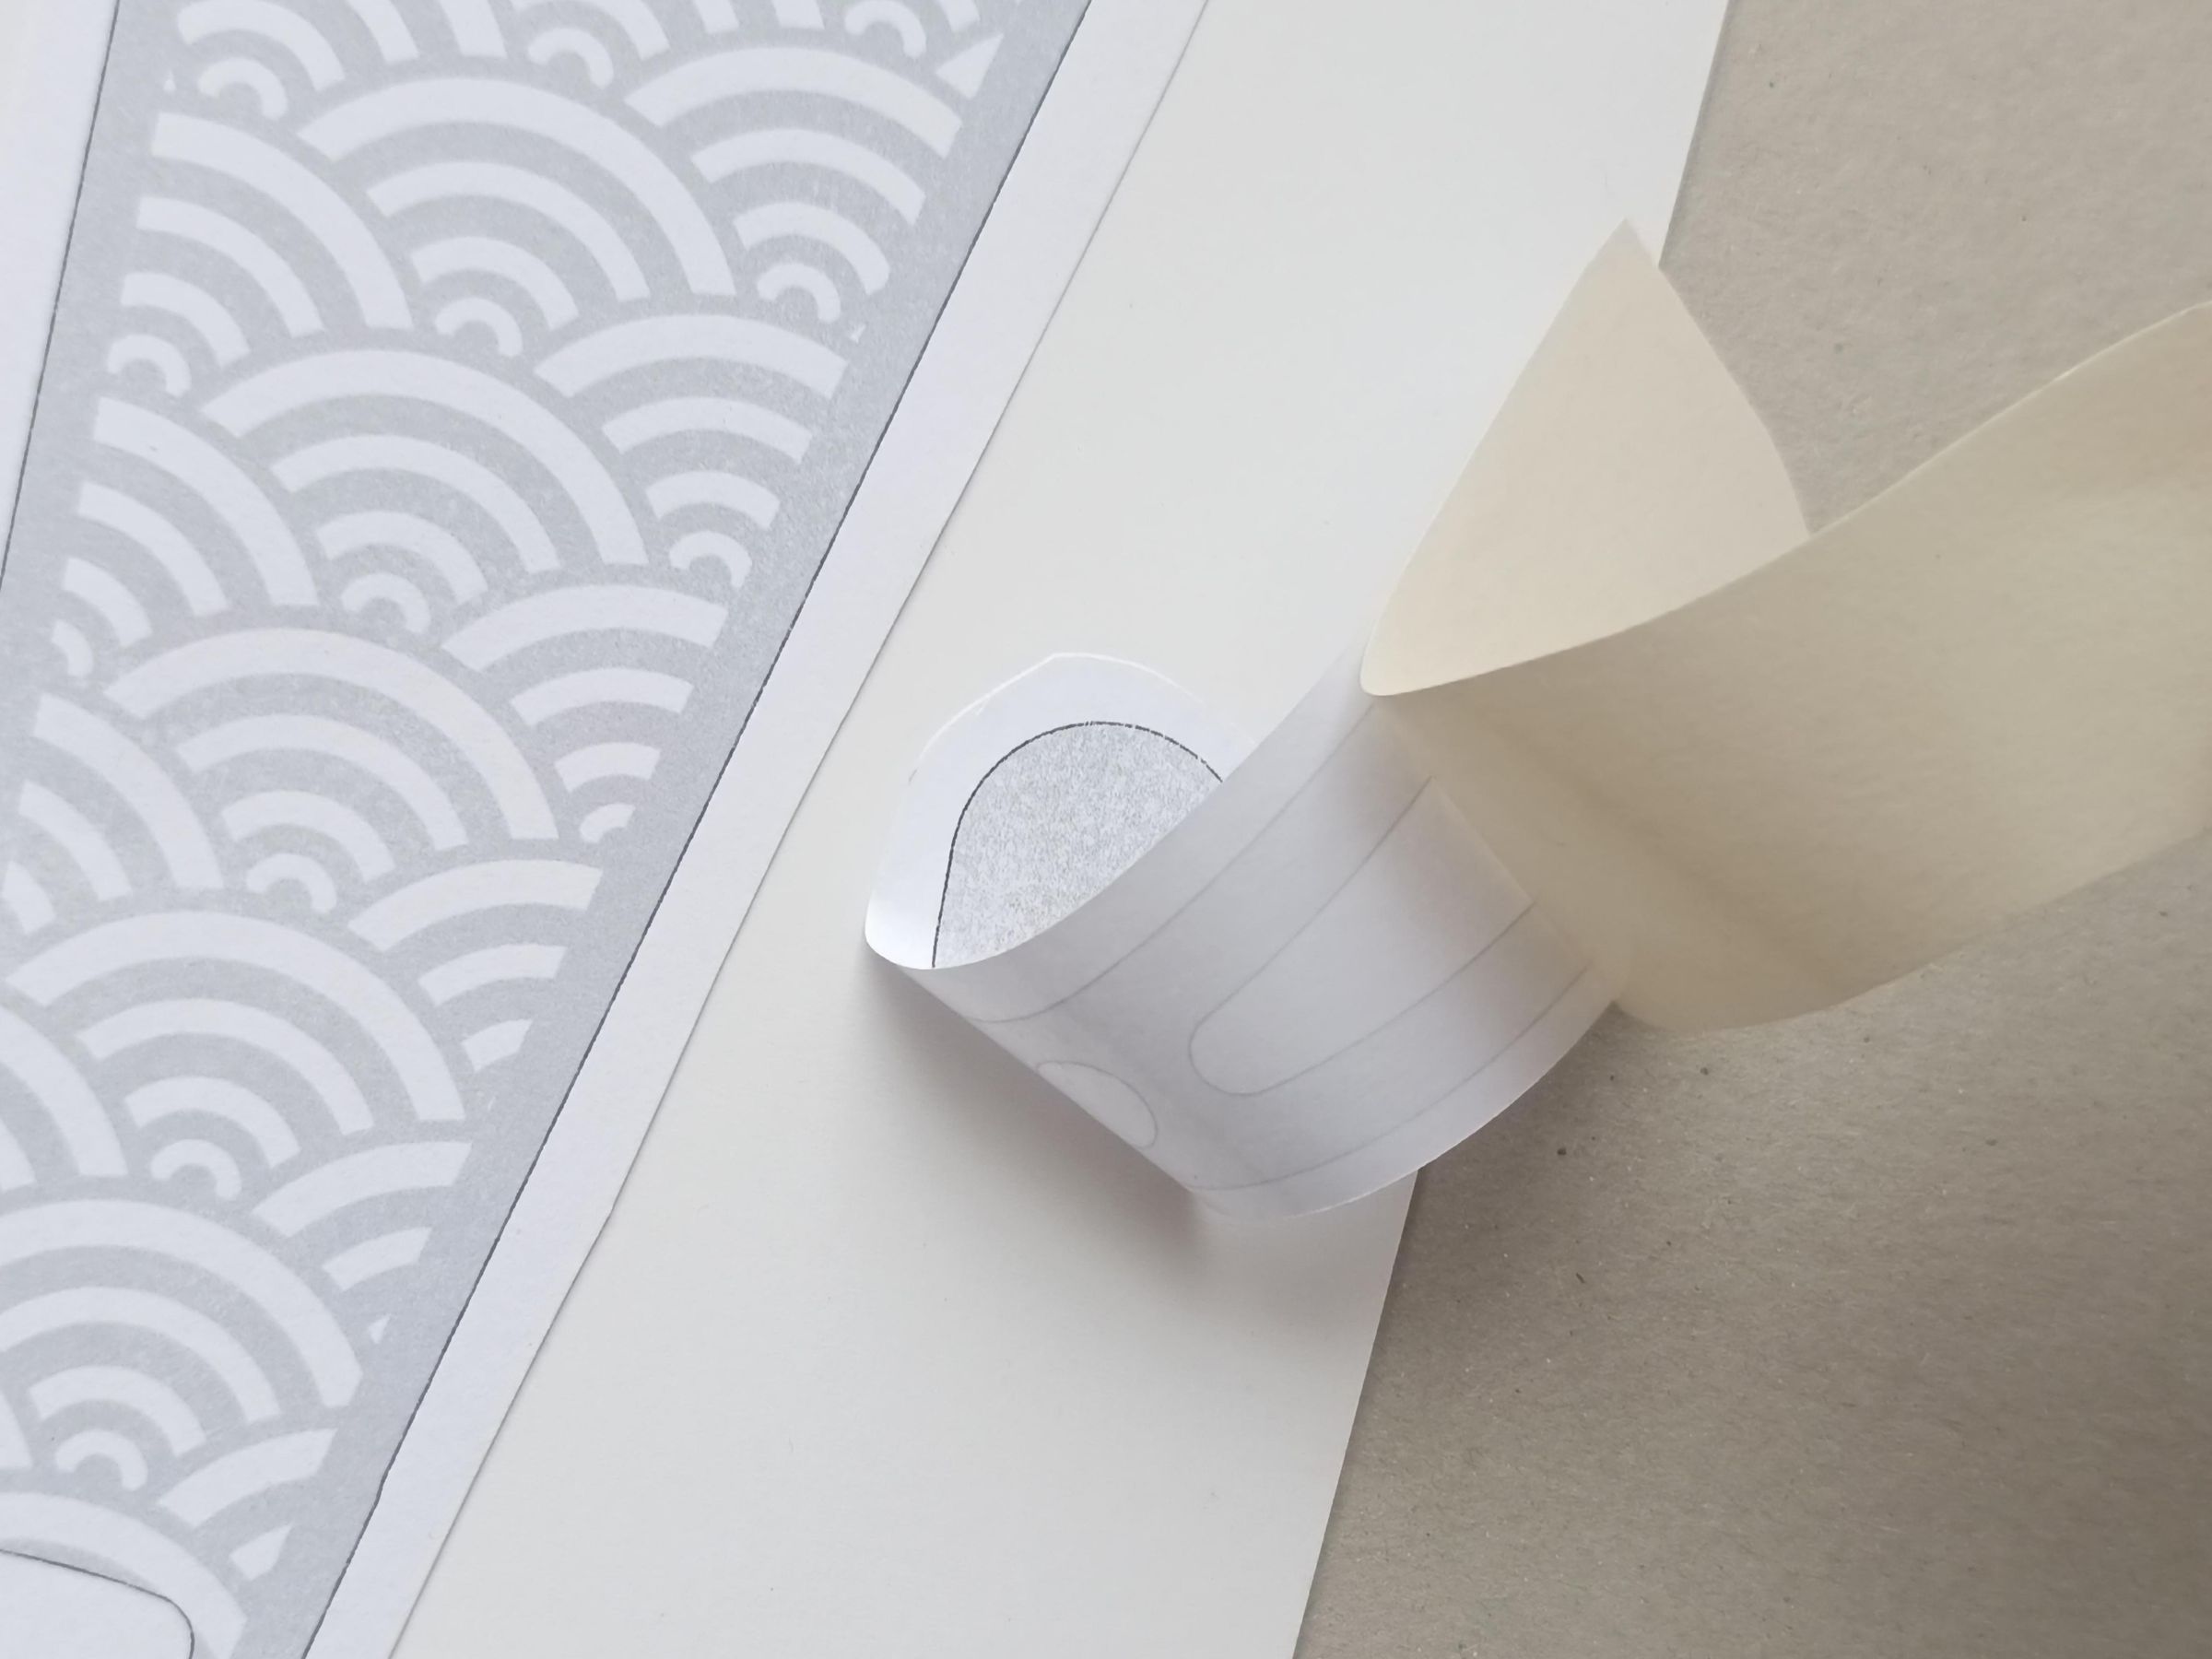
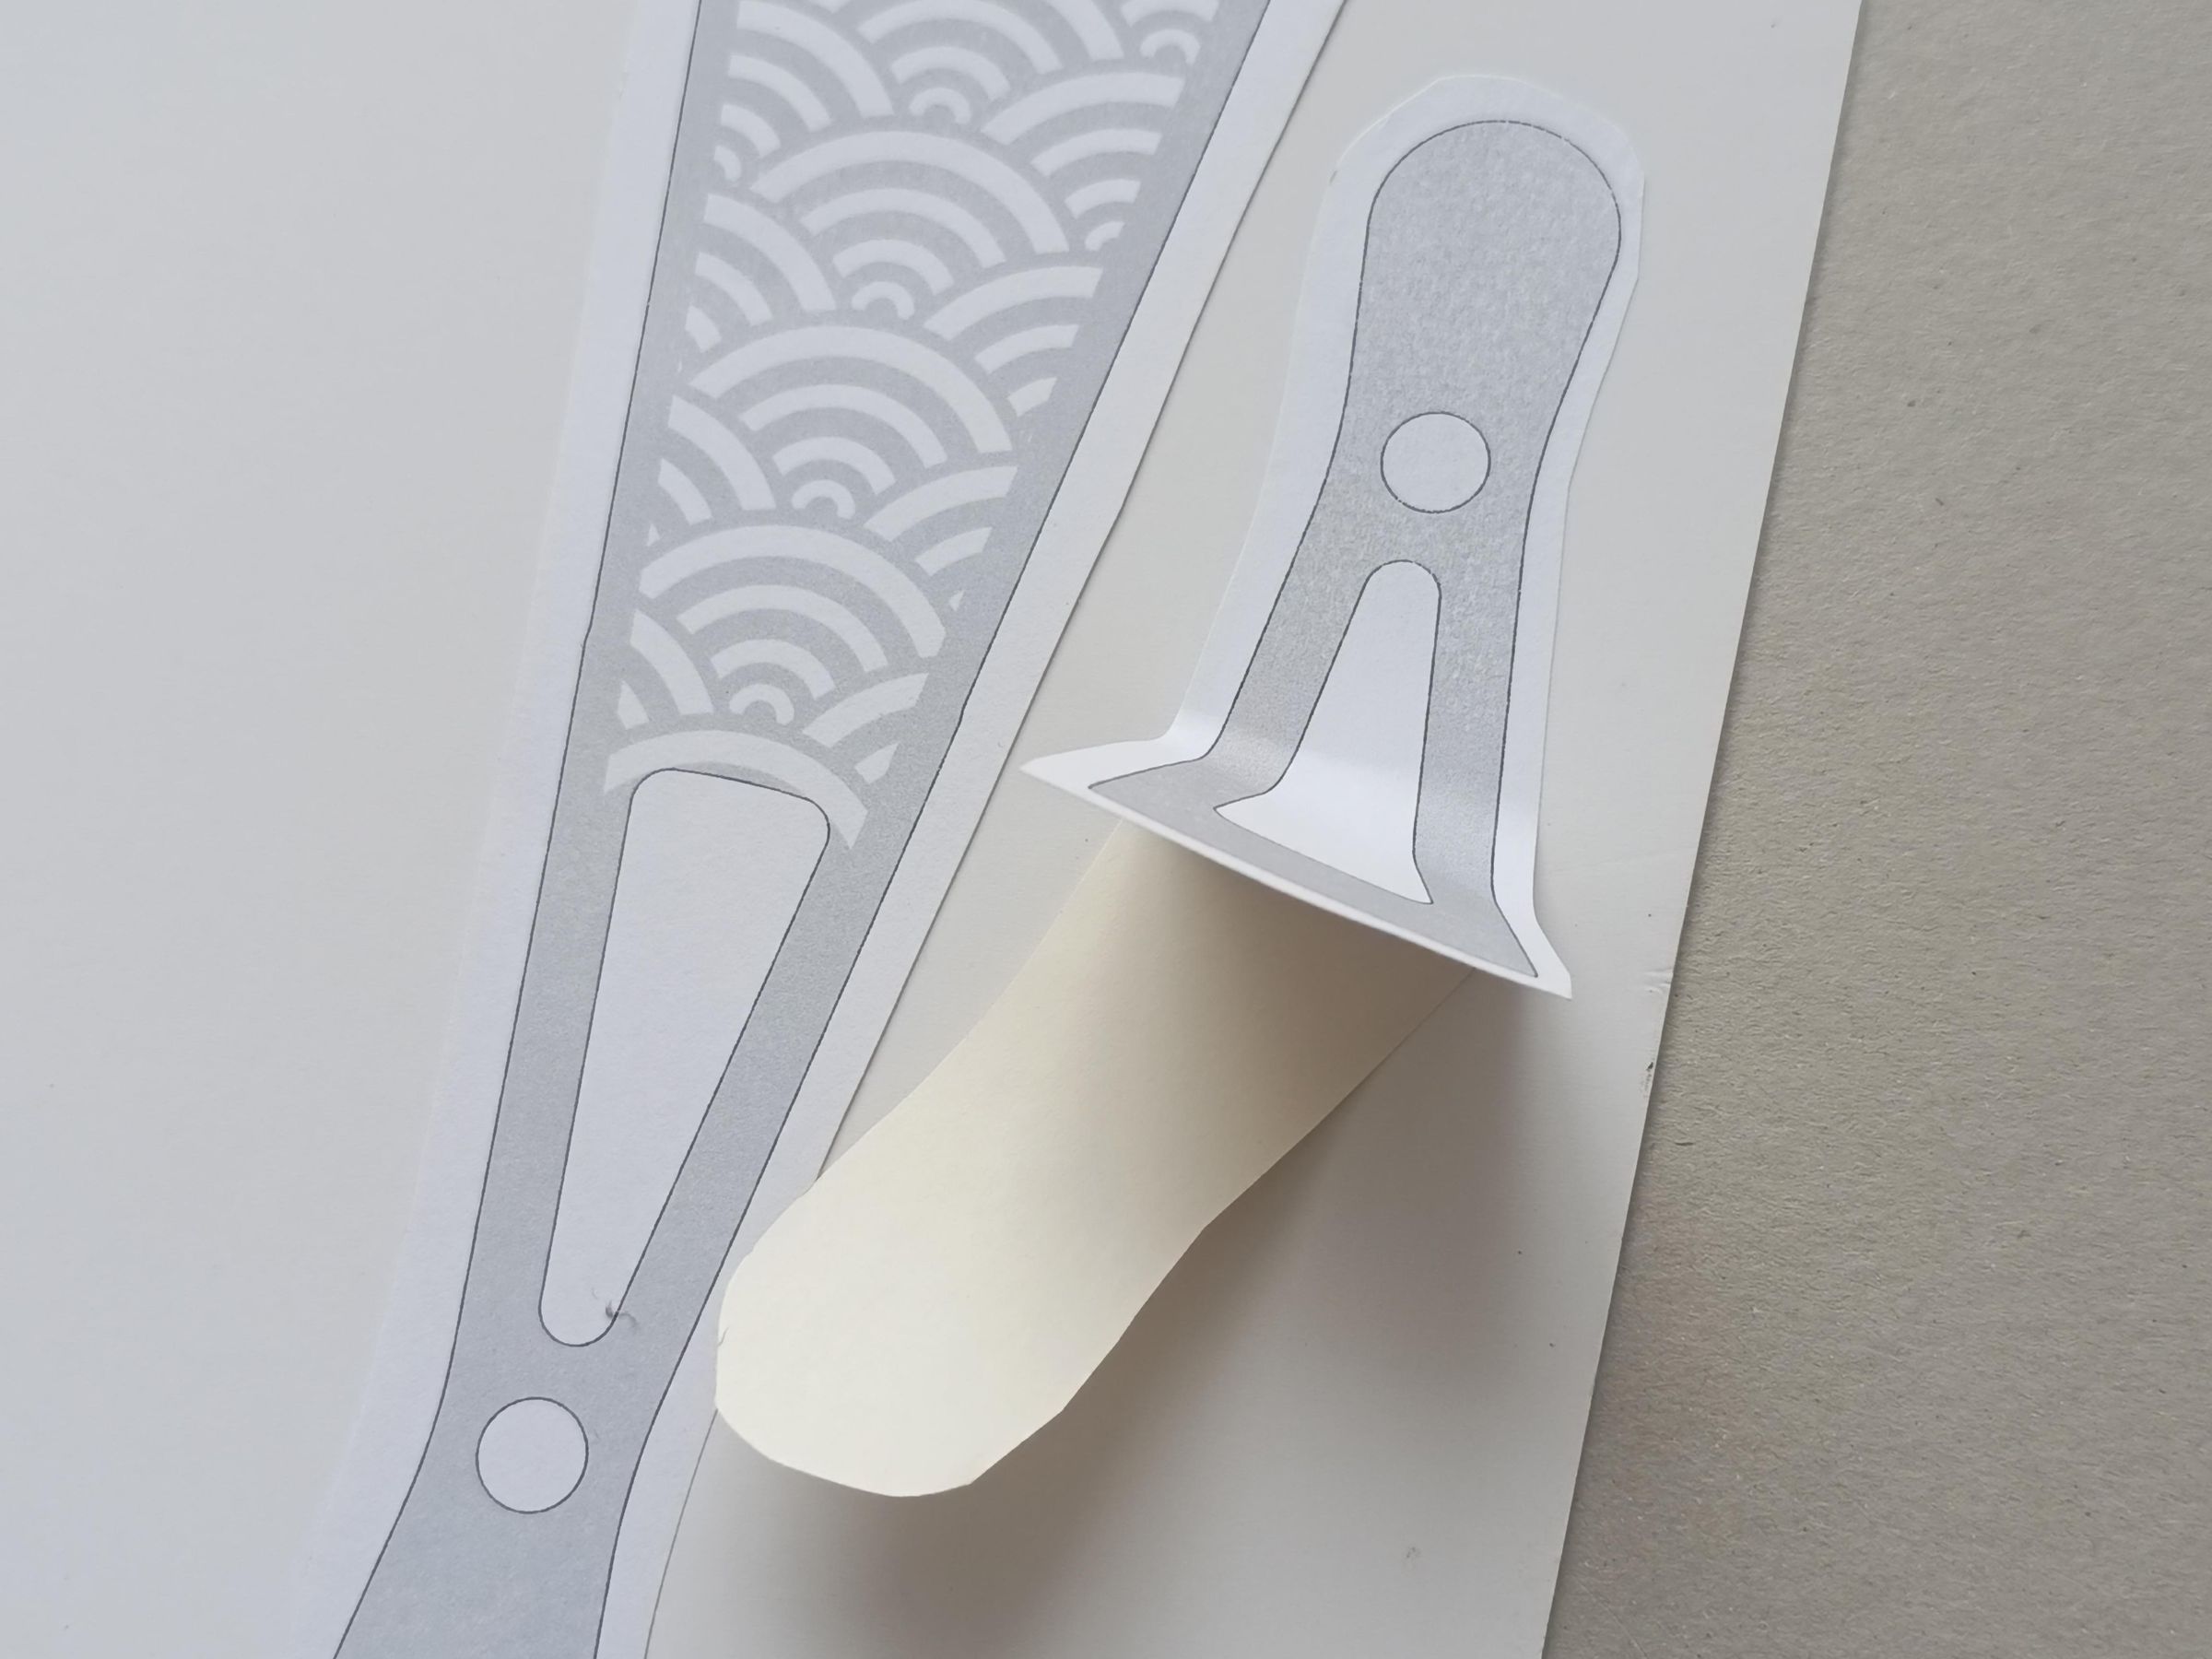
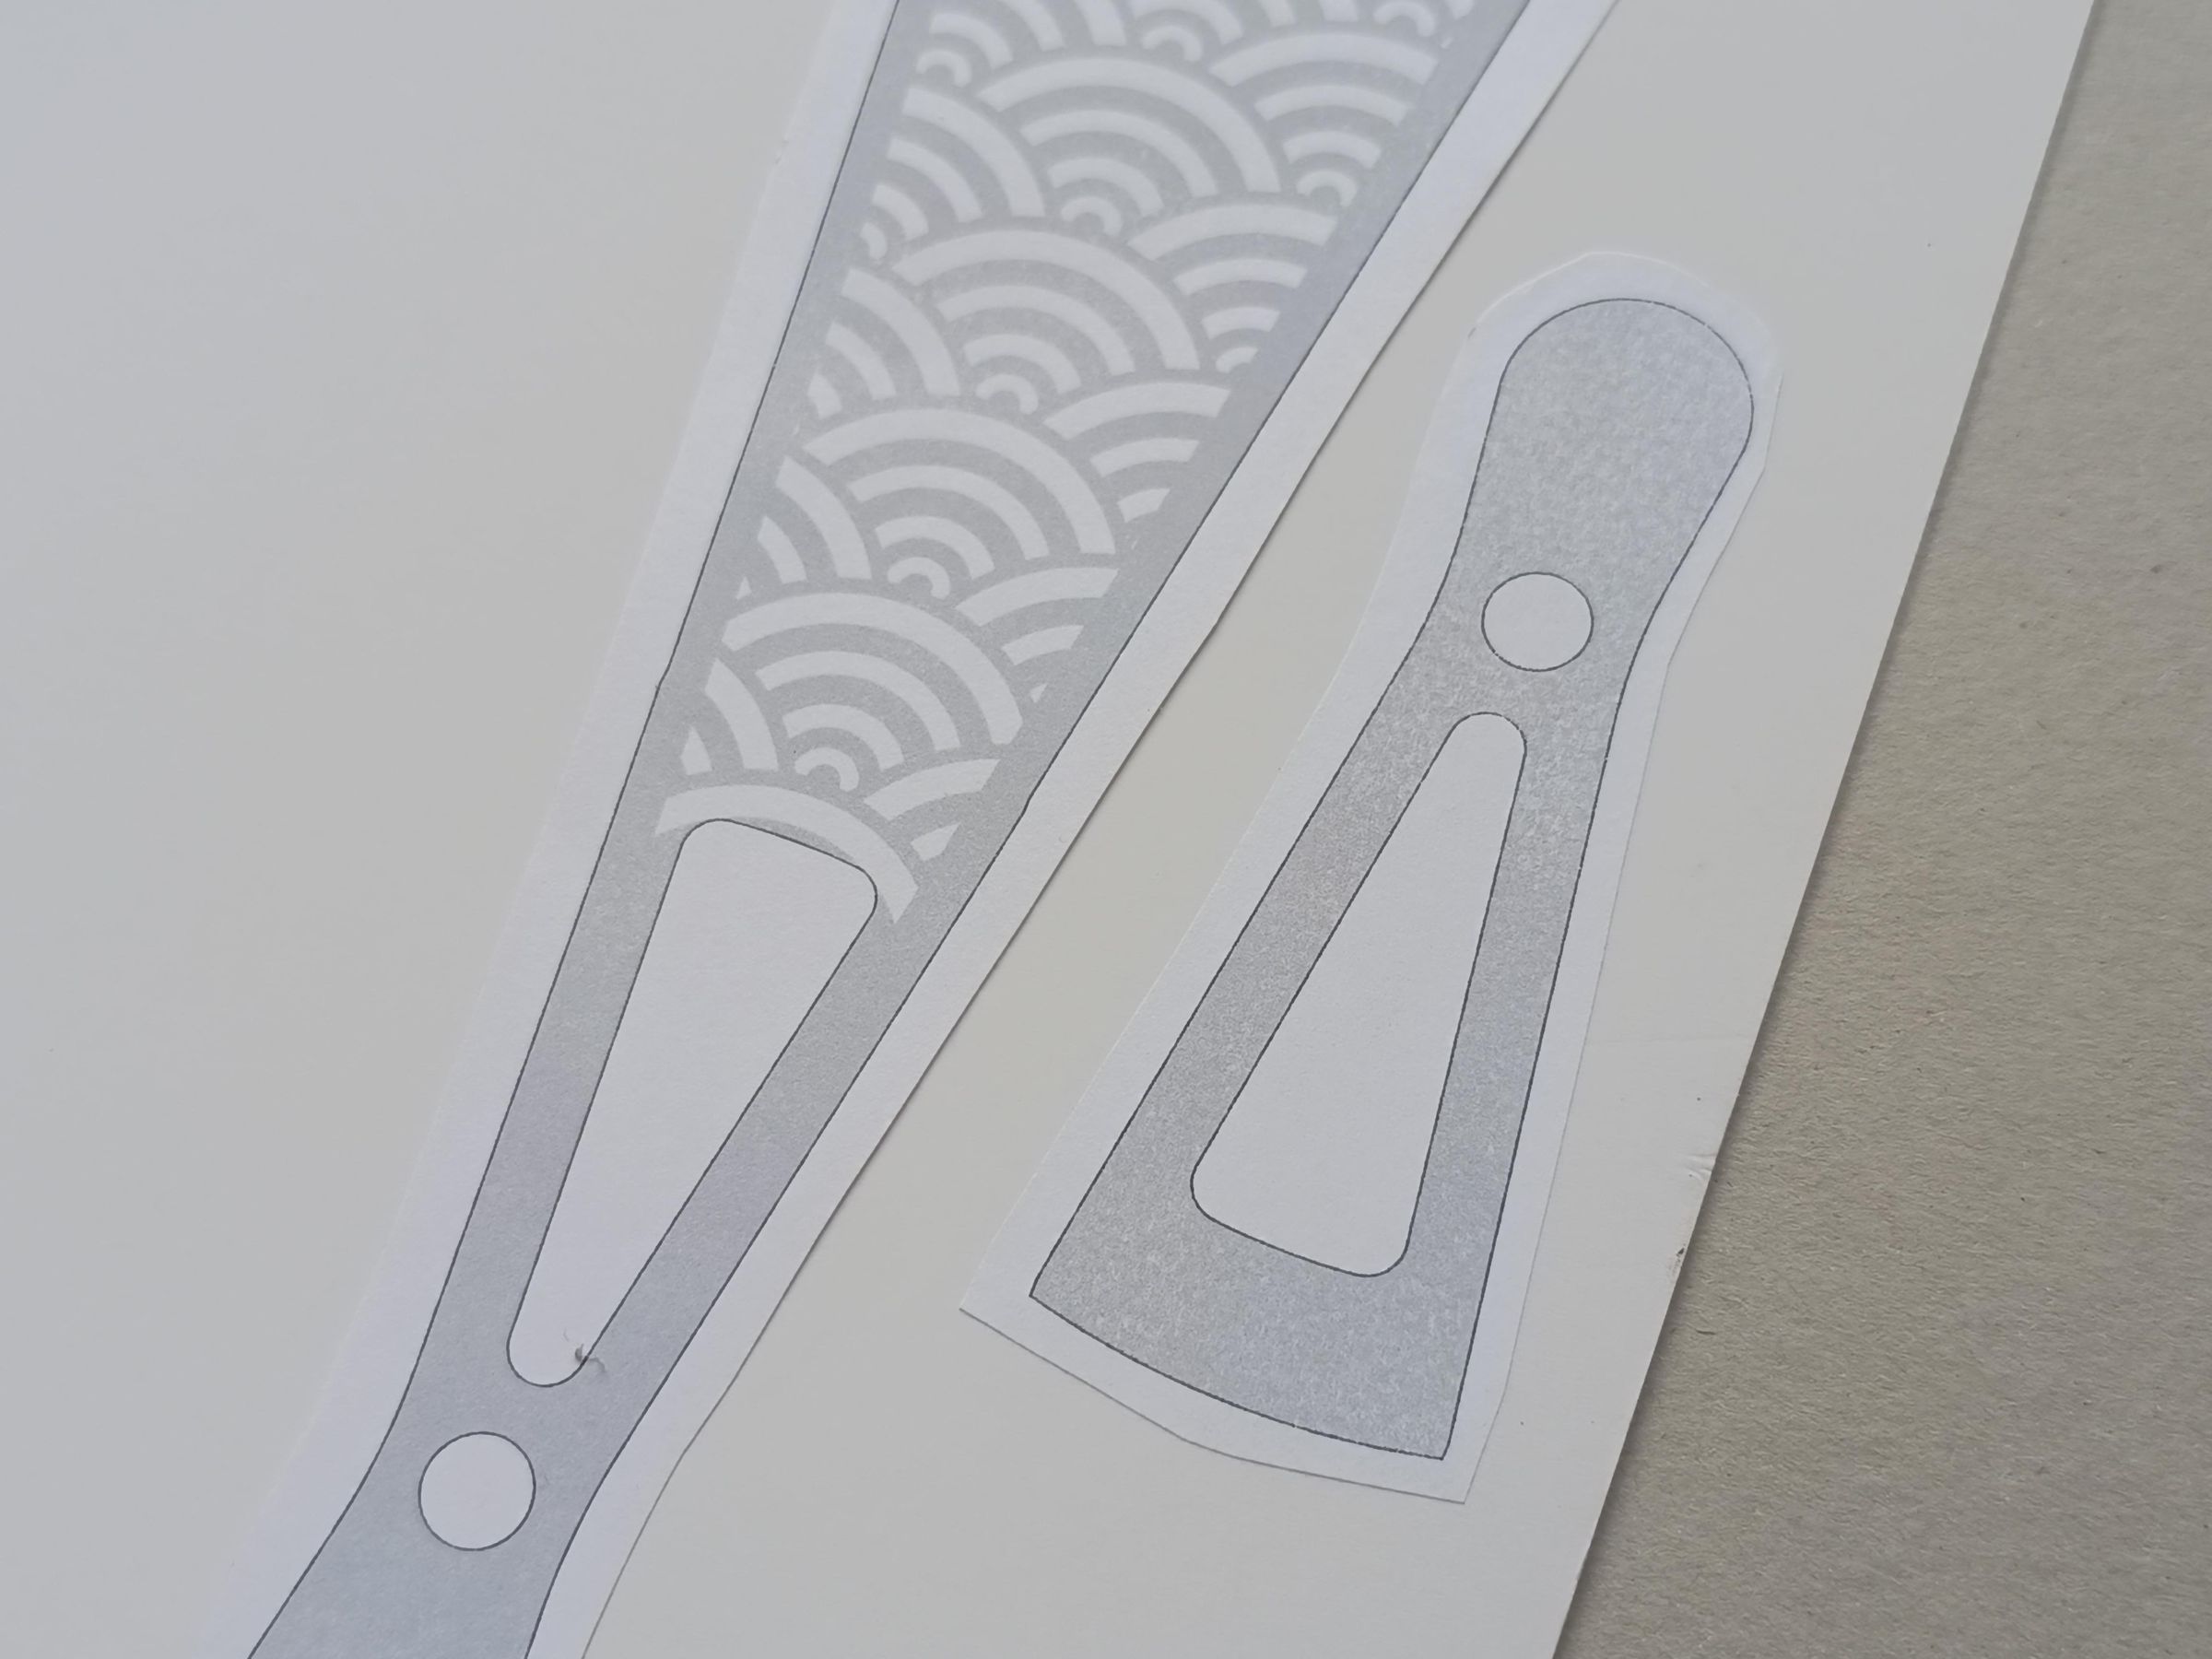
If you cannot print on thick material, print on adhesive paper and transfer the templates to a harder material.
In my case I use cardstock.
Cut Out
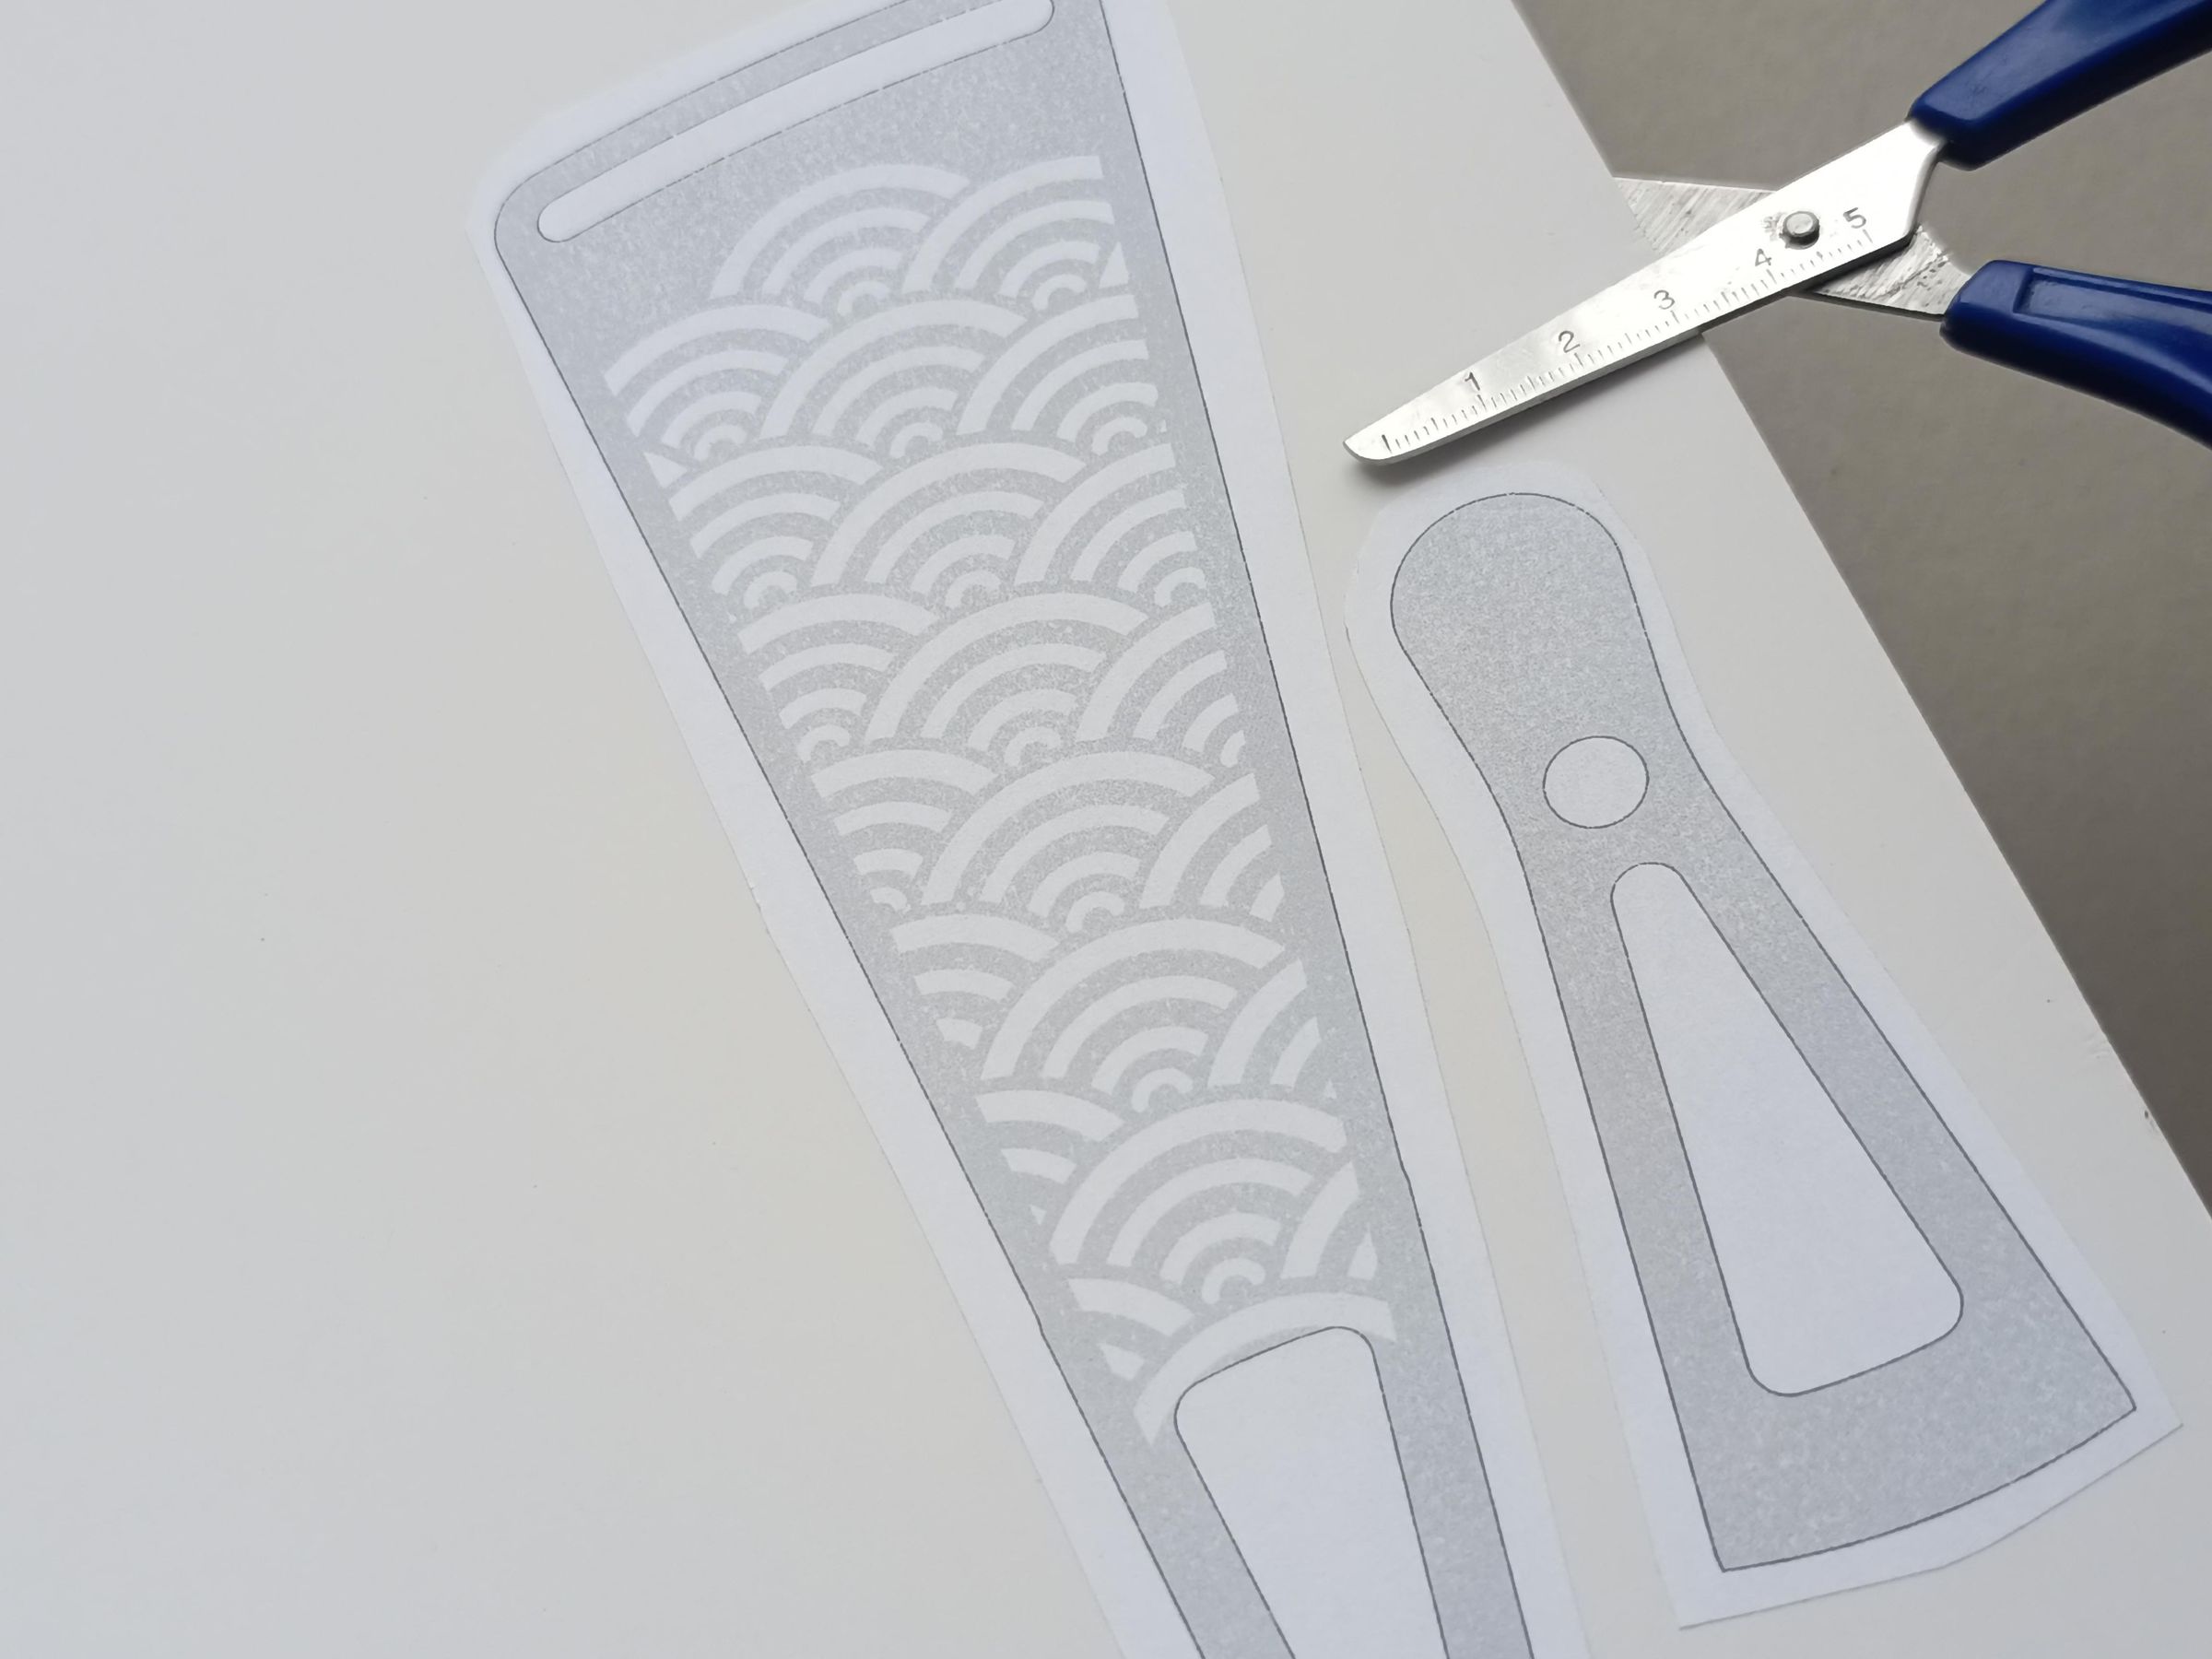
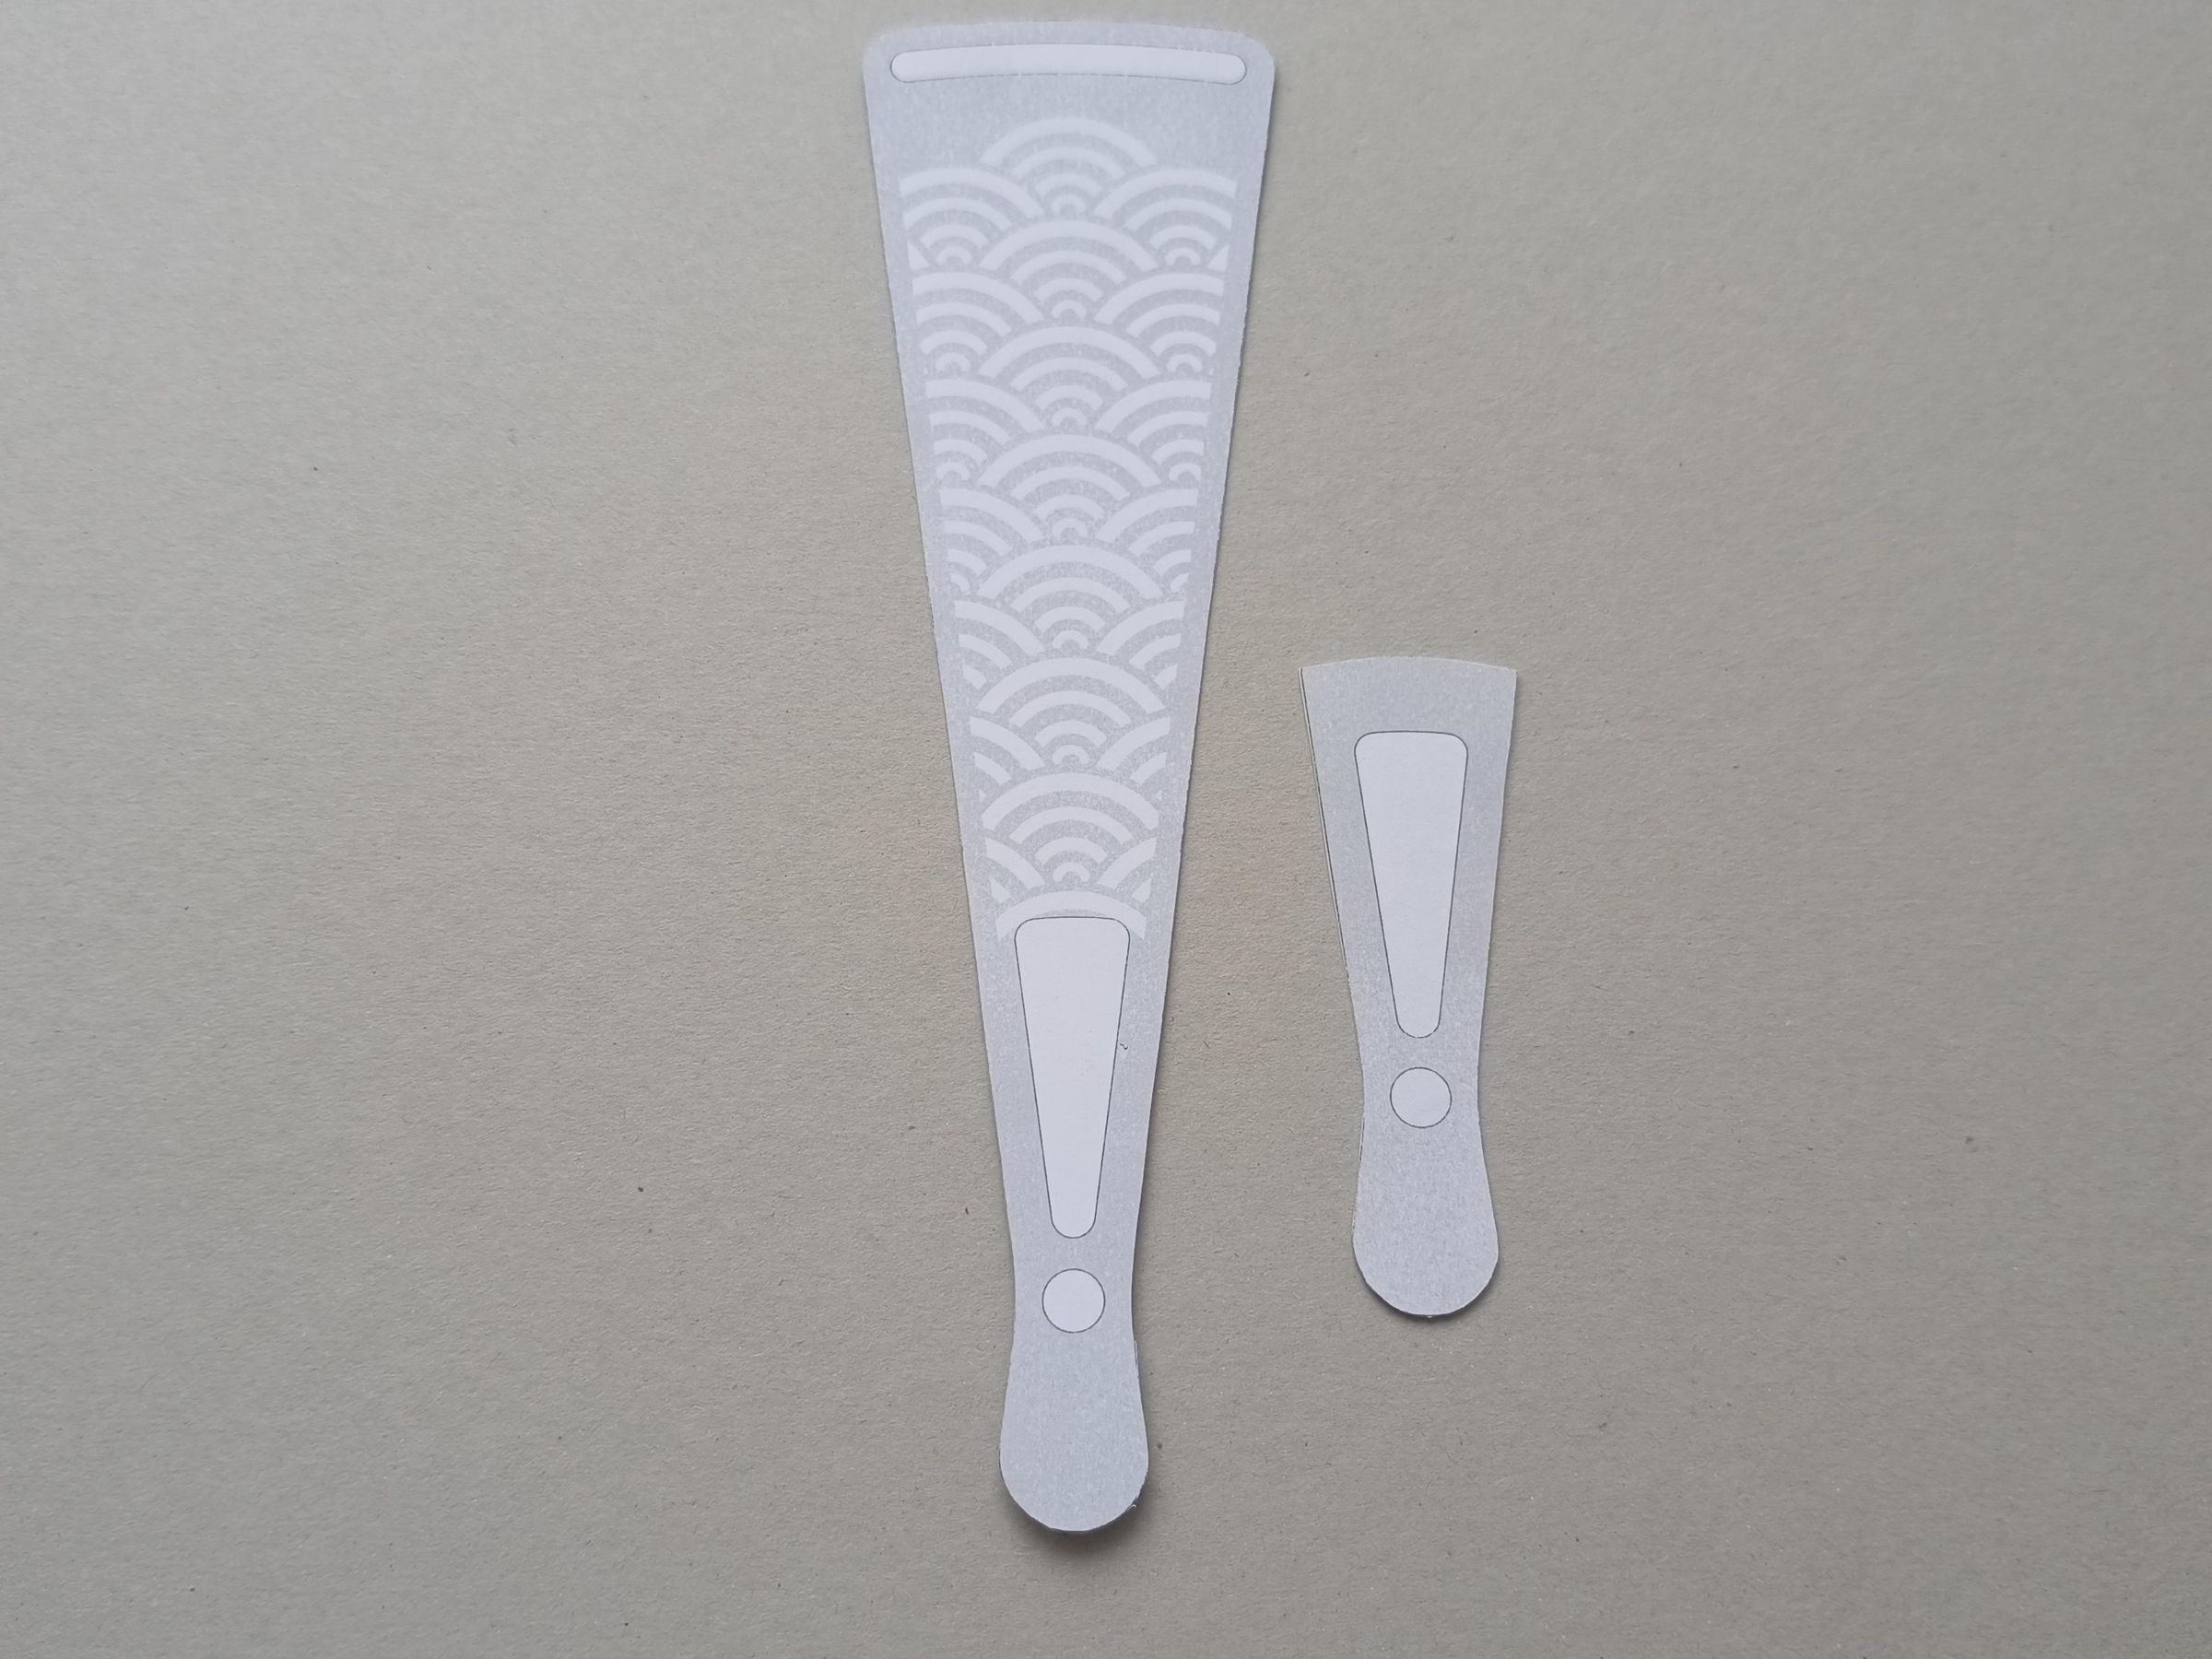
Cut the pieces already reinforced with cardstock, cutting very carefully and making sure not to ruin the edges
Cutting Holes
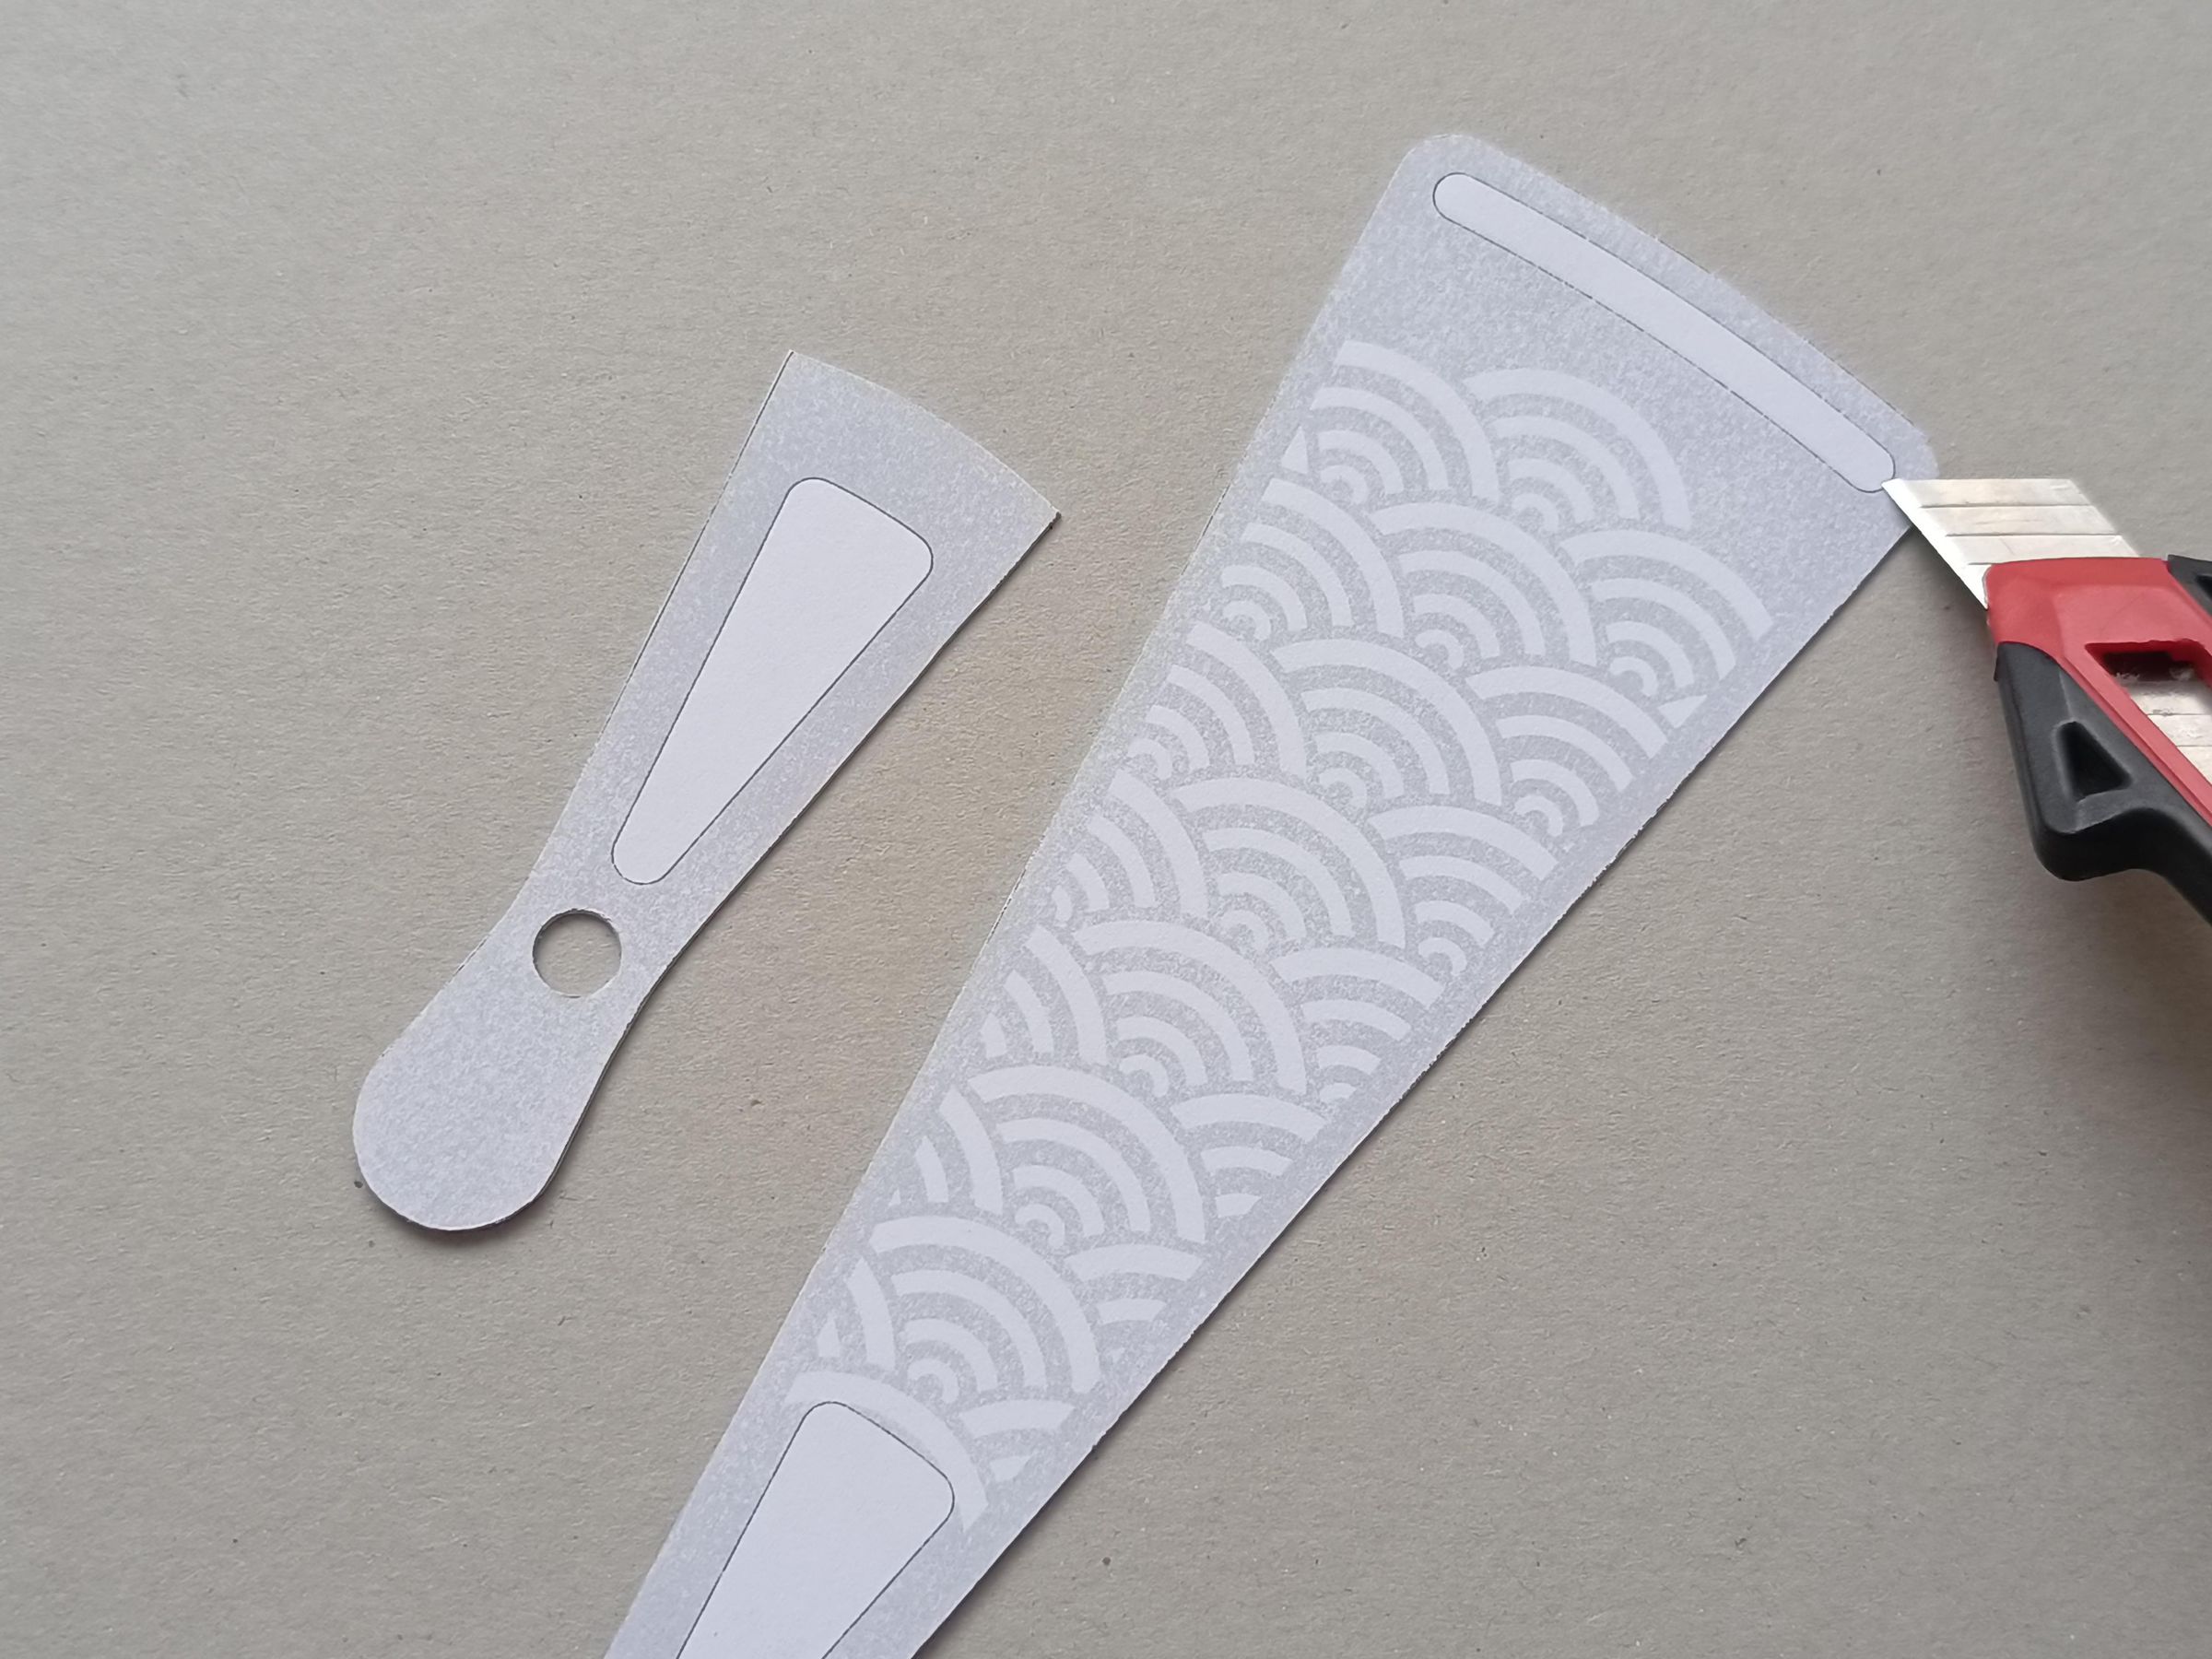
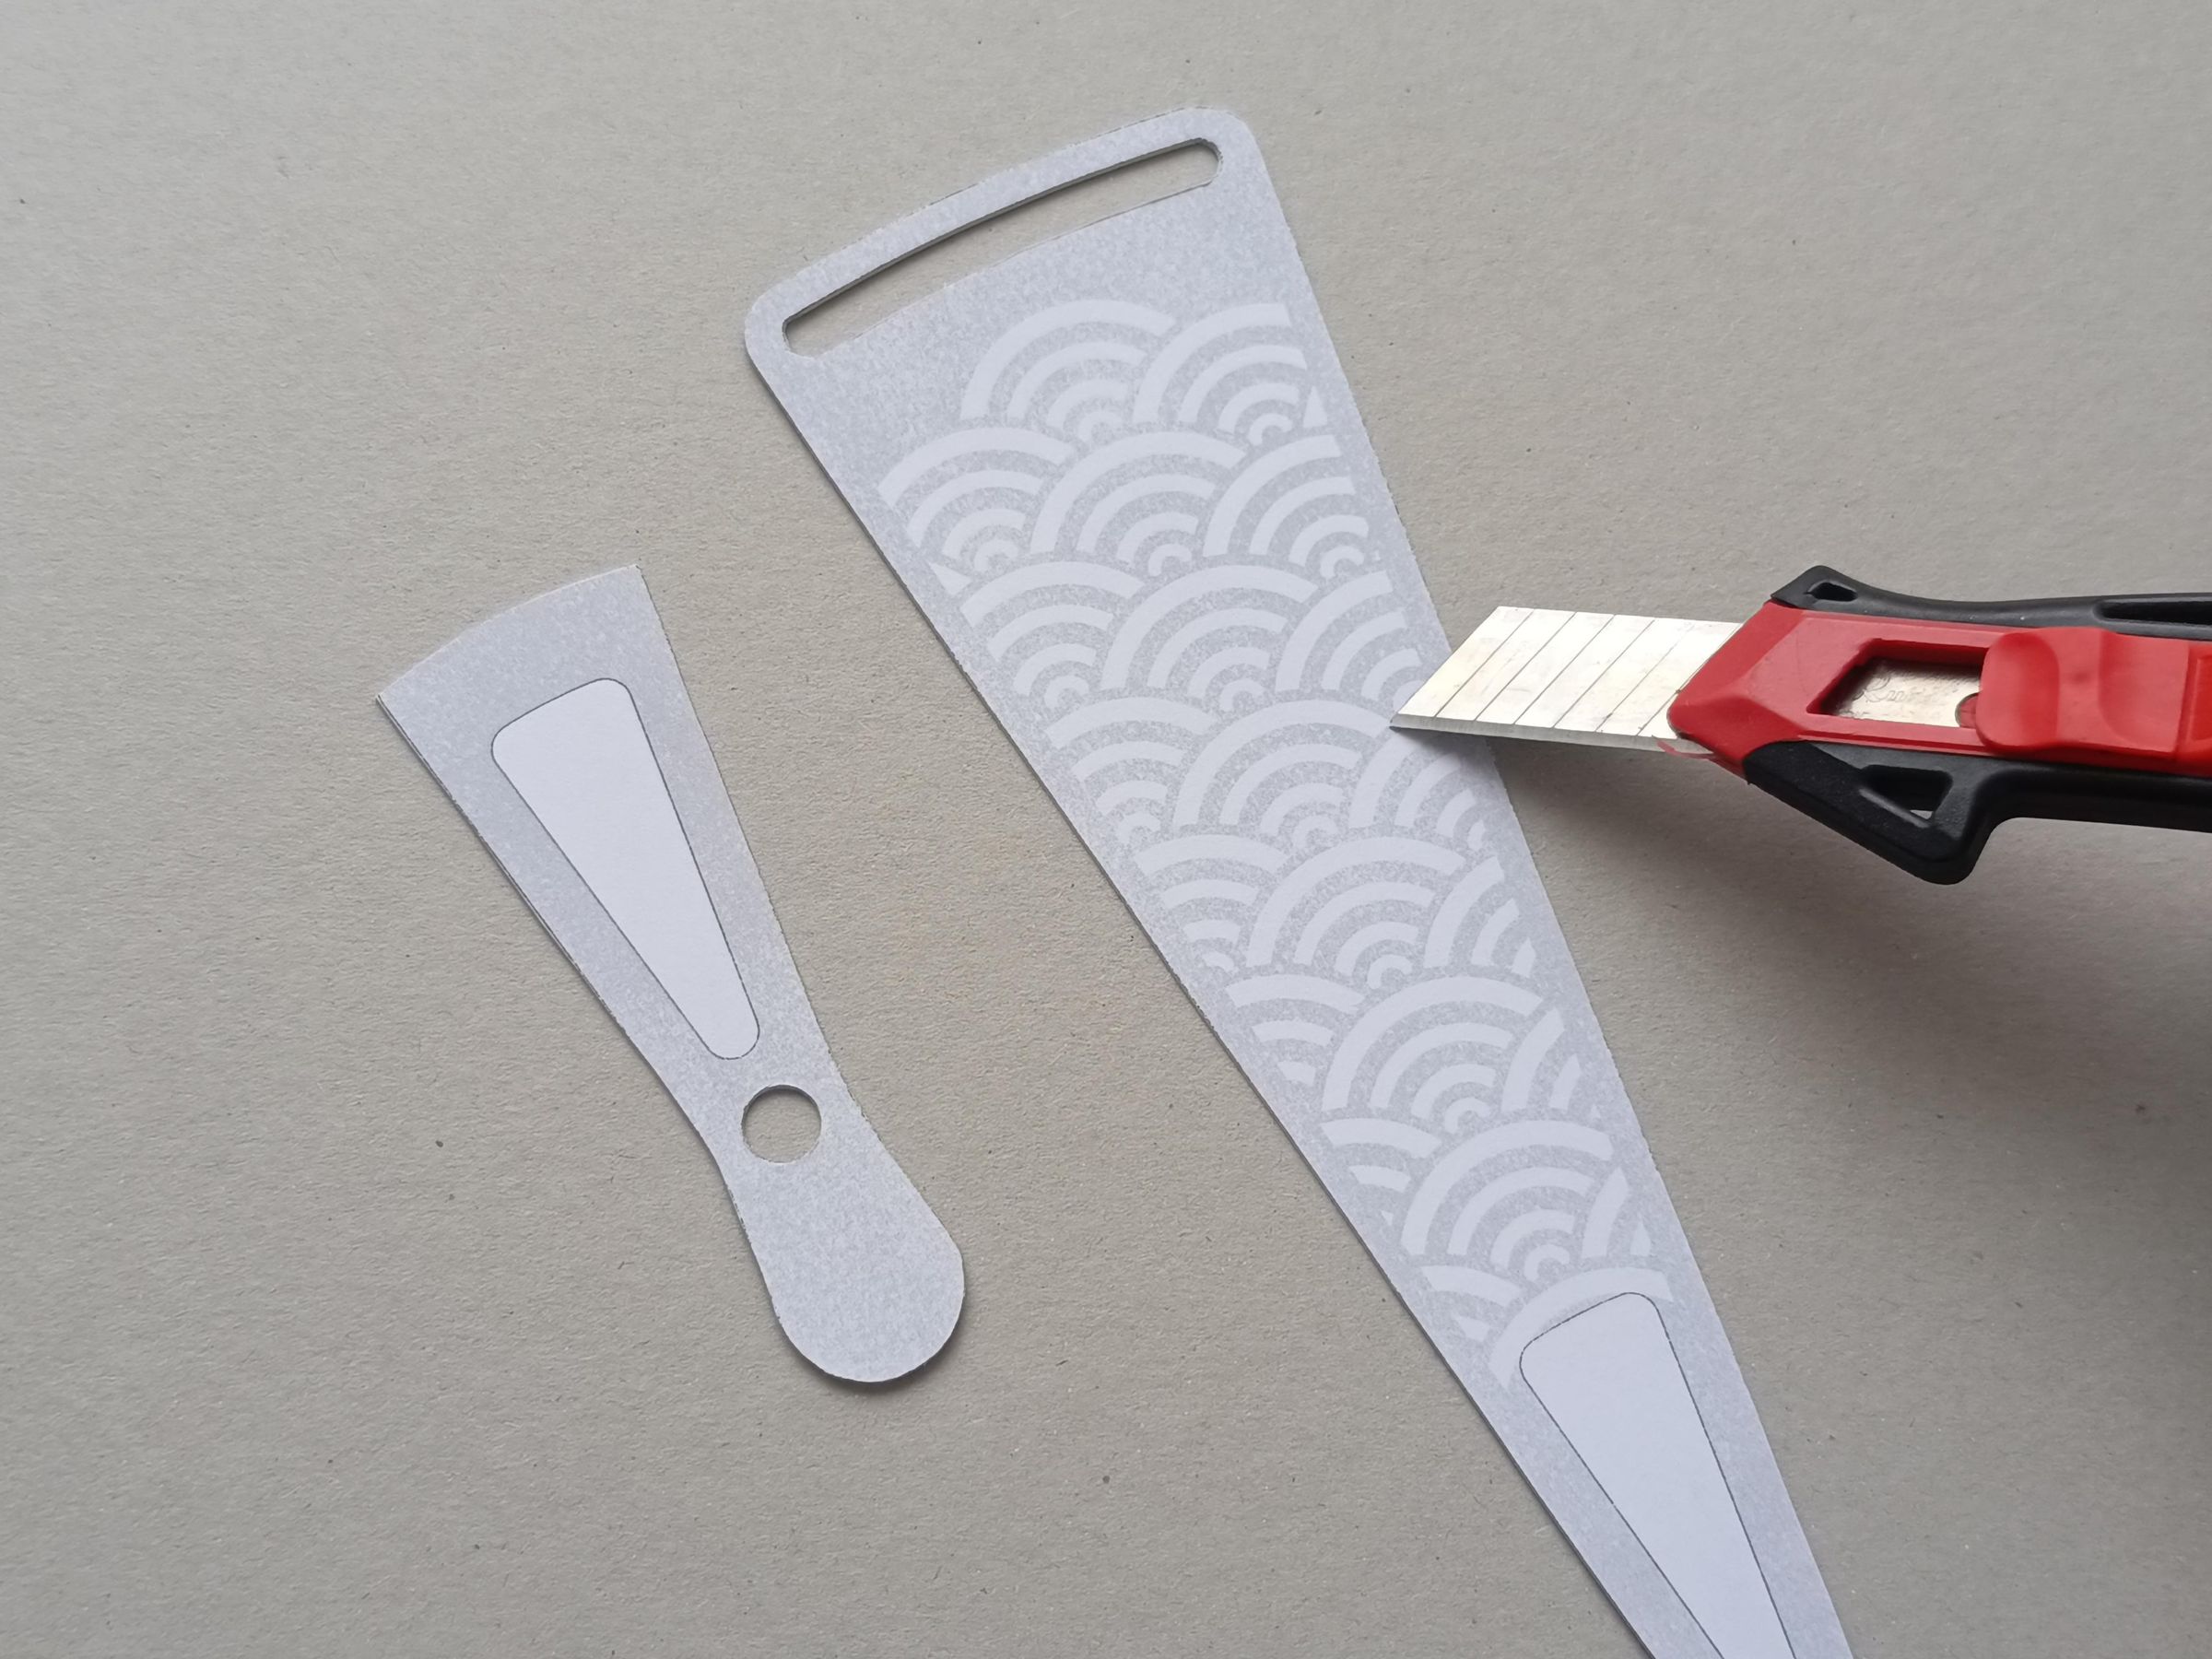
Cut out the rail areas of each blade and the circular pivot area.
Cut
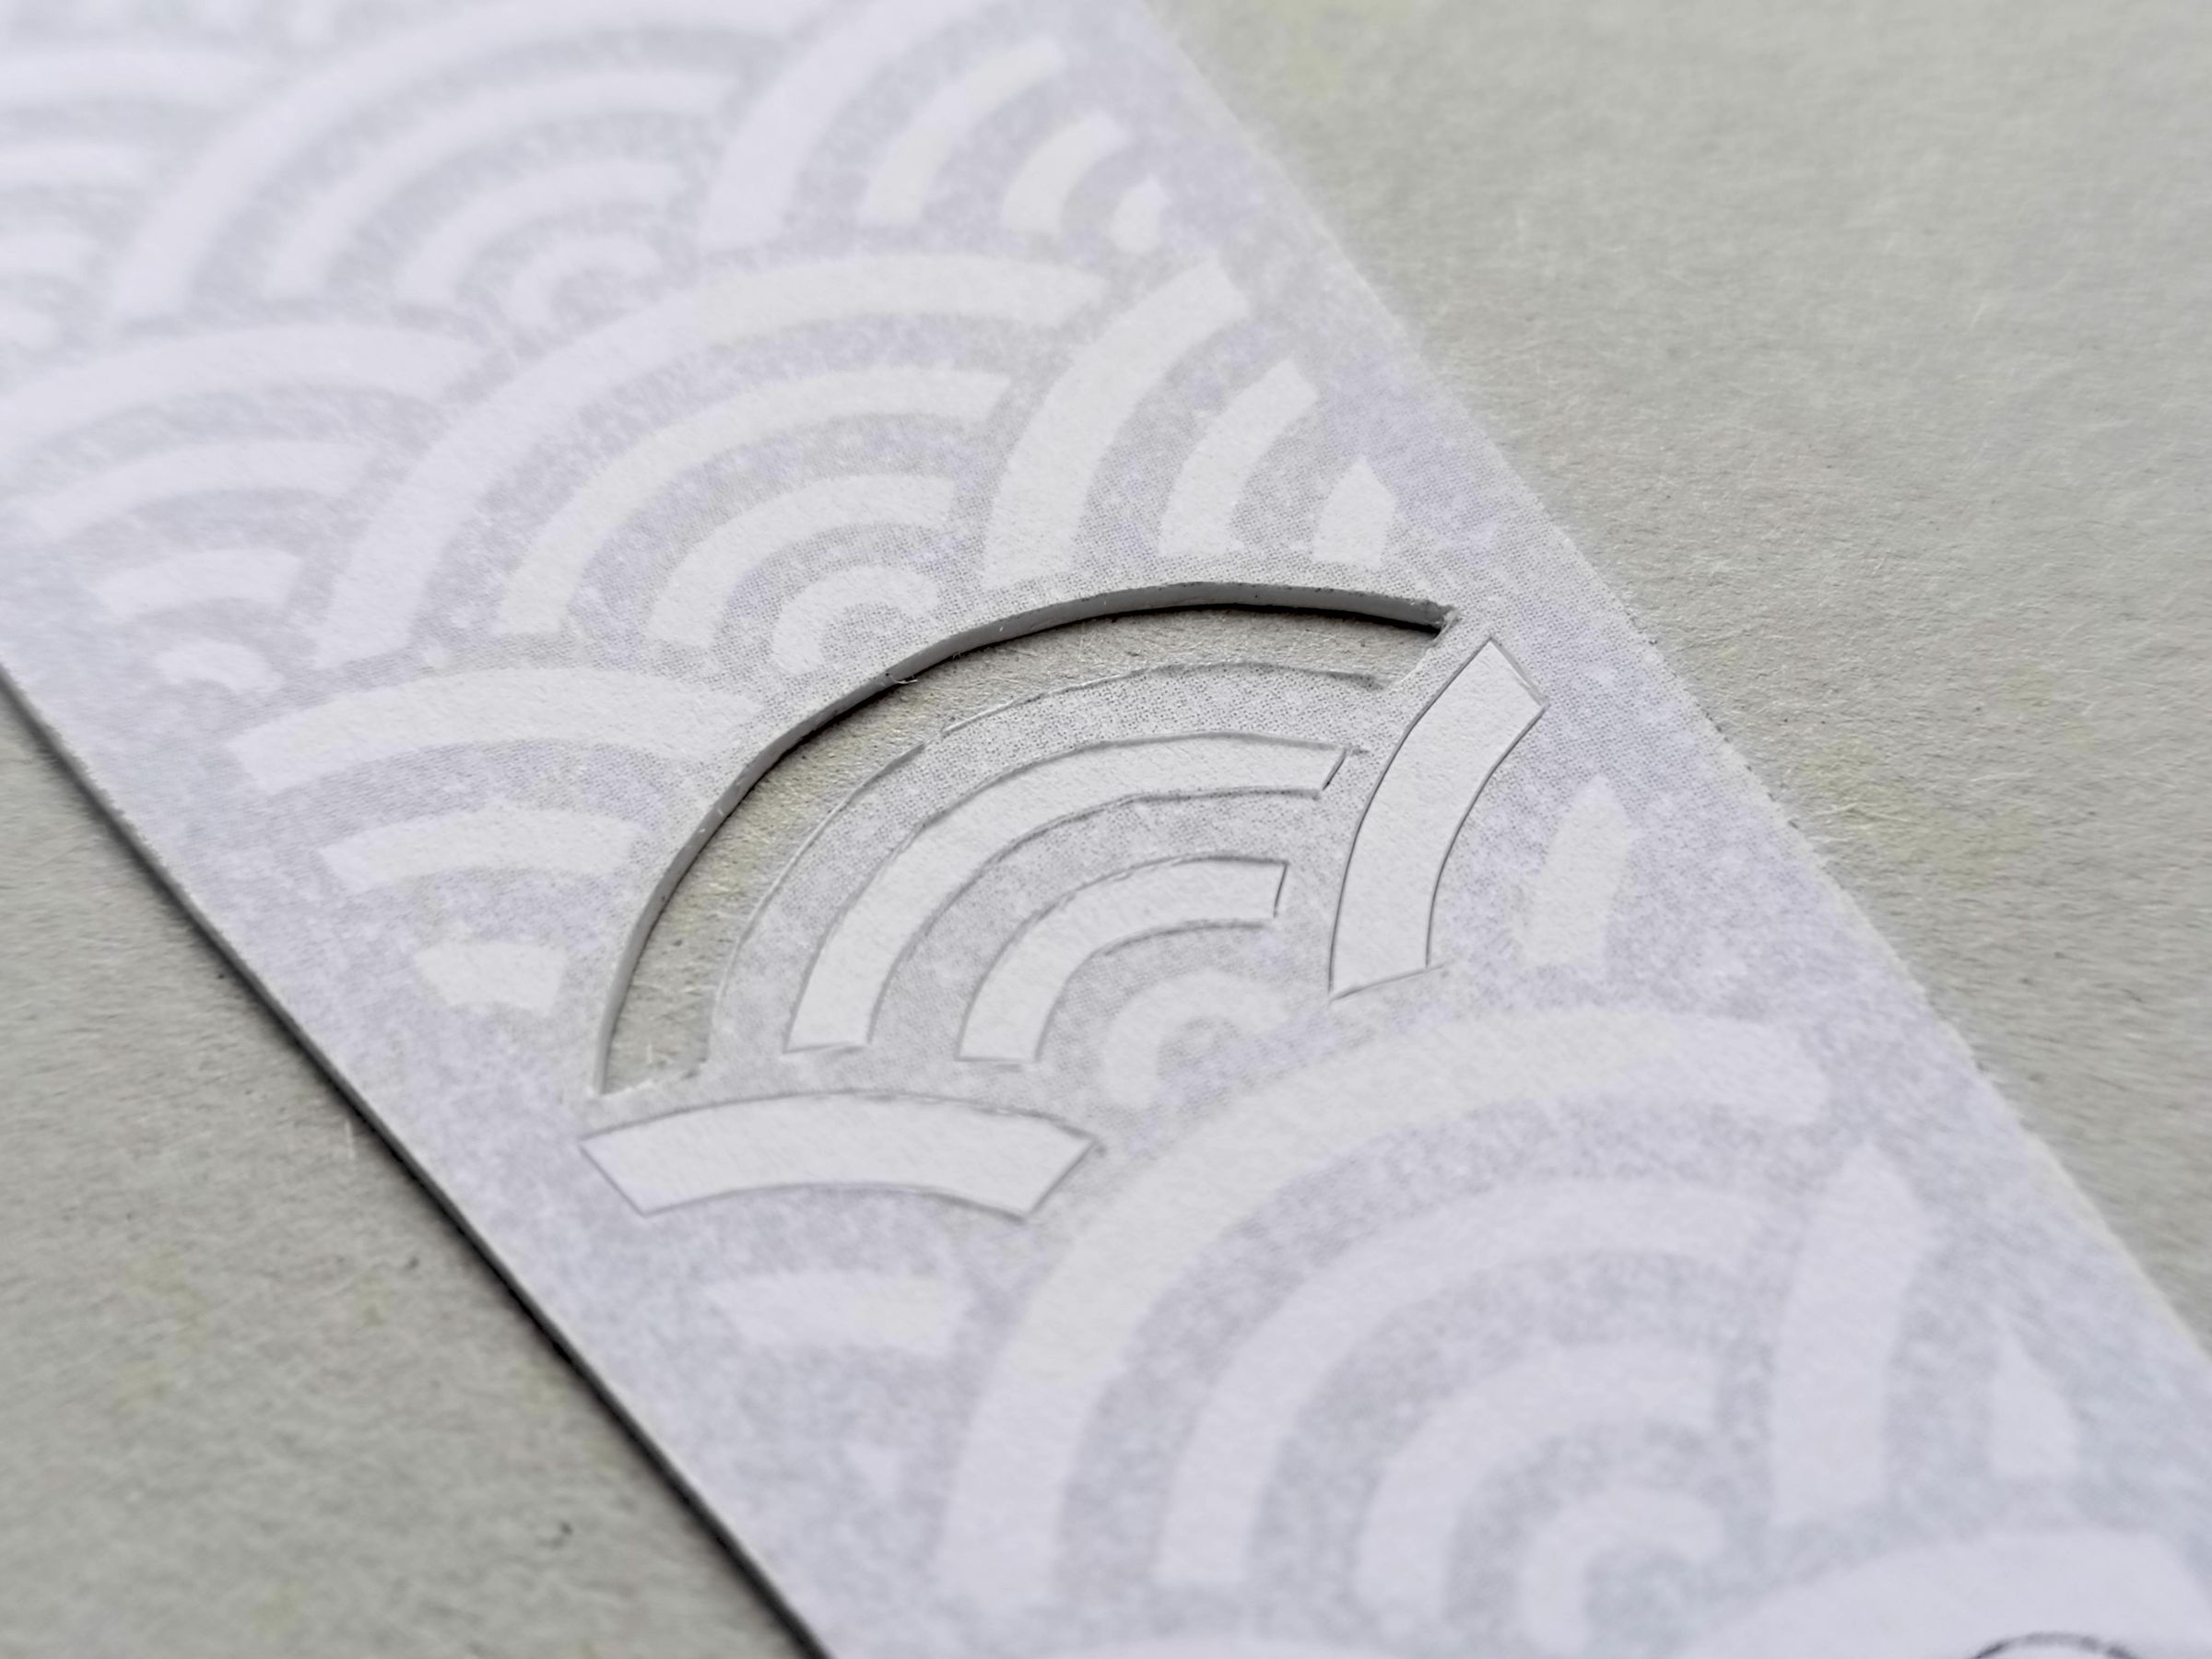
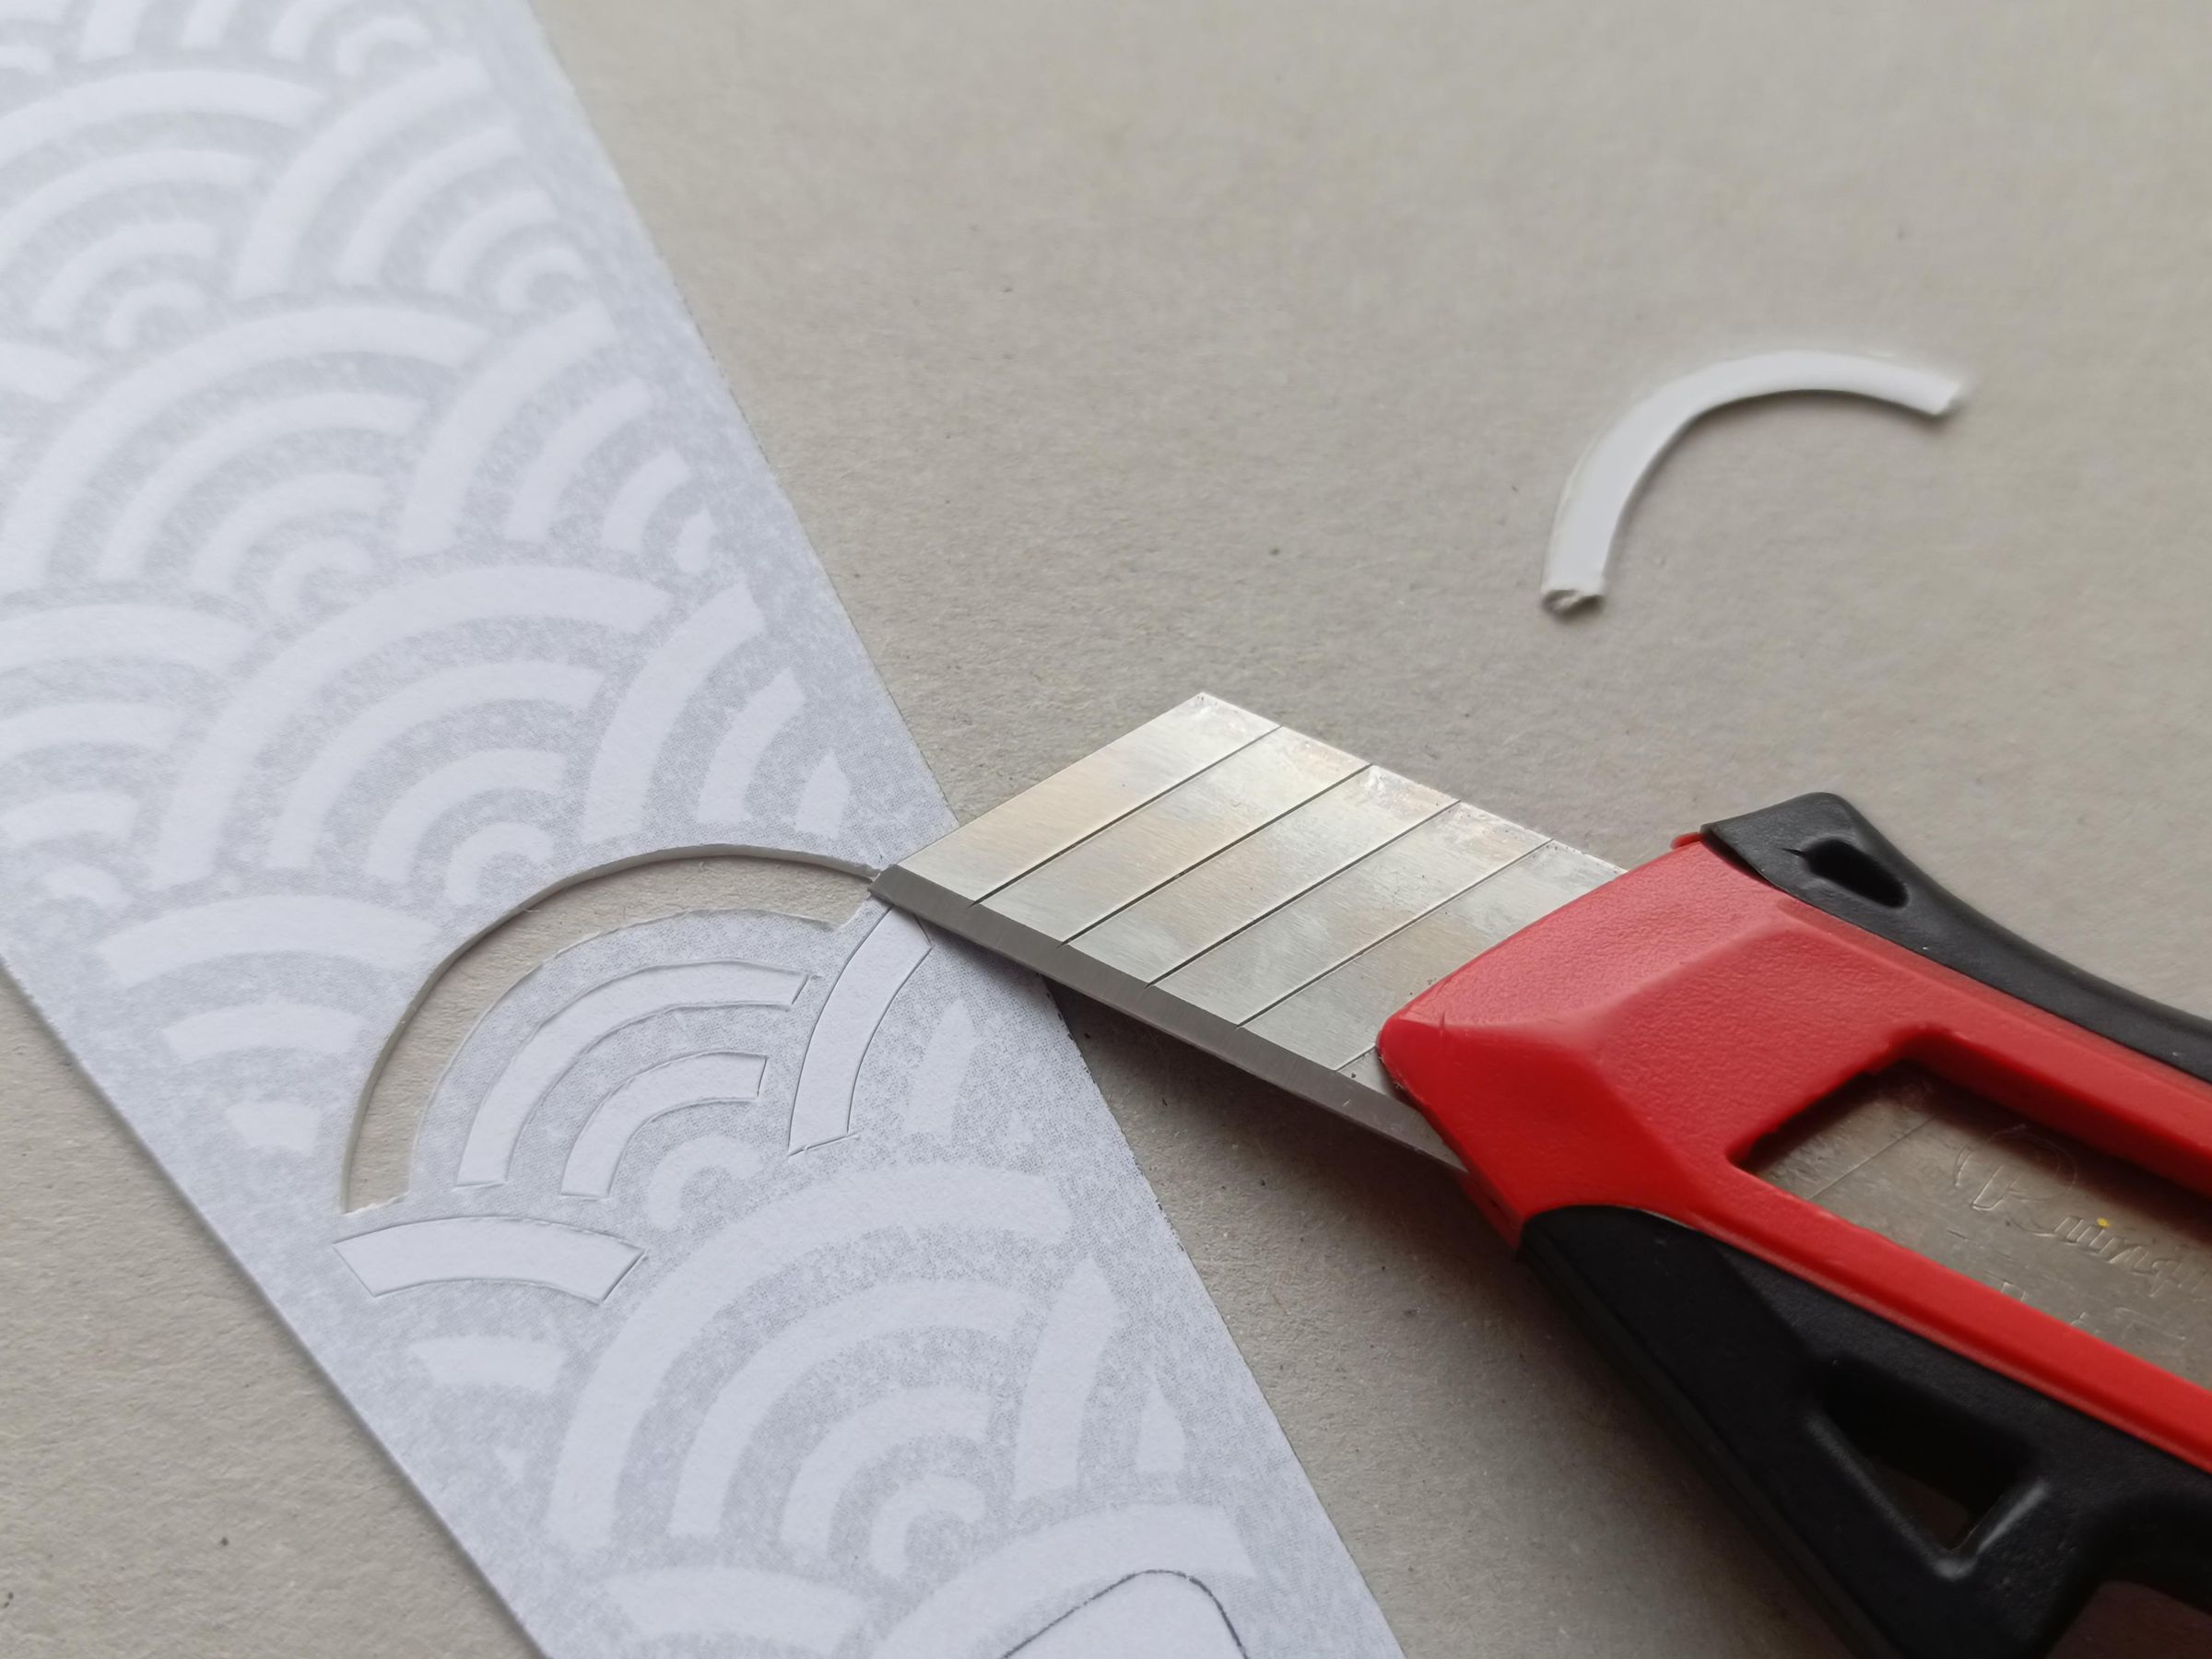
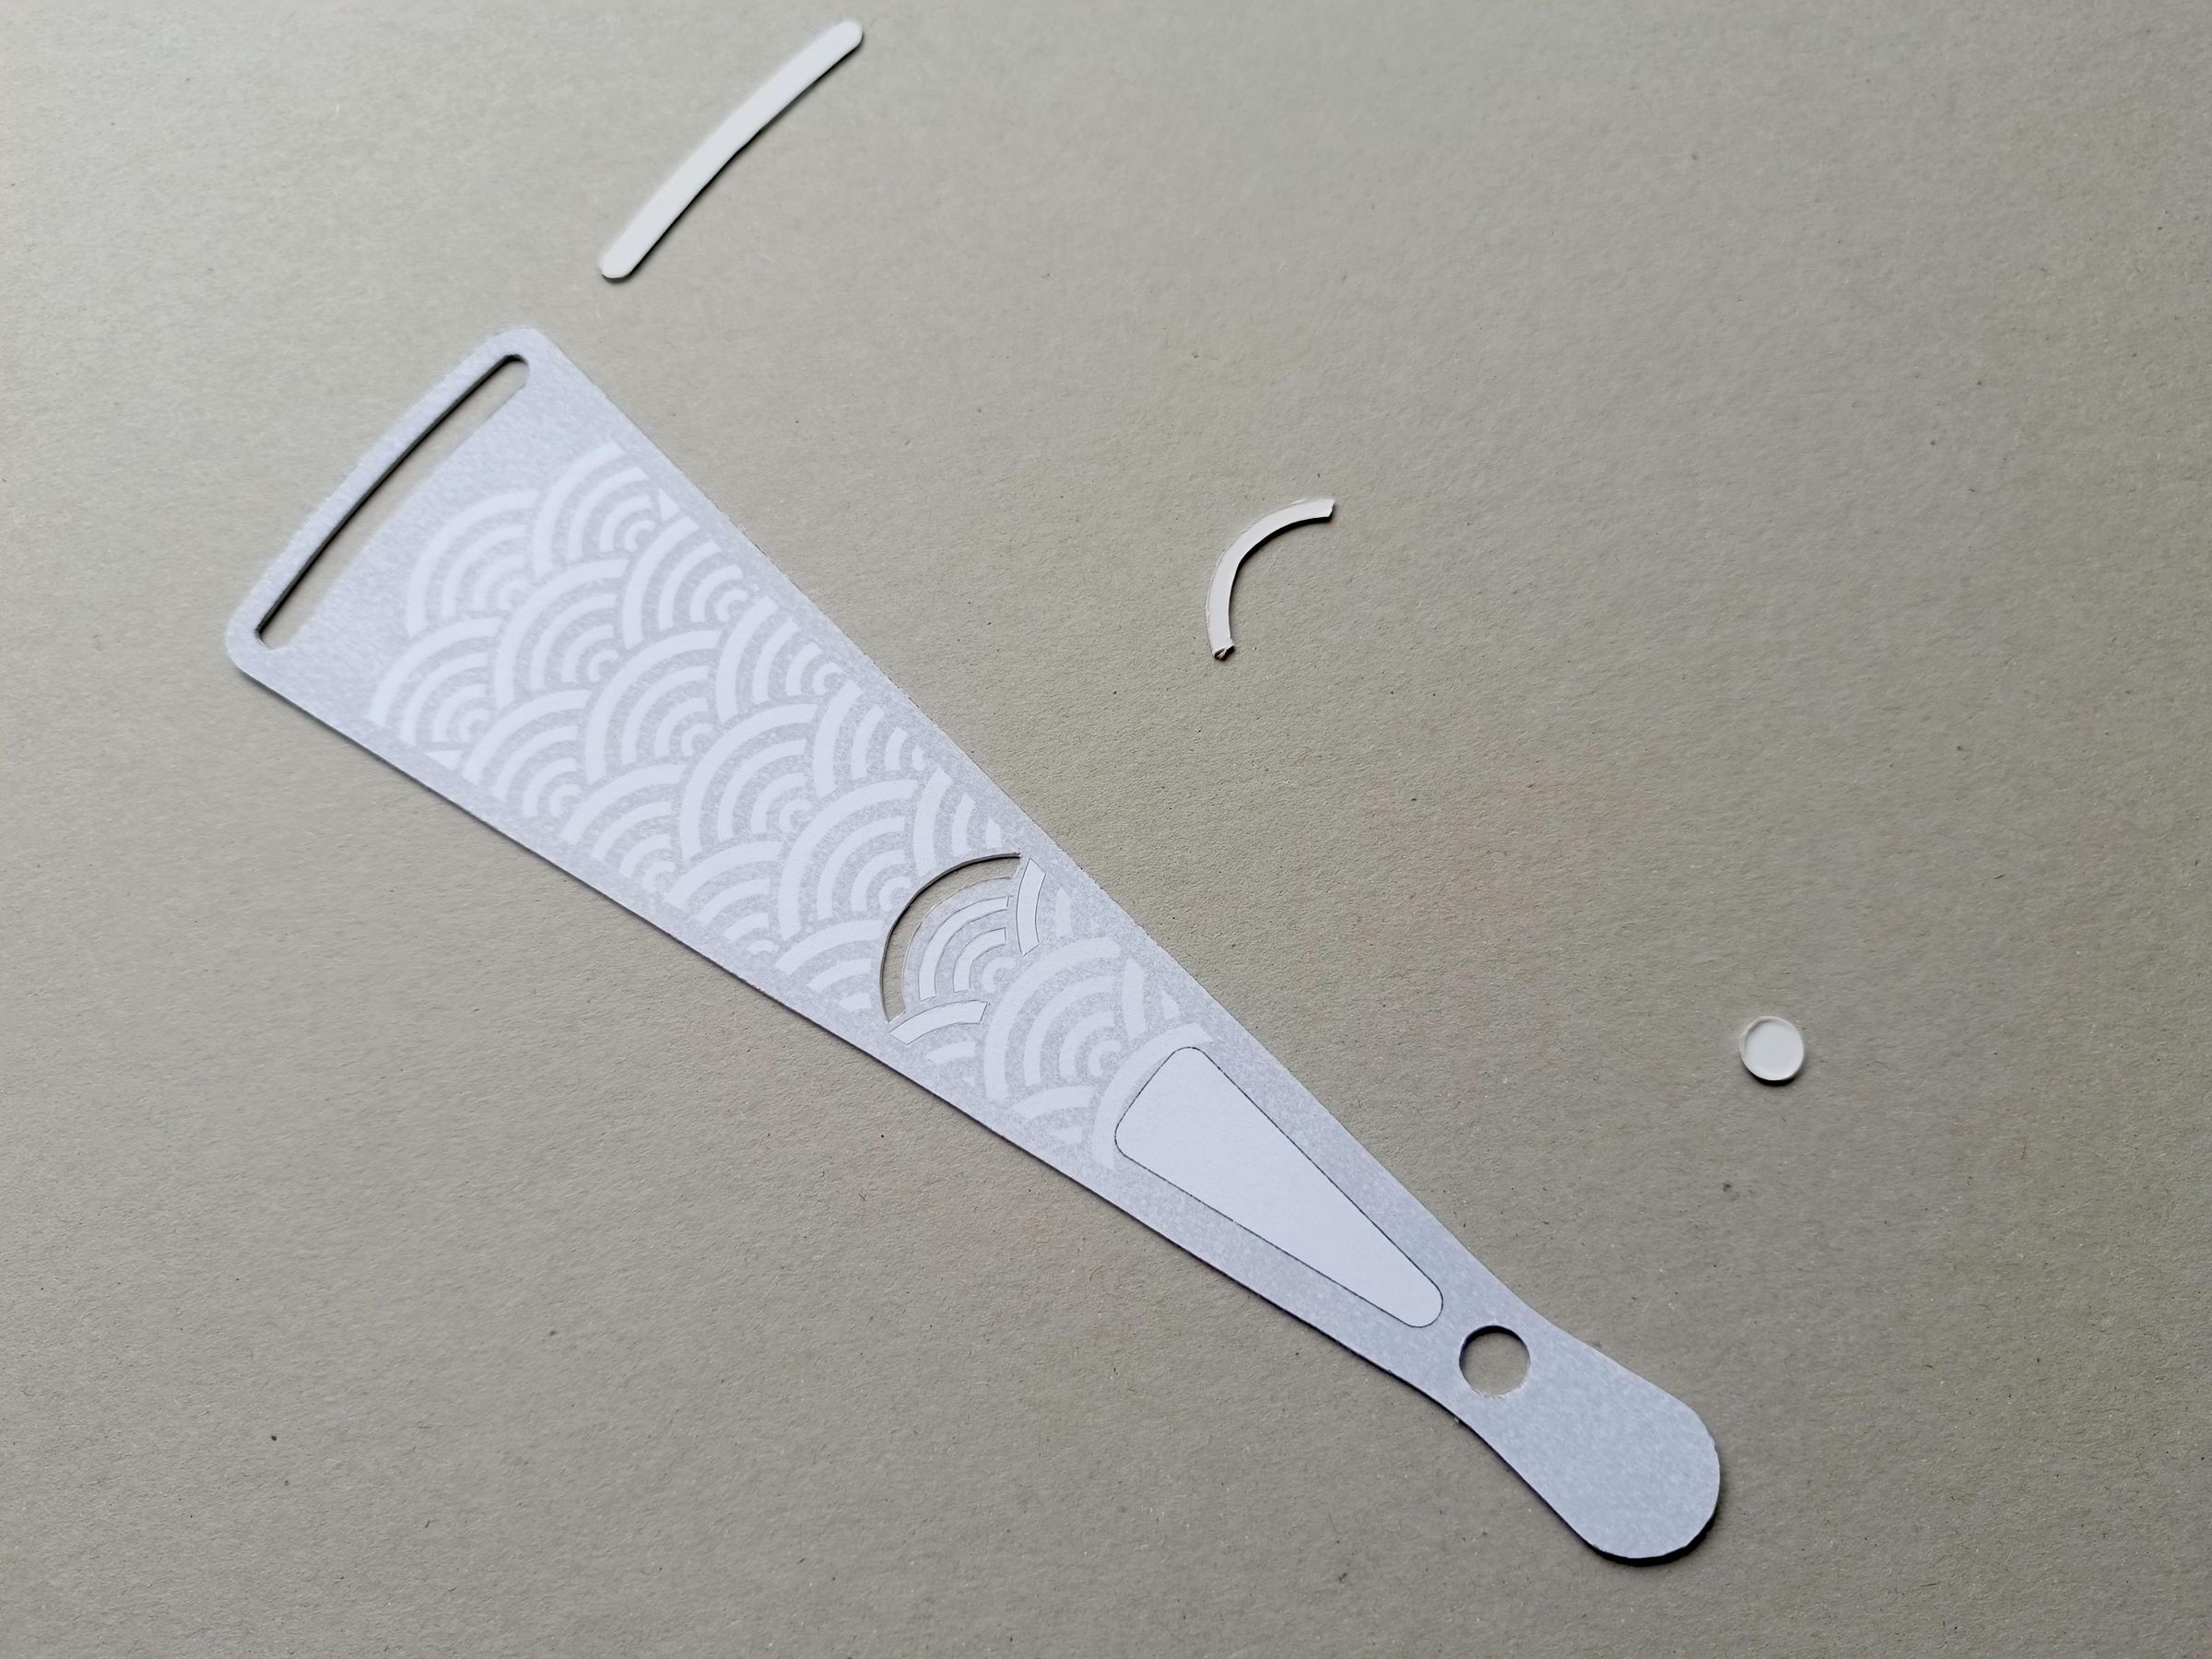
Cut the holes indicated on the templates, cut to the point you prefer. On the templates you can create combinations or simply use another type of pattern design for your Sensu Japanese fan.
Seigaiha Cuts
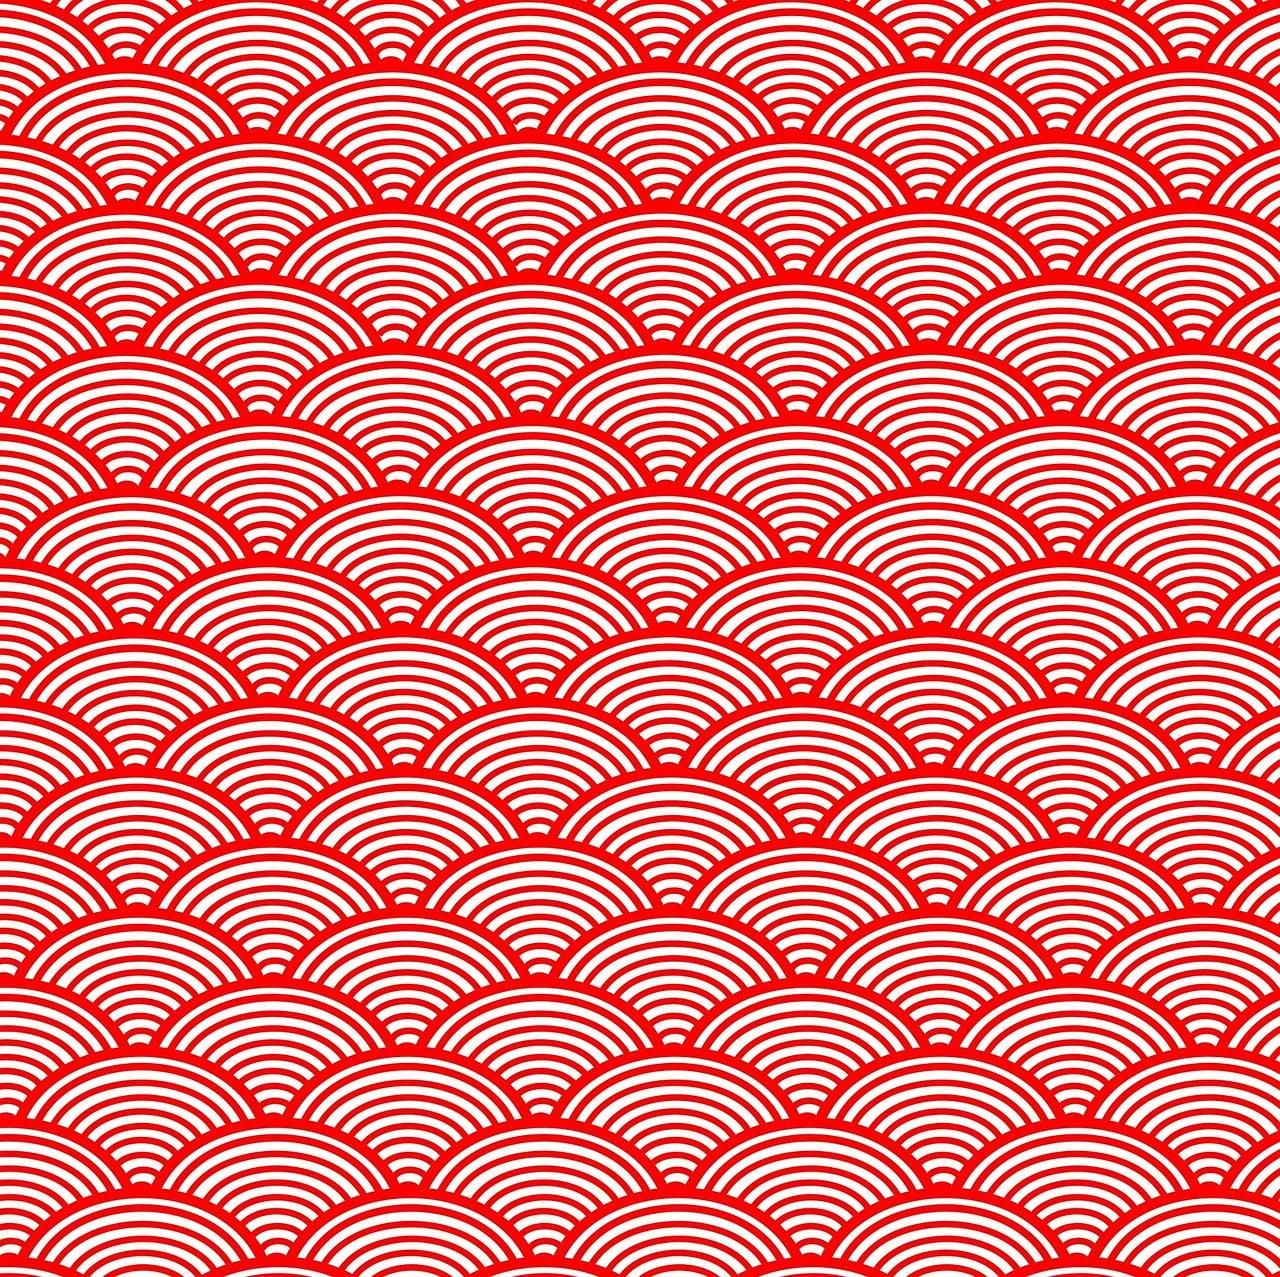
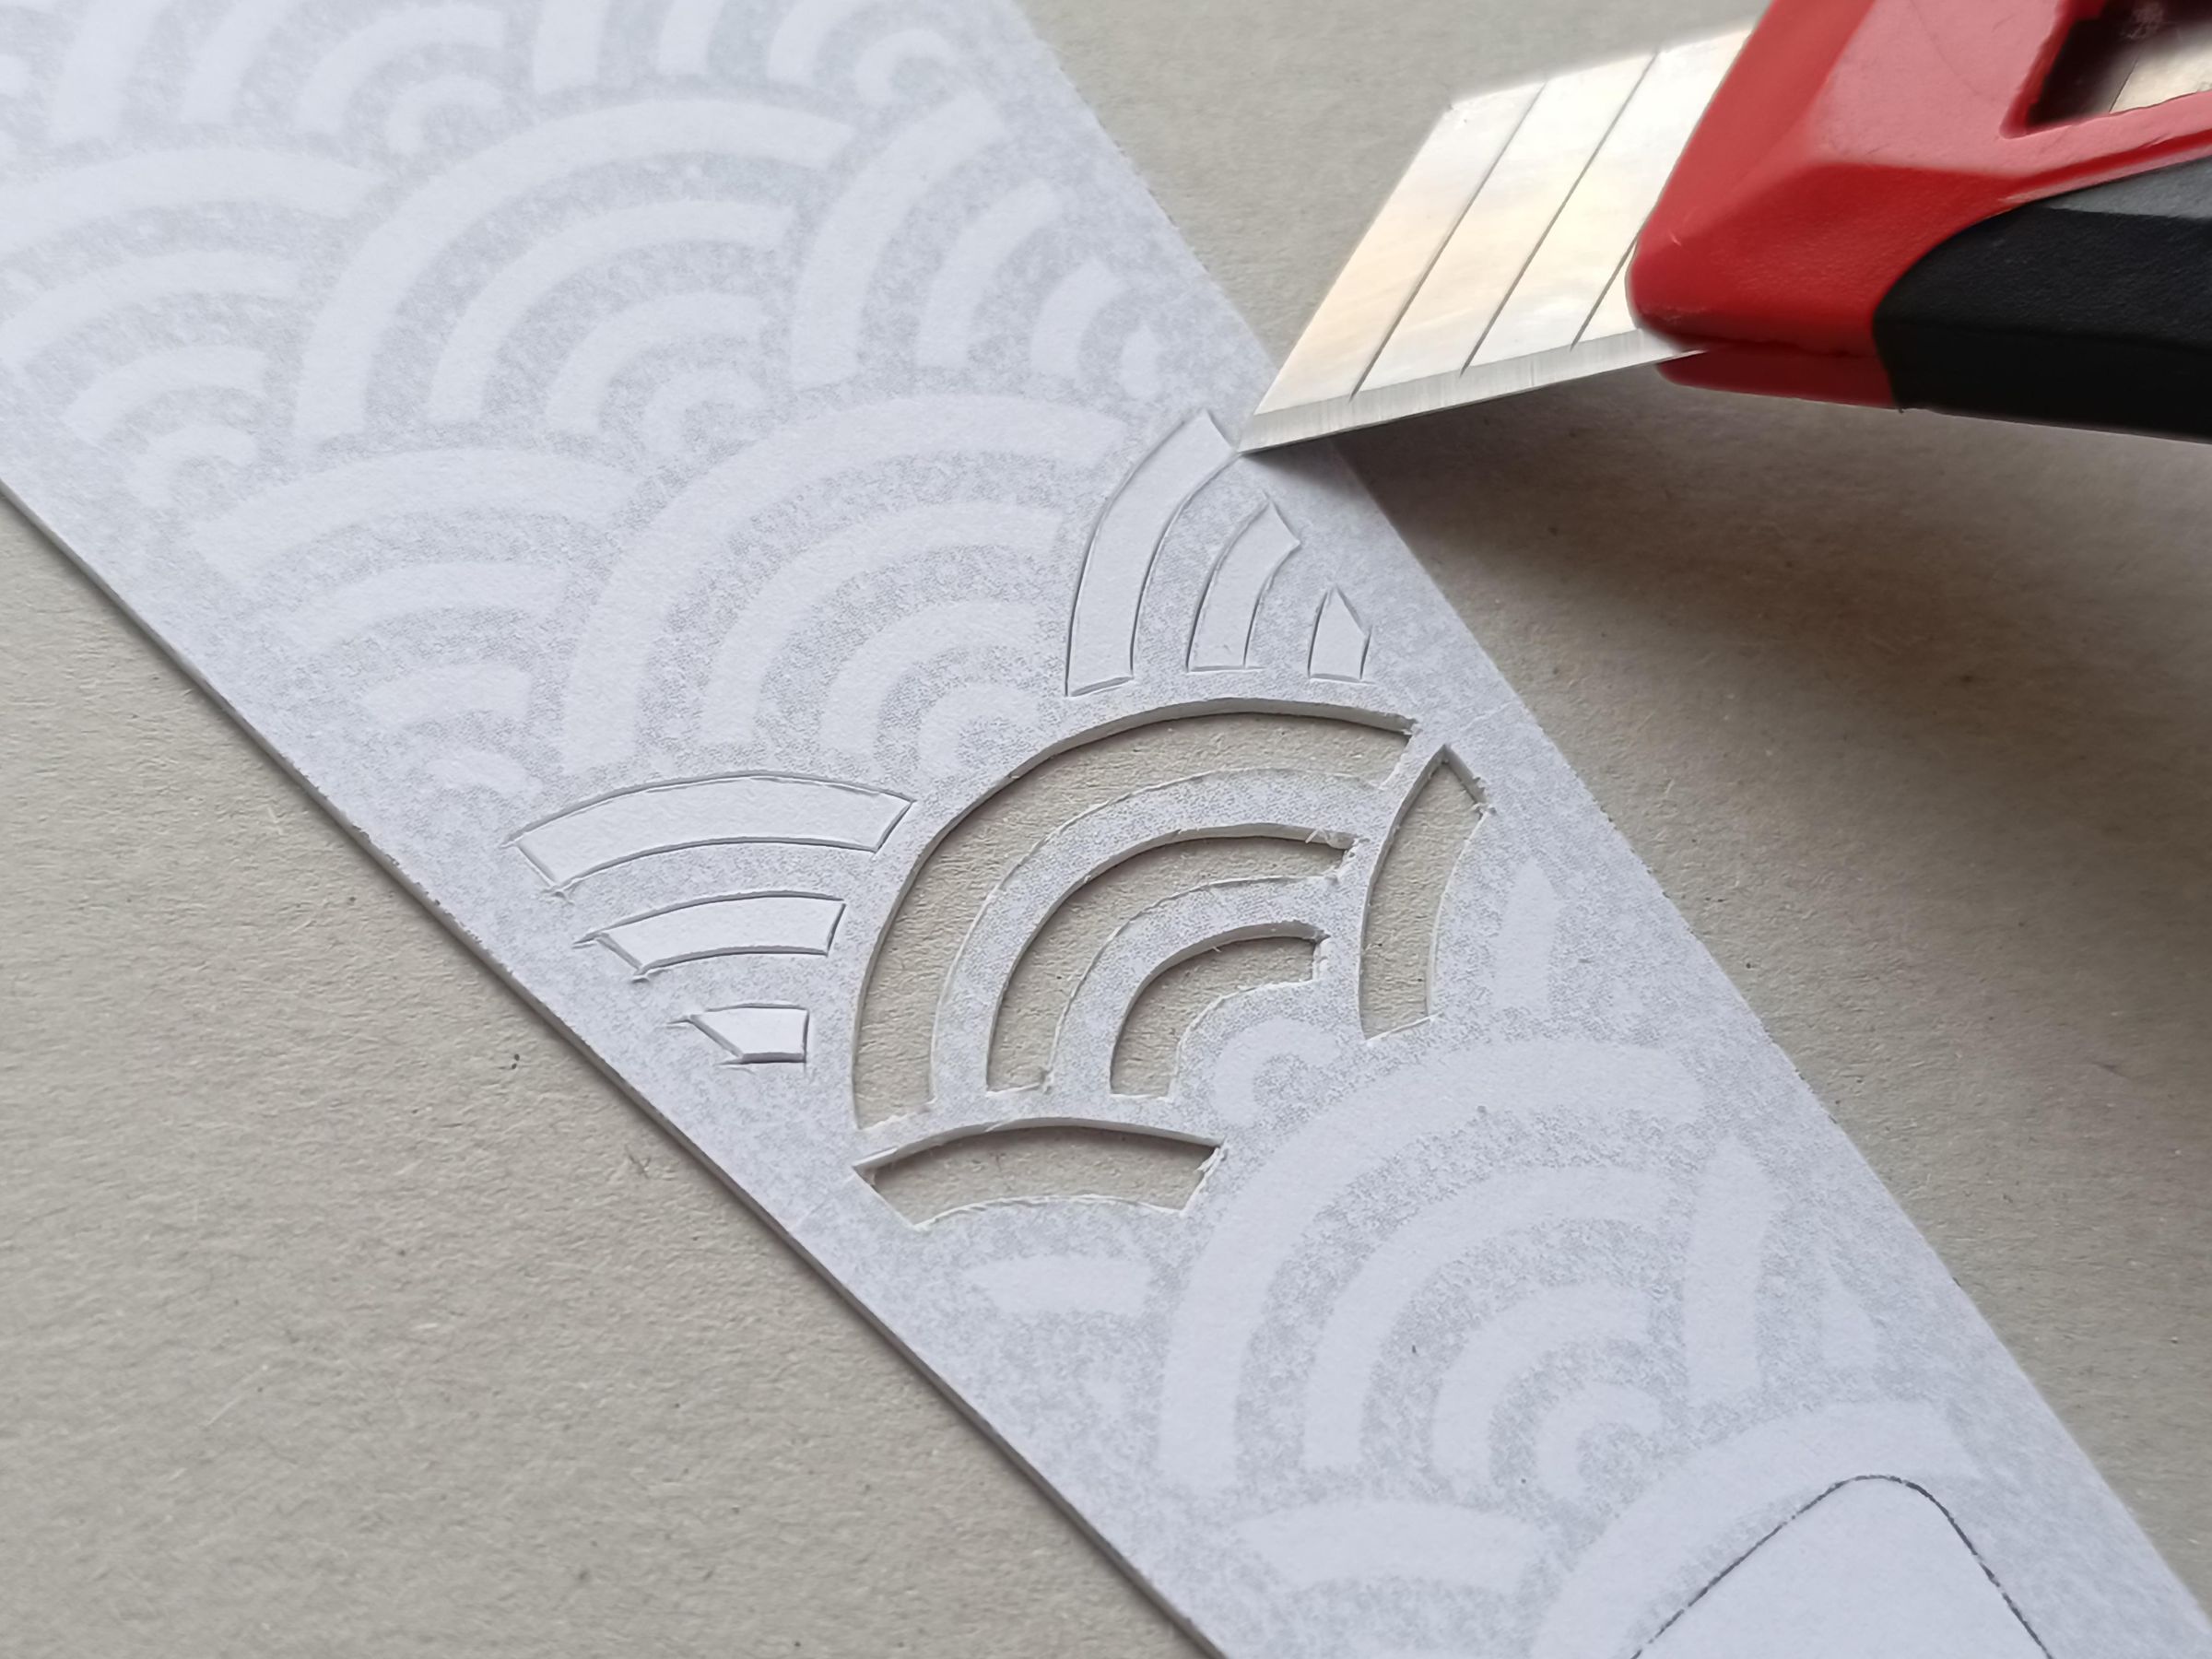
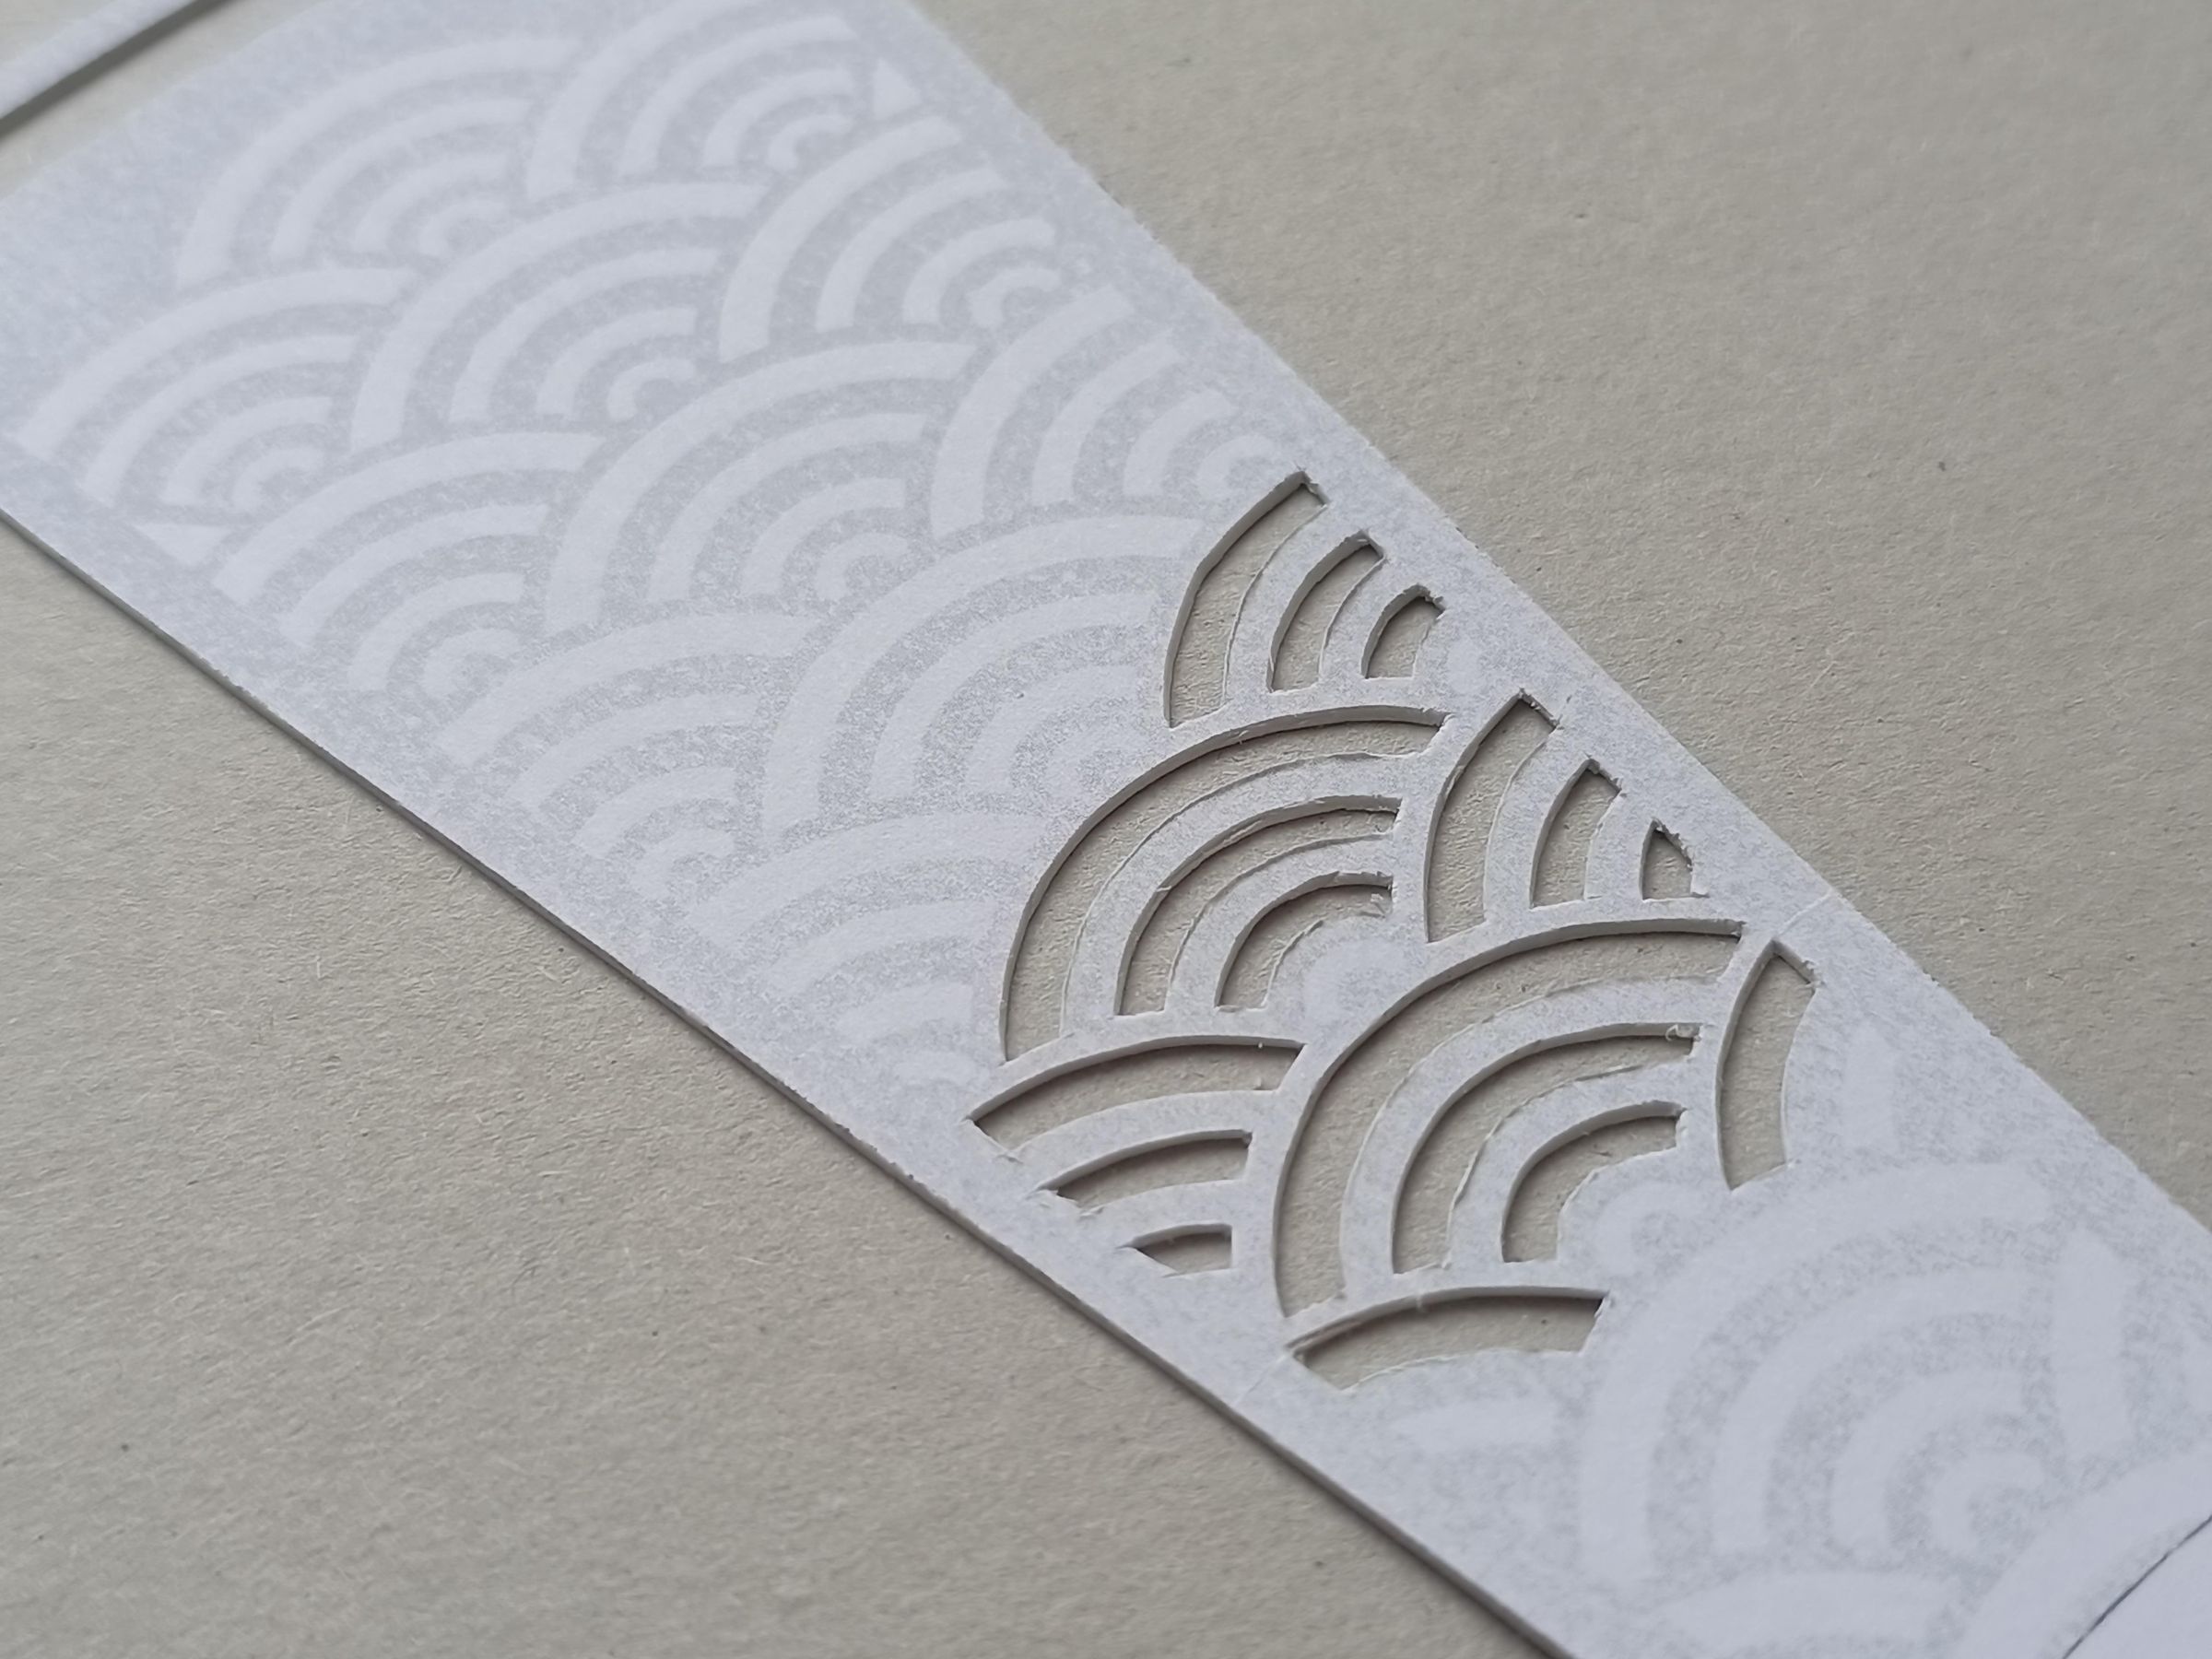
For this design I used the japanese Seigaiha pattern, but you can modify the templates and alter the design to your liking and style; use any digital design software for this.
The Seigaiha (青海波) is a traditional Japanese pattern that represents ocean waves through overlapping rows of concentric, fan-shaped arcs. It symbolizes good fortune, resilience, peace, and eternally flowing, tranquil waves.
Meaning and Symbolism:
Peace and Calm: The endless, rhythmic repetition of smooth arcs represents peaceful waves rolling steadily, signifying a wish for continuous, calm, and tranquil living.
Good Fortune: It is viewed as an auspicious (lucky) pattern that brings good luck, resilience, and enduring prosperity.
I think that at any point in life these are very important.
Faces
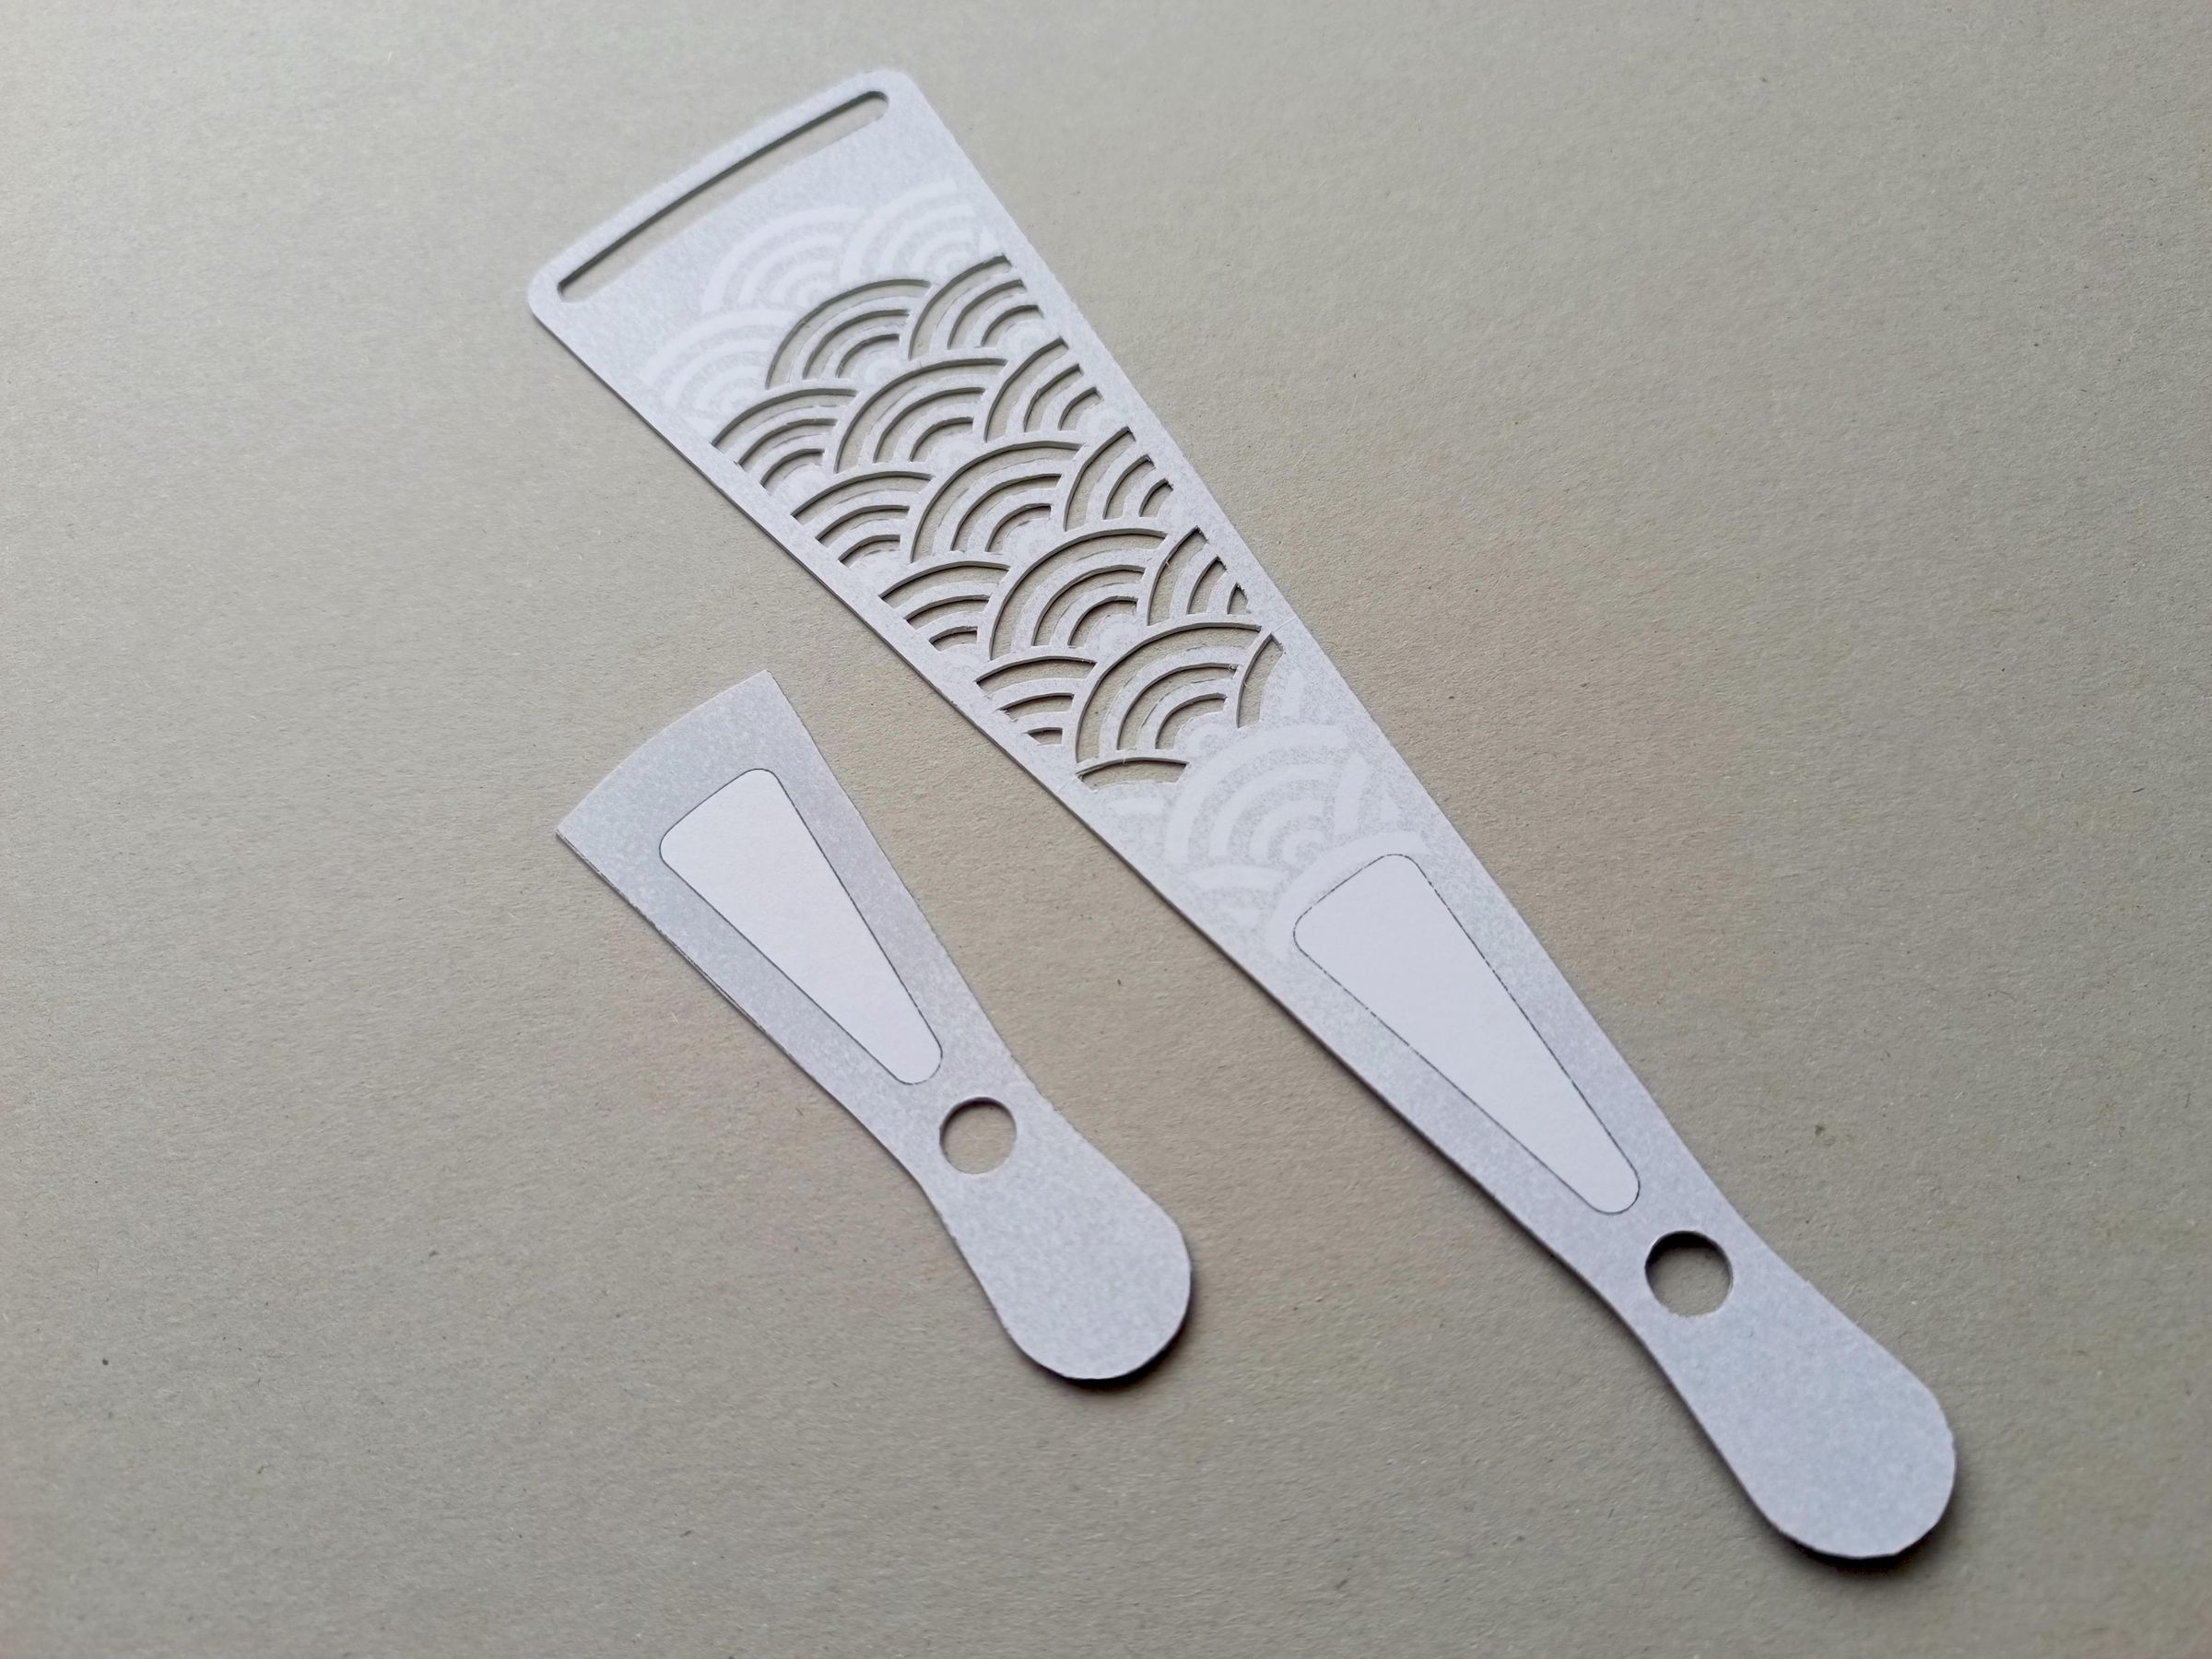
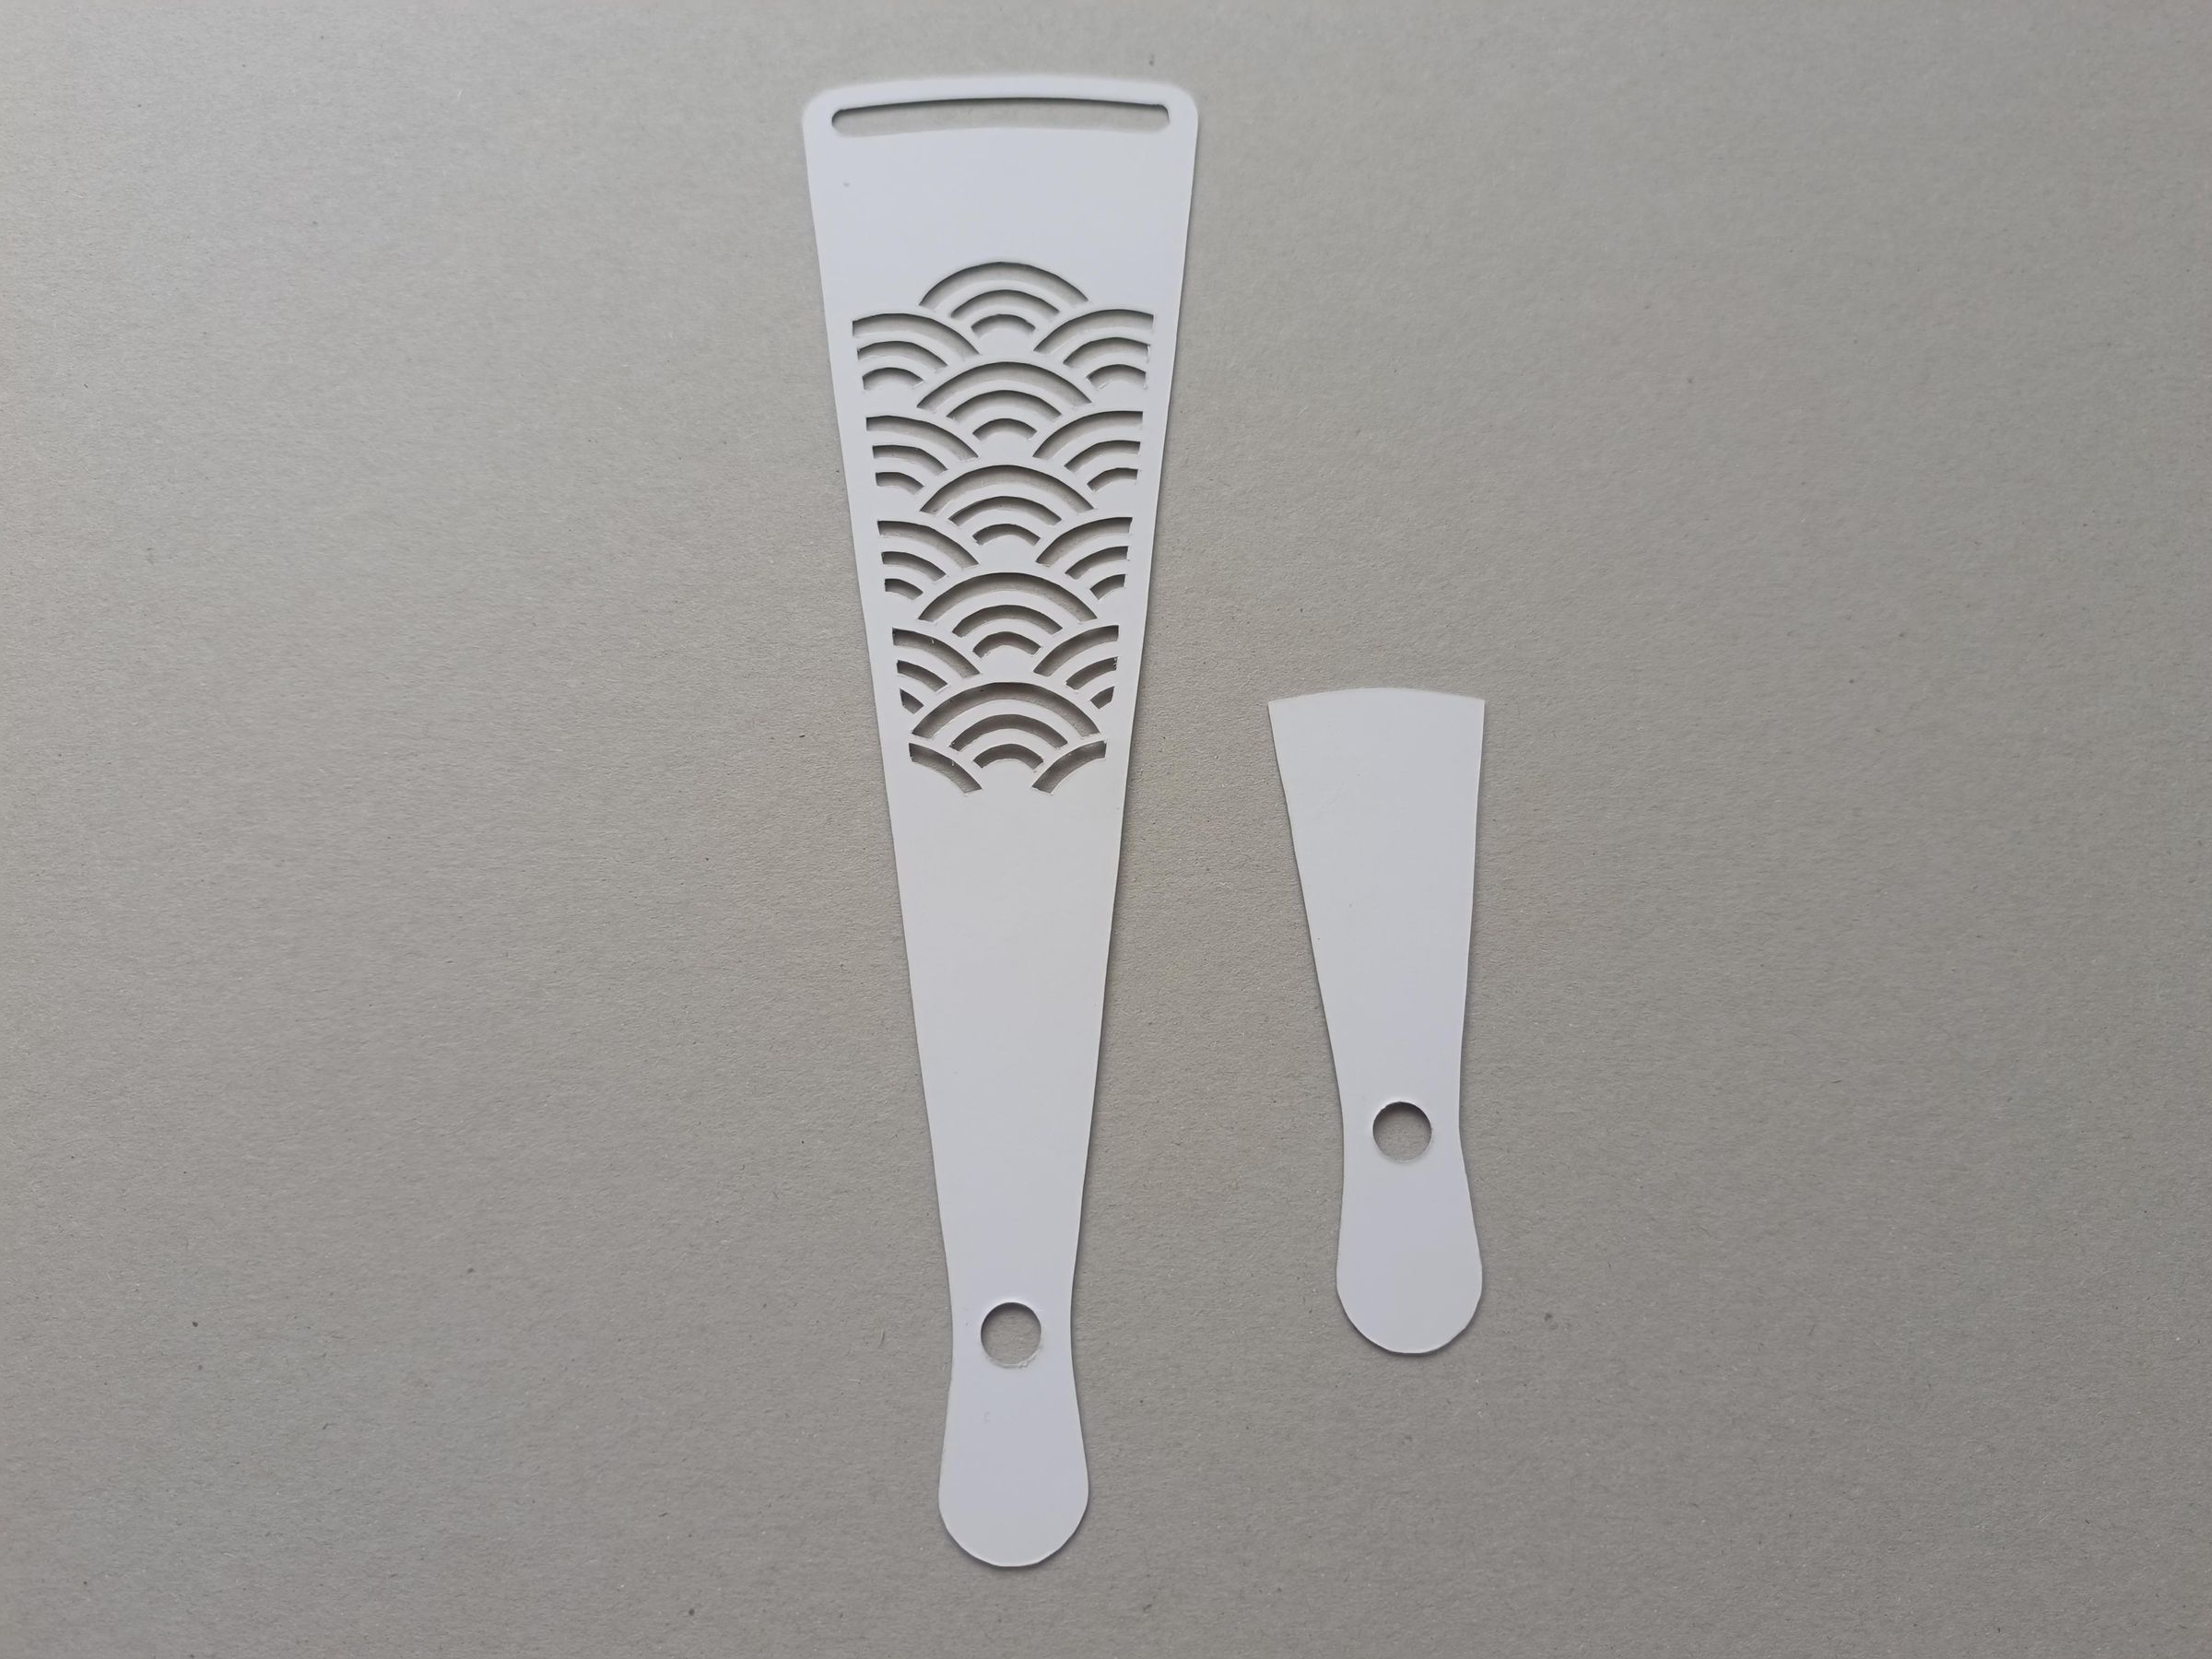
You will obtain the pieces for one side of the blades; each blade has two sides: a front, a back, and a middle part.
Cut Middle Part
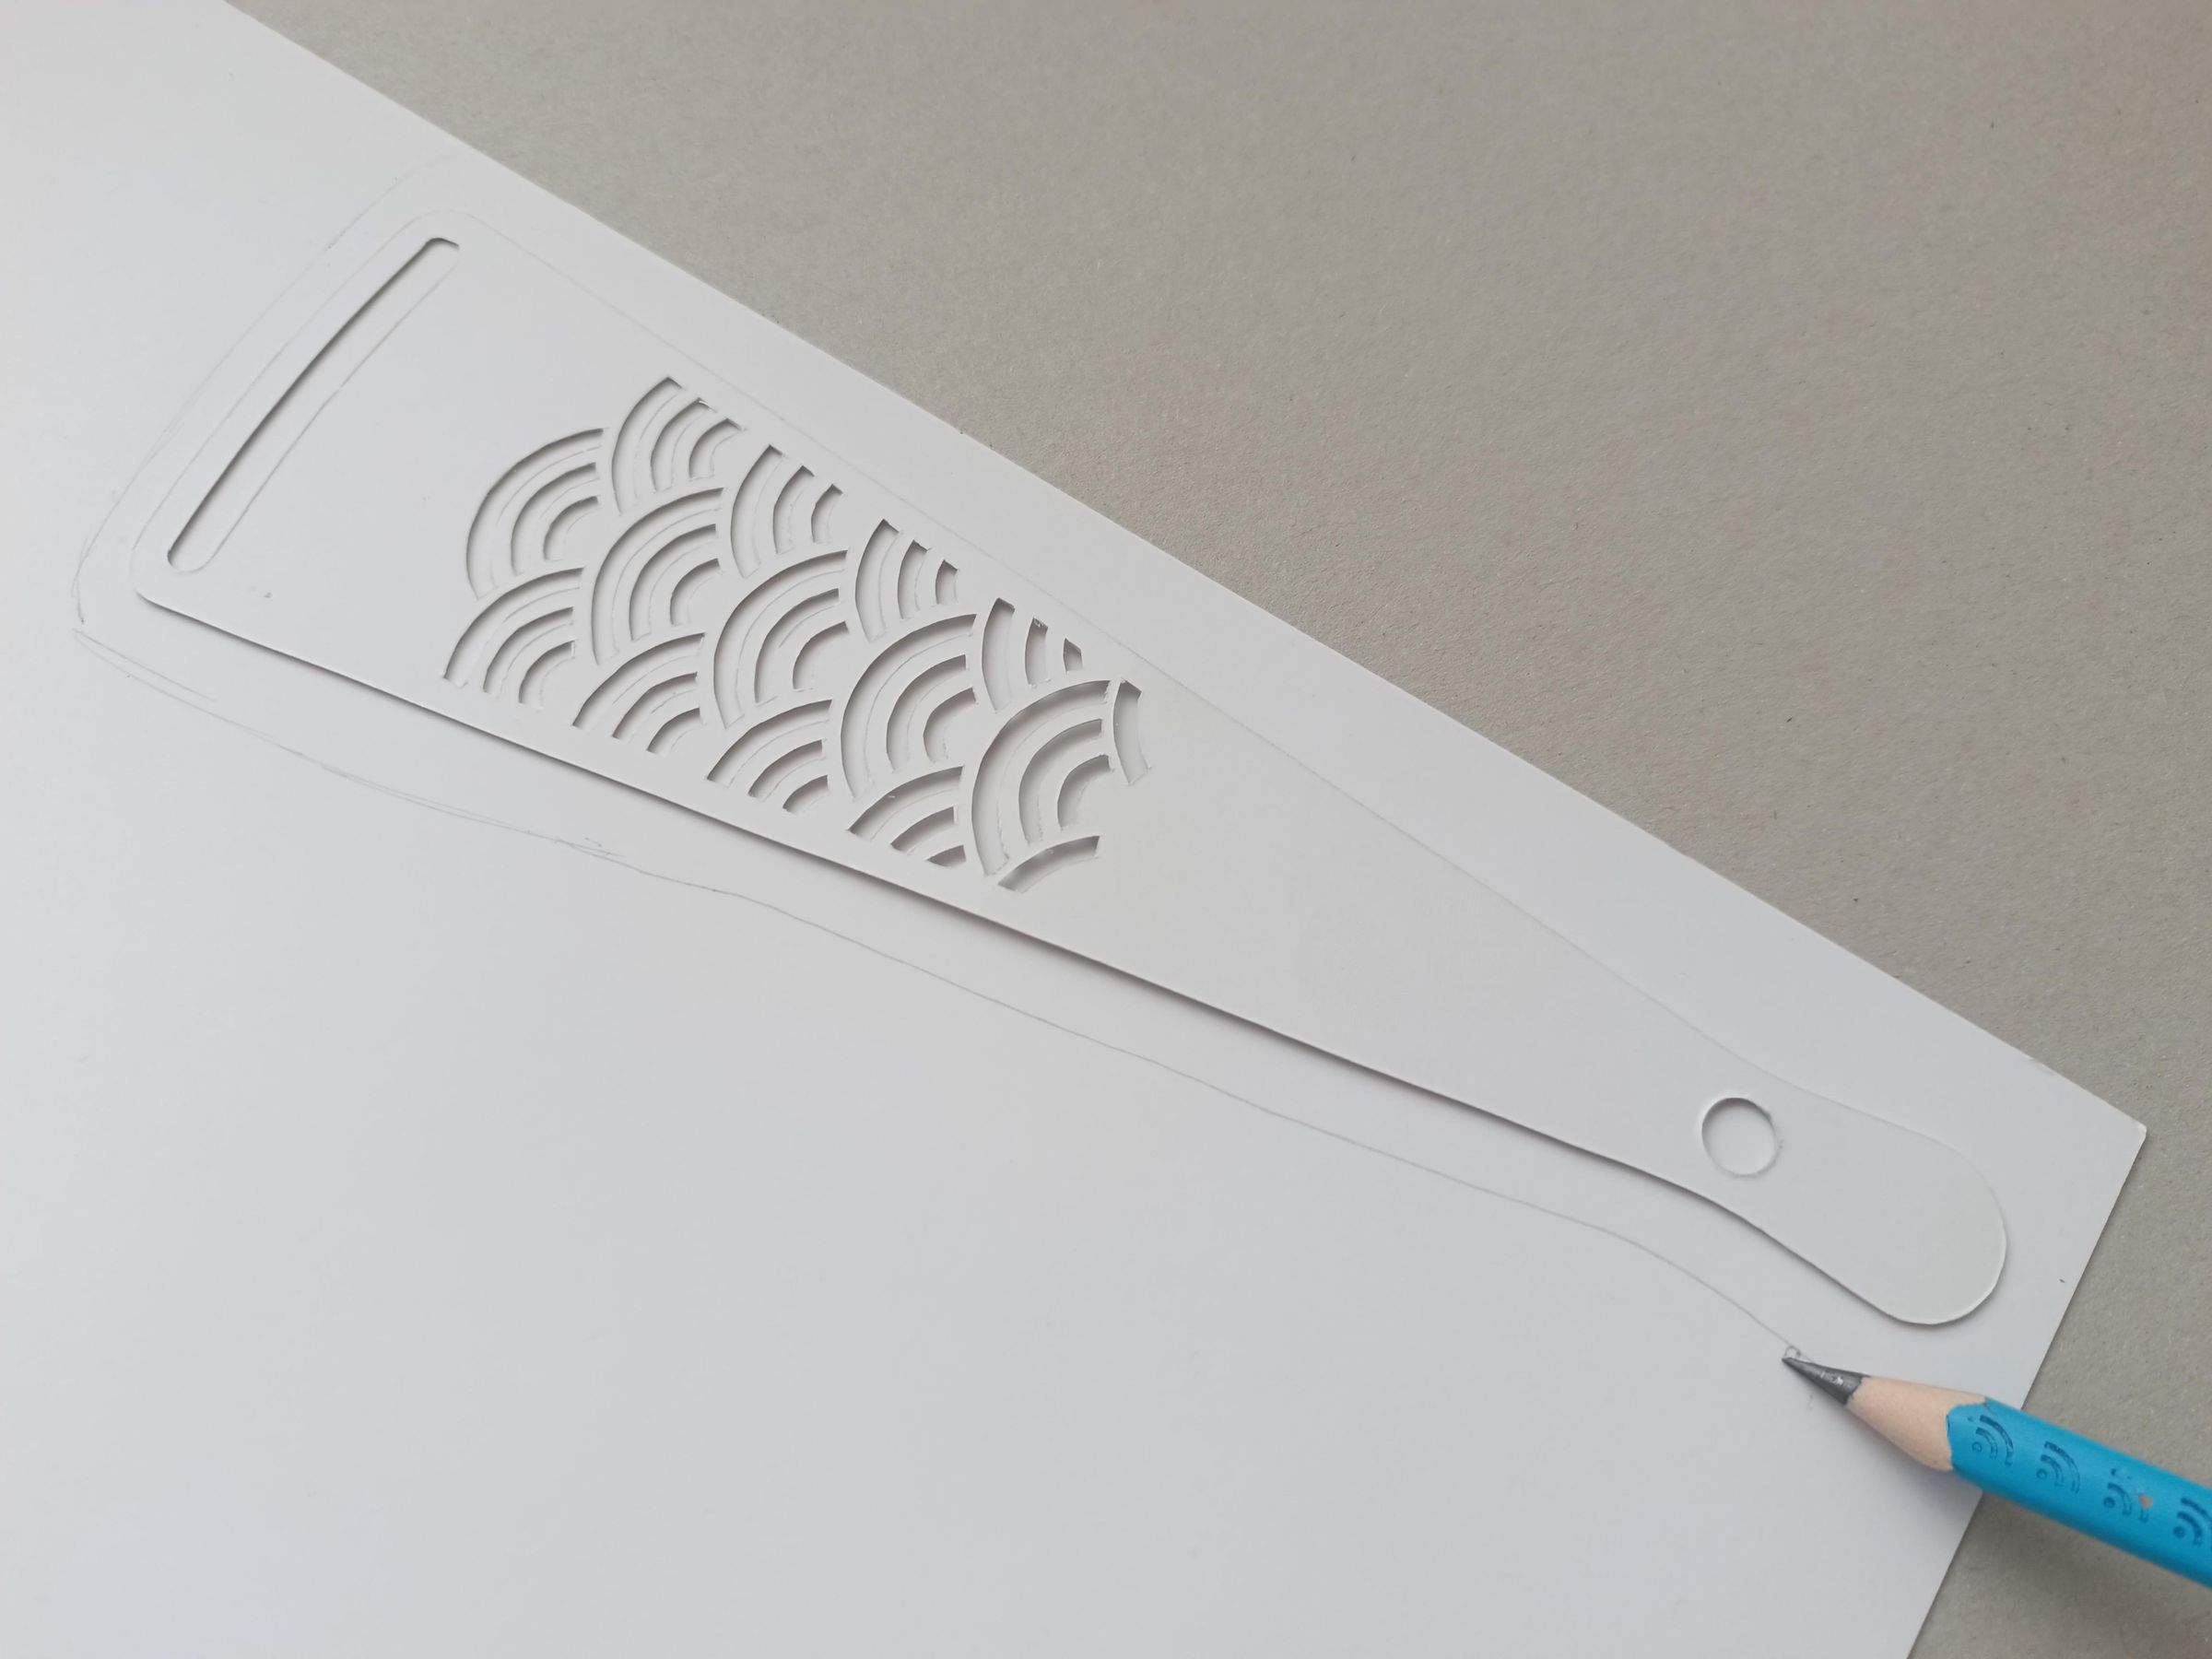
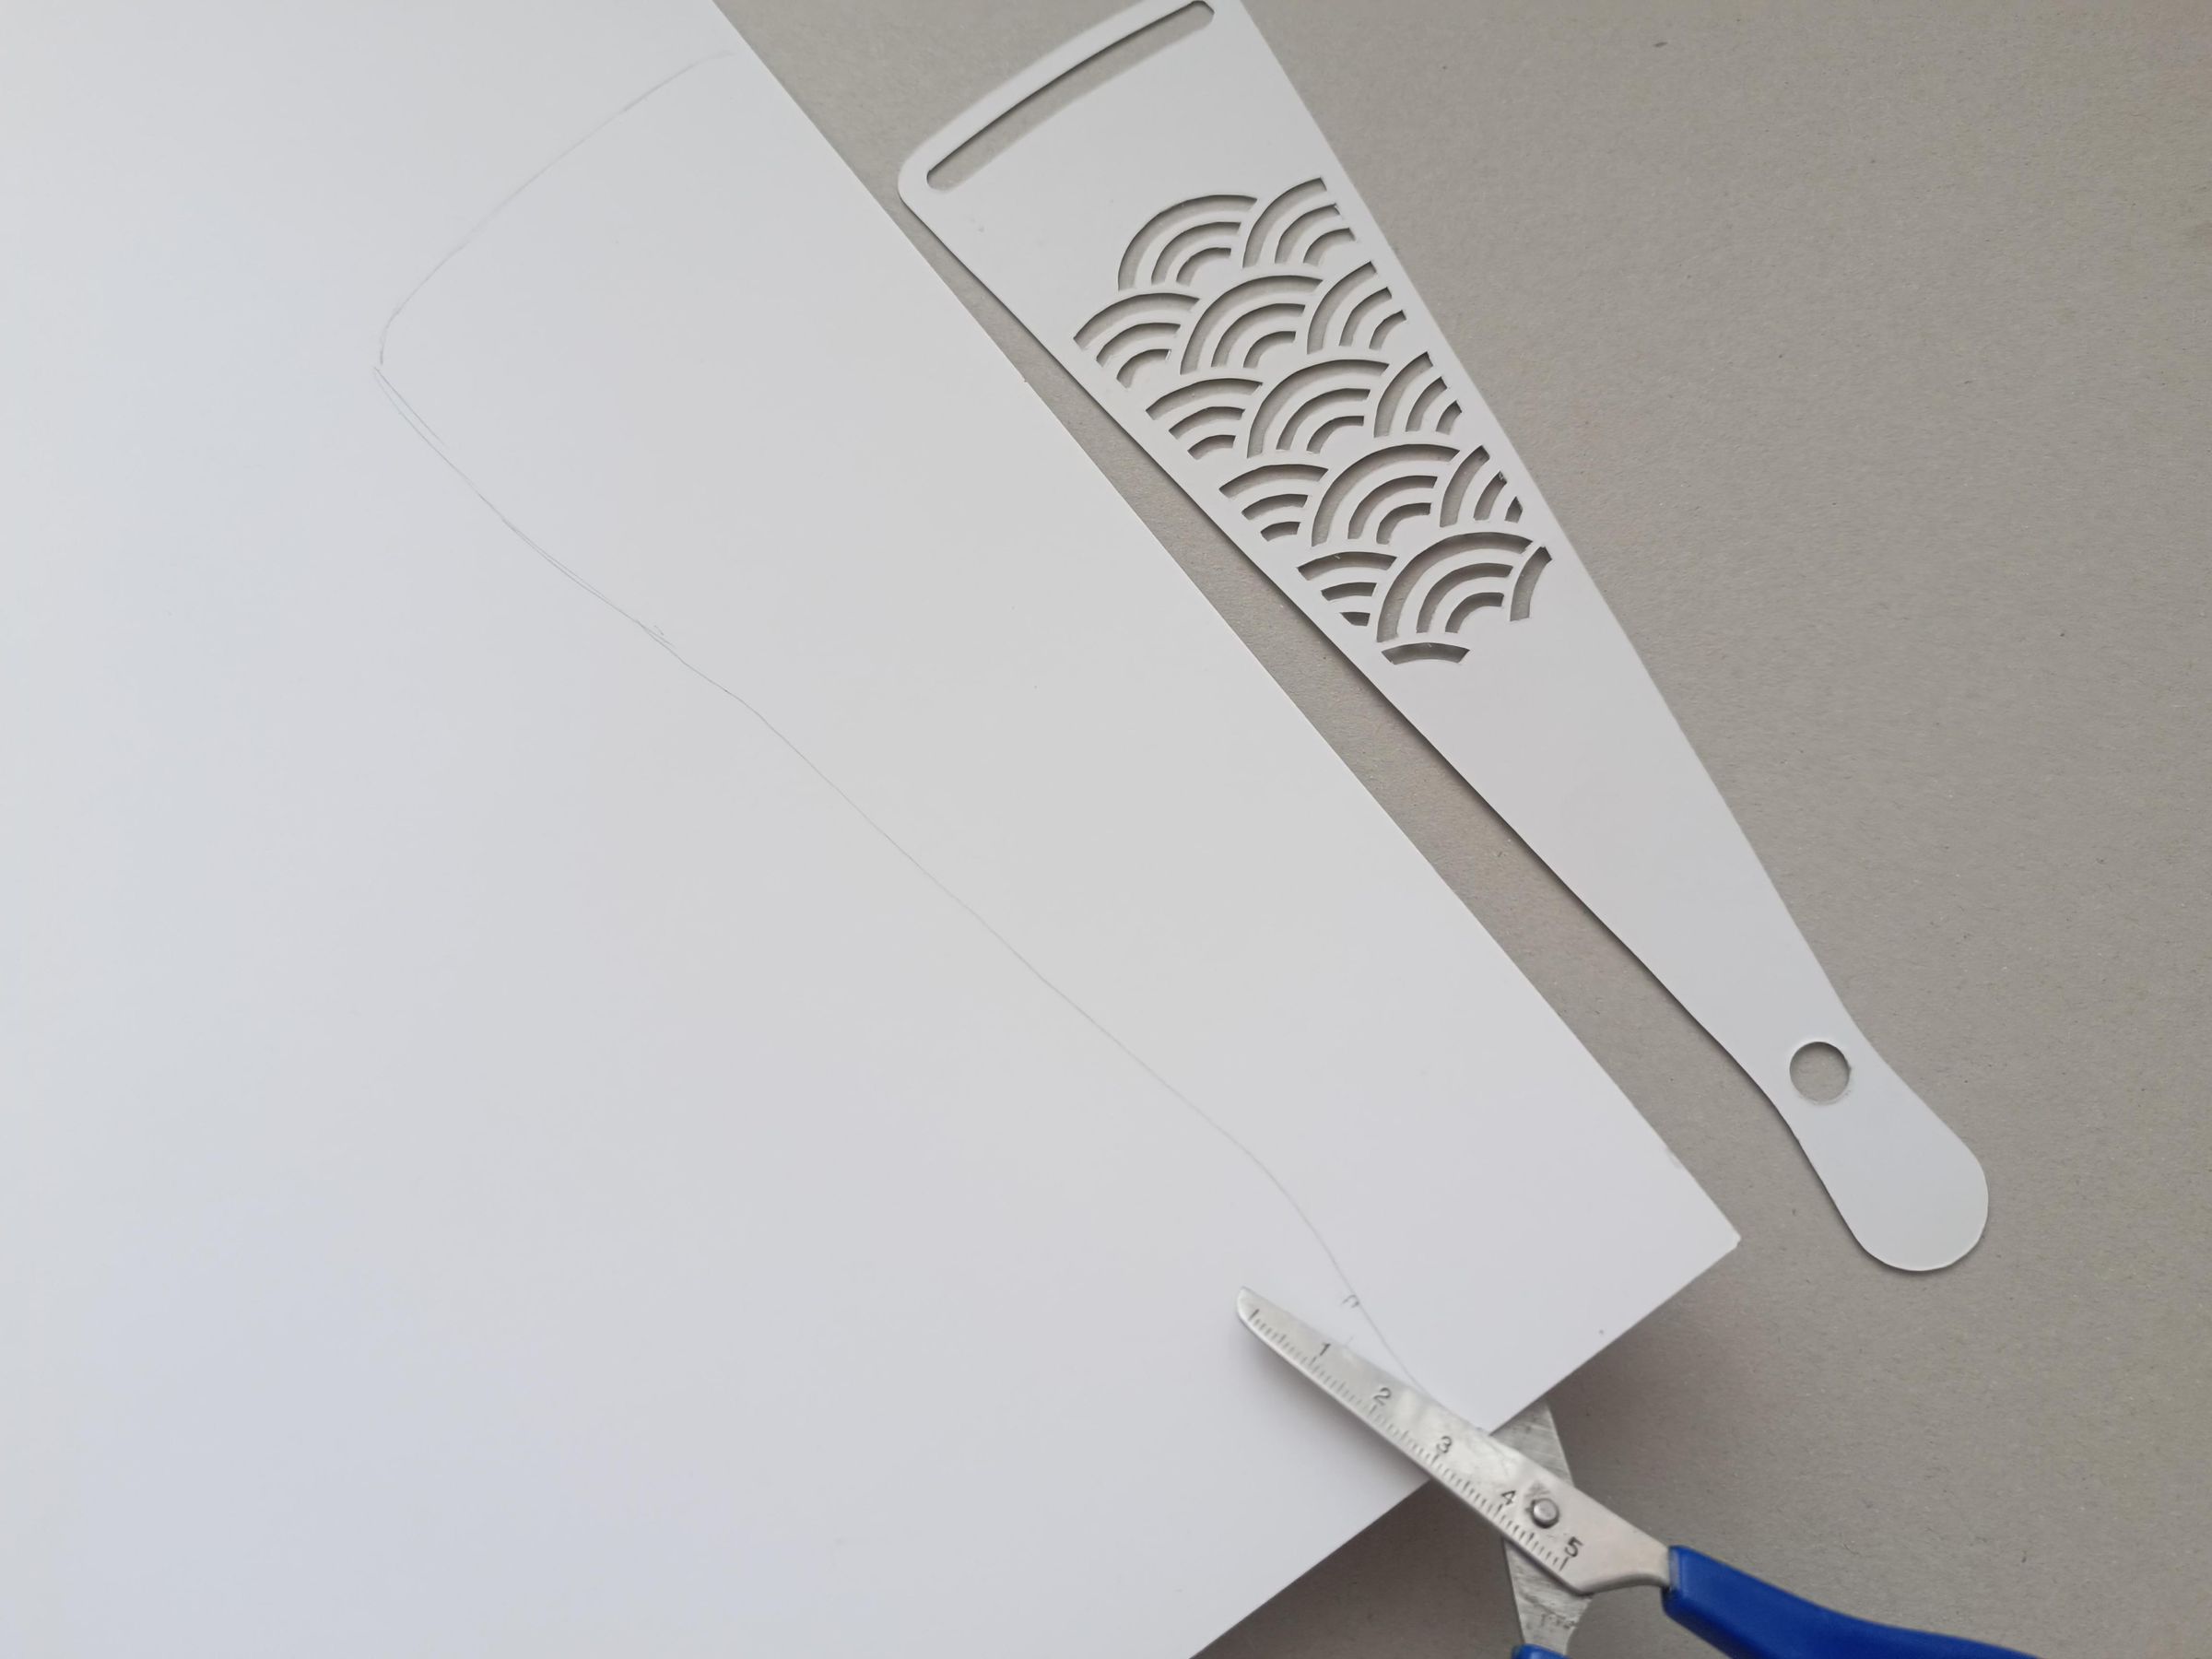
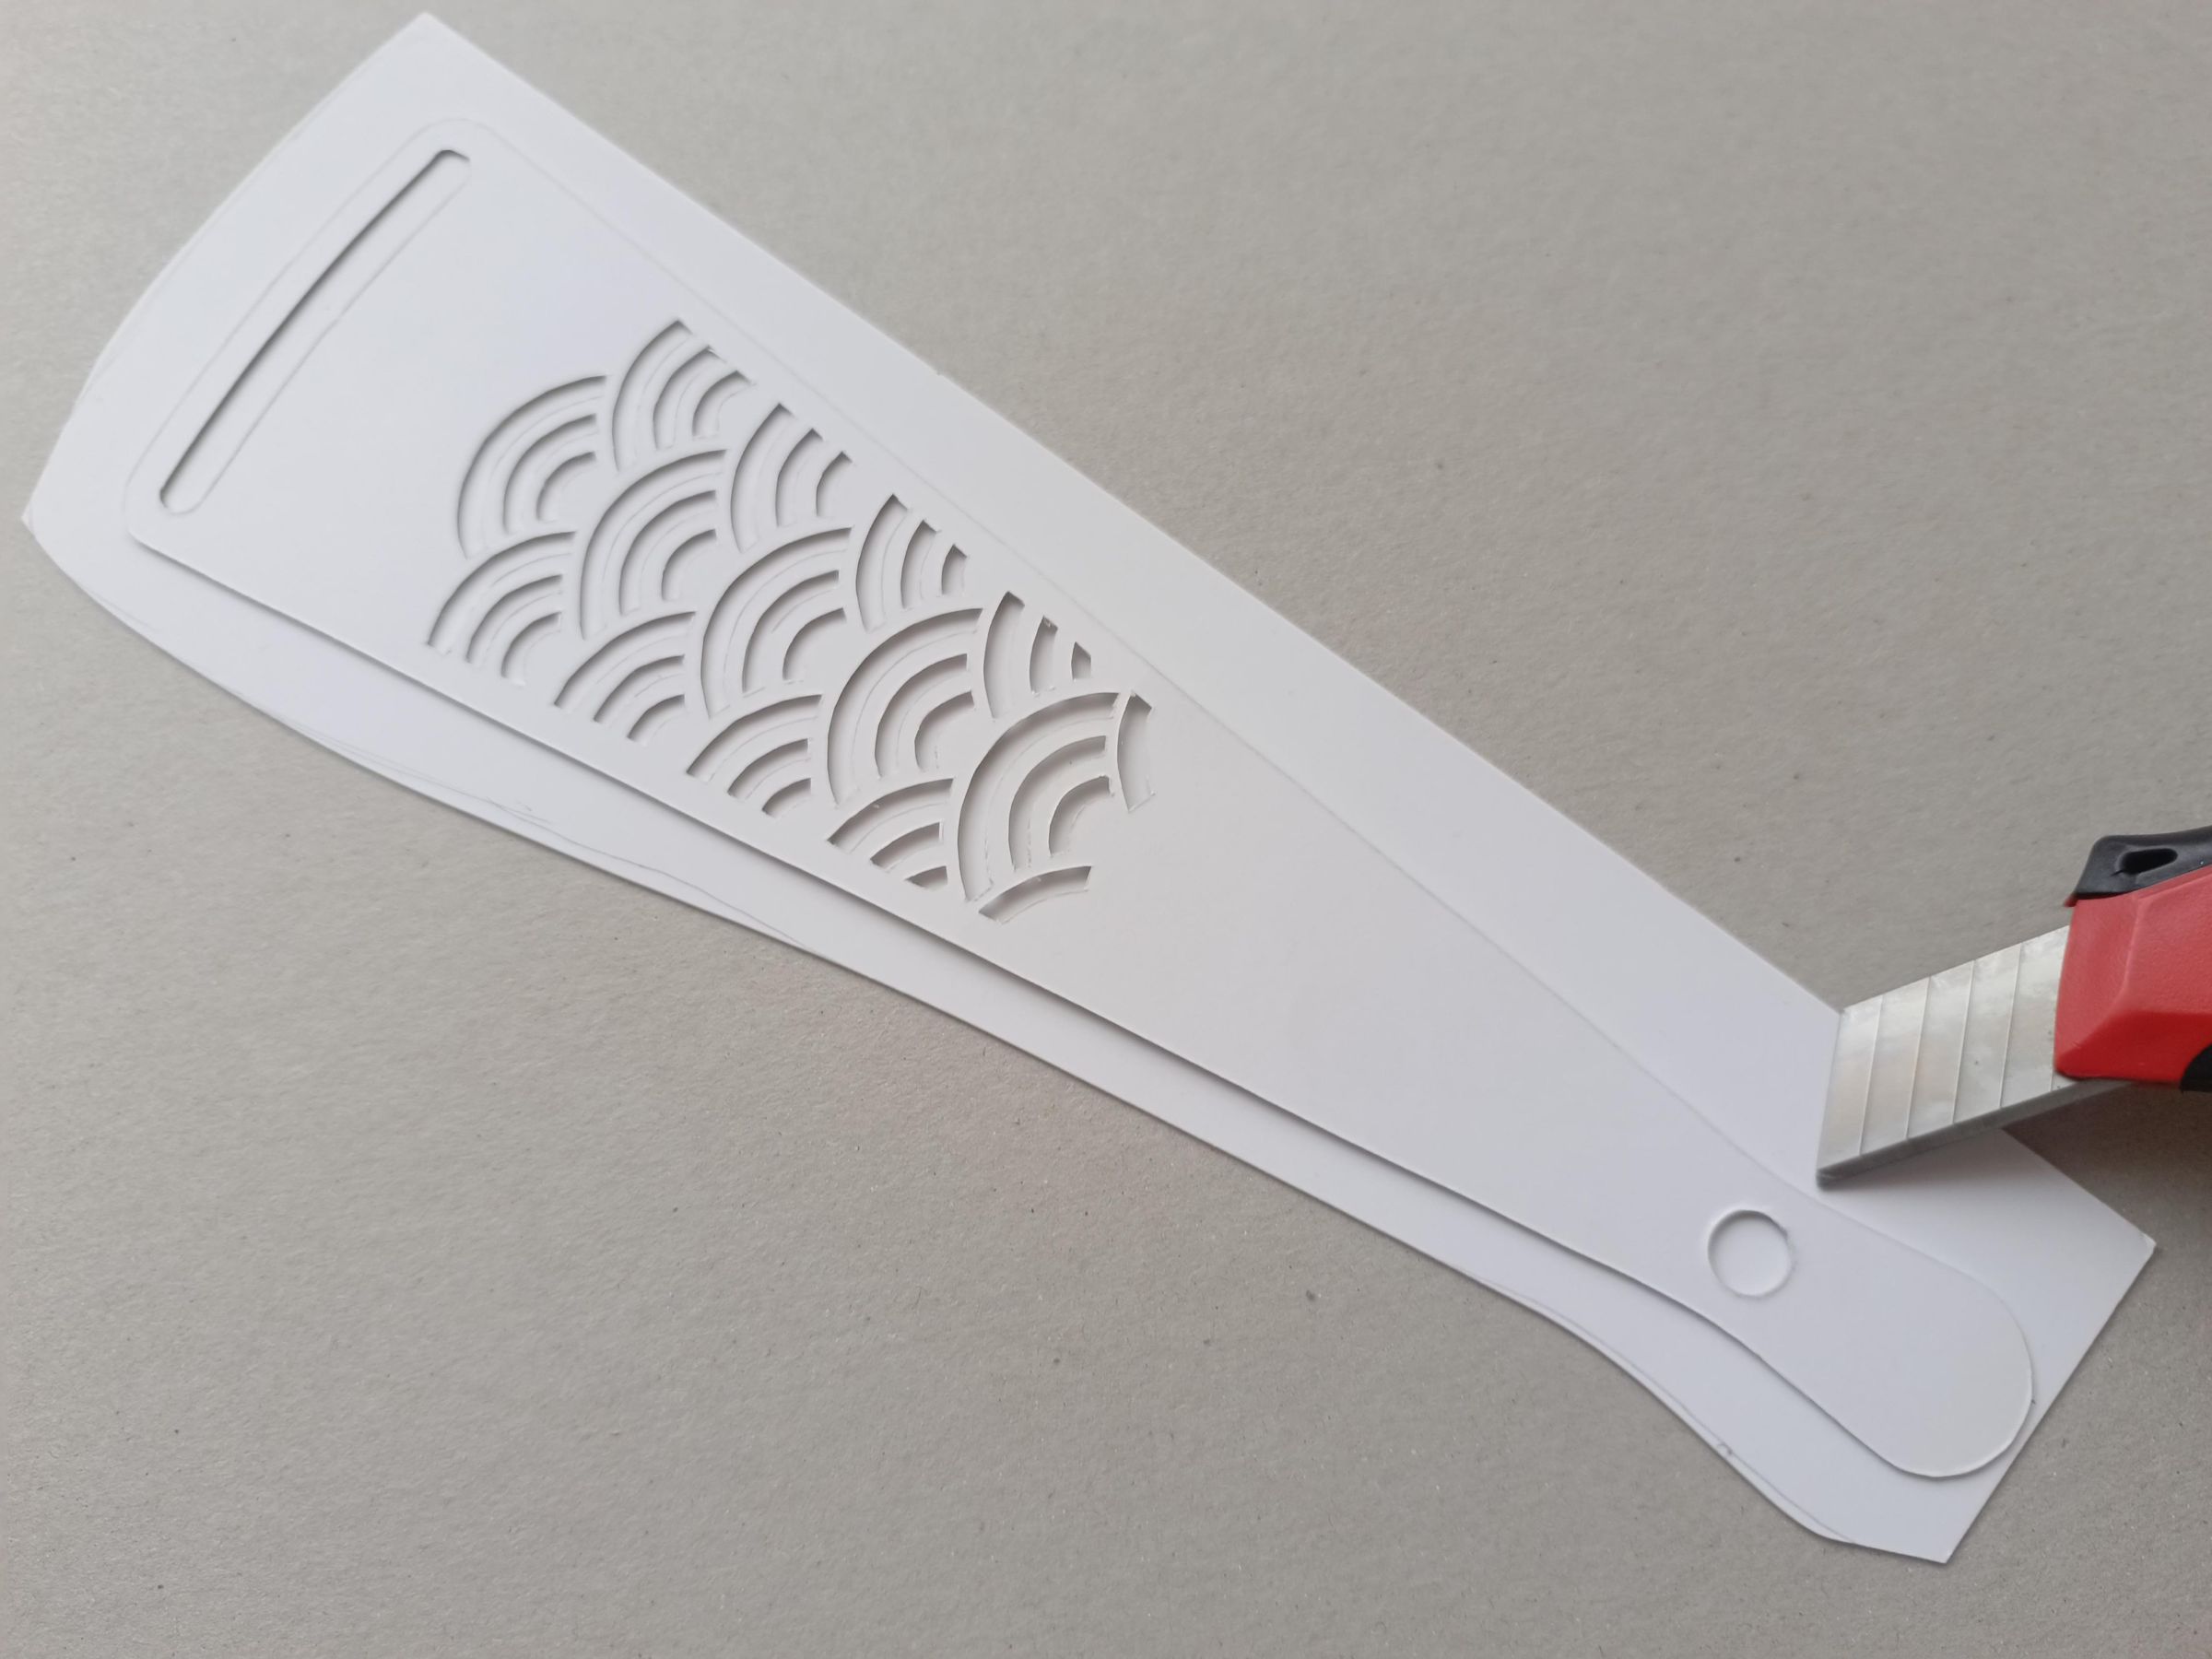
For the middle part, we'll use an extra piece of cardstock to give each blade more stability, so with a pencil or directly with the cutter, make a piece in the shape of the fan blade silhouette.
then cut it
Middle Part
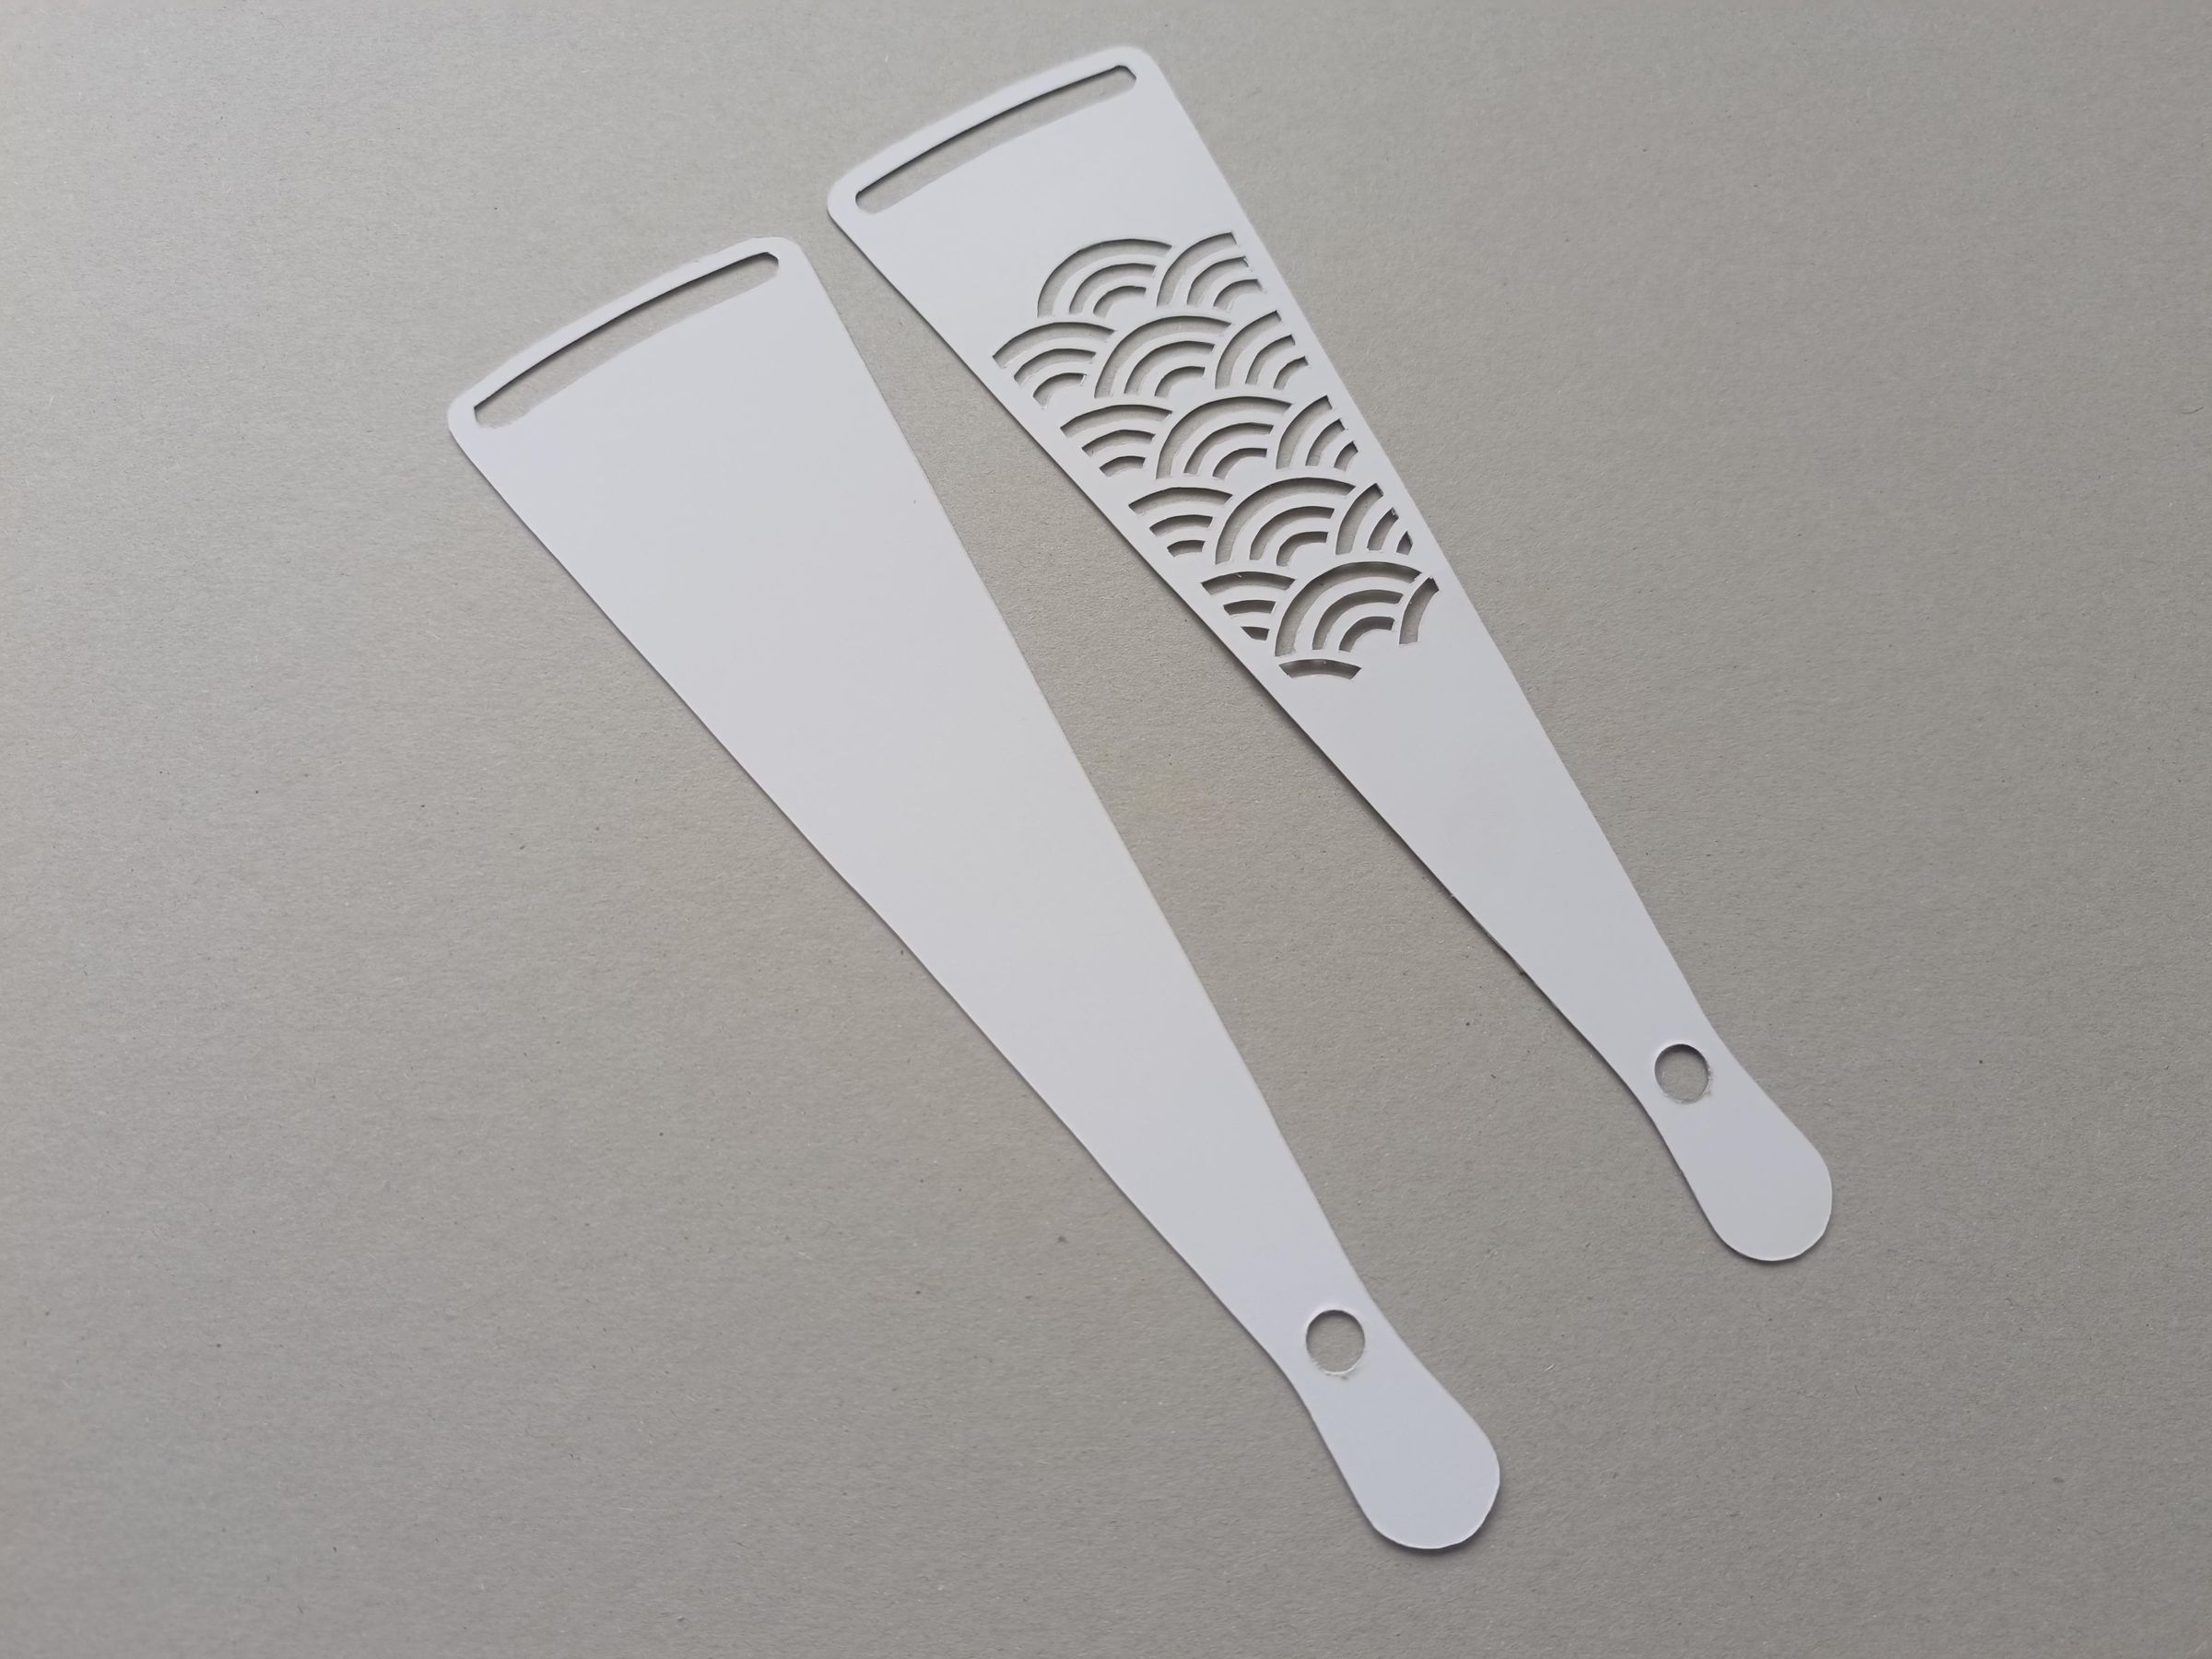
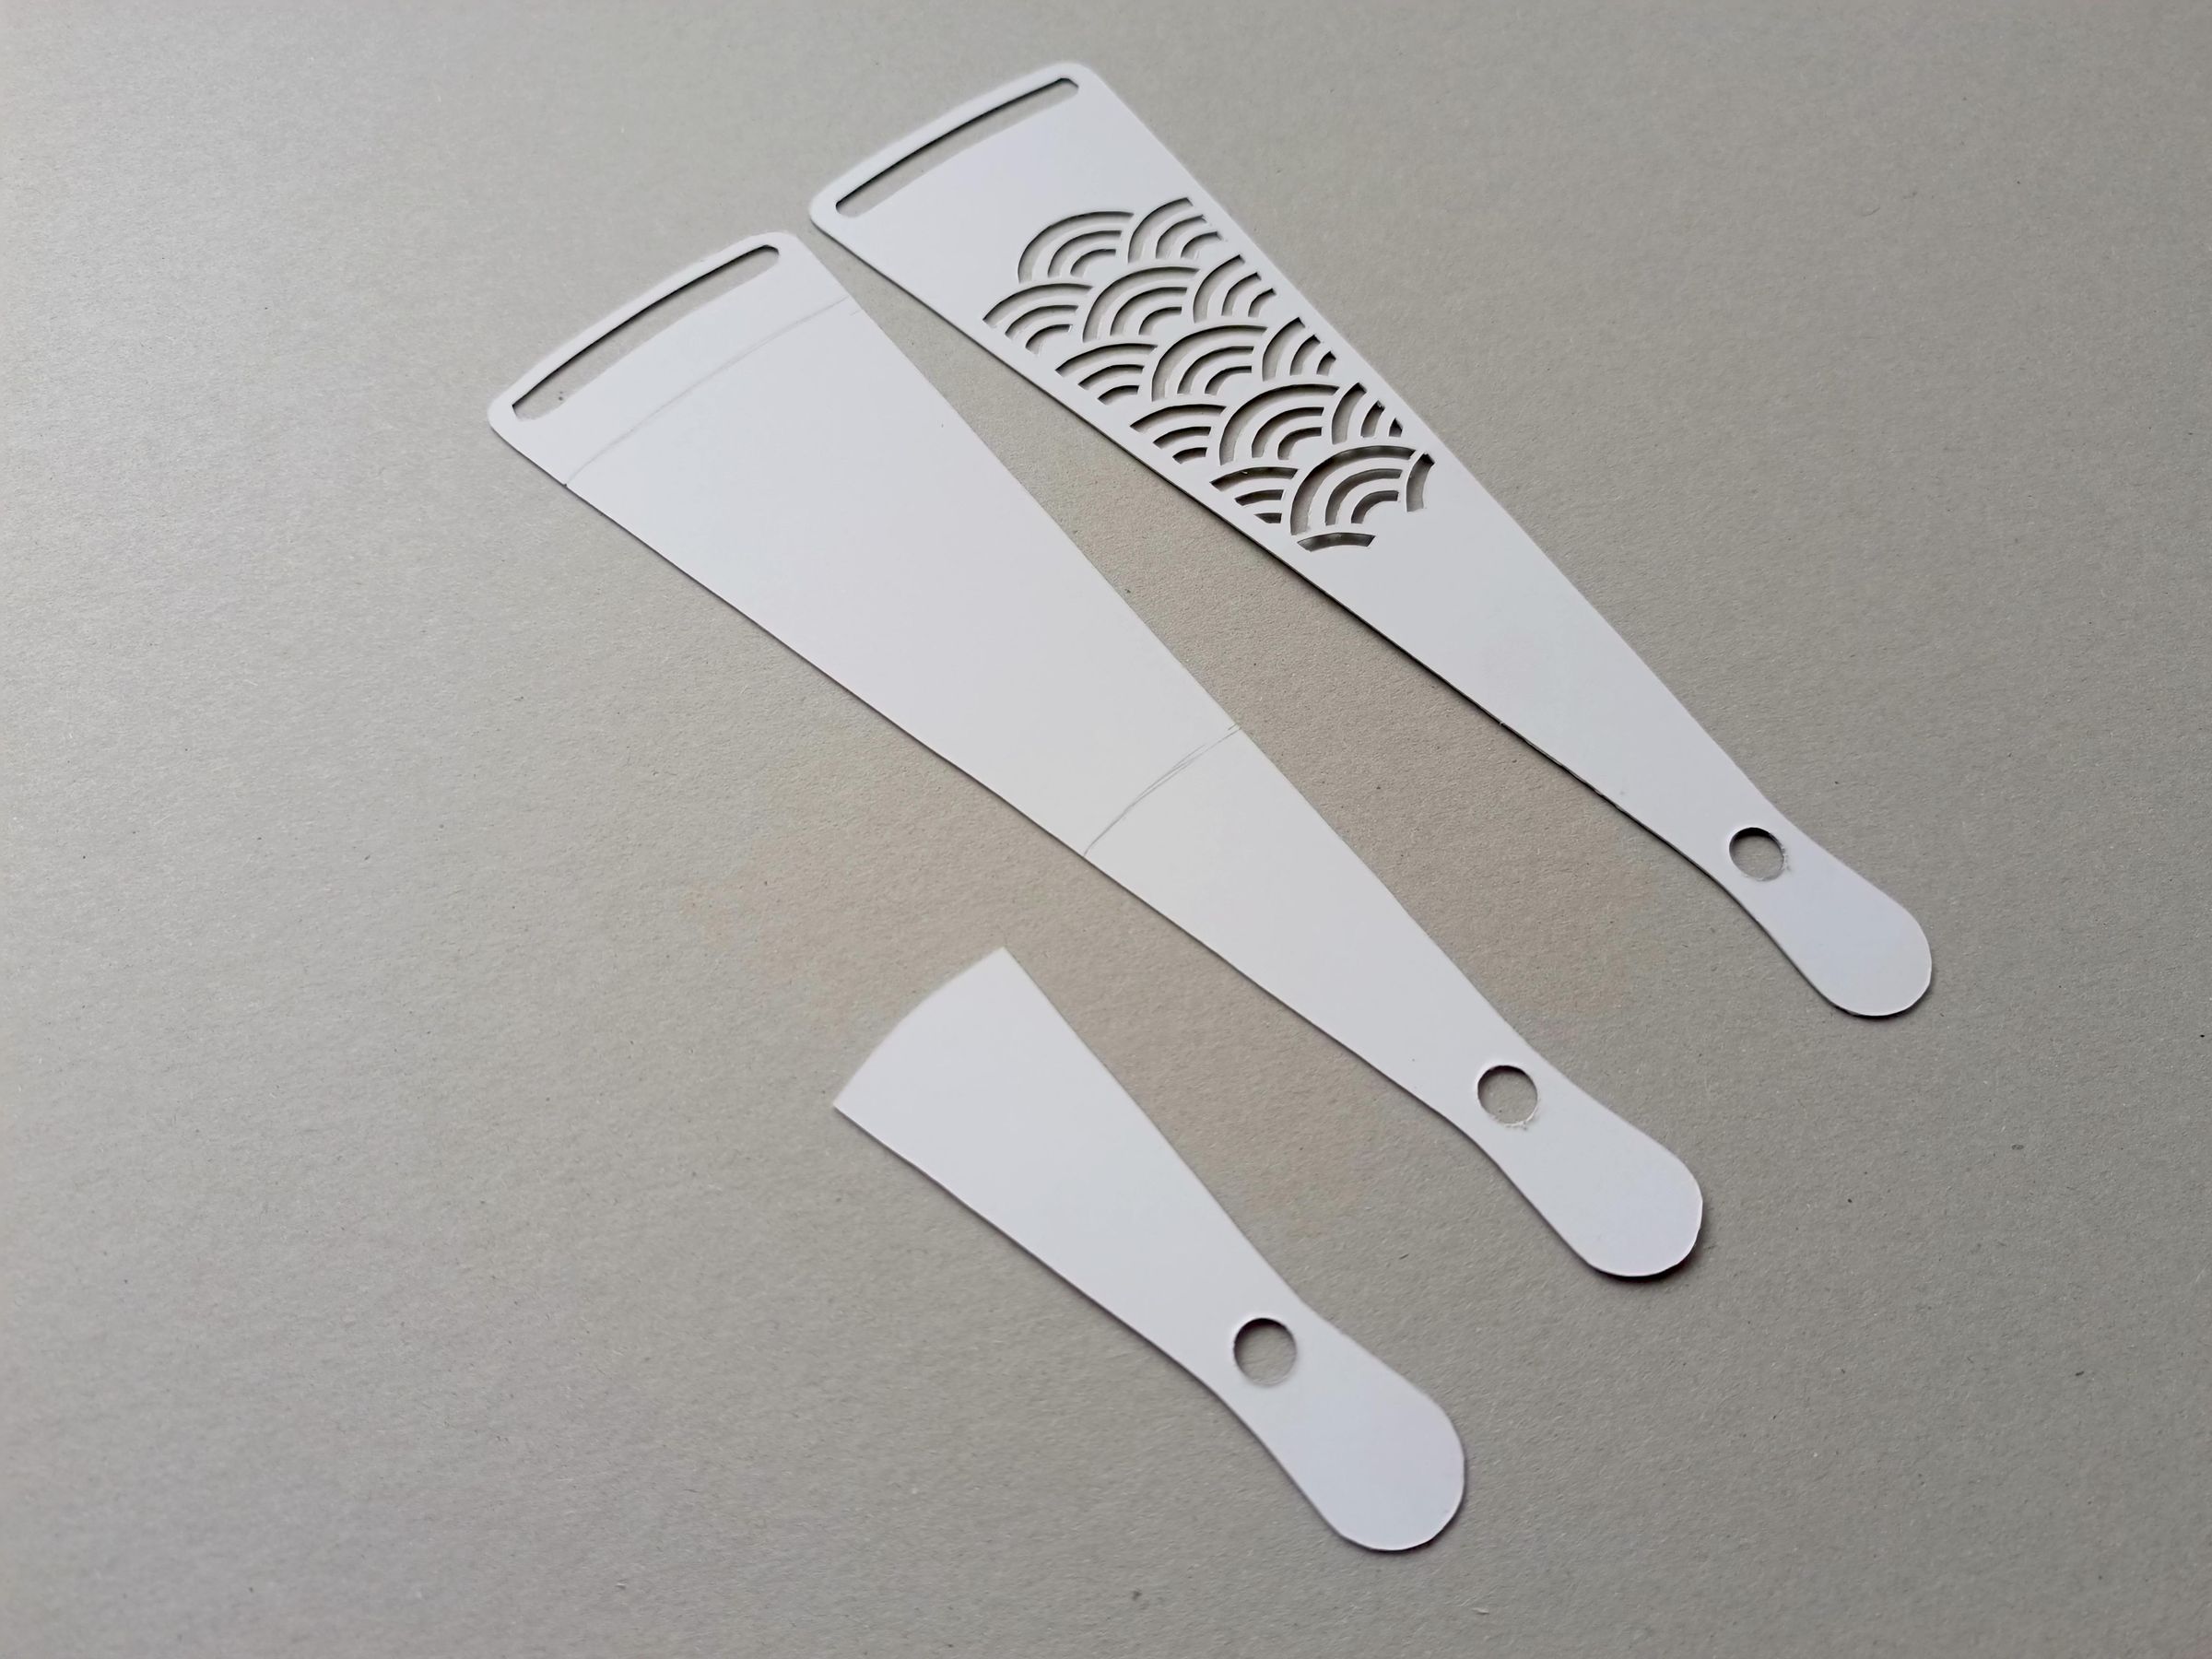
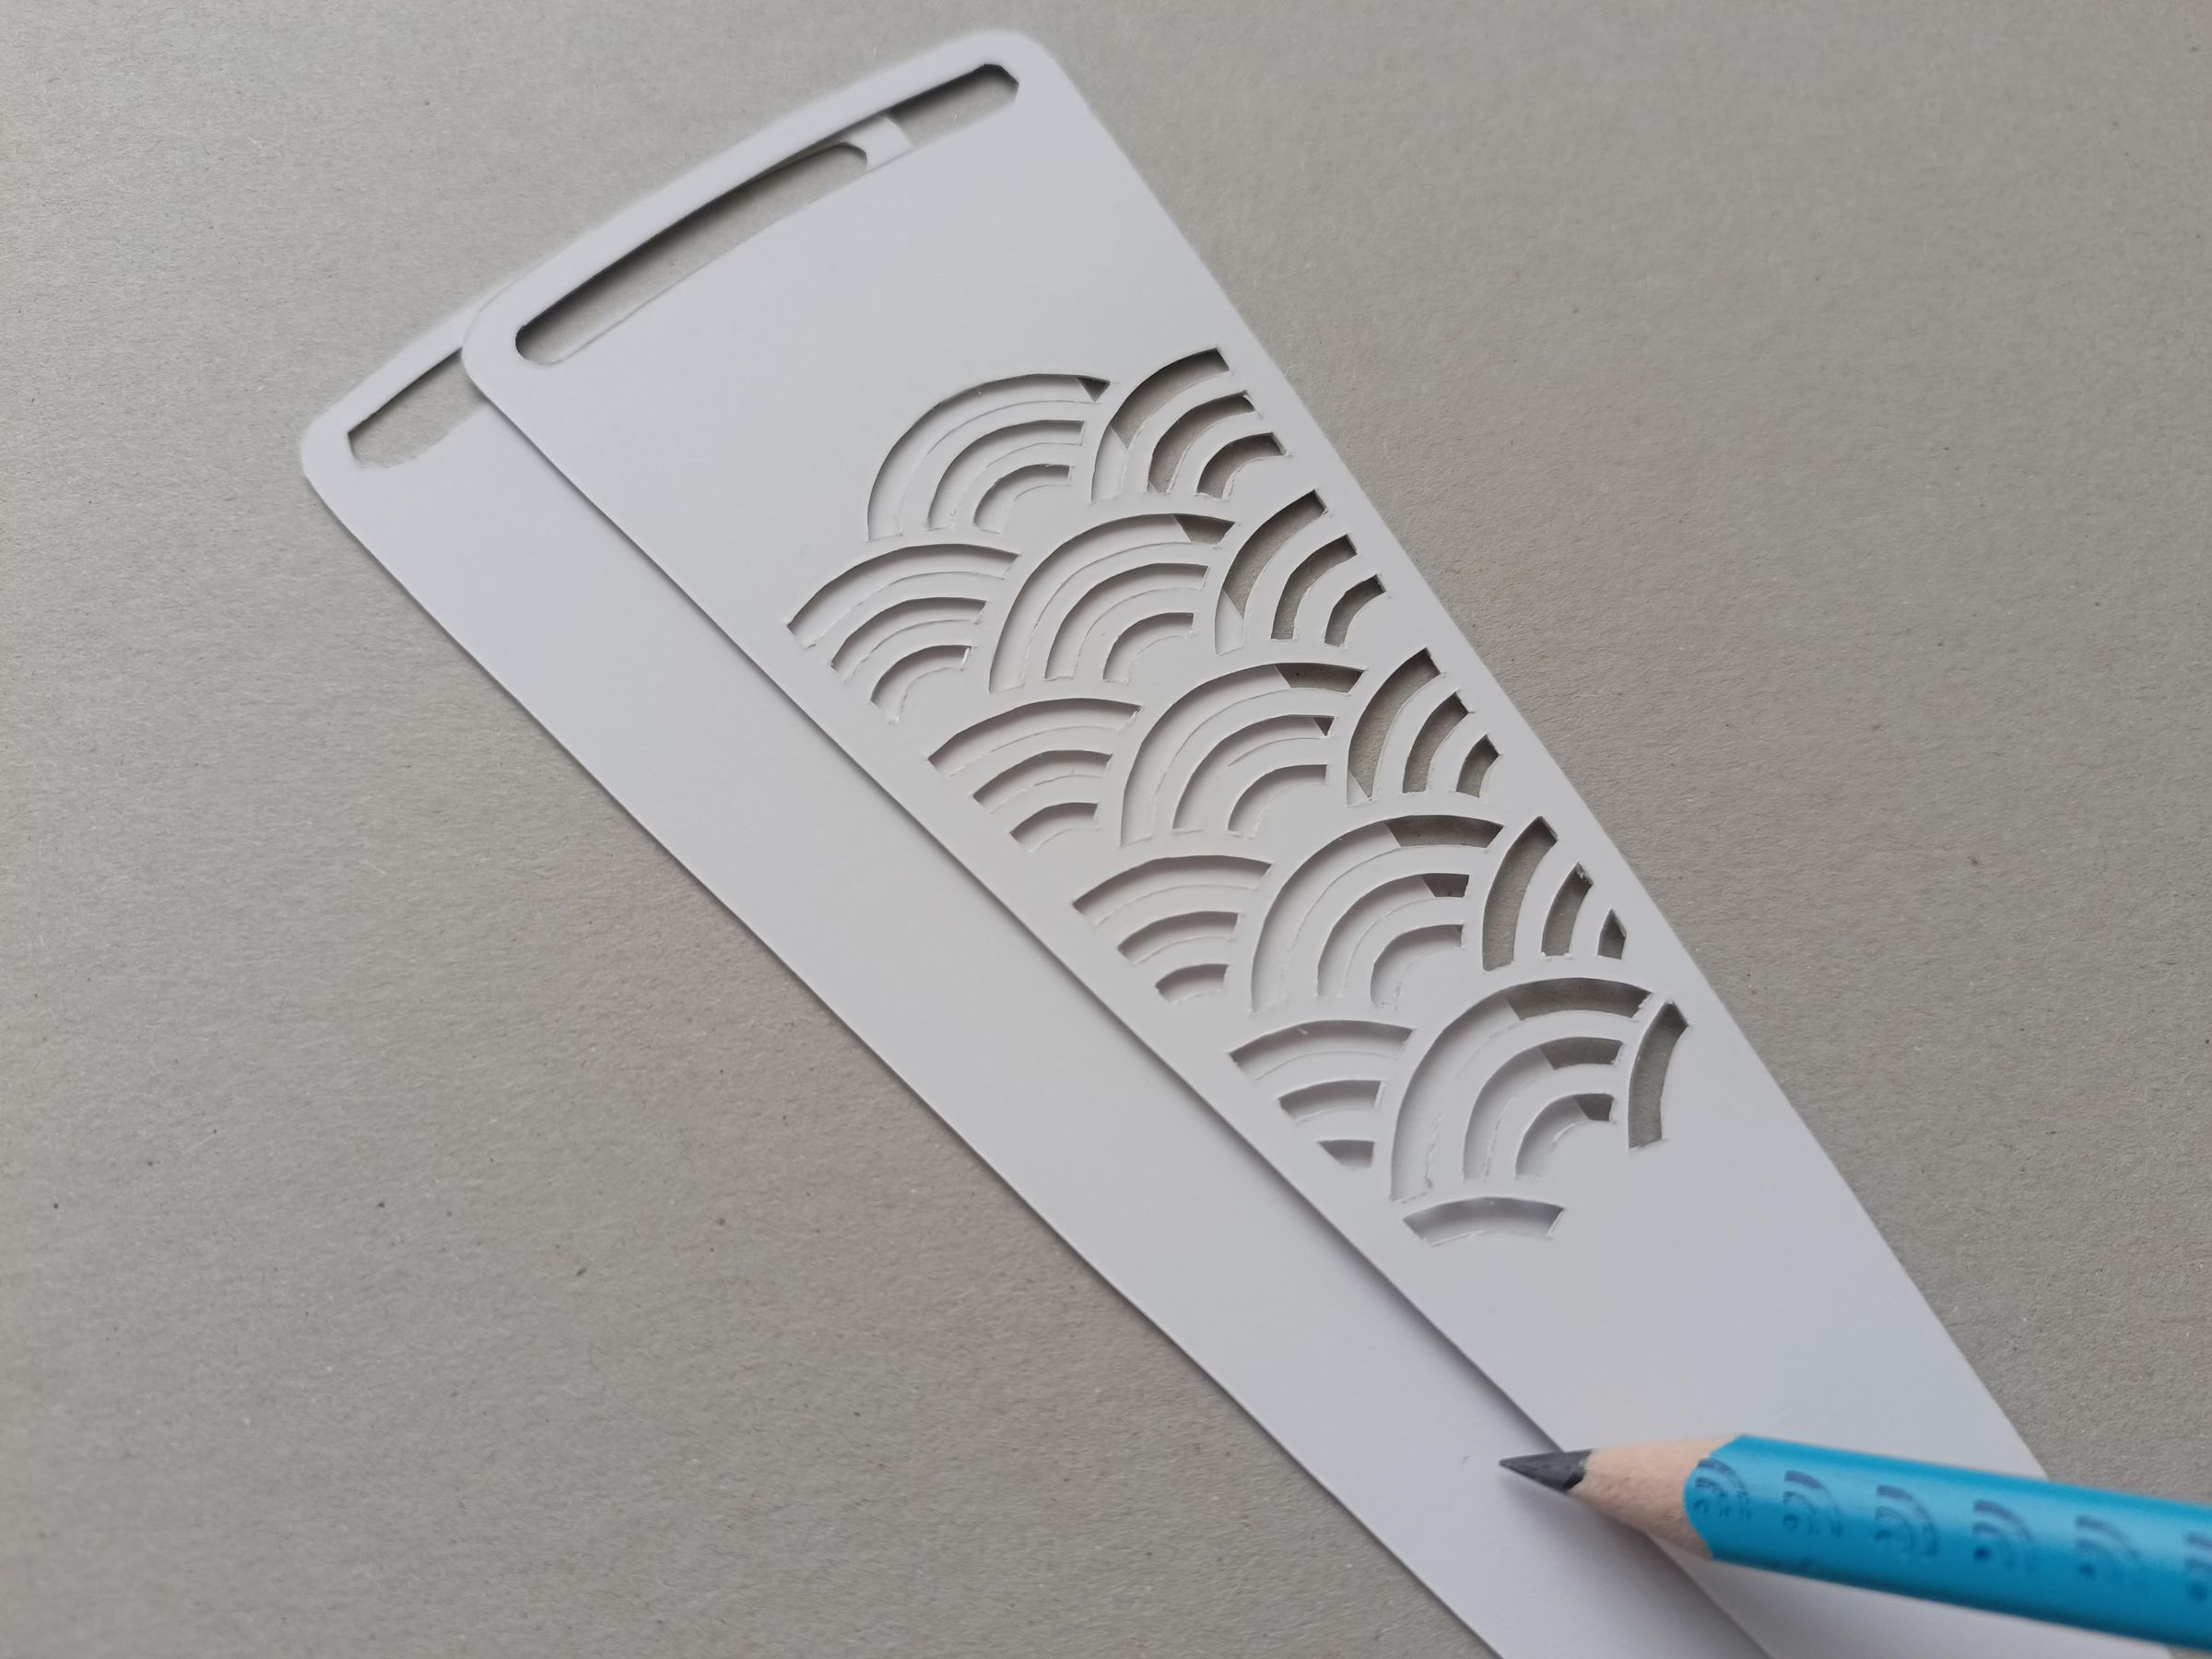
After obtaining the middle part, use a pencil to mark the areas where the paint color will come; this area will be visible through the holes cut in the Seigaiha pattern design.
Paint
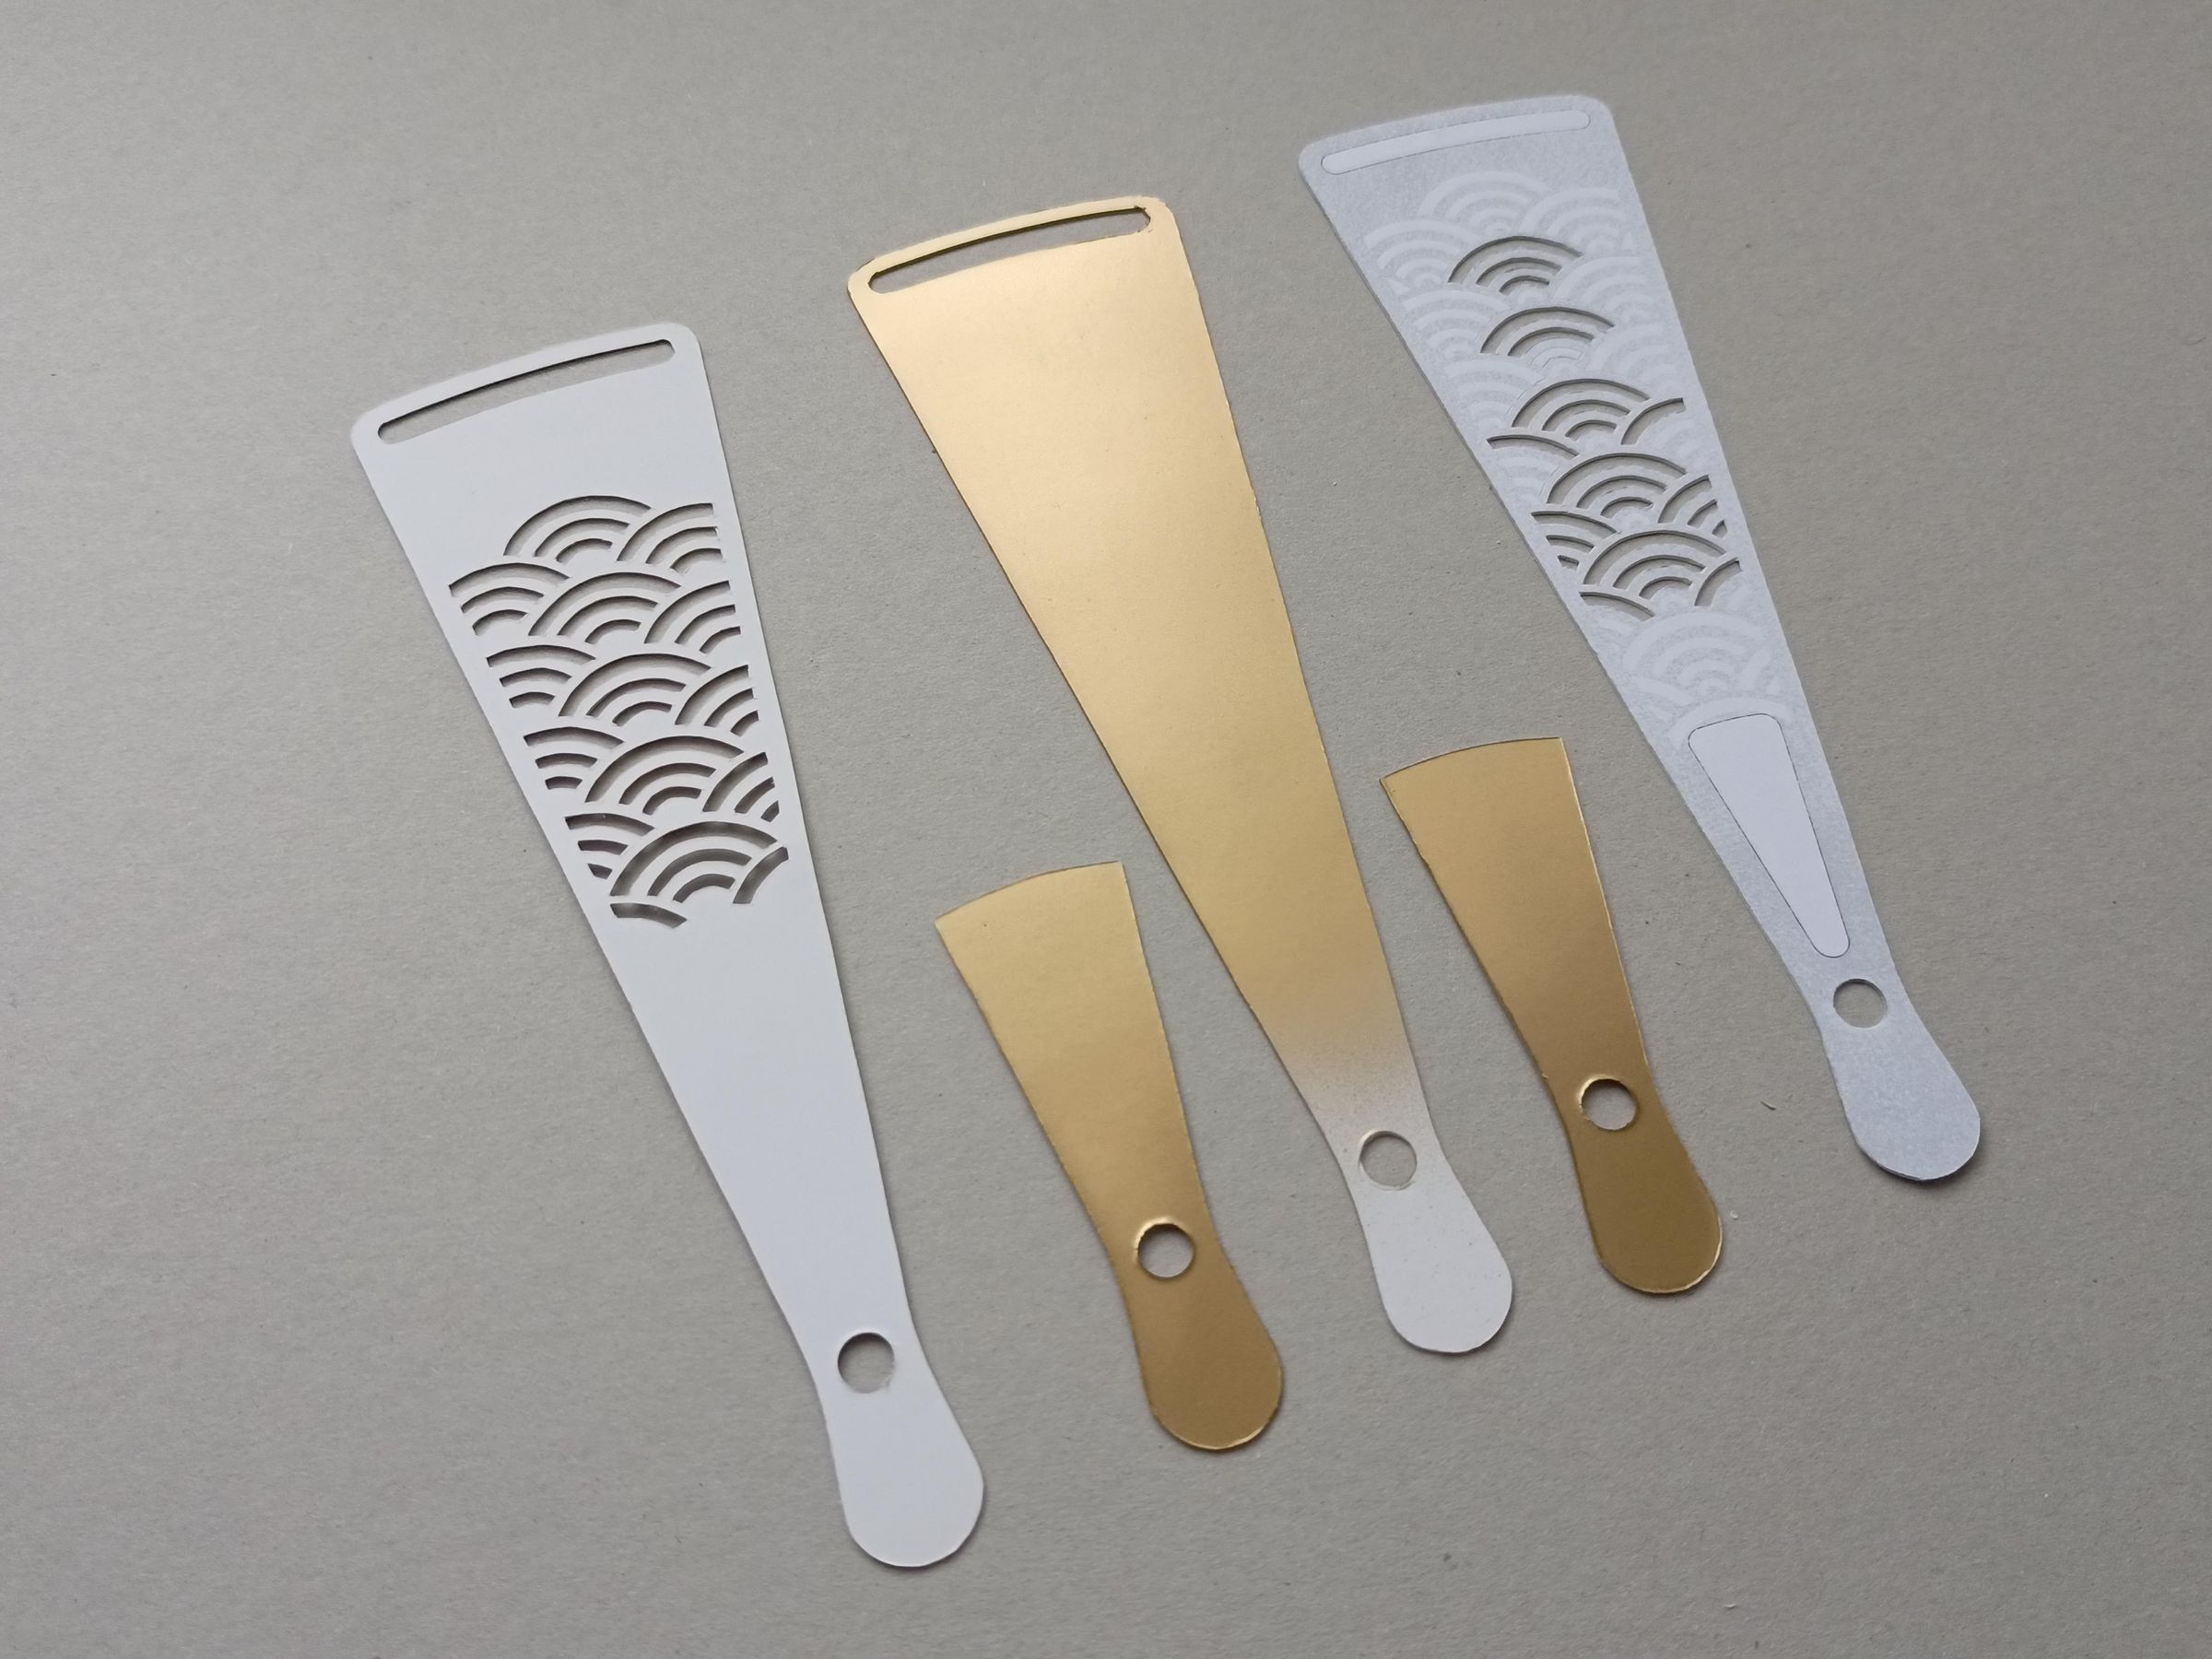
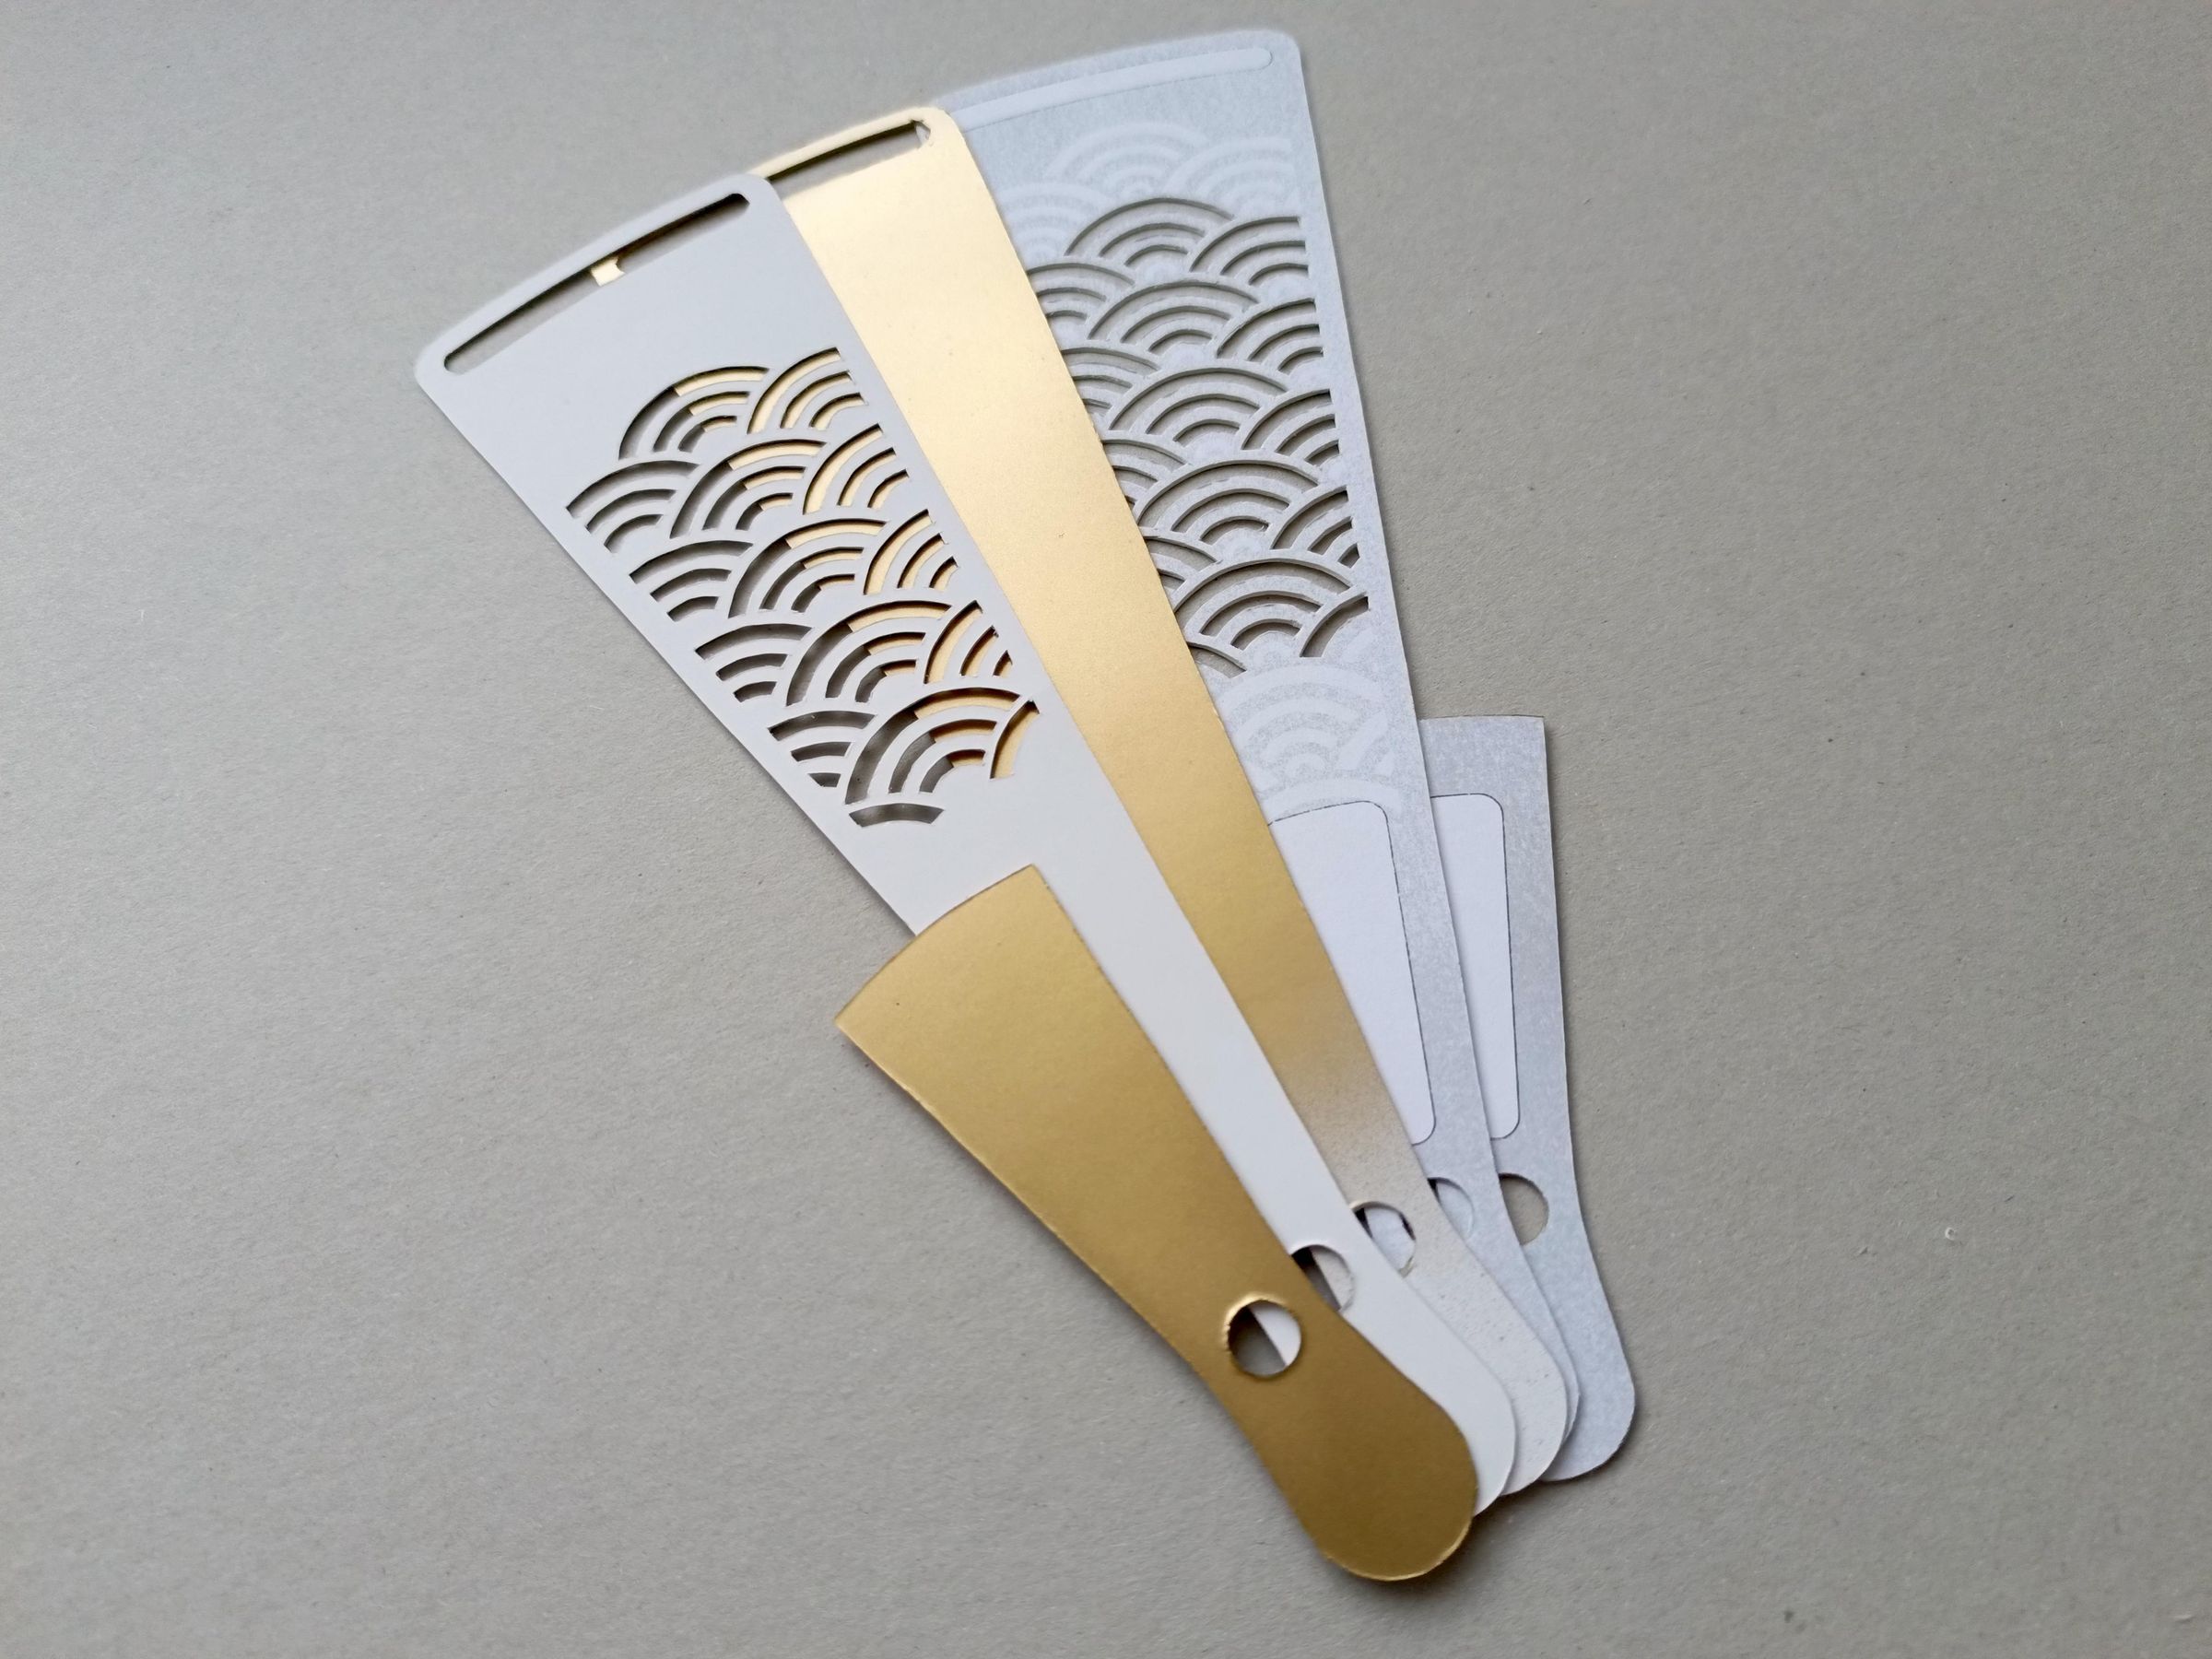
Now apply paint that areas to your liking, to bring your Sensu to life; in my case, I decided to use the color gold.
Since in Japan, the Gold color (kin'iro or ōgonshoku) symbolizes wealth, prestige, the power of the gods, and the light of the heavens, it holds deep spiritual meaning representing purity, enlightenment, and divine presence in temples, shrines, and traditional art.
Glue Parts
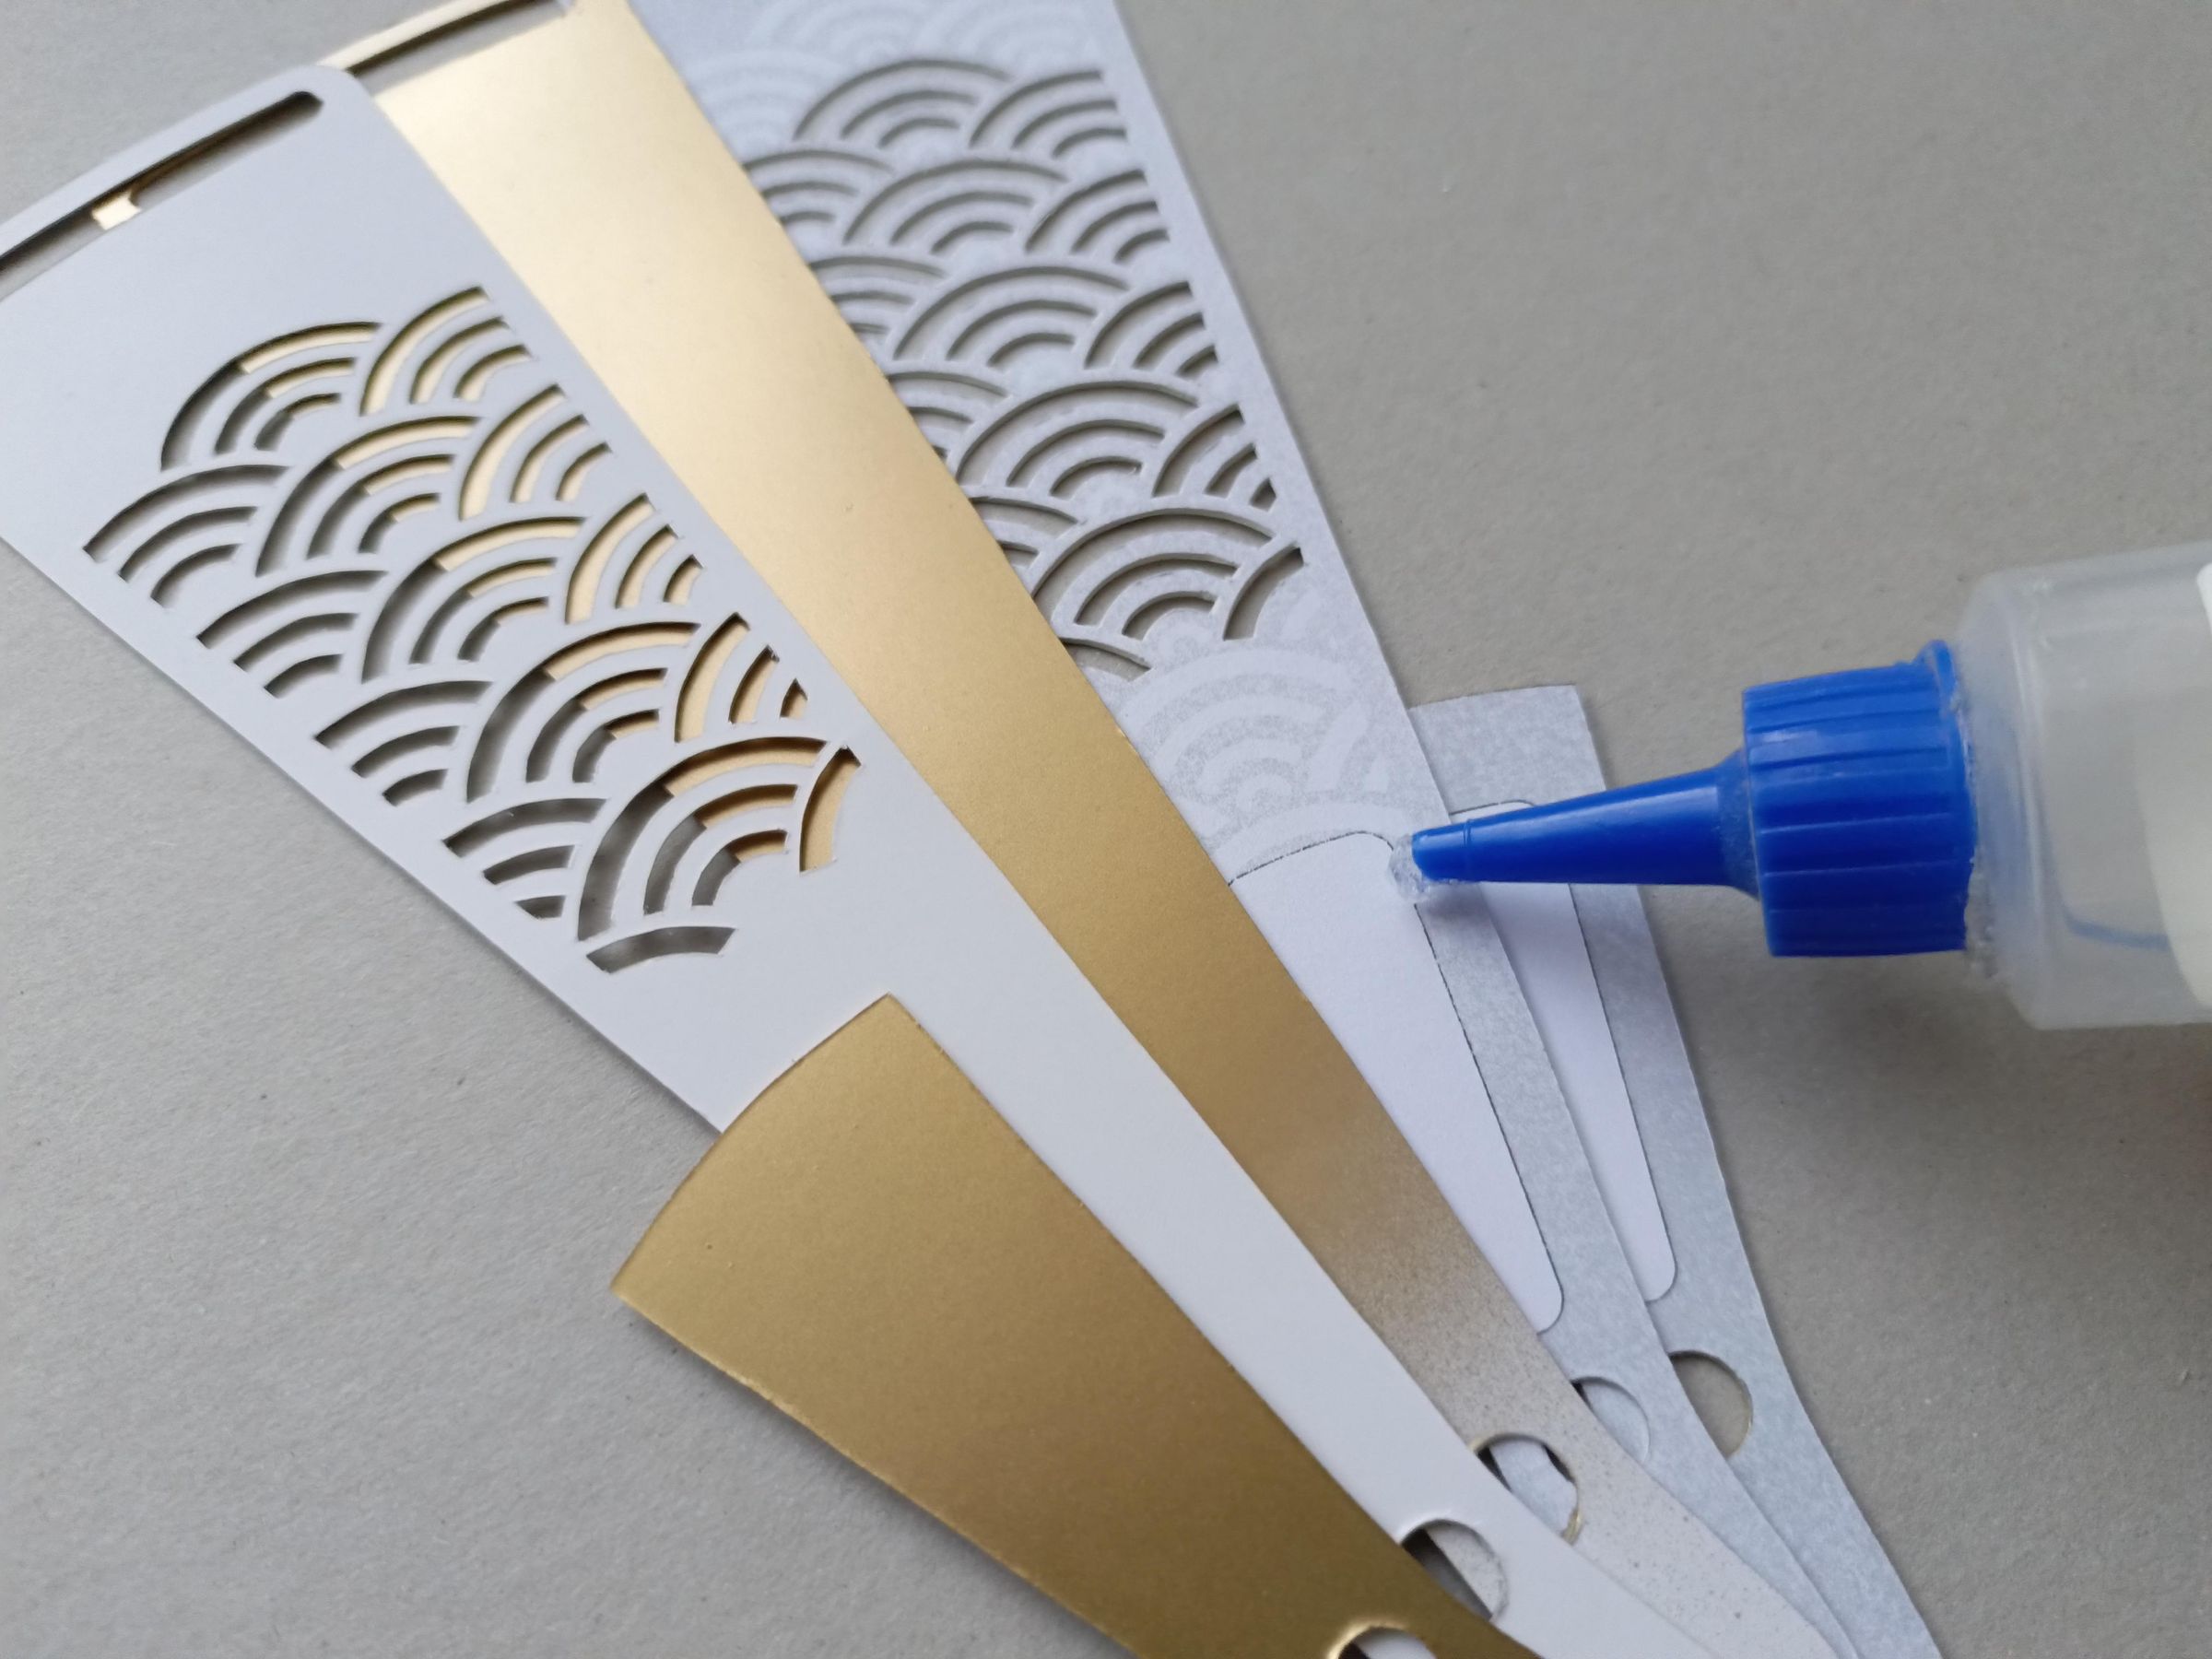
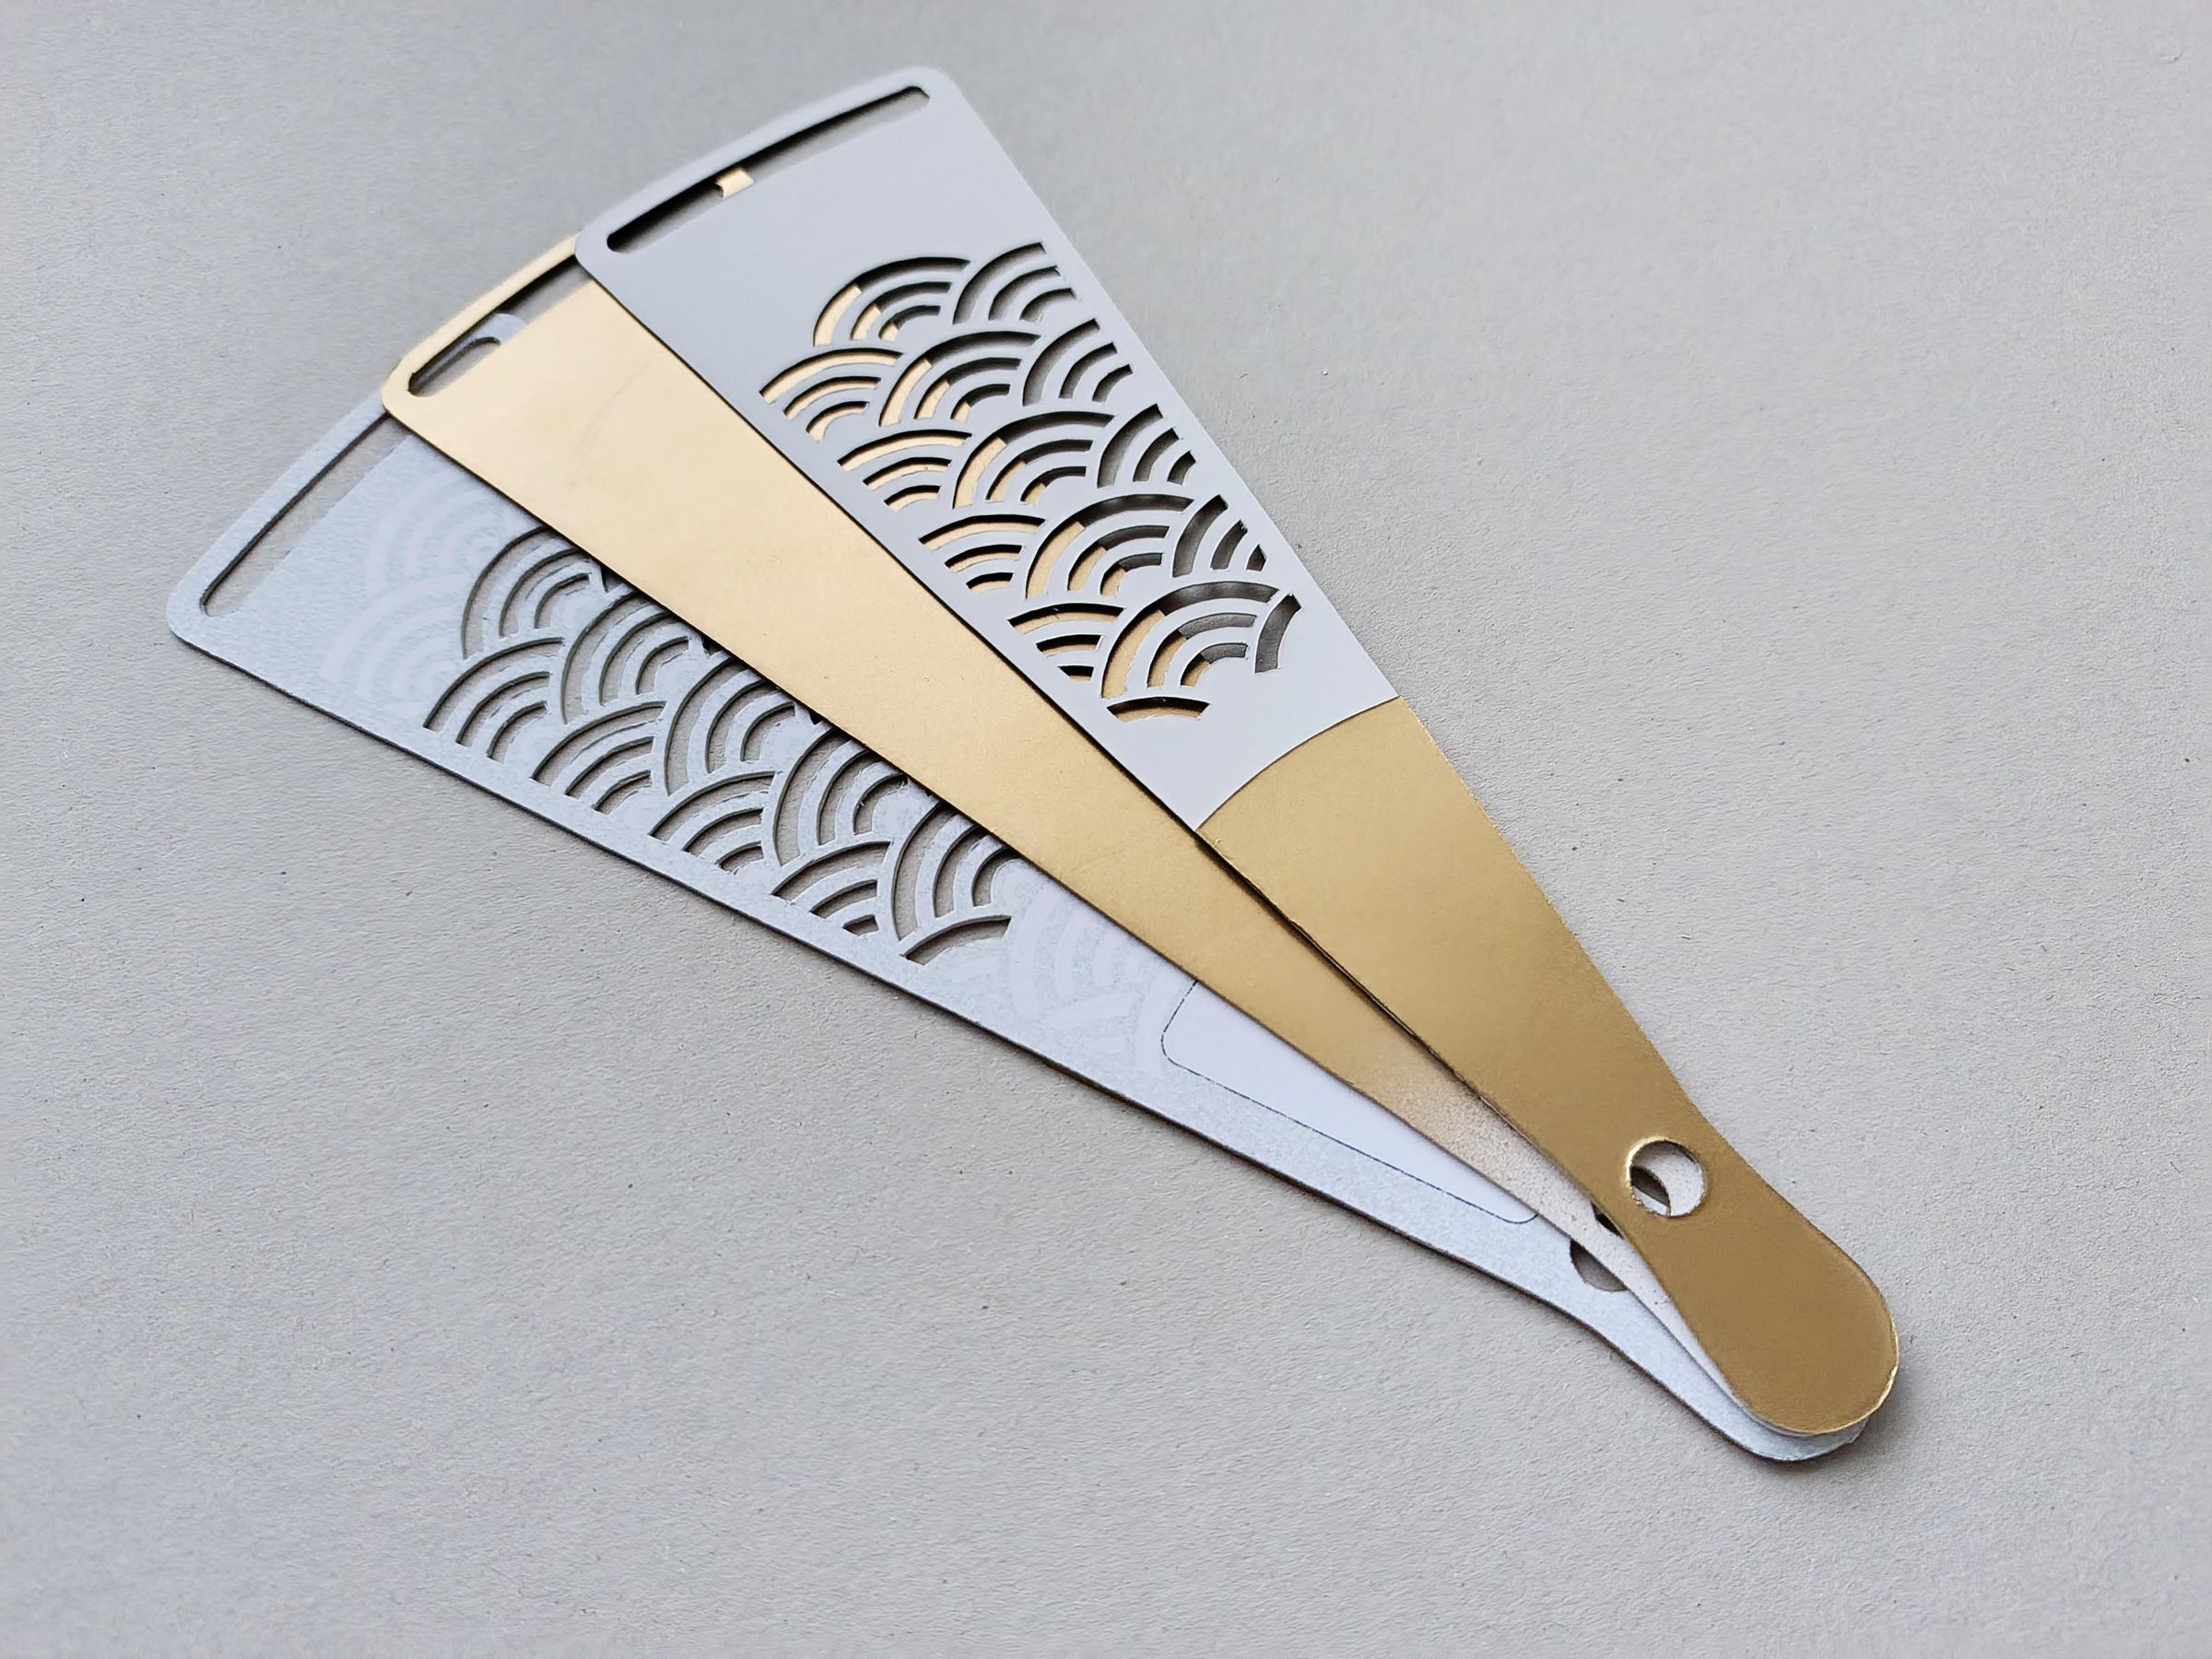
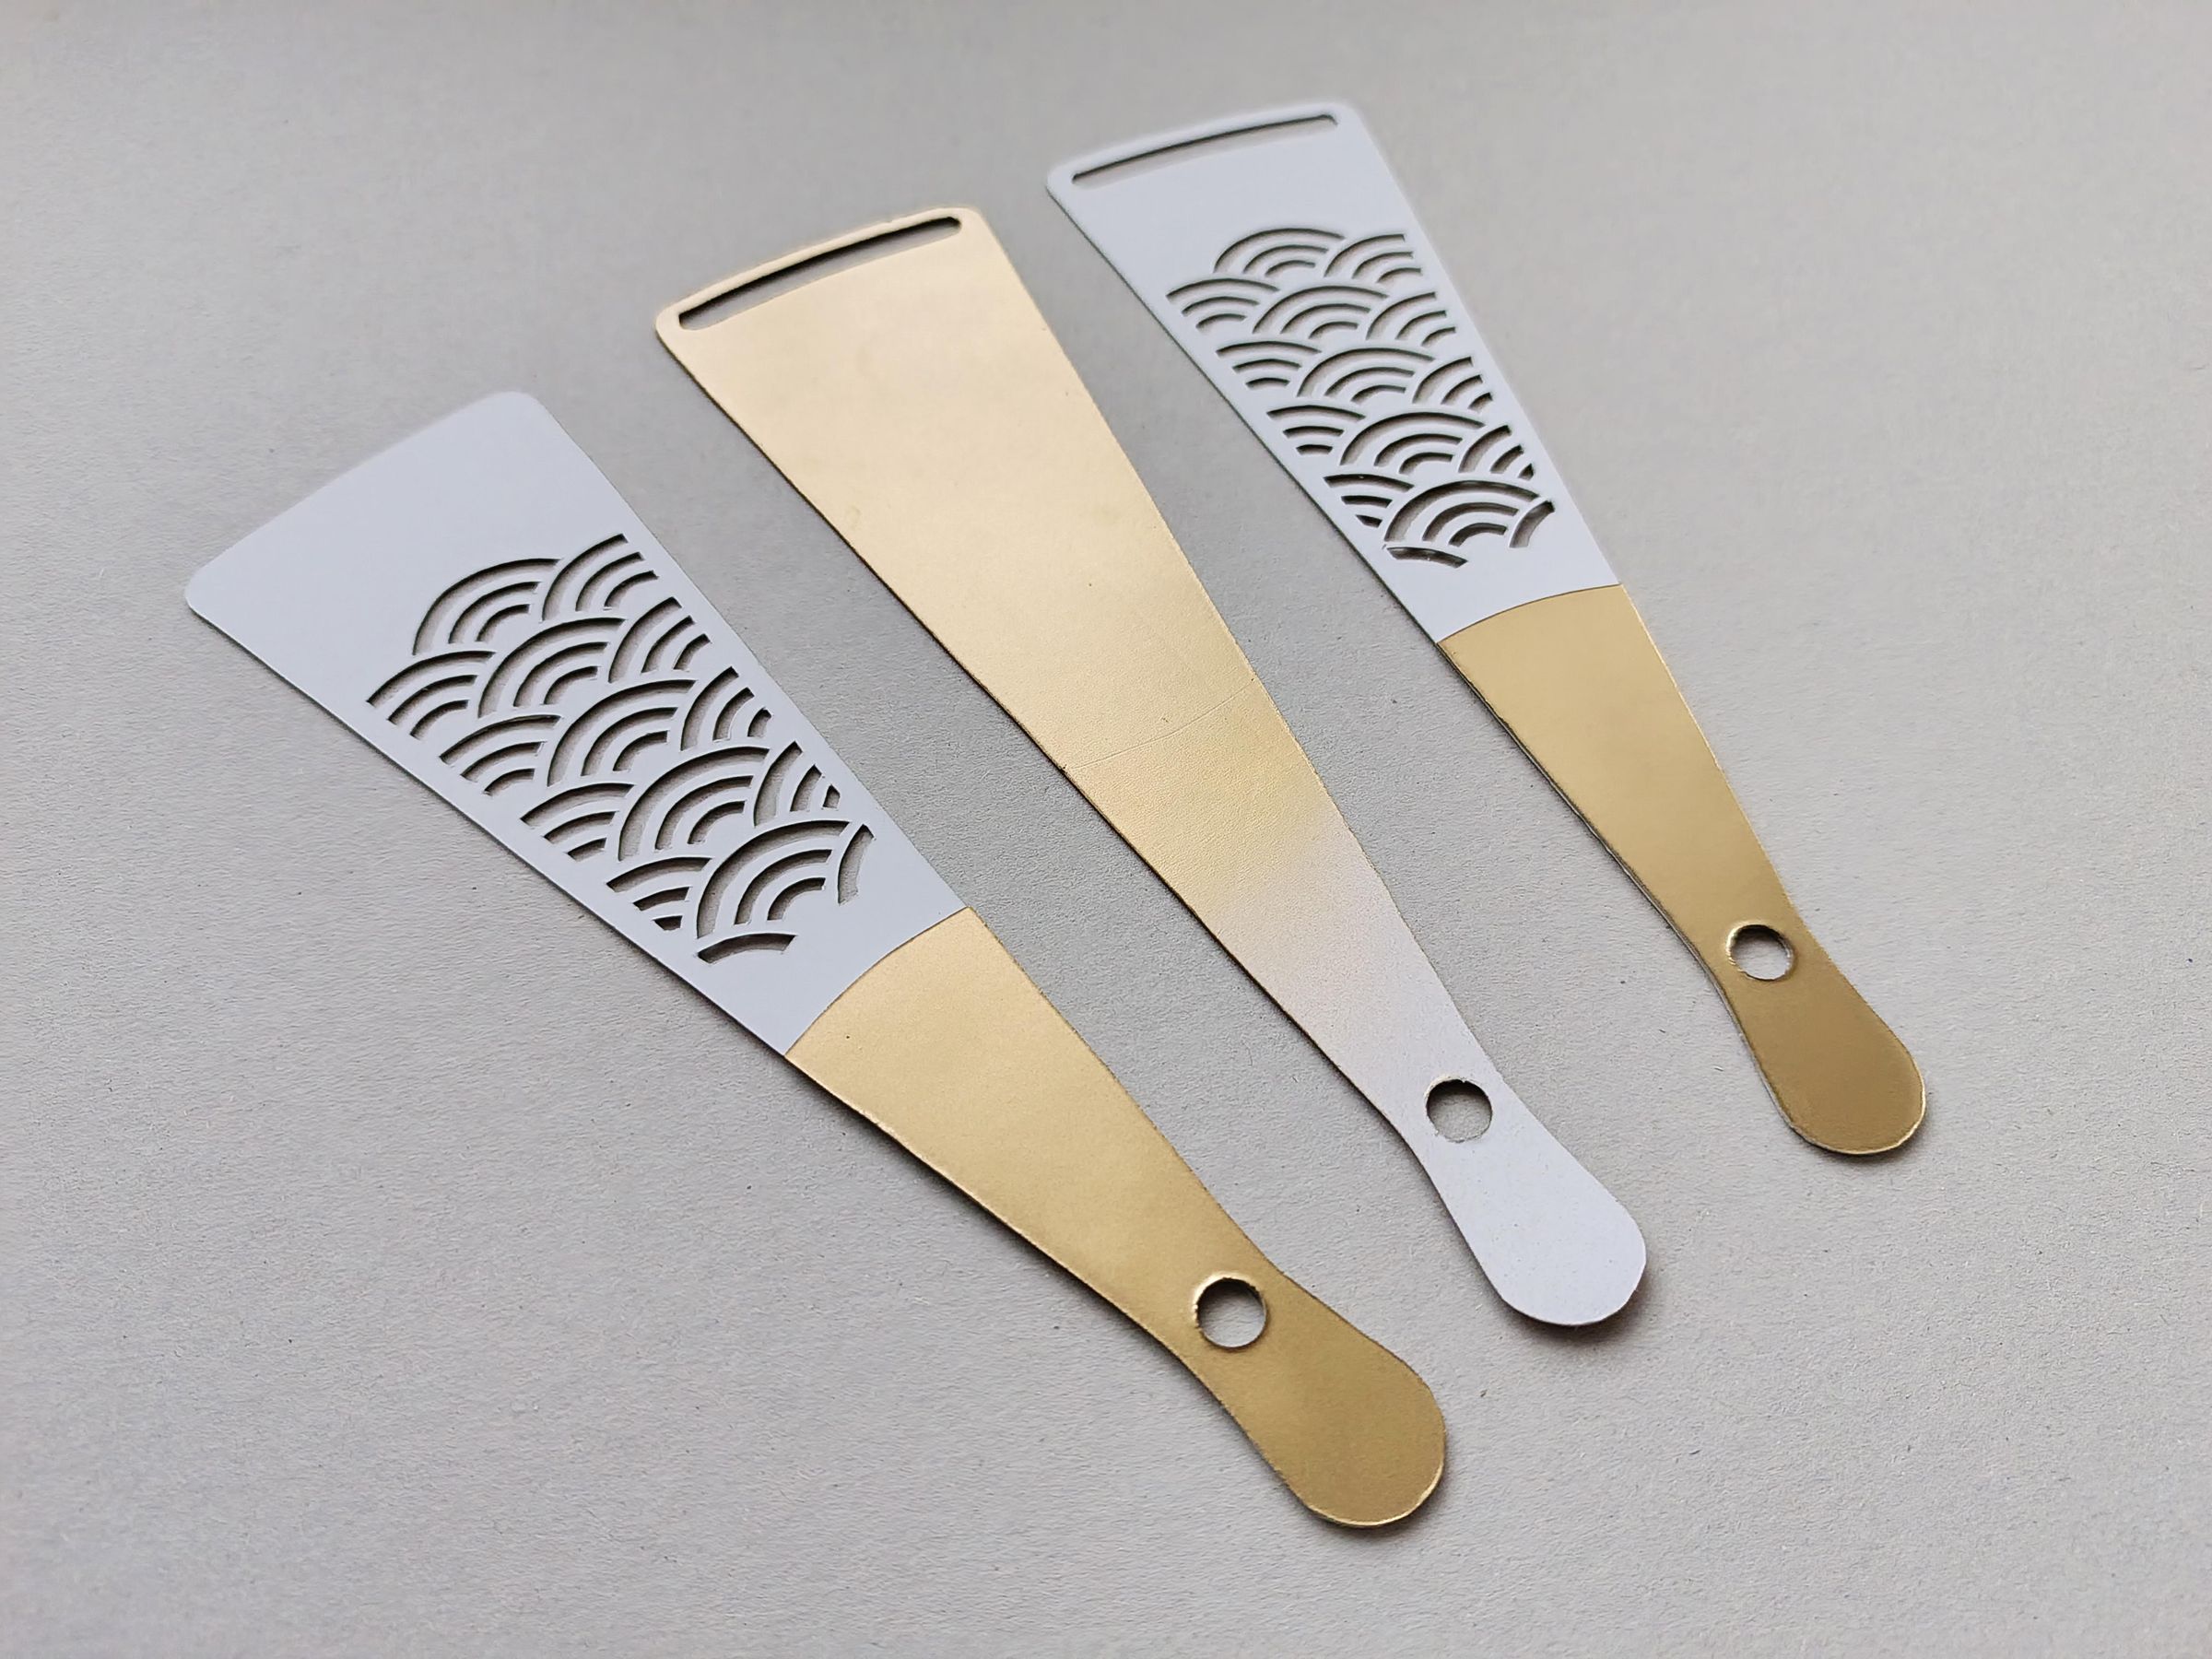
Apply the glue to the small gold part to form the front and back faces.
Join
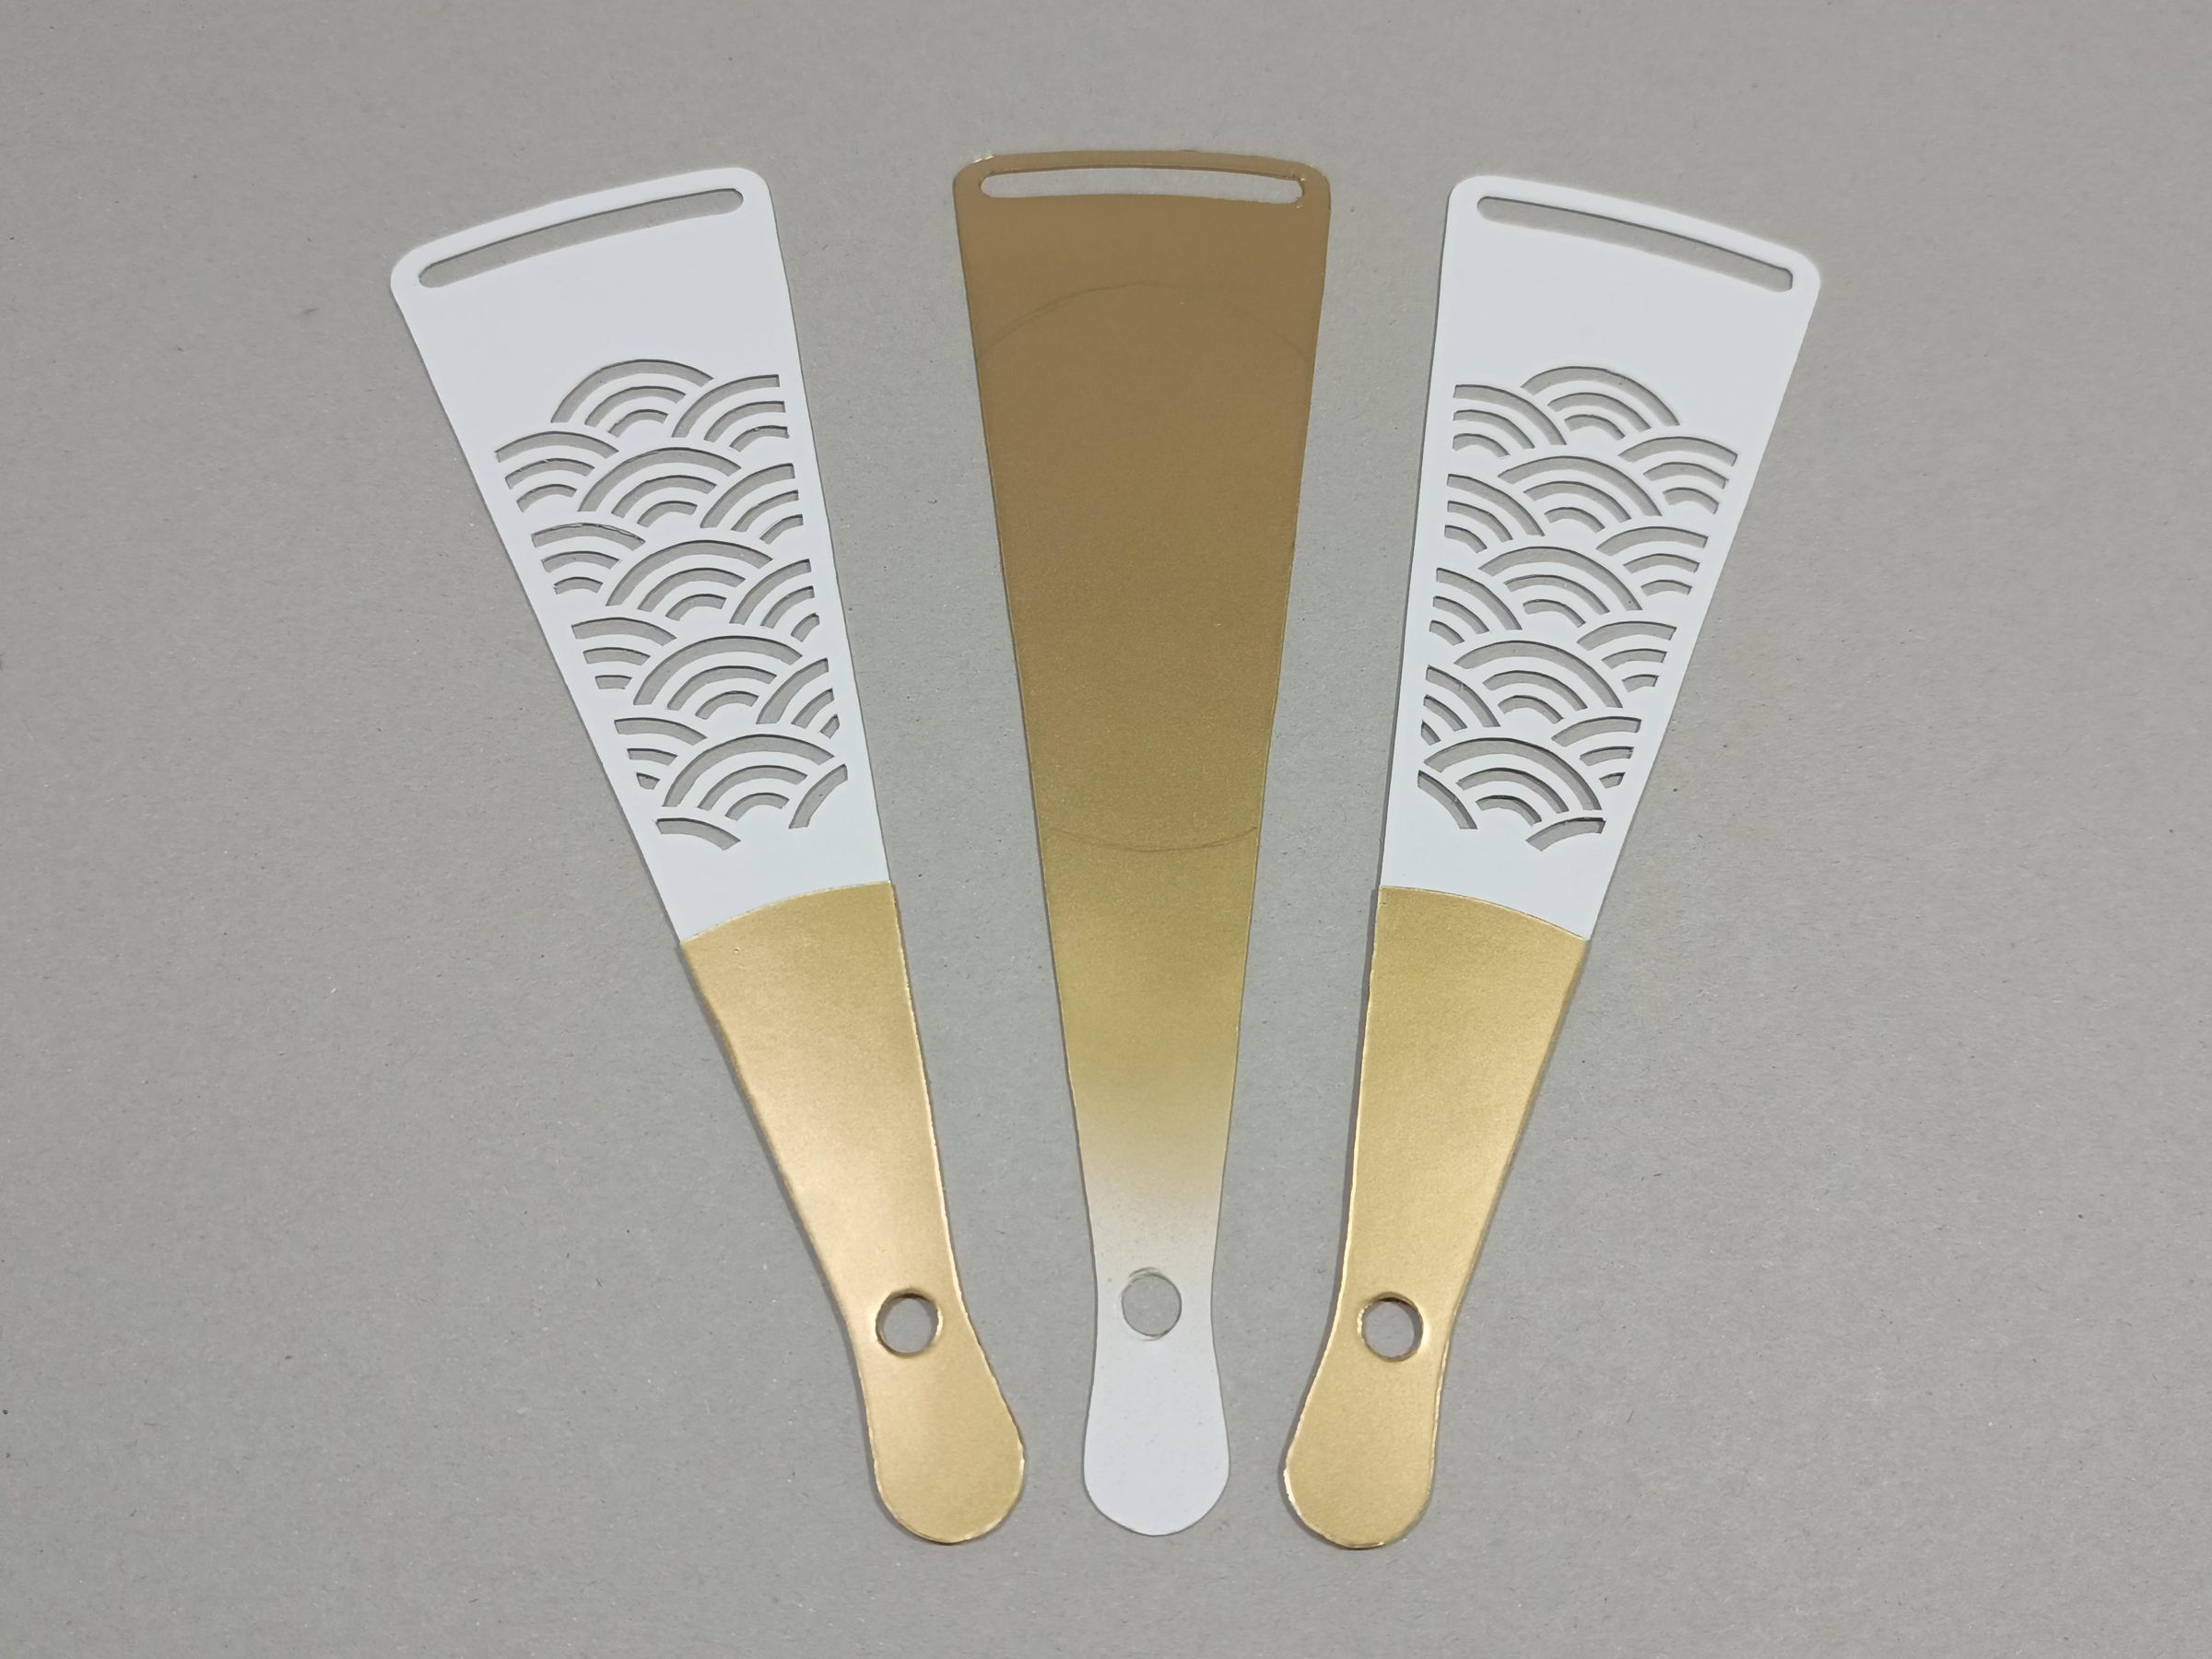
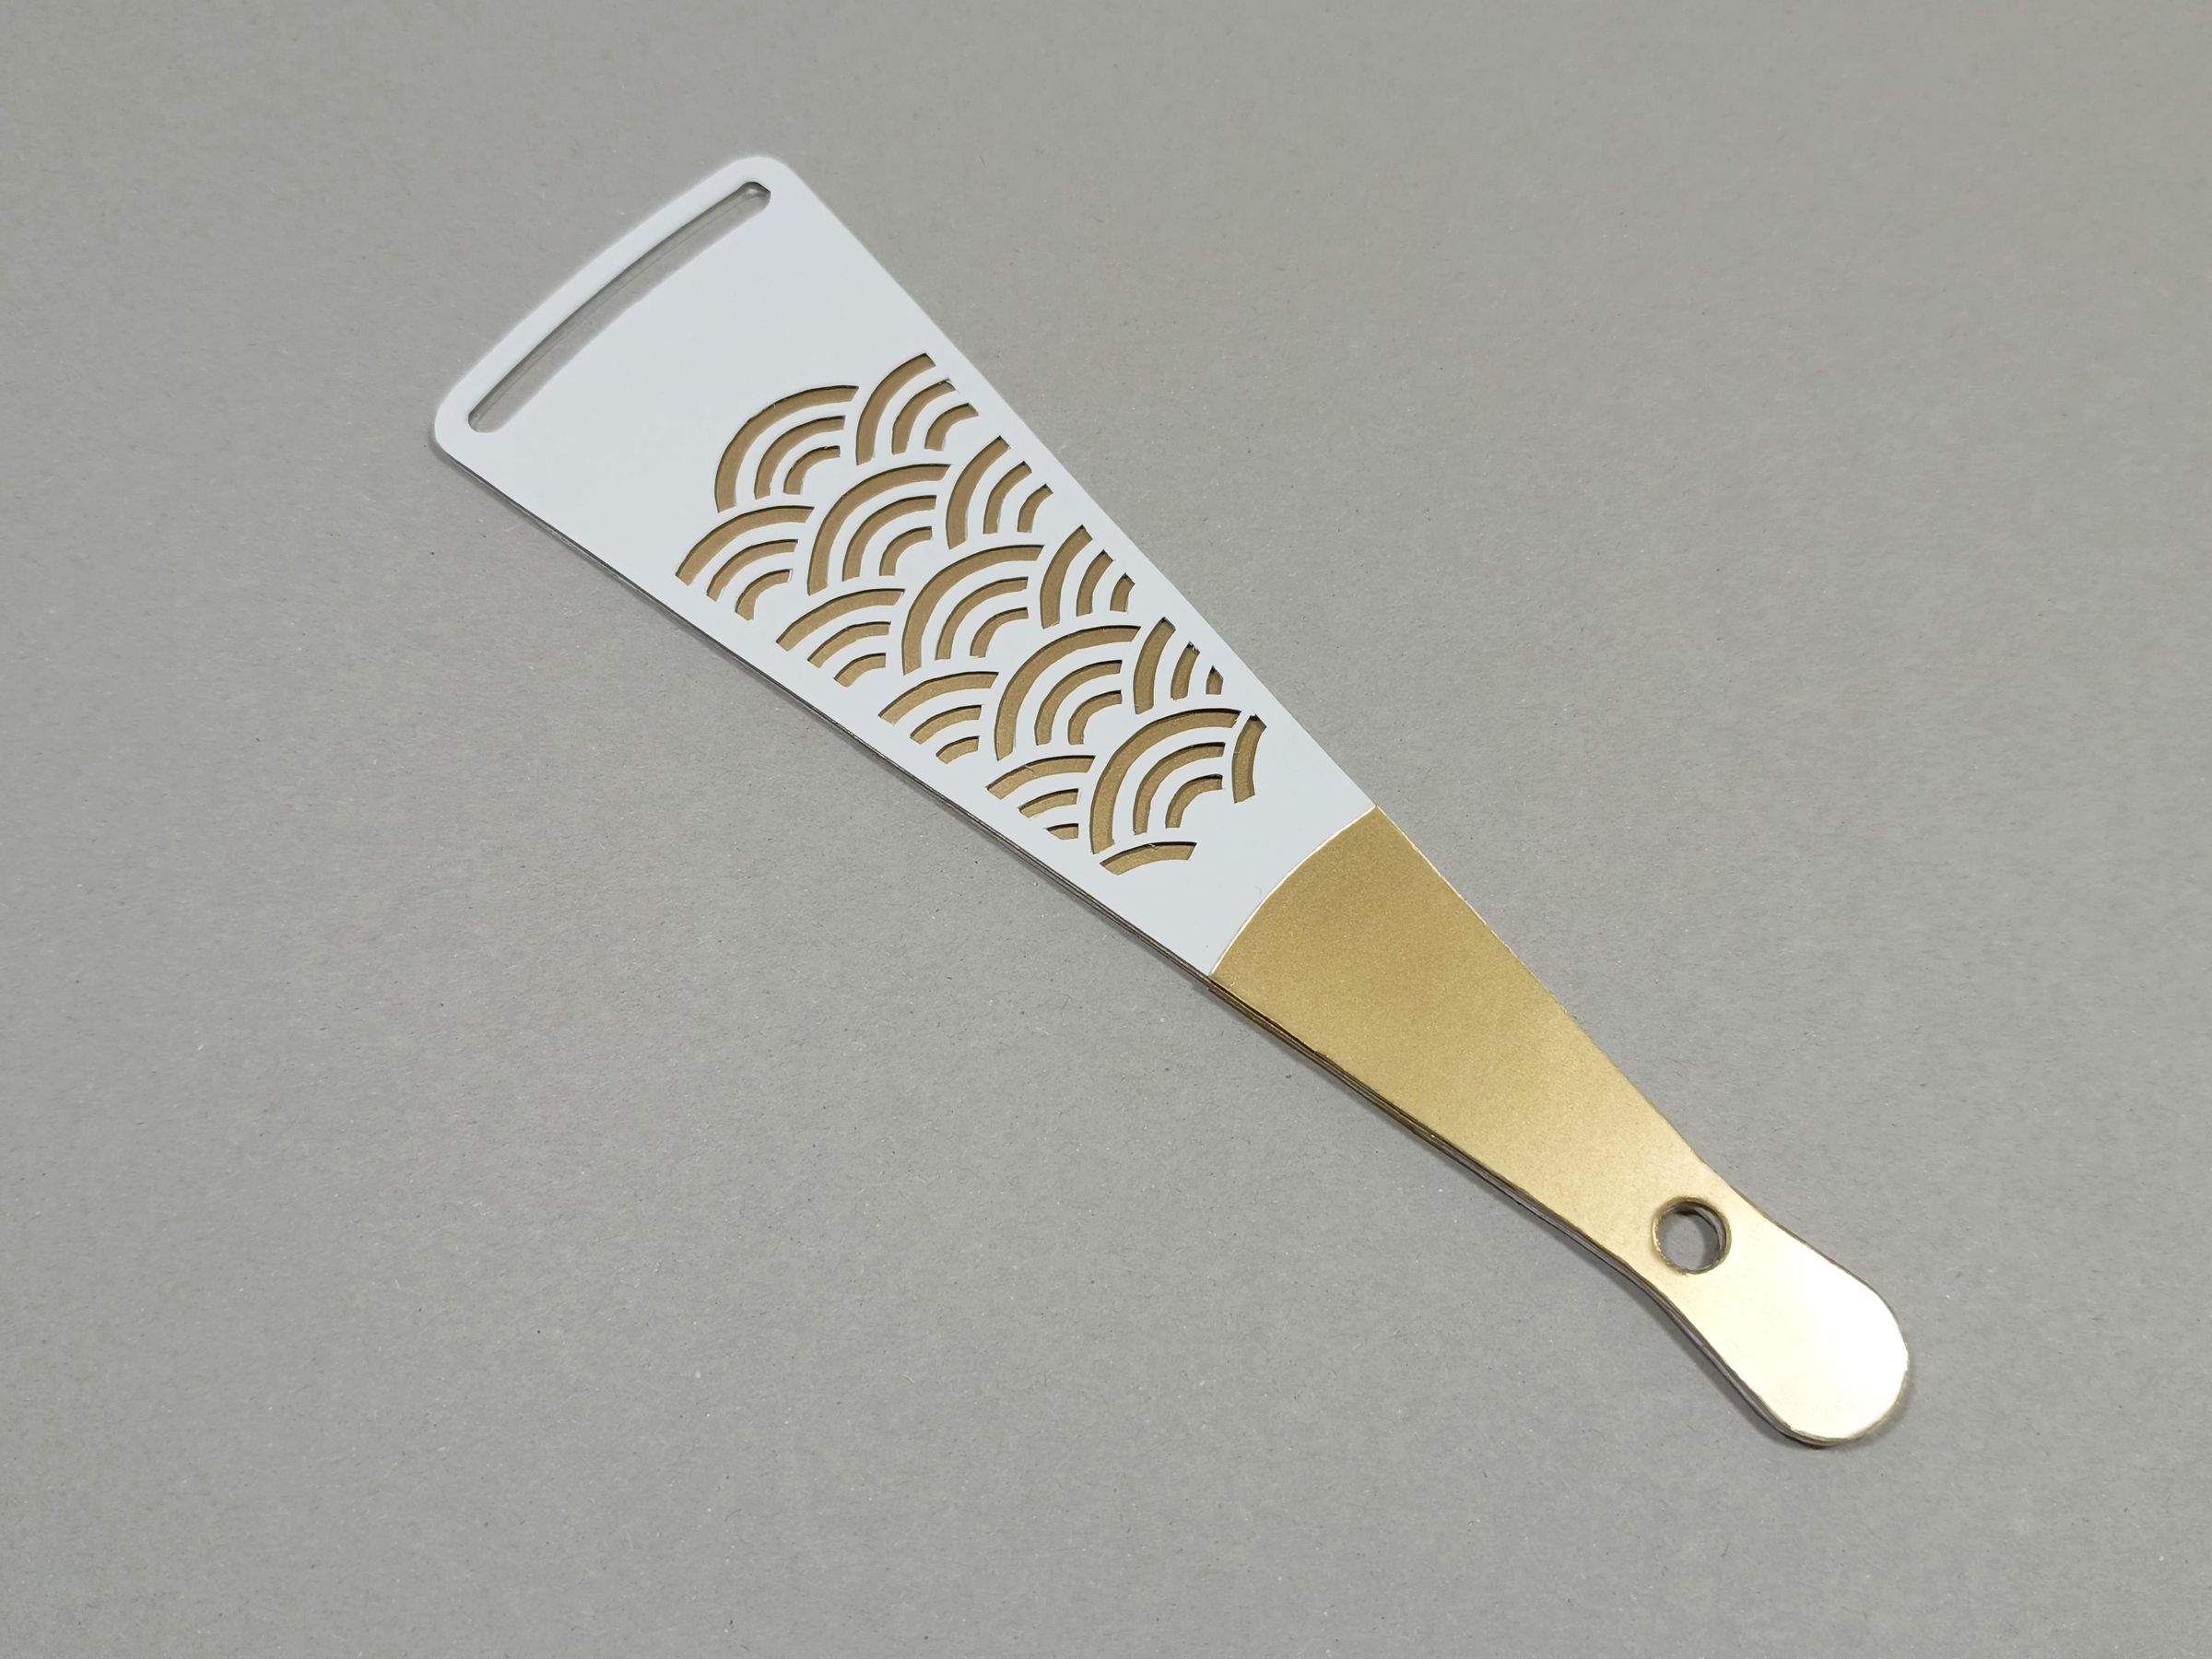
Now join the two face pieces by gluing them together at the middle part, making sure not to put glue in the area where the Seigaiha pattern cutout is located.
glue one side and then the back.
Join Blades Chicago Screws
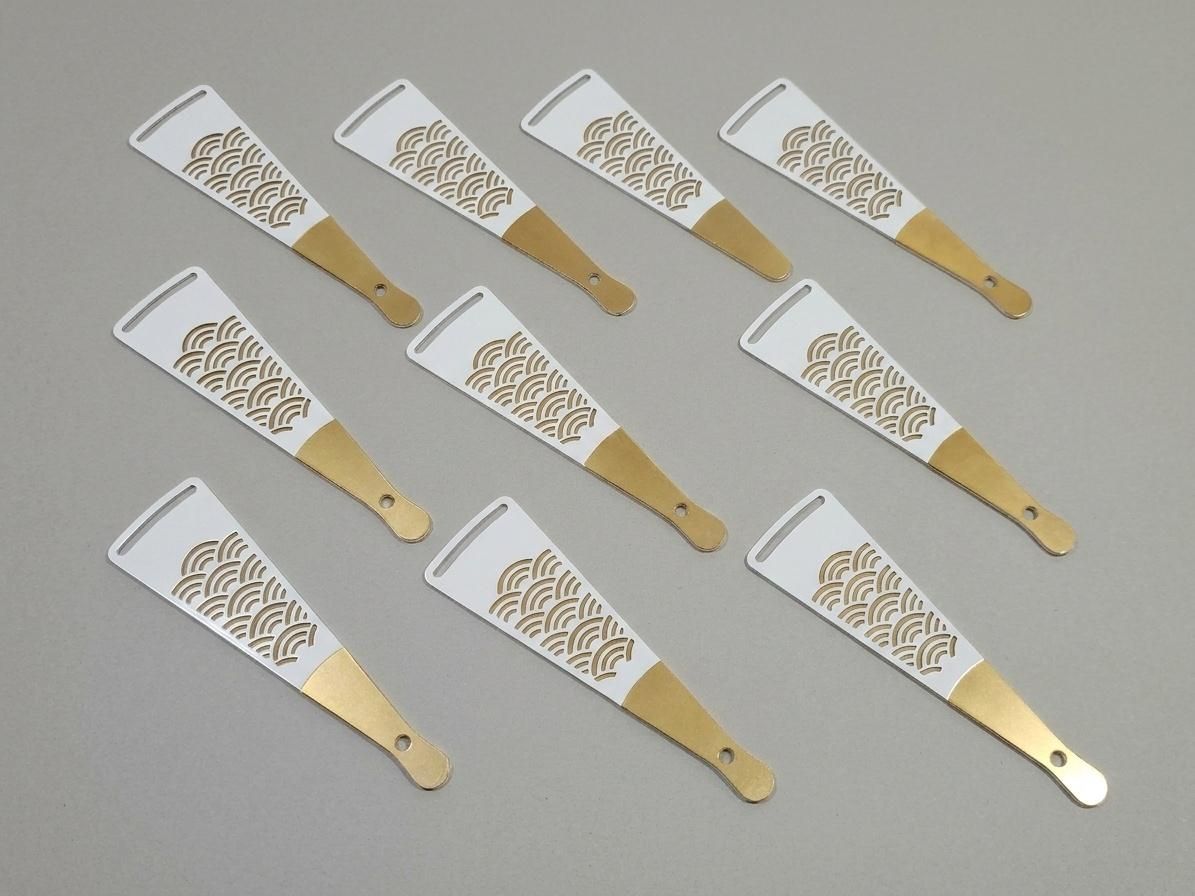
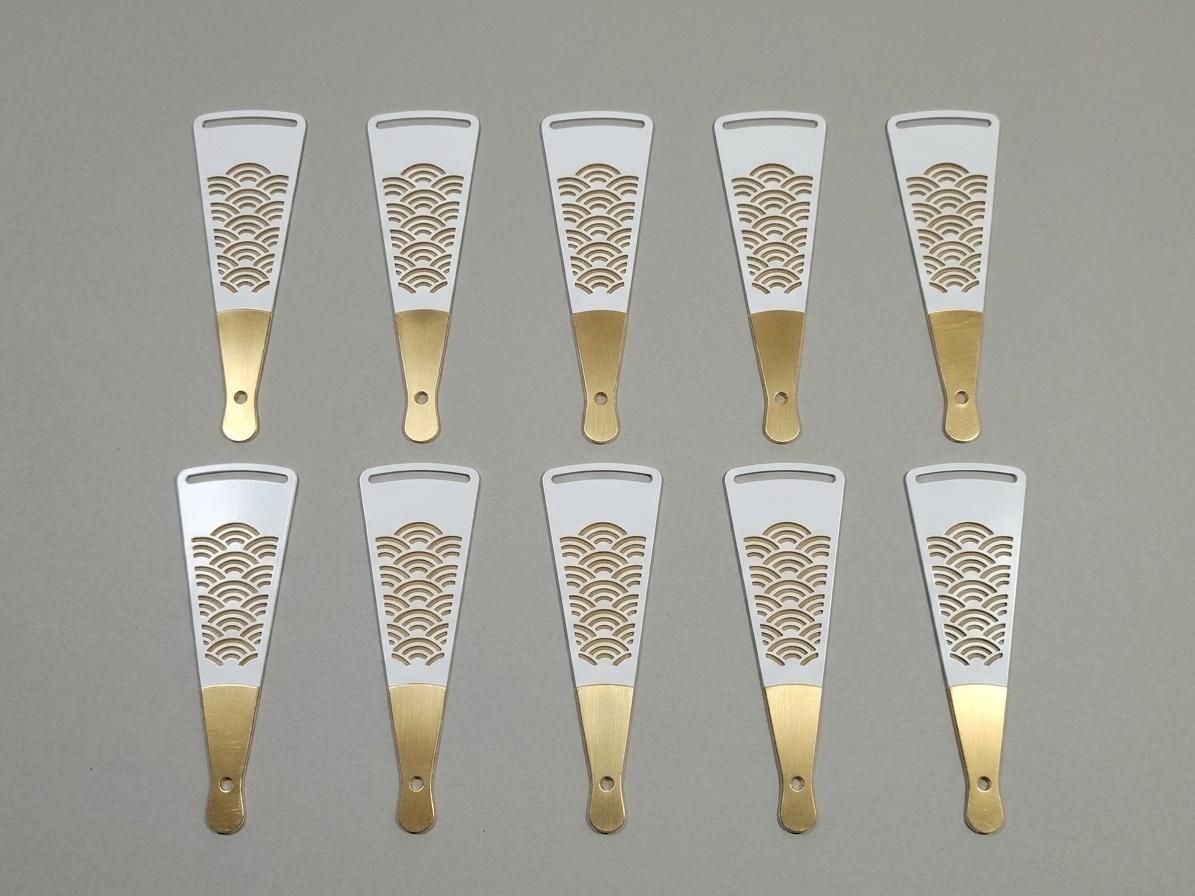
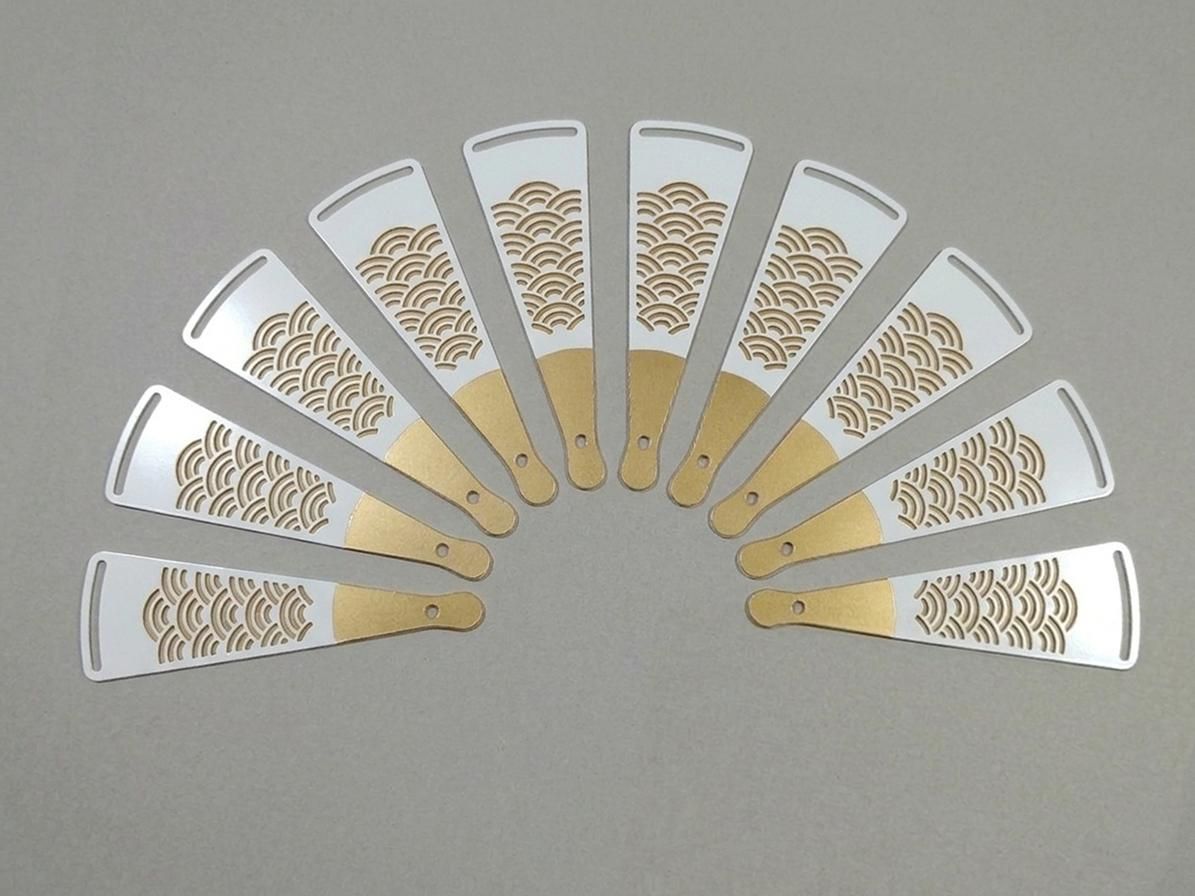
Repeat the process to obtain 10 fully formed blades, and distribute them in an arc shape. Then overlap each blade and, using a binding screw, secure each blade to its counterpart. Leave the screws slightly loosened so they function as a rail.
The Kaname
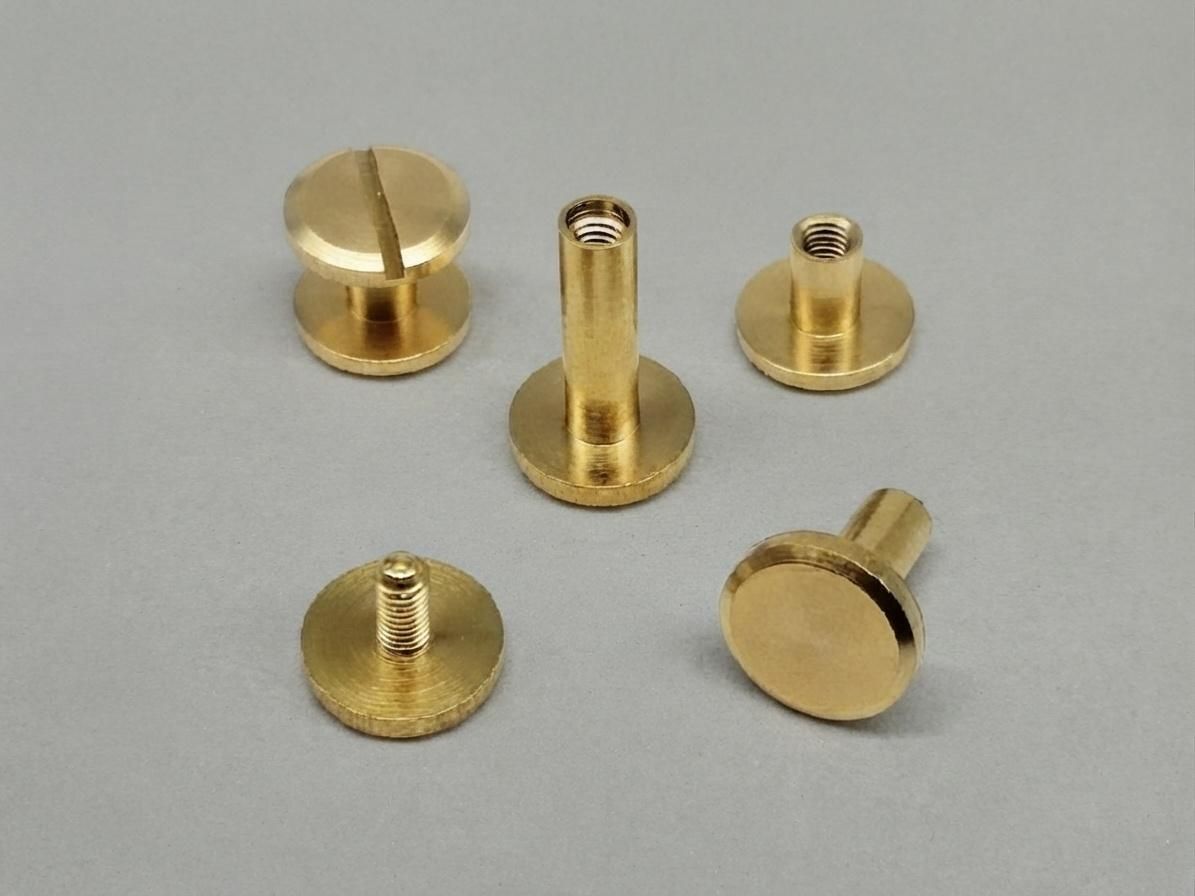
For the kaname (pivot point) Use a Chicago screw or binding screw too.
Depending on the difference when you assemble the 10 blades, buy the one that best fits your needs. Also, use them in the sliding holes of each blade.
You can also use a cord and thread it through the pivot holes.
Depending on the difference in size when you assemble the 10 blades, buy the one that best fits. Use them also in the sliding holes of each blade.
You can also use a cord and thread it through the pivot holes.
Screw it on both sides, but not too tightly. The idea is to allow some movement for smoother sliding between the fan blades.
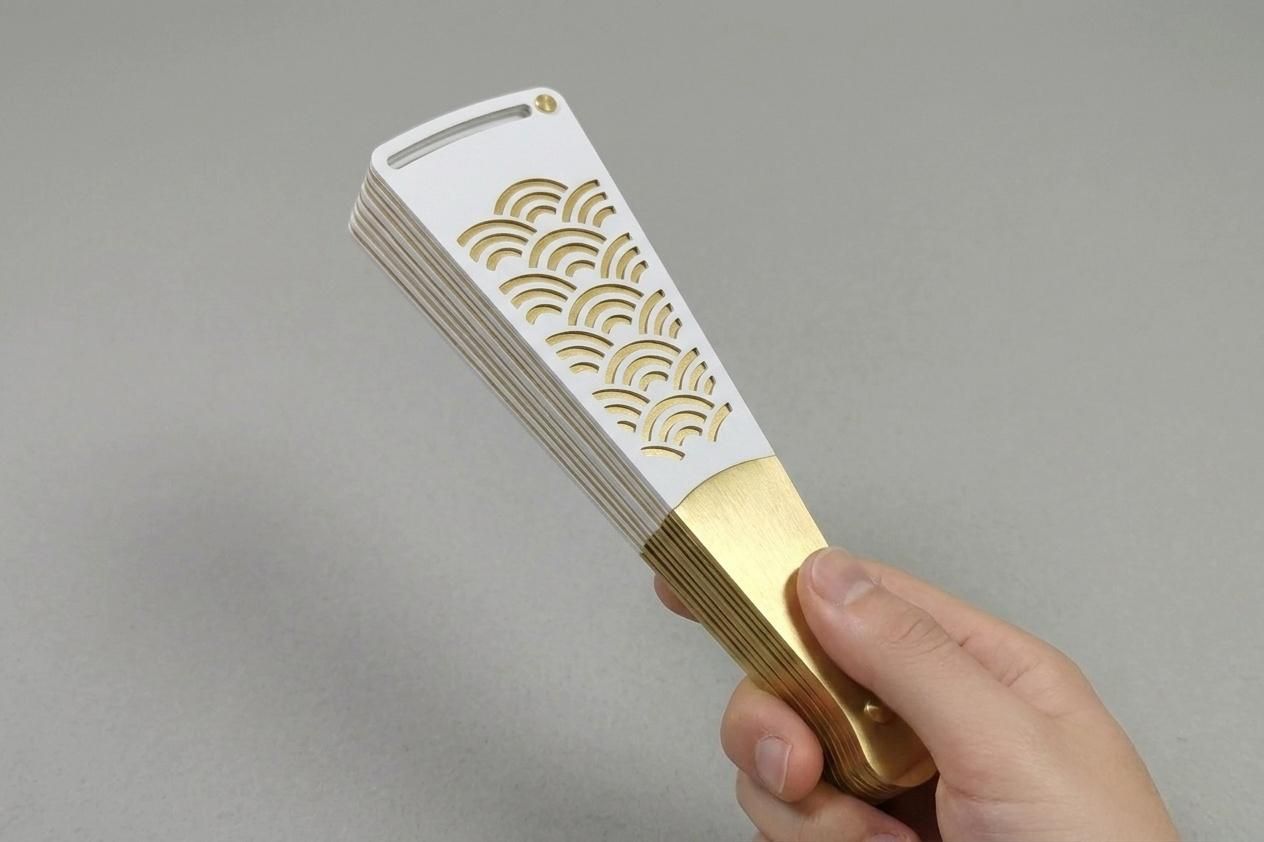
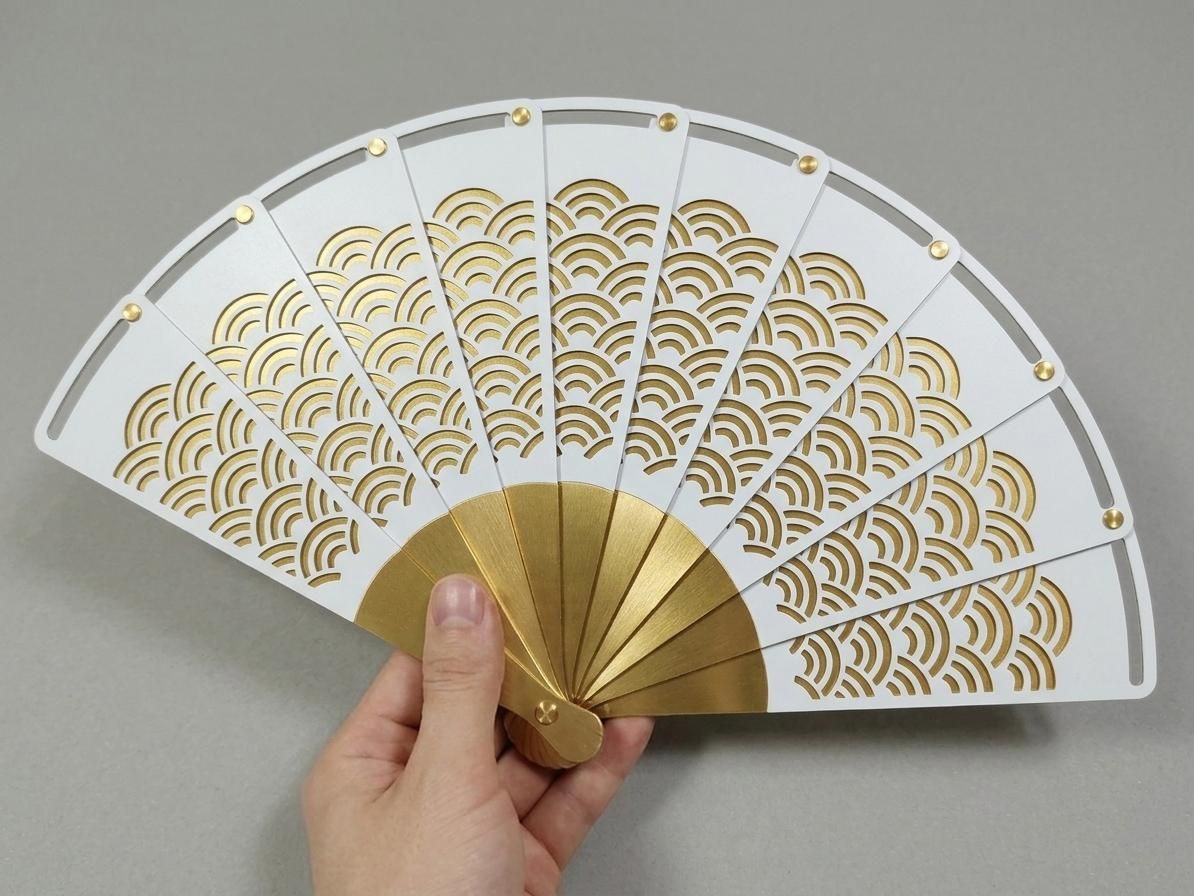
Sensu Foldable Fan
Conclusion:
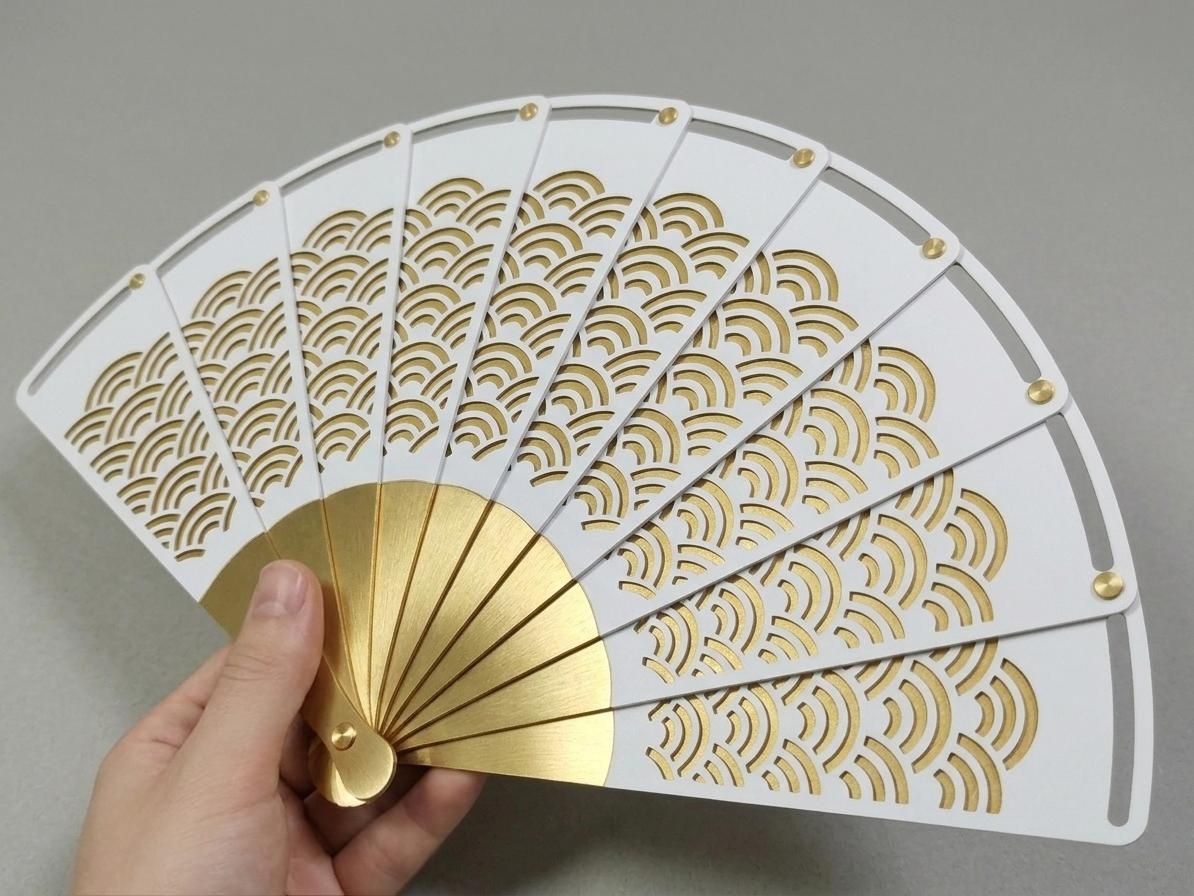
Finally, by joining all the blades together, you will obtain a Sensu.
This Sensu is lightweight and practical; if handled carefully, it will last longer.
Keep it closed when not in use or display it on your wall as decoration.
Be careful not to touch it with wet hands.
Paper or fabric Sensu can be sensitive to humidity.
Although this Sensu folds into a thin piece, avoid storing it in a way that causes creases. Place it where other objects won't press against it so it retains its original shape.
I hope you enjoyed this process, and I look forward to seeing your Sensu collection with different patterns or illustrations soon.
Thanks for checking out my project.