Jumper Wire Bending Jig for Solderless Breadboards
by olgapavlova in Workshop > Metalworking
108 Views, 1 Favorites, 0 Comments
Jumper Wire Bending Jig for Solderless Breadboards
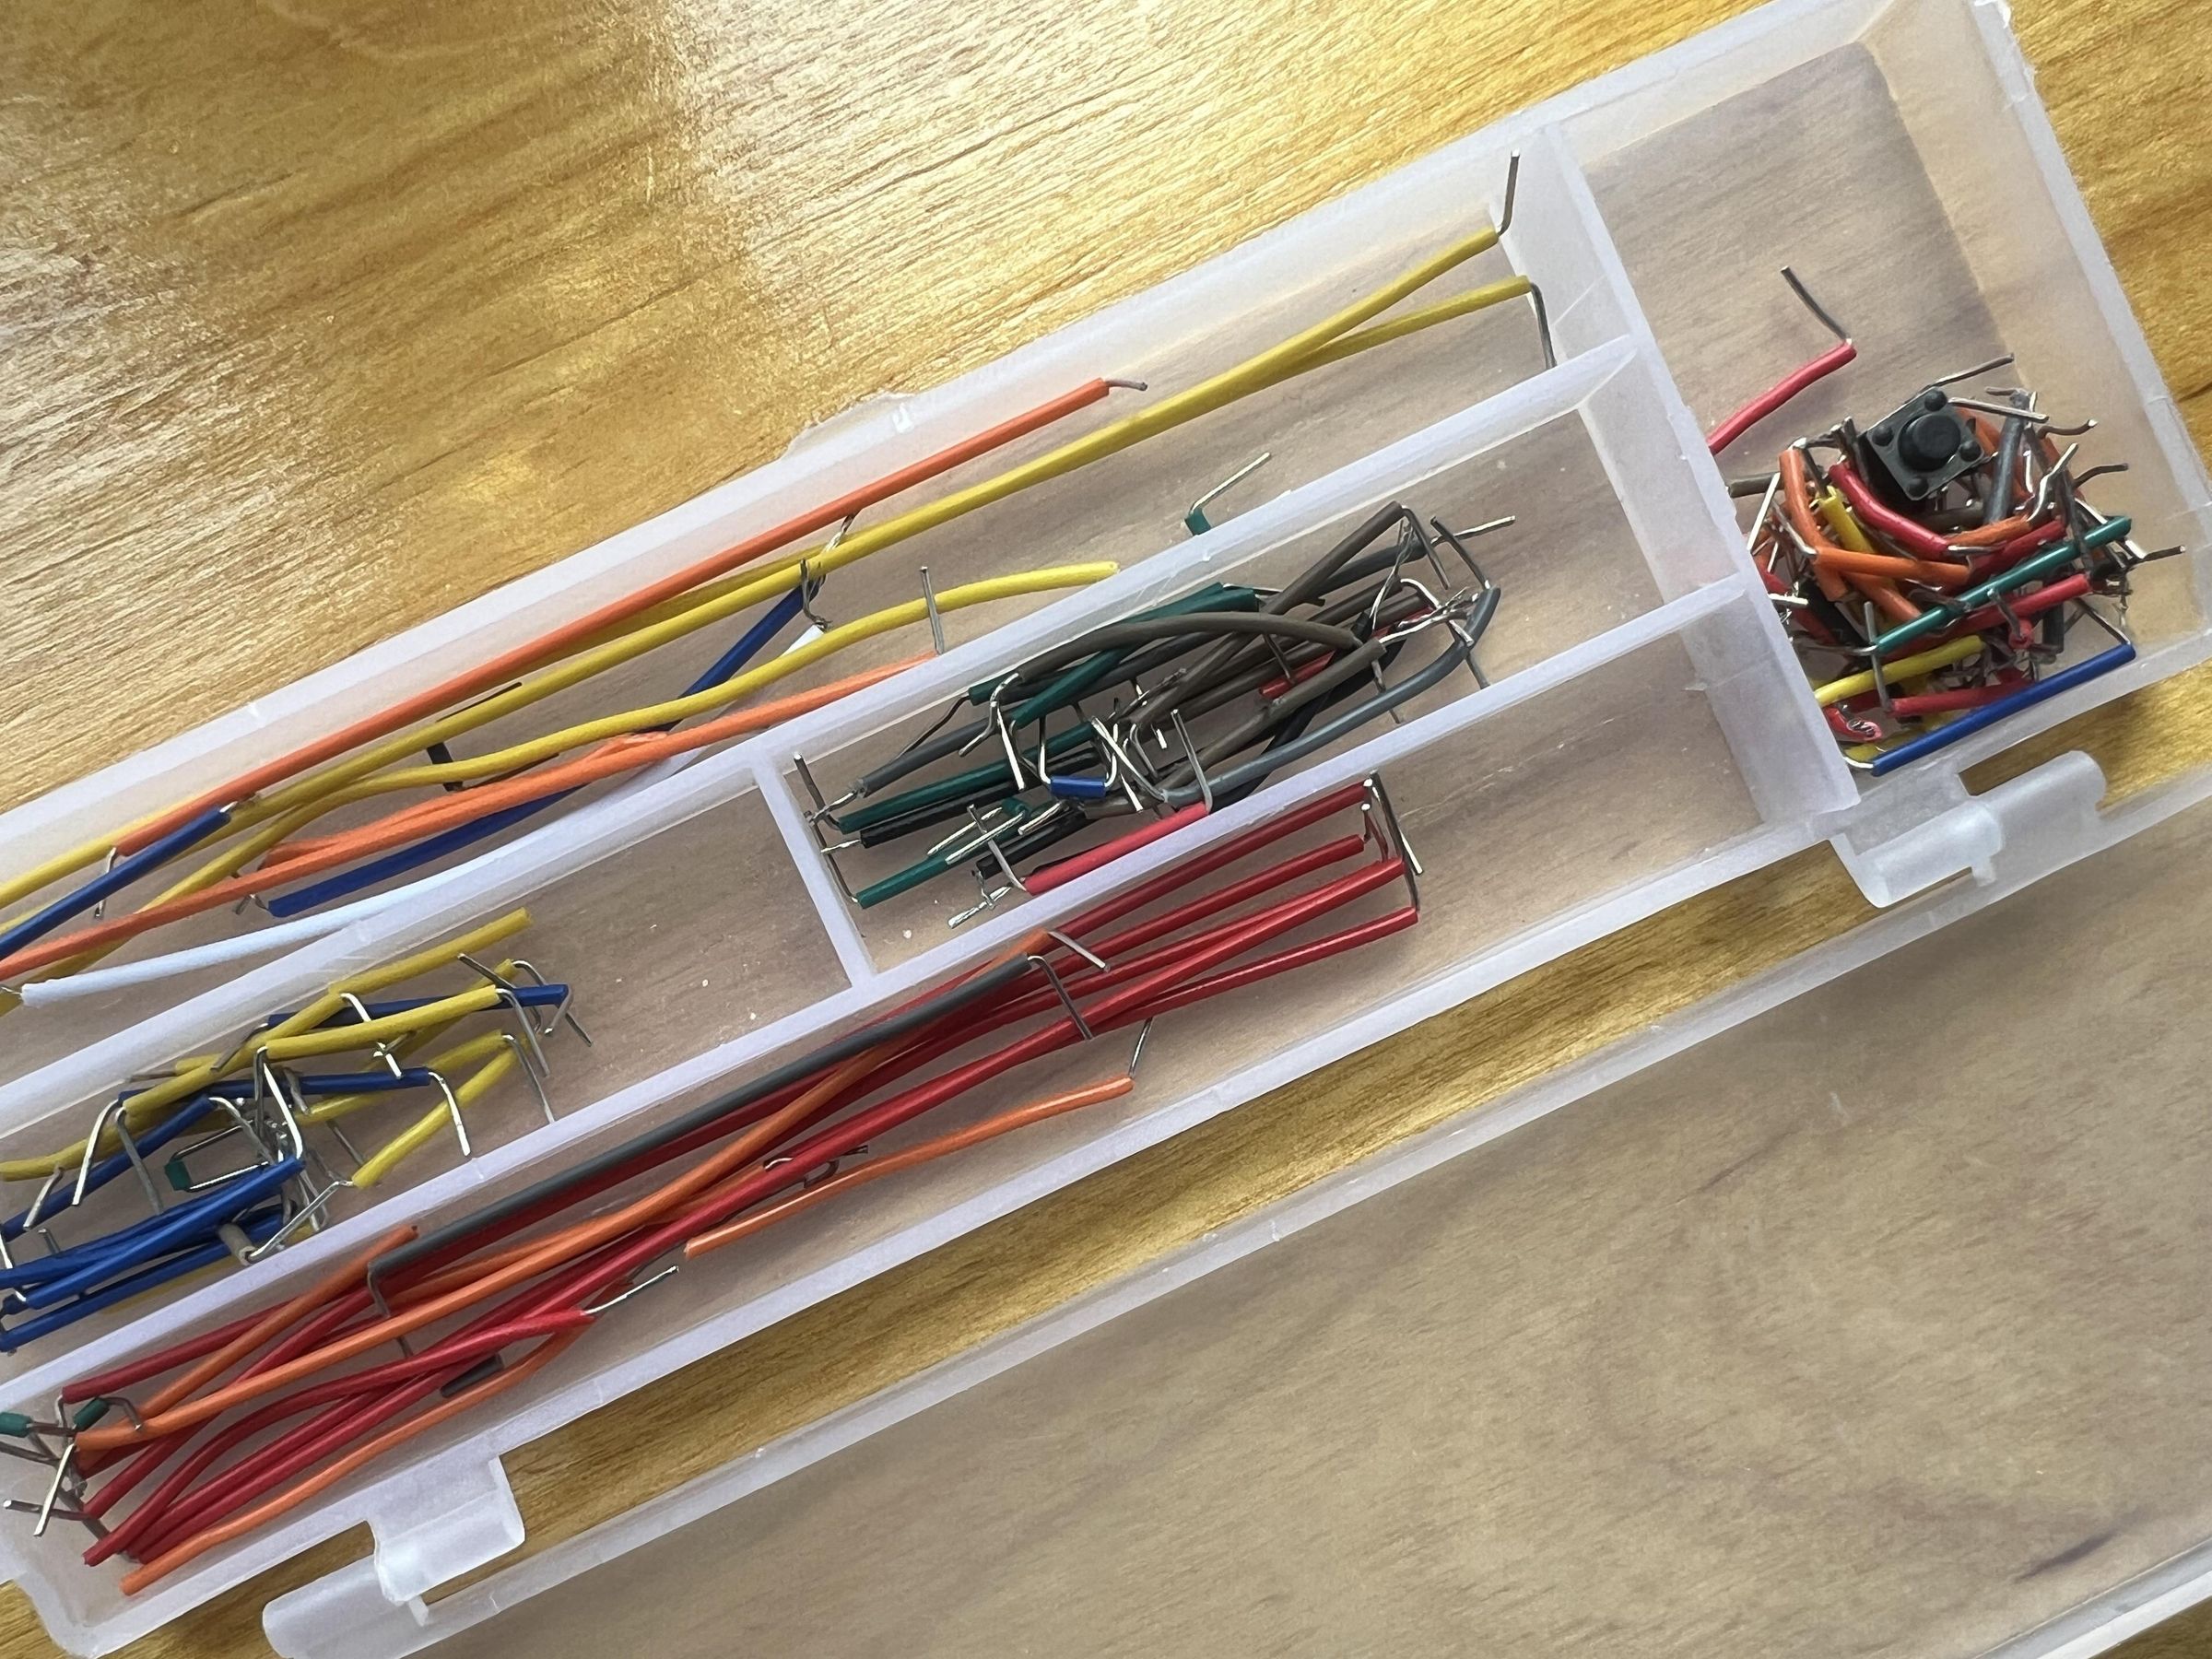
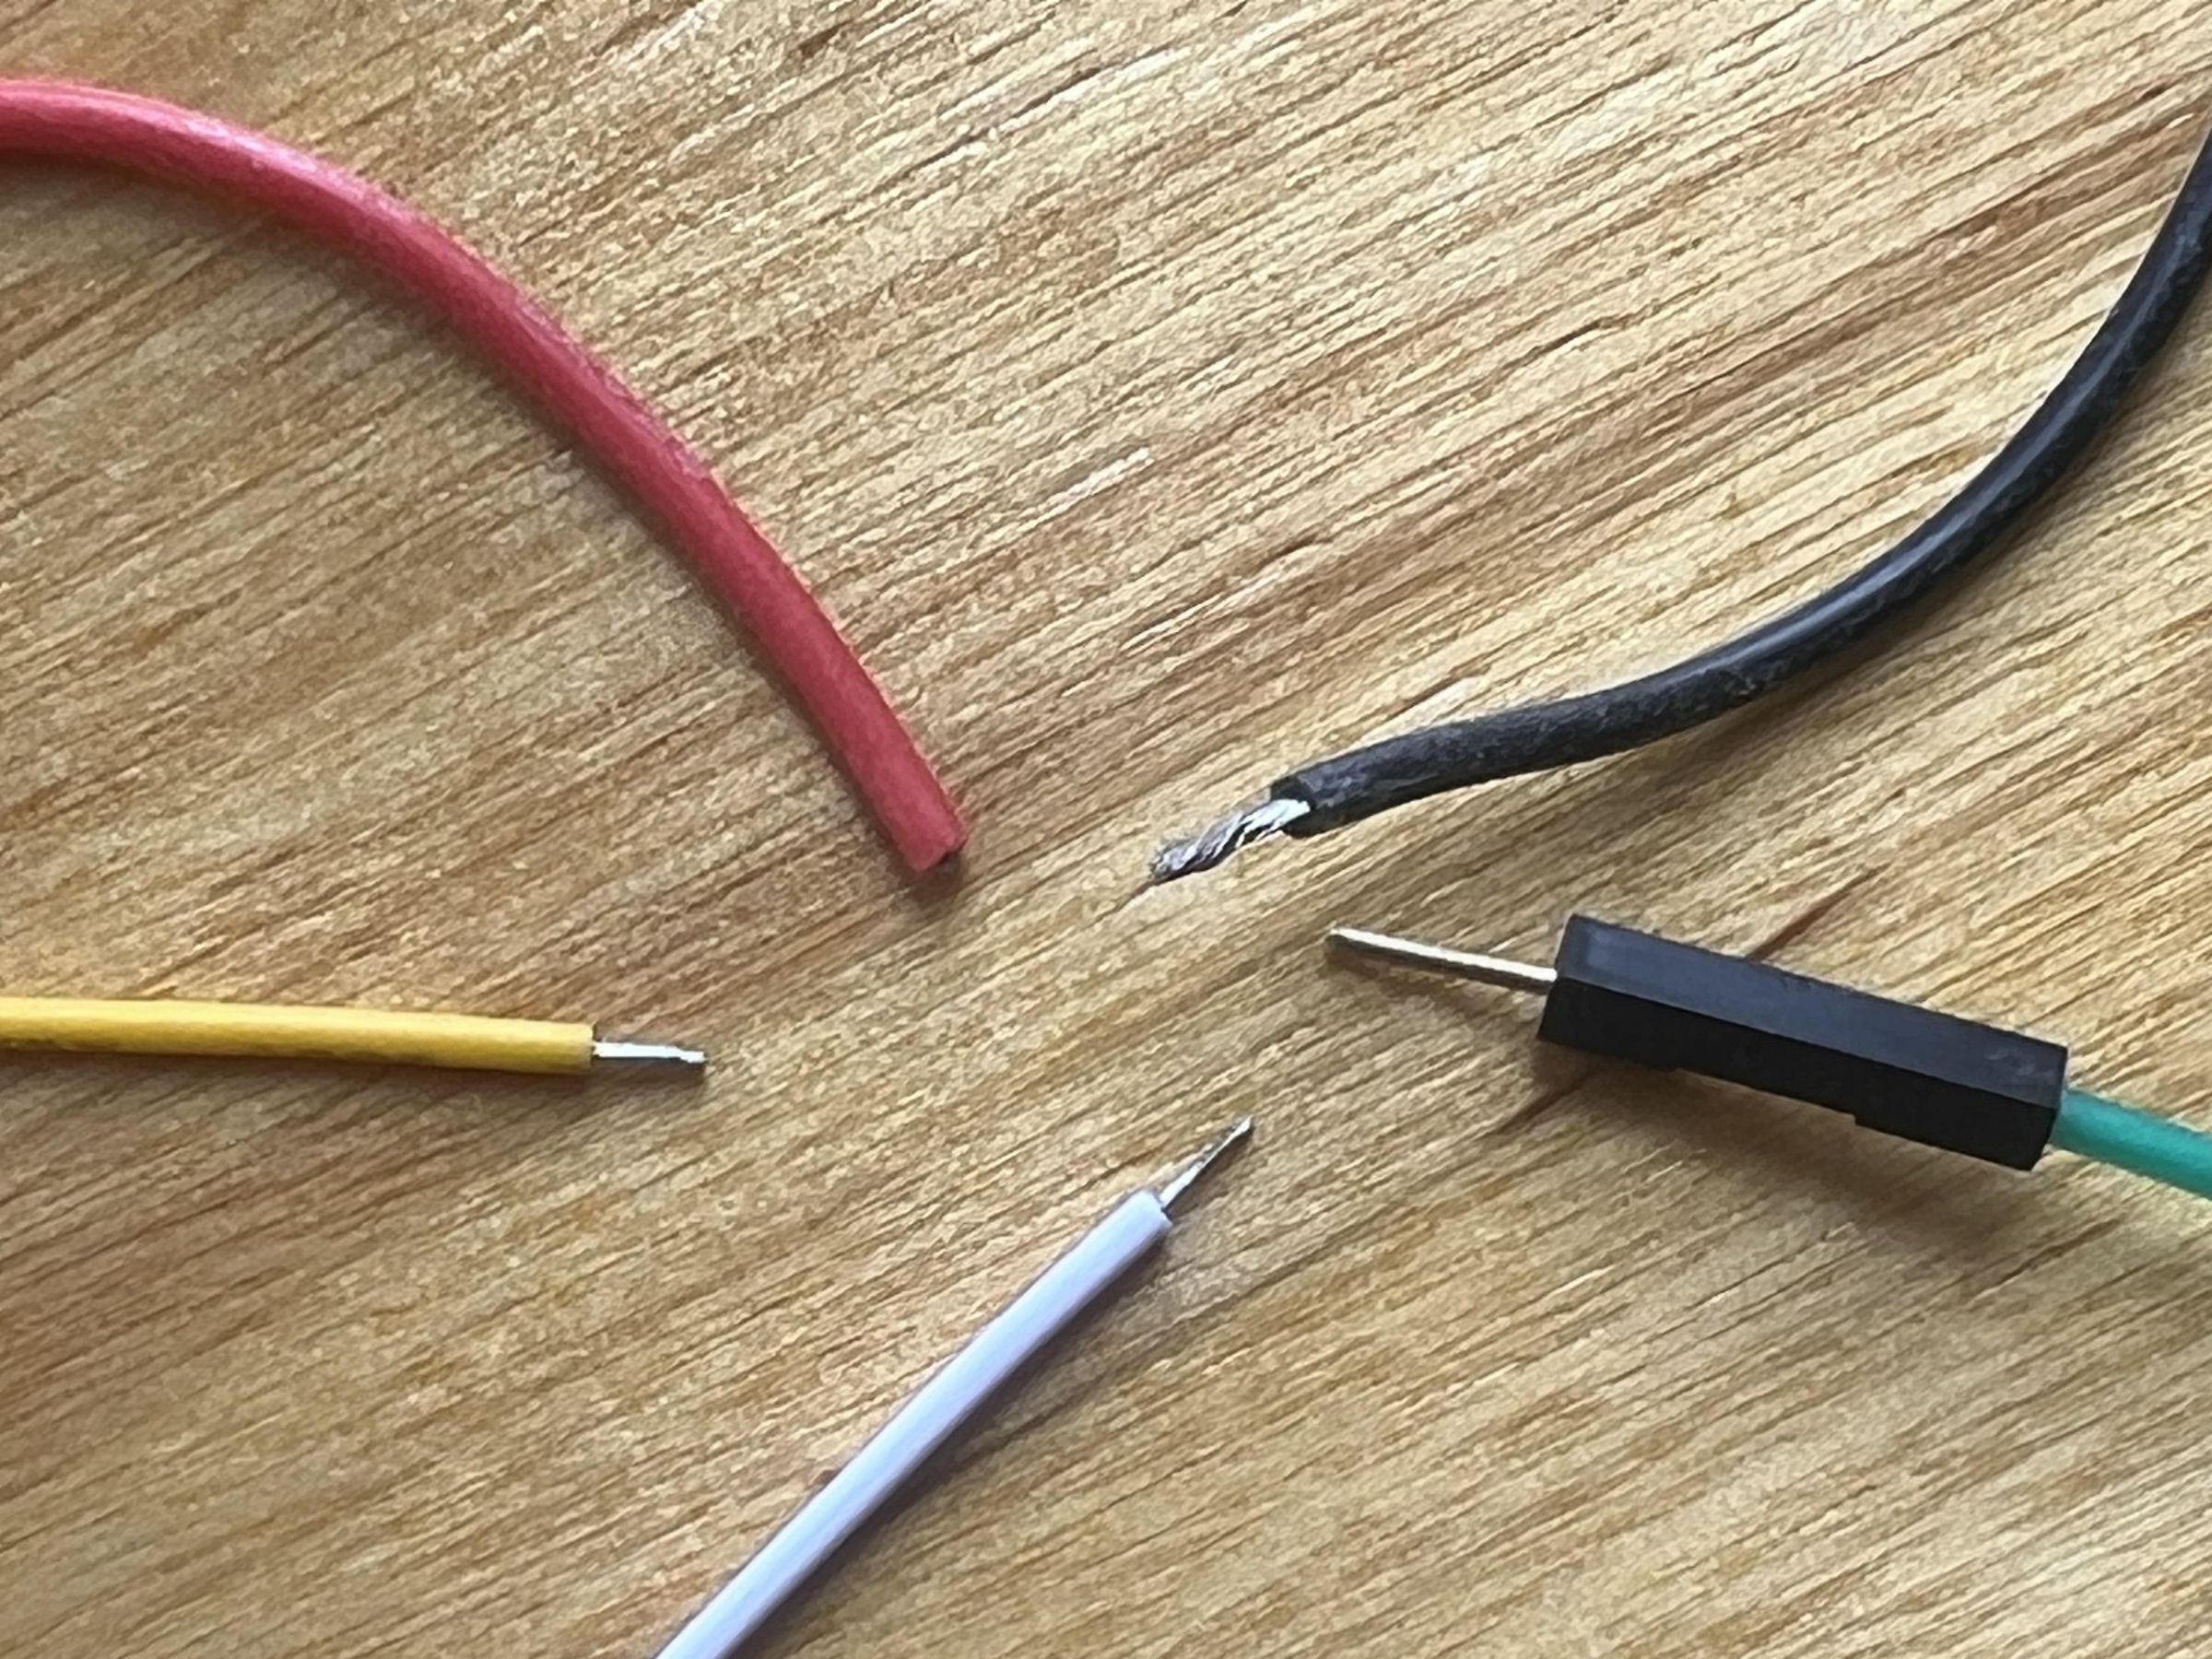
Standard jumper wires for breadboard assembly are inconvenient: some bend too easily, others stick out, some have frayed ends, and others are simply unpleasant in color and feel.
You may want to make your own jumper wires. But you need a lot of them. Far too many. How can you make them quickly and easily? A dedicated tool can help.
Supplies
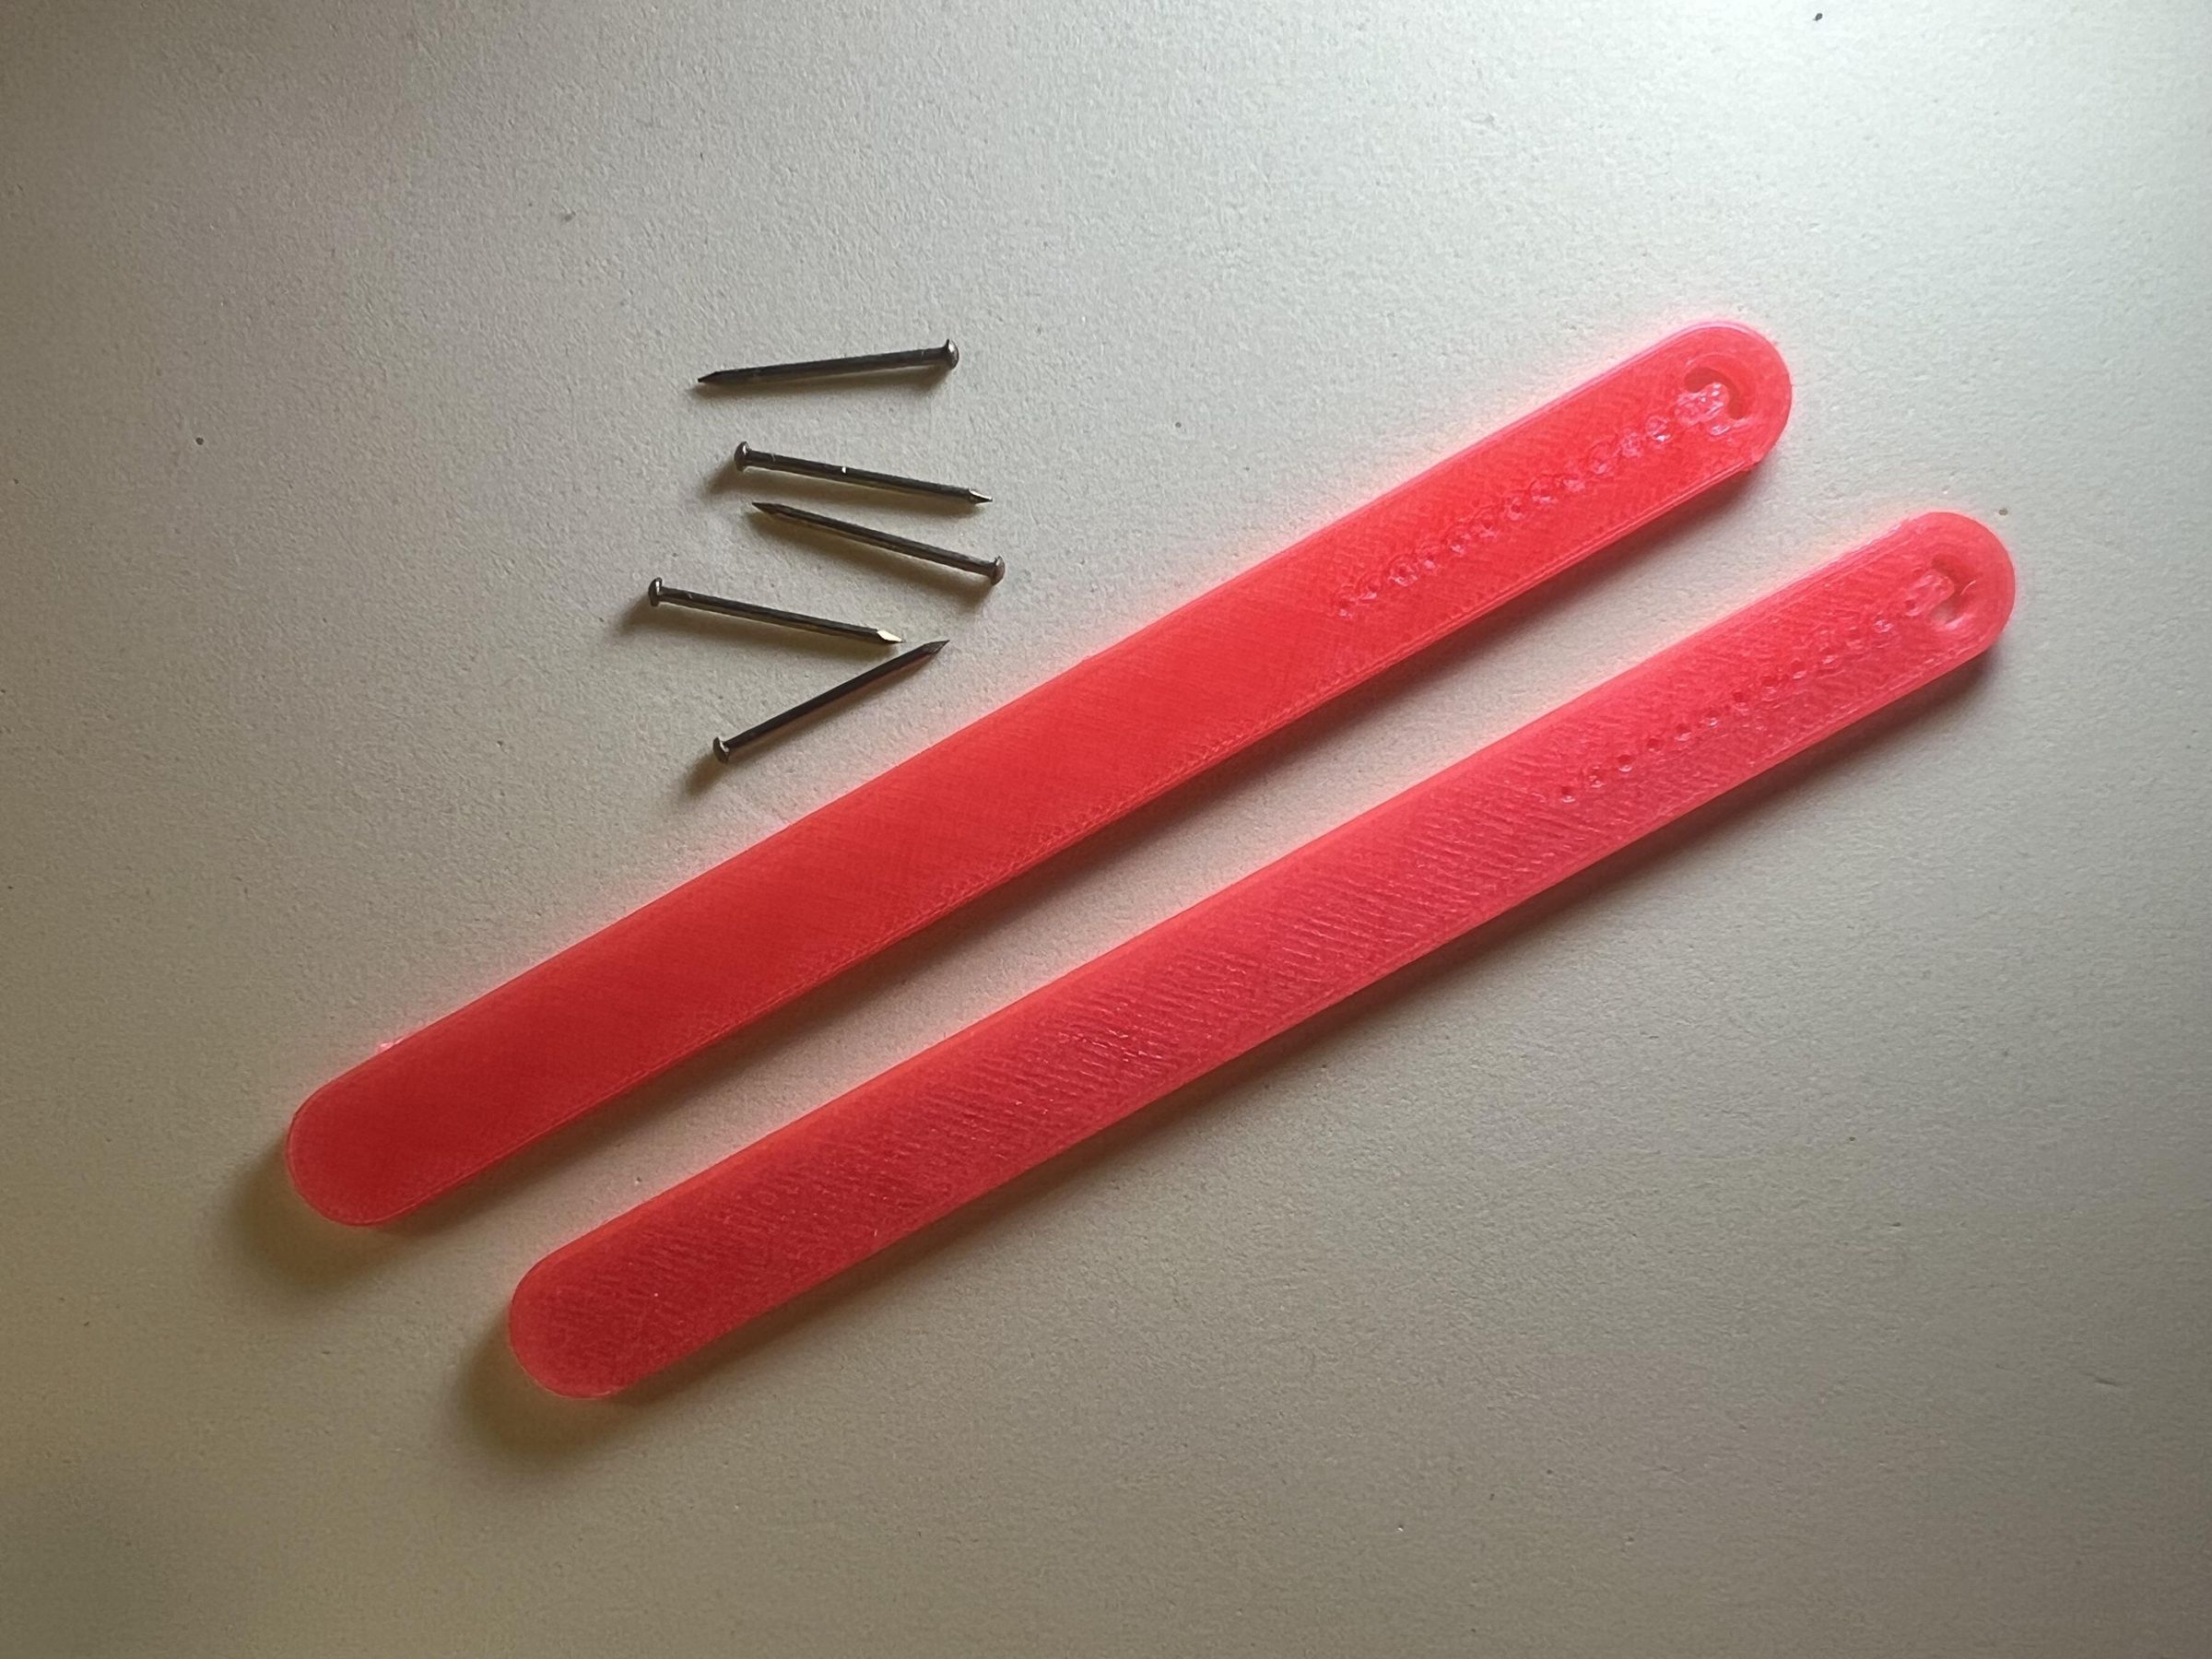
Materials
- PETG filament
- four or five finishing nails: 1.2 mm shank diameter (18 gauge), 2.3 mm (3/32") head diameter
- uninsulated solid-core wire, 0.75 mm (AWG 21) or thinner
- optional: superglue
Tools
- 3D printer
- hammer or vise
- cutters
- optional: pliers
- not necessarily needed immediately: breadboard, storage boxes, coating for coloring, polypropylene
Print and Assemble
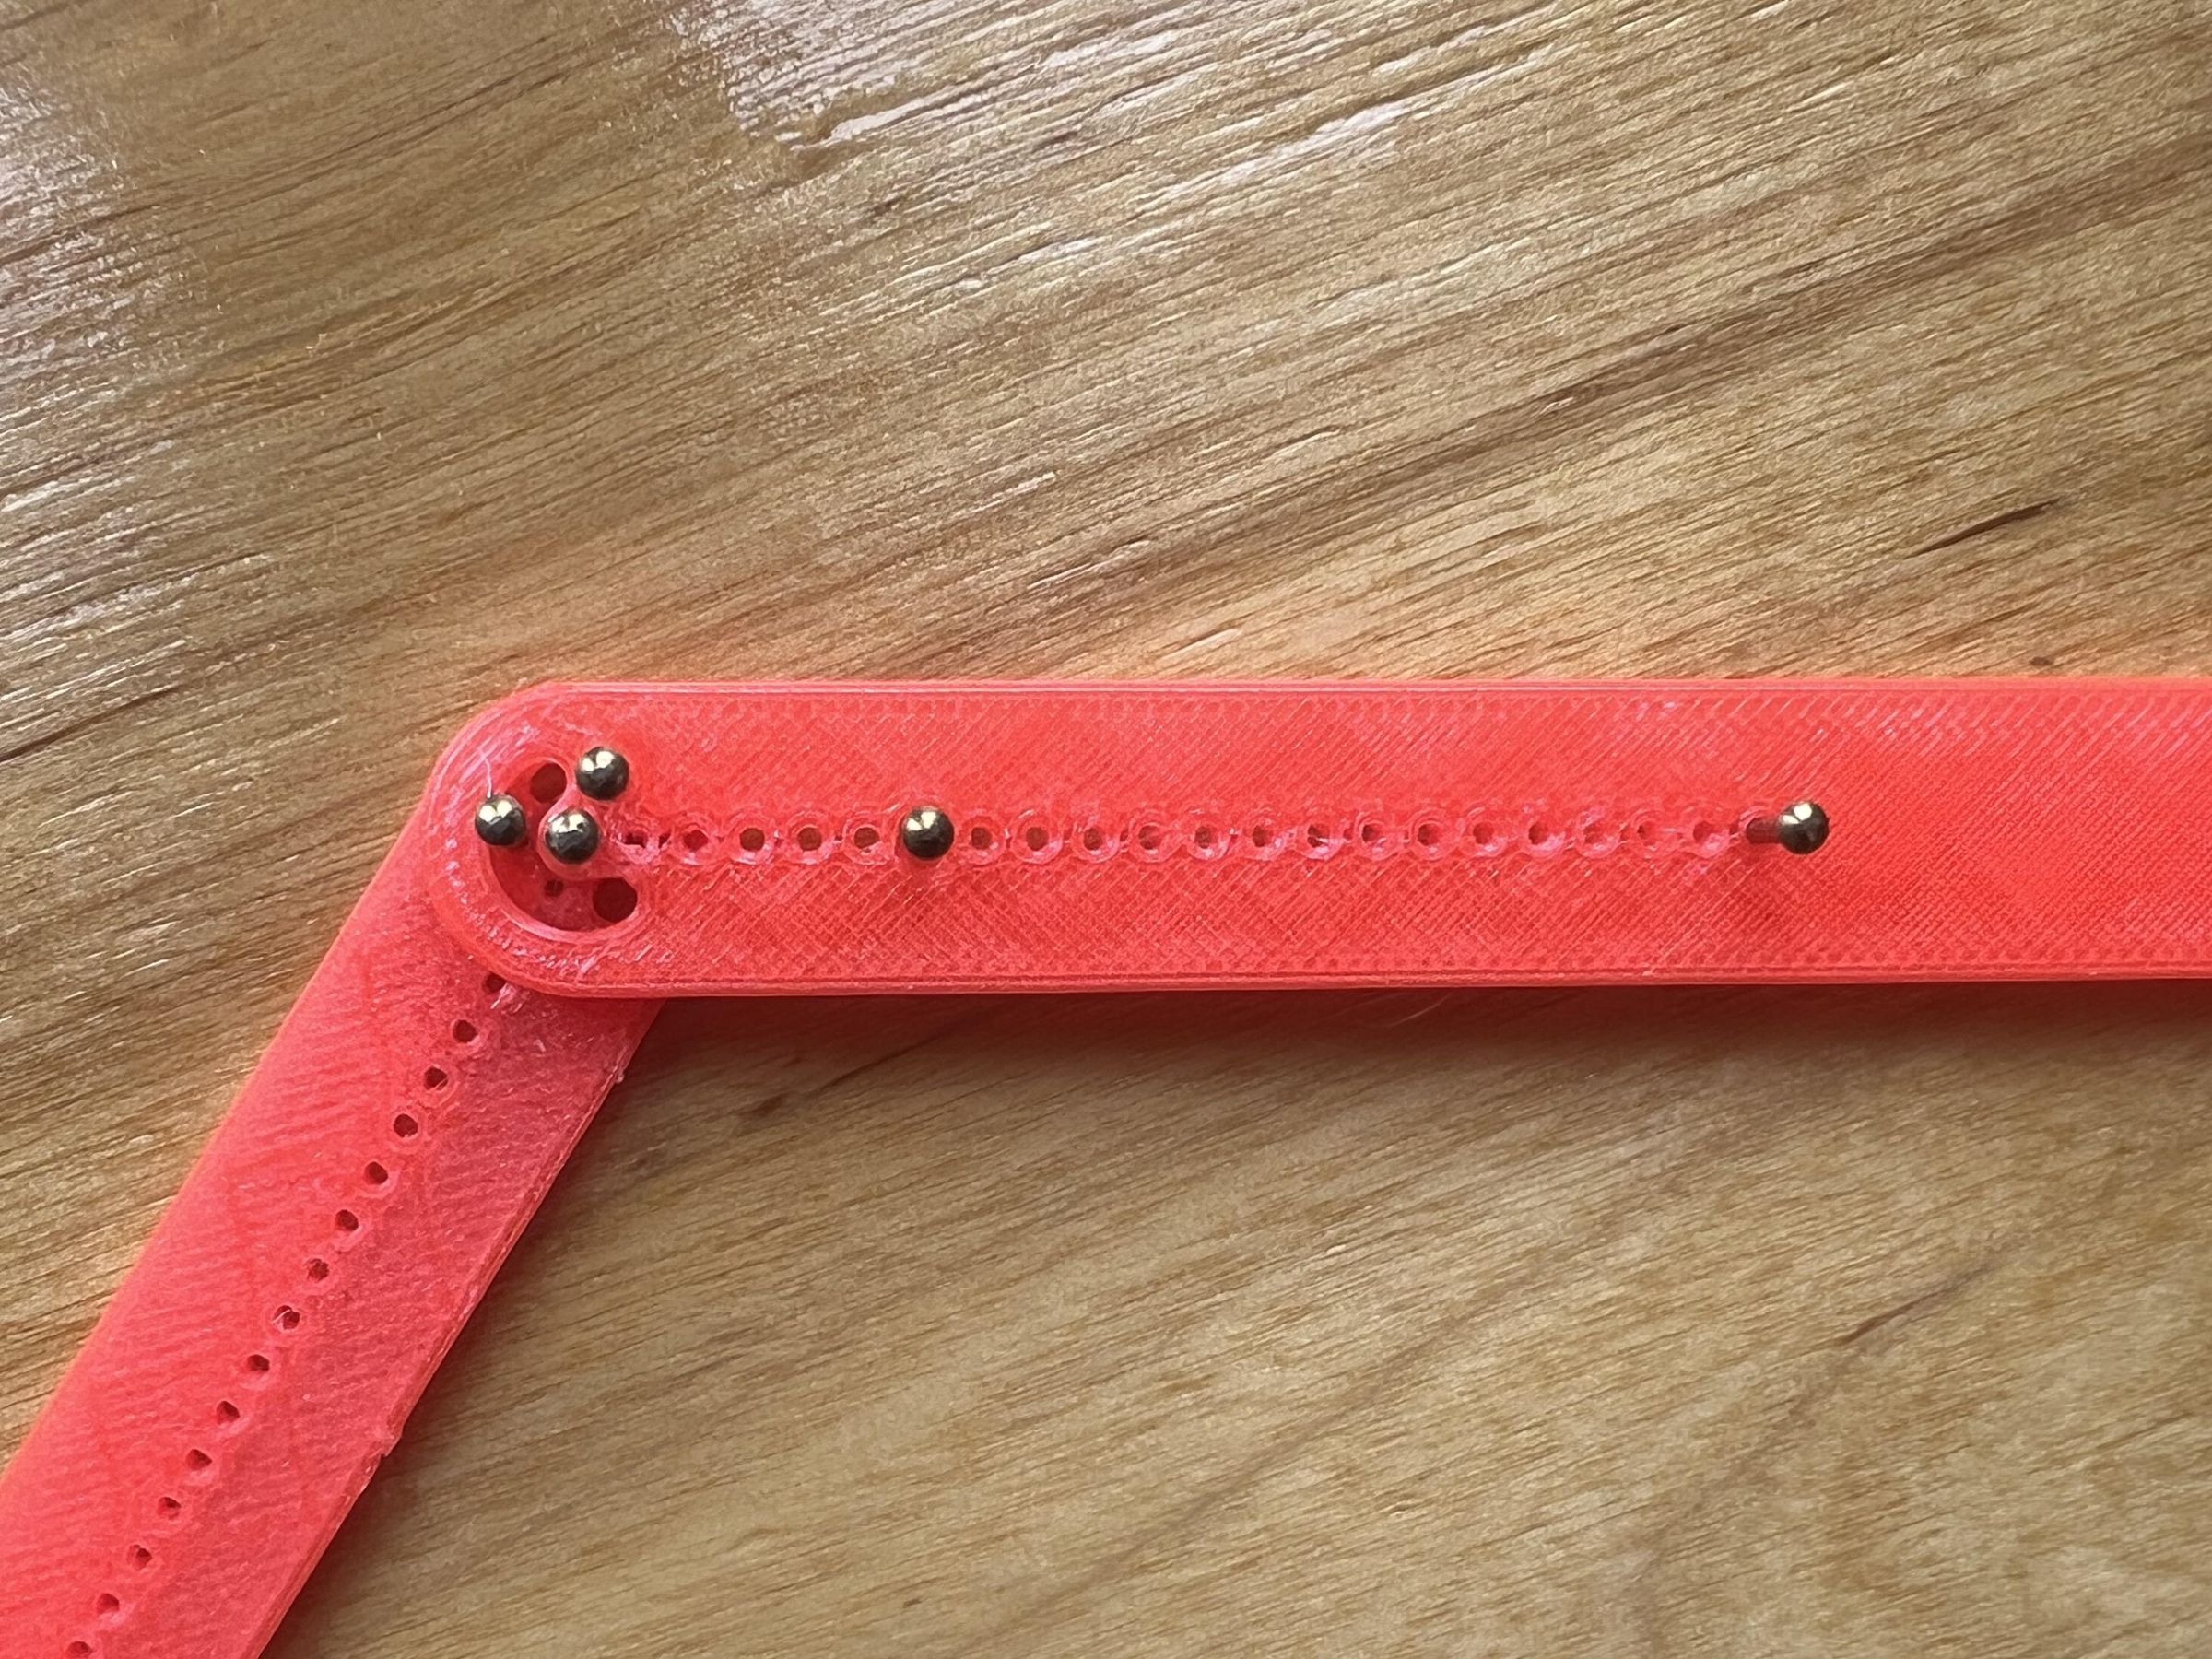
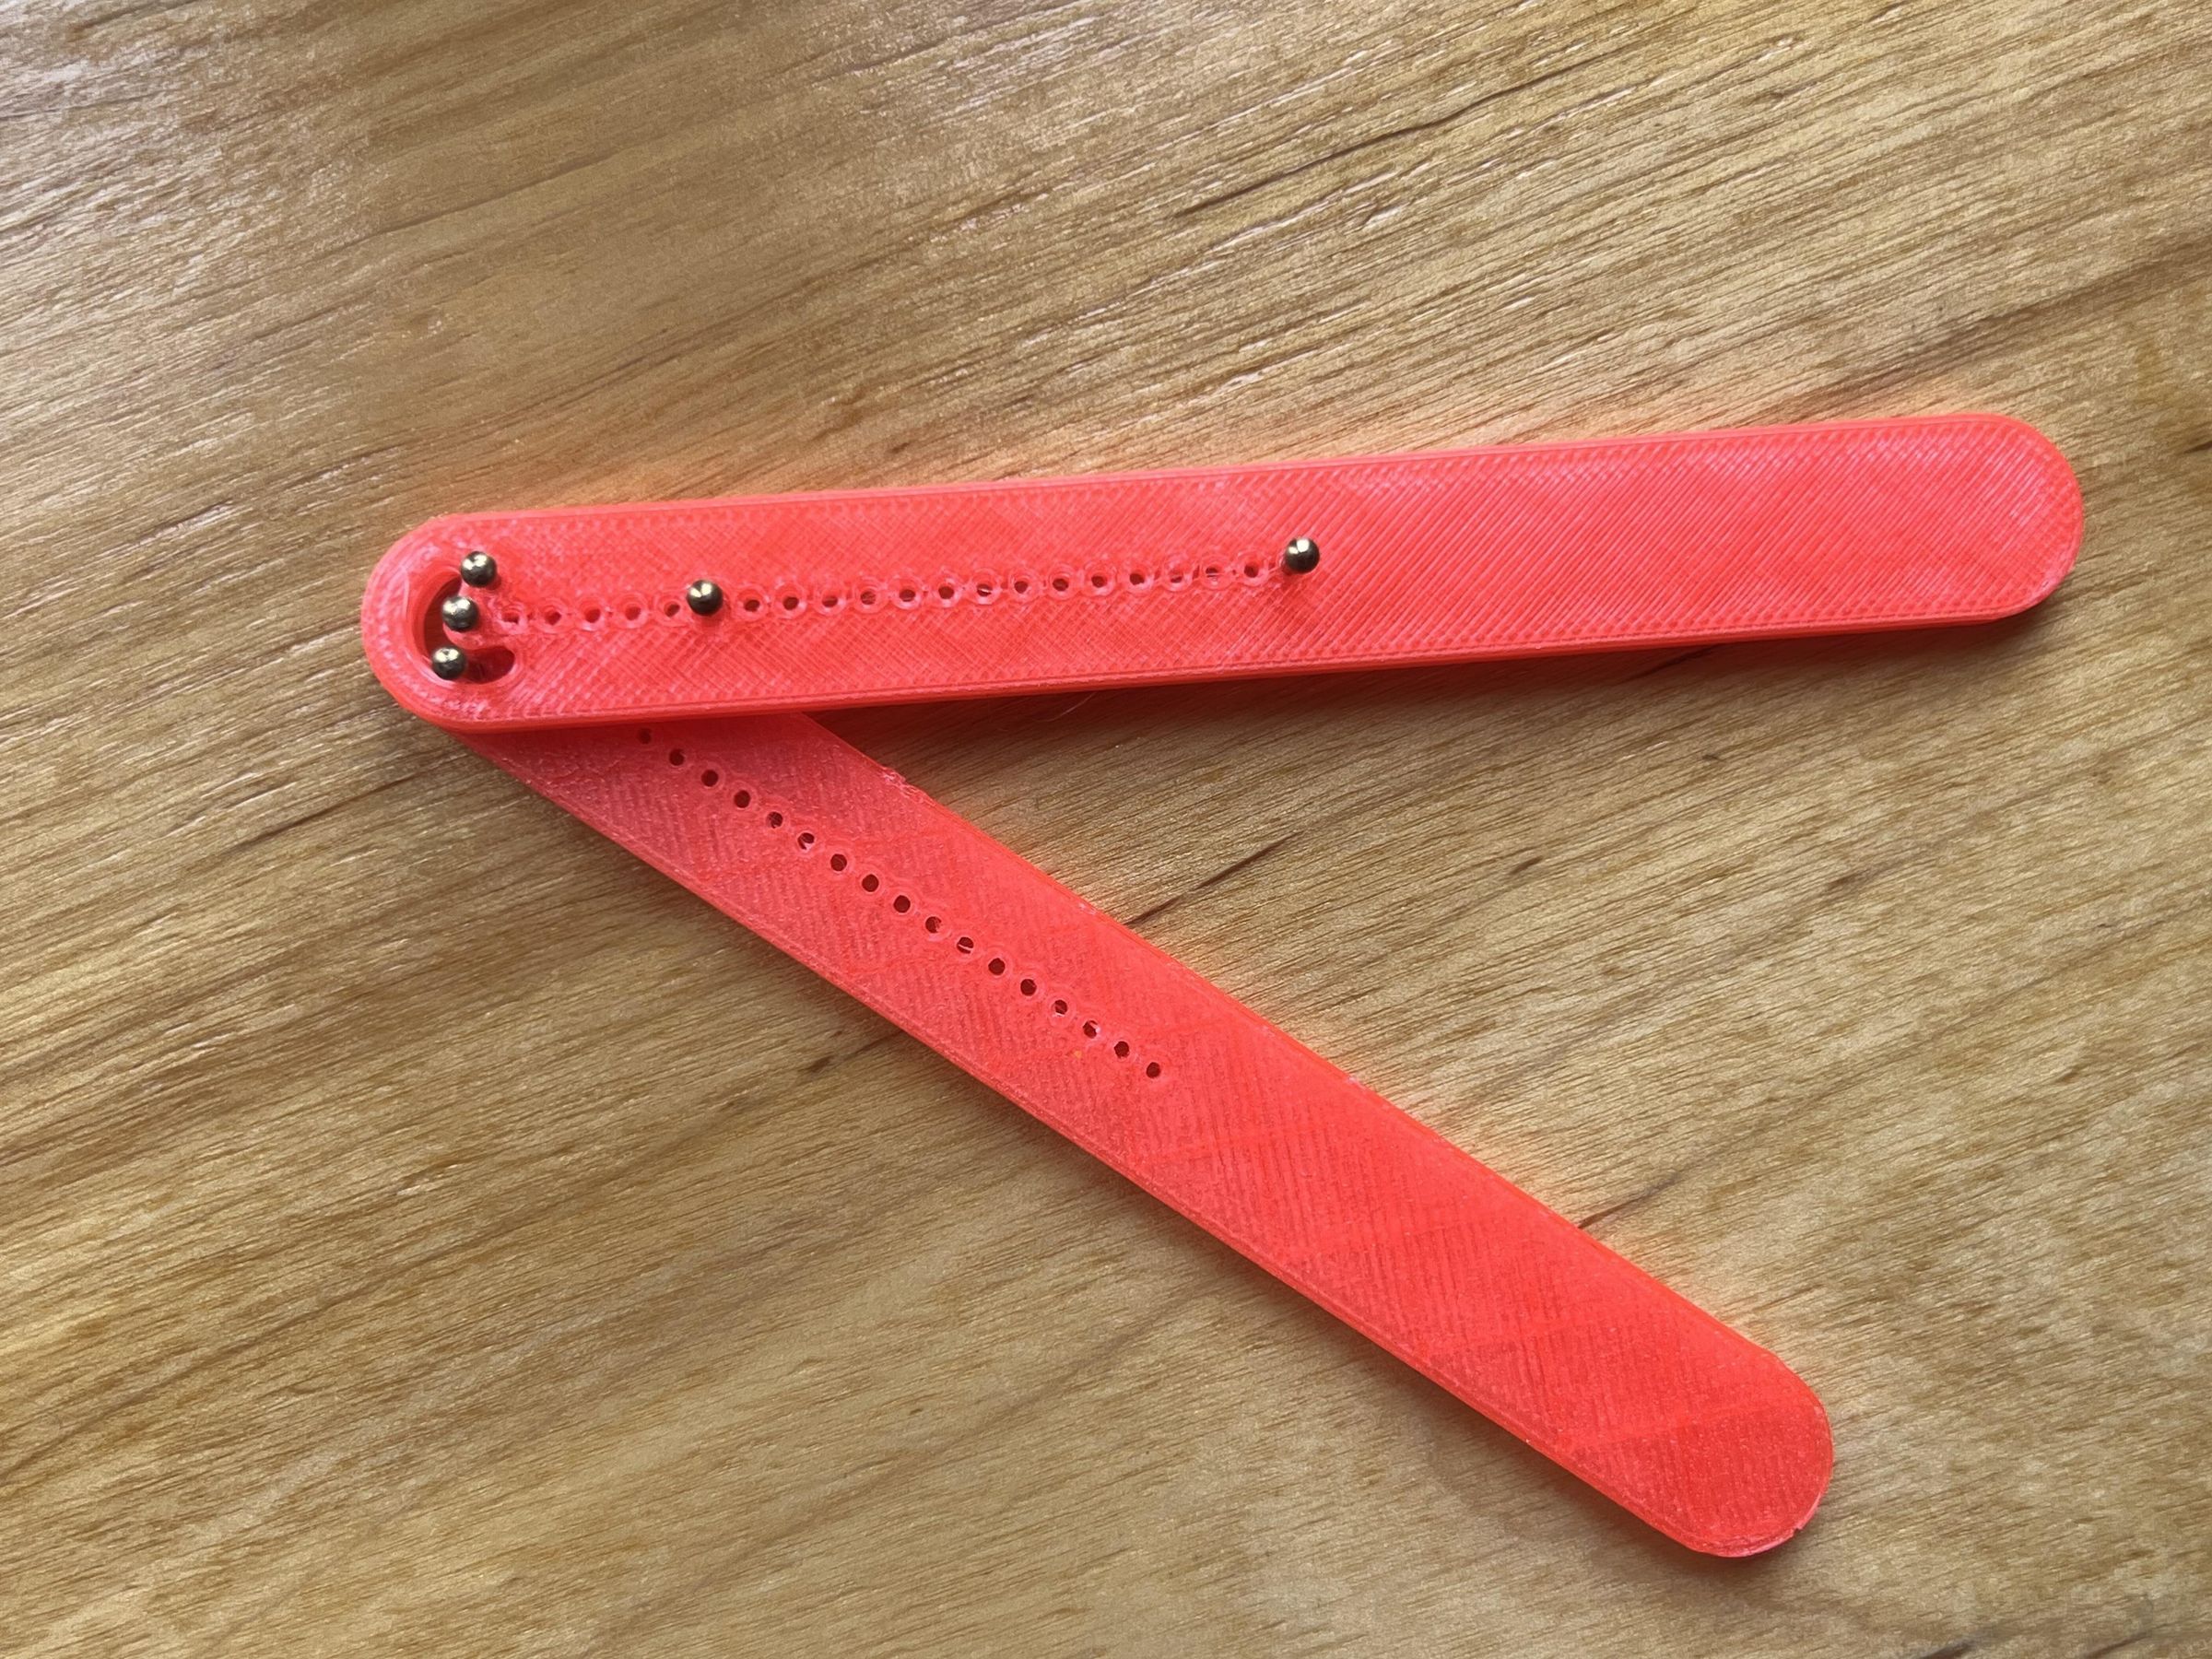
How the Design Works
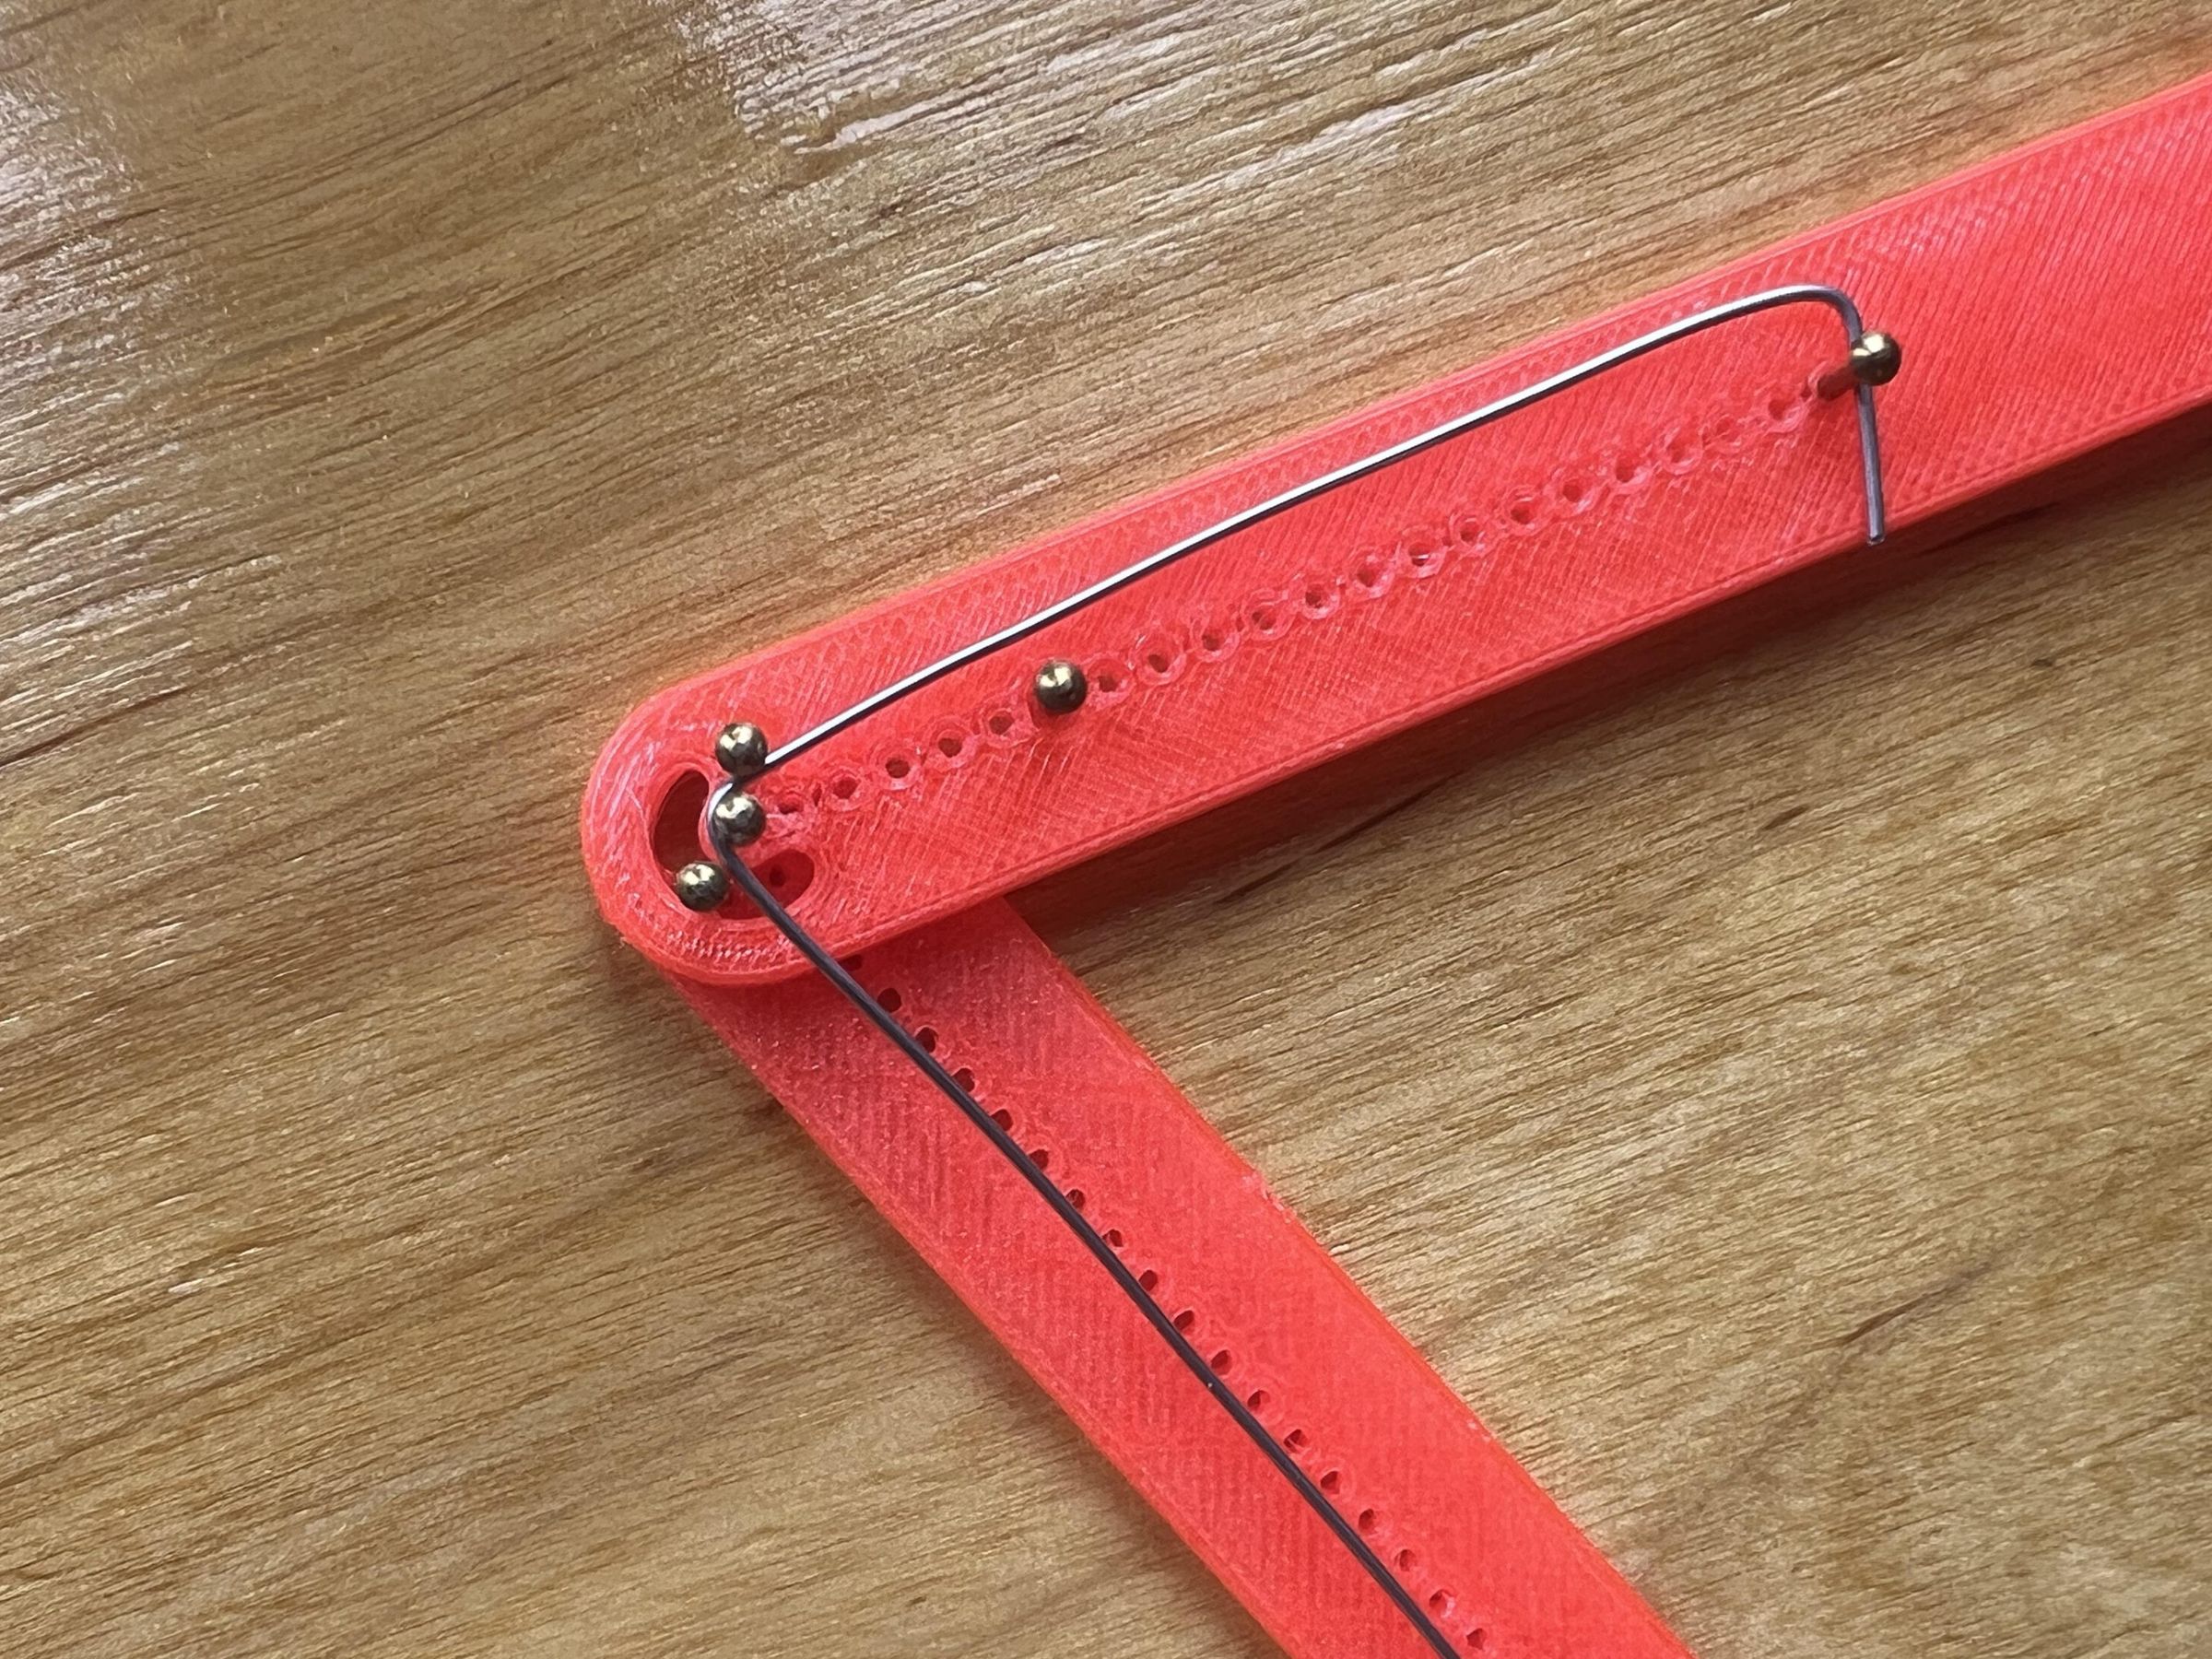
- Using the two handles, you move the nails to bend the wire placed between them.
- Three nails form the bending mechanism.
- One nail sets twice the leg length.
- The movable fifth nail sets the length of the horizontal section of the jumper wire.
Print and Assemble
- For 3D printing, use PETG or a stronger plastic.
- The minimum strength settings in the slicer are 2 perimeters and 3 top and bottom layers.
- Print two identical handles.
- Use standard finishing nails: 1.2 mm shank diameter (18 gauge), 2.3 mm (3/32") head diameter or smaller. The length does not matter.
- At first, install only 4 nails: 3 for the bending mechanism and one for measuring twice the leg length.
- Drive each nail into its hole by tapping it lightly with a hammer, or press it in using a vise.
- The nail should protrude 3–5 mm (1/8"–3/16") from the handle, no more.
- Cut off the excess part of the nail with heavy-duty cutters, although this is optional.
- For additional strength, apply a drop of superglue where the nails emerge from the handle. Do not glue the fifth nail.
- If something goes wrong, pull the nail out with pliers.
Bend a Long Piece of Wire
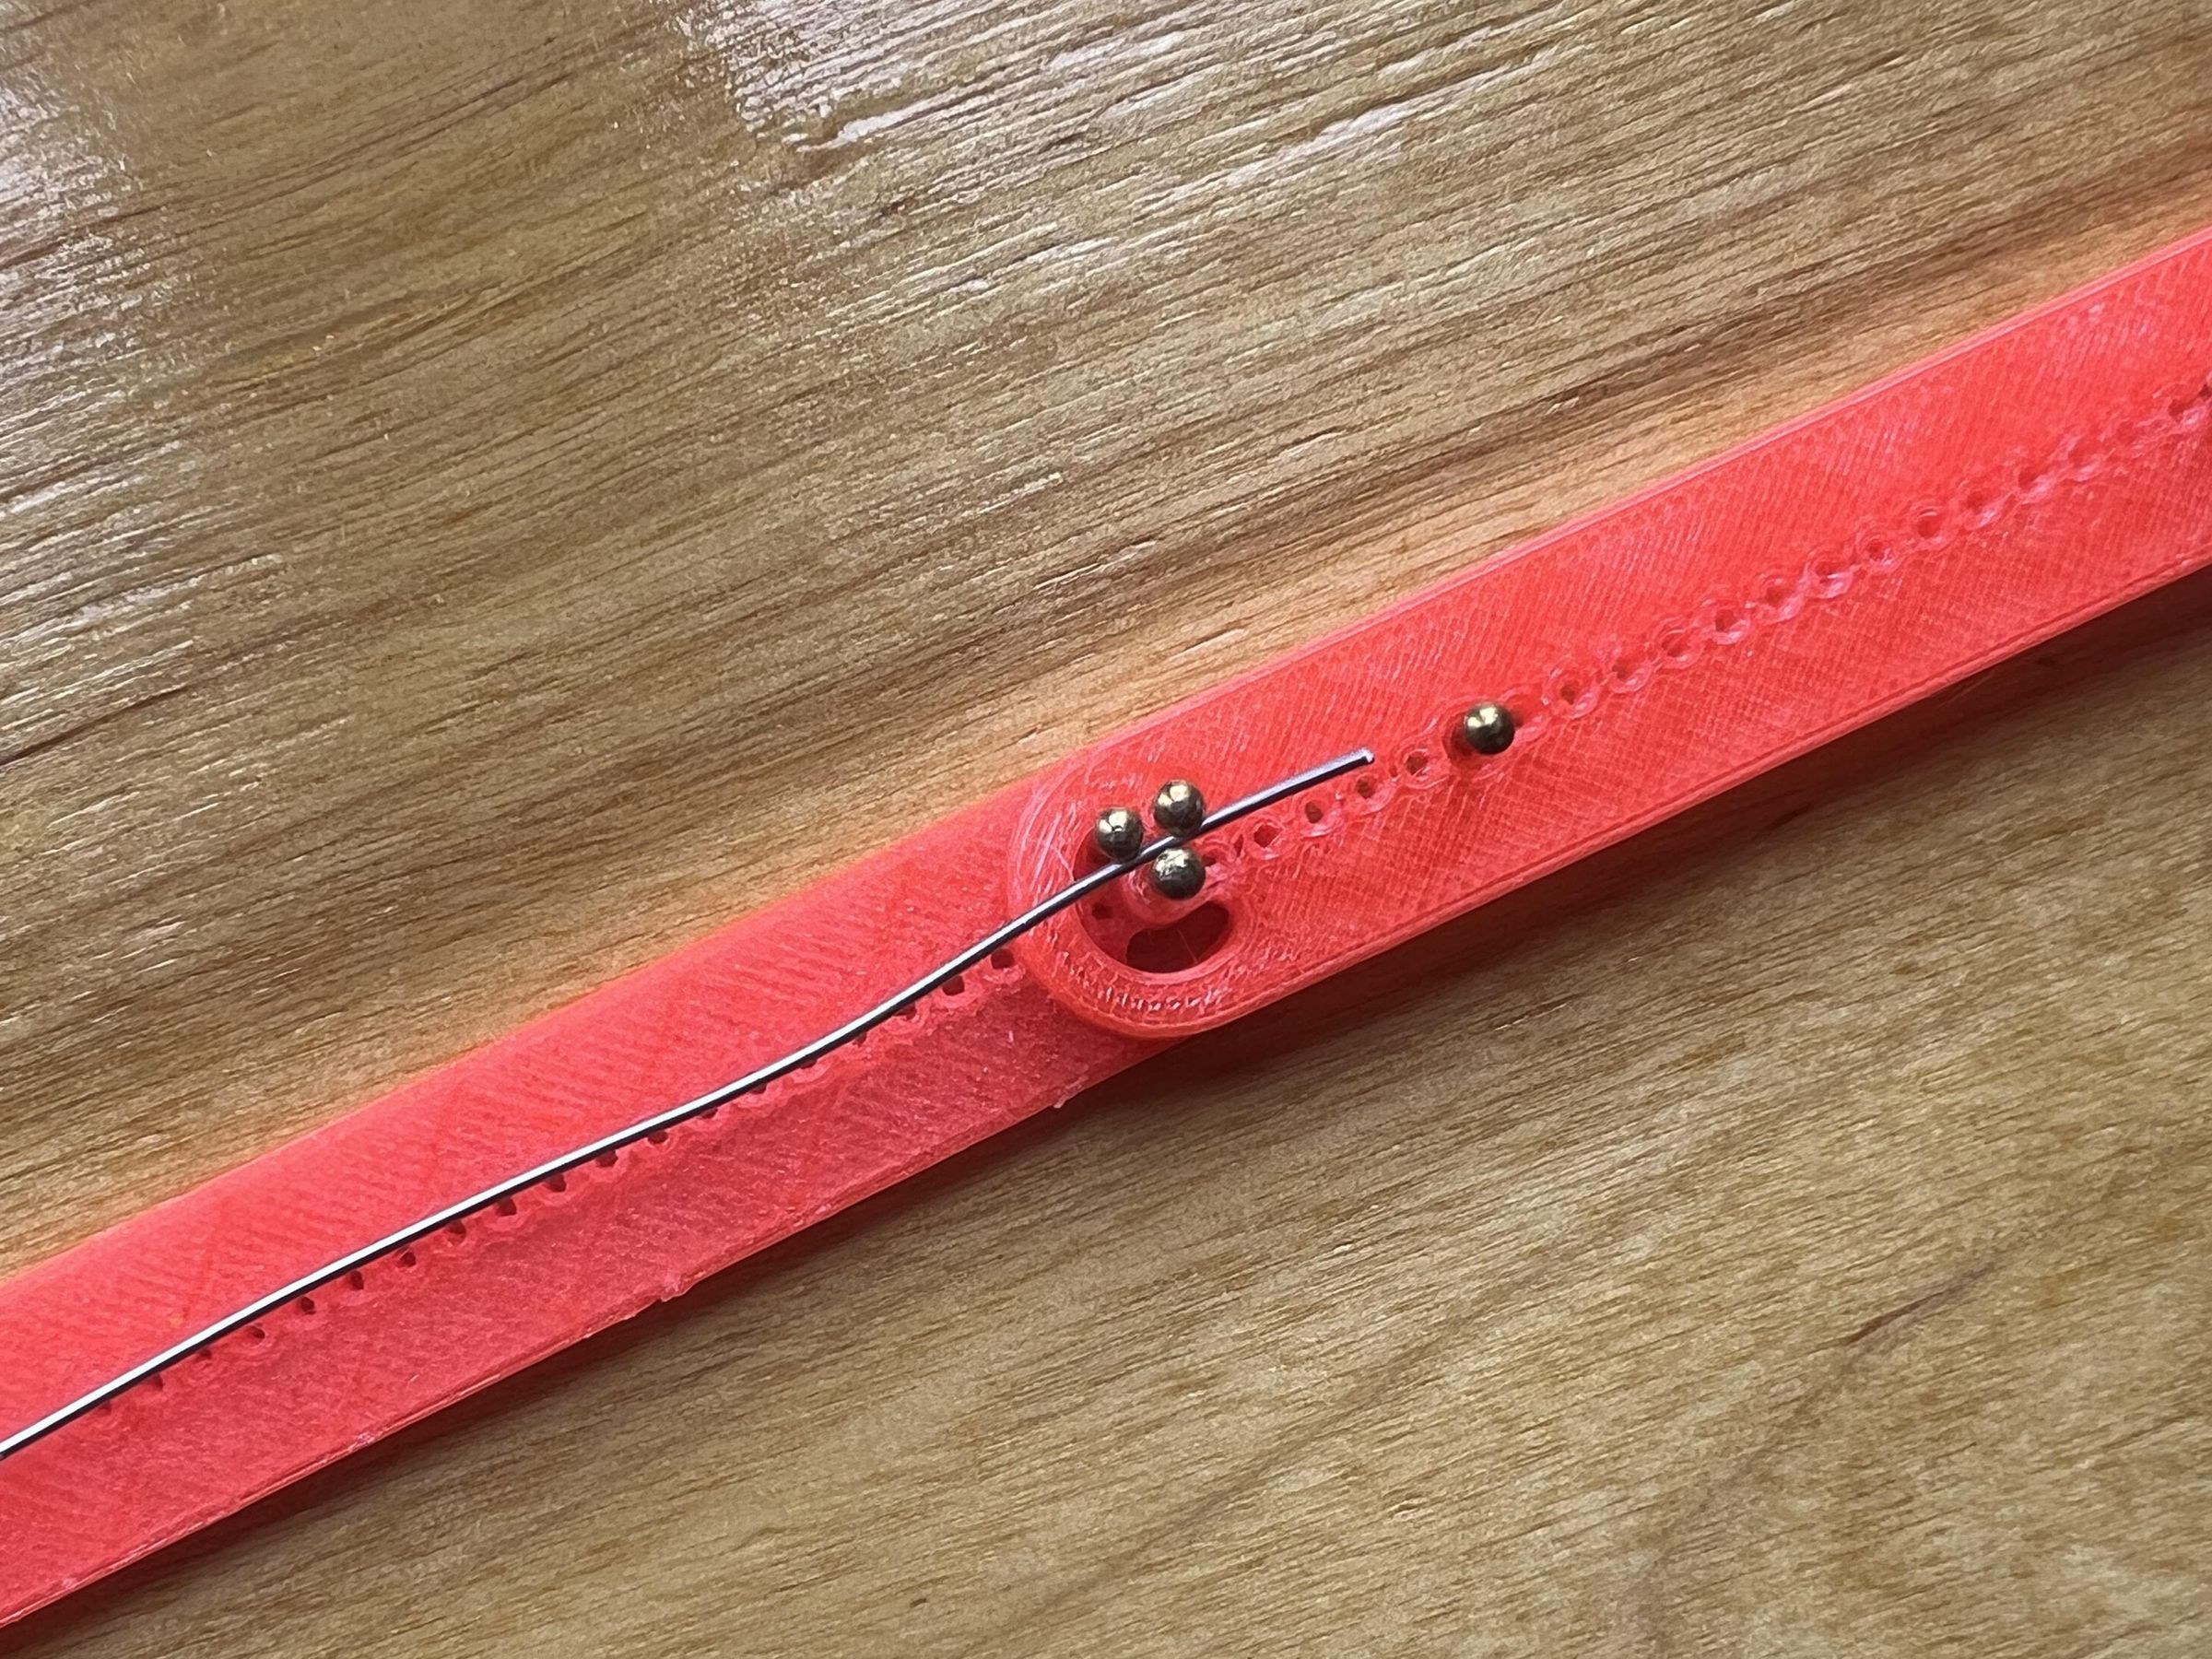
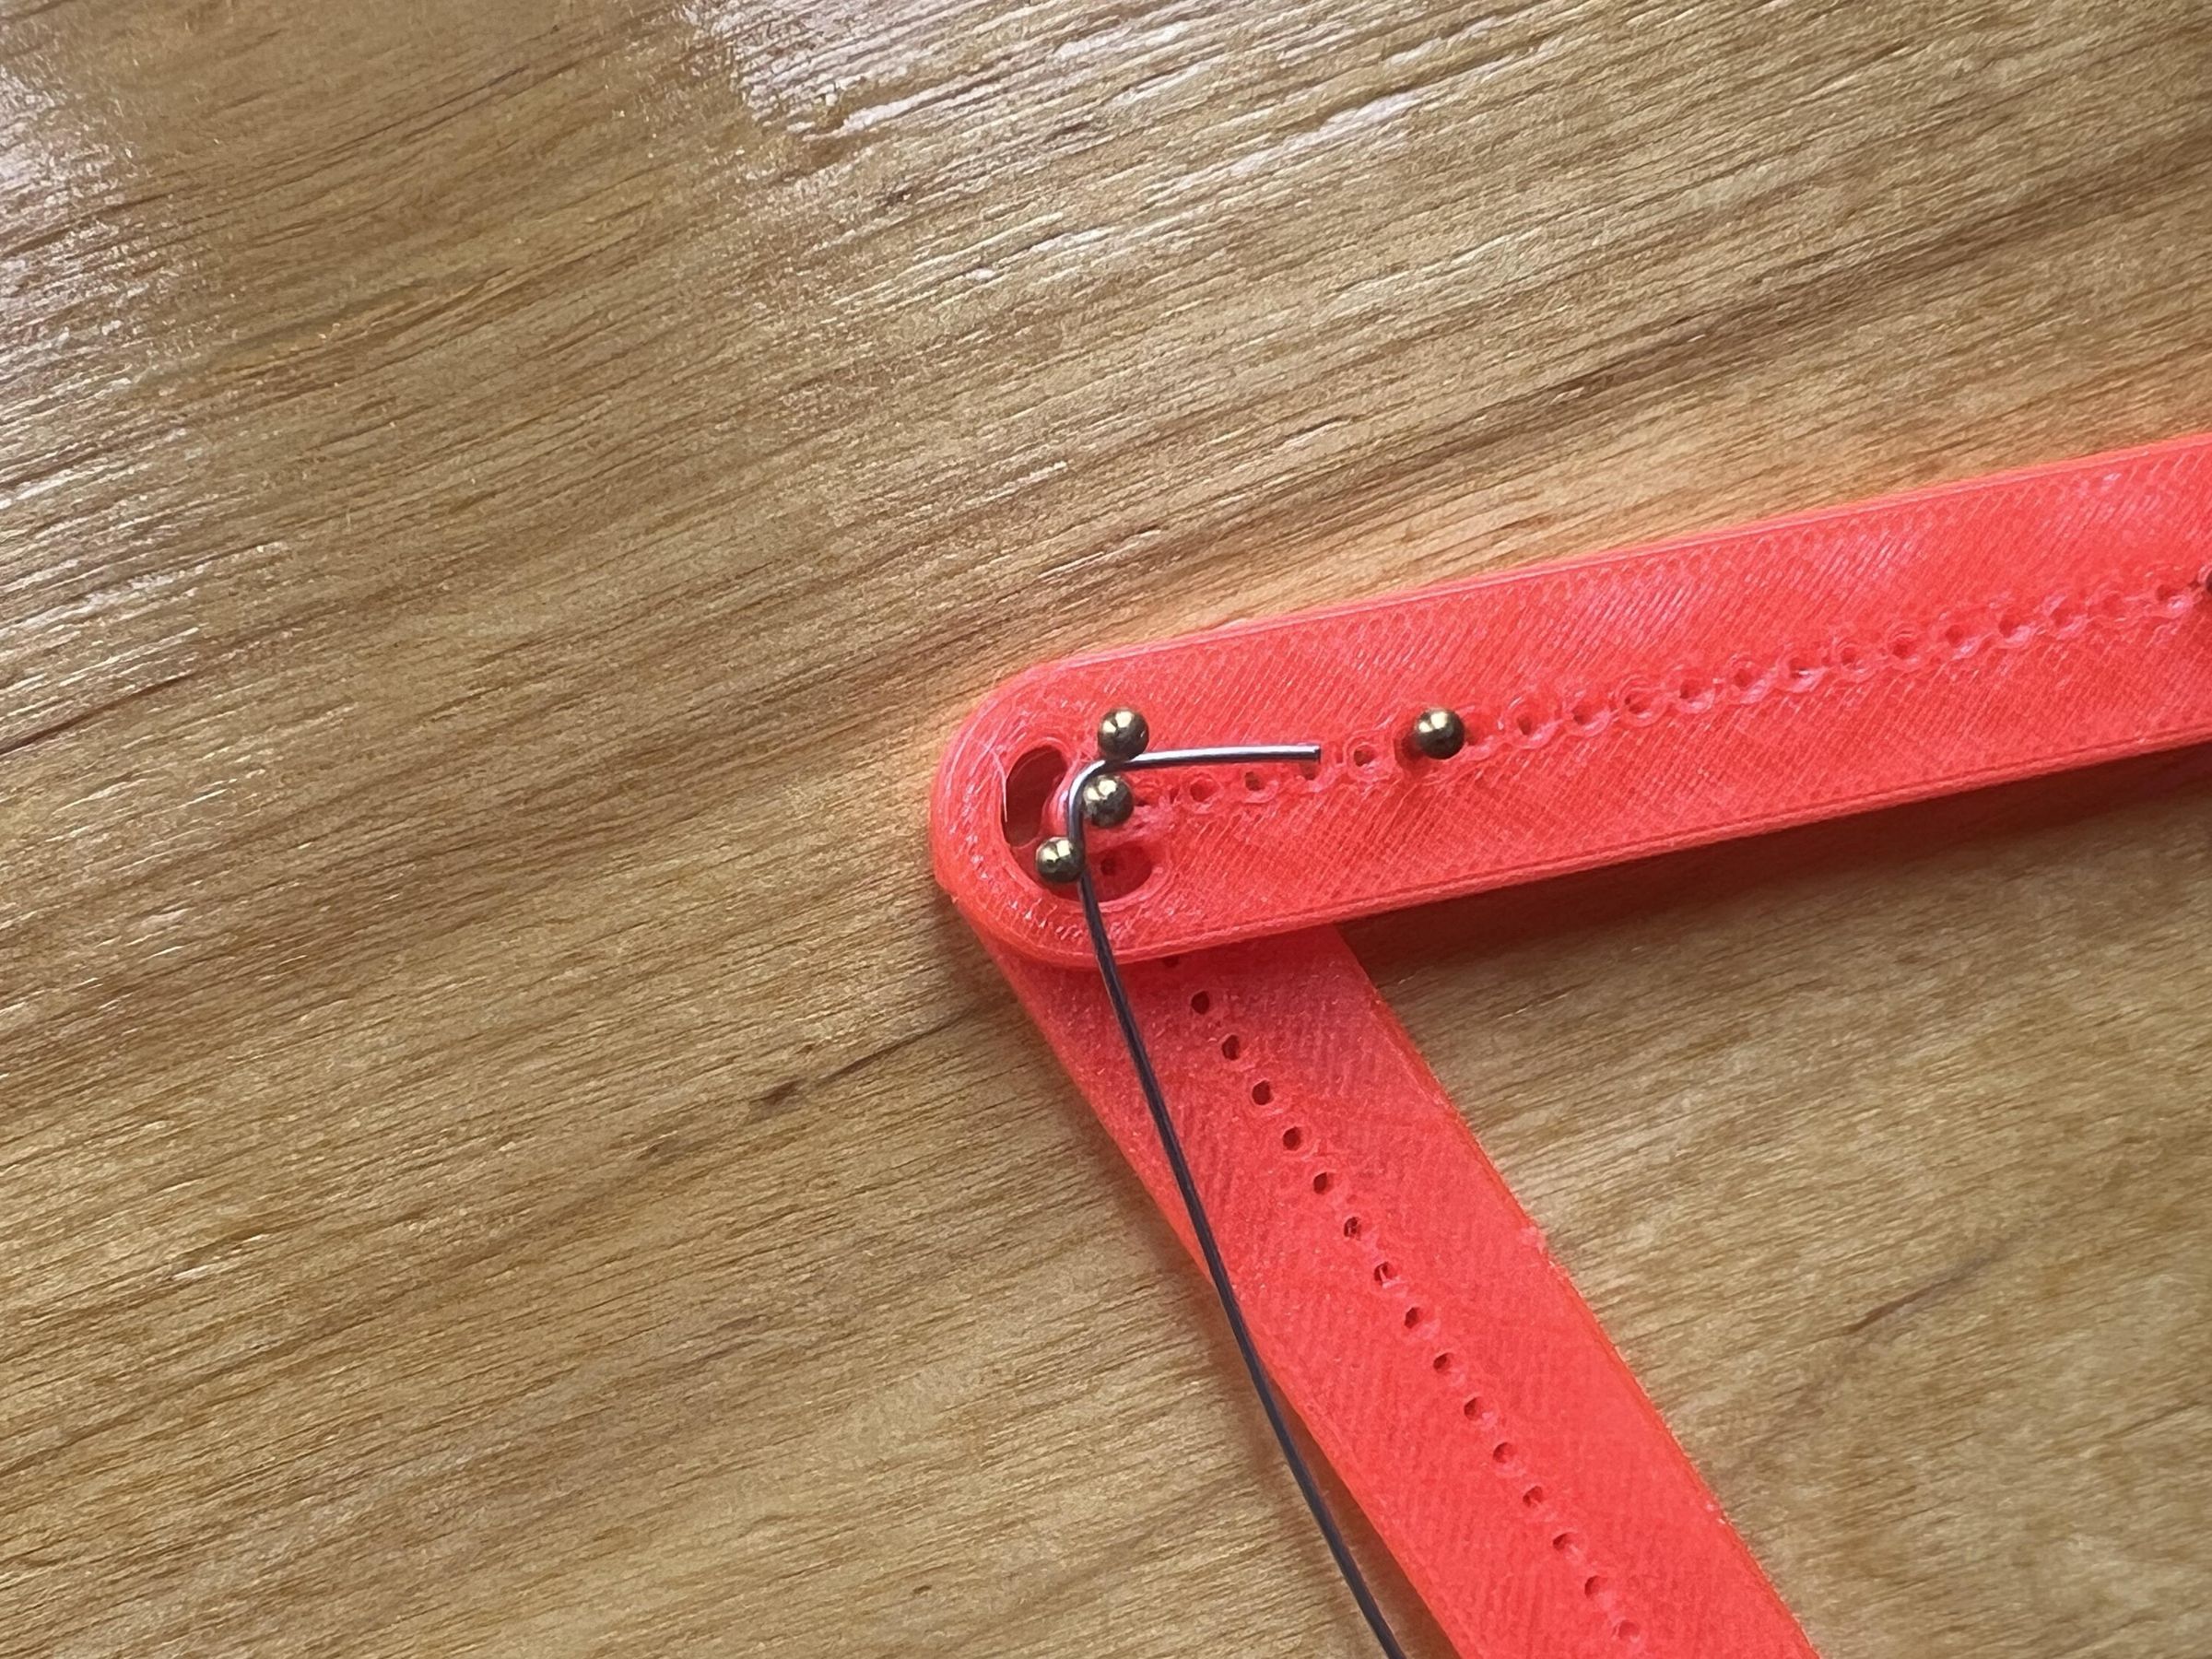
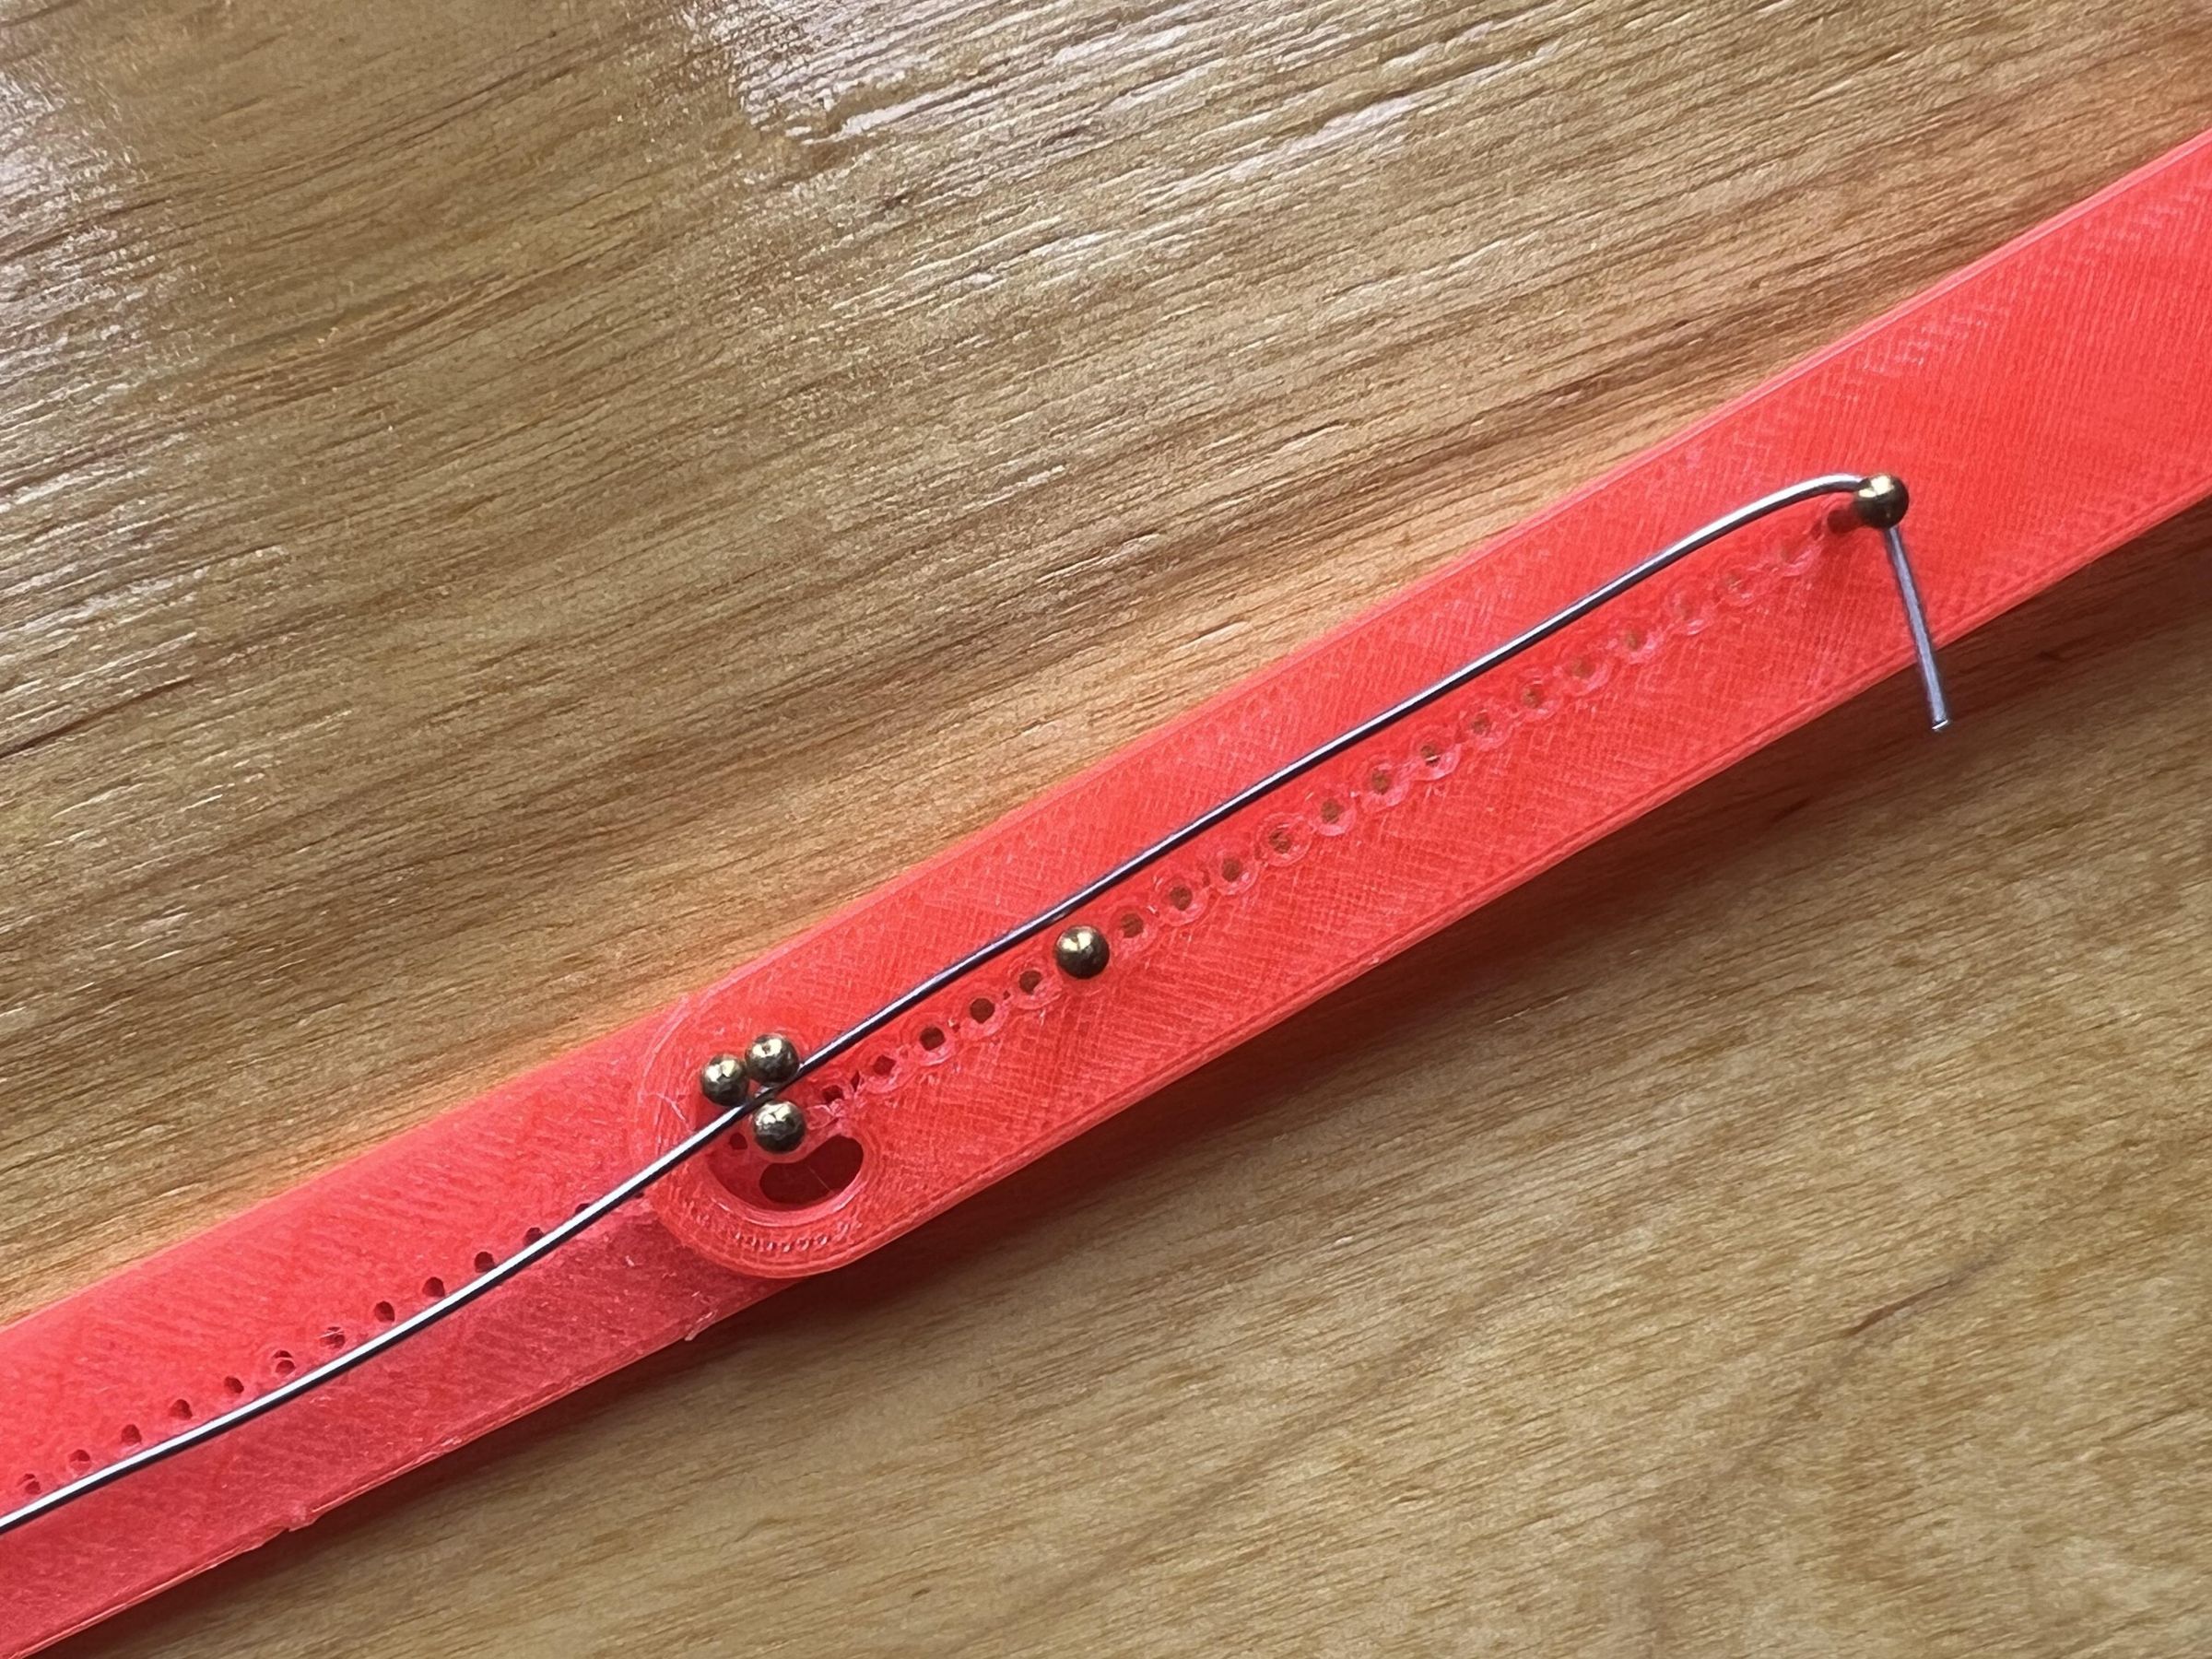
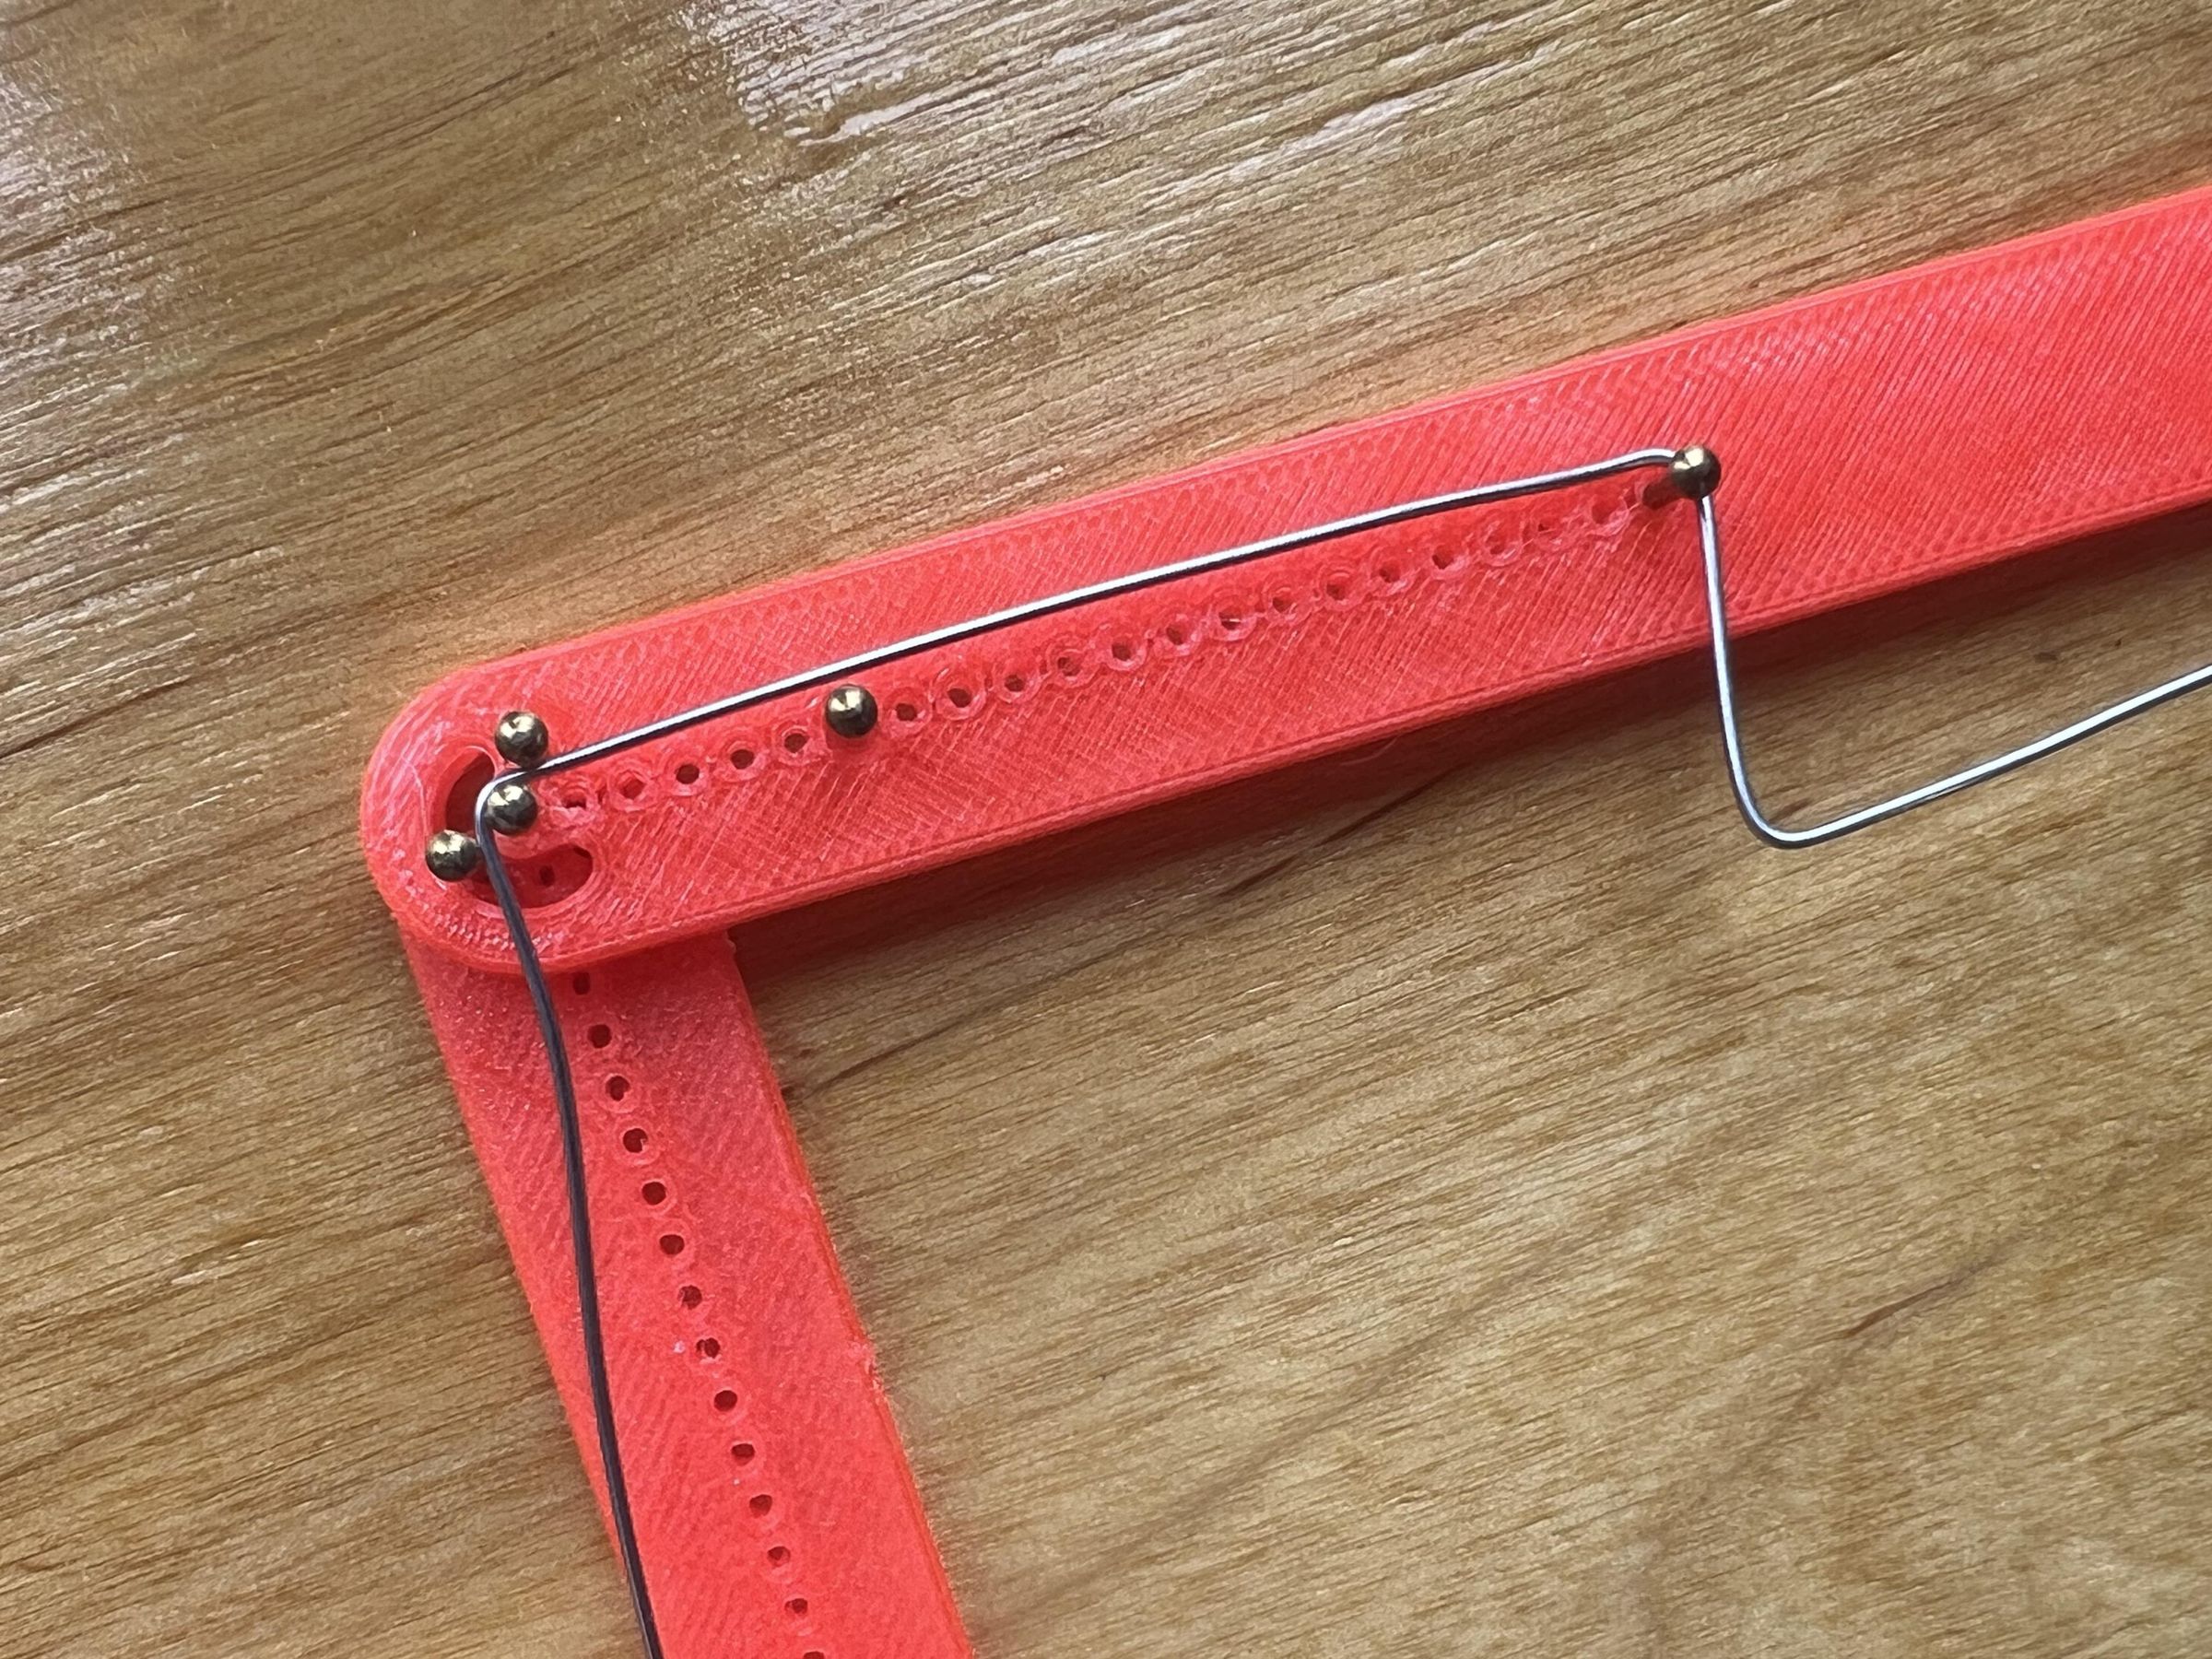
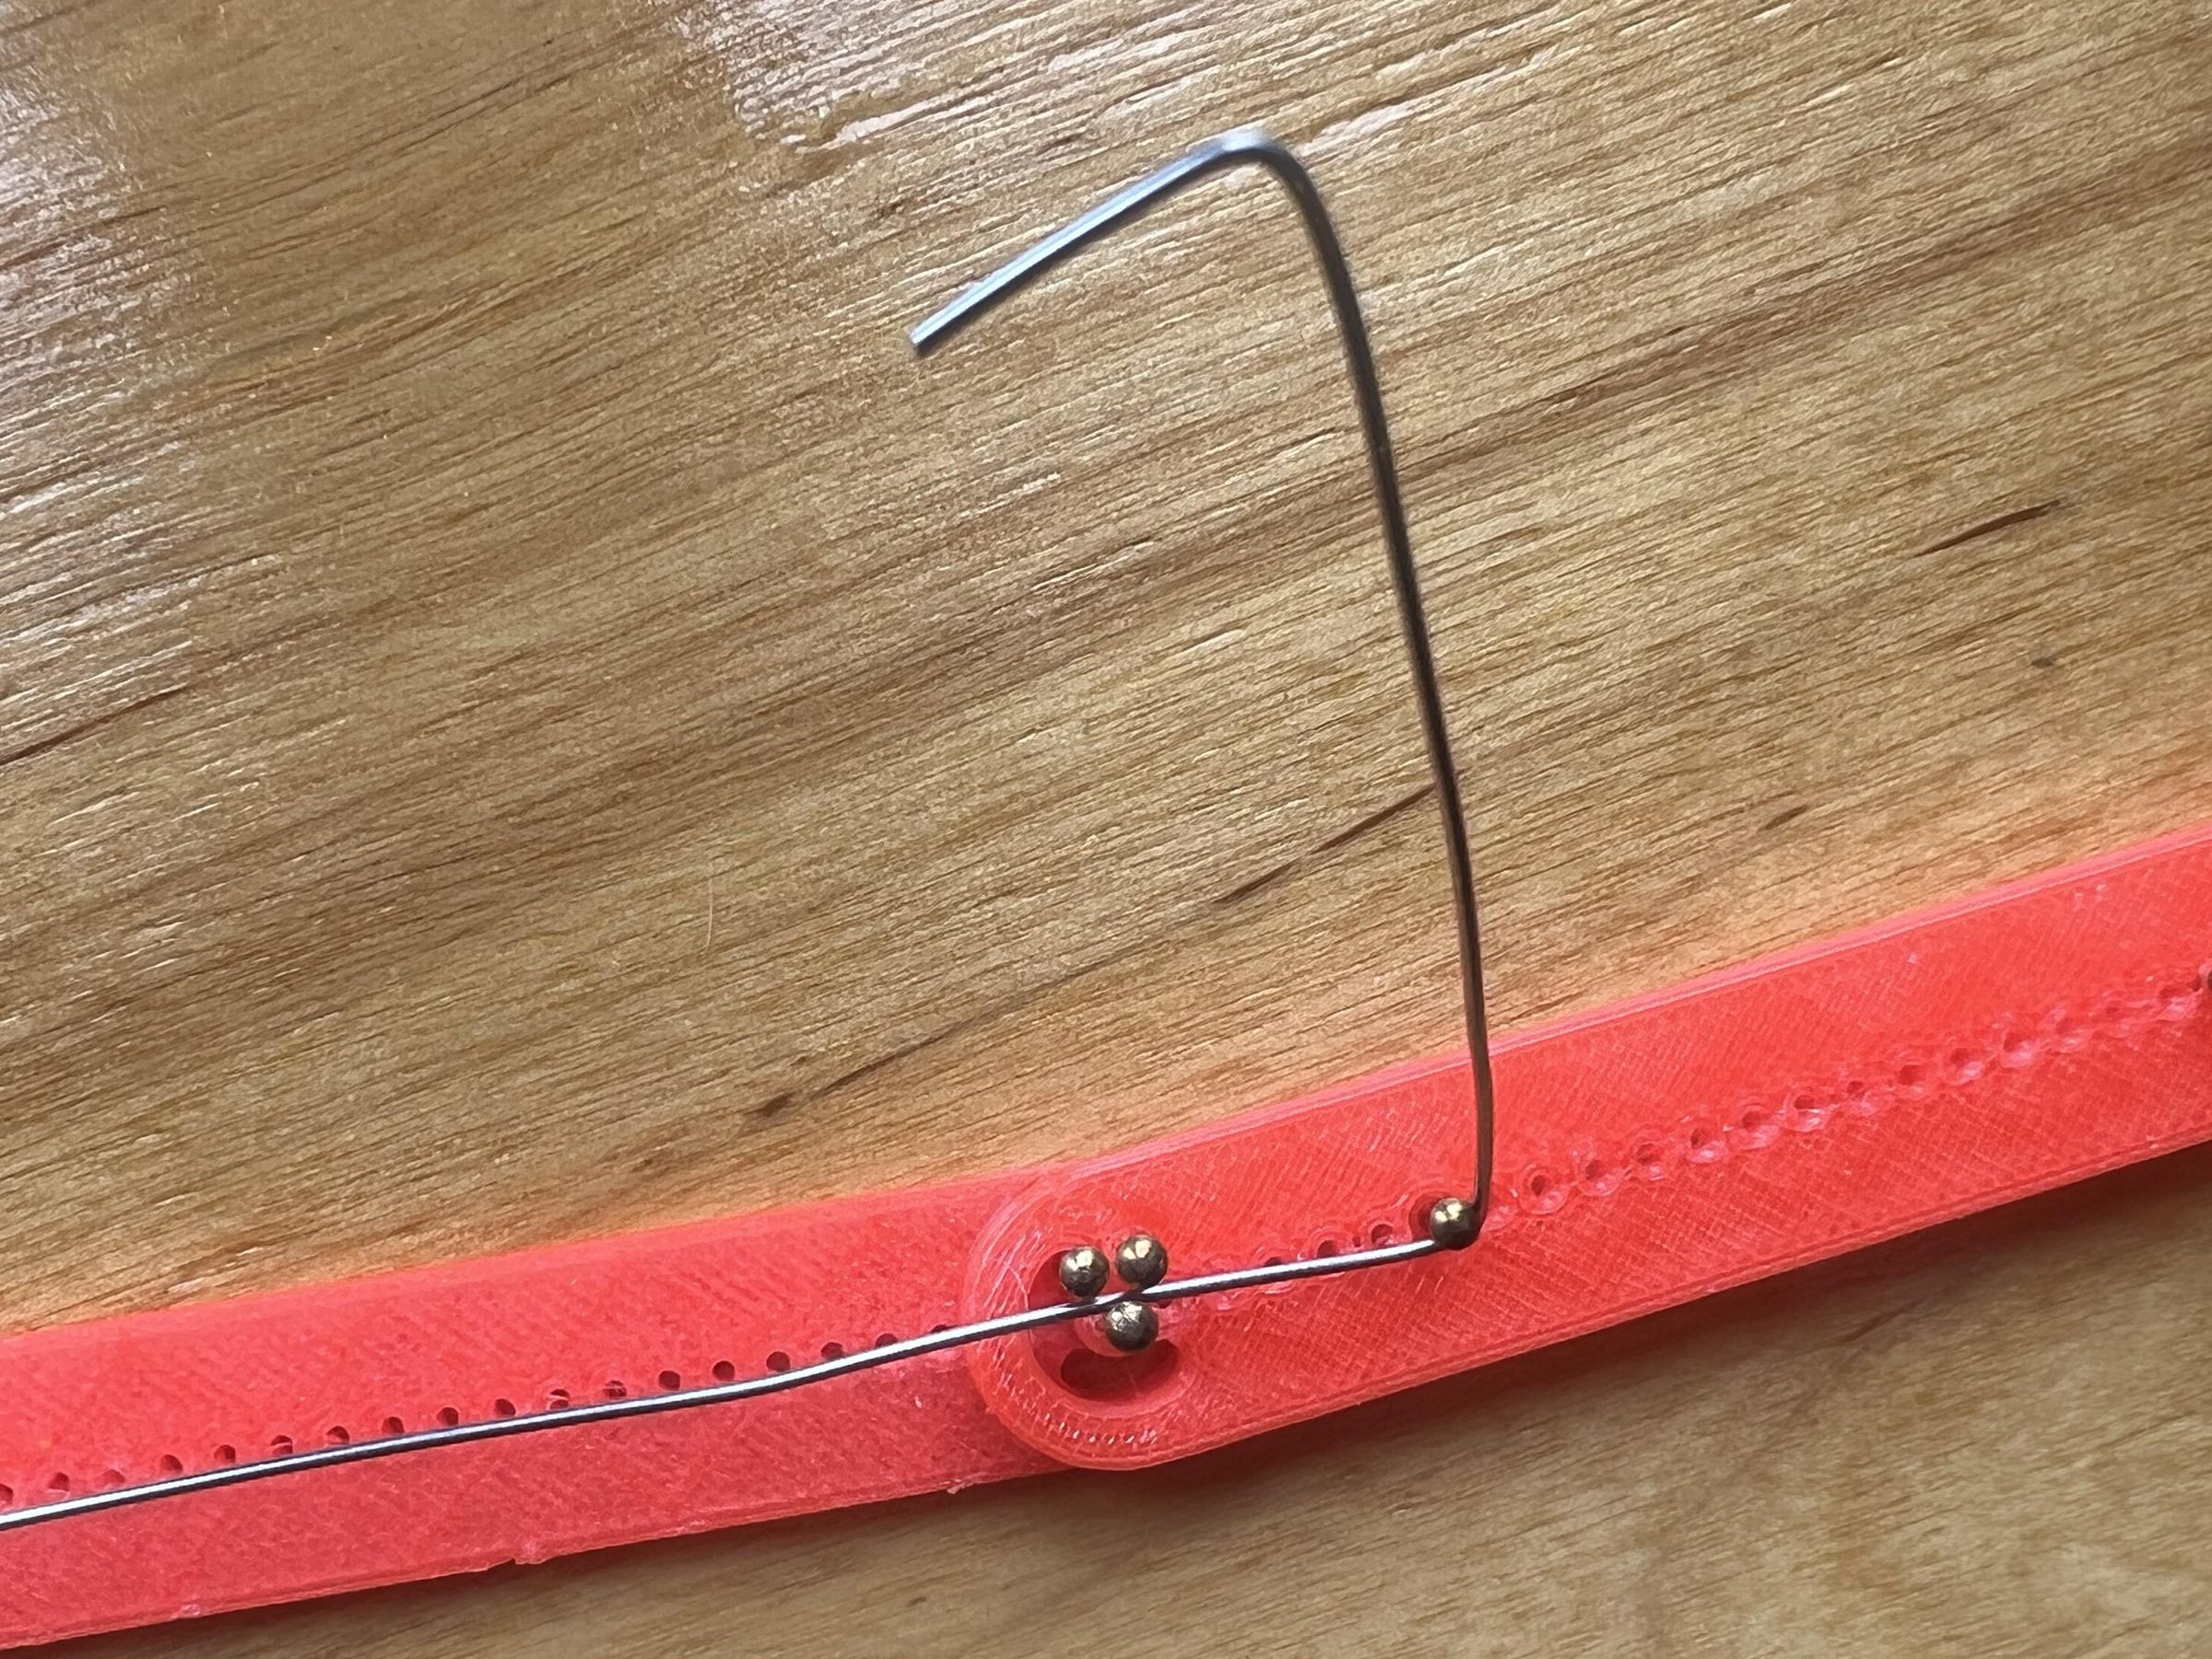
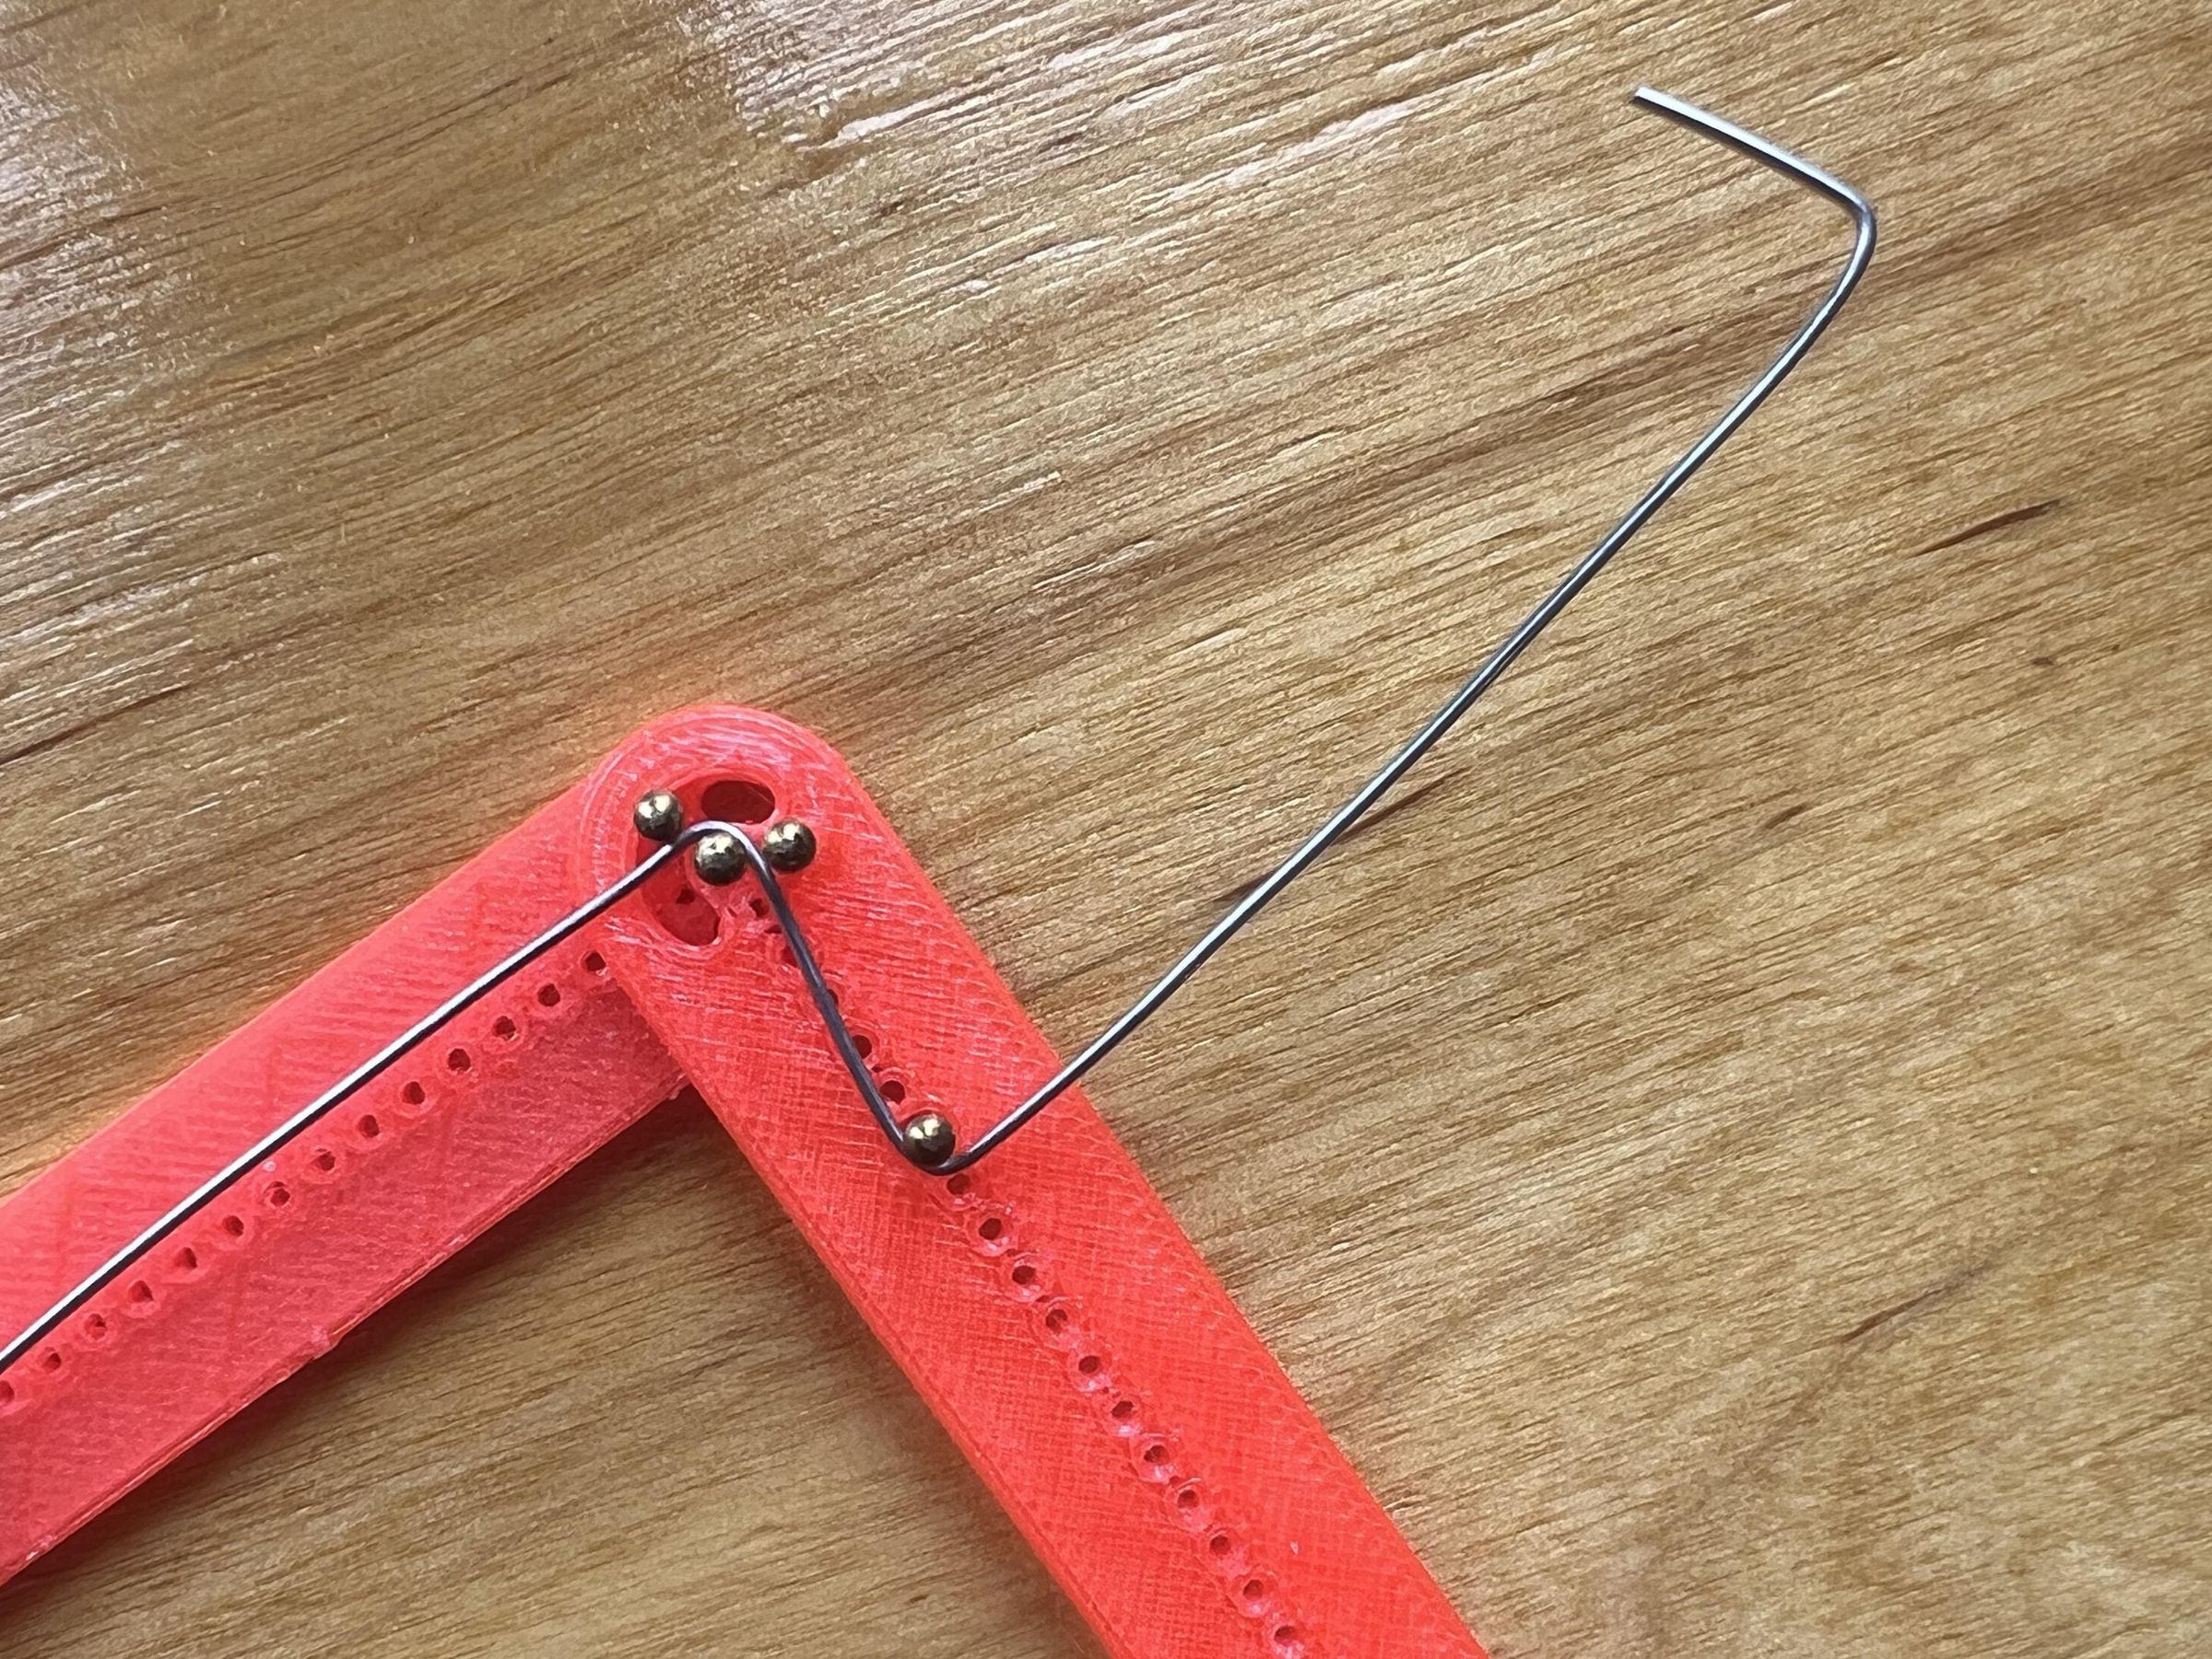
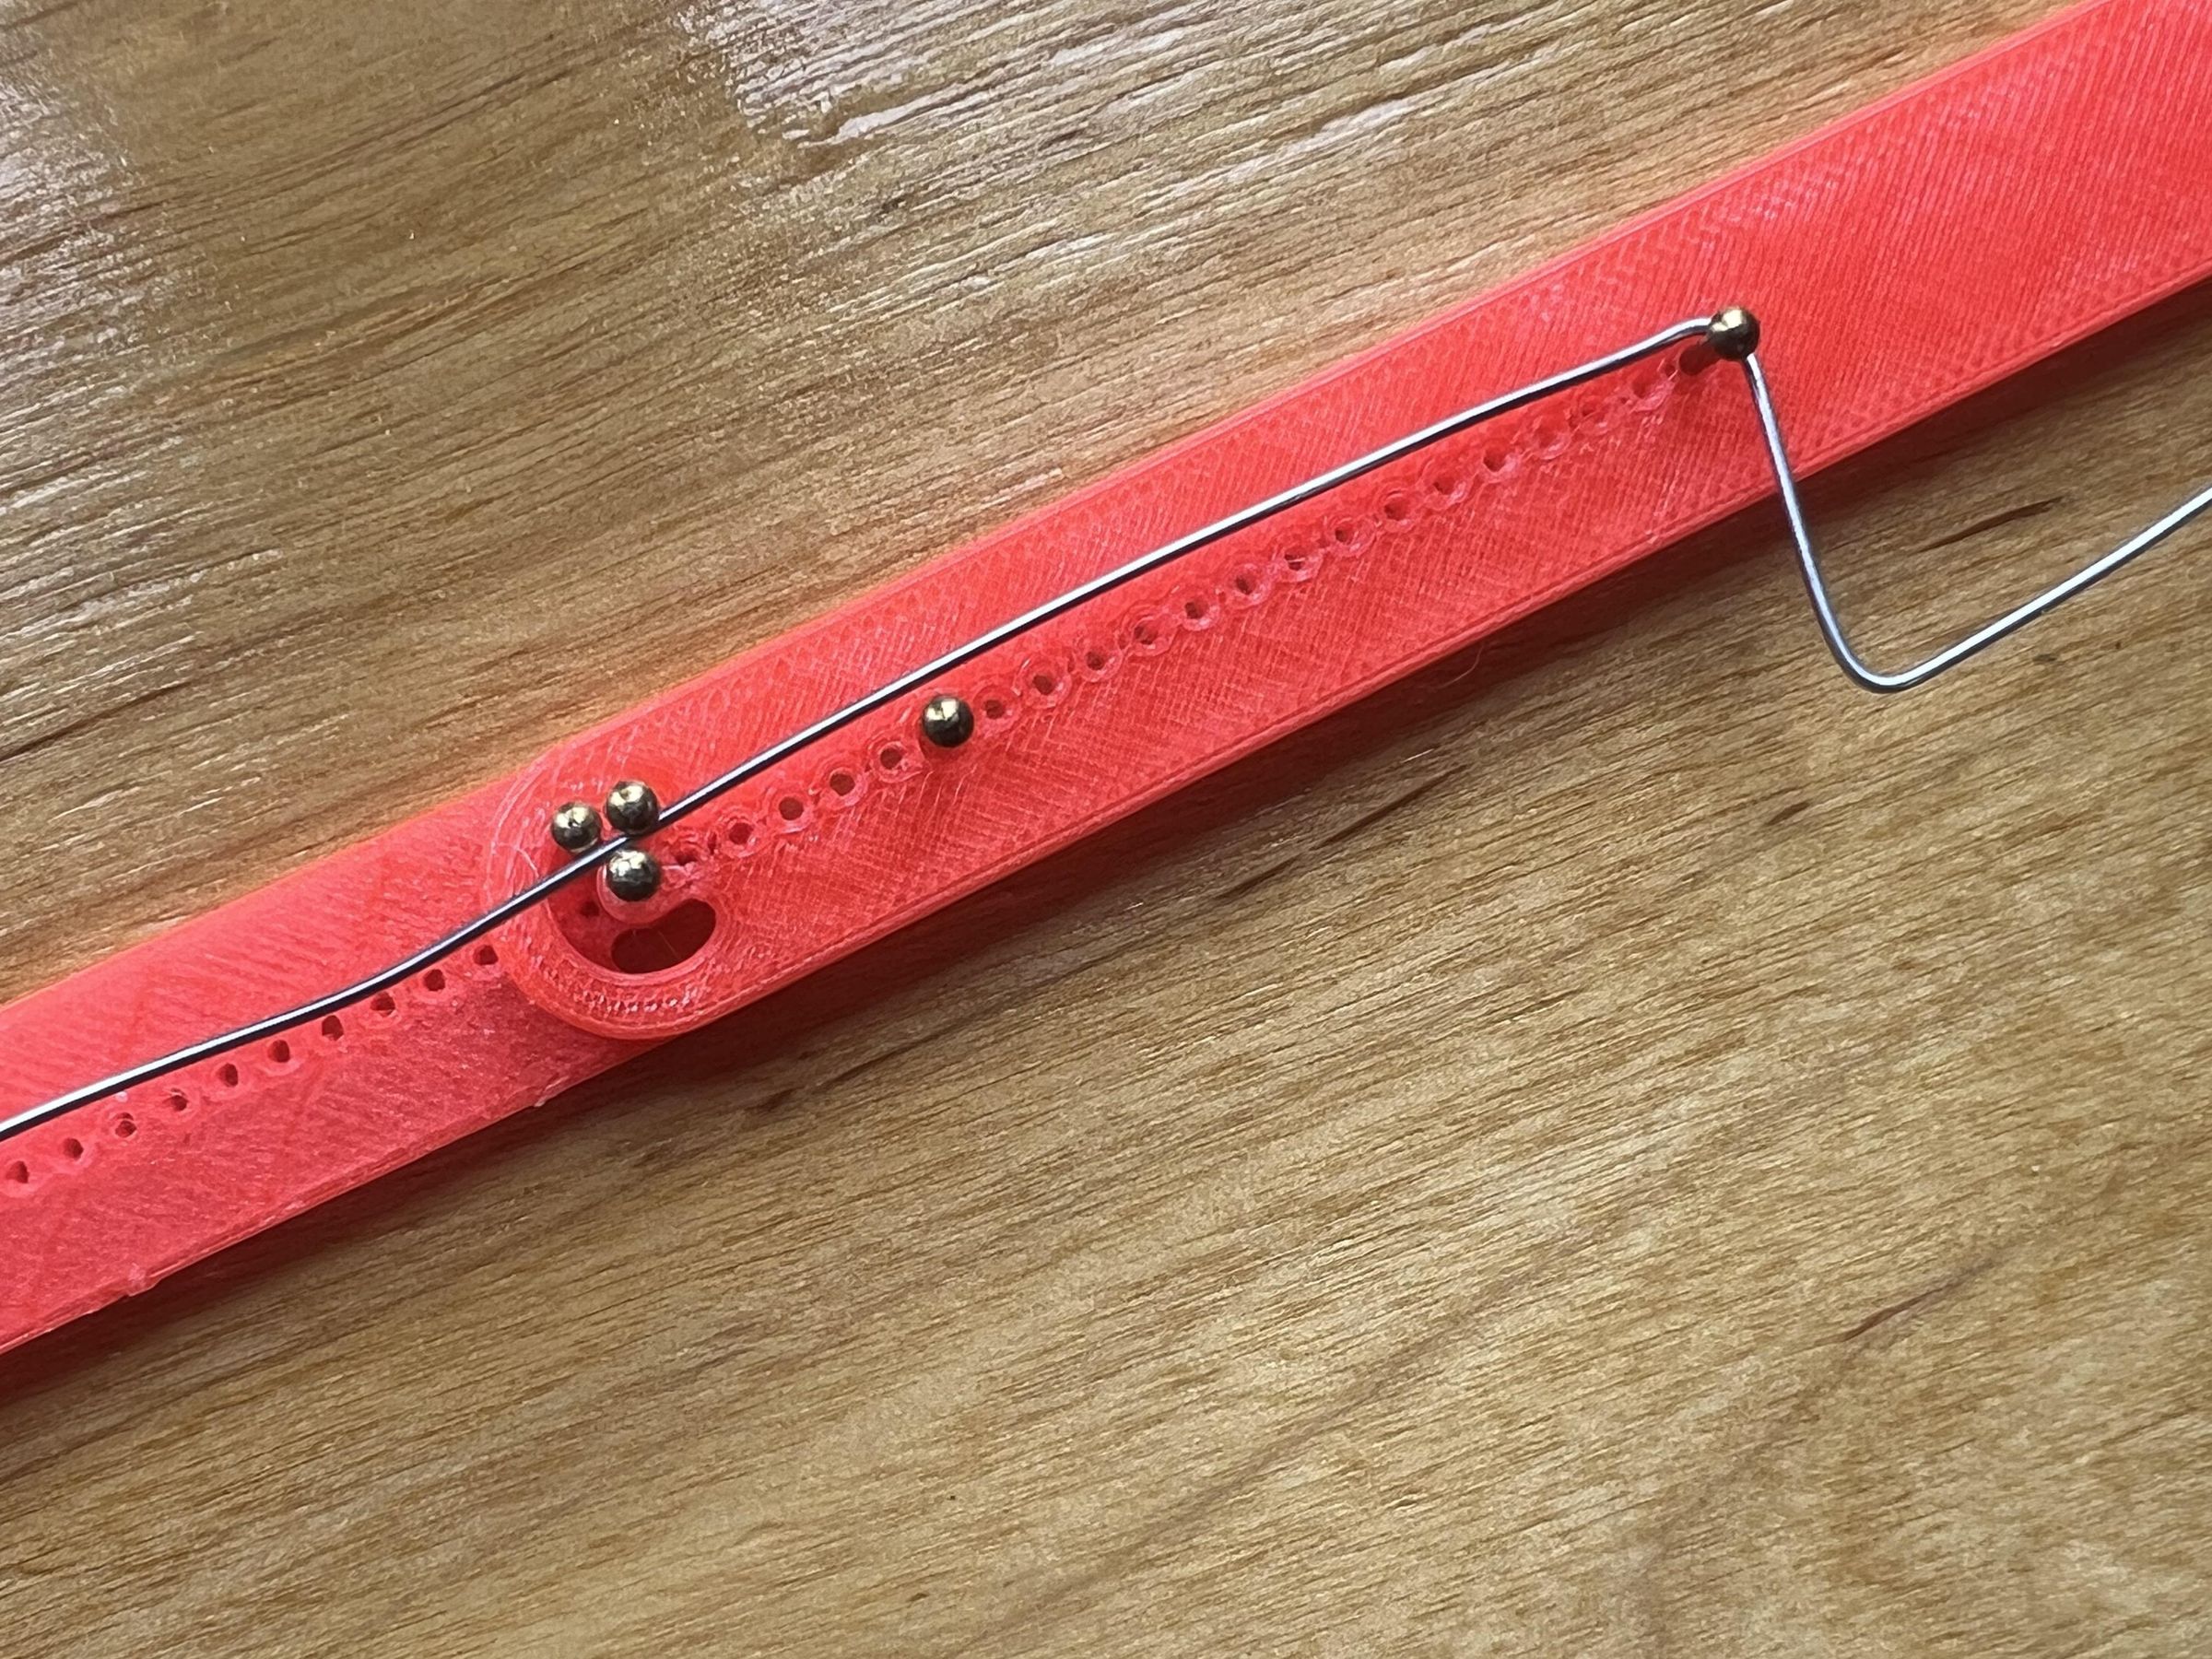
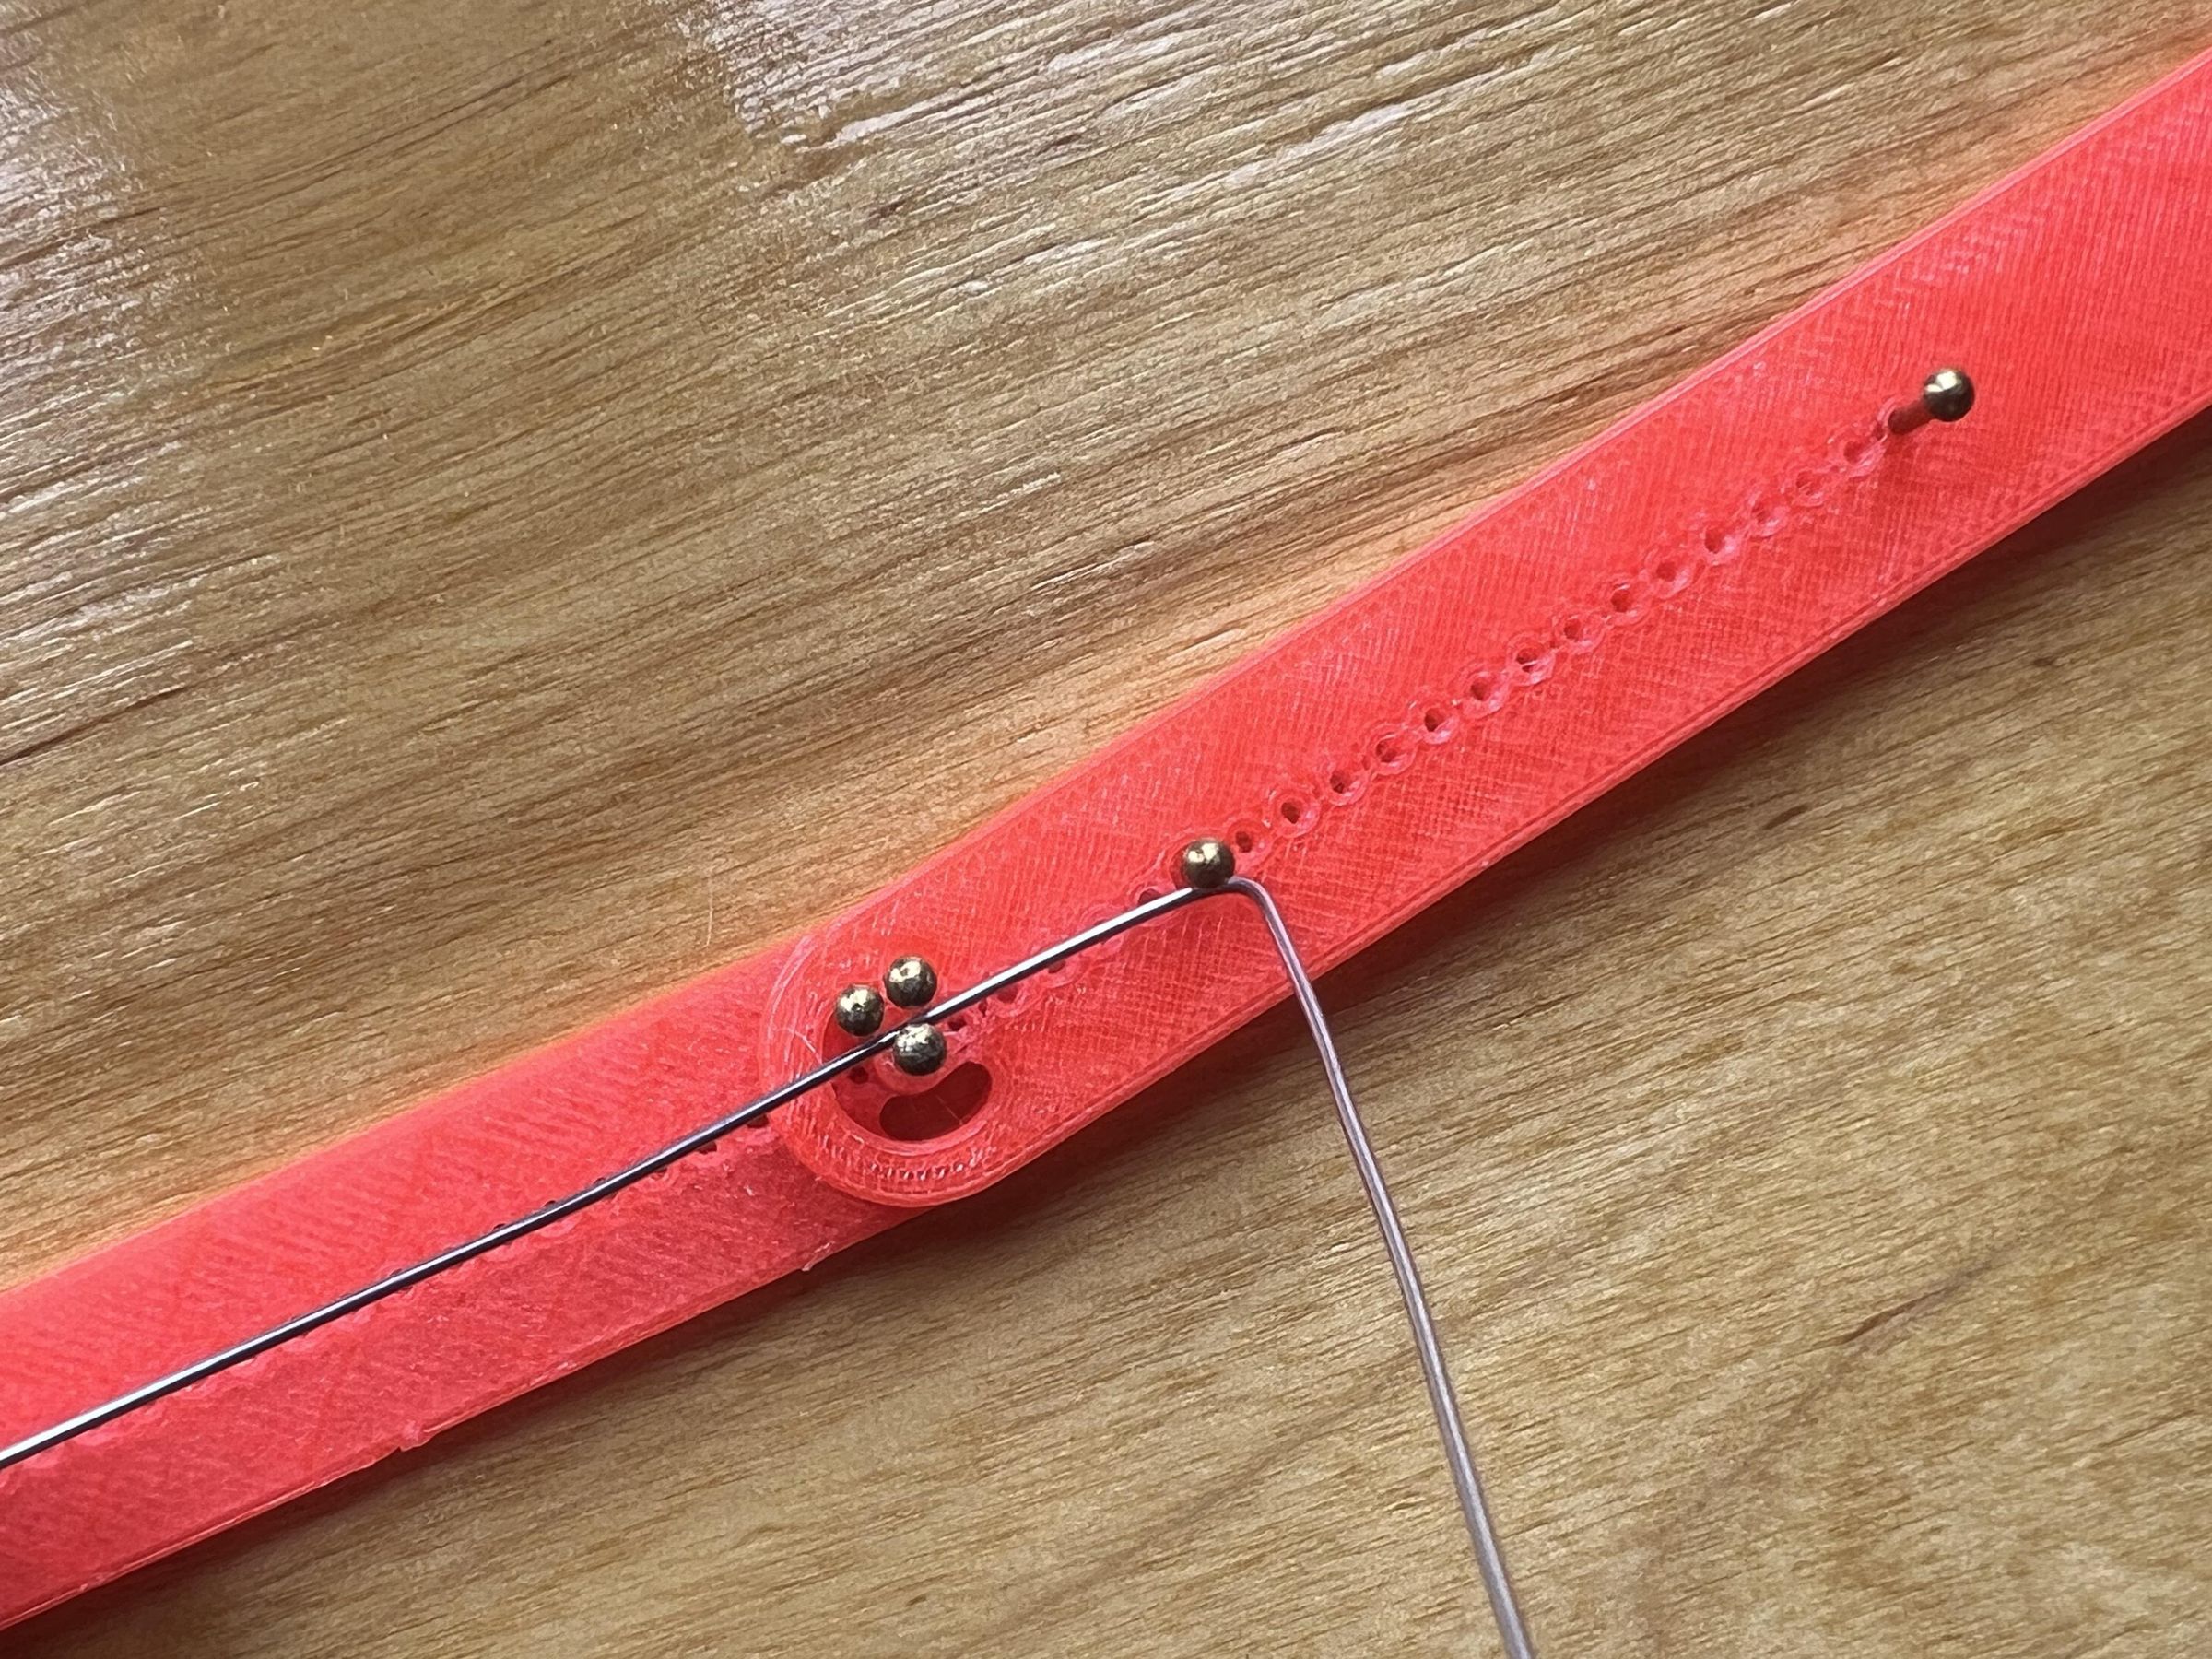
- Install the fifth nail in the hole that sets the length of the finished jumper wire.
- This nail does not need to be glued in place. You will move it to different holes from time to time.
- Cut a piece of wire approximately 50 cm (20") long from the spool.
- Straighten it slightly by hand. No tools are required.
- Open the tool and insert the wire from the left. Two nails should be above it and one below it.
- Bend it to the required angle, for example, a right angle.
- Open the tool and rotate the wire at the same time.
- Move the wire to the next bending point.
- Use the nails in the row of holes to measure the bending point accurately.
- Pay attention to the bending direction. This takes some getting used to and some practice before you can reliably bend the wire in the required direction.
- Continue moving and bending the wire until you reach the end.
- At the end, if there is not enough wire left for the required section, make a smaller part.
Cut It Into Jumper Wires and Check That They Work
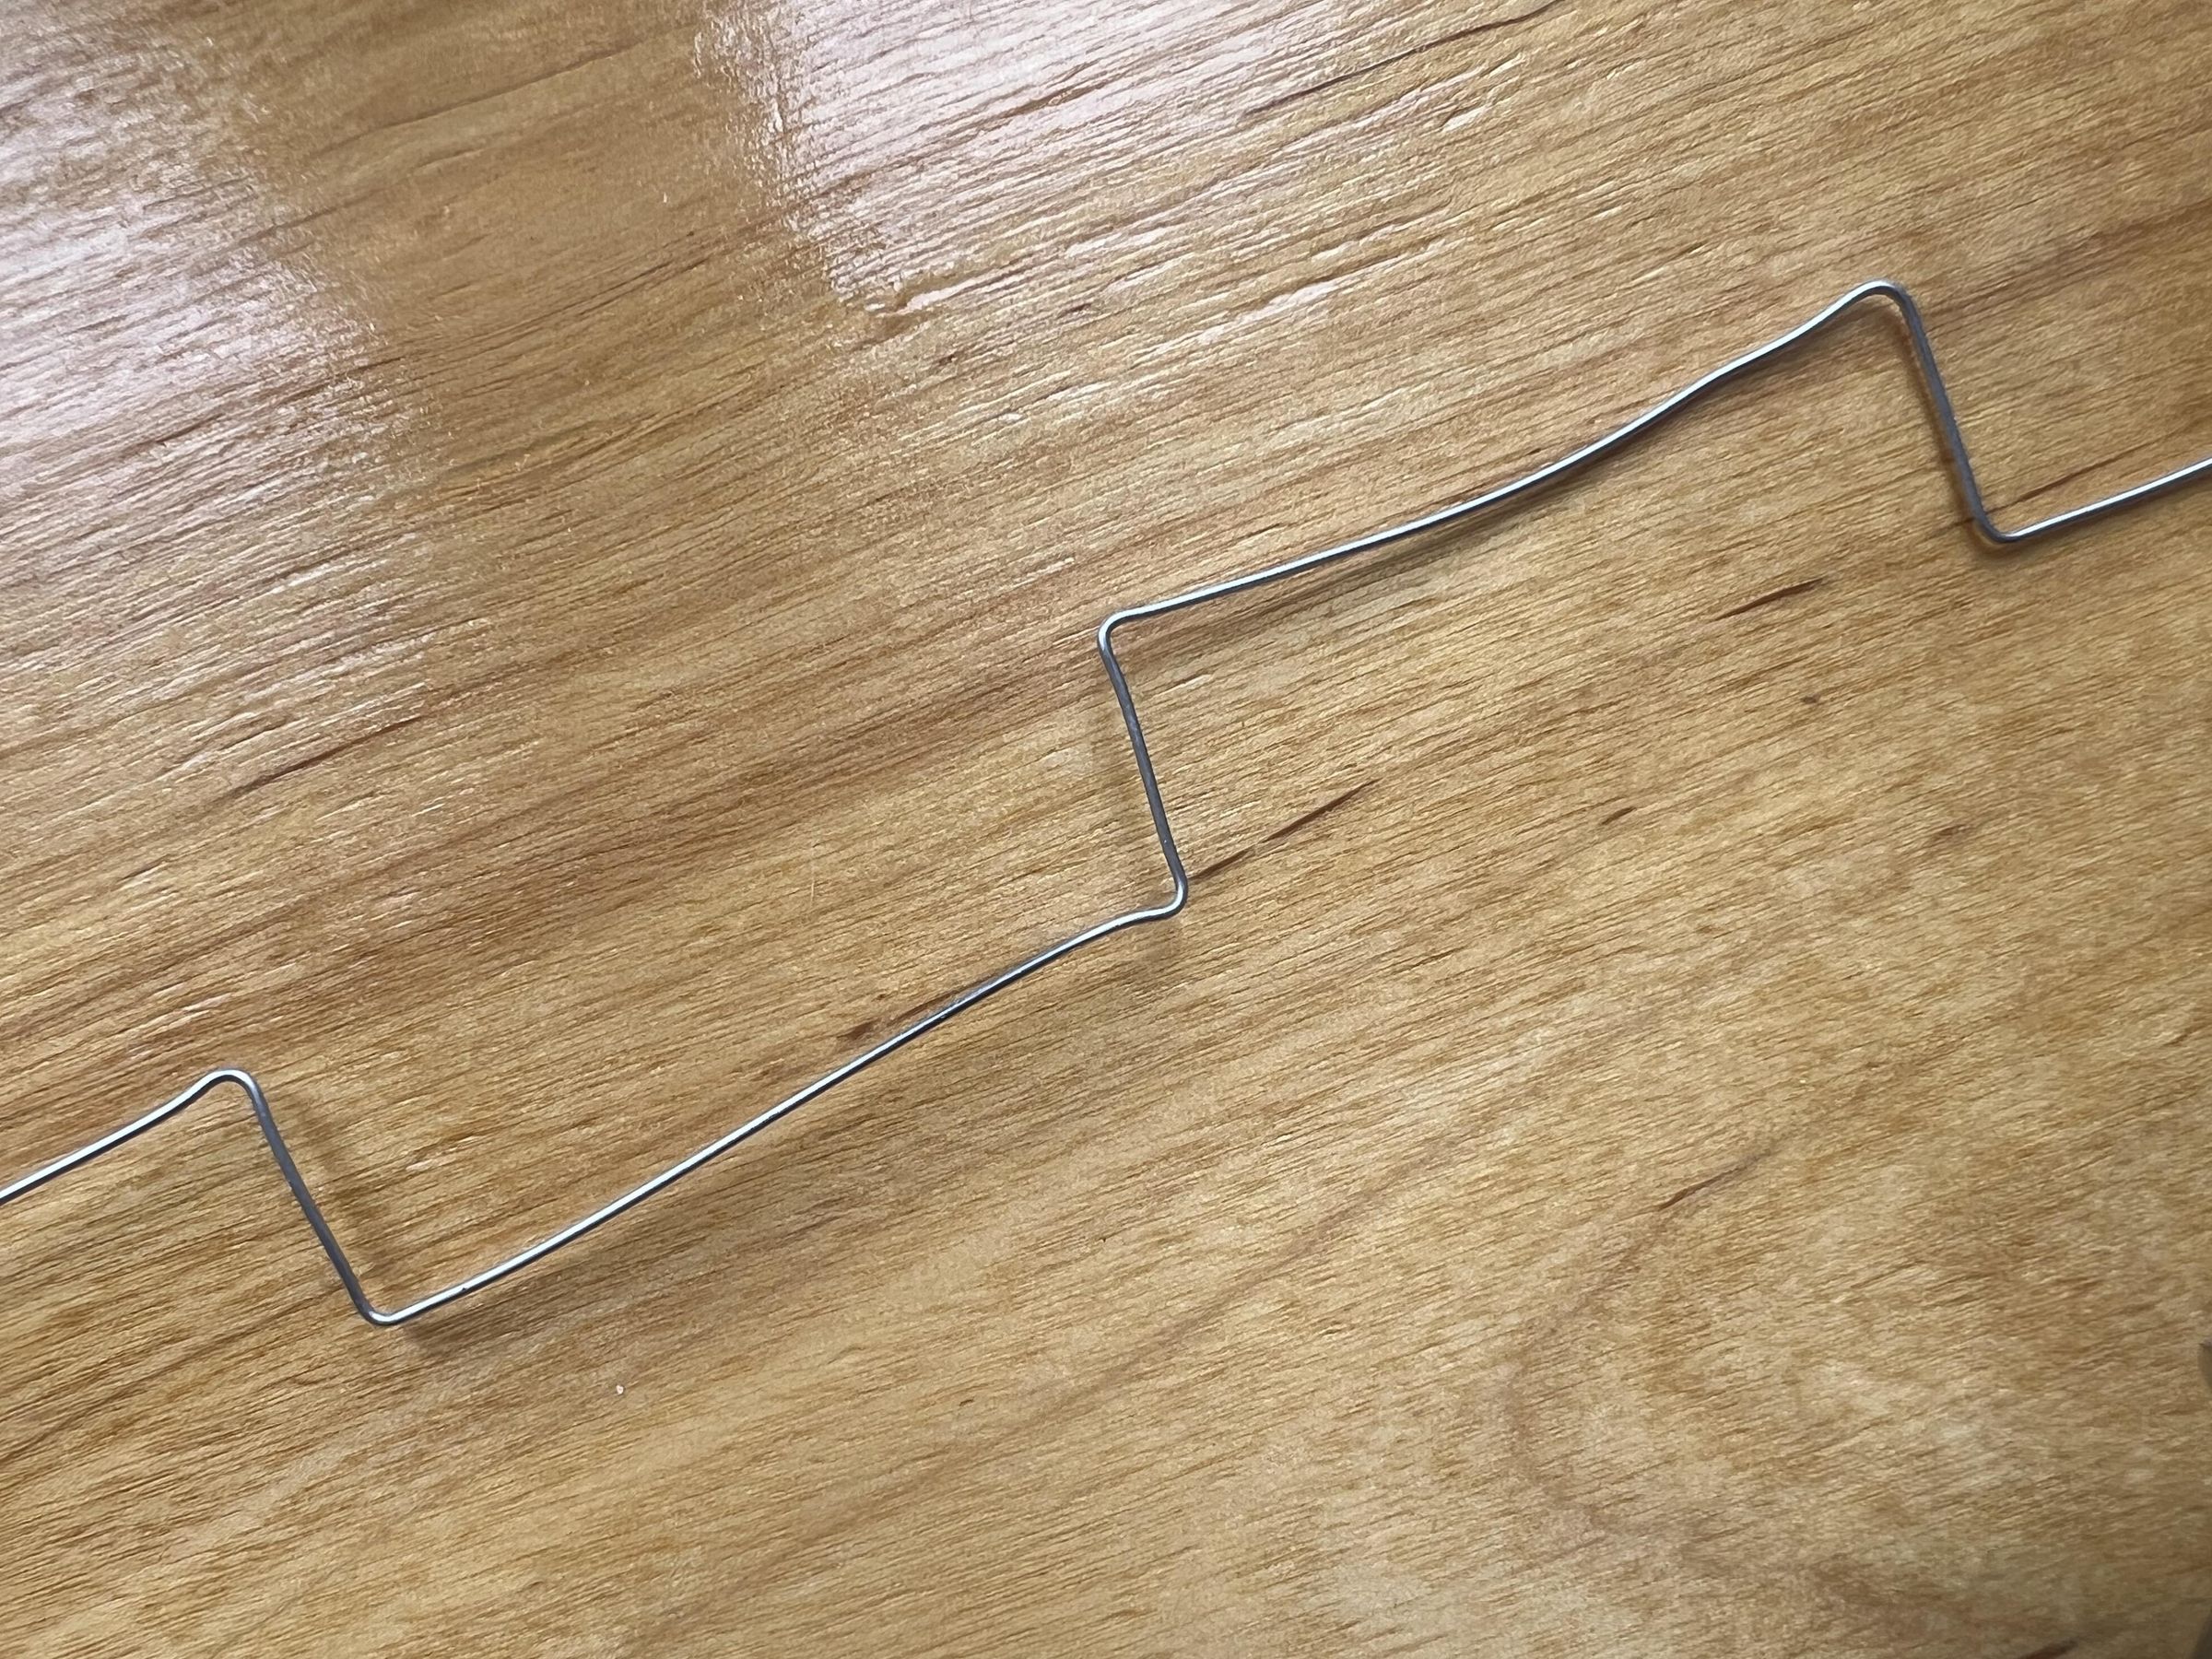
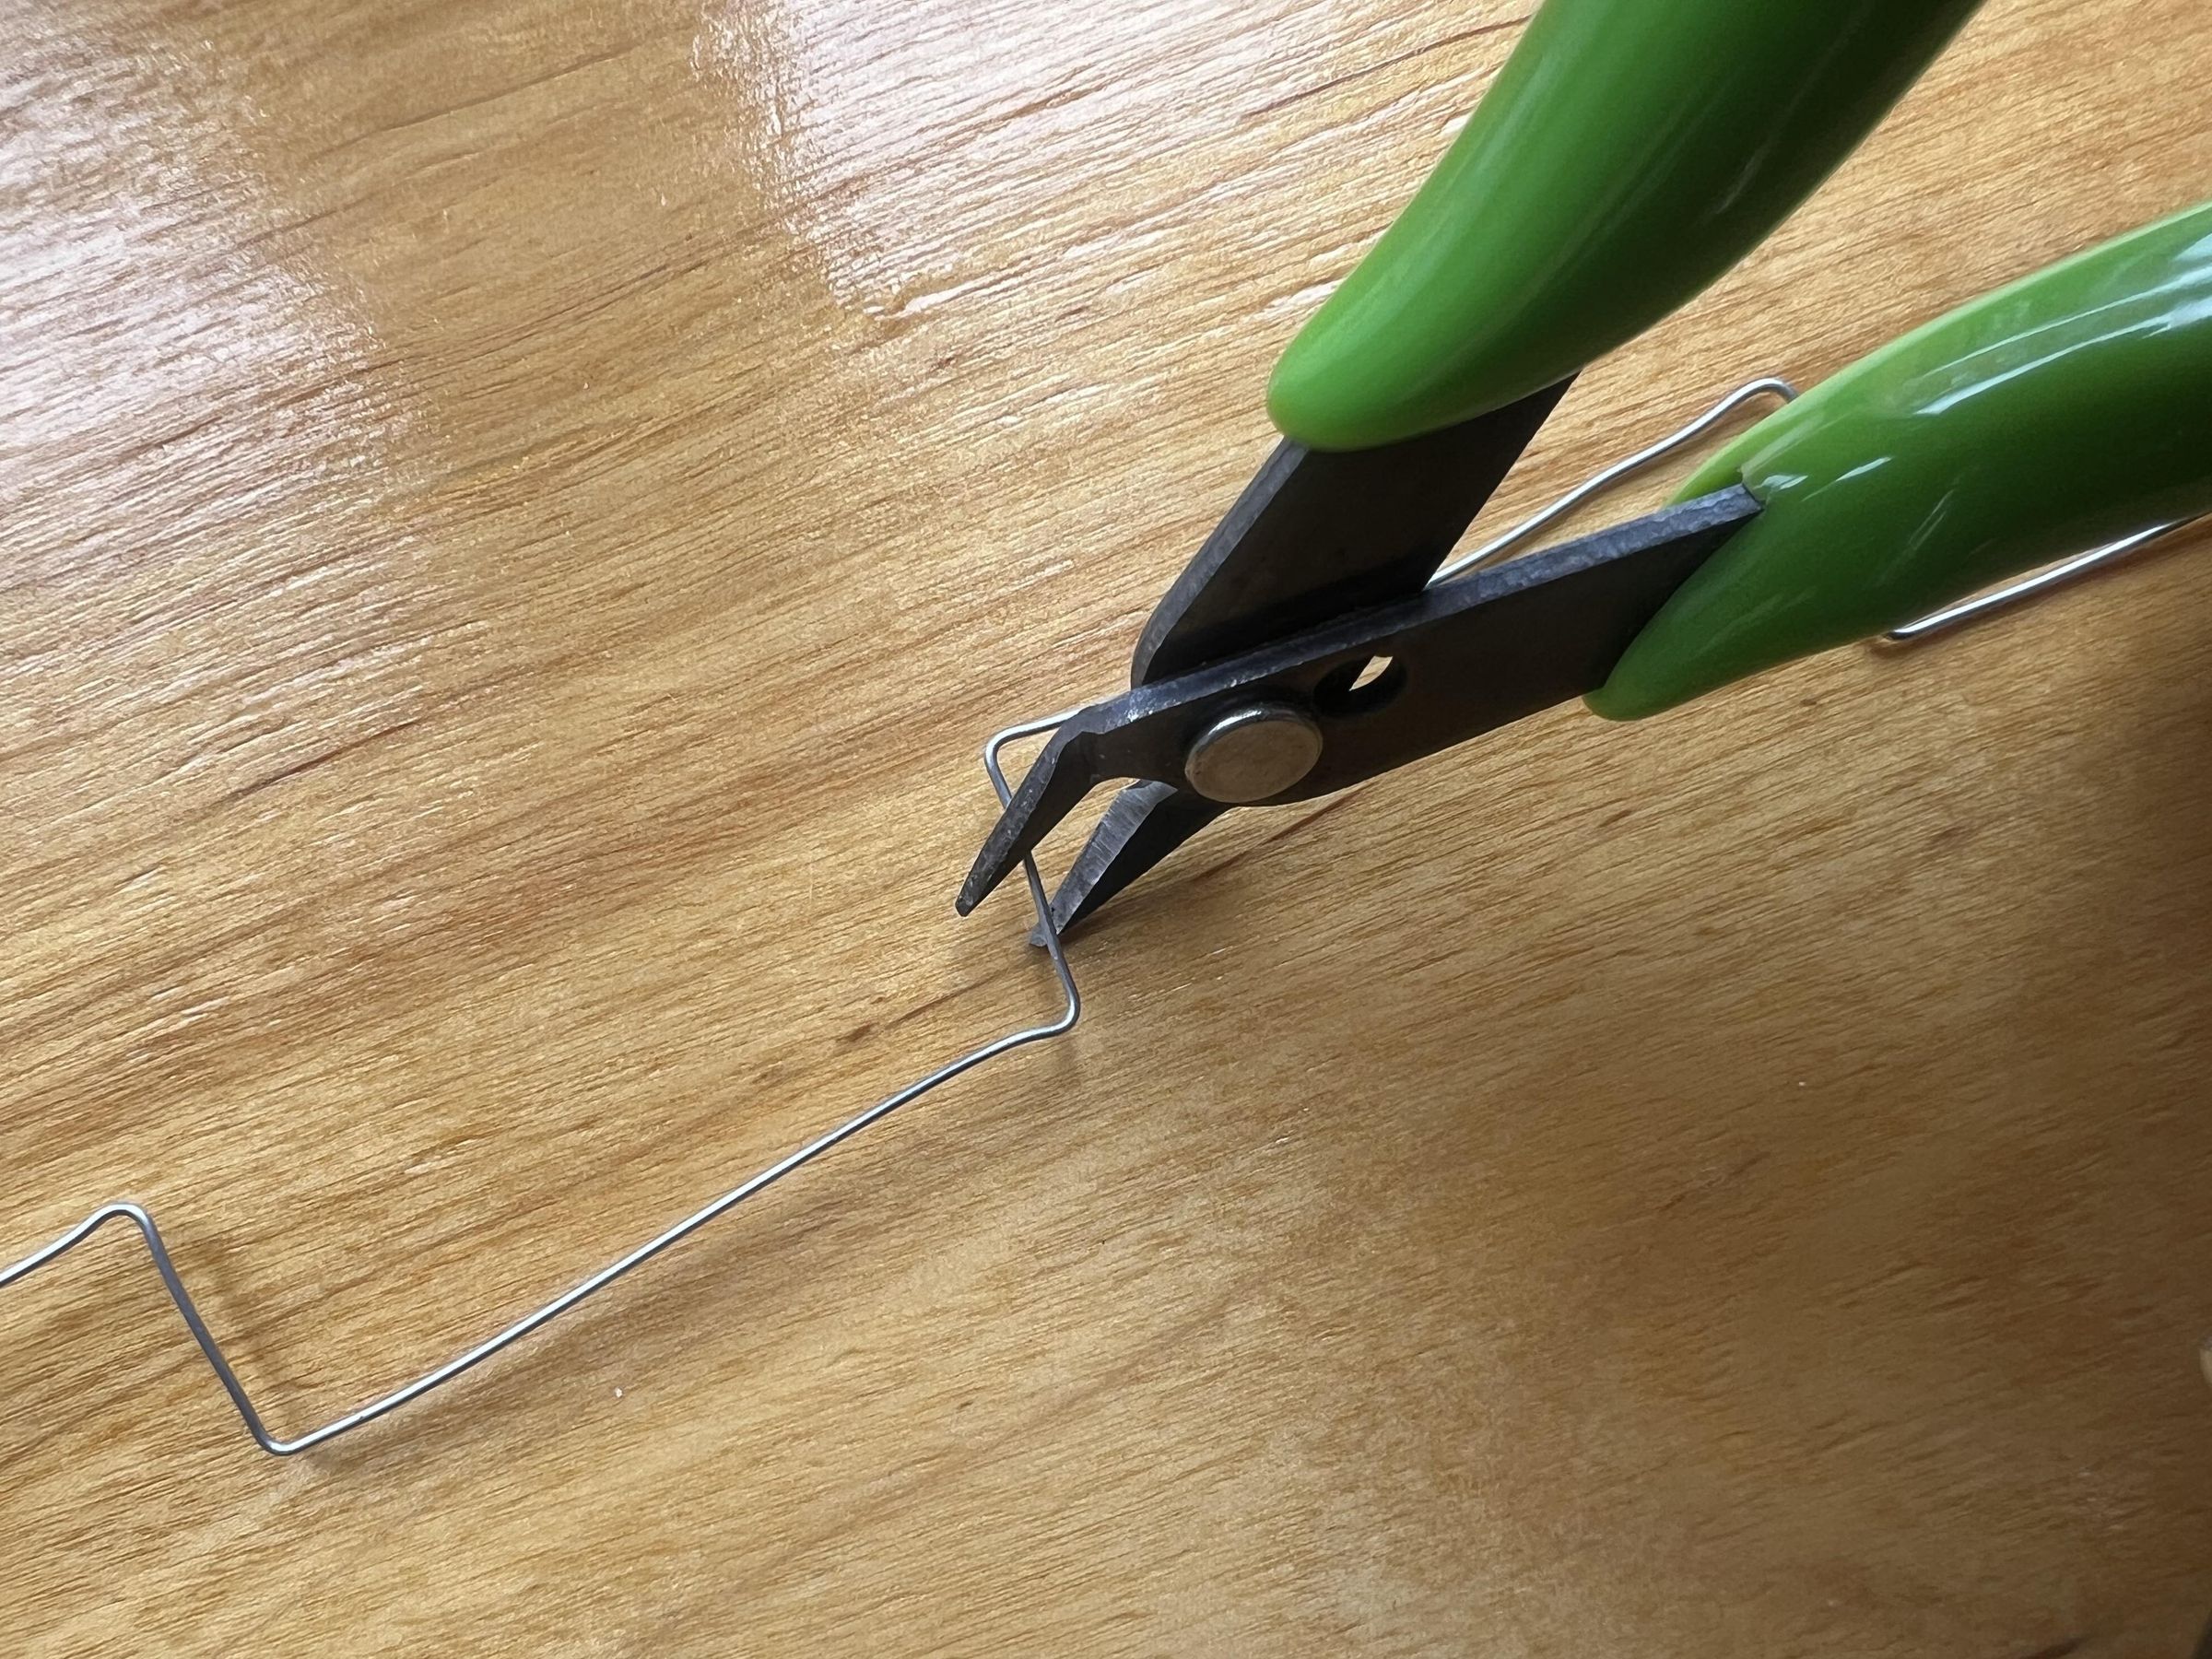
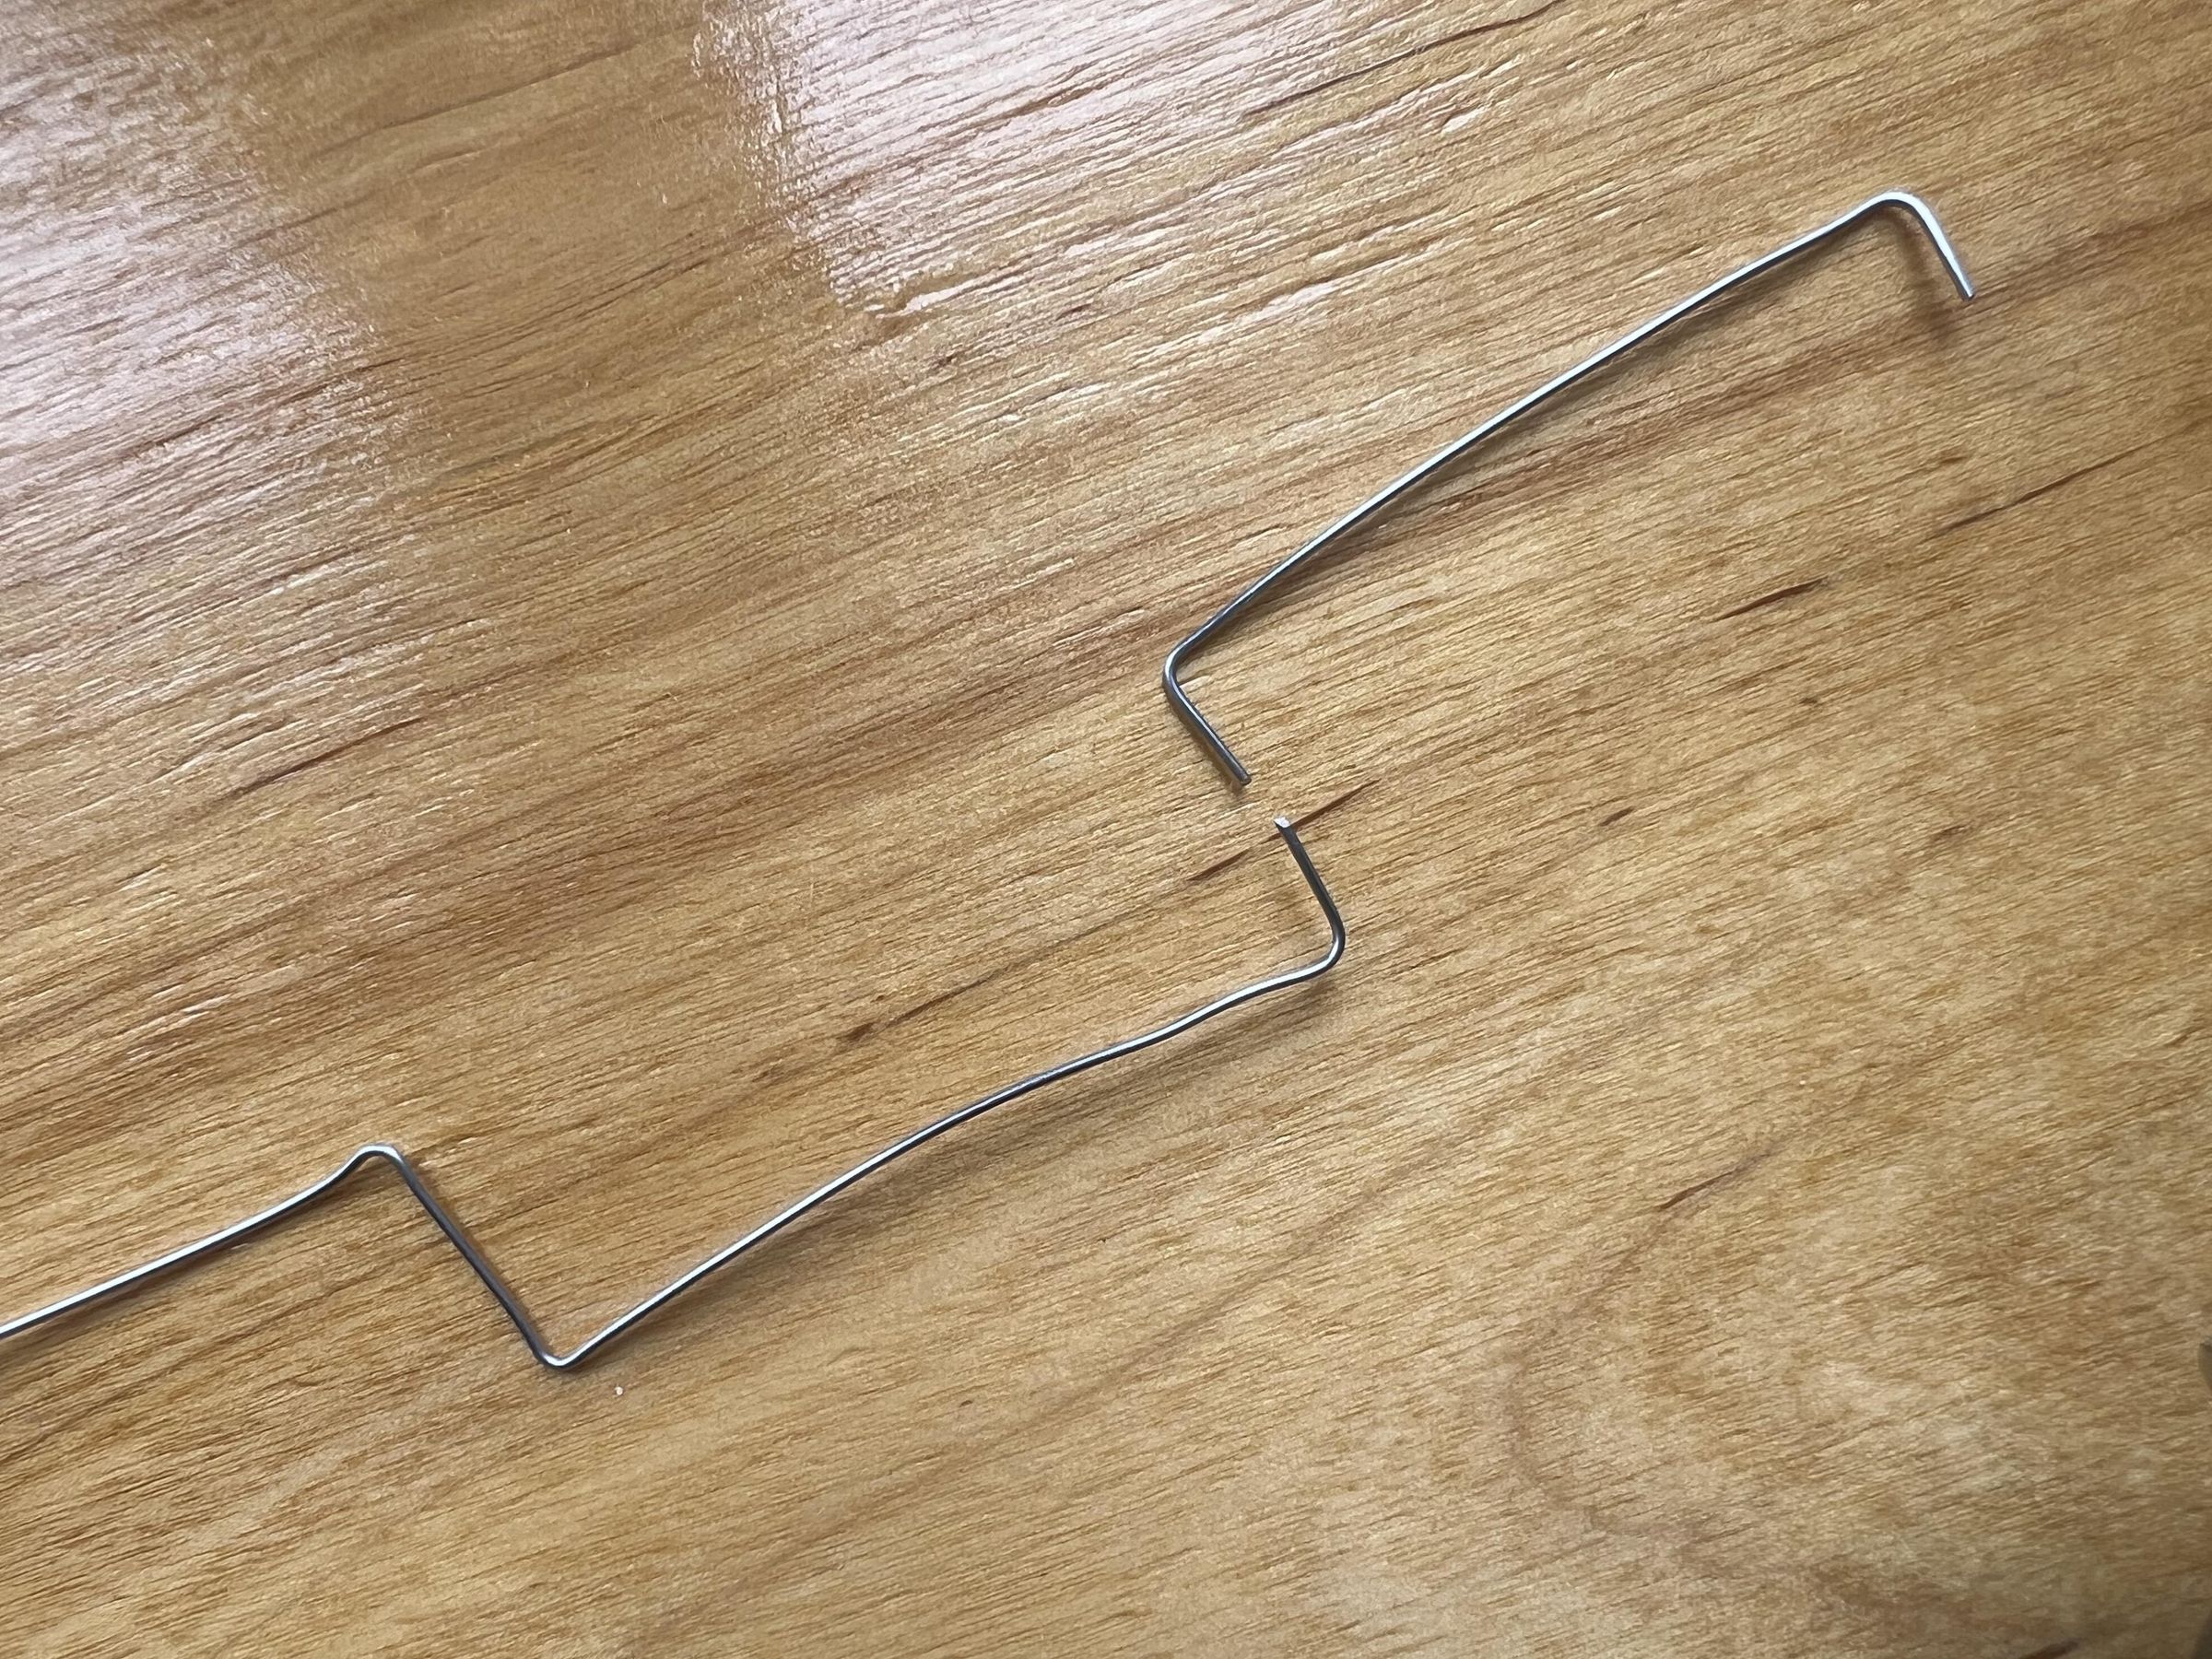
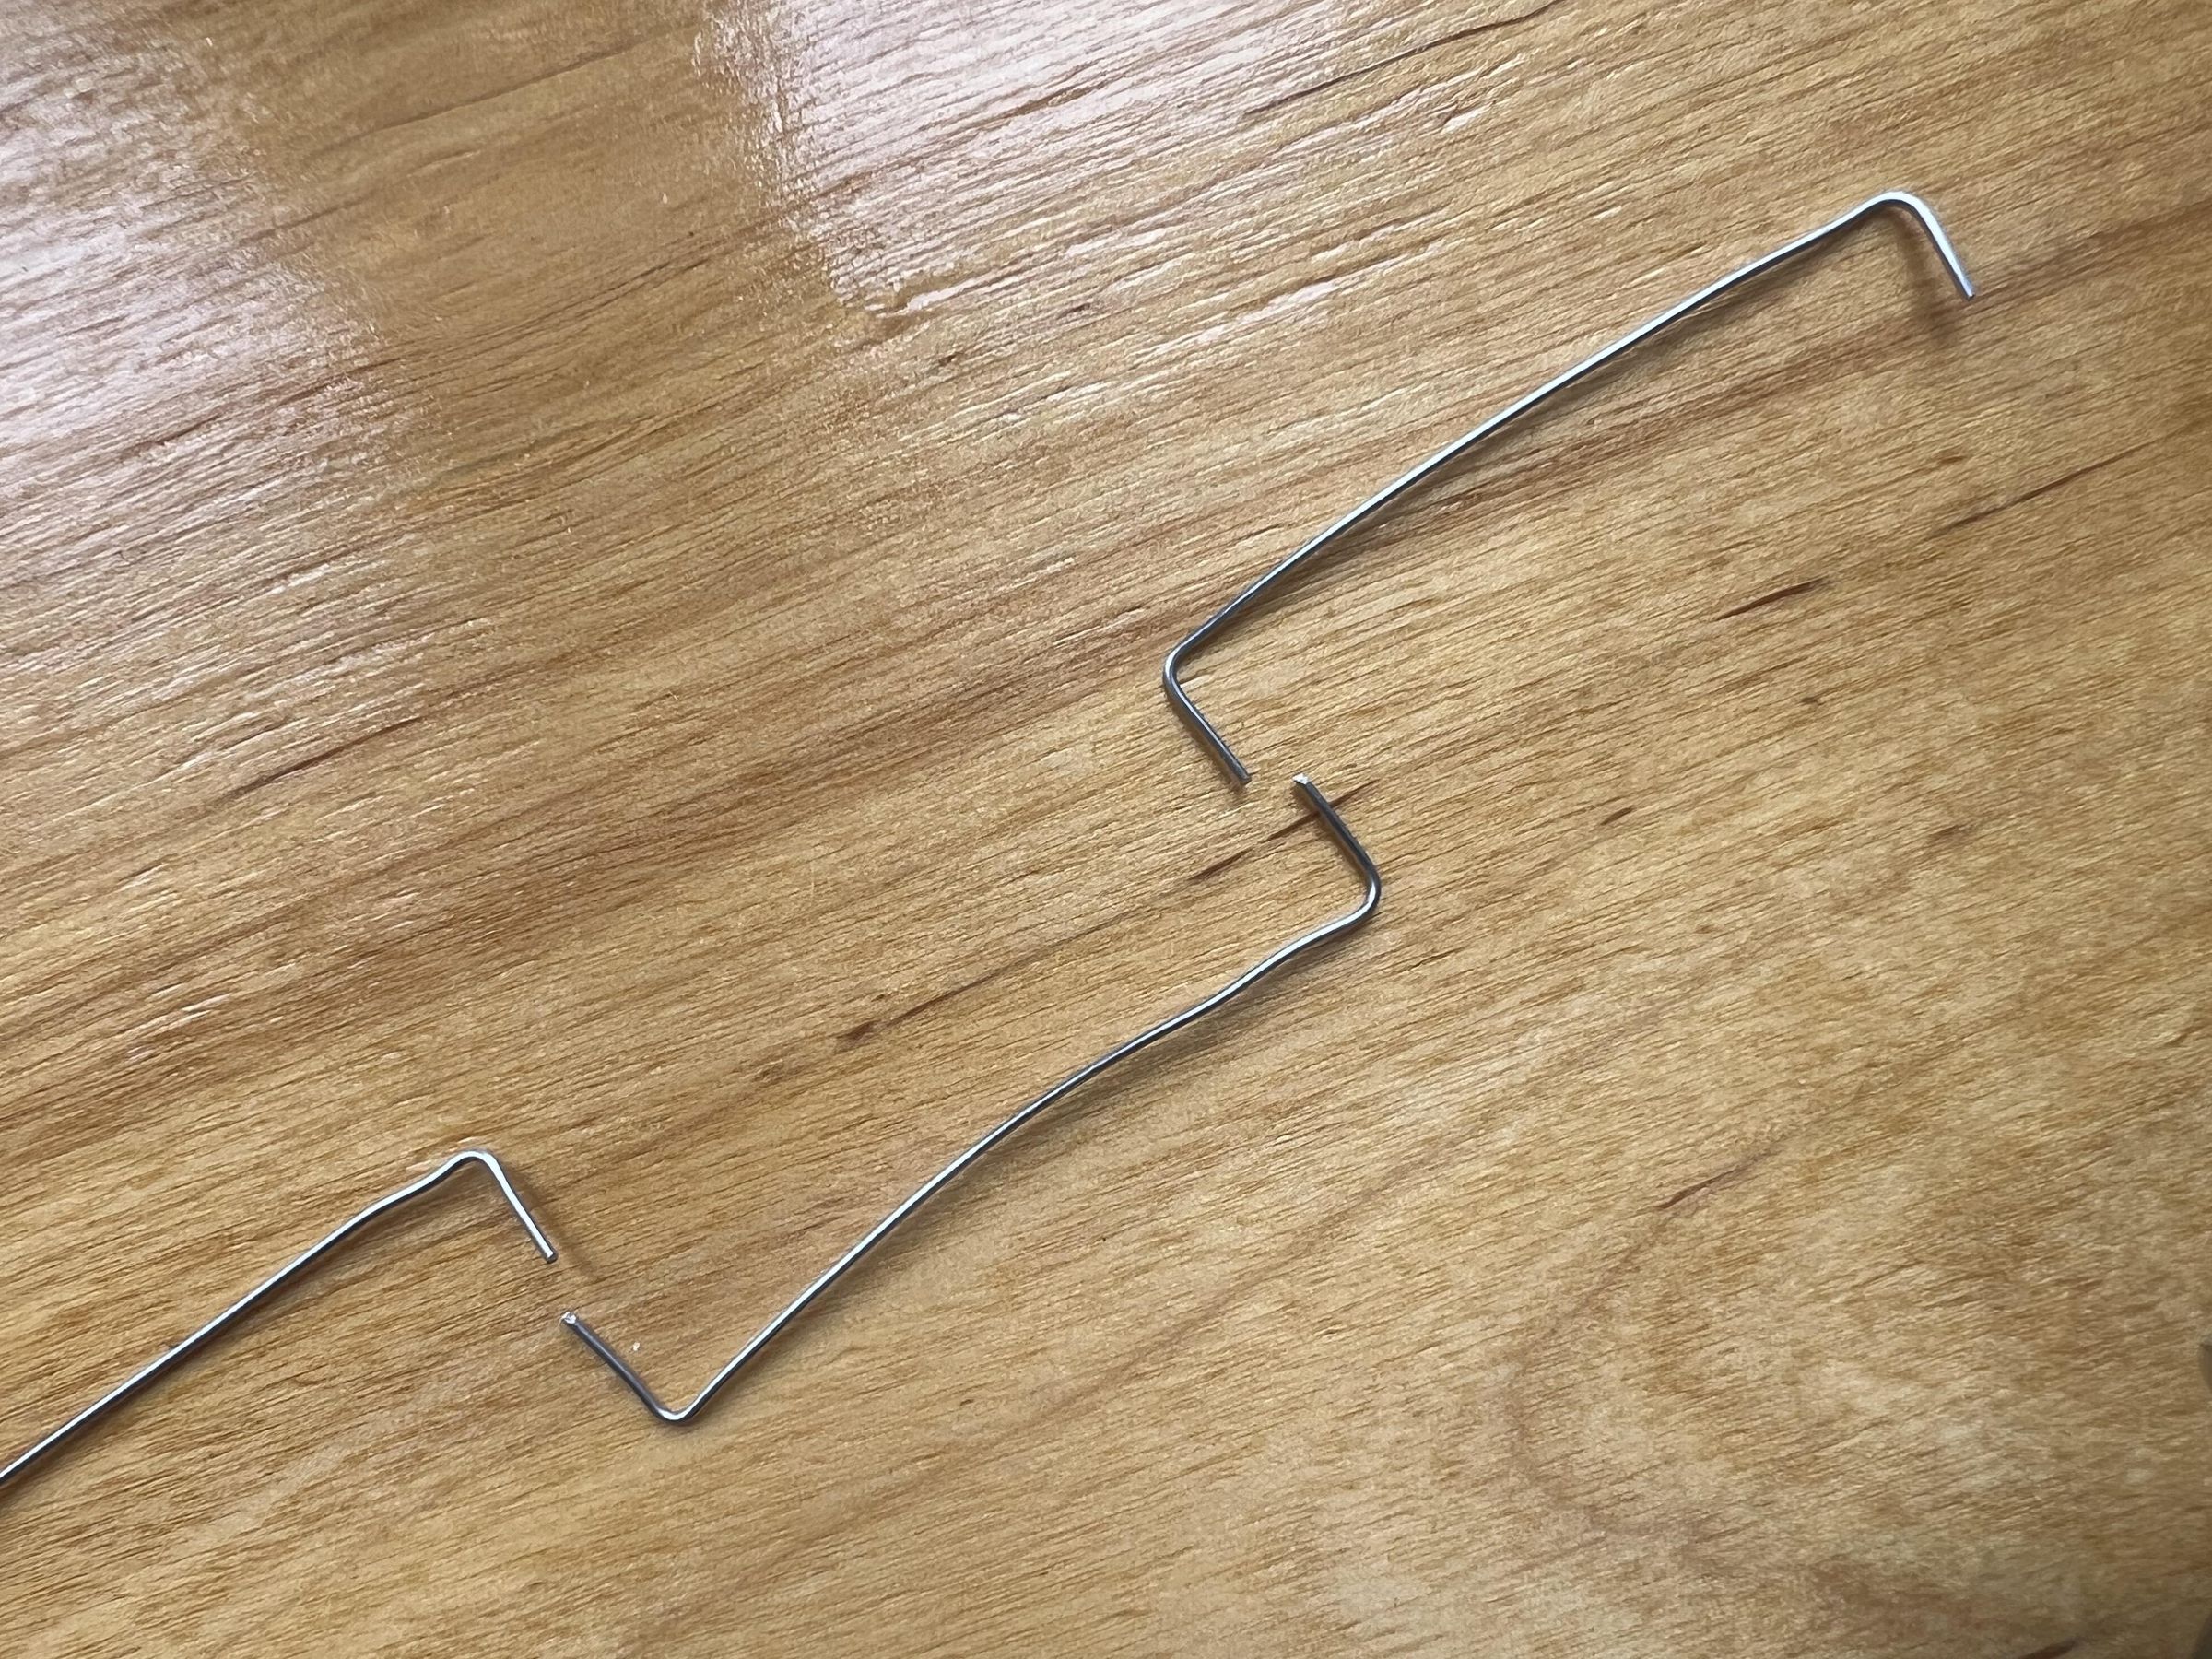
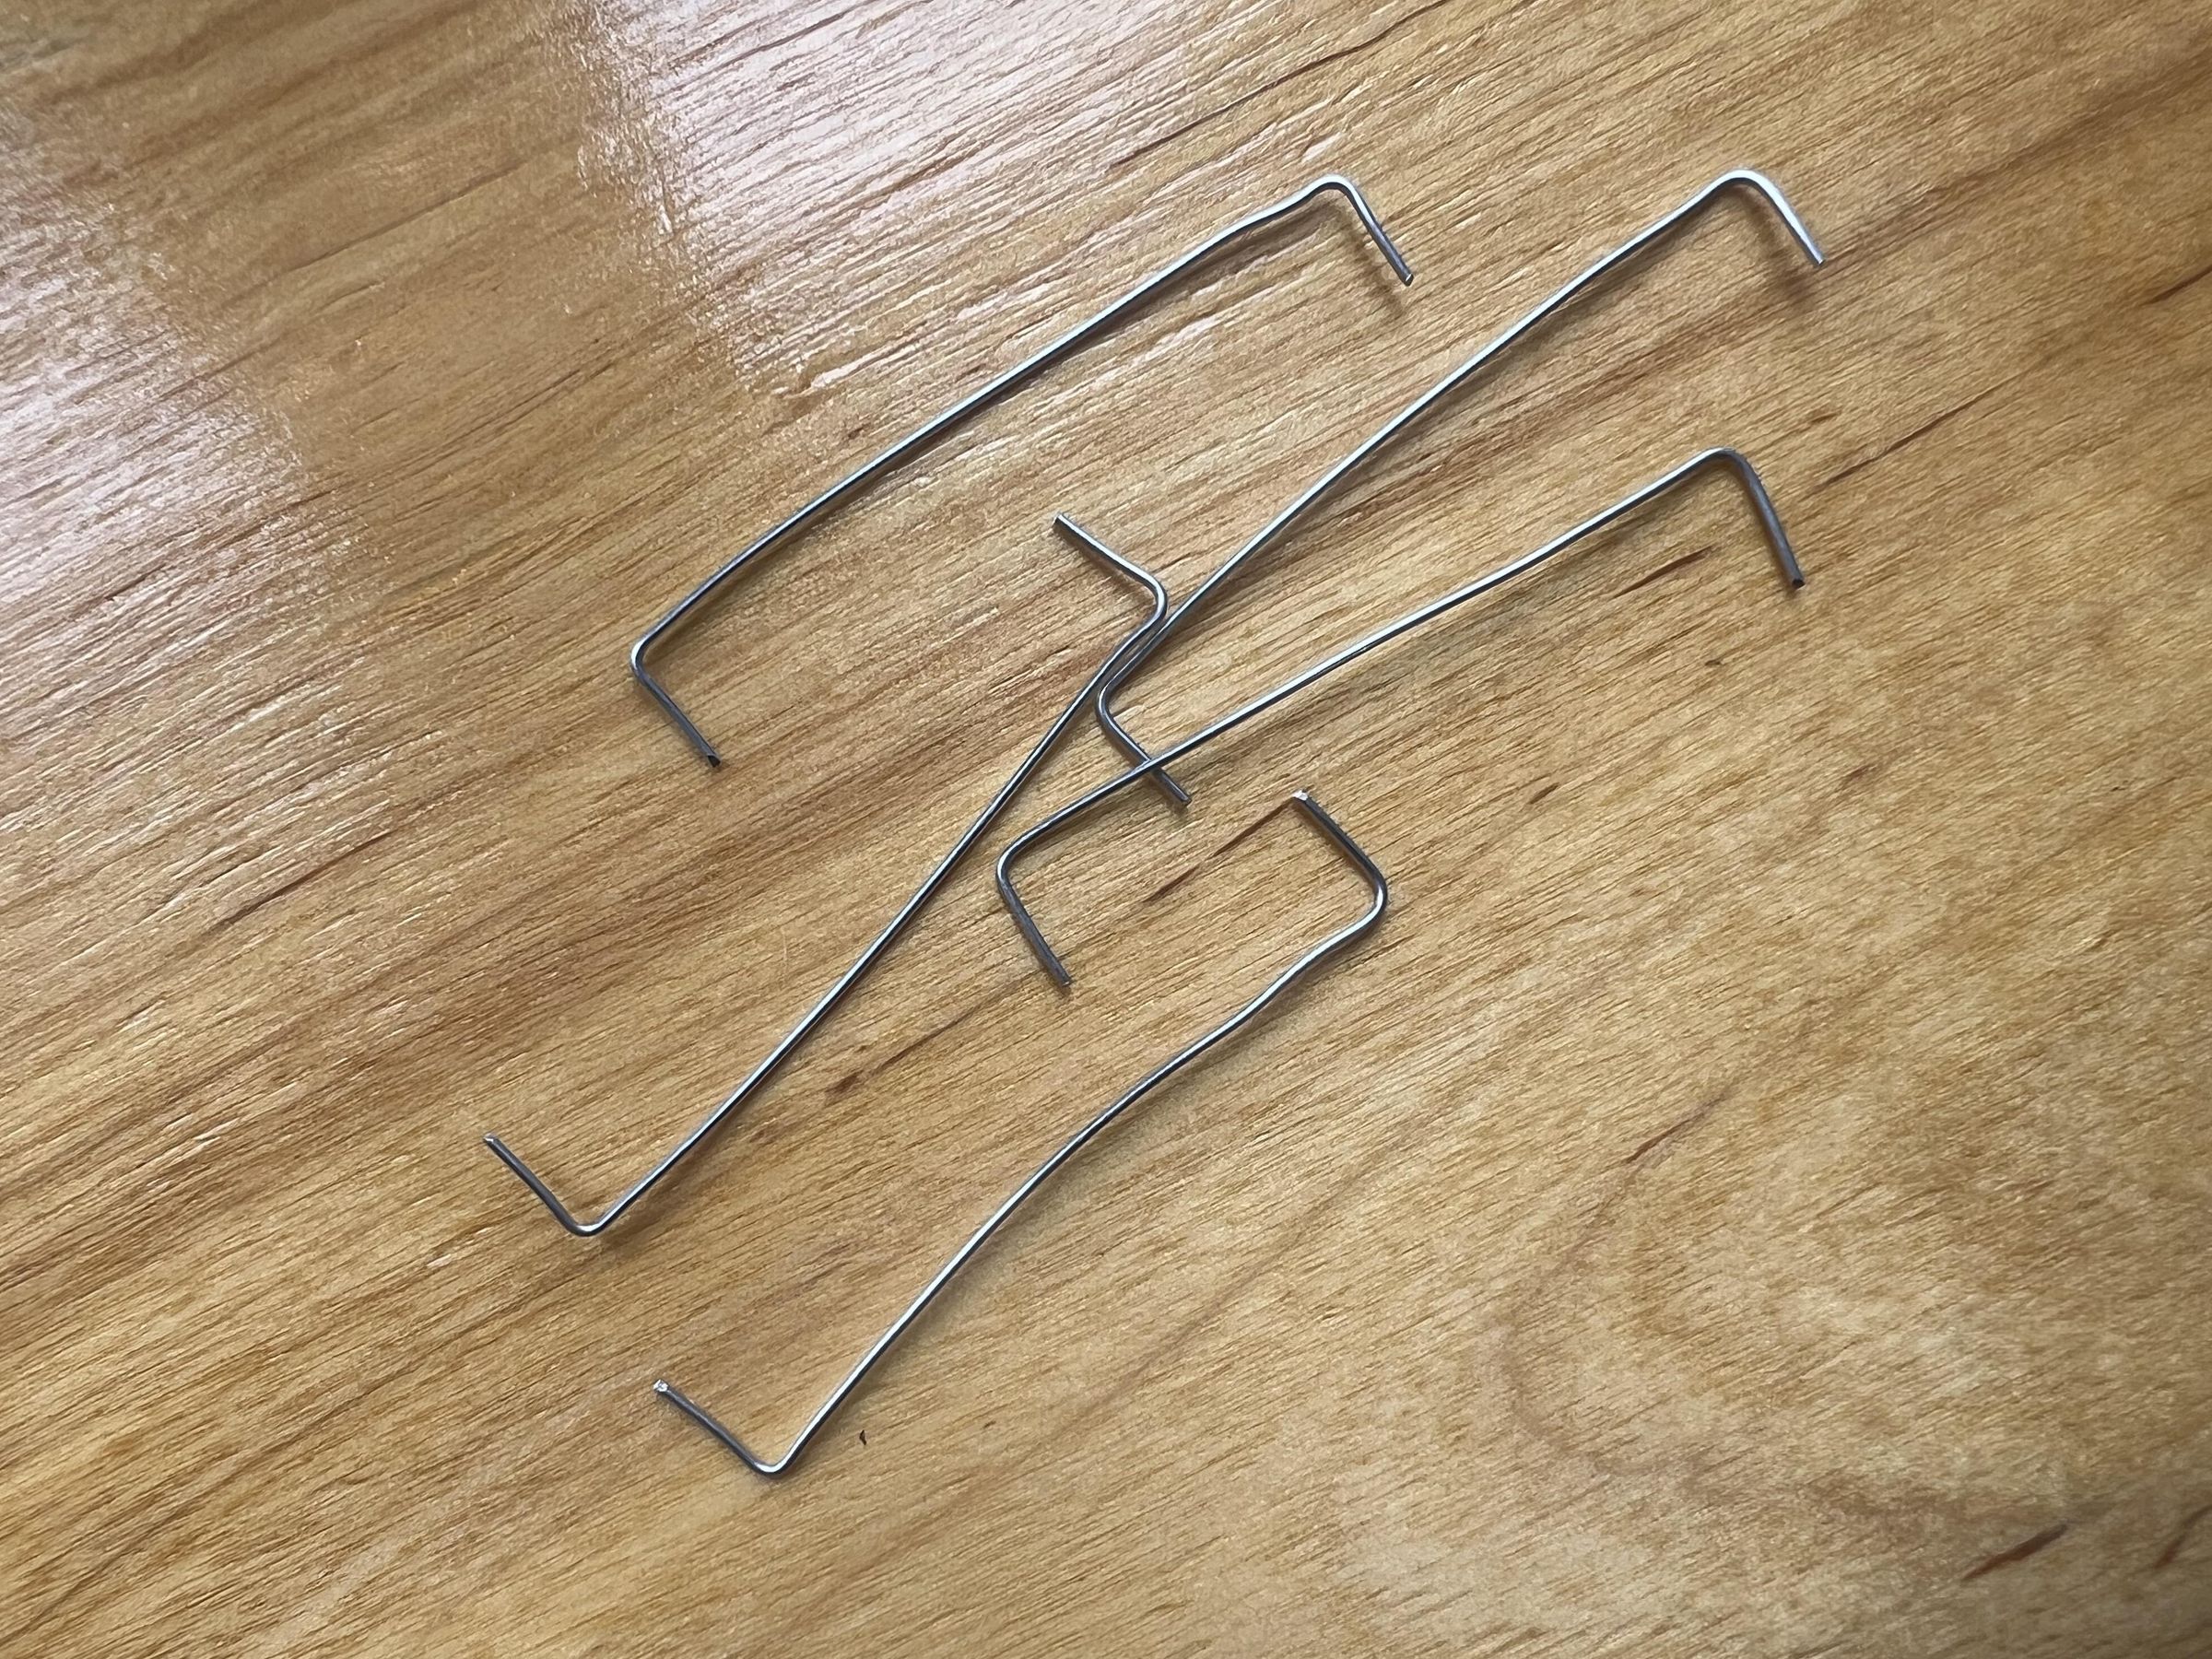
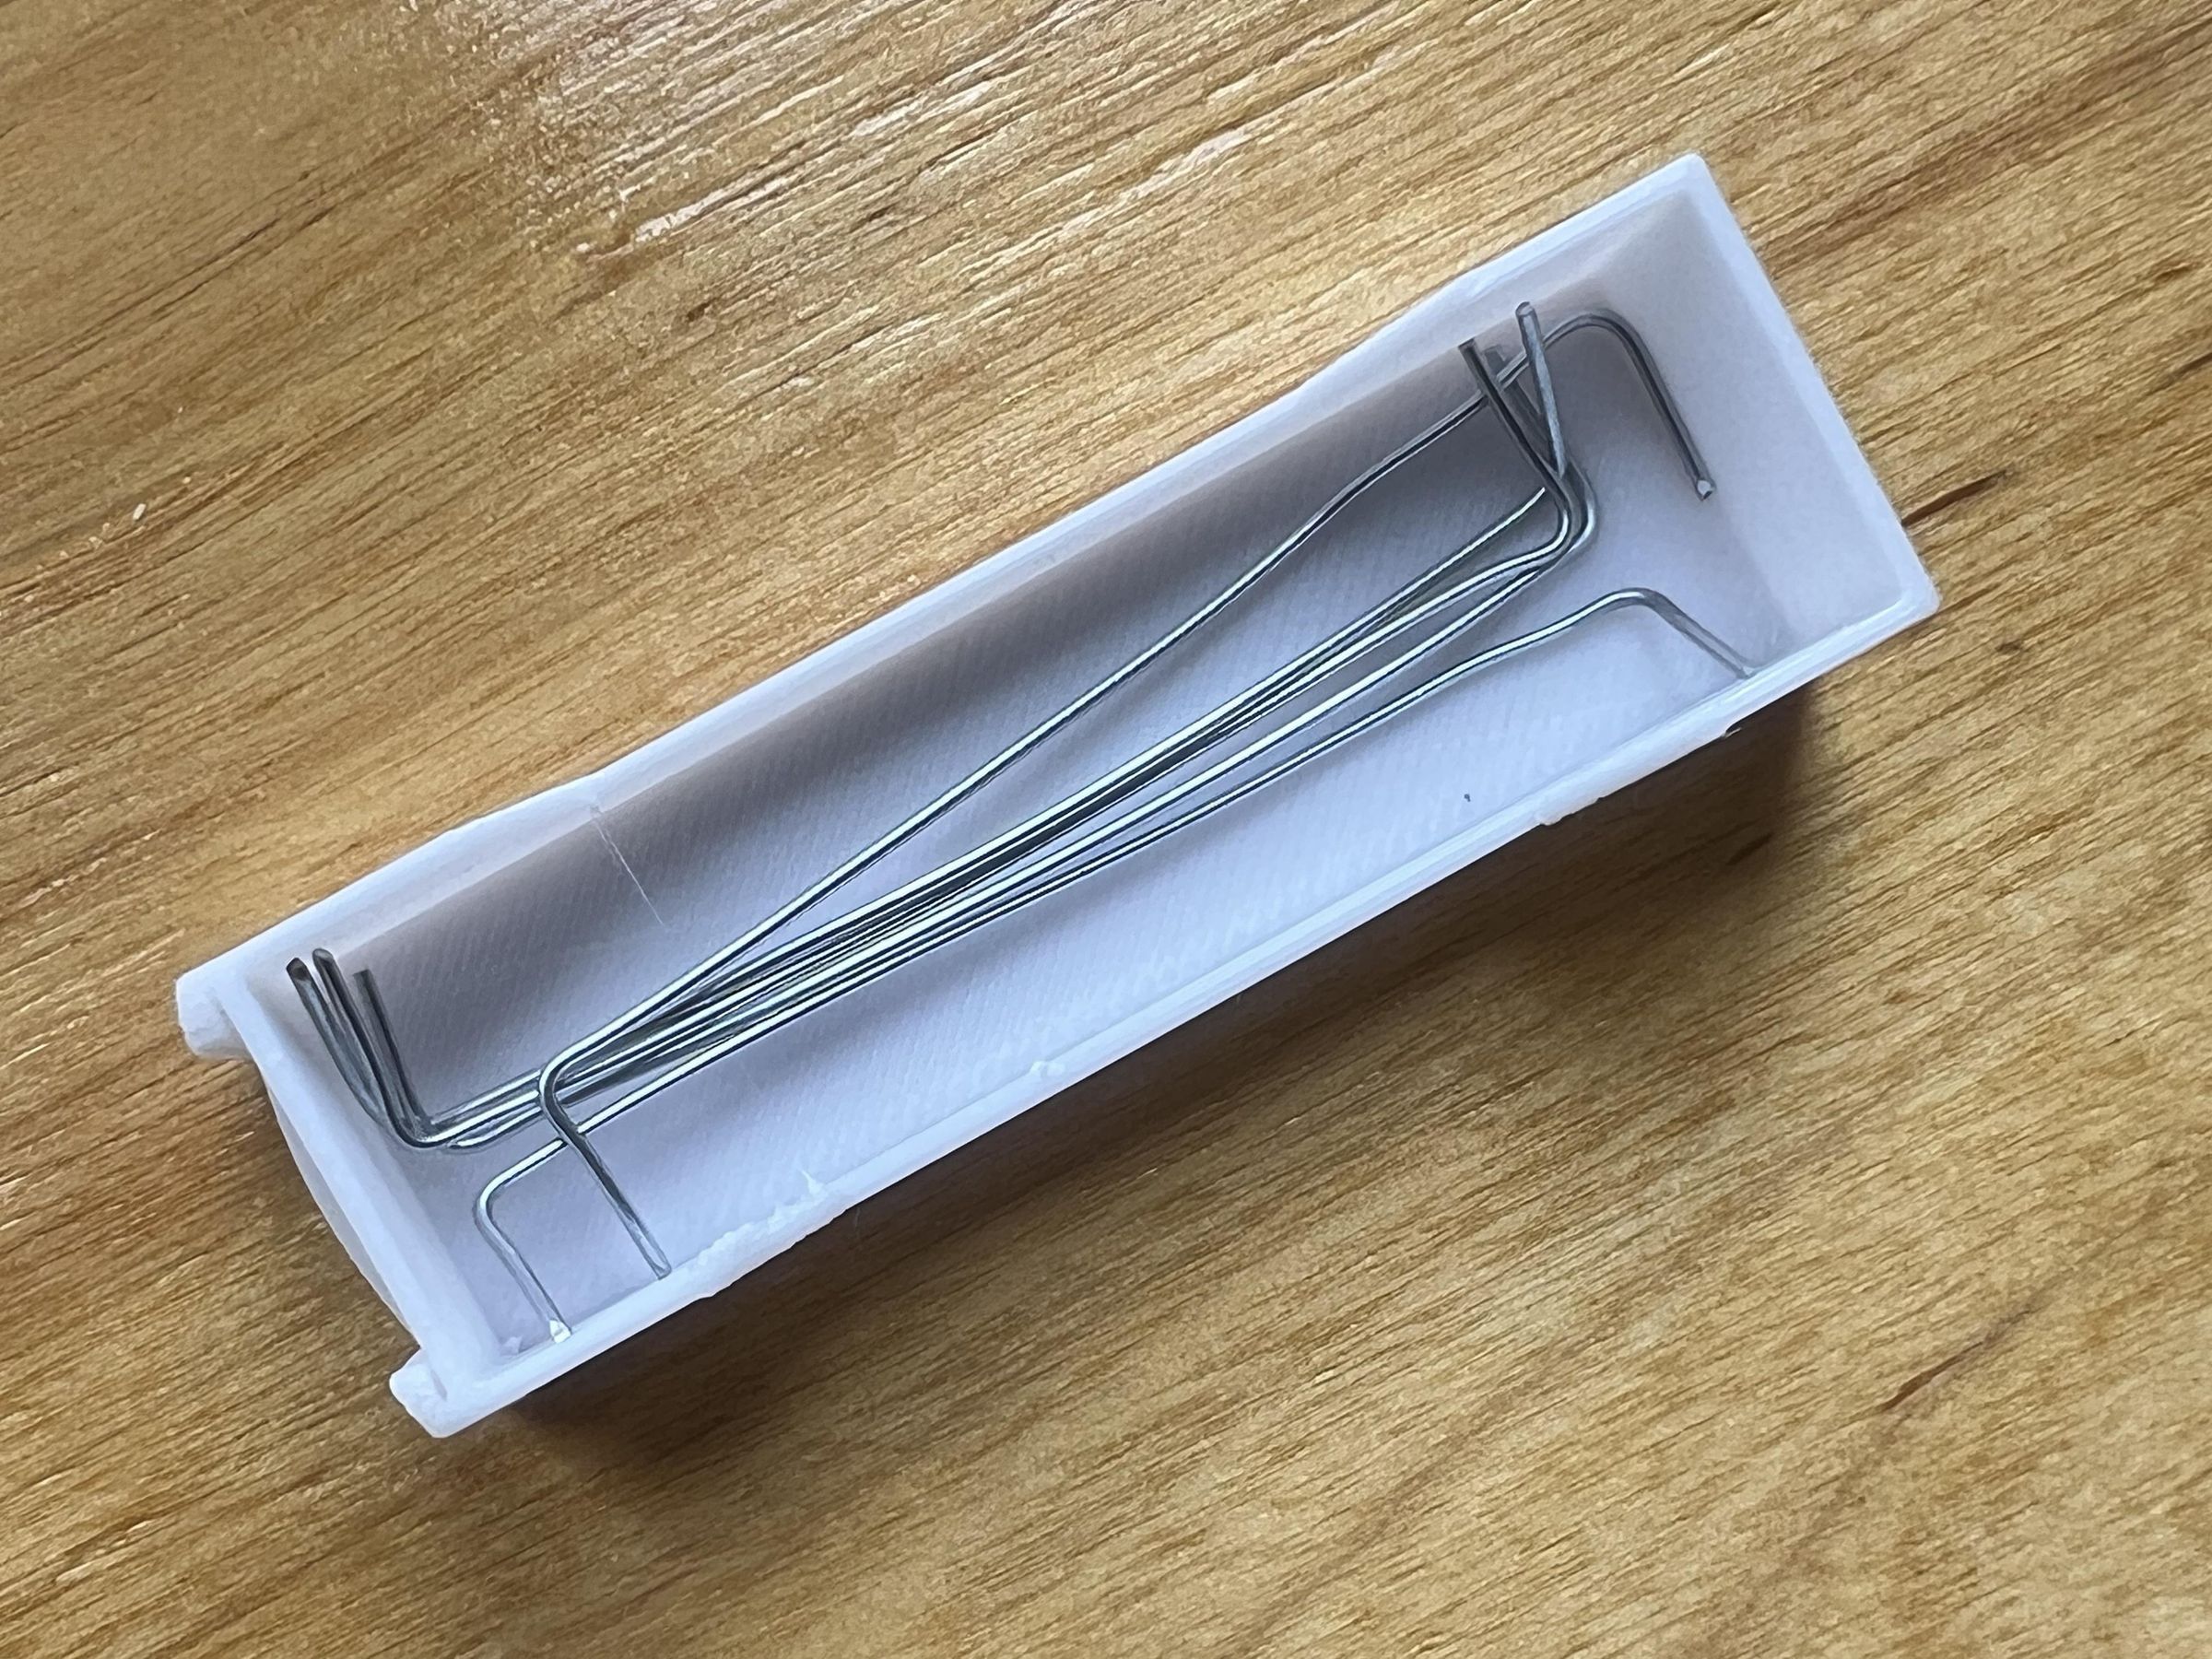
- At the very beginning of the bent wire, cut the first leg to the required length.
- Then cut exactly through the middle of the wire sections that are intended to become legs.
- It is important not to confuse them with the sections that must remain intact.
- Trim the final leg in the same way as the first one.
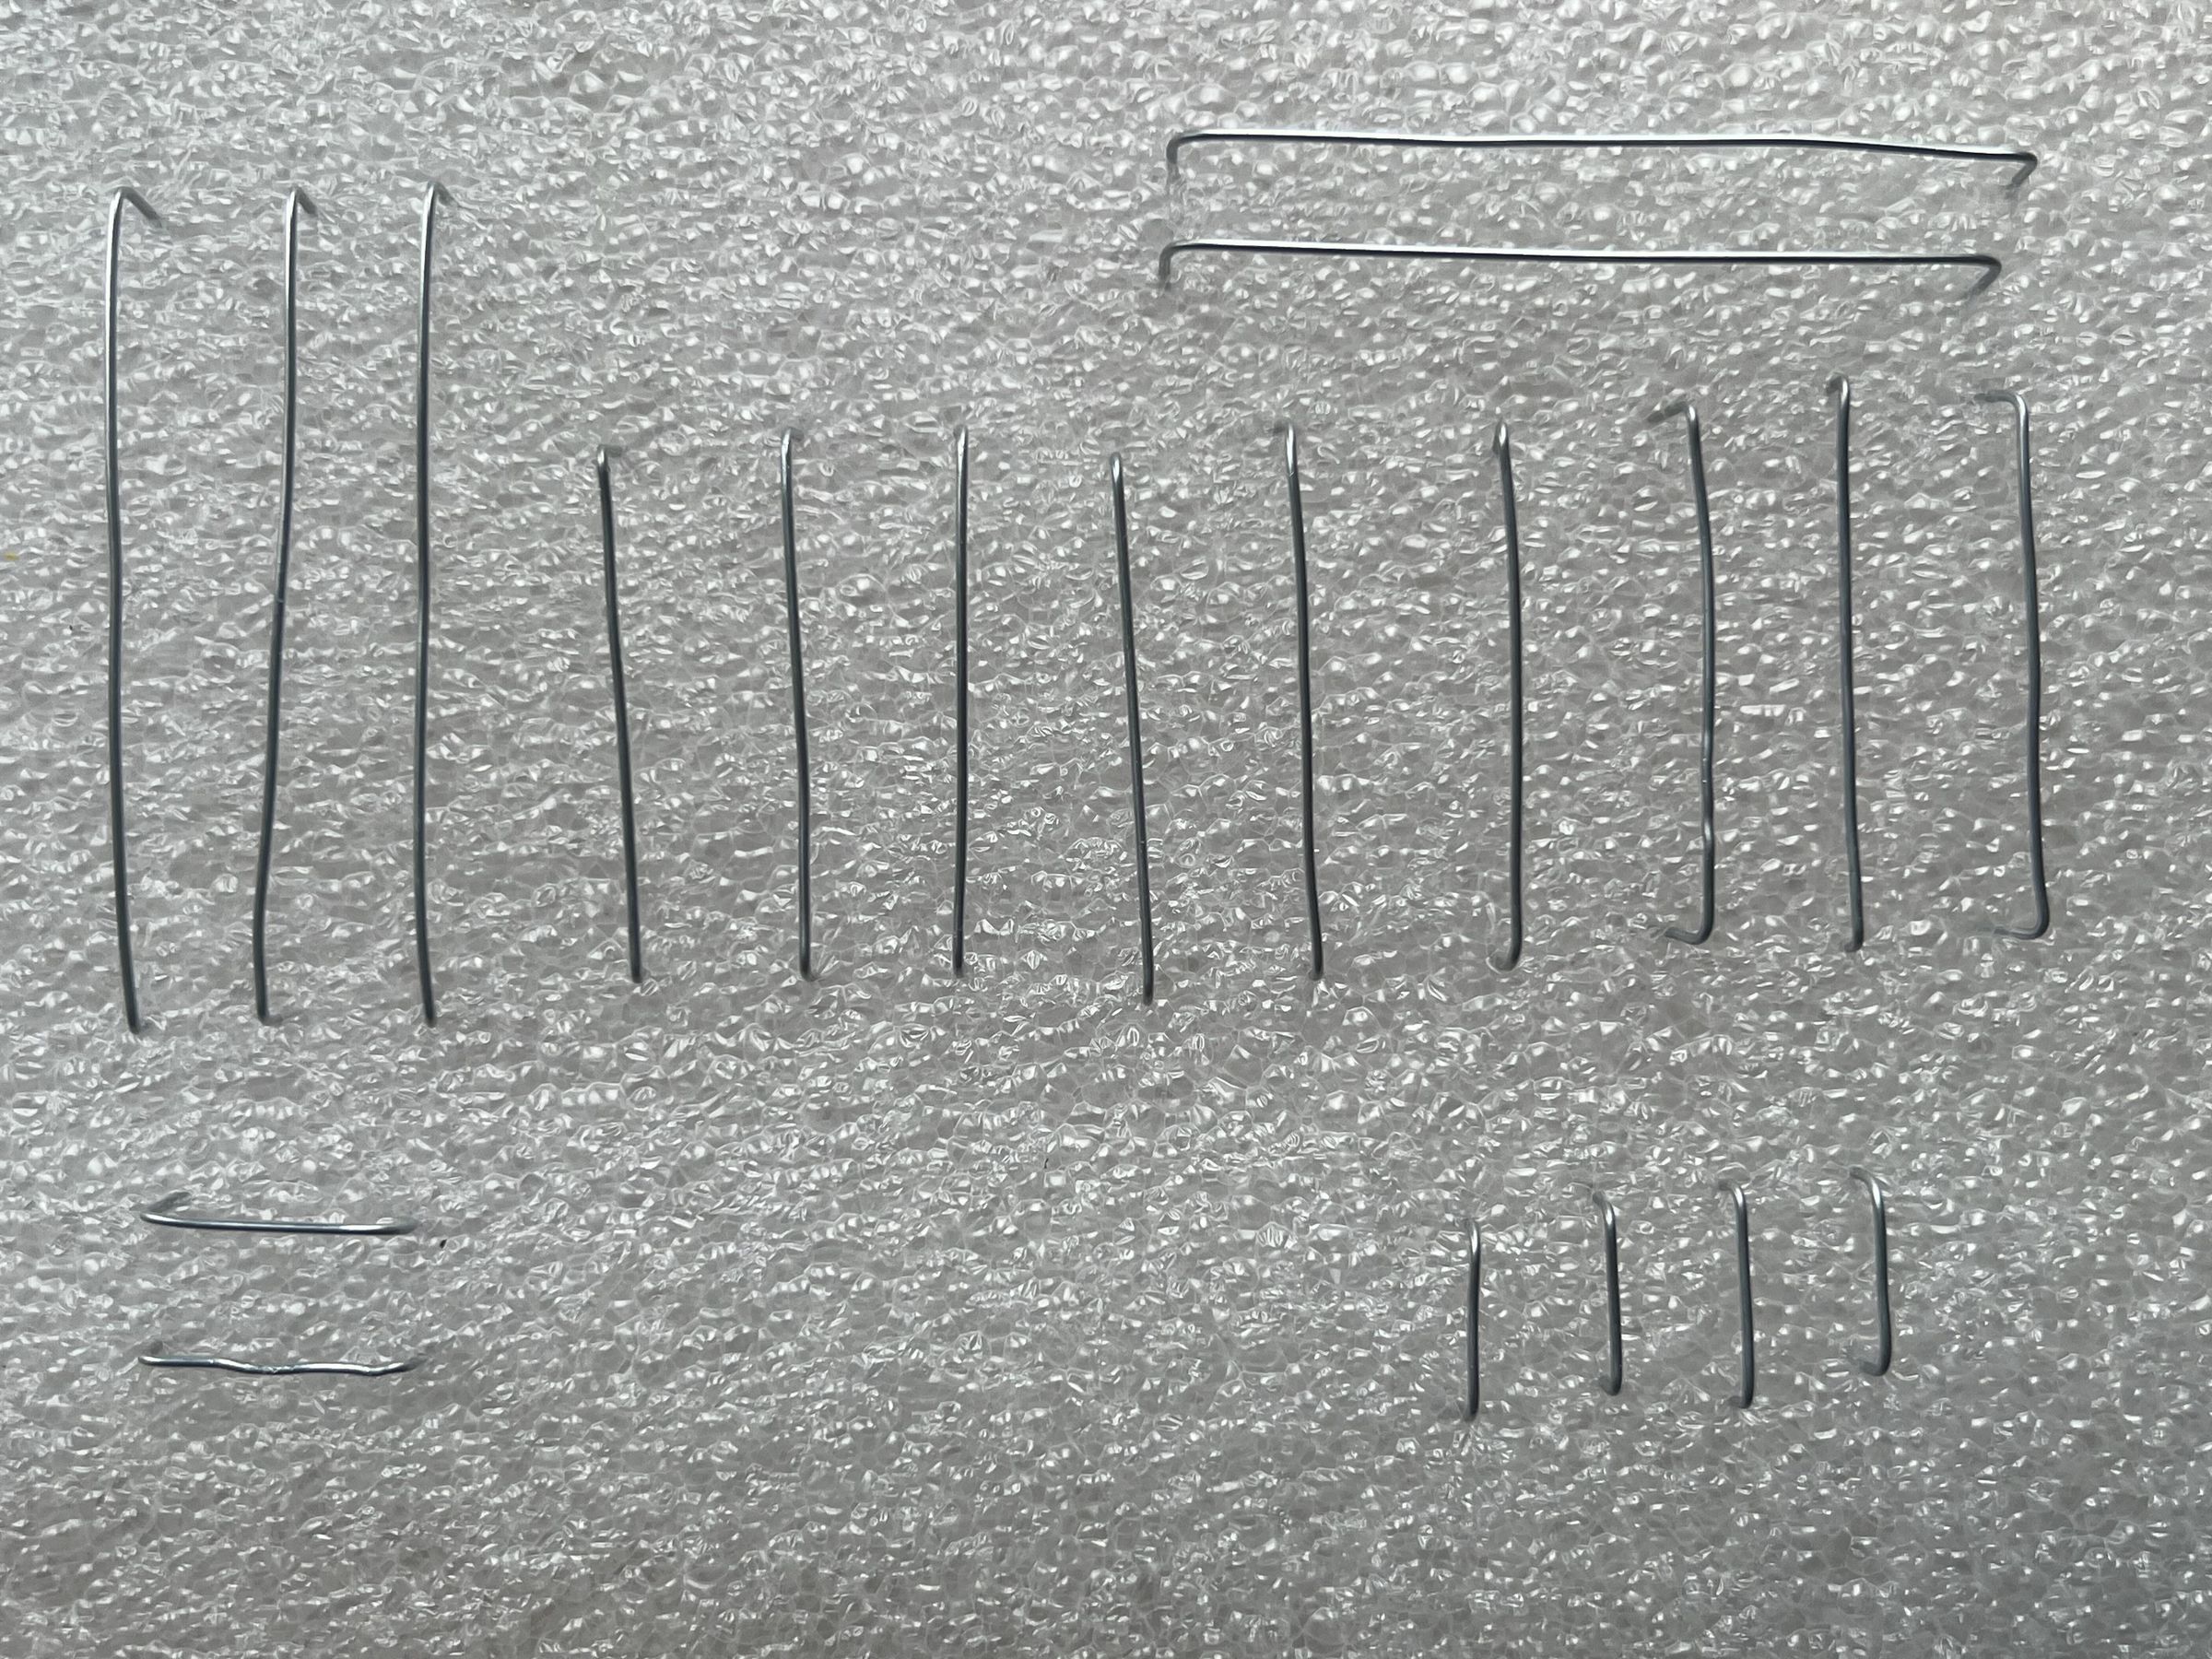
- Immediately sort the jumper wires by size so that the smaller parts do not become mixed with the larger ones.
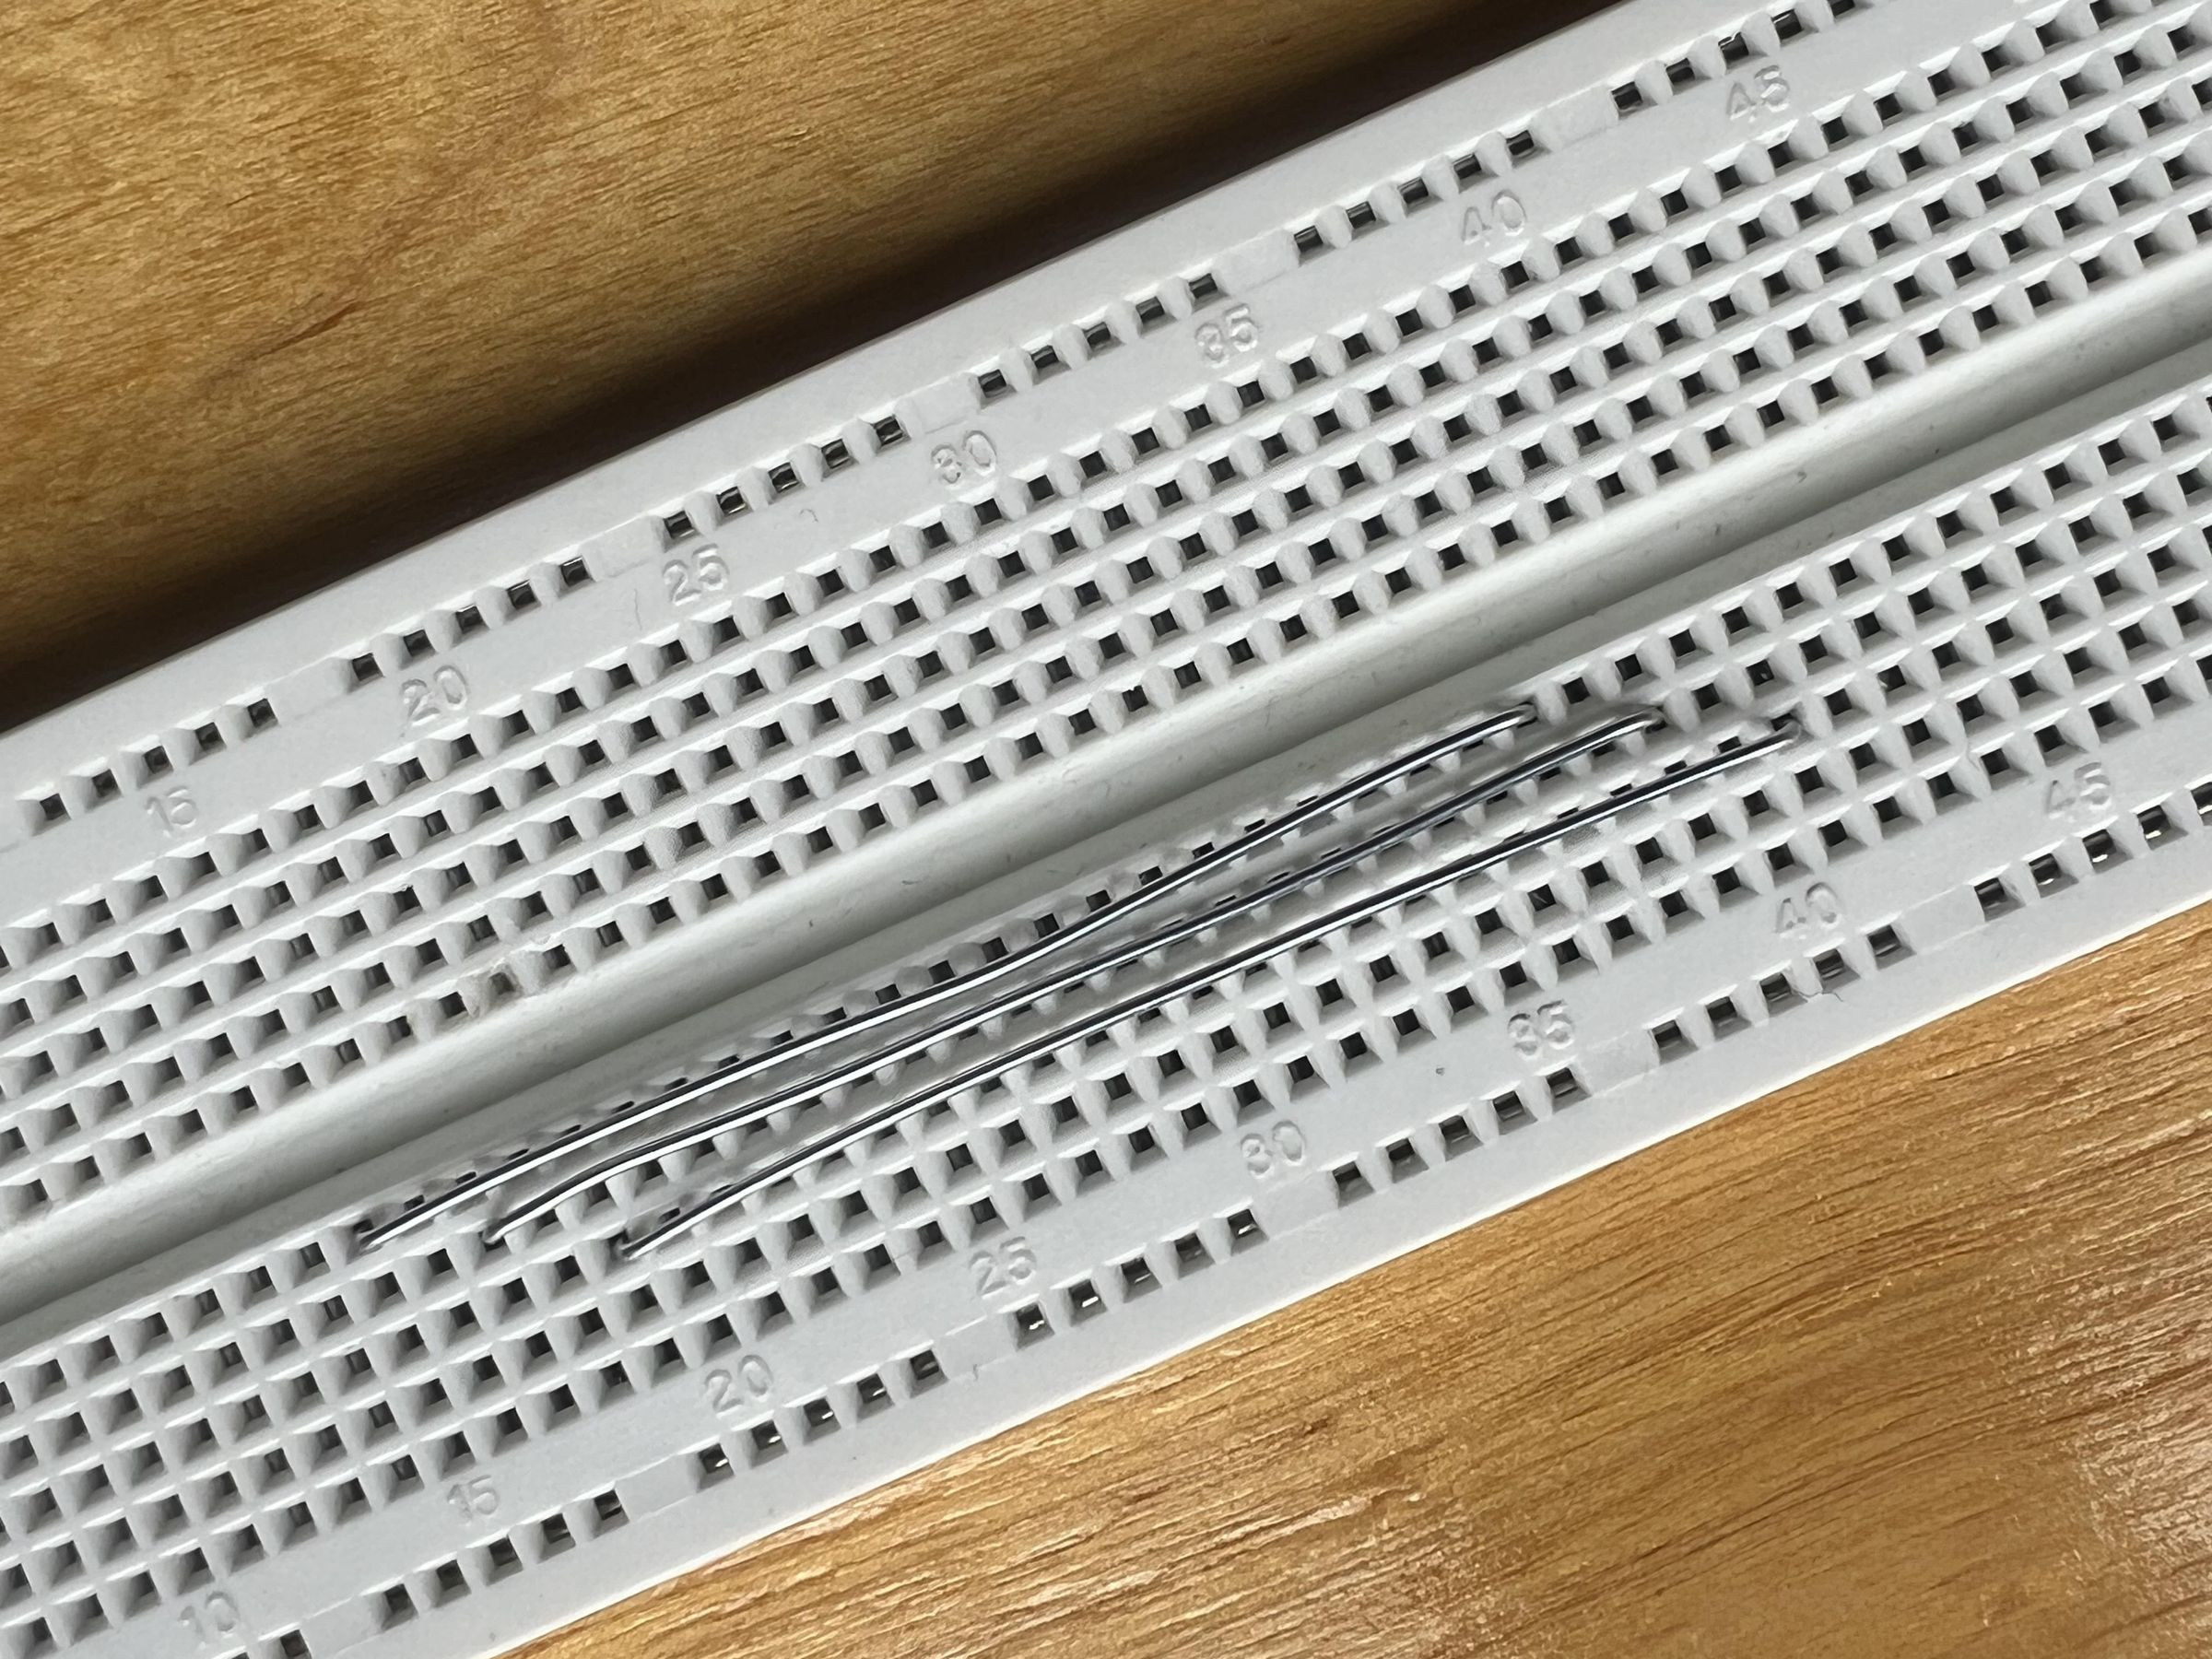
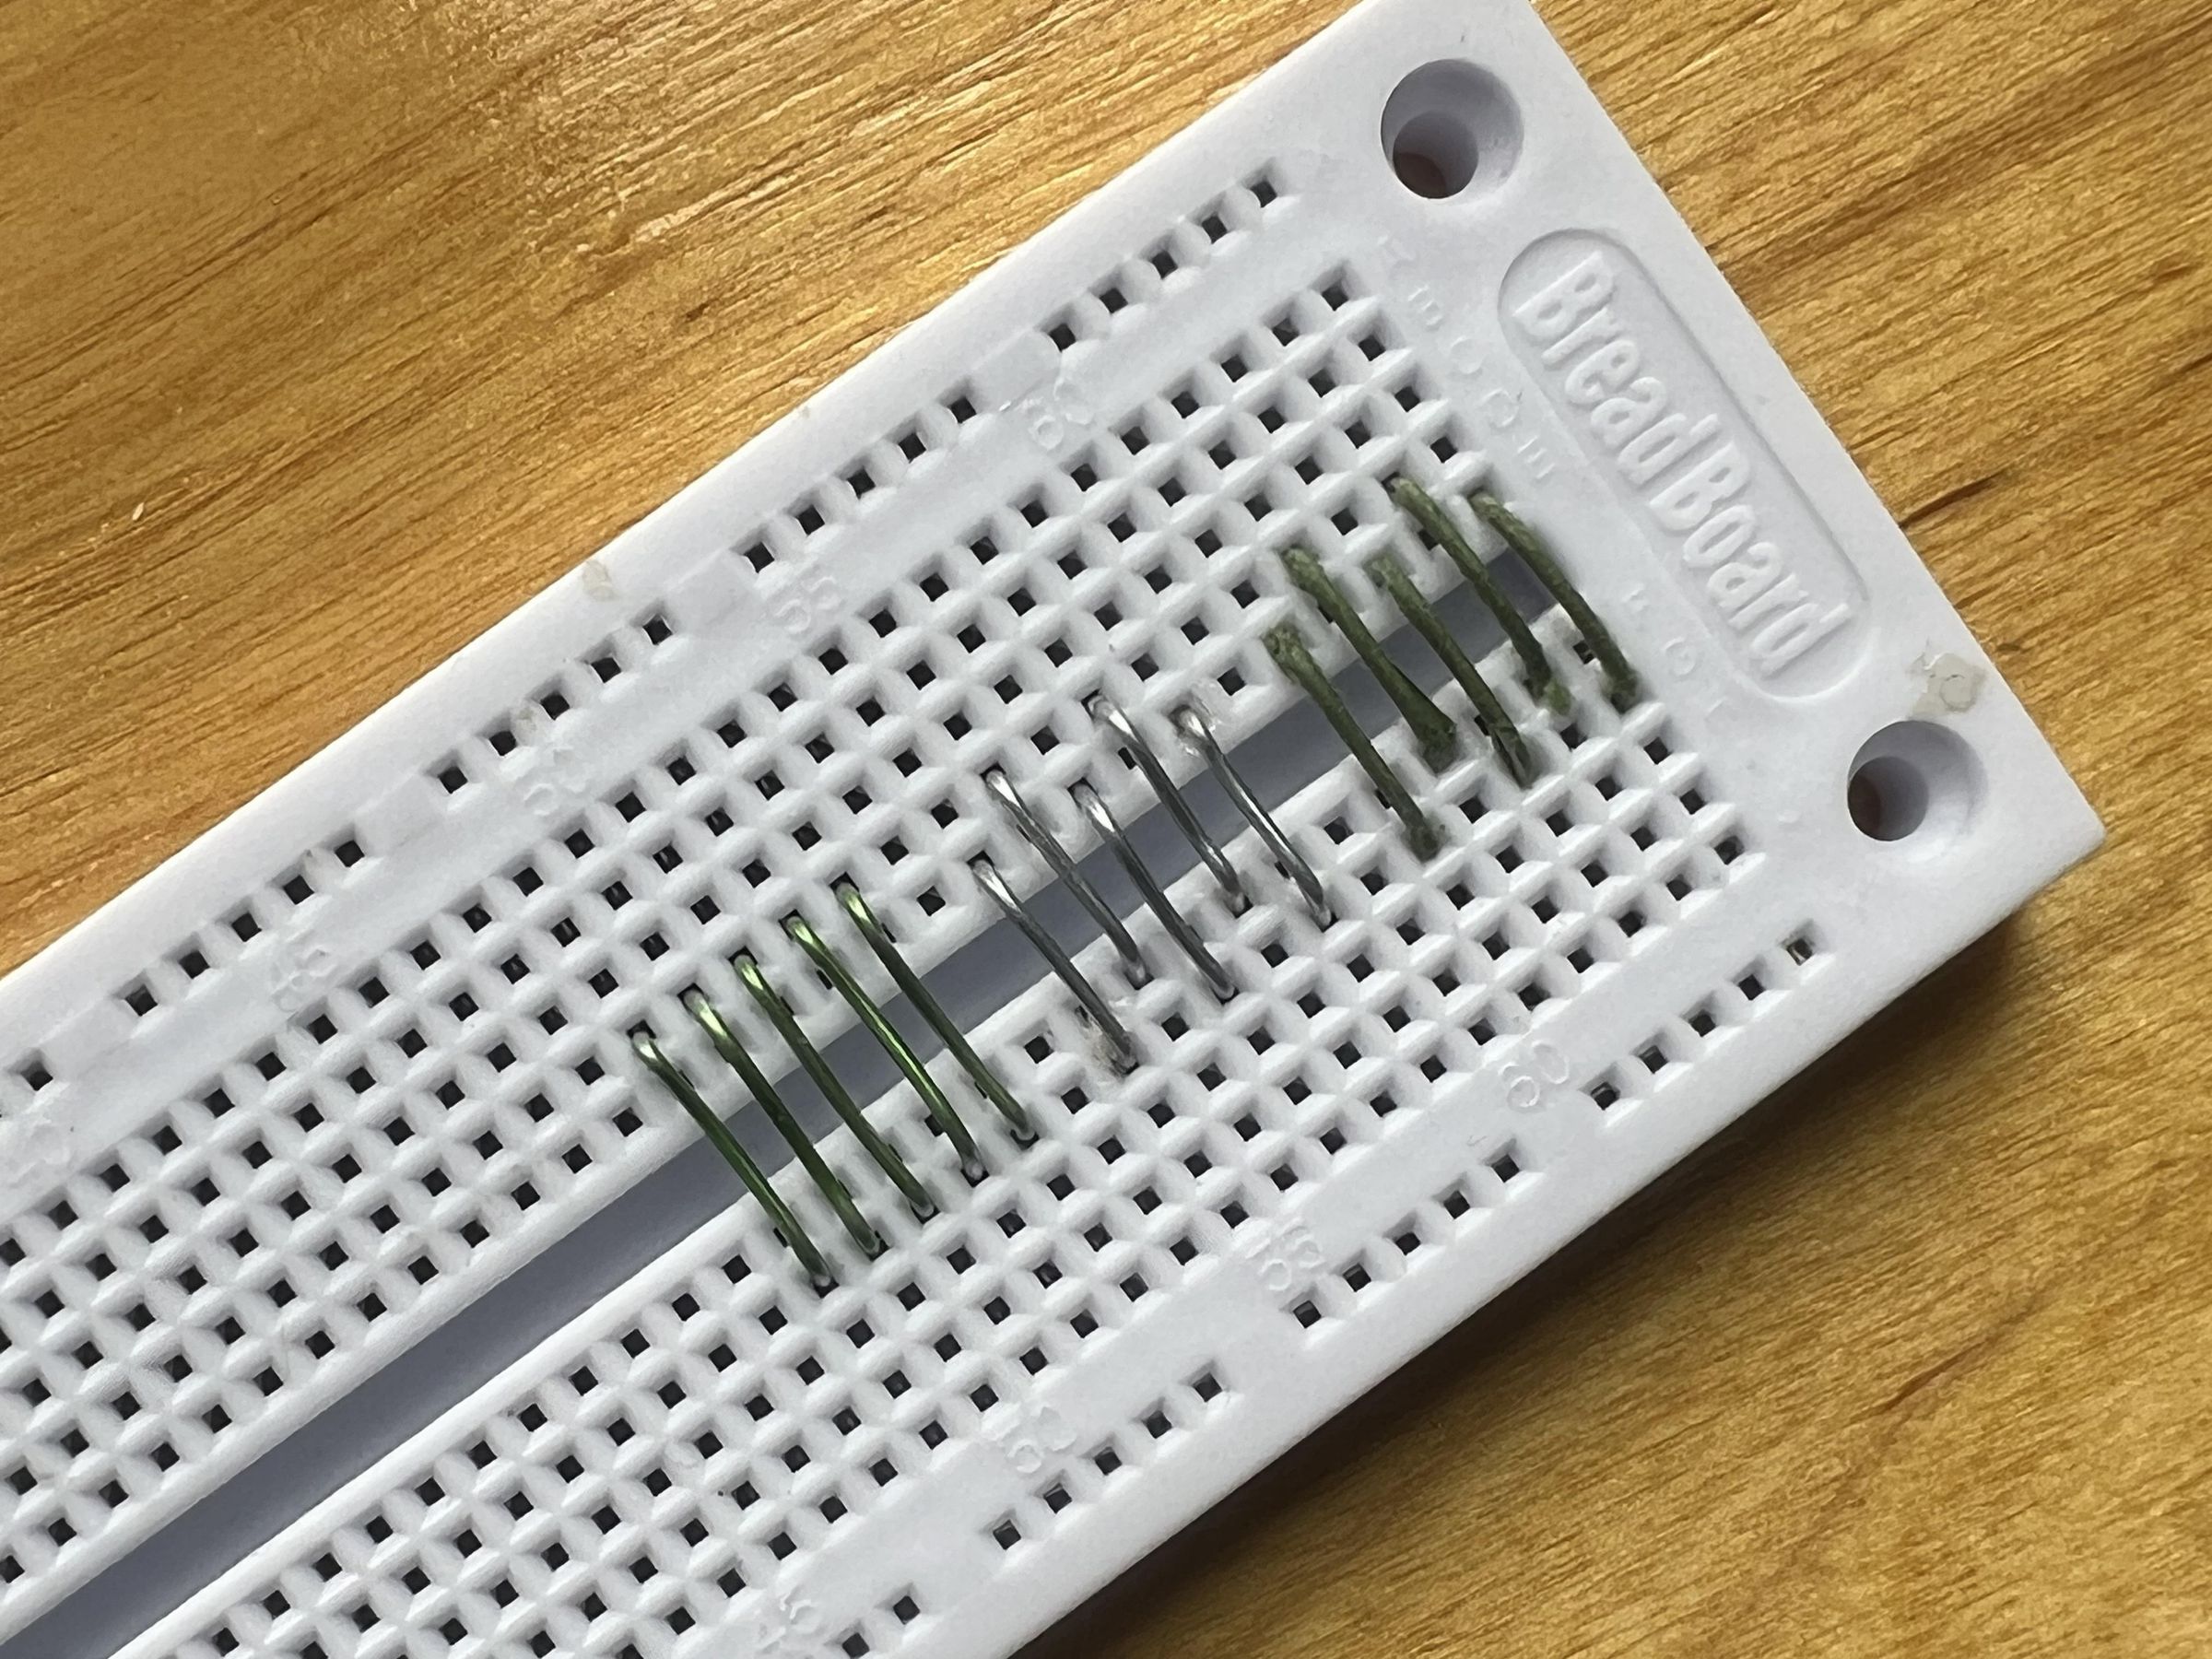
- Insert several jumper wires into a breadboard to make sure that the parts are identical.
Tips and Tricks
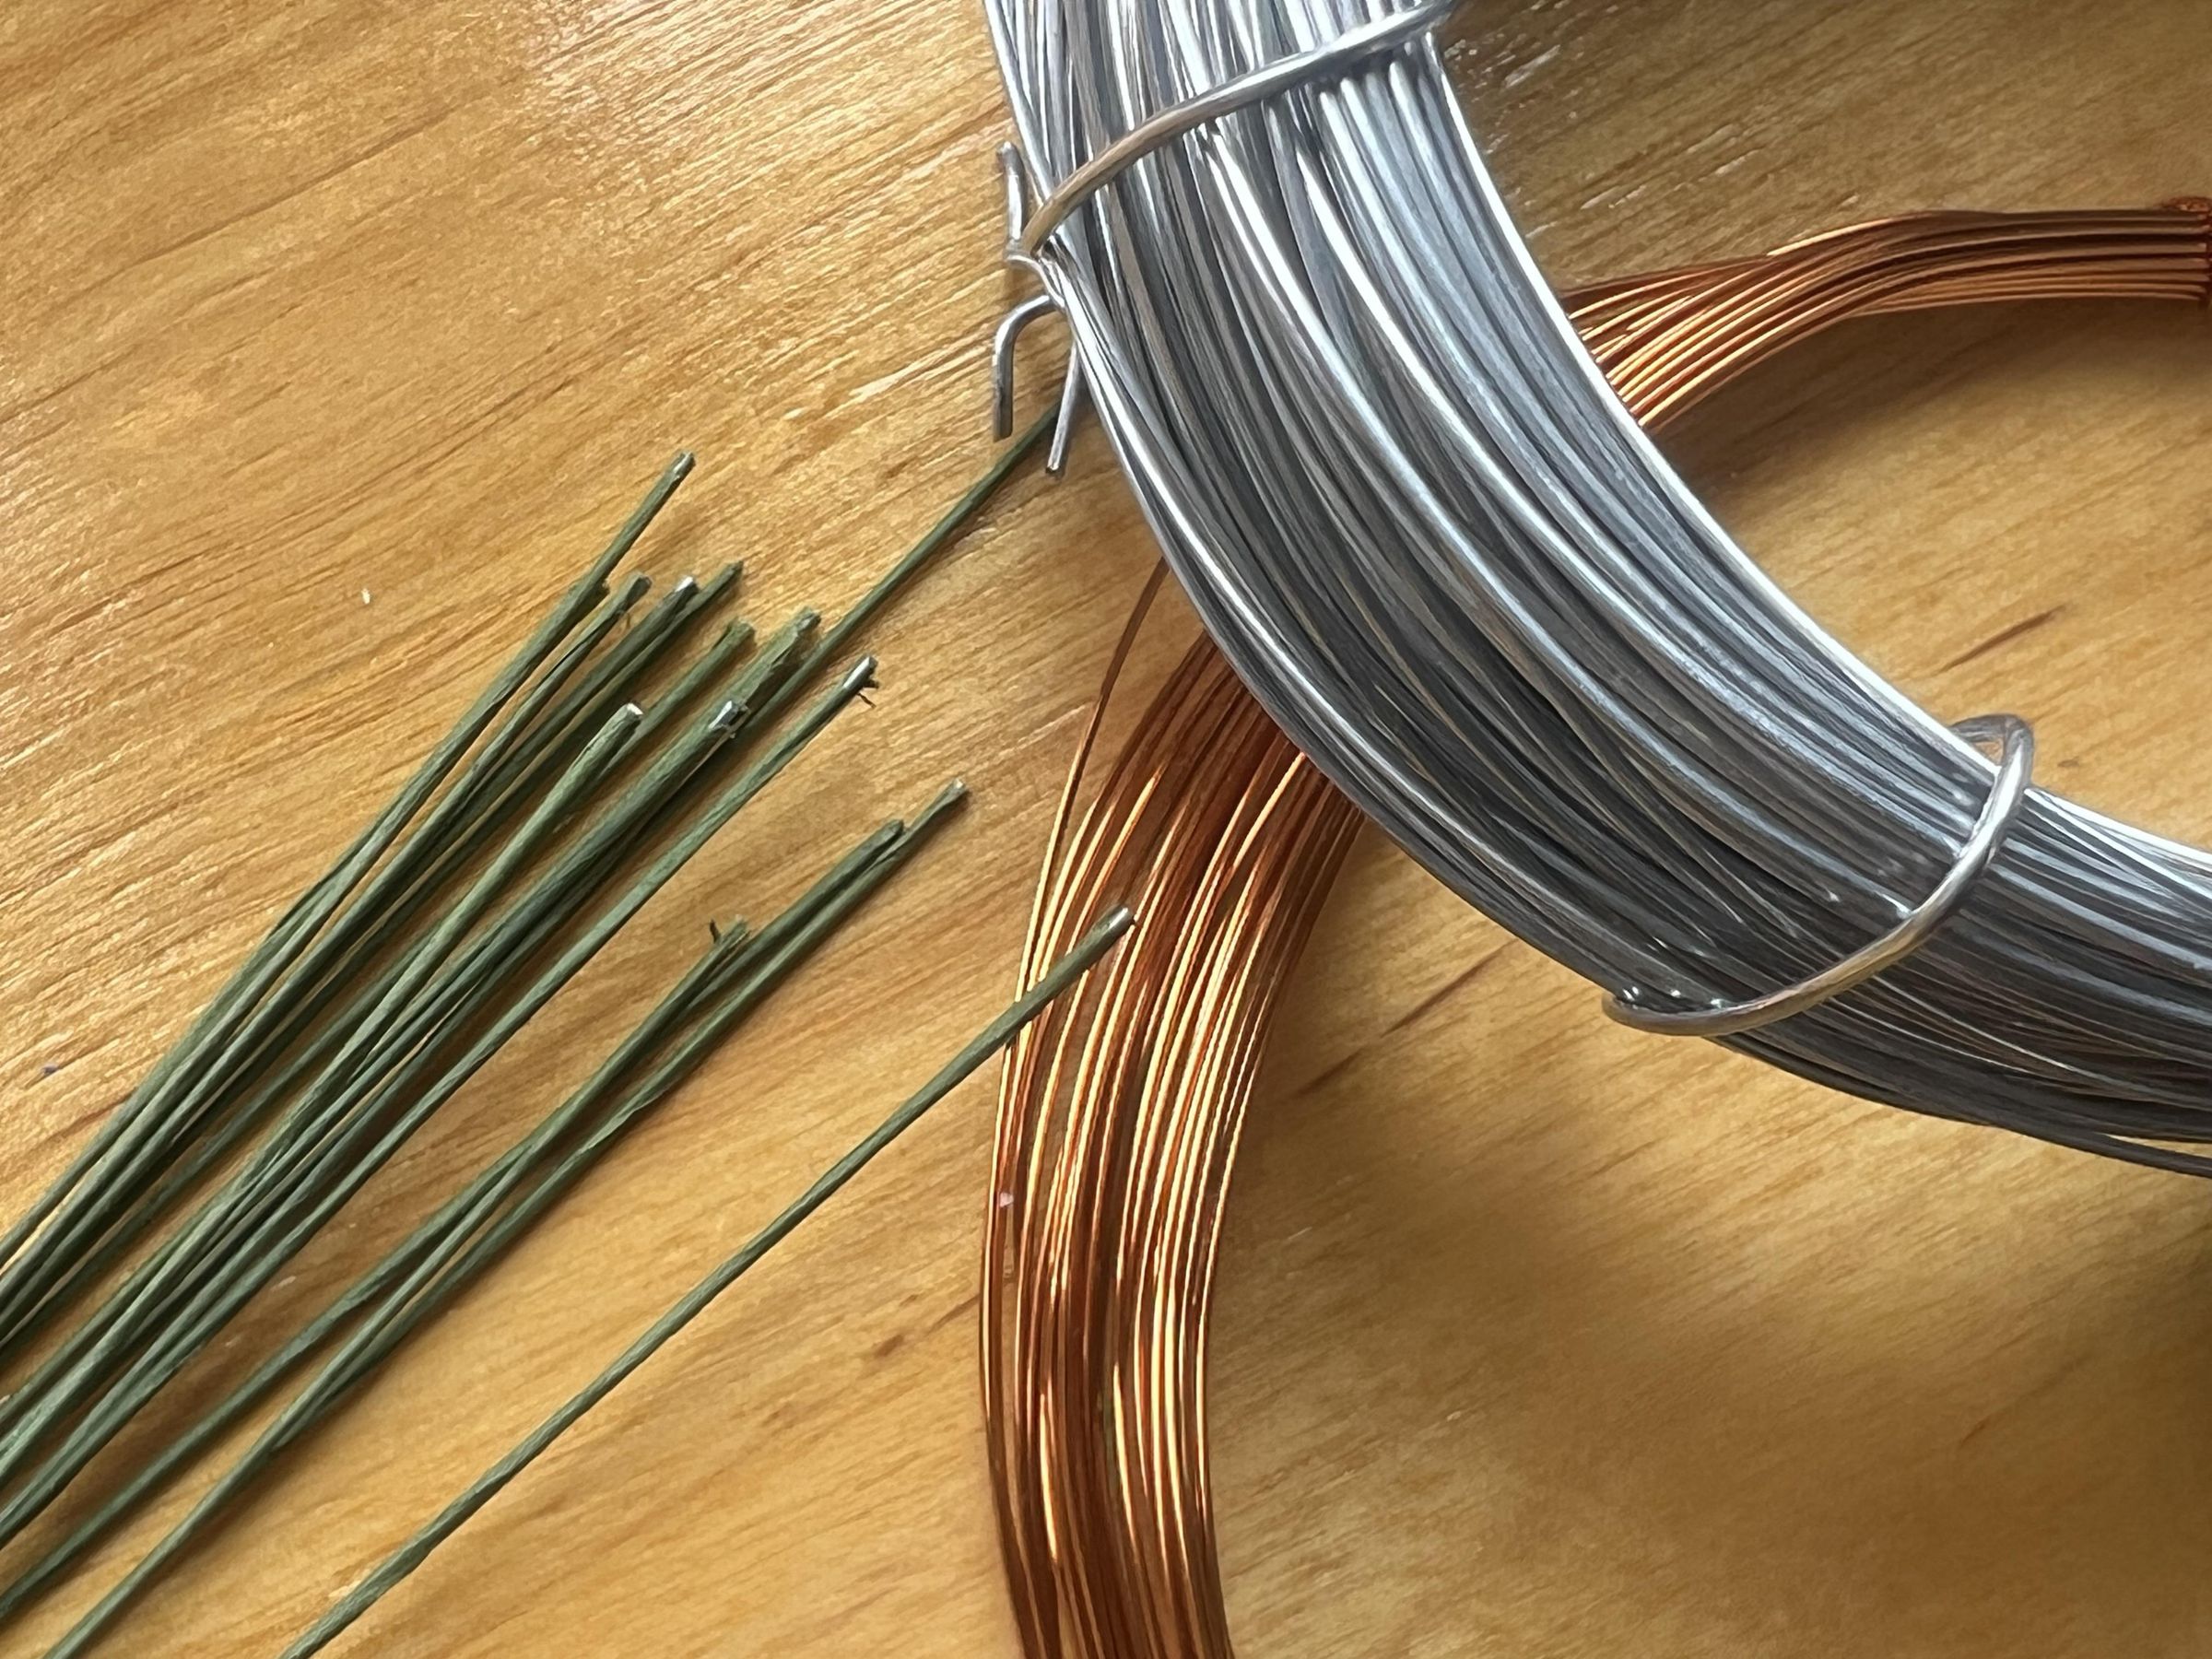
- The tool is suitable for wire up to 0.75 mm thick (AWG 21).
- You can bend soft, stiff, or even very stiff solid-core wire.
- Be careful when cutting nails and wire. Sharp pieces may fly off and injure you.
- If electrical insulation between the jumper wires on the board is important, you can use paper-wrapped wire from the outset.
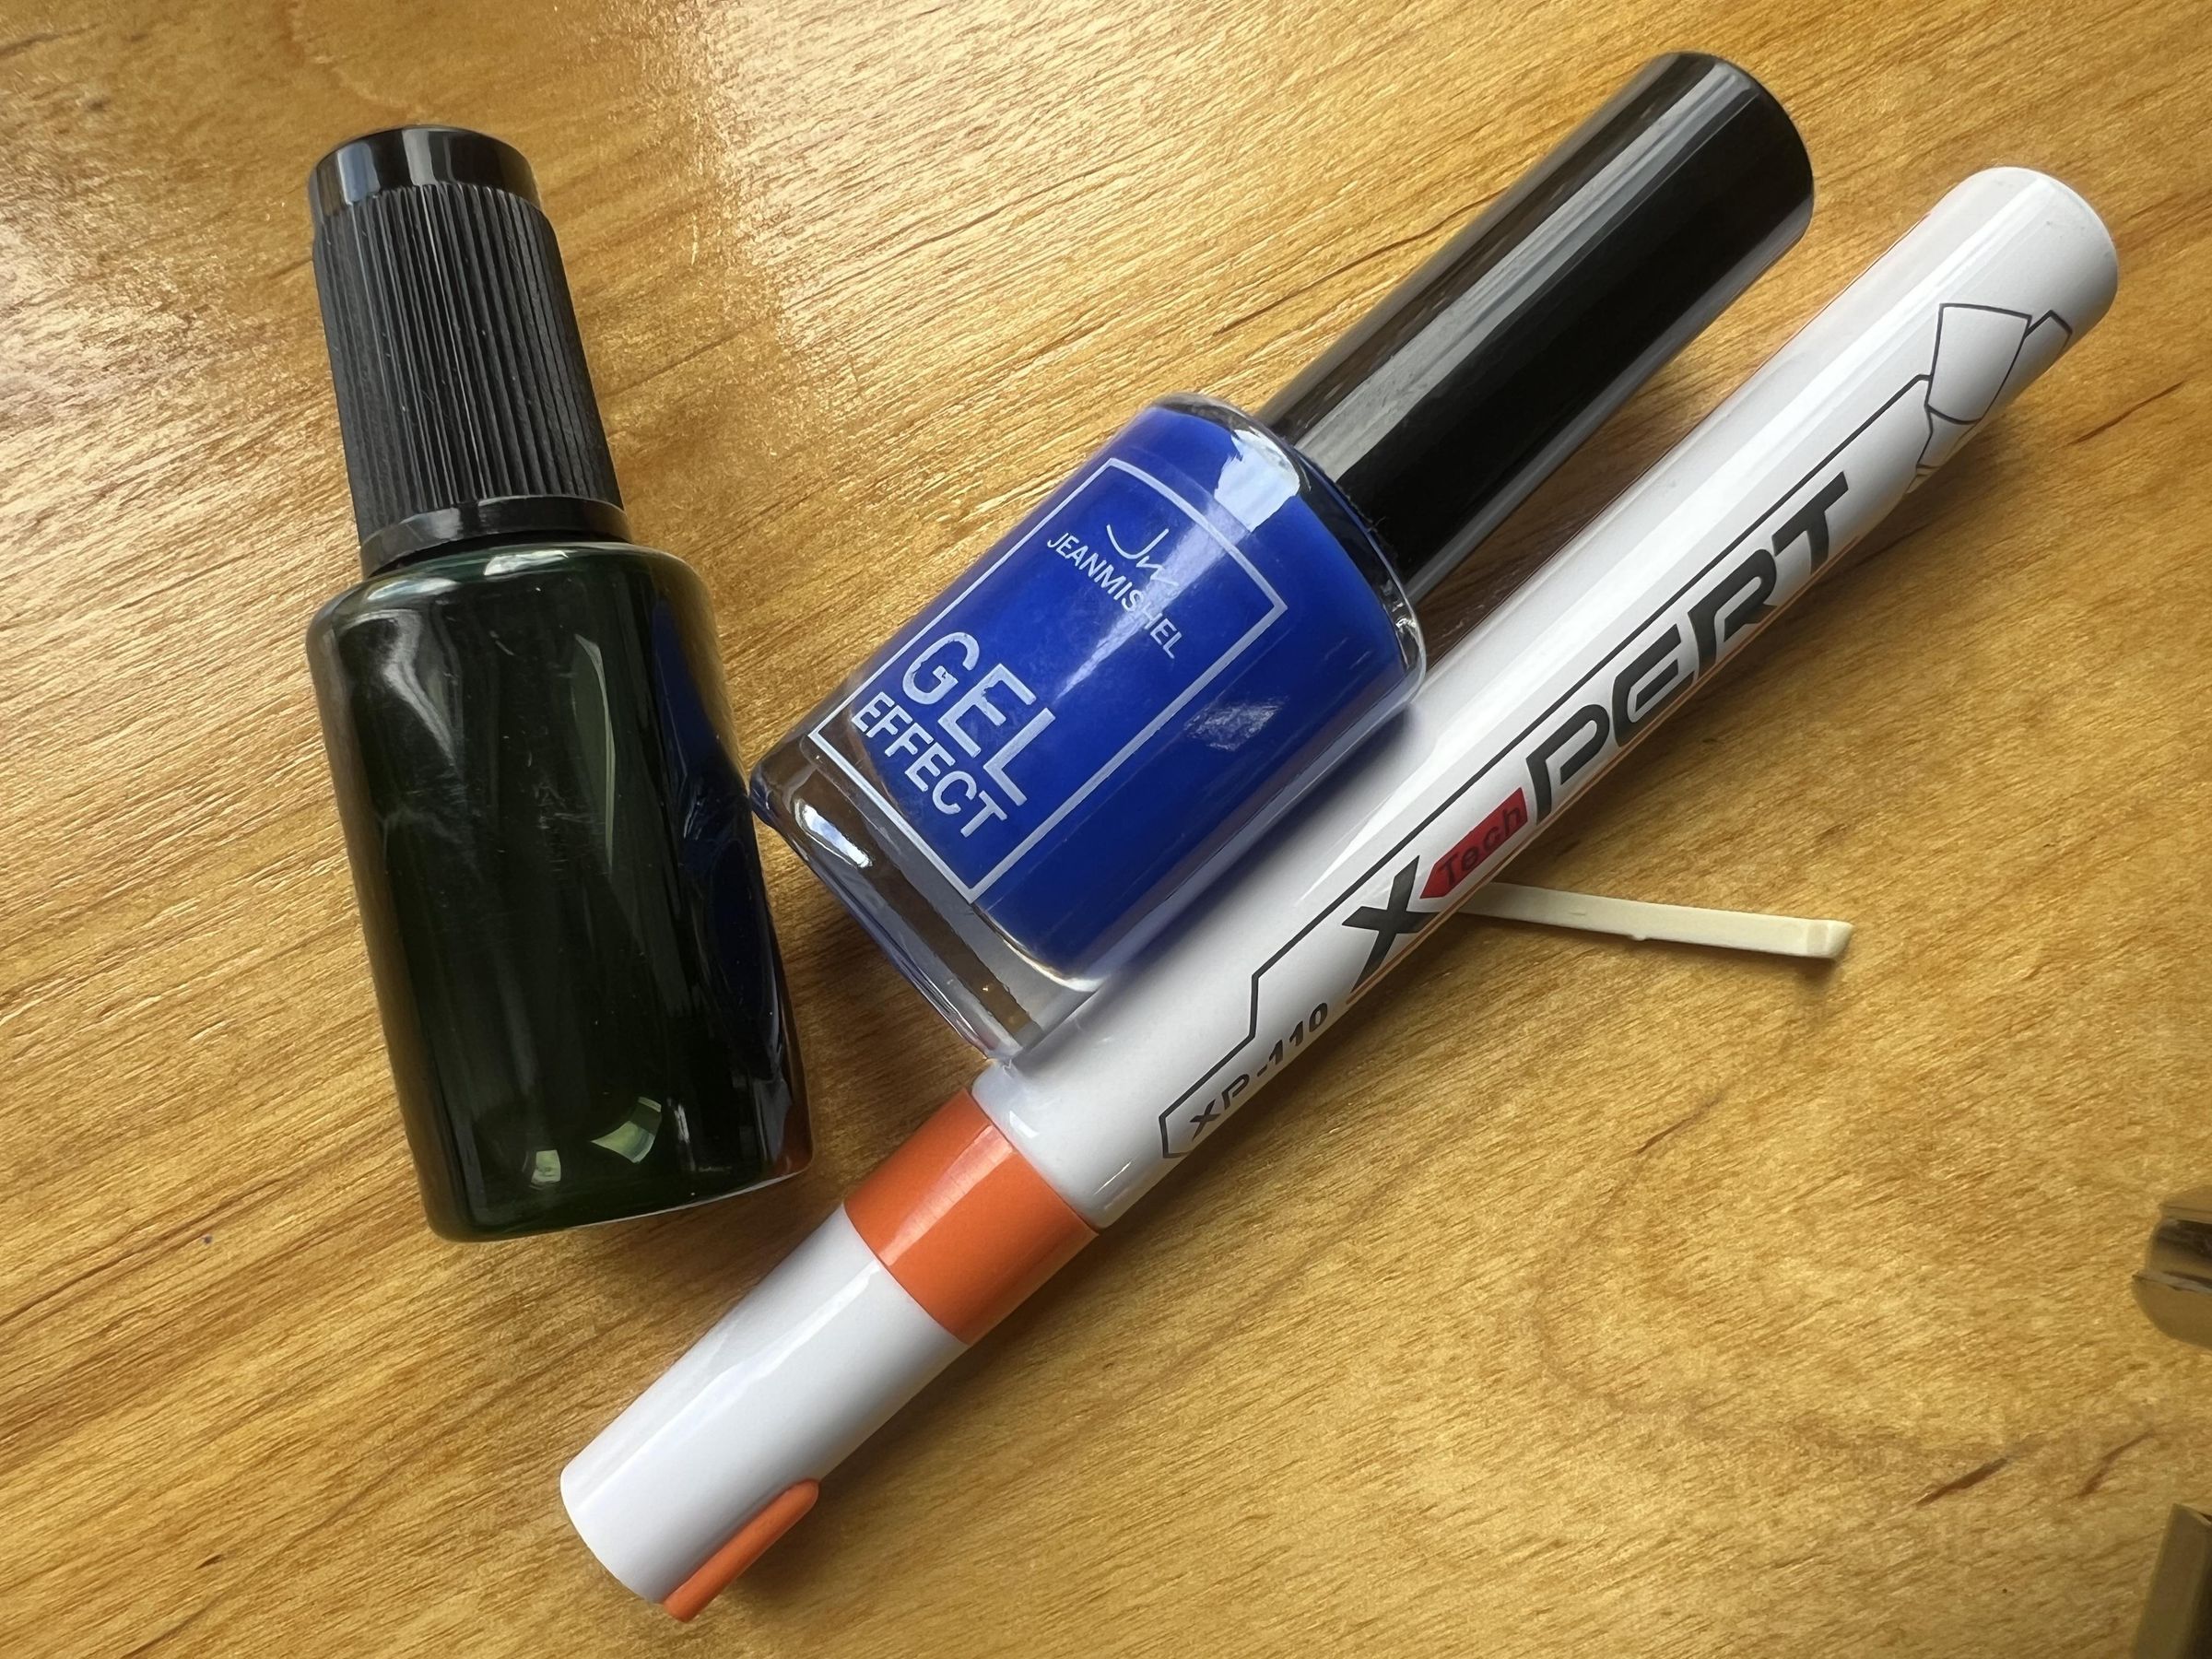
- Bare metal wire can be coated with Zapon lacquer, an oil-based paint marker, or nail polish. This provides both color and insulation.
- To color the jumper wires, insert them into rigid polypropylene or foam. The tool is not required for this.
- Sort the jumper wires into small boxes according to size. Otherwise, they are easy to mix up.
- If you are tired of the visual clutter created by multicolored hookup wire, use only three colors: red for power, black for ground, and your favorite color for everything else.
Customize the Model
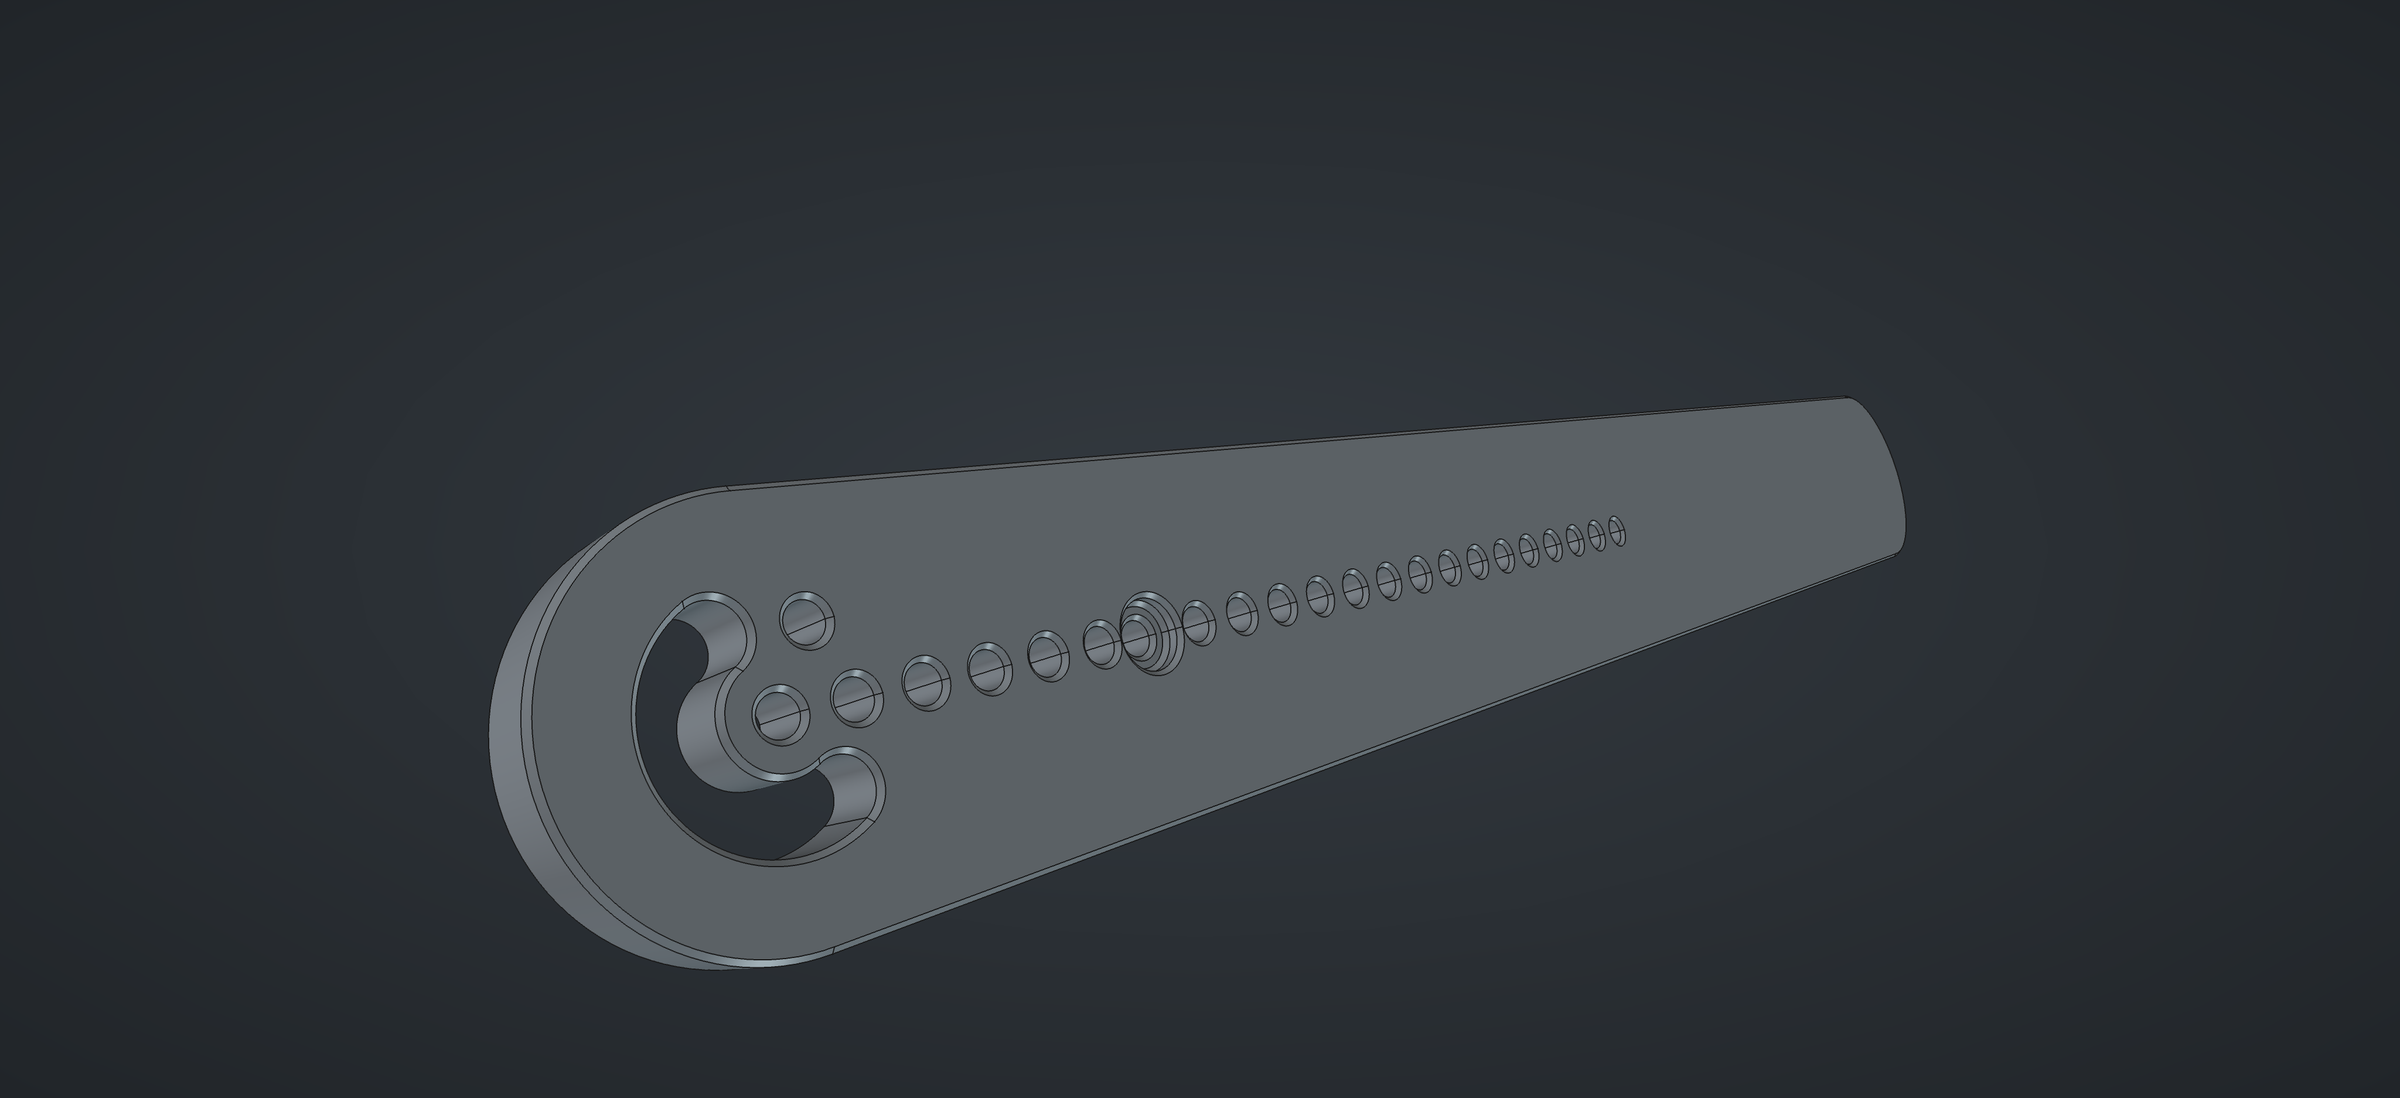
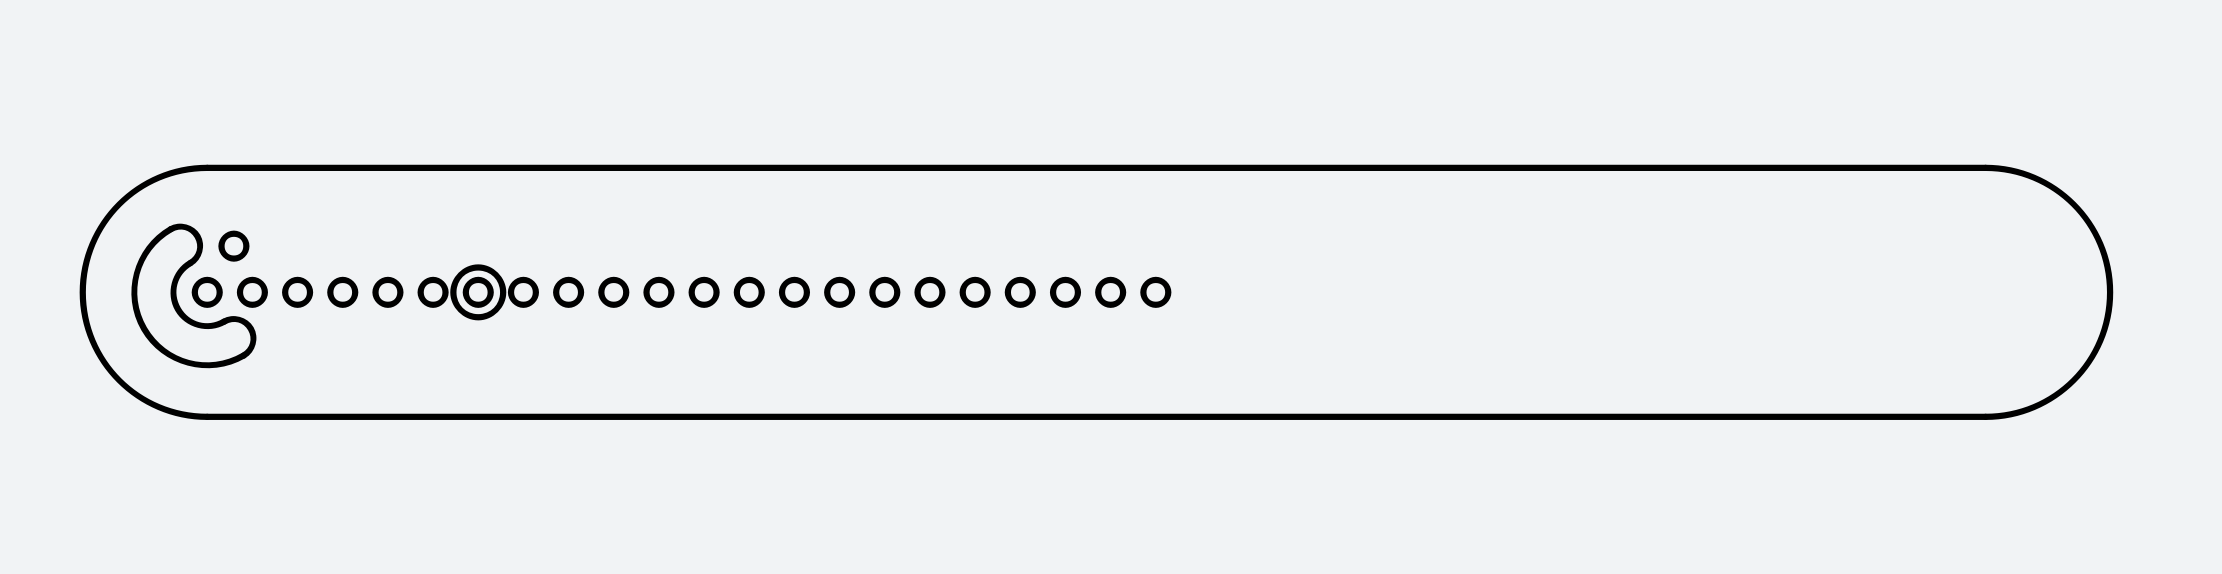
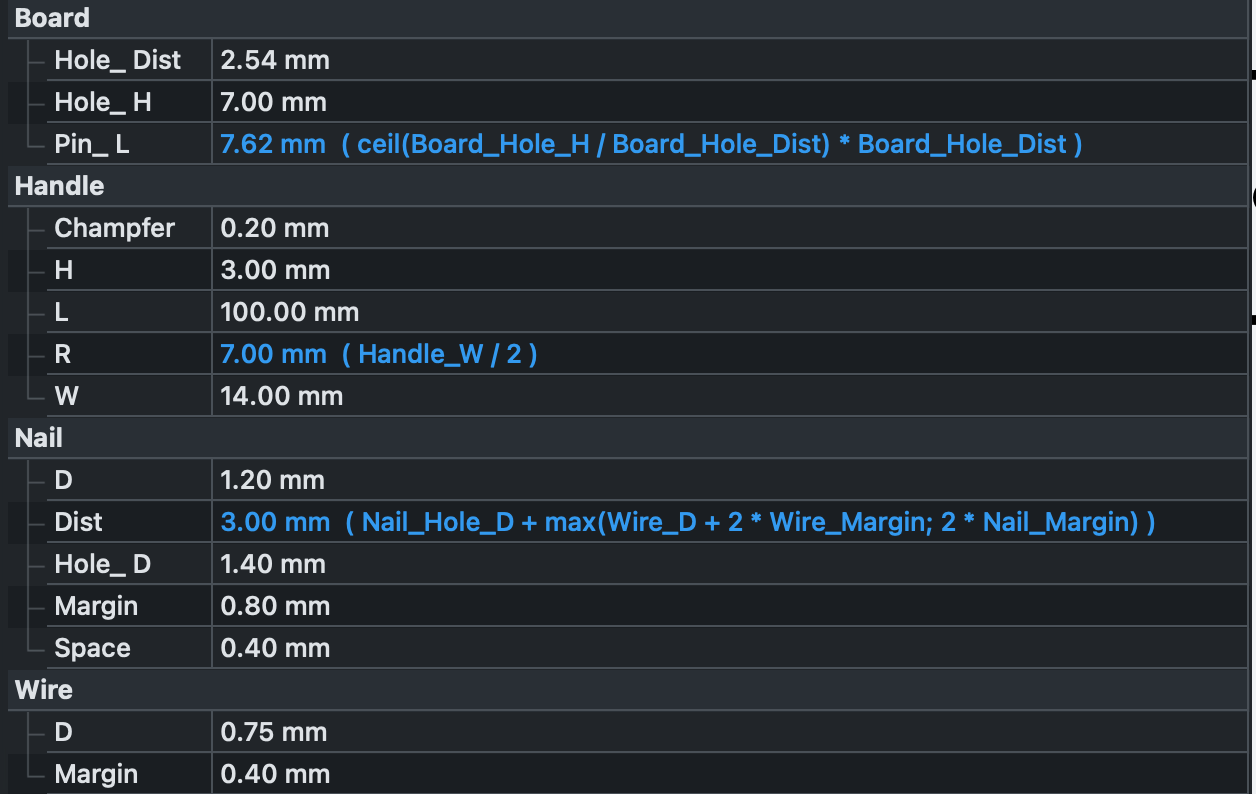
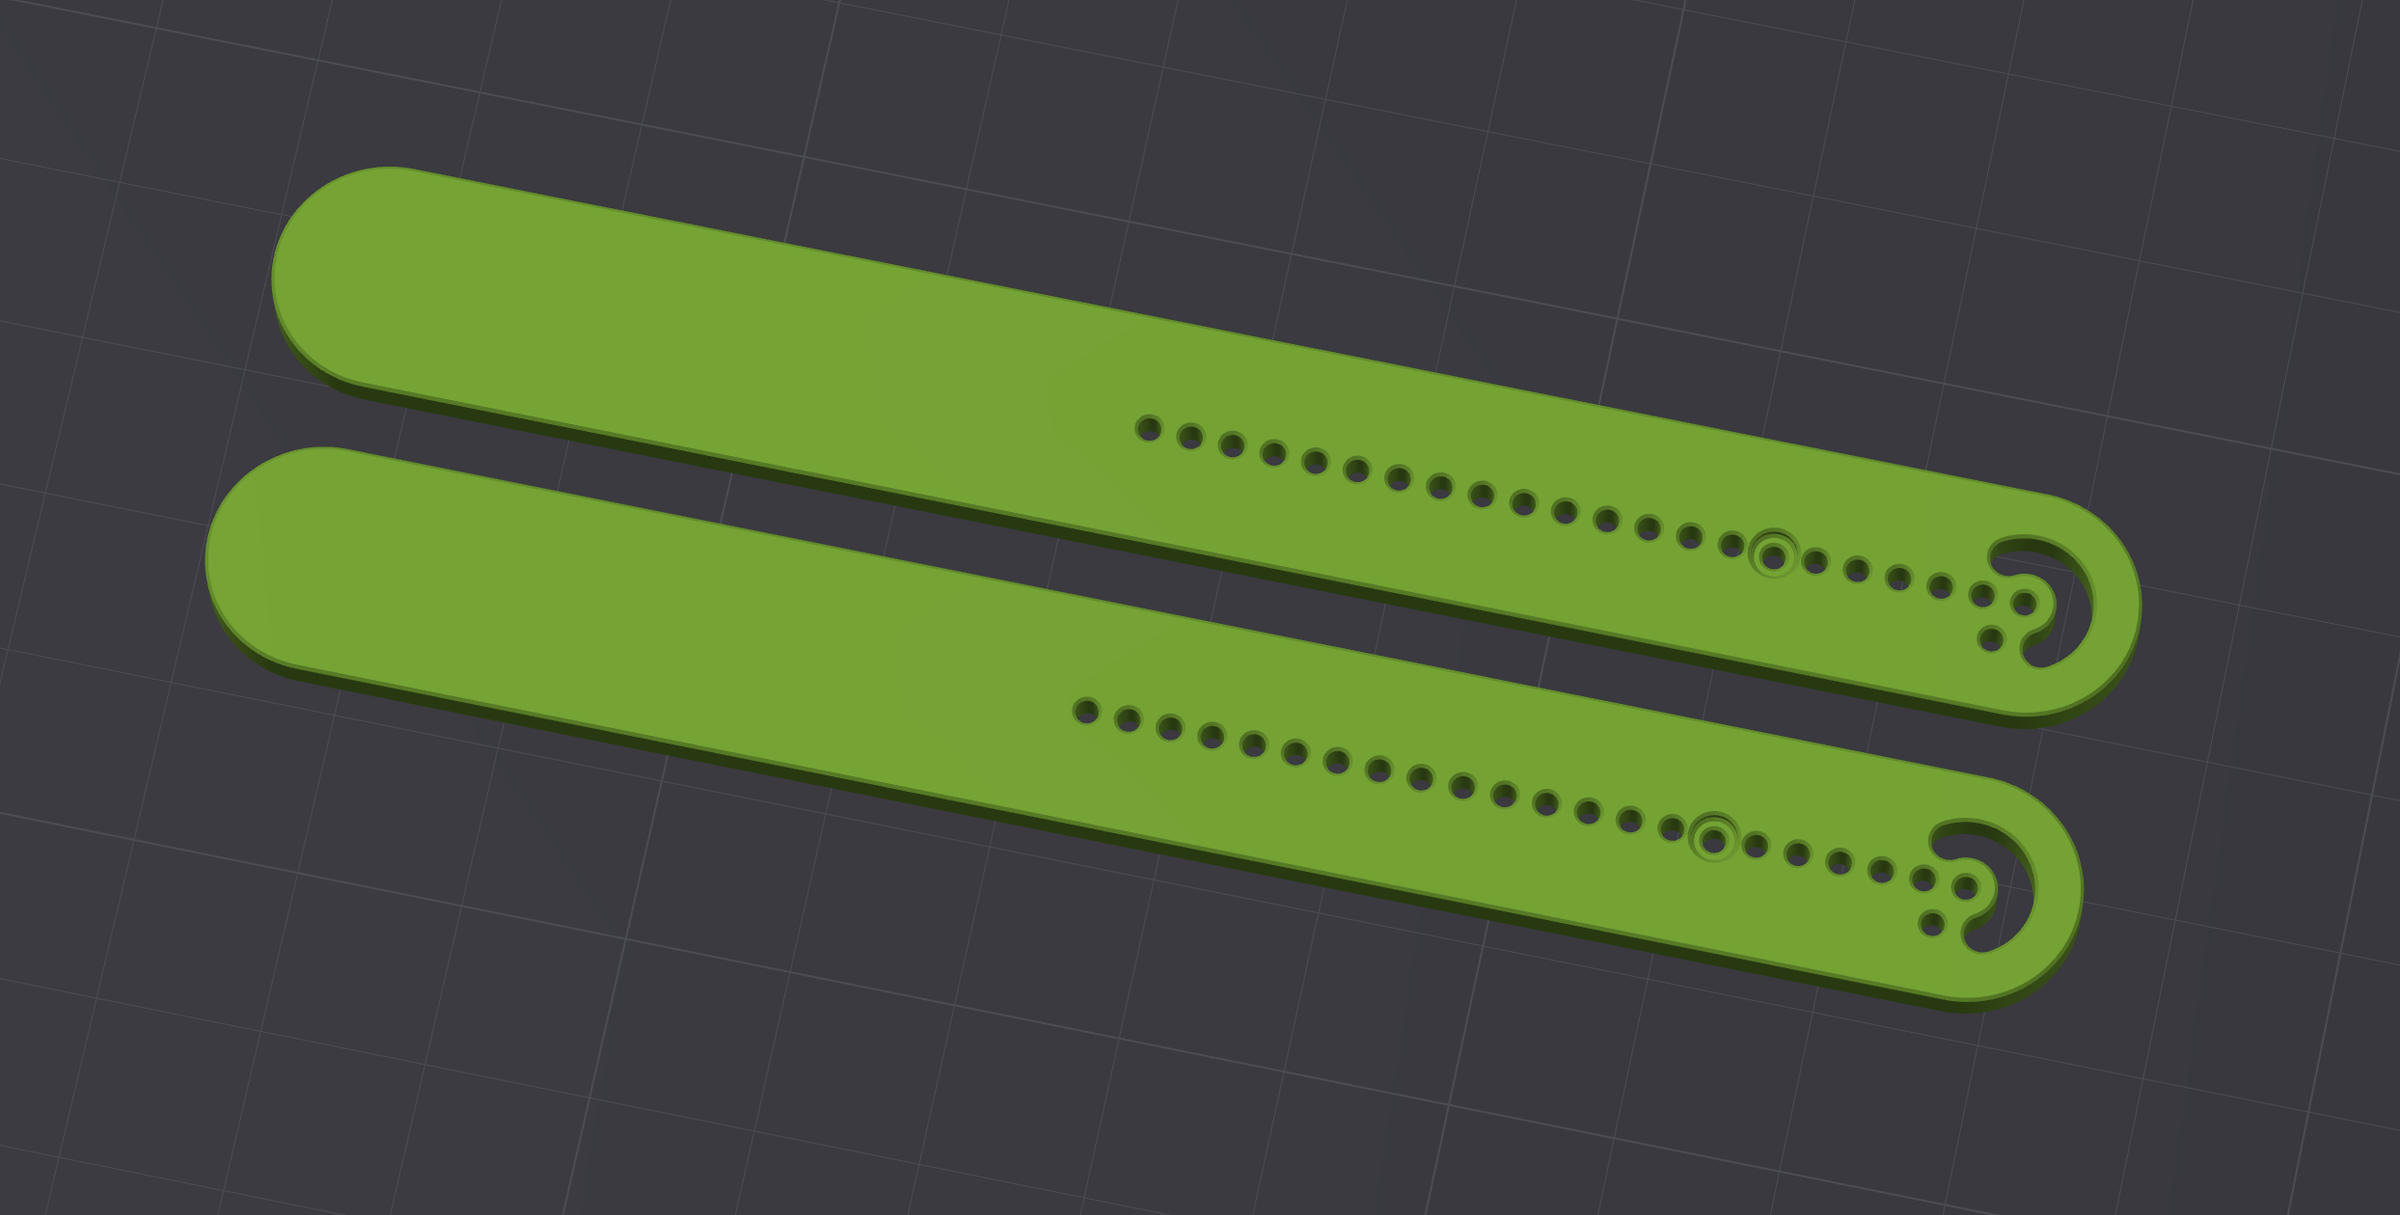
- The model is fully parametric in FreeCAD using the Params object.
- The hole corresponding to a distance of “two leg lengths” is marked with an additional indentation. It is used to measure the sections that will be cut.
- The handle length is designed for a small hand. Its width and thickness are based on the minimum required strength.
- Do not reduce Nail_Margin. The nails are subjected to considerable force, and the plastic may not withstand it.
- The number of holes can only be increased or reduced manually by editing the sketch.