LED Chaser Game (arcade Version)
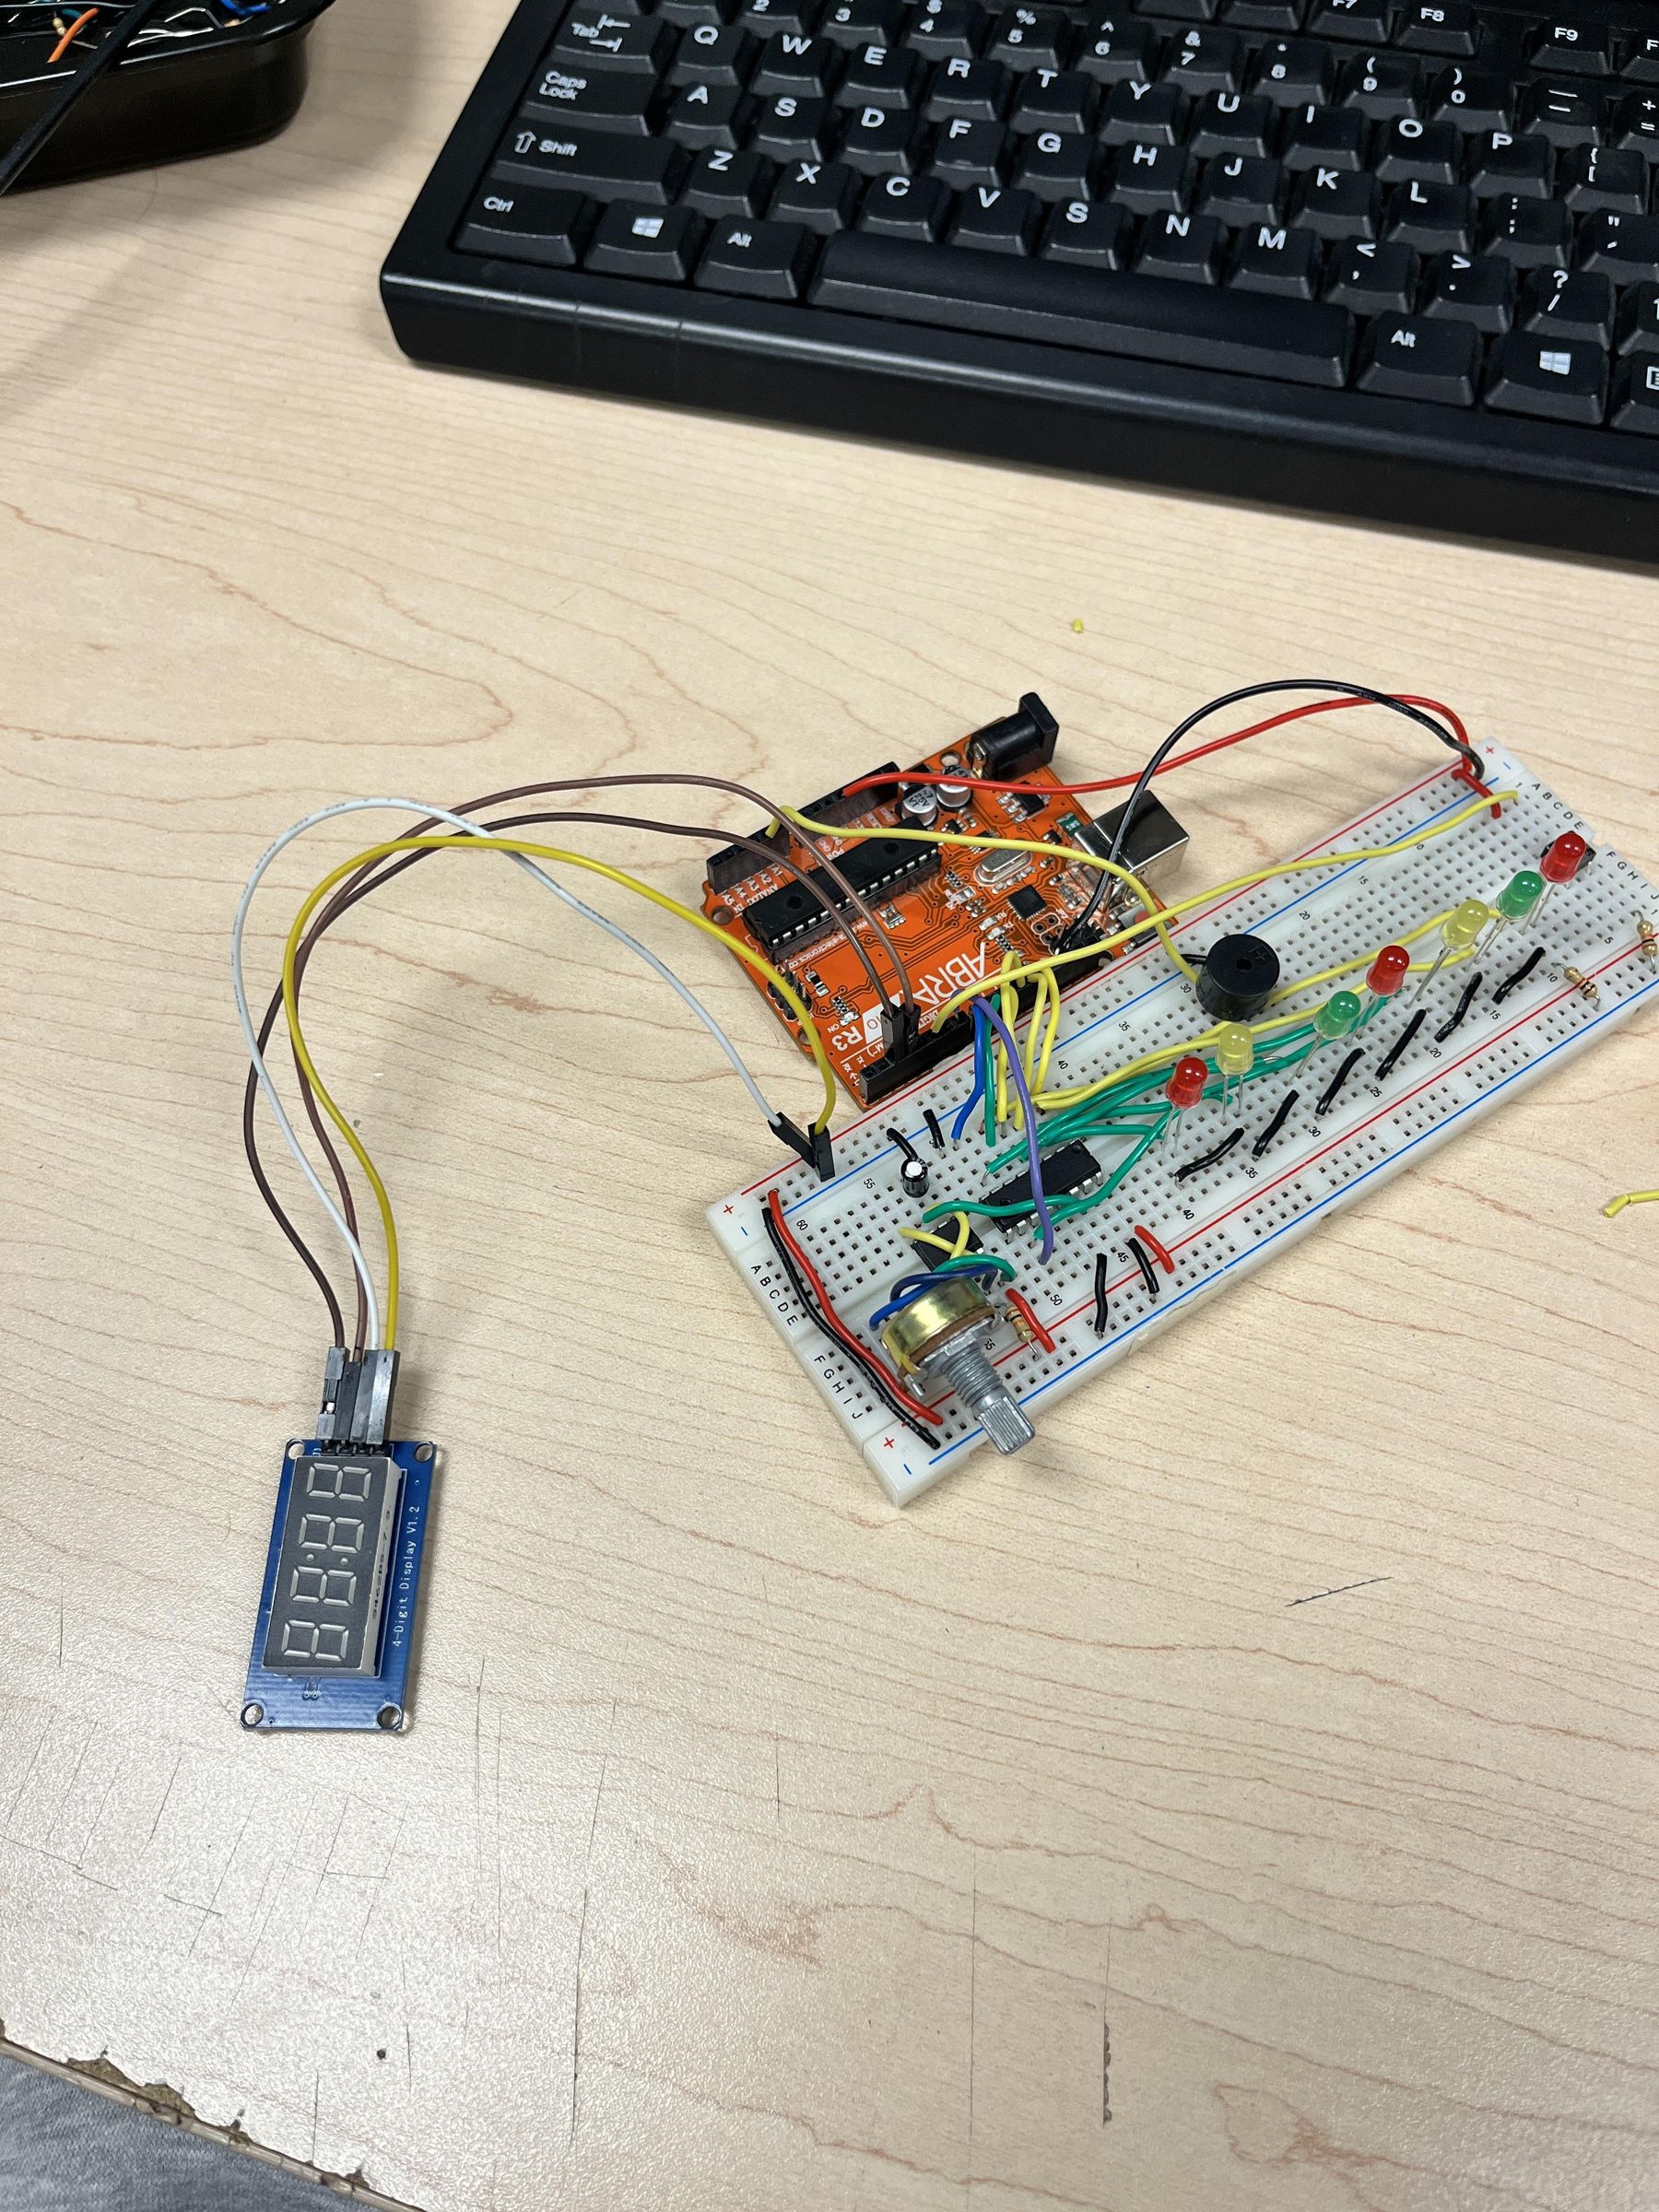
Hi, my name is Nimit Mendiratta. Today for my Tech class' final project, I am building an LED light chaser game (with a buzzer), inspired from Jason Jassal and Vigas B's chaser game.
In this game, a series of LEDs light up in sequence, creating a moving "chaser" effect. The Arduino randomly selects a target LED colour and displays it on the Serial Monitor. The objective is to press the pushbutton at the exact moment the LED chaser passes over the selected colour. If the button is pressed at the correct time, the player scores a point, the serial monitor displays "winner," the 4-digit 7 segment flashes, and the buzzer plays a success sound. If the player presses too early or too late, the buzzer plays a sound for the incorrect attempt and you lost a point.
This circuit operates using an Arduino, a 555 timer, a decade counter, LEDs, a pushbutton, and a buzzer. The 555 timer generates clock pulses that advance the decade counter, which controls the LED sequence. The Arduino monitors the LED states and compares them to the pushbutton input to determine whether the player pressed the button at the correct time. The buzzer then provides audio feedback based on the result.
Now that you understand how the project works, let's move on to the materials and components required to build it.
Supplies
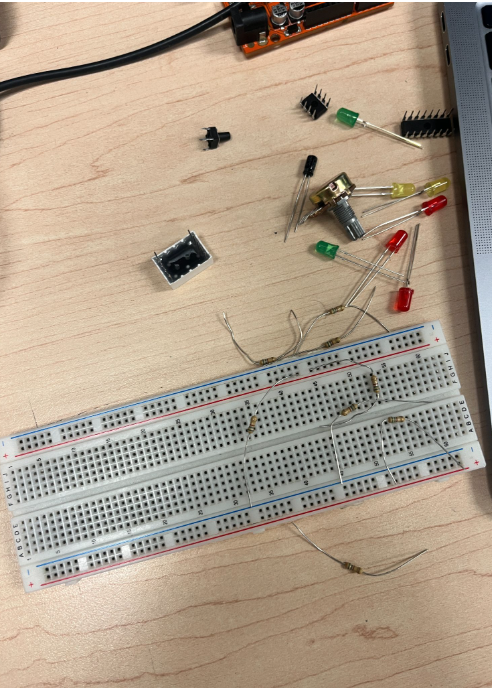
1. 555 Timer x1
2. Johnson's Decade Counter x1
3. Arduino Uno x1
4. 4 Digit Seven Segment Display x1
5. Potentiometer (10k) x1
6. Assorted LEDs 3x red, 2x yellow, 2x green
7. Pushbutton x1
8. Resistors x1 200 Ohms, x1 10K Ohms
9. Polarizped Capacitor (10 uF) x1
10. Wires
12. Piezo Buzzer
I also recommend using a breadboard to keep your wiring neat and manageable (breadboard = optional, but highly recommended)
Wiring Diagrams
.png)
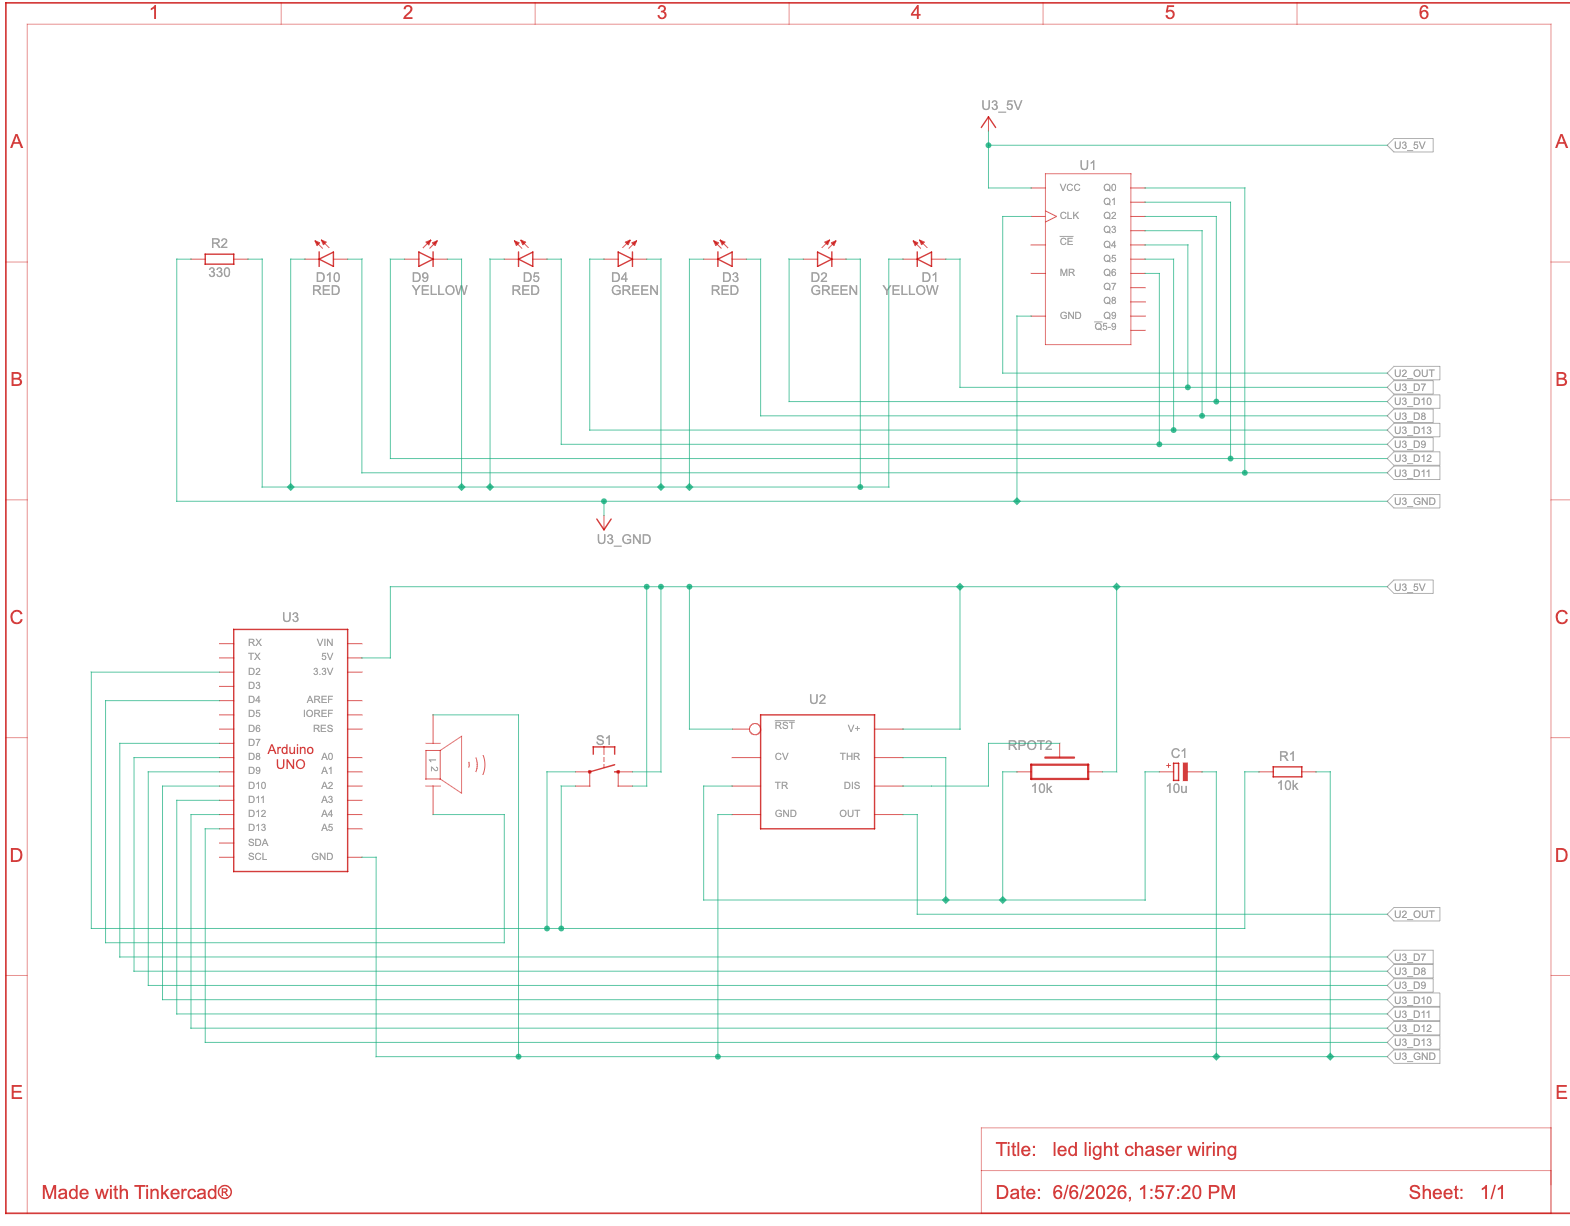
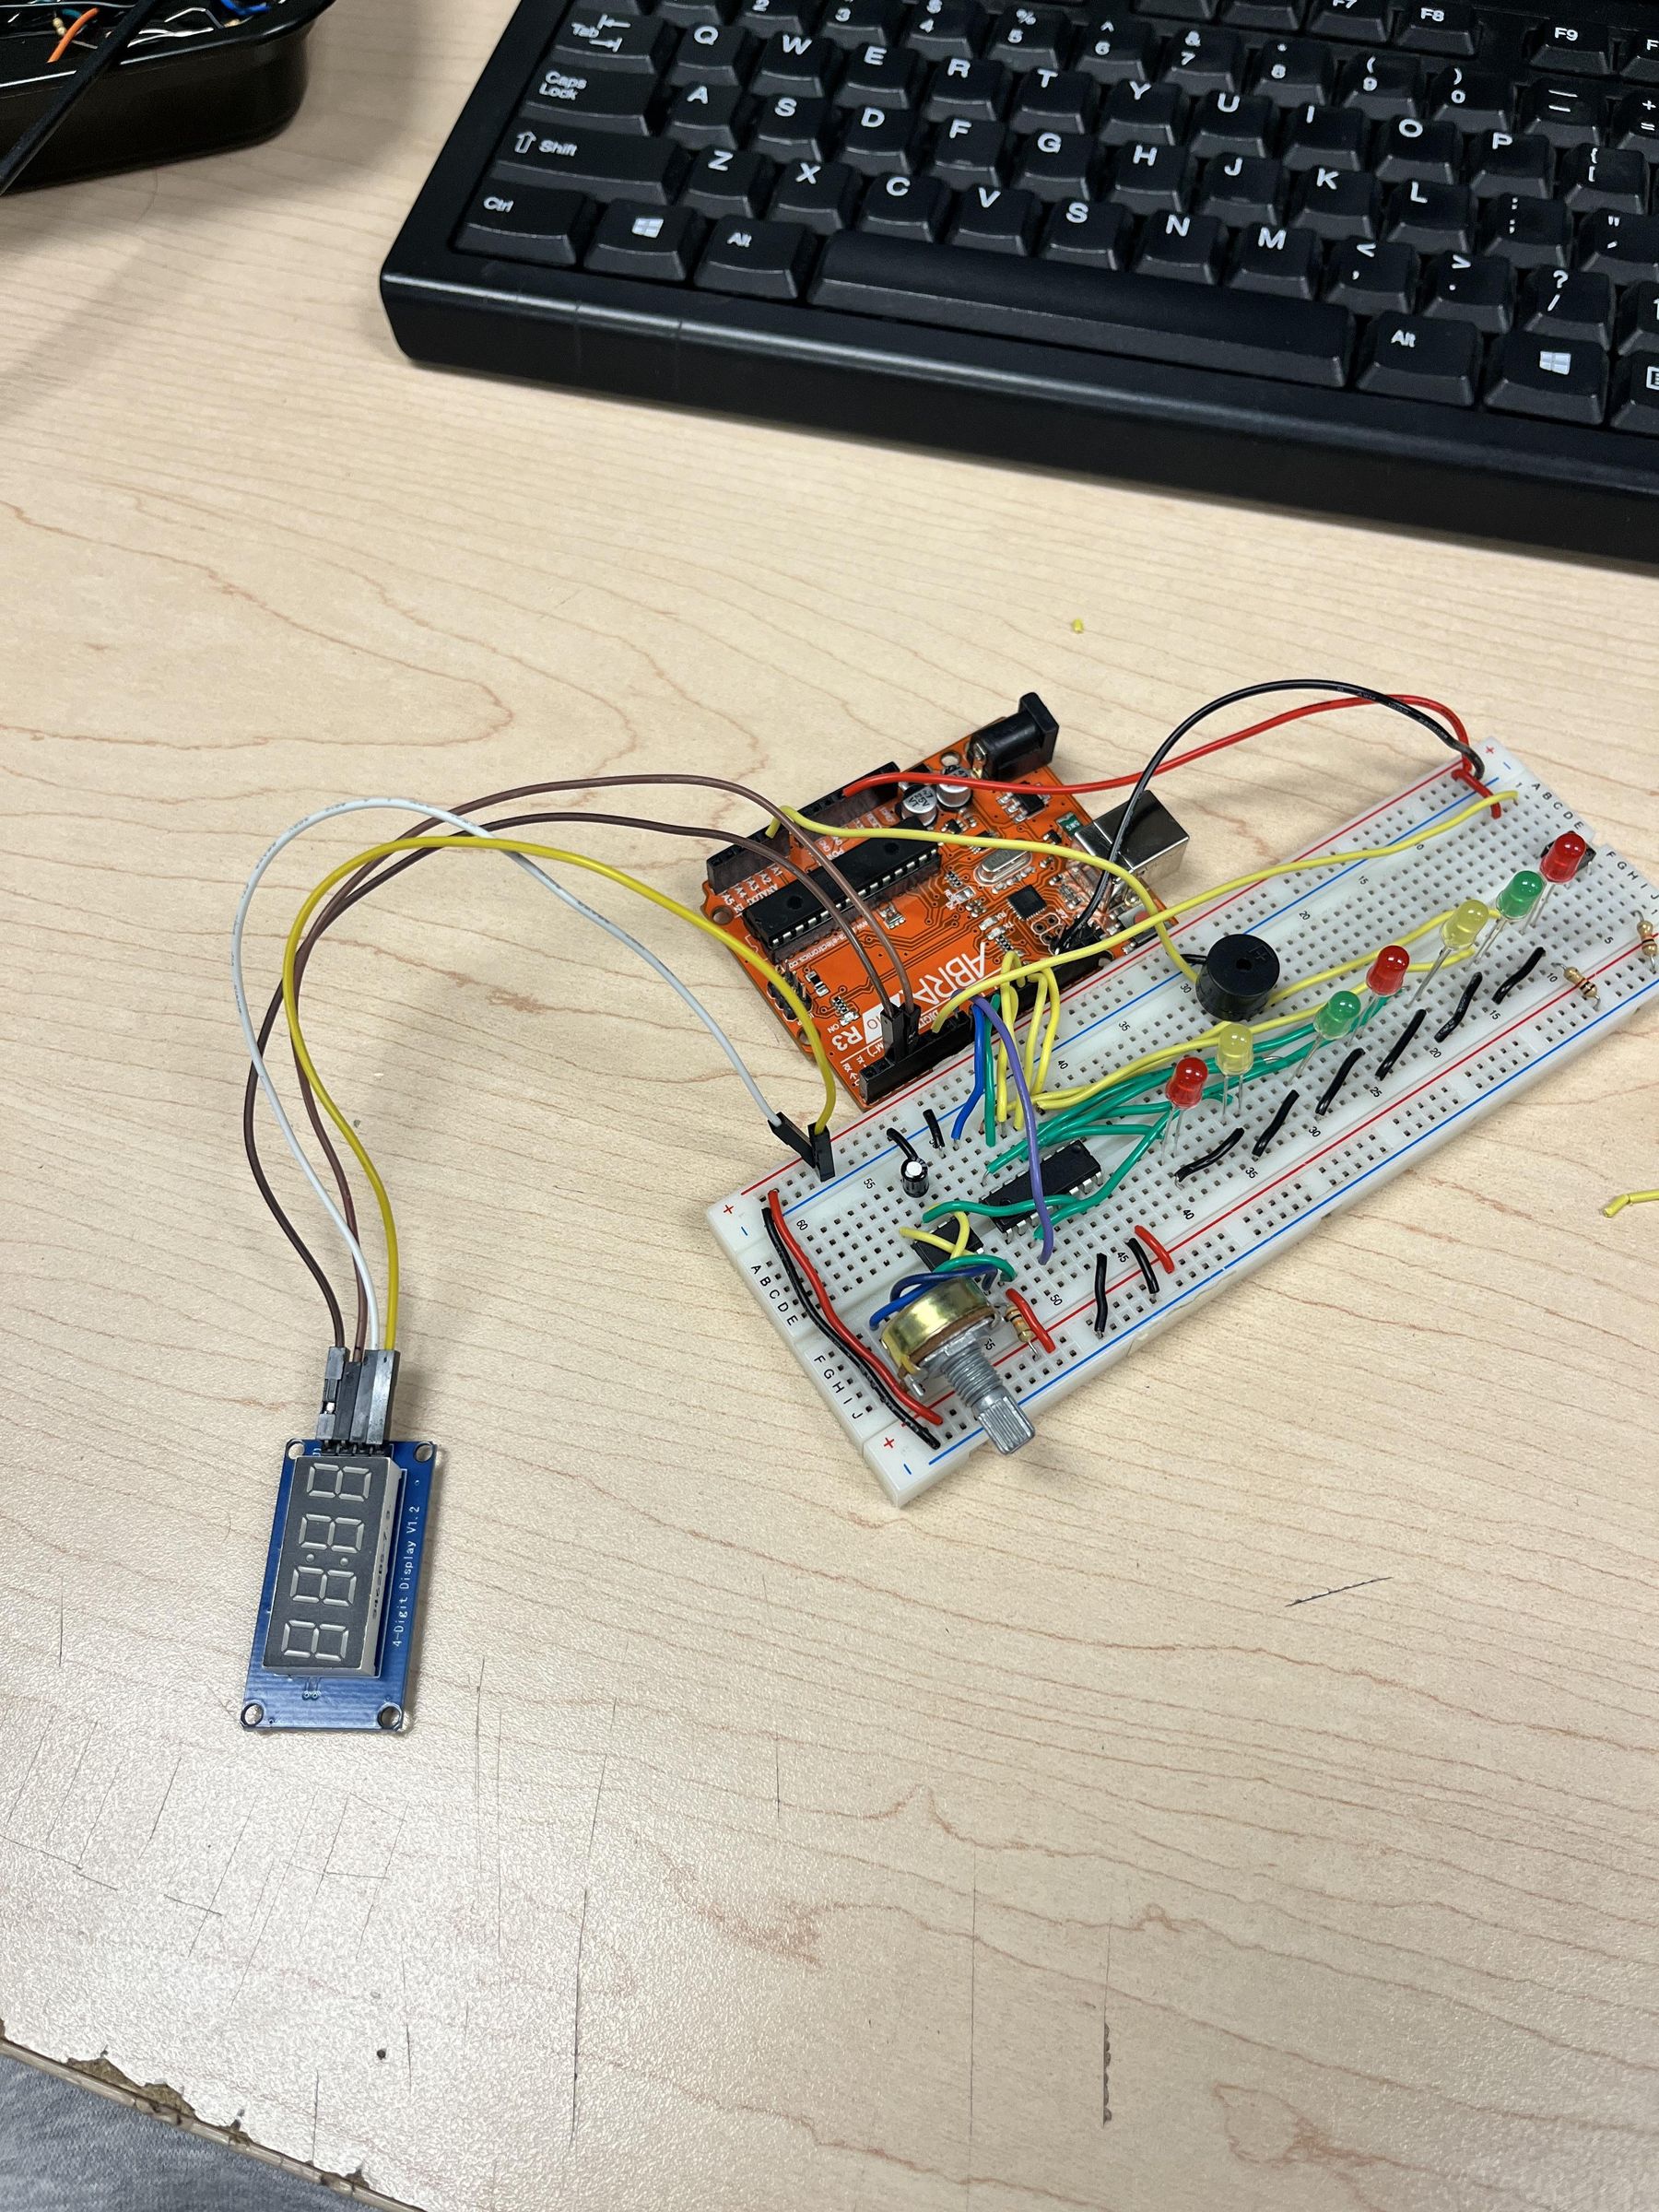
To view the Tinkercad, here is the link: https://www.tinkercad.com/things/9WgVJ3FVtxQ-copy-of-10-led-flasher-with-4017/editel?returnTo=%2Fthings%2F9WgVJ3FVtxQ-copy-of-10-led-flasher-with-4017&sharecode=AyY-eK1EE_ueLucQcnaAw0--SS7D3nzUMGZwxQSfjus
I have also created a schematic through Tinkercad to help if needed. Please note that Tinkercad wiring diagram & schematic does not include the addition of the 4-digit 7-segment display as Tinkercad does not have that included within its system. Therefore, you may need to follow the physical wiring diagram for reference of the 4-digit 7-segment display, but it is relatively simple with 2 pins going to the Arduino and 2 connecting to PWR/GND.
Connect Base Components
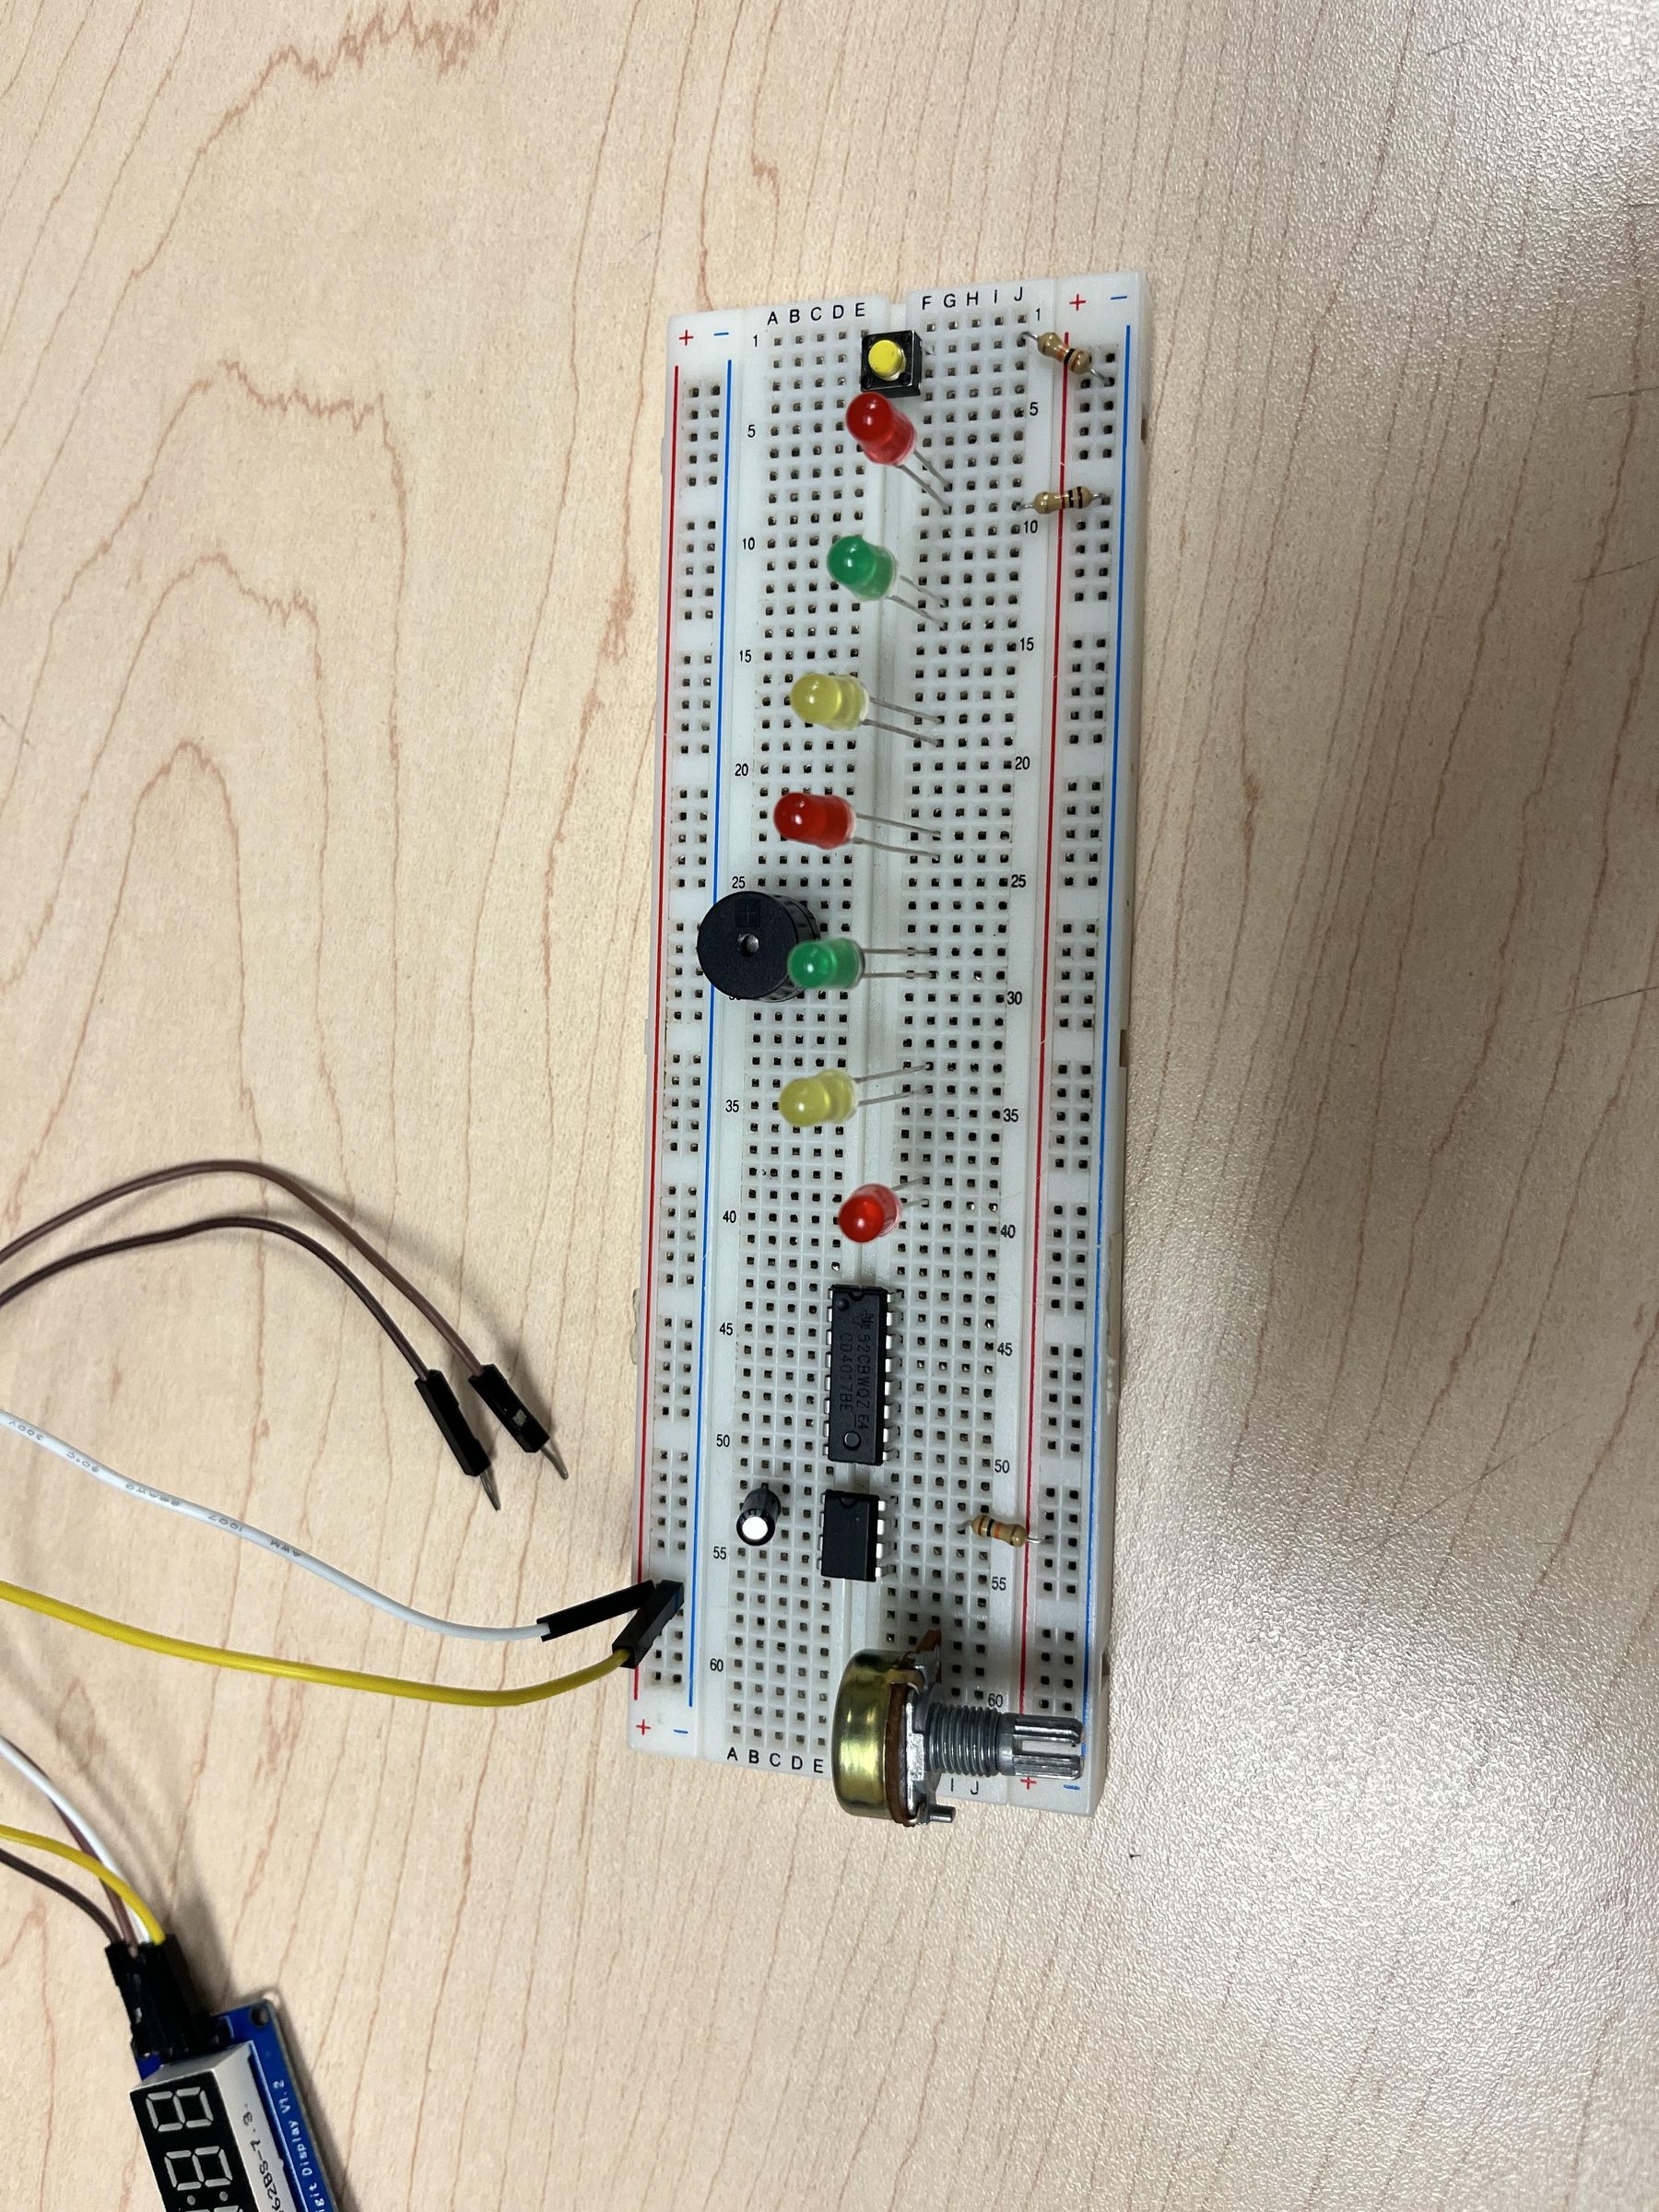
Before beginning the wiring process, place all of the main components onto the breadboard according to the circuit diagram. This includes the 555 timer, 74HC4017 decade counter, potentiometer, polarized capacitor, LEDs, pushbutton, piezo buzzer, and the 4-digit 7-segment display. Ensure that the 555 timer and decade counter are positioned across the centre gap of the breadboard so that each side of the integrated circuit is isolated.
Next, connect the Arduino Uno to the breadboard and position the remaining components in a way that leaves enough space for wiring. Organizing the components before making any electrical connections will help keep the circuit neat, reduce wiring errors, and make troubleshooting much easier later in the build process.
Once all of the components are positioned correctly, the circuit is ready to be wired and powered.
Wire Components Together
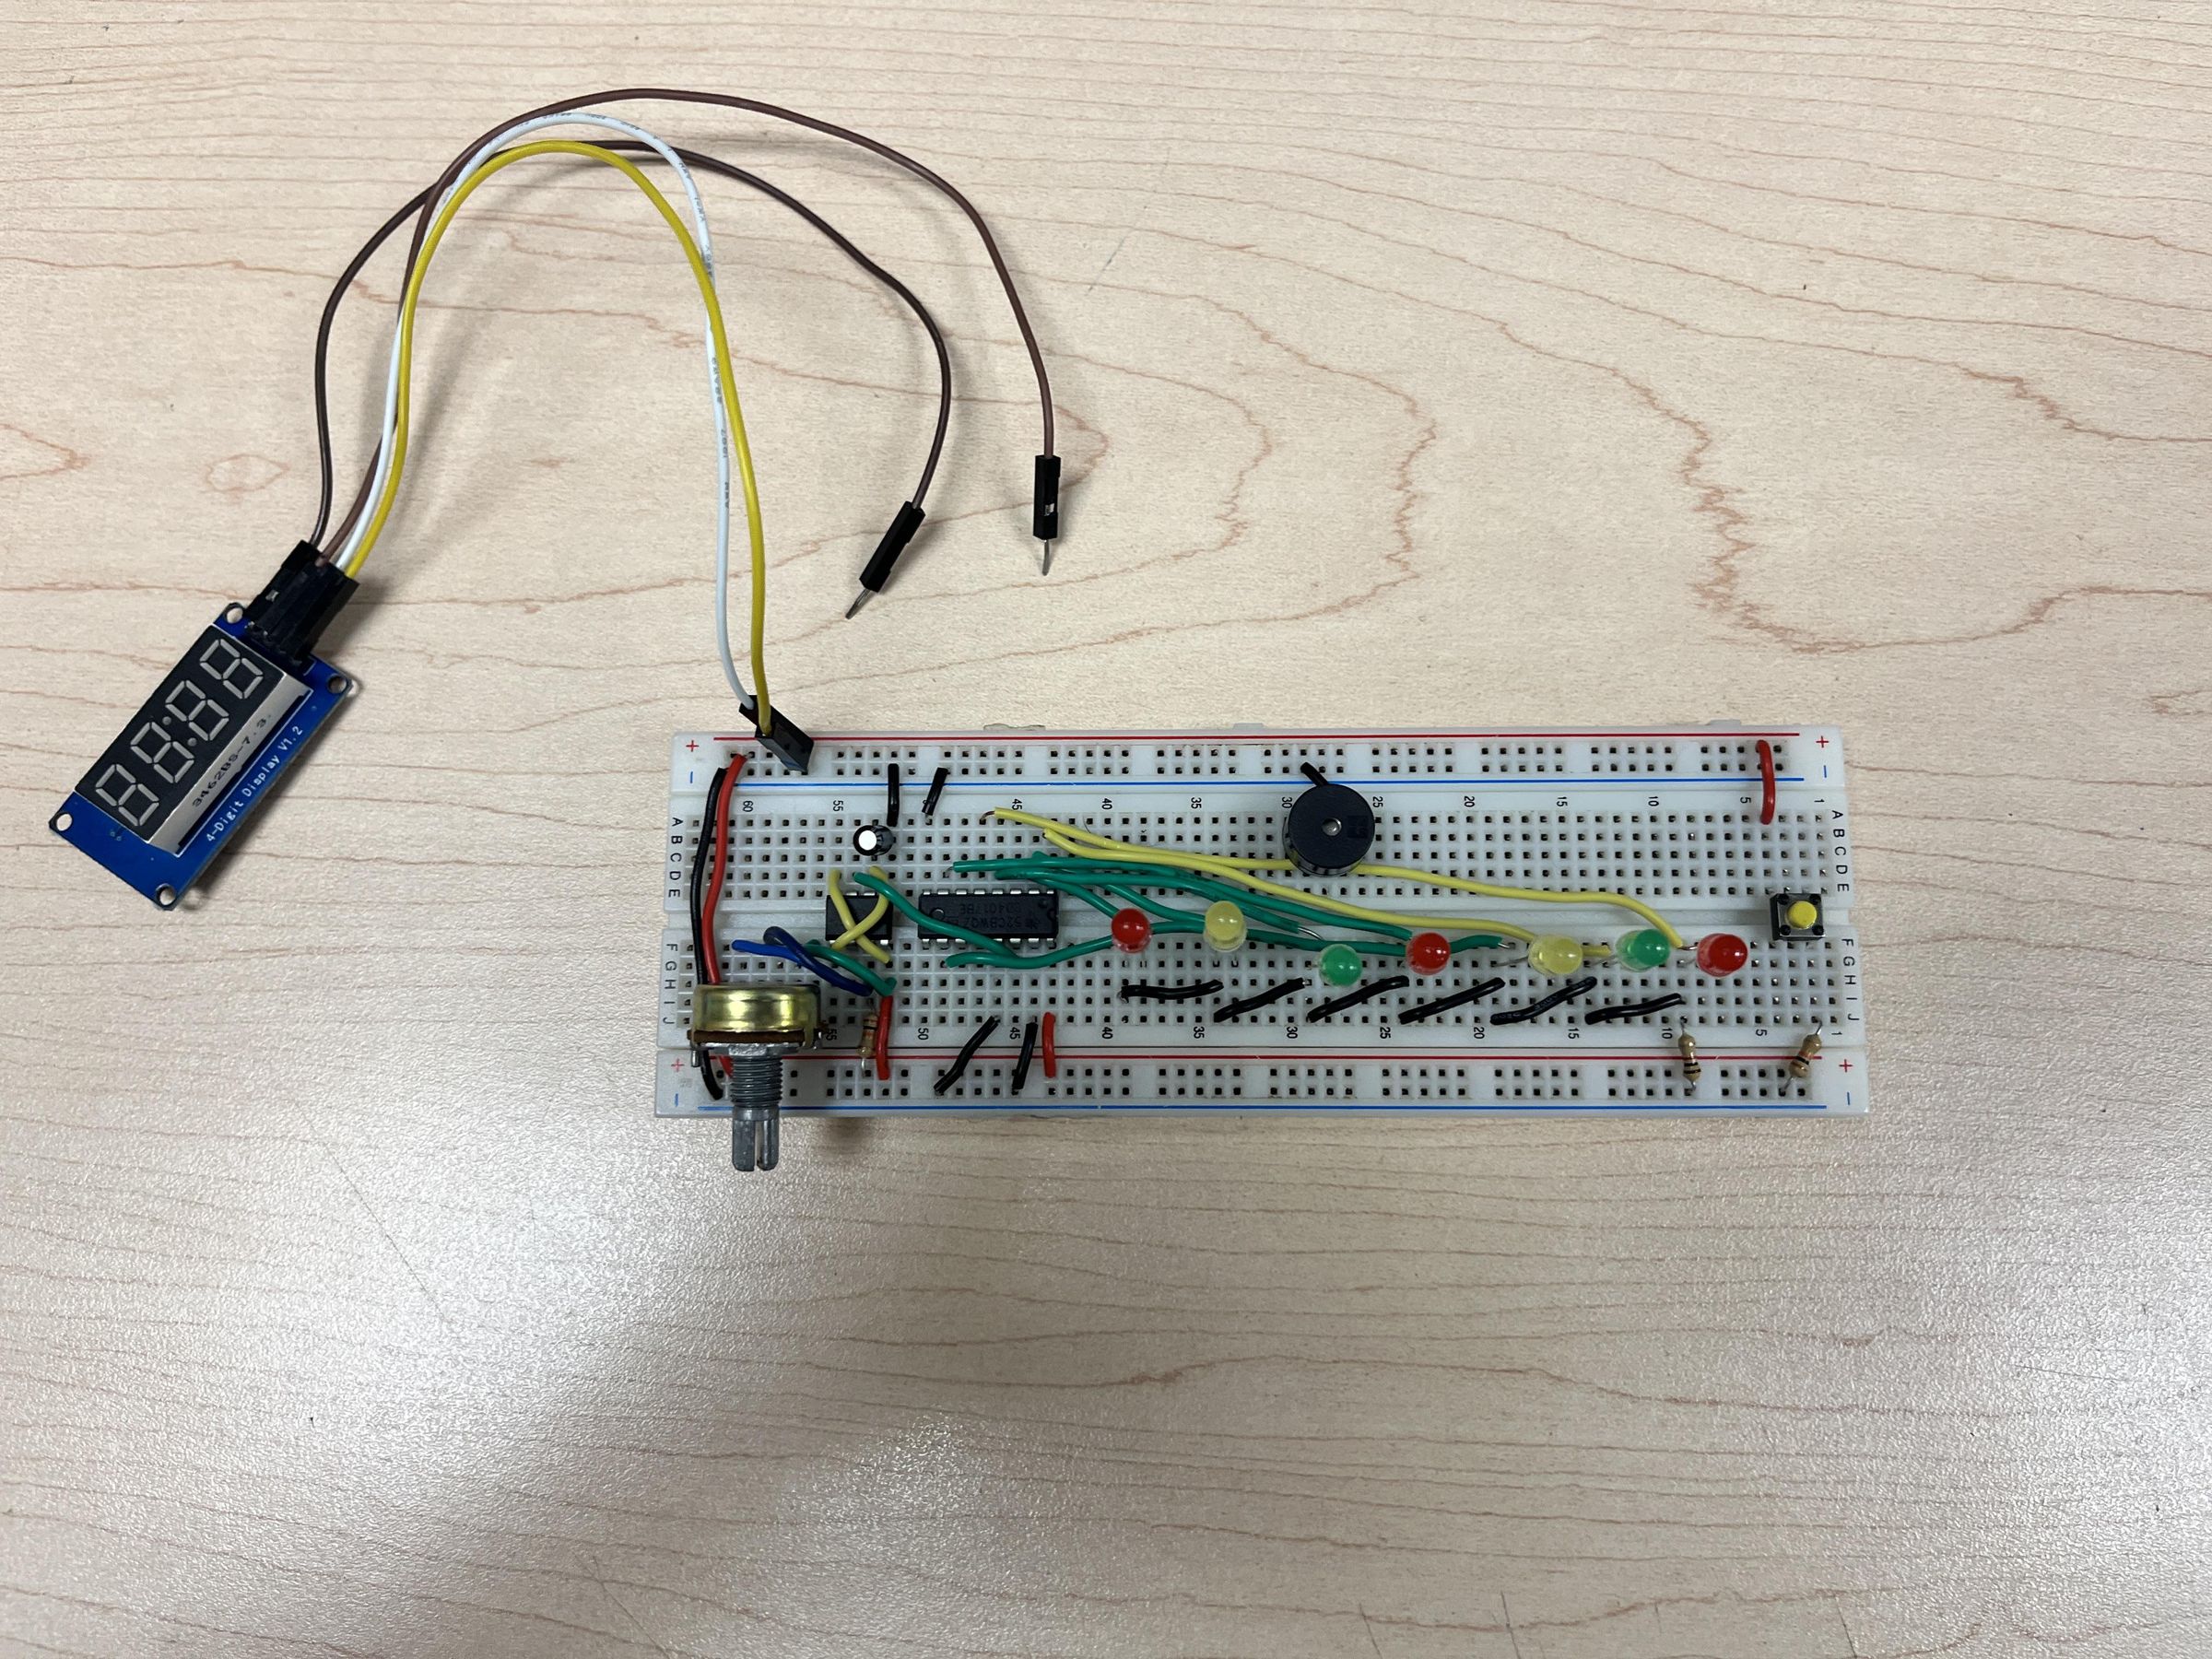
With all of the components done on the breadboard, the next step is to begin wiring the circuit. Start by connecting the Arduino's 5V and GND pins to the breadboard power rails.
Using the circuit schematic as a reference to connect the remaining components together with wires. As you wire the circuit, ensure that all connections are secure and that polarized components, such as the capacitor, are oriented correctly.
Once the wiring is complete, double check all connections before giving power to the circuit.
Wire Arduino Connections
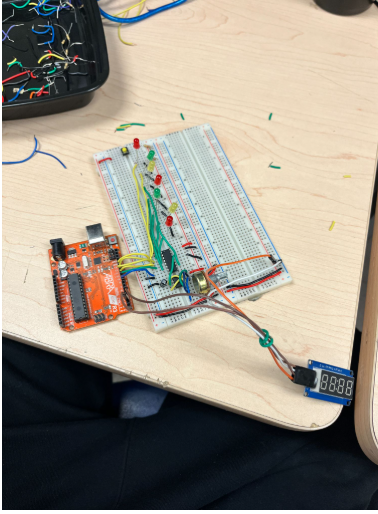
Once the LED chaser circuit has been completed, you need to connect wires to the Arduino. The Arduino is responsible for detecting button presses, tracking the active LED, updating the score on the seven-segment display, and controlling the buzzer.
Start by connecting each LED output from the decade counter to an Arduino input pin (it does not matter which pin as long as you initialize it in your code). These connections allow the Arduino to see which LED is currently active. Next, connect the pushbutton and piezo buzzer to their designated Arduino pins as well. Finally, connect the 4-digit seven-segment display to the Arduino so that it can display the player's score throughout the game.
Look to the wiring diagram for the exact pin assignments used in this project (but it does not matter). Once all Arduino connections have been completed, the hardware portion of the project is finished and the circuit is ready to be programmed.
Code
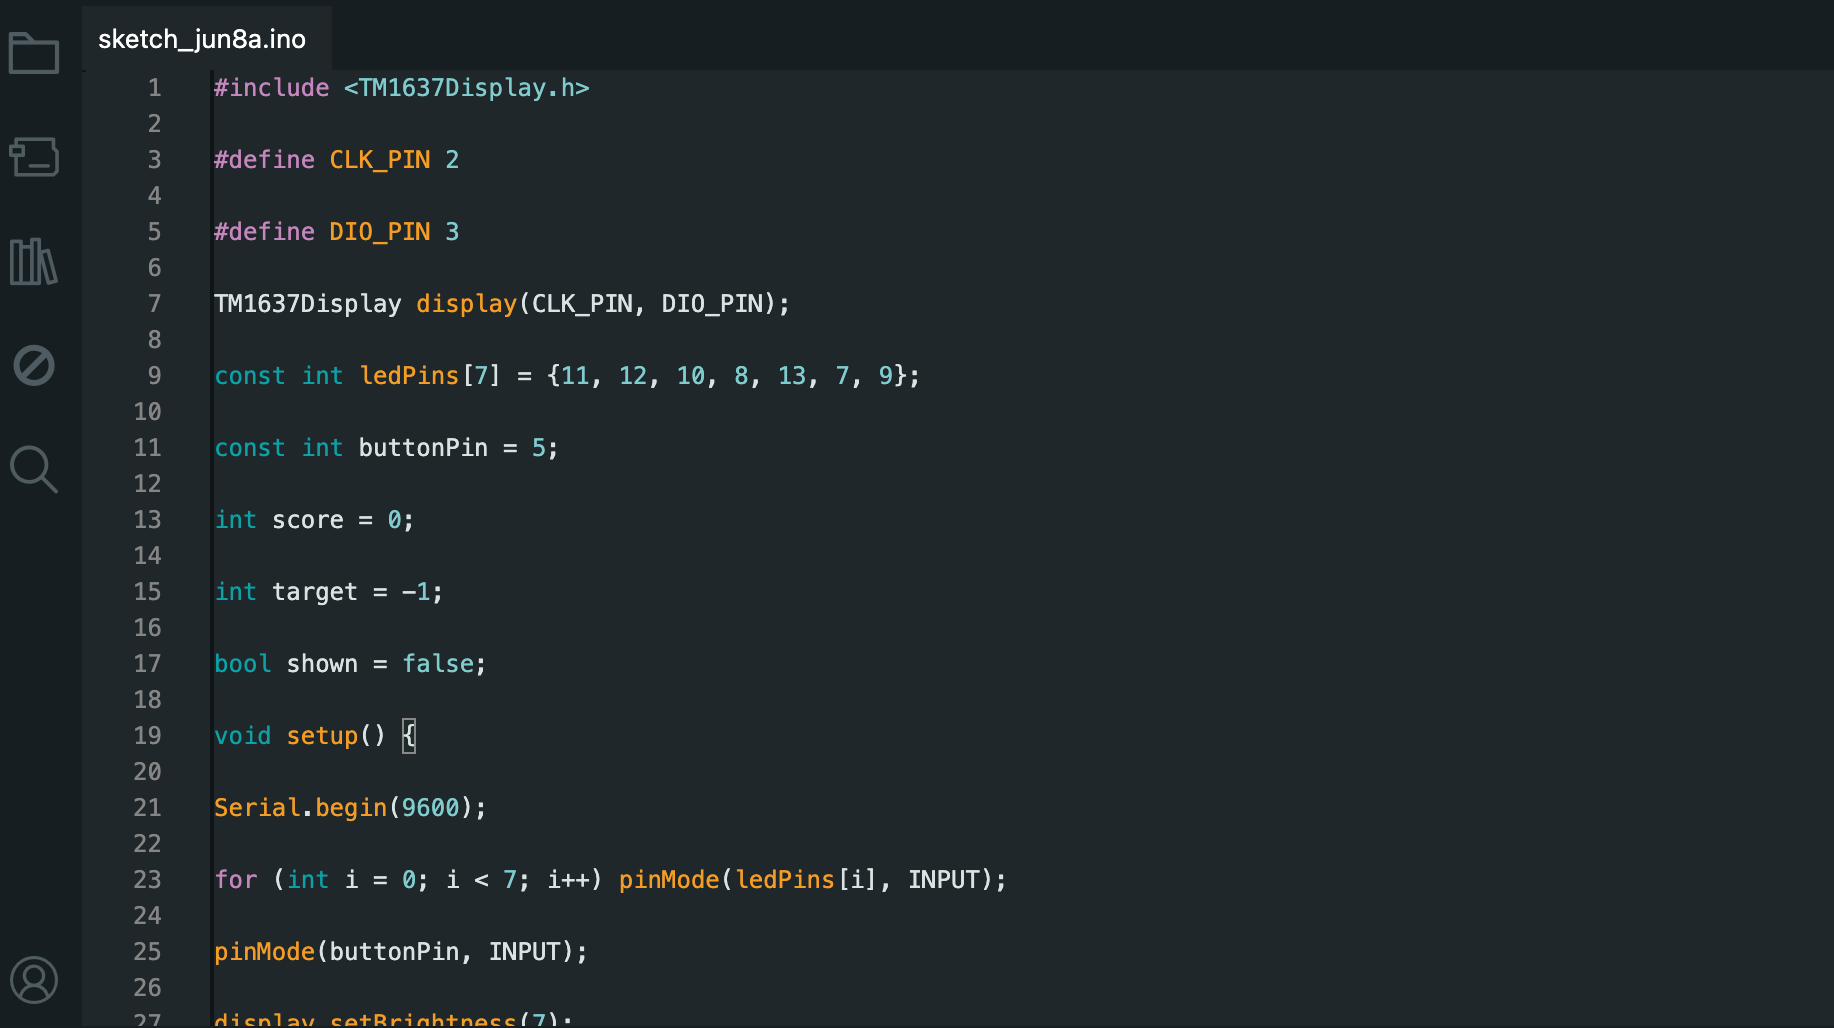
Finally, the code!
Here is an copy of the code both the ino and LED Chaser code _Nimit which provides the exact code for this project. The ino and chaser code (nimit) are the same codes, just in different file formats, however, the pdf with orignal reference is another code created by someone I referenced for this project. Their code includes all the original functions, without any of the stuff I added, so if you plan to make just the LED Chaser game without the buzzer and some other functions, please follow that.
For my code, the biggest addition I made was adding buzzer sound effects. I created a short winning sound for correct answers and a descending losing sound for wrong answers. This makes the game feel more interactive because the player gets both visual and audio feedback. I also added a wrong-answer display effect, where the 7-segment display briefly shows “no” before returning to the score.
Another change I made was improving the random target system. Instead of allowing the same colour to be selected again immediately, I used a do while loop so the next colour cannot be the same as the previous target. This helps the game feel less repetitive and makes the targets feel more varied while playing.
I also changed the score reset system. Instead of instantly resetting at 10 or -10, my version checks when the score reaches 9 or -9. If the player reaches 9, the game shows the score, plays a larger winning celebration on the 7-segment display, plays an extended winning buzzer sound, and then resets the score back to 0. If the score reaches -9, the game plays a larger losing buzzer sound, flashes a losing effect on the display, and then resets back to 0.
In general, the original code gave me the base LED chaser game, while my version added buzzer sounds, wrong-answer feedback, a non-repeating target system, and bigger win/loss effects.
Although all the code is provided, I recommend making your own code and adding different additions to this project.
Note: Do not forget to initialize the correct pins for your project as each code has different pinouts, so please double check or edit before copy and pasting!
Video Demonstration
Here are some videos demonstrating how the project works in real life. There are 2 seperate videos, showcasing both winning and losing situations.
Recommended Resources for Help
If you are stuck in any part of the code or wiring, I recommend taking a look at the links provided.
- Arduino Getting Started - Arduino setup/uploading basics.
- SparkFun Breadboard Tutorial - How breadboard rows, rails, and connections work.
- Arduino Button Example - Wiring and coding a pushbutton.
- Arduino Arrays Example - How arrays store multiple LED pins.
- Arduino bool Reference - How true/false variables work.
- Arduino Installing Libraries - How to install Arduino libraries.
- Arduino random() - How random target selection works.
- Arduino digitalRead() - How Arduino reads HIGH/LOW signals.
- Arduino tone() - How buzzer sounds are made.
- TM1637 Display Library - Library for the 4-digit 7-segment display.
Videos:
- Melody/tone tutorial for Piezo
- Bool Function - Checks if LED is active while button is pressed
- Arrays
Other projects to look at:
- https://www.instructables.com/LED-Chaser-Game/ - By Vigas B
- https://www.instructables.com/LED-CHASER-Project/ - By jason jasssal