LED Launch Rocket: a Glowing Liftoff Diorama From Everyday Materials
by hsjsshmood in Design > Art
230 Views, 3 Favorites, 0 Comments
LED Launch Rocket: a Glowing Liftoff Diorama From Everyday Materials
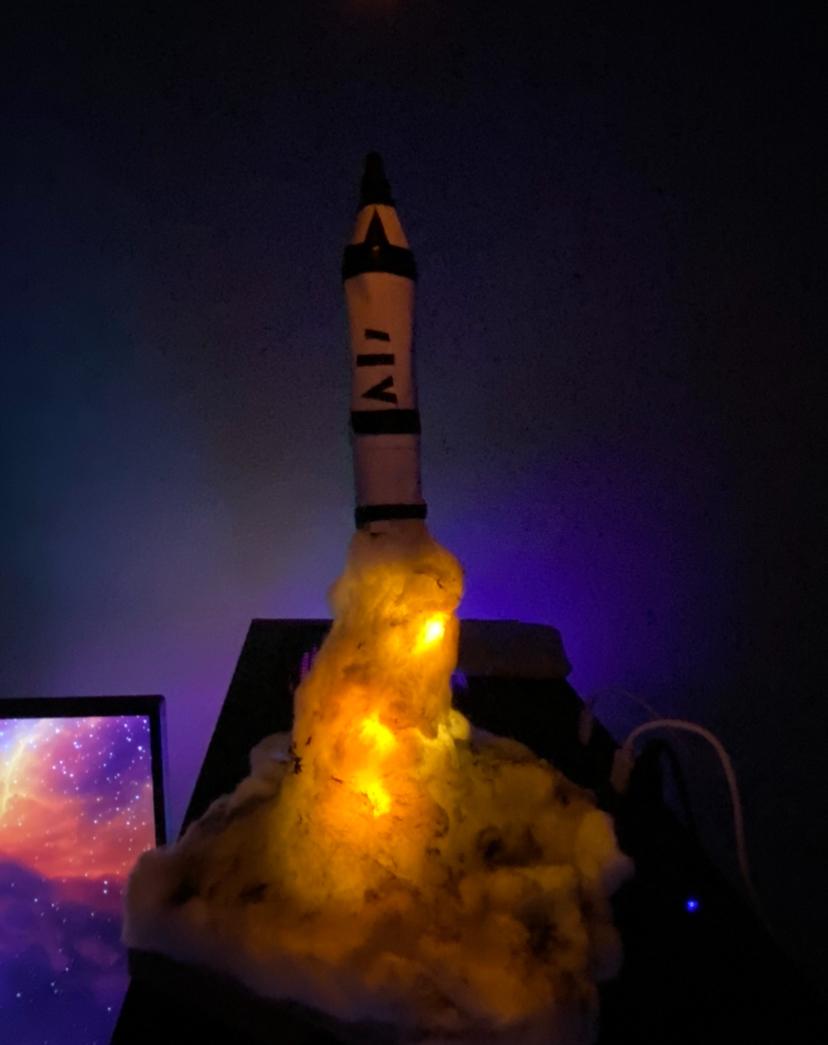

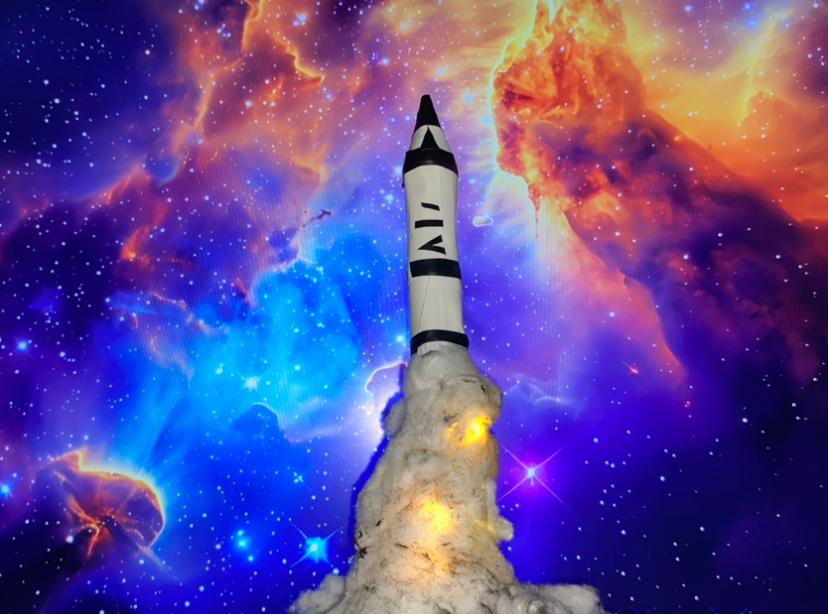
In this project, we’re going to make a small rocket that looks like it’s launching into space — with glowing LEDs and fluffy smoke made from cotton.
Supplies


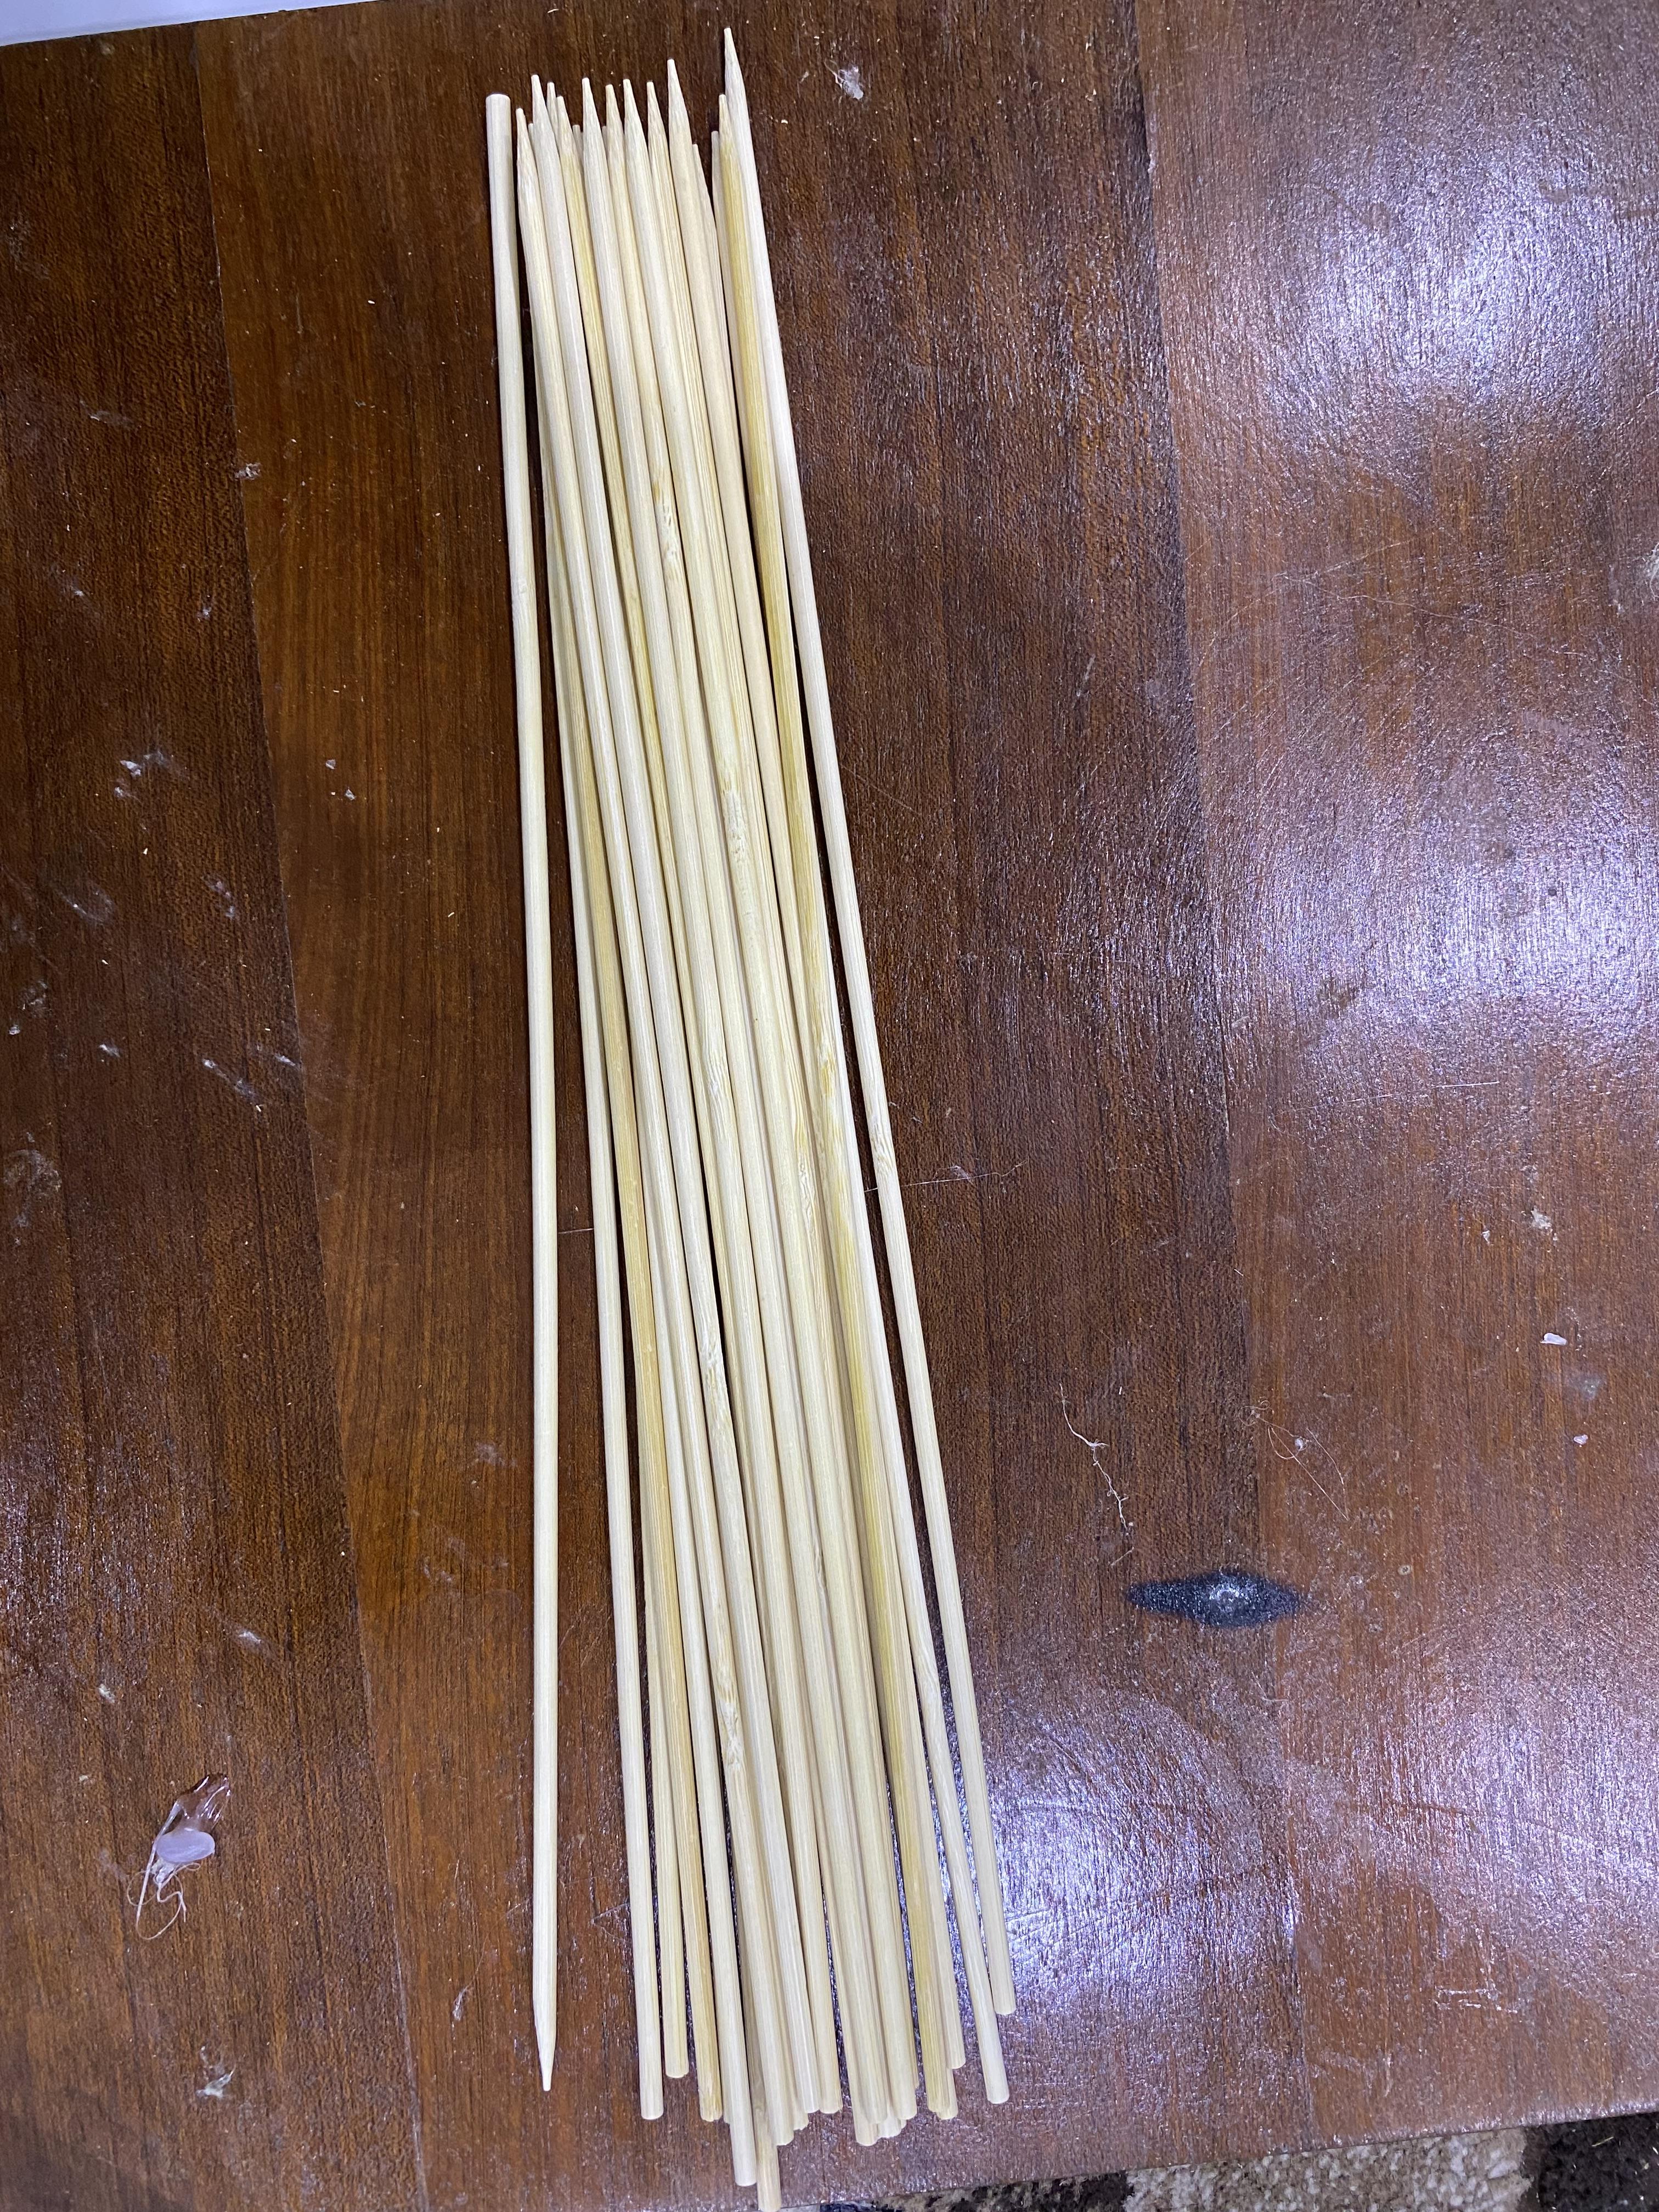
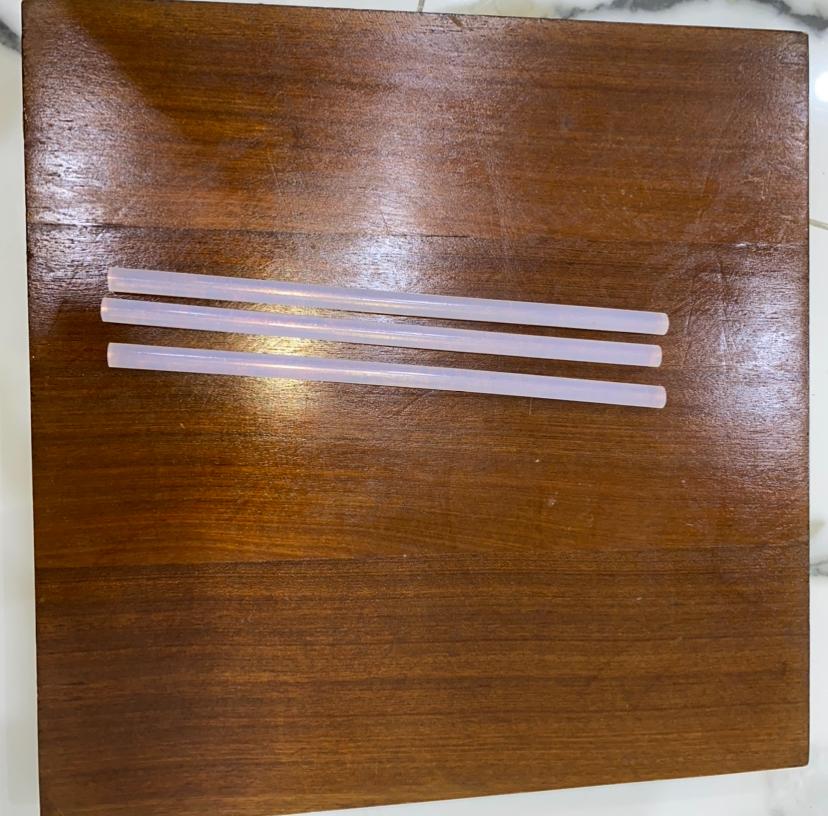
- Wooden sticks (barbecue ones)
- Glue and a glue gun
- White tape, black tape, and paper masking tape
- Cotton
- LED strip
- Battery housing (if it’s not included with the strip)
- Wooden stand or base
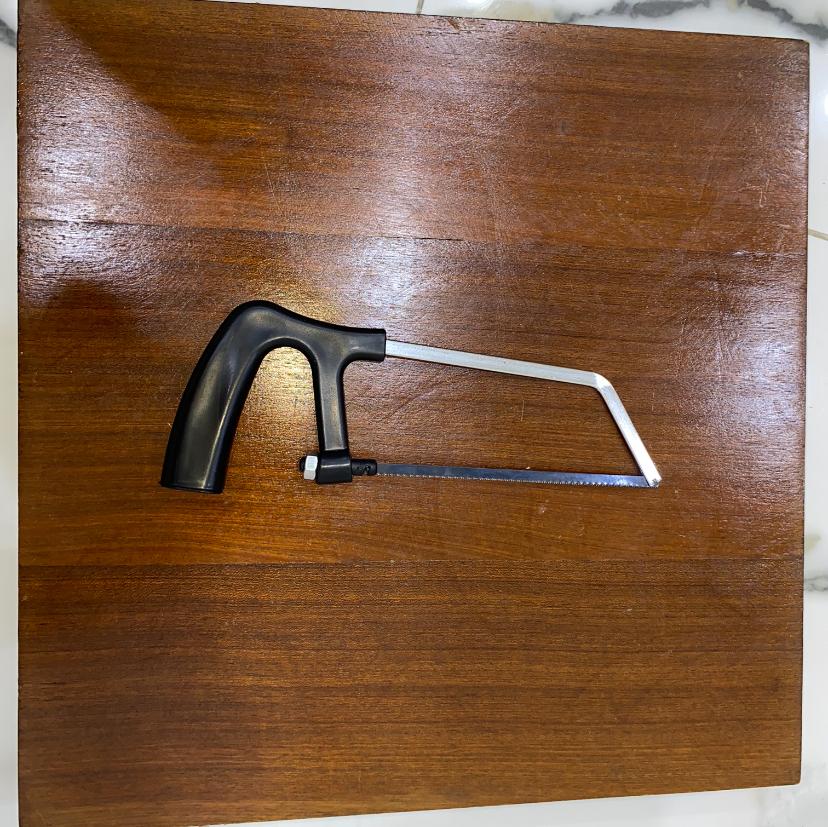
- Small saw
- Scissors
Making the Rocket Body

Take 19 wooden barbecue sticks and arrange them in a circle shape, Glue the sticks together one by one using hot glue.
After the glue dries completely, cut the whole piece down to about 7.5 cm in length so it looks clean and even.
Making the Rocket Head


Take out the middle stick from your circle and replace it with a full, uncut barbecue stick. Push it so it sticks out about 1.5 to 2.5 cm above the rest — this will form the point of the rocket.
Next, cut a few toothpicks to the same length as that part sticking out. Glue them around the long middle stick to give it a nice, cone-like shape.
note: to make this step easier, start with four sticks on four sides then complete the cone
Shape and Strengthen the Body
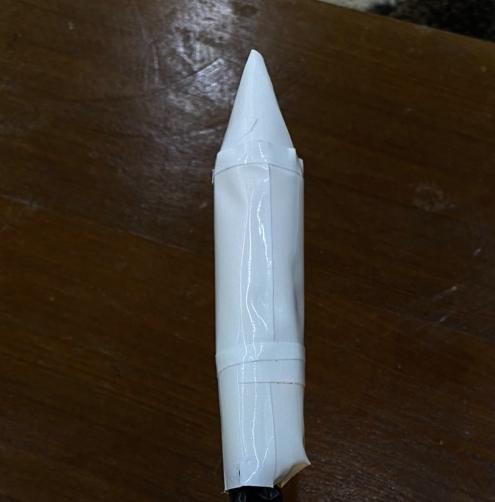
Wrap paper tape then white tape around the outside of the rocket body. This helps:
- Hold everything firmly together
- Smooth out the surface
- Shape the outer shell so it looks more like a real rocket
Make sure the tape is snug but not too tight to avoid shifting the sticks.
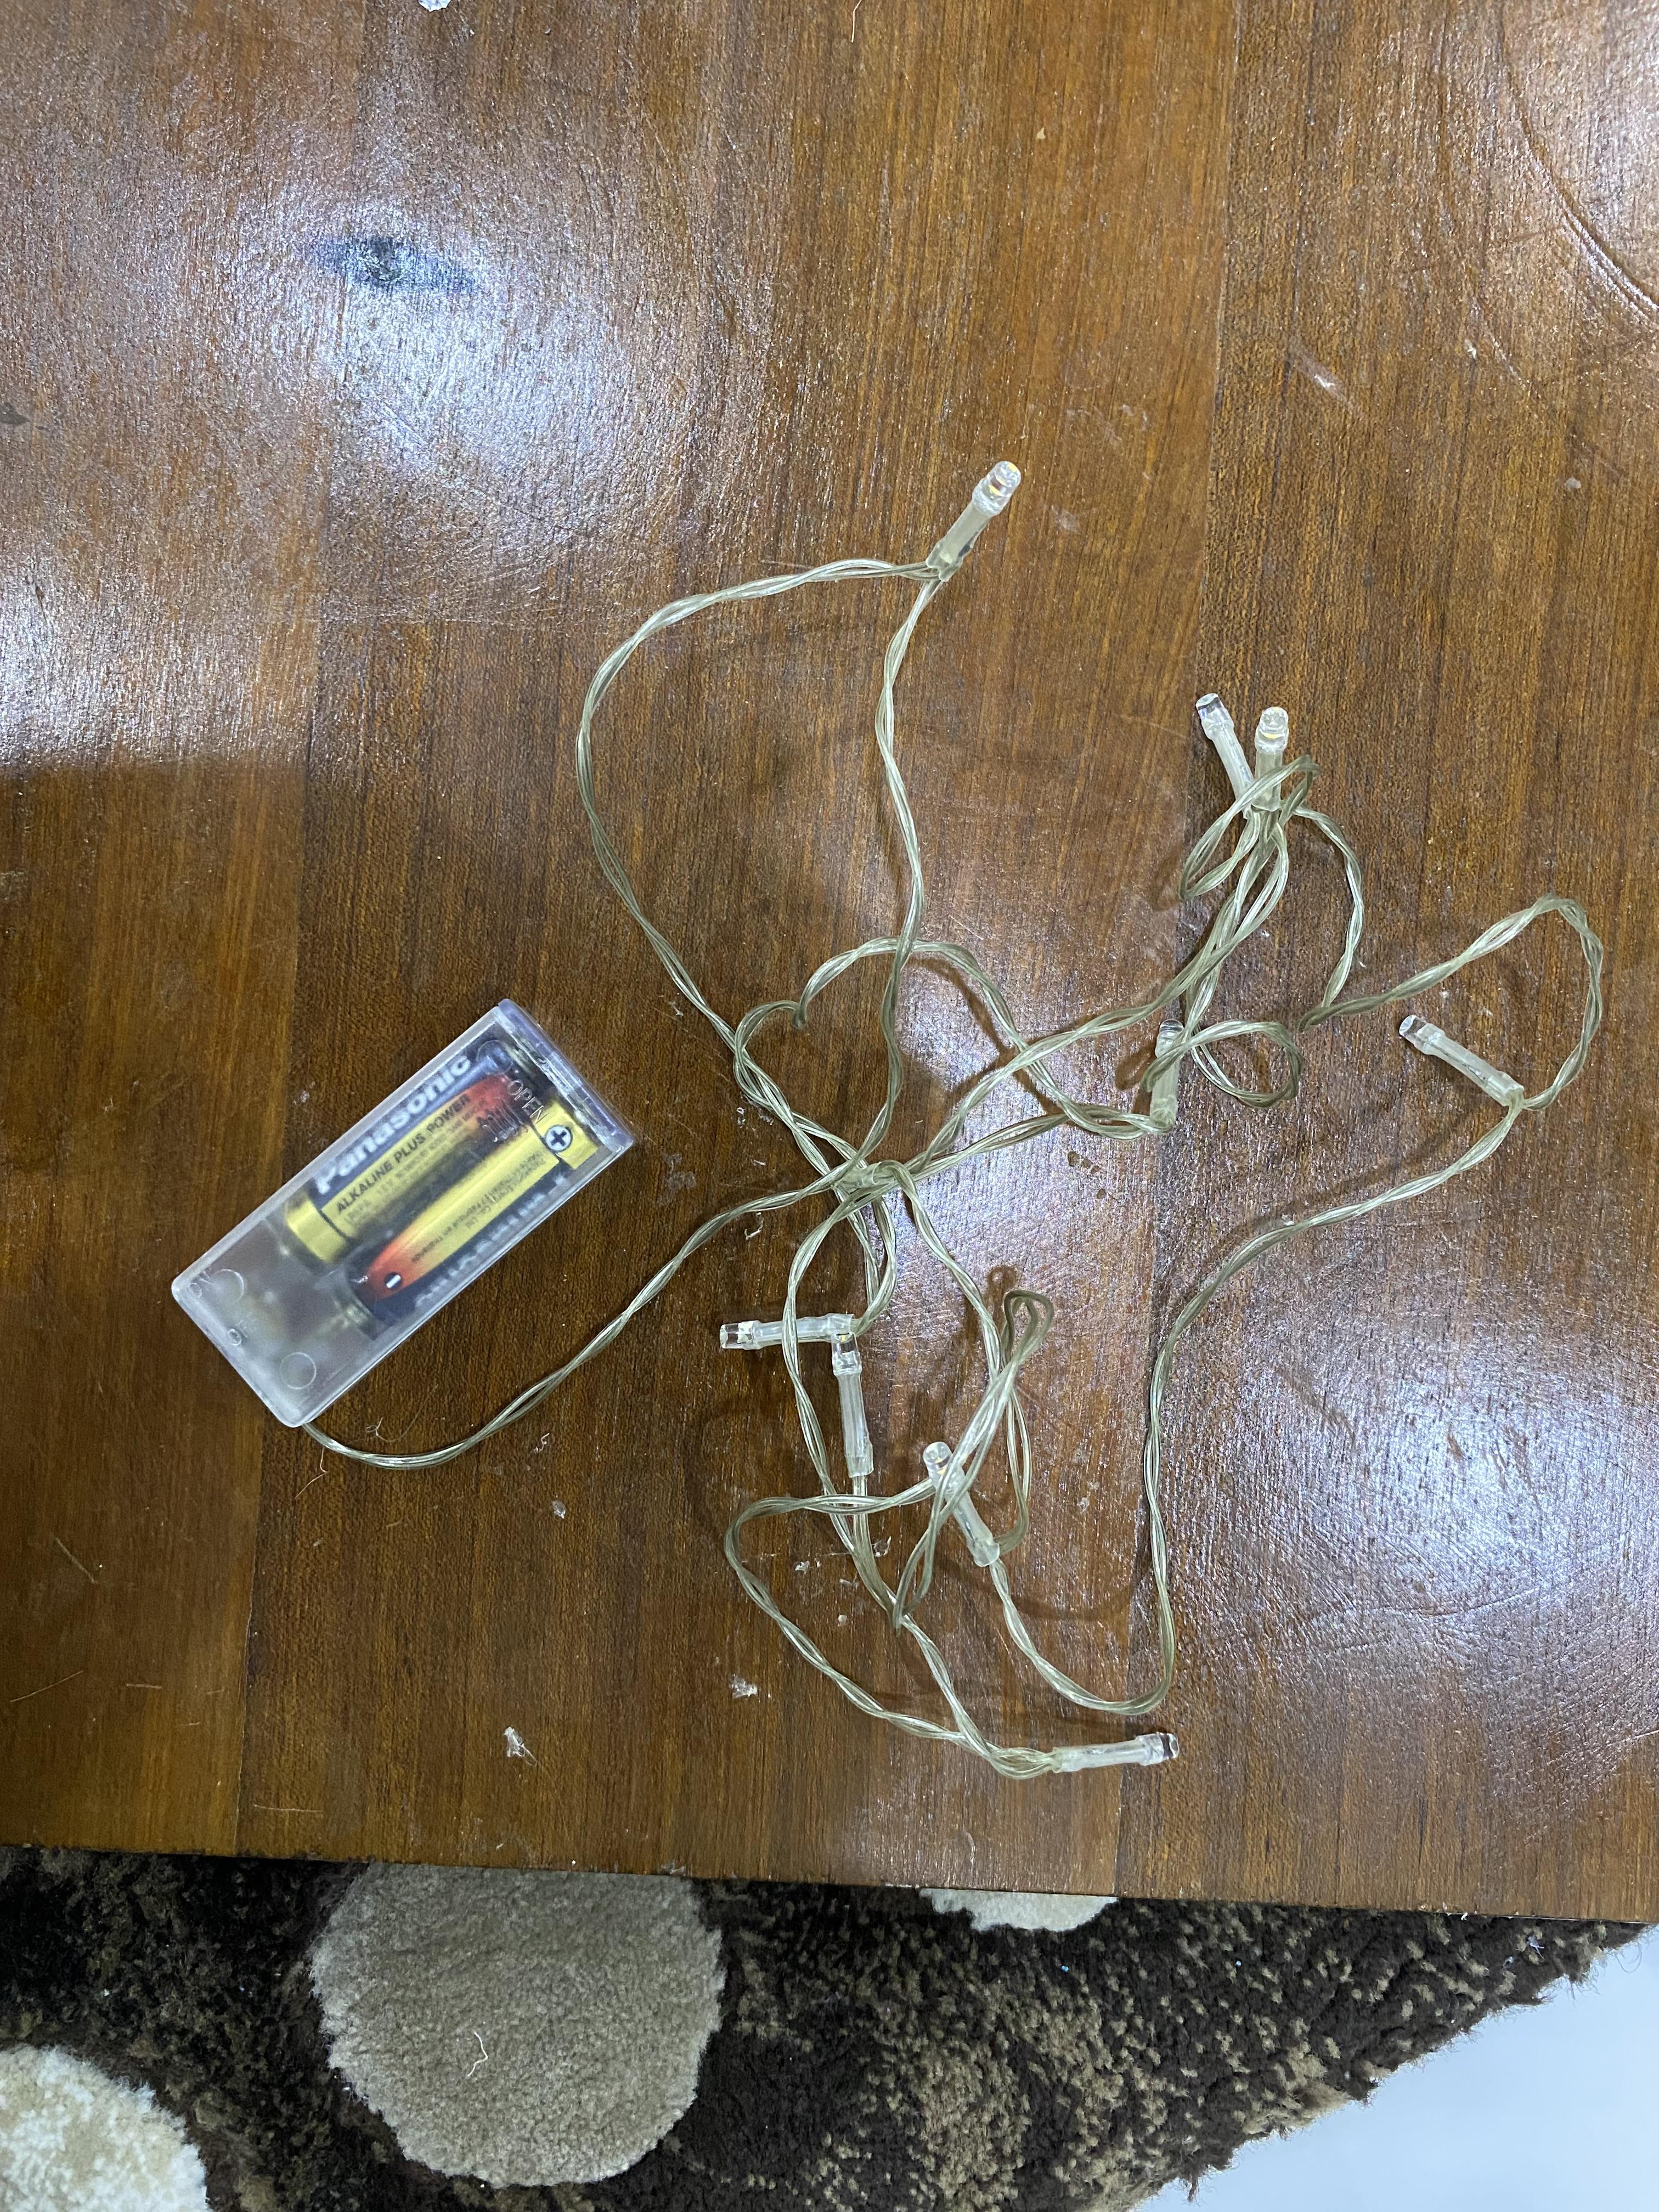
Add the LED “Flames”


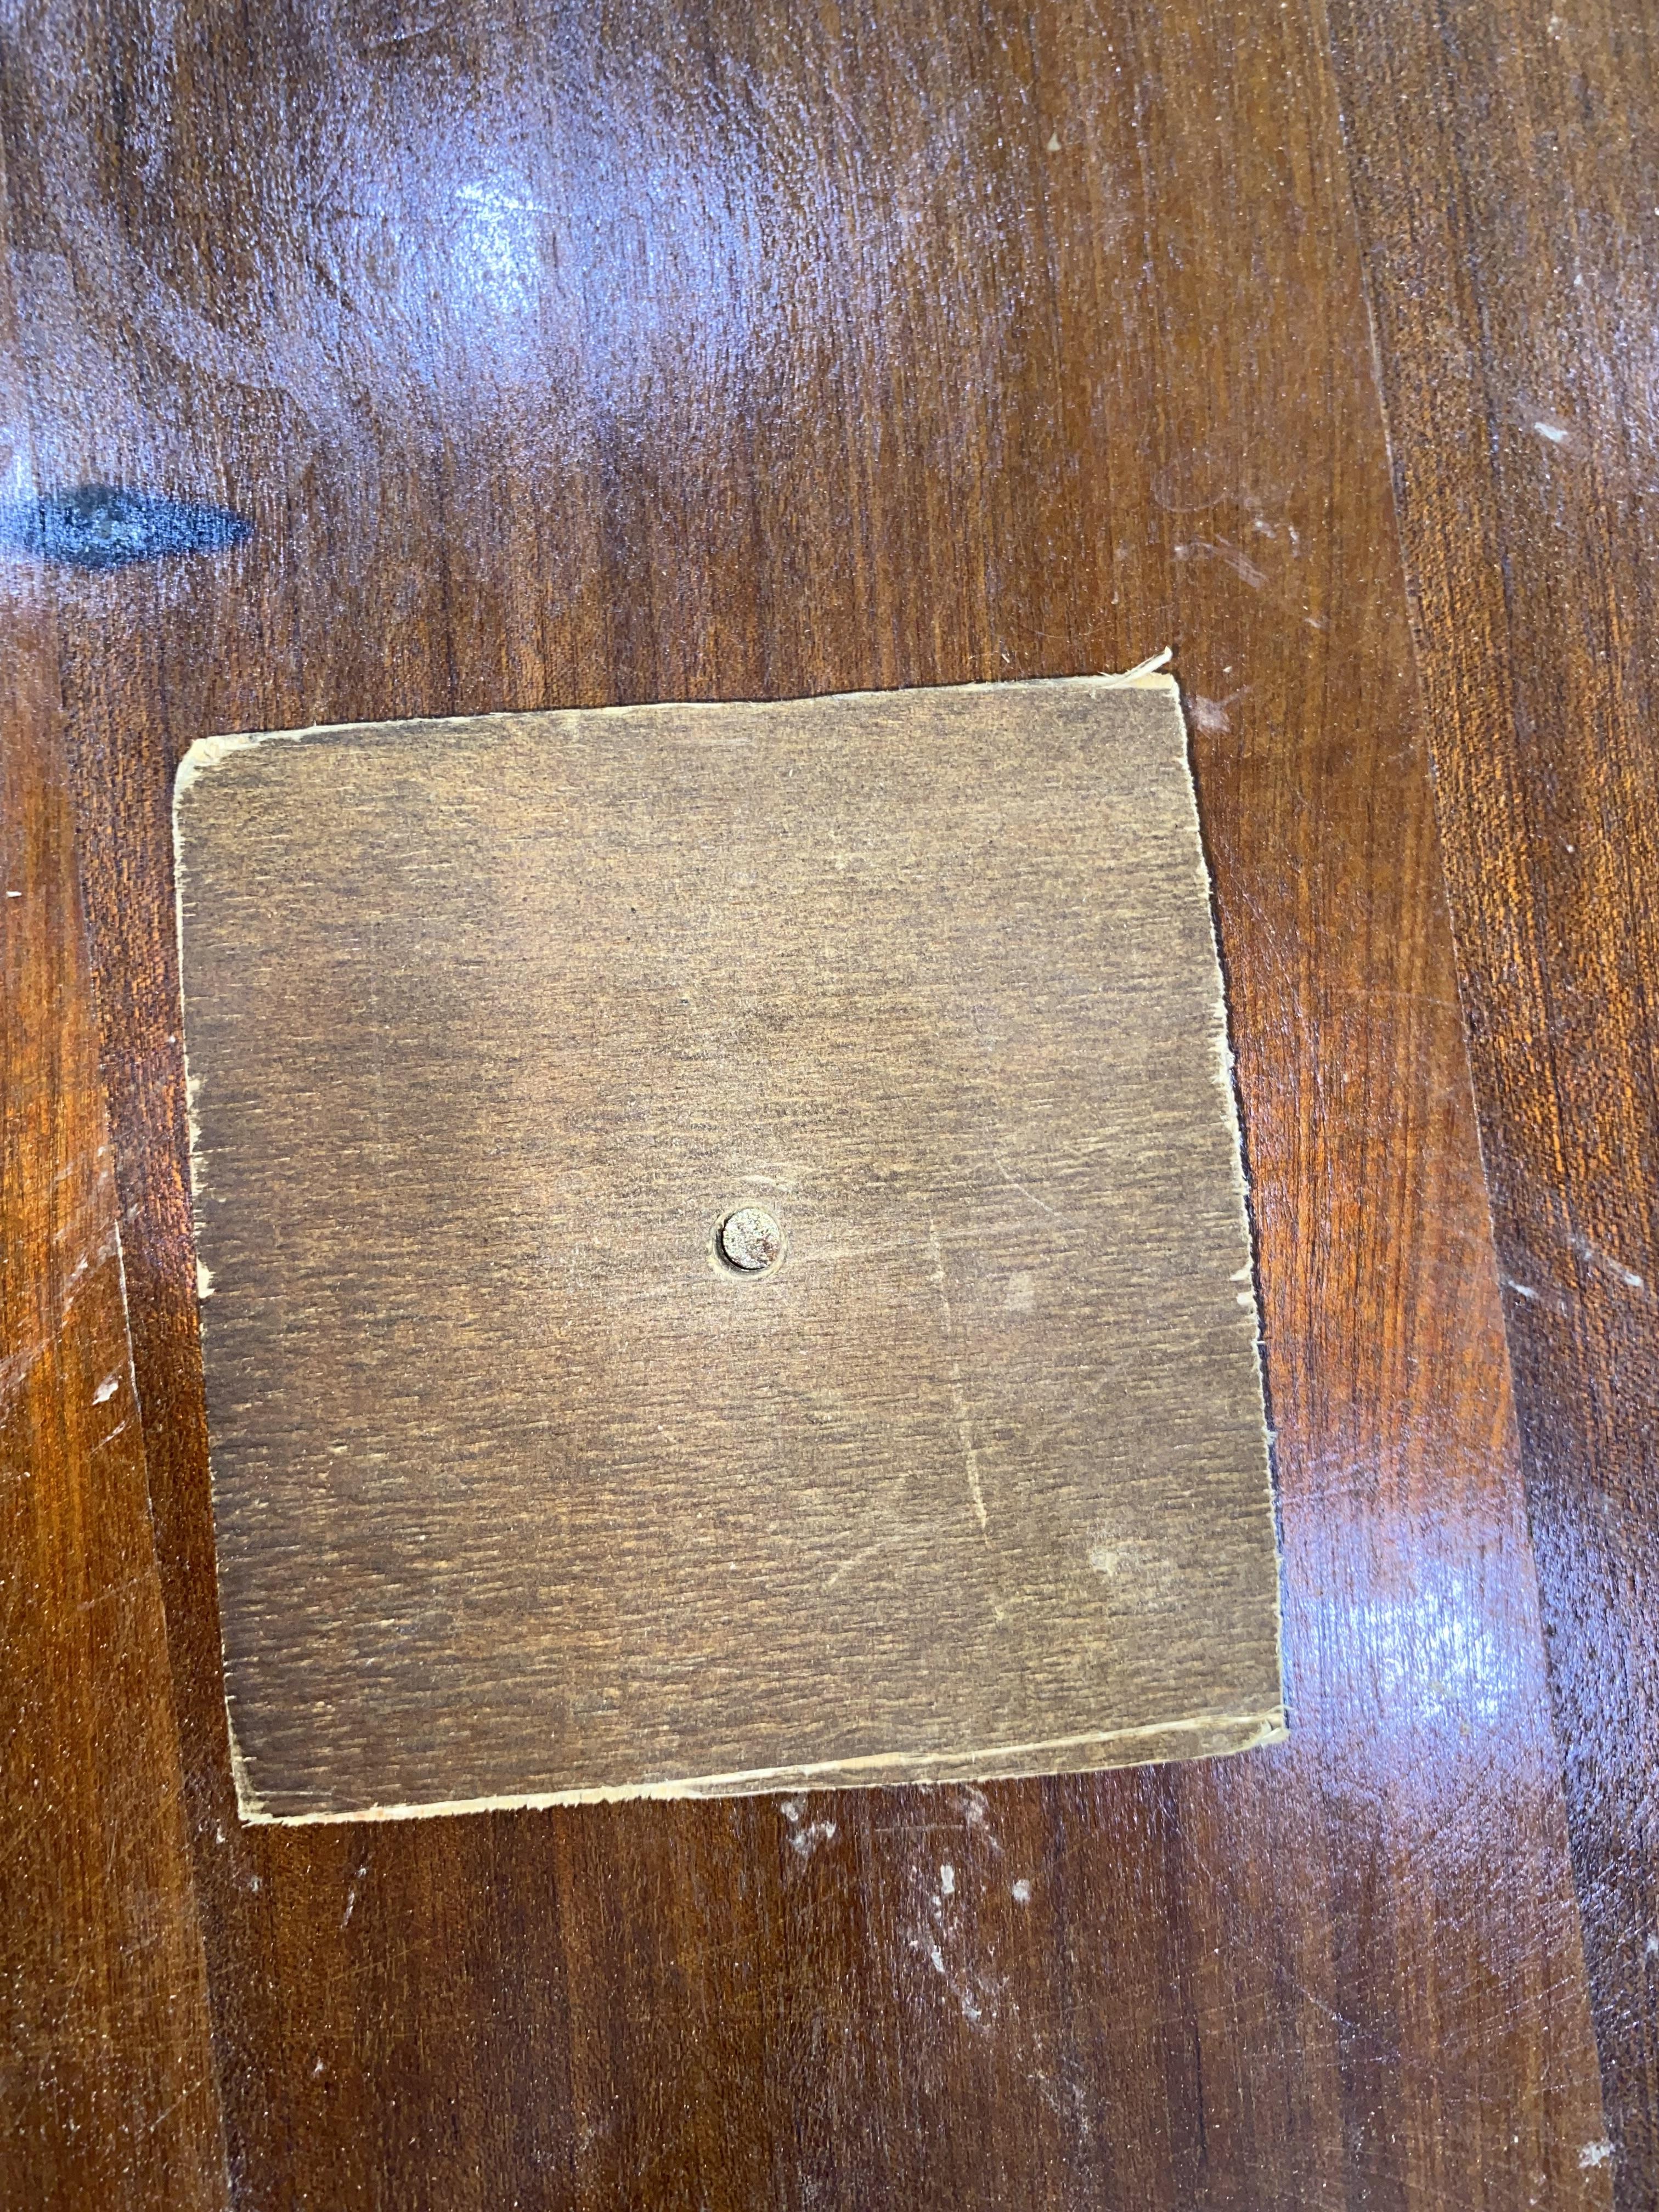
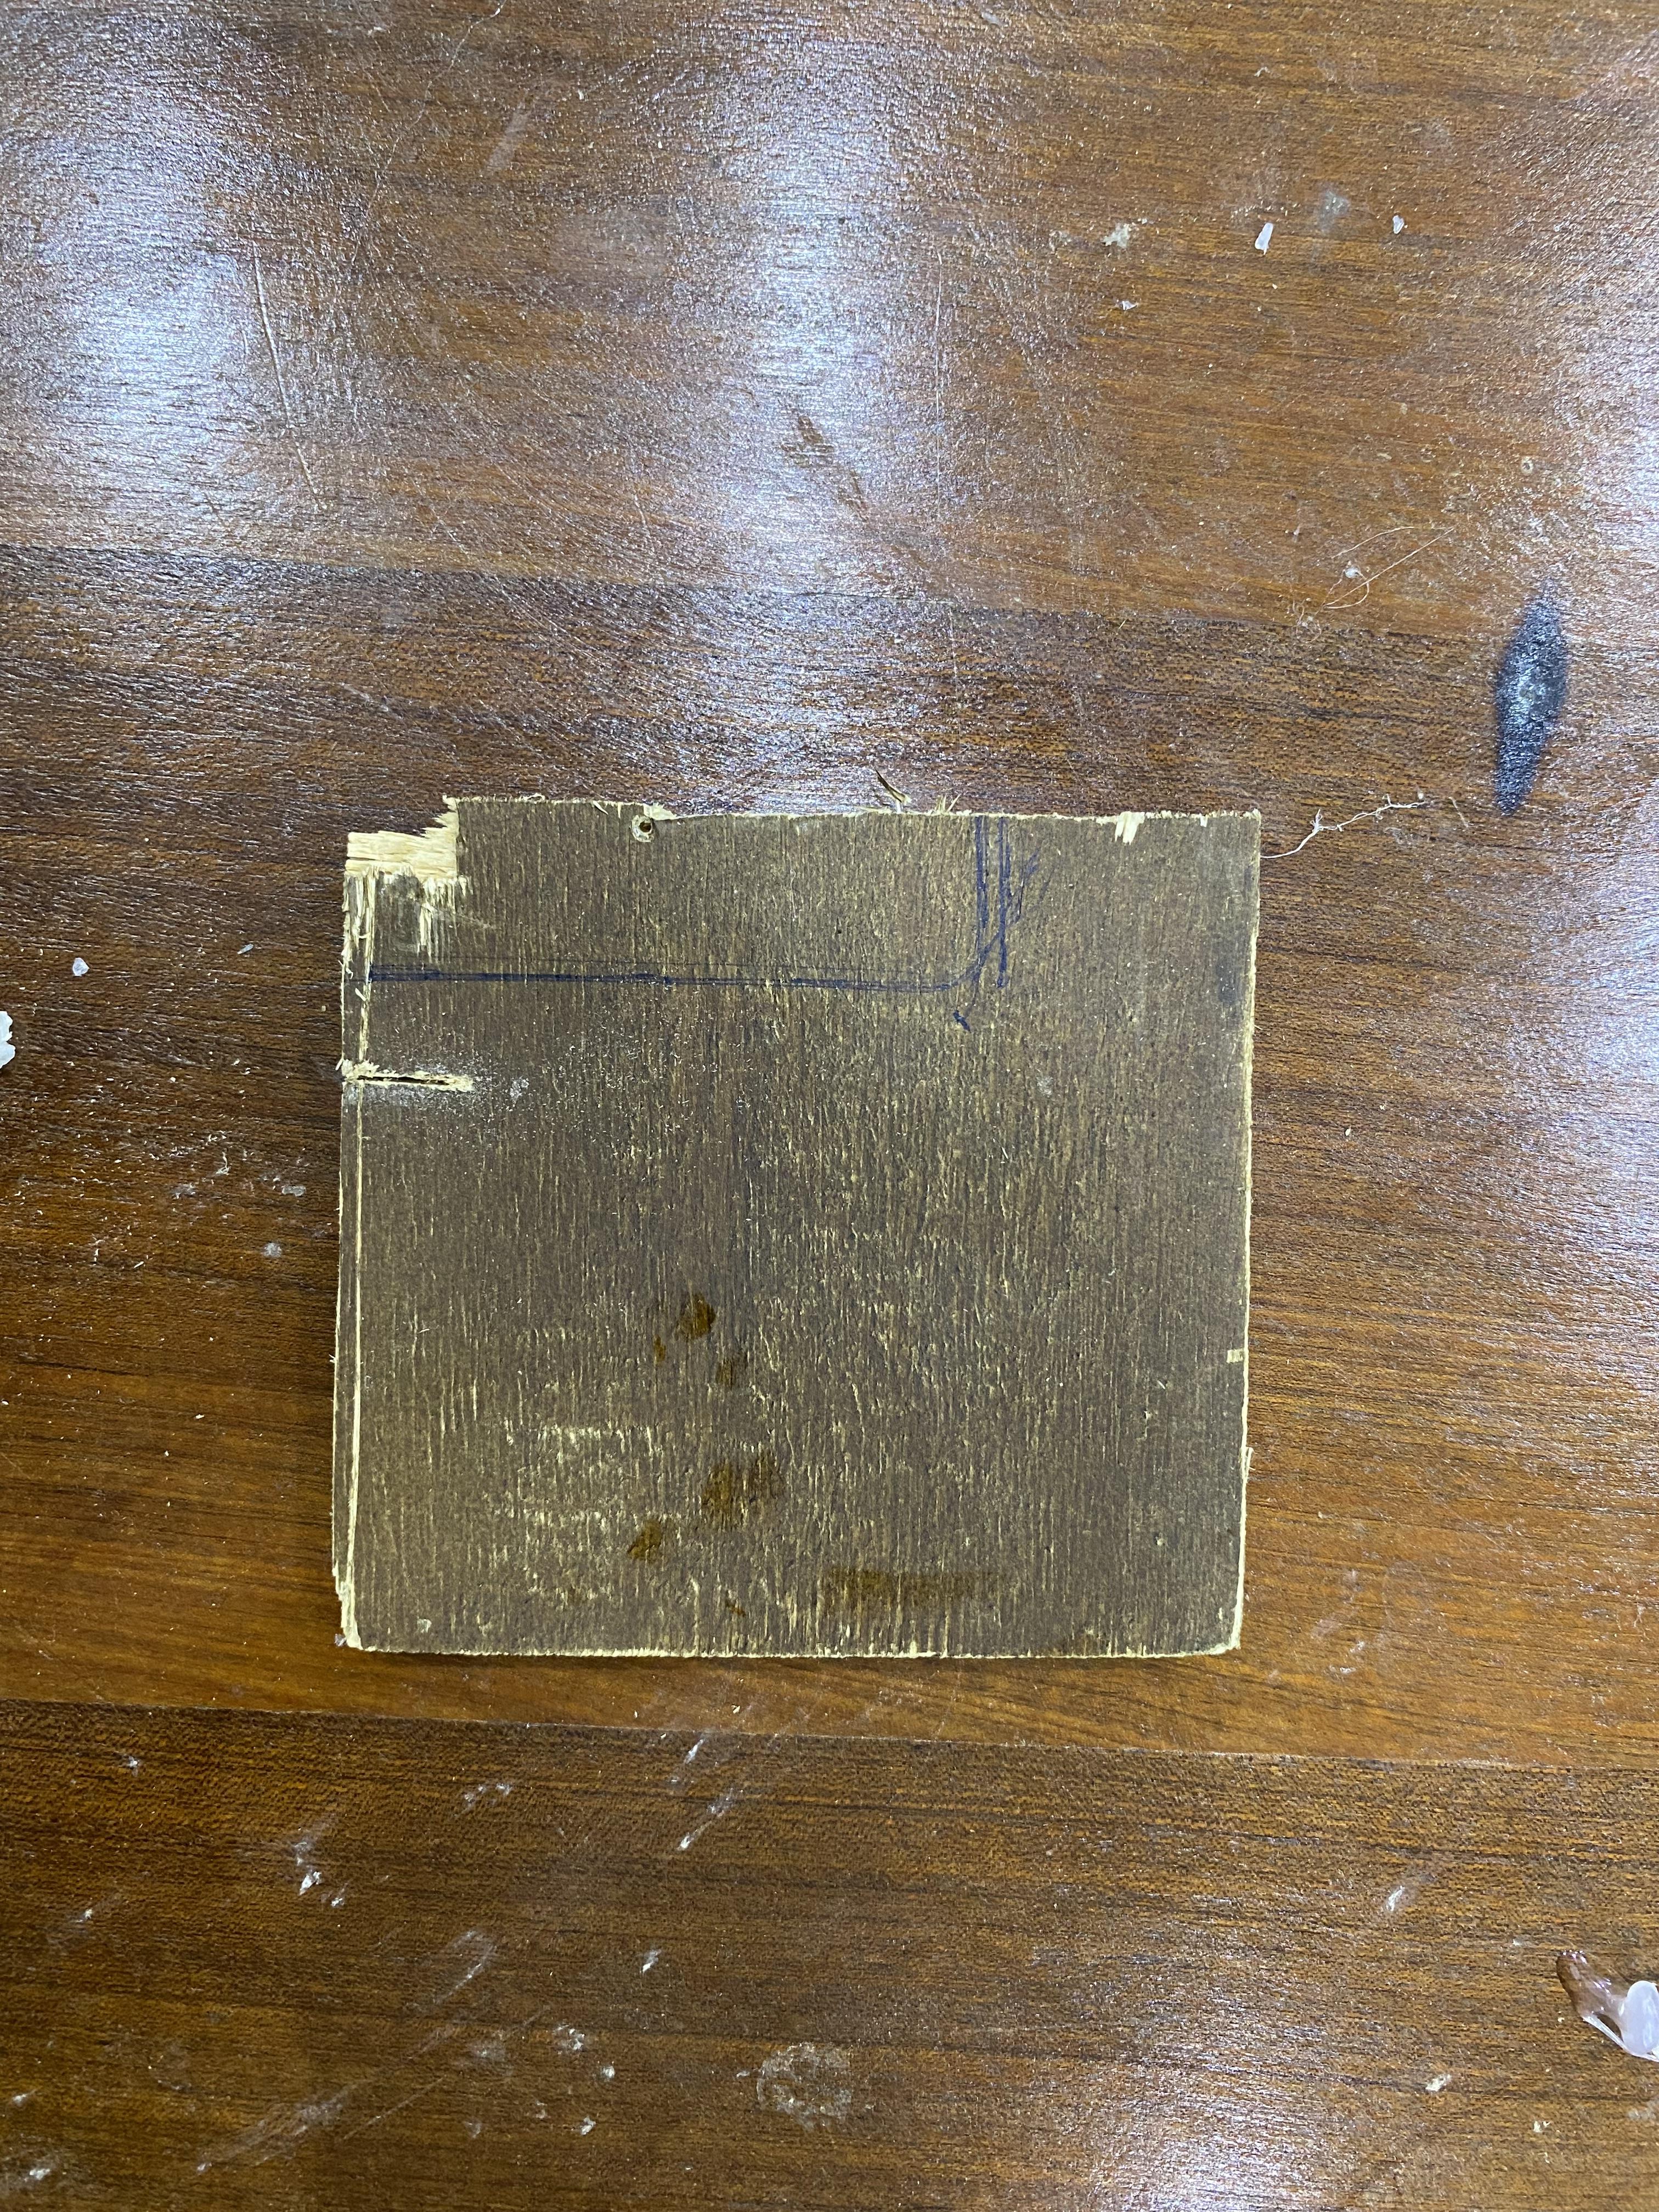
- First, make a small hole in your wooden base. This is just so the LED strip wire can go through.
- Push the LED strip (or its wire end) through the hole from underneath.
- Take the strip and wrap it around the long middle stick—this is the one sticking out of the rocket. Wrap it like a spiral so it looks like fire.
- Use a bit of tape or hot glue to hold the strip in place so it doesn’t move.
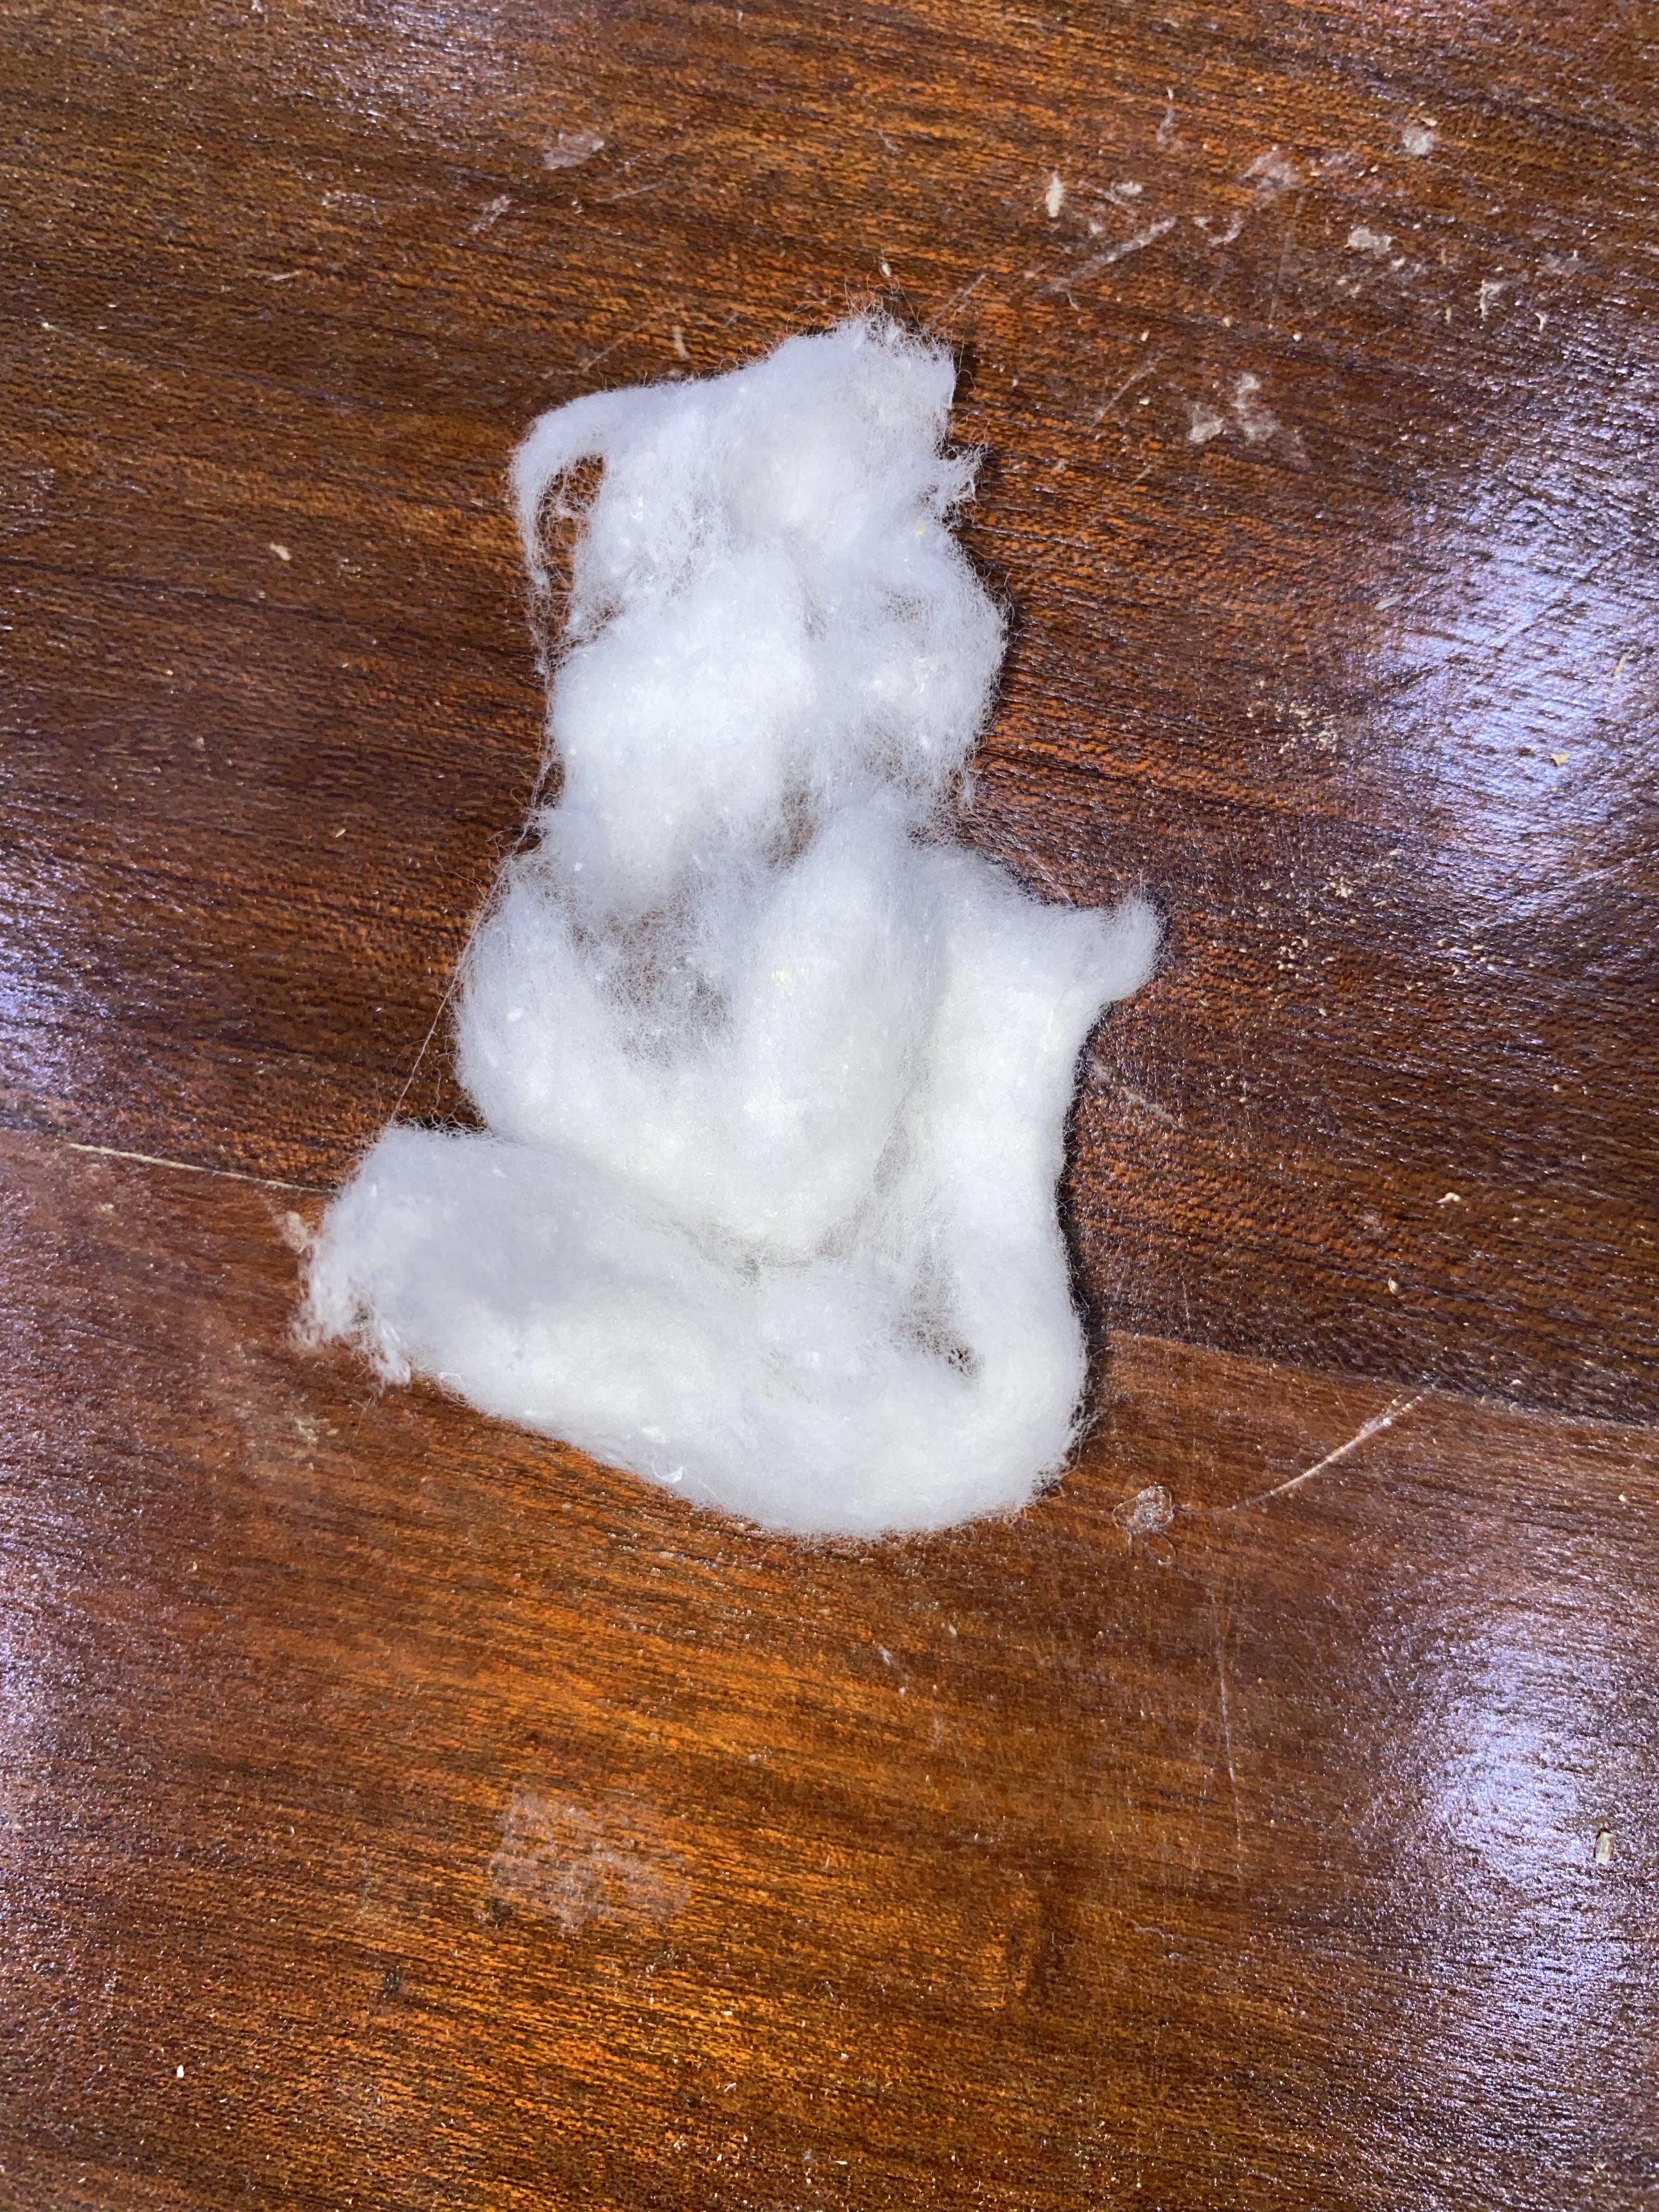
Add the Smoke With Cotton
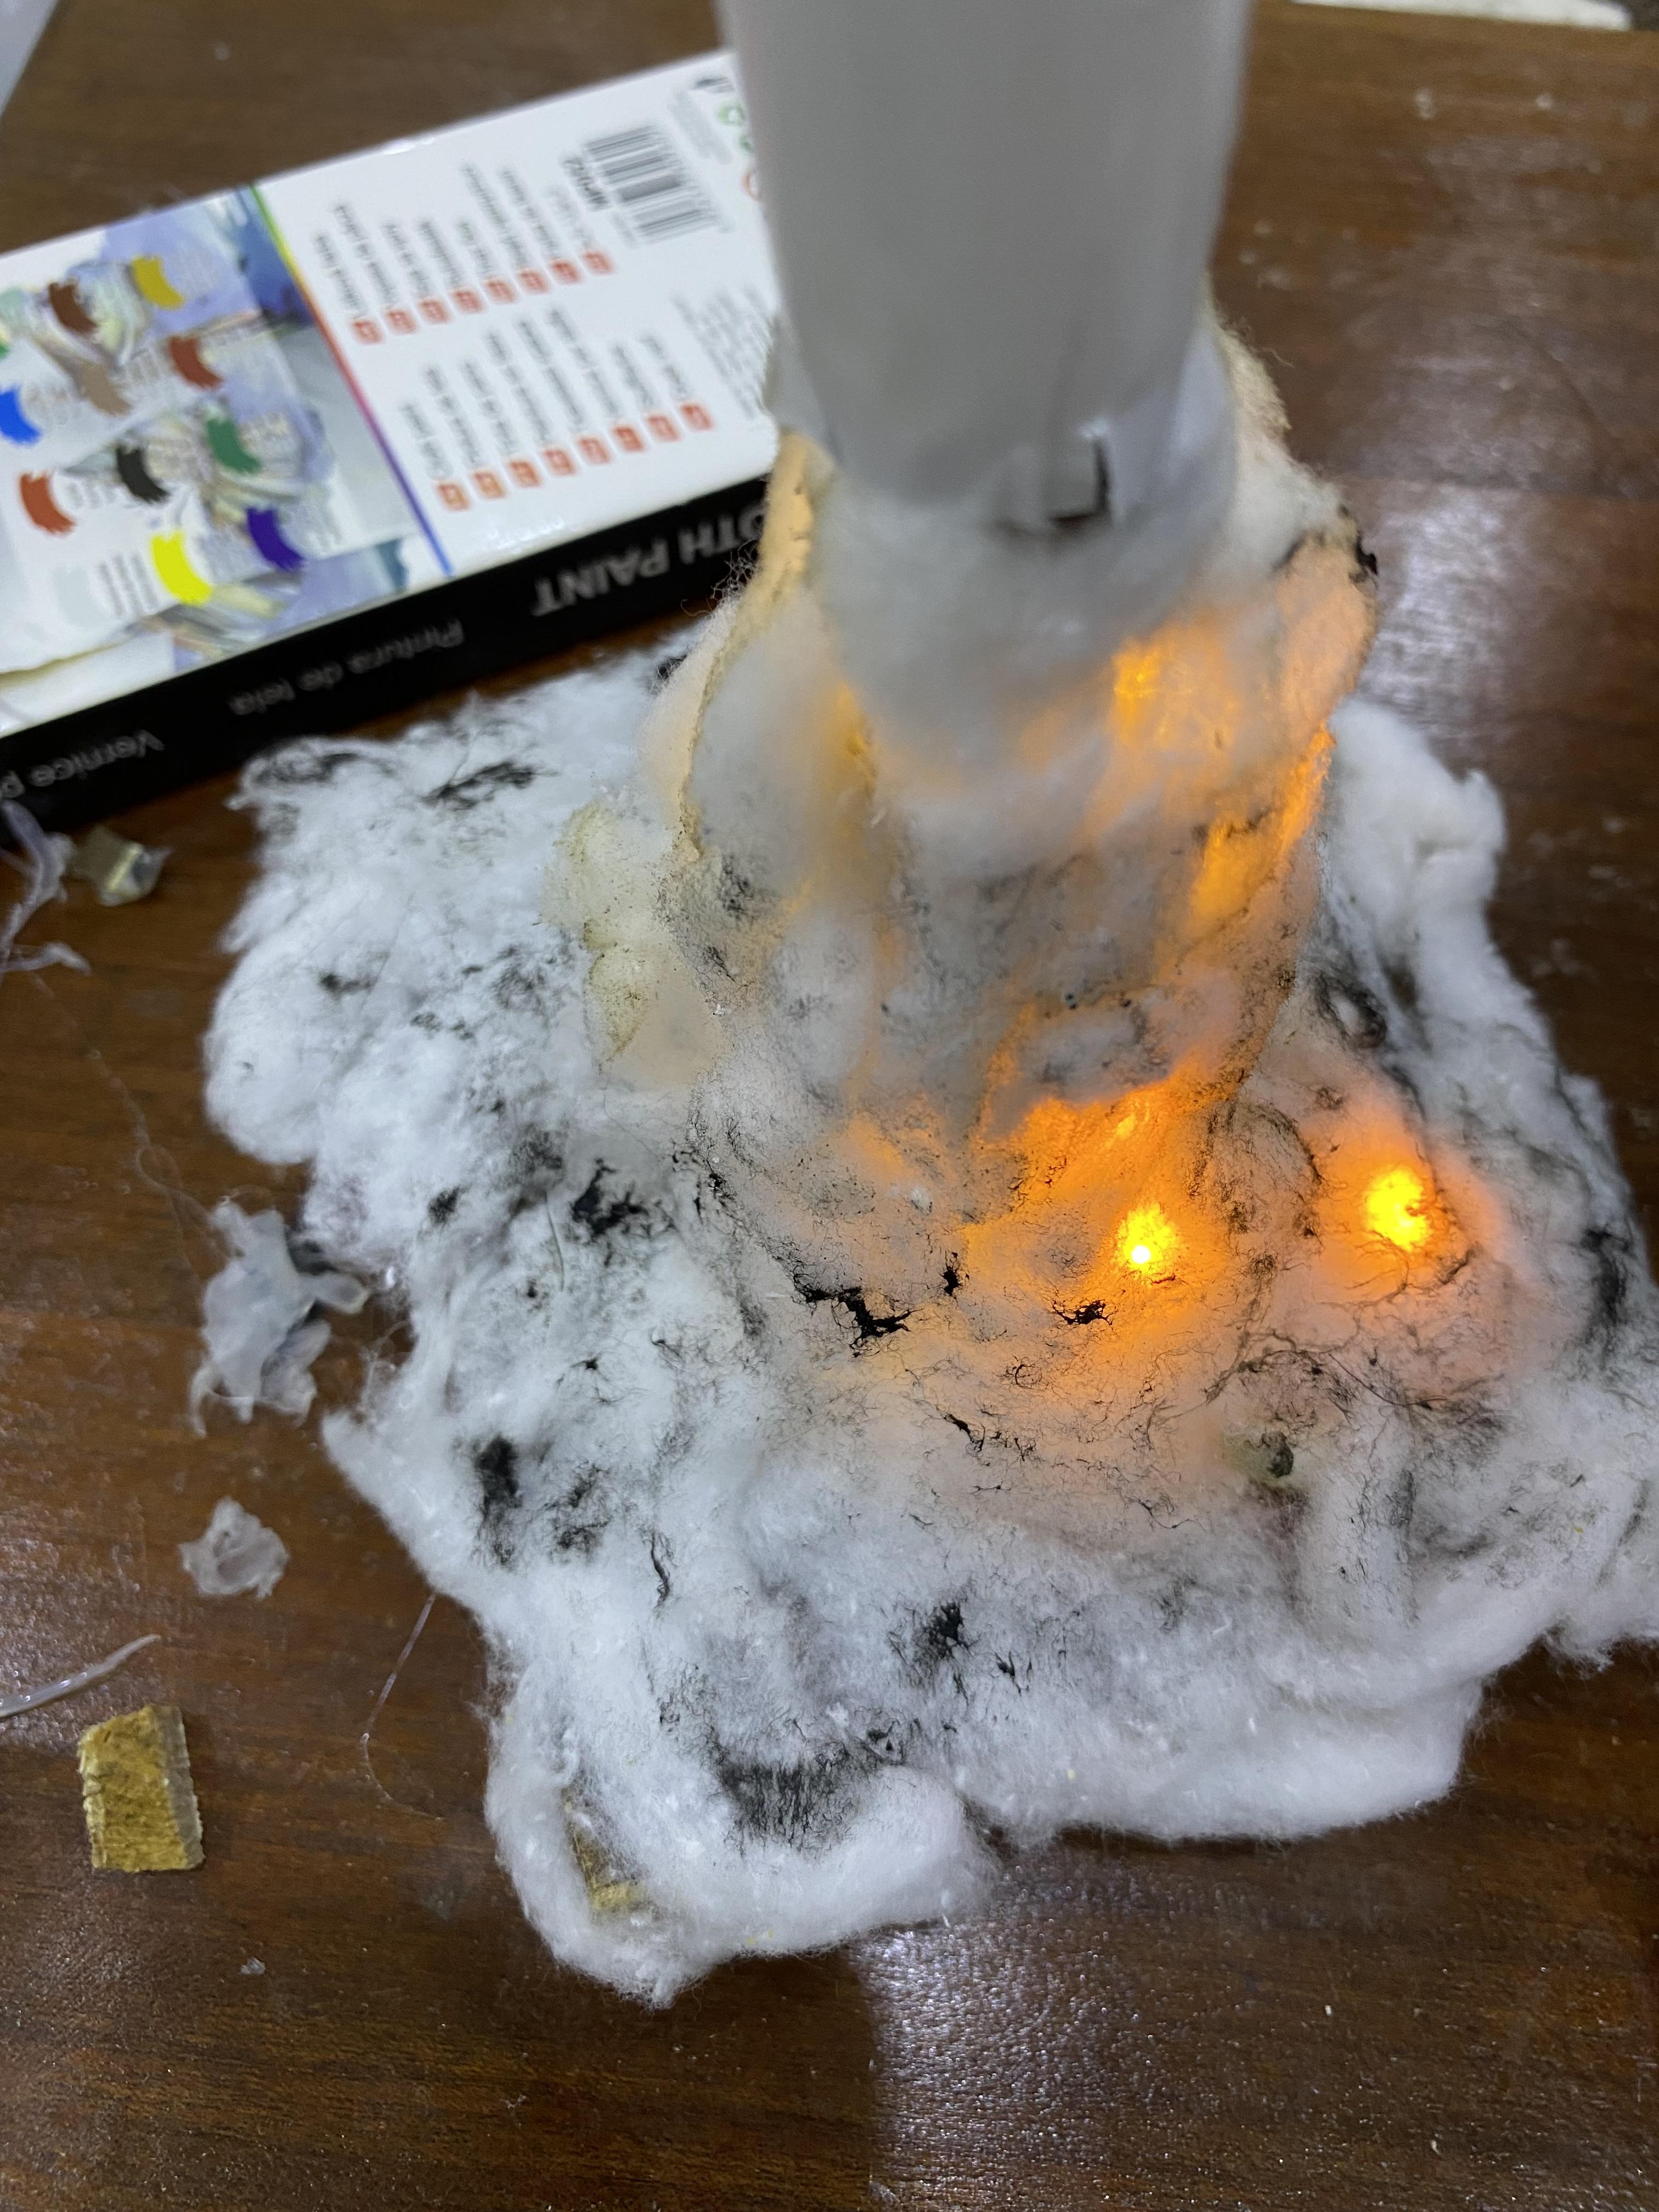
- Grab some cotton and start pulling it apart a little so it looks fluffy, like smoke.
- Glue the cotton around the bottom area of the rocket and around the LED strip. You can build it up slowly so it looks like the rocket is blasting off.
- To add color, take a small piece of cotton, put a bit of paint on it, and lightly dab the glued cotton.
- Don’t press hard — just tap the surface so you get a smoky, burnt look without flattening the fluff.
Make the Stand and Add the Battery Pack

- Make a stand for your rocket — you can use a small piece of wood, cardboard, plastic, or anything sturdy you have.
- Glue the battery holder onto the stand so it stays in place and is easy to access.
- Connect the LED strip wires to the battery pack, then place the rocket on or above the stand (depending on your design).
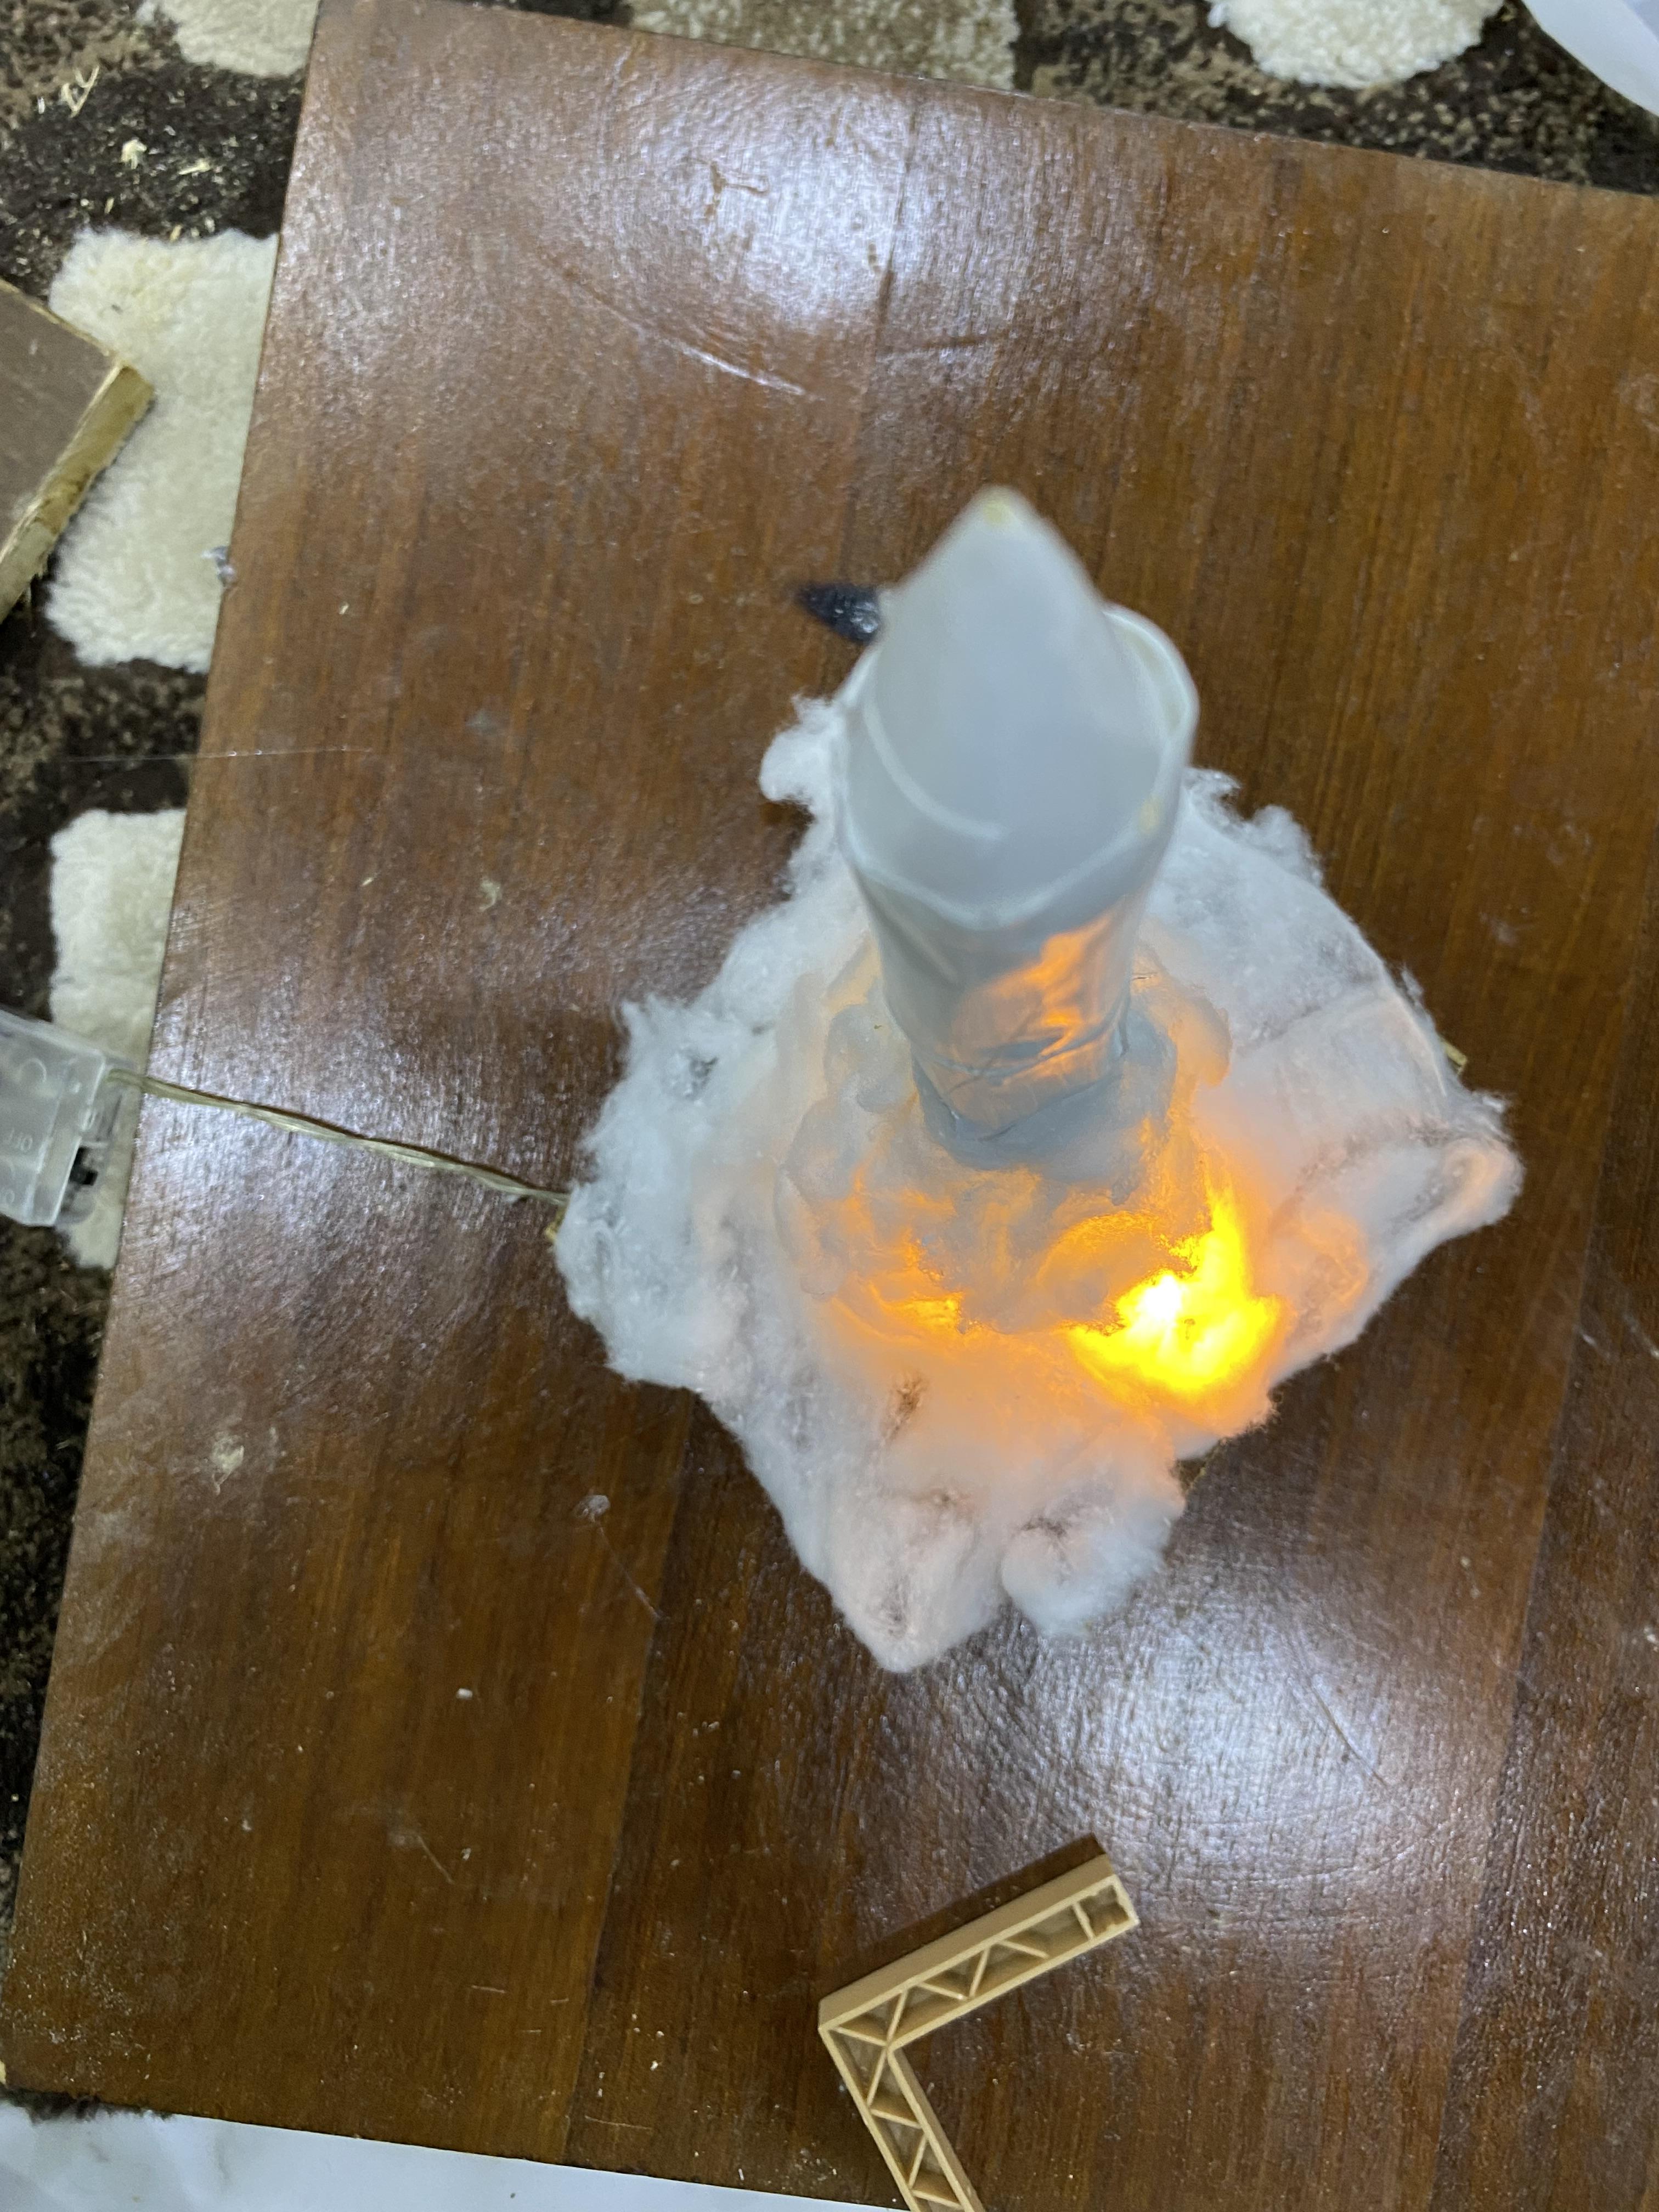
Power It Up and Enjoy


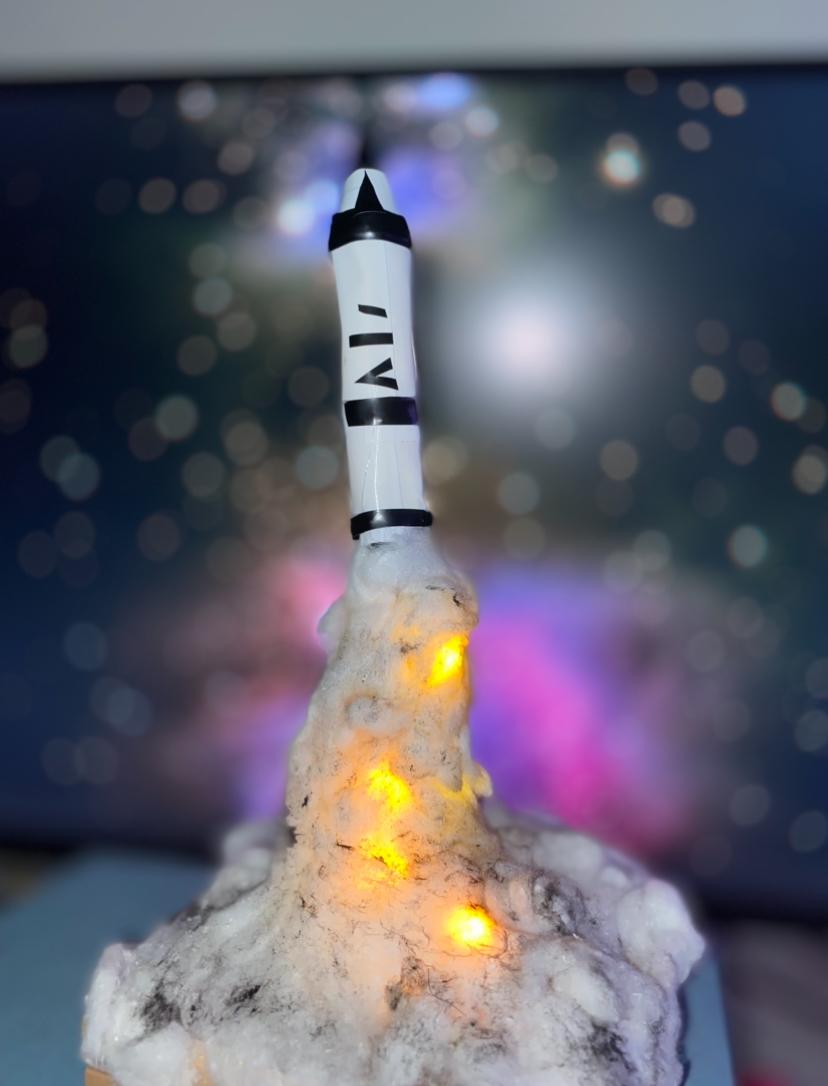
Once everything is glued, connected, and in place, turn on the LEDs and admire your rocket. The glowing lights and cotton smoke should make it look like it’s launching into space. Enjoy your creation — you can display it, gift it, or even use it as a night light!