Lakitu Animation

Hey Y'all!
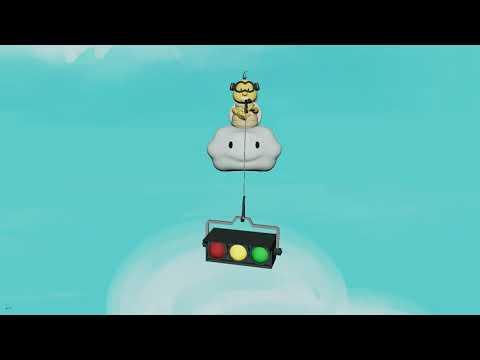
My name's Bailey Moore, and I'm a Highschool Junior who's hoping to pursue a career in 3D animation some day. I've been super interested in working more with rigging and constraints over this past semester, which is why I decided to take more of a character oriented approach to the 'Make It Fly' prompt. For my Instructible, I decided to model, rig, and animate one of my favorite characters, Lakitu! I learned a lot working on this project, especially to do with simulations, so I hope you take something away from it as well.
Supplies

Program wise, I utilized Zbrush 2024.0.4 for a good chunk of the soft-surface modelling, which I would recommend, since you can get some real nice organic sculpts with it, even in the free Mini version. For animation, rigging, simulations, and hard-surface modelling, I used both Maya 24 and 25 (for this project either work).
As a note before the project begins: I'd suggest retopologizing any time you're working between these two programs. It helps a lot with rigging and weight painting later down the line, as well as being a semi-reliable way of avoiding having to manually create your mesh.
Gathering References
As most projects go, the first step is to gather references. Luckily, with Mario Bros. being such a widely regarded franchise, finding reference images of Lakitu was not that difficult. I wanted to model the Mario Kart version of the character in particular, so I made sure to grab at least one reference of him with his trusty fishing rod.
Basic Modelling


To begin, I'd recommend starting with the Hard-Surface modelling portions of the project, since those are reasonably simple, and can help you get in the workflow of modelling before you start messing around with the Soft-Surface portions, which I personally feel are far more difficult.
----------------------------------------------------------------------------------------------------------------------------------
The Shell
Program: Maya 25/24
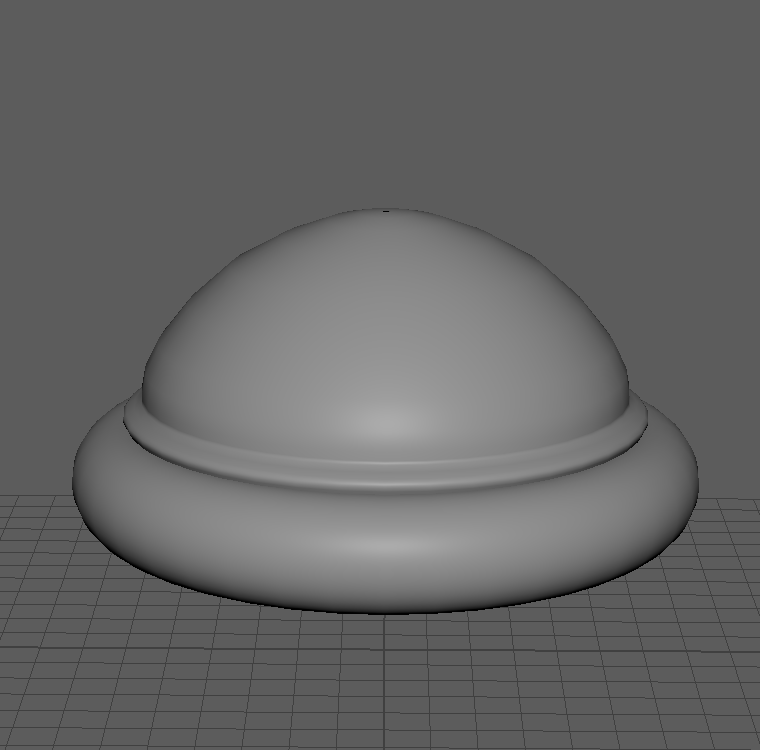
As far as the modelling for this project goes, the shell is one of the easiest ones to create. By simply taking a basic geometric donut, you can then extrude the the top portion of the shape upwards, creating that nice, characteristic dome shape. If you're having issues with the smoothness of the shell, I'd suggest adding more subdivisions to you base shape (this option can be found in the attribute editor under your base torus shape).
----------------------------------------------------------------------------------------------------------------------------------
The Head
Program: Zbrush, Maya 25/24
Due to Lakitu's head having a non-geometric shape, I thought it best (after a good couple days attempting in Maya) to move over to Zbrush to create the shape more sculpturally. Once the base shape of the head was modelled, I shifted back over into Maya, where I added the nose, eyes, and hair.
- Eyes: although there are obviously many ways to go about modelling two, semi-flat ovals, I went with Quadrawing, which I would recommend since it allows your planes which you create to be molded to the surface you desire. Once I drew out one eye, it's as simple a quick mirror across the x-axis to get the other one identical.
- Hair: To get that iconic Lakitu shape, I found that best way to model the hair was through creating an EP curve, followed by a sweep mesh. By going in your attribute editor, you can mess around with the sweep until you get the desired effect (I'd recommend experimenting with tapering, and number of sides). If you're still not quite satisfied, you can go in with an overall bend handle to make the shape feel more cohesive.
Next up were the goggles, which aren't too terribly difficult to accomplish. Using a torus, you can mirror the shape onto itself, creating the desired gap or lack-there-of for where the goggle's will sit above the nose. Before moving to the back strap, I'd recommend using a bend handle to properly mold the goggles to the face, so that there's less gapping, and an overall cleaner look. The backstrap is simply another torus surrounding the head. For the announcer's headphones, I took a Cylinder, and did a bevel on the outside which makes that nice clean, geometric edge possible. The last piece, the mic, is made through another EP Curve Sweep Mesh combo, with an oval added for the head. Make sure you merge all these segments together once finished, so you don't have random pieces floating around later (you'll thank me I promise).
----------------------------------------------------------------------------------------------------------------------------------
The Body
Program: Maya 25/24
Luckily, due to the Lakitu's shape, you can make the body in a similar manner to how the shell was constructing, extruding the bottom of the torus shape downwards this time. Once you've done this, you can either divide the shape by adding more edge loops, or, use my preferred method of hacking at it with the Multi-Cut tool until I have the desired effect. Once you have your basic edges, you can select each one and hit it with the Bevel tool, which you can mess with the settings of to make the indentions in the shell your desired width. After all that, you can finally extrude the larger segments, then smooth to make the body shell have it's texture.
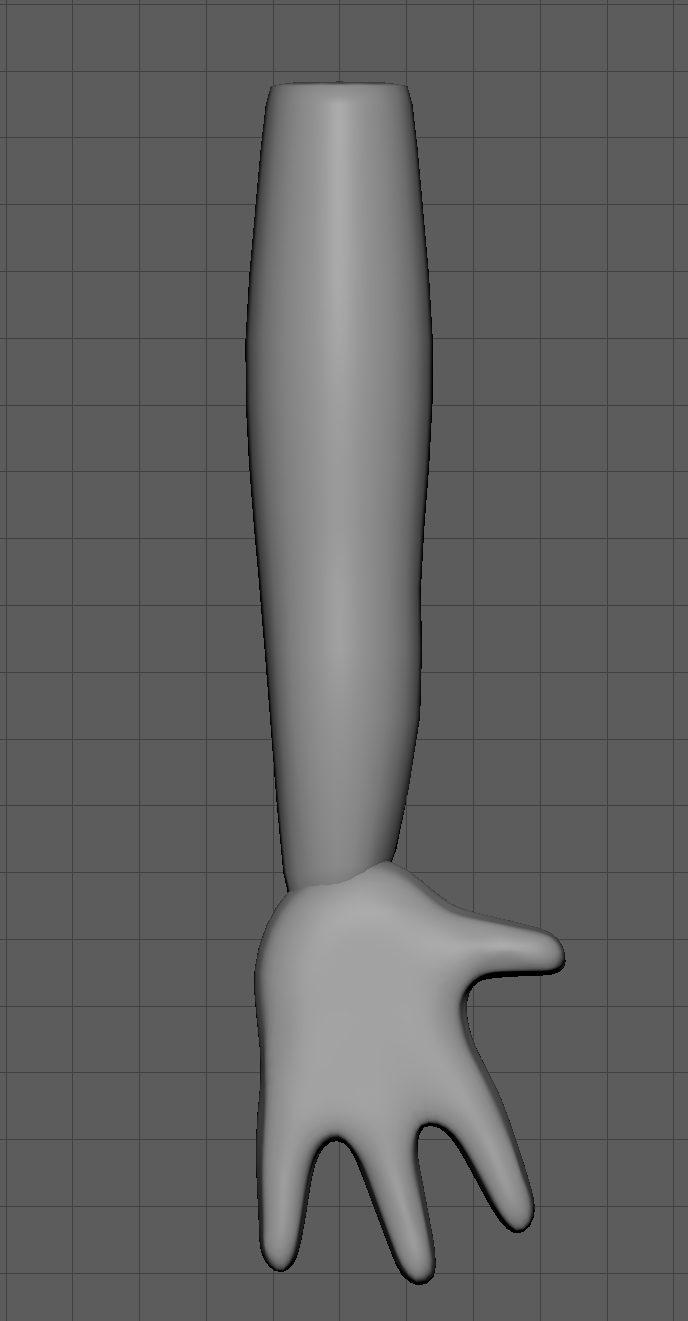
- Arms/Hands: For far from the last time, I used yet another EP Curve followed by a Mesh Sweep, which allows for the arm segments to be created by tapering the radius of the mesh in certain areas (joints in particular). For the hand, I'd suggest taking a basic shape, such as a square, and cutting it into sections which you can extrude into fingers. Make sure when you're creating the fingers, you apply edge loops at the bare minimum where you want the joints to go later when rigging (I've forgotten to do this far too many a time, and it actually sucks to go back and fix, so just do it while you're already there). Once you have the hands in good shape, smooth out the mesh and glue the two pieces together with a good ol' fashion combine (make sure to clear your history after).
Now that you have your arm + hand, go ahead and mirror that over your X-axis, and it should end up on the other side of the body (if it doesn't check whether your doing the operation in the positive, or negative direction. That can really change things).
----------------------------------------------------------------------------------------------------------------------------------
Before preceding, please make sure your work is saved, and be sure to continue to do so on a regular basis throughout these next steps. It absolutely sucks when the program suddenly crashes and you lose all your work, and that happened, at least for me, numerous times during this project. It may be common sense, but we all need reminders sometimes.
Basic Lamberts

Once you've finished basic character modelling, I always like to jump into messing with lamberts before shifting onto the more technical side of a project. For one, it gives your brain a nice break, and two, it helps you notice any mistakes you hadn't formerly spotted when everything was one material.
When choosing colors, make sure you're looking at your references, along with how the shade actually appears in your environment rather than just the lambert ball. The tints in particular often look different, and it can be real annoying when you realize none of your colors are on any level cohesive.
Rigging Lakitu


Now onto the fun stuff :)
Prior to your initial rigging, I'd suggest making sure all your meshes are frozen. Although it's not a necessary step, it makes working the mesh easier in later steps.
The Base Rig
Programs: Maya 25/24
Generally when rigging a humanoid character, it's a whole lot easier to simply go to the auto-rig option and pray it'll shoot something out you can half make into something decent. However, since our boy Lakitu here has no legs, and the head needs to be disconnected for later expression work, manually rigging is our best option. Before laying out the skeleton, I'd recommend grouping all head segments (head, nose, eyes, goggles, hair) so that you can work with them still later, and combining the rest of the body for rigging purposes.
Next, go to your full on front view in your viewport, and begin laying out your skeleton. Be sure to make the root joint at the bottom of the character (where the hips would be), and work your way up the body from there as to avoid any weird joint-parenting shenanigans. Once the skeleton is created, bind skin to the body NOT THE HEAD GROUPING. After that, you can parent your head grouping to the neck joint, that way the head will still move like it's rigged, but you can still work with it.
----------------------------------------------------------------------------------------------------------------------------------
Weight Painting
Programs: Maya 25/24
Now we reach the real fun part, sitting down and messing with the mesh for hours on end.
While weight painting, I'd suggest using the color ramp setting. It's super helpful when trying to find those little spots that will inevitably crop up and cause your geometry to break whenever you move literally anything. I tend to keep my Weight Painting settings box open, just as an easy way to select joints, and mess with brush settings. One element to this project in particular which proved to be a real struggle for a while was properly painting the shoulders. It's a lot easier to do so once you've removed any weights on the inside of the shell body, and makes everything look a lot more natural anyways since the shell wouldn't be moving anyway.
Once you've reached a point where you're happy with your rig, give yourself a nice pat on the back and move on with your life.
----------------------------------------------------------------------------------------------------------------------------------
Limits (Optional)
Programs: Maya 25/24
One thing I've found helpful before utilizing a rig is setting limits on the bones you plan on using most. Although it's not strictly necessary, it's particularly helpful when you're trying to get relatively realistic range of motion parts such as limbs, or twists for the spine or neck. The final picture included in this segment is where you can find this option, I would highly recommend taking the time to set it up, it saves so much time when animating.
The Rod

When beginning this project, I didn't really stop to consider how difficult this part of the process might be, but when I finally jumped headfirst into it, I quickly found out I was not super well equipped to handle it. Luckily, with the help of the internet and my amazing teacher, I was able to figure out a way to make it appear as I hoped it would.
Modelling/Rigging
Programs: Maya 24/25
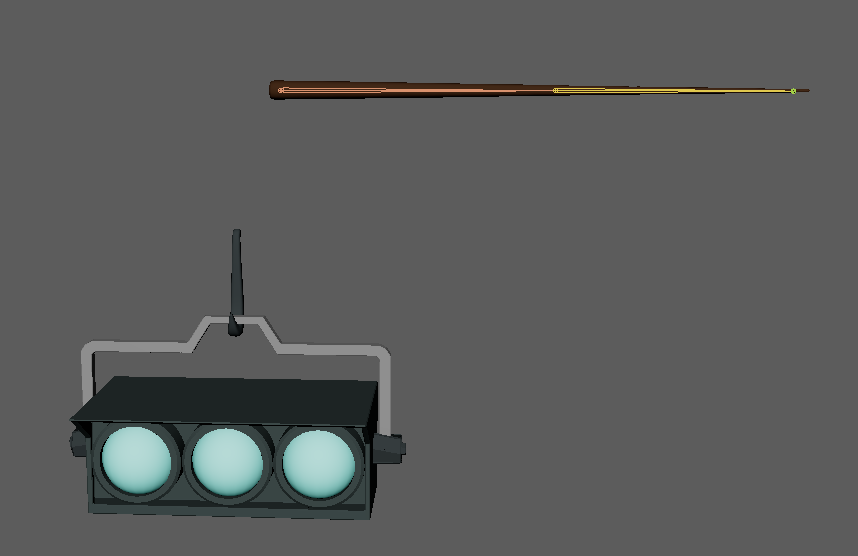
The modelling itself was not the difficult part, just make sure you have your reference up for how the stop signal is shaped, and use basic geometric shapes, along with lots of extruding and beveling, to get the desired crispness of corners and general shape. For the rod itself, our old friend EP Curve is back one last time along with it's trusty sidekick Mesh Sweep. Make sure you add a cap to this mesh in particular, since it's more visible than the other ones done in the project thus far.
Once the rod is constructed, add bones along the shape and bind skin so that the rod can bend in any motion you like (setting Limits and Sets are also helpful here, but not necessary).
----------------------------------------------------------------------------------------------------------------------------------
Physics
Programs: Maya 25/24
Now here's the bit where things get messy. When you think of a fishing rod, you think of how it had a line, dangling down, and whatever's on the end follows that line. Simple, right? Wrong. I was very very wrong. It turns out no ones ever wanted to apply physics to a fishing rod, and was gracious enough to put it on the internet for poor souls like me to find. So after some searching around, and some much needed assistance from my teacher, I was able to find a half decent solution.
I don't personally have quite enough knowledge to explain, beat for beat, how exactly this works, but this tutorial was followed pretty closely to get the desired bounce effect I was looking for on the traffic light. I'd suggest turning off collisions, which helps makes the effect a tad more convincing.
https://www.youtube.com/watch?v=Fdg2BzOmAZg
Once that had been figured out, it was on to connecting the rod and the light together. What ended up working best was a Ncloth, which was made out a cylinder. Now that that's set up, you can grab the end vertex's and parent them using a Transform Constraint (under Nconstraints). This way, when you start putting animation on your timeline, the "fishing line" will properly follow both the rod end and the traffic light.
Lastly, make sure the root-joint of the rod is a parent to the traffic light, along with being the child to a joint in the hands of the character. This insures everything moves properly as a group and doesn't become disjointed.
Cloud Modelling
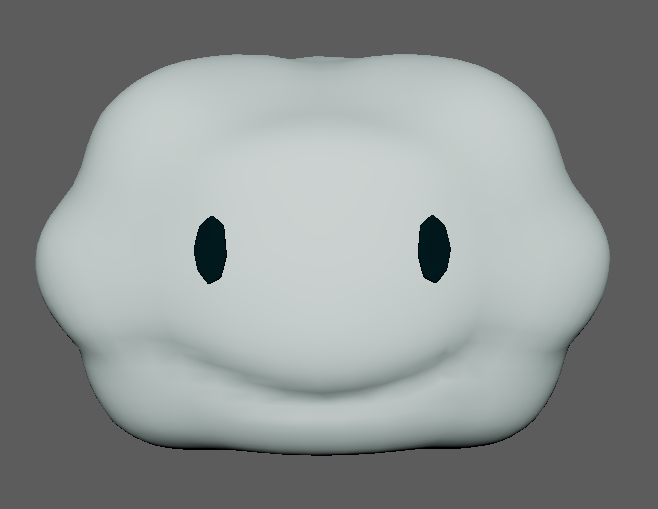
Although this step could really have been done at any point, I chose to personally do it after I'd spent almost a week of my life troubleshooting and trying to properly get physics to simulate in Maya, since I personally enjoy modelling quite a bit.
Programs: Zbrush, Maya 24/25
Similarly to how I modelled Lakitu's head, his cloud needed to be a more organic shape, so I took it over to Zbrush. Once I'd gotten the shape I was looking for, I imported it back into Maya, and added the eyes the same way I did for Lakitu.
Now that the cloud has been fully modelled, move it so that it covers the bottom of the character, and parent it to the root joint of Lakitu so that whenever he's moved, the cloud follows after.
Final Touches


Finally, Lakitu is ready to fly! When animating, make sure you select joints rather than the character itself ( ie. don't select the head, select the neck joint it's parented to).
As an added little touch, you can quad draw on a mouth, and, using Blend Shapes, create some expressions for the guy to make while he's zooming around. I personally added two types of smiles, so he wasn't soullessly grinning into the camera.
Speaking of camera's setting up good shots makes all the difference. By framing your animation in a certain way, you can make the mood starkly different, or direct the viewer's attention to a certain element that you're particularly proud of, (or maybe hide something you aren't quite happy with).
Adding a background also helps make the animation seem more professional. I personally drew my own sky backdrop, which I UV wrapped onto a surface, but finding copywrite free images online is also a viable option.
At last, your animation is ready to make its debut, but adding a bit of music or sound effects can make it just a little bit better, so why not? It's reasonably easy to find copywrite free music or effects in editing softwares, such as iMovie, Clipchamp, or CapCut.
----------------------------------------------------------------------------------------------------------------------------------
Thank you for taking the time to follow my Instructible! I hope it was, in the least, not too confusing and you are able to find success in your own Lakitu-related indevors.
Make It Fly!
