Laser Cut Jewelry Box From 3mm Plywood | DIY Laser Cutting Project
by saghir0008 in Workshop > Laser Cutting
41 Views, 0 Favorites, 0 Comments
Laser Cut Jewelry Box From 3mm Plywood | DIY Laser Cutting Project
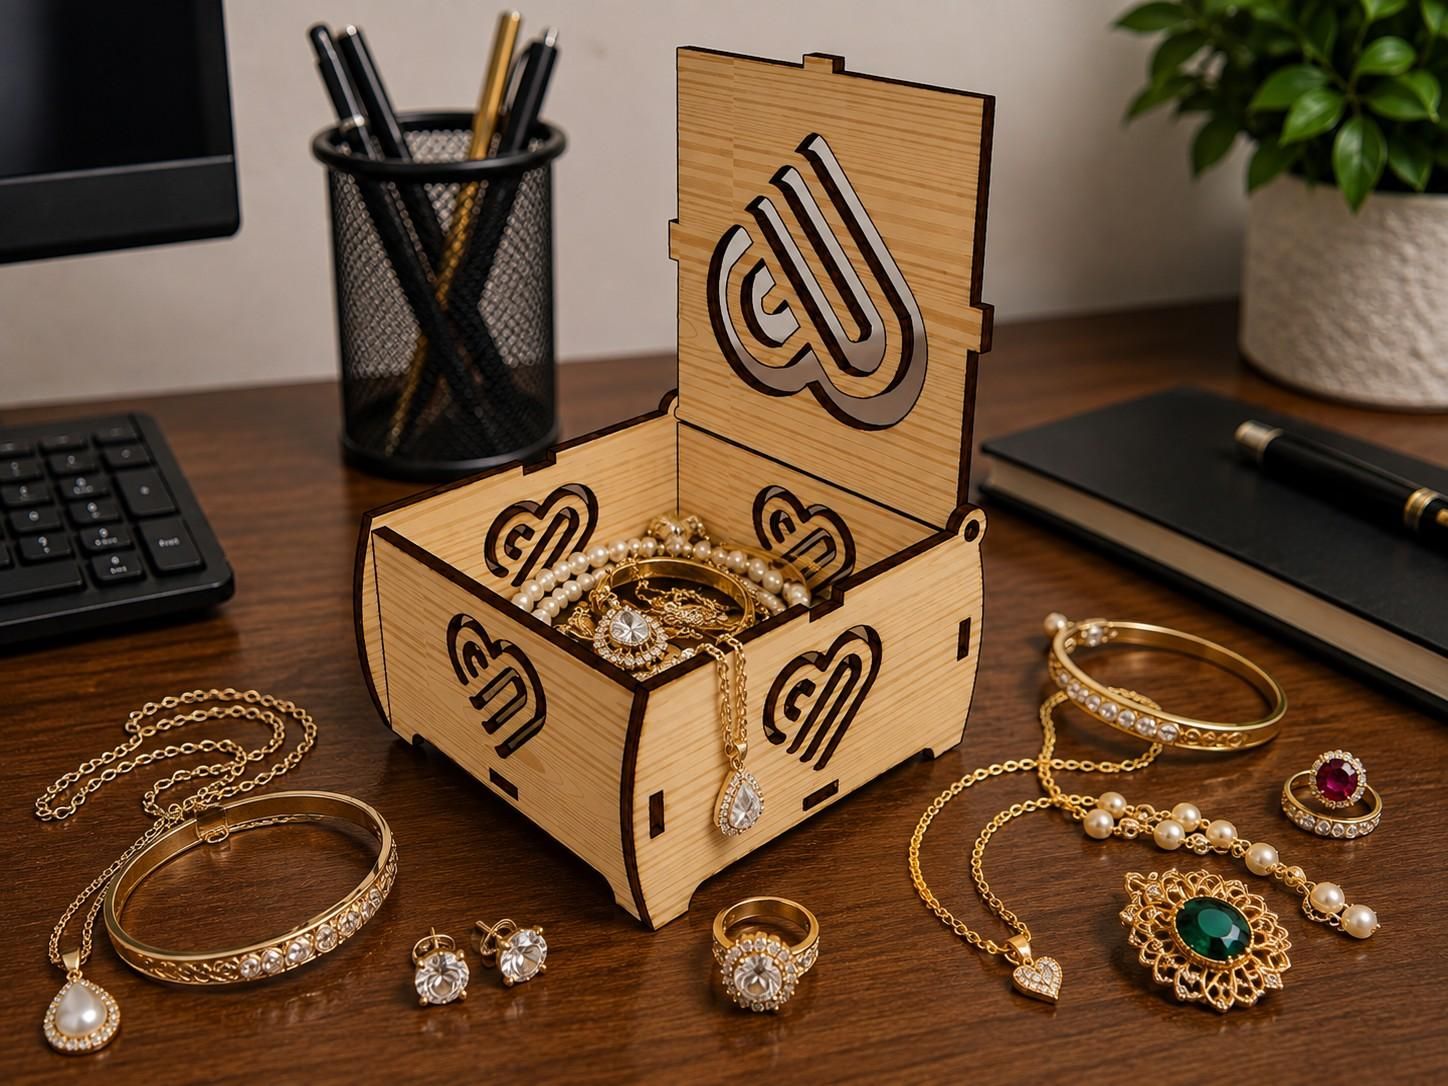
This project shows how to make a laser-cut jewelry box from 3mm plywood using a CO₂ laser cutter. The design combines precise laser-cut components, interlocking joints, and decorative heart-shaped cutouts to create a practical and attractive storage box. The finished box measures approximately 100 mm wide × 106 mm long × 50 mm high, making it suitable for storing rings, earrings, bracelets, necklaces, and other small accessories.
The project is suitable for DIY makers, laser-cutting enthusiasts, workshops, maker spaces, craft businesses, and small-scale production. Because the components are produced from a prepared vector design, the box can be reproduced accurately and customized with different patterns, engraved names, initials, logos, or other decorative elements.
Project Specifications
- Material: 3mm plywood
- Machine: CO₂ laser cutter
- File formats: DXF
- Finished dimensions: 100 mm × 106 mm × 50 mm
- Construction: Interlocking laser-cut components
- Design: Decorative heart-shaped cutouts
Supplies
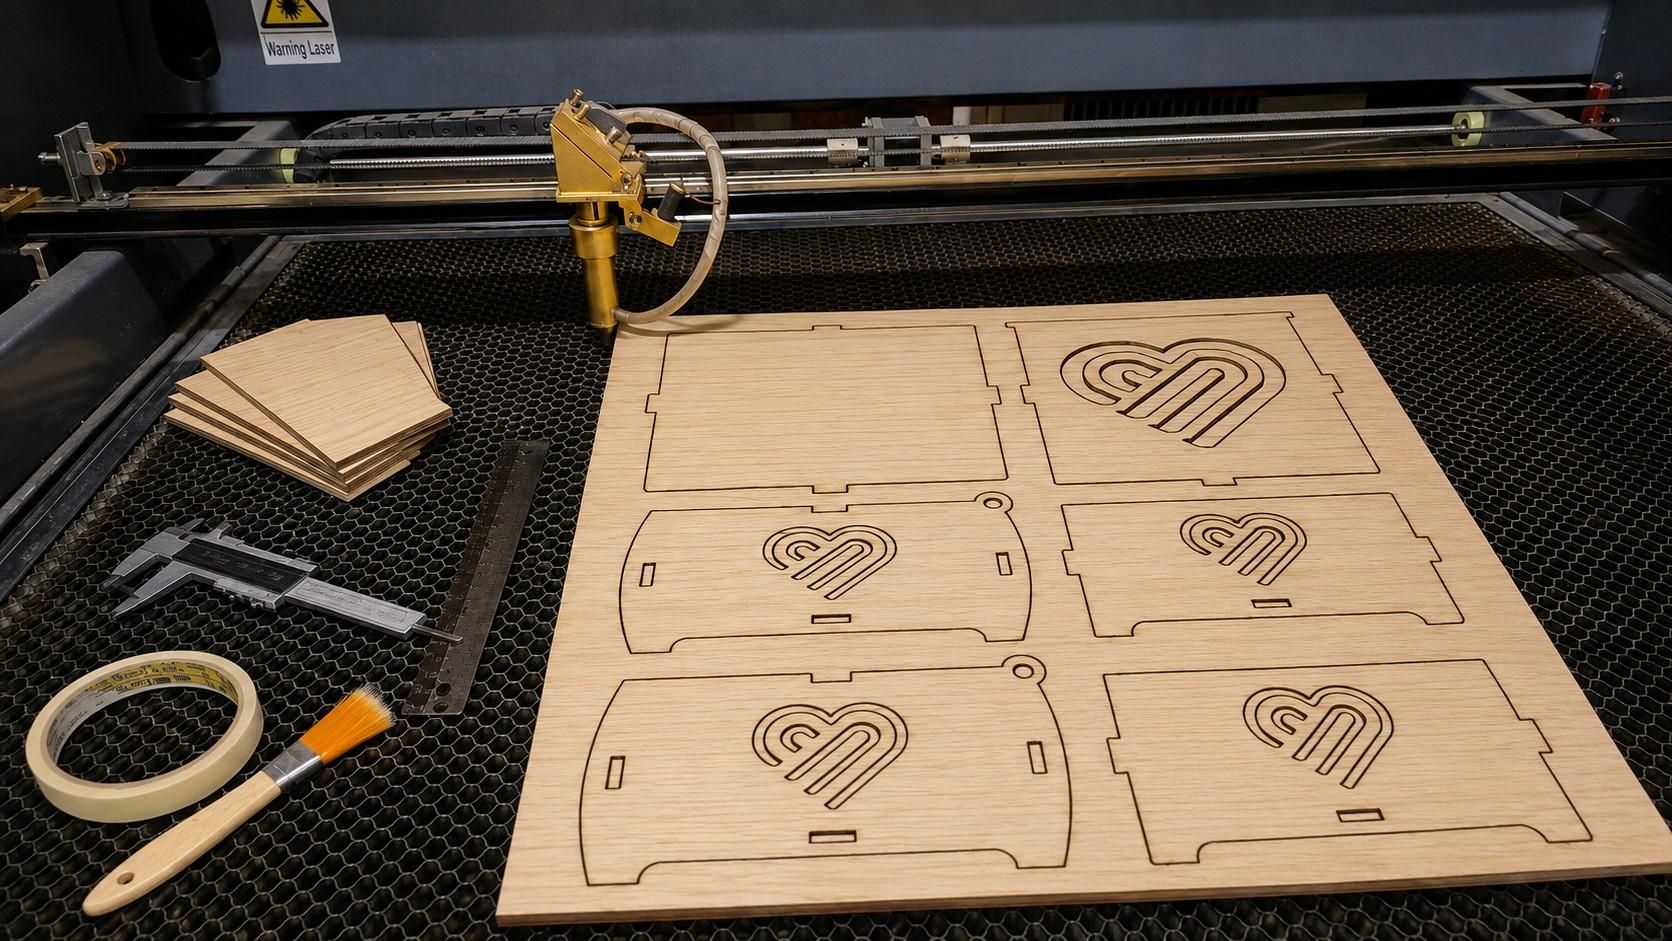
For this project, you only need a few basic materials and tools. The main material is 3mm plywood, which should be reasonably flat and consistent in thickness to achieve accurate joints.
Materials
- 3mm plywood
- Wood glue, if permanent assembly is preferred
- Fine-grit sandpaper for finishing
Tools
- CO₂ laser cutter
- Computer with vector or laser-cutting software
- Digital caliper
- Steel ruler
- Small brush or cloth for cleaning the cut edges
Before cutting, measure the actual plywood thickness with a digital caliper. Small variations in material thickness can affect the fit of tabs and slots, so checking the material before production helps achieve a cleaner assembly.
Design Layout
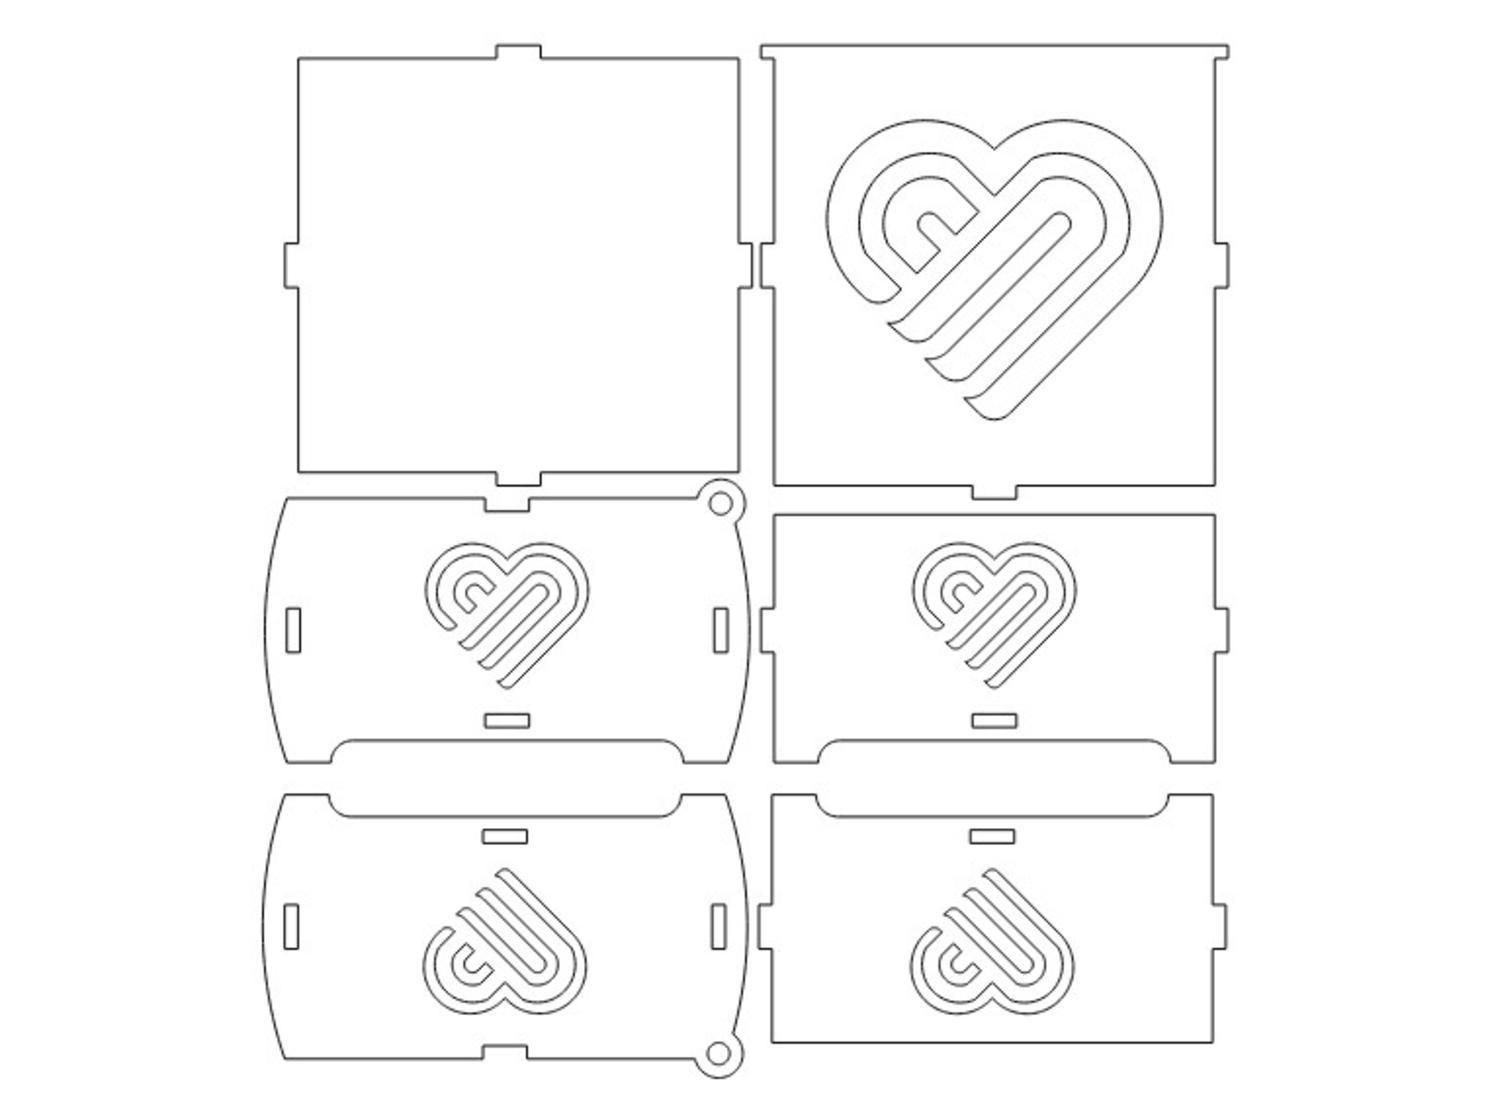
The vector layout contains all the components required to construct the jewelry box, including the base, side panels, decorative panels, and lid components. The pieces are arranged on the plywood sheet to make efficient use of the material while maintaining suitable spacing between the cutting paths.
Open the DXF file in your preferred design or laser-cutting software and inspect the complete layout before starting the laser cutter. Check the dimensions, cutting paths, tabs, slots, and decorative heart-shaped details. For the best results, make sure the design is scaled correctly and that there are no duplicate or unwanted cutting lines. It is also recommended to perform a small test cut when using a new plywood type or a different laser machine. Once the layout has been verified, position the 3mm plywood securely on the laser bed and use the appropriate focus, speed, and power settings for your particular CO₂ laser cutter.
Joining the Pieces
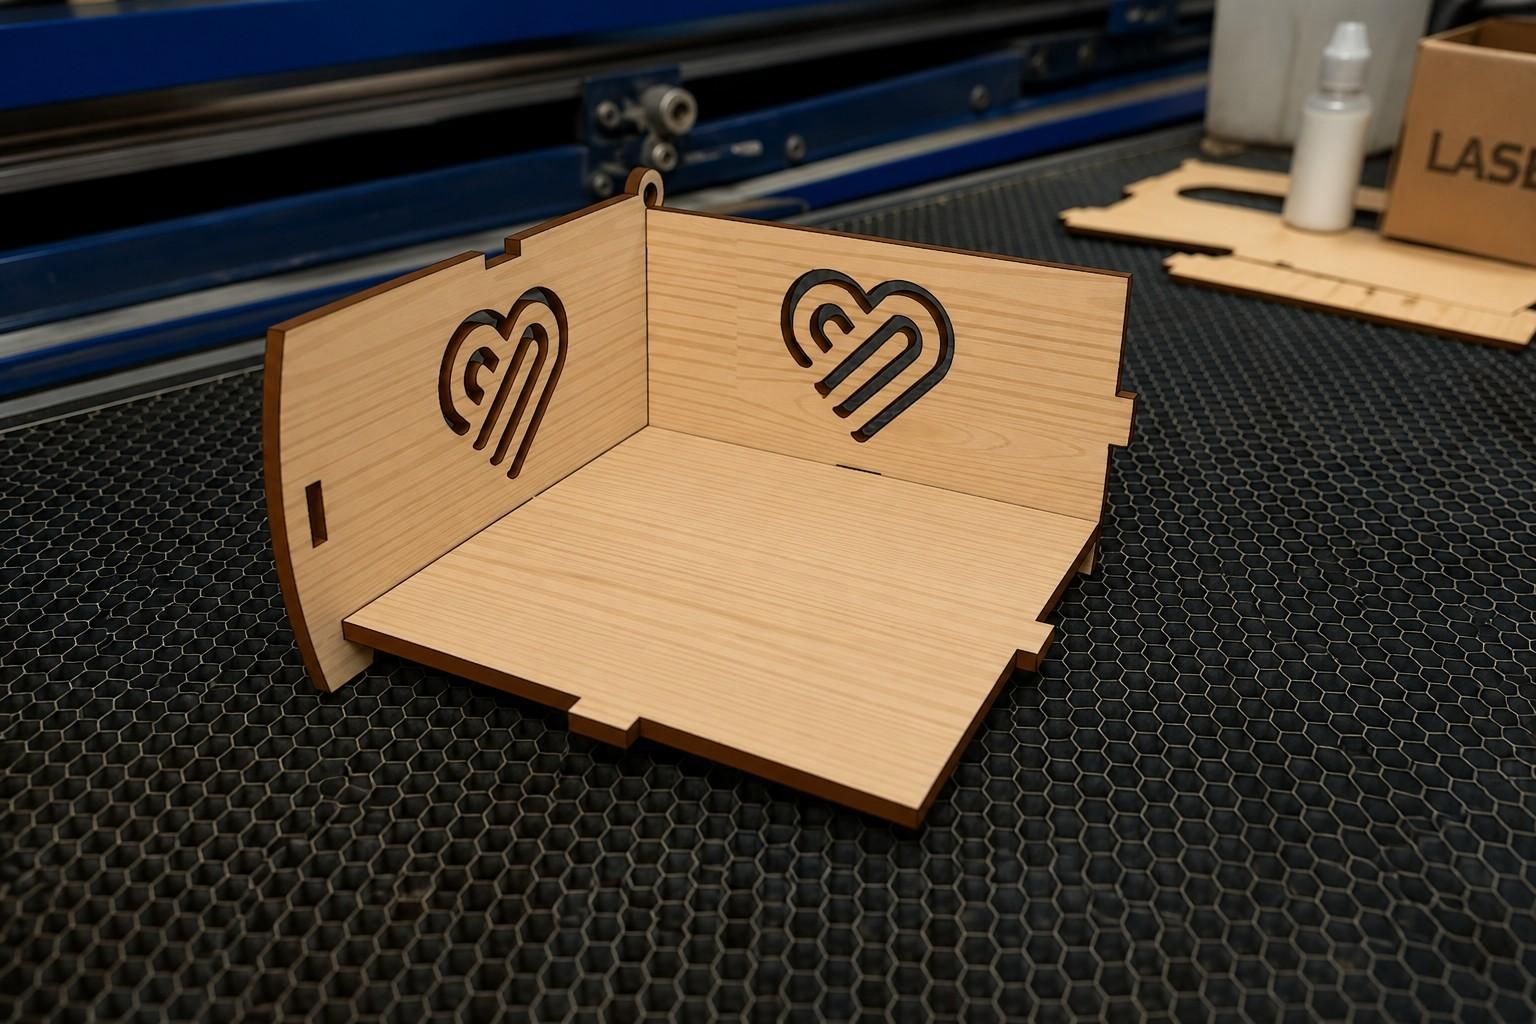
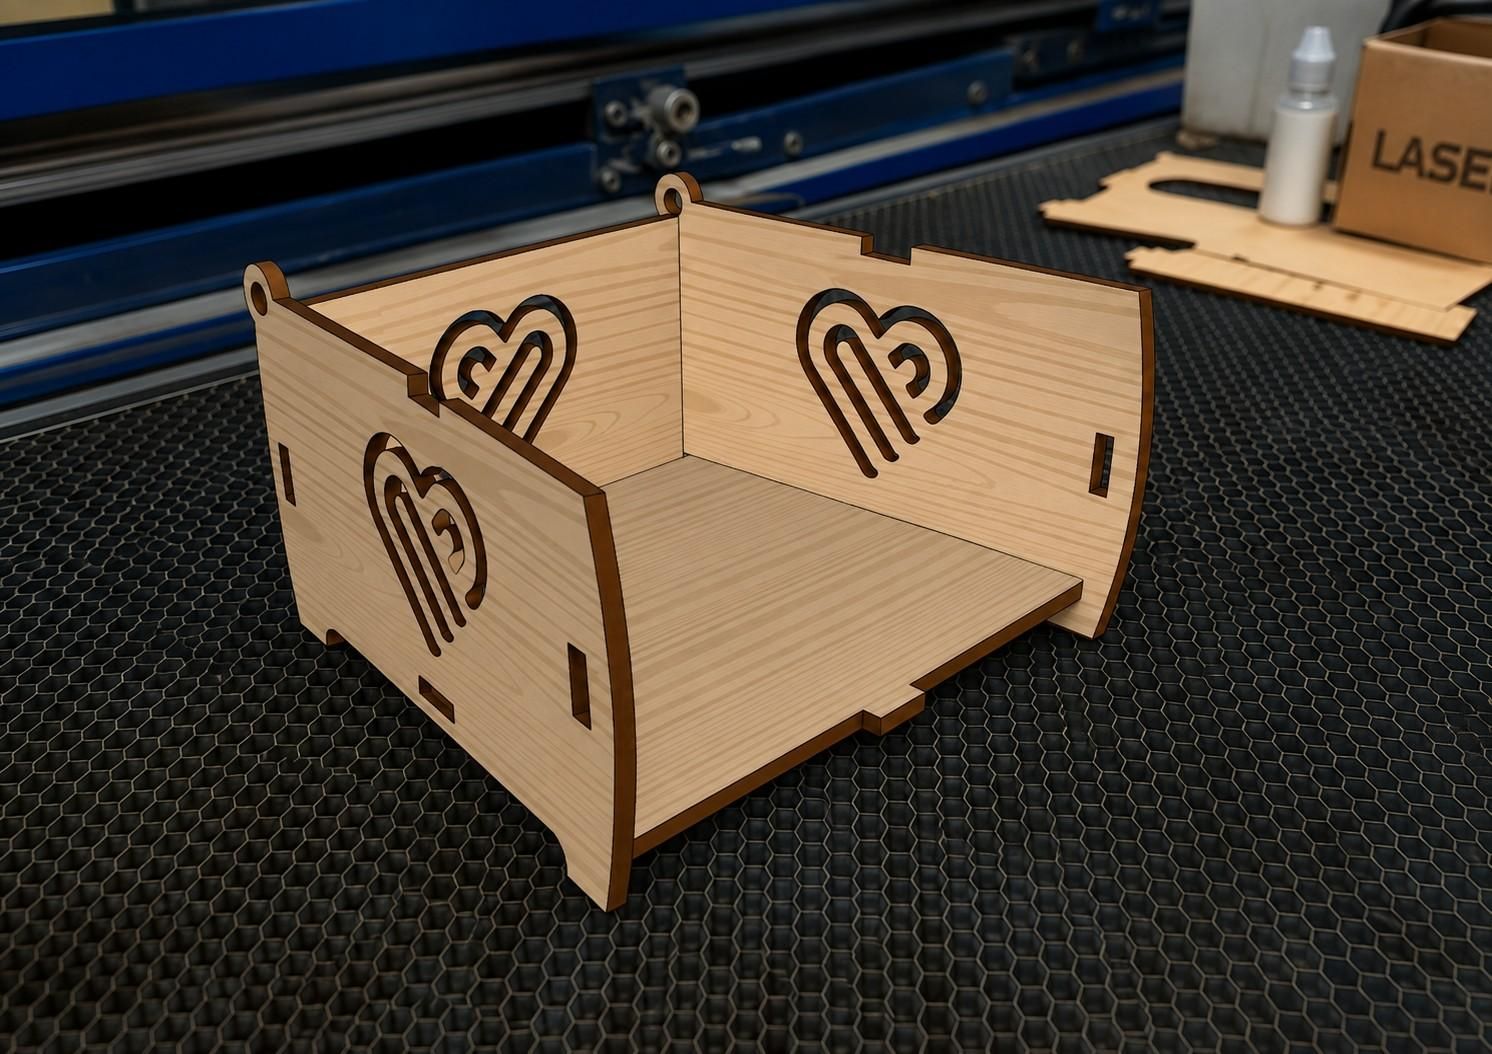
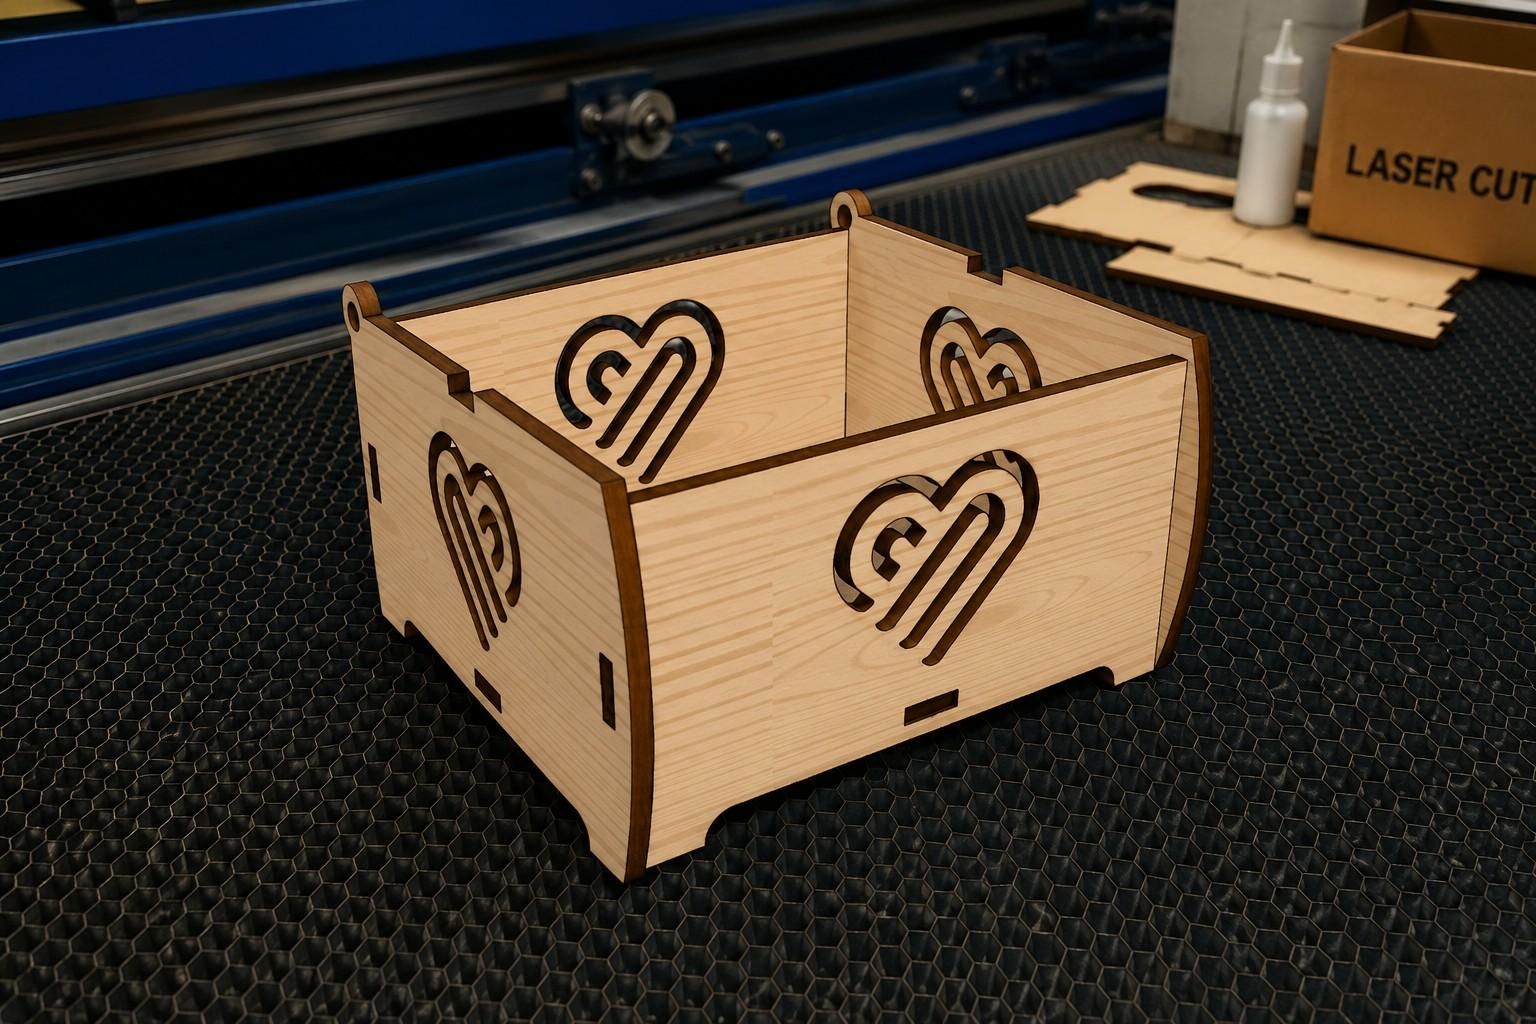
After laser cutting, carefully remove the individual components from the plywood sheet and clean the edges to remove loose debris or residue. Begin assembly with the base and the first side pieces. Insert each tab into its corresponding slot and press the components together carefully. Continue adding the remaining panels until the main body of the jewelry box is formed. The interlocking construction makes the assembly straightforward and helps hold the components in their correct positions. During assembly, pay particular attention to the corners and keep the panels straight and at 90-degree angles to the base.
If the joints provide a tight fit, the box can be assembled without adhesive. For a permanent assembly, apply a small amount of wood glue to the joints before joining the pieces. Remove any excess glue and allow the assembly to dry completely. After the main body is assembled, fit the remaining lid components and check that everything is properly aligned and that the lid functions correctly.
Finished Product


After assembly is complete, the result is a compact laser-cut jewelry box with decorative heart-shaped cutouts and a clean interlocking construction. The finished box measures approximately 100 mm wide × 106 mm long × 50 mm high. Its compact dimensions make it suitable for storing small jewelry items such as rings, earrings, bracelets, necklaces, and other accessories.The natural plywood surface provides a warm wooden appearance, while the decorative cutouts add visual character to the design. For a more refined finish, lightly sand any rough edges and apply a suitable clear coat, stain, paint, or other wood finish. The vector-based construction also makes the design easy to reproduce. Makers can modify the decorative elements, add engraving, or personalize the box with names, initials, dates, logos, and other artwork.
Jewelry Box Designs
If you would like to explore more designs, discover our collection of laser-cut jewelry box templates and professionally prepared vector files for DIY and laser-cutting projects.