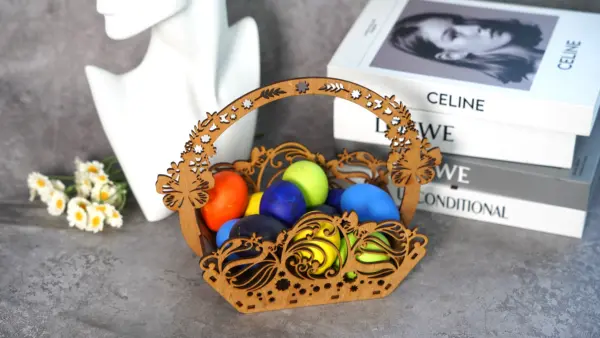
Laser Cut Wooden Easter Egg Basket
by thunderlaser-nolan in Workshop > Laser Cutting
129 Views, 0 Favorites, 0 Comments
Laser Cut Wooden Easter Egg Basket

Easter is all about color, surprises, and small joyful moments—like collecting eggs or sharing treats. A laser-cut wooden Easter egg basket adds a handmade touch to these traditions, turning a simple container into something festive and personal.
In this tutorial, you’ll learn how to laser cut and assemble a wooden Easter basket step by step. Whether it’s used for egg hunts, candy, or decoration, this is a simple project that brings both creativity and practicality together.
Supplies
Machine Used
Thunder Bolt 30W
See more details about this machine→
Material Needed
3mm Plywood
Settings
Cutting Plywood
- Speed:10mm/s
- Max Power:35%
- Min Power:10%
- Number of Passes:1
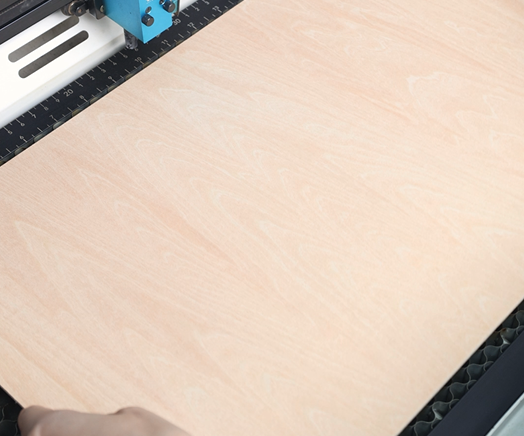
Place the Material on the Laser Bed
● Use a smooth wooden board suitable for laser cutting (e.g., birch or maple, 3 mm thick).
● Place the wood flat on your laser cutter bed. Ensure the surface is clean and free of dust or oils. Fingerprints can sometimes burn slightly during engraving, leaving dark marks.
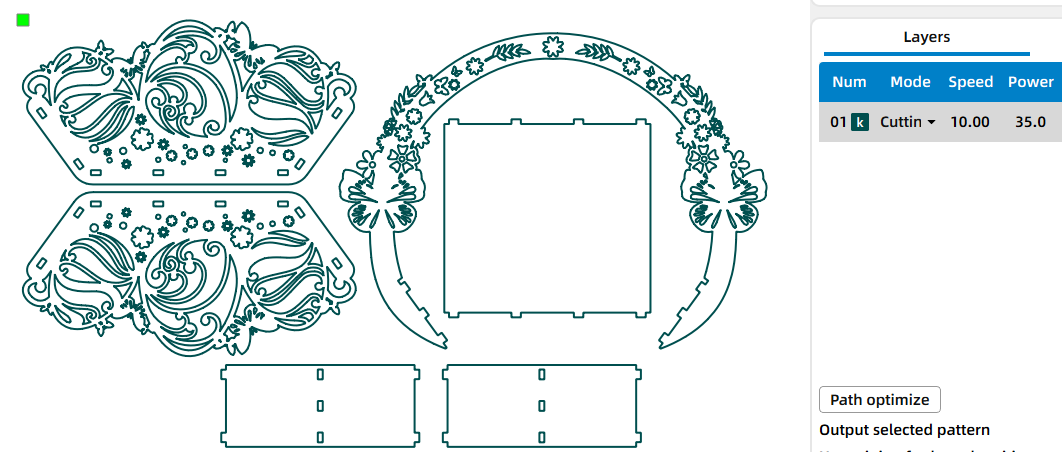
Open the File and Check the Settings
Open your laser software(I use LaserMaker) and import the design file into your laser software. Adjust the layout so it fits properly within your material size. Before moving on, double-check your and cutting parameters to match the thickness and type of wood you’re using.
Tip: Make sure the bed size matches your desired basket.
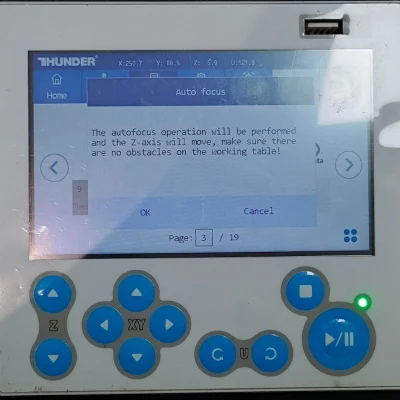
Focus Your Laser Machine
Proper focusing ensures neat, polished edges. If your machine has auto focus, use it for quick setup. For manual focusing, lower the laser head with the focus stick until it touches the wood surface at a perfect angle. Always double-check before cutting.
Frame the Design and Start Laser Cutting
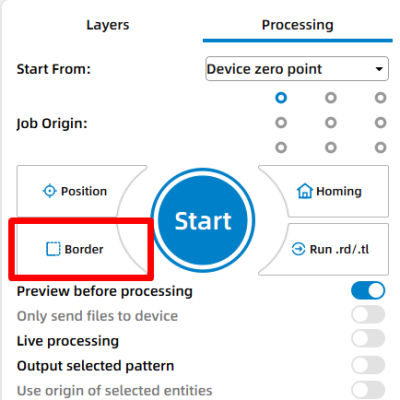
Then click “Frame” or “Border” to preview your cutting area and make sure the design fits nicely on your board. This confirms your material placement and avoids wasting wood. Adjust as necessary. Once everything is set, start the laser job.
Monitor the Laser Cutting Process
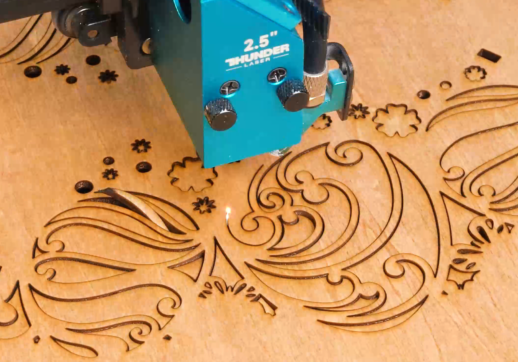
Stay close to the machine while it’s running and watch the cutting and engraving progress. Keep an eye out for excessive smoke, small flame-ups, or any movement of the material that could affect the outcome. Make sure your workspace is well-ventilated, and rely on air assist if available to achieve cleaner edges on the wood.
Assemble the Wooden Basket
Once all pieces are cut, carefully remove them from the laser bed. You may notice small burn residues on the edges, which is normal.
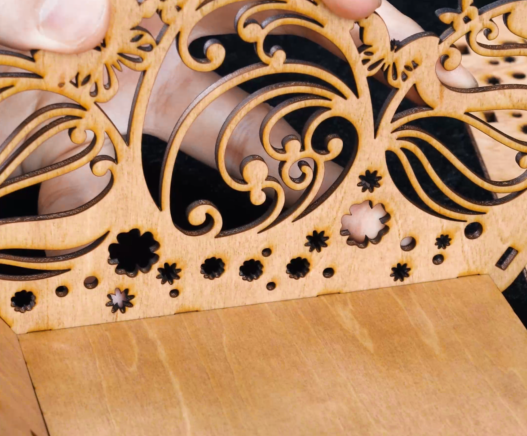
Begin assembling the basket by inserting the tabs into the corresponding slots. The pieces are designed to fit together tightly, so you may need to apply gentle pressure. Start with the base and side panels, then attach the handle.
If the fit feels slightly tight, you can lightly sand the edges. For a more permanent structure, a small amount of wood glue can be used to secure the joints.
Complete the Task
Your Easter egg basket is now complete. It’s ready to be filled with colorful eggs, candies, or small gifts, adding a handmade touch to your Easter celebration.