Laser Cut Wooden Phonograph
by thunderlaser-nolan in Workshop > Laser Cutting
145 Views, 1 Favorites, 0 Comments
Laser Cut Wooden Phonograph
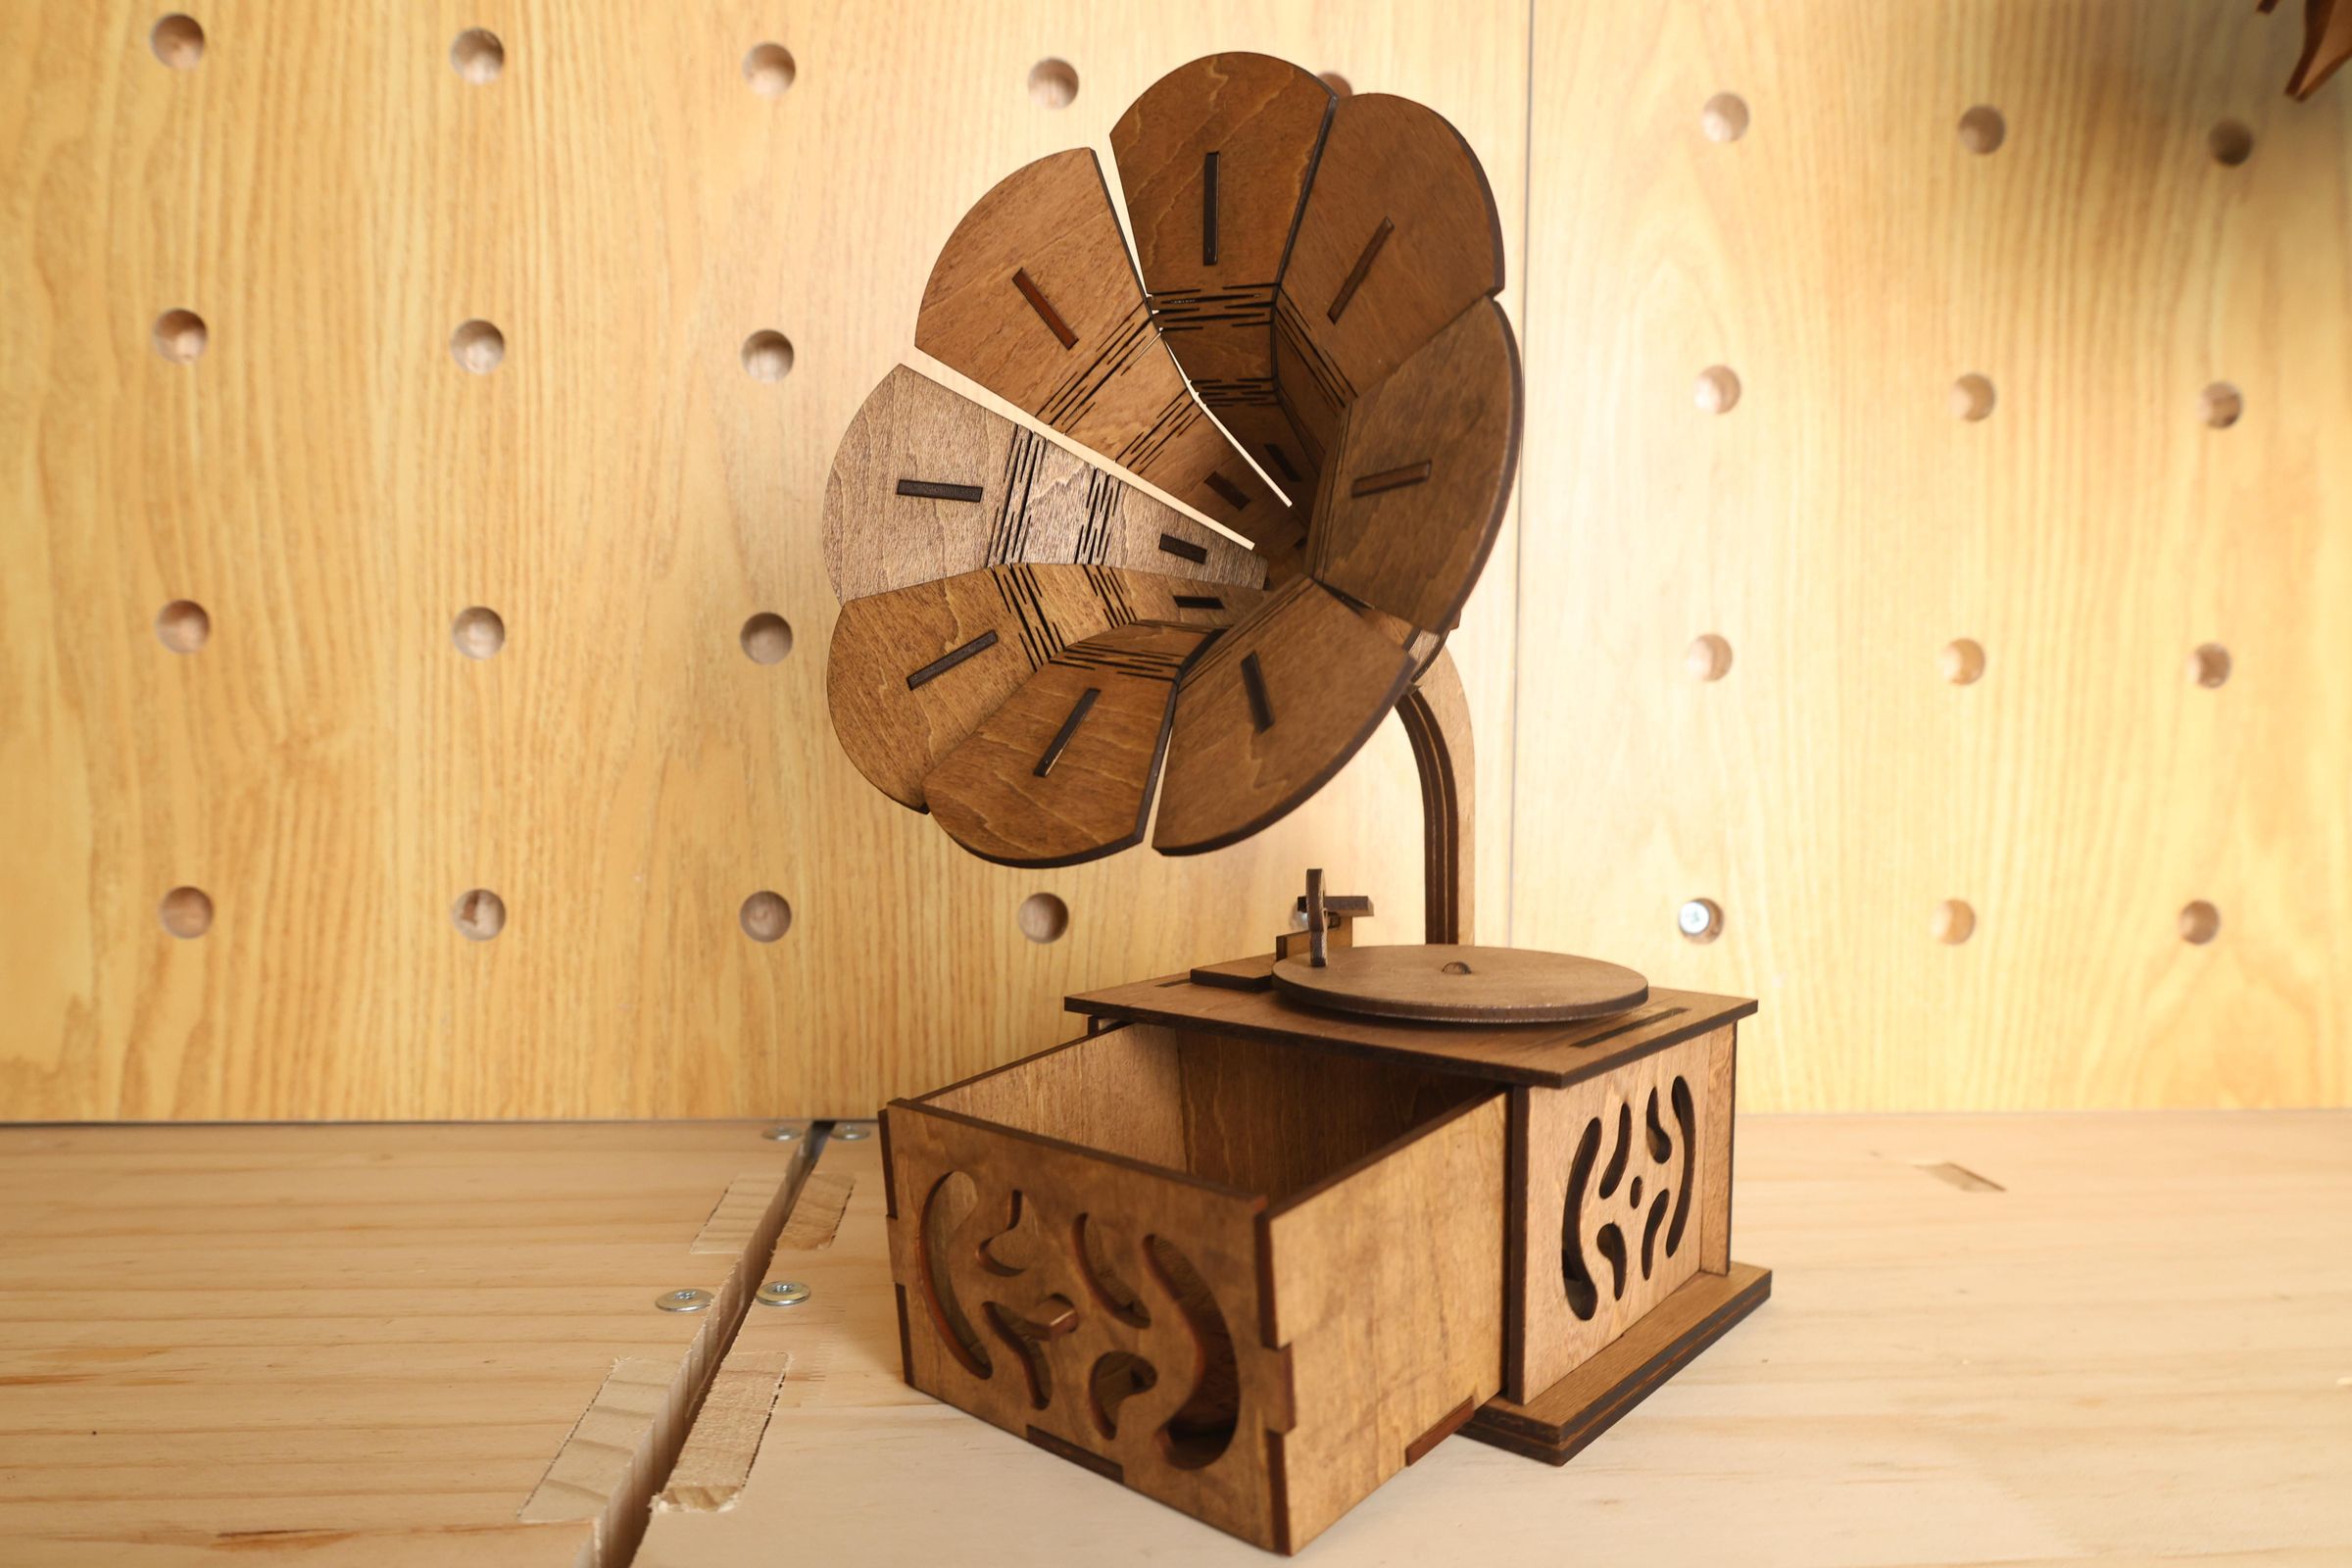
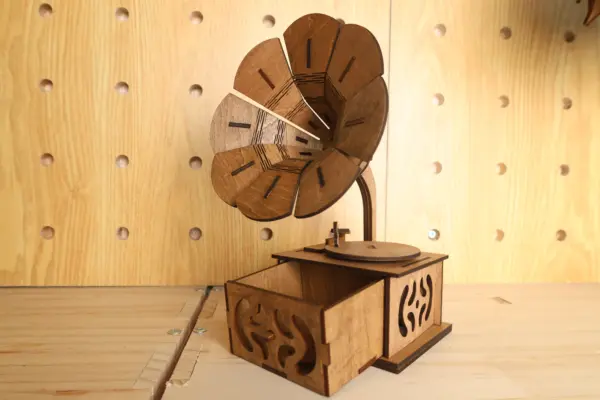
A wooden phonograph model combines vintage style with hands-on creativity. With layered plywood pieces and precise laser cutting, you can recreate the classic shape of a gramophone and turn flat sheets into a detailed display piece.
In this tutorial, you’ll learn how to laser cut and assemble a wooden phonograph using 3mm plywood. The process is beginner-friendly but highly rewarding, guiding you from raw material to a finished model that looks both mechanical and decorative.
Supplies
Machine Used
Thunder Bolt 30W
See more details about this machine→
Material Needed
3mm Plywood
Settings
Engraving Plywood
- Speed:800mm/s
- Max Power:45%
- Min Power:10%
- Number of Passes:1
Cutting Plywood
- Speed:10mm/s
- Max Power:25%
- Min Power:10%
- Number of Passes:1
Downloads
Place the Material on the Laser Bed
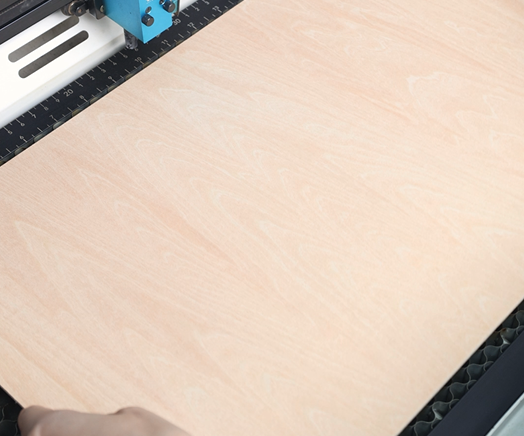
Start by preparing your 3mm plywood sheets. Make sure the surface is clean, flat, and free from dust or debris, as even small particles can affect cutting accuracy.
Place the plywood directly onto the laser bed, ensuring it lies completely flat without any warping. If your plywood has a slight curve, position it so the flattest side faces upward. Stability is important because the phonograph model contains many small interlocking parts, and even slight movement can affect how well those pieces fit together later.
If needed, use small weights or magnets (if compatible with your machine) to keep the plywood in place. Taking the time to properly secure the material will help ensure clean, precise cuts.
Open the File and Check the Settings
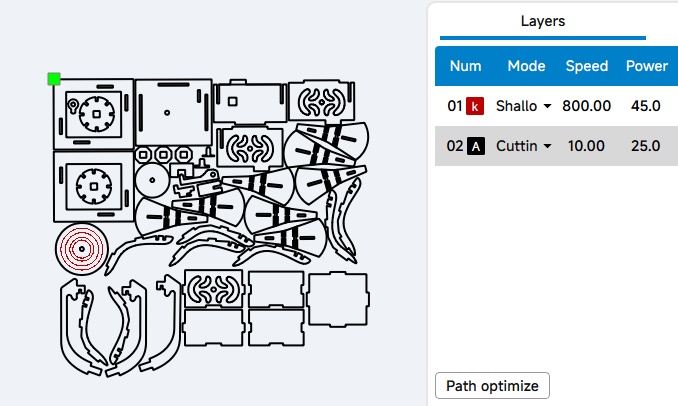
Open your laser software(I use LaserMaker) and import the design file into your laser software.
This type of model usually includes many individual parts, such as gears, panels, base structures, and decorative elements.
After importing the file, carefully check the layout. Make sure all parts are within the working area of your plywood sheet and not overlapping. It’s important to keep the original scale of the design, especially for mechanical or interlocking models, because resizing can cause parts to no longer fit correctly.
Tip: If you don’t have 3mm plywood, you can use LaserMaker’s one-click scaling feature to adjust the design and fit your material thickness. This helps ensure that slots and joints still align properly, even when using a different thickness.
Before proceeding, confirm that your cutting parameters are suitable for 3mm plywood. Proper settings will ensure that all pieces are cut cleanly in one pass without excessive charring.
Focus Your Laser Machine
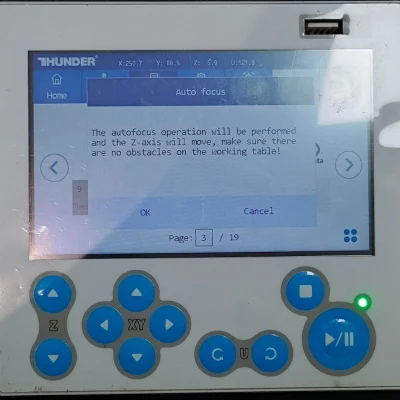
Proper focusing ensures neat, polished edges. If your machine has auto focus, use it for quick setup. For manual focusing, lower the laser head with the focus stick until it touches the wood surface at a perfect angle. Always double-check before cutting.
Frame the Design and Start Laser Cutting
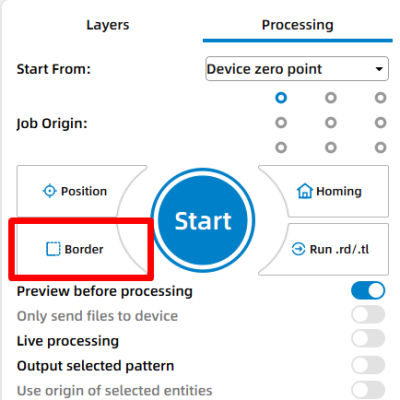
Then click “Frame” or “Border” to preview your cutting area and make sure the design fits nicely on your board. This confirms your material placement and avoids wasting wood. Adjust as necessary. Once everything is set, start the laser job.
Monitor the Laser Cutting Process
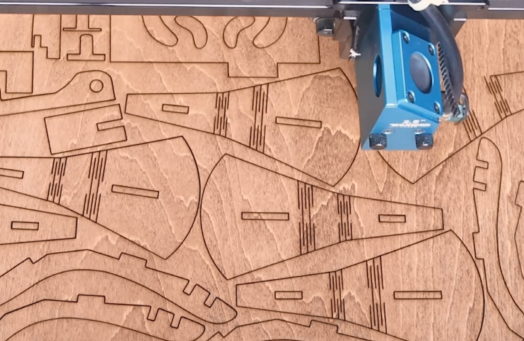
Stay close to the machine while it’s running and watch the cutting and engraving progress. Keep an eye out for excessive smoke, small flame-ups, or any movement of the material that could affect the outcome. Make sure your workspace is well-ventilated, and rely on air assist if available to achieve cleaner edges on the wood.
Assemble the Phonograph
Once all parts are cut, carefully remove them from the laser bed. You will likely have many small components, so it helps to keep them organized according to the design layout.
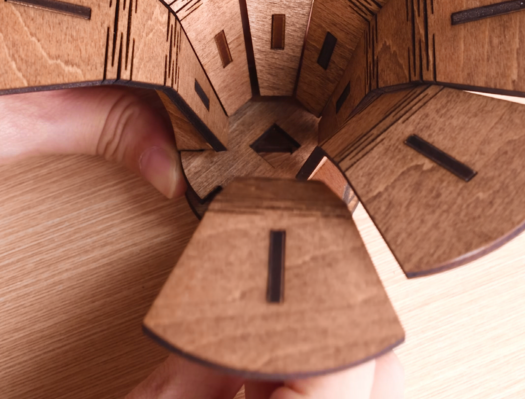
Begin assembling the phonograph by following the structure of the design. Most wooden models use slot-and-tab construction, meaning the pieces are designed to fit tightly together without screws. Insert each piece gently into place, making sure not to force any joints, as this could damage the wood.
Work step by step, starting from the base and moving upward to more detailed components like the horn and decorative panels. If necessary, a small amount of wood glue can be used to strengthen the structure, especially for permanent display.
Complete the Task
Your wooden phonograph model is now finished. The layered plywood structure and detailed design create a vintage look that works well as a decorative piece for desks, shelves, or studios.