Laser Cutting Winter Olympic Trophy
by thunderlaser-nolan in Workshop > Laser Cutting
87 Views, 0 Favorites, 0 Comments
Laser Cutting Winter Olympic Trophy

The Winter Olympics represent dedication, teamwork, and unforgettable victories. Creating your own Winter Olympic–style trophy is a fun way to celebrate achievements—whether it’s for a school event, a friendly sports competition, or simply as a decorative keepsake.
In this tutorial, you’ll learn how to laser cut and assemble a Winter Olympic trophy step by step. Even if you’ve never used a laser cutting machine before, the detailed instructions below will guide you through the entire process, from preparing the material to assembling the finished trophy.
Supplies
Machine Used
Thunder Bolt 30W
More details about Thunder Bolt→
Material Needed
3mm Acrylic
Settings
Laser Engraving
Speed:800 mm/s
Max. Power:30%
Min. Power:10%
Line interval:0.085
Passes:2
Laser Cutting
Speed:10 mm/s
Max. Power:60%
Min. Power:10%
Passes:1
Place the Material on the Laser Bed
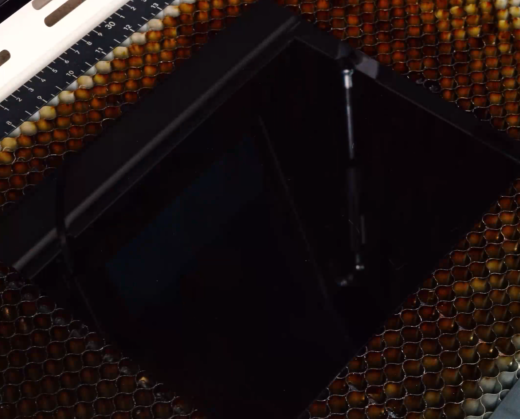
Place the acrylic sheet flat on the laser machine bed. Keep the bottom protective film attached and place that side directly against the laser bed. The film helps prevent scratches and keeps smoke marks from appearing on the surface during cutting. Make sure the sheet is lying completely flat and is not warped or tilted. If the material shifts during cutting, the final shape may become inaccurate.
Open the File and Check the Settings
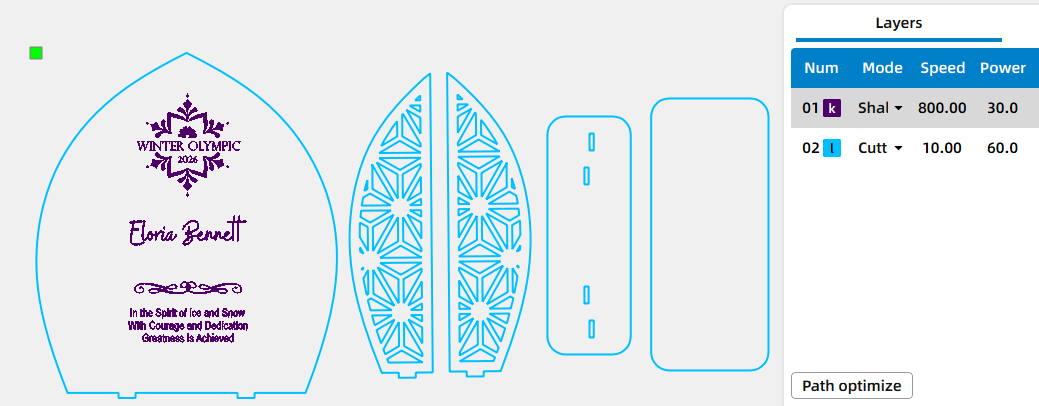
Open your laser software (I use LaserMaker) and import your file. Adjust the size and positioning so the design fits your material dimensions. Before starting, double-check your parameters to ensure clean and readable results.
Focus Your Laser Machine
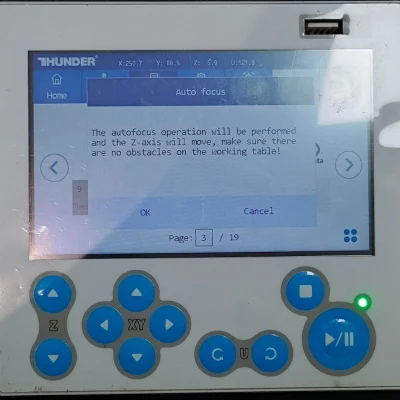
Focus the laser to the surface of the wooden guitar picks. Accurate focus is important for achieving sharp details and consistent engraving depth.
Frame the Design and Start Laser Engraving
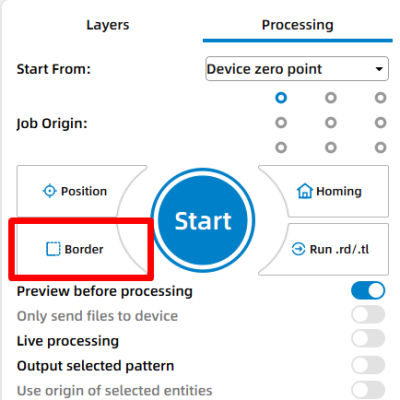
Use the border or frame function to preview the working area. This helps confirm that the design is correctly aligned before starting the job.
Monitor the Laser Engraving Process
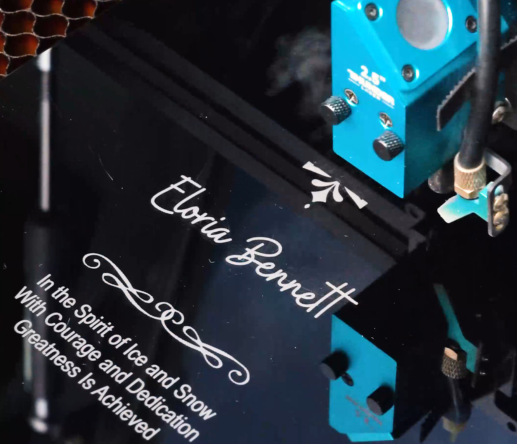
Once everything is ready, start the laser cutting job. During the process, the laser will first engrave any decorative elements and then cut the individual pieces of the trophy from the acrylic sheet.
It is important to monitor the machine while it is running. Acrylic cutting produces smoke and fumes, so make sure your ventilation system or exhaust fan is working properly. Watch the cutting lines to confirm that the laser is cutting smoothly through the material.
Avoid leaving the machine unattended. If anything unusual happens—such as excessive flame or incomplete cuts—pause the job and adjust the settings if necessary.
Assemble the Trophy
After the cutting process is complete, allow the acrylic pieces to cool briefly before removing them from the machine bed. Carefully separate the pieces from the surrounding material.
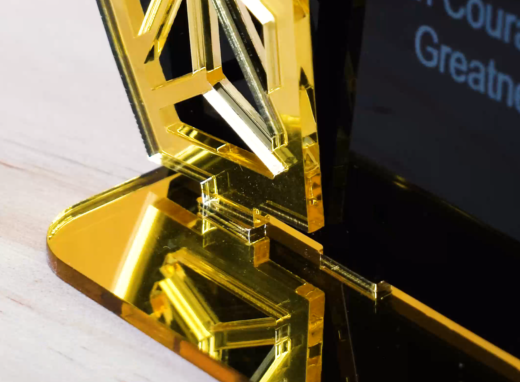
Most acrylic trophy designs use slot-and-tab structures for assembly. Insert the main decorative panel into the base pieces according to the design. The slots should fit snugly, allowing the trophy to stand upright without additional support.
Complete the Task
Your Winter Olympic trophy is now complete. Take a moment to inspect the finished piece. If desired, you can gently wipe the acrylic surface with a soft cloth to remove fingerprints and enhance its shine. The trophy is now ready to be presented at competitions, displayed on a shelf, or used as a memorable keepsake from a special event.