Laser Engraved Bookend
by zodiacbatman in Craft > Books & Journals
106 Views, 0 Favorites, 0 Comments
Laser Engraved Bookend
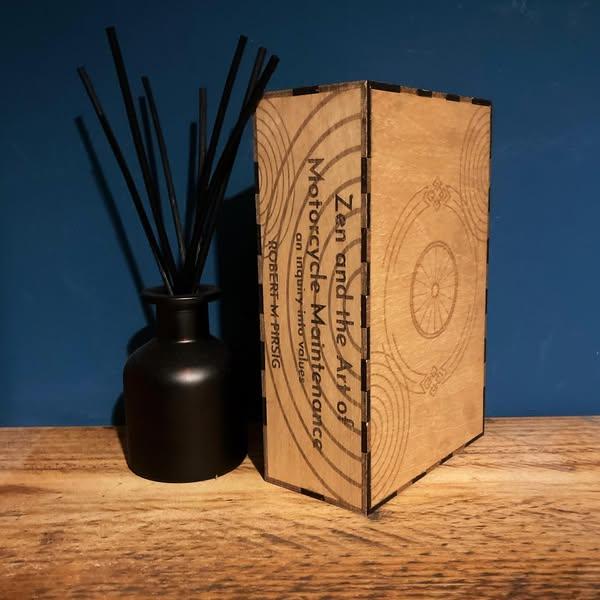
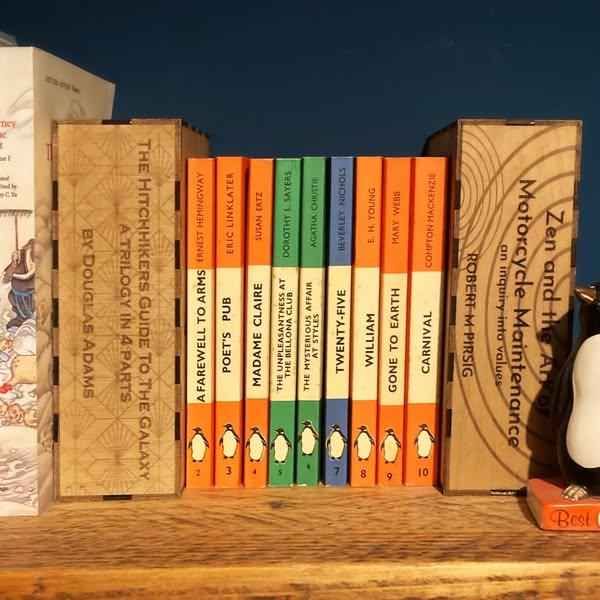
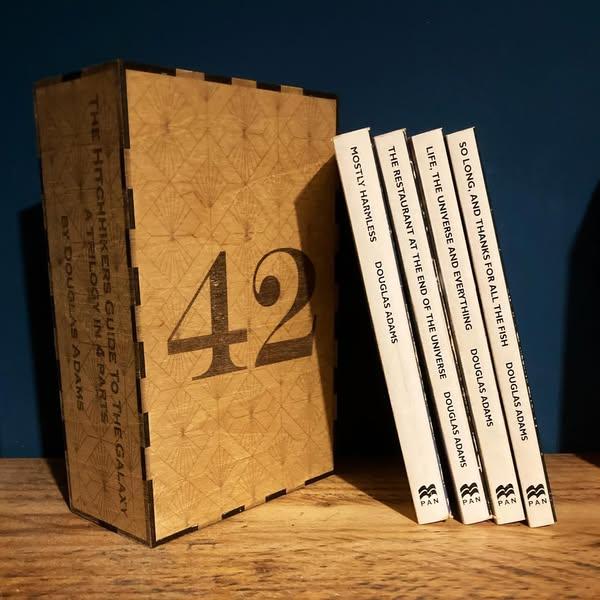
I have a growing collection of classic Penguin paperbacks, primarily those with the iconic orange covers. I focus on the first 3000 releases, which have numbered spines from the pre-ISBN era. Though completing the collection seems unlikely, it's an enjoyable pursuit
My daughter also loves books, and for Christmas she got a few of the Penguin Clothbound editions of some Jane Austen novels.They're beautifully designed - you can see what I mean here
One thing I decided I wanted recently was some nice bookends - I typically used the heaviest books to support the end of a row. My daughter's books started me thinking I'd quite like some that were in the same vein as the clothbound classics, and that's what inspired this, my very first instructable.
Supplies
Laser cutter / engraver - I use an Xtool D1pro with a 10w laser.
Appropriate design software - I use Canva and Lightburn
3mm ply sheets - I used A3 but you could split the design into separate parts to use smaller pieces.
Wood glue - I use Gorilla Wood Glue
Stain of your choice
Sand and something to contain it
Strong tape - parcel tape, gaffer tape, duct taoe etc.
Create the Box
.jpg)
.jpg)
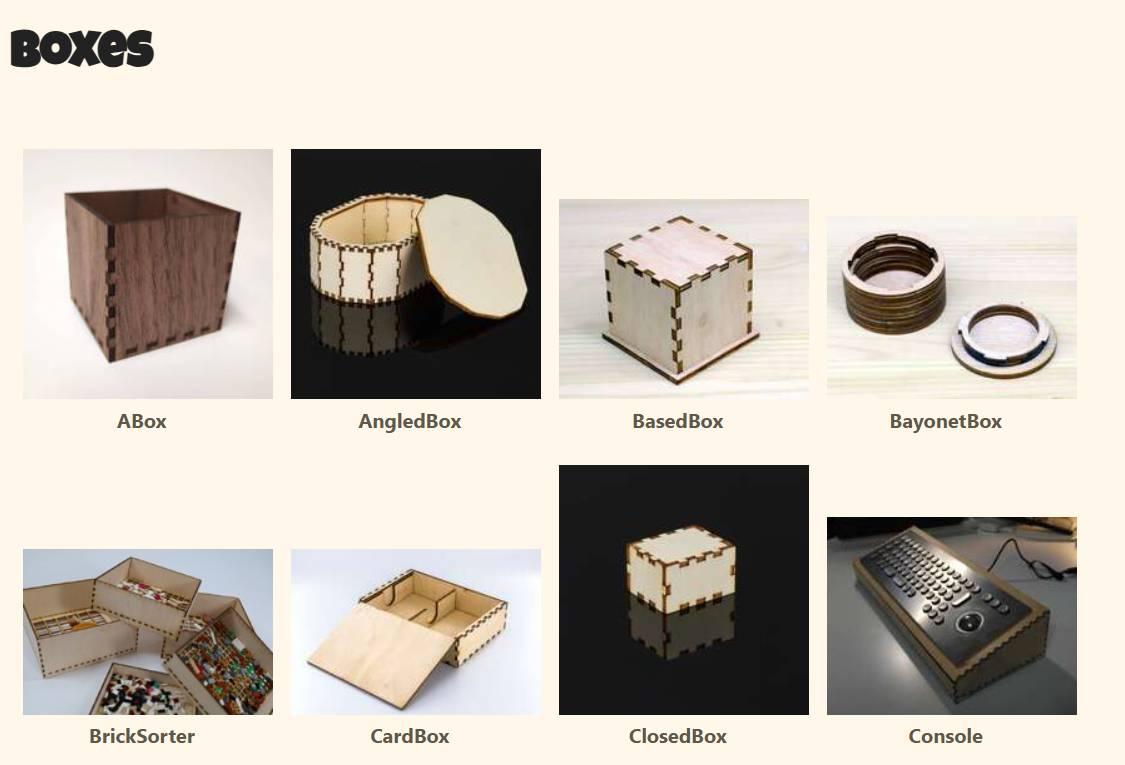
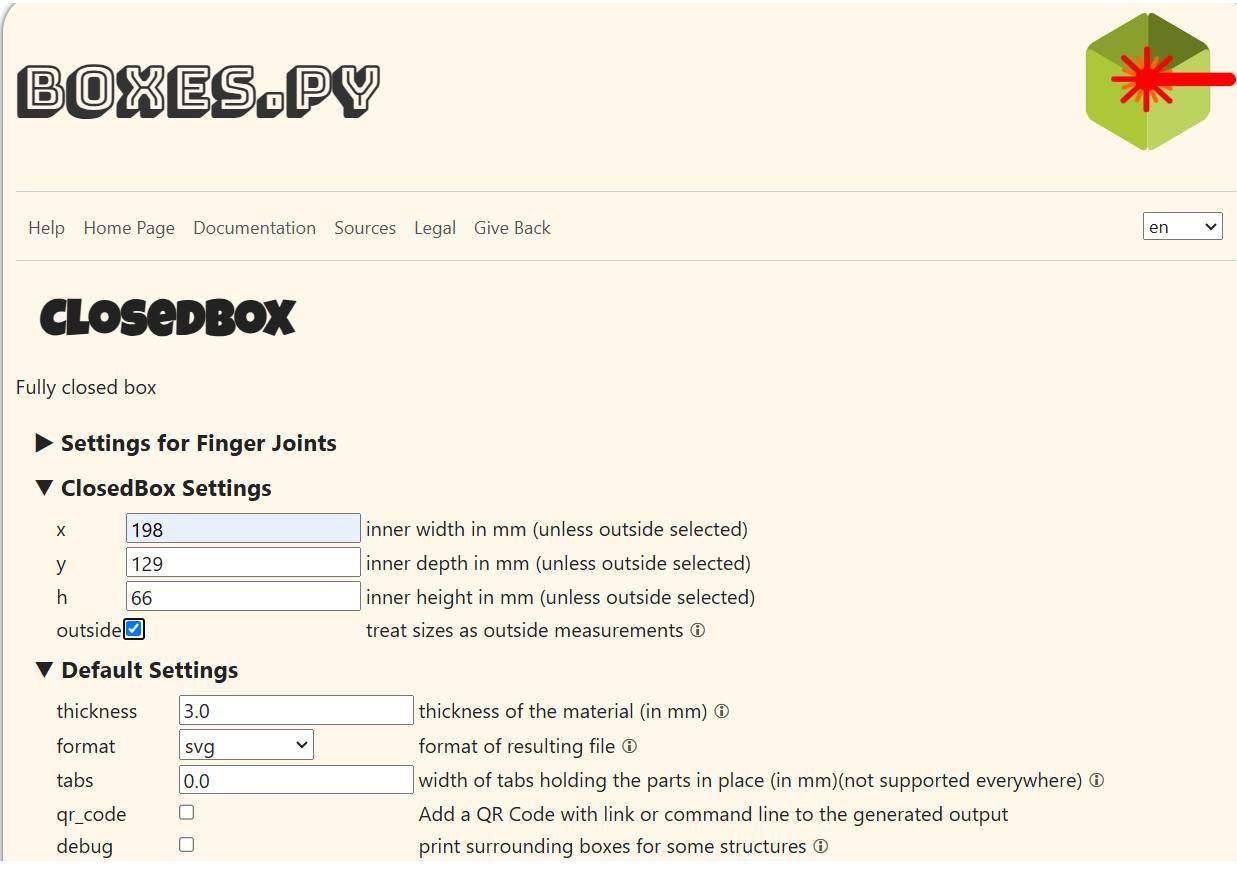
I use the box generator on Boxes.py for an awful lot of things in my workshop. Open up the page for 'Closed Box' design.
You can generate a box any size on this page - the paperbacks I am planning to prop up are 198x129mm, so these are the dimensions I used for the x and y dmensions. h is really up to you but you don't want it toppling over so you'll want to make it wider than a normal paperback - a site I found suggested that a 3:1 ratio for height to width should be stable enough, so I my h measurement 66mm.
On this page you can also change the settings of the finger joints for the box - have a play and see what you like the look of. Every time you click 'generate' you'll get a new tab open to show you the layout. I used 5 width and 5 space - the website explains what these mean way better than I can.
Once happy I usually turn off the labels and set 'reference' to zero, and then click download.
Summary:
- Use the box generator on Boxes.py for a 'Closed Box' design.
- Input dimensions:(based on a 3:1 height-to-width ratio for stability)
- Adjust finger joints and generate the design.
- Download the SVG file
Create the Artwork
.jpg)
.jpg)
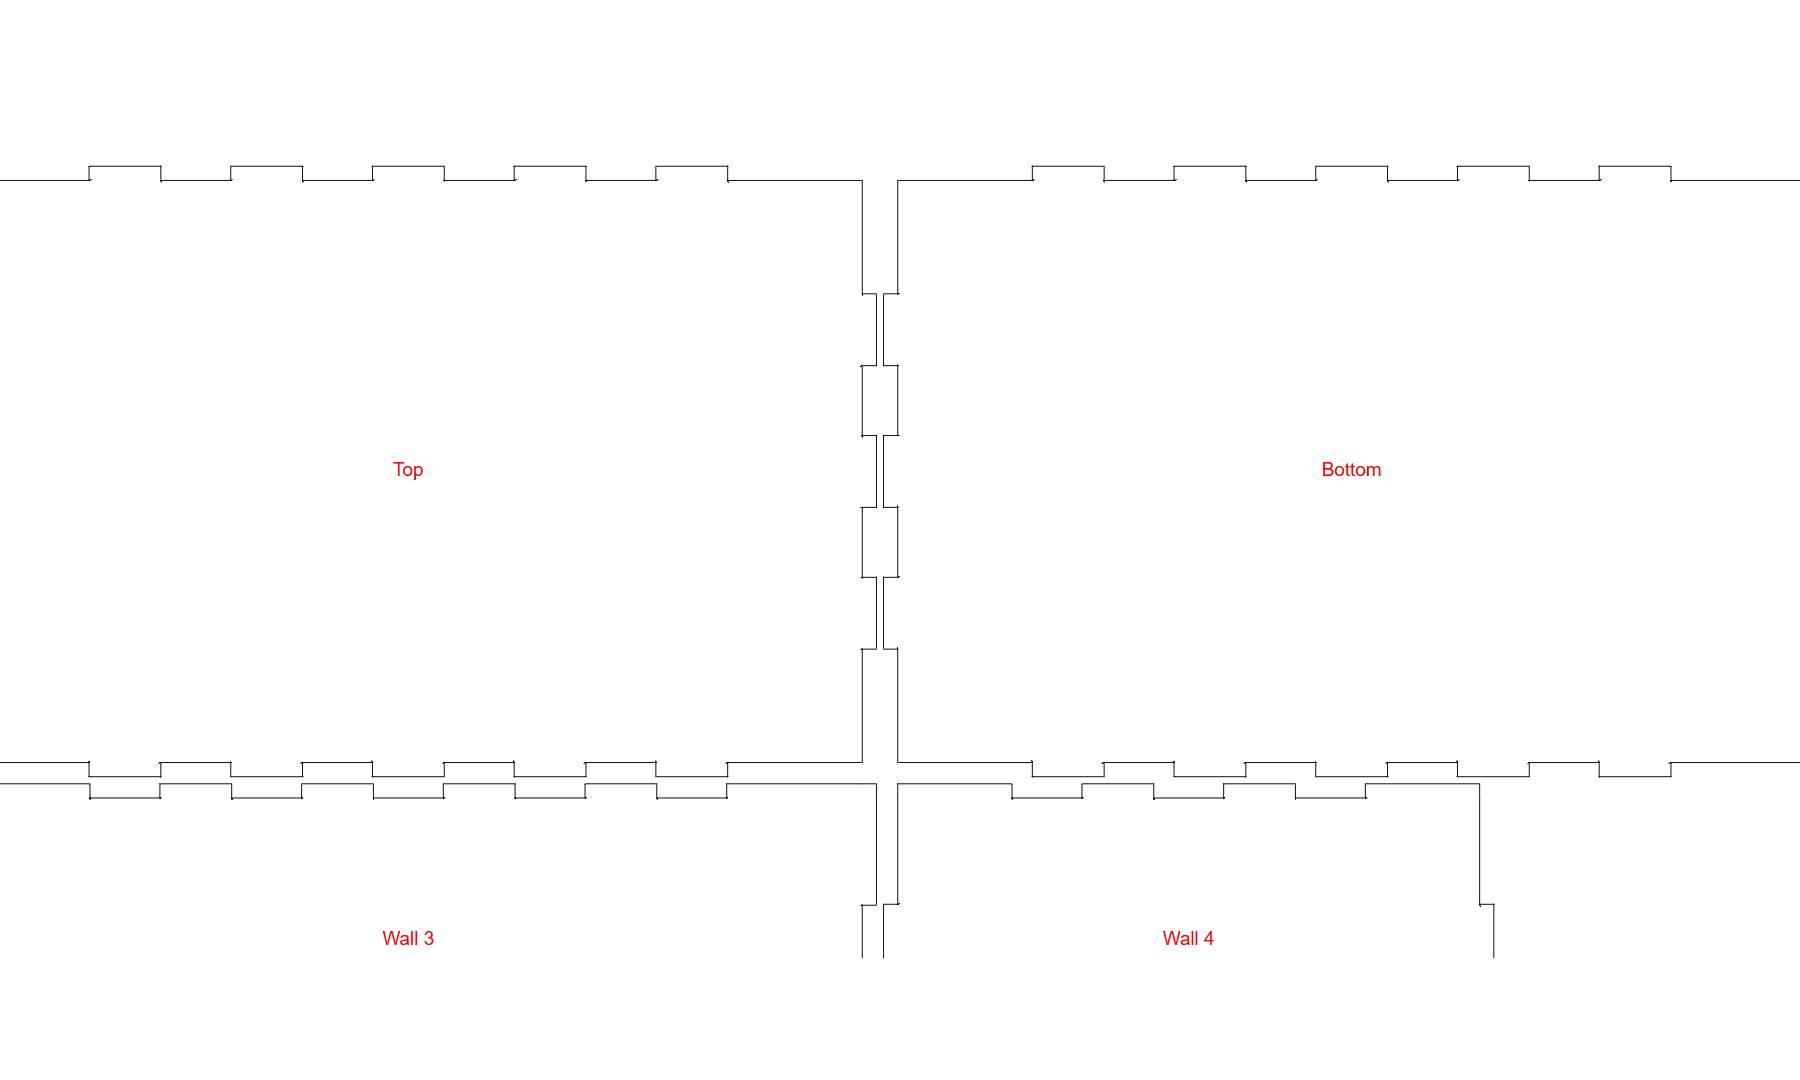
You will now have an svg file of your closed box. This will have 6 pieces - 2 which are the front and back panels, 2 which are the side panels and 2 which are top and bottom. The sizes of mine are 198 x 129, 198 x 66, and 129 x 66. You'll need the sizes to create the artwork.
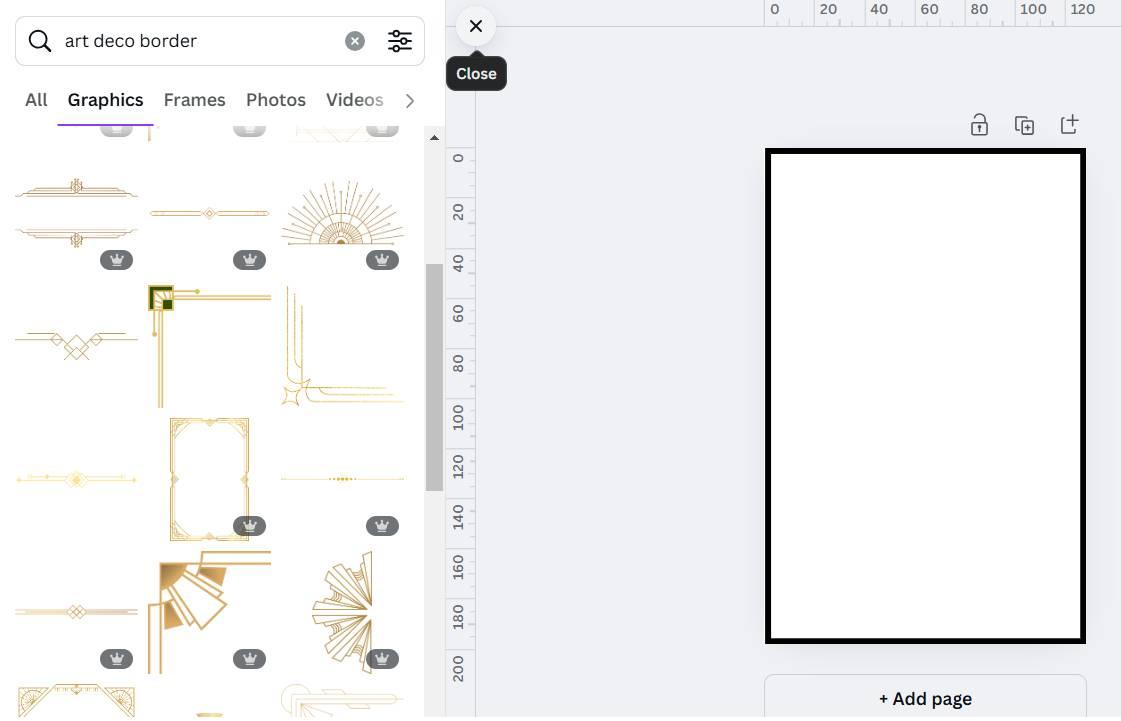
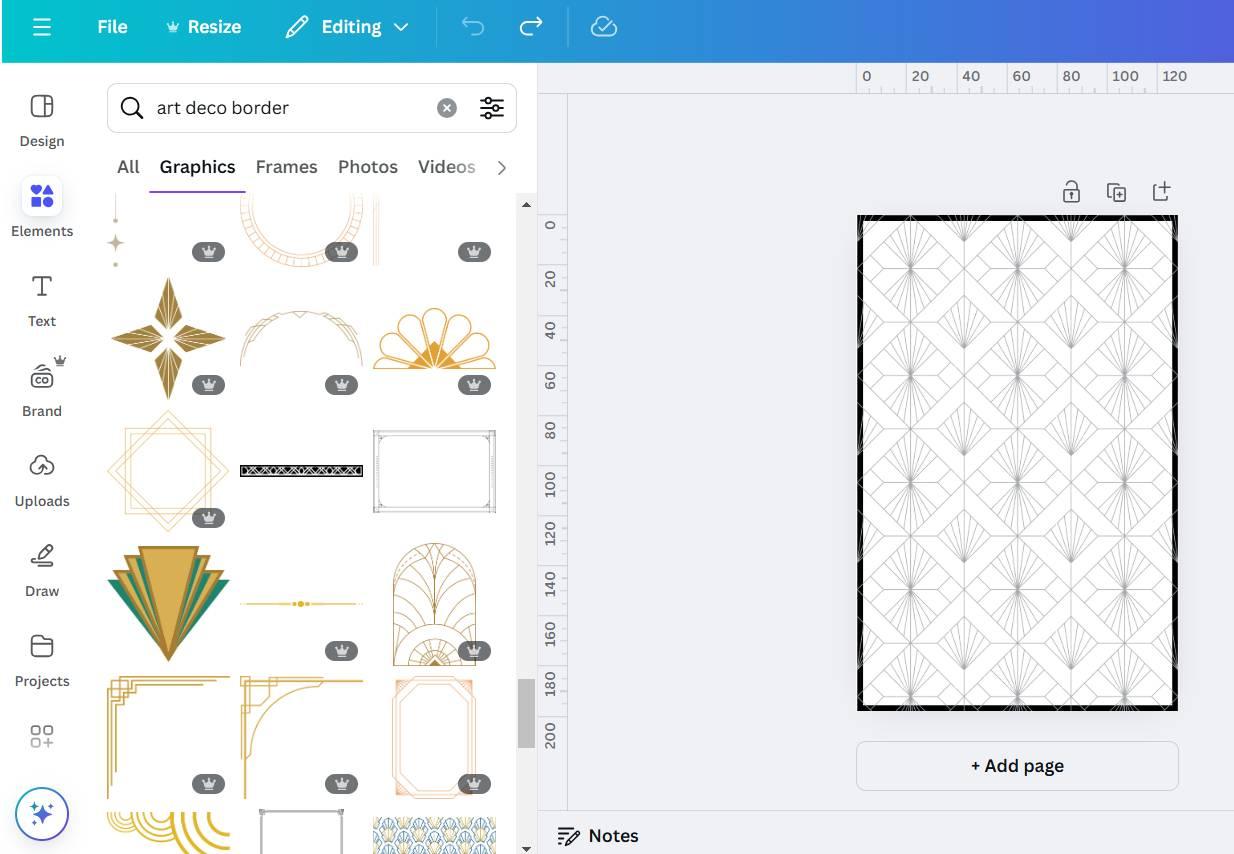
I then open up Canva and create a custom size image for my cover. This is the fun part as it's entirely up to you how you decorate it. For my first one I decided to find an art deco repeating pattern. I created a rectangle the same size as the panel and gave it a border - this will hopefully help to disguise the finger joints slightly once it's glued up. Then I added the repeating pattern.
I'm adding text later in Lightburn - there's a reason I don't do it in Canva which I'll come to later.
If you want the front and back to be identical then you only need to do one page, if you want them different just add another page and design that one separately. Download as an image file and then repeat for your other panels.
Summary -
- Obtain an SVG file of the closed box with 6 pieces: 2 front/back panels, 2 side panels, and 2 top/bottom panels.
- Open Canva and create a custom-sized image matching the panel dimensions for the cover design.
- Decorate the cover with a chosen pattern (e.g., art deco), and add a border to help disguise the finger joints when assembled.
- If identical front and back designs are desired, create only one page; otherwise, design each separately.
- Download the completed design as an image file and repeat the process for the remaining panels.
Create the Laser File
.png)
.png)
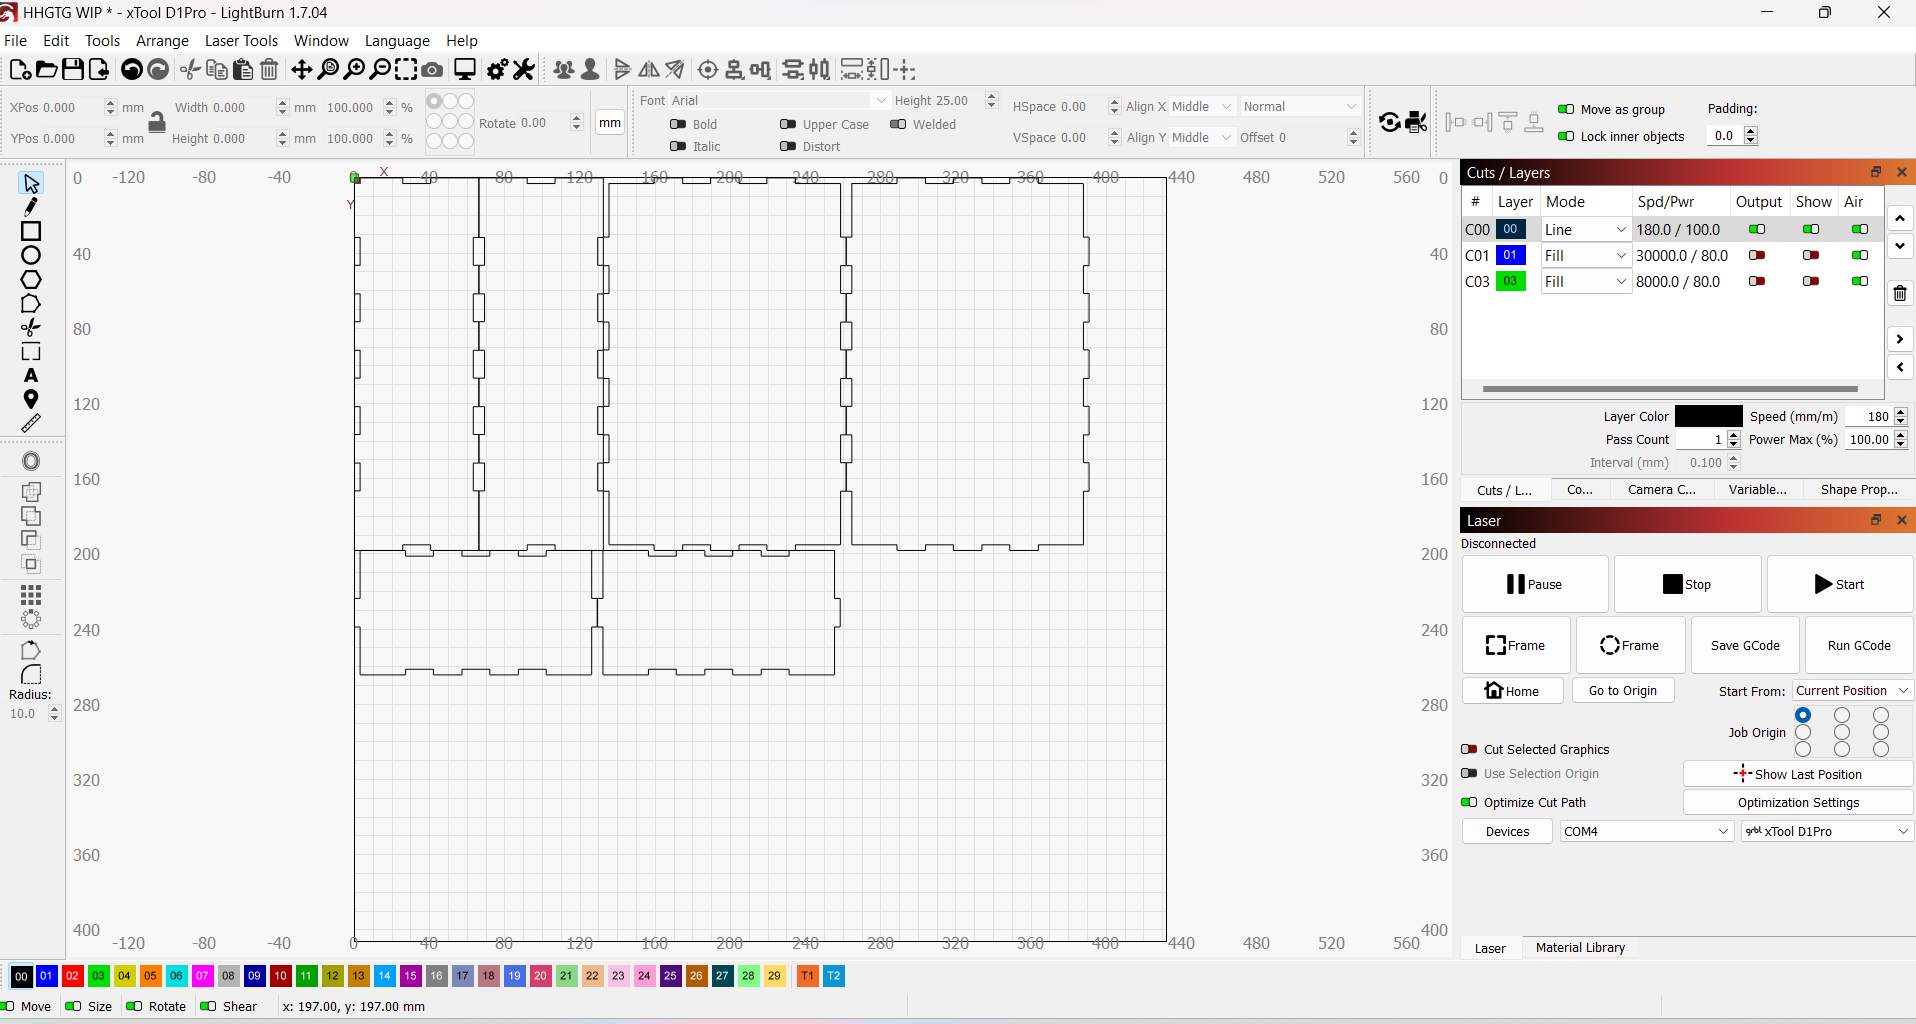
Open up your laser software and import the SVG that you downloaded from Boxes.py - you'll want to rotate the svg so the panels are as they will be when you're using them. This isn't 100% necessary but it definitely makes things a LOT easier.
If you're having two identical panels of each - the same front / back, the same both sides and the same top/bottom then delete one of each so you're only working on one panel - it makes it easier to see whats going on.
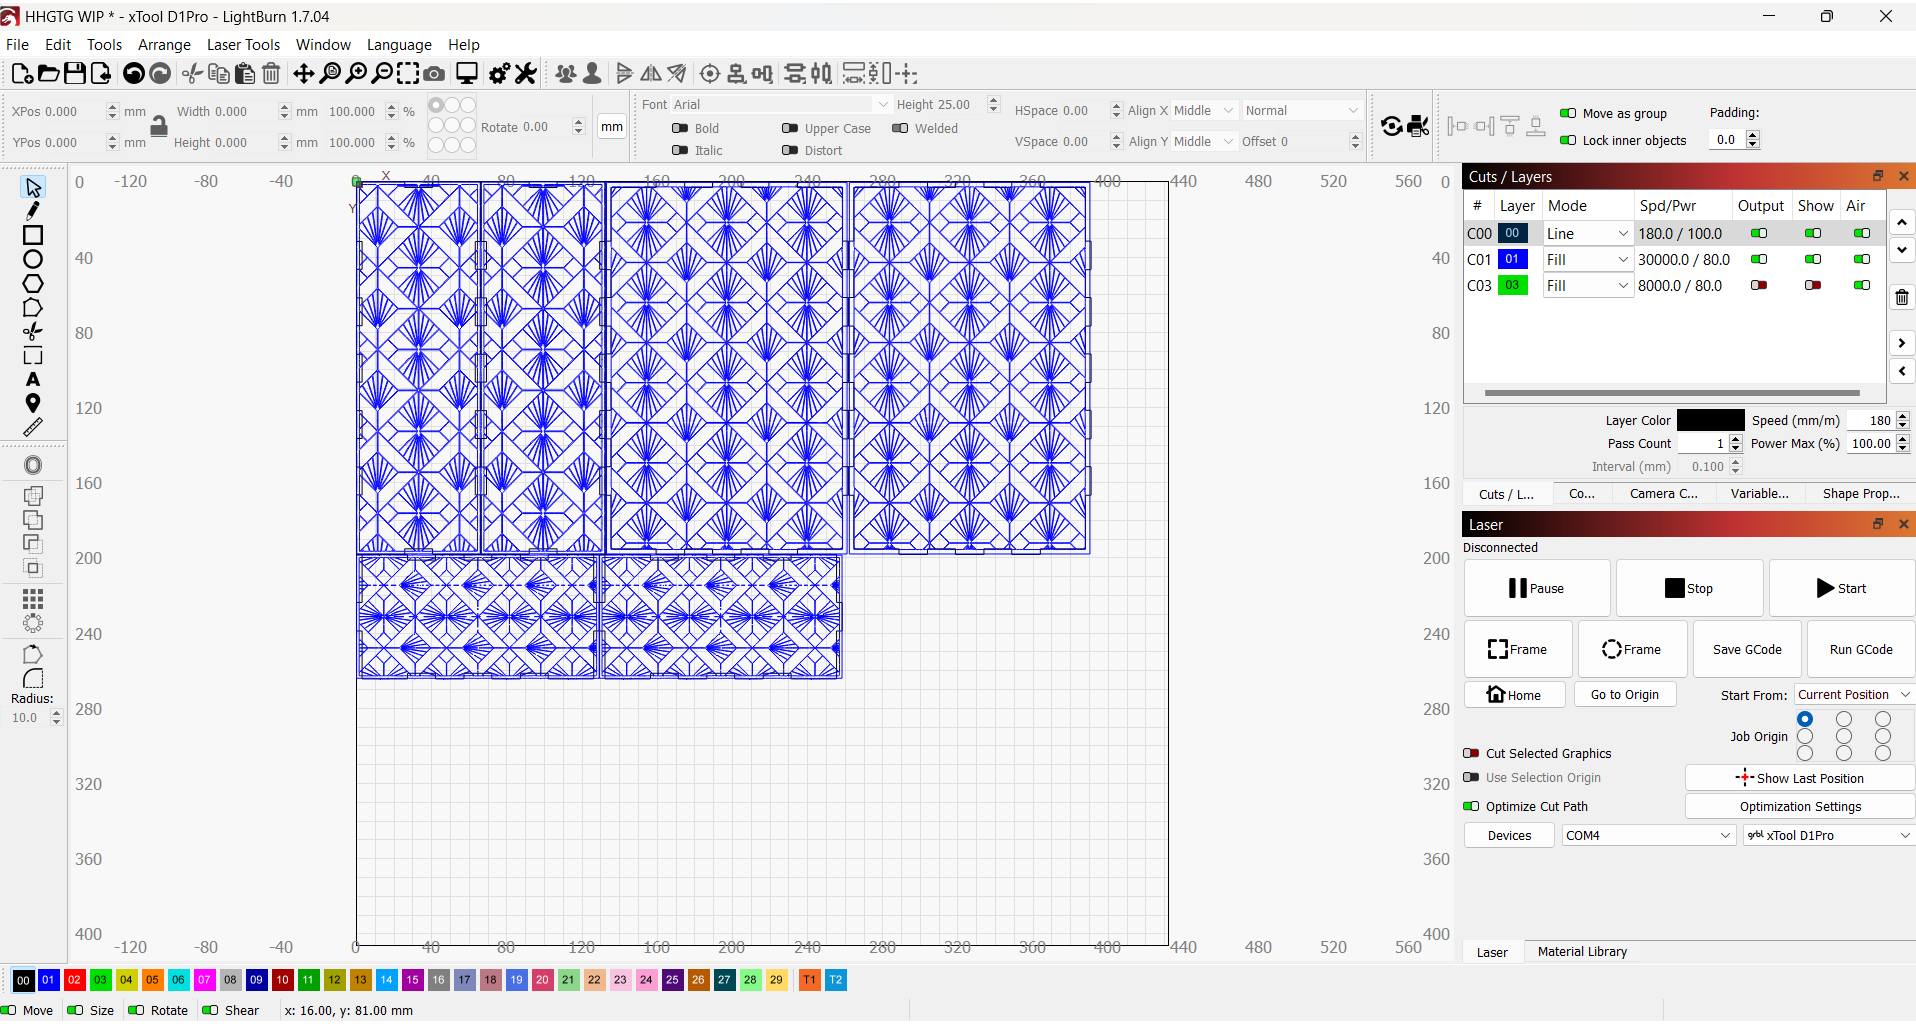
Import your first image file and in the 'Tools' menu click 'Trace Image' (Alt+T). Depending on which image you used and the amount of colours in it you may have to fiddle with the threshold a while - you want it so as much of your image as possible is highlighted in pink. Then click 'Okay'
Check your dimensions in the top bar - these should match your panel size but if they're slightly out you can adjust them now. You want it so that the image is going to fit over the panel including the tabs - this is why we added the border earlier. Once you're happy with this make sure the image is set to a different layer than the cut layer (I tend to use black for my cut and blue for my first fill layer) and then arrange so the image is over the panel. There are many ways to make sure these line up but I find the easiest is to select both and then align centres.
Repeat for each panel. Copy and paste any panels that are to be identical.
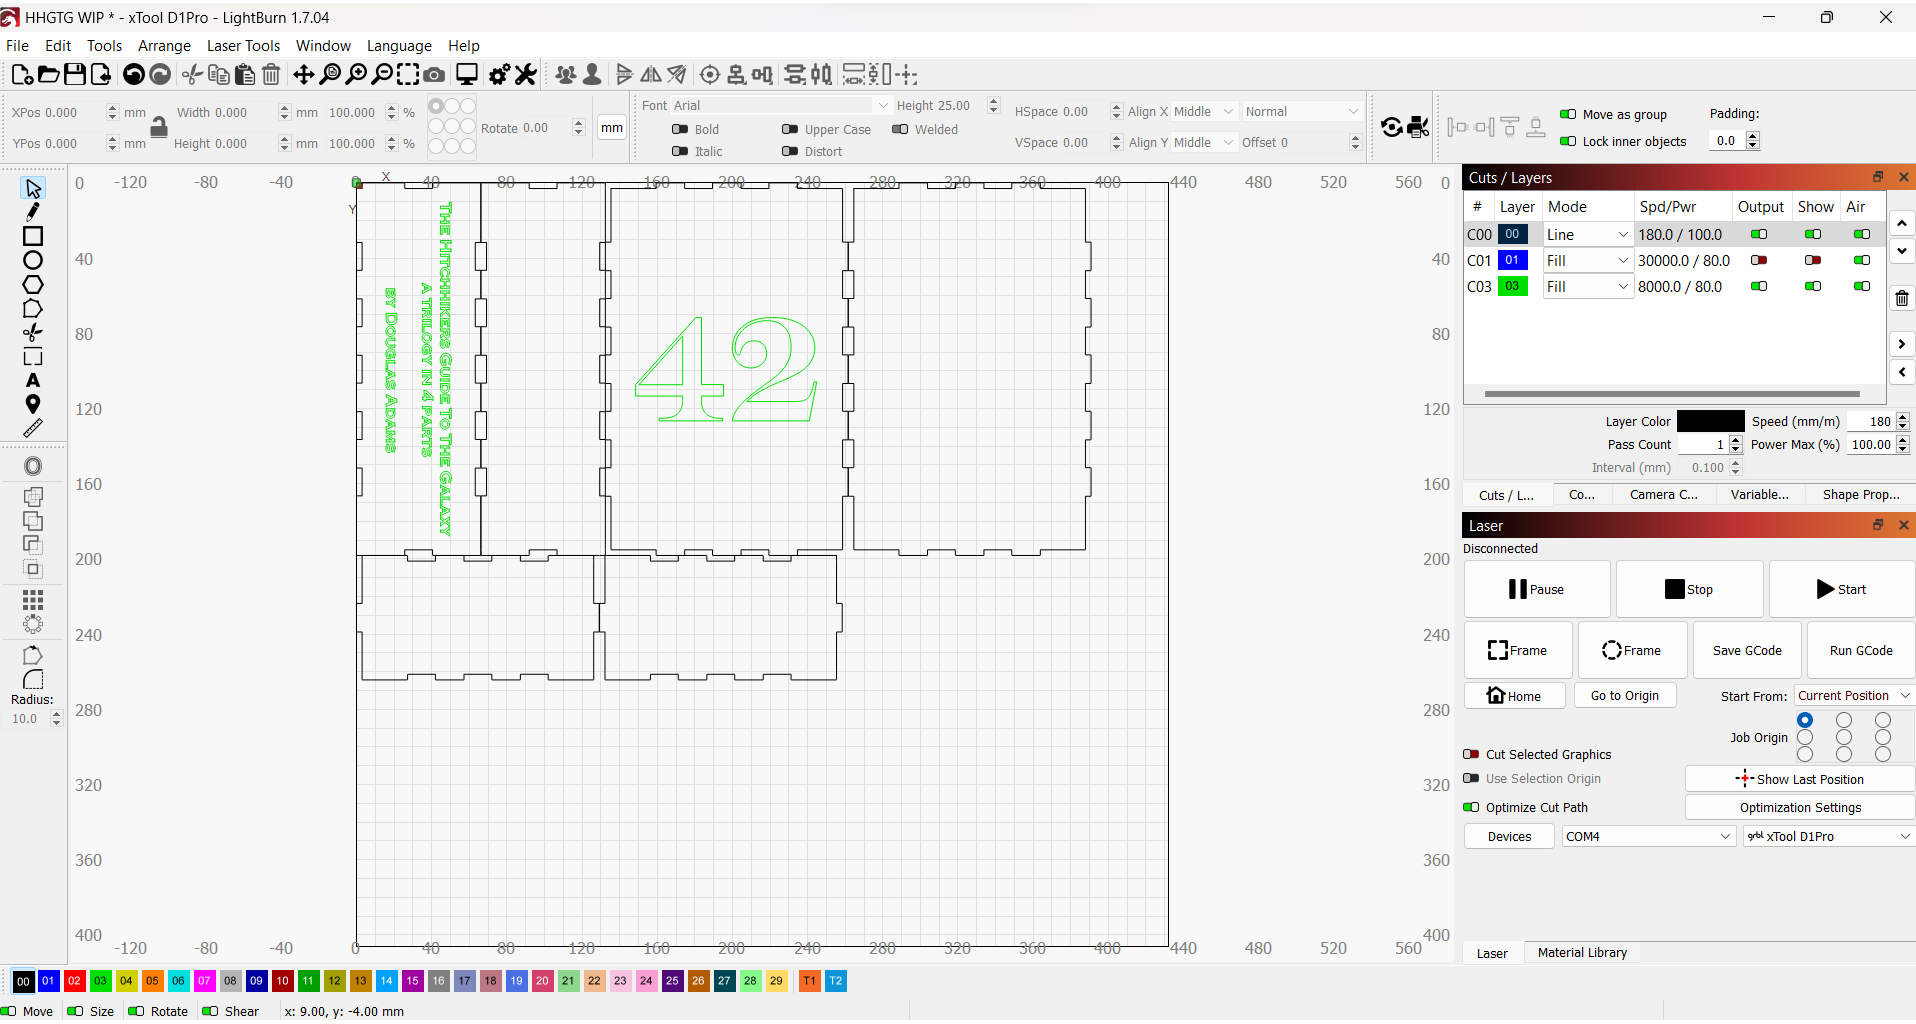
Add any text that you require and set this to a third output layer.
You should now have three output layers - the cut layer and two separate engrave layers. Your cut settings will depend on your materials and machine - I use 180mm/min for cut, 30000mm/min for the lighter engrave layer and 8000 mm/min for the text layer. But you'll have a better idea of what works for you.
Run the job.
Summary -
- Open your laser software and import the SVG file from Boxes.py.
- If you have identical panels (front/back, sides, top/bottom), delete duplicates to focus on one of each.
- Import the first image file and use the 'Trace Image' tool (Alt+T) to outline the design. Adjust the threshold to highlight as much of the image as possible in pink, then click 'Okay'.
- Check and adjust dimensions in the top bar to match the panel size, ensuring the image covers the panel, including the tabs.
- Set the image to a different layer than the cut layer (e.g., blue for the image, black for the cut), and align the image over the panel using 'align centres'.
- Repeat the process for each panel, copying and pasting identical panels as needed.
- Add any required text and assign it to a third output layer.
- Ensure you have three output layers: one for cutting and two for engraving. Adjust settings based on your machine and materials
- Run the job.
Construct the Box
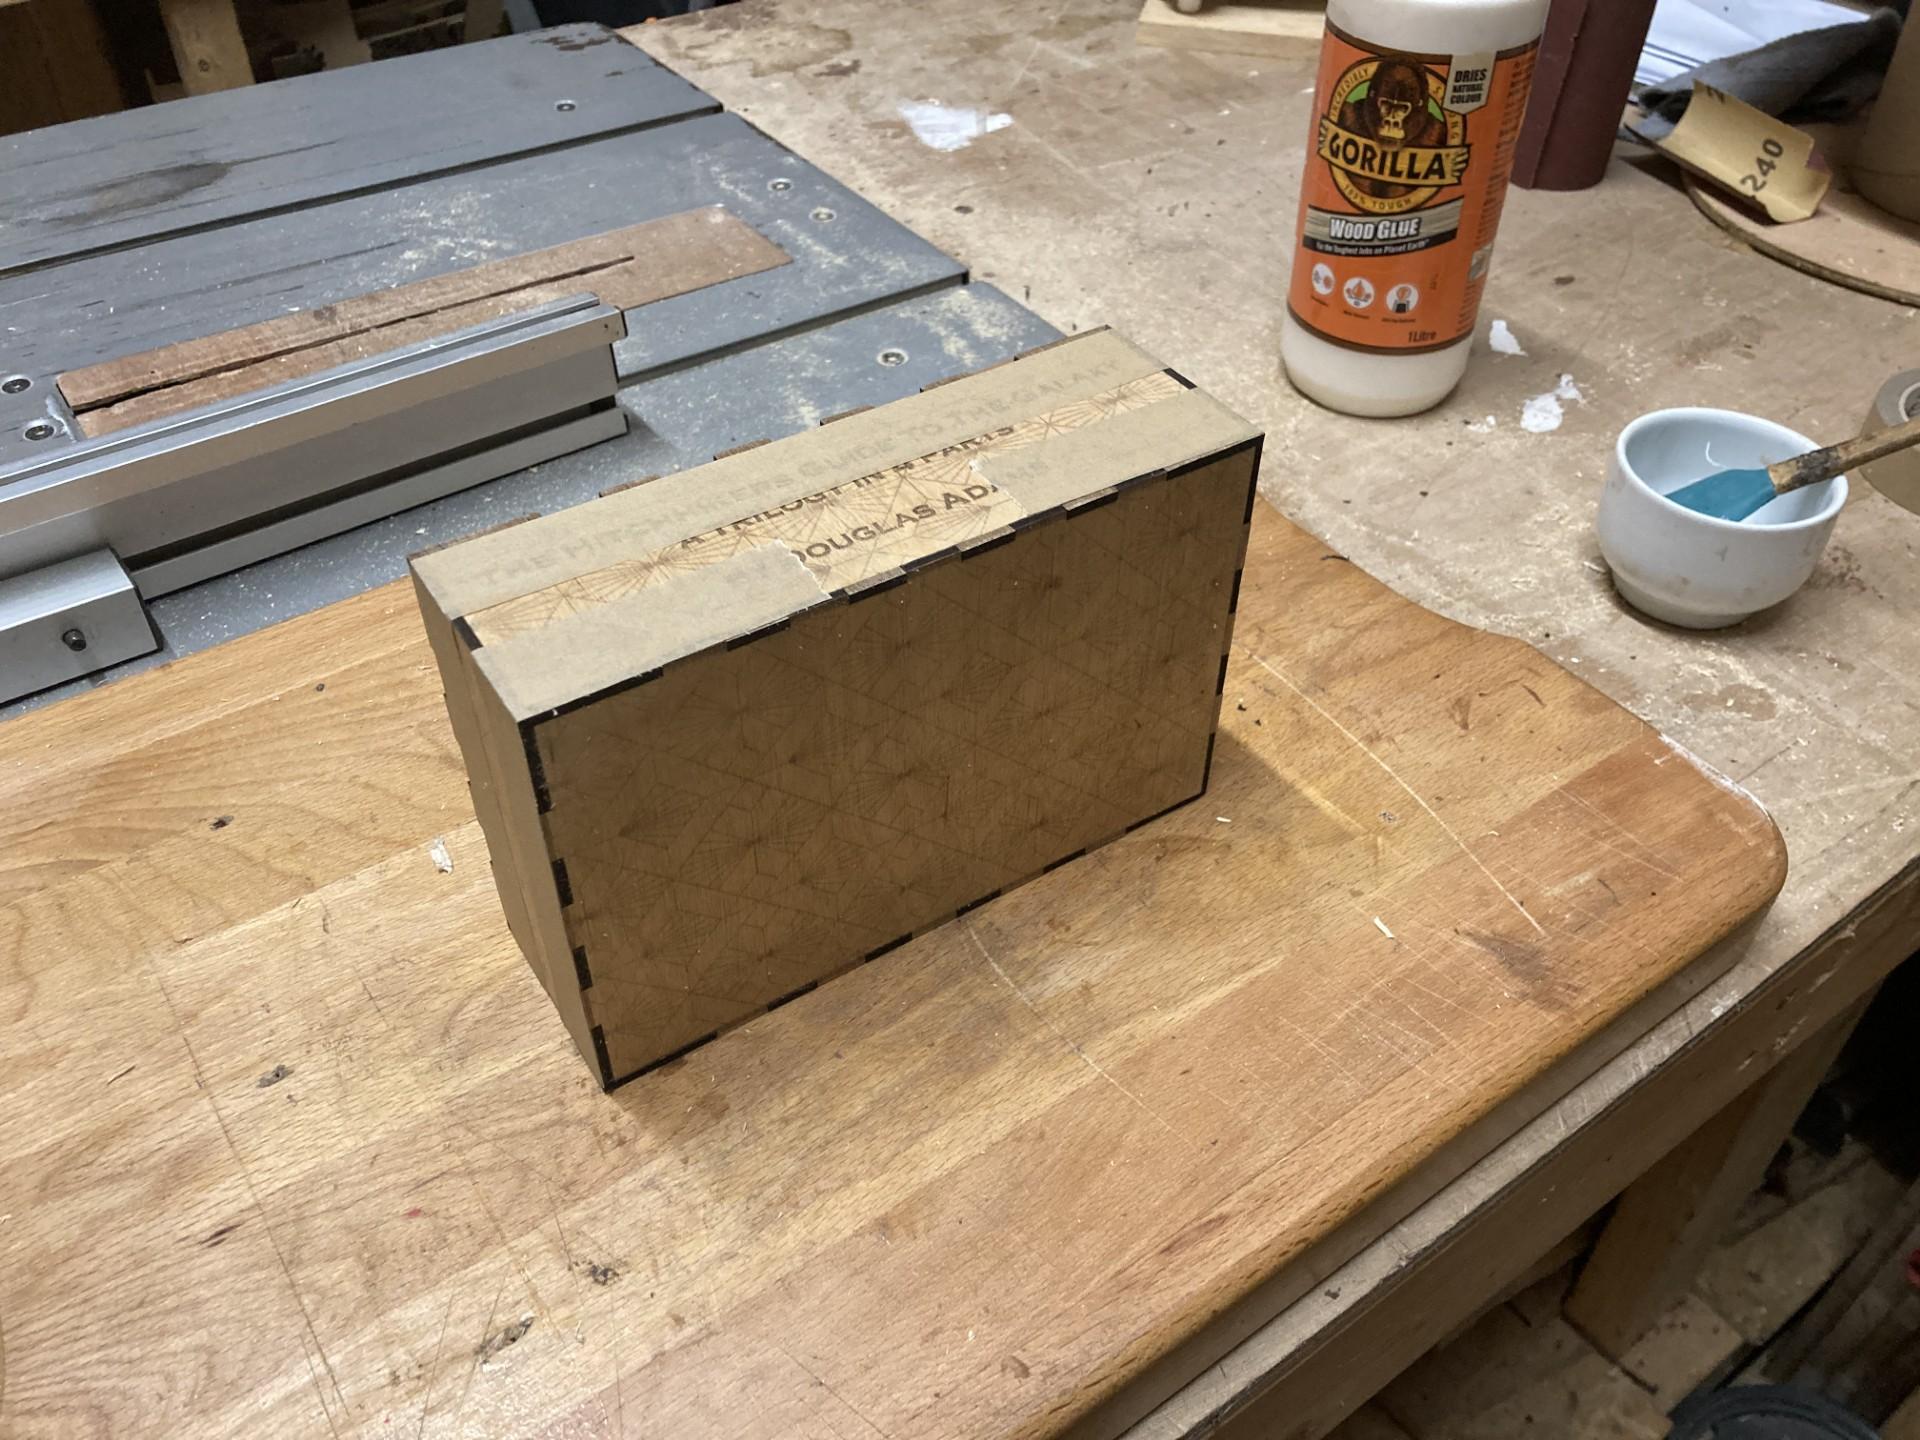
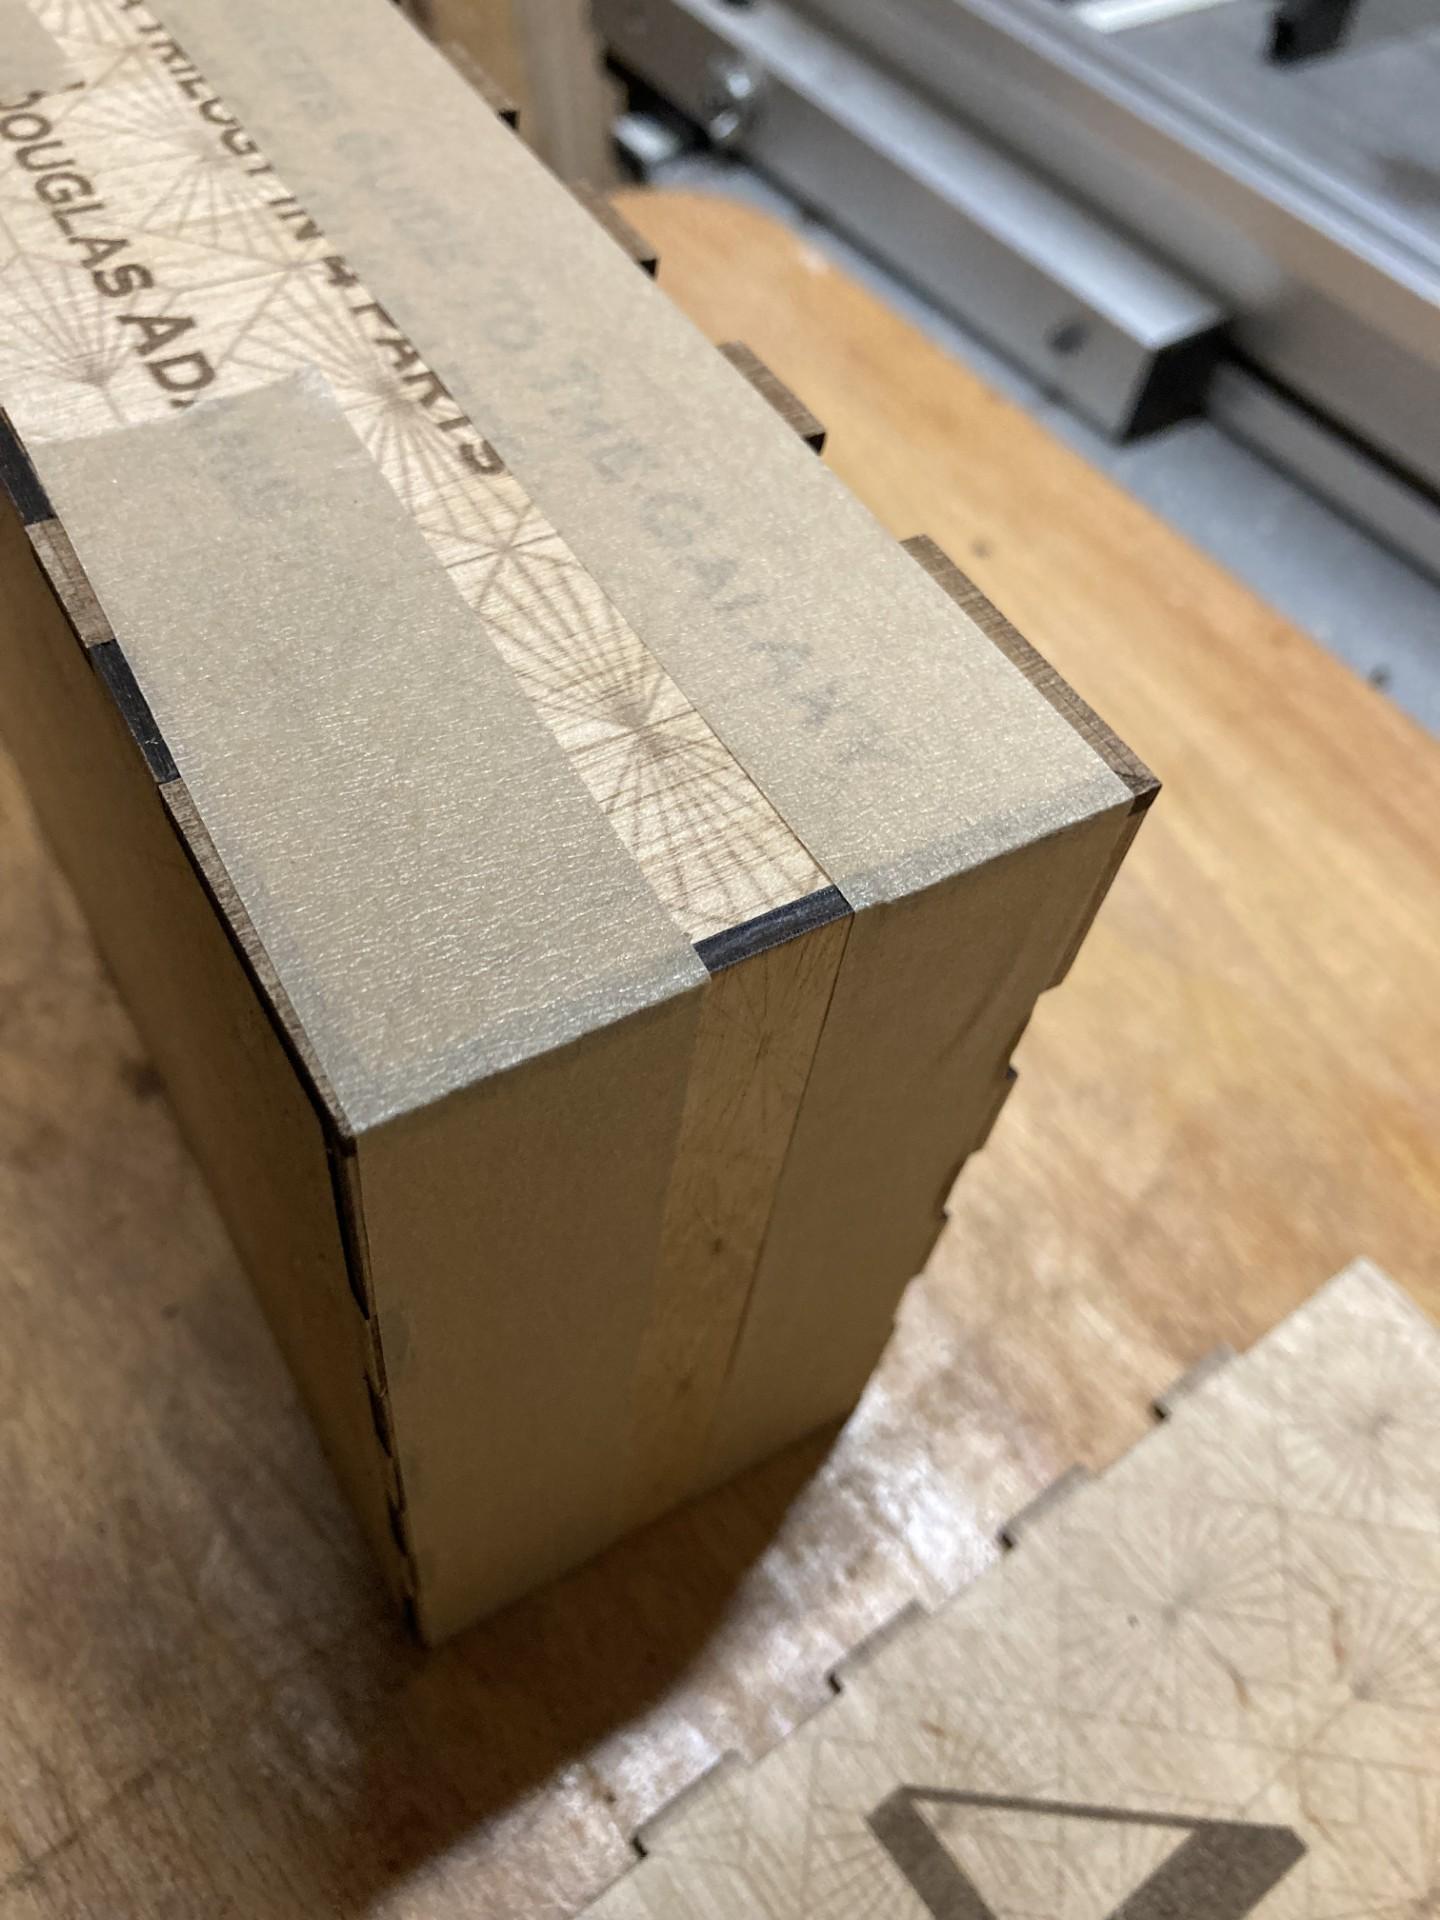
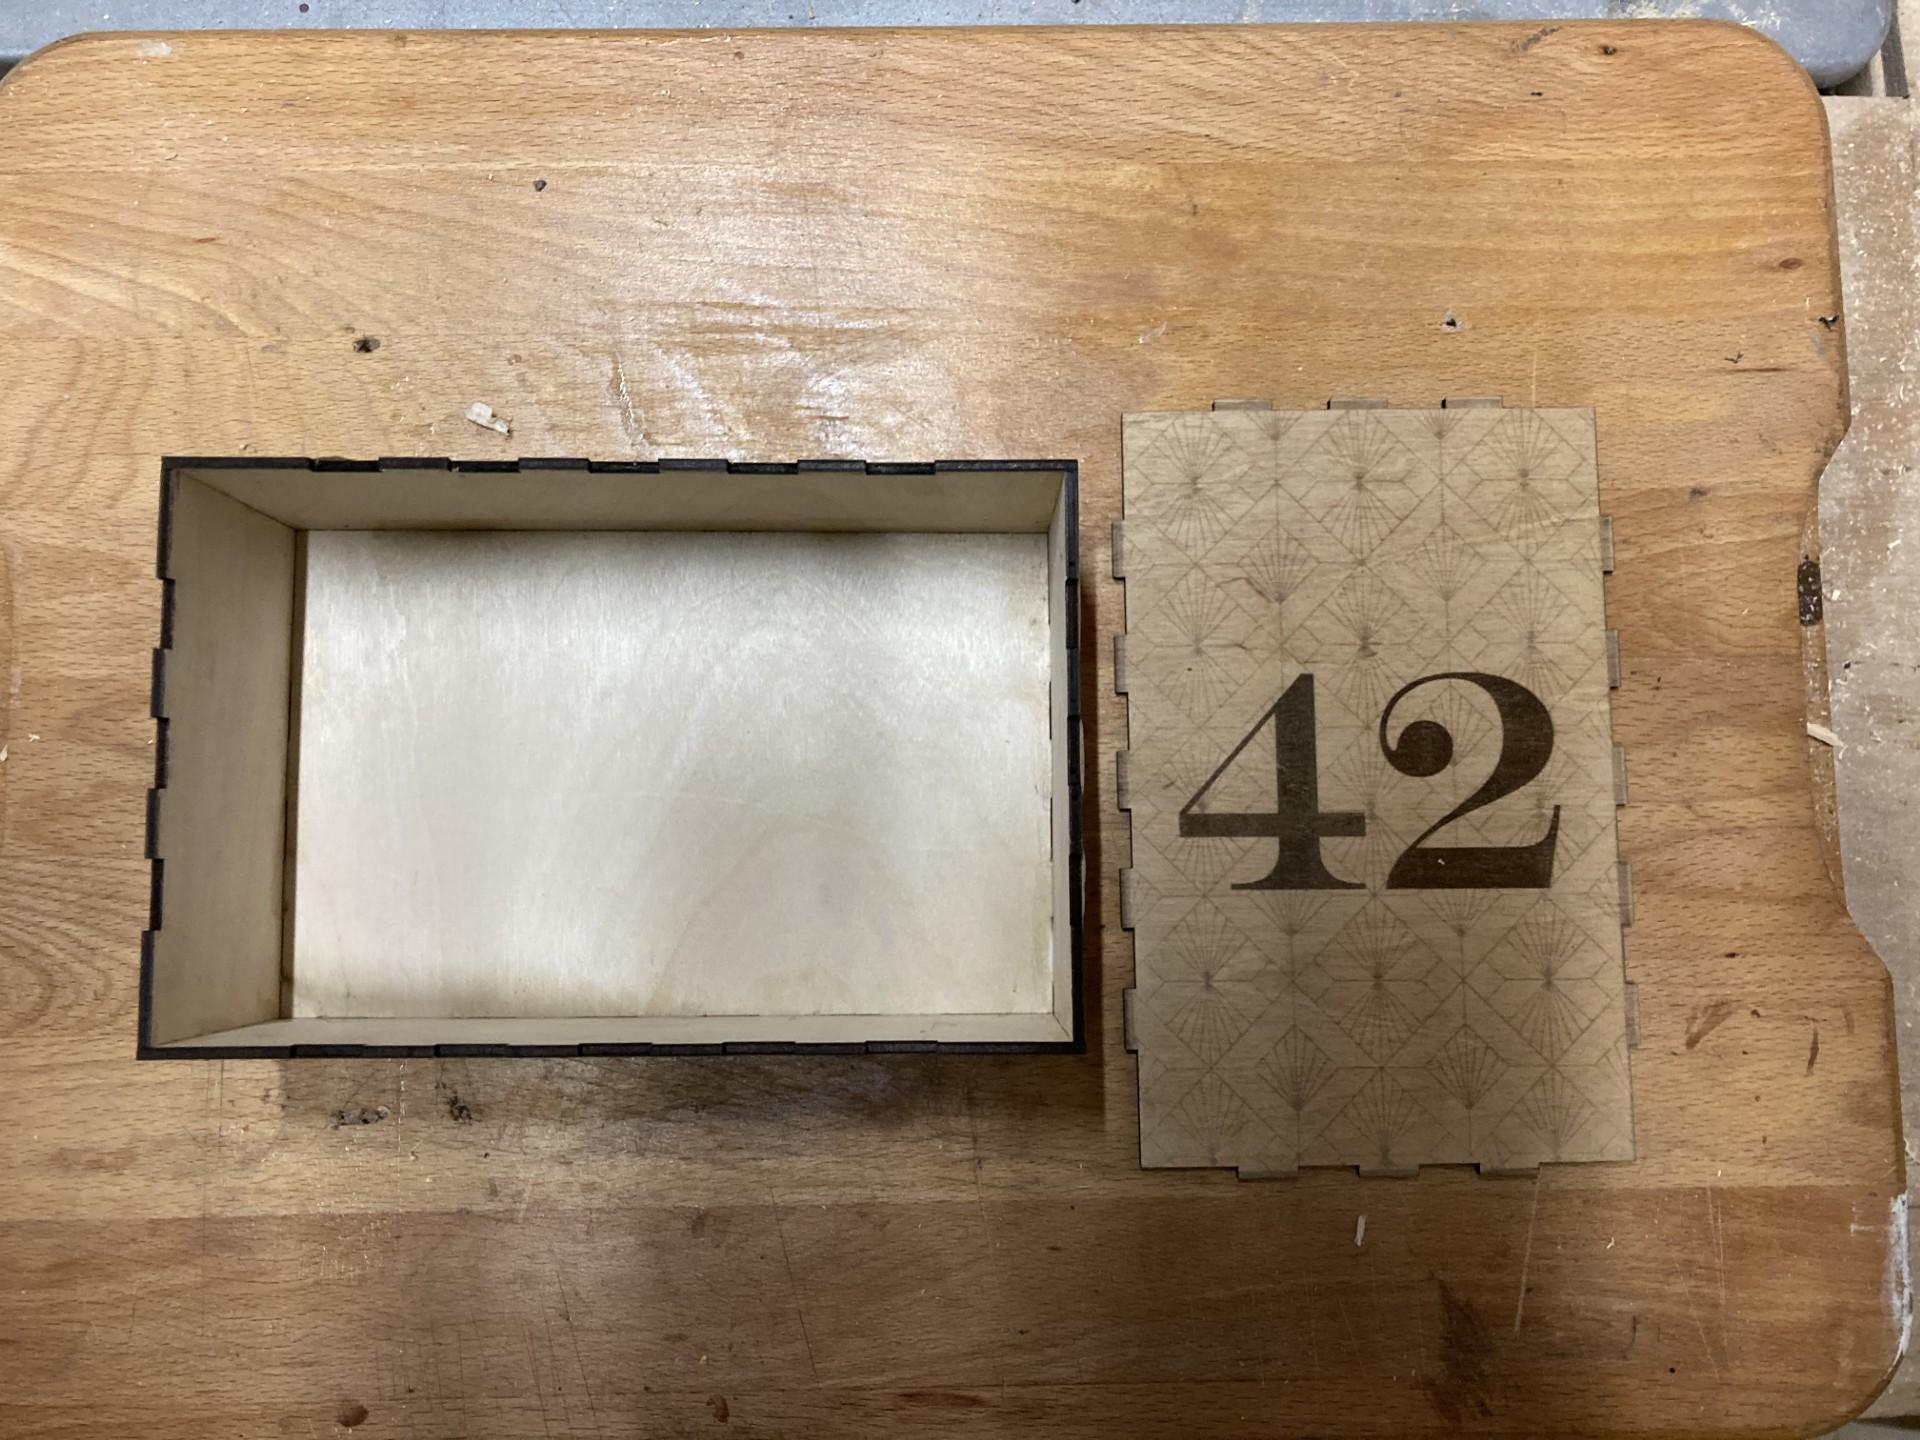

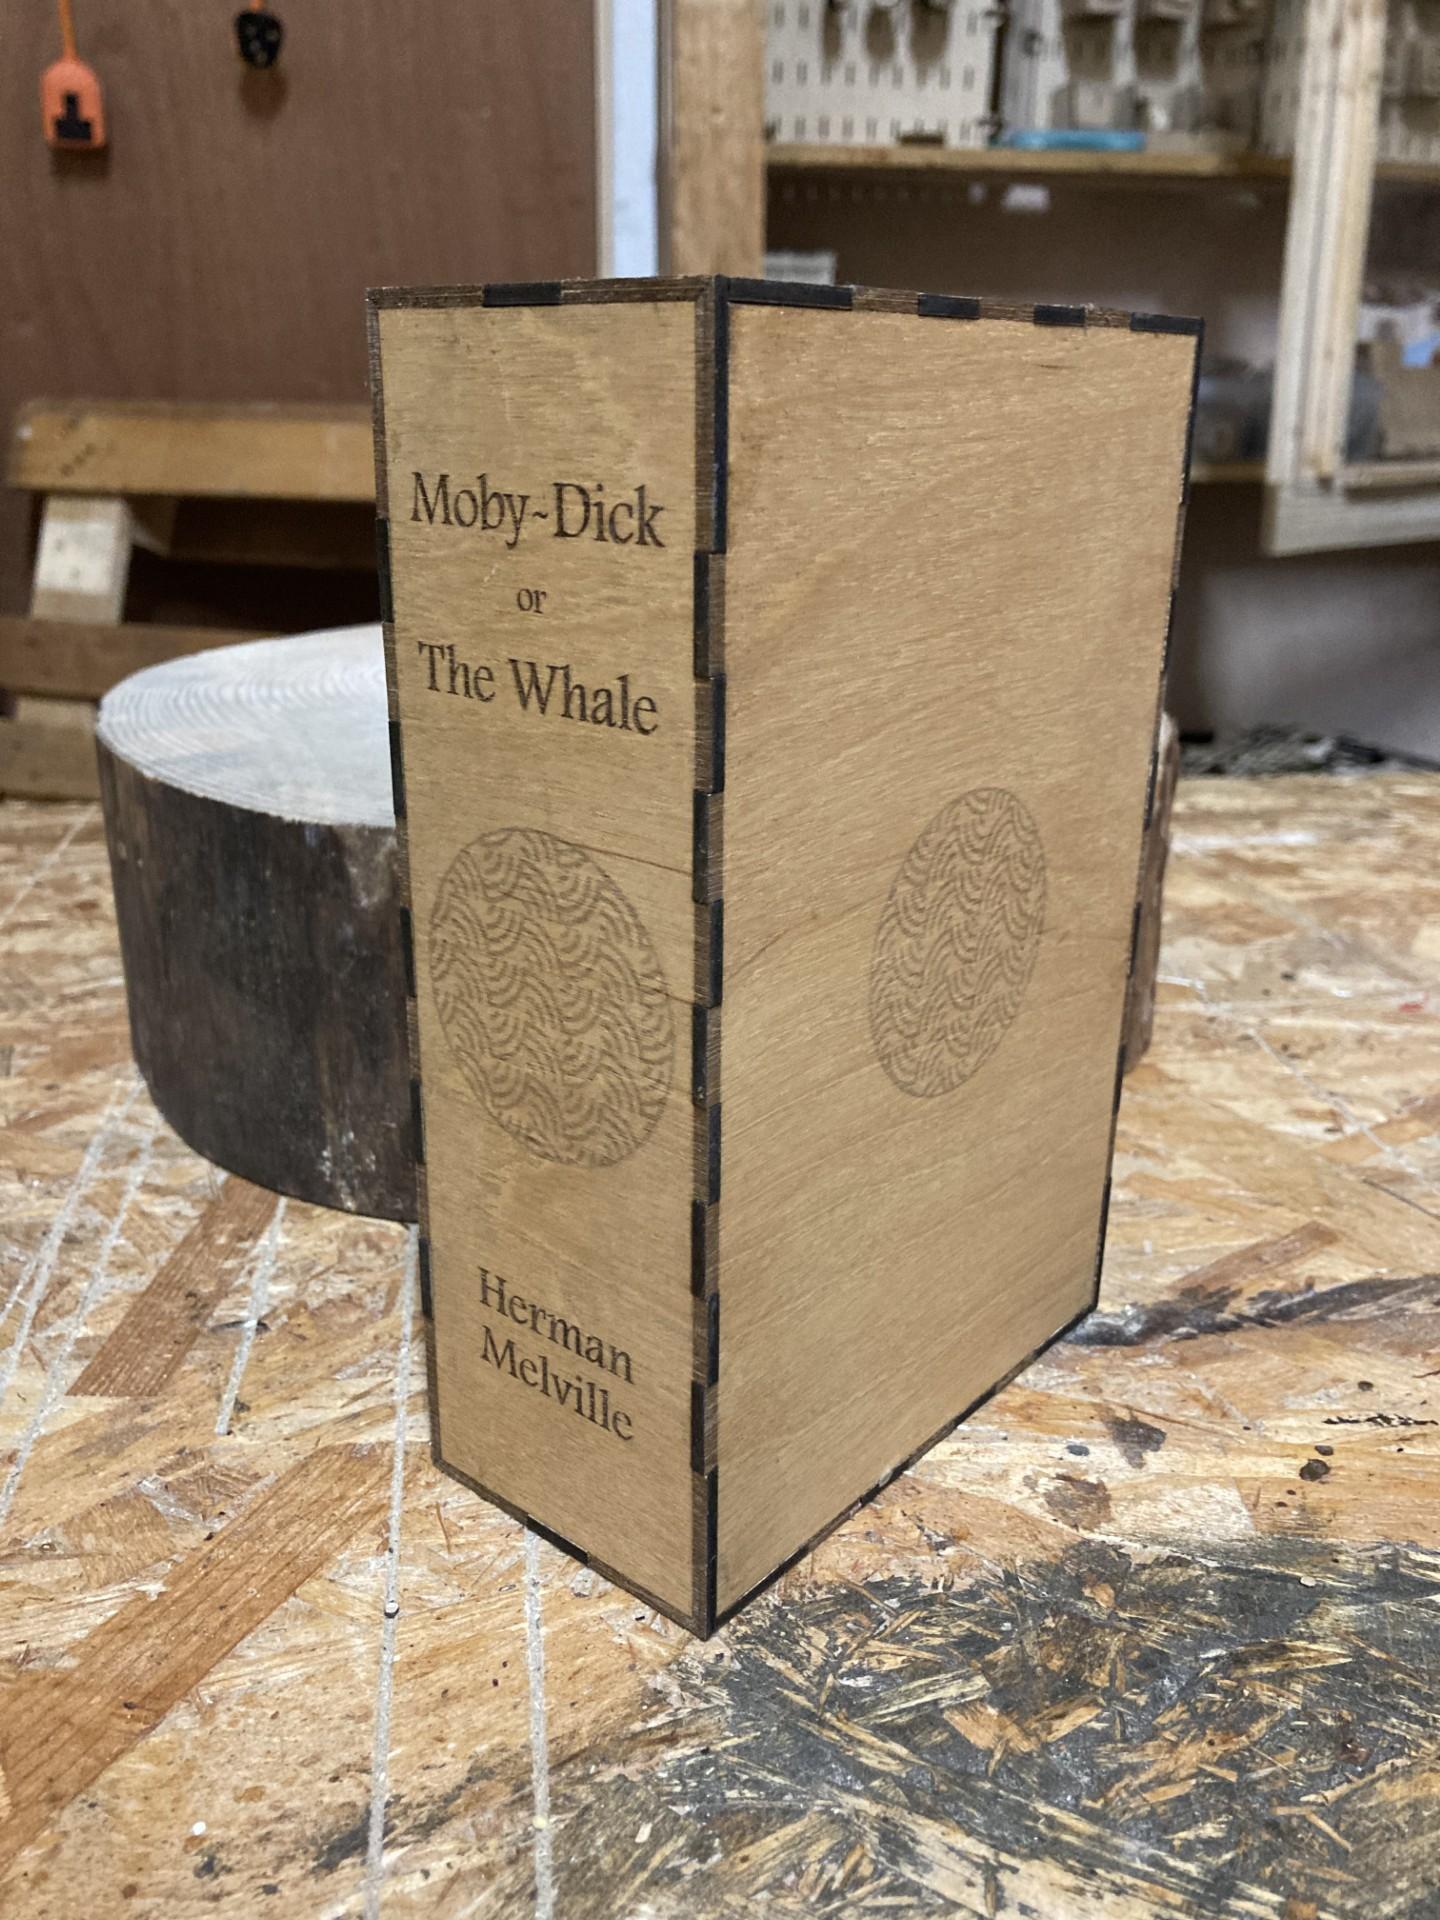
You will now have six panels. If you plan to stain them, now is the time to do so. I prefer using Osmo Polyx oils, but feel free to use any stain you like.
Once the stain has dried, apply glue to the tabs on five of the panels, leaving out one of the largest panels for now. Assemble the glued panels into an open box. To hold the panels in place while the glue dries, you can use tape.
Allow the glue to fully dry and cure. This step is important because you'll be adding weight inside the box, and you want to ensure the glue is strong enough to hold everything securely.
Next, you’ll need something to contain the sand inside the box. An empty plastic bag from a roll of filament works well, but any plastic bag that can spread out and fill most of the box will suffice. Place the bag inside the box and fill it with sand until the box is almost full.
Seal the bag tightly. I recommend wrapping it with tape to ensure there are no gaps. If the bag has room to move around, fill any empty spaces with materials like waste paper or cardboard. This helps prevent the sand from shifting inside the box, which could eventually break the seal.
Finally, glue the last panel onto the box, secure it with tape, and let it dry.
Once dry, your project is complete and ready to display with pride!
Summary -
- Prepare six panels; stain them if desired (e.g., Osmo Polyx oils).
- Once dry, apply glue to tabs on five panels (leave out one large panel).
- Assemble the glued panels into an open box; use tape to hold them while drying.
- Let the glue fully cure before adding weight inside.
- Place a plastic bag inside the box and fill it with sand until nearly full.
- Seal the bag tightly with tape; fill gaps with paper or card to prevent shifting.
- Glue on the last panel, tape it, and let it dry.
- Display the finished box proudly!