Laser Mark Alien on Stones
by thunderlaser-nolan in Workshop > Laser Cutting
988 Views, 4 Favorites, 0 Comments
Laser Mark Alien on Stones
.png)
A laser-marked stone is a simple way to turn an ordinary rock into a small piece of art.
With the Aurora Lite, you can mark an alien design onto stone and create a fun decoration for your desk, shelf, or gift box.
In this tutorial, you’ll learn how to laser mark an alien-themed stone step by step. It’s a beginner-friendly project for small gifts, desk decor, or creative display pieces.
Supplies
Key Information
Laser Machines
Material Needed
Stones
Settings
Speed: 2000mm/s
Max Power: 45%
Min Power: 20%
Frequency: 50kHz
DPI: 1000
Image Mode: 3D Sliced
Passes: 400
Dot Width: 0.08
Downloads
Prepare & Position the Material
.png)
Choose a clean, dry stone with a fairly flat marking area.
Place it securely in the machine so it stays stable during marking, and make sure the surface you want to mark is facing the laser head.
Import & Adjust the Design File
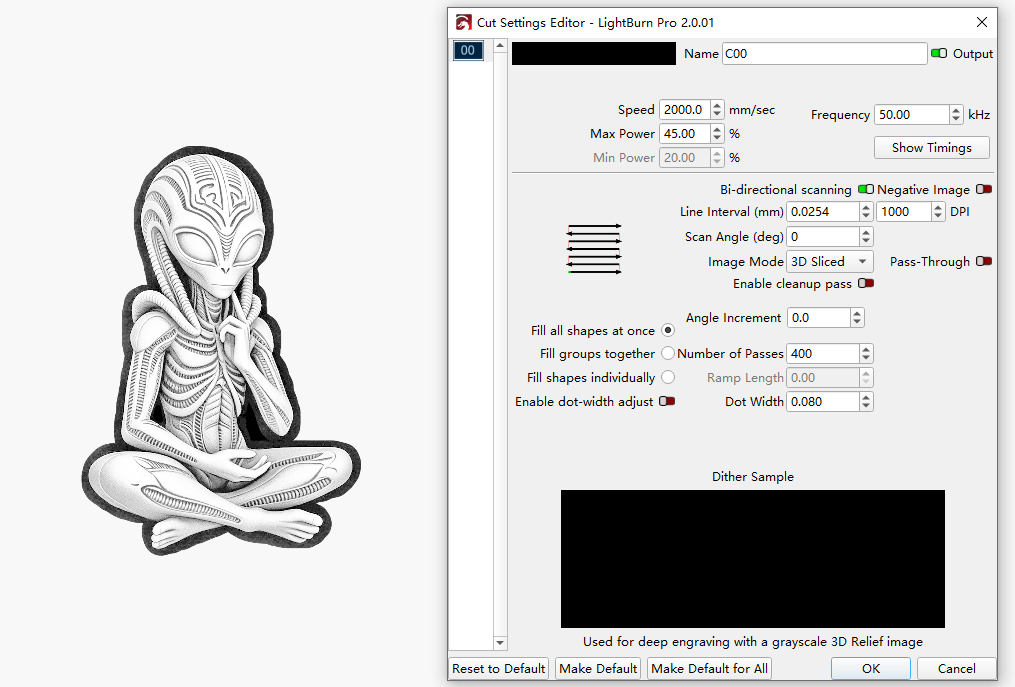
Import the alien design into your marking software and adjust the size to fit the stone surface.
Position the artwork carefully and check that it sits within the usable marking area.
Set the Correct Laser Focus
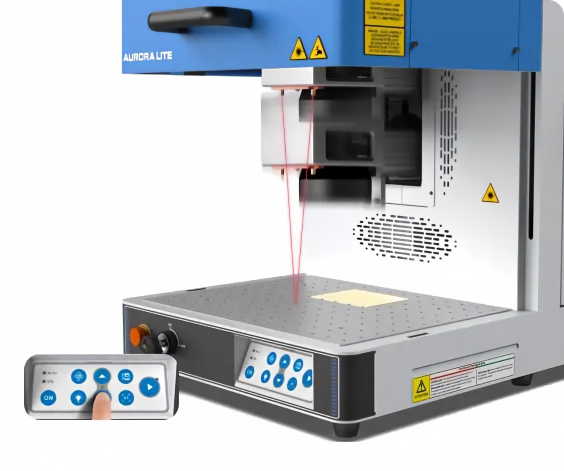
Set the correct focus before marking.
On the Aurora Lite, you can use the red-dot focus assist or the focus stick. If the stone surface is uneven, level it as much as possible and use manual focus for better accuracy.
Frame the Design & Start Laser Marking
.png)
Use the Frame function first to check the marking position on the stone.
Once the outline looks right, start the marking process and stay nearby to monitor the job as the alien image develops.
Post Processing
.png)
When marking is finished, remove the stone and wipe away any dust from the surface.
Check the final image, and if needed, gently clean the stone again so the alien design looks clear and ready for display.