Leather and Steel Championship Belt
by awoodbridge in Craft > Leather
30 Views, 0 Favorites, 0 Comments
Leather and Steel Championship Belt
.jpeg)
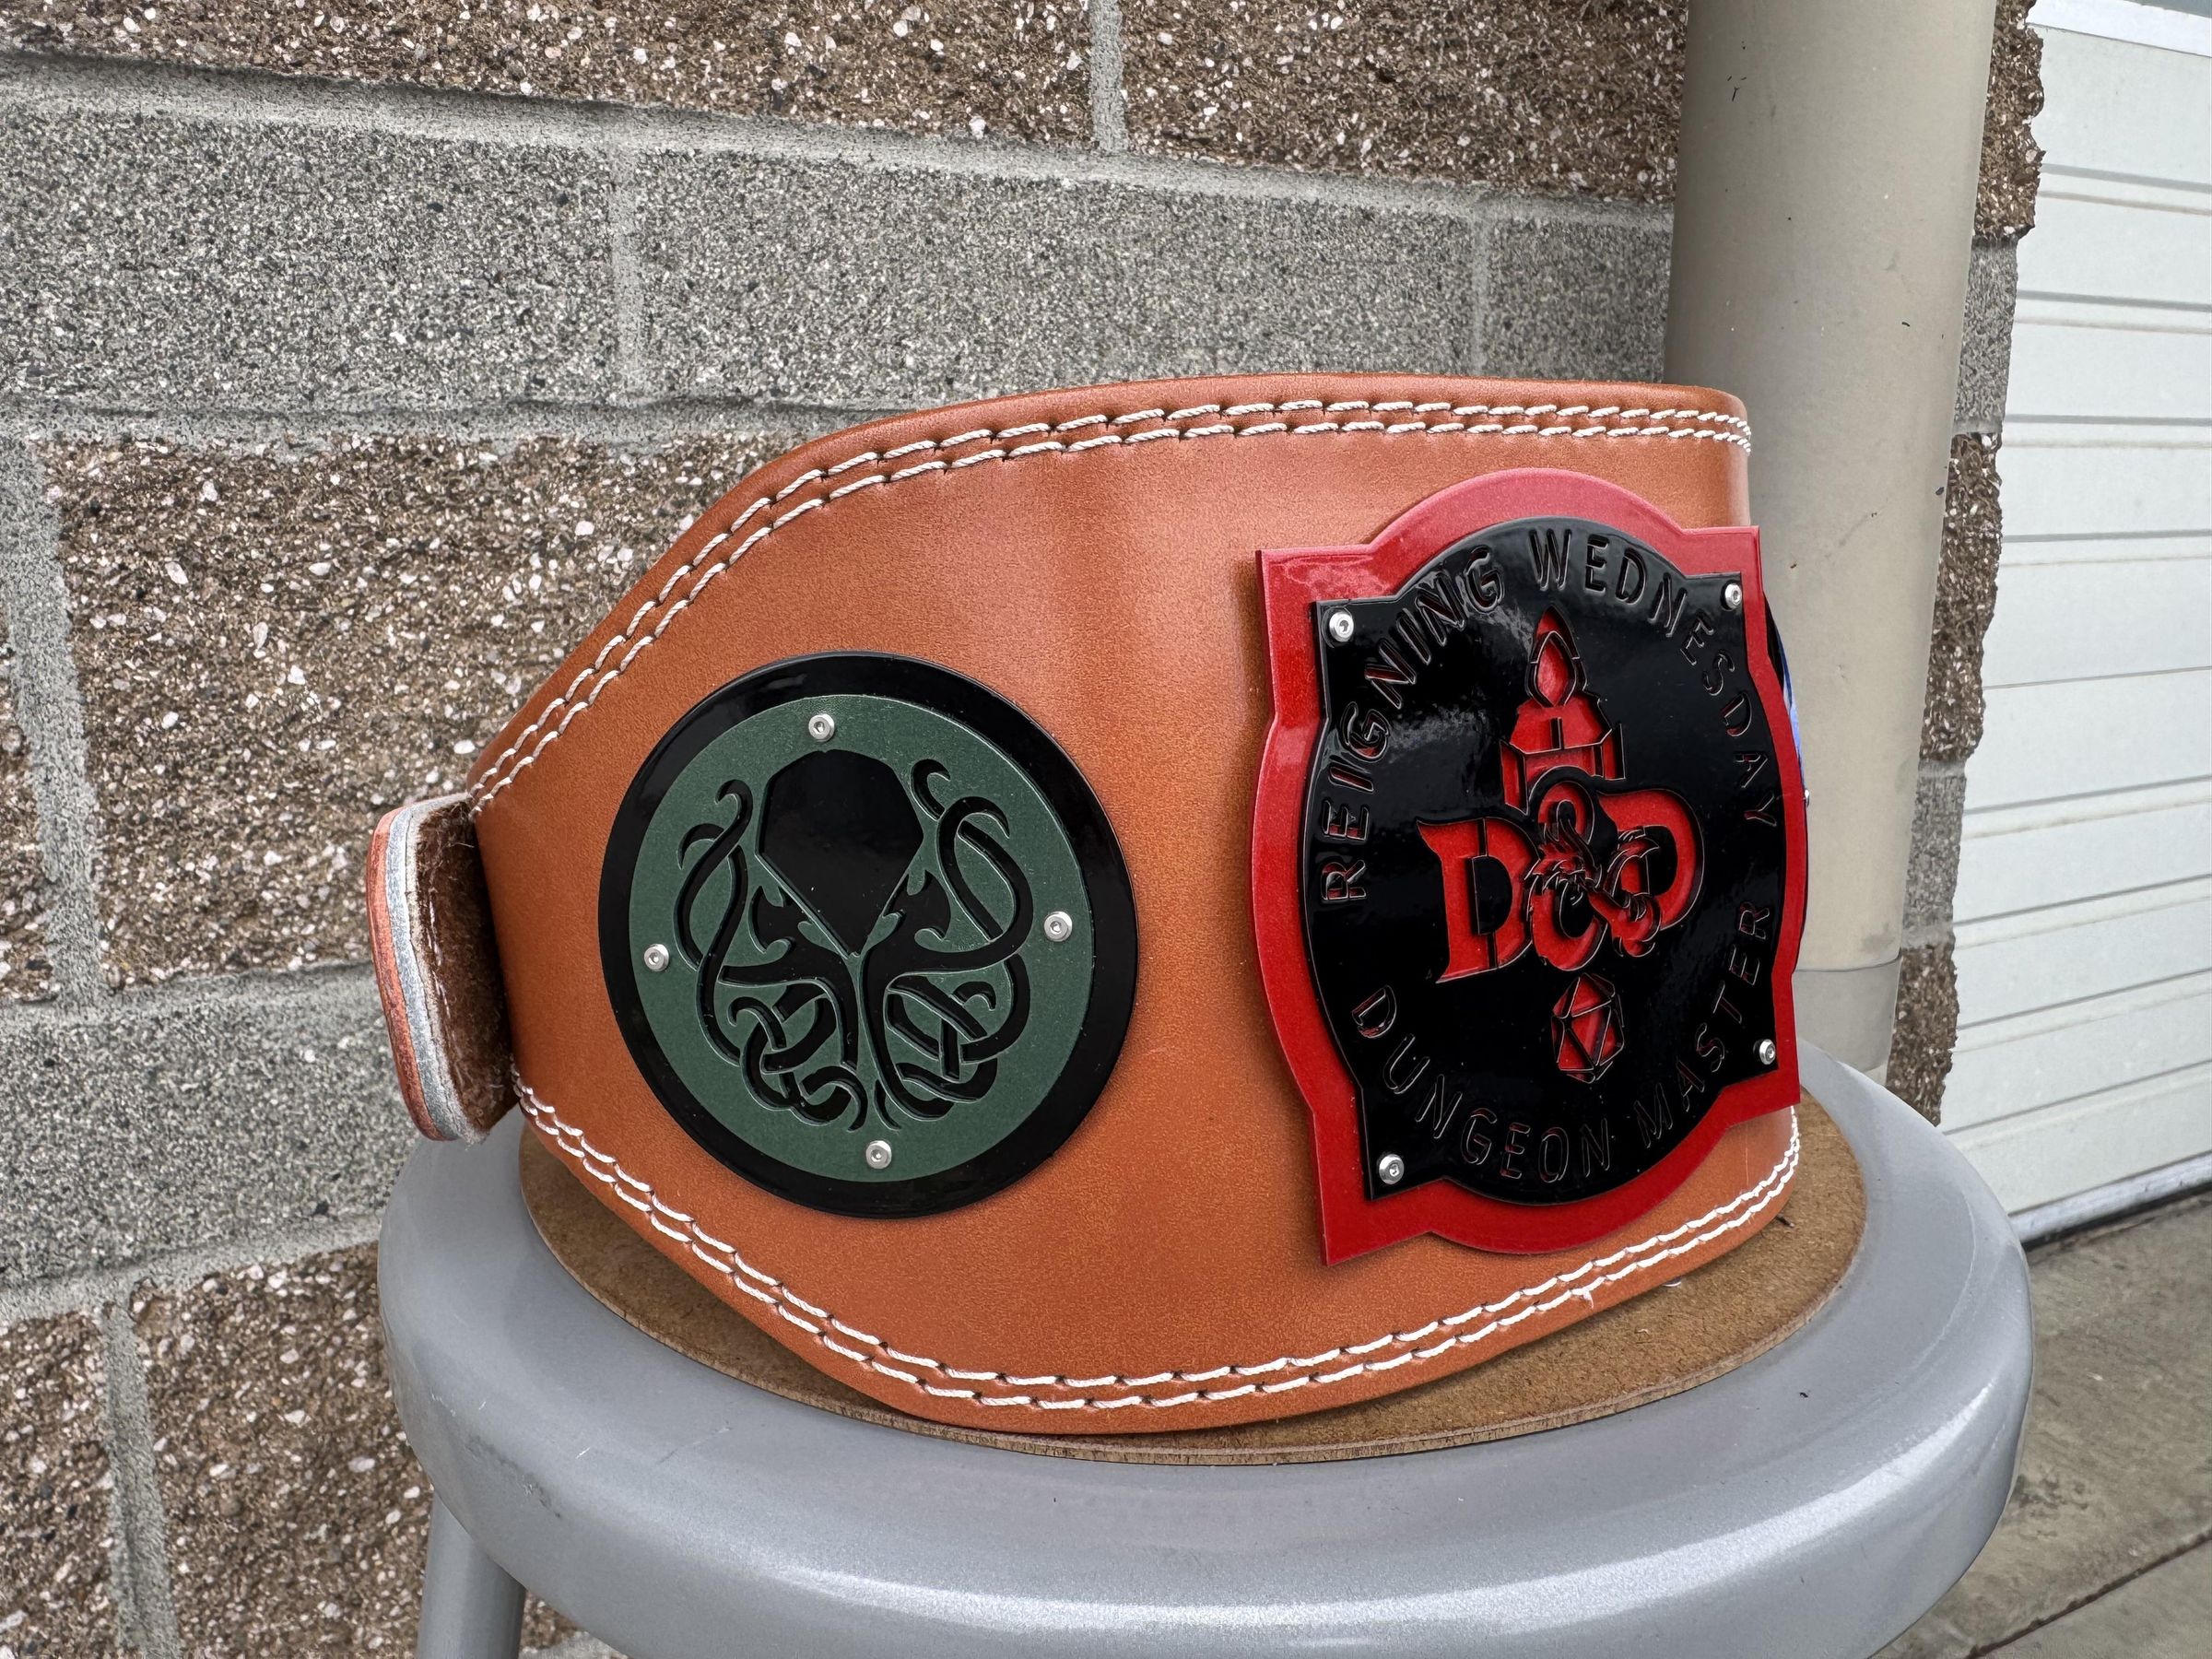
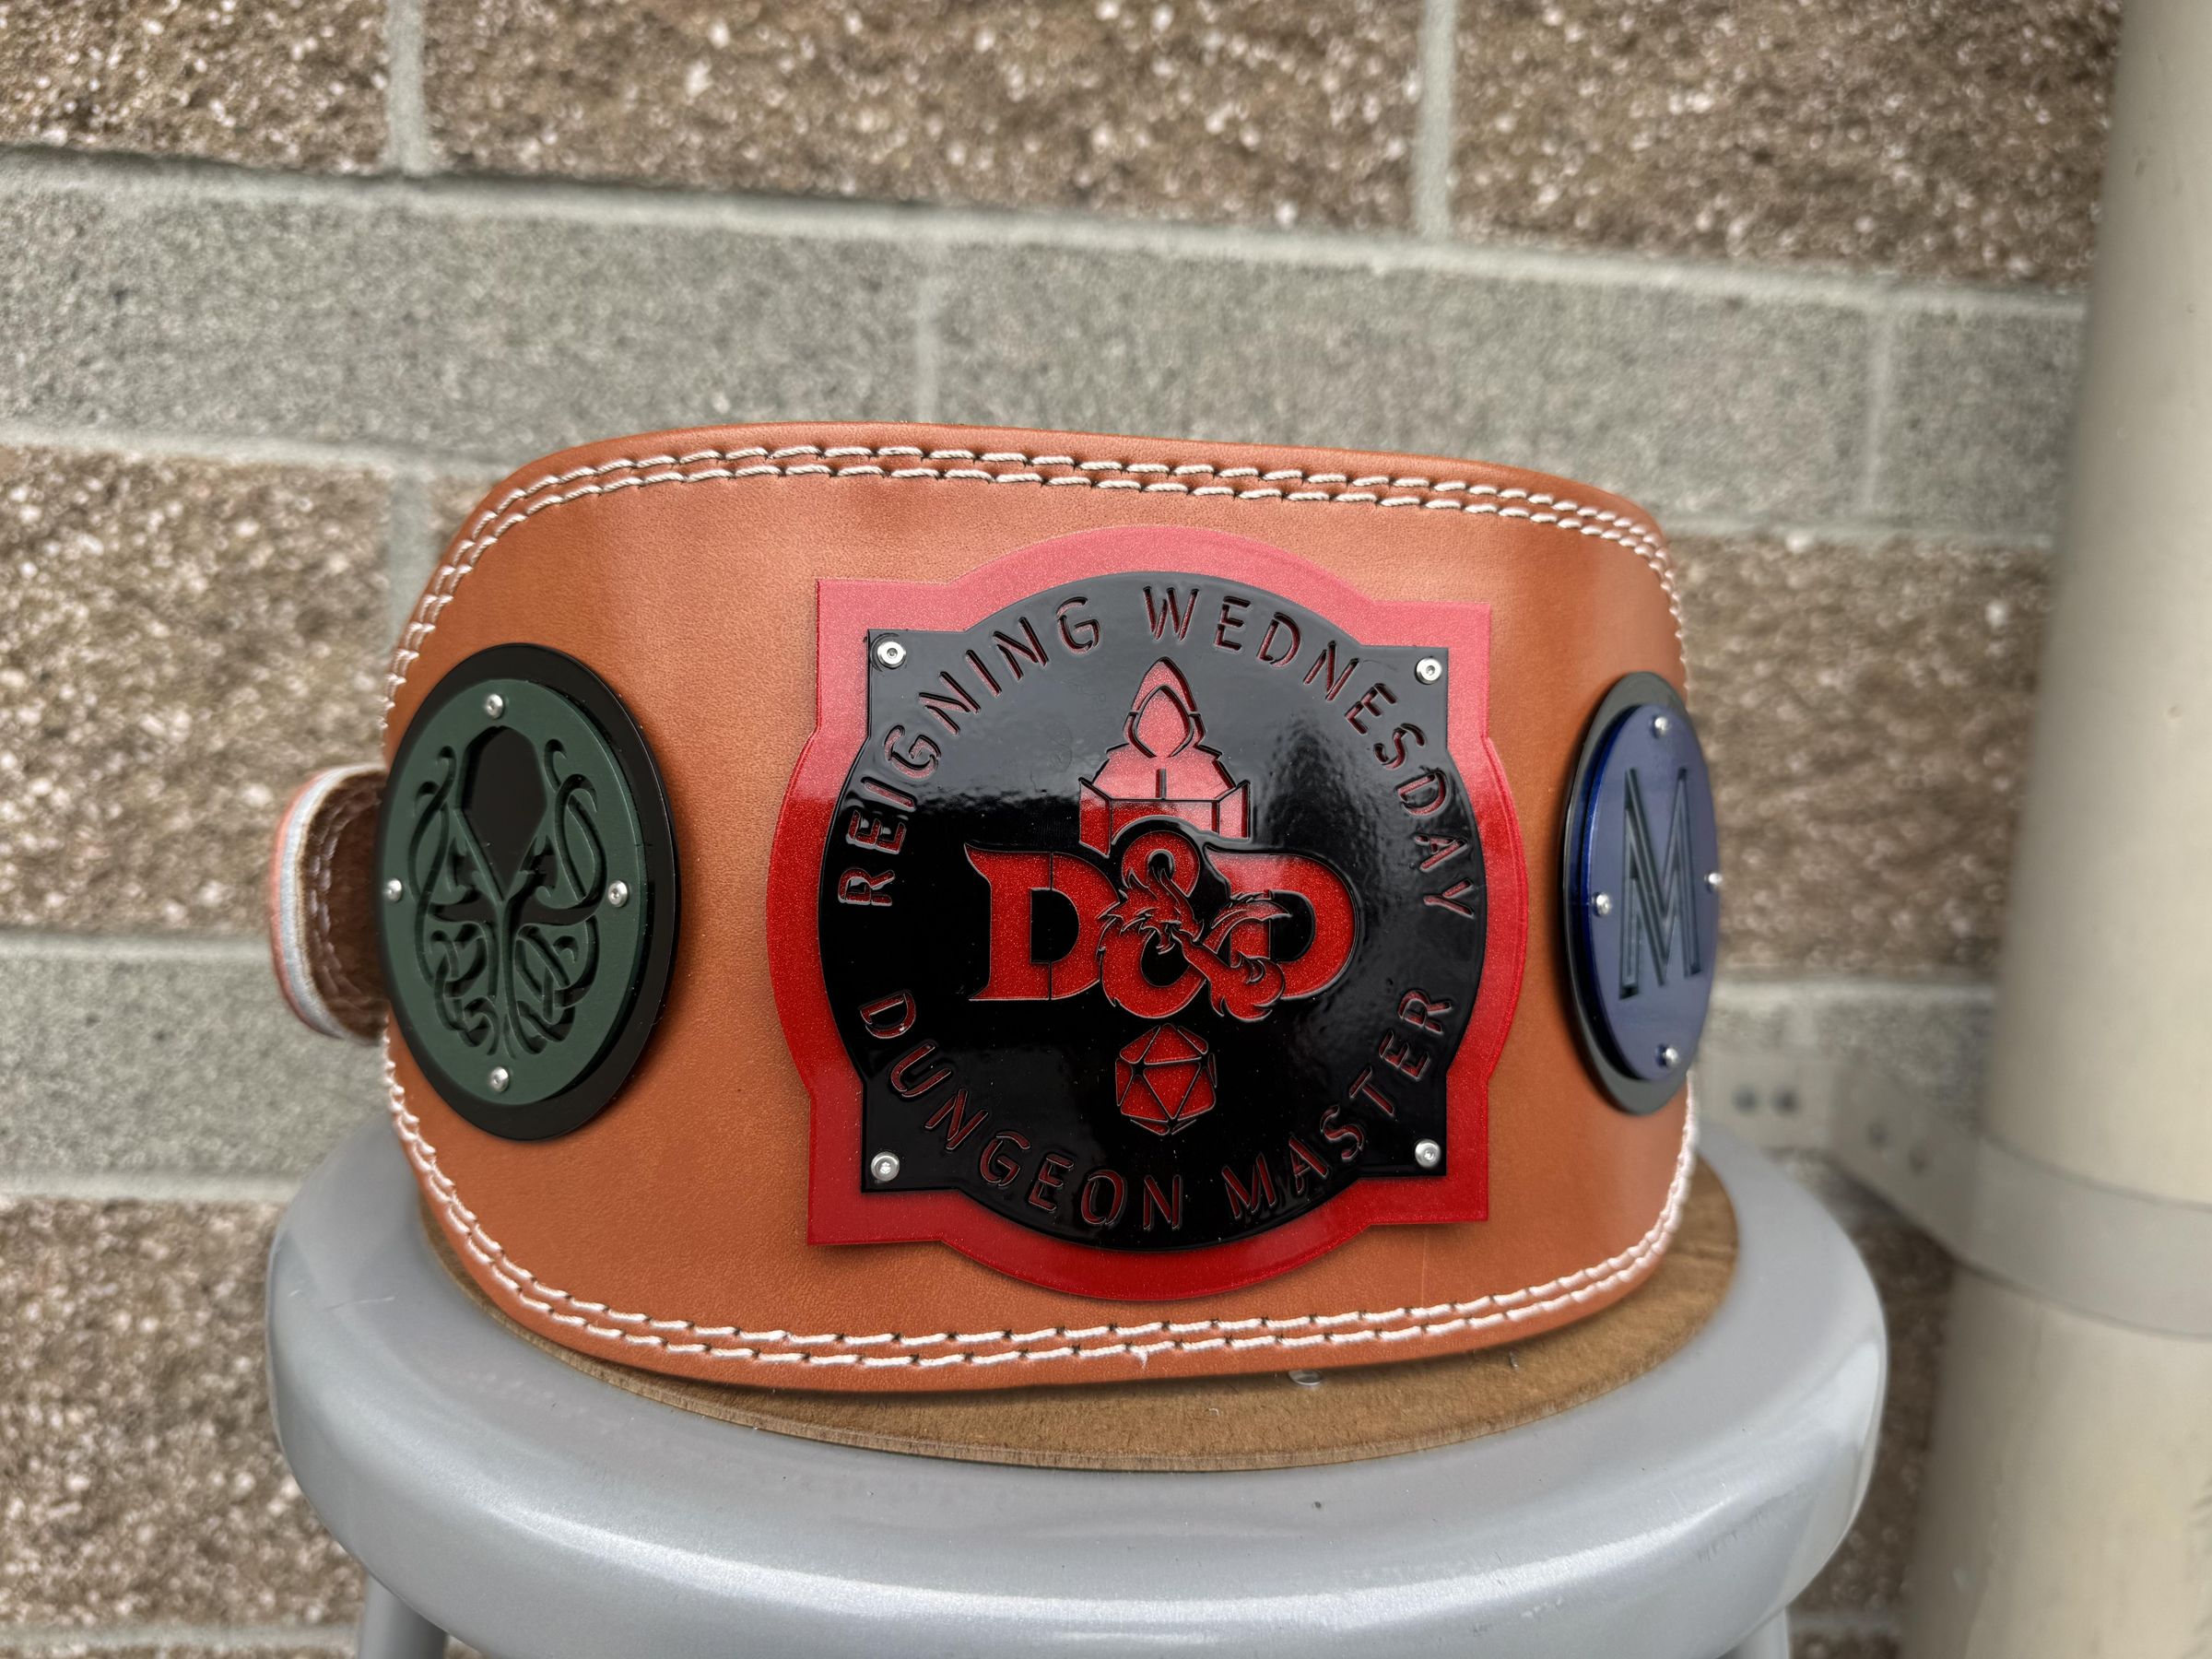
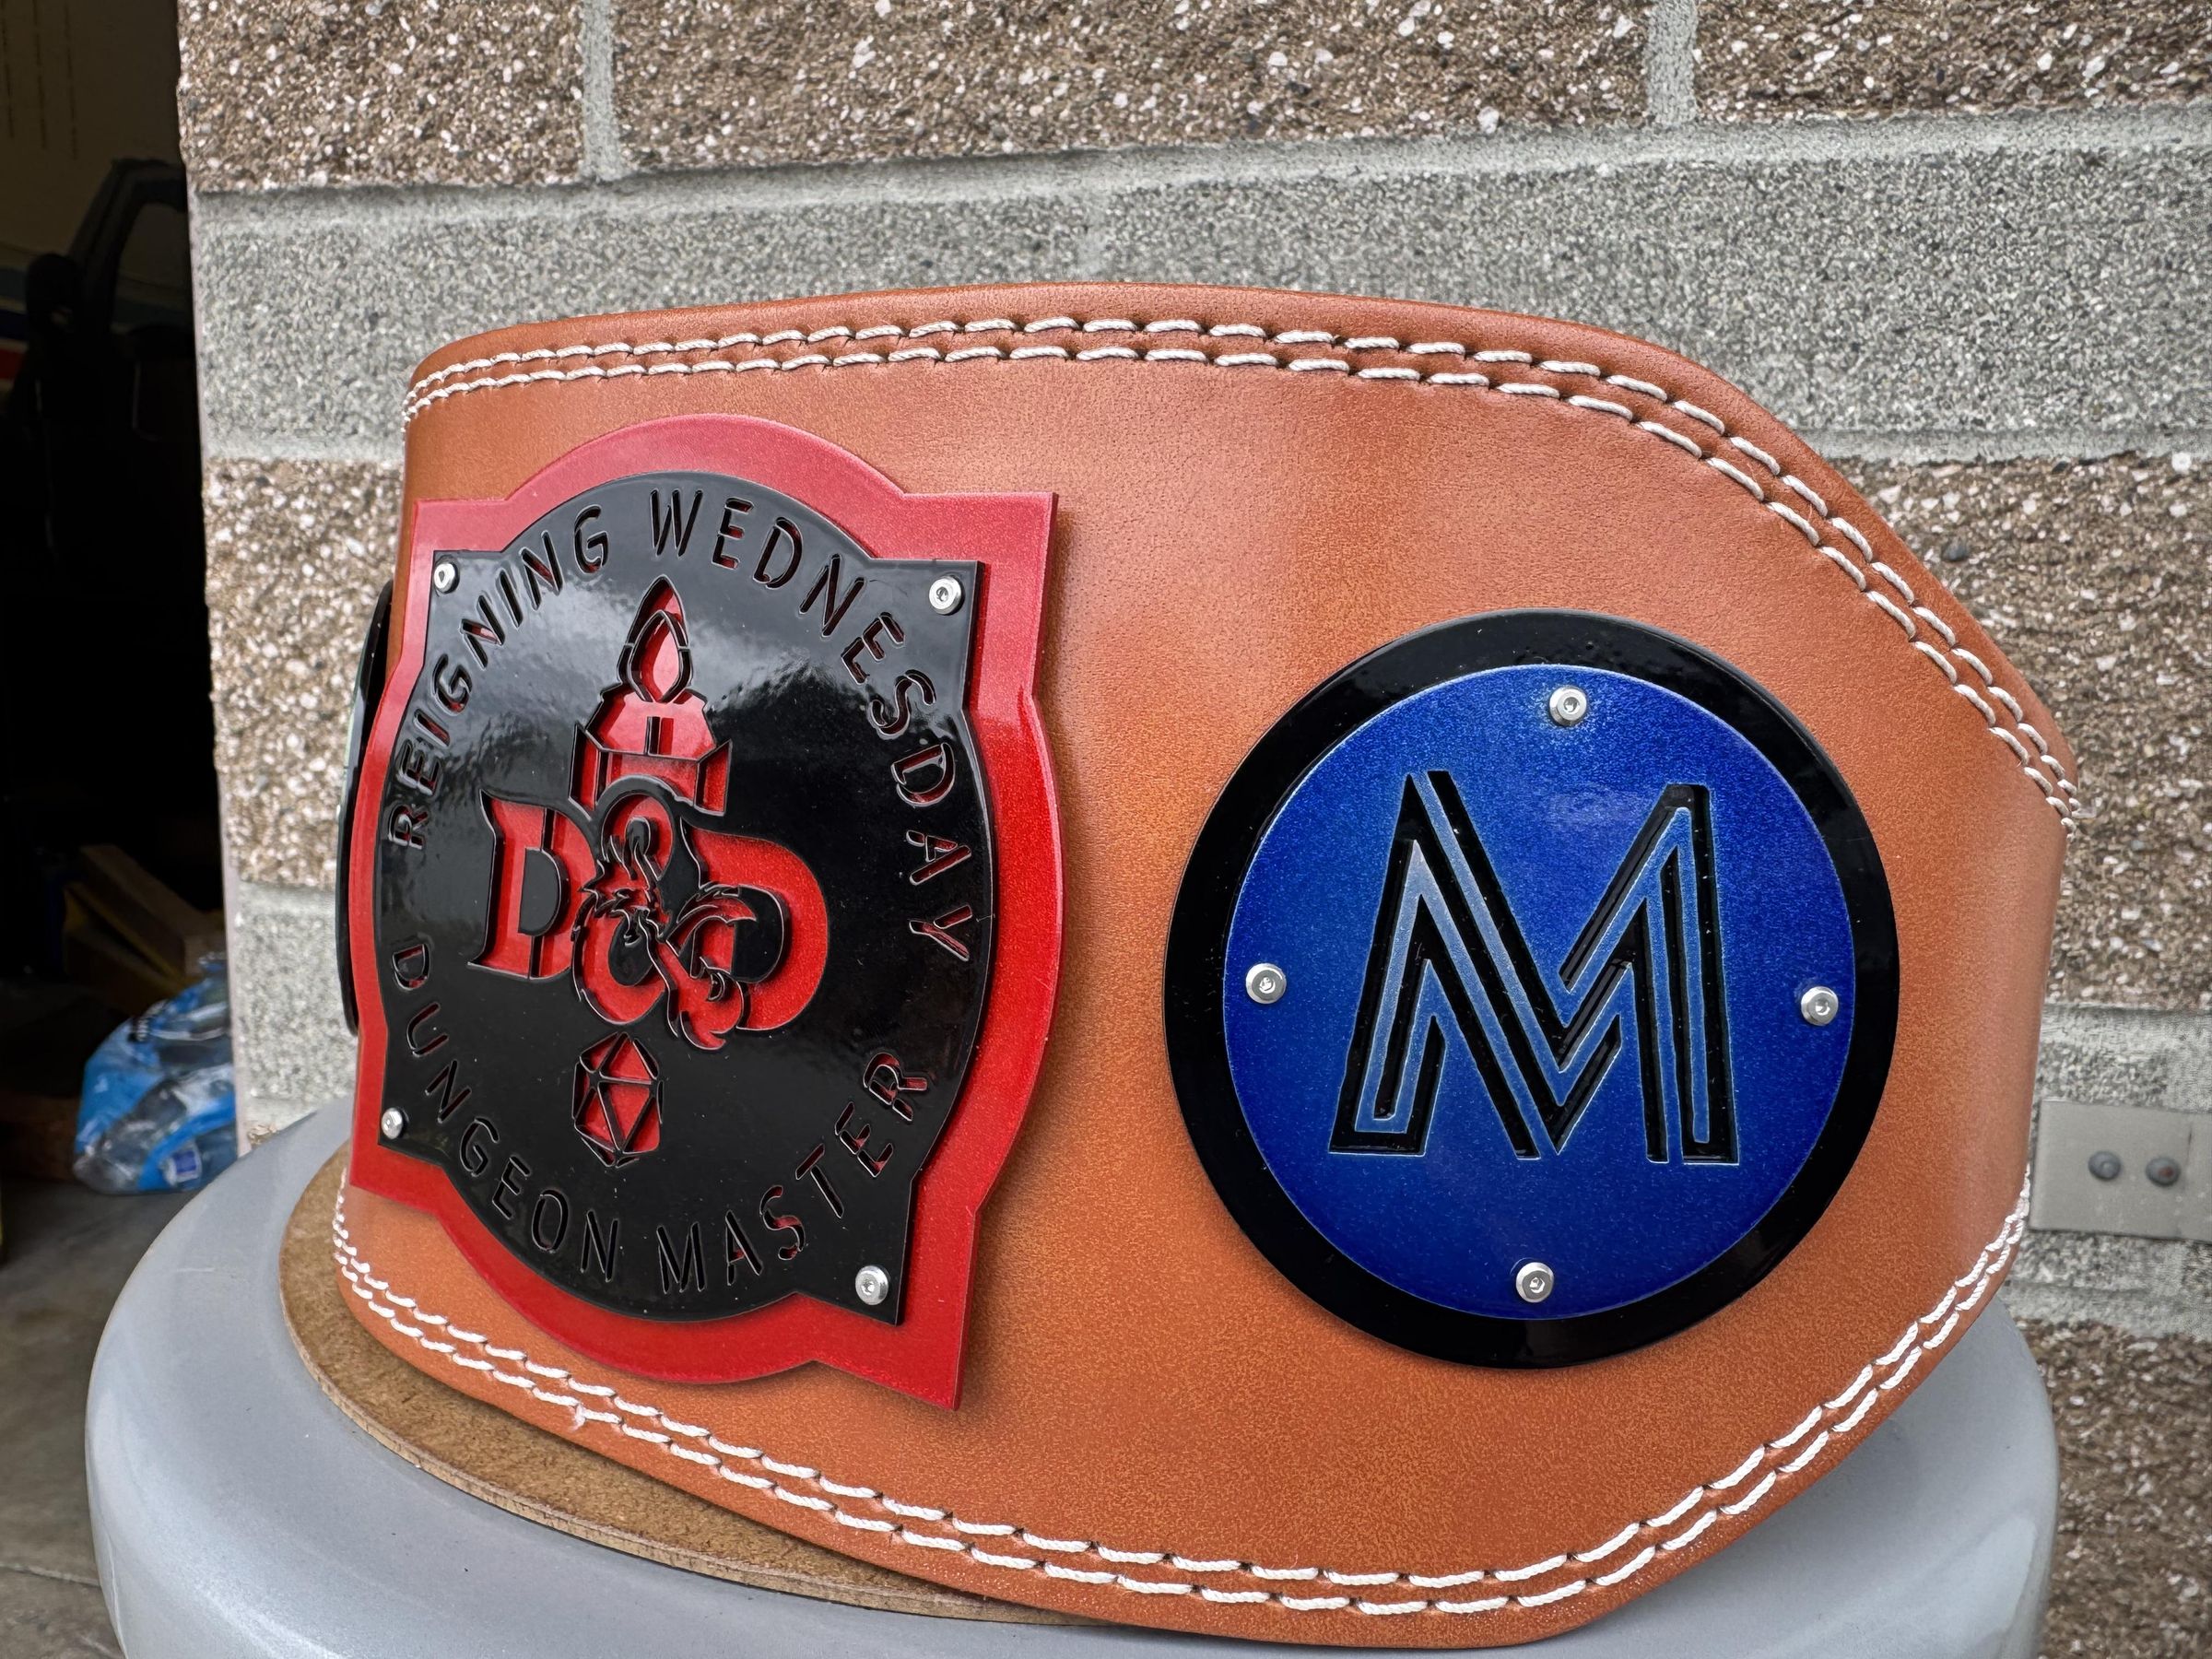
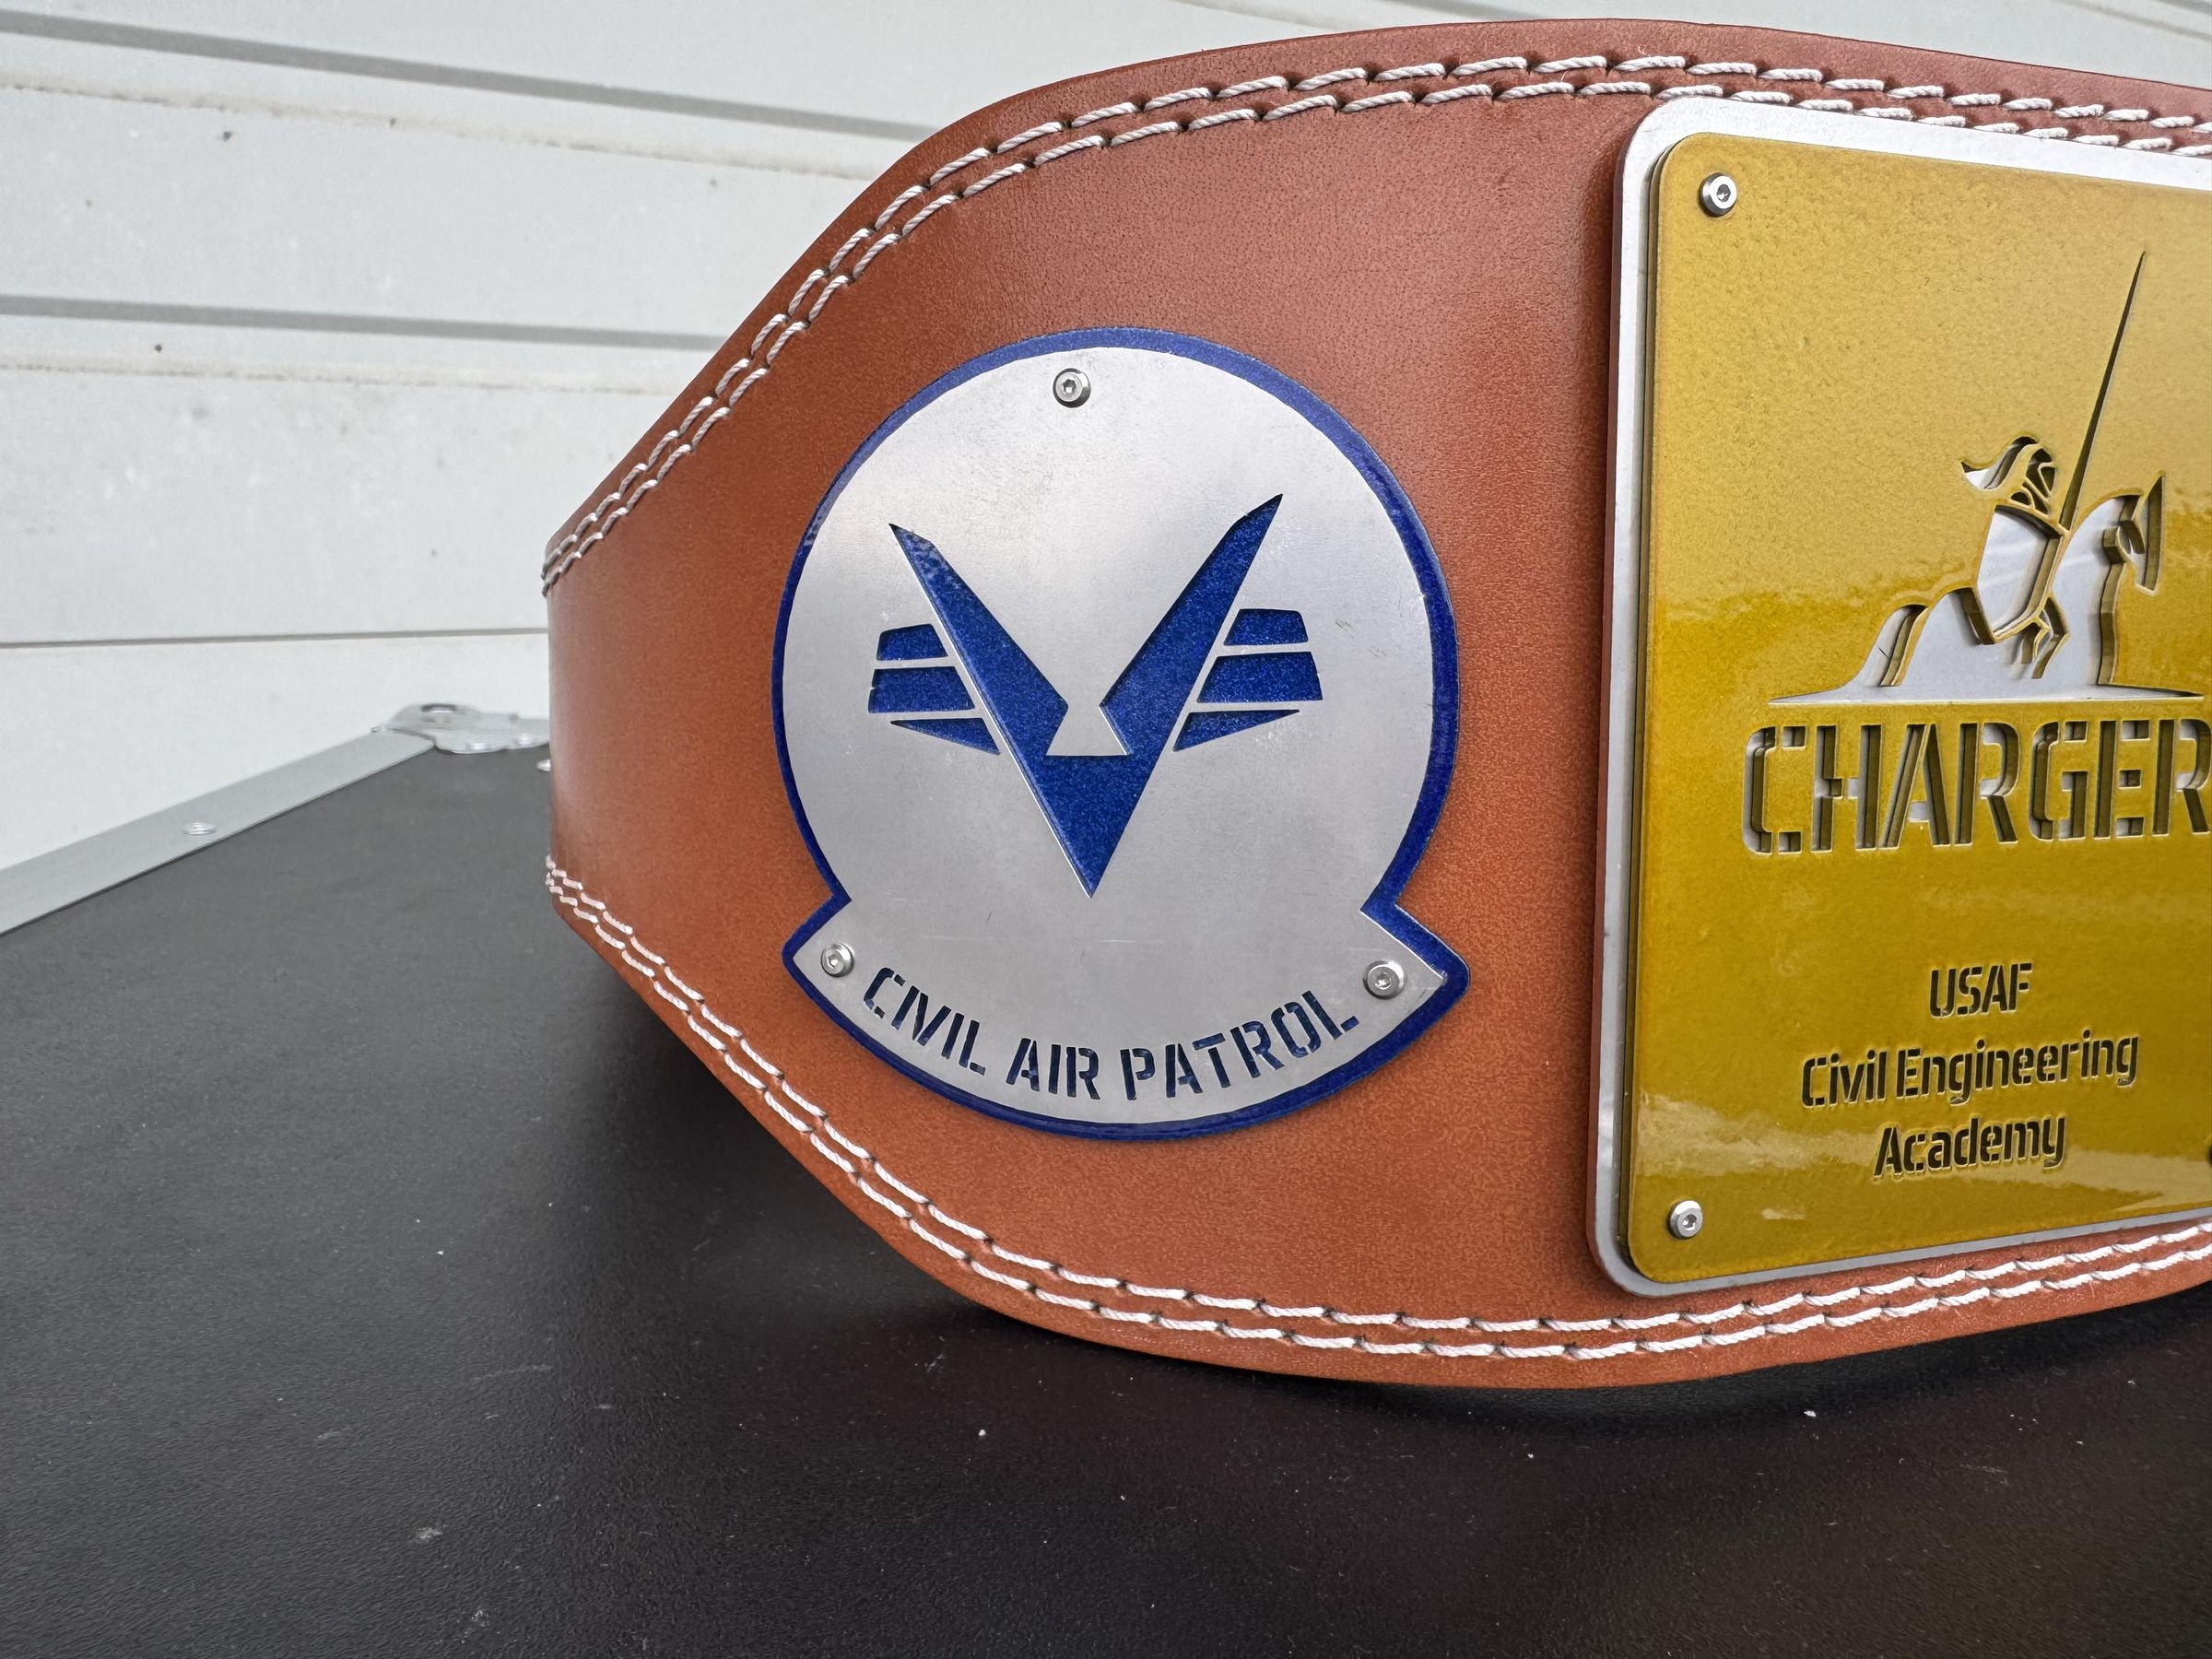
I created two championship belts using natural leather belts with powder coated, laser cut stainless steel plates.
- The Charger belt was for a Civil Air Patrol activity and I only coated three of plates and left the other three plain steel.
- The D&D belt was created for our dungeon master and I coated all six plates.
Supplies
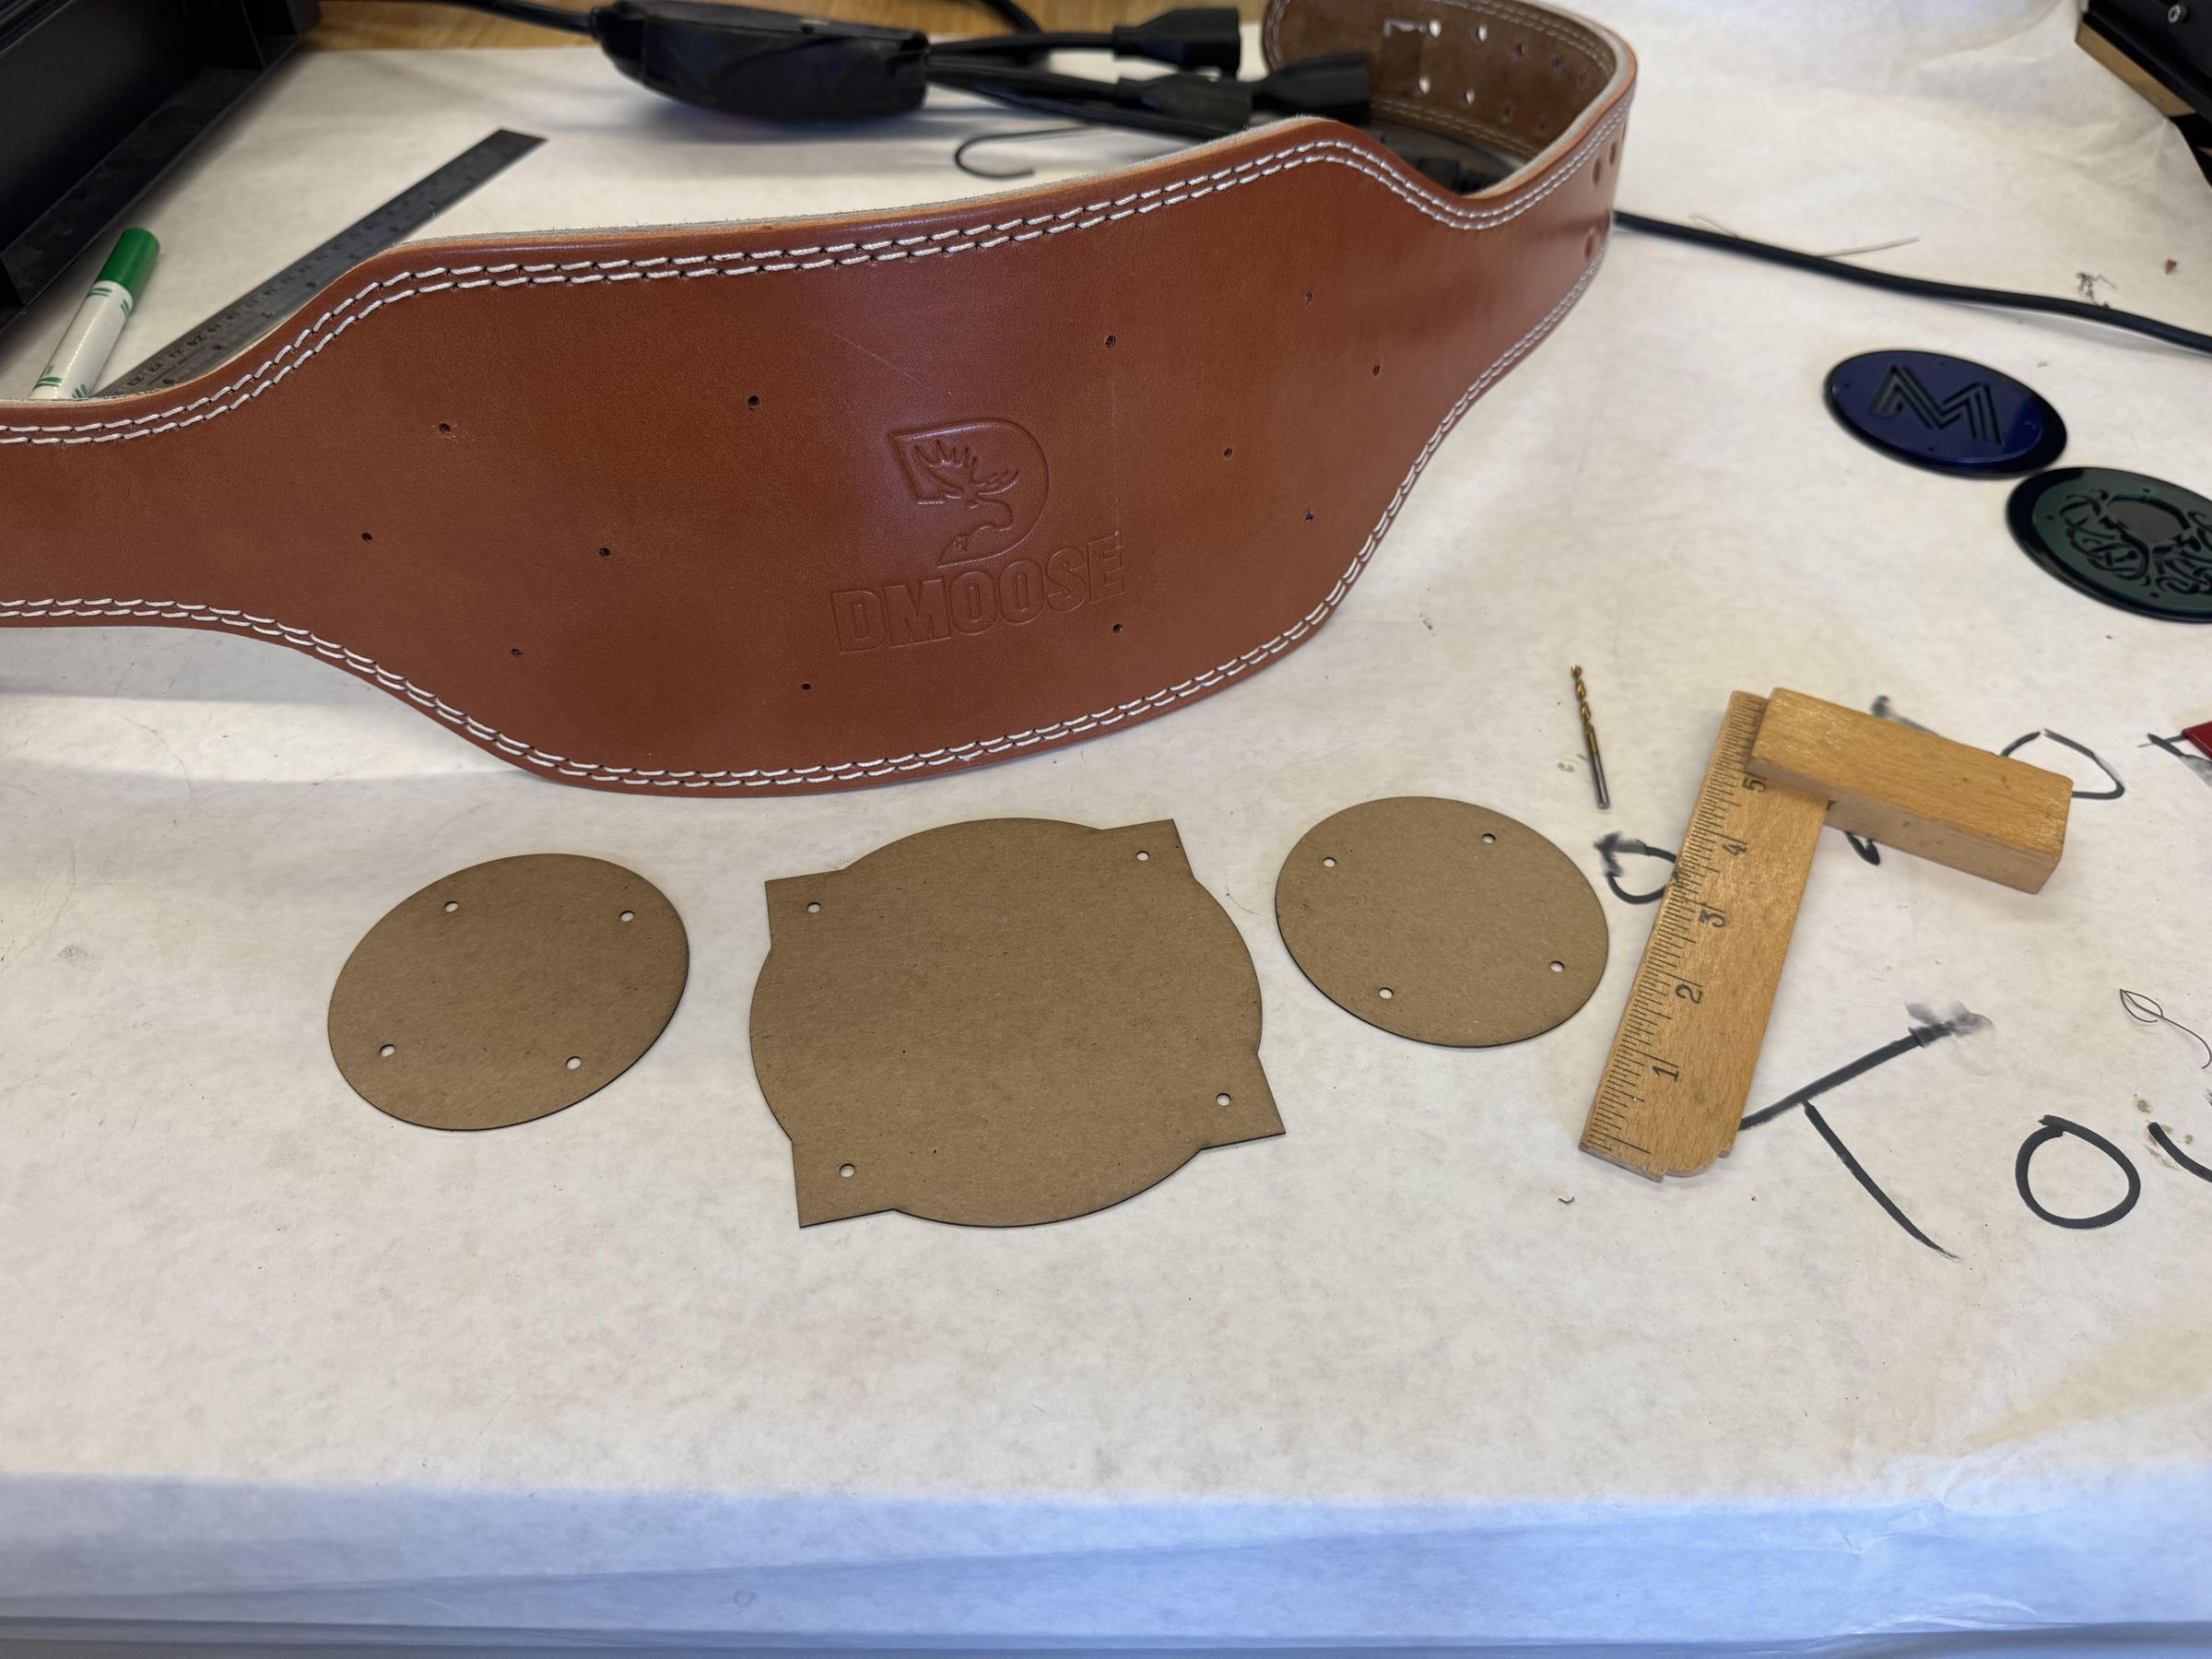
Materials
- 6" DMoose Leather Belt
- Steel plates were designed as vectors and laser cut by sendcutsend
- Chicago Screws for mounting (12mm length, 3mm diameter, M2 threads)
- Prismatic Powders (Illusion Royal, Illusion Red, Illusion Gold Prize)
- Columbia Coatings Super Mirror Black
- Cardstock for laser cutting templates for layout
Equipment
- 3mm Brad Point drill bit (if I was getting a new one, I would probably go up to 3.5mm)
- Wooden rulers and square
- Powder coating setup (this project could easily be done in a toaster oven with the $100 Starter Gun from Eastwood, if you do, stick to the single layer powders).
Creating the Designs
I laid out the plates using Silhouette Studio Business Edition. You need an upgraded version to export the SVGs/STEP files. This can easily be done in your preferred vector(Illustrator, Inkscape) or CAD package(like Fusion or OnShape).
I used 3.1mm diameter for the bolt holes and a 1/4" offset between the plates.
You need to use stencil fonts and ensure that your top plate will stay together with out falling apart. I had to add small supports in some places.
After I finished the design I used my laser cutter to cut out cardstock versions of the plates and laid them out on the belt so I can make sure everything fit like I wanted. I strongly suggest you have the belt before and check your design for fit before sending them out for fabrication
Fabricating the Plates
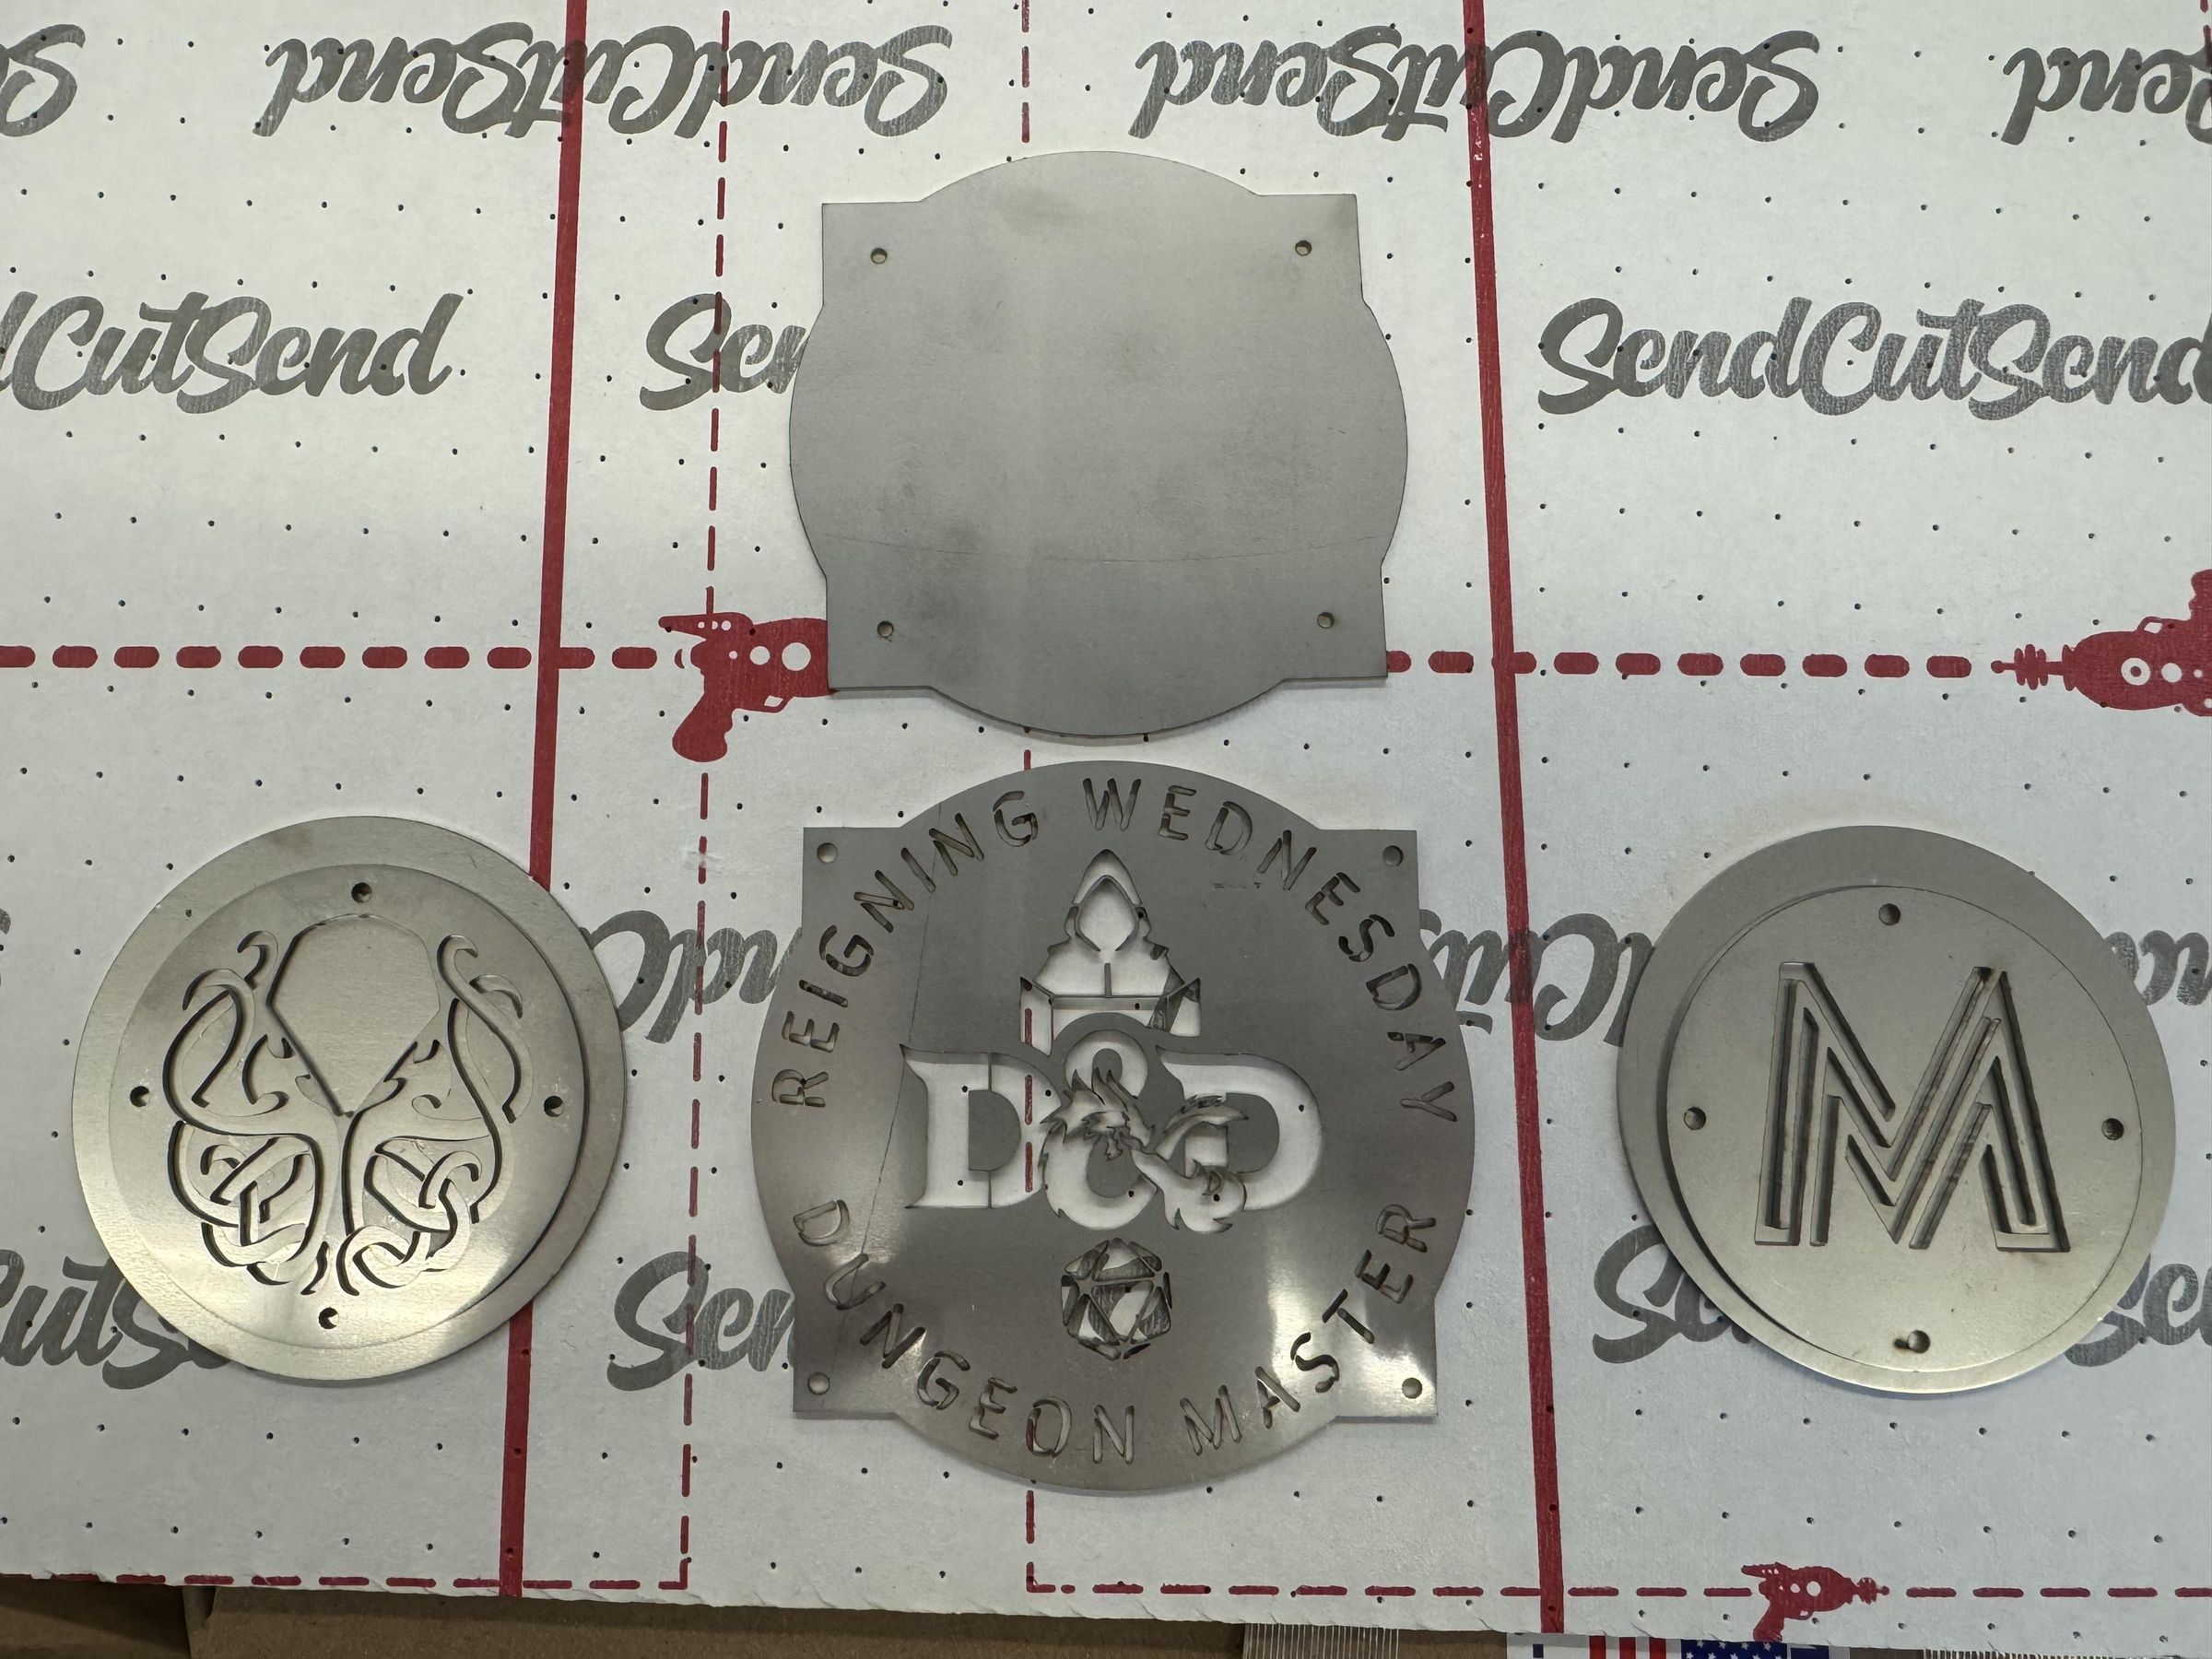
I had the plates laser cut by SendCutSend out of Stainless Steel 304 series .060". Each belt cost around $60 for the plates to be made.
Powder Coating
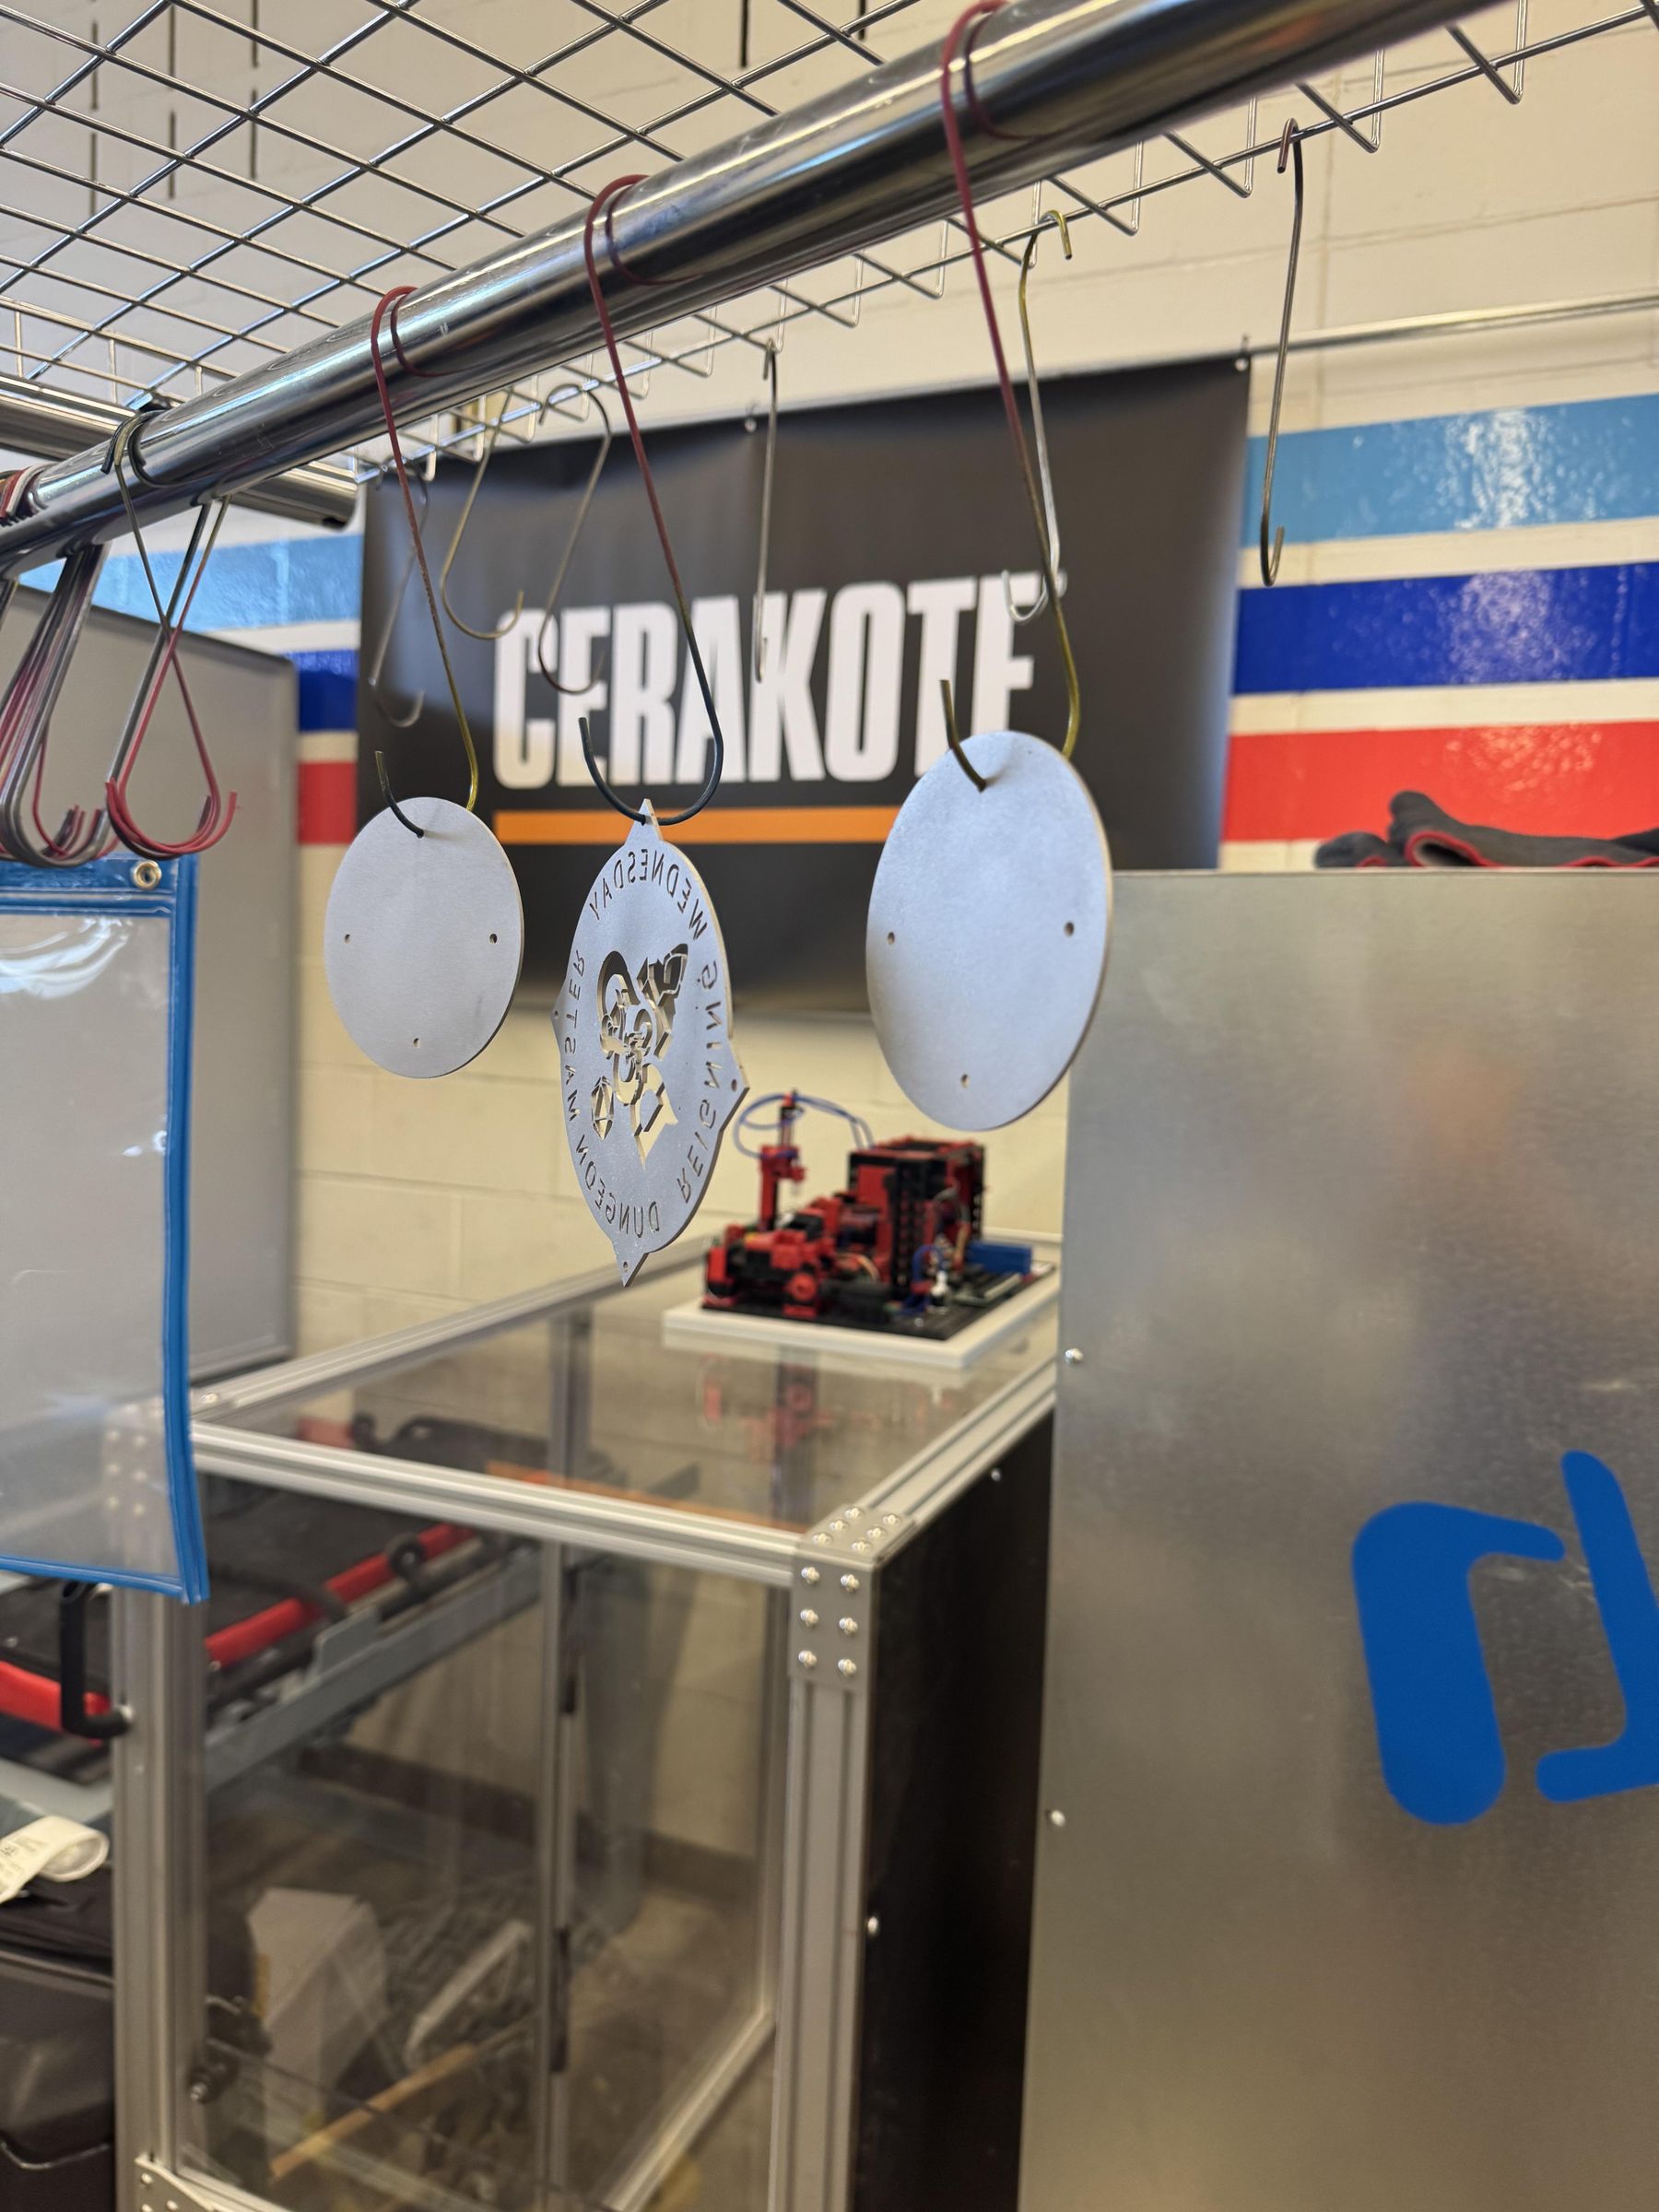
For each of the plates I was powder coating, I media blasted them, applied the powder and baked according the manufacturer's recommendations. There are a lot of other power coating tutorials out there, so I'm not going to get into the weeds on this one.
Drilling the Holes
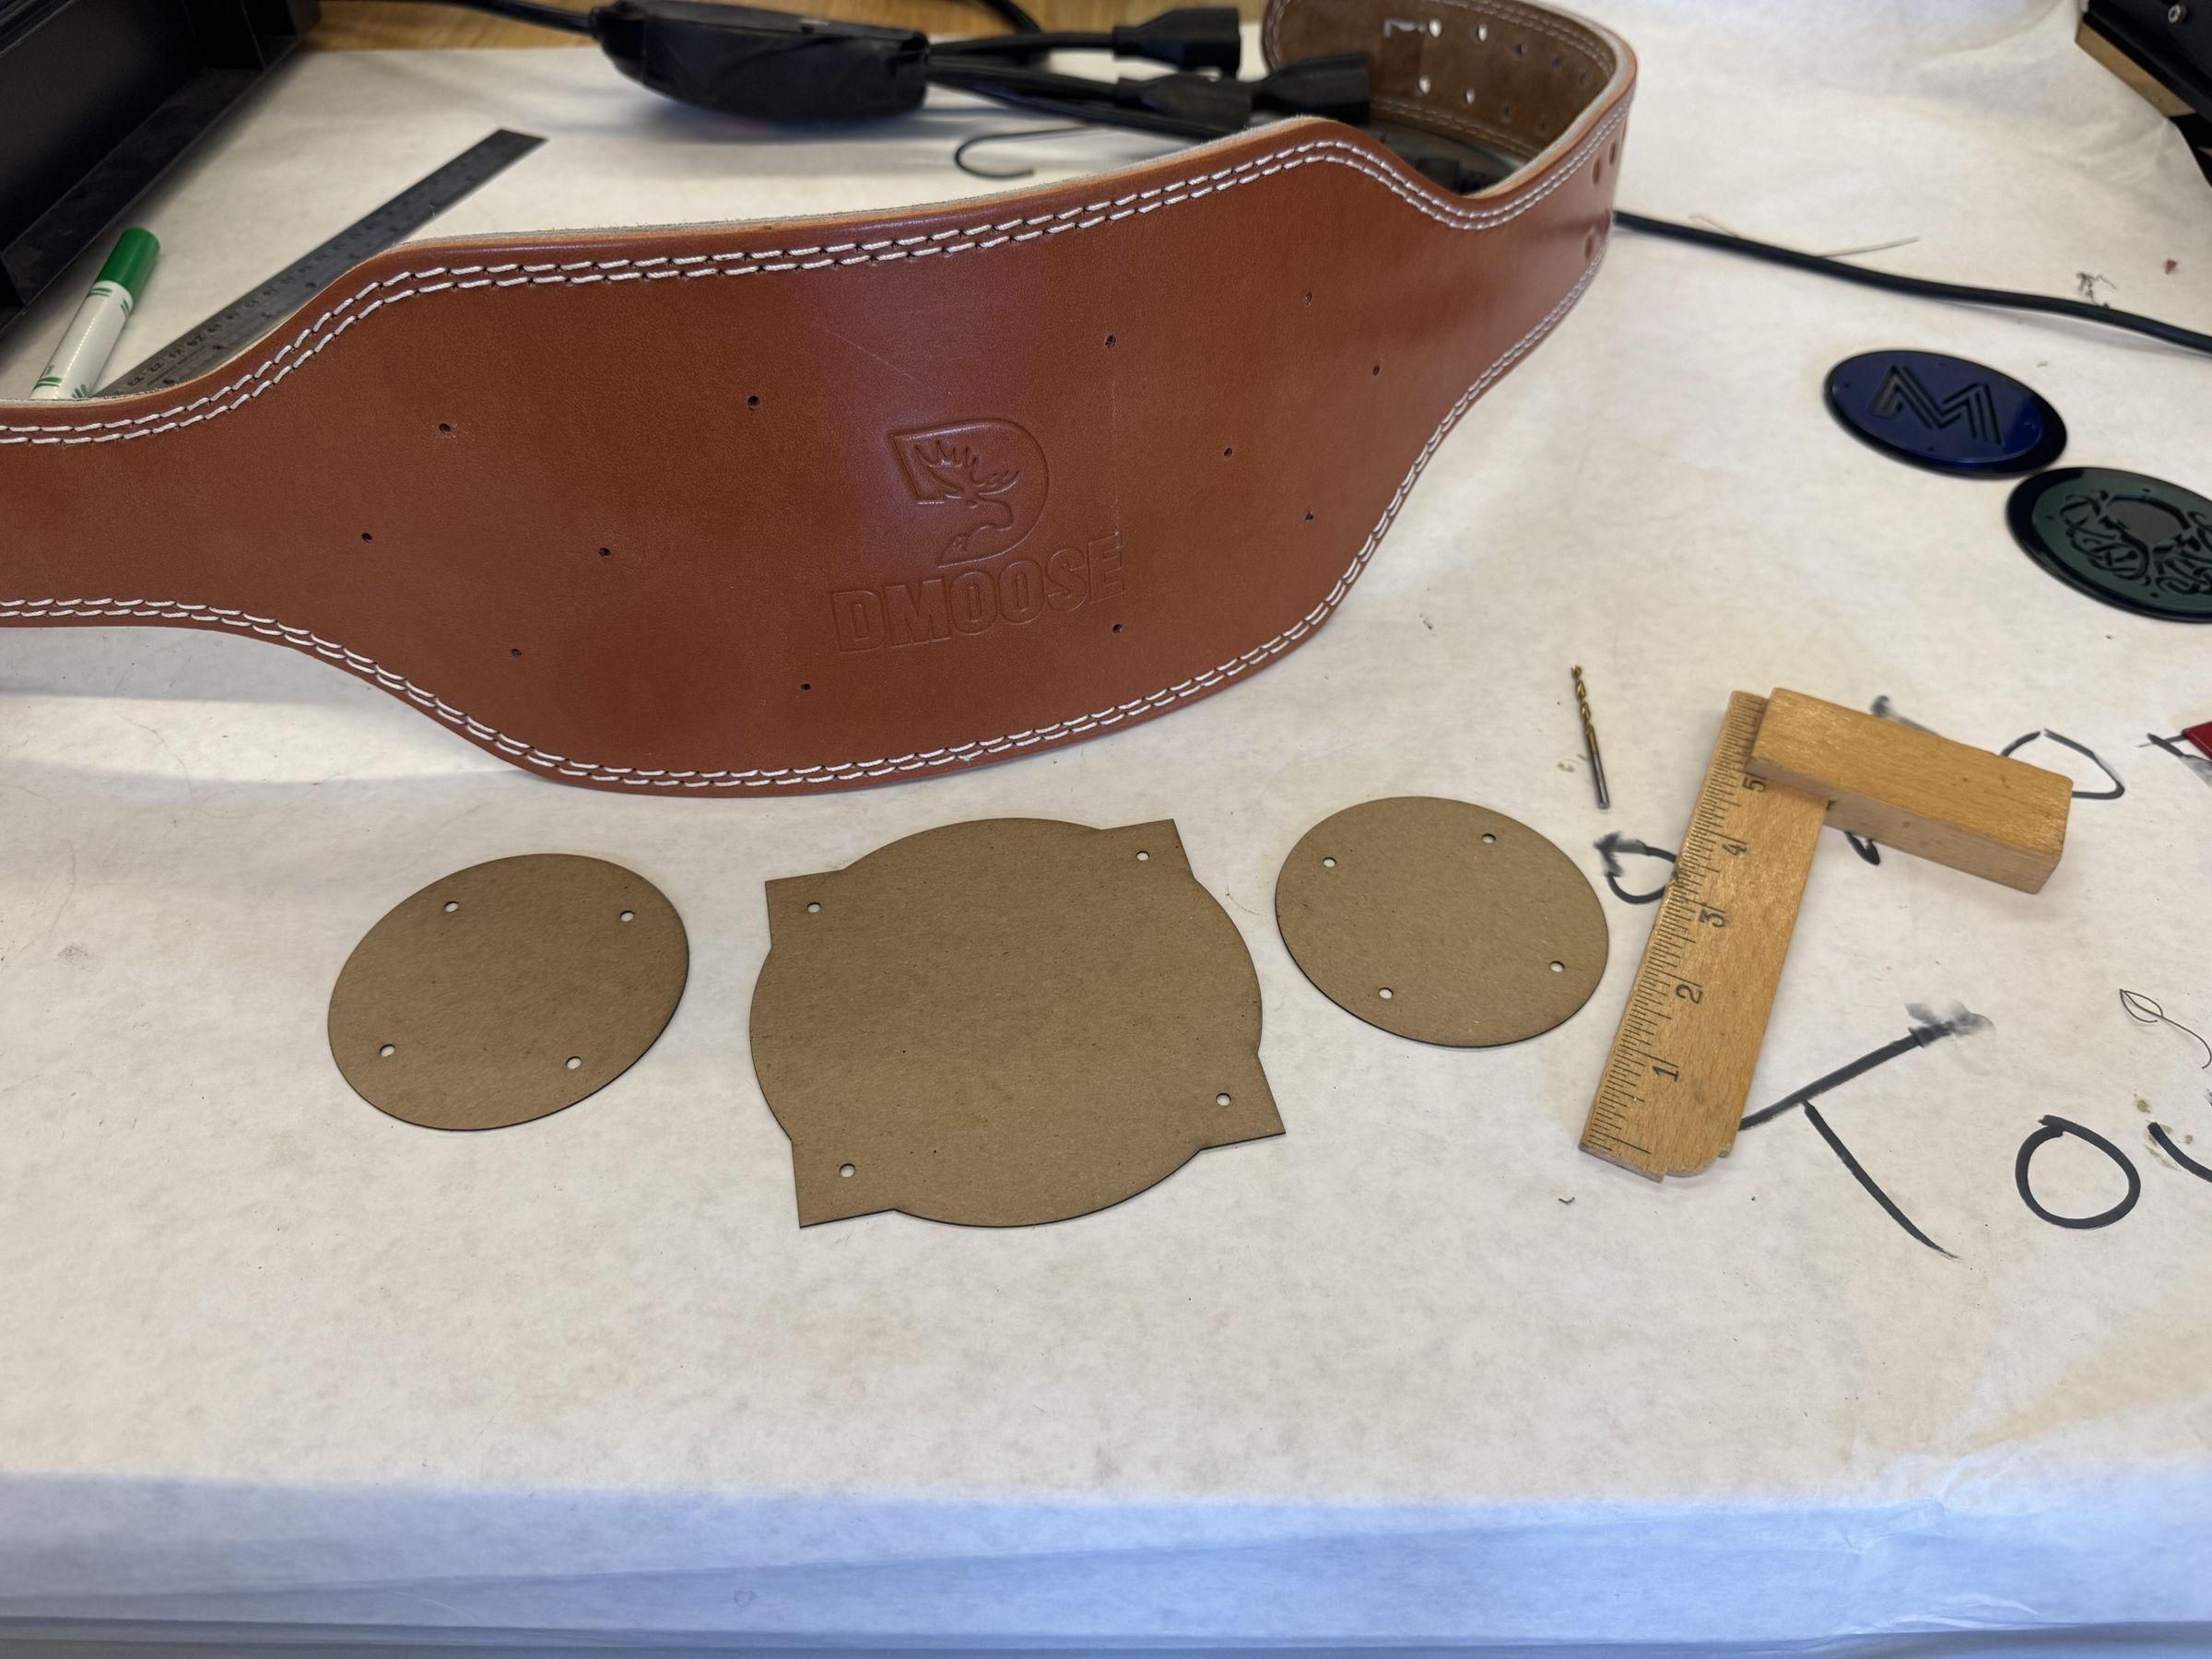
- I used my cardstock templates and painters tape to layout the plates on the belt. Avoid metal tools to avoid marring the surface.
- I marked the holes with and awl
- I used a drill press to drill the holes with a block of wood underneath to prevent tearing
Adding the Bolts
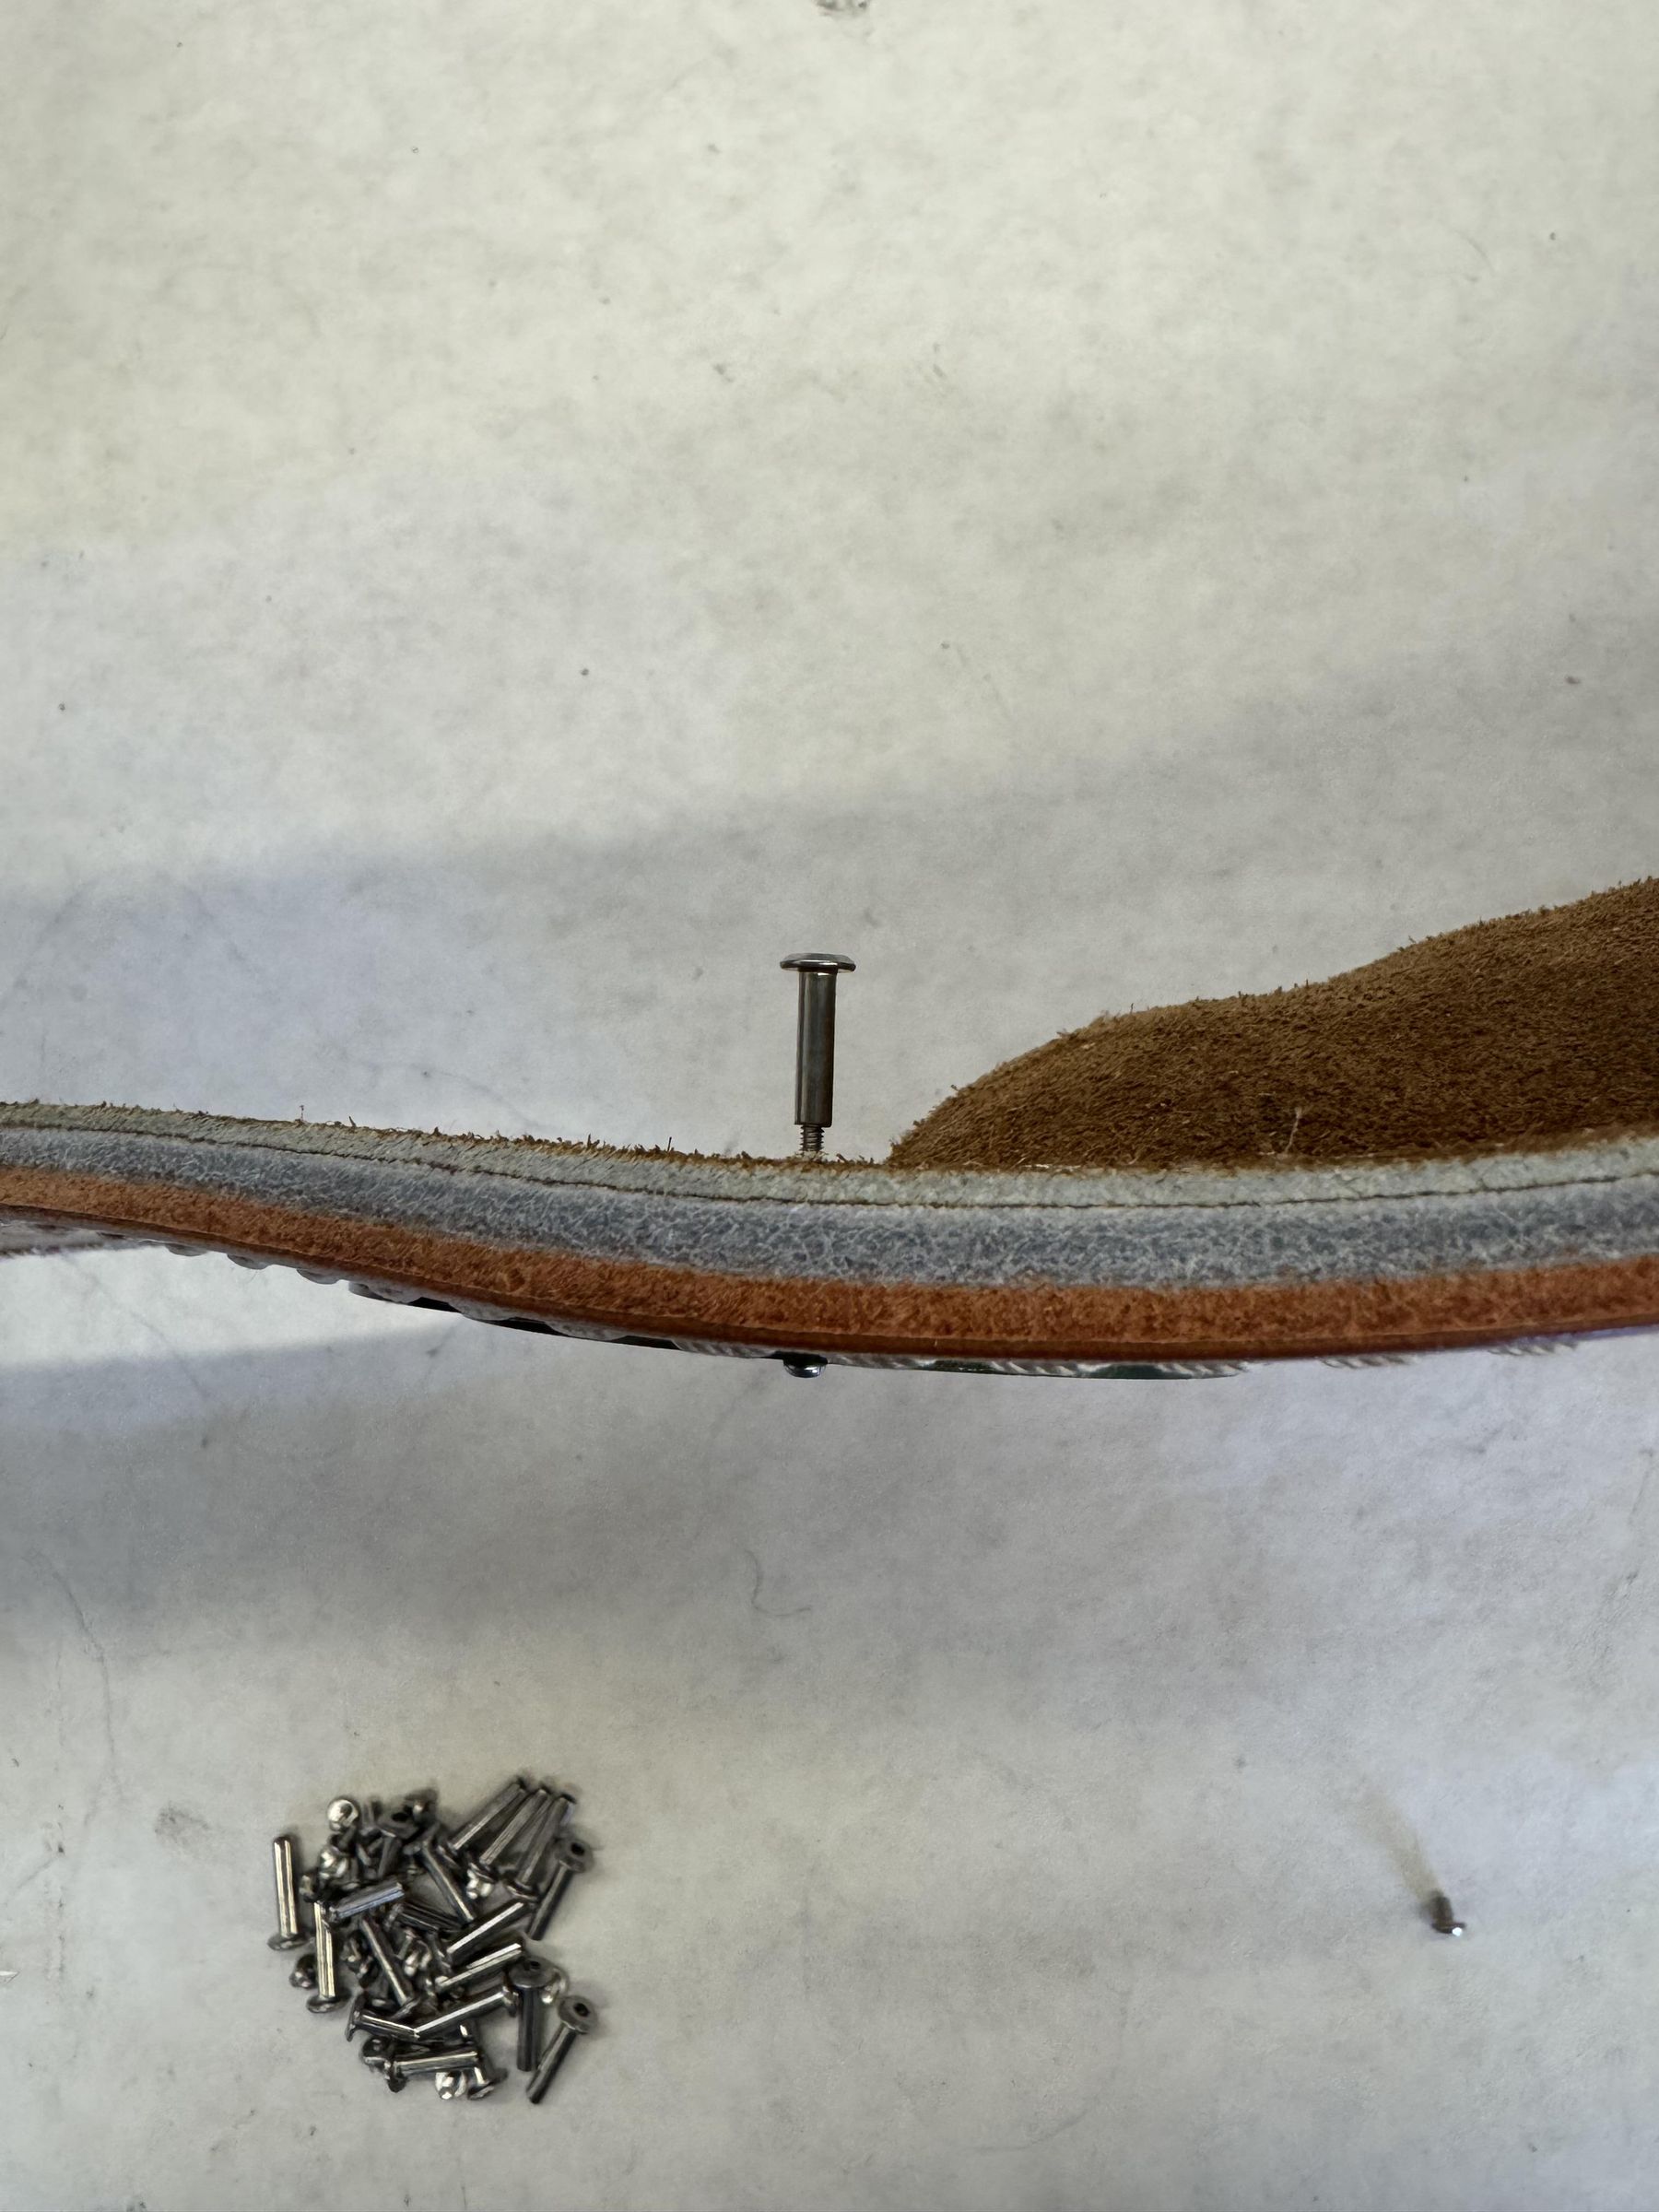
For each of the holes,
- I pushed a long M2 screw through the front of the belt and then attached the Chicago screw post to pull it through.
- Once it started I pushed it down on the bench to get the post through.
- The posts need to protrude through the belt
Once I finished all the posts, I came back through with the plates. The plates need to have the post through their holes otherwise the tiny M2 screws won't reach. This took about an hour of wrangling and struggle to get them all in.