LeiR: a 3D-Printed Smart Soil Monitoring System
by jiyoobyunn in Circuits > Arduino
100 Views, 2 Favorites, 0 Comments
LeiR: a 3D-Printed Smart Soil Monitoring System
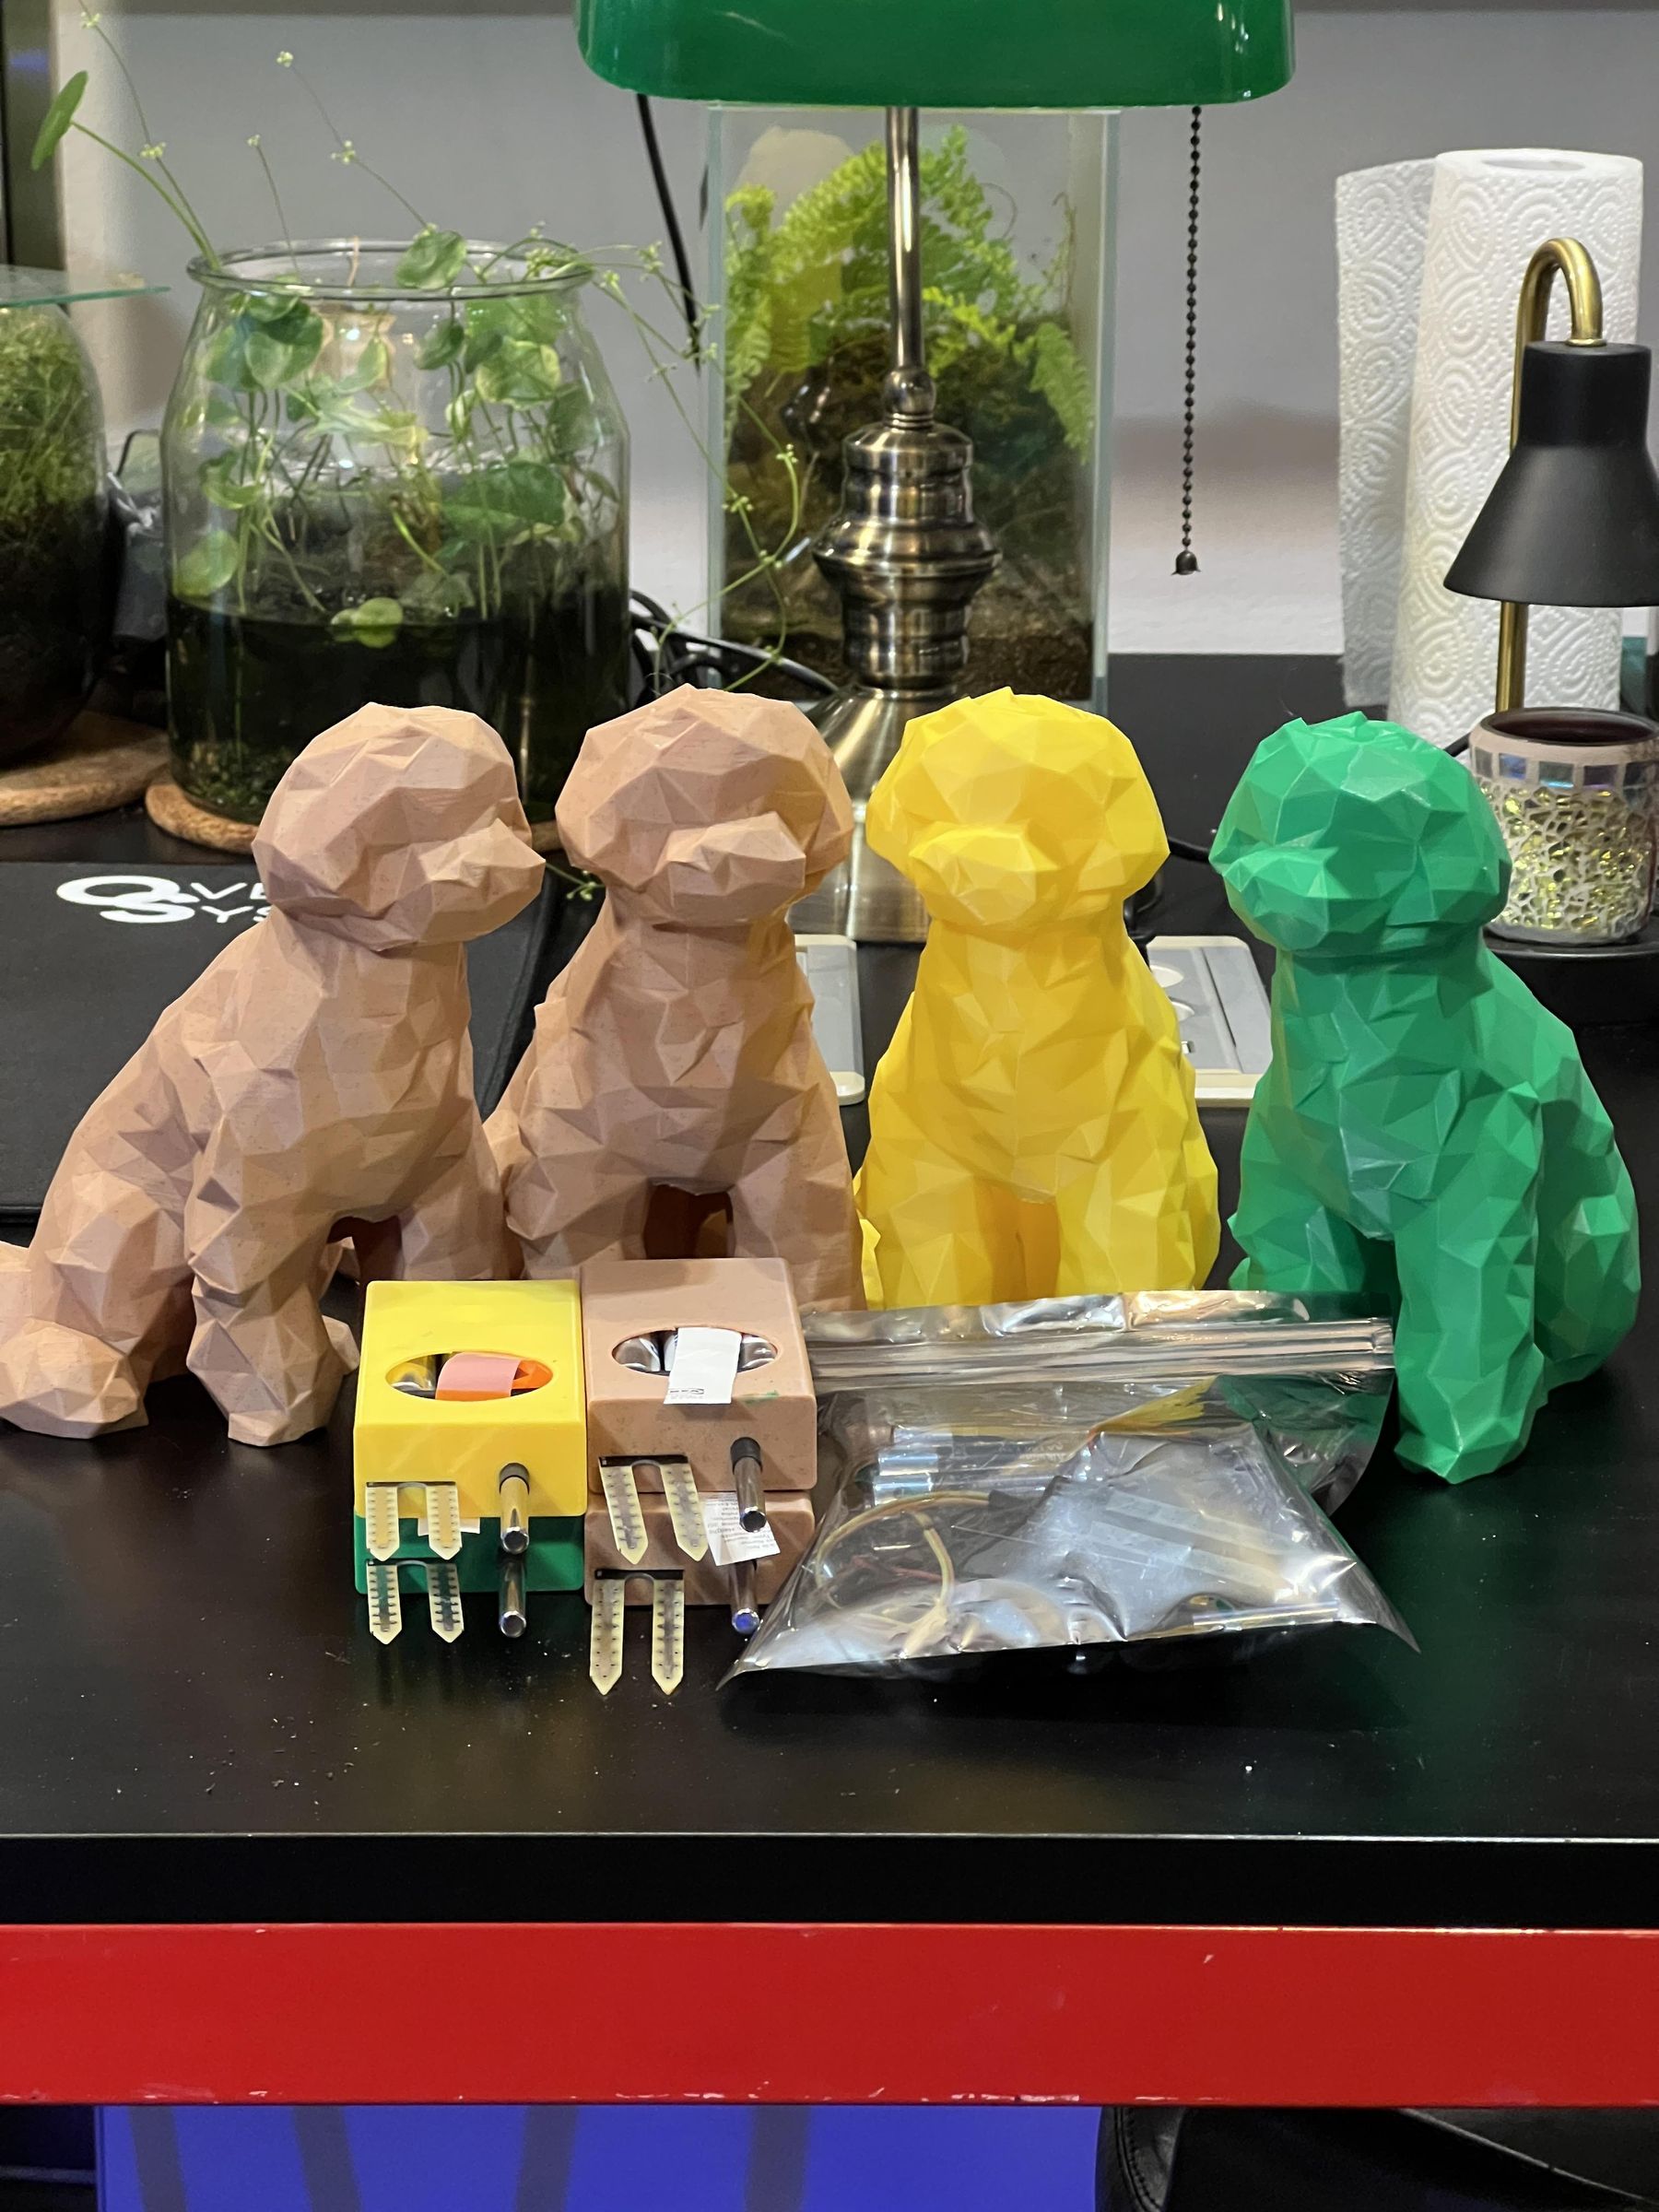
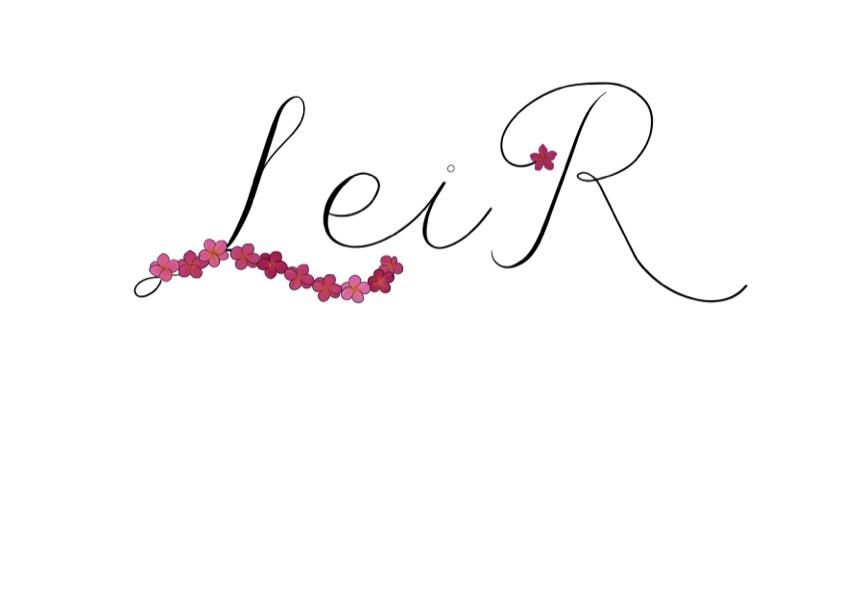
LeiR is a flower-themed soil health monitoring sensor designed to make plant care more personal, creative, and interactive.
For this project, I wanted to create something that connected engineering with emotion. Soil sensors are usually designed to be purely functional, but I wanted my prototype to feel meaningful as well. While I am away from home, my dogs are a big part of what makes “home” feel like home to me. Because I often feel homesick, I chose to model the sensor around my dog, Gommi, as a way of bringing a small piece of home into the project.
The floral theme was inspired by both a personal memory and the cultural significance of lei in Hawaiʻi. My dog, Gommi, has always loved flowers; whenever we went on walks and passed by them, she would stop to smell them. That simple memory made flowers feel connected to home, comfort, and care. At the same time, my experience in Hawaiʻi taught me that lei are more than decoration. They often symbolize love, respect, welcome, and connection. By incorporating a lei-inspired design into the sensor, I wanted to connect my personal memory of Gommi with the deeper meaning of lei as a symbol of care and belonging. Since the sensor’s purpose is to help care for soil and plants, the floral theme became both personal and purposeful.
LeiR measures soil temperature and moisture, then sends the data to a database so the readings can be tracked over time. Although these measurements may seem simple, they are important indicators of plant health. Soil moisture affects watering needs and root conditions, while temperature influences the environment where plants grow. By collecting this data, the sensor helps turn plant care from guessing into observation. Additionally, By sending this data to a database, the sensor becomes more than a one-time measuring tool. It allows users to monitor changes over time and make more informed decisions about plant care.
Through LeiR, I wanted to show that engineering does not have to feel cold or separate from personal experience. It can be useful, emotional, and creative at the same time. What began as a soil monitoring device became a way to combine my connection to home, my love for nature, and my interest in using technology to care for living things.
What it does, at a glance:
Measures: soil moisture (%) and soil temperature (°C)
Connects: over your existing WiFi with a captive-portal setup
Shows: a live web dashboard with a map of every LeiR node
Body: 3D-printed and personalized with a removable cartridge
Supplies
Electronics (the cartridge)
- ESP32-C3 development board
- Soil moisture sensor (analog)
- DS18B20 temperature probe
- Battery pack
- Wires/connectors
- Arduino Uno (for sensor testing)
Case & Body
- FDM 3D printer + filament
- A photo of my dog
- MeshAI
- Fusion360
Tools & Software
- Arduino IDE
- Soldering iron
- A computer & phone
- Firmware libraries
Logo Design Process
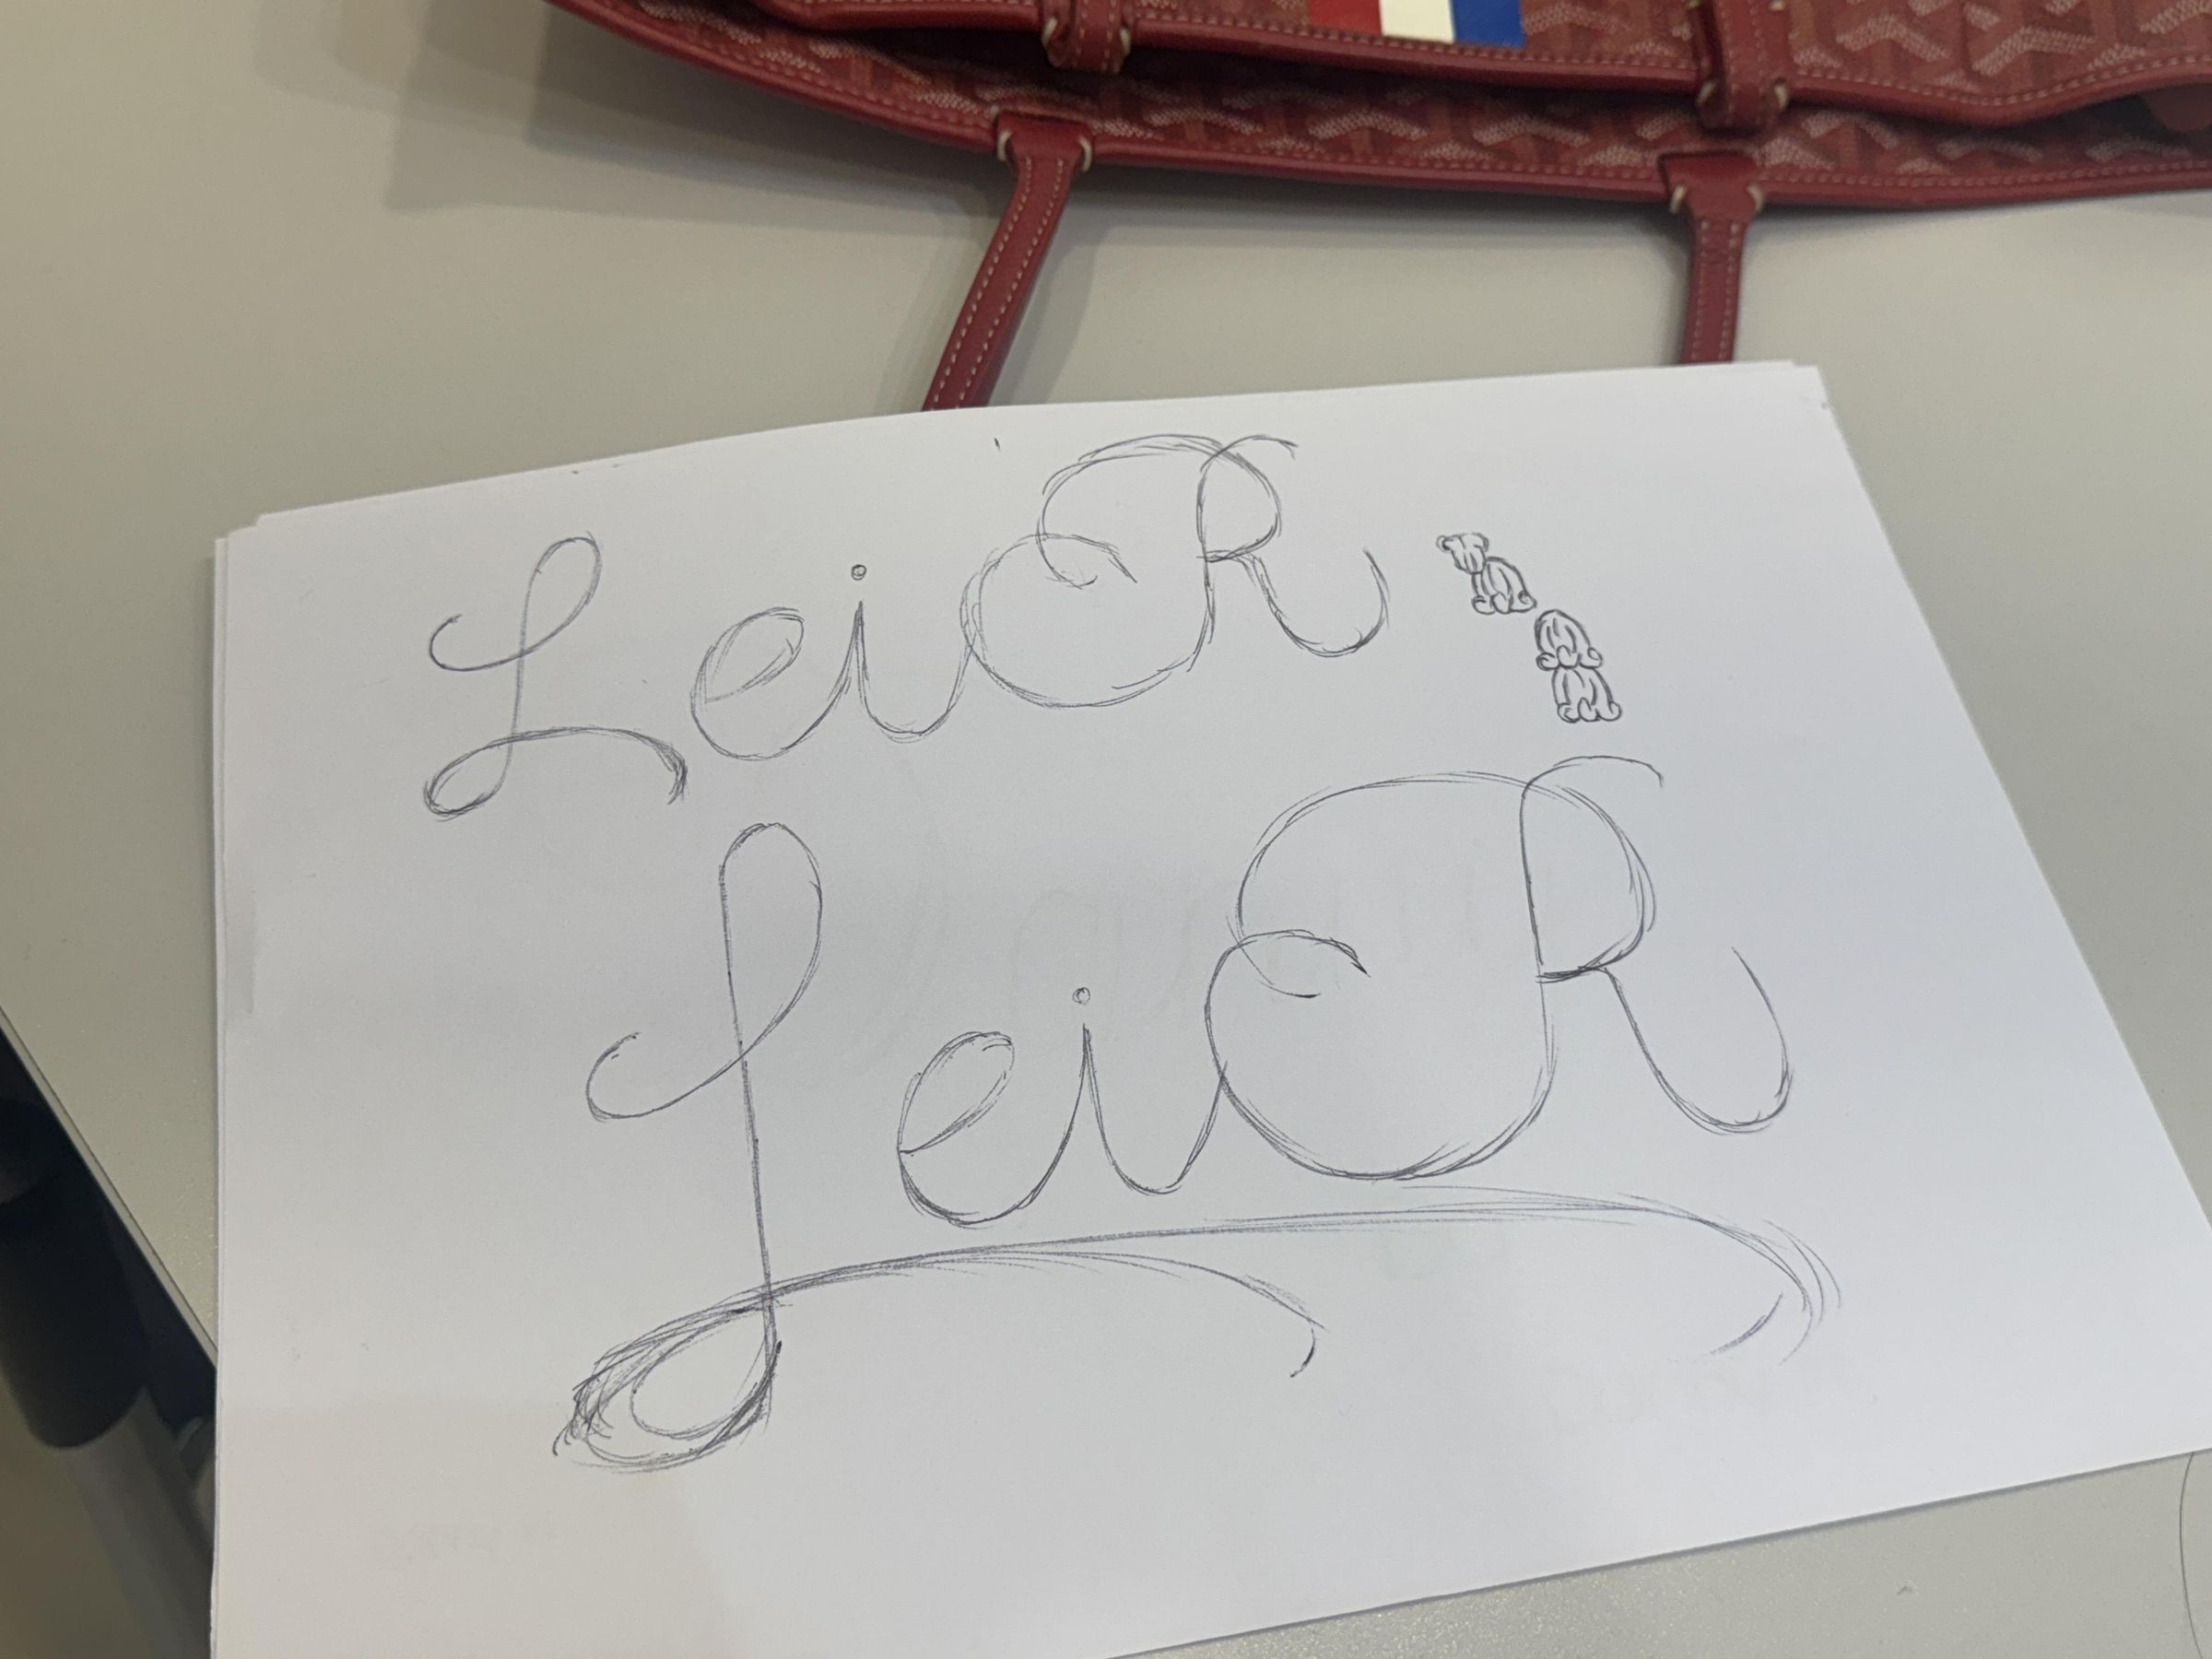
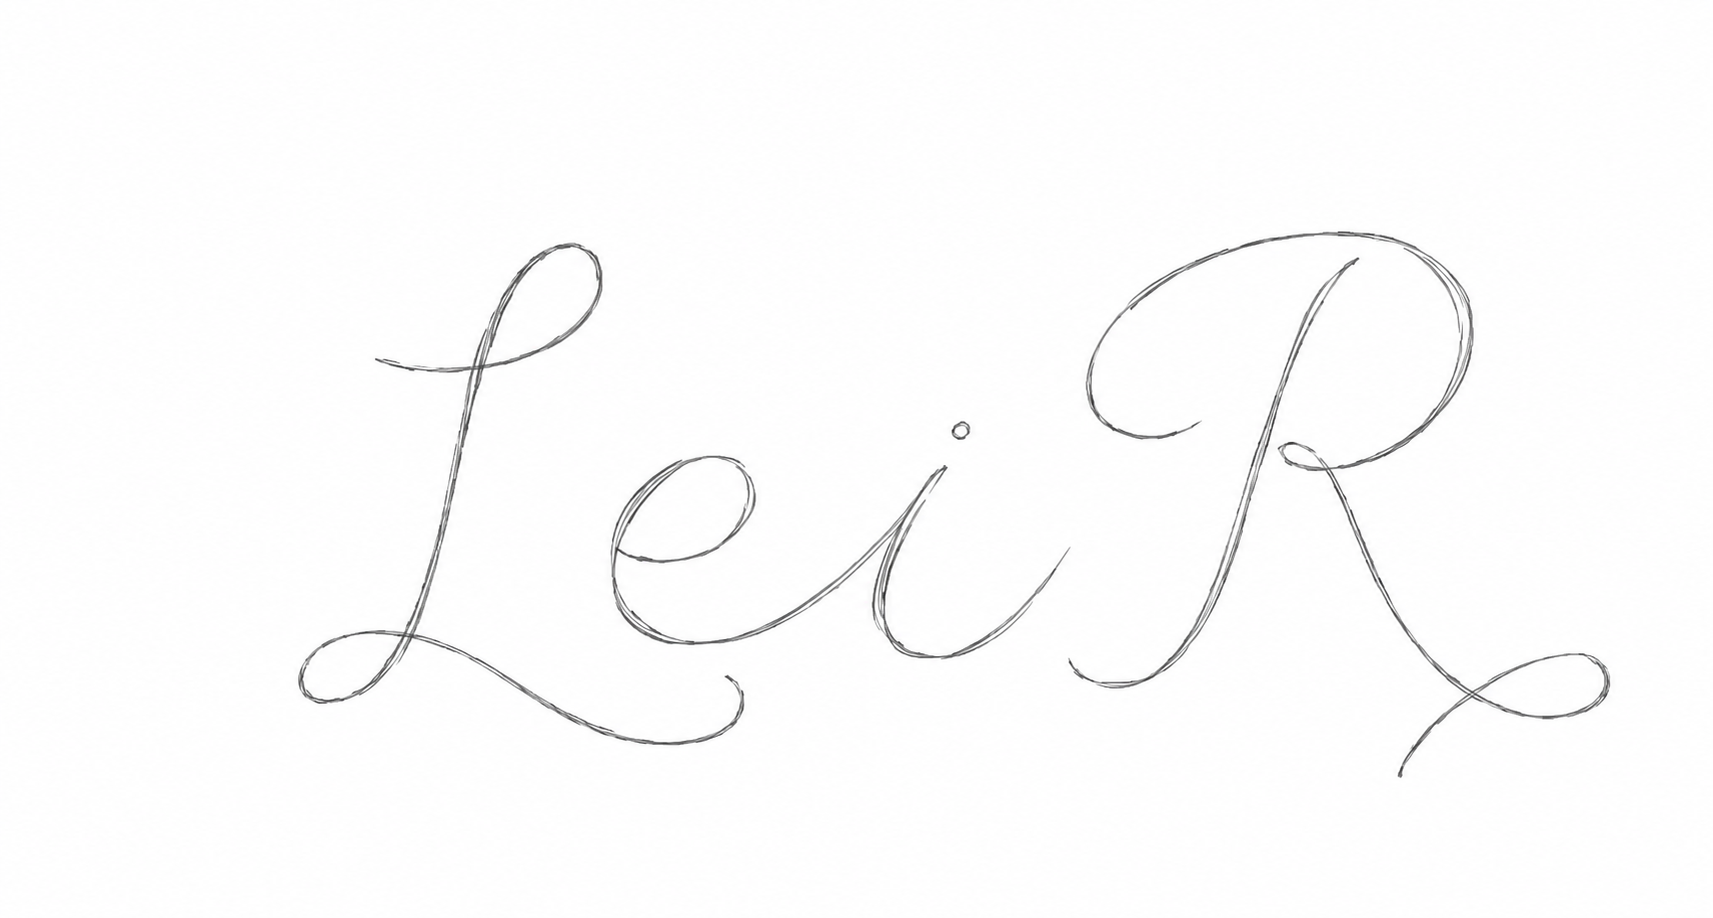
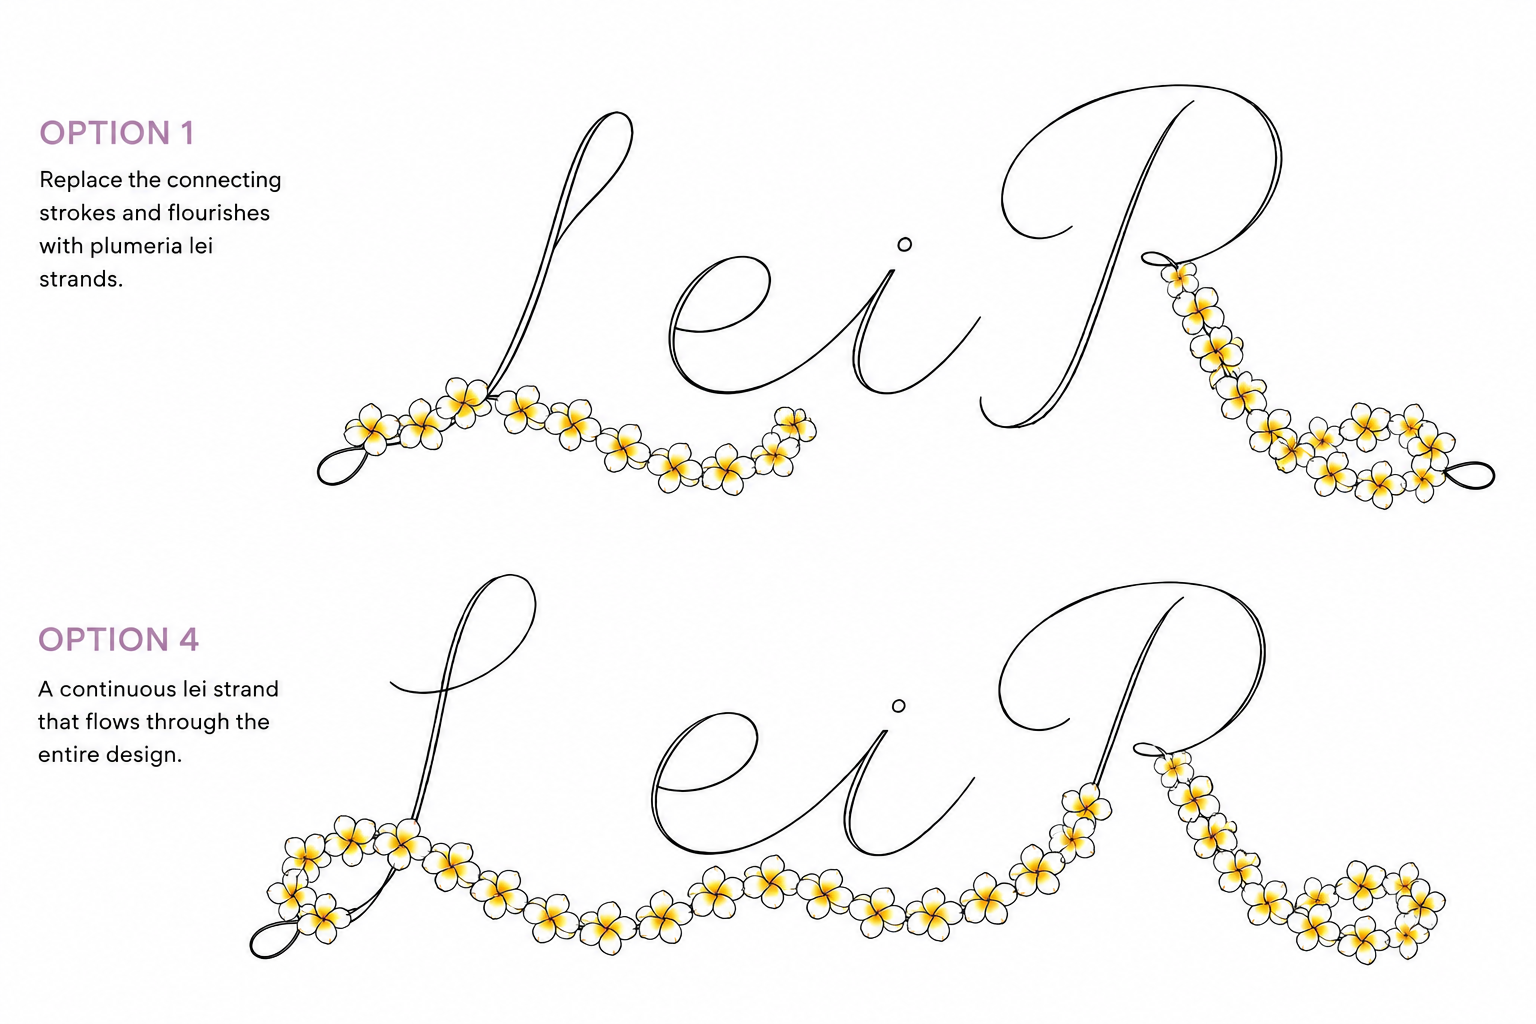
For the logo, I wanted “LeiR” to visually represent the identity of the project: a balance between technology, nature, and personal meaning. I chose a cursive-style wordmark because it feels soft, organic, and connected to the floral theme of the sensor.
The lei-inspired details connect the logo to Hawaiʻi, where lei often represent love, respect, welcome, and connection. This meaning fits the project because the sensor is designed to care for soil and plants while also carrying a personal story. The floral elements are meant to make the device feel less like a cold piece of technology and more like something thoughtful, approachable, and meaningful.
I started with a rough draft on paper of the “LeiR” lettering by hand, then used AI-assisted mockups to explore how floral lei details could be added. After comparing different versions, I refined the final design myself on my iPad so the logo would stay personal.
Prototype 1: 3D-Printed Case and Cartridge Design
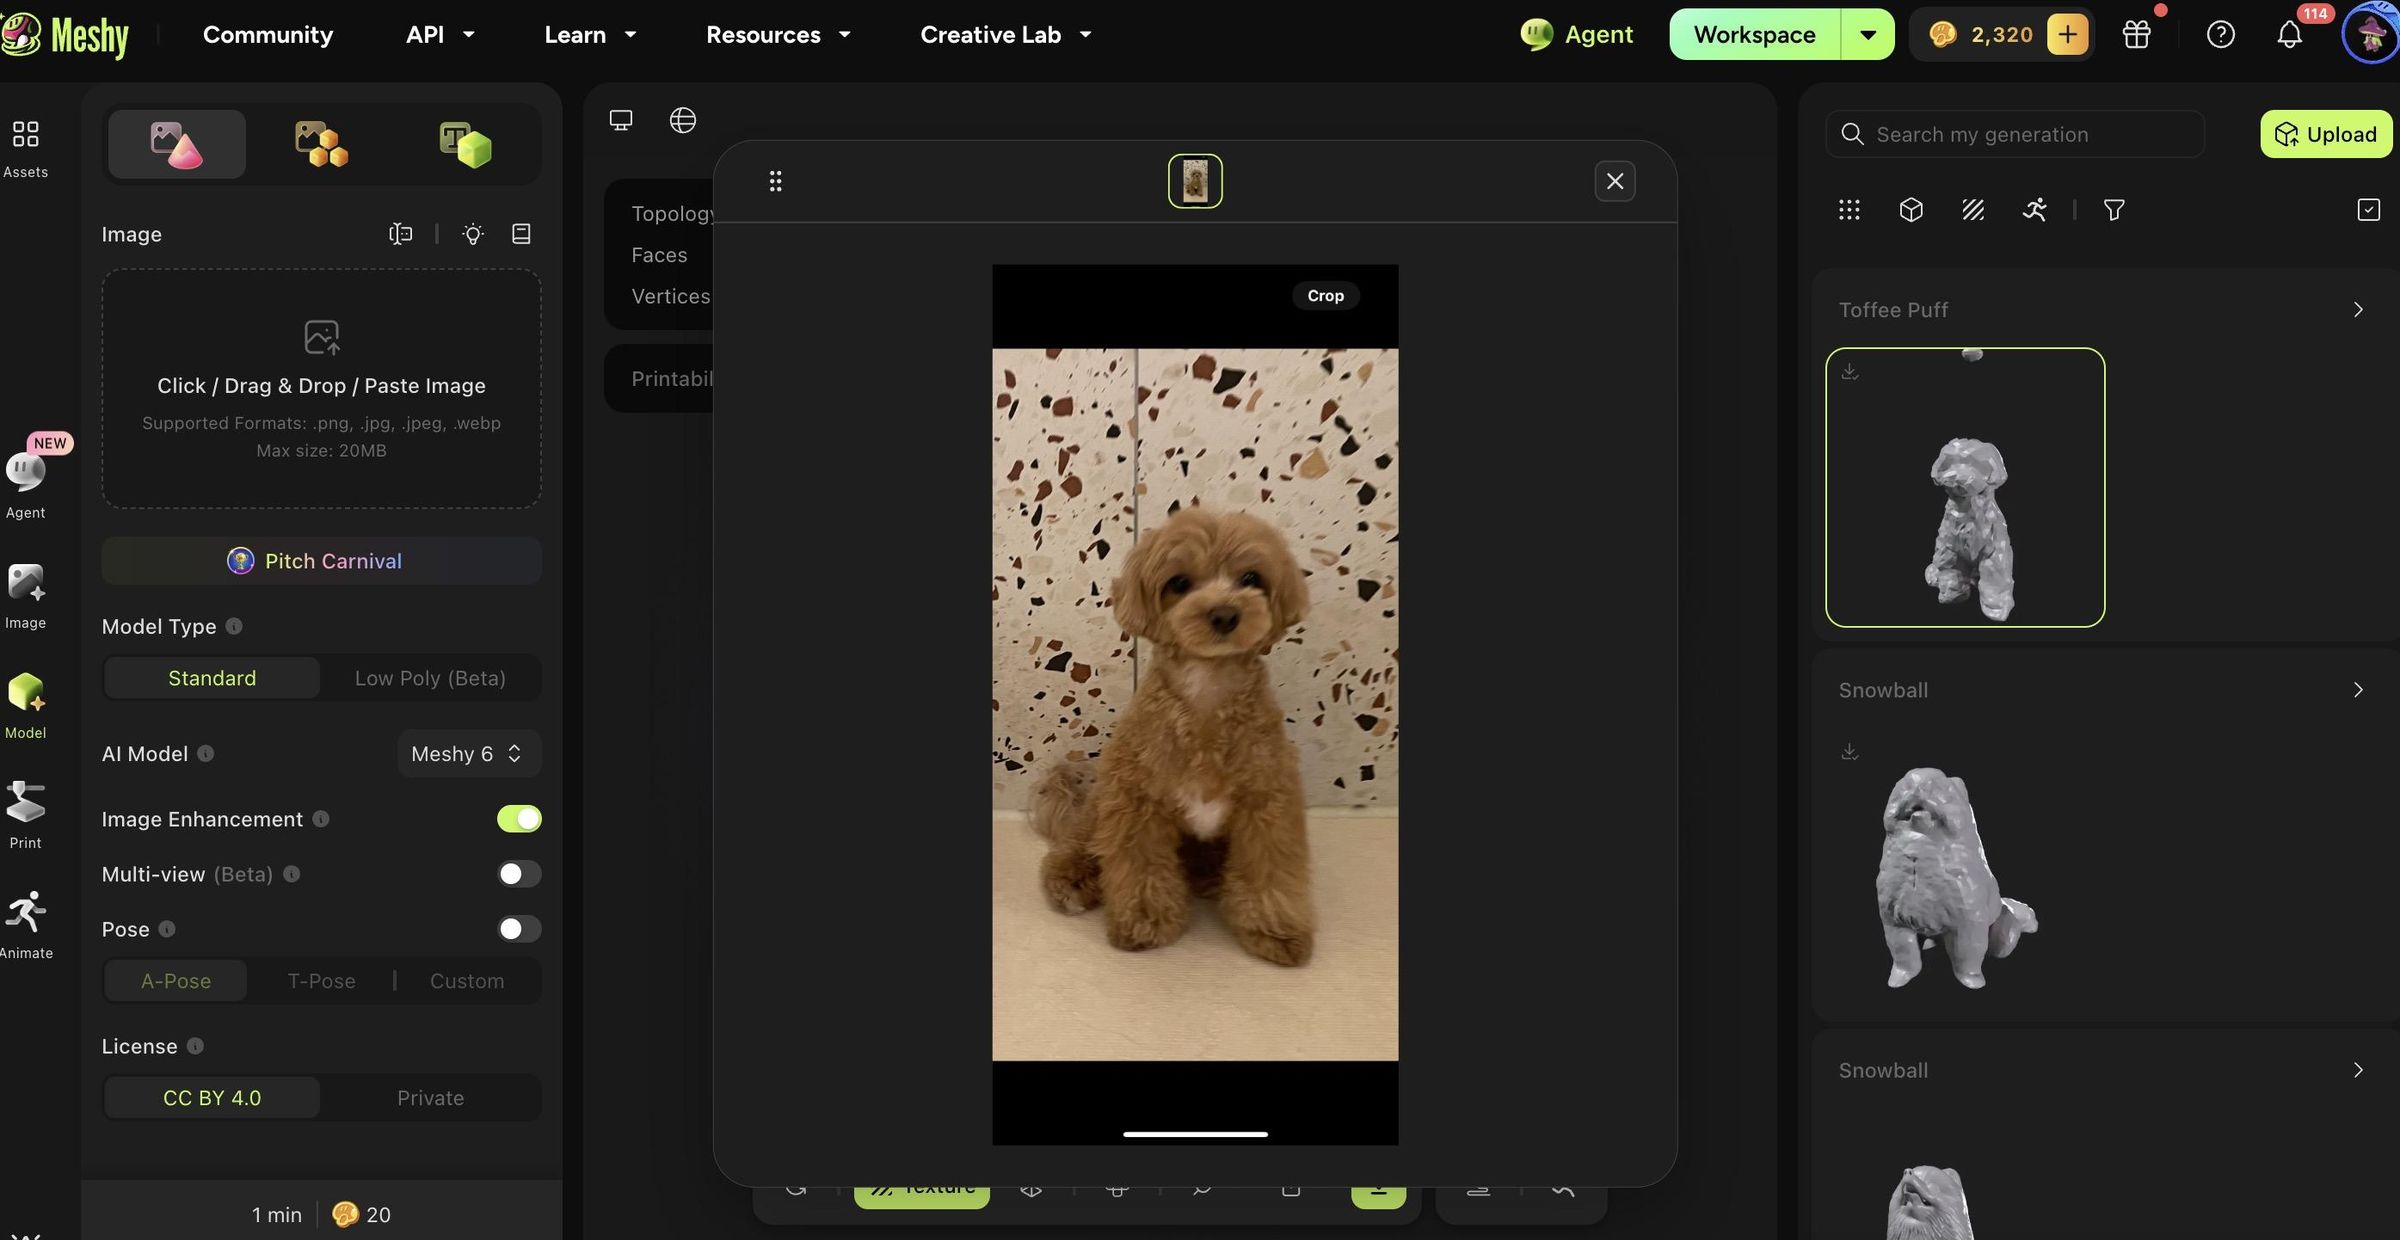
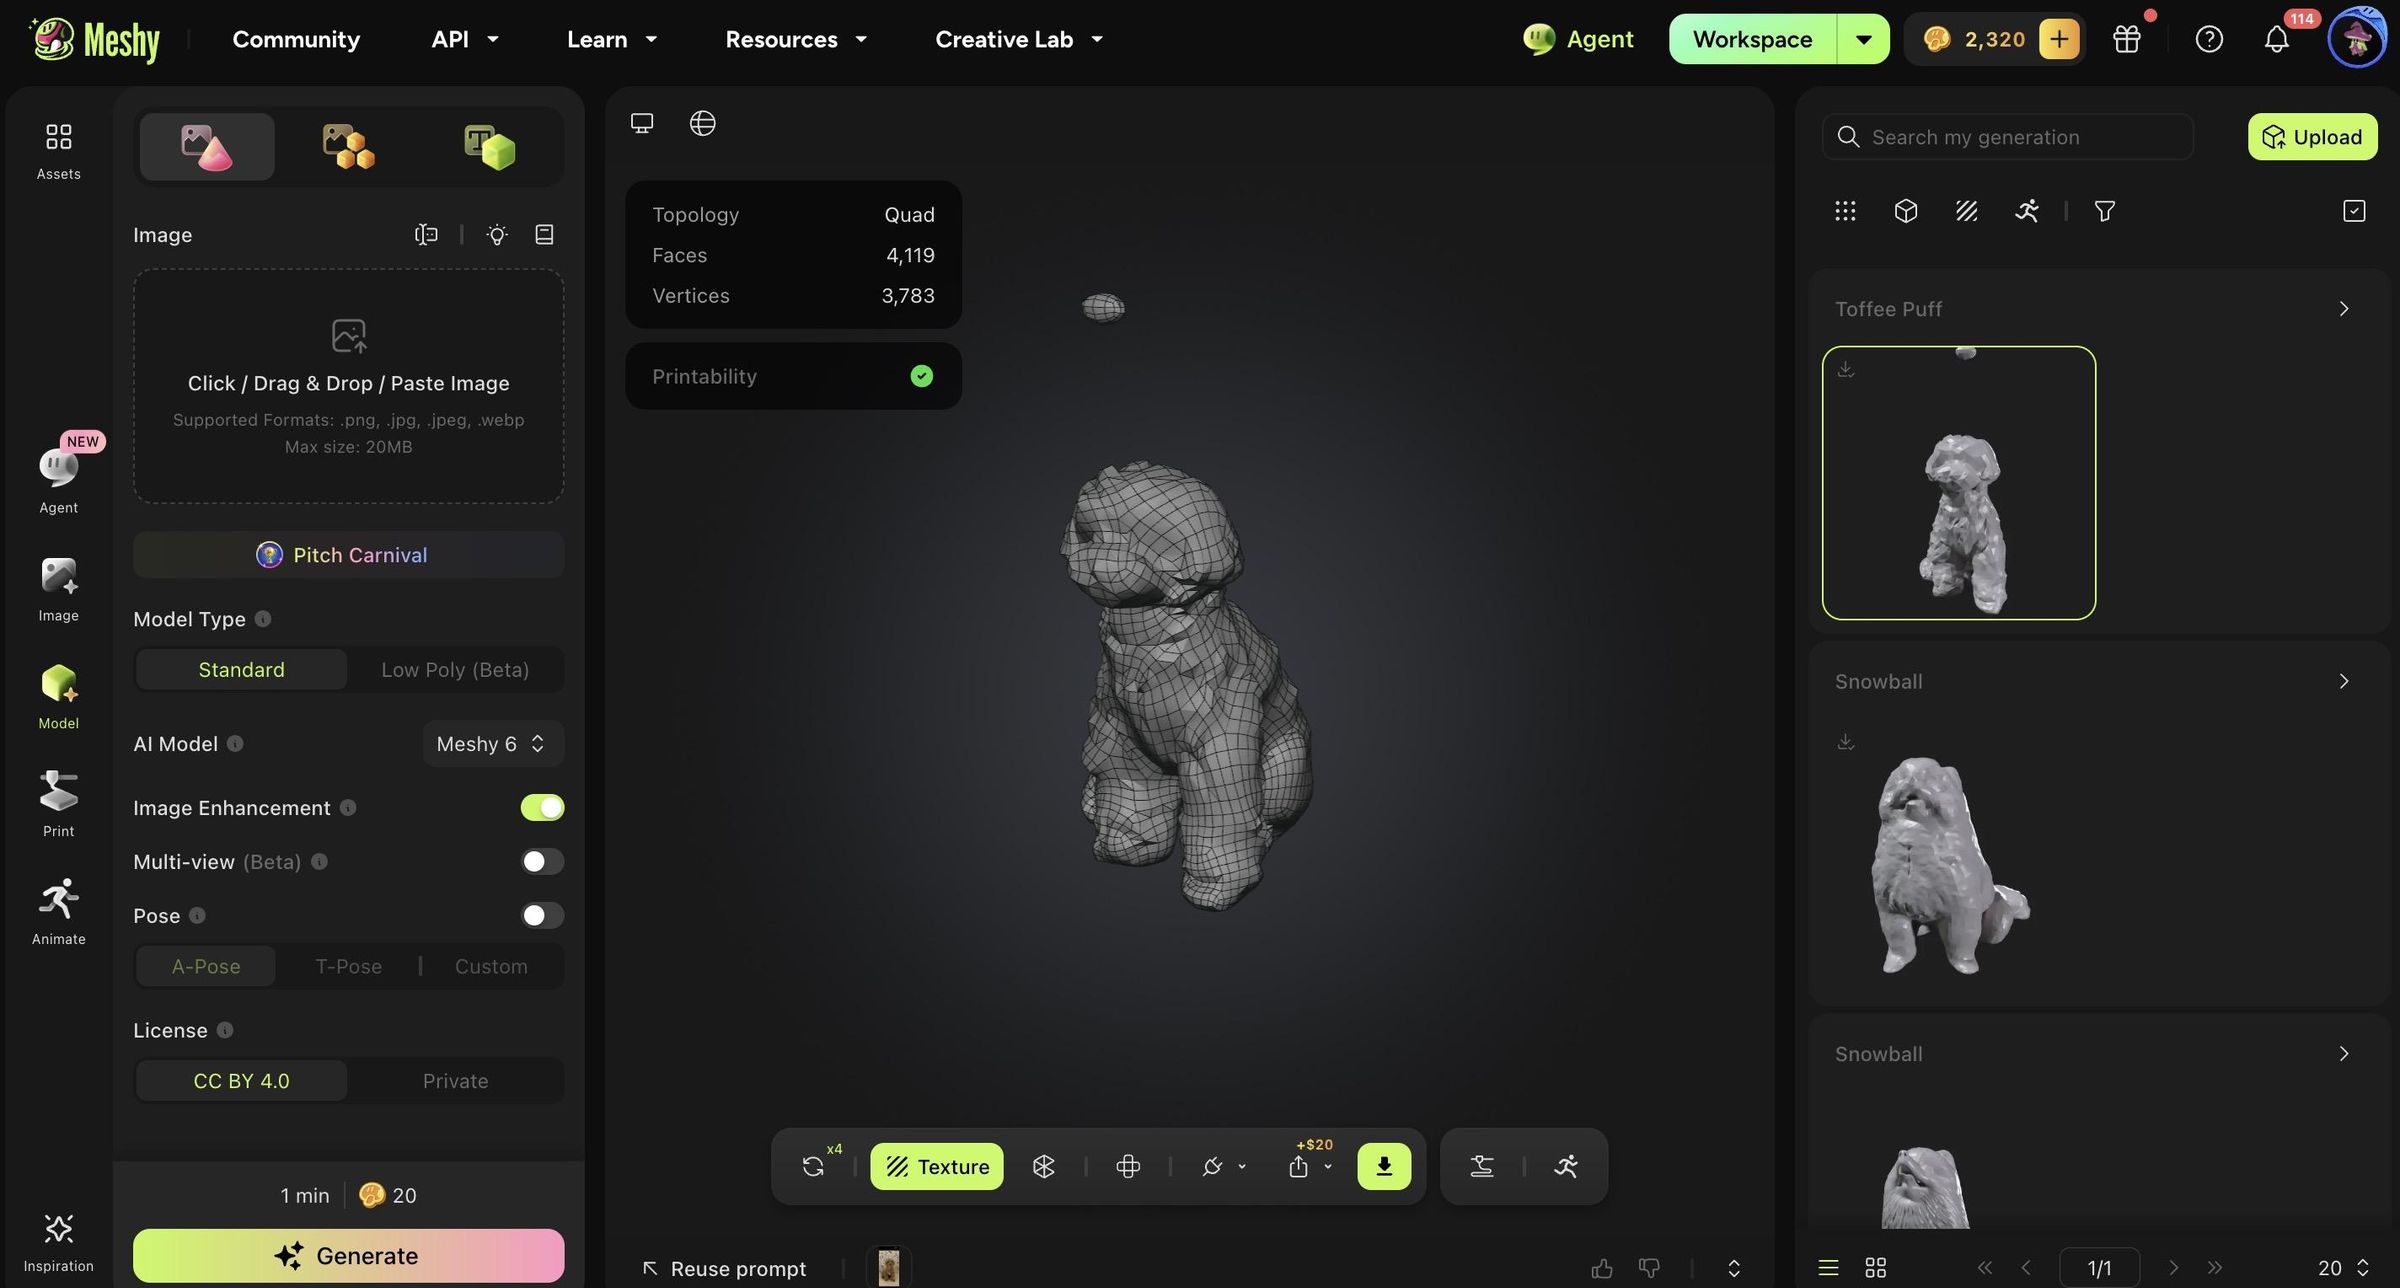
This is our first prototype. The case is modeled after my dog, Gommi. To create the model, we uploaded an image of her to Mesh AI, which generated a 3D model. The original model was around 2 meters tall, so we imported it into Fusion 360 to scale it down to a more realistic sensor size. We also reduced the number of polygons so the model would print cleanly. Then, I added the floral lei detailing to carry the flower theme through the body.
Initially, our idea was to design the sensor case so it could open in half. However, this became overcomplicated and made battery maintenance more difficult. If the case had to be fully opened every time the battery needed to be changed, it would not be practical for long-term use.
To solve this, we redesigned the prototype around a removable cartridge system. Instead of opening the whole case, the electronics are placed inside a cartridge that can slide in and out of the 3D-printed body. The cartridge is designed to hold the ESP32-C3, Arduino components, soil moisture sensor, temperature sensor, and battery pack.
Before soldering the final connections, we used an Arduino Uno board to test whether the sensors were working properly. This allowed us to check the moisture and temperature readings first before placing everything into the cartridge. Testing the sensors separately helped us avoid soldering parts together before knowing whether the electronics and code were functioning correctly.
What Prototype 1 Taught Us
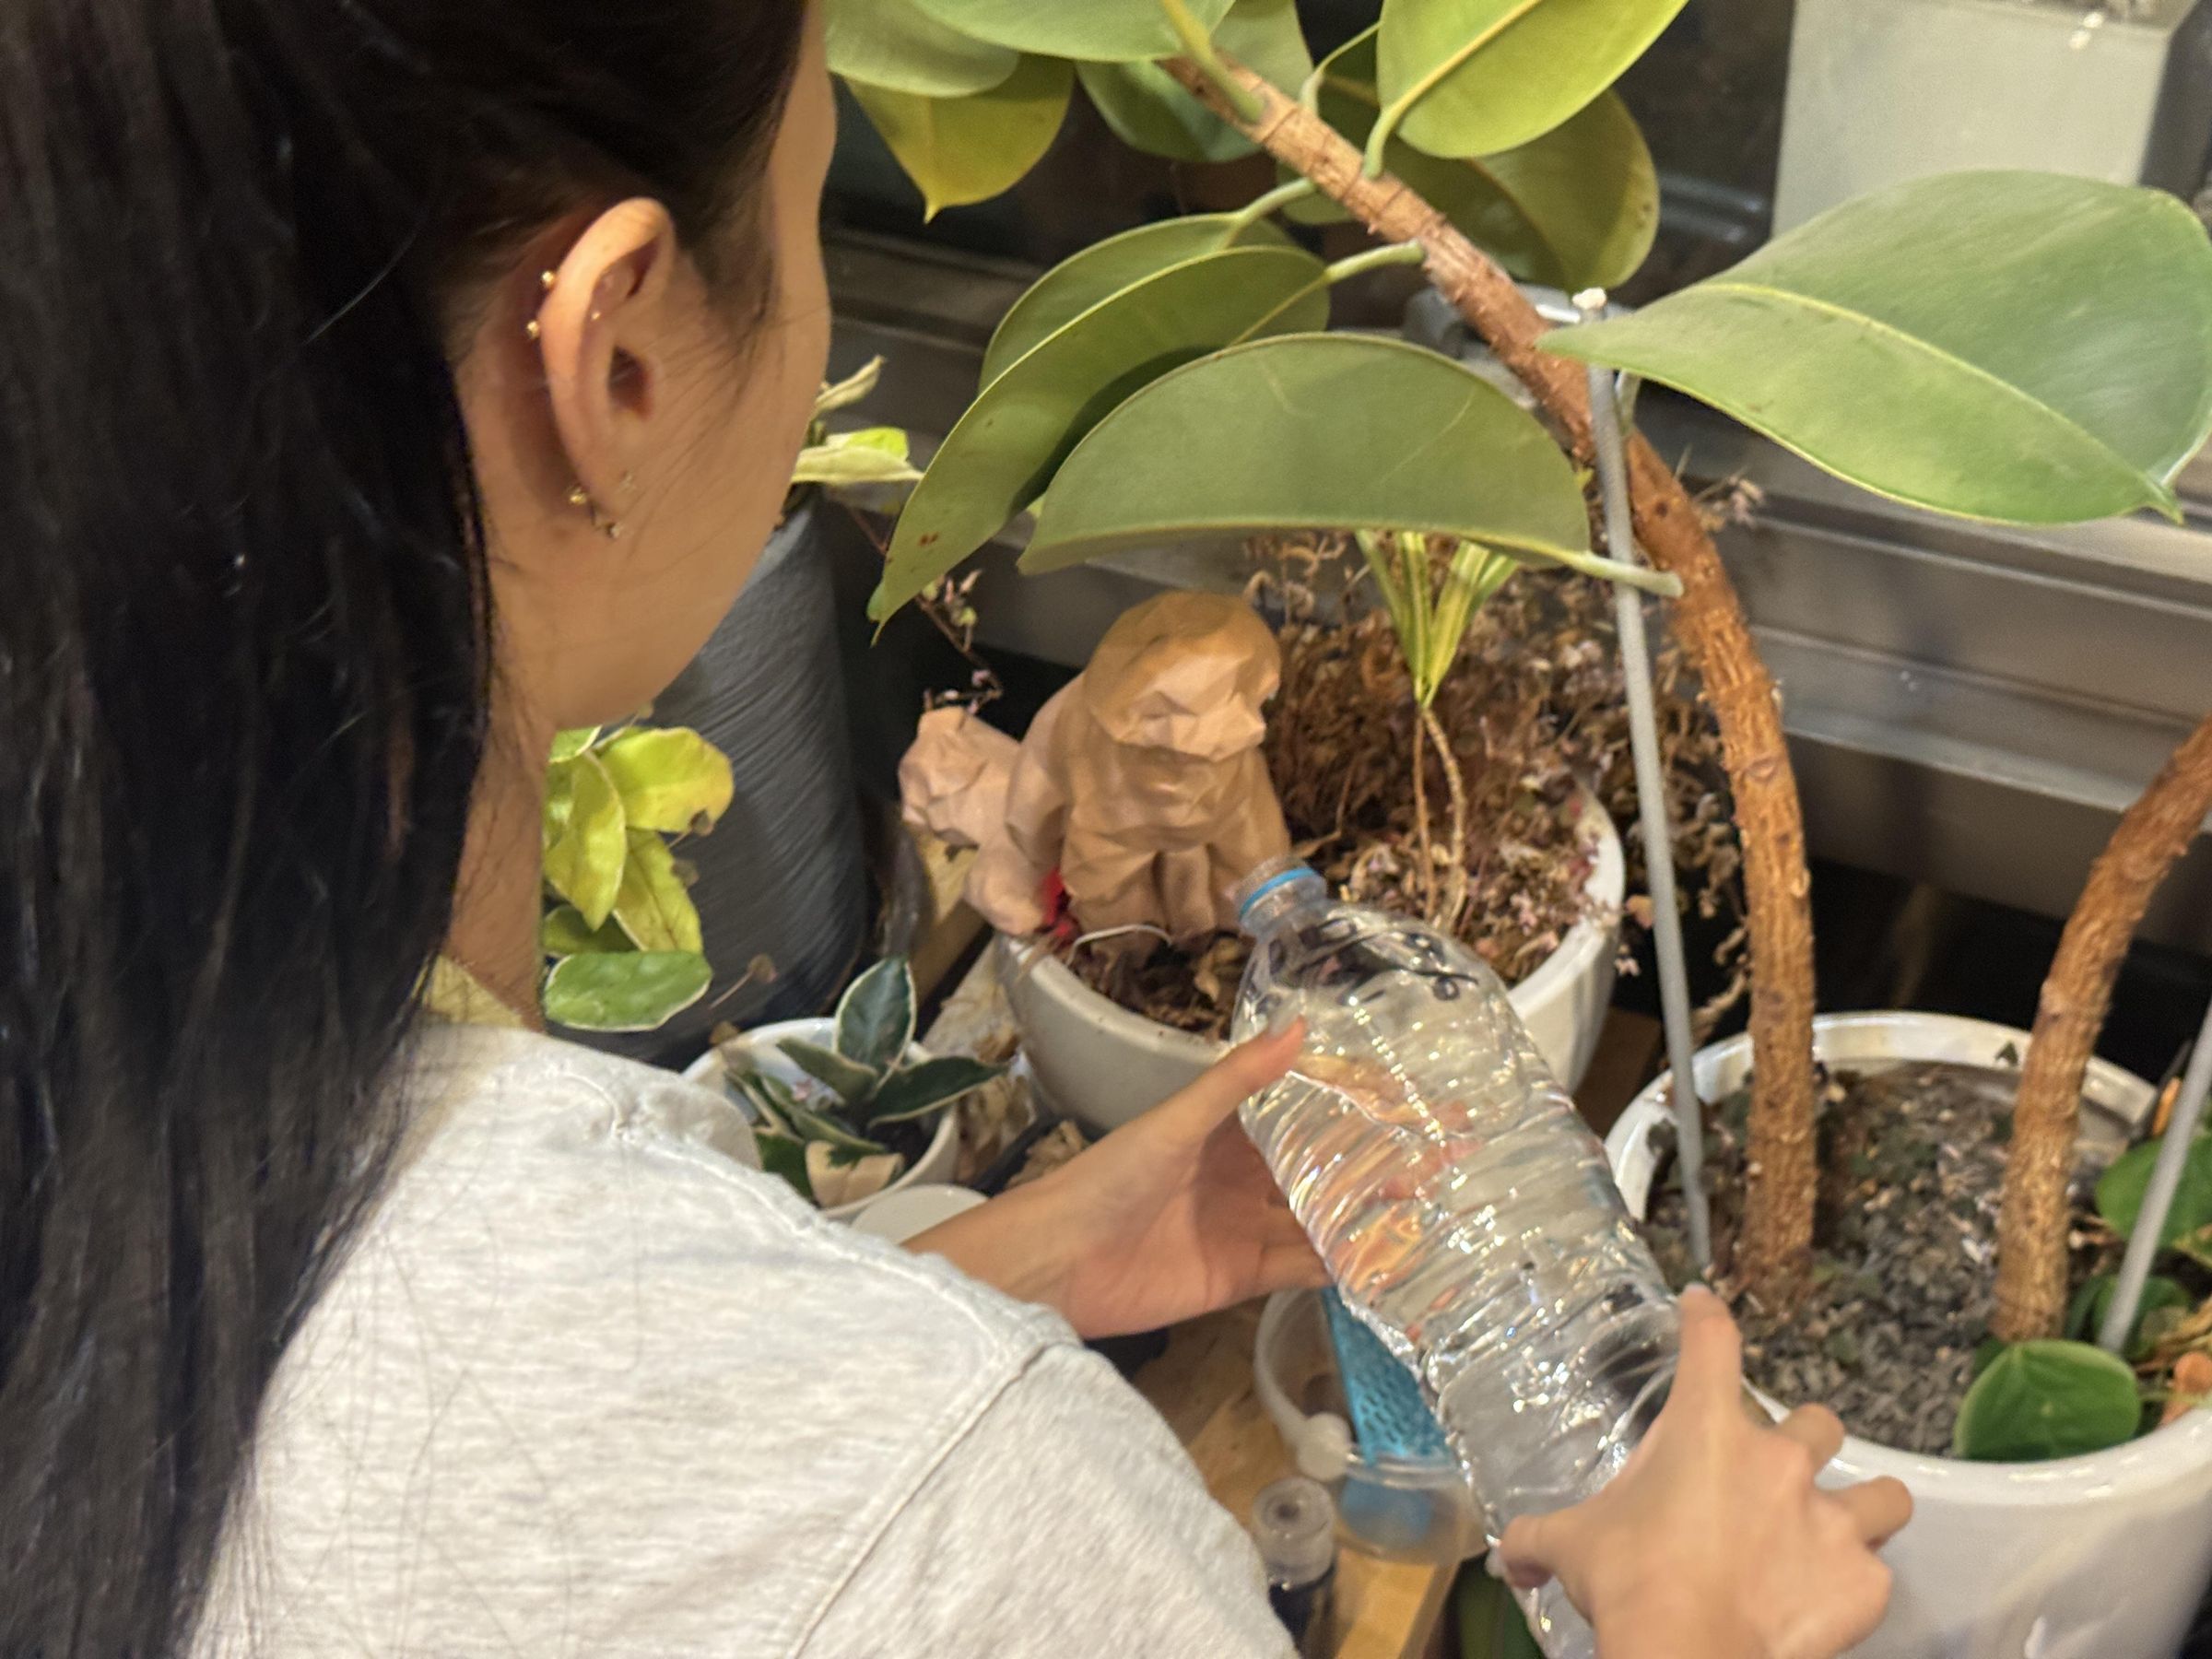
Prototype 1 is working: the map and sensor values print correctly, and the overall size of the case feels appropriate. However, there are still several improvements that need to be made.
Notes for prototype 2:
- The cartridge creates some noise when it is inserted and removed from the case. This means the surface should be made smoother so the cartridge can slide in and out more cleanly.
- The case still needs waterproof testing because the device is meant to be used near soil, plants, and moisture.
- The sensor needs a stronger holder or fixture so it can stay securely in place.
- The prototype may need an indicator, such as a small LED, to show whether the device is working properly.
Overall, this first prototype helped us confirm that this works: the case size is reasonable, the data can be collected, and the readings can be sent successfully. The next step is improving the physical design so the device is smoother, more durable, and easier to use.
Downloads
Prototype 2: Smoother Cartridge System
In Prototype 2, we mainly worked on making the cartridge fit better inside the case. In the first prototype, the cartridge could go in and out, but it was not as smooth as we wanted. It also made noise when we inserted or removed it, so we realized the gap between the cartridge and the case was too small.
To fix this, we changed the tolerance from 0.15 mm to 0.25 mm. Since the tolerance became larger, the gap also became slightly larger, which helped the cartridge slide in more smoothly. This showed us that even a small change in measurement can make a big difference in how a 3D-printed part feels and works.
After this adjustment, the cartridge system felt much more practical and reliable. Since the physical fit was now smoother and closer to our intended design, we were ready to move from testing the printed parts to testing the actual electronics. The next step was uploading the code to the ESP32 development module and checking whether the sensor values could print correctly. I learned how to upload code to the ESP32 development module. When connecting the board to the computer, we had to hold the BOOT button while plugging it in. Then, we waited until the code finished uploading.
After uploading the code, we checked the Arduino IDE dashboard / serial monitor to see whether the ESP32 was connected properly. This helped us confirm if the board was working and if the sensor values were printing correctly.
Prototype 2 taught us that prototyping is not only about making the device work once. It is also about improving small details, like fit, smoothness, and testing steps, so the final product becomes easier and more reliable to use.
Downloads
Choosing the Right Connection
For the communication system, I compared several options before choosing WiFi:
- LoRa has a long range, useful for large outdoor areas — but it adds cost and technical complexity.
- Zigbee can connect many devices, but it usually needs a hub, and deciding where to place a hub is impractical across spread-out homes, gardens, and school spaces (for example, across a large area like Hawaiʻi Island).
- WiFi is already available in most homes, gardens, and school workspaces, so each sensor can connect directly to the user’s WiFi with no extra hub or long-range network.
So LeiR is built on the ESP32-C3 over existing WiFi. The firmware uses a captive-portal setup to power on the device, join its “Leir_Setup” network from your phone, and a setup page opens automatically—like signing into hotel WiFi. No app or account is needed. From that same page, you can open the LeiR dashboard directly.
Under the hood, each node publishes its readings every 2 seconds to a cloud message broker (MQTT) and also advertises over Bluetooth LE for local connections. Every device generates its own ID (for example, “Leir_F878”) so many sensors can report to the same dashboard at once.
The Live Dashboard
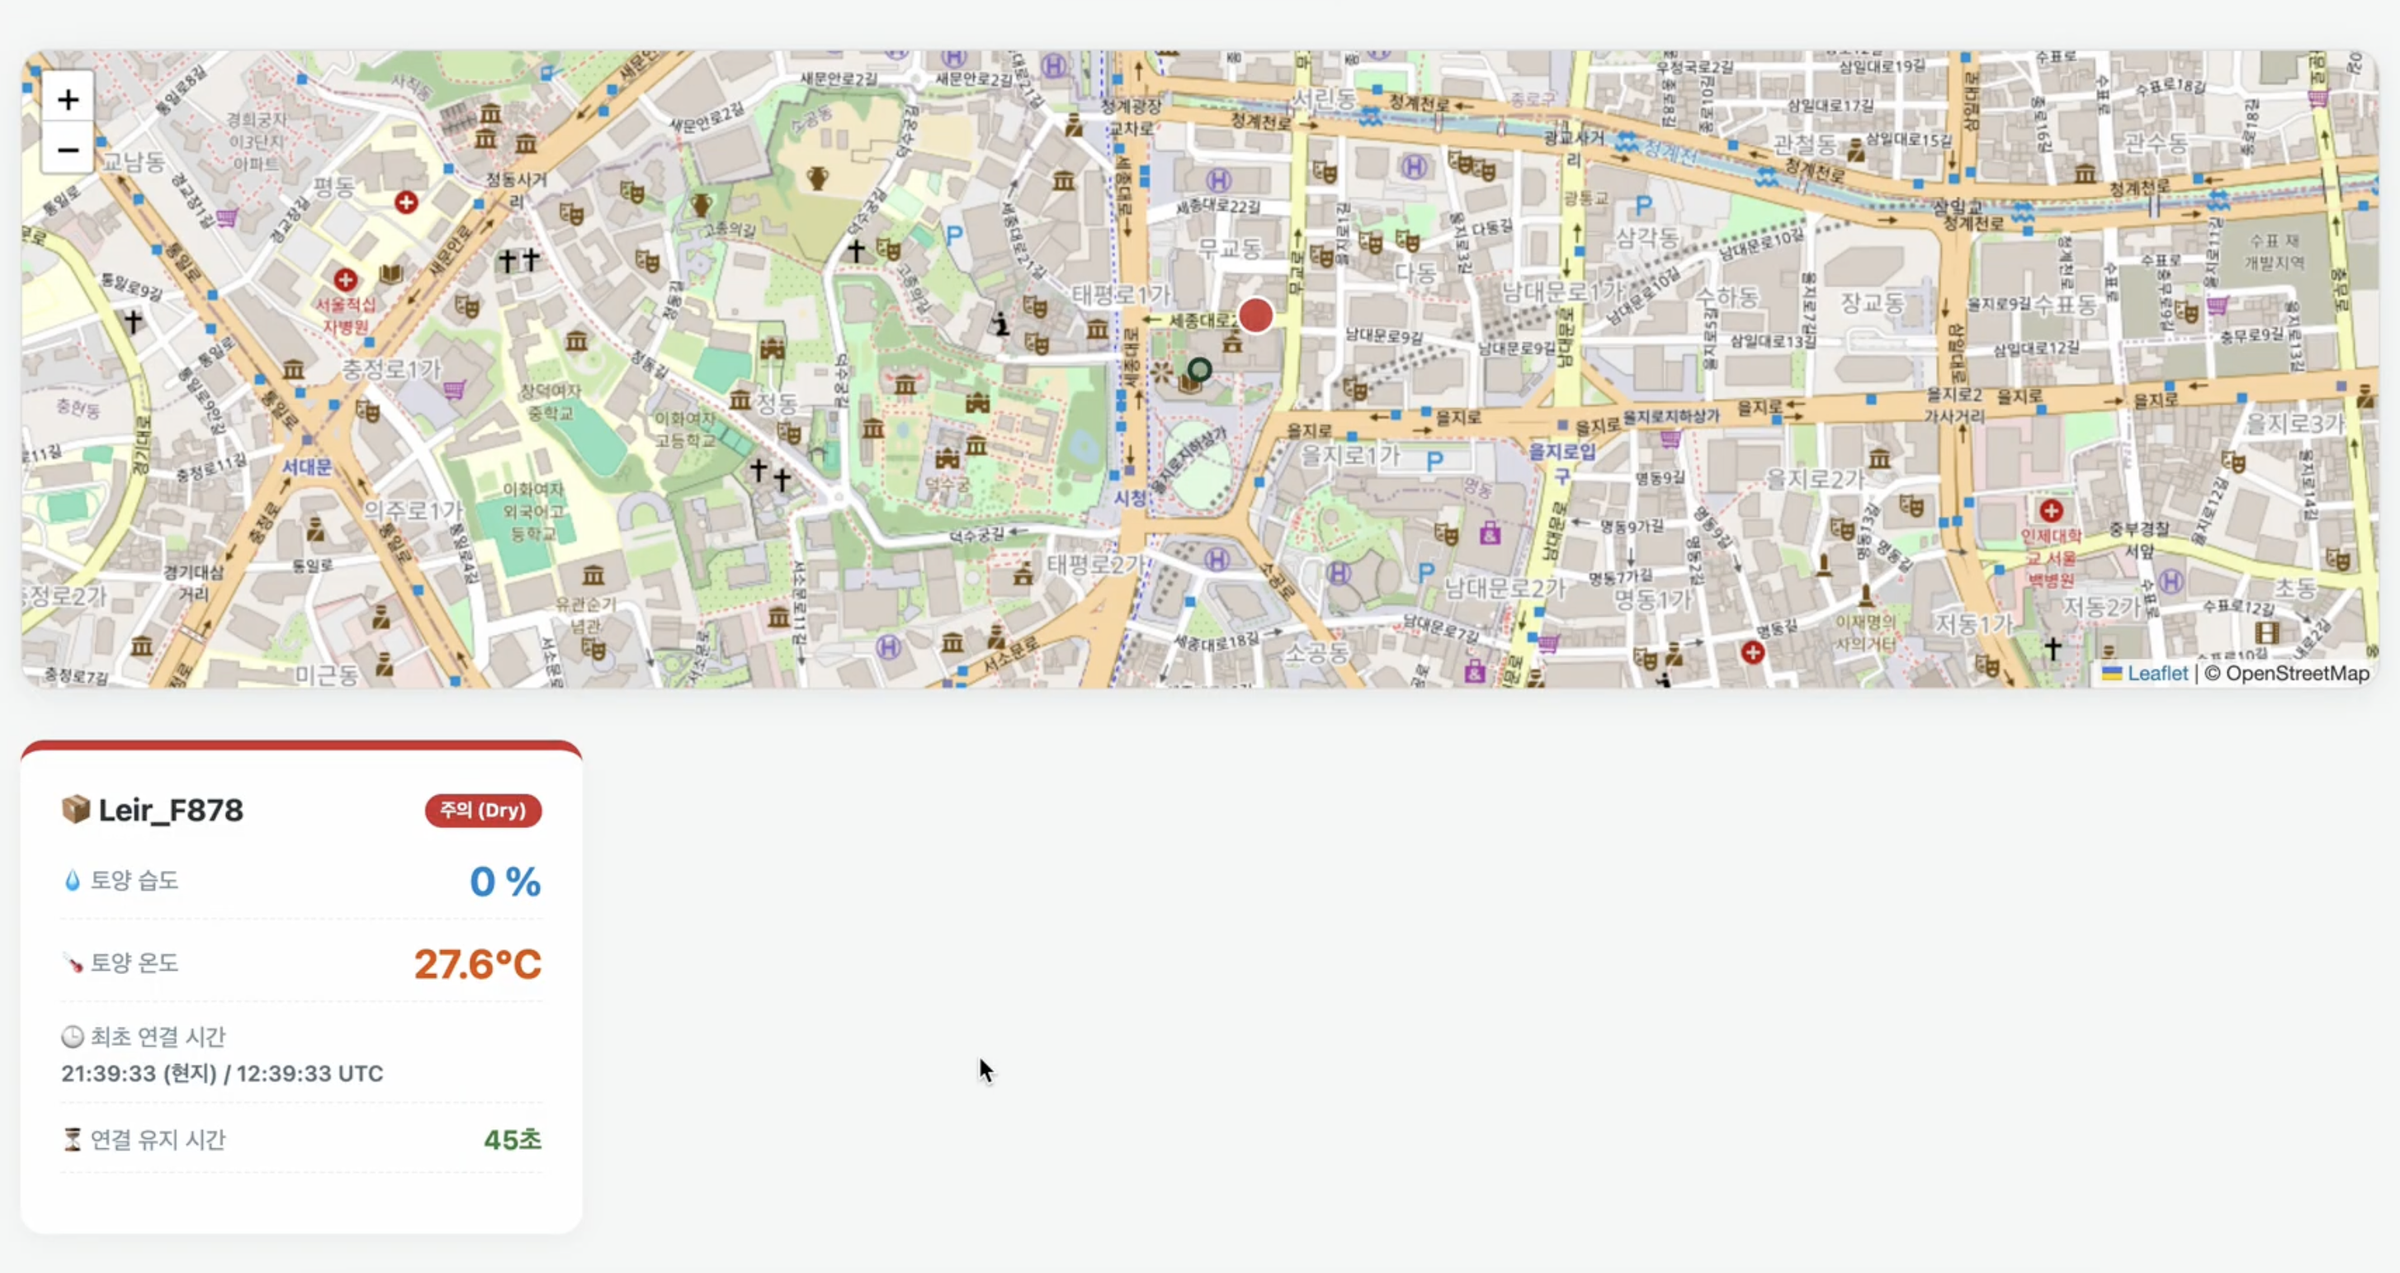
Once a node is connected, its readings appear on the LeiR dashboard — the integrated environment monitoring center "환경 통합 관제 센터":
- Live values per node: soil moisture (%) and soil temperature (°C)
- Status flag: a simple state (for example, “Dry / 주의”) when moisture is low
- Field map: every LeiR node is pinned on a live map, so you can see each sensor’s location and condition at a glance
This turns raw numbers into something anyone can act on quickly. In the current prototype, two live nodes (Leir_F878 and Leir_B0EC) report to the same map.
Downloads
What's Next?
This design also makes the project more customizable. In the future, if users want different personalized cases instead of my dog, they would not need to rebuild the electronics. They could simply remove the cartridge and insert it into a different 3D-printed case. This makes the device easier to maintain, personalize, and expand.
Beyond personalization, the tracked data can also be used in conjunction with AI to gain a deeper understanding of each user’s plant conditions over time. By analyzing patterns in moisture, temperature, and future soil measurements, the system could suggest better ways to care for each plant, such as when to water, whether the soil conditions are changing, or how the growing environment could be improved.
This project is also an early step toward a larger soil health monitoring system. In the future, additional sensors could be added to measure pH, nutrients, electrical conductivity, NPK levels, or light exposure. However, this first prototype proves the core idea: a personalized, 3D-printed device can collect environmental soil data and send it to a database for long-term tracking.