Lost Finder
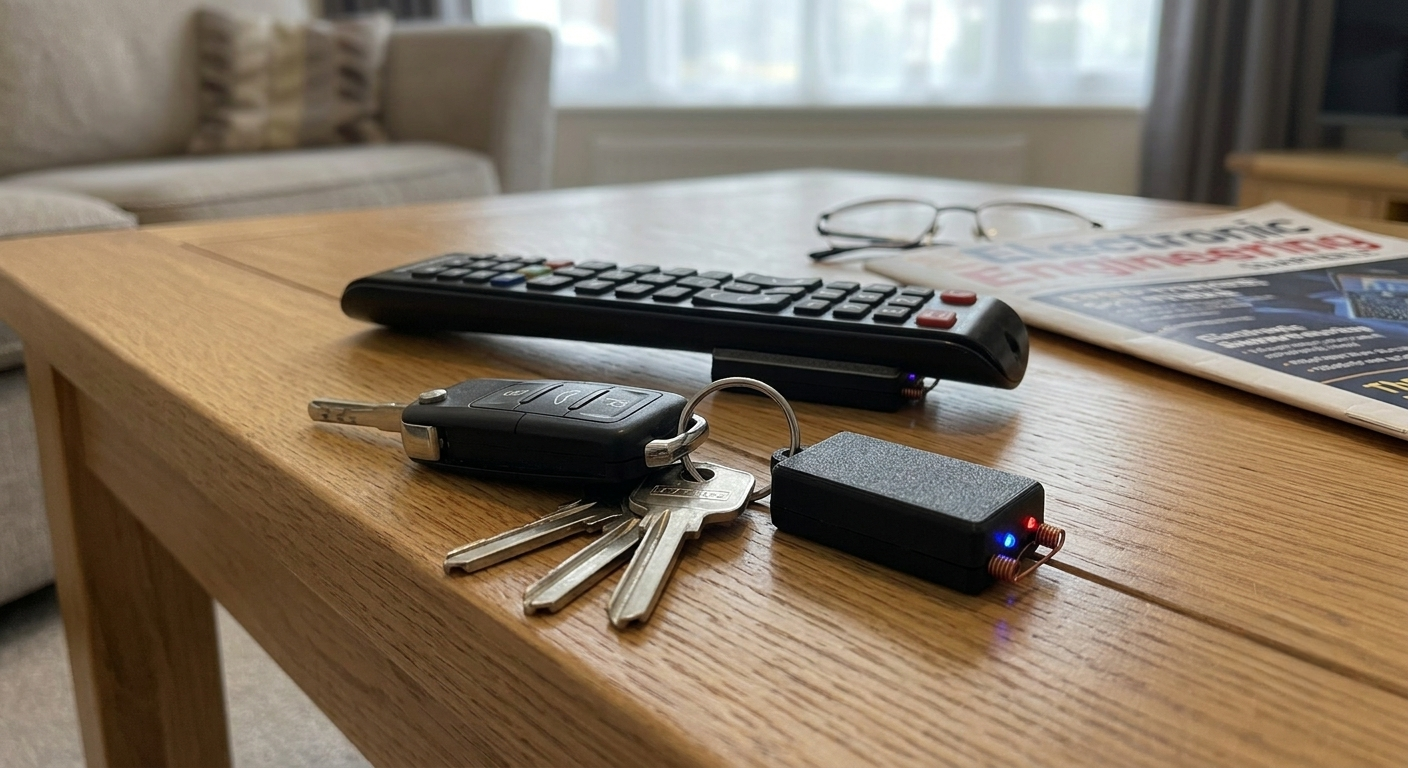
Have you ever spent twenty minutes tearing apart your living room cushions just to find the TV remote, or running late because your keys vanished into thin air? We have all been there. In this project, we are going to build a smart, DIY "Remote and Key Finder" using an Arduino and a cheap Bluetooth module. By pairing the hardware with a custom-built Android app, you will be able to make your lost items ring at the press of a button. This is a beginner-friendly project that is perfect for learning how to establish wireless communication between microcontrollers and your smartphone!
Supplies
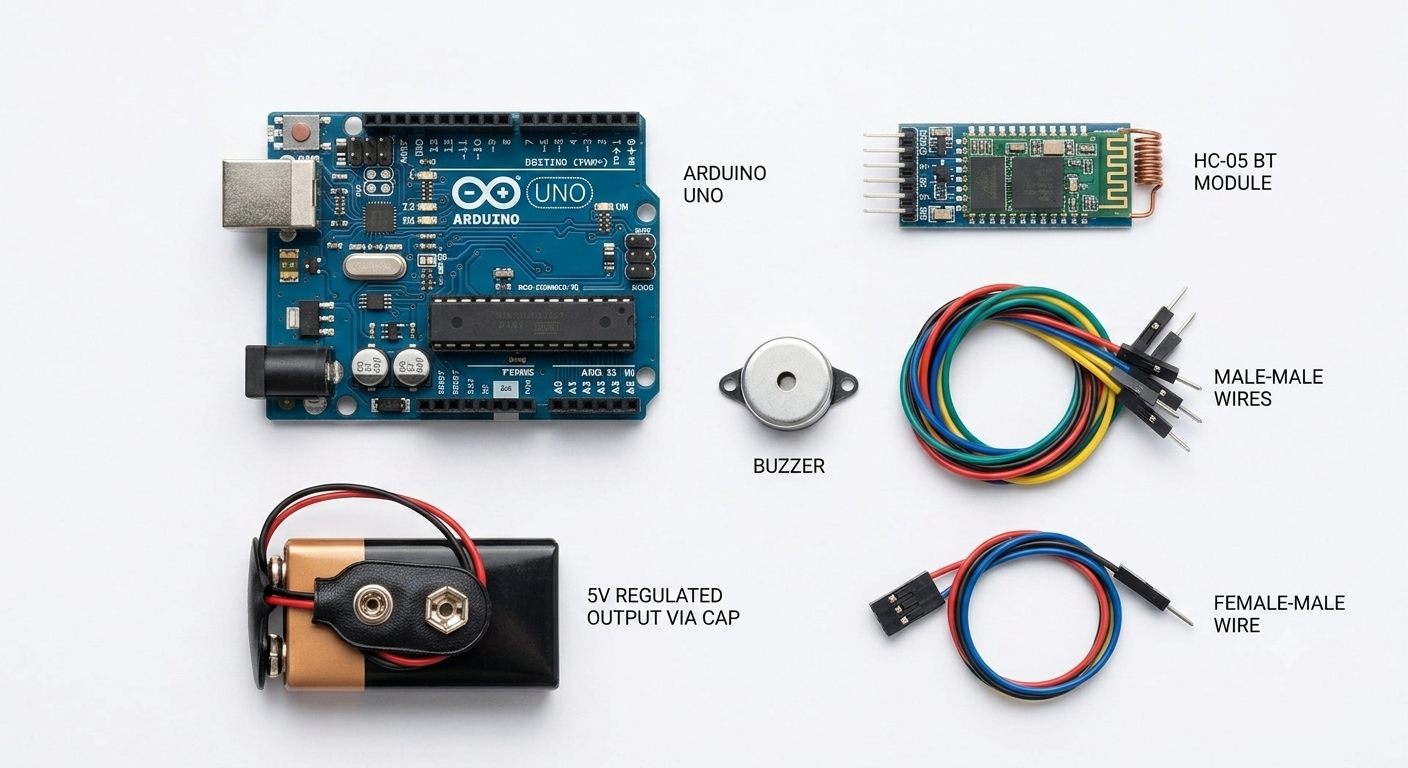
- Arduino
- HC-05 or HC-06 Bluetooth Module
- Buzzer
- 9v battery and the cap
- female to male jumbers
Wiring the Components and the Code
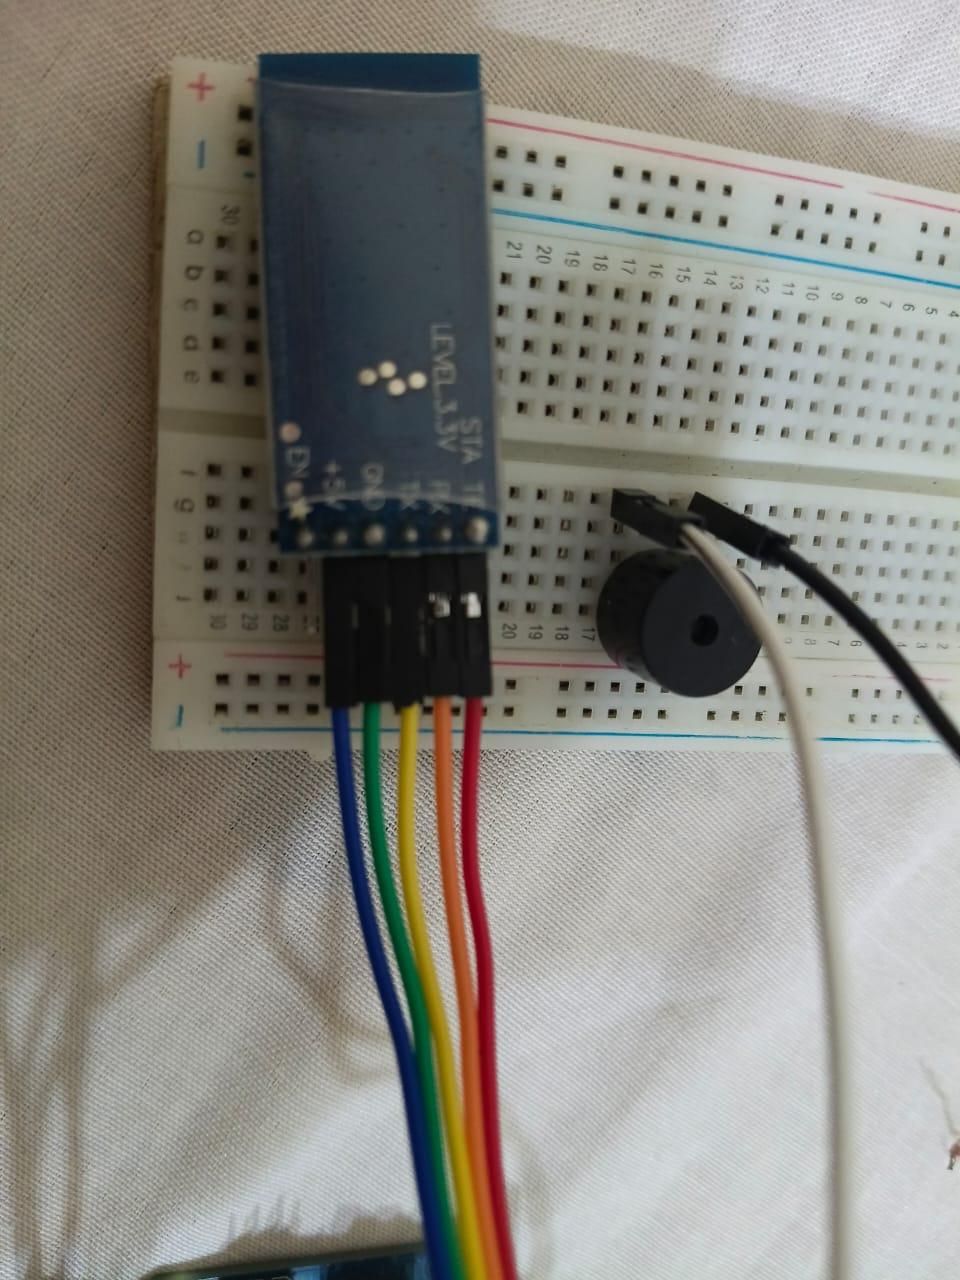
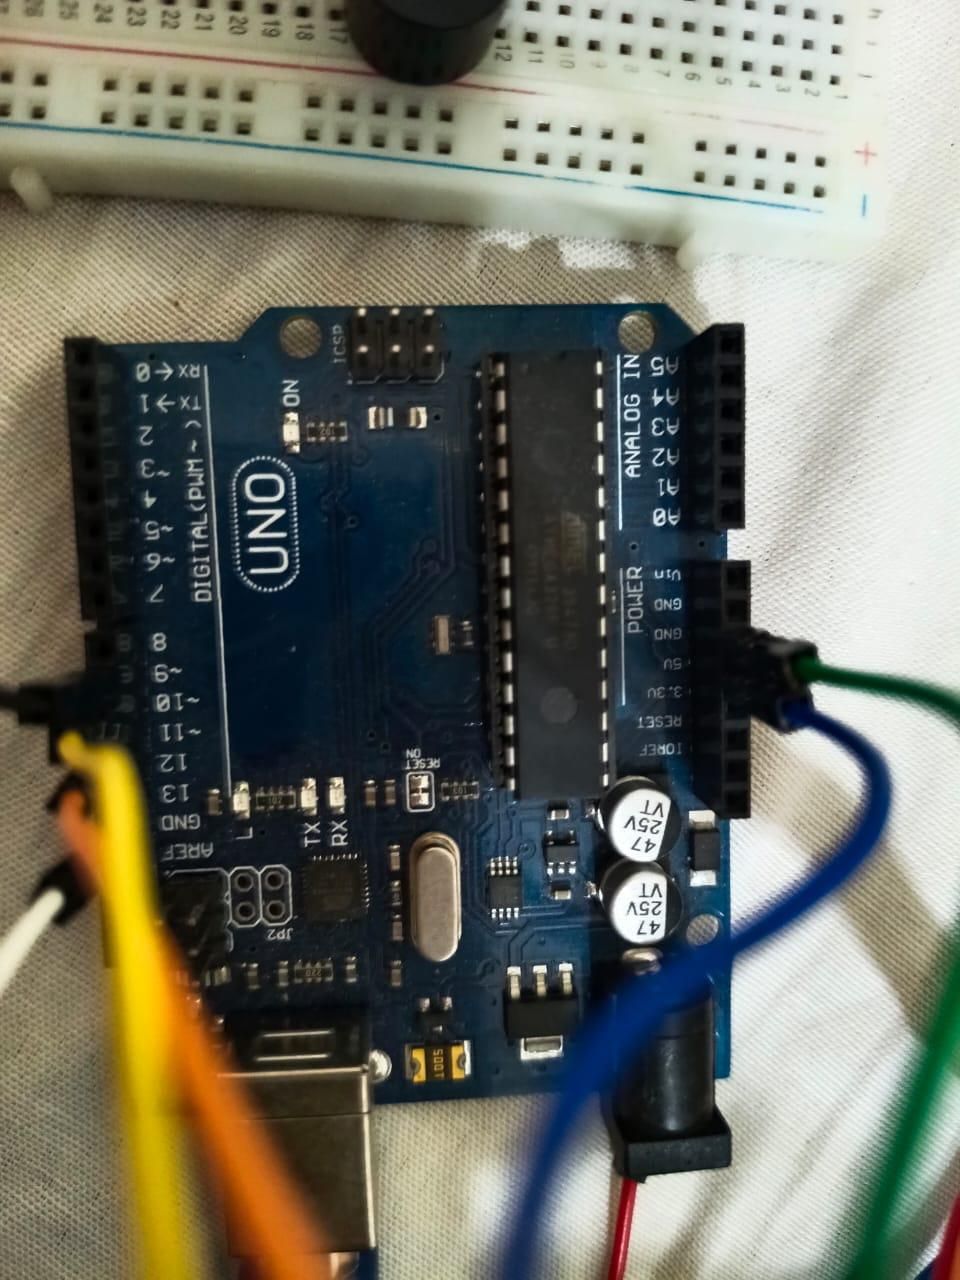
Now, let's connect our hardware together. Because we want to keep this device as small and portable as possible, we will bypass a bulky breadboard and connect our jumper wires directly from the components to the Arduino pins.
- Connect the Bluetooth Module: Connect VCC to the Arduino’s 5V pin and GND to GND. Next, connect the module’s TXD pin to Arduino Digital Pin 10 (which we will set up as our software RX) and RXD to Digital Pin 11 (software TX).
- Connect the Buzzer: Connect the positive (+) lead of your piezo buzzer to Arduino Digital Pin 9, and connect the negative (-) lead to any available GND pin on the Arduino.
- Power Up: Finally, snap the battery cap onto your 5V battery and plug the power leads into the Arduino's VIN (positive) and GND (negative) pins to make it fully portable!
you will find the Arduino code in the file below
THE CODE:
#include <SoftwareSerial.h>
// Define Bluetooth pins (RX, TX)
SoftwareSerial bluetooth(10, 11);
const int buzzerPin = 9;
void setup() {
// Start serial communication
Serial.begin(9600);
bluetooth.begin(9600); // Default speed for HC-05/HC-06
pinMode(buzzerPin, OUTPUT);
Serial.println("Remote Finder Ready...");
}
void loop() {
// Check if data is arriving from the phone app
if (bluetooth.available() > 0) {
char data = bluetooth.read();
Serial.print("Received: ");
Serial.println(data);
// If '1' is received, beep the buzzer
if (data == '1') {
triggerBuzzer();
}
}
}
void triggerBuzzer() {
// Simple beeping pattern (3 quick beeps)
for (int i = 0; i < 3; i++) {
digitalWrite(buzzerPin, HIGH);
delay(300);
digitalWrite(buzzerPin, LOW);
delay(200);
}
}
Building the Mobile App With MIT App Inventor
.png)
.png)
.png)
To control our finder, we will build a simple mobile application using MIT App Inventor. On the designer screen, drag in a ListPicker (to select your Bluetooth device), a trigger Button (to page the remote), and a non-visible BluetoothClient component.
In the Blocks editor, we set up three main events:
- Before Picking: Populates the list picker with nearby paired Bluetooth addresses.
- After Picking: We use an if-then block to call BluetoothClient1.Connect. If the connection is successful, you can optionally change the button's background color or text to "Connected" for visual feedback.
- On Button Click: When the page button is pressed, the app sends the text string "1" over Bluetooth, which instantly tells our Arduino to start buzzing.
Scan the QR code to download the APP
It’s time for the ultimate test!
- Make sure your Arduino is powered on by the battery. You should see the red LED on your Bluetooth module blinking rapidly, meaning it is waiting to pair.
- Open your phone's native Bluetooth settings, scan for devices, pair with HC-05, and enter the default PIN (usually 1234 or 0000).
- Launch your newly built app, tap the connection button, and select your module from the list.
- Once connected, press your "Find" button. Your buzzer should instantly ring out!