LumiPhane — a 3D Printed Lithophane Memory Lamp
by Next Builder DIY in Circuits > LEDs
56 Views, 2 Favorites, 0 Comments
LumiPhane — a 3D Printed Lithophane Memory Lamp


What if a photograph could be more than something you simply look at? That was the idea behind LumiPhane—a project that transforms a regular photograph into a 3D-printed lithophane and uses light to reveal the image. Instead of printing the picture on a flat surface, the image is built into the geometry itself, with different thicknesses creating the shades and details when illuminated from behind.
I wanted to keep the design simple, compact, and practical, so the lamp combines a 3D-printed lithophane, an ultra-thin LED lighting system, and a custom-designed frame into a single enclosure.
But while building it, I wanted to take the idea one step further.
Rather than making LumiPhane dependent on a wall outlet, I explored how the same lamp could be powered from a small solar-based off-grid system. A solar panel, battery storage, power management, and a small boost converter turn the project into a demonstration of how stored solar energy can be used when conventional electricity is not available.
So LumiPhane is not just about turning a photograph into light. It is about exploring what can happen when creativity, fabrication, electronics, and renewable energy come together in one small project.
Supplies
Create Lithophane Model
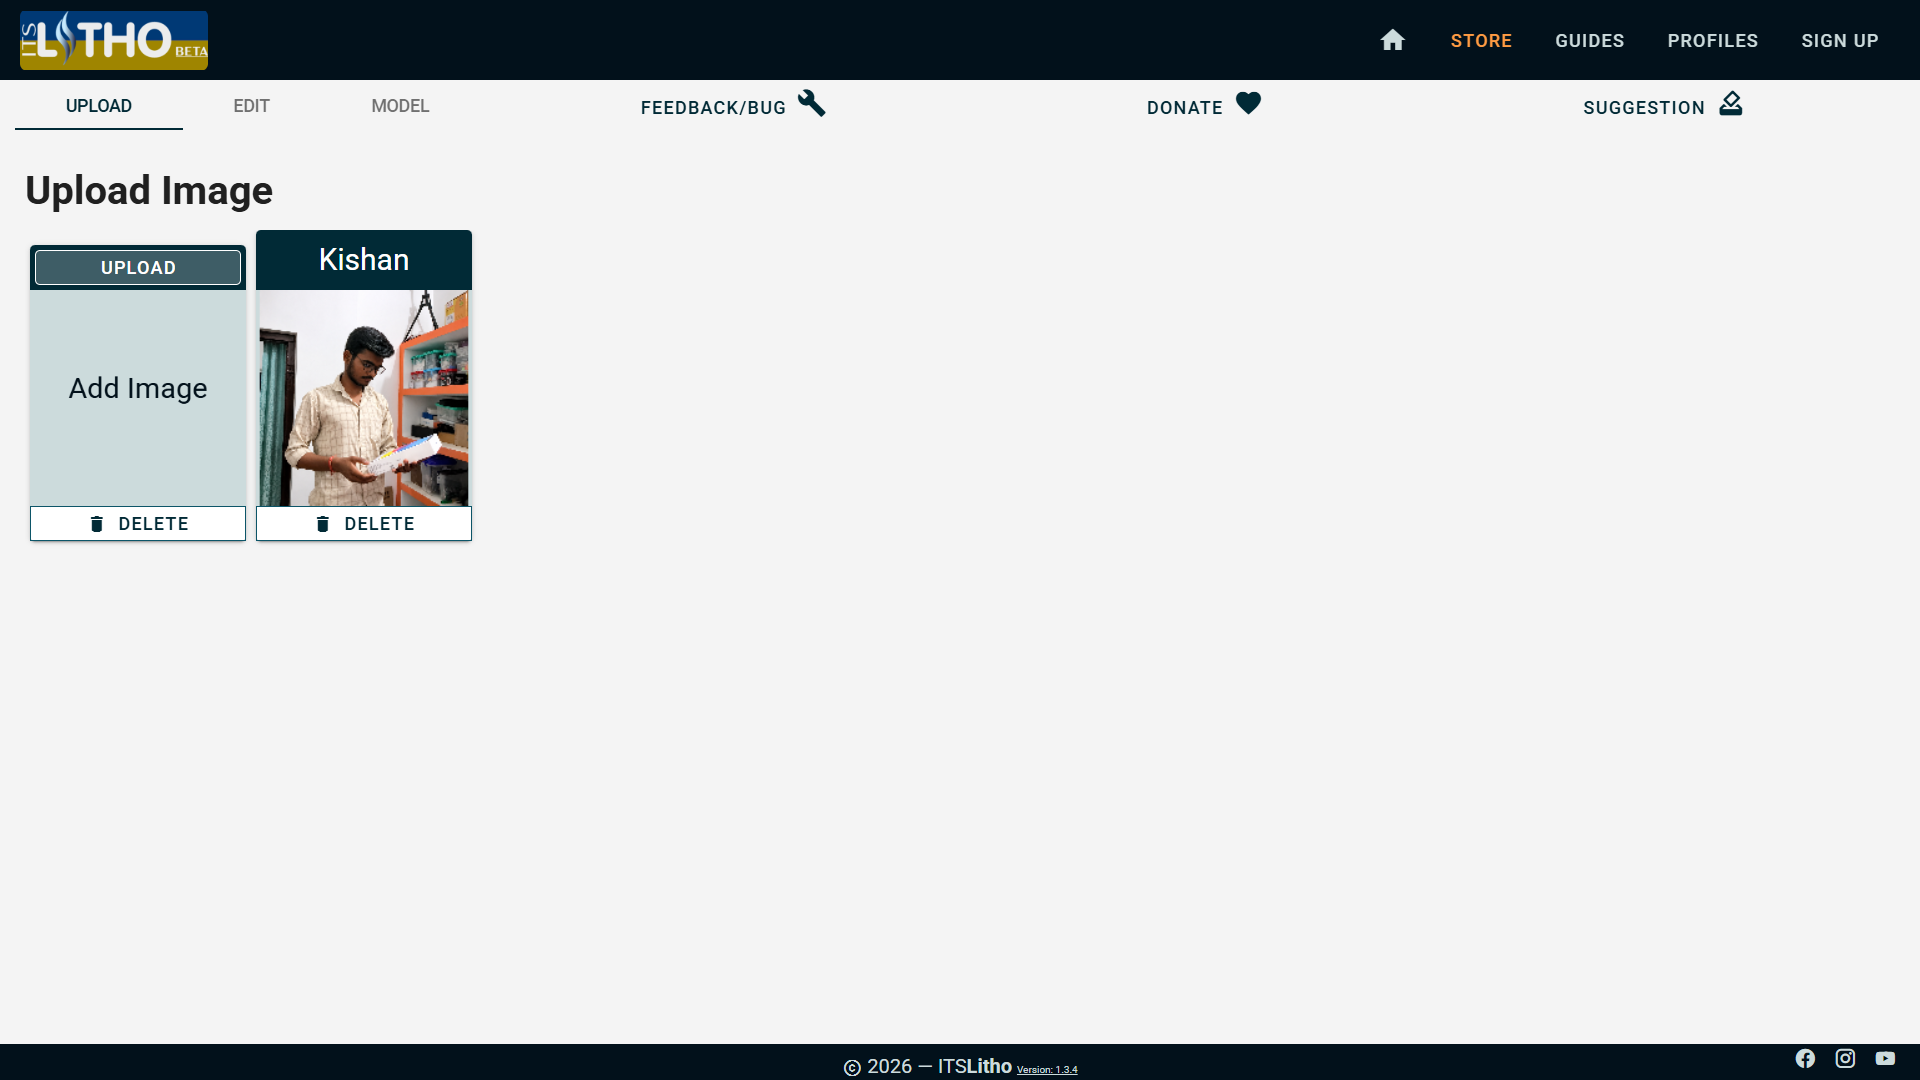
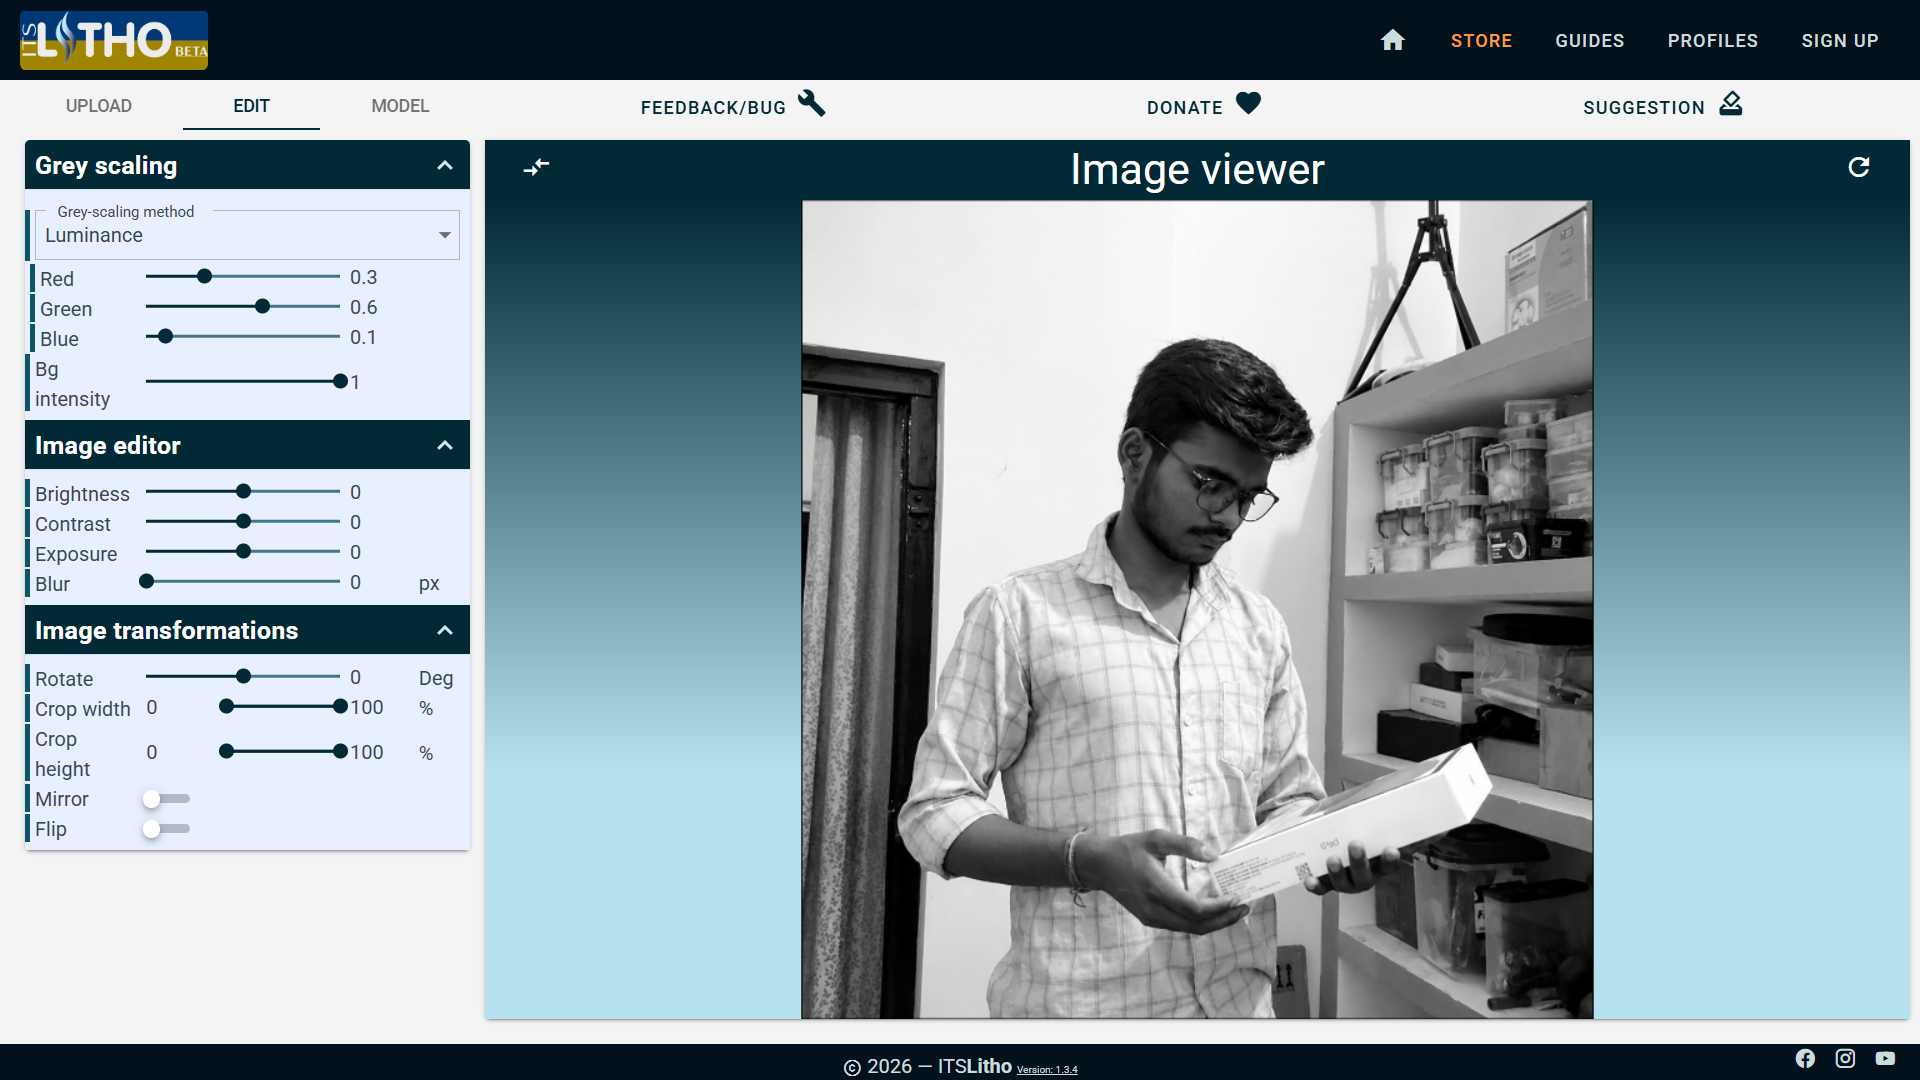
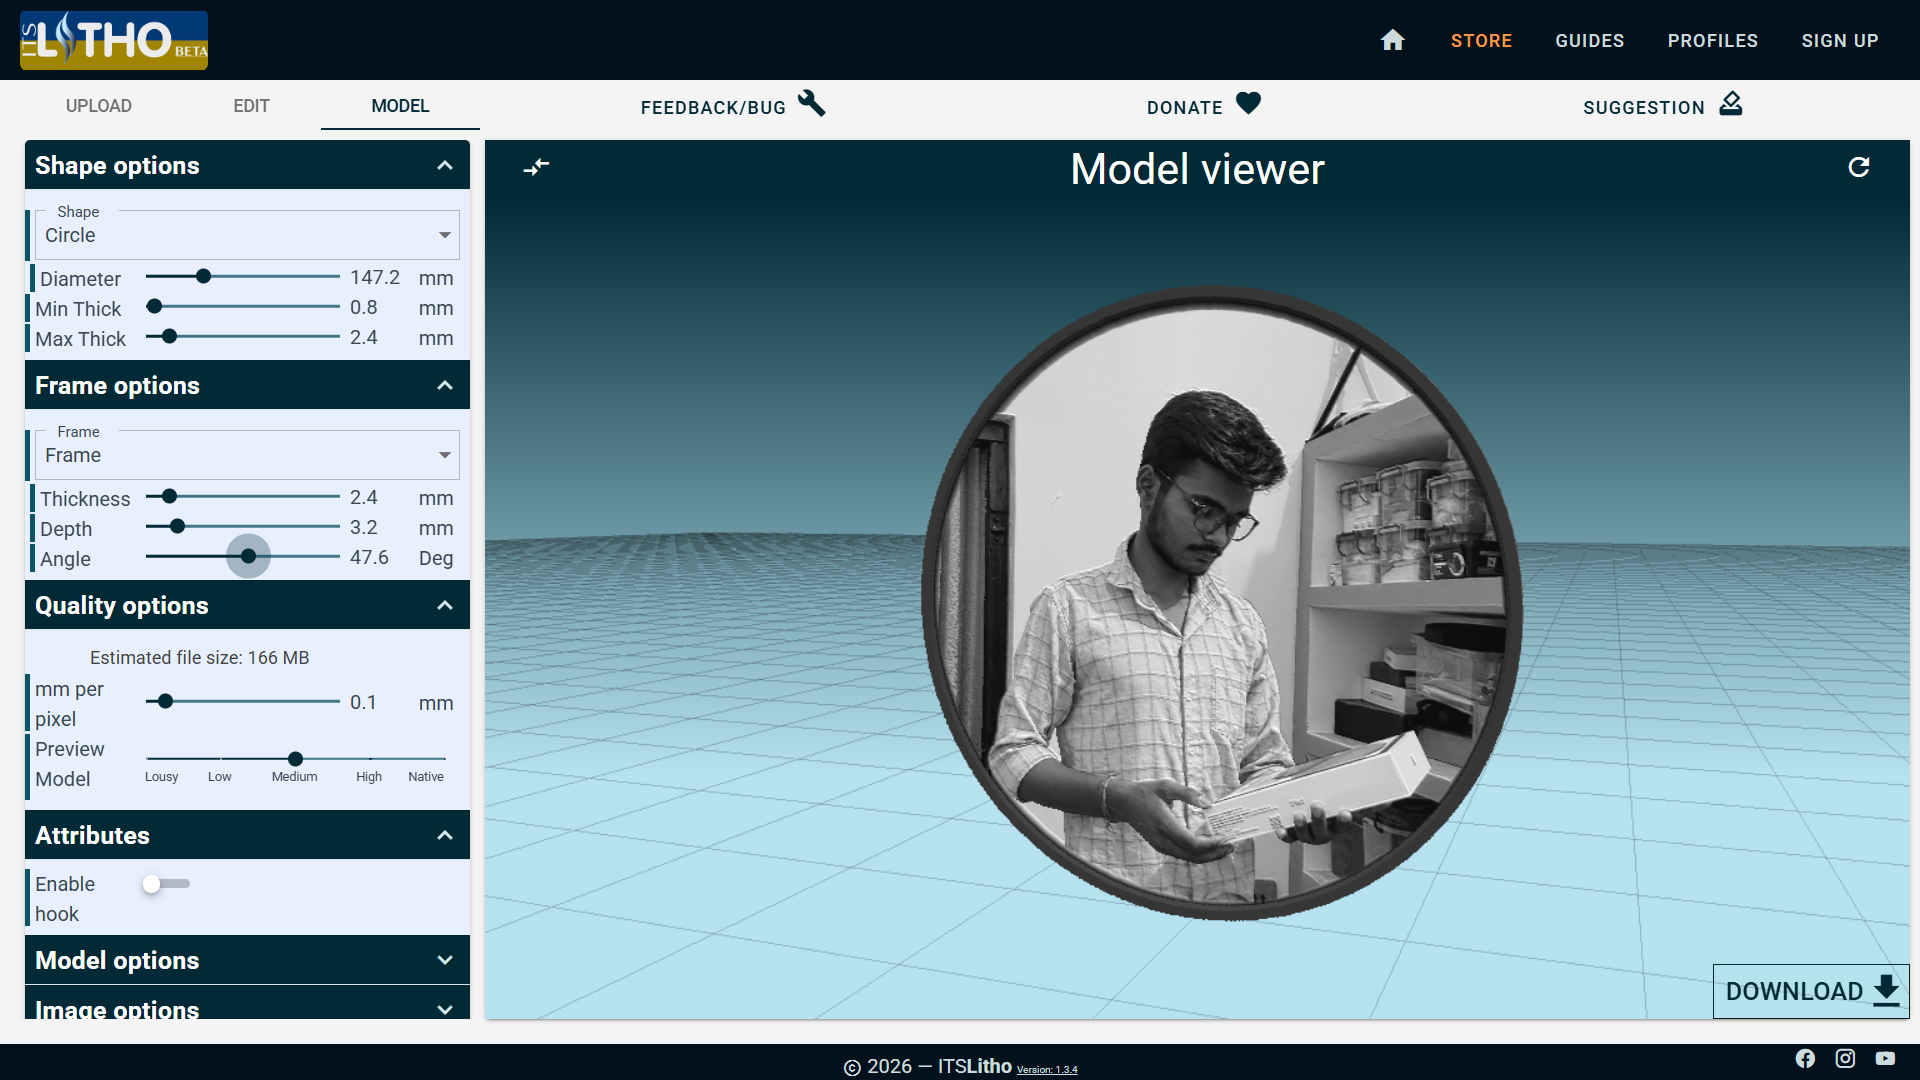
I used ItsLitho to convert the selected photograph into a 3D lithophane. First, I uploaded the image and converted it to grayscale using Luminance. I kept the image adjustments at their default values and made sure the subject was properly positioned within the image.
In the Model section, I selected a Circle and set the diameter to 147.2 mm. The lithophane thickness was set to 0.8 mm minimum and 2.4 mm maximum. I also added a frame with 2.4 mm thickness, 2.2 mm depth, and 47.8° angle.
For the model quality, I used 0.1 mm/pixel resolution. After checking the model in the preview with backlighting, I downloaded the final STL file for 3D printing.
3D Printing the Parts
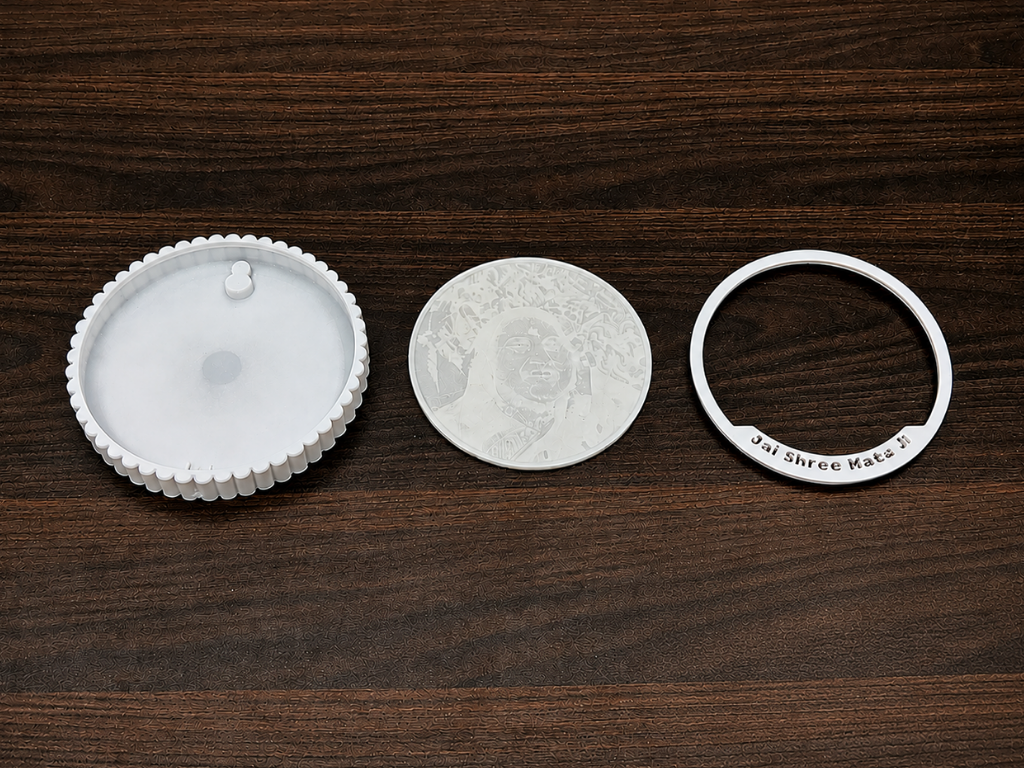

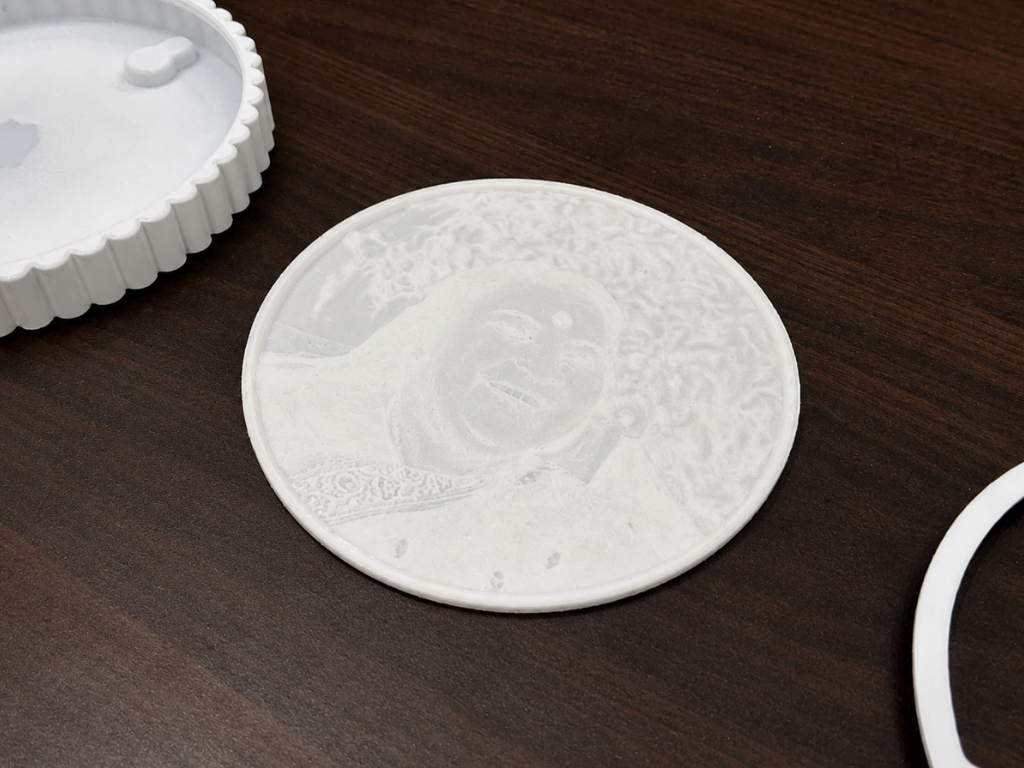
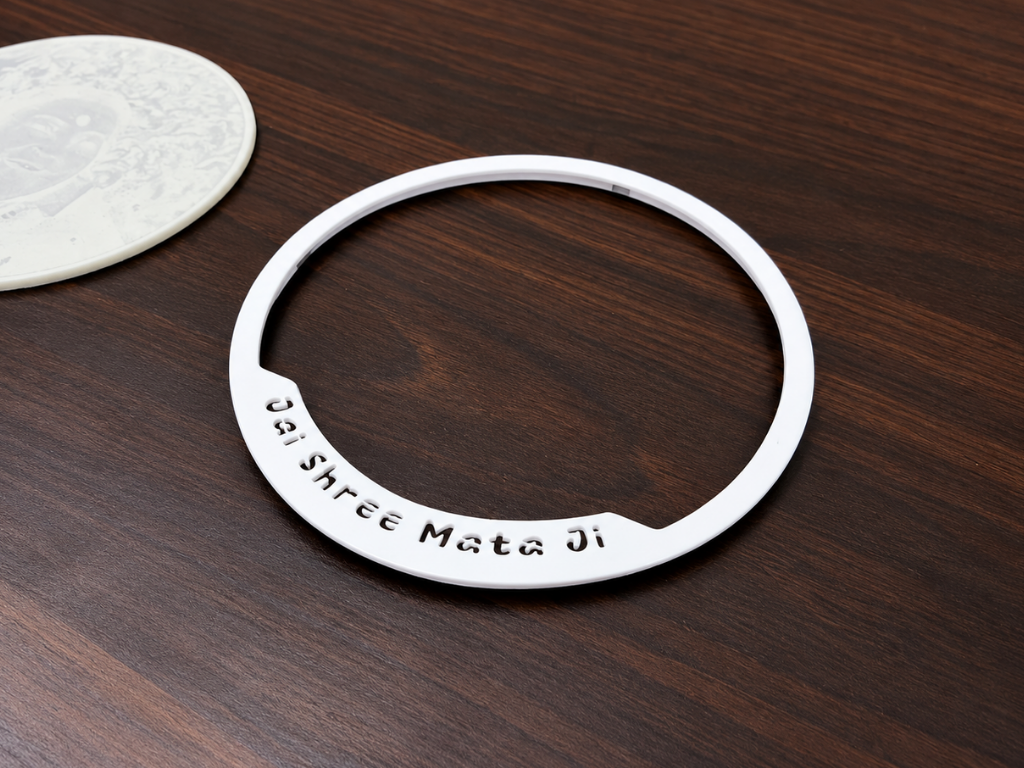
After creating the lithophane model, I prepared and 3D printed the three main parts of the lamp: the lithophane model, photo frame, and text ring. Each part was printed separately so that they could be assembled accurately and give the lamp a clean, finished look.
The lithophane was printed in white filament to allow the light to pass through the varying thickness of the image and produce a clear illuminated photograph. The photo frame holds the lithophane securely and provides the main outer structure, while the text ring adds the project name around the frame.
For the photo frame and text ring, I used and modified a design originally created by 3DIEST. Credit to the original creator for the design.
Original model: Lithophane Lamp Round V2 — 3DIEST
Installing the LED Strip
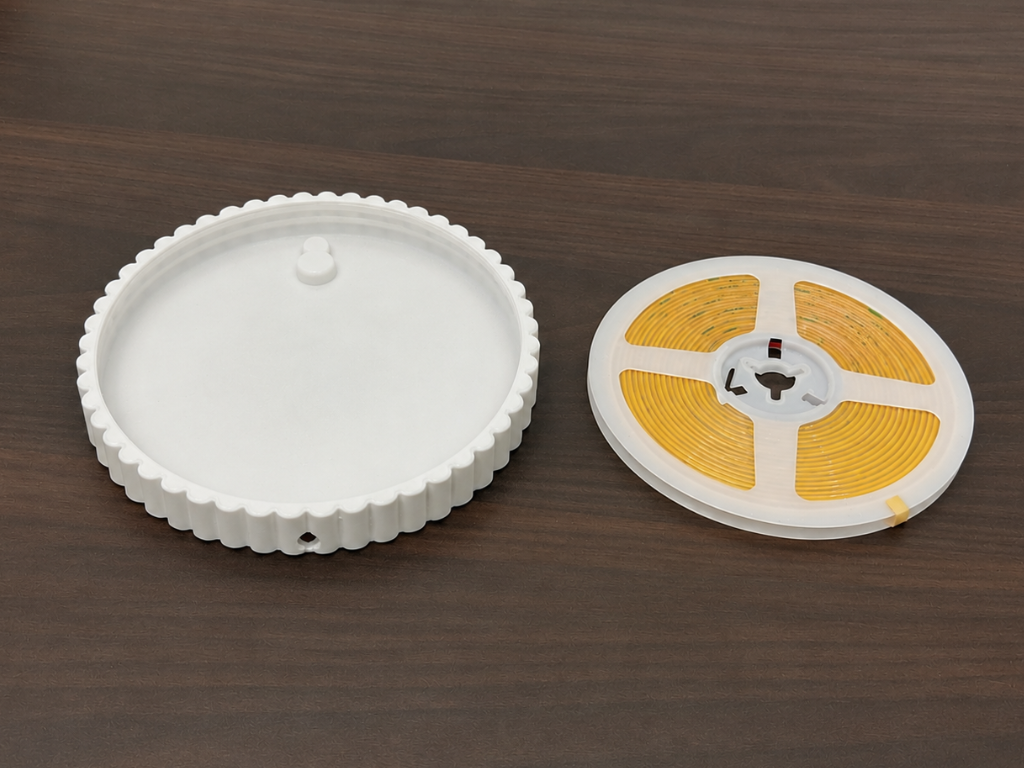
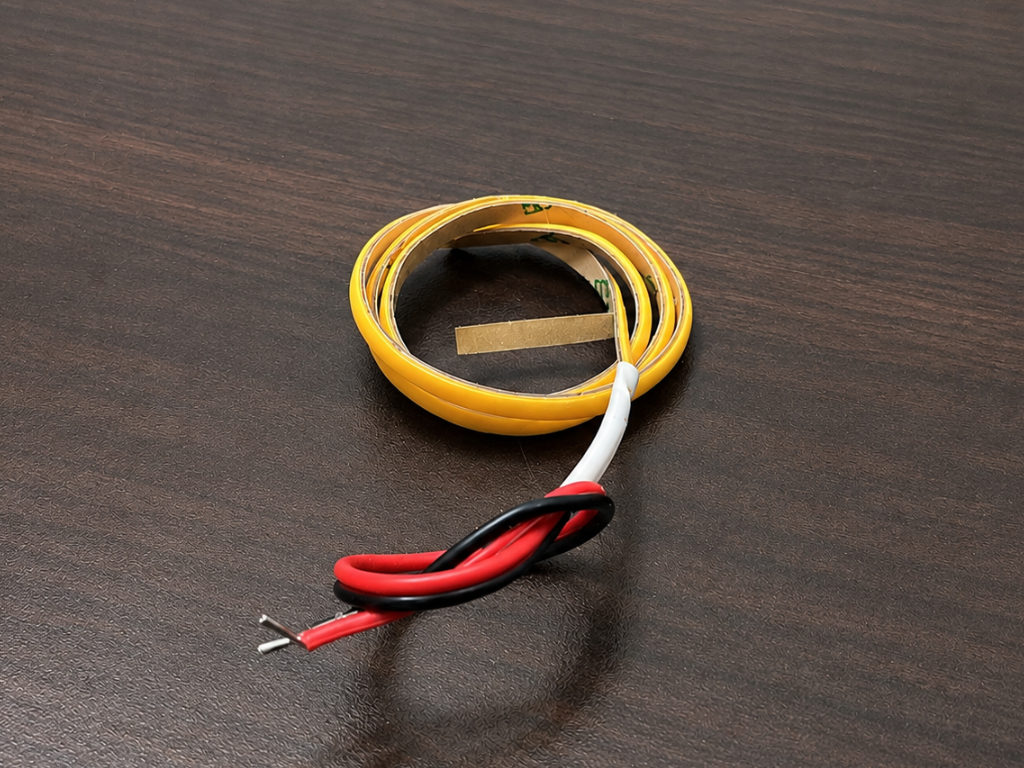
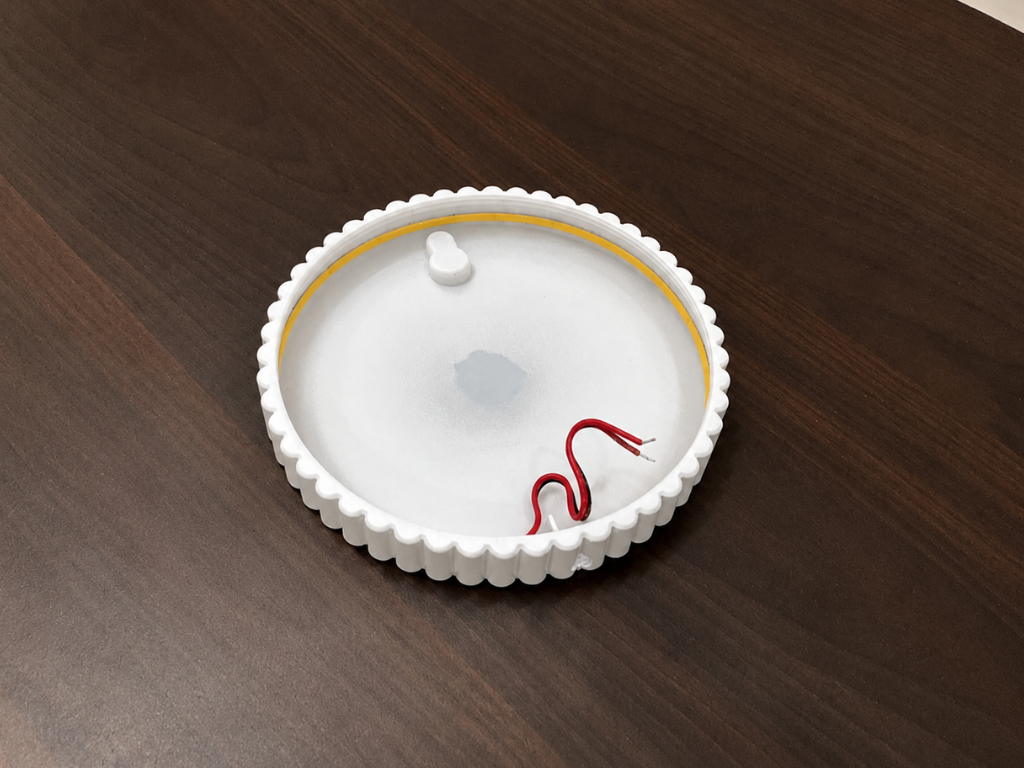
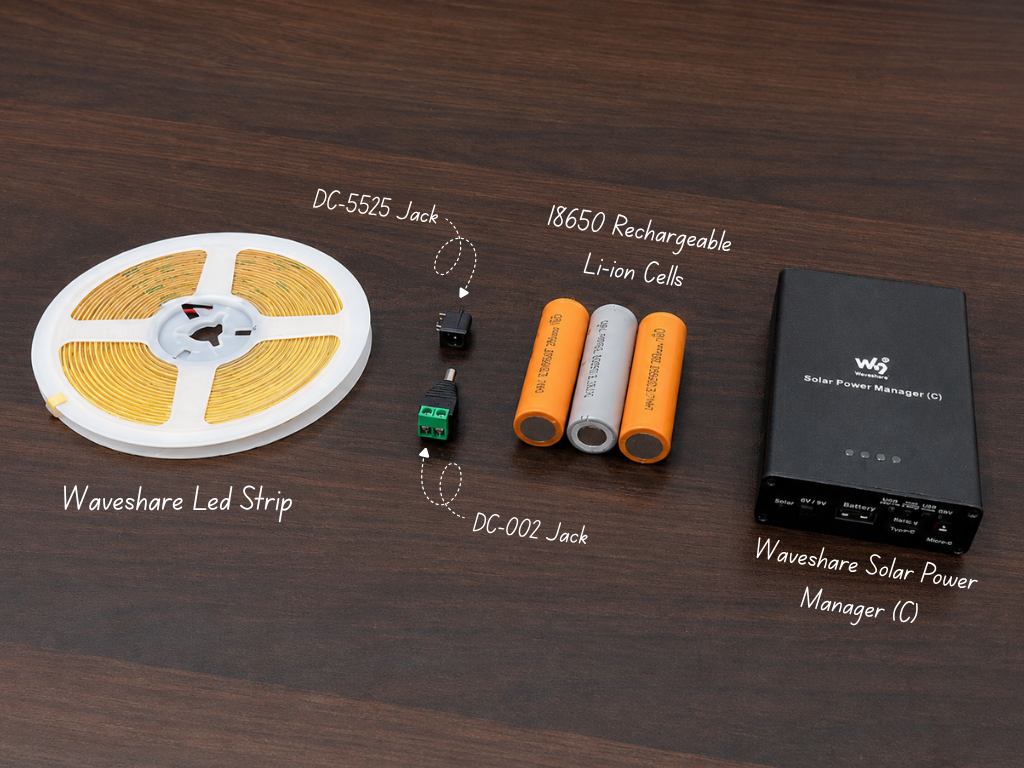
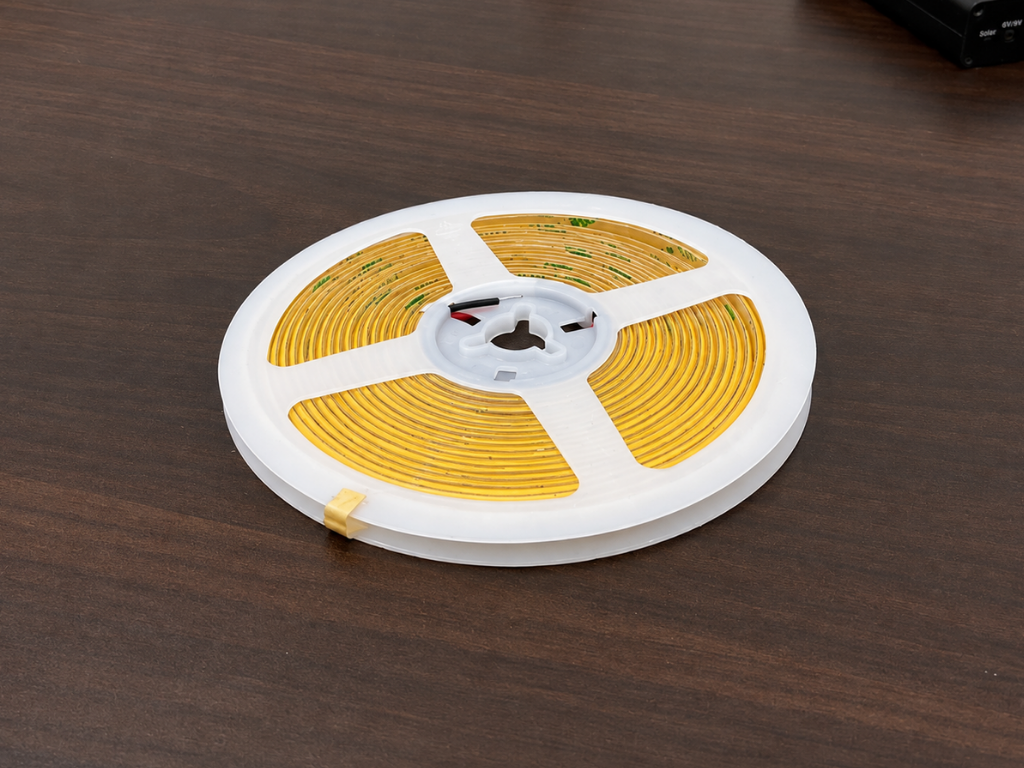
The next step is to install the LED strip inside the lamp. I used an ultra-thin, high-brightness LED strip from Waveshare, which is only about 4 mm thick but produces an impressive amount of light—making it ideal for evenly illuminating the lithophane.
First, I cleaned the mounting surface to ensure good adhesion. Then, I peeled off the protective backing from the adhesive layer on the back of the LED strip and carefully positioned it around the inside of the lamp, keeping it evenly spaced for uniform illumination.
Despite its extremely slim profile, the strip is surprisingly bright, providing enough light to clearly reveal the details of the lithophane without requiring a bulky lighting setup.
Installing the DC Jack
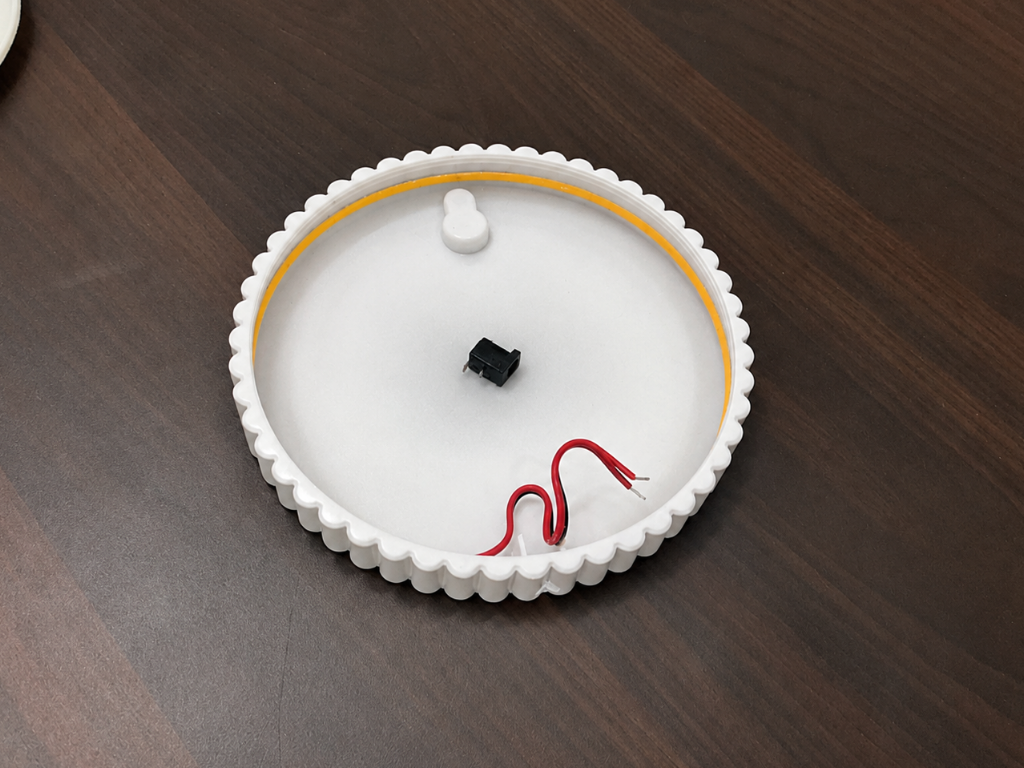
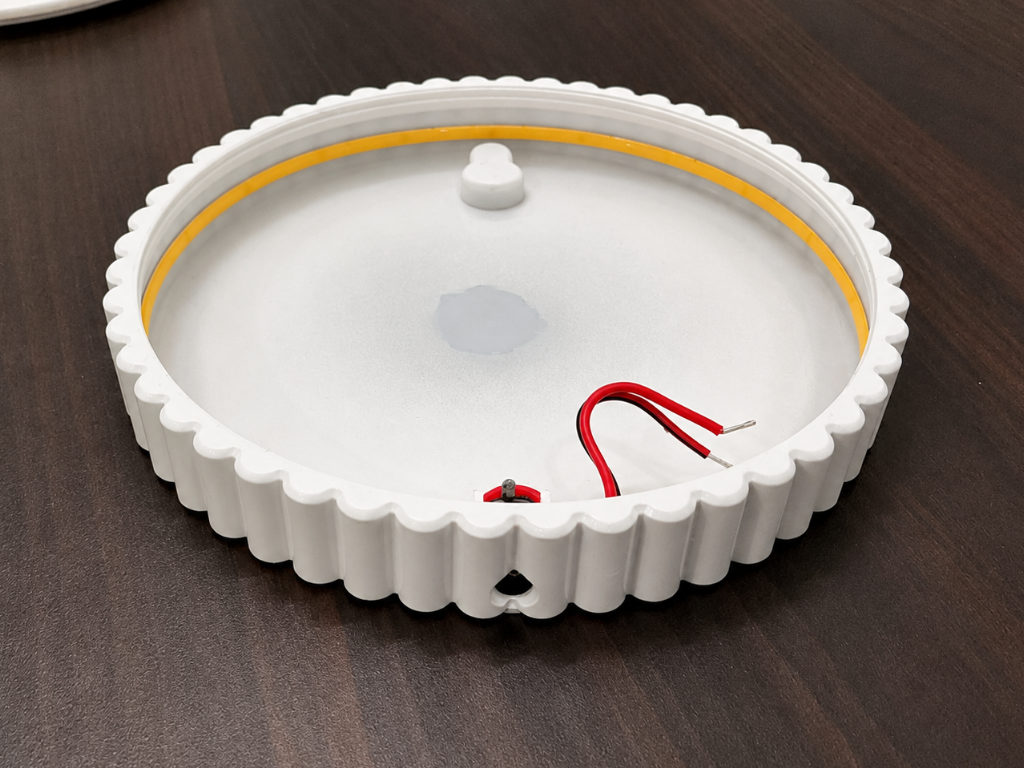
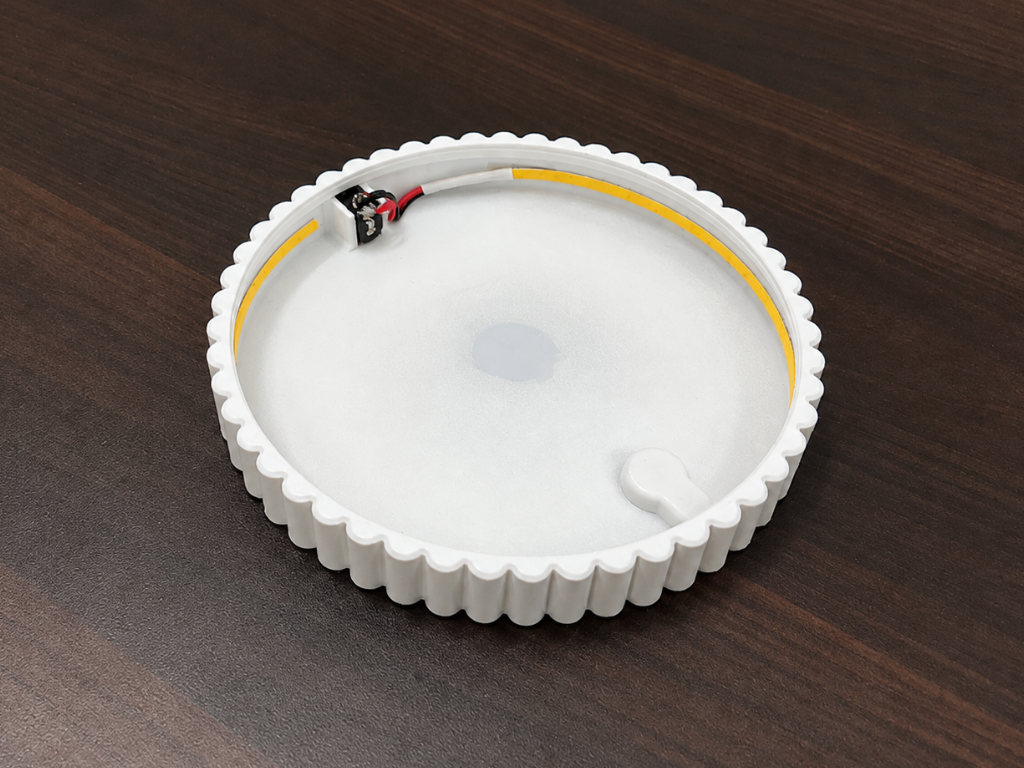
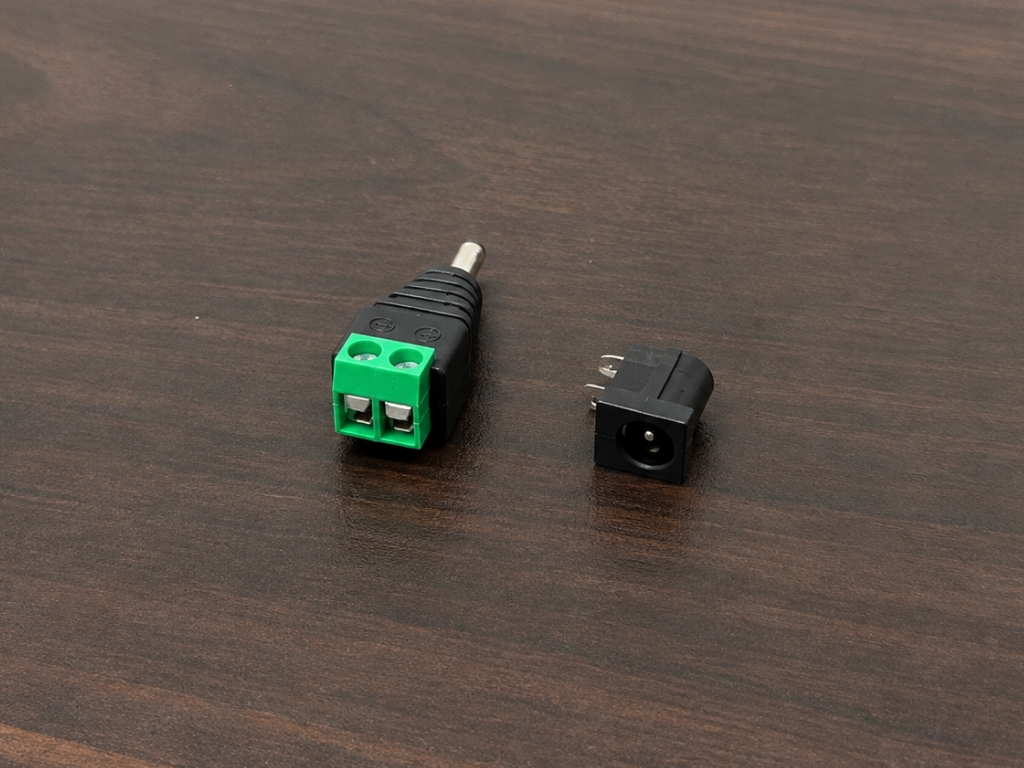
Next, I installed the DC power jack that will provide power to the LED strip. I first positioned the jack in its designated opening on the base and checked its alignment. Once it was properly positioned, I used a small amount of super glue to secure it firmly in place.
After fixing the jack, I connected the two wires from the LED strip to the DC jack, carefully matching the positive (+) and negative (−) polarity. I then checked the connections to make sure there were no polarity mistakes.
Attach Lithophane With Ring
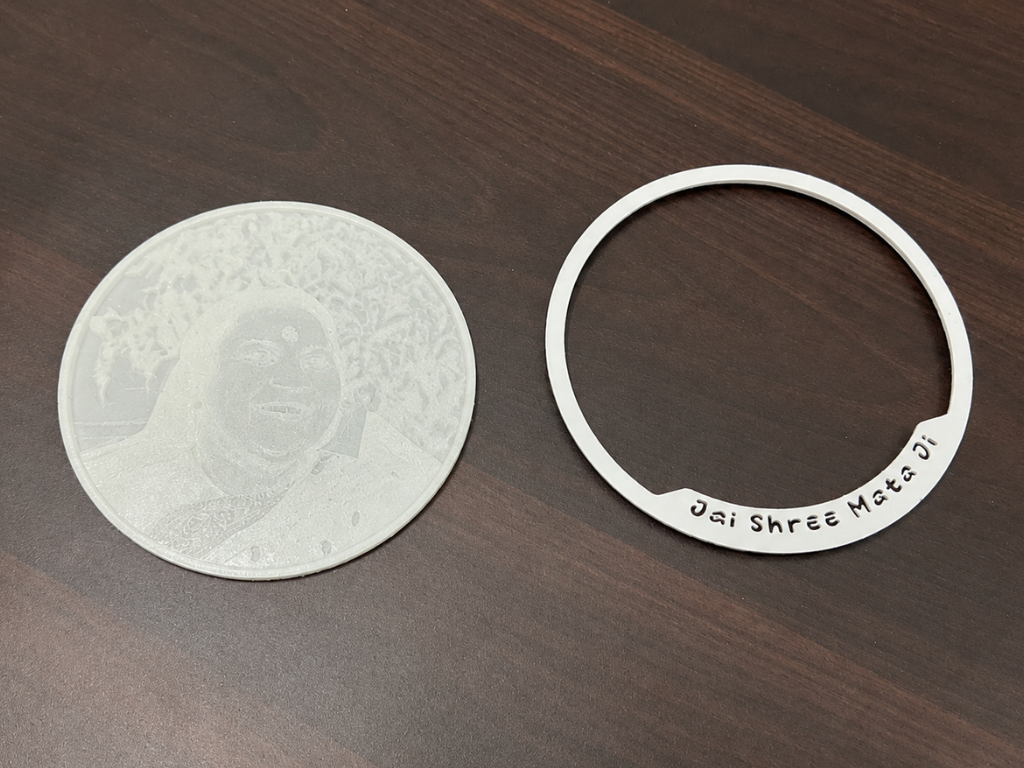
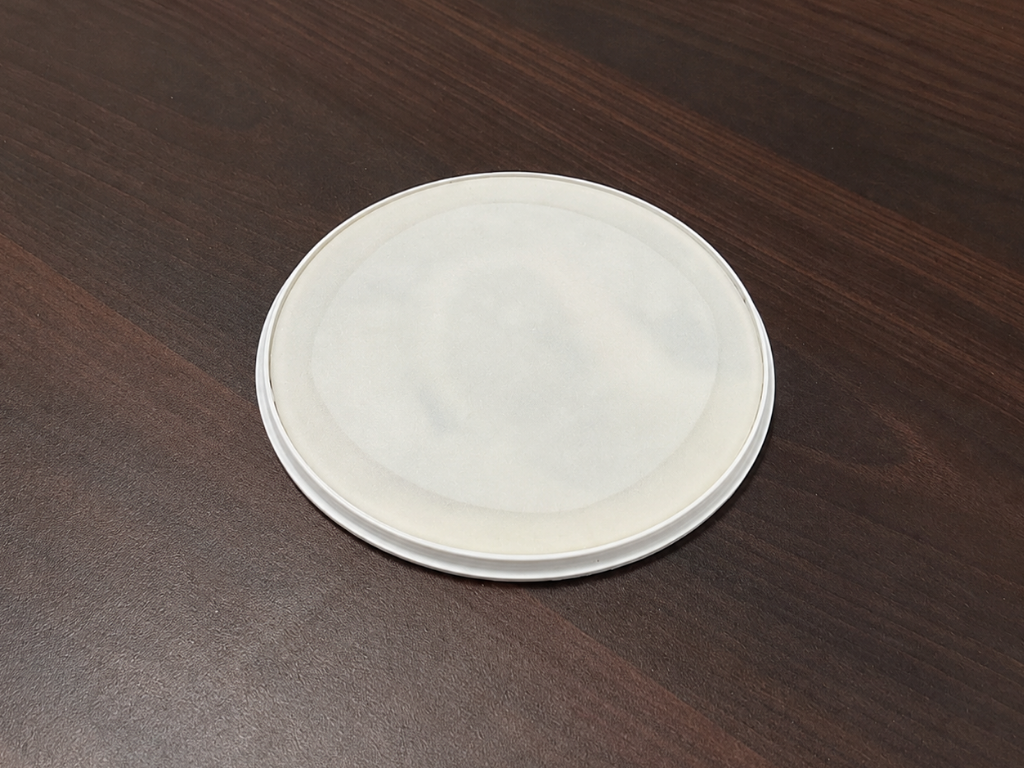
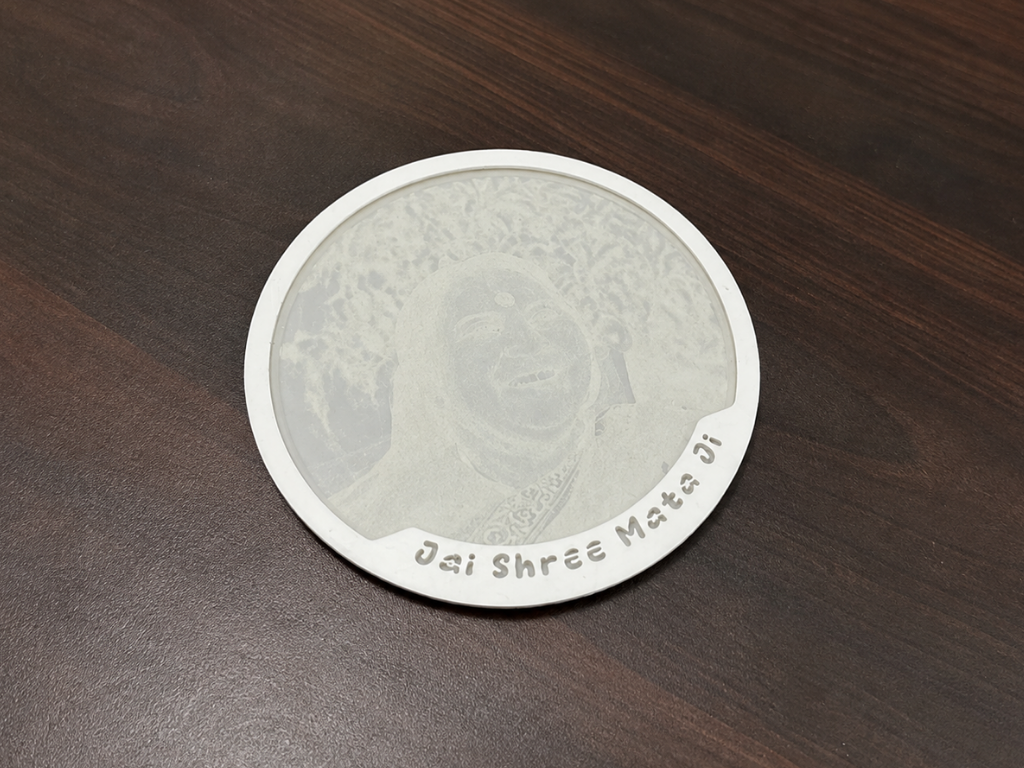
Next, I attached the lithophane to the text ring. I carefully aligned the lithophane with the inner edge of the ring so that it sat evenly and the text remained properly oriented.
Once aligned, I pressed the two parts together to ensure a secure fit. The ring not only holds the lithophane in place but also gives the front of the lamp a clean, finished appearance.
Final Assembly
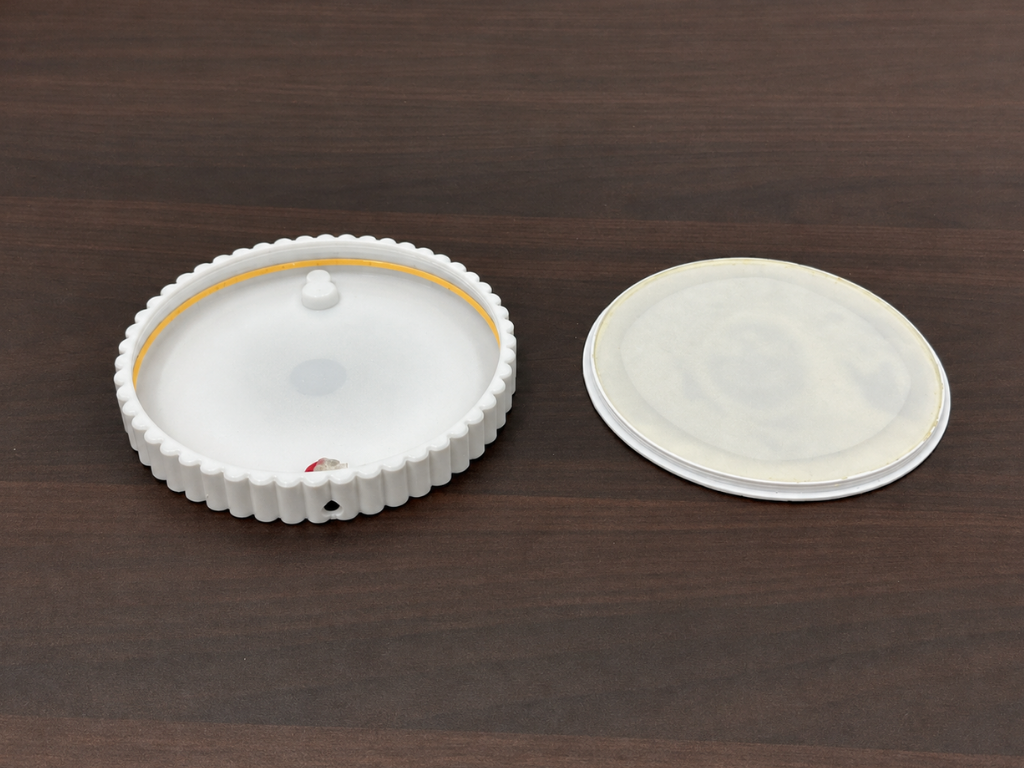
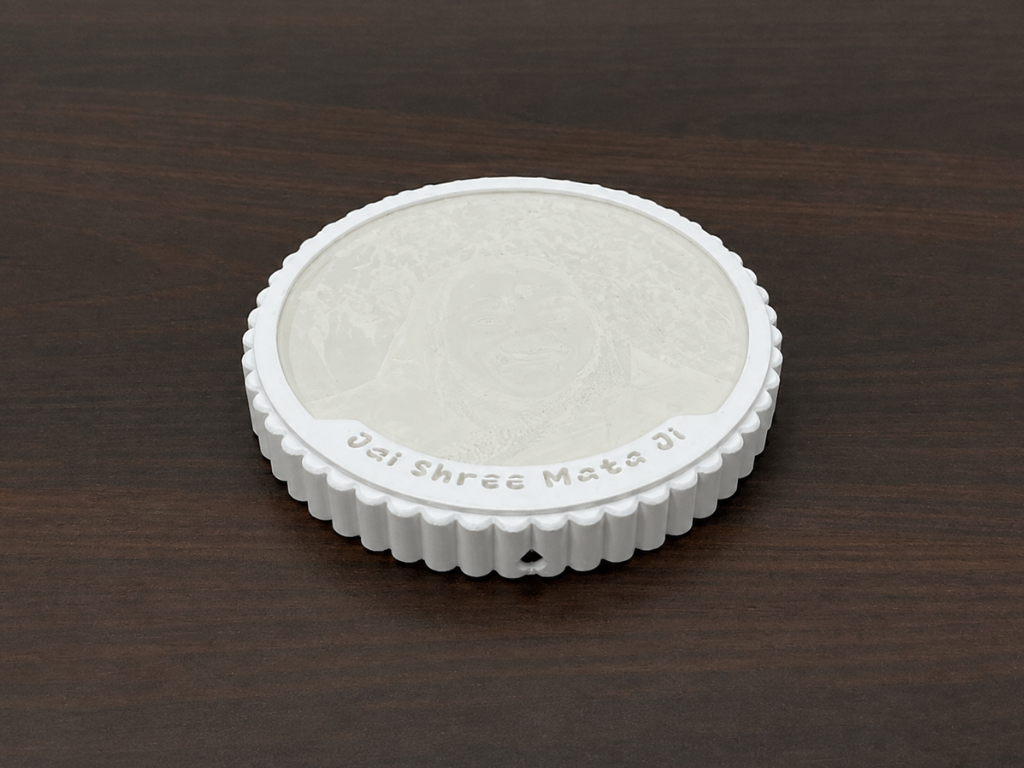

The final step is to attach this complete front section to the base. The photo frame is designed with a snap-fit mechanism, so no glue or additional hardware is required. I aligned the attached ring with the corresponding slots on the base and pressed it down evenly until it snapped securely into place.
This creates a clean and secure assembly while keeping the parts removable for maintenance or future access to the electronics.
Testing and Final Setup
With the assembly complete, it was time to power up LumiPhane and see the lithophane come to life. I used the Waveshare 12V 2A power adapter, connected through the DC jack installed earlier, to supply power to the LED strip.
Once connected, the LEDs provide the backlighting needed to reveal the image through the lithophane. The result is a clean, evenly illuminated display with the photograph becoming clearly visible as the light passes through the varying thickness of the printed surface.
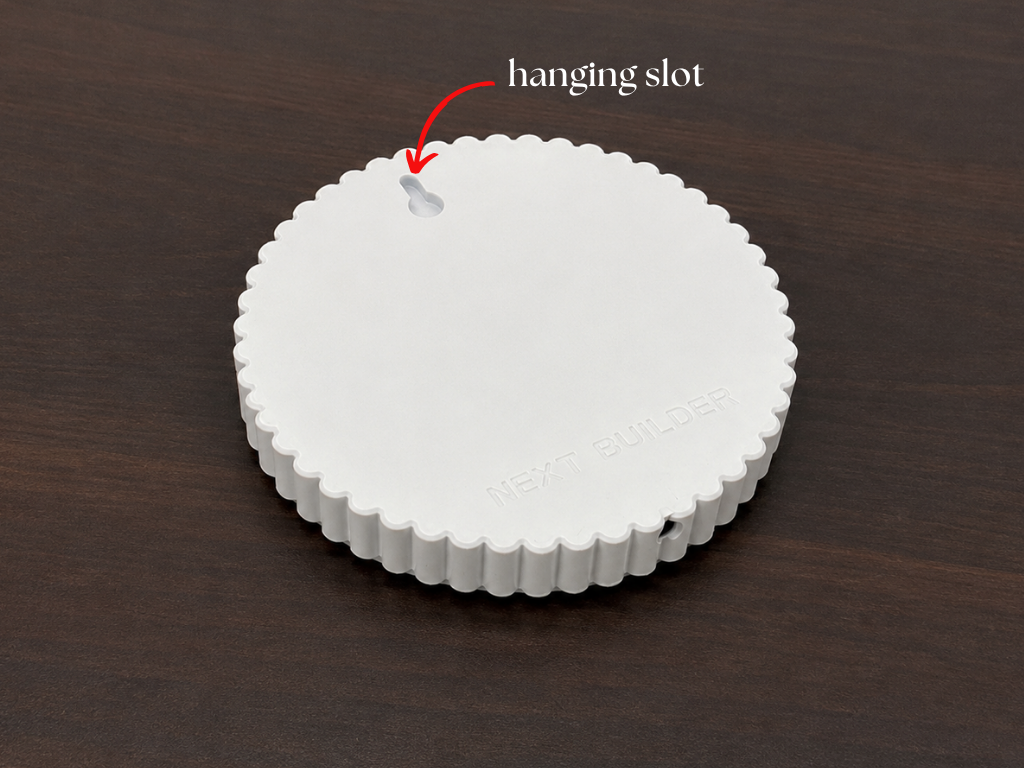
For installation, the back of the lamp also includes a built-in hanging slot, so LumiPhane can be mounted directly on a wall without any additional mounting hardware.
Understanding the Off-Grid Power System
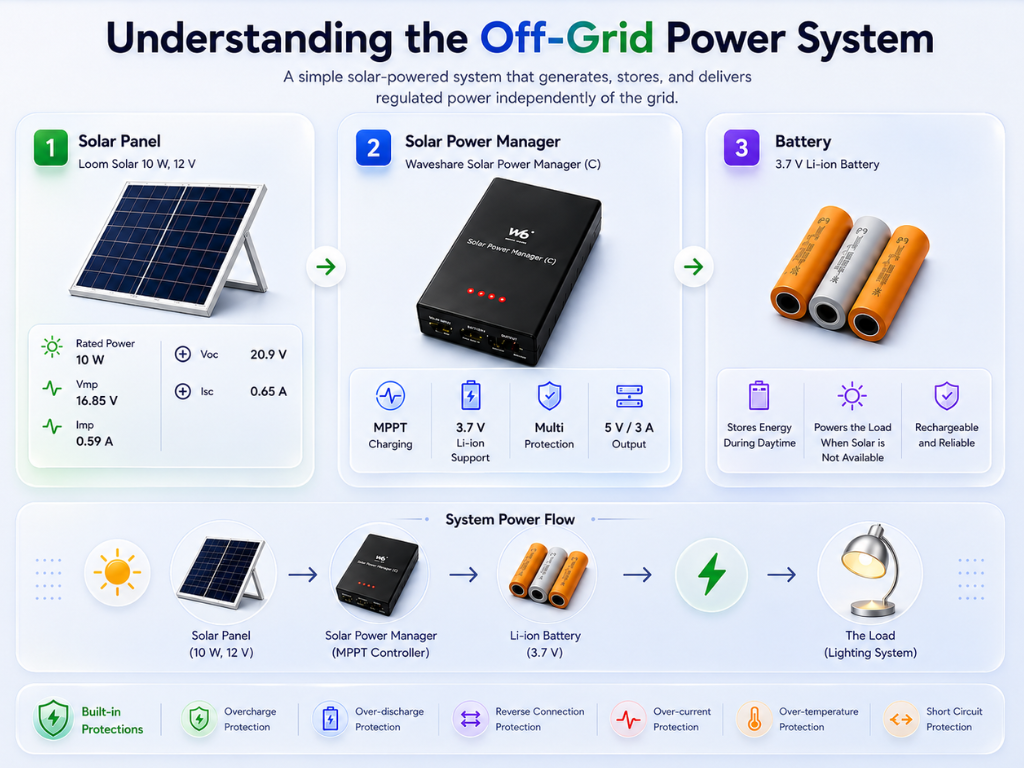
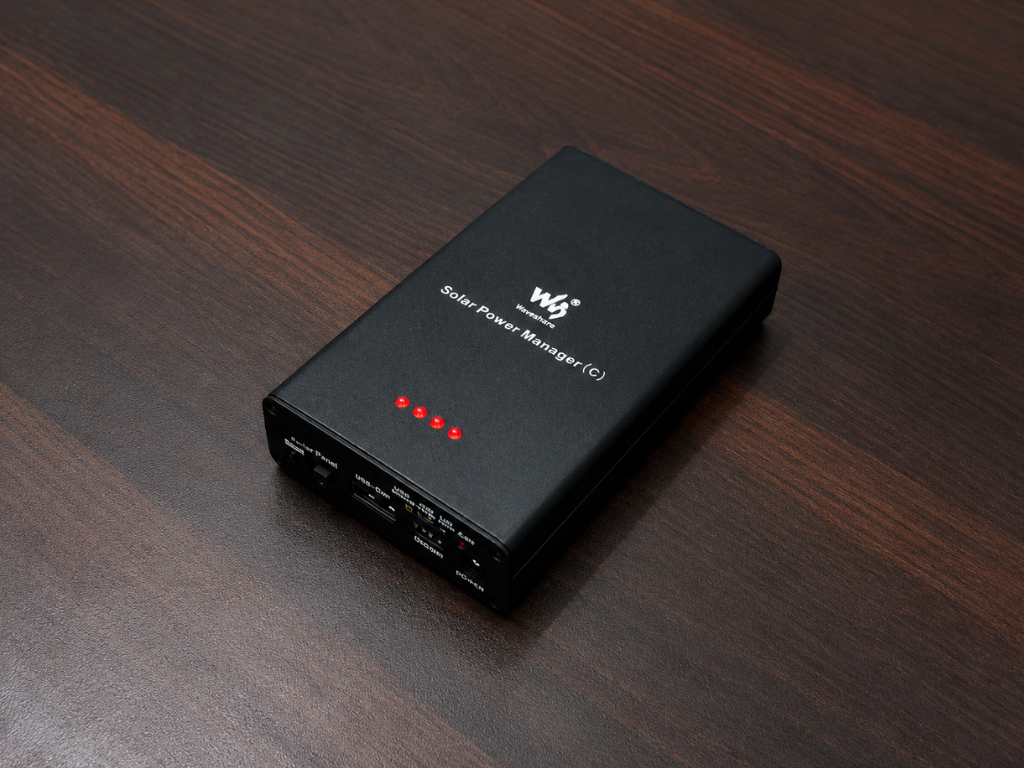
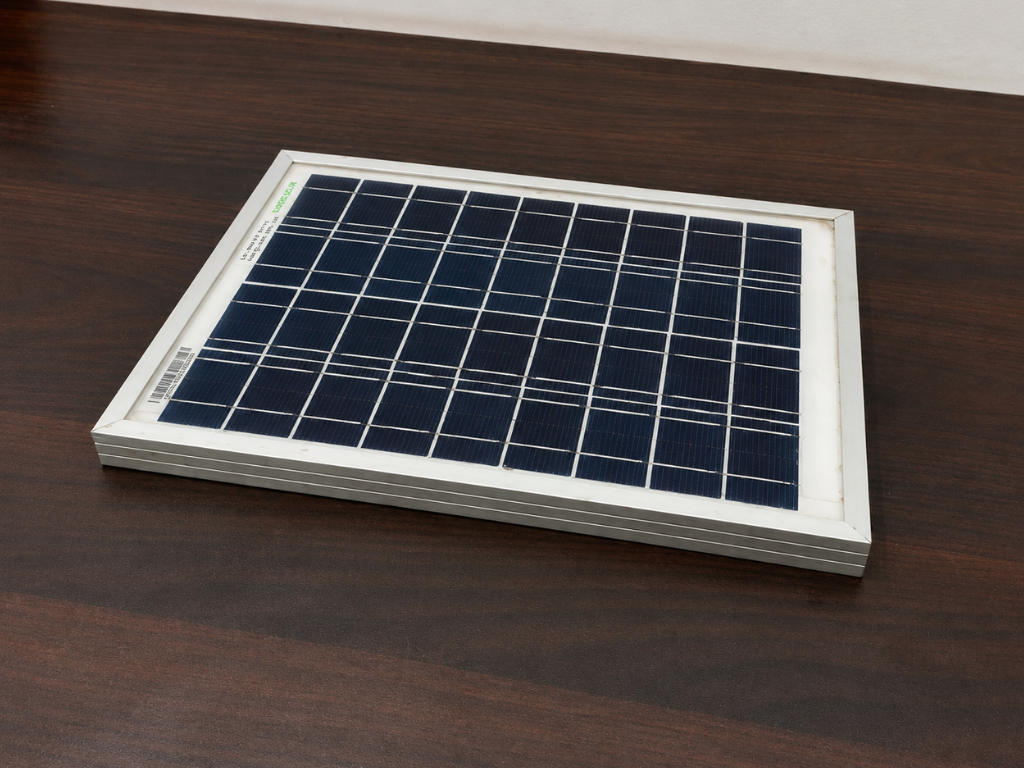
For this project, I also wanted to demonstrate how a small lighting system can operate independently of the grid. For that, I built a simple solar-powered off-grid system using a Waveshare Solar Power Manager (C) and a Loom Solar 10 W, 12 V solar panel.
The Waveshare Solar Power Manager (C) acts as the core of the system. It accepts a 6–24 V solar input, uses MPPT-based charging management, manages 3.7 V Li-ion batteries, and provides a regulated 5 V / 3 A output. It also includes protection against overcharging, over-discharging, reverse solar connection, over-temperature, over-current, and short circuits.
For the energy source, I used the Loom Solar 10 W, 12 V polycrystalline panel. Its rated output is 10 W, with a Vmp of 16.85 V and Imp of 0.59 A. The panel has a Voc of 20.9 V and Isc of 0.65 A, which falls within the Solar Power Manager's 6–24 V input range.
The basic power flow is: ☀️ Solar Panel → Solar Power Manager → Battery → The Load
During the day, the solar panel supplies power to the Solar Power Manager, which manages the charging of the battery. The stored energy can then be used later to power the load, allowing the lighting system to operate without a continuous connection to the electrical grid.
For this demonstration, the system is intentionally kept small and simple. The 10 W panel is not intended to power a large lighting installation; it is a compact example of how solar generation, energy storage, and regulated power delivery can be combined into a practical off-grid system.
Installing the Batteries
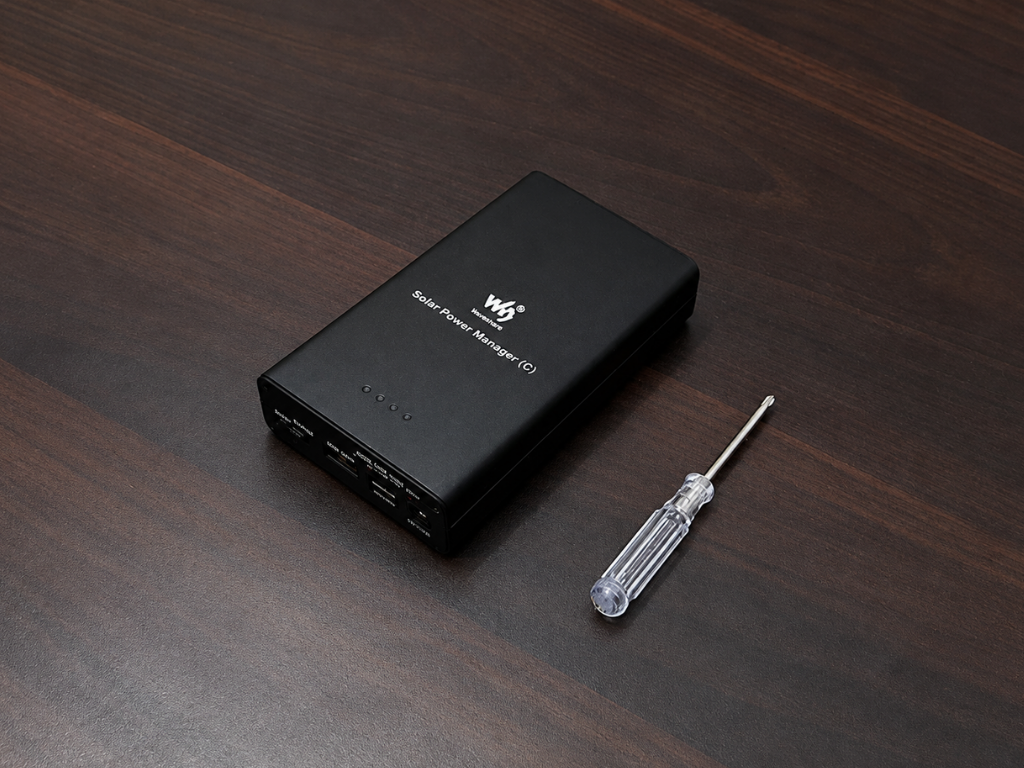
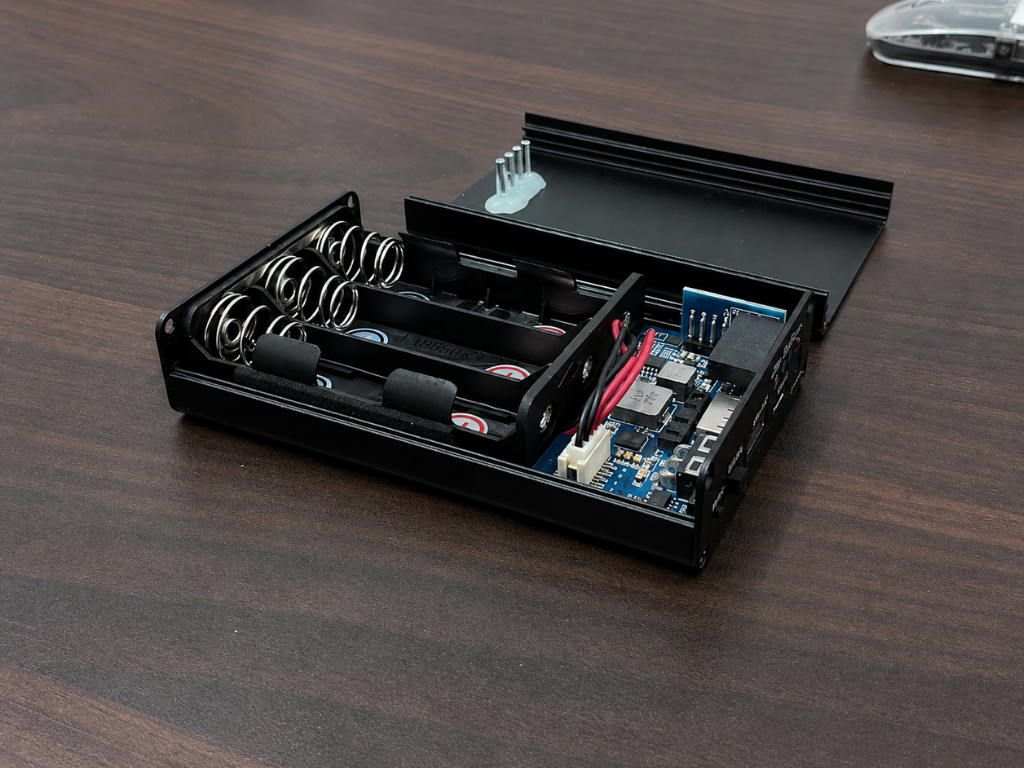
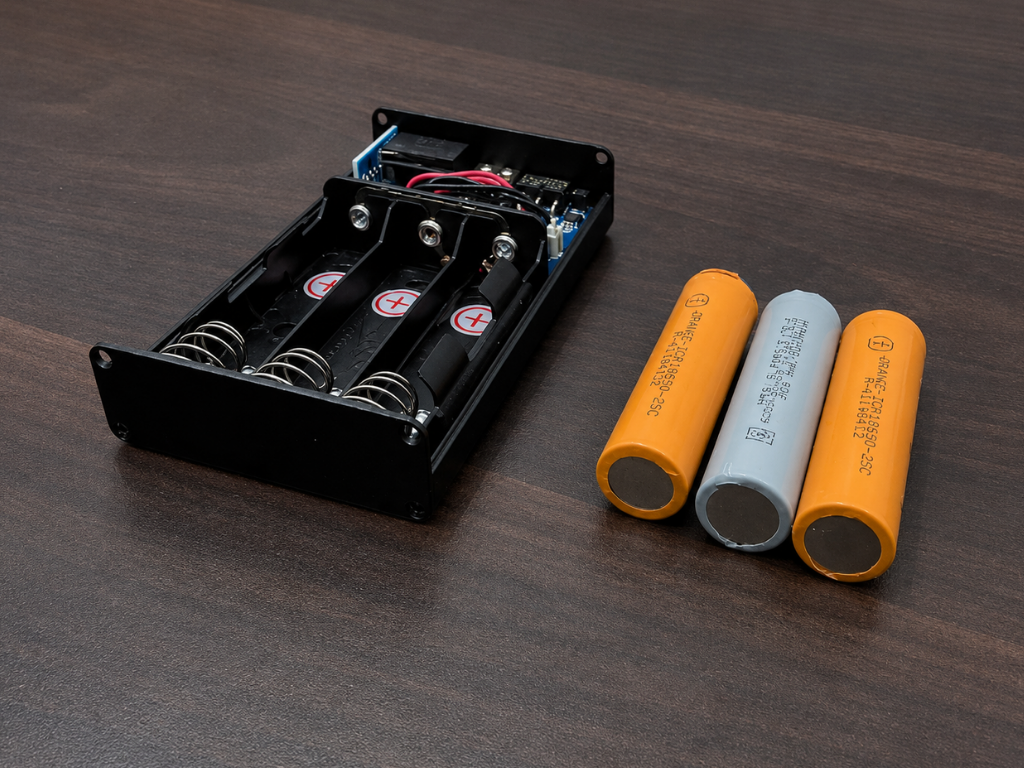
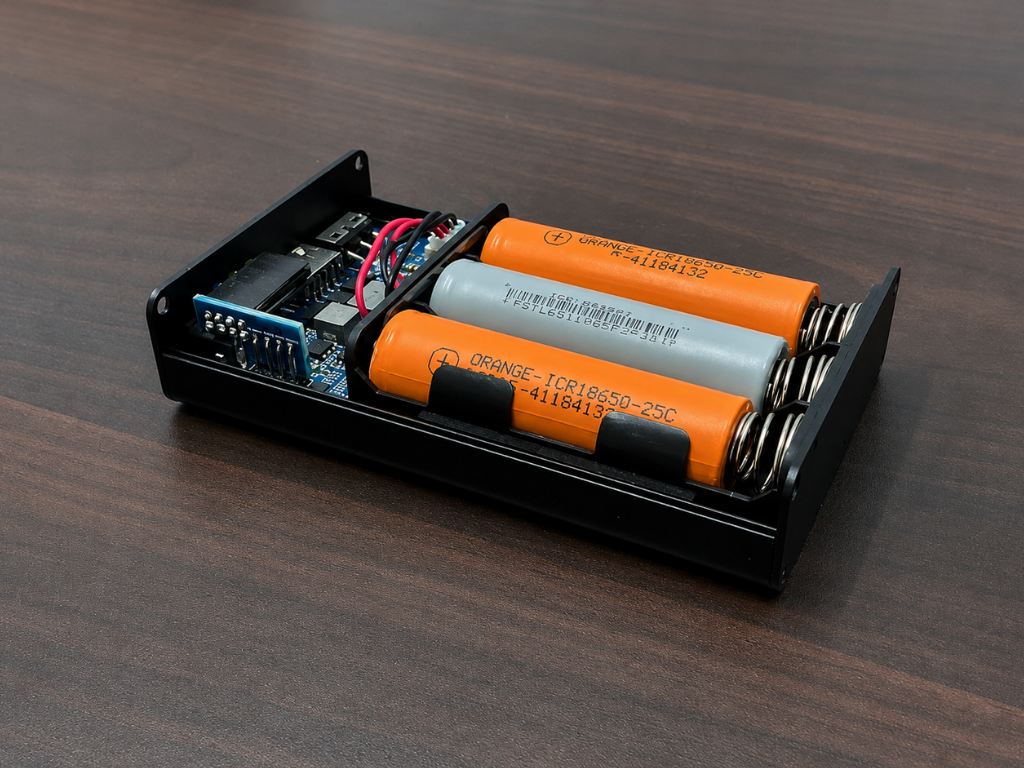
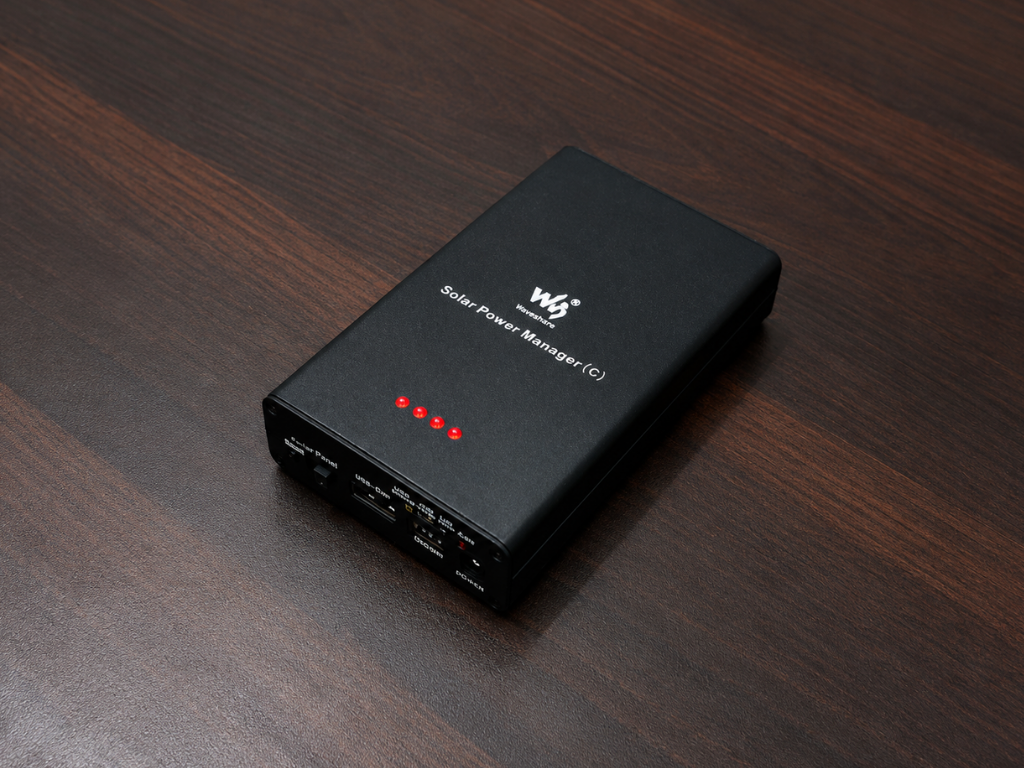
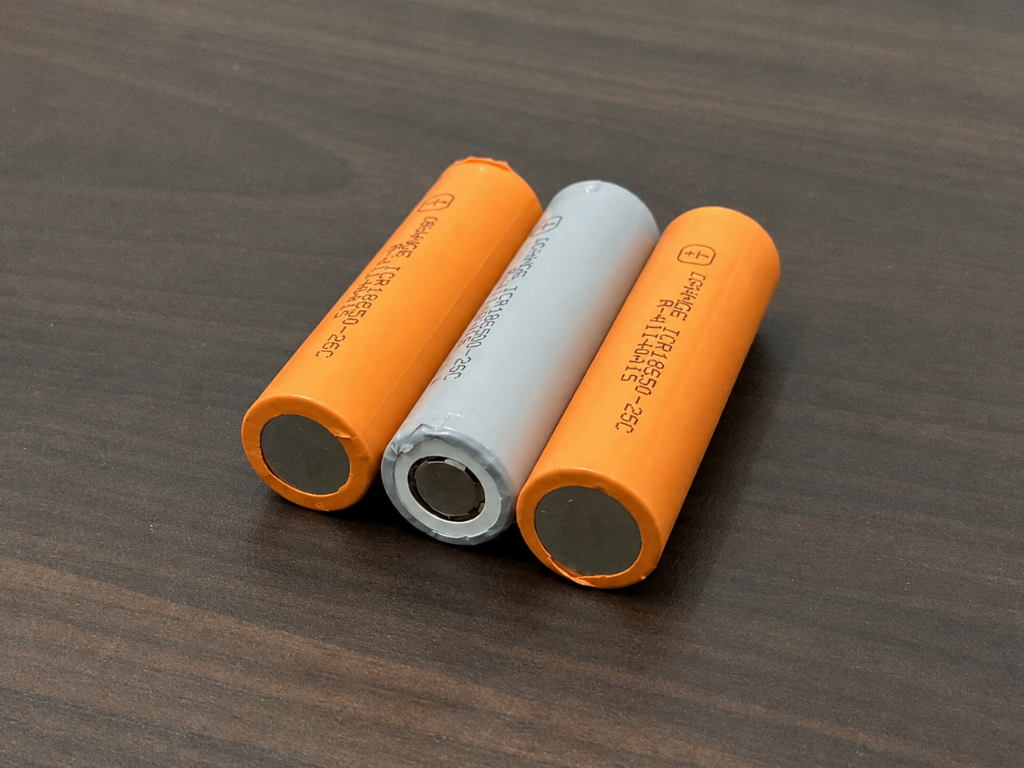
The Solar Power Manager (C) is designed to work with three 18650 rechargeable Li-ion cells. Waveshare recommends using batteries from a reliable manufacturer and using cells of the same type rather than mixing different or aged batteries.
I first opened the battery compartment using a screwdriver. I then installed three good-quality, matched 18650 Li-ion batteries, making sure all three cells had the same type and capacity and that the positive and negative terminals were correctly oriented according to the markings inside the holder.
For this build, I selected cells with a minimum 3C continuous discharge rating. The C-rating indicates how much current a battery can safely deliver relative to its rated capacity, providing sufficient discharge capability for the system. After inserting the batteries, I checked their polarity and seating before closing the enclosure.
Connecting the Solar Panel
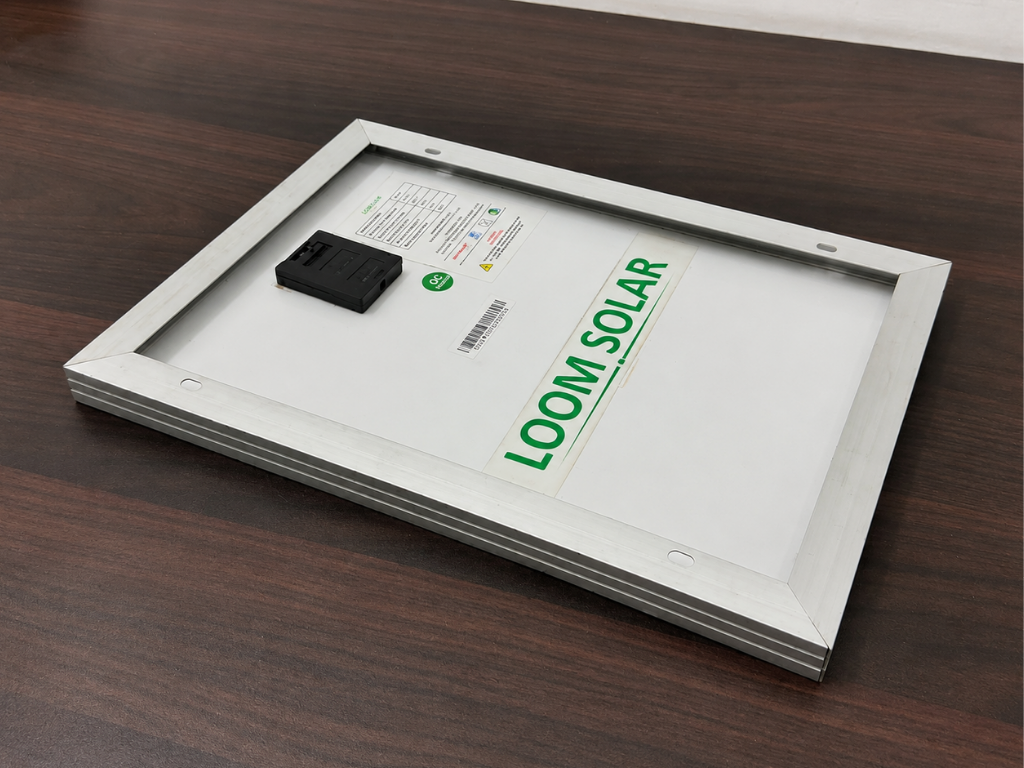
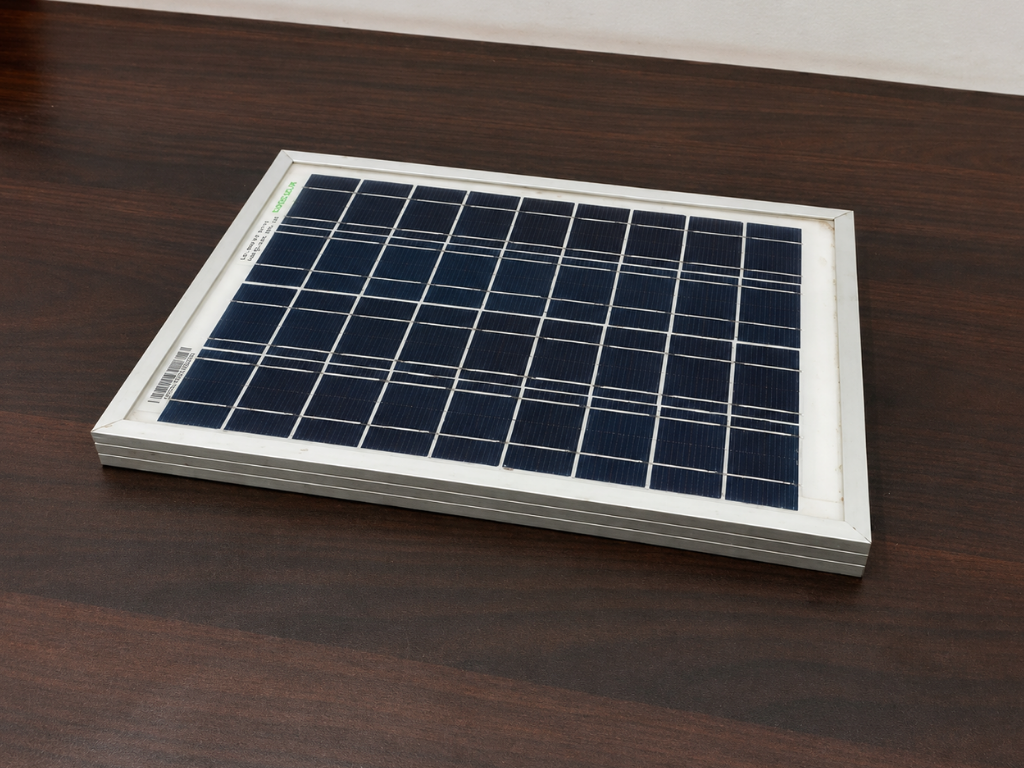
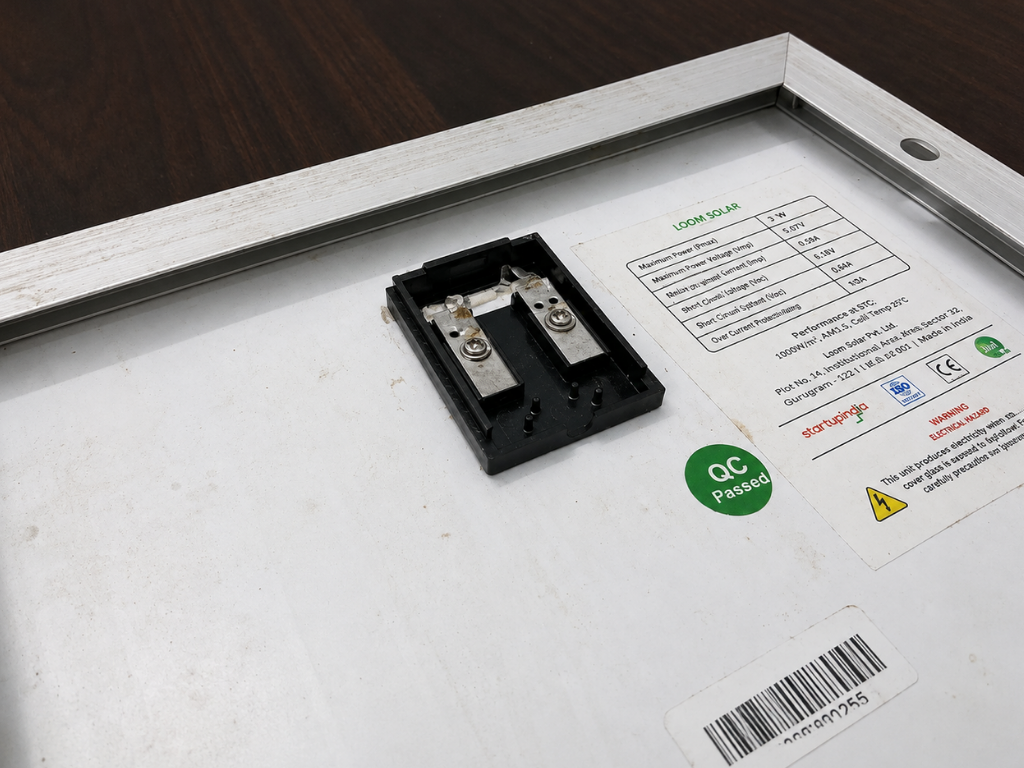
Now it’s time to connect the Loom Solar, 12 V panel to the Waveshare Solar Power Manager (C). The panel connects through the manager’s SOLAR IN port.
I first connected the two panel wires to the (+ and −) terminals, carefully checking the polarity. I then connected the other end to the DC-002 (3.5 mm) solar input jack supplied for the Solar Power Manager and plugged it into the manager.
Once connected correctly, the Solar Charge indicator on the manager confirms that the panel is supplying power. If the polarity is reversed, the Solar Warning indicator is designed to indicate the incorrect connection.
Installing the Solar Panel
For the solar panel, I selected a rooftop location with clear and direct sunlight for most of the day.
This is important because even partial shading can significantly reduce the energy produced by a PV panel. Ideally, the panel should have an unobstructed view of the sun during the main daylight hours.
I secured the panel on the rooftop in a position that receives strong sunlight throughout the day and routed the cable safely toward the off-grid system. For a permanent installation, the mounting should also be properly secured against wind and weather.
The goal is simple: give the panel as much unobstructed sunlight as possible so it can consistently generate energy for charging the battery.
LumiPhane From the Off-Grid System
If LumiPhane is going to operate as a true off-grid lamp, this step is required. The Waveshare Solar Power Manager (C) provides a regulated 5 V output, while the LED strip used in LumiPhane requires 12 V.
To solve this, I added a small 5 V to 12 V step-up (boost) converter between the Solar Power Manager and the lamp. It raises the 5 V output to 12 V, providing the correct voltage for the LED strip.
The complete power path is: ☀️ Solar Panel → Solar Power Manager → 18650 Batteries → 5 V Output → 12 V Boost Converter → LumiPhane
This small converter is therefore an essential part of the off-grid version, allowing the stored solar energy to be used safely with the 12 V lighting system.
The Real World Problem Solve
The off-grid system is a small demonstration for LumiPhane, but the same idea has a much more practical purpose during emergencies.
Recent floods in Assam have affected large numbers of people and required evacuation and relief operations, while the devastating Nepal floods in August 2026 caused major damage to homes, roads, bridges and electricity infrastructure.
This highlights a simple but important problem: when people are forced to leave their homes, access to electricity can disappear at exactly the time it is needed most.
The compact solar system used in this project can be adapted into a small emergency power station. The idea is simple: carry the unit to a safer location, place the compact solar panel where it can receive sunlight, and use the stored energy to keep essential devices running.
With suitable USB outputs, it could provide power for phones, small emergency lights, radios, and other useful essentials. A USB light can also provide basic lighting at night—useful when conventional electricity is unavailable.
The real value is therefore not the lamp itself. LumiPhane is simply the demonstration load for a much bigger idea: a small, portable solar energy system that can continue to provide basic power when the grid cannot.
It is not intended to replace a proper emergency power system or disaster-relief equipment, but it demonstrates how solar generation + battery storage + regulated power conversion can be combined into a compact and useful backup system.
When the grid goes down, having a small source of independent power can make a big difference.
The system should always be used alongside official evacuation and emergency guidance; during an active flood, getting to safe ground comes first.
My Personal Use
For me, this off-grid system is no longer just a demonstration—it has become a genuinely useful part of my daily life.
My area is prone to flooding, and there is currently a flood alert in the region. Many people living near the river have started moving to safer places. At the same time, the area is experiencing frequent power shortages, making a small independent power source extremely useful.
During the day, I place the solar panel on my rooftop to charge the battery. At night, I use the stored energy to charge my phone and power a small USB light that I built for this setup. I also use a buck converter to power my Wi-Fi router, which allows me to stay connected and continue my studies and work even when the regular power supply is unavailable.
What started as a small off-grid demonstration for LumiPhane has turned into something I can actually depend on when I need it.
That, for me, is the most rewarding part of this project—seeing something built as an experiment become genuinely useful in a real situation.
Conclusion
LumiPhane started as a simple idea—turning a photograph into light—but became much more than a decorative lamp. It combines 3D printing, electronics, solar power, and energy storage into one compact project.
The lithophane gives the project its character, while the off-grid system demonstrates a practical idea: even a small solar-powered setup can provide useful backup power when conventional electricity is unavailable.
For me, the most interesting part of LumiPhane is this combination of creativity and real-world usefulness—a project that can preserve a memory as light, while also demonstrating how the same technology can be extended toward a more practical and resilient power solution.