MAKING a RIGID HEDDLE LOOM
by jcrispimromao in Workshop > Woodworking
24763 Views, 122 Favorites, 0 Comments
MAKING a RIGID HEDDLE LOOM


Working with a loom always was one of my dreams as a teenager. I used to think that I should learn as much as possible about the old way of doing things so that I might be able to pass it on to other generations in case there was a cataclysm. Besides, I always had a certain way of building things, and a loom certainly was on my list.
Introduction


Now, being over sixty and with a 5-year-old granddaughter, I decided I had to give it a try. And I began small. First I looked for small handlooms to knit scarves. And I made one and tried it with a scarf for my granddaughter.
But the real goal was a larger loom and I spend some time on the internet studying different types of looms and discovered one that is called the Rigid Heddle Loom, which seemed quite easy to make.
The structure of a Rigid Heddle Loom is quite simple: two lateral (62cm x 13,5 cm) 2cm thick boards linked by 2 x 4 cm slats at the bottom part. The lateral boards have two rounded tips ( 13,5 cm in height) to include both cloth beams: one upfront and another in the back.
Almost at two-thirds of the lateral boards, towards the back, we have the heddle blocks, one on each side. These blocks have three indented parts in order to support the heddle in the three normal positions: resting position when it is not working, up position and down position to make space to pass the shuttle with the weft.
Drawing All the Parts


After having decided on the type of loom, I had to decide the size of the thing, because there are different measures and the things you can do with them are different as well. So I decided to make one 80 centimetres wide and 60 centimetres long. It would be enough to weave cloth 80 centimetres across.
I found a type I wanted and the photo was a small one. I had to figure out all its characteristics…
First I tried to understand all the details in the photo and then I started looking for bits of scrap wood I could use, without spending much money on it, as I didn´t know if I were able to make it. I drew all the parts needed and started cutting it. I had to make two ratchet gears, which aren´t easy to cut. Then I cut all the lateral parts and put them all together.
On one side ( or both sides if you want to) there is a ratchet gear ( 8 cm in diameter) in both beams in order to maintain the warp stretched when you are weaving, and to roll up the cloth around the front beam.
You create the ratchets by cutting two circles 8 cm in diameter, in a 13 mm thick board, divide it in 16 parts and create the cogs by cutting it perpendicular to the axis, 12 mm in length, and then cutting it diagonally between cogs...
Creating All the Accessories


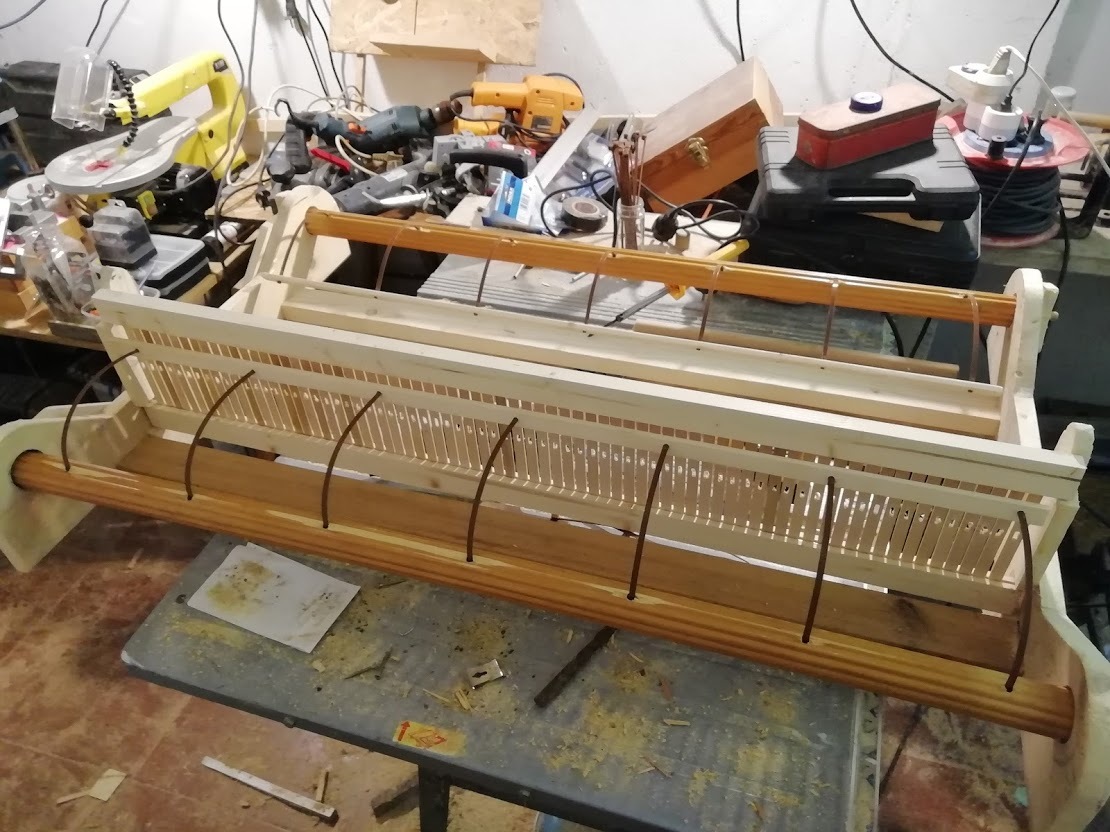


Then I had to make a reed. First I didn´t know how I could go and make it, but then I found some wood sticks, similar to those used for icecream, and I devised a way to make it stand. Then ì made all the holes (eyes) needed to pass the thread. It is a 7,5 dpi.
And I also had to make the pegs to make the loom standstill while warping. And a shuttle as well. Apart from all these accessories I also cut some cardboard stripes to use while warping the thread in the loom.
When you are warping, you need to roll up the thread and you have to put theses cardboard strips in order to maintain the thread well distributed.
The pegs are used to fix the loom while you are warping it. You can watch these two films on youtube. They explain it very well.
And this one, too:
Starting to Weave


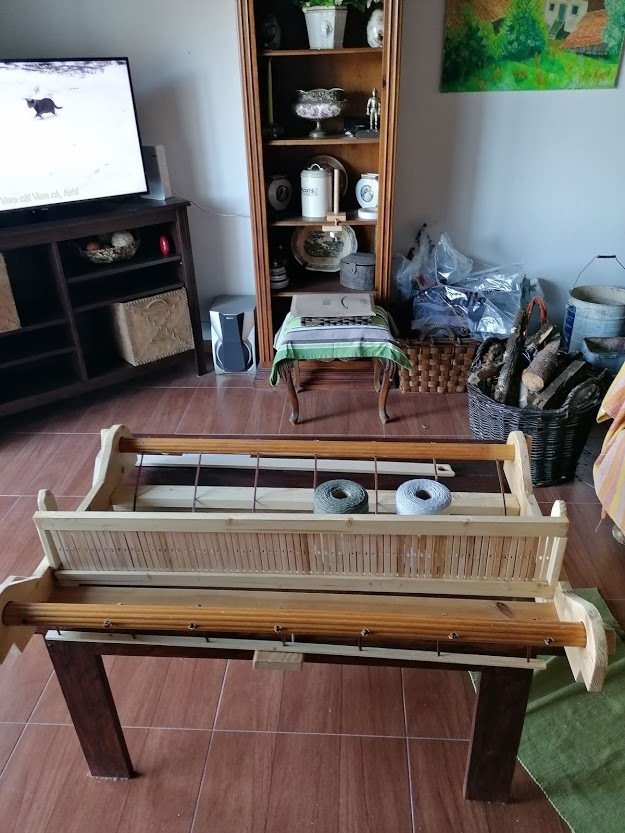
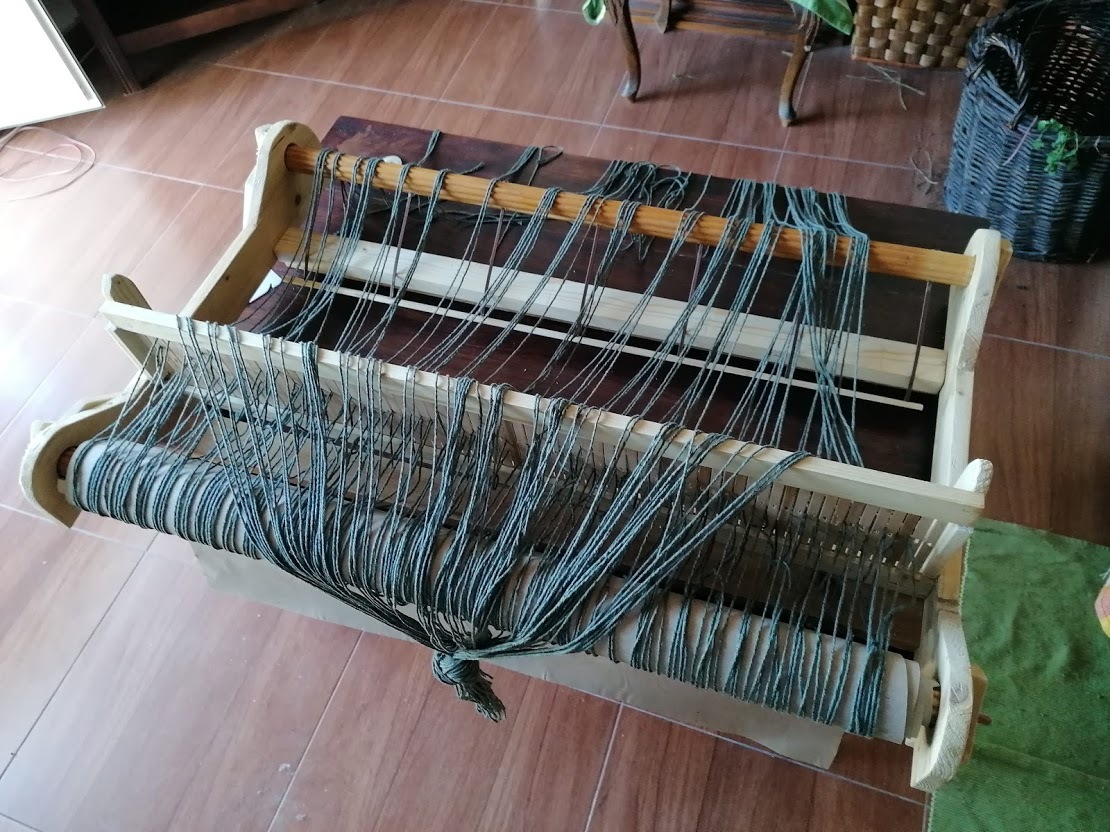
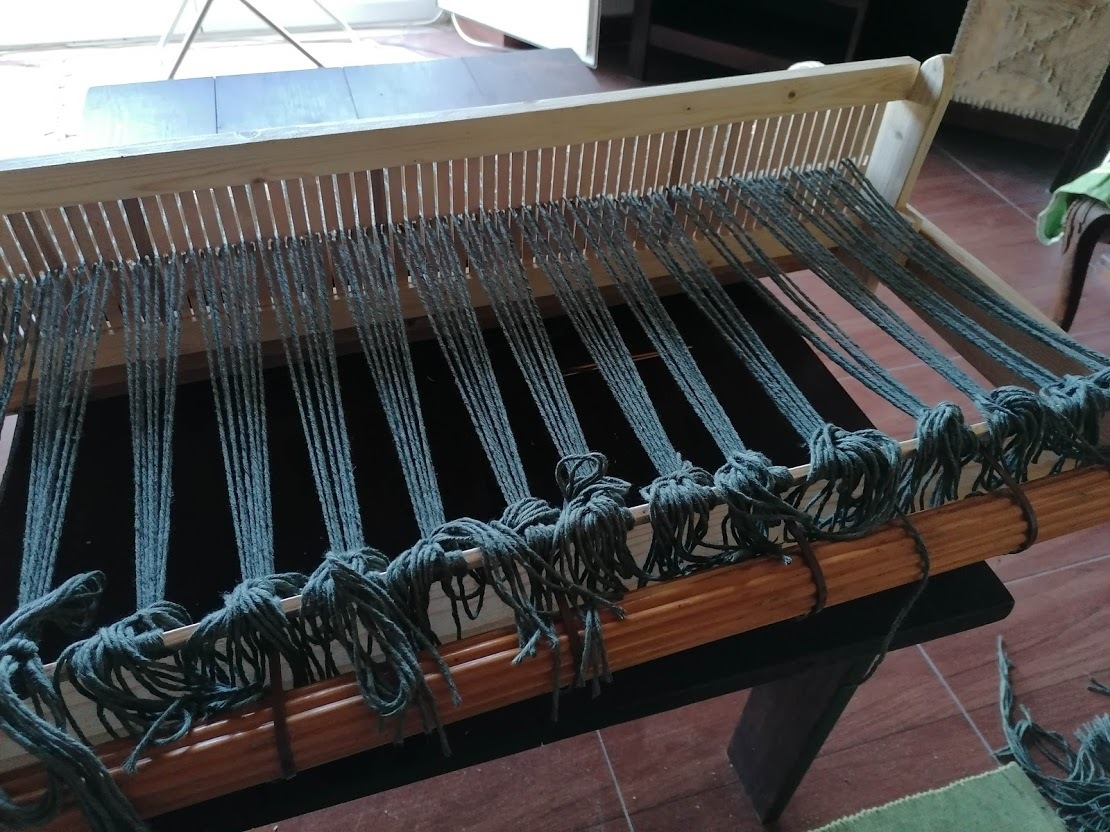

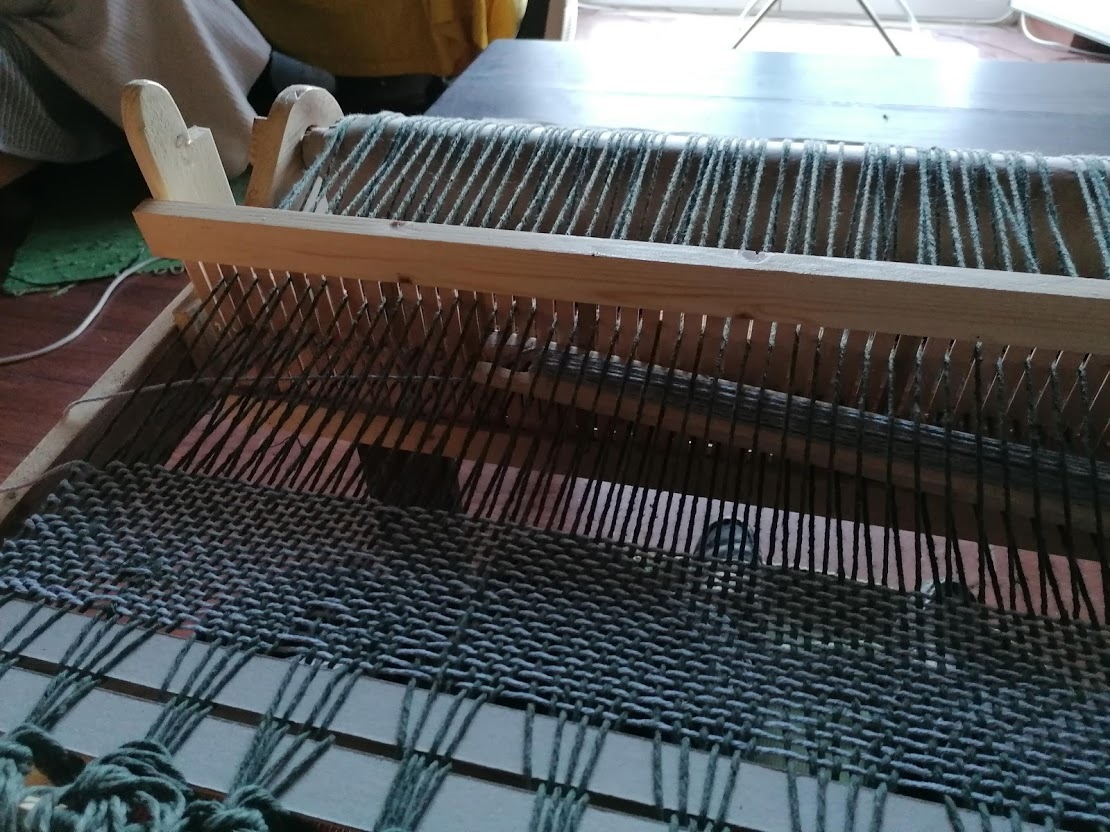
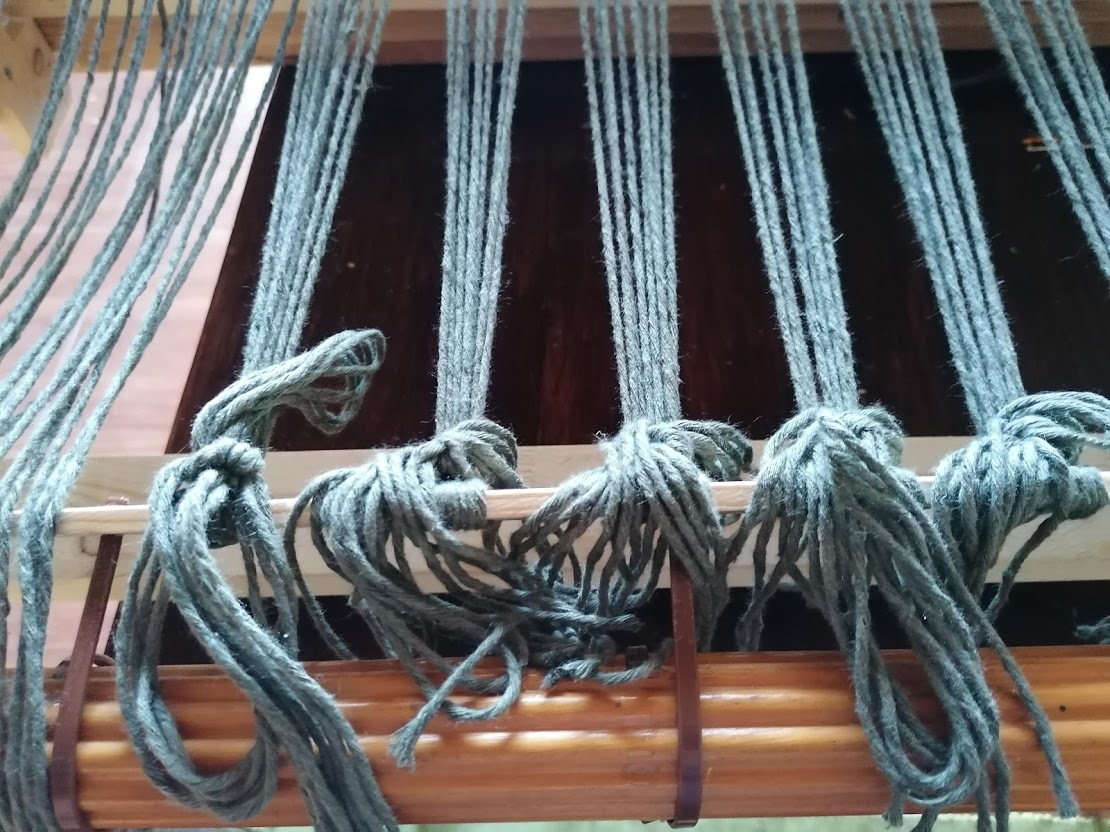

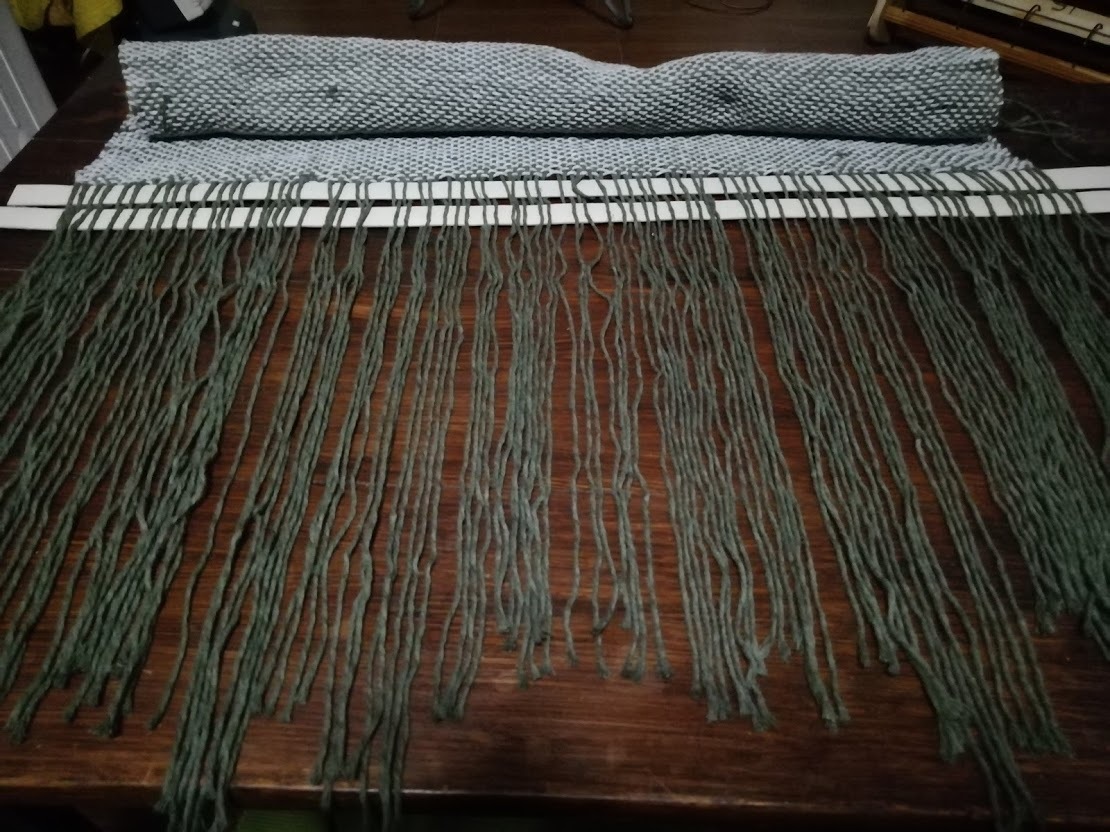

I put it all together and varnished it. It had a nice look. Now I had to try and weave something with it. I went to a Chinese store and bought some cotton thread to eave a nice cloth. It was the first time for me. And I was excited. On the internet, I looked up for some Youtube films just to learn about all the details I had to pay attention to.
And I started to weave something using dark green and gray cotton thread.
It was my first attempt and it came out very nicely. A little problem with the weft of the thread while changing line.
Experimenting With Other Threads
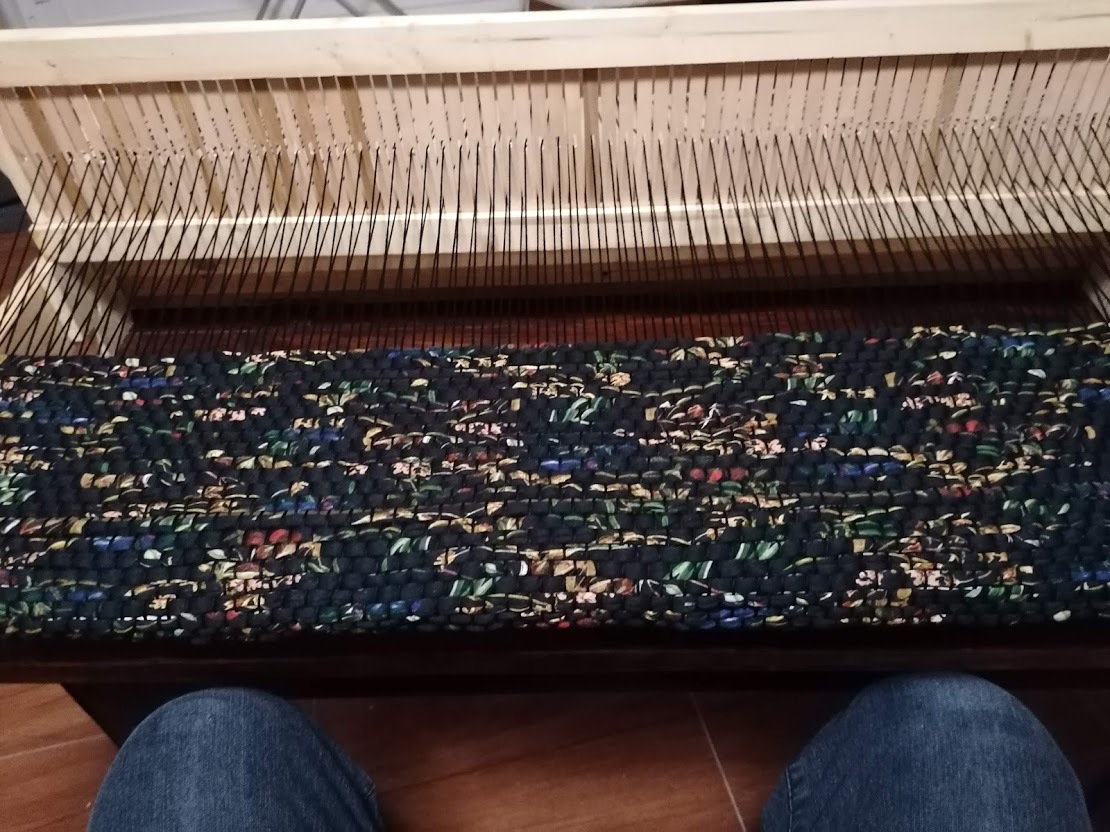


My second attempt was a success because I managed to control the way the weft changed line and the width of the cloth was maintained all through the weaving process.
Here are my finished rigid heddle loom and the two cloths I made so far!
Hope you enjoy it!