MEET YOUR LOVING CATPANION
by snoopylovescat in Circuits > Sensors
77 Views, 0 Favorites, 0 Comments
MEET YOUR LOVING CATPANION
Have you ever desperately wanted to be productive, only to find yourself spiraling into a procrastination loop? We have.
As college students, we know the feeling: the pressure builds up until it’s "too mighty for our mortal bodies to contend with." We seek refuge in the glimmering blue light of our phones, only to end up "coiled up" in guilt because we simply couldn't stop scrolling. We often demonize our tasks cumulatively and lose track of reality. We ended up in this question:
How might we create a gentle yet firm physical presence that prevents college students from spiraling into phone-induced procrastination?
Our solution is this: meet CATpanion—your tiny, adorable guardian against the digital abyss.
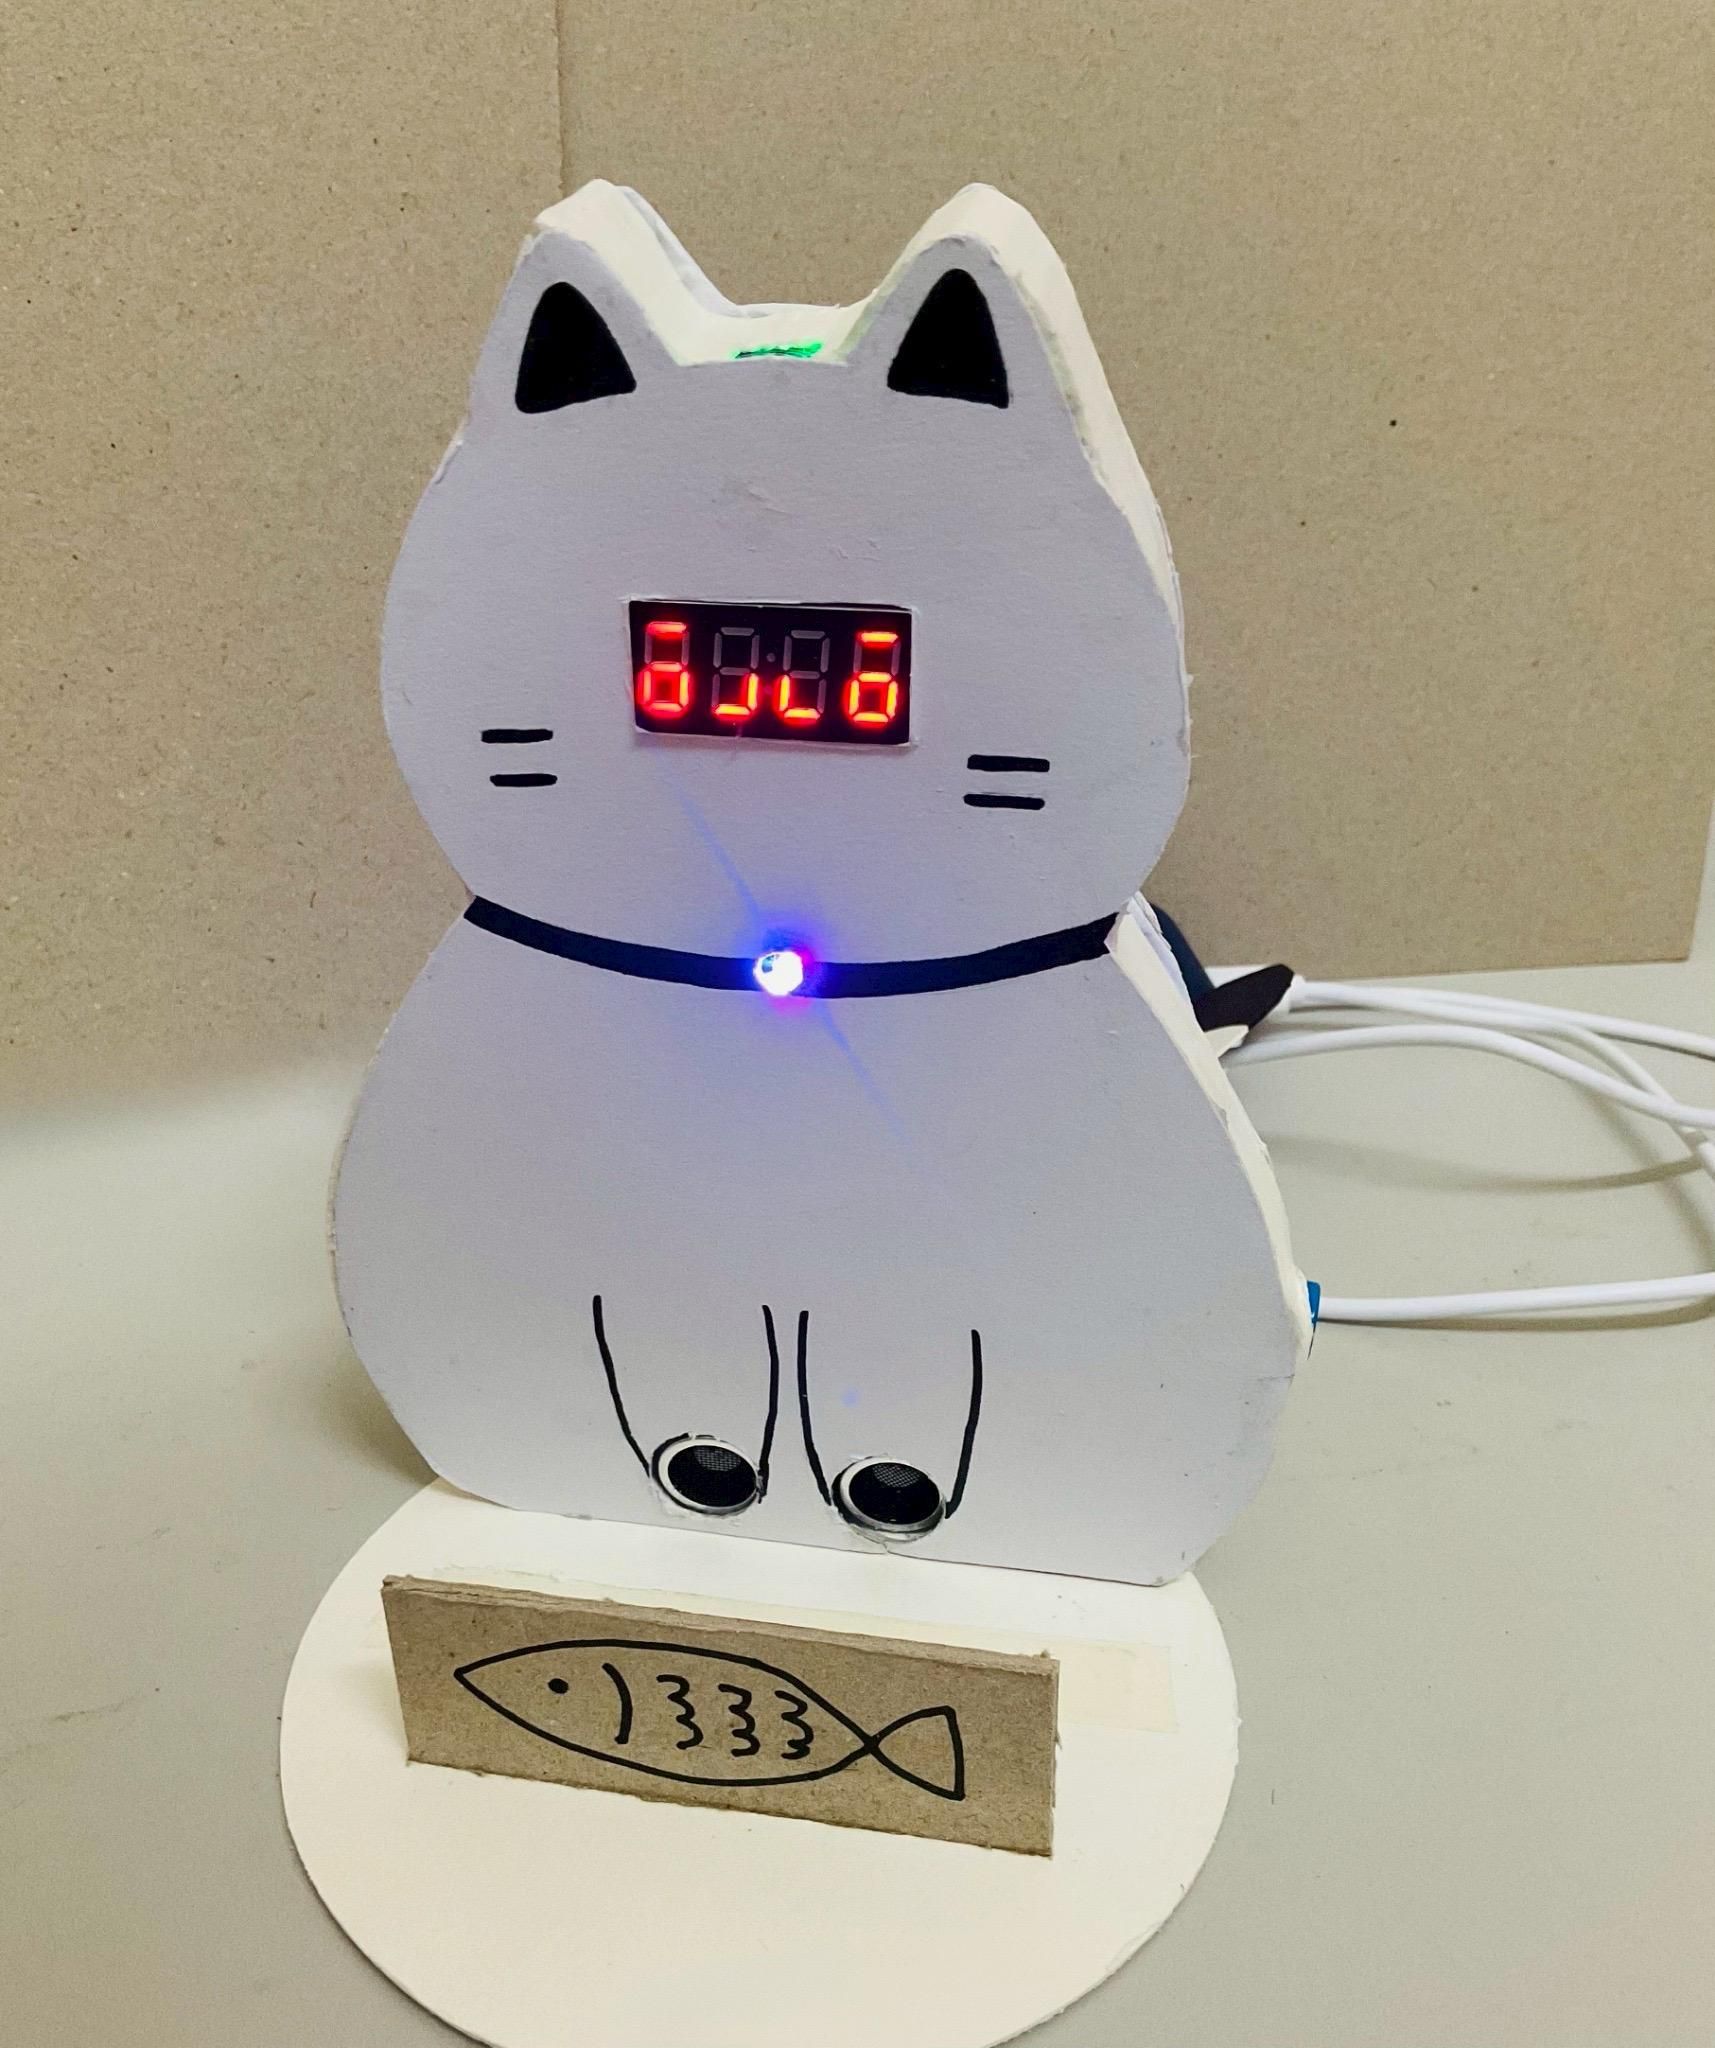
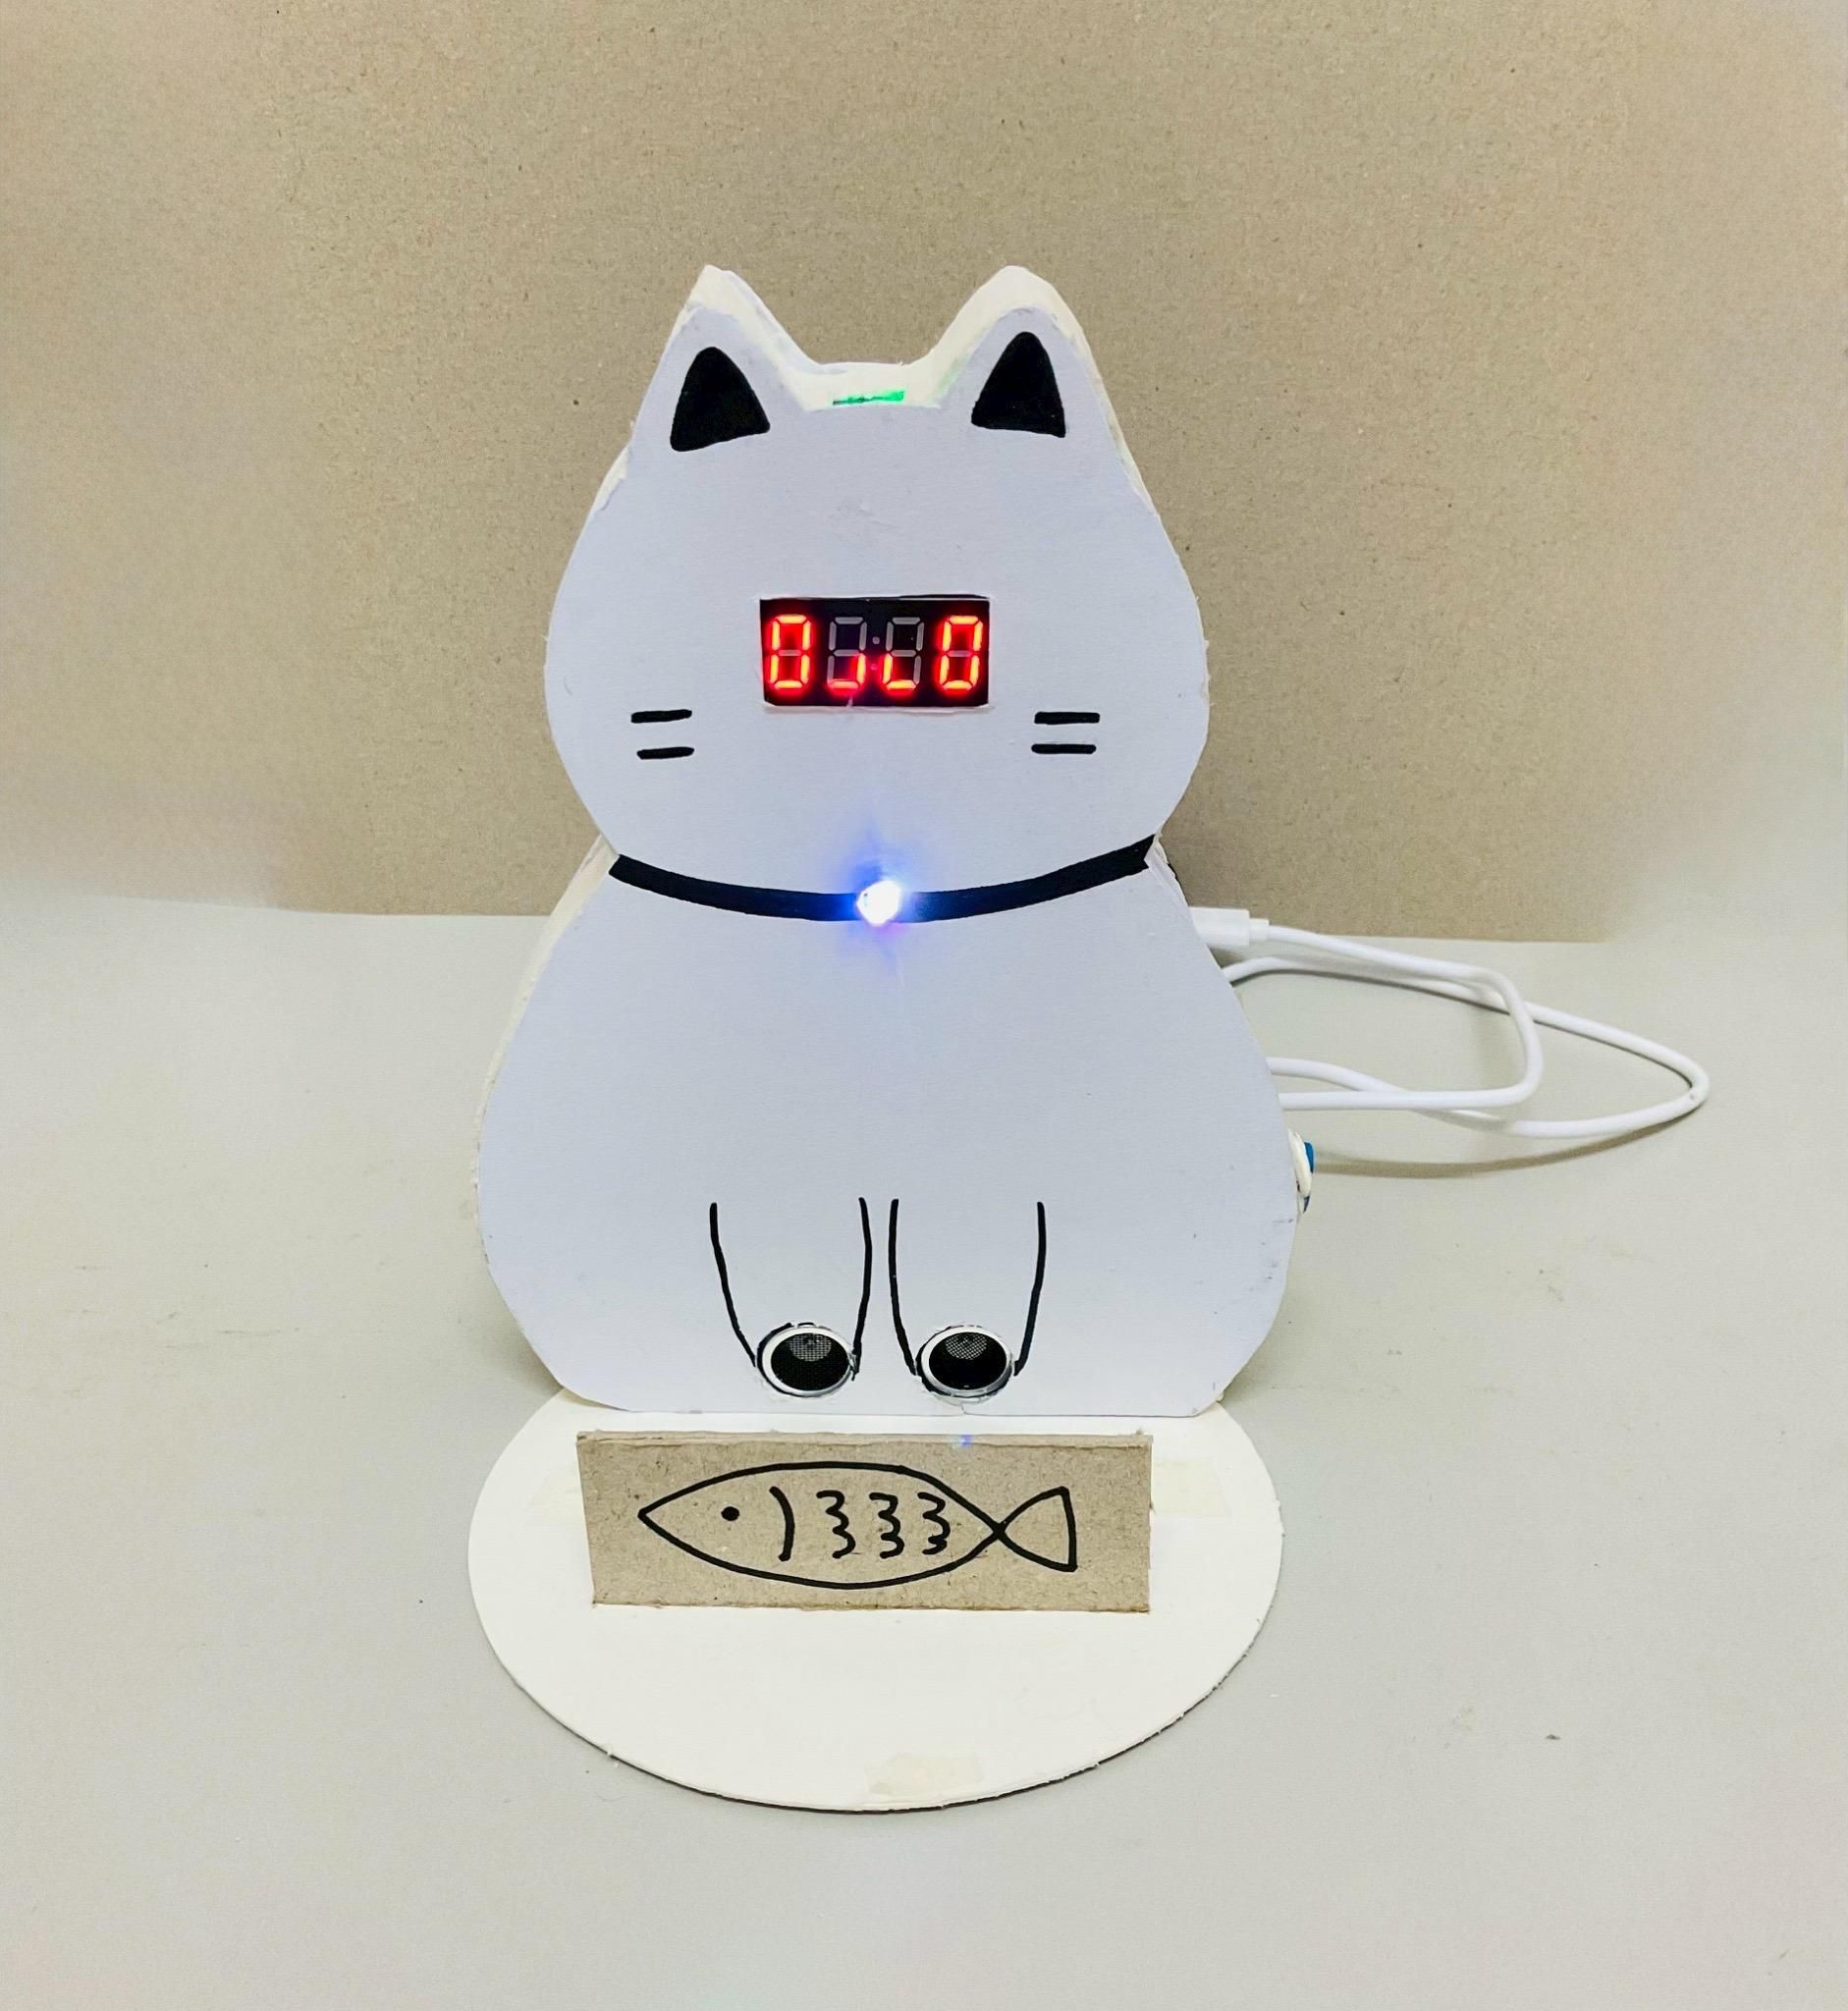
The CATpanion is an interactive desktop assistant designed to bring you mindfulness and pull you back to the present. Using an ultrasonic sensor, it monitors your phone holder based on different focus modes; if you cave into temptation and pick up your phone during a focus session, the cat gets an angry face and starts trembling (in a cute way)! To soothe its rage, you’ll have to interact with its touch sensor and "caress" it back to calm.
With its glowing LED cat bell and constant presence, the CATpanion ensures you’re never alone in your "grinding sessions." It’s not just a tool; it’s a cute reminder that your time is yours to reclaim in a gentle way you've never seen before.
Watch our demo video via this link to a google drive.
Supplies
- Arduino board: Arduino Uno or Nano
- Ultrasonic sensor
- haptic sensor
- TM1637 4-digit display
- RGB LED light
- Vibration motor
- Button Switch
- Jumper wires to connect the materials
- Cardboard, tapes and marker pen
Build Up Your CATpanion's Nervous System
In this step, we connect all the electronic "organs" to the Arduino board. The CATpanion relies on various sensors to perceive the world:
- Eyes & Ears (Sensors): Connect the Ultrasonic sensor (Trig to Pin 12, Echo to Pin 13) to detect your phone. The Touch sensor (Pin 3) acts as the cat's head for you to stroke.
- Expression (Output): Use a TM1637 4-digit display (CLK to Pin 4, DIO to Pin 5) to show the cat's facial expressions.
- Emotions (Lights & Vibration): Wire an RGB LED (Red: Pin 6, Green: Pin 9, Blue: Pin 11) for mood lighting and a Vibration motor (Pin 10) for tactile feedback.
- Mode Switch: A Button (Pin 2) allows you to toggle between "Working" and "Leisure" modes.
Breathing Life Into Code
Now, let's look at the logic that makes the CATpanion "feel" neglected. The code uses a timerValue to track the cat's mood, ranging from 0 (Happy) to MAX_TIME (Angry).
- The Procrastination Trigger: In Working Mode, the cat uses the ultrasonic sensor to check if your phone is within 3cm. If you pick it up (distance > 3cm), the timerValue increases, and the cat begins to get annoyed.
- The Emotional Scale: As you procrastinate, the RGB LED fades from white toward a deep red. The 4-digit display will cycle through four distinct expressions: Calm (OuuO), Slightly Annoyed, Very Annoyed, and finally Angry.
- The Guilt Trip: Once the cat is fully "Angry" (at 100% procrastination), it will physically shake via the vibration motor every 2 seconds to demand your attention.
- Seeking Forgiveness: You can soothe the cat by putting your phone back or by touching the sensor to "caress" it. The recovery speed is 3 times faster than the rate it gets angry—the cat is forgiving, but you must put in the effort!
Copy and paste the following code into the Arduino IDE. This code includes the custom "segment-mapped" facial expressions.
Building the Body (Craft & Housing)
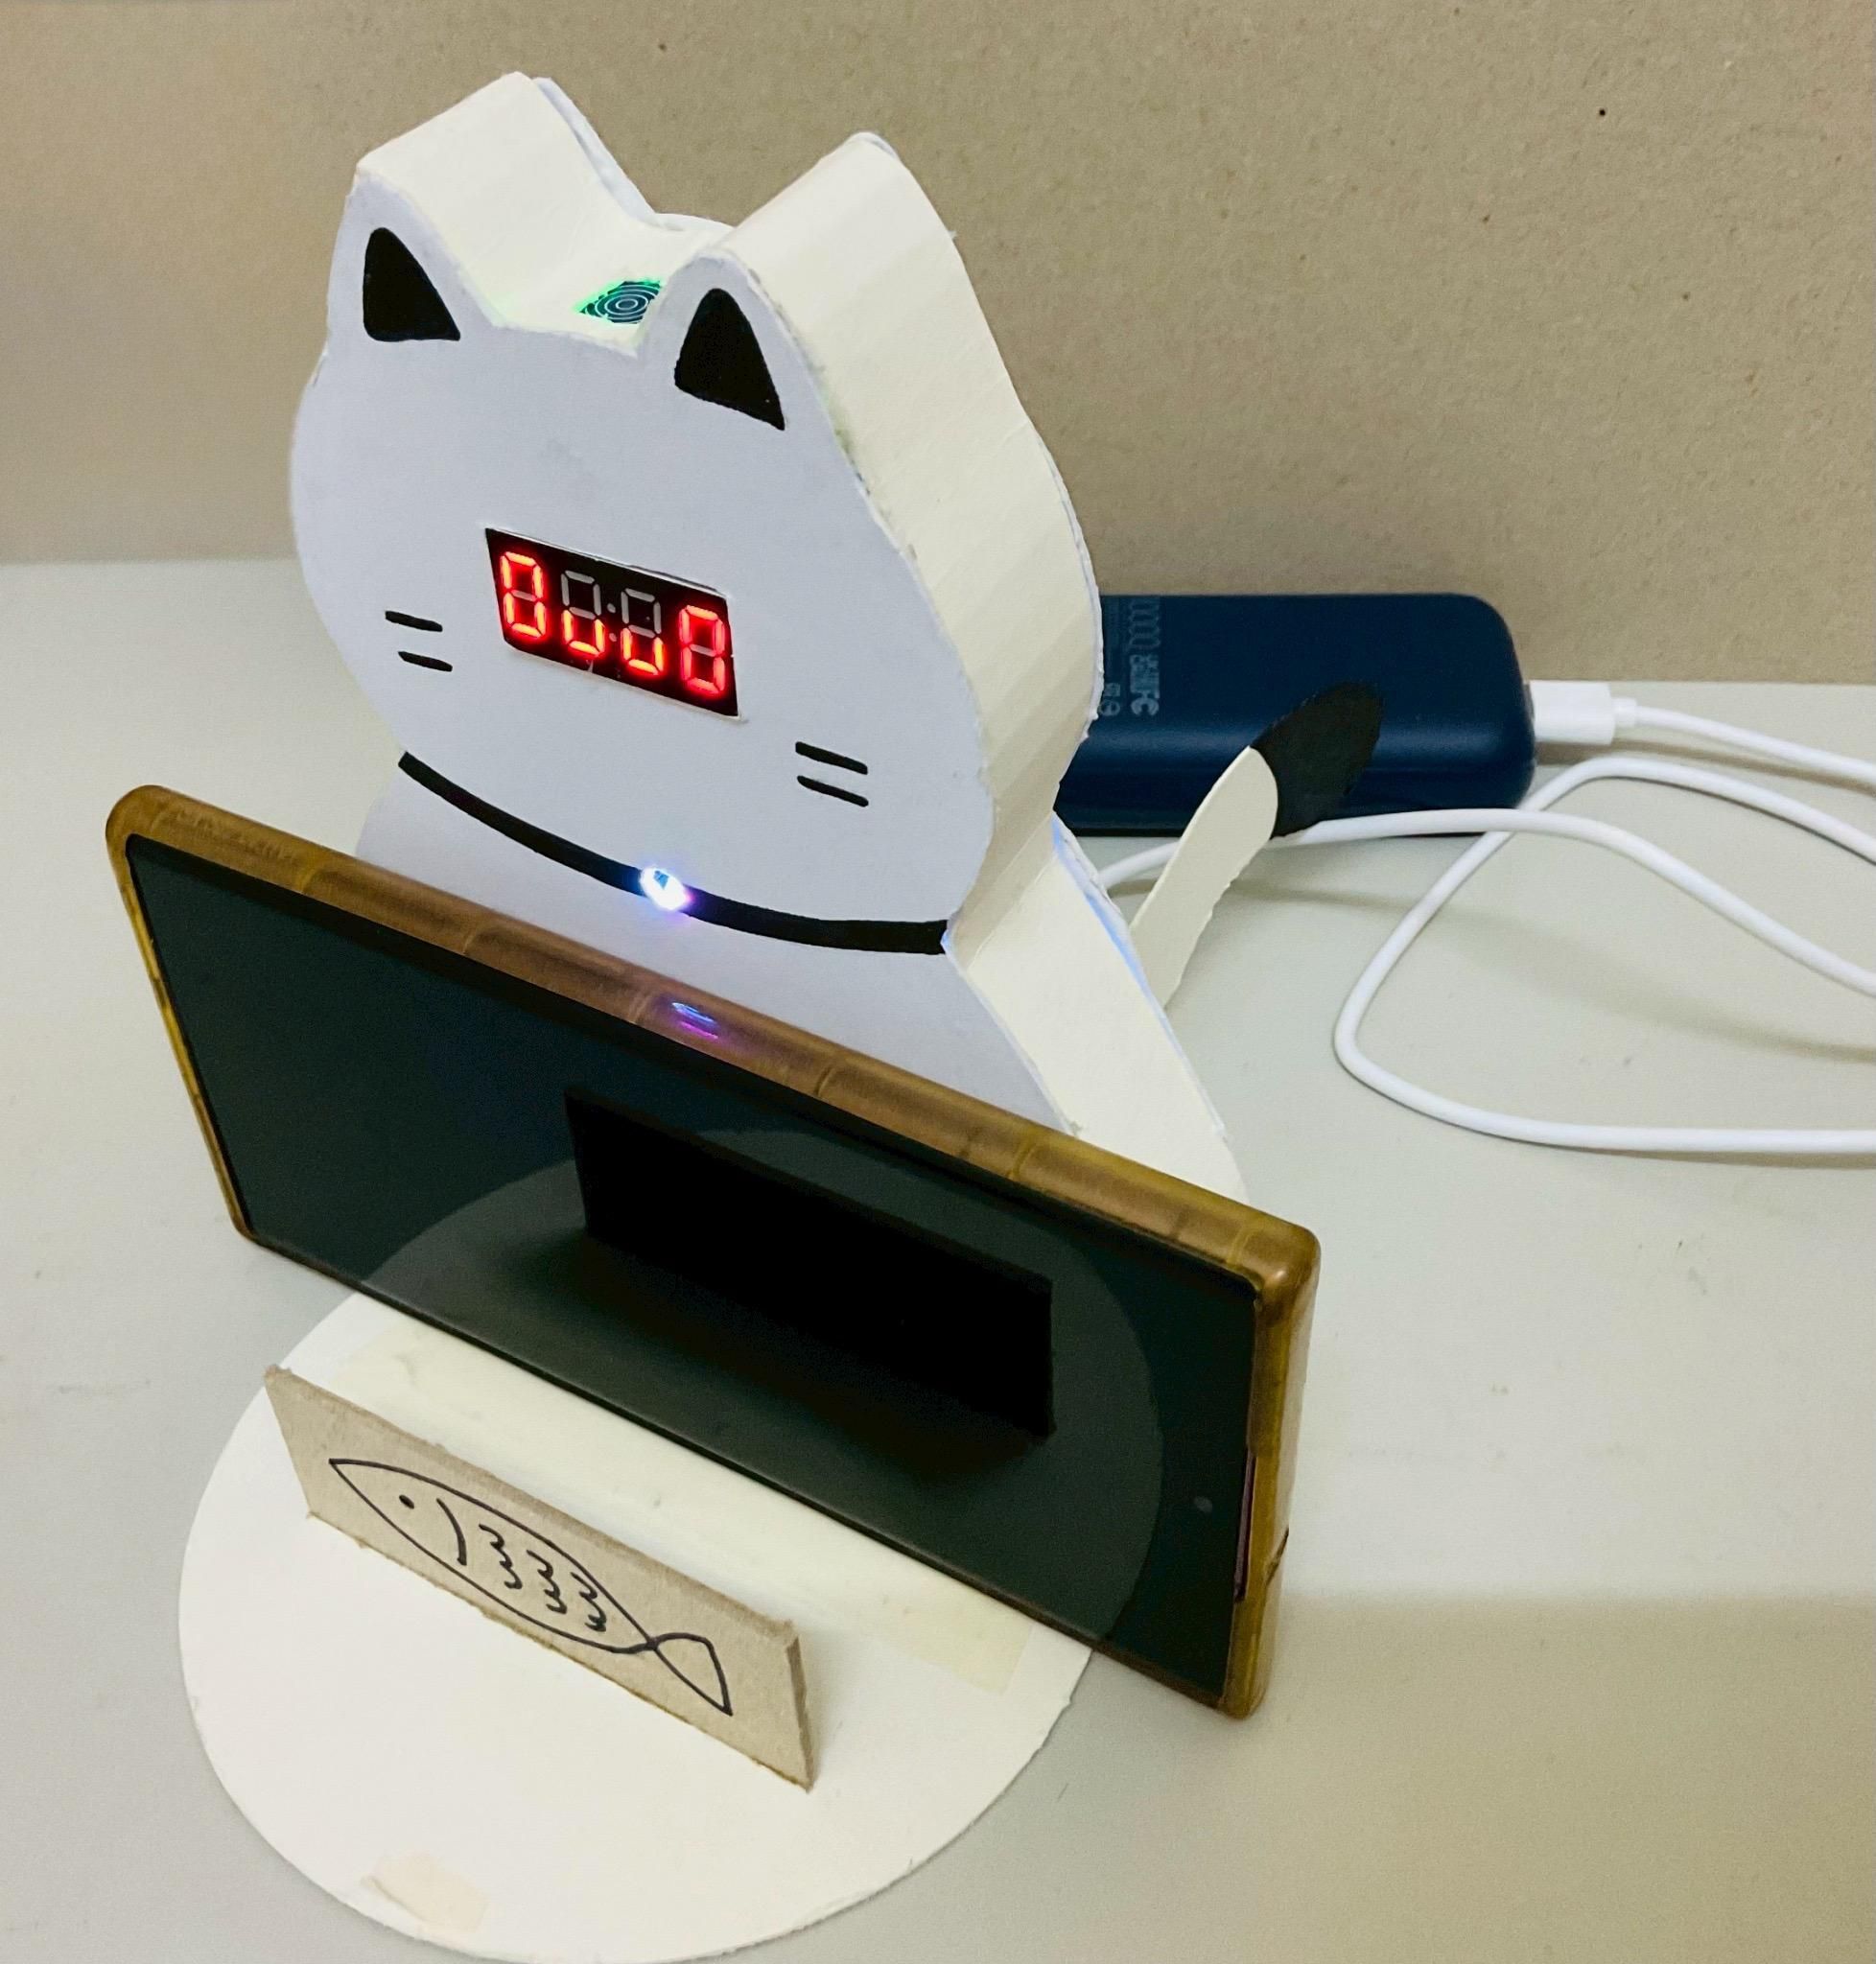
Using your cardboard, tapes, and markers, it's time to build the physical CATpanion:
- The Shell: Cut out a cat shape from the cardboard and the bottom plane, add fish like ours if you want. Ensure there is a stable "holder" area for your phone.
- Mounting the Eyes: Place the TM1637 display in the center of the cat's face. This is where its personality lives.
- Hiding the Sensors: Secure the Ultrasonic sensor as it's cute feet at the base of the phone holder so it can accurately "see" if the phone is present.
- Touch Interaction: Tape the Haptic/Touch sensor to the top of the cat's head so it's easy to pet.
- Finishing Touches: Use your Markers to draw whiskers and fur patterns. The RGB LED can be placed on its neck to create a glowing aura that changes color with the cat's mood.
DONE!!!