MPU6050 Gyroscope X Unity3D
by BestBobbyBoy in Circuits > Arduino
1064 Views, 0 Favorites, 0 Comments
MPU6050 Gyroscope X Unity3D


About the Project:
This project is the start of my self-made controller. I want to make a custom controller with Gyroscope, Analog stick and a Button. [It would be nice if its wireless but not necessary] Sadly making all these components work at the same time was quite a challenge and I have learned a lot looking trough forums and testing stuff myself.
About this tutorial:
This project will explain how to make an MP6050 Gyroscope controller which works with Unity without the need for a Arduino plugin by reading the serial port of your computer. It does utilize the I2C Dev Library for the Arduino itself.
Supplies
Software:
- Arduino IDE
- Unity [version2020 is the oldest I tested with]
- I2C Dev Library
Components:
- Arduino Uno (or Nano)
- MPU6050
- 5* Jumper Cables
- Breadboard
Wires


Connect your respective Arduino just like in the schemes above.
There is one thing to note here. As you can see in both Arduino schemes we connect the MPU6050 VCC to the 3.3Volts port on both Arduinos. The MPU6050 is capable of handling 5Volts because the MPU6050 has a 3.3Volt regulator. But because there may be third party MPU boards that might not have this regulator it is better to be safe then to be sorry.
[The Purple wire is used as an interrupt pin if anything happens then you can set a recalibration button for example. But I will not be explaining that in this tutorial*]
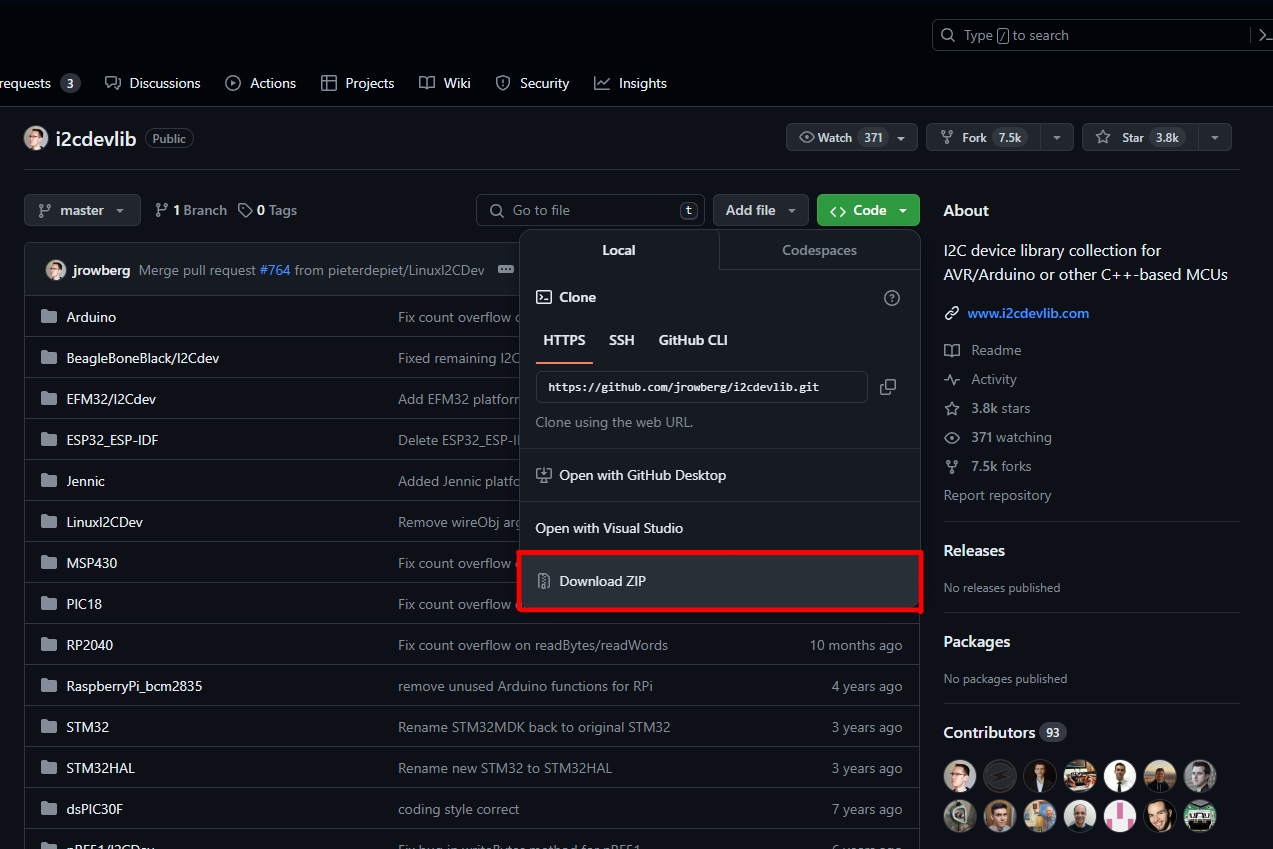
Installing I2C Dev #1

Open the repository and download the zip
Installing I2C Dev #2

Open the downloaded zip and go to the 'Arduino' folder
Installing I2C Dev #3

Extract the 'I2CDev' folder and the 'MPU6050' folder and put them in a folder you prefer on your computer.
Arduino Code

Download the sketch below and hit upload in the Arduino IDE
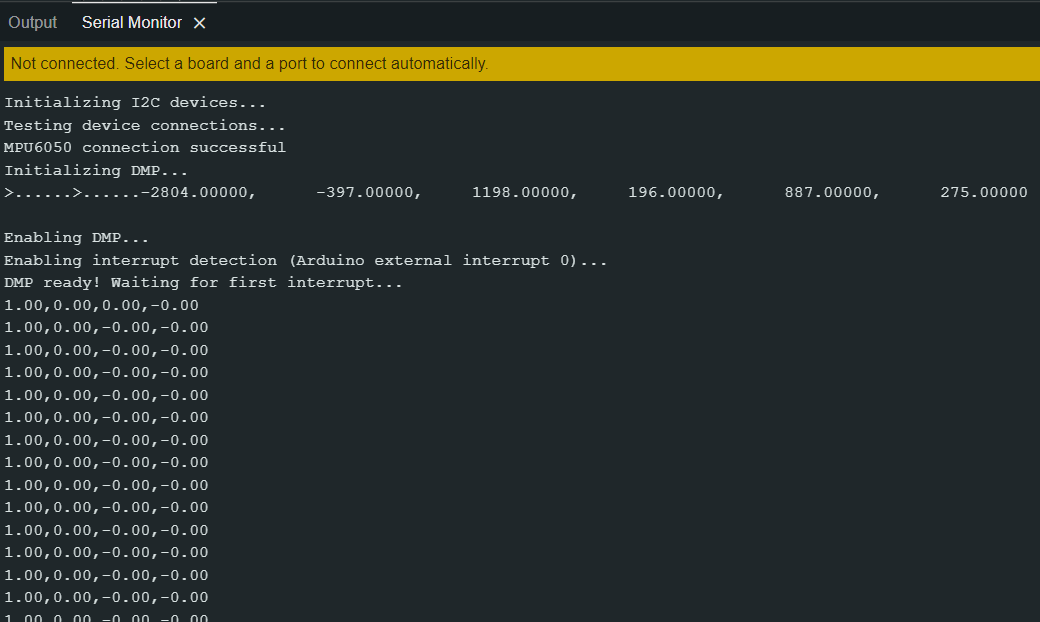
If everything was done correctly the output monitor should output 4 Quaternion values [X, Y, Z, W]
The write lines that now get put out we can pick-up by Unity and use as a rotation value.
Downloads
Unity Set-up

-Open Unity and start a 'New Project' (make sure its a 3D project 😉)
-Make a new 3D cube object
-Stretch the cube a little but to see the results better
-And make a new Script where we will write the code to receive the Arduino data.
Unity Code

Copy this code below into the C# Unity Script
This script will first look for a port containing an Arduino, then it will open this port for data and read the data string it gets from the Arduino.
In-Depth Explanation:
1-Variables:
The top 2 variables 'ports' and 'arduinoPort' are used to detect which port is used by the Arduino.
The bottom 4 variables are used to save the data received to use later in context.
2-Start():
The 'ports' array is used to store every port ID detected by your computer which we will cycle trough in a foreach loop. Once it has found the USB (COM) port the Arduino is connected to it will save this port in the 'arduinoPort' variable and open this port for data.
If no Arduino is connected it will return a warning that no Arduino is connected and the script might not work because of this.
3-Update():
Update is much simpler it will just check if our 'arduinoPort' is open and run the ReadyGyroScope() Function if it is, and if in Start() no Arduino was connected this port will simply be closed and nothing will happen.
4-ReadyGyroScope():
The first line in this function saves the entire string of data we get from the Arduino.
[0.98, 0.04, 0.21, -0.03]
Then it will slice this long data string into 4 separate Data strings at every comma ','
[0.98], [0.04], [0.21], [-0.03]
Then we save all those separate data strings and convert them to readable Float values. These values are now ready to be reconstructed into a Quaternion rotation value and applied to the game object.
Save this script and go back to the Unity Editor
Downloads
Unity


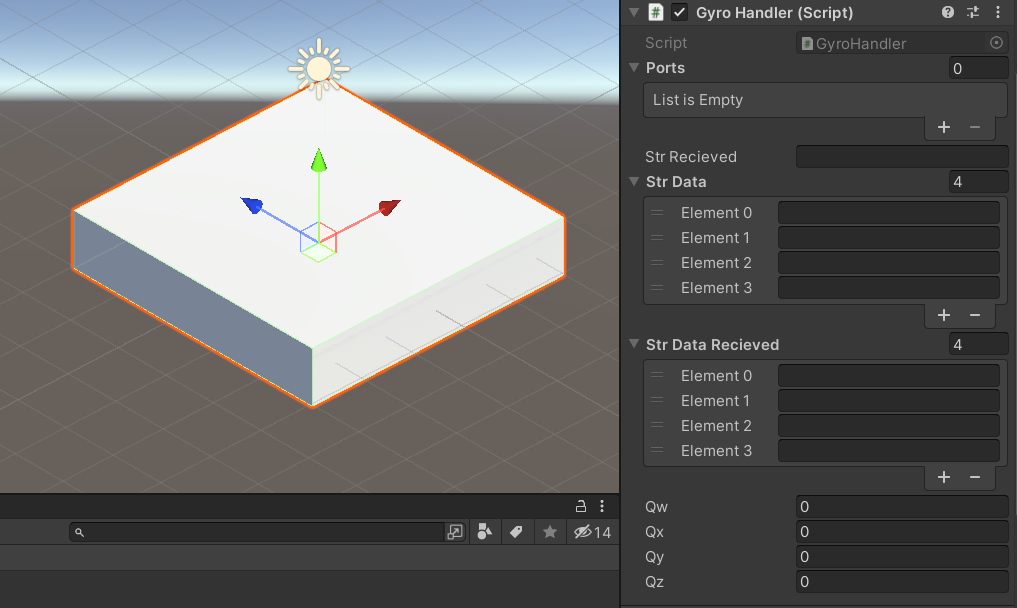
Apply the script to the object, connect your Arduino and hit Play
Extra: Arduino Case


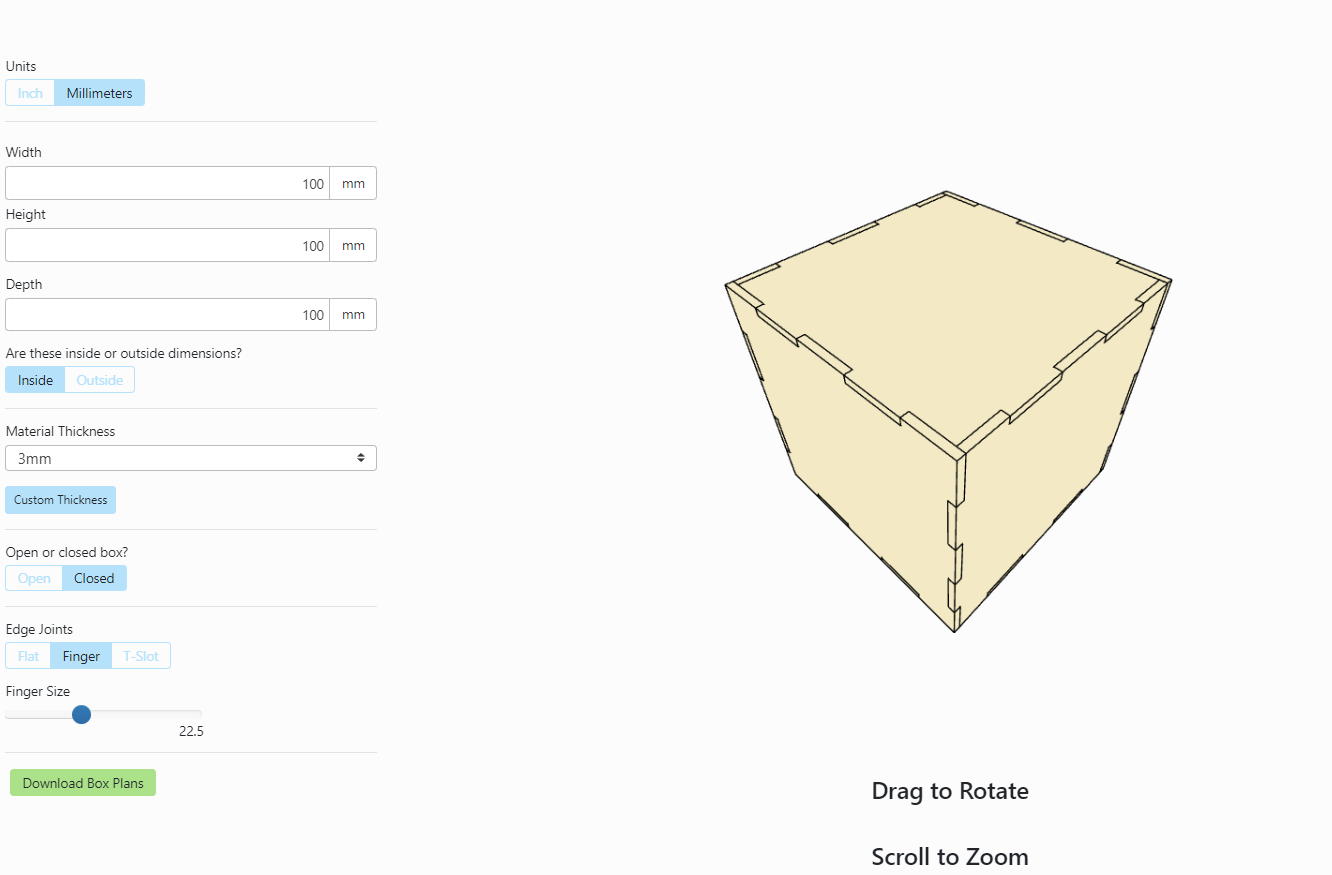
With the MakerCase tool you can generate a template for a cool box for your Arduino and use a CnC laser cutter or just a simple Figure saw to saw these templates from any material you'd like. you could even grab some thick cardboard and cut out a case. The images above show my case i made for this project with a neat Gyroscope Icon engraved into it.