Magnetron PCB Holder


This Instructable describes how to build a PC board holder using a magnetron scavenged from a broken microwave oven as it's base . For those familiar with electronic circuit boards it really comes in handy to have some way of holding the PC board when soldering components on it. Actually the very first PCB holder i ever bought was called "Helping Hands", had it for years , it was cheap ( cost wise) and was fine for small projects but became unwieldly for larger ones. I wanted to move on to something a little more hefty but didn't want to spend a lot of money.
Being a bit of a tinkerer and after looking at several available PCB holders online and how they were designed, I decided to build one instead. They are not complicated and not hard to build , boy was i wrong , i'm kidding !
If you happen to have a magnetron , a couple of drawer sliders laying around your tool shed , are a do-it-your-selfer and enjoy building things like me, then this project is for you.
Supplies


To start this project you are obviously going to need a magnetron, if you dont have one just ask your mom/wife/gf if you can borrow the microwave for a few minutes , remove the magnetron and bring it back and say its broken , I'm kidding of course don't do that , borrow your neighbor's microwave instead ; ).
List of Materials:
1 Microwave magnetron ( size doesn't matter but the bigger the better )
2 Drawer sliders: 8 , 10 or 12 inch lengths are fine ( i used 8 inch in this project )
1 threaded rod or bolt: 3/16 " x 4 1/2 "
2 wing nuts: 3/16 " with 2 washers.
4 bolts : 9/32 " x 3 " with 4 nuts, 8 washers and 4 lock washers.
6 bolts : 6/32 " x 3/4 " with 6 nuts , 6 washers and 6 lock washers .
A 8 or 10 " length of 1/4 " metal tubing ( i used an old telescoping radio antenna cut into 4 sections )
A 1 " x 12 " length of aluminum extrusion or channel.
A 5 " x 4 " piece of 16 gauge ( 1/16 " thick) steel or aluminum sheet .
1 can of Silver spray paint ( optional) .
TOOLS:
Cordless drill.
Assortment of drill bits ; 1/8" , 3/16 ". 1/4 " .
a pair of pliers ( needle nose is best ).
Screwdriver set.
Metal cutting shears or " tin-snips ".
Hack saw ( with a 32/ 1 " tooth blade )
Disassemble the Magnetron


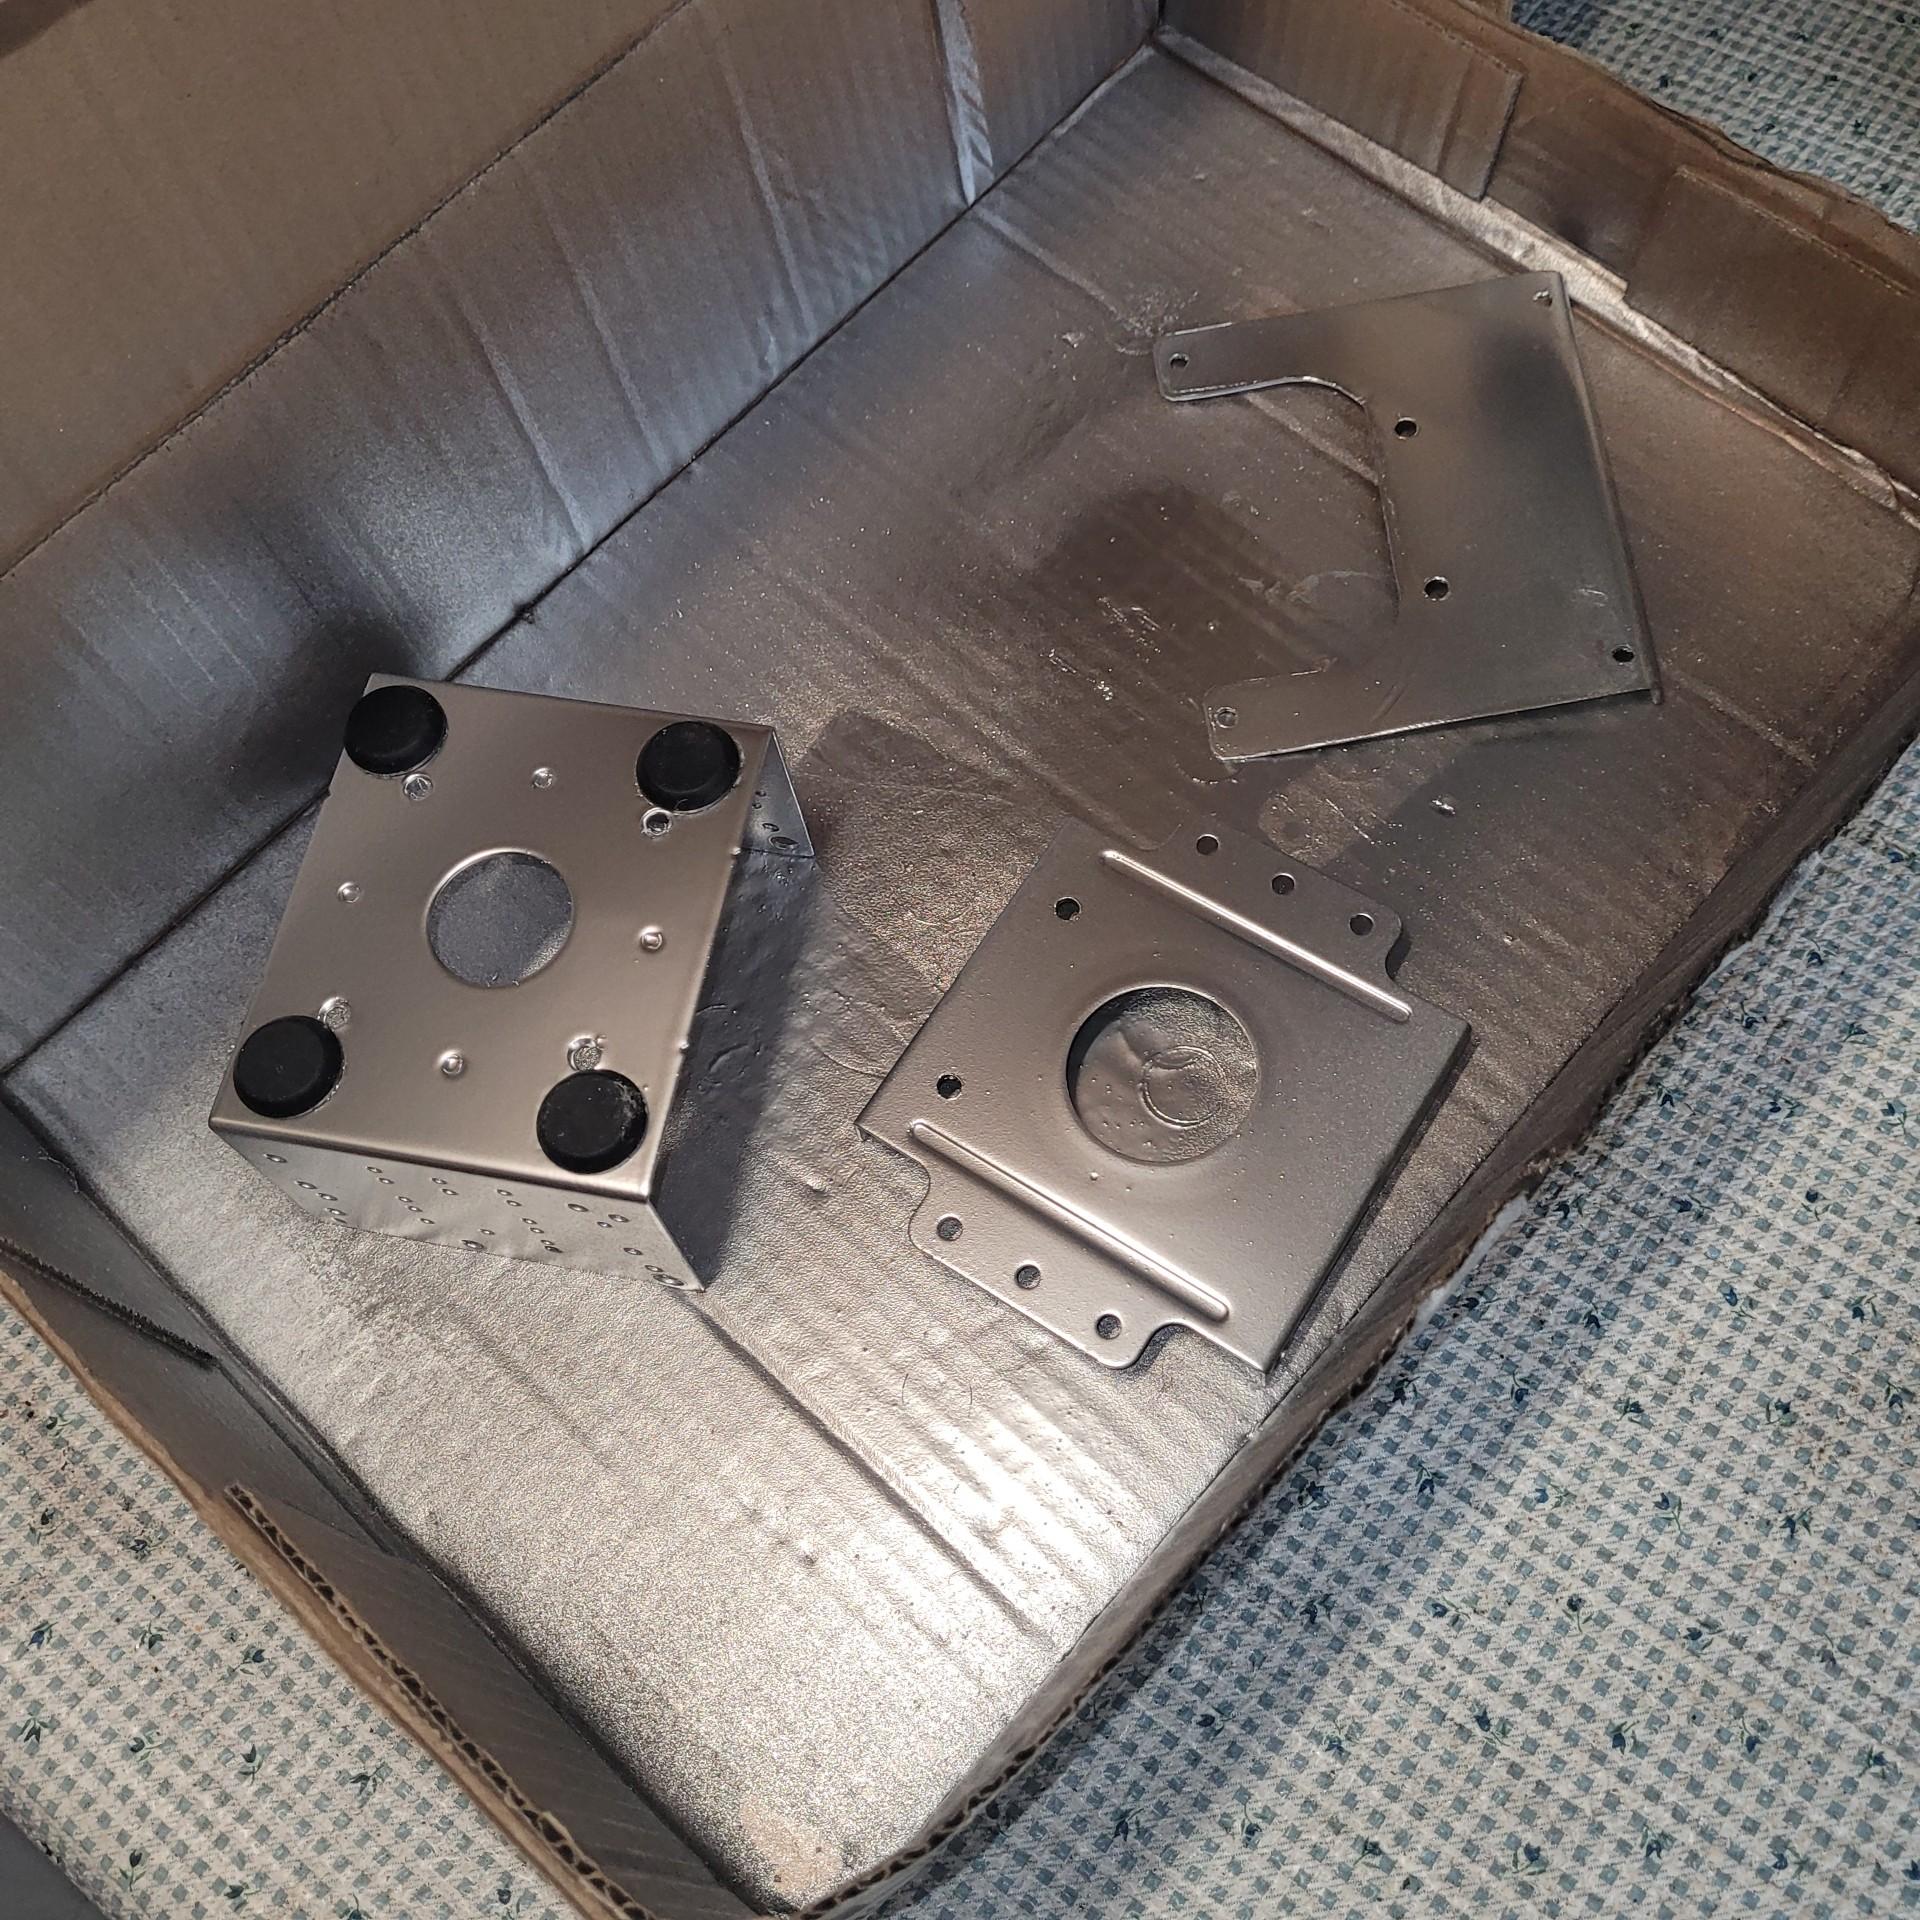
Start by removing any screws in the sides of the Magnetron and remove the thick steel plate with the hole in the middle , keep this as you will need it later.
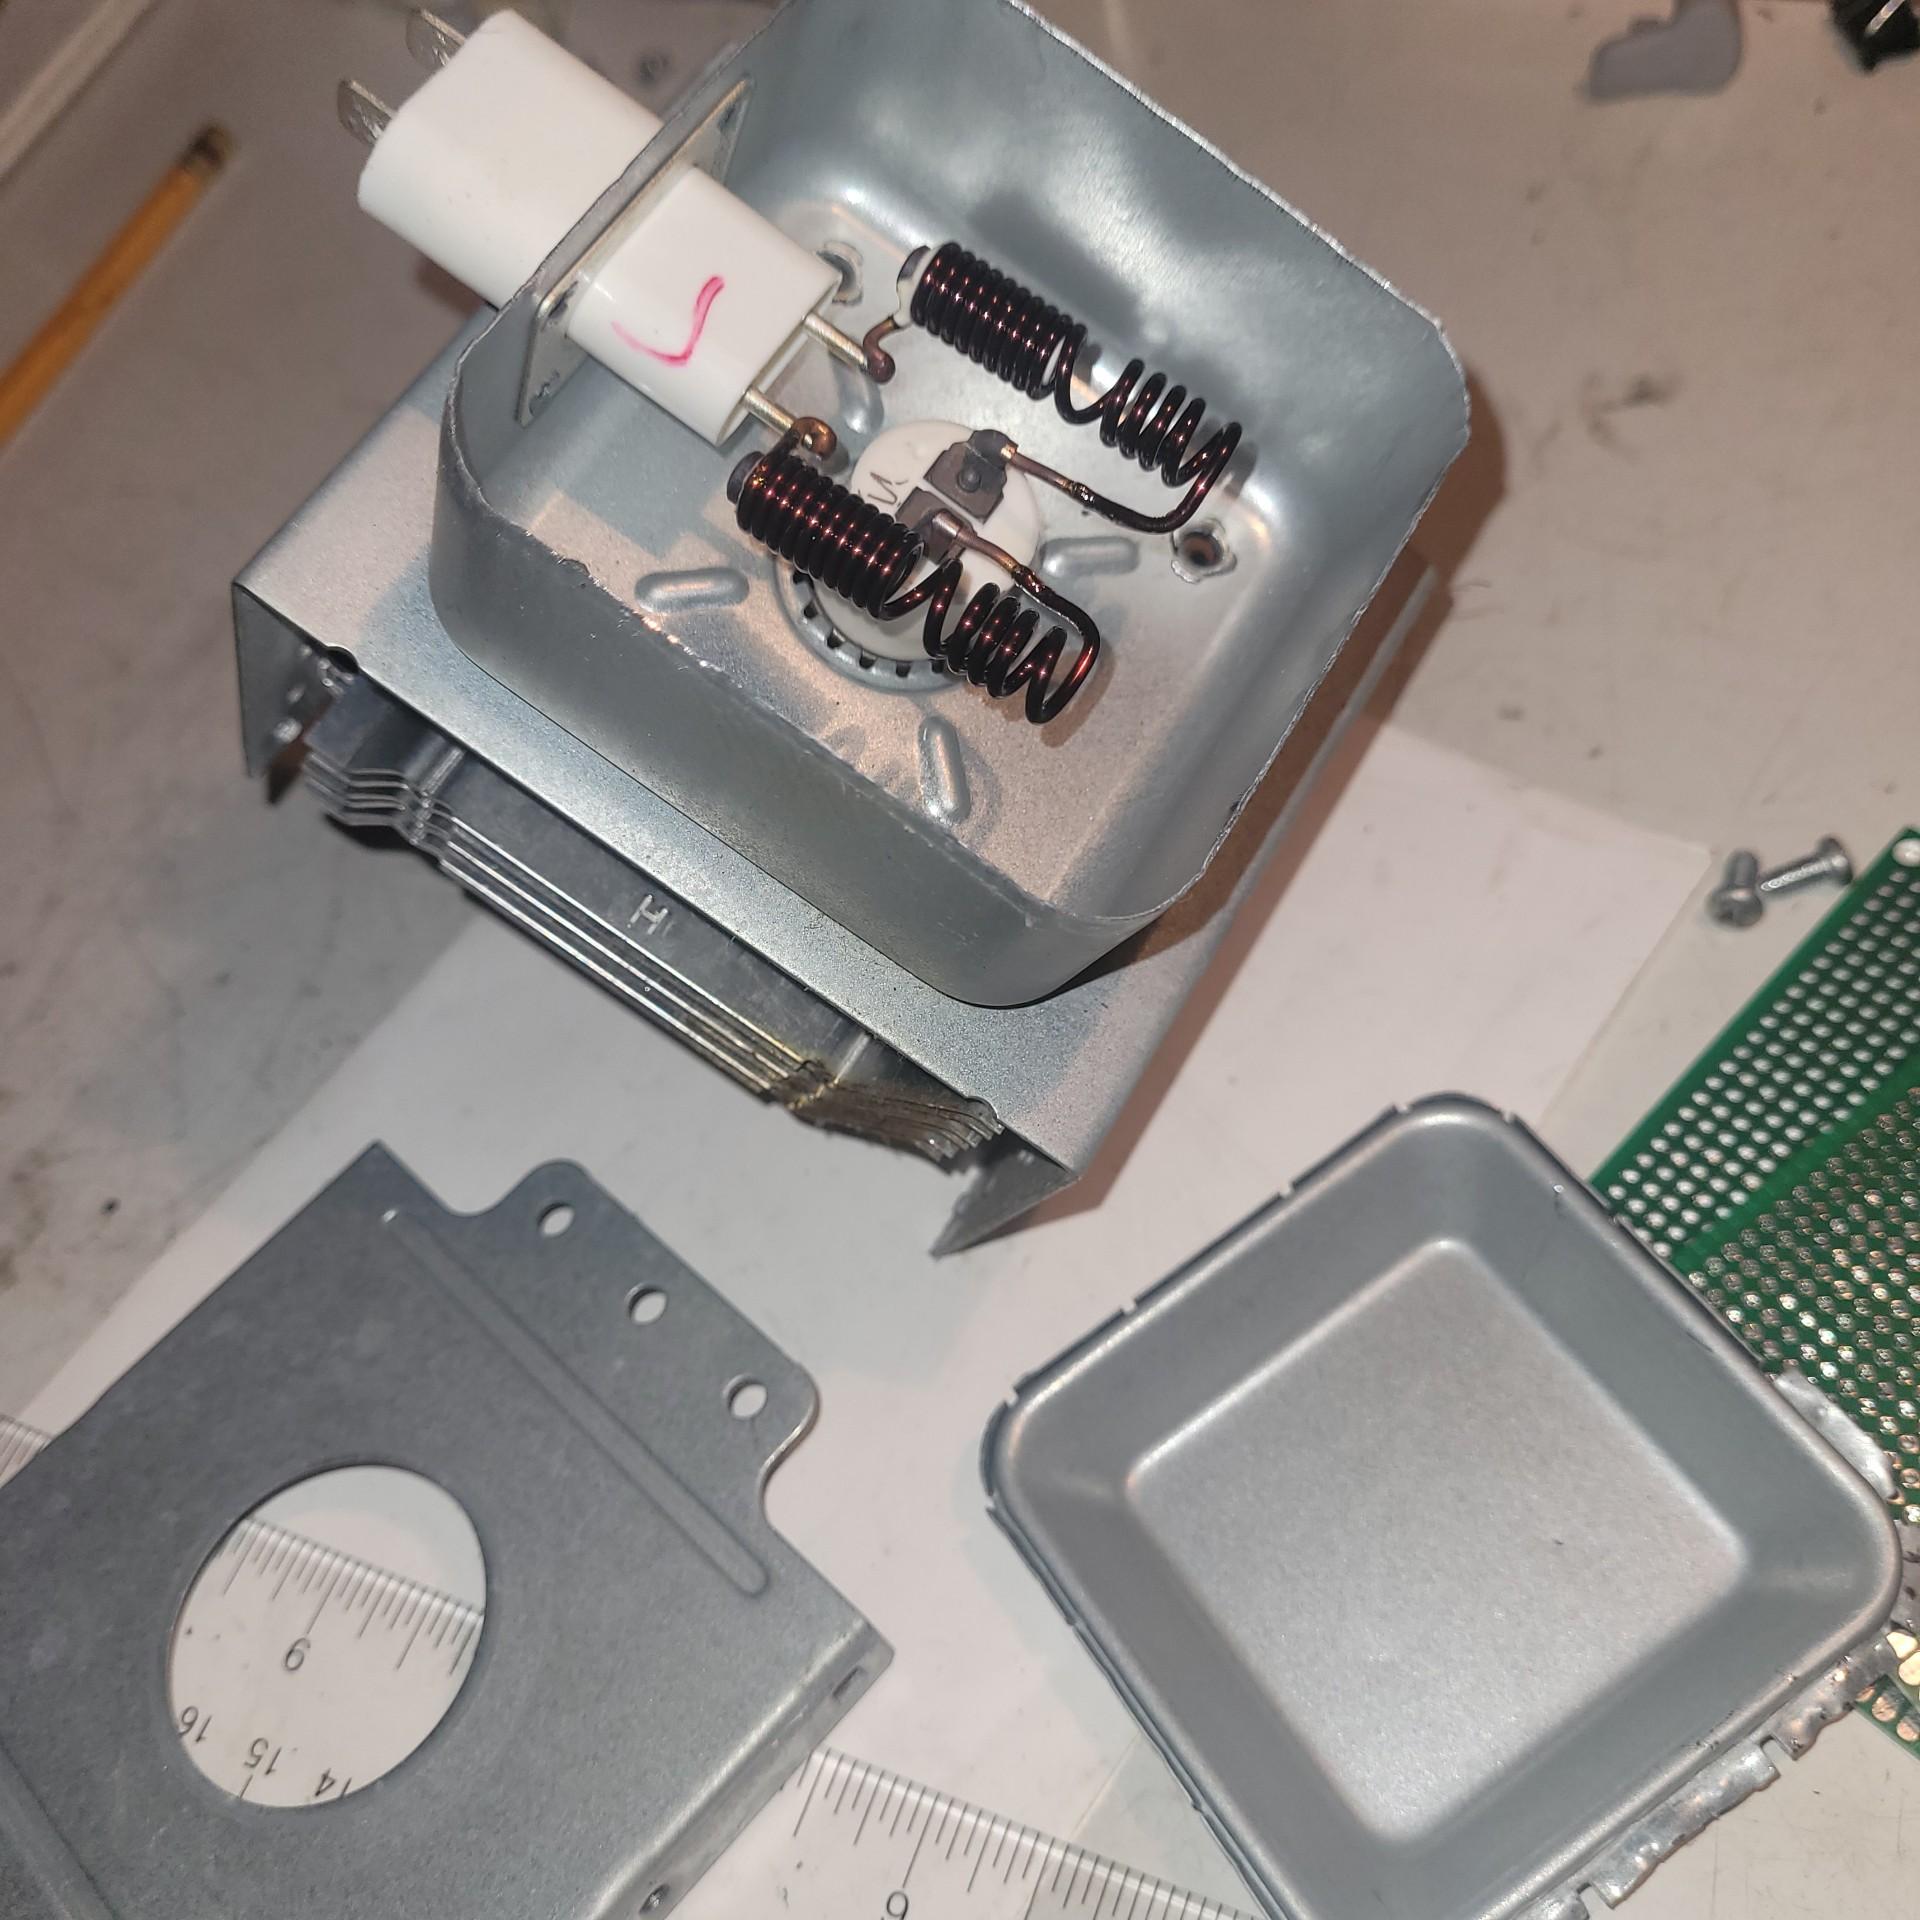
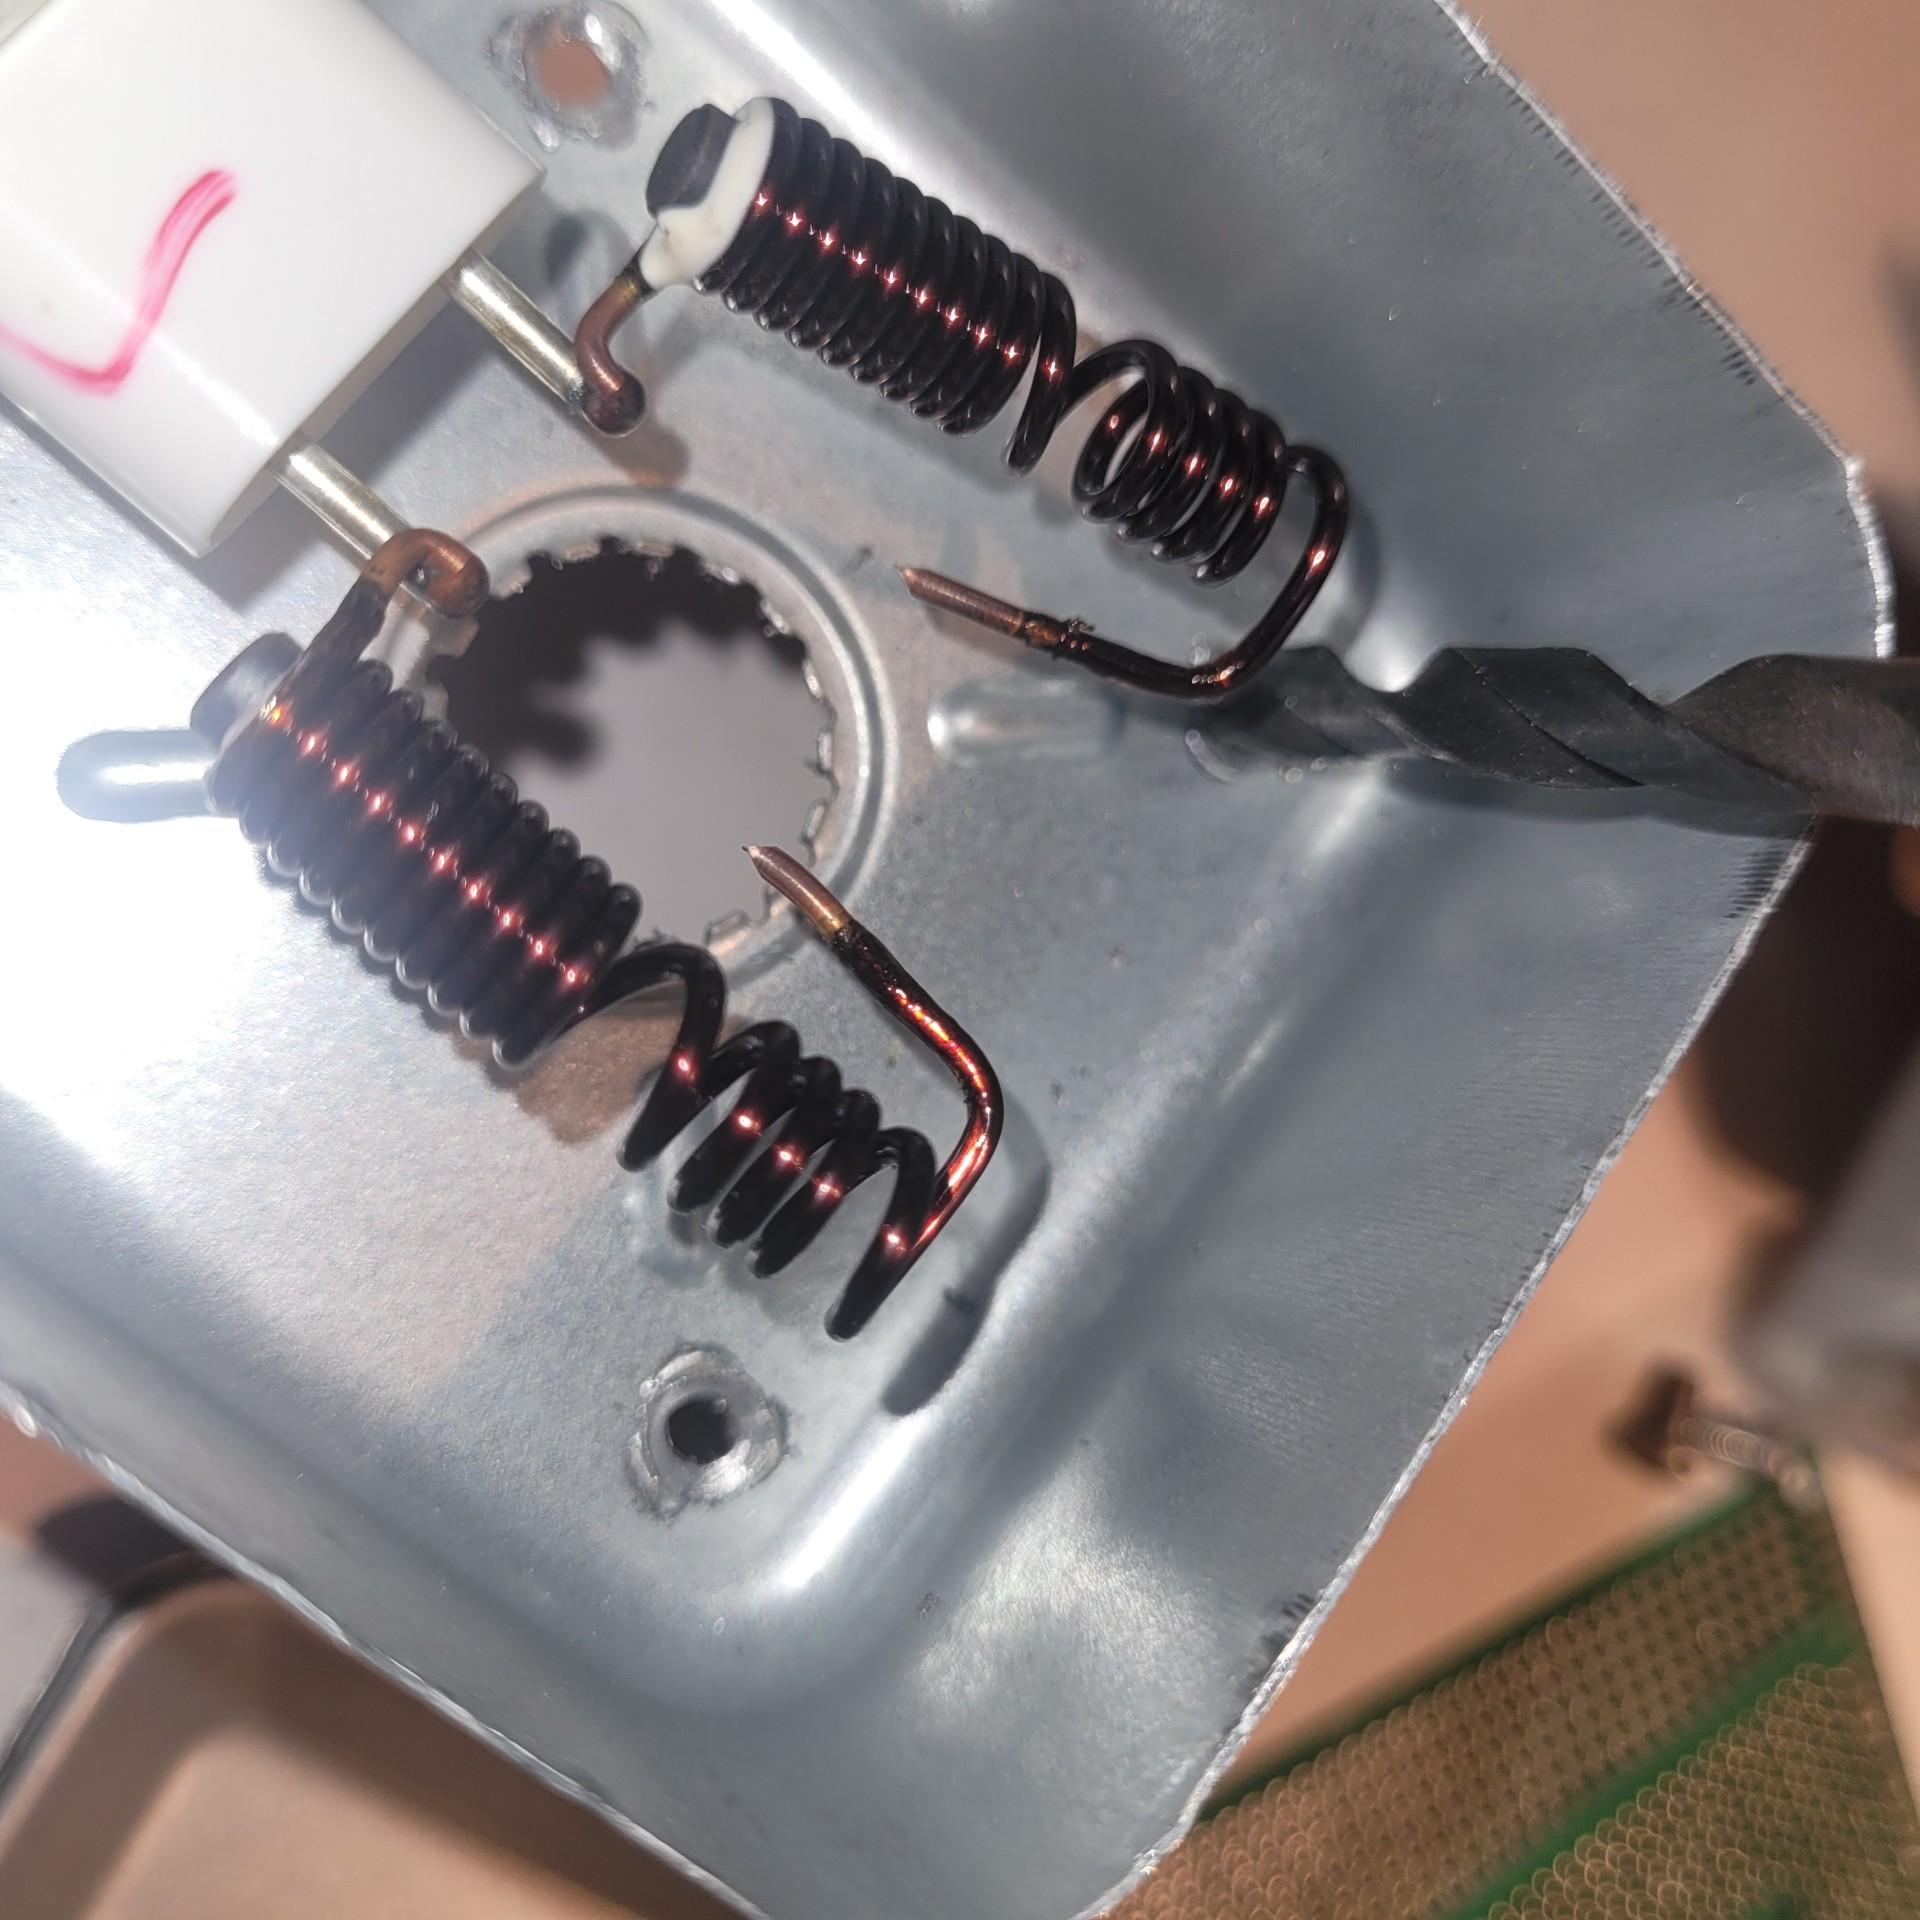
Flip the magnetron over and remove the cover on the small steel box using a slot screwdriver and pliers , a few wacks and it should pop right off.
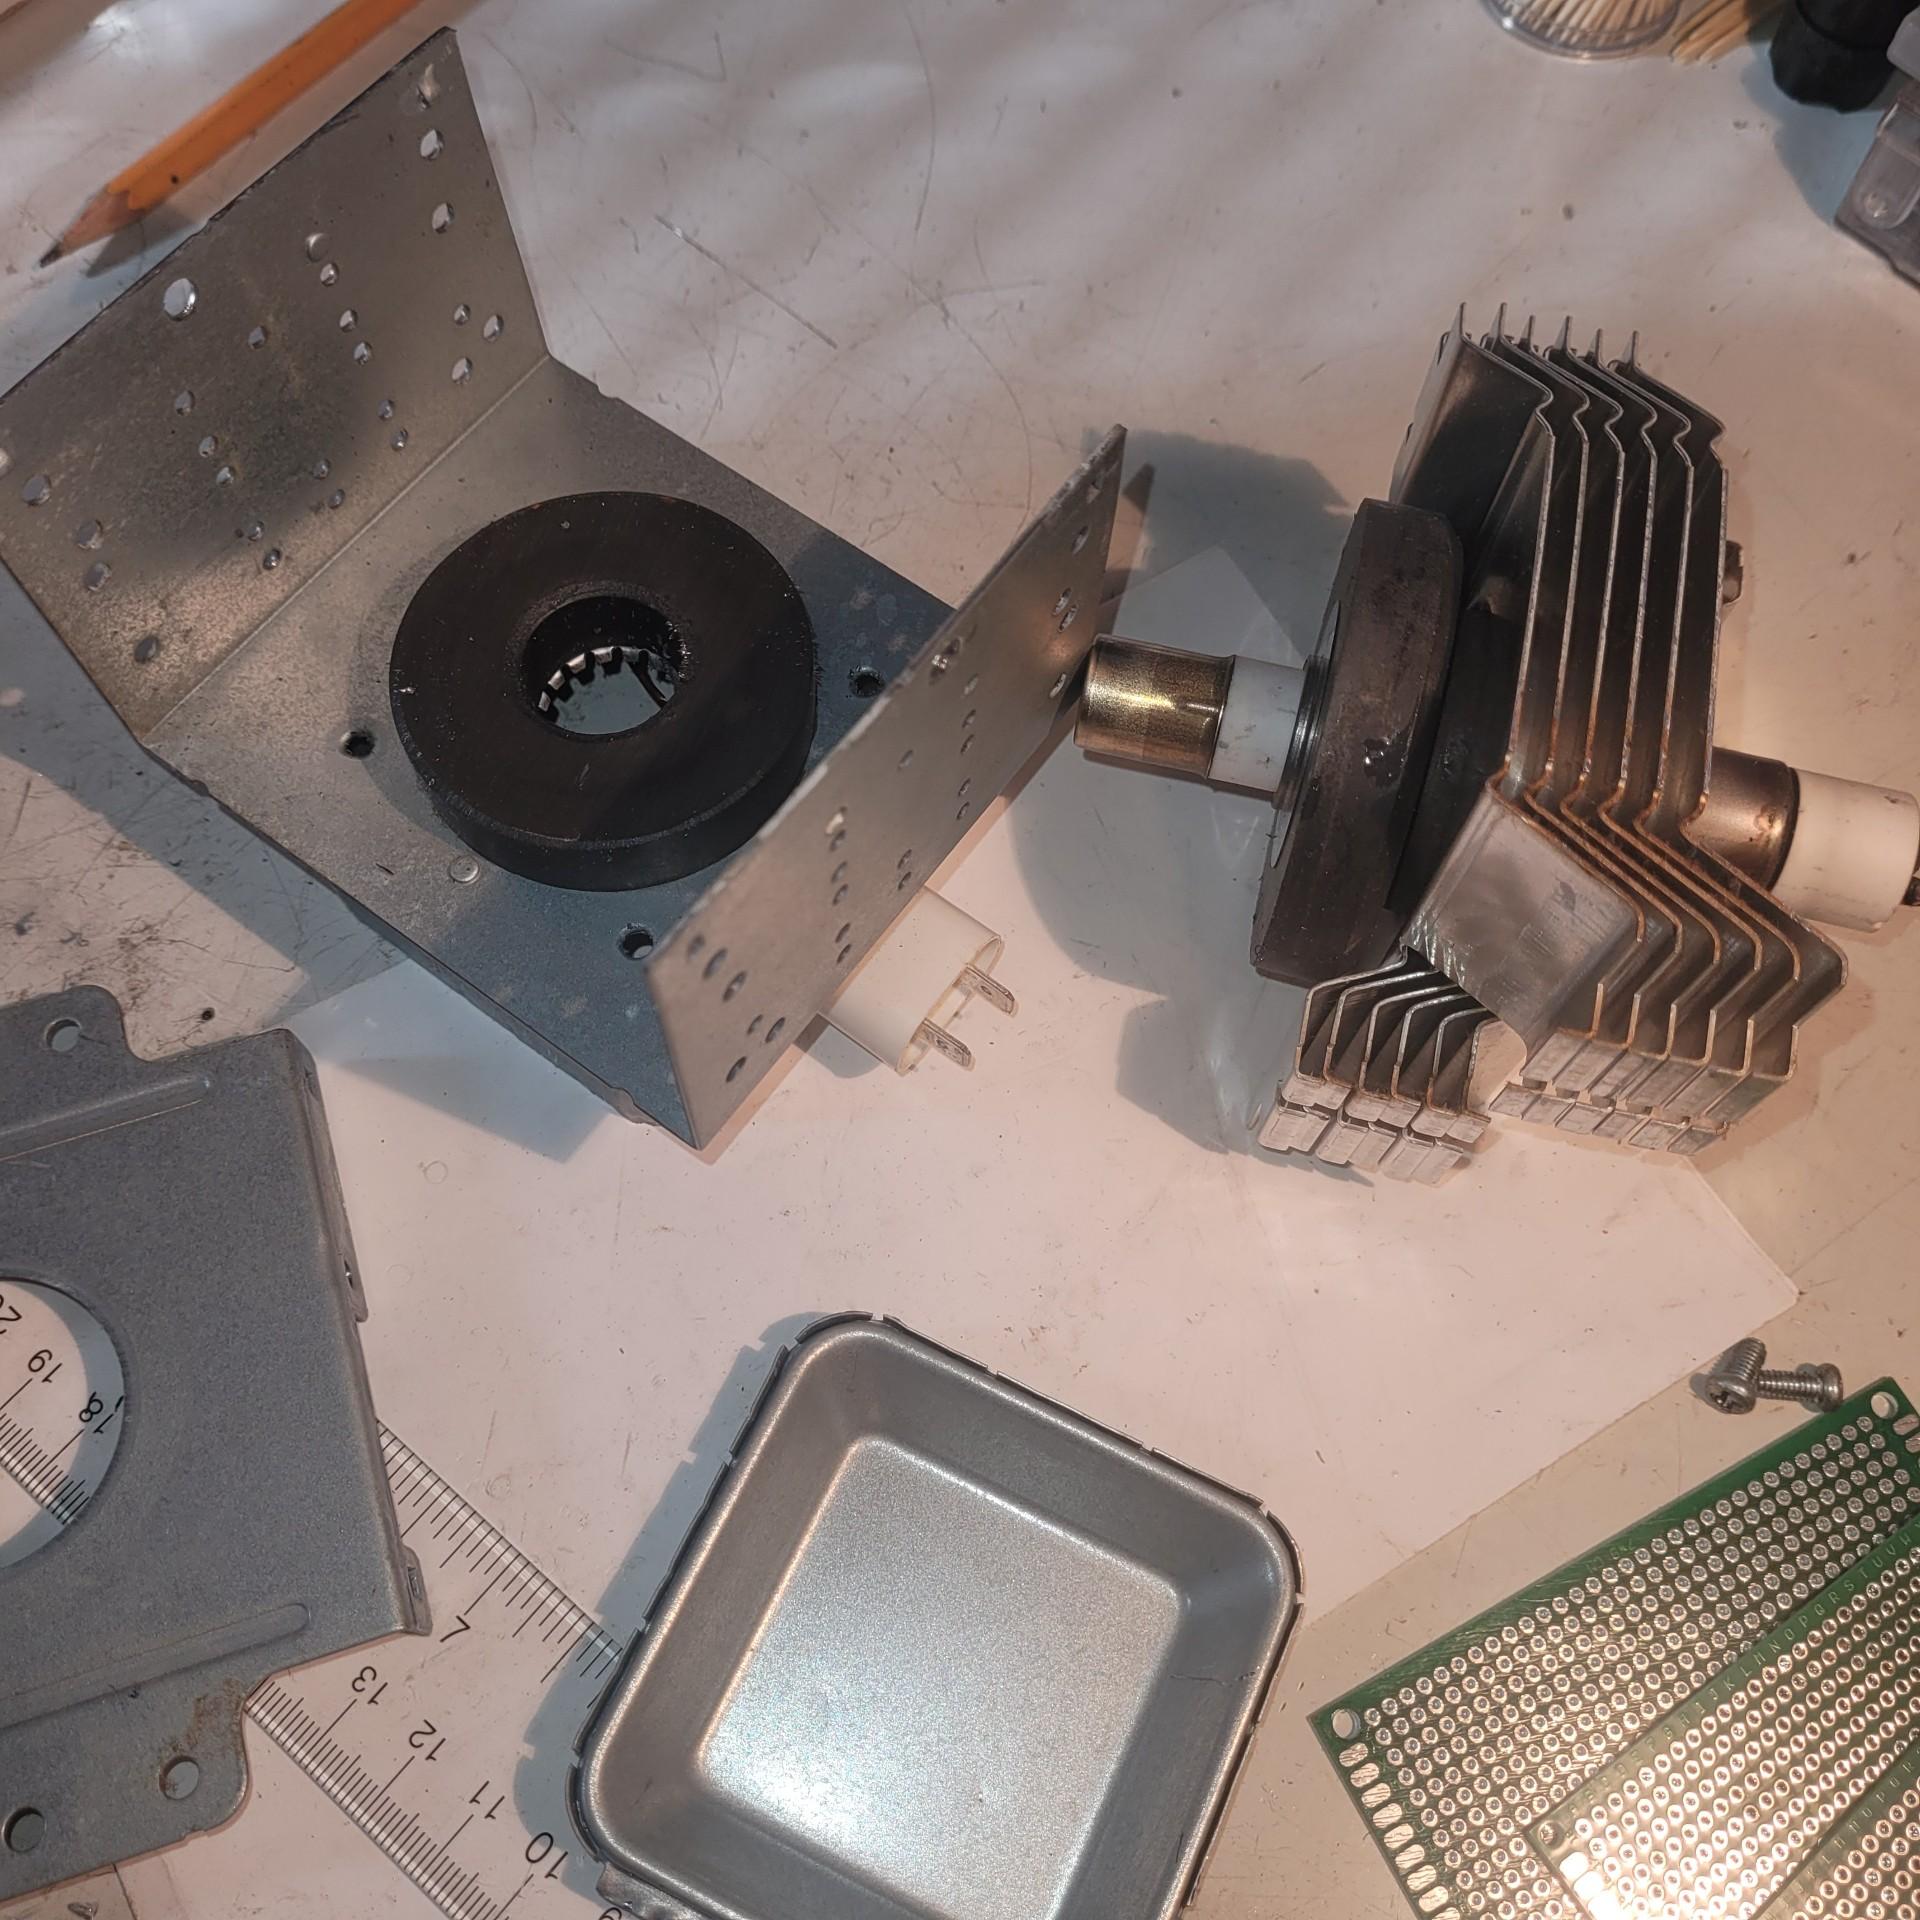
Cut the Copper coils and pull the magnetron filament rod and heatsink "fins" out of the housing, keep the two donut magnets and toss the rest, we only want the housing/base.
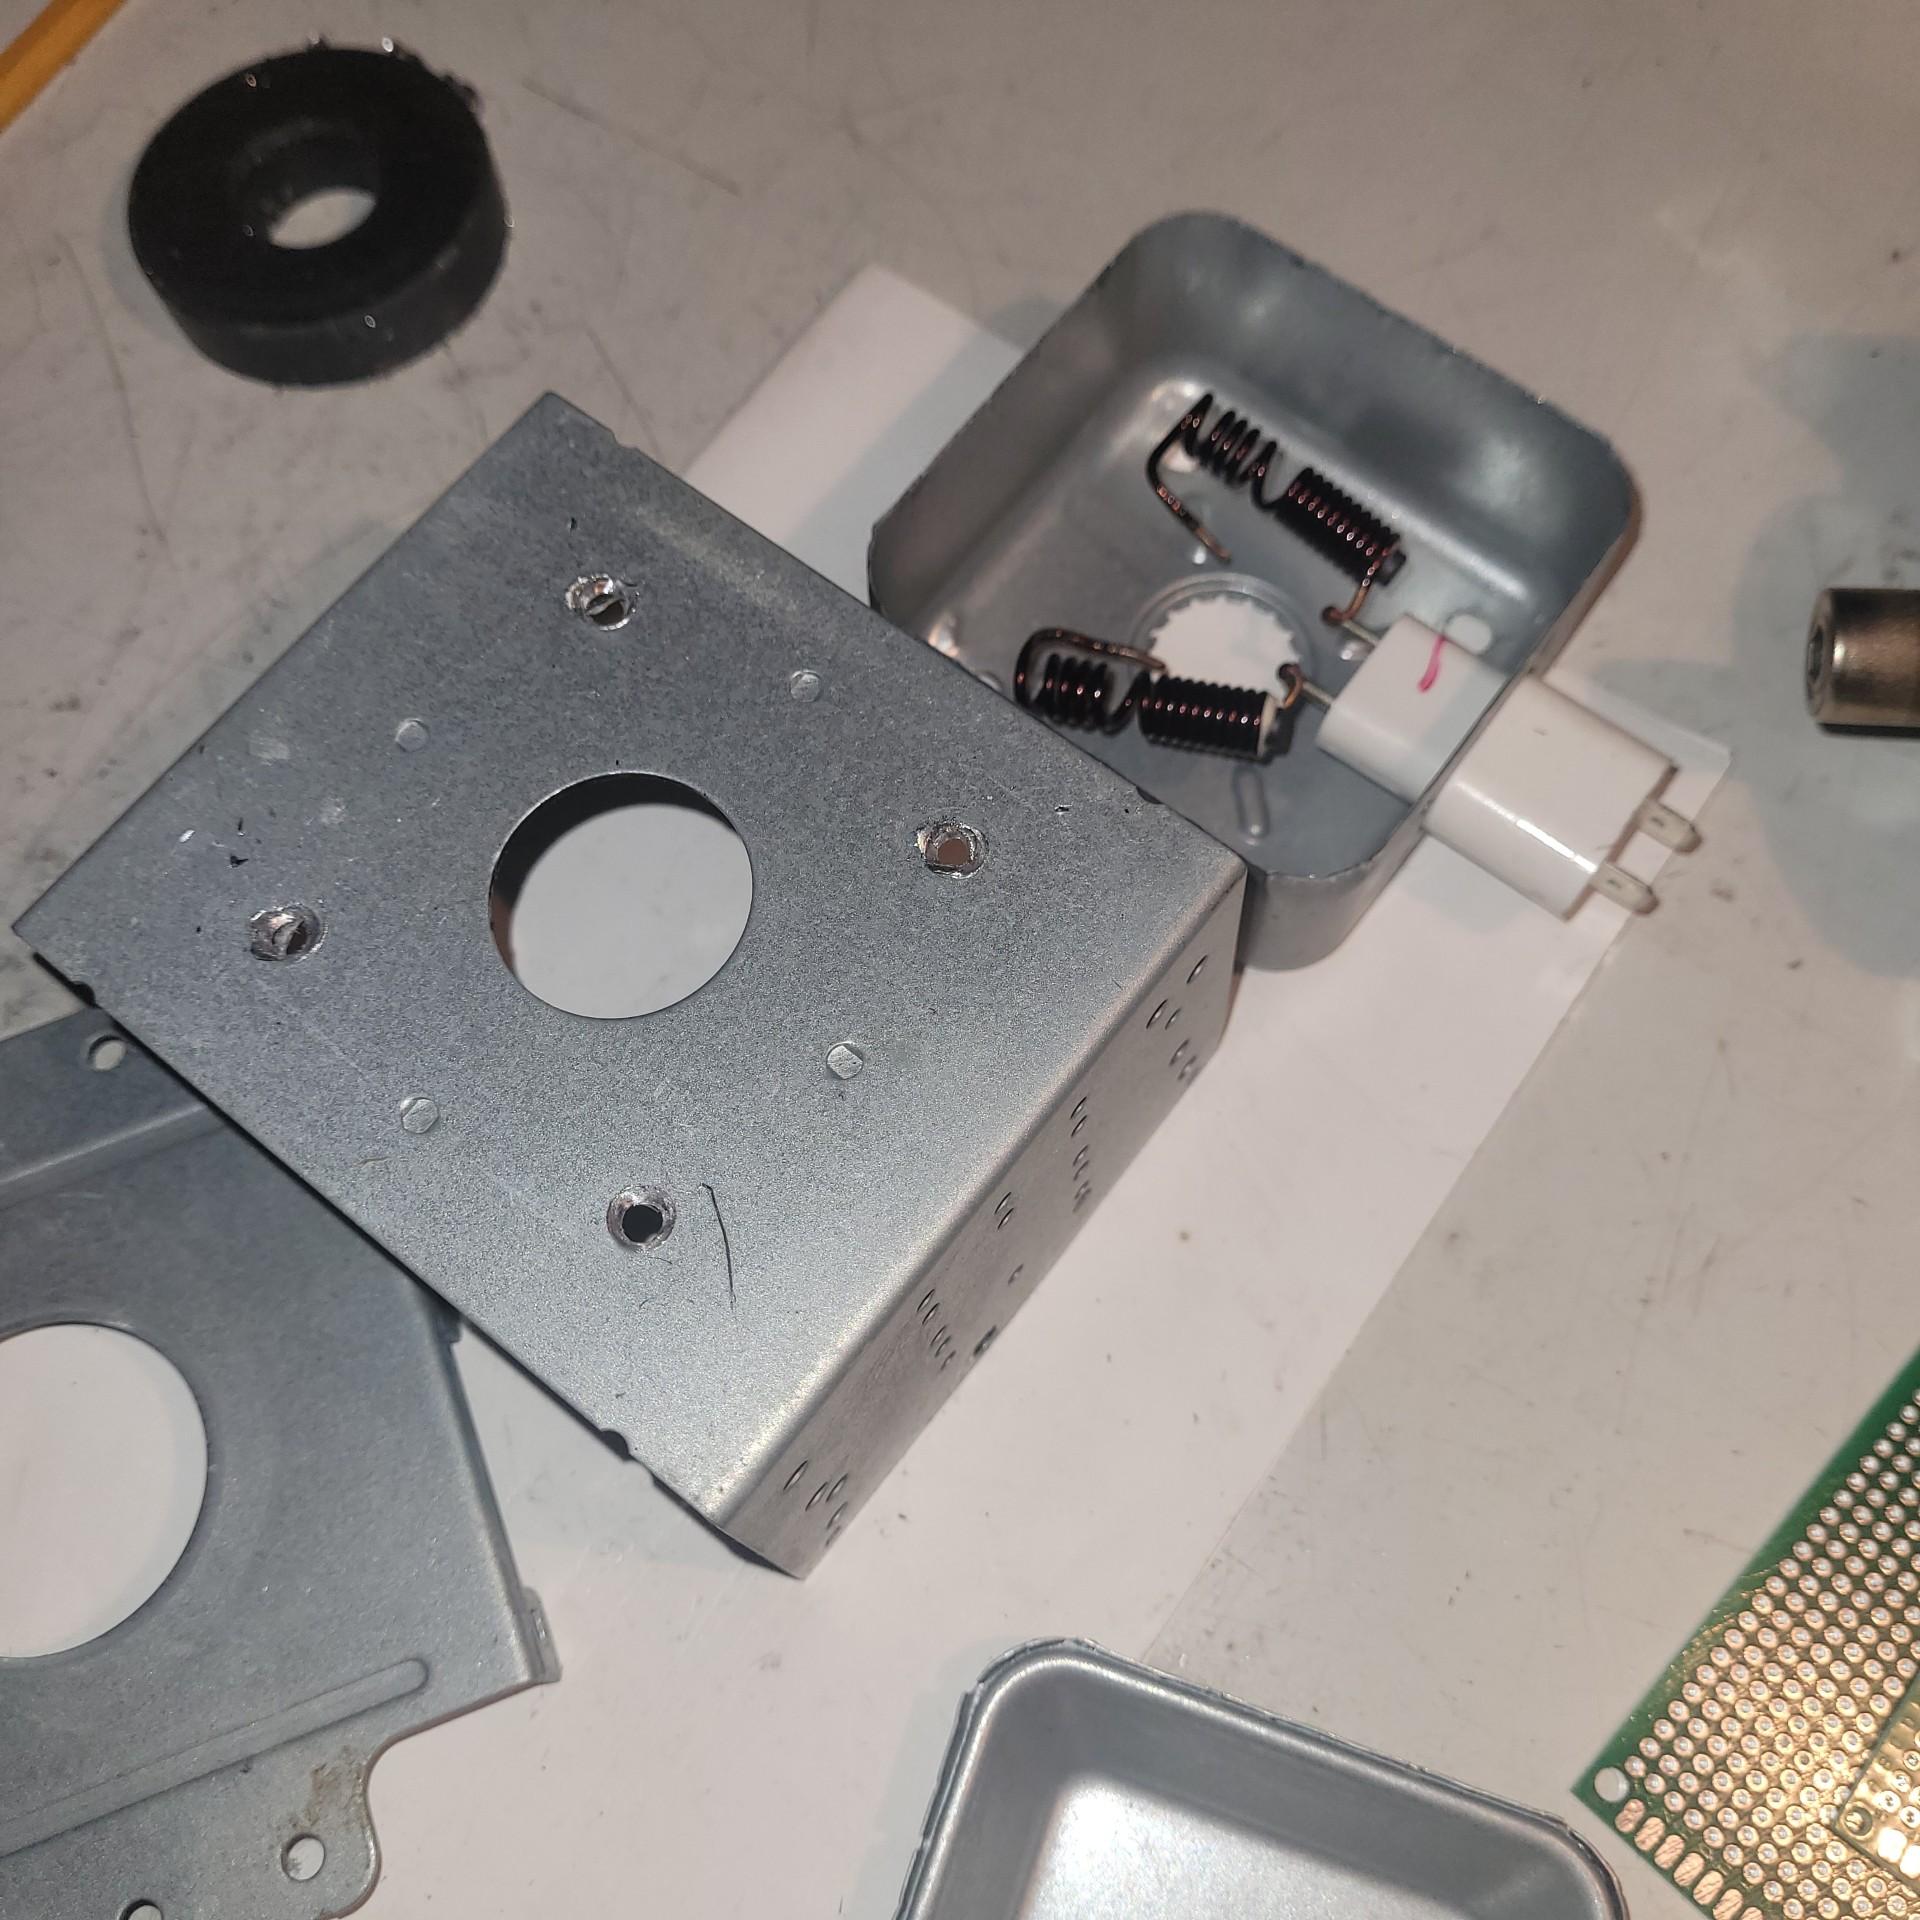
Remove the small box attached to the base by drilling out the four "spot crimps" on the inside using a 1/4 " drill bit.
Re-install the steel top plate and any screws ( mine had two ) and your done with the magnetron disassembly.
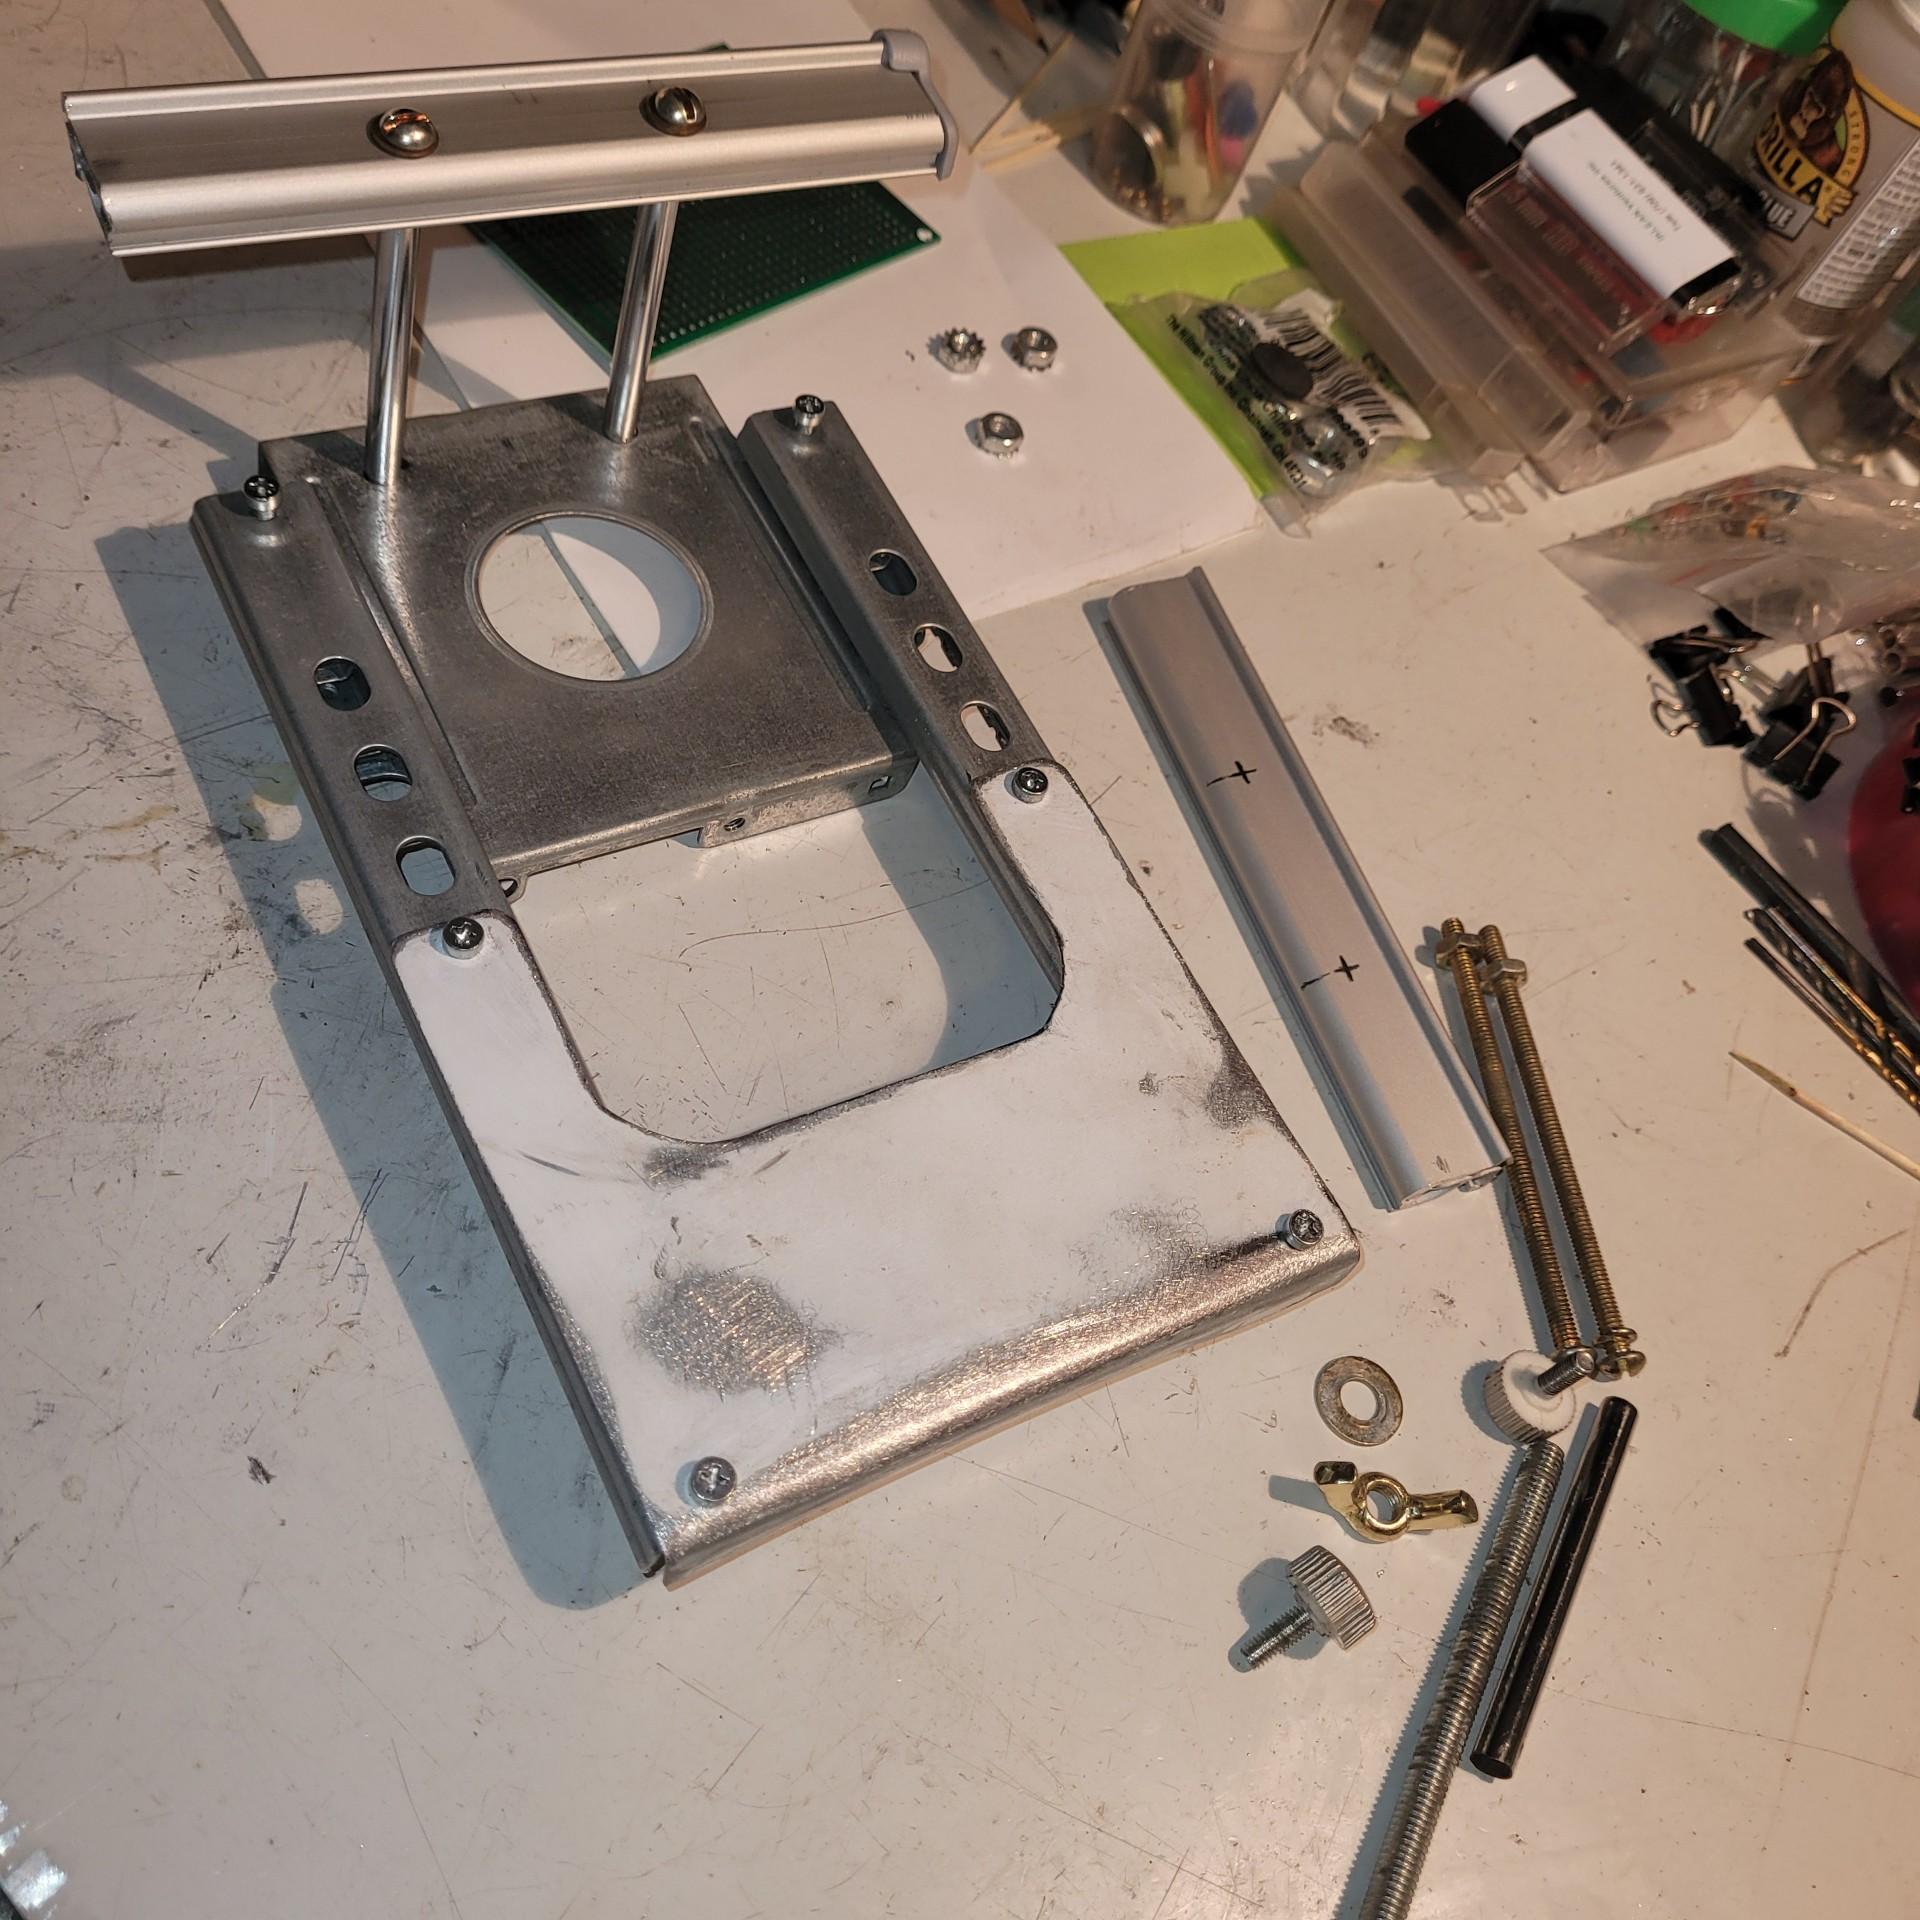
Modefying the Base
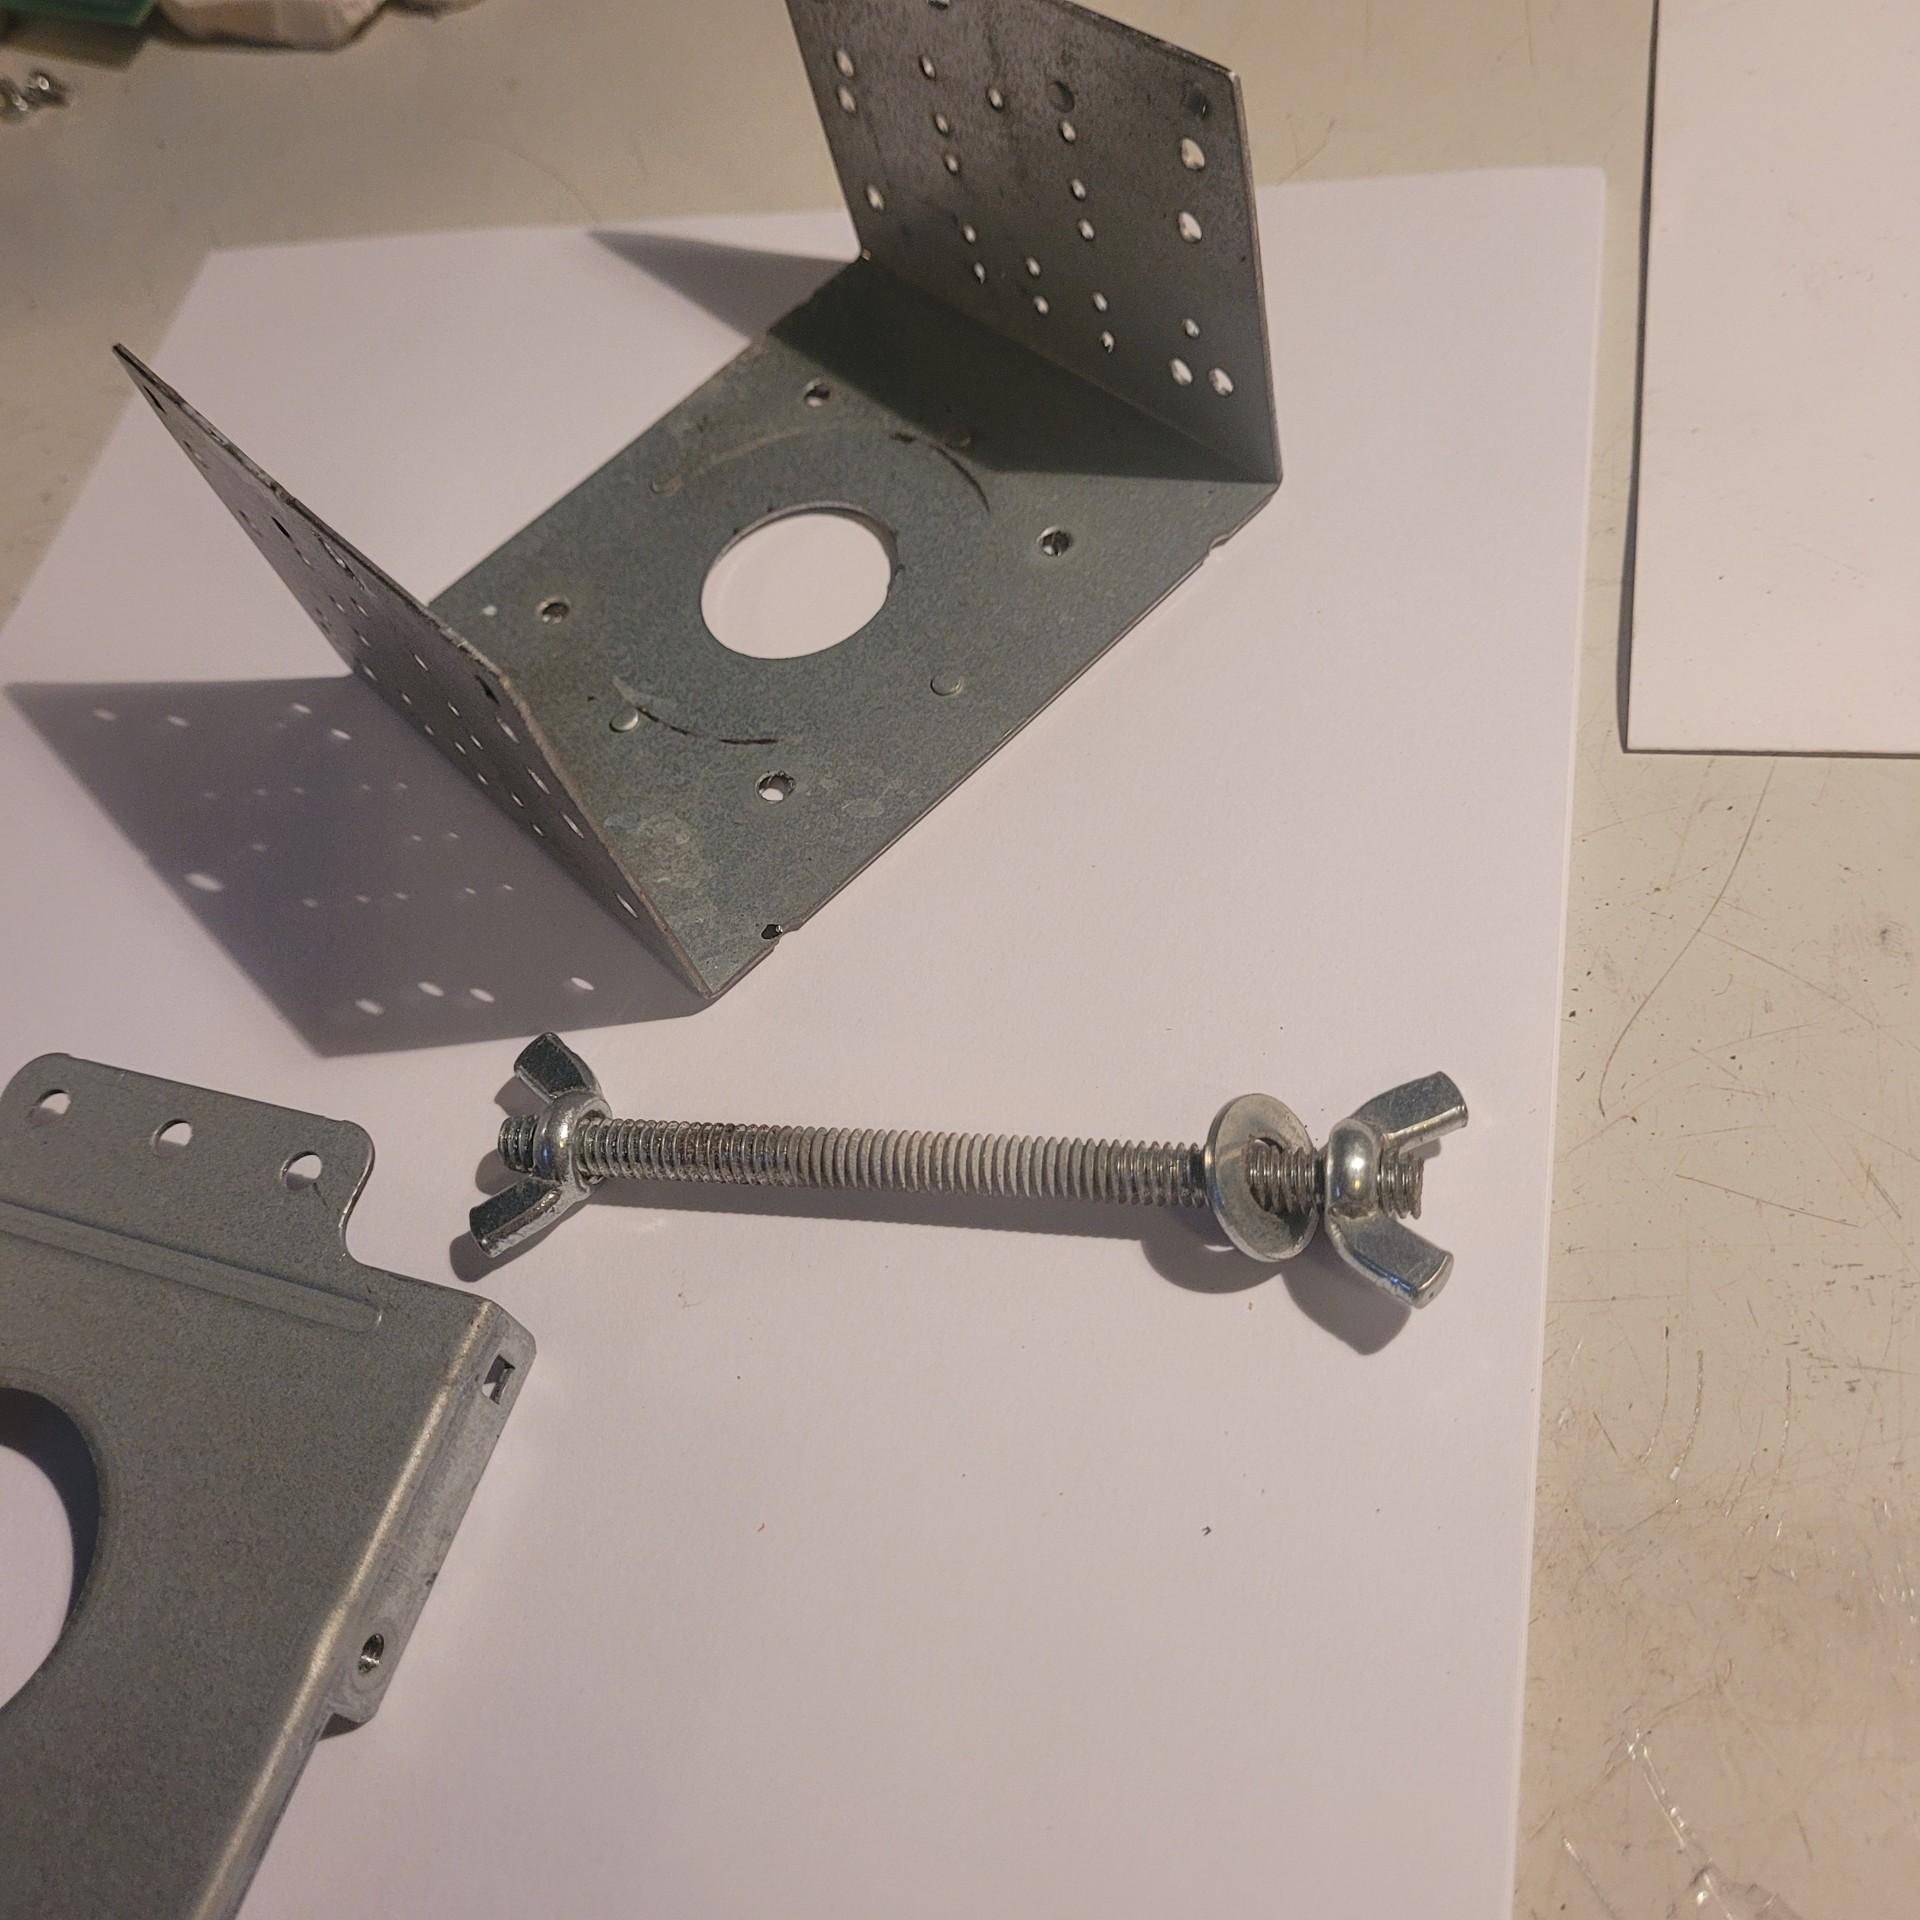
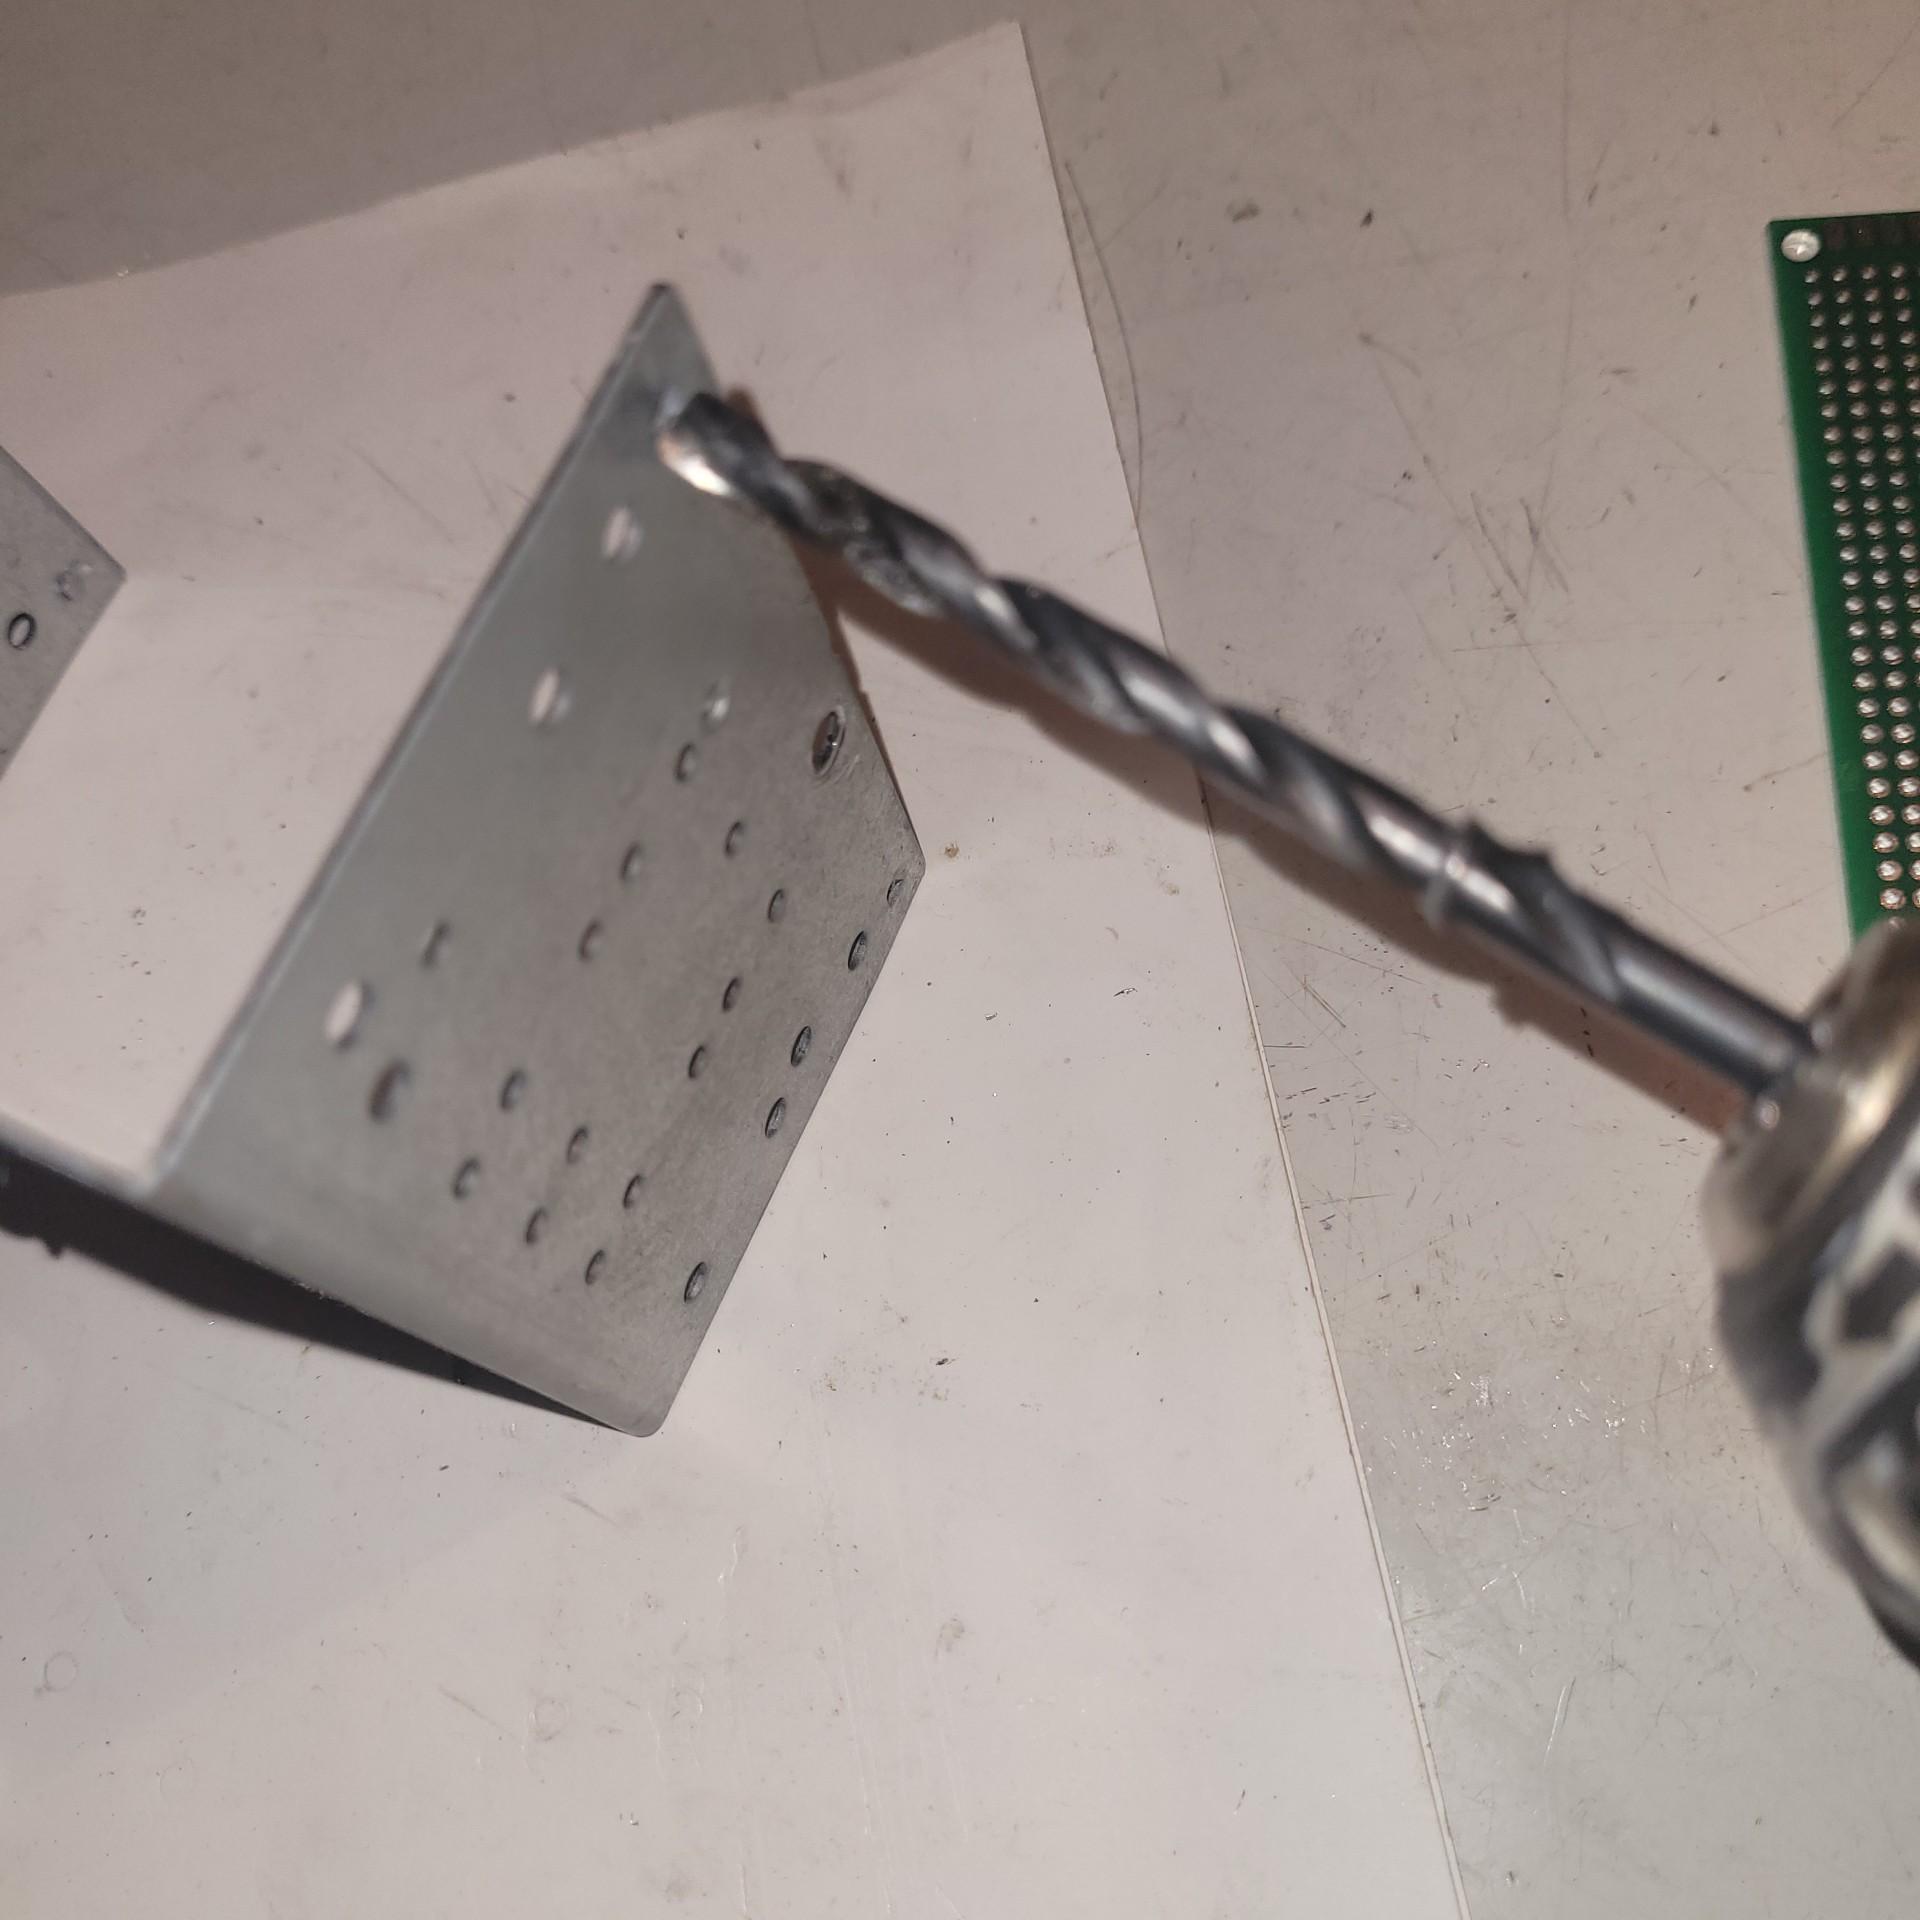
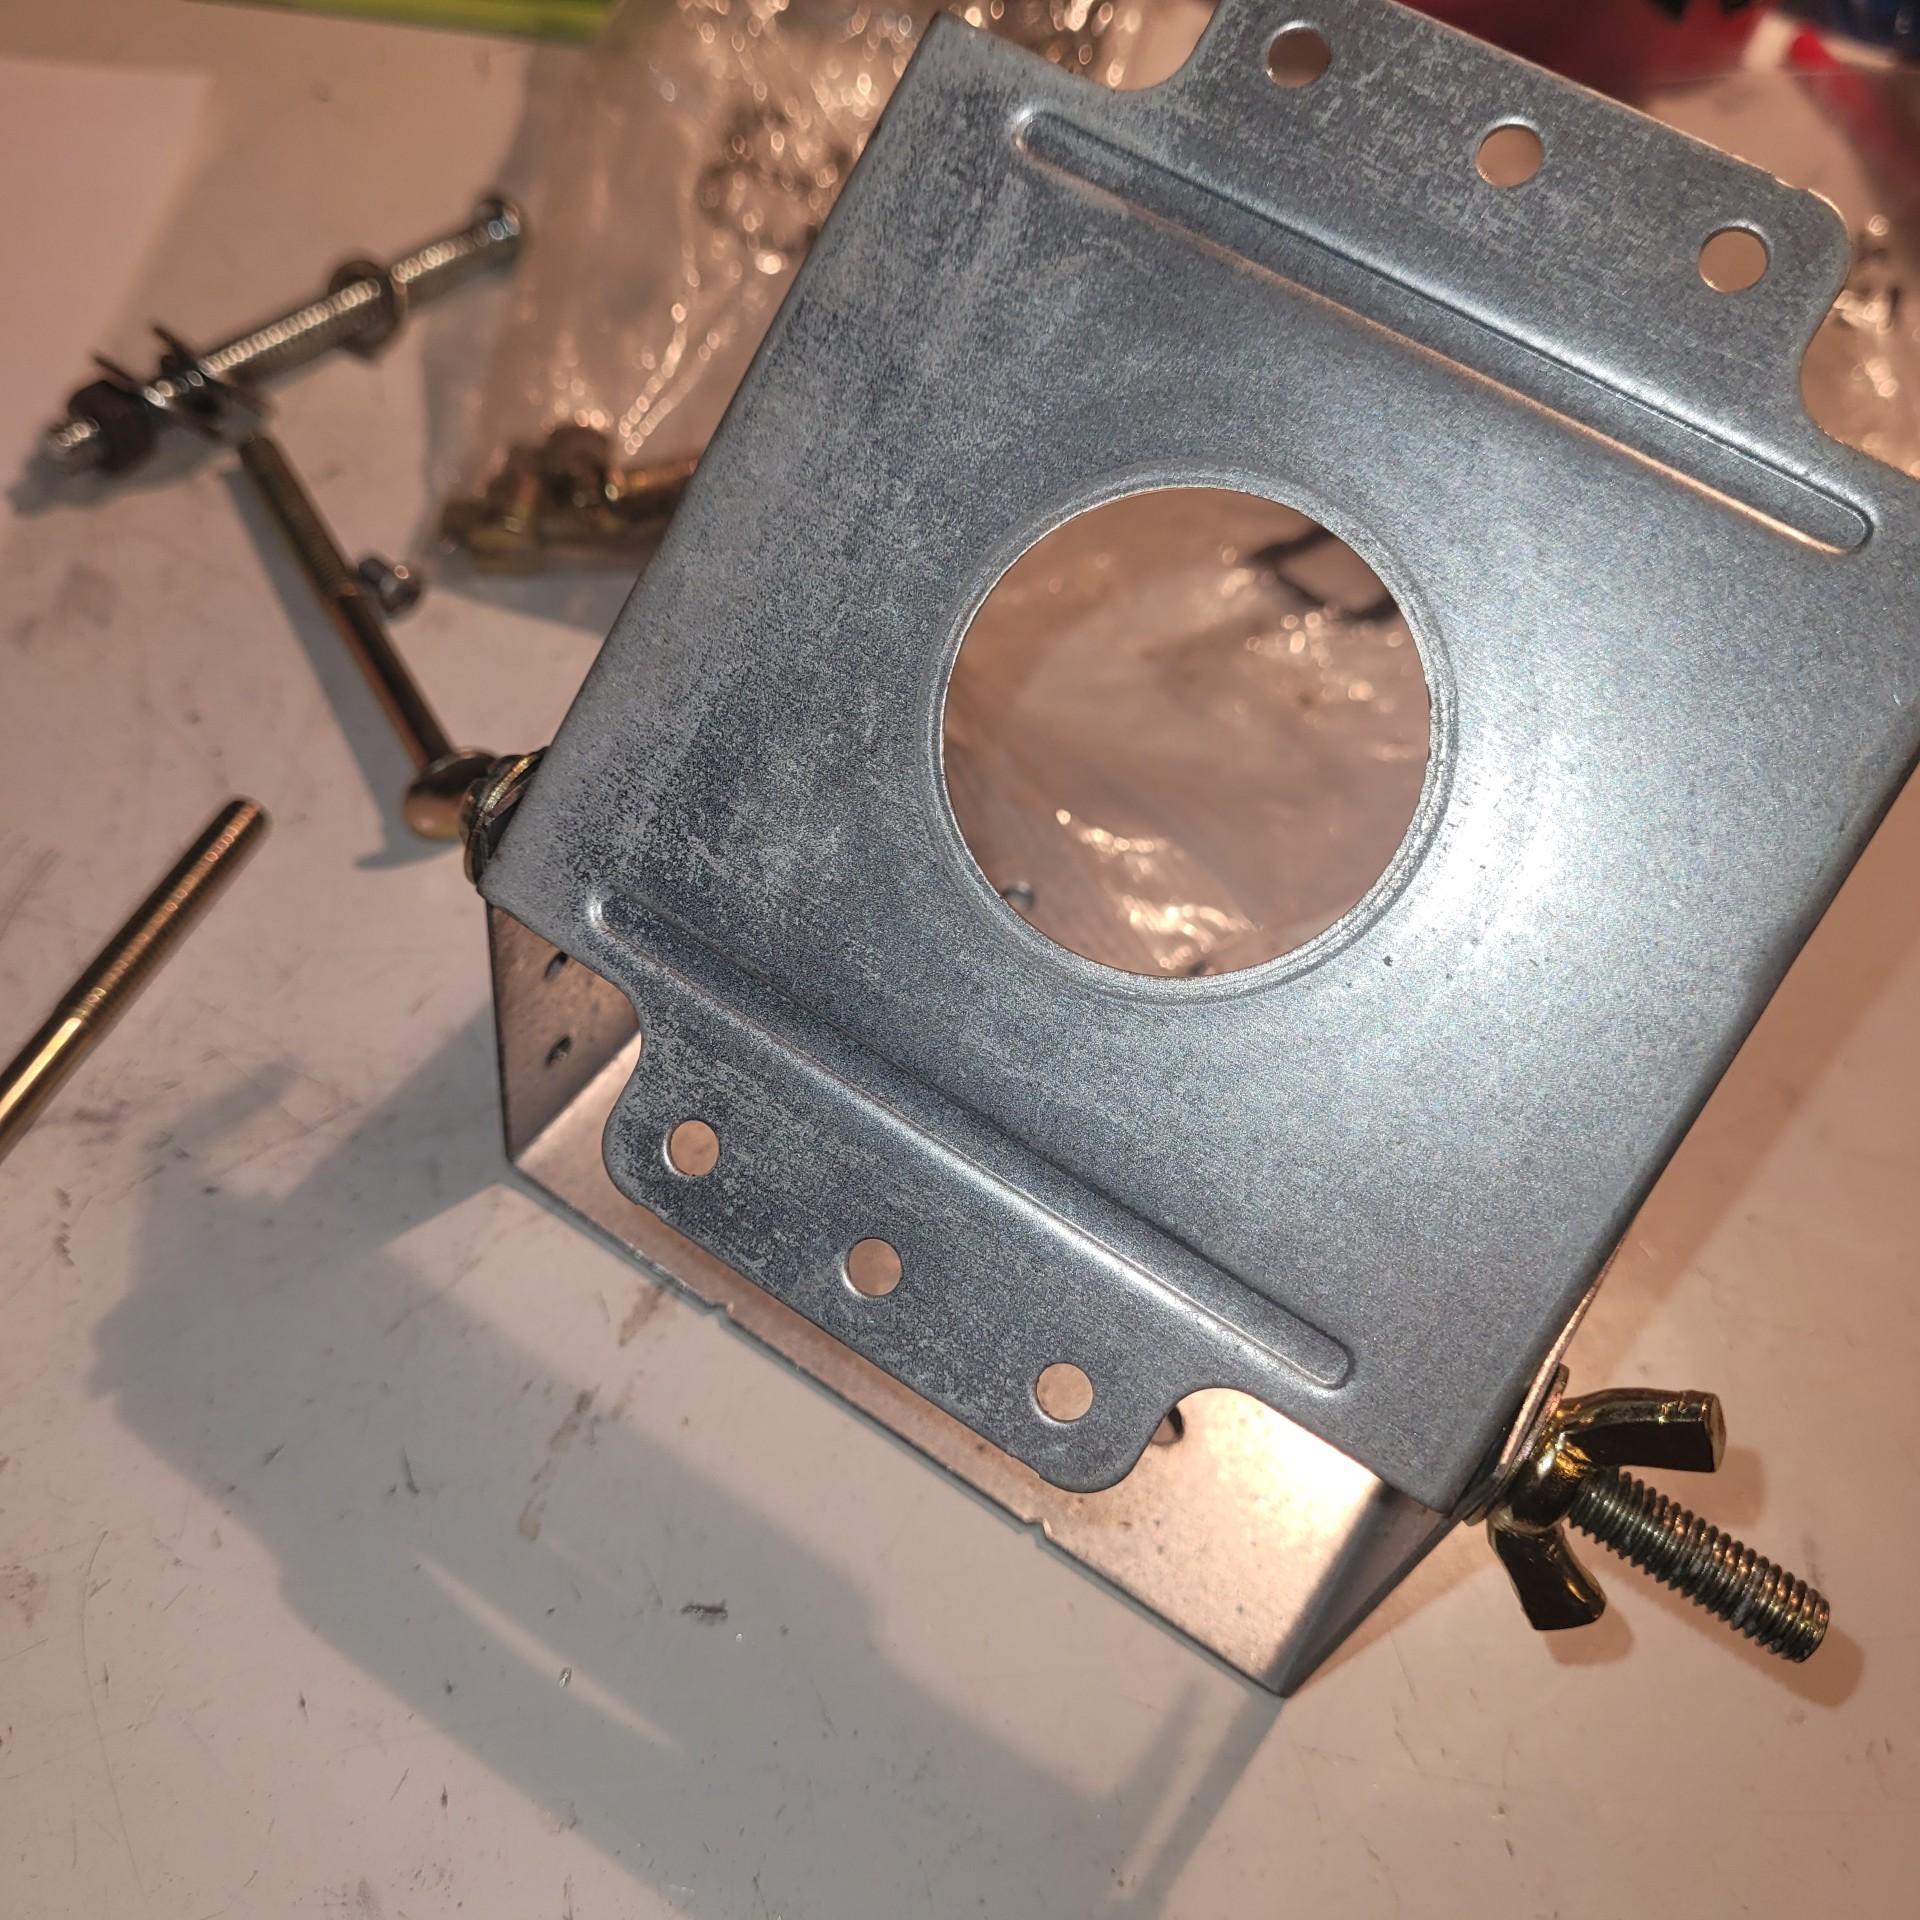
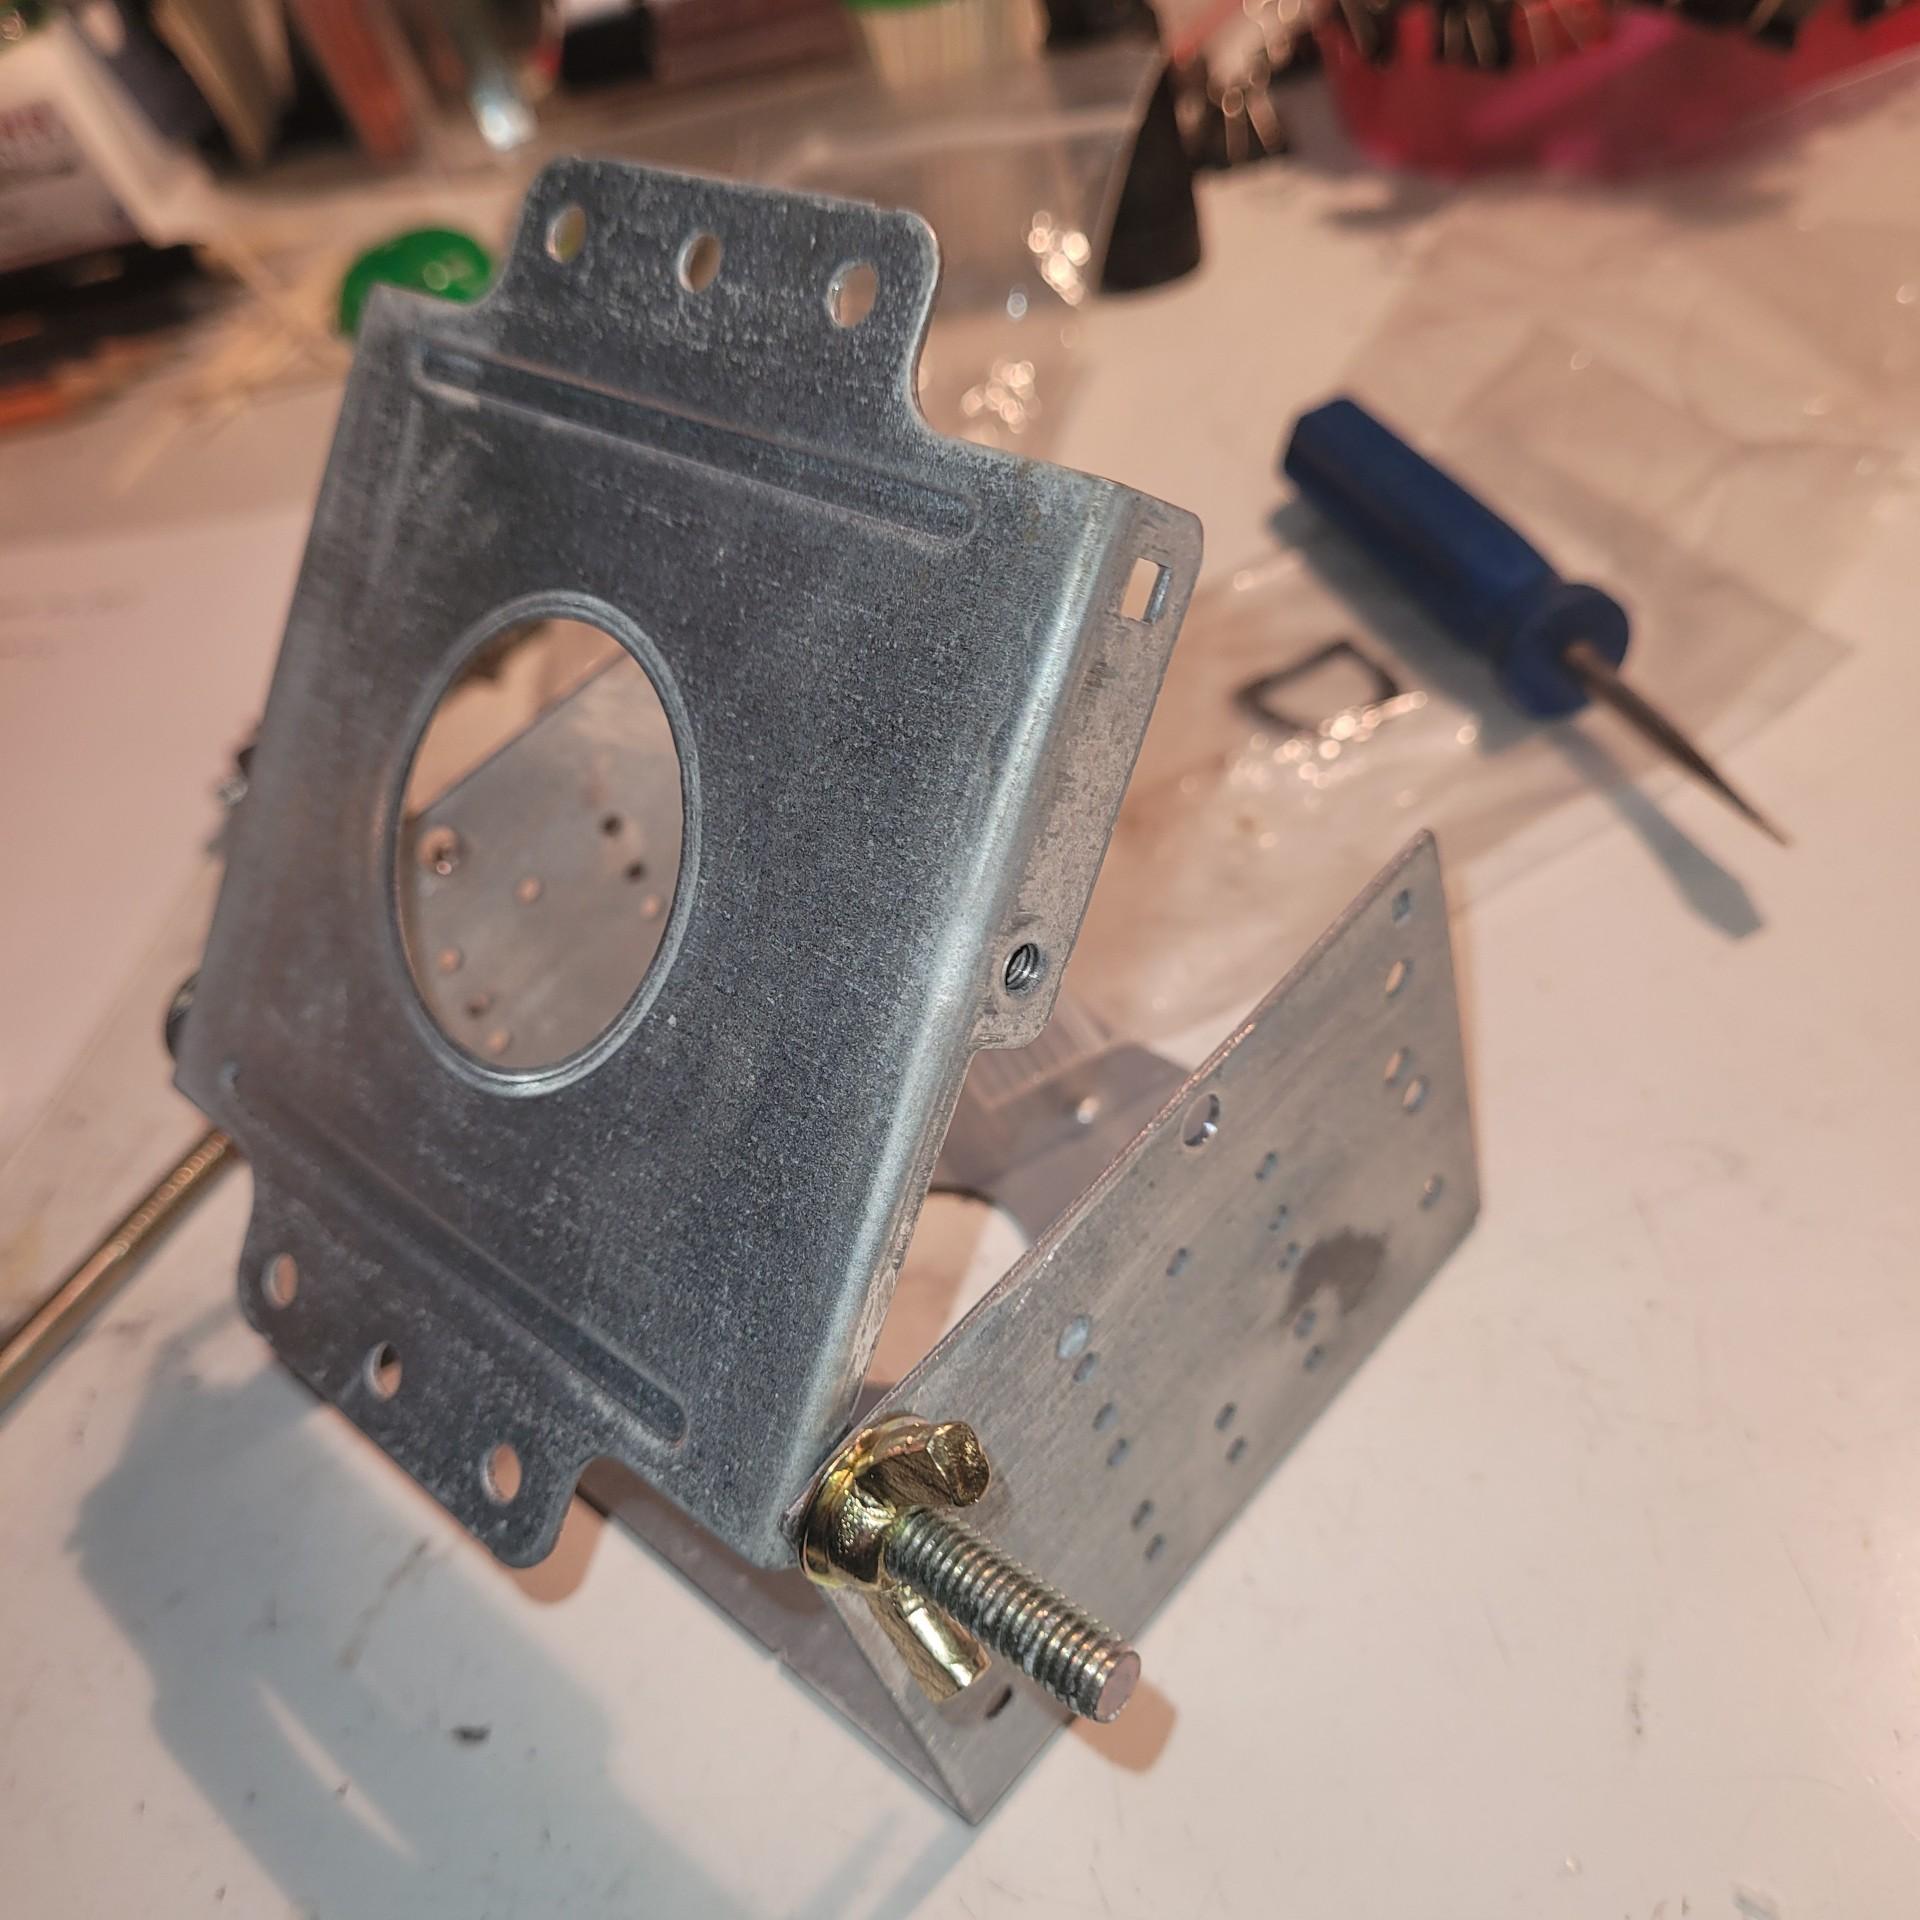
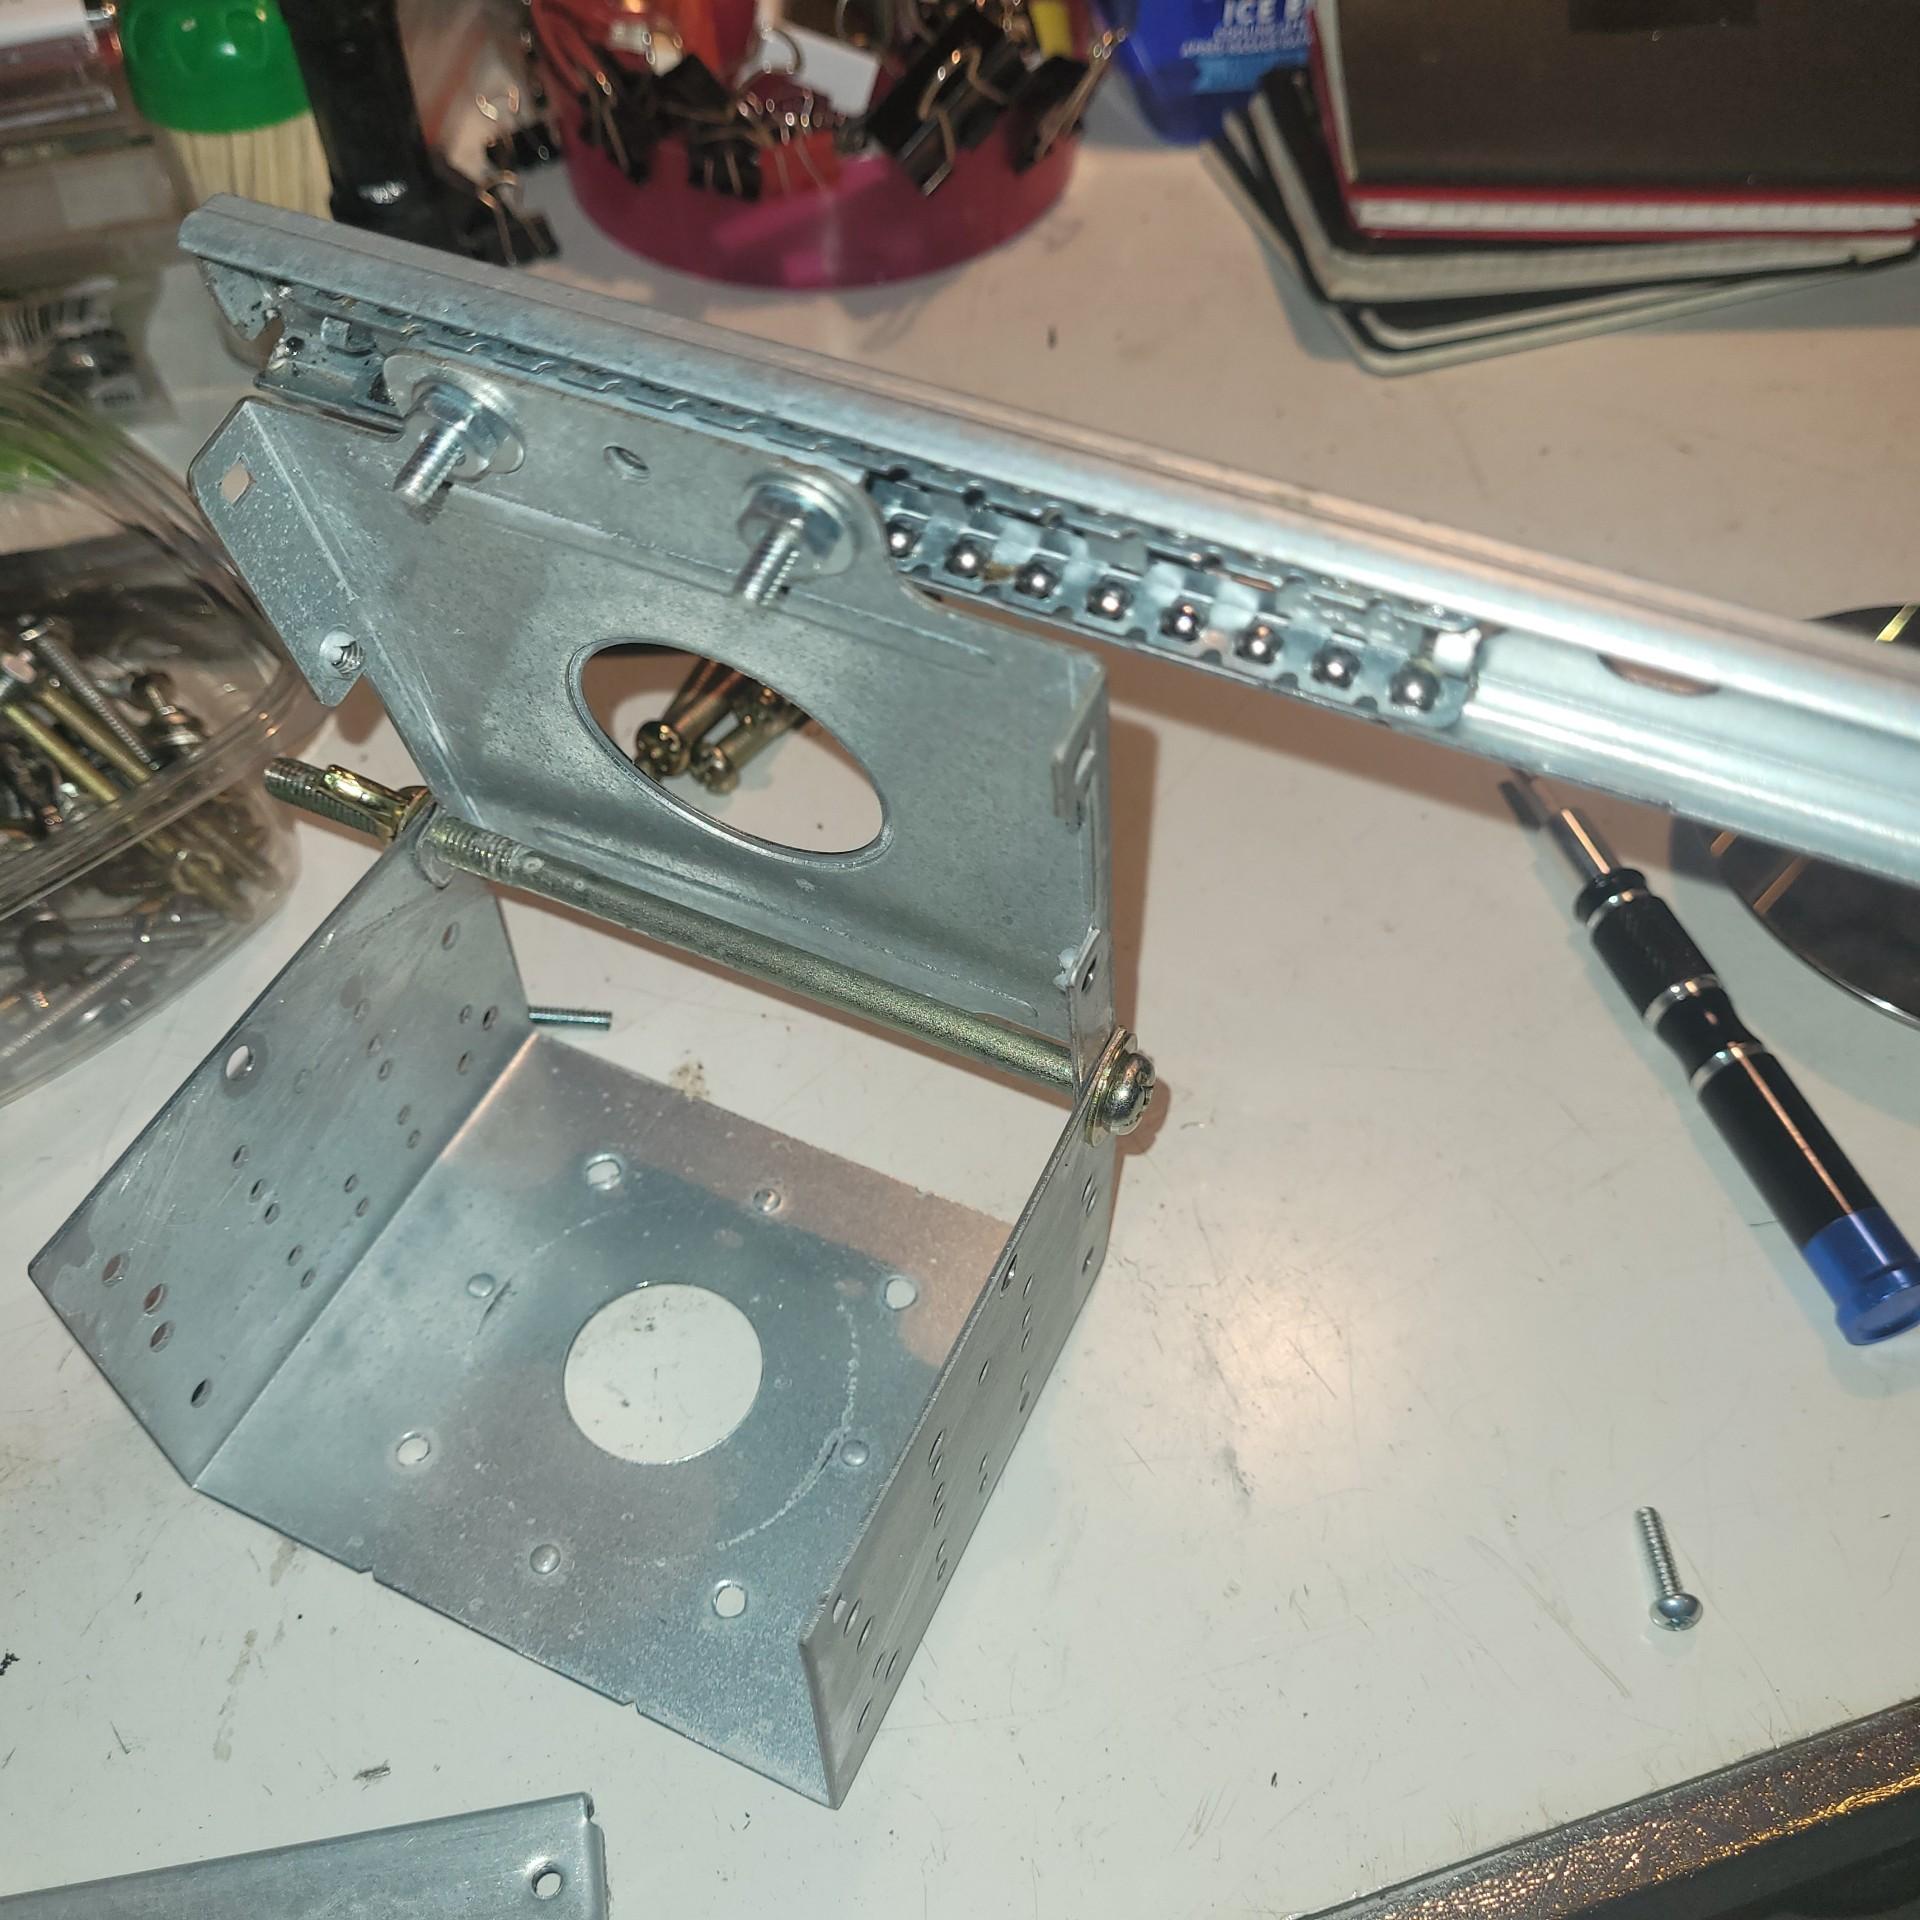
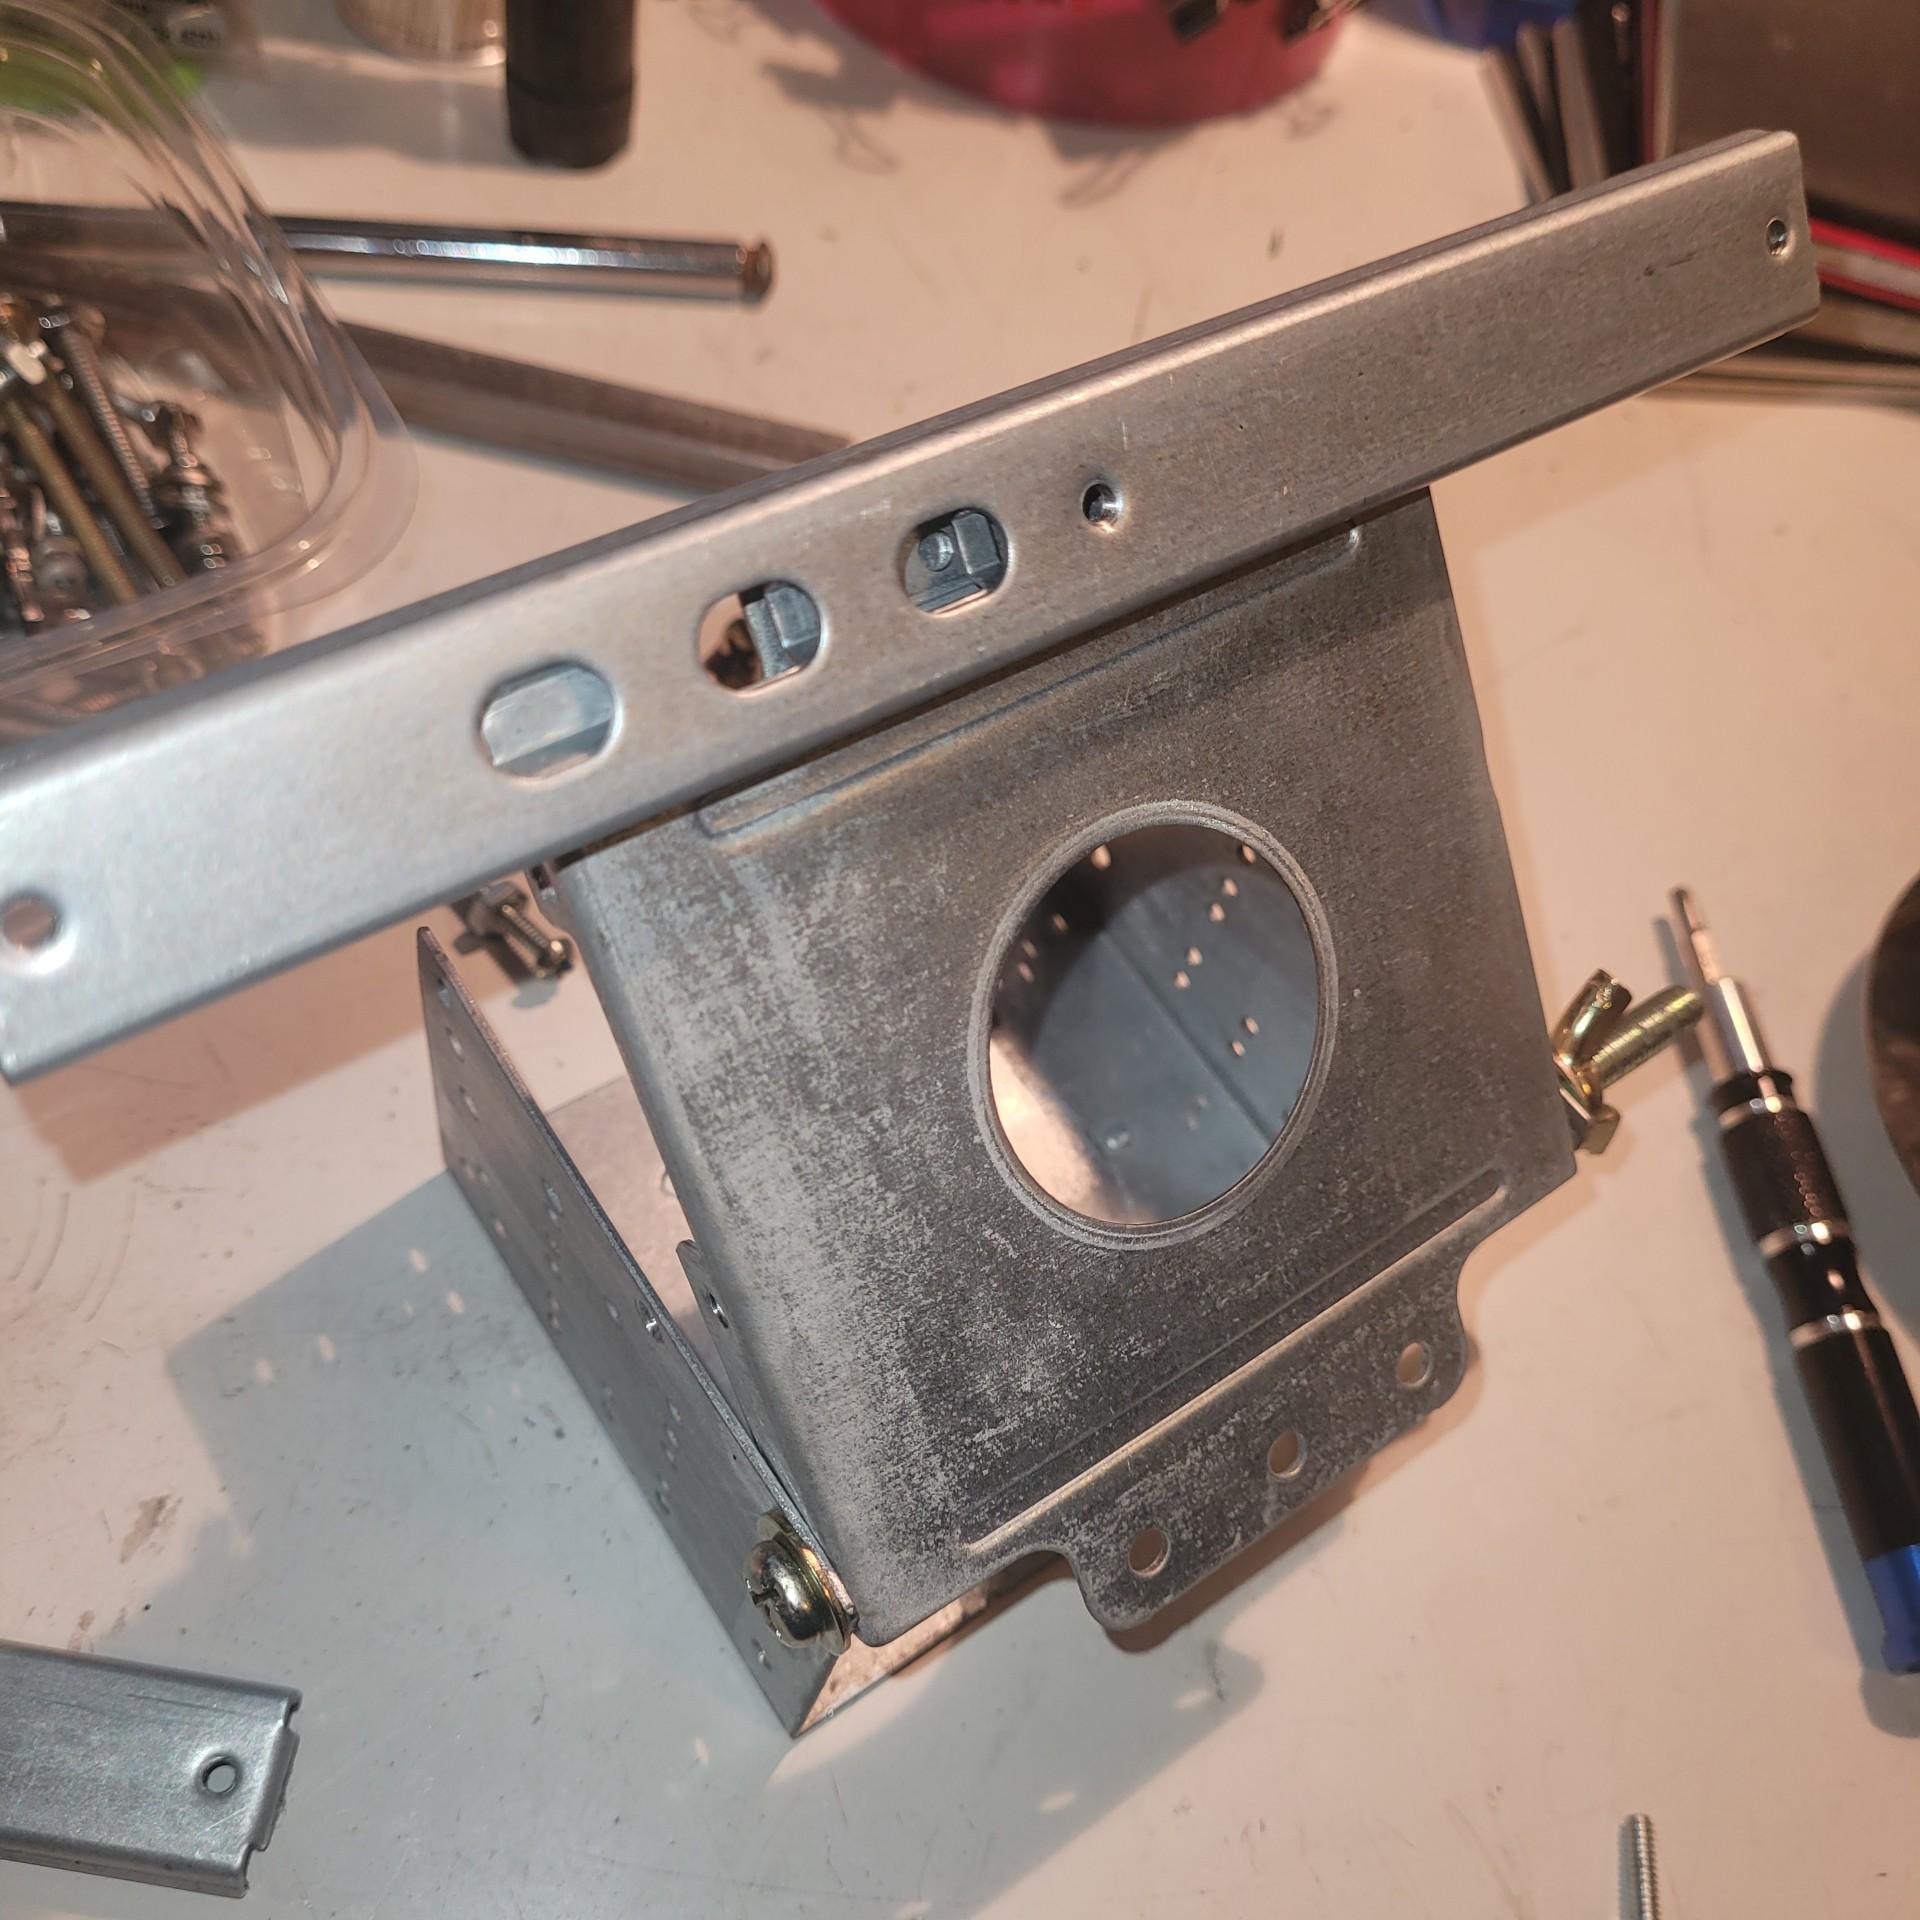
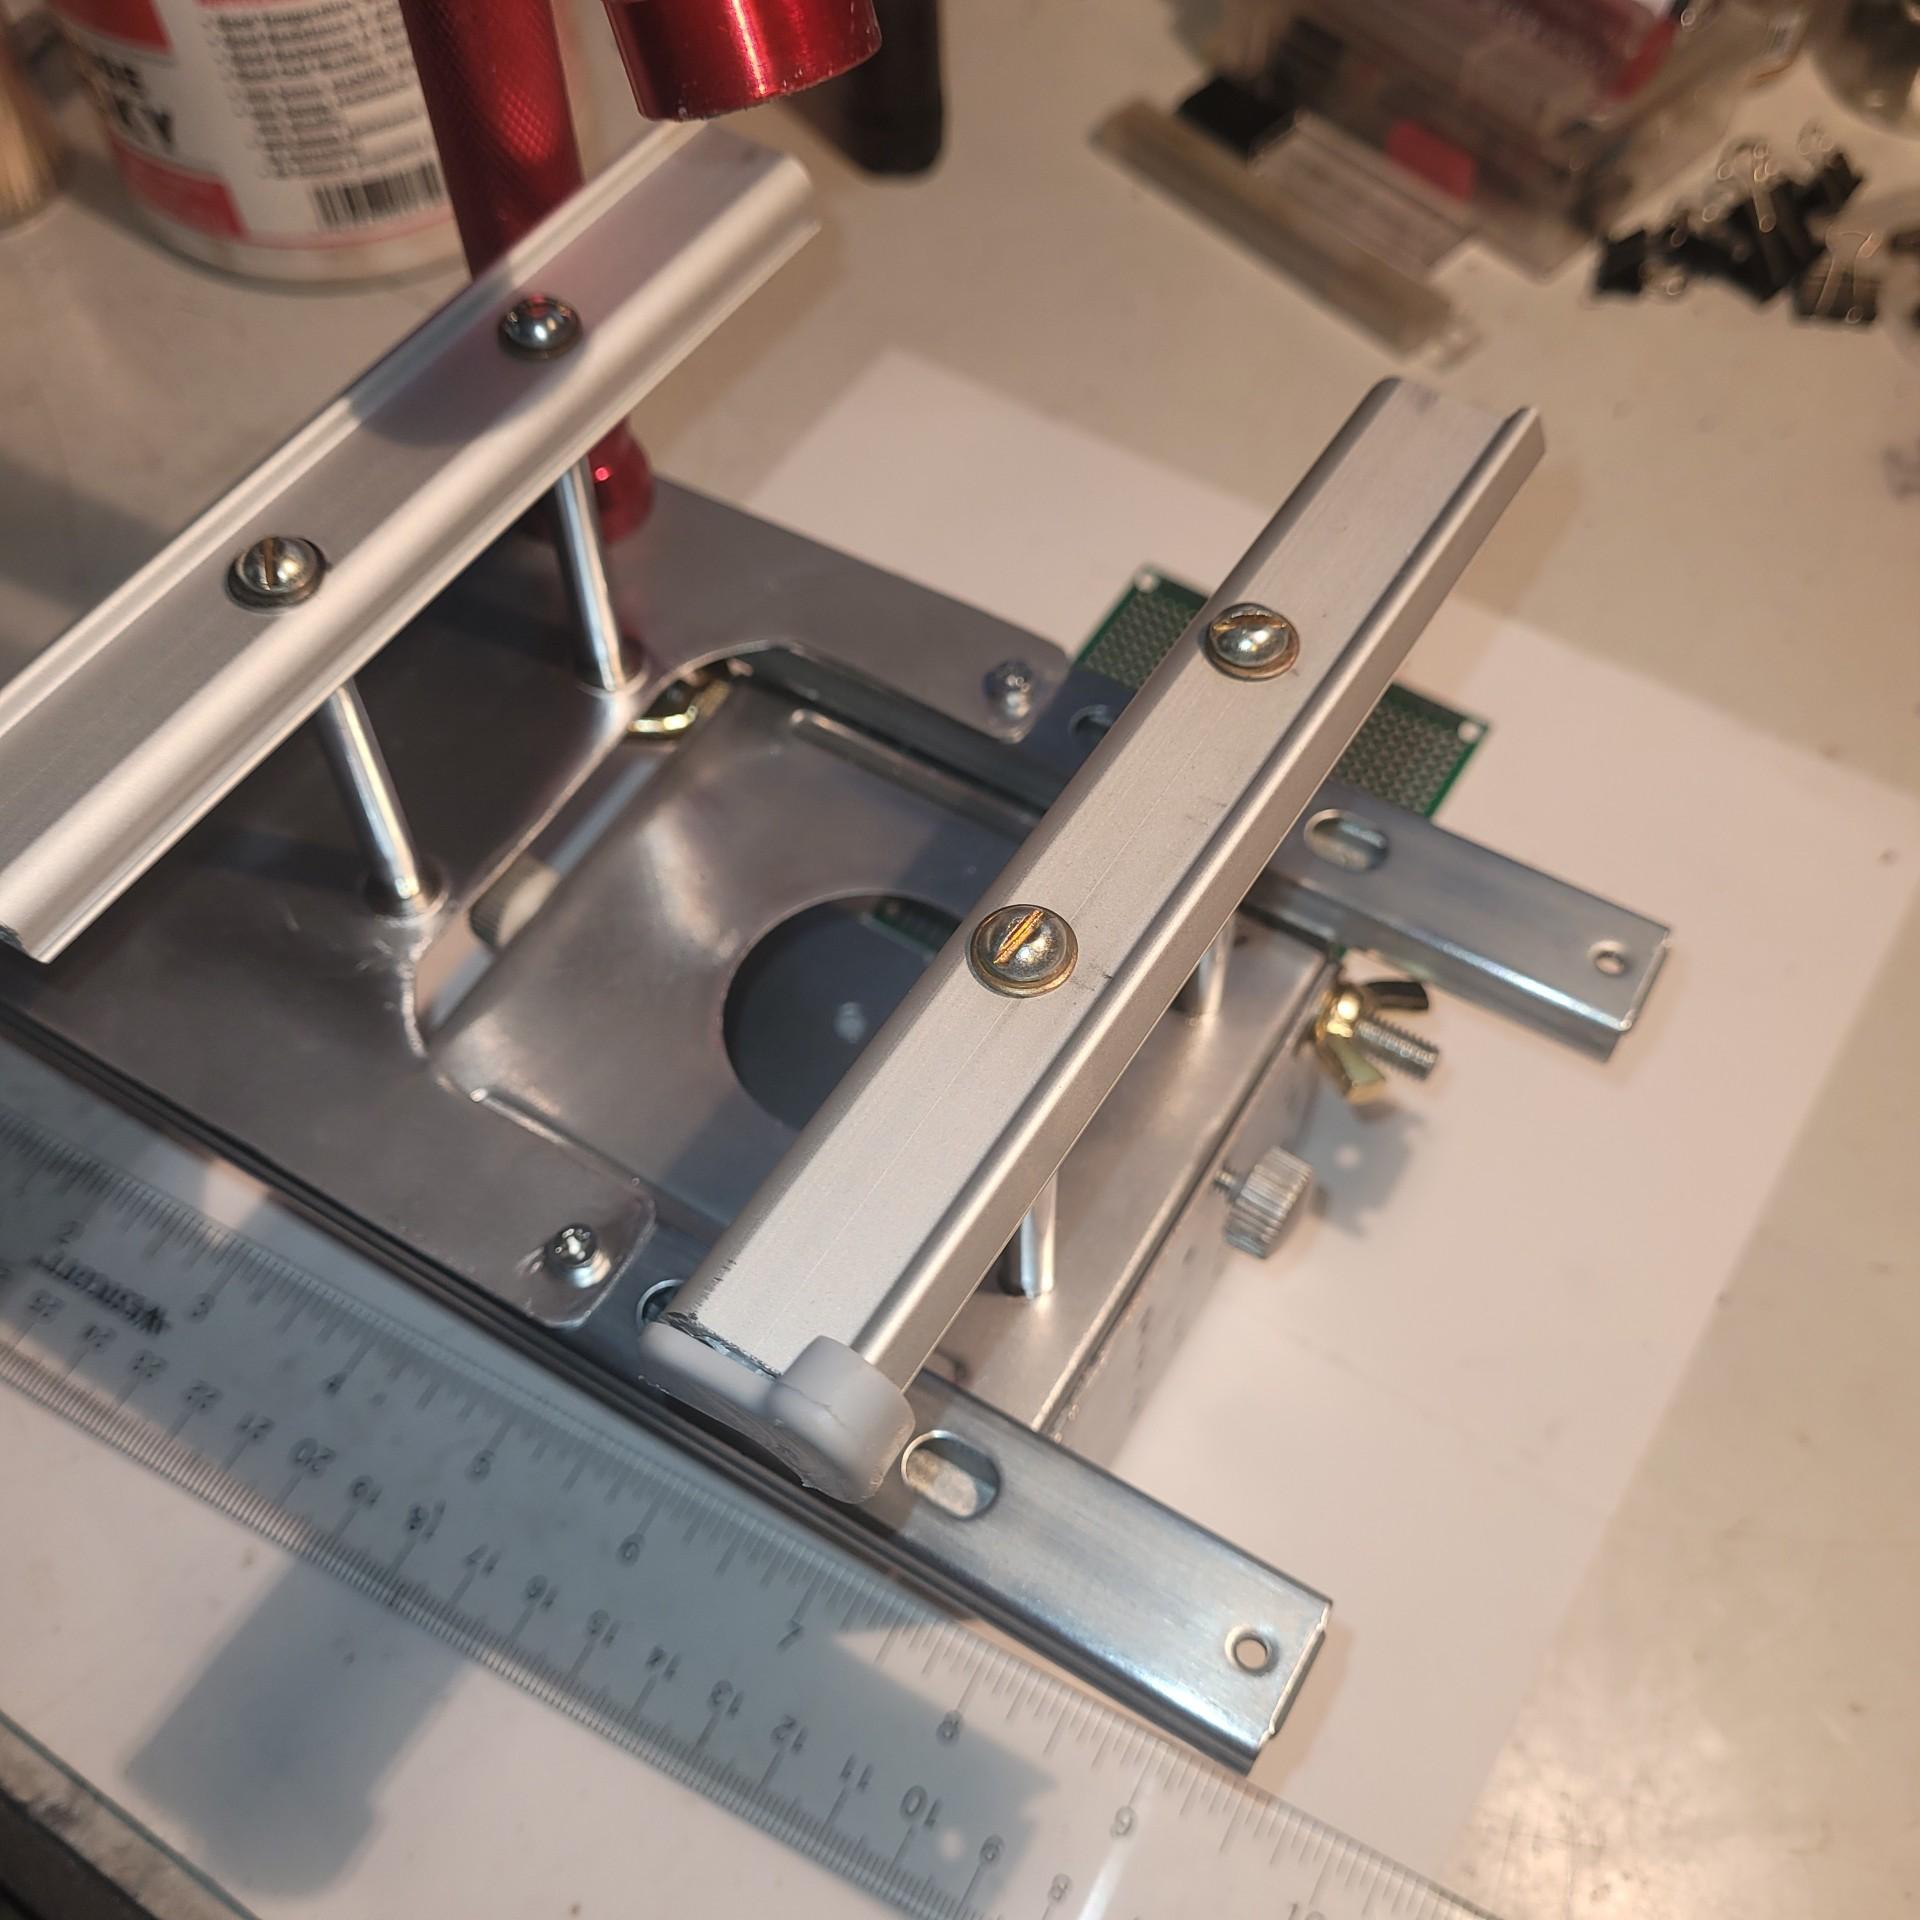
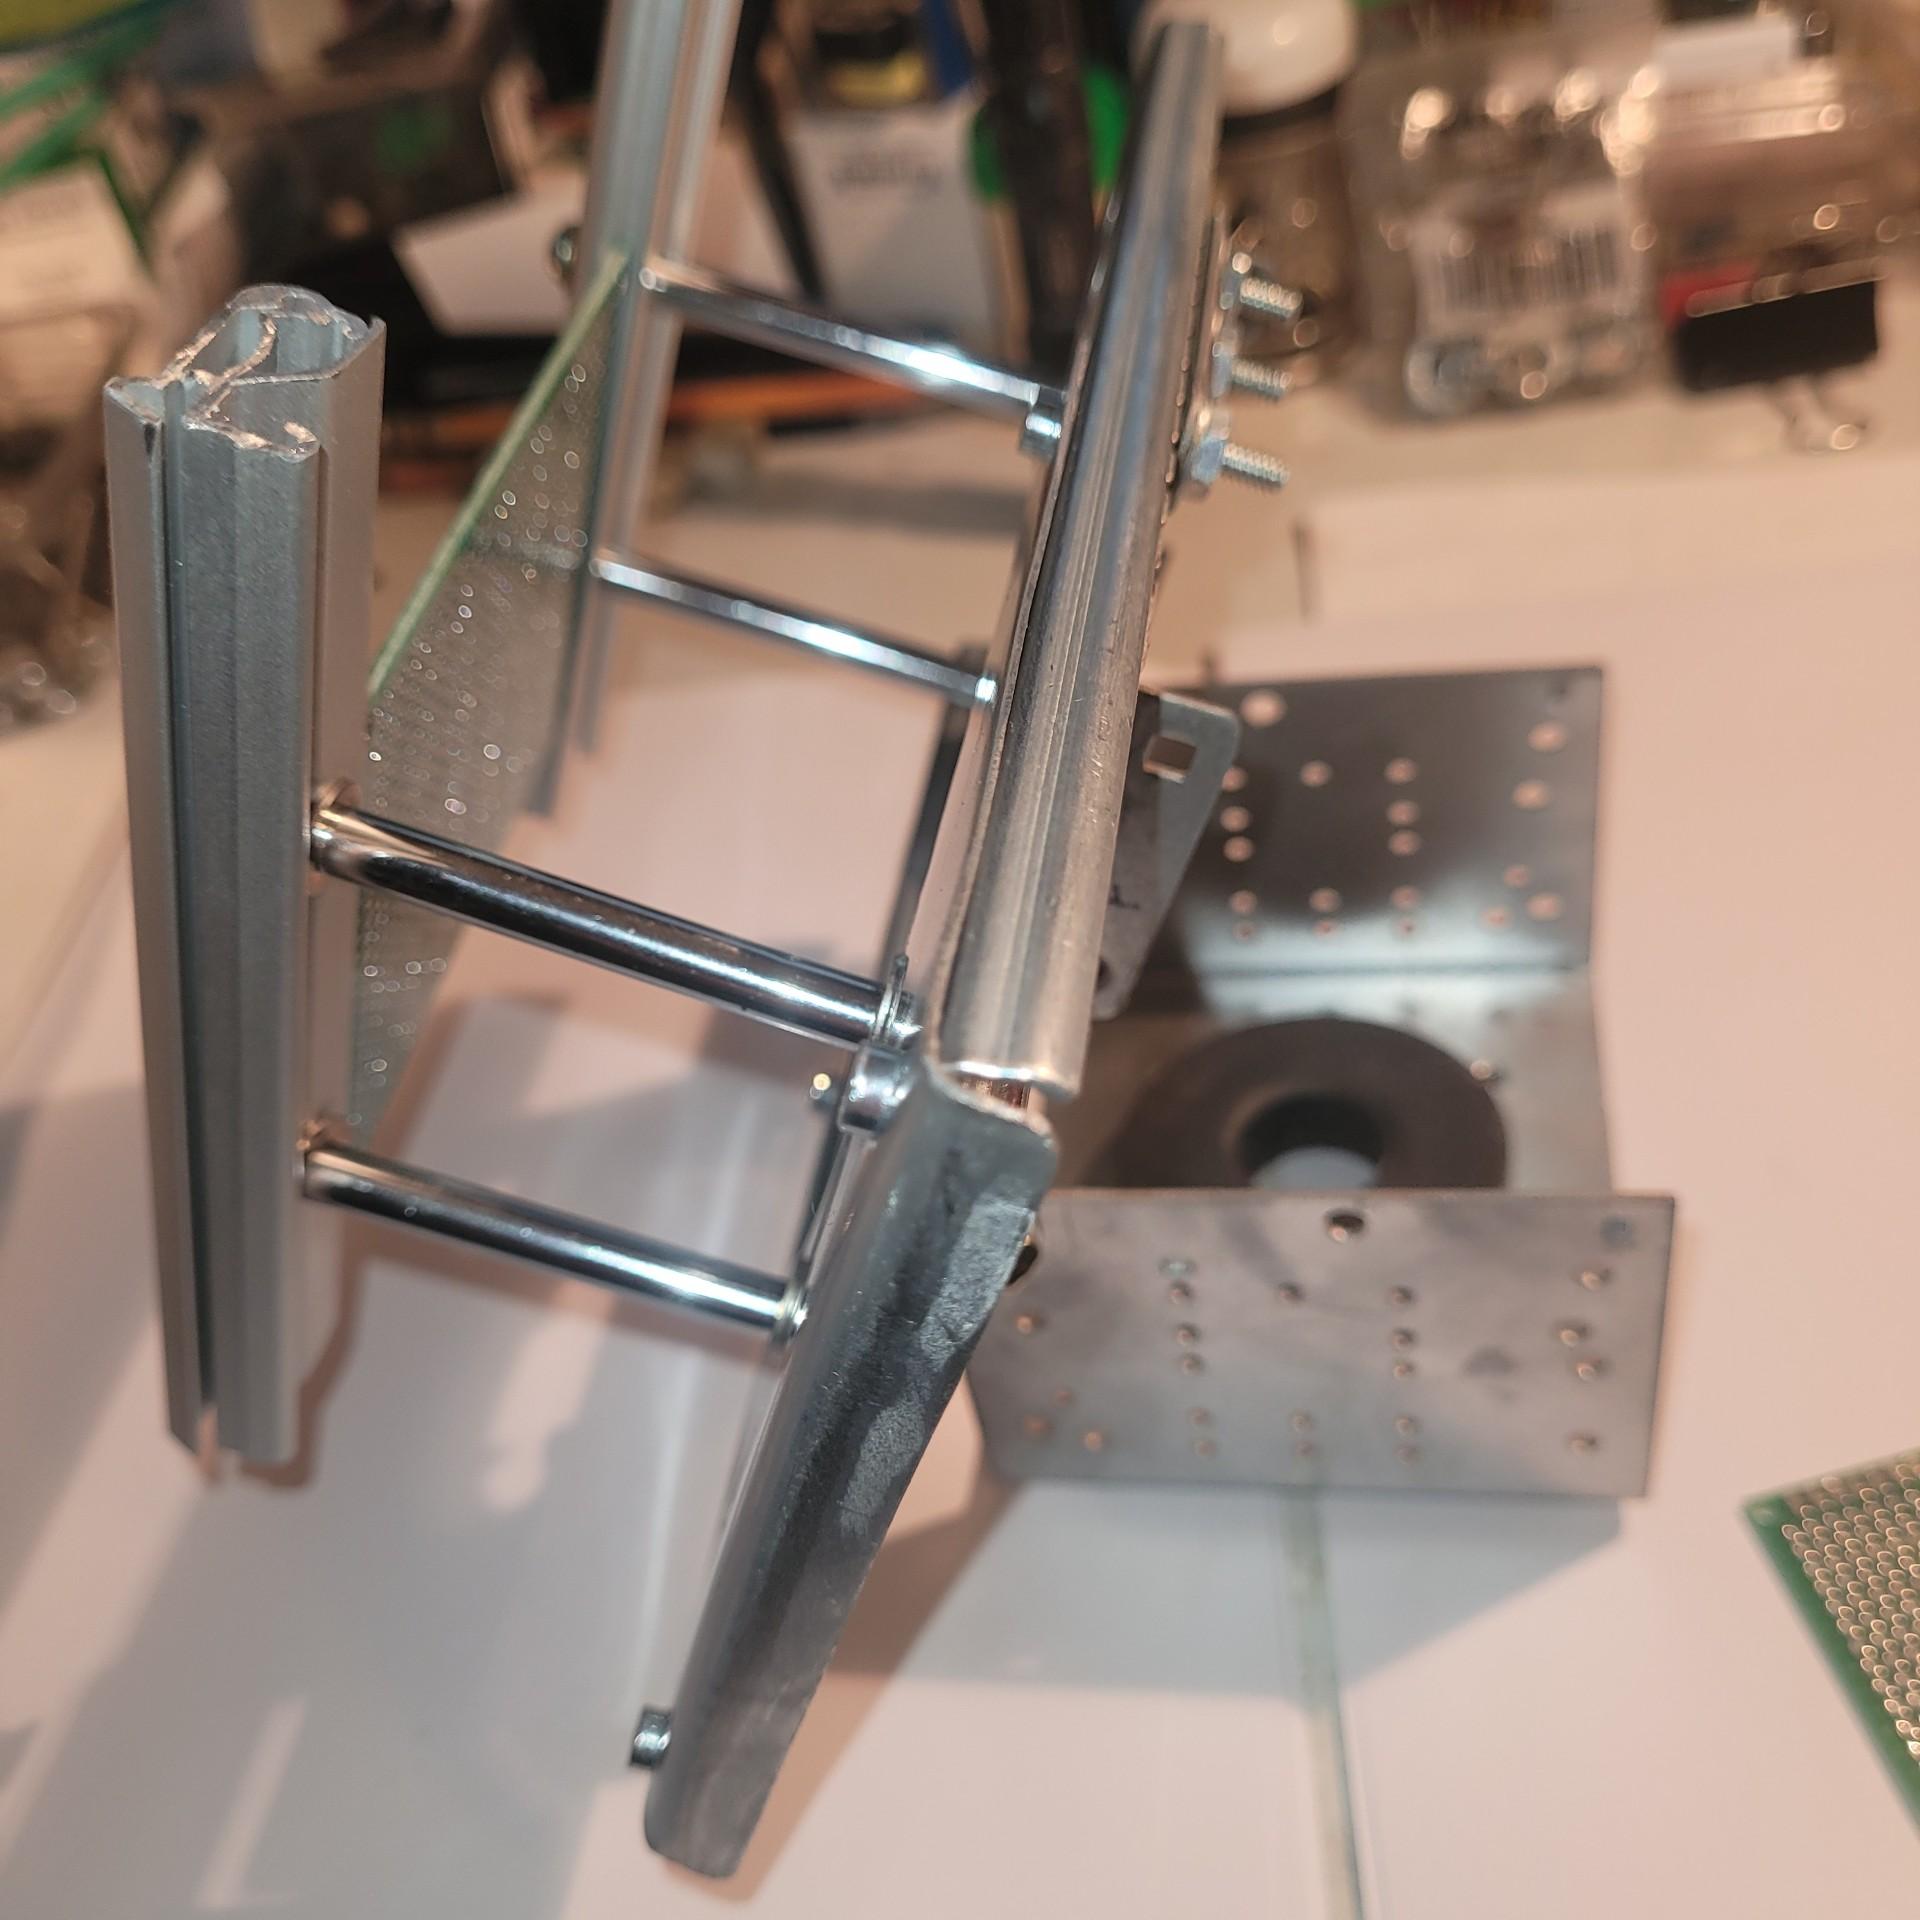
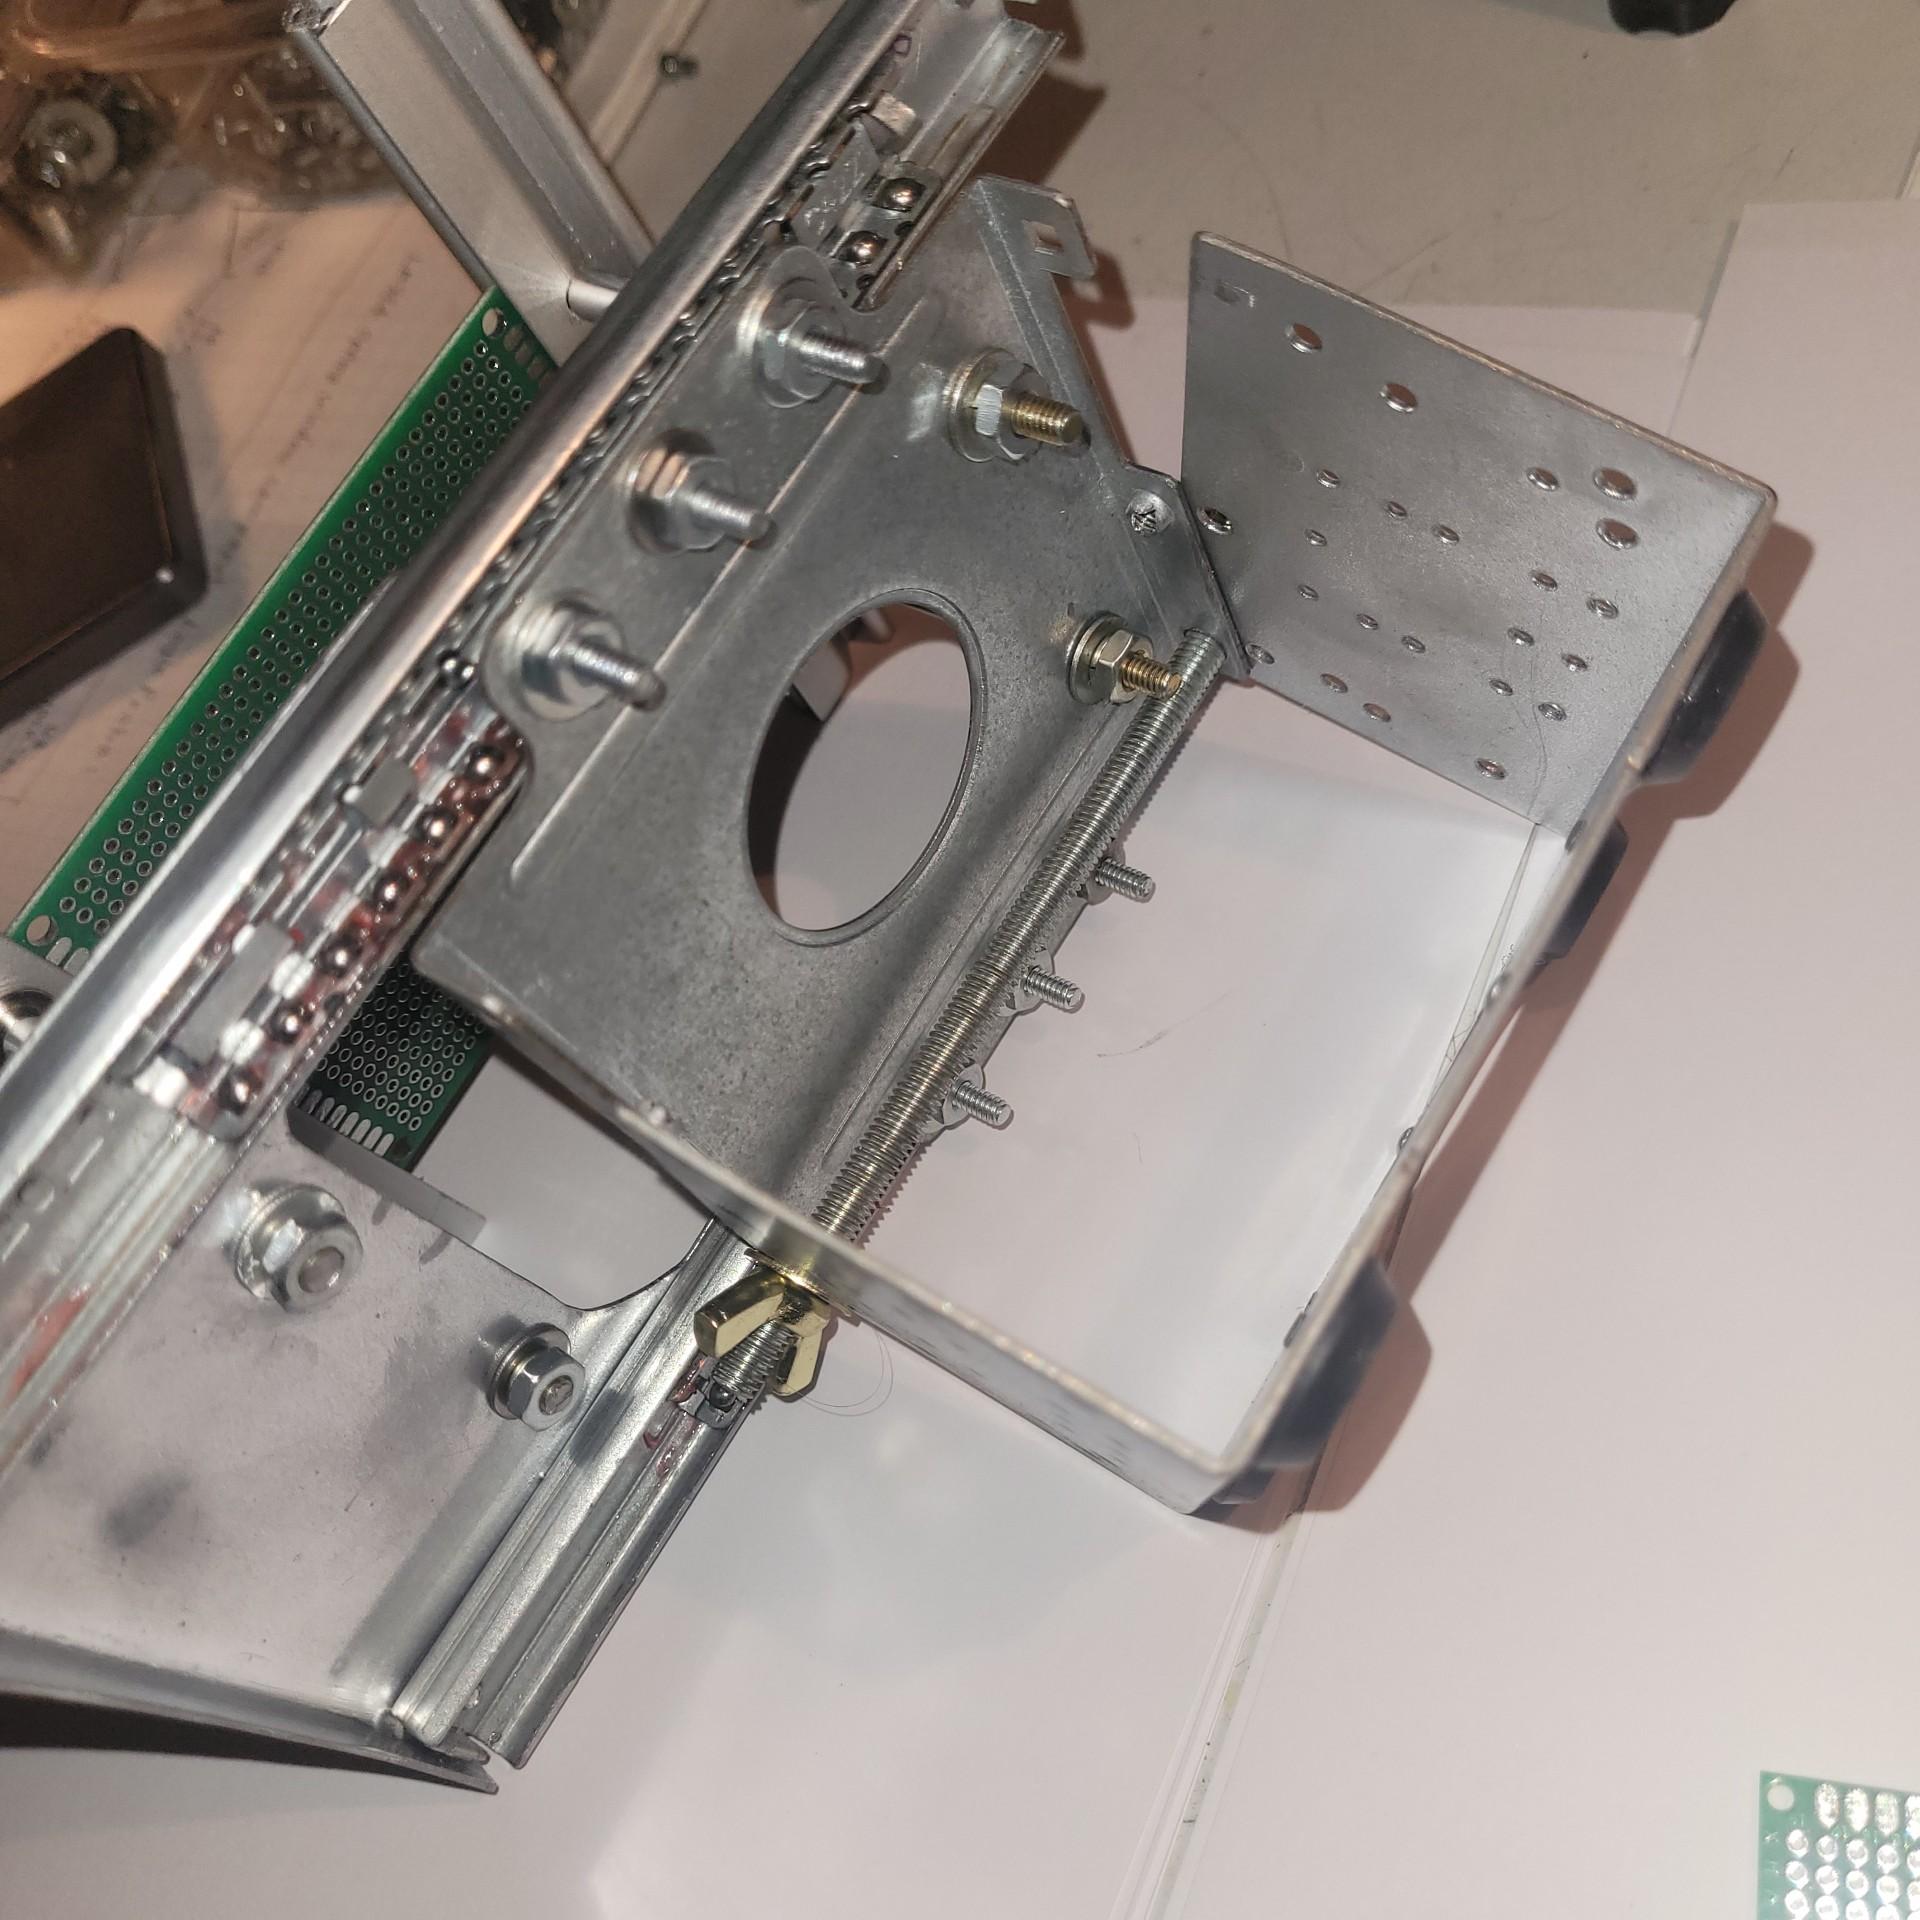
Using a 3/16" drill bit, drill a hole in opposite side corners of the base and top plate , insert the 3/16" threaded rod and attach the washers and wing nuts to each end ( as shown in the pics above). You should then have a movable hinge type joint , adjust the tension on the wingnuts so the top plate stays in position when you release it, may have to re-tighten later as more parts are added .
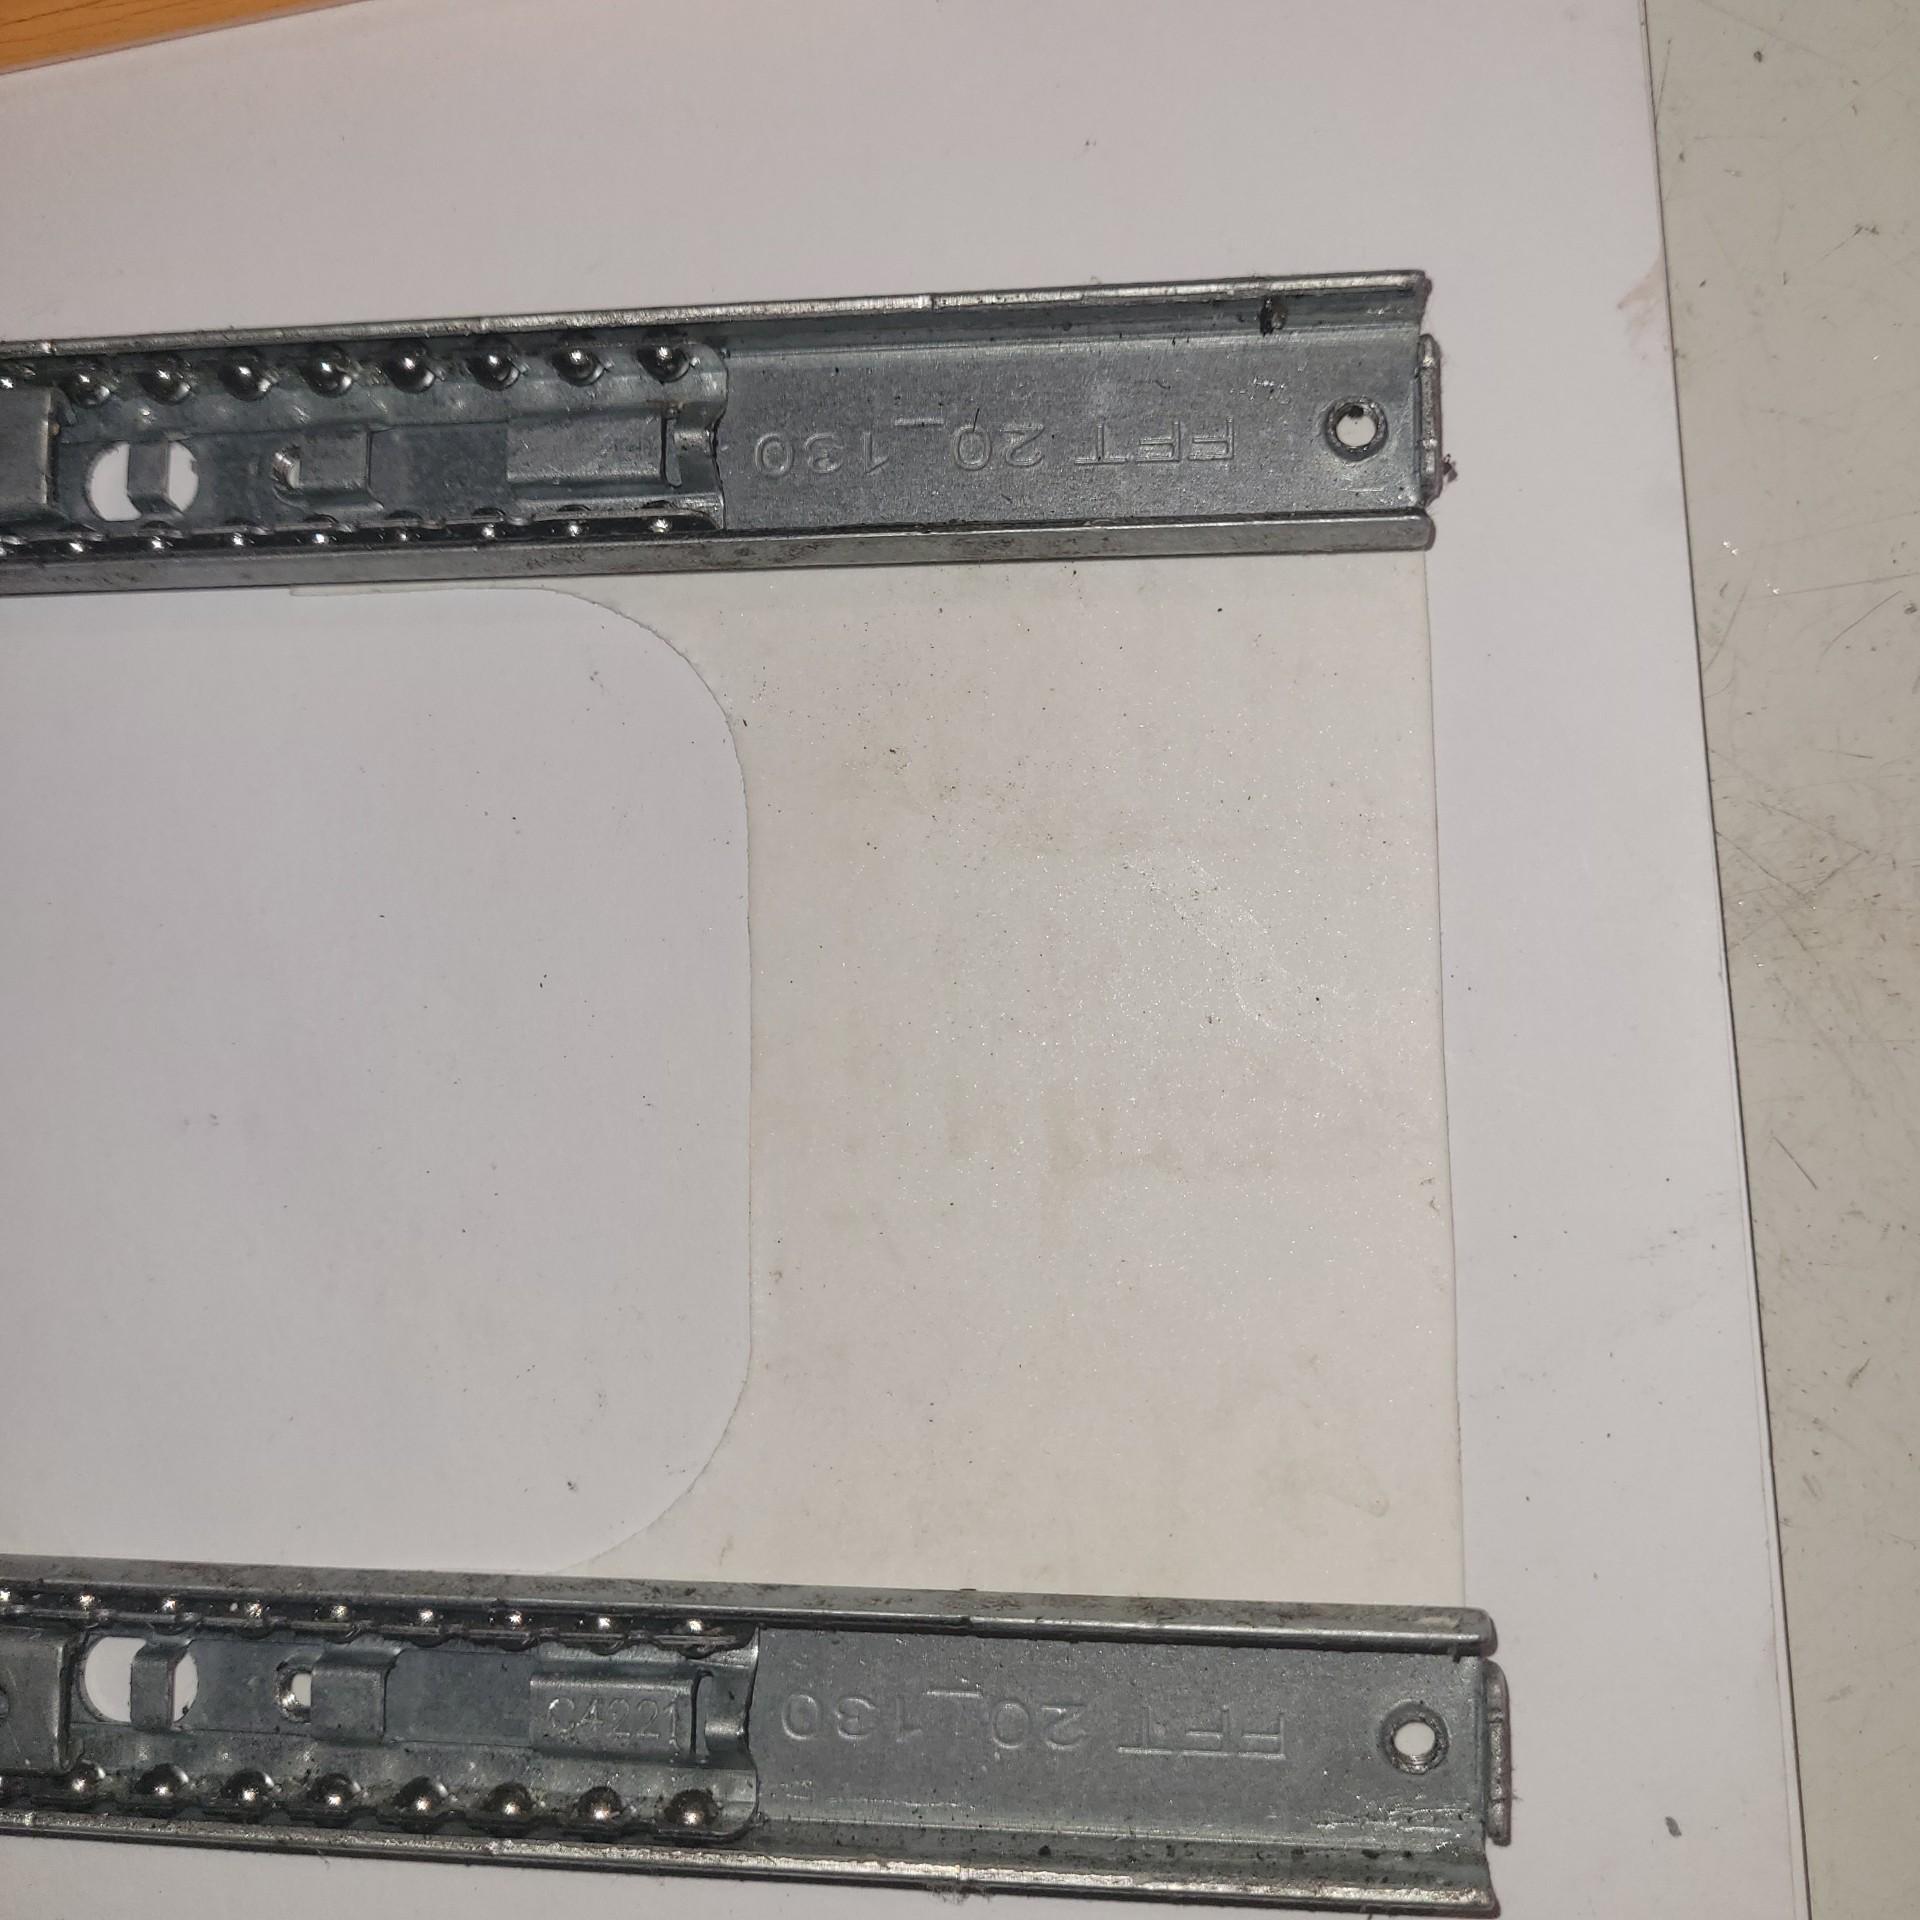
Adding the Sliders

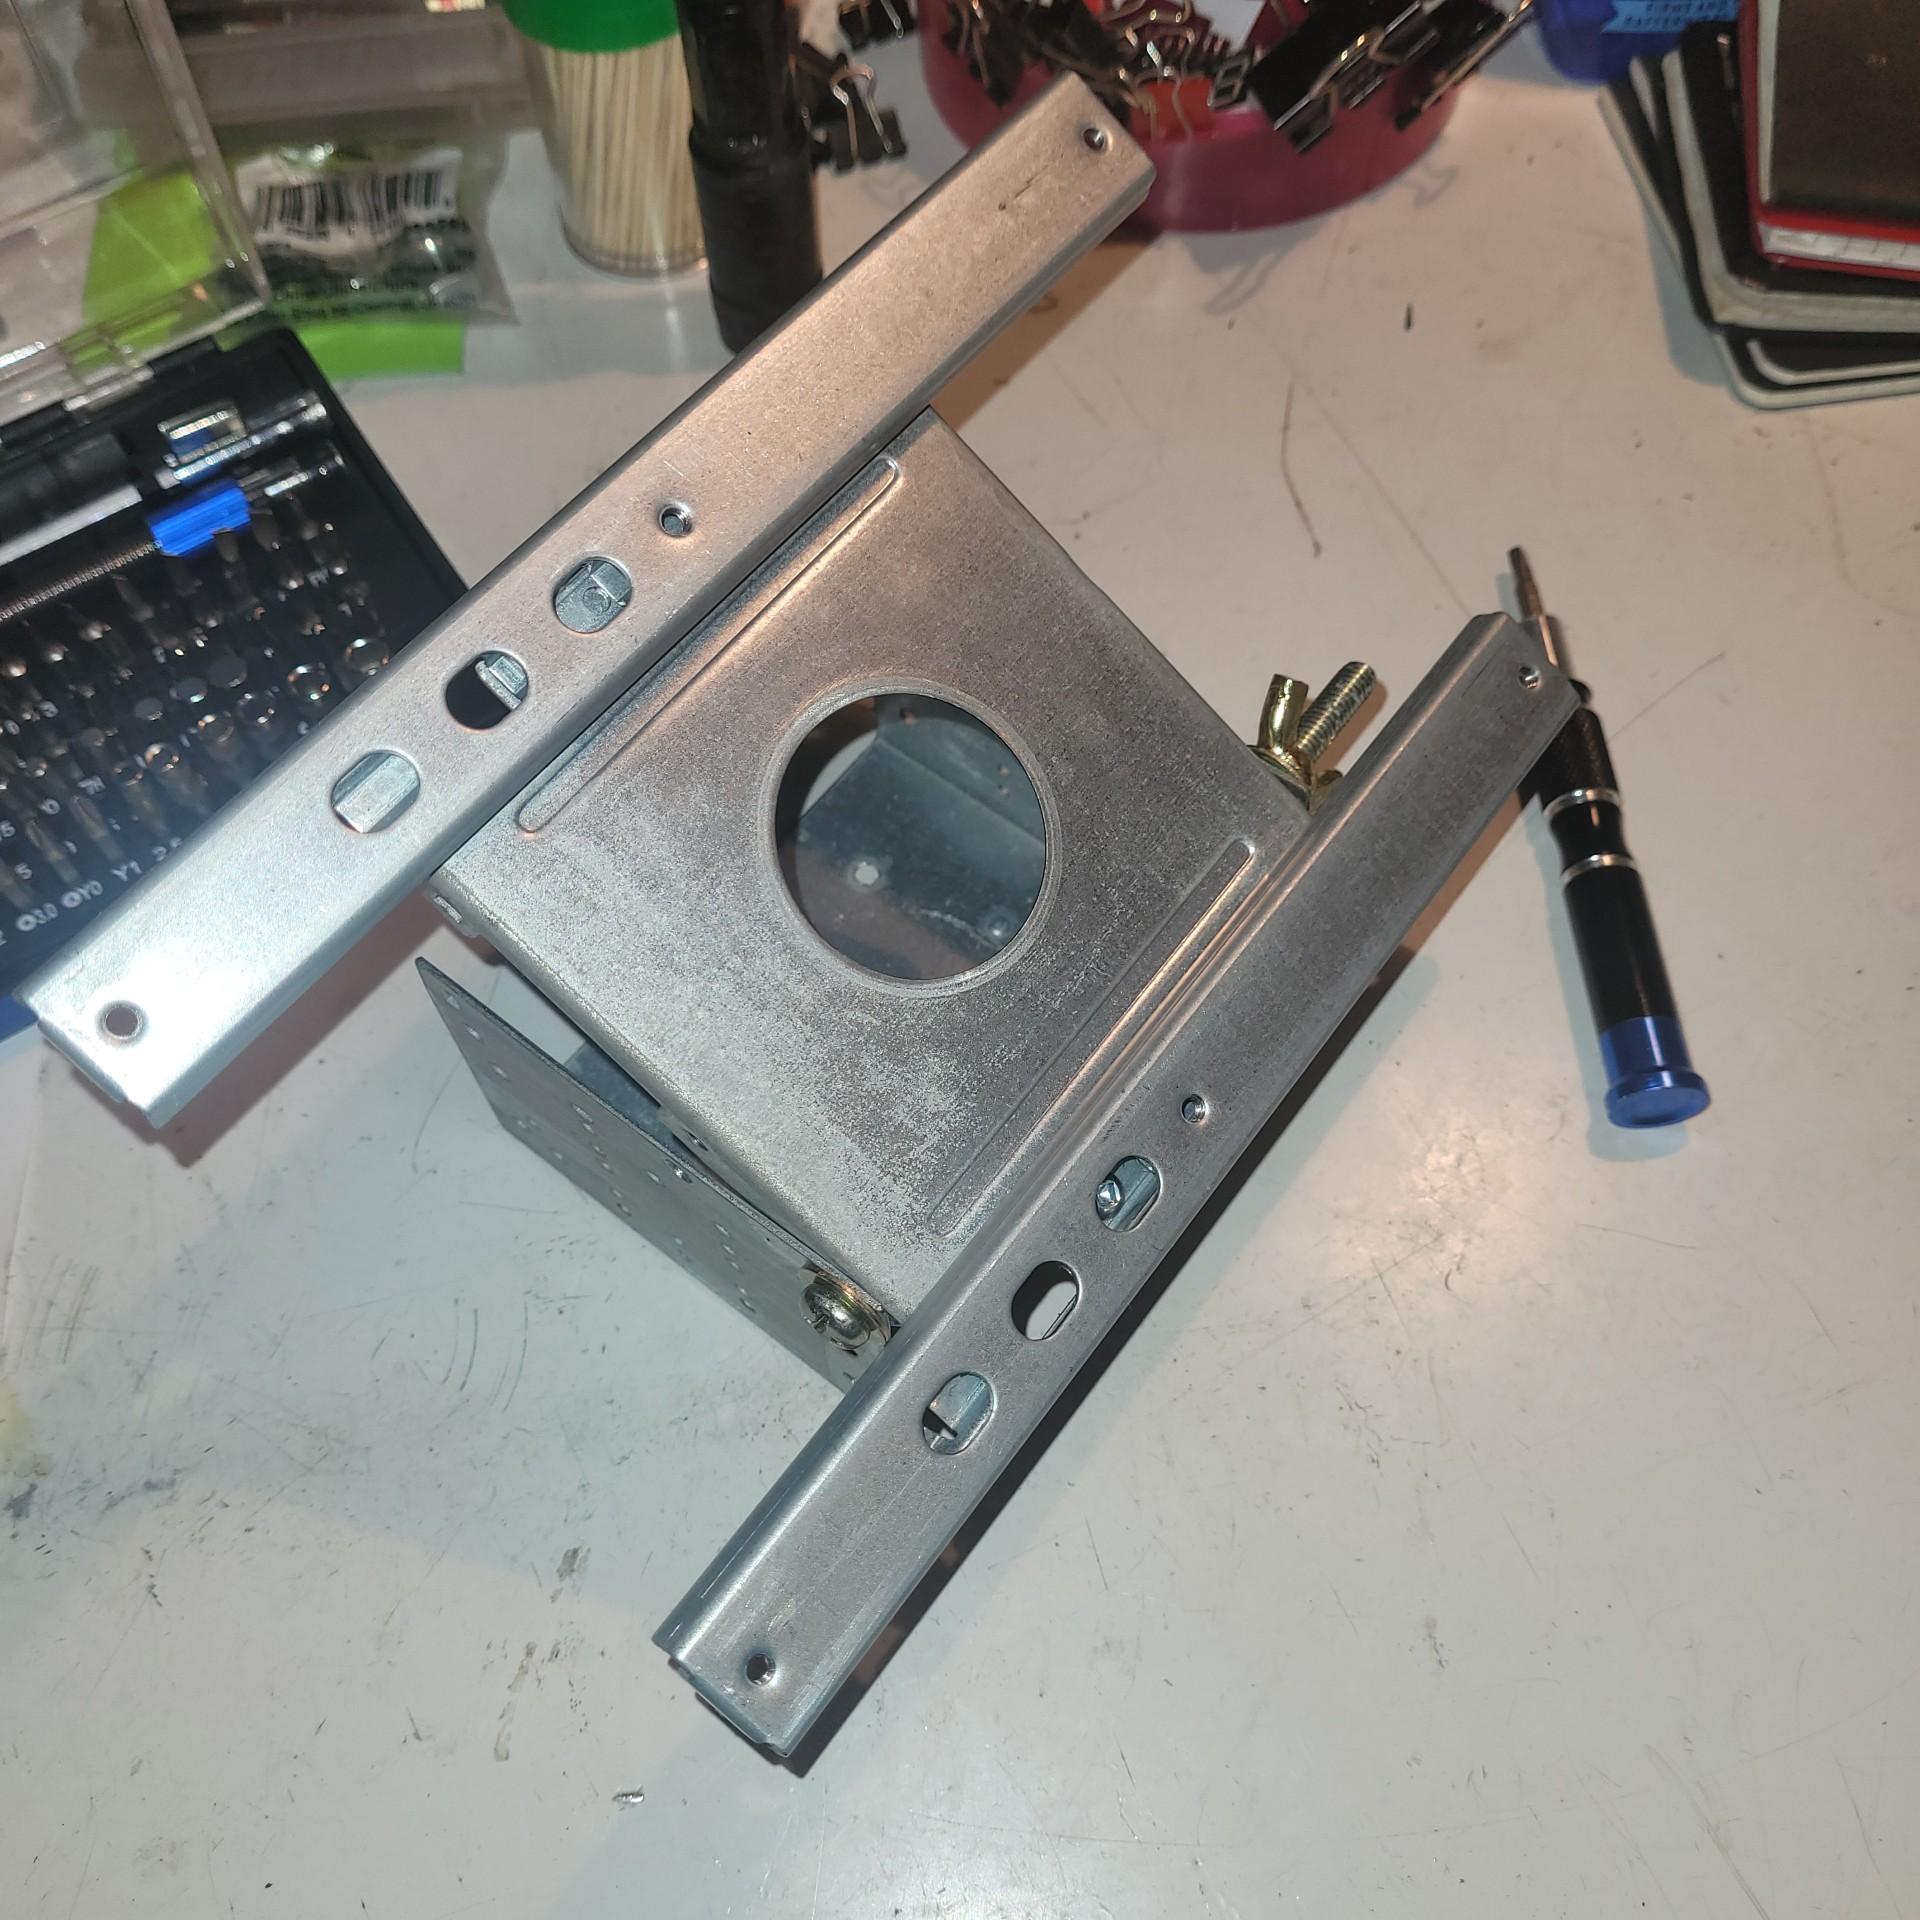
To attach the slide rails to the top plate you may have to drill holes to insert the 6/32 mounting bolts , mine already had three holes that lined up perfectly with the three holes in the plate so no drilling was needed . Install the nuts , washers and lock washers , tighten everything down and check that the rails are straight and parallel with each other.
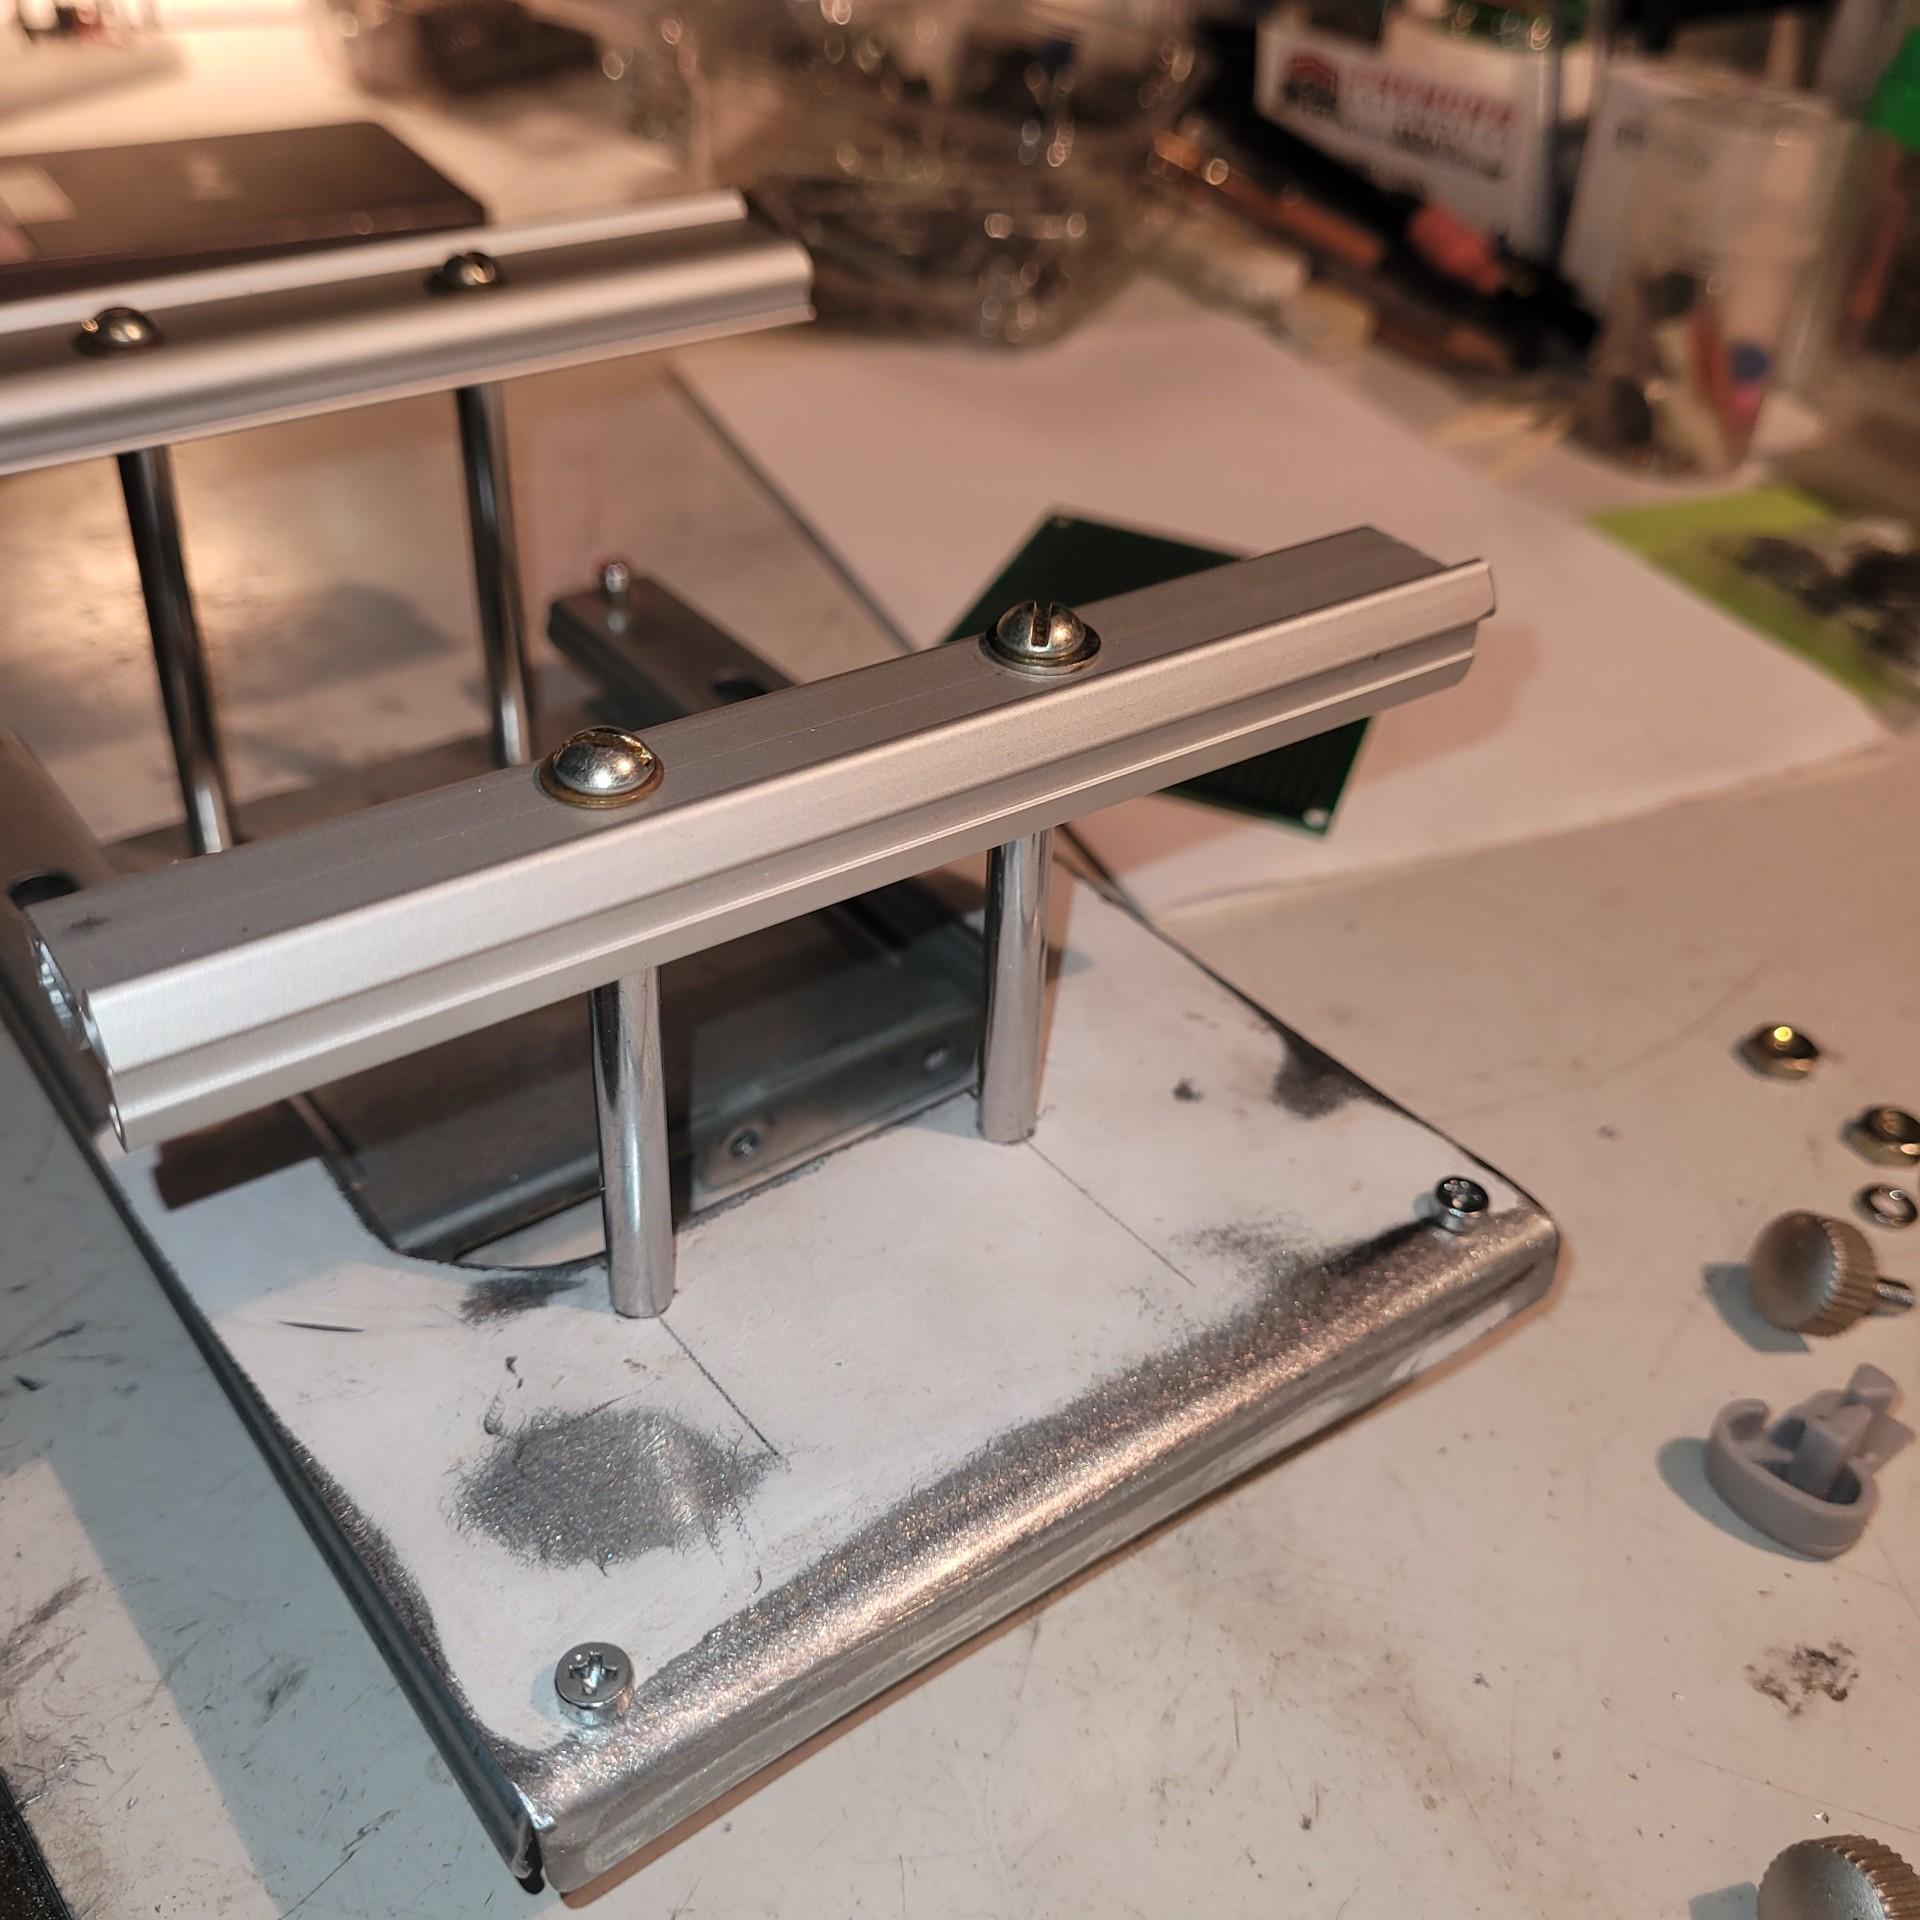
The Holding Tracks and Stand-offs.


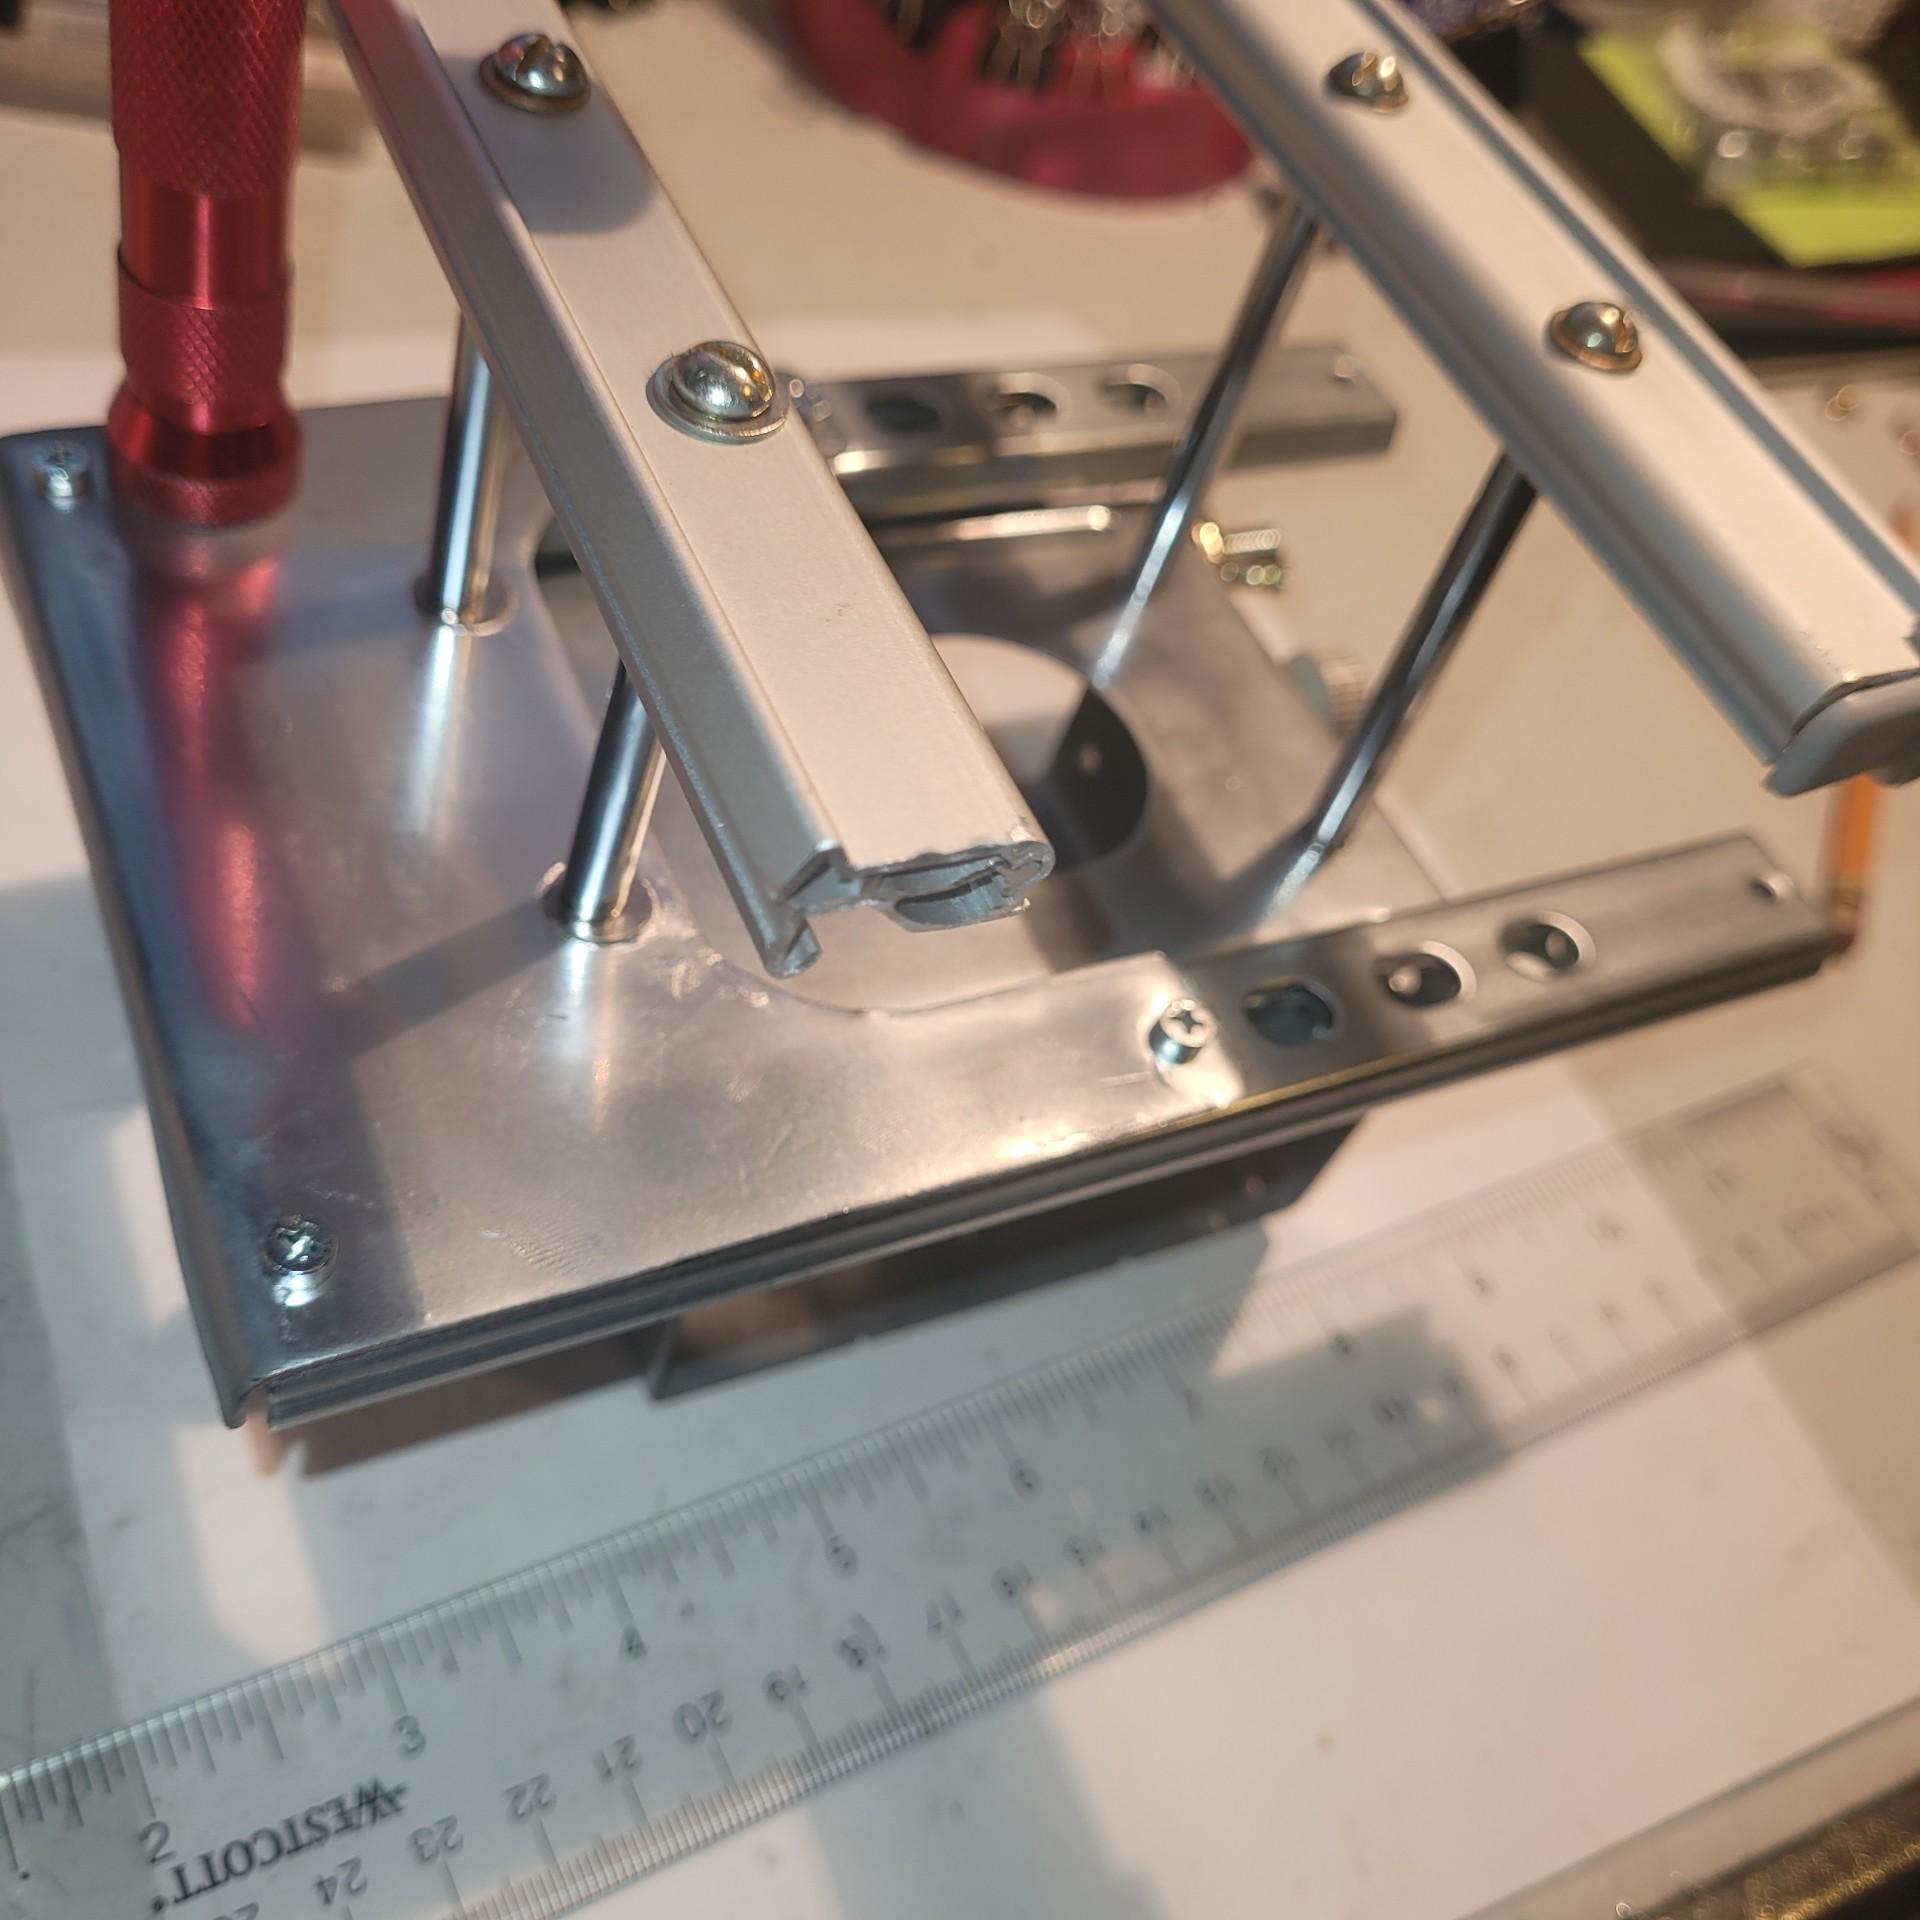
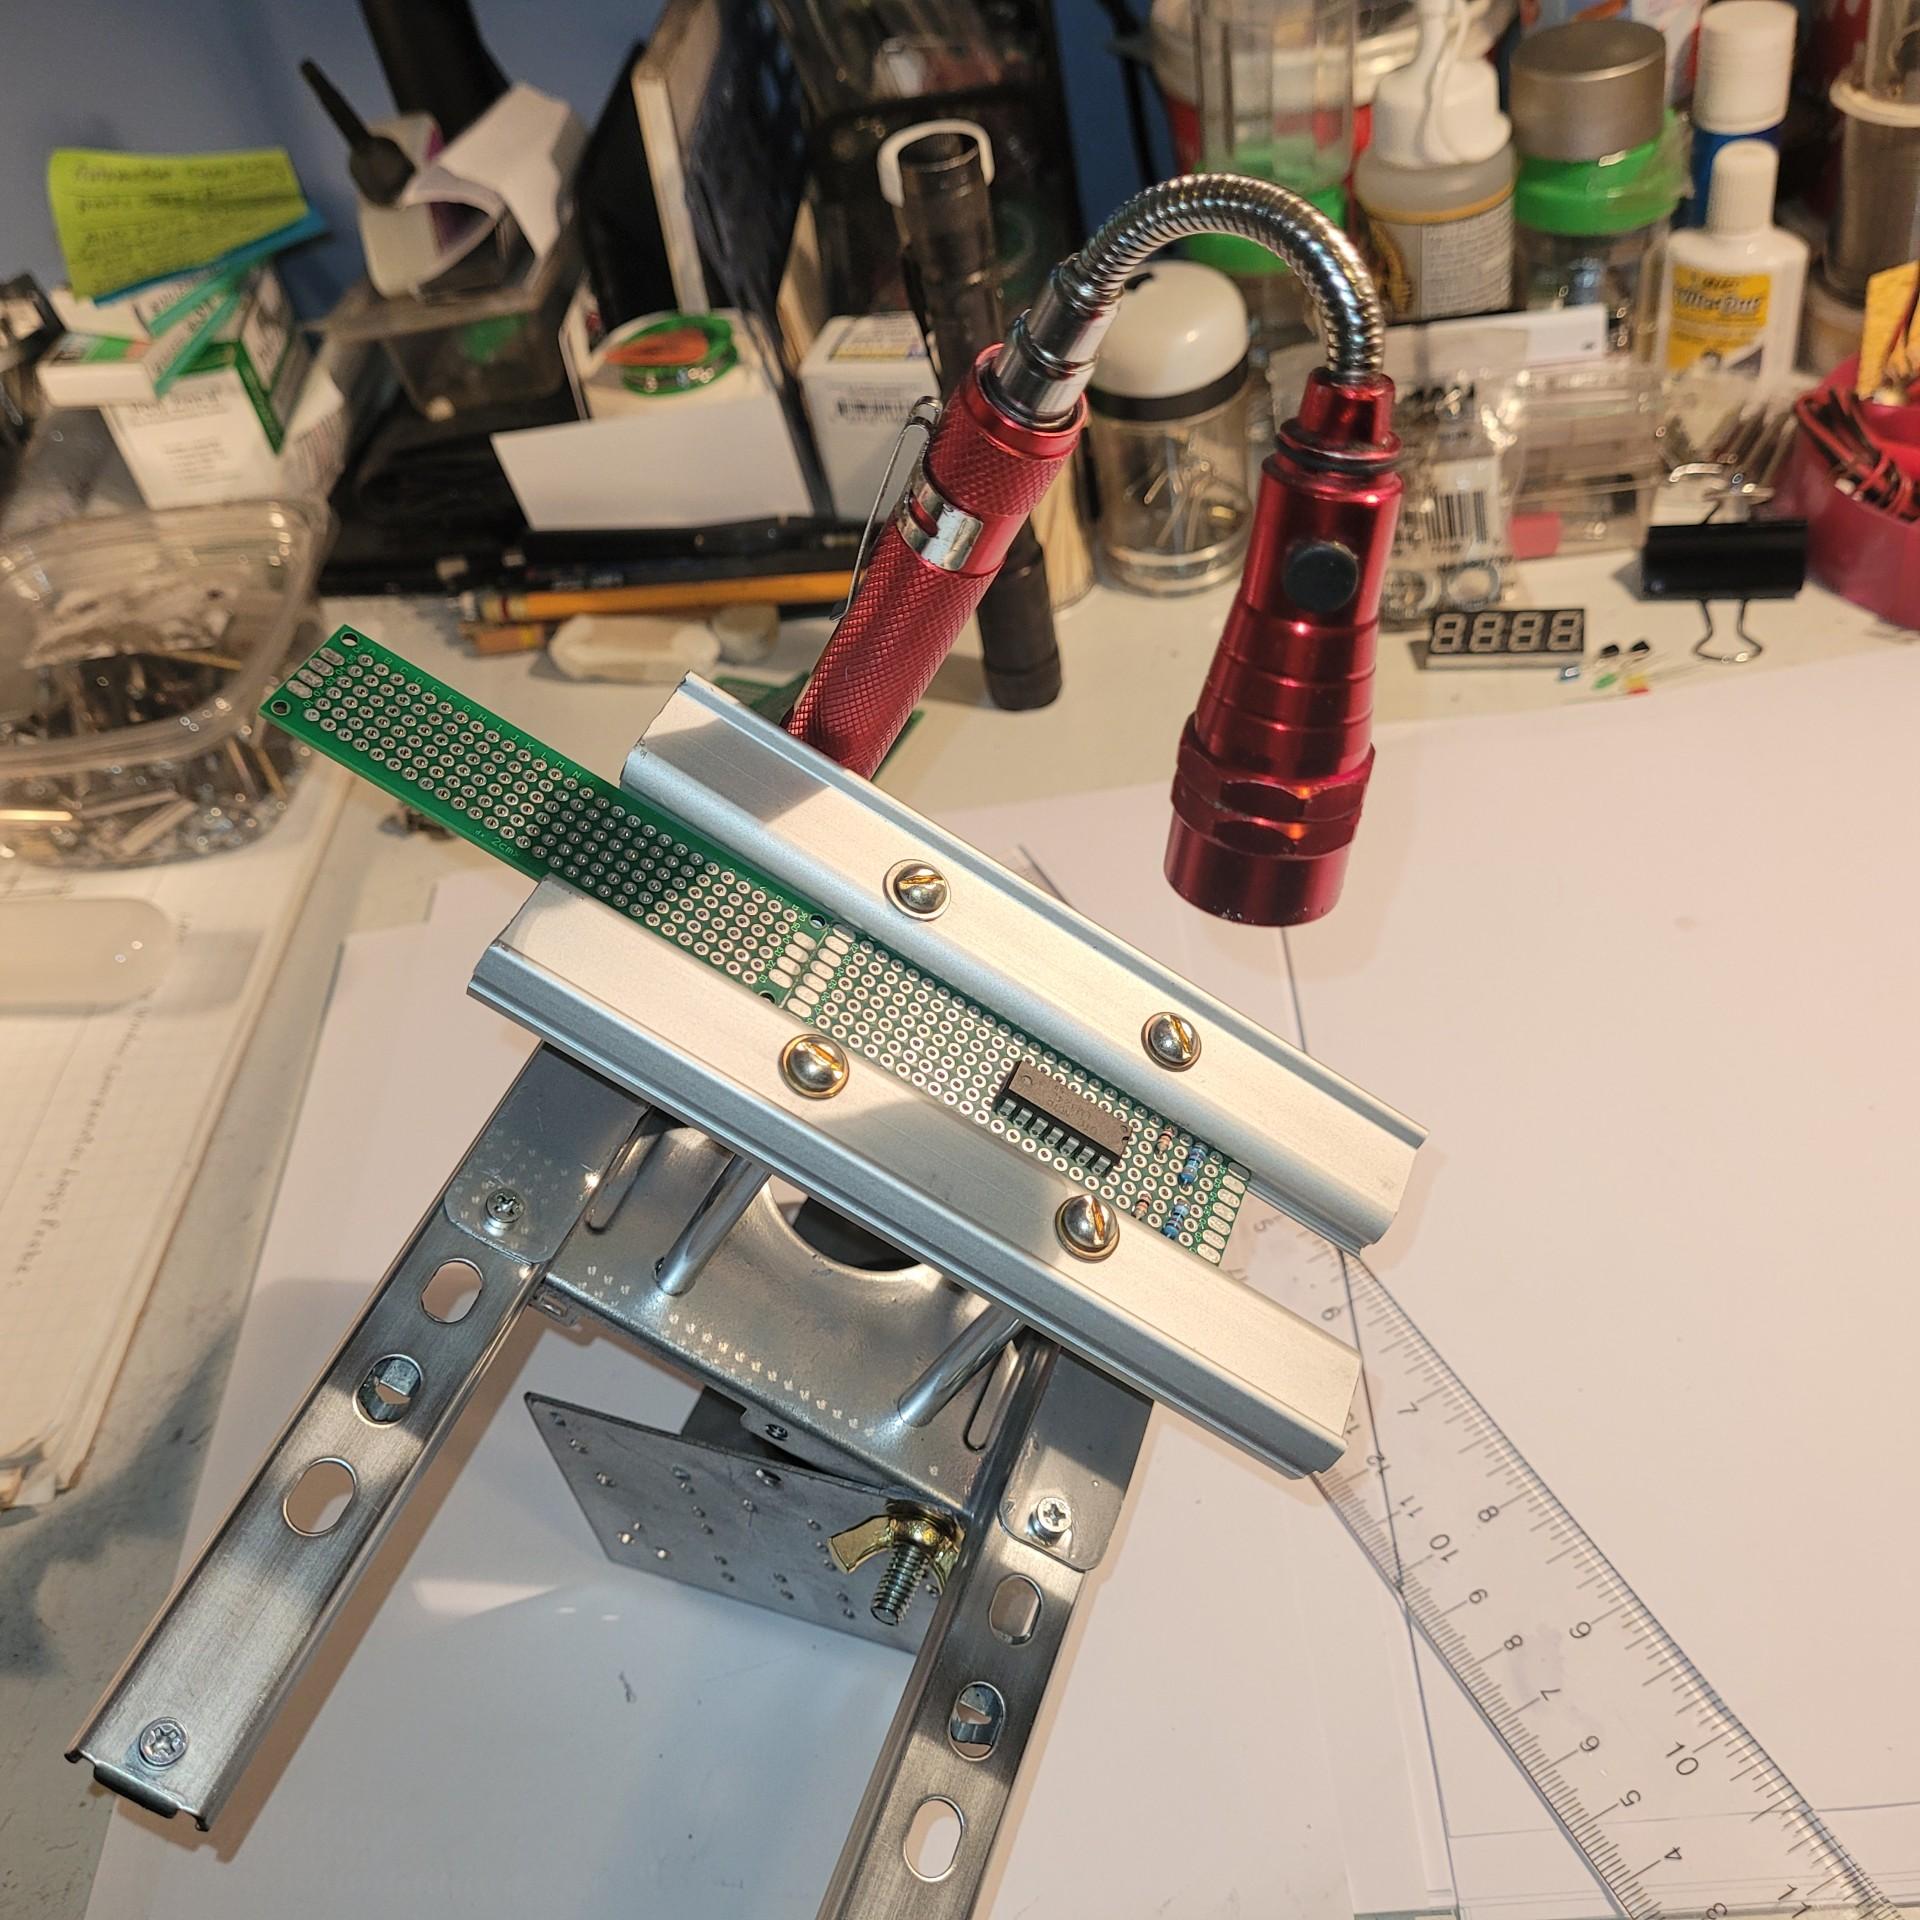
Cut two 5 " pieces of aluminum extrusion ( or channel ) , drill two 9/32 " holes 2 " appart in the middle of each one and install four 9/32 x 3 " bolts ( 2 in each piece ) , these will become the two parallel " tracks" that hold the PC board. Next cut 4 pieces of 1/4 " metal tubing ; two at appox. 2 1/4 " and two at 2 " and slide each equal length pair onto each pair of 9/32 bolts , these will be the stand-offs for the holding "tracks", may have to cut a small piece off the end of two of the bolts later. Drill two corresponding 9/32 " holes in the top plate to mount the two bolts with the longer tubing ( 2 1/4 " ) and install the two nuts and washers and tighten , one track is now done.
Fabricating the Slider Plate

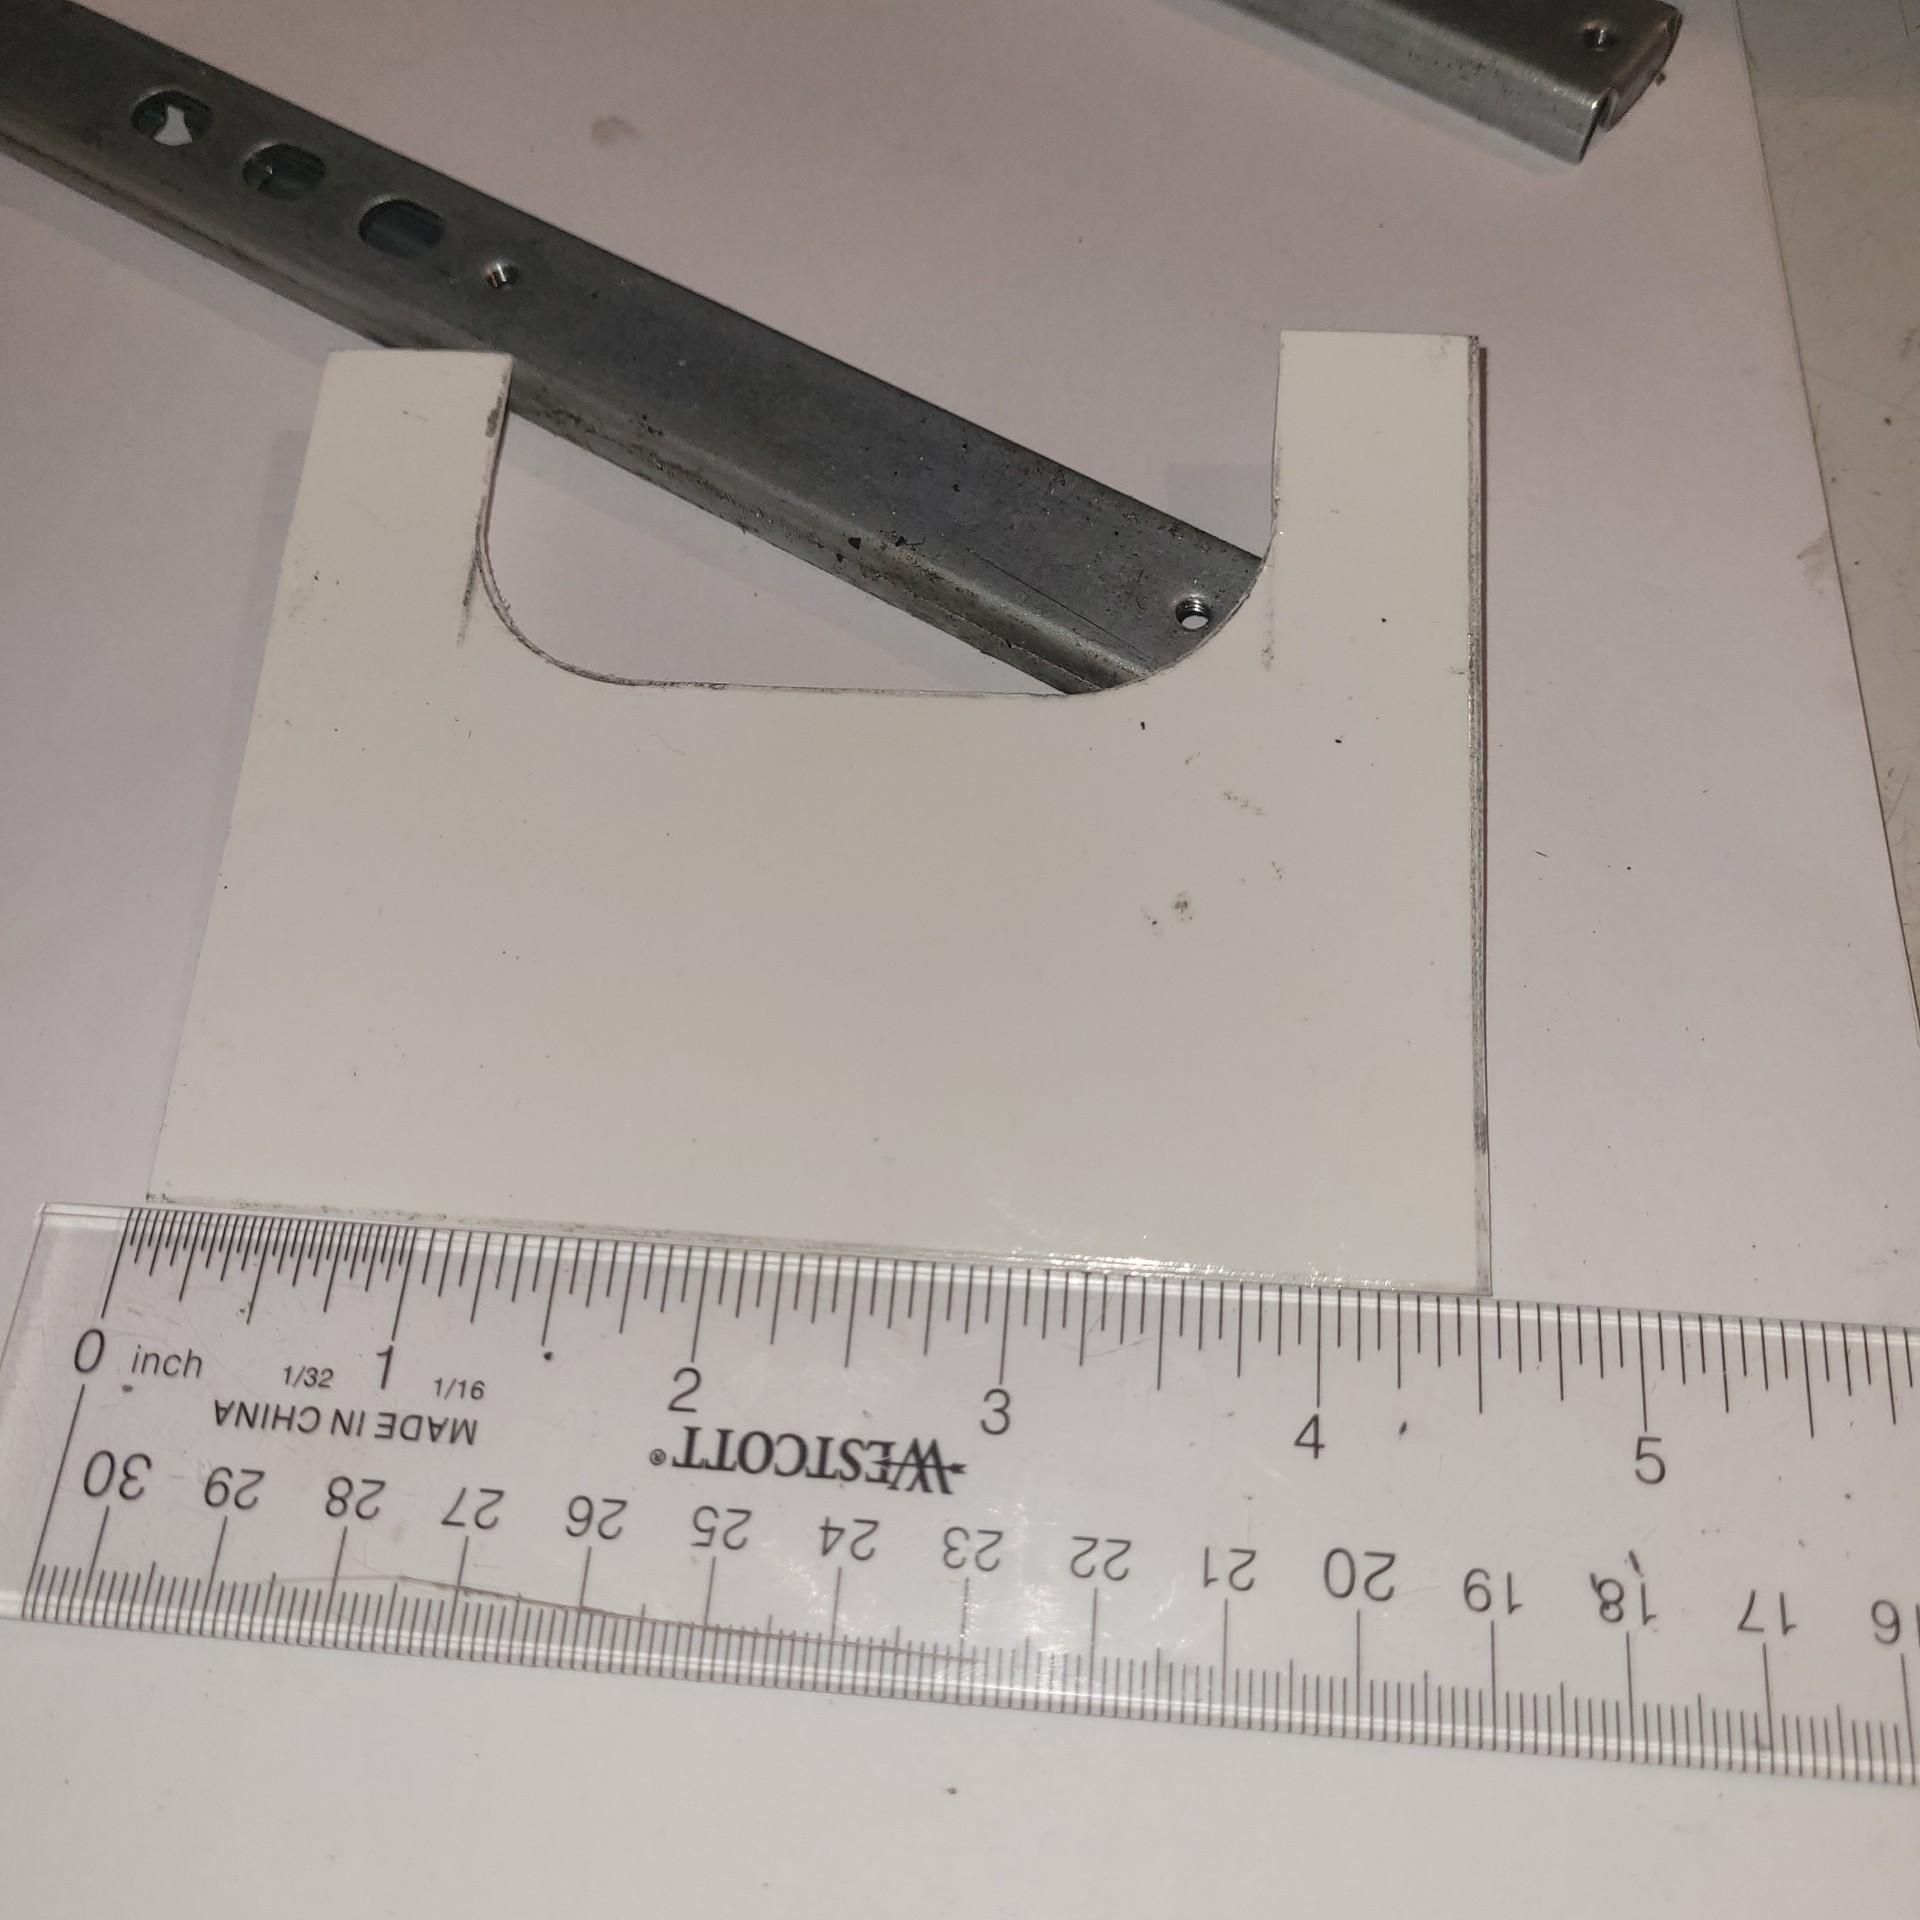

Cut a cardboard template to fit across the two slider rails and use it as a guide to cut out a steel plate from a piece of 16 gauge sheet metal approx. 4 1/2L " x 3 1/2 W " using metal cutting shears or " tin snips ". Lay the plate on the slider rails ( as shown in the pic above) and mark the location of the mounting holes, drill them out and mount the plate to the rails using four 6/32 x 1/4 " bolts ( these came with the slider rails that i had ) . As you may have noticed in the pics , i removed the top plate and rial assembly from the base to gain access to the holes in the slider rials, when this step is complete you can re-install it or move on to step 6 and do the final assembly later, as did i.
Mounting the Second Holding Track and Testing


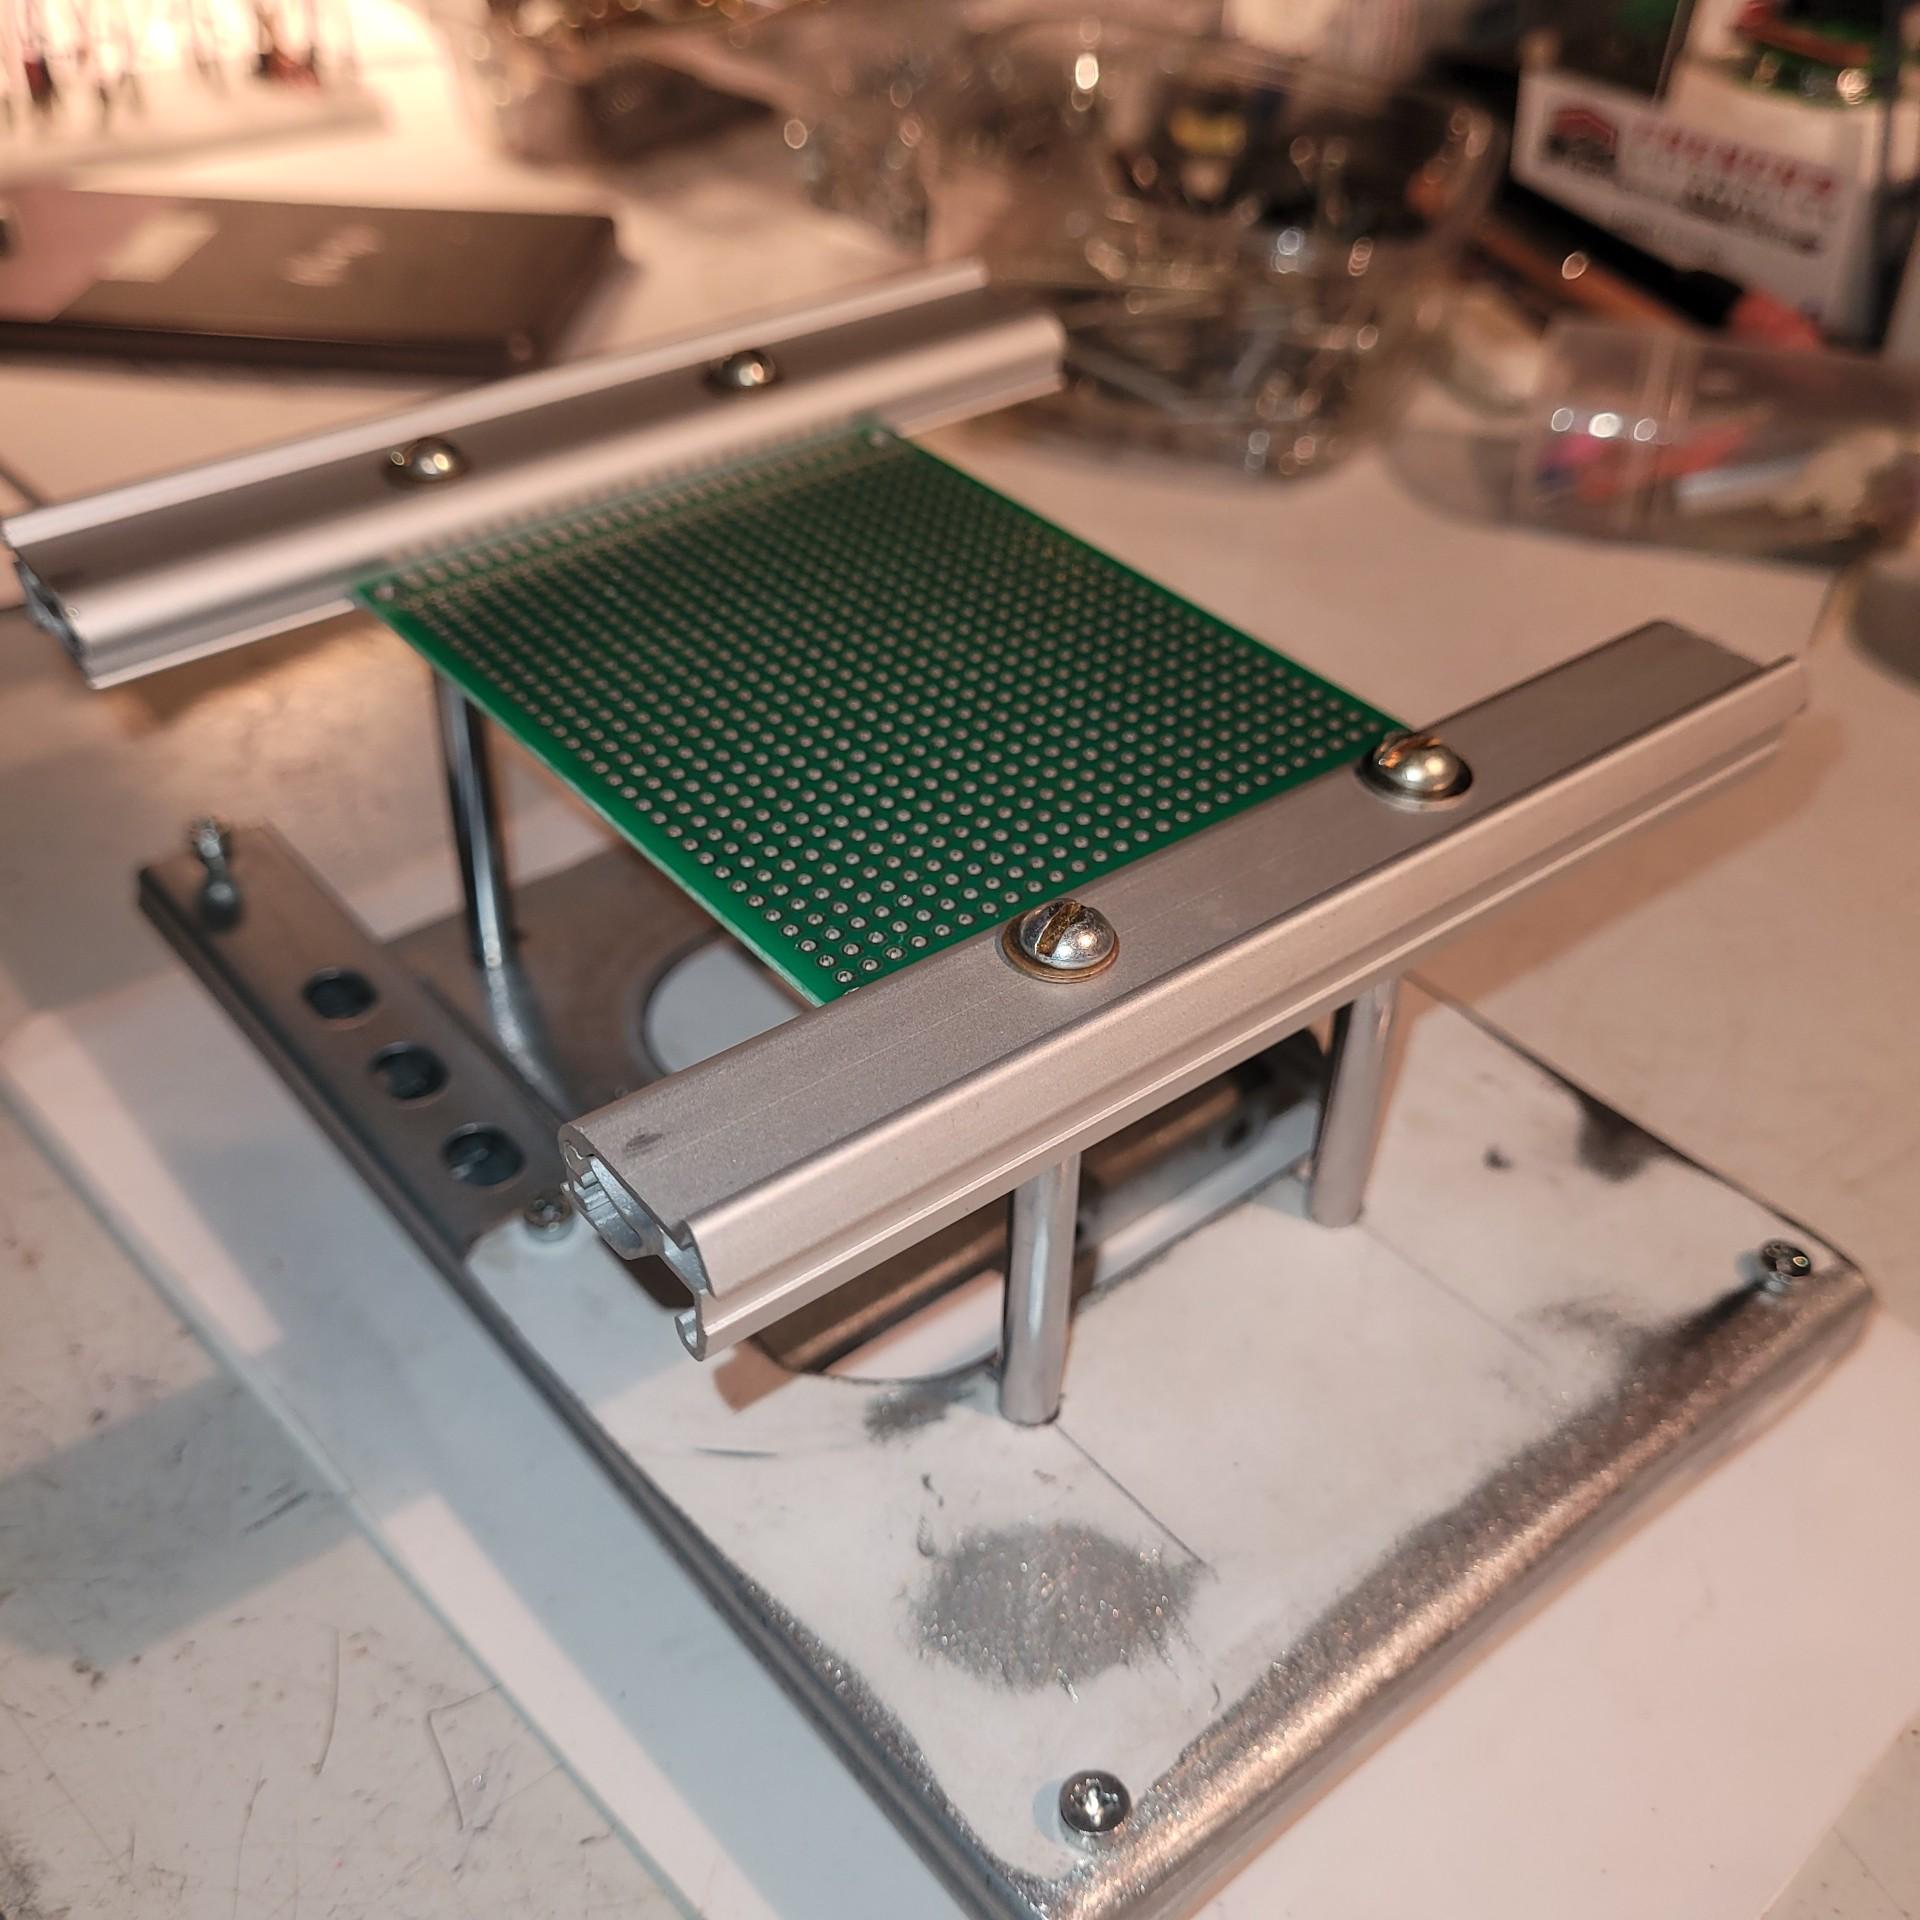
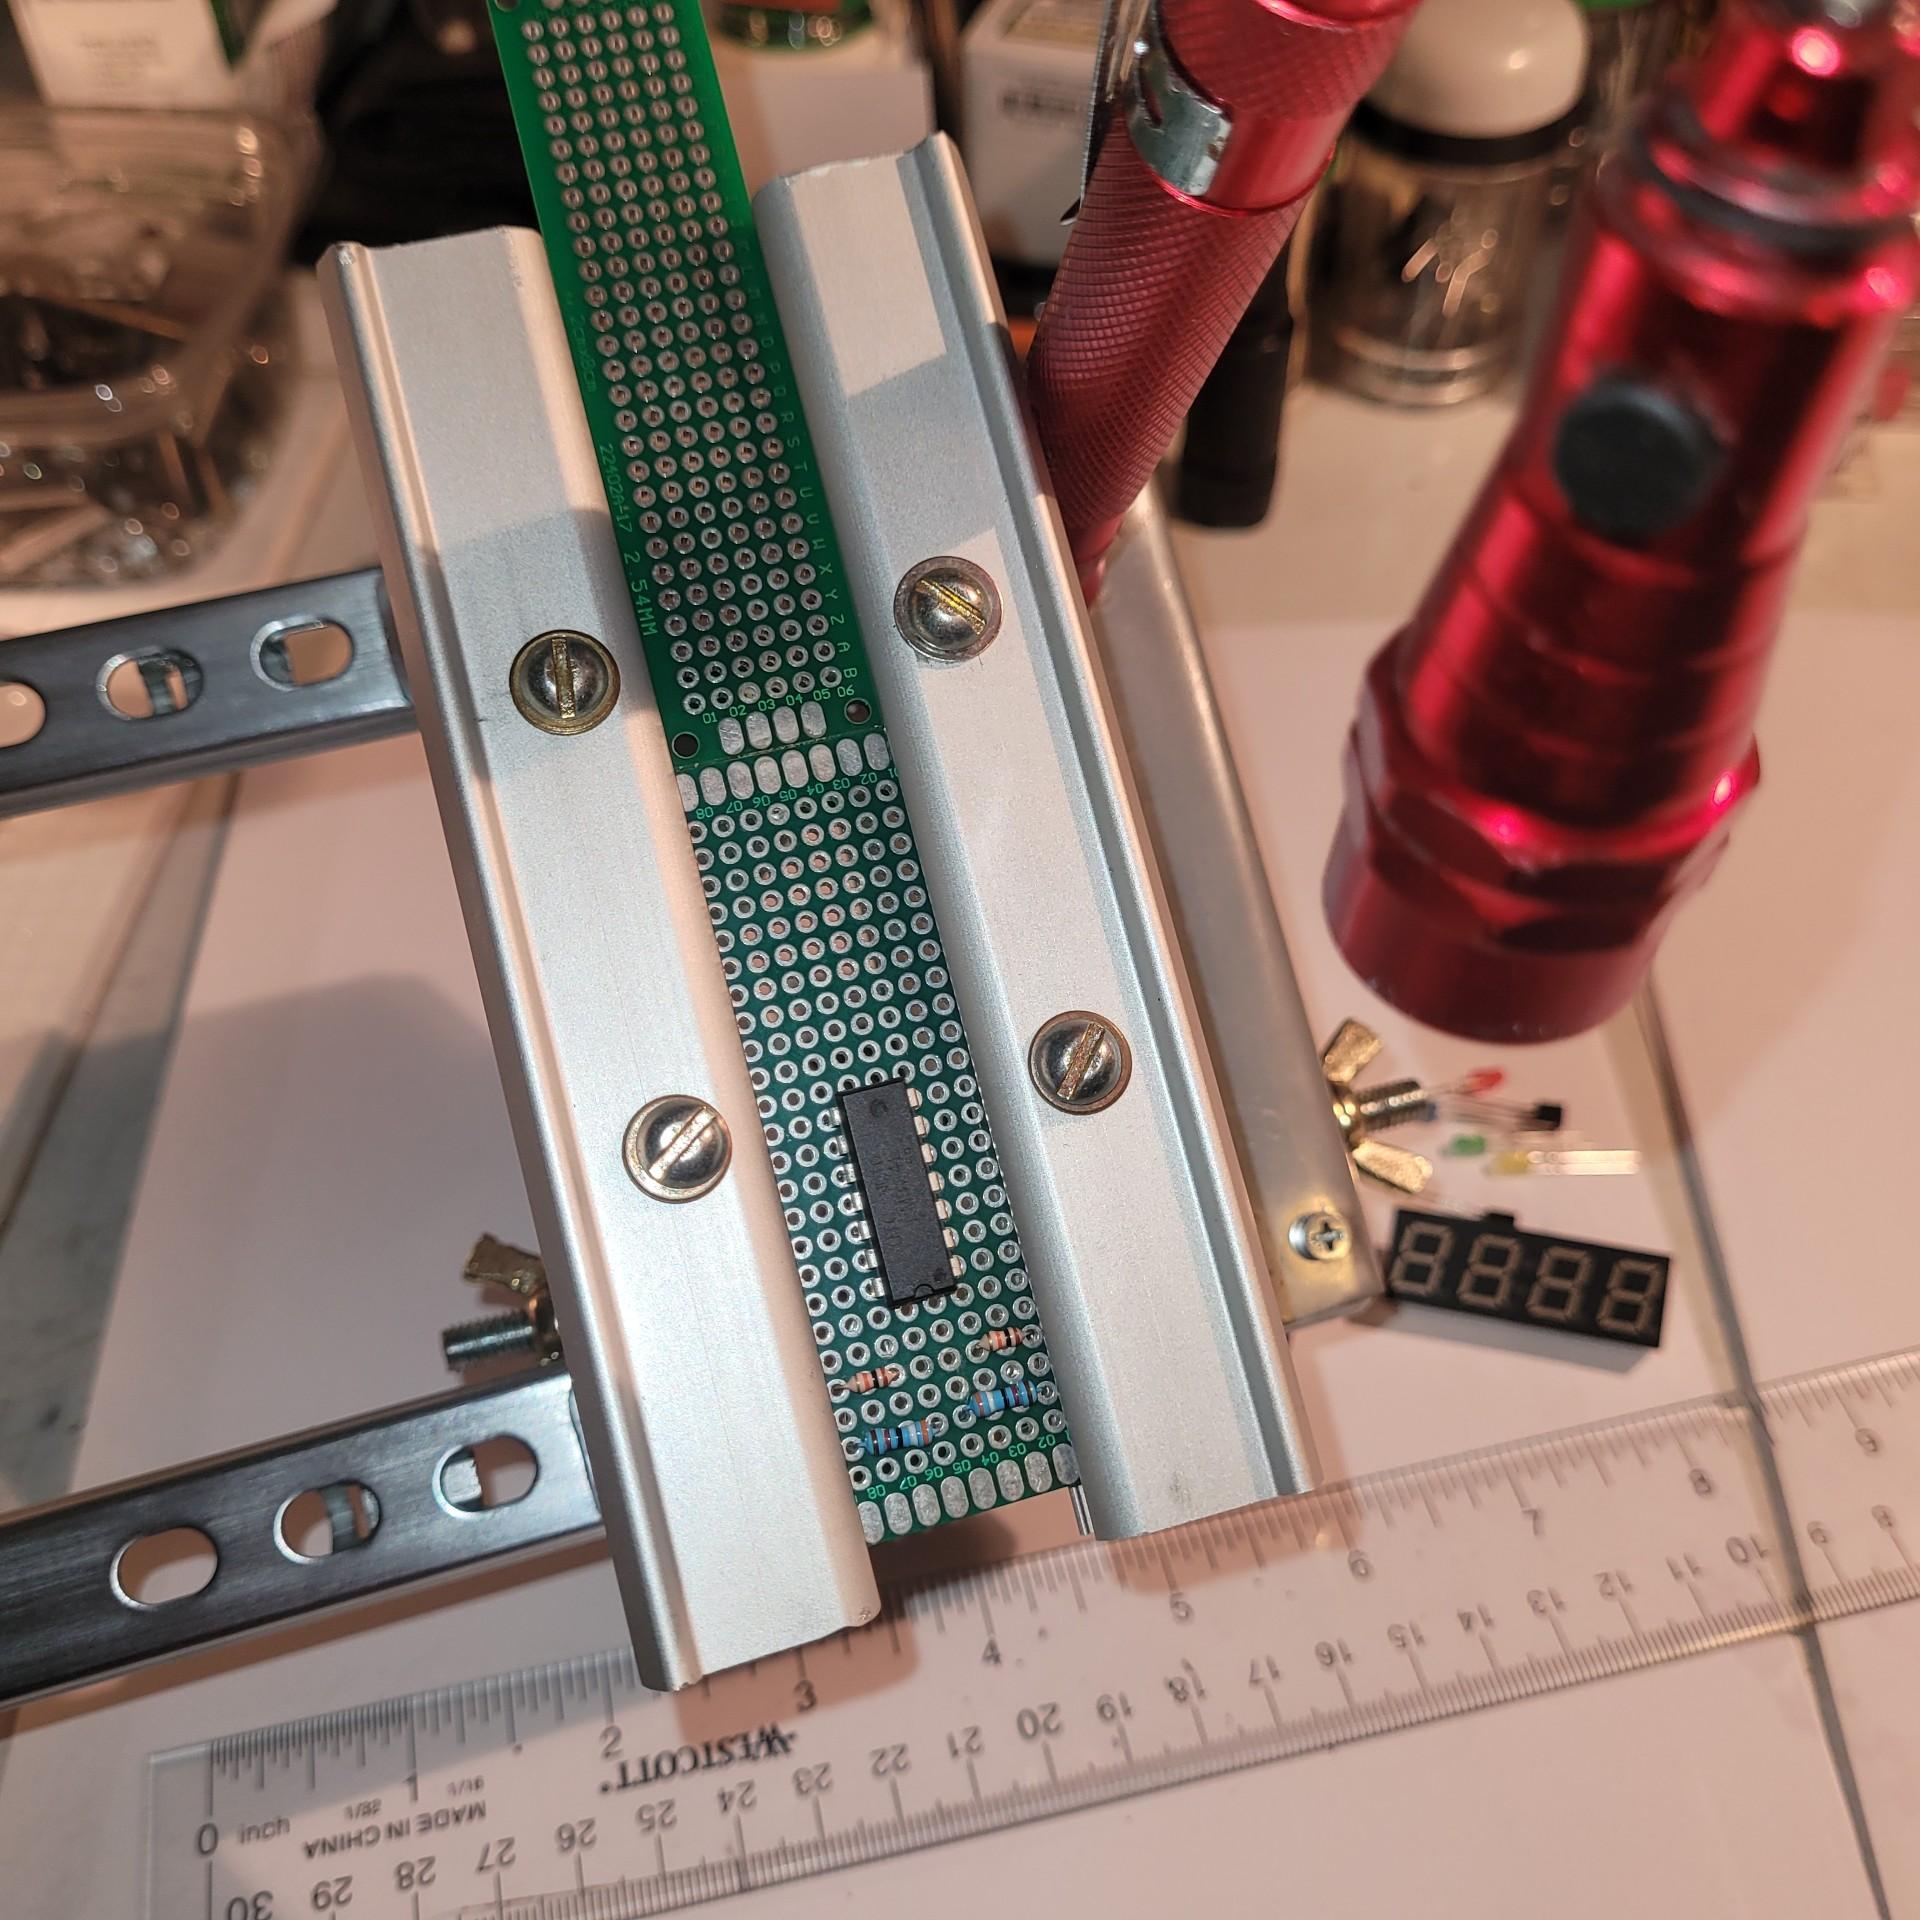
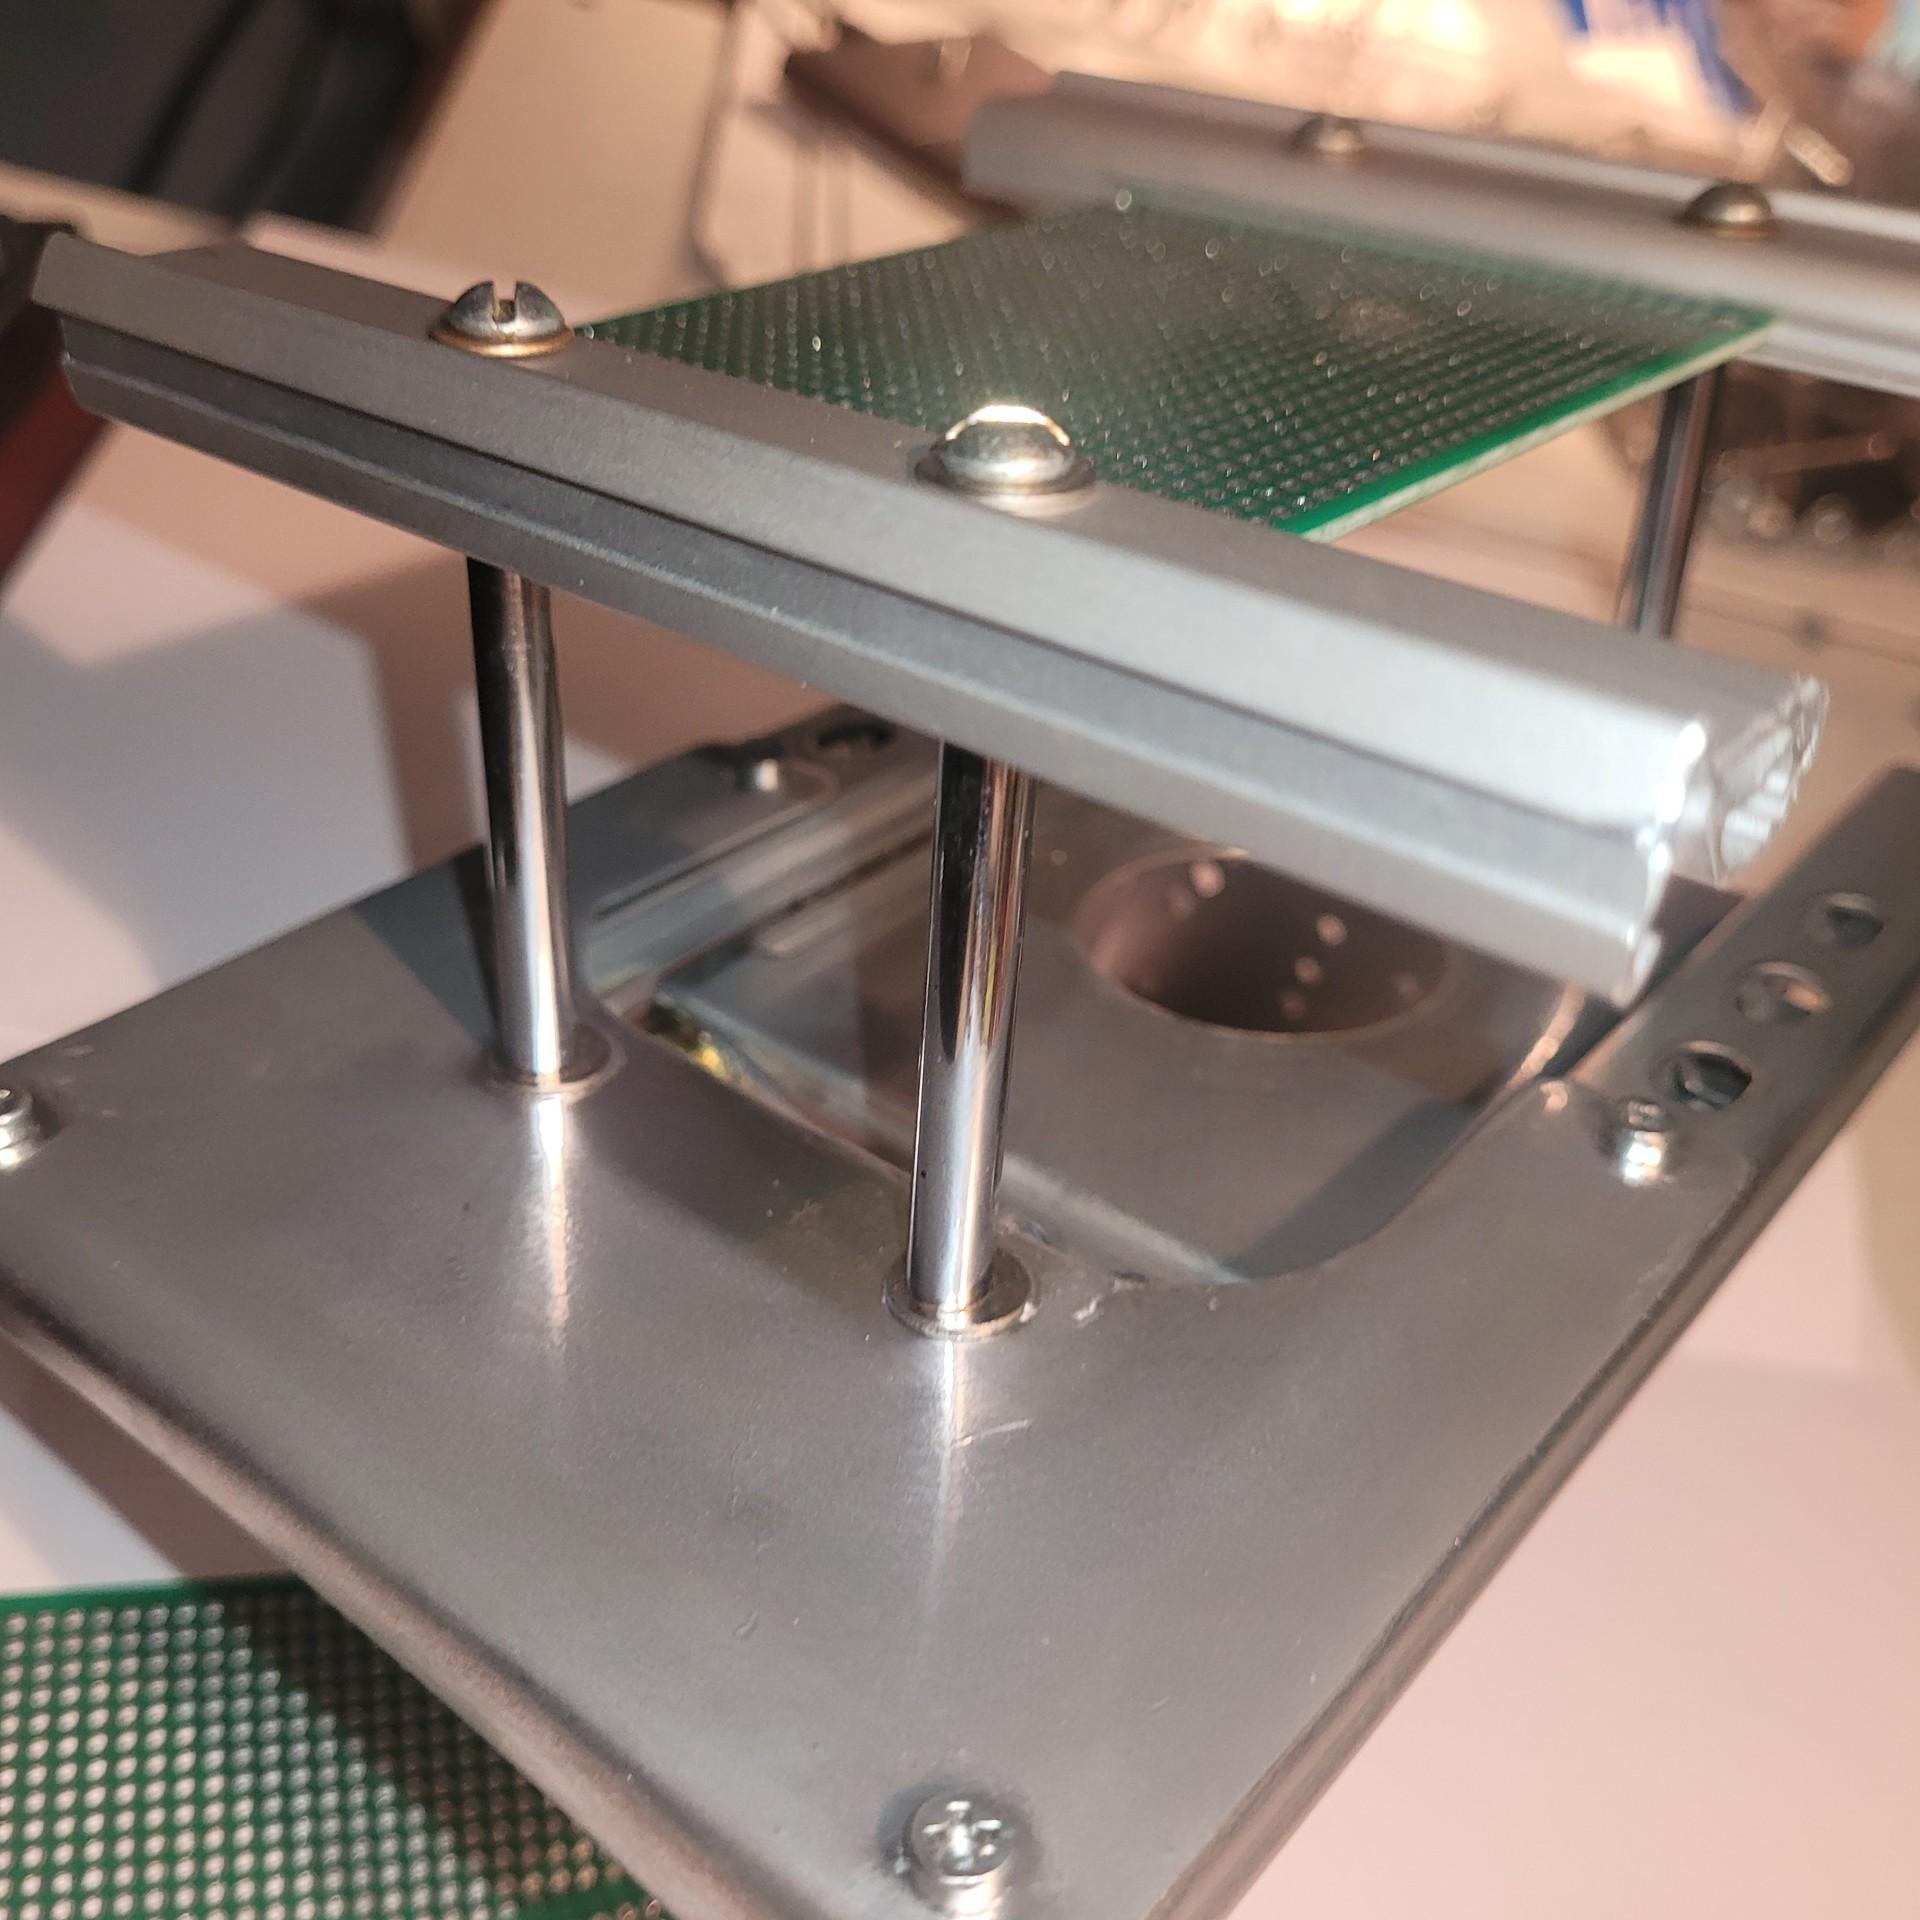
As with the first holding track , drill two corresponding 9/32 " holes in the slider plate inline with the two stand-offs already installed on the top plate and insert the two bolts with the 2 " tubing and install the two nuts, washers and lock washers. Before tightening , check the alignment of the two holding " tracks " to insure that they are parallel with each other and tighten everything down.
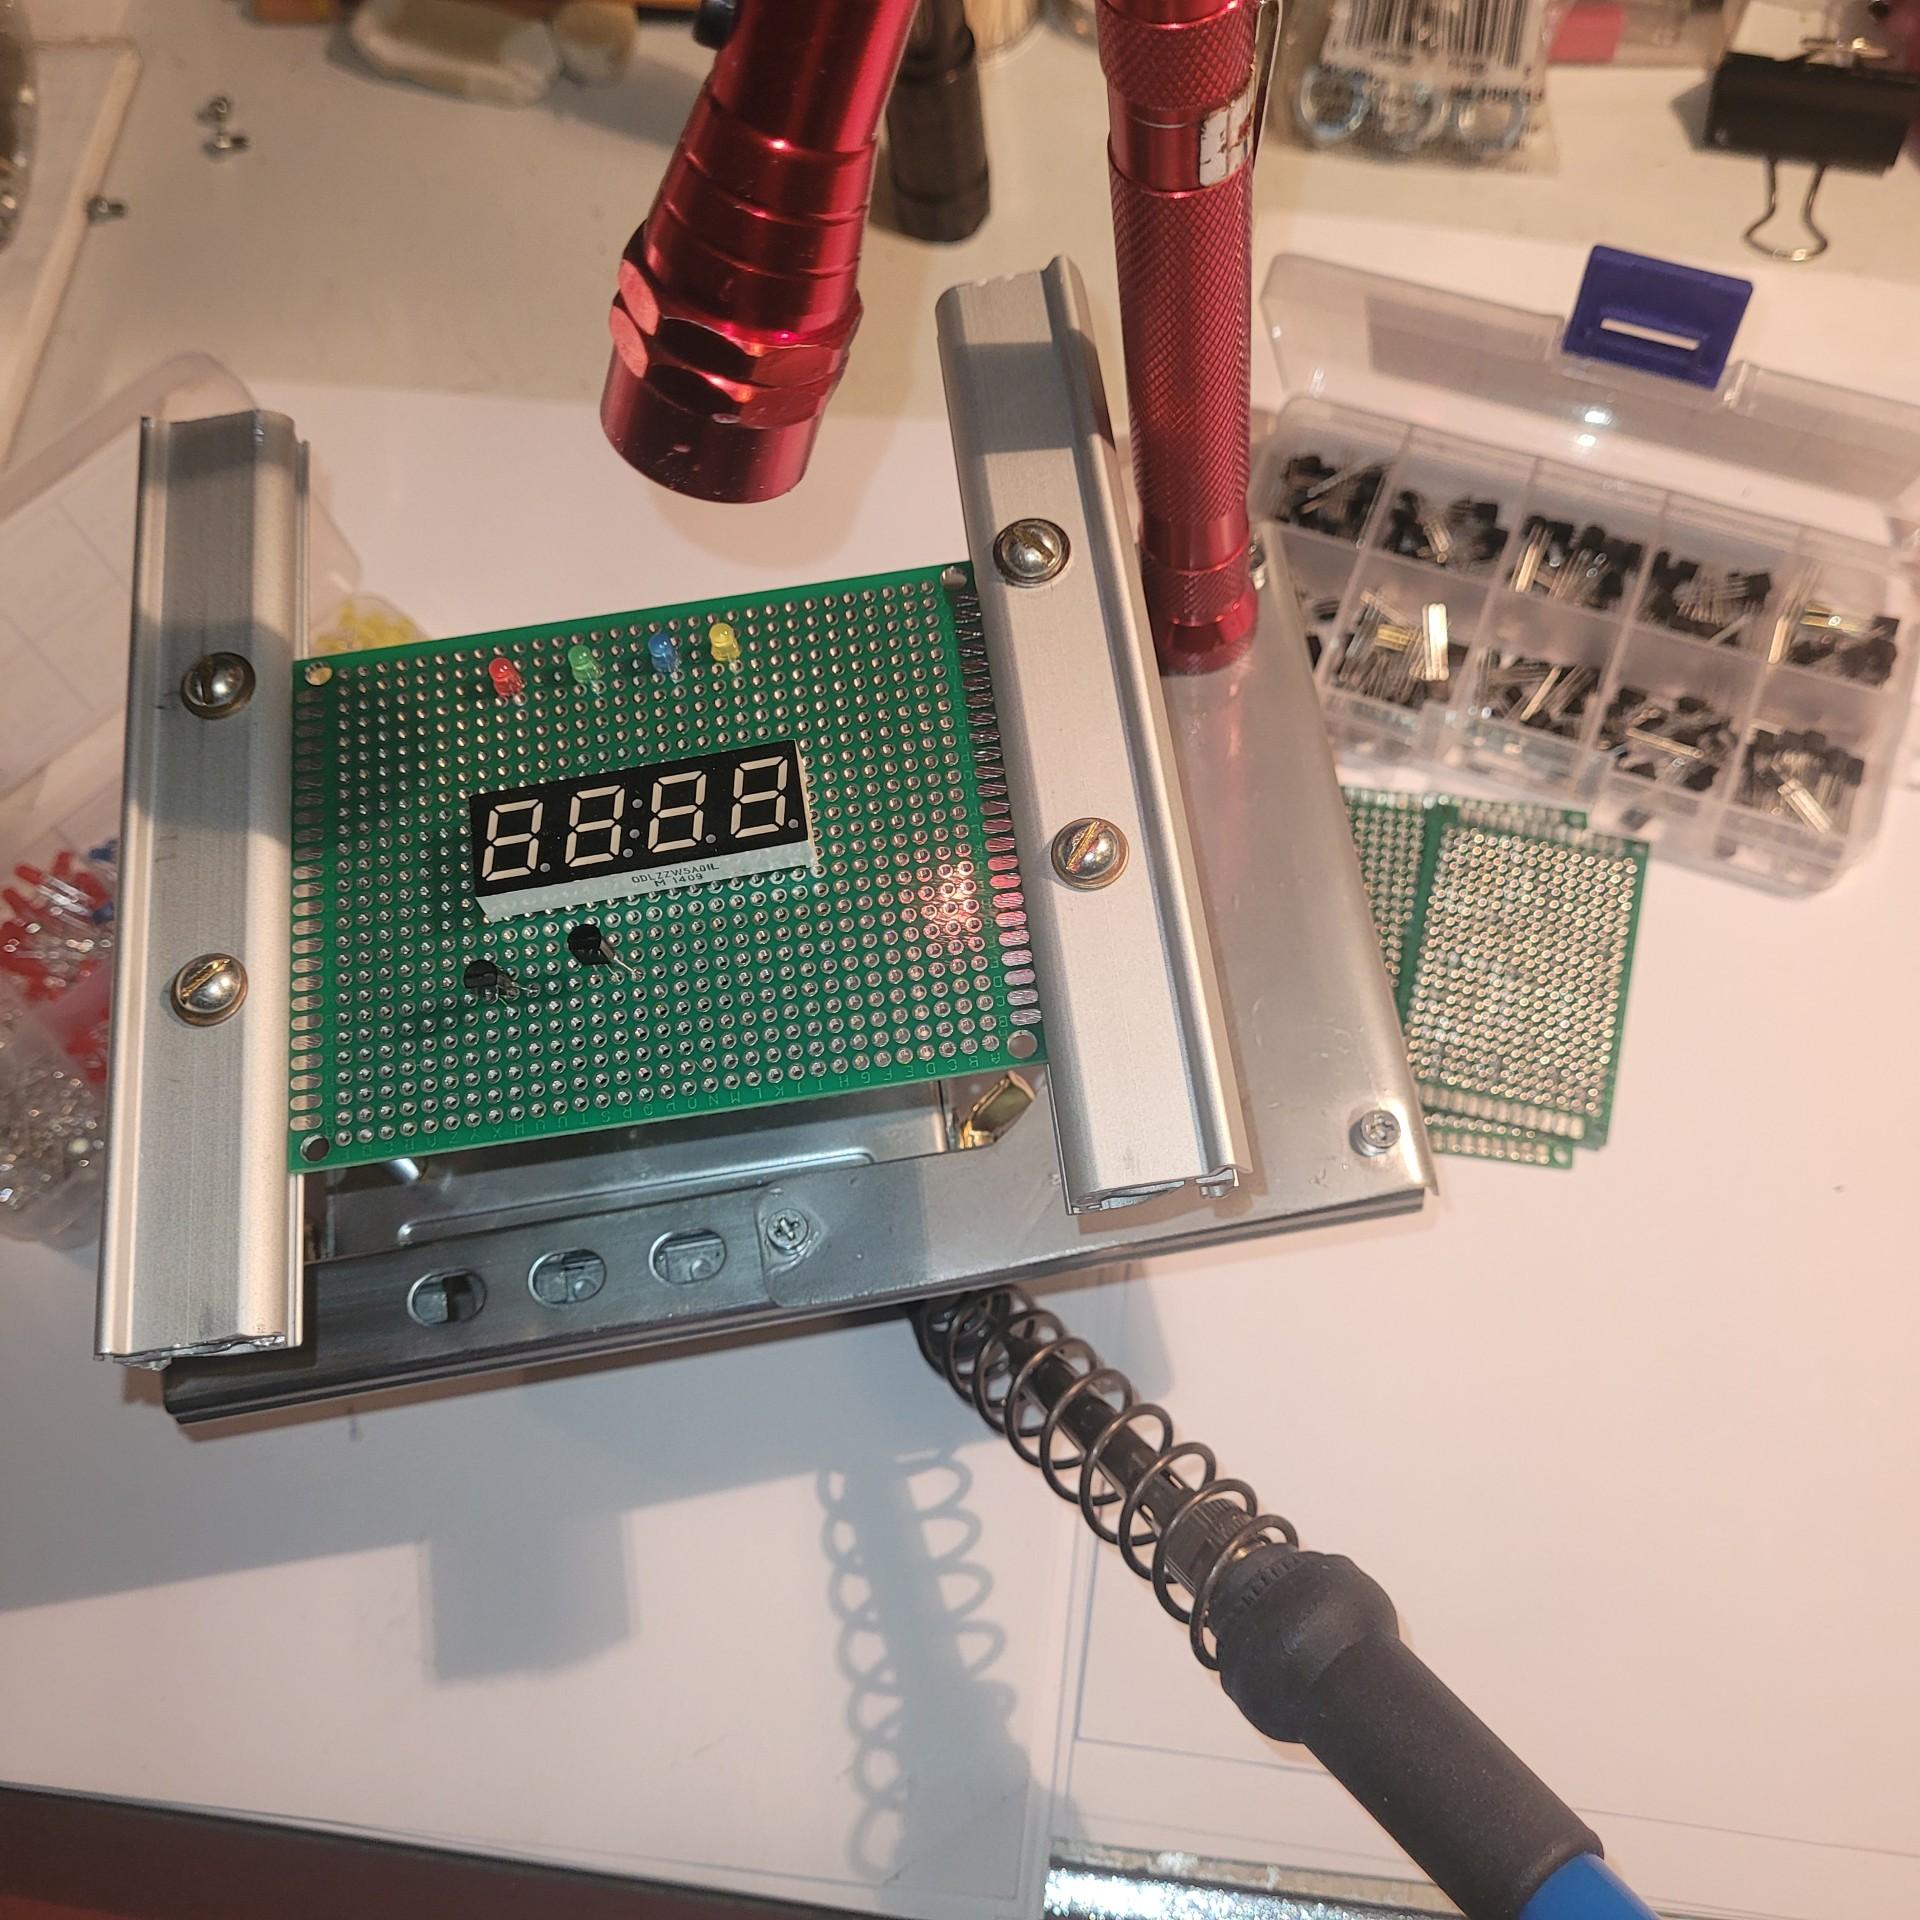
At this point you should have a working PC board holder and can test fit a board to check its alignment and functionality.
Painting , Re-assembly and Final Adjustments


After checking alignment and functionality , i removed the base and top plate and gave it a coat of silver spray paint in my homemade paint booth ( cardboard box ), let it dry overnite and re-assembled everything. With more testing and final adjustments the unit was ready.
Closing Thoughts and Sourcing Parts and Materials
This project cost me nothing ( only my time) as i already had all the parts, materials and tools needed to build it , but the parts and materials are not expensive to buy and available at any hardware store. To make things cheaper shop on-line , Amazon ( Temu too ? ) has the slider rails, aluminum extrusion/channel , nuts and bolts, etc. they even have the Magnetron, but i'd hold off on that and keep a look-out for a discarded microwave on junk day.
Happy Thanksgiving !