Make Real Rock Climbing Holds for Your Home Bouldering Wall
by eyewalk in Outside > Climbing
442 Views, 4 Favorites, 0 Comments
Make Real Rock Climbing Holds for Your Home Bouldering Wall
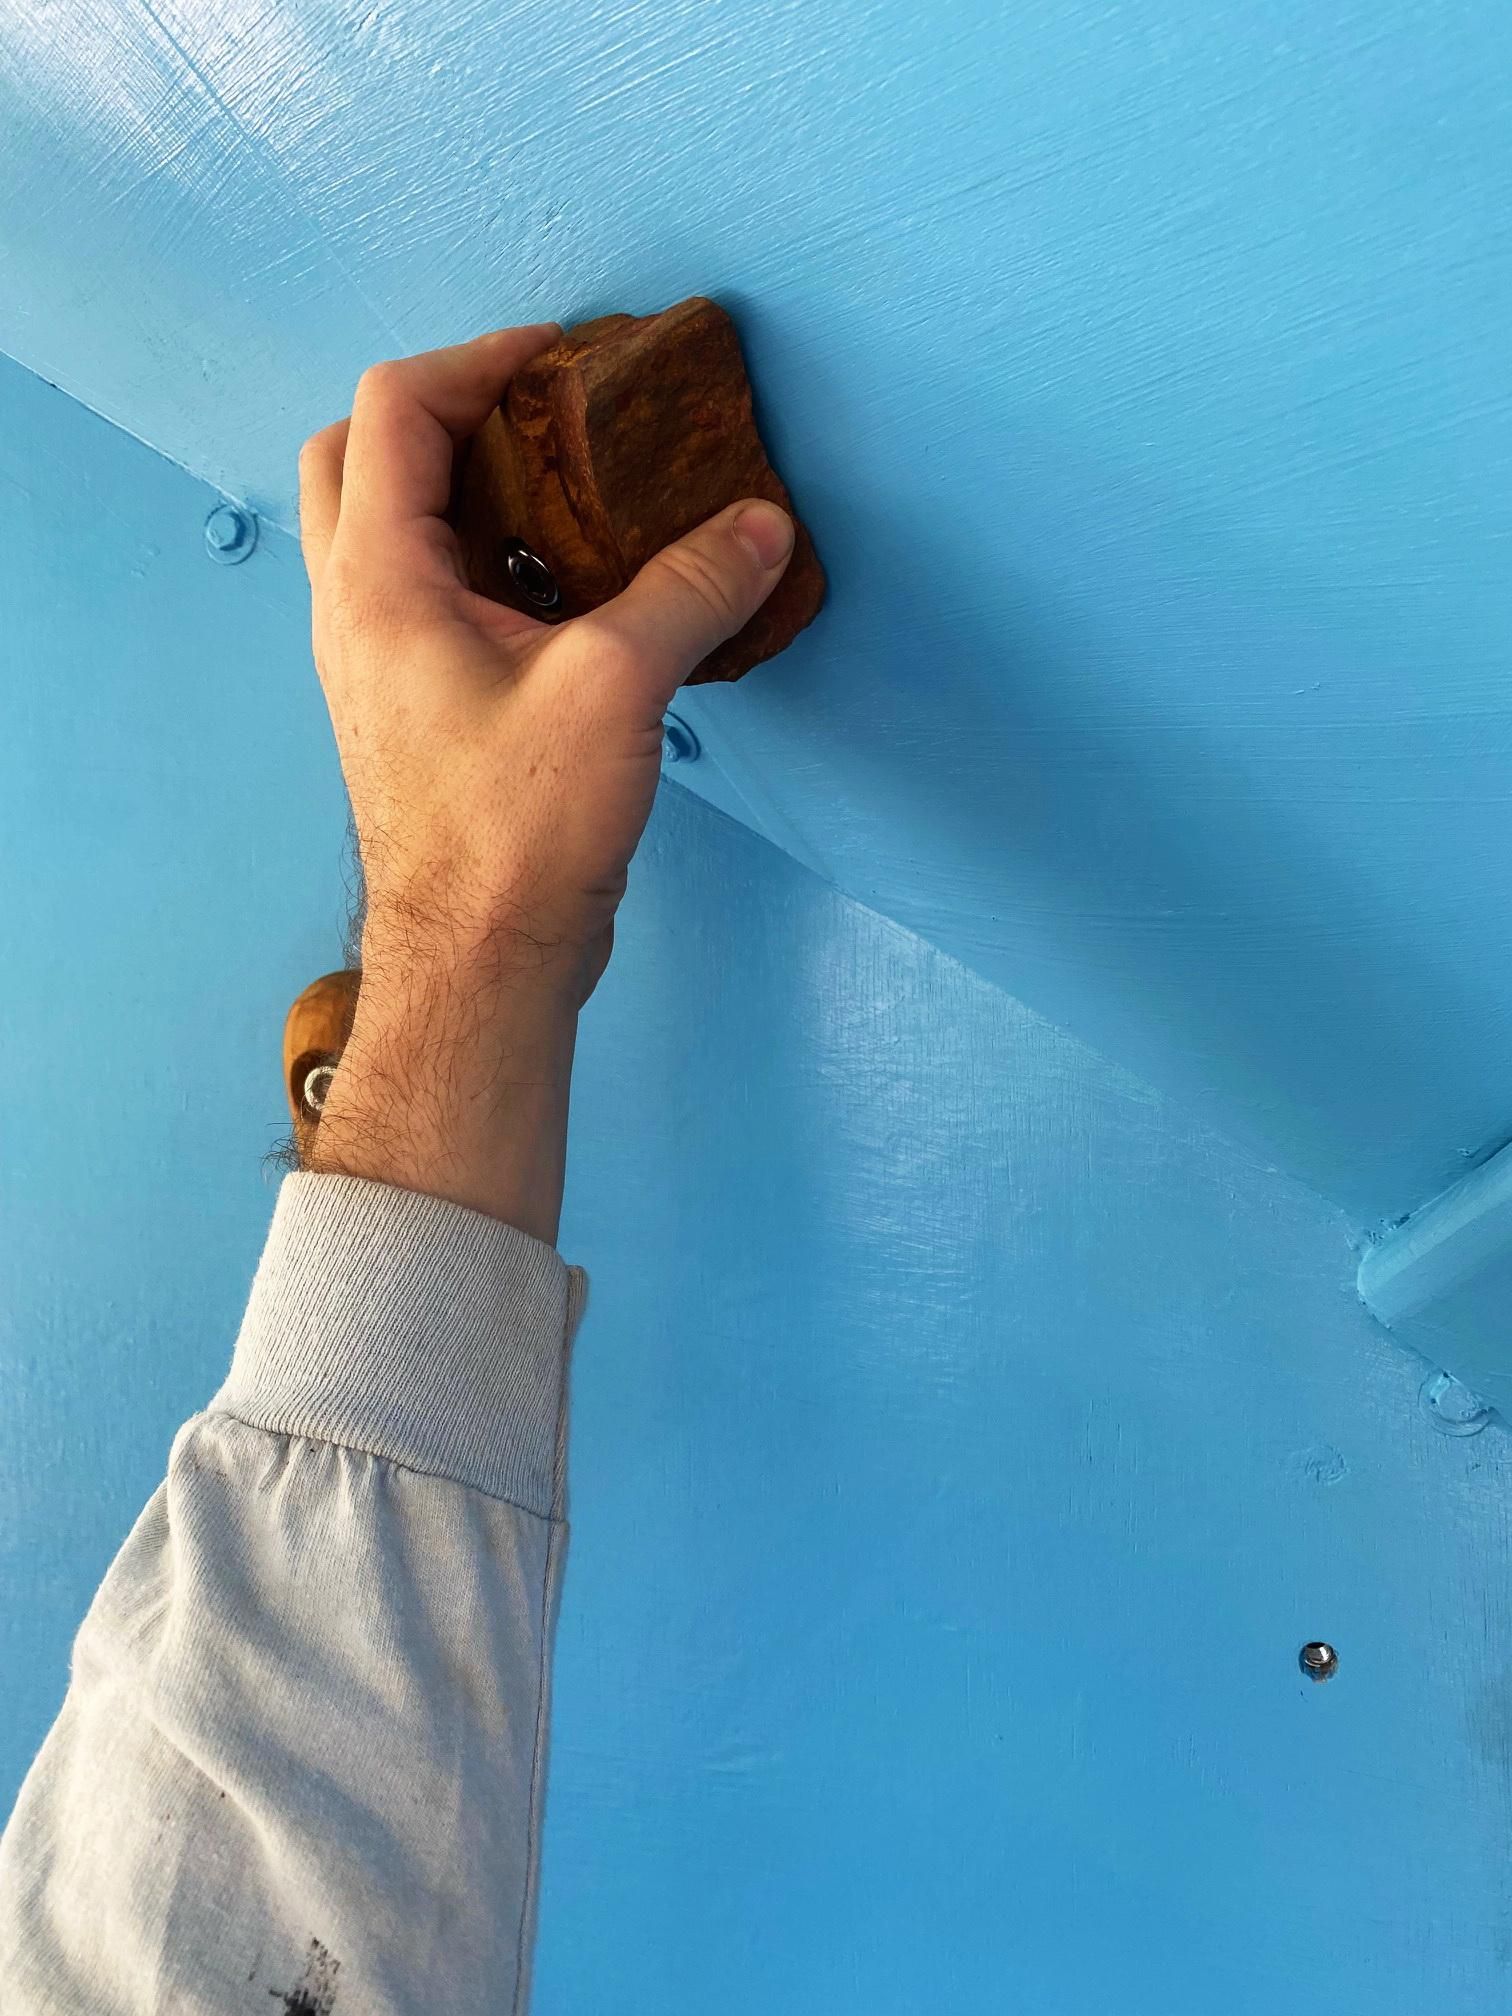
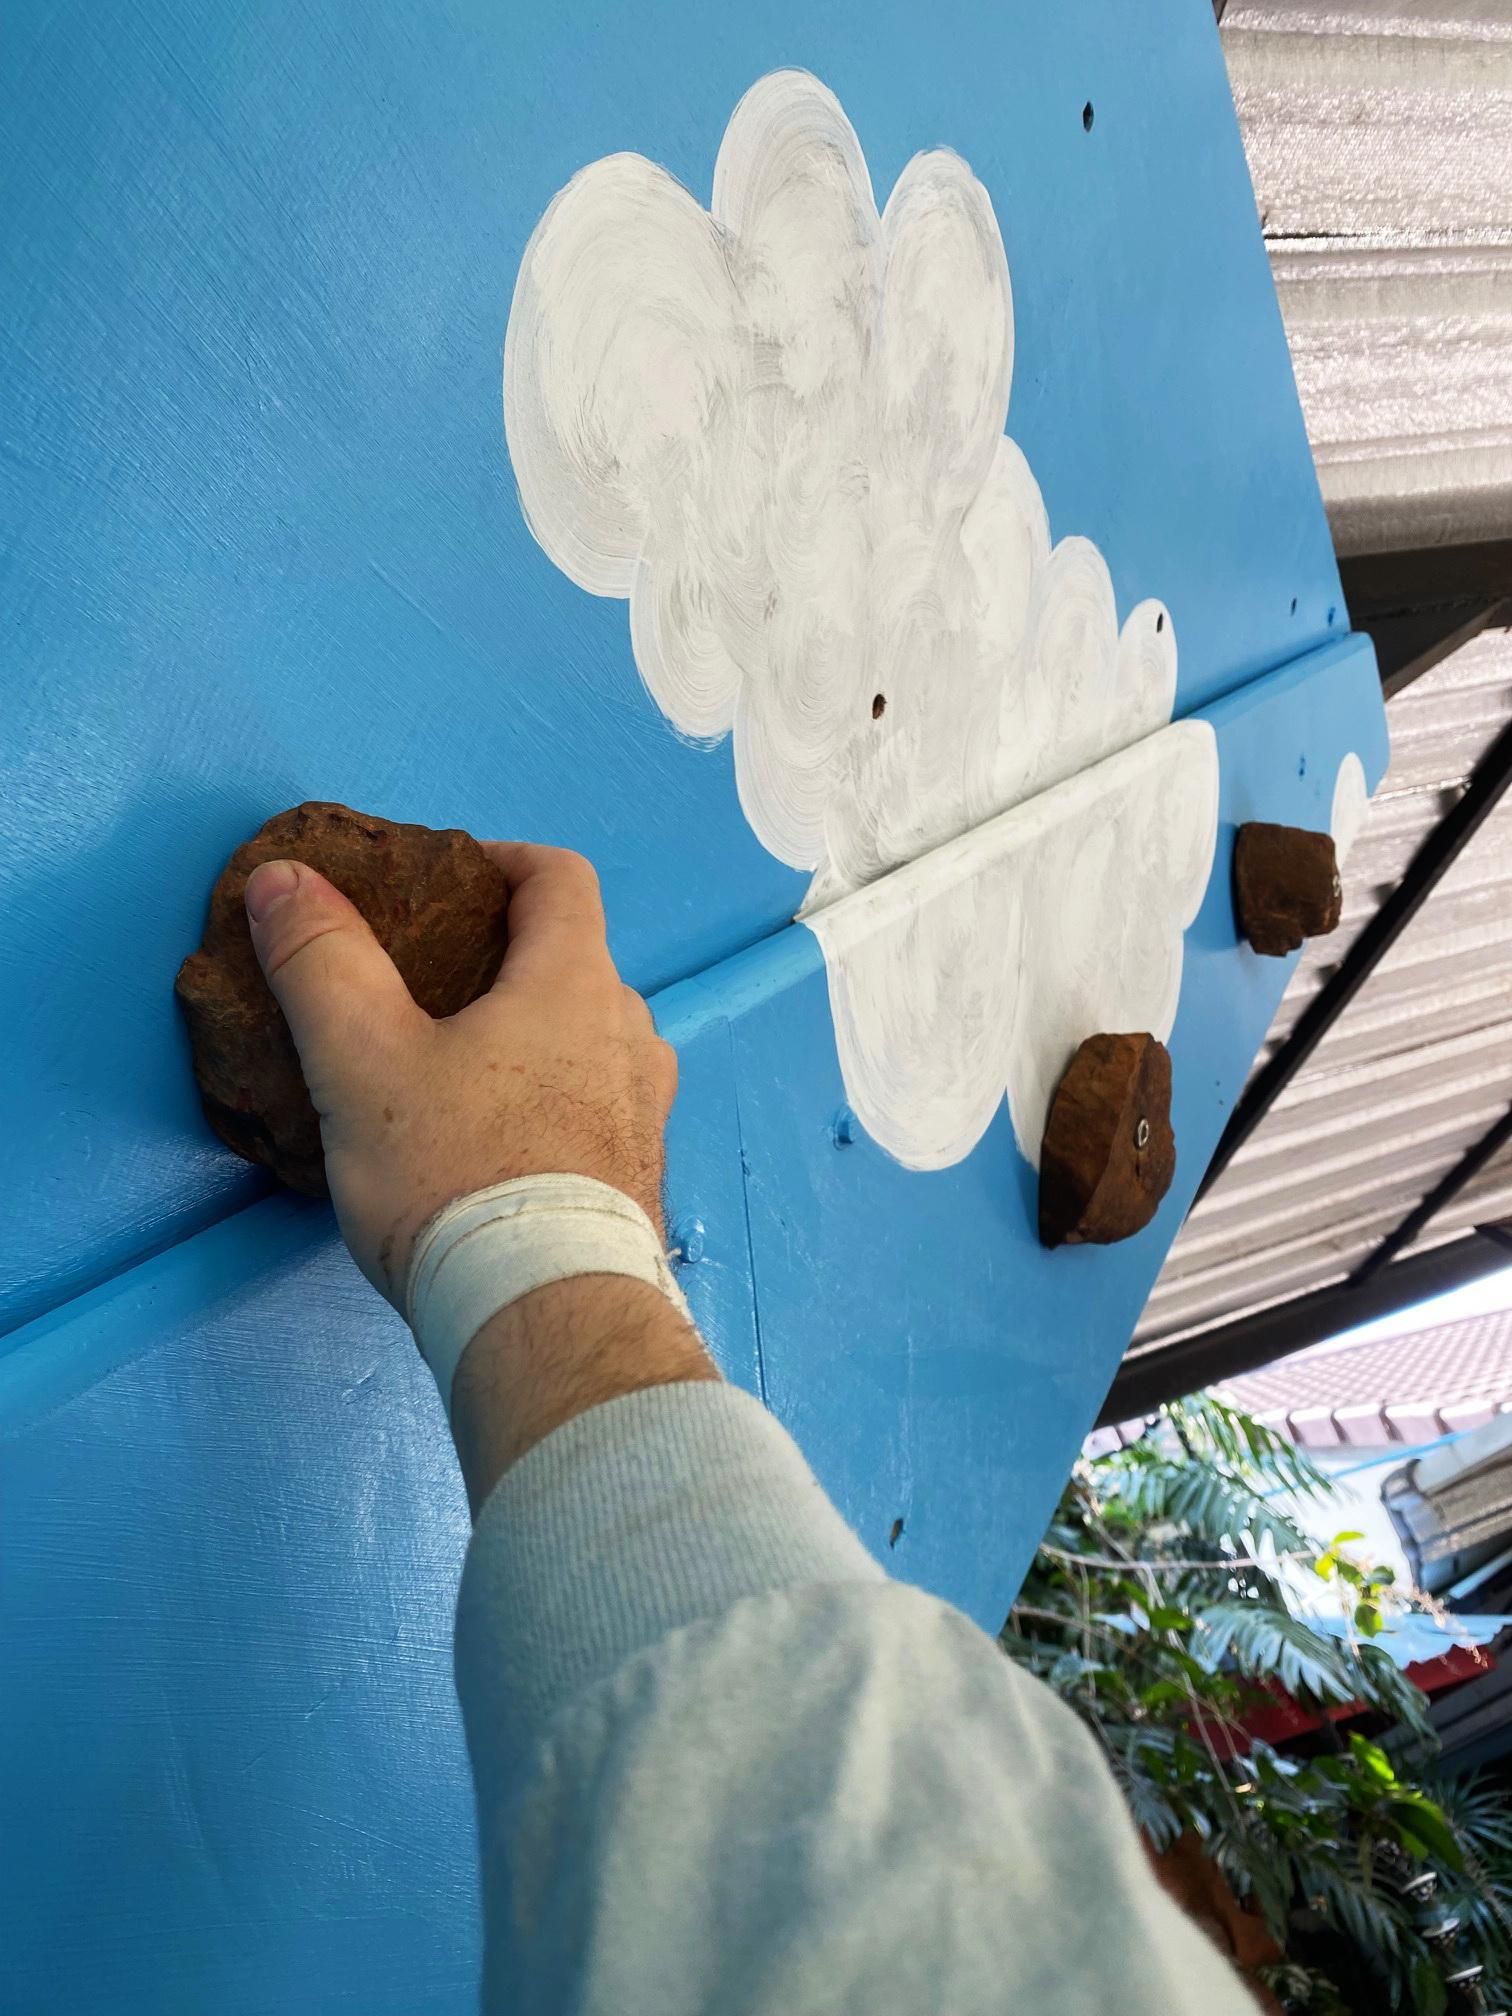
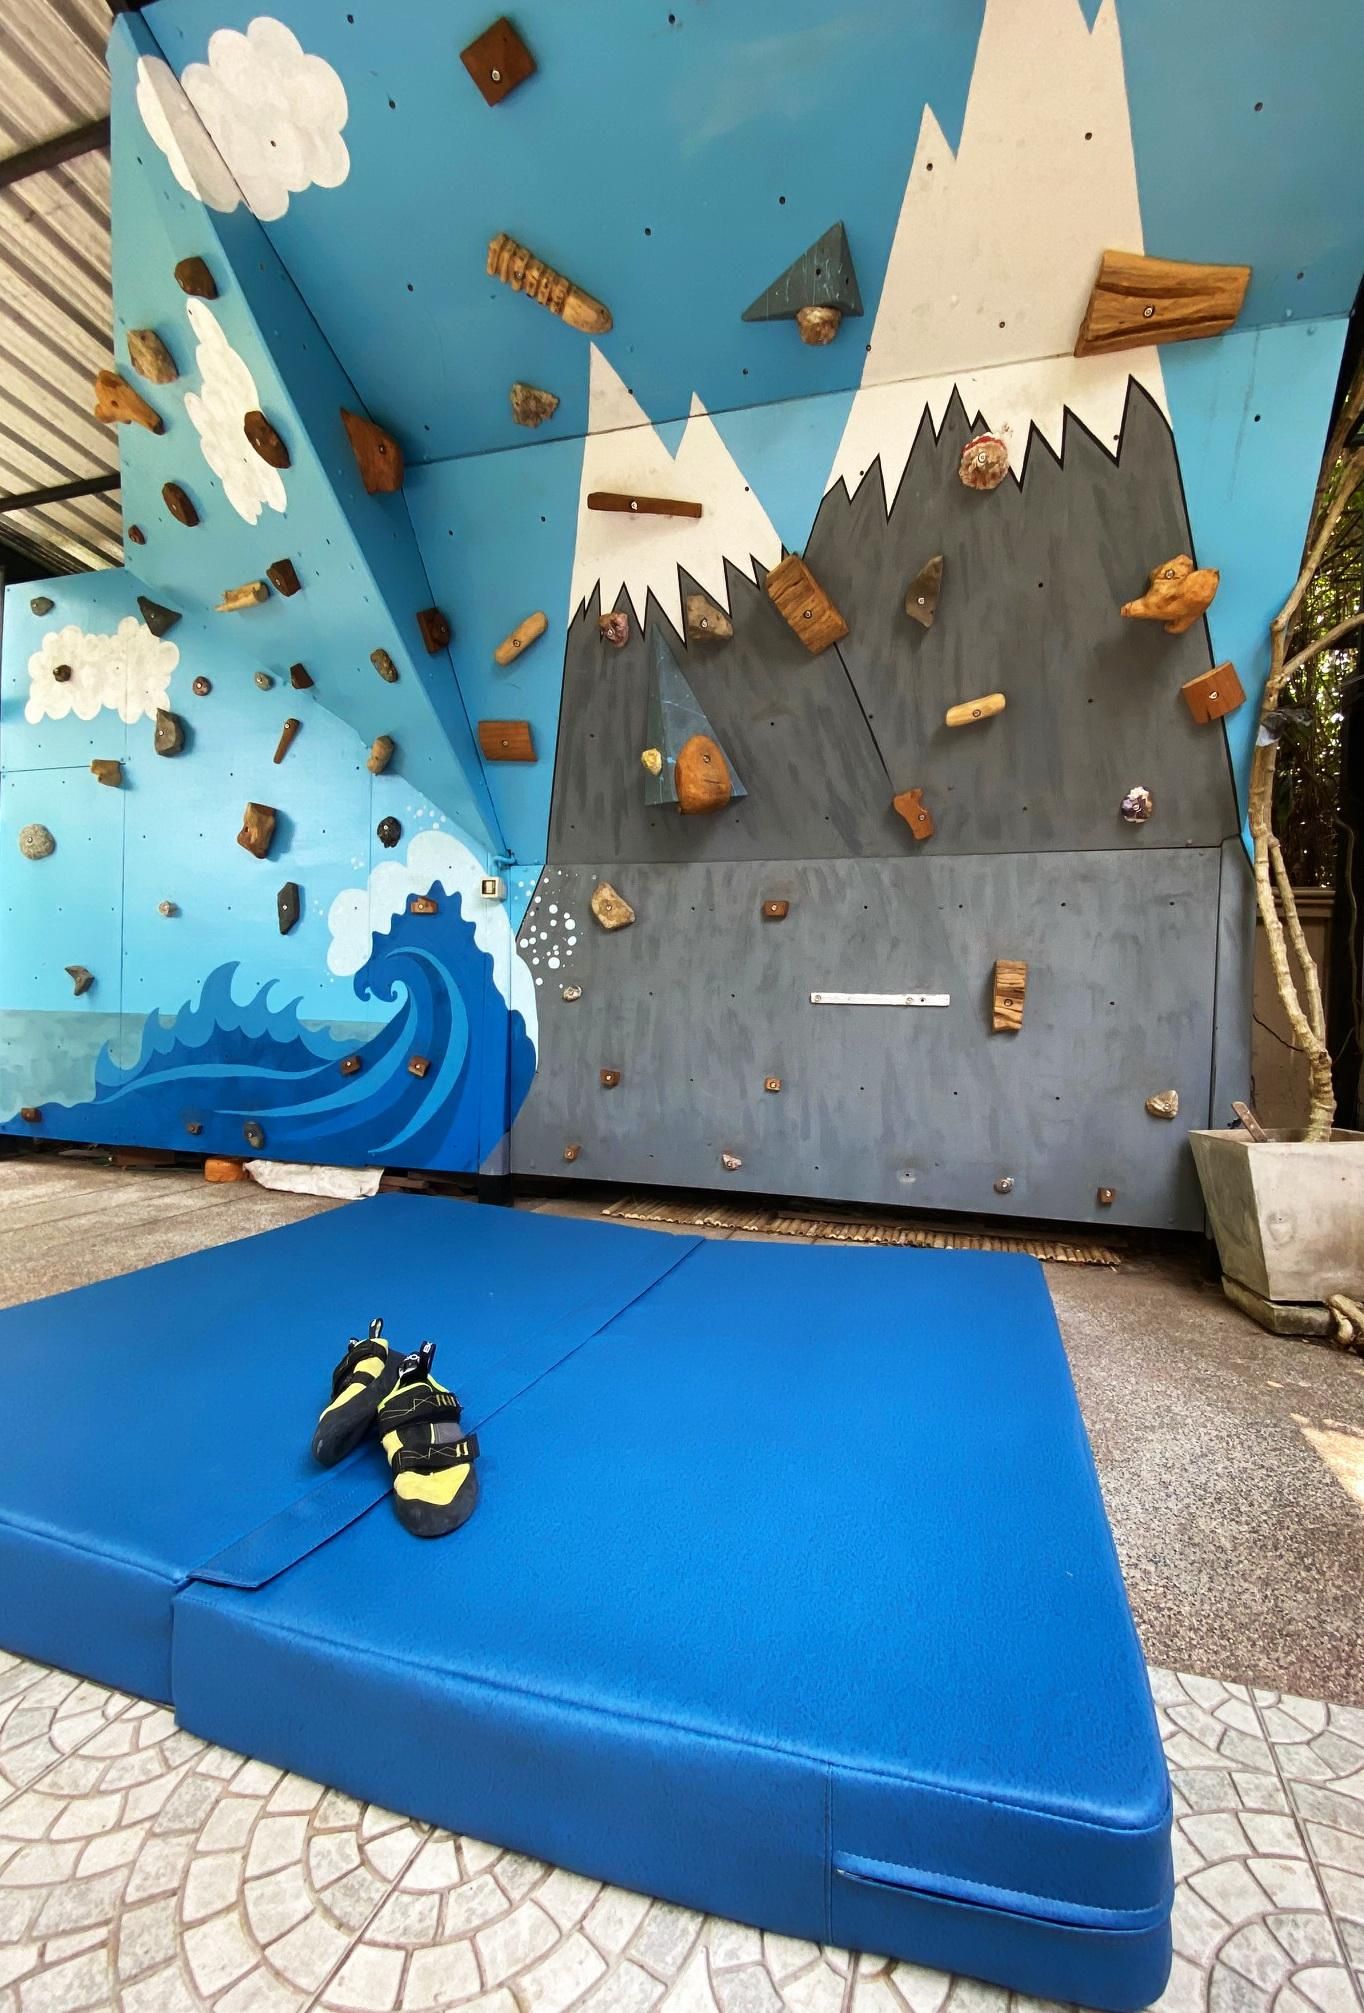
Last year, I built a little bouldering wall under our carport. Learned to weld just to do it, so you can imagine it took a while.
When I was done, I'd also exceeded my budget. By a fair bit.
But there was a problem.
I still needed climbing holds, and while I'd already tried out plastic and wooden holds, there's really nothing out there like real rock.
But I had a drill and a dream, so this project was born!
And you know what? It was surprisingly successful!
Supplies
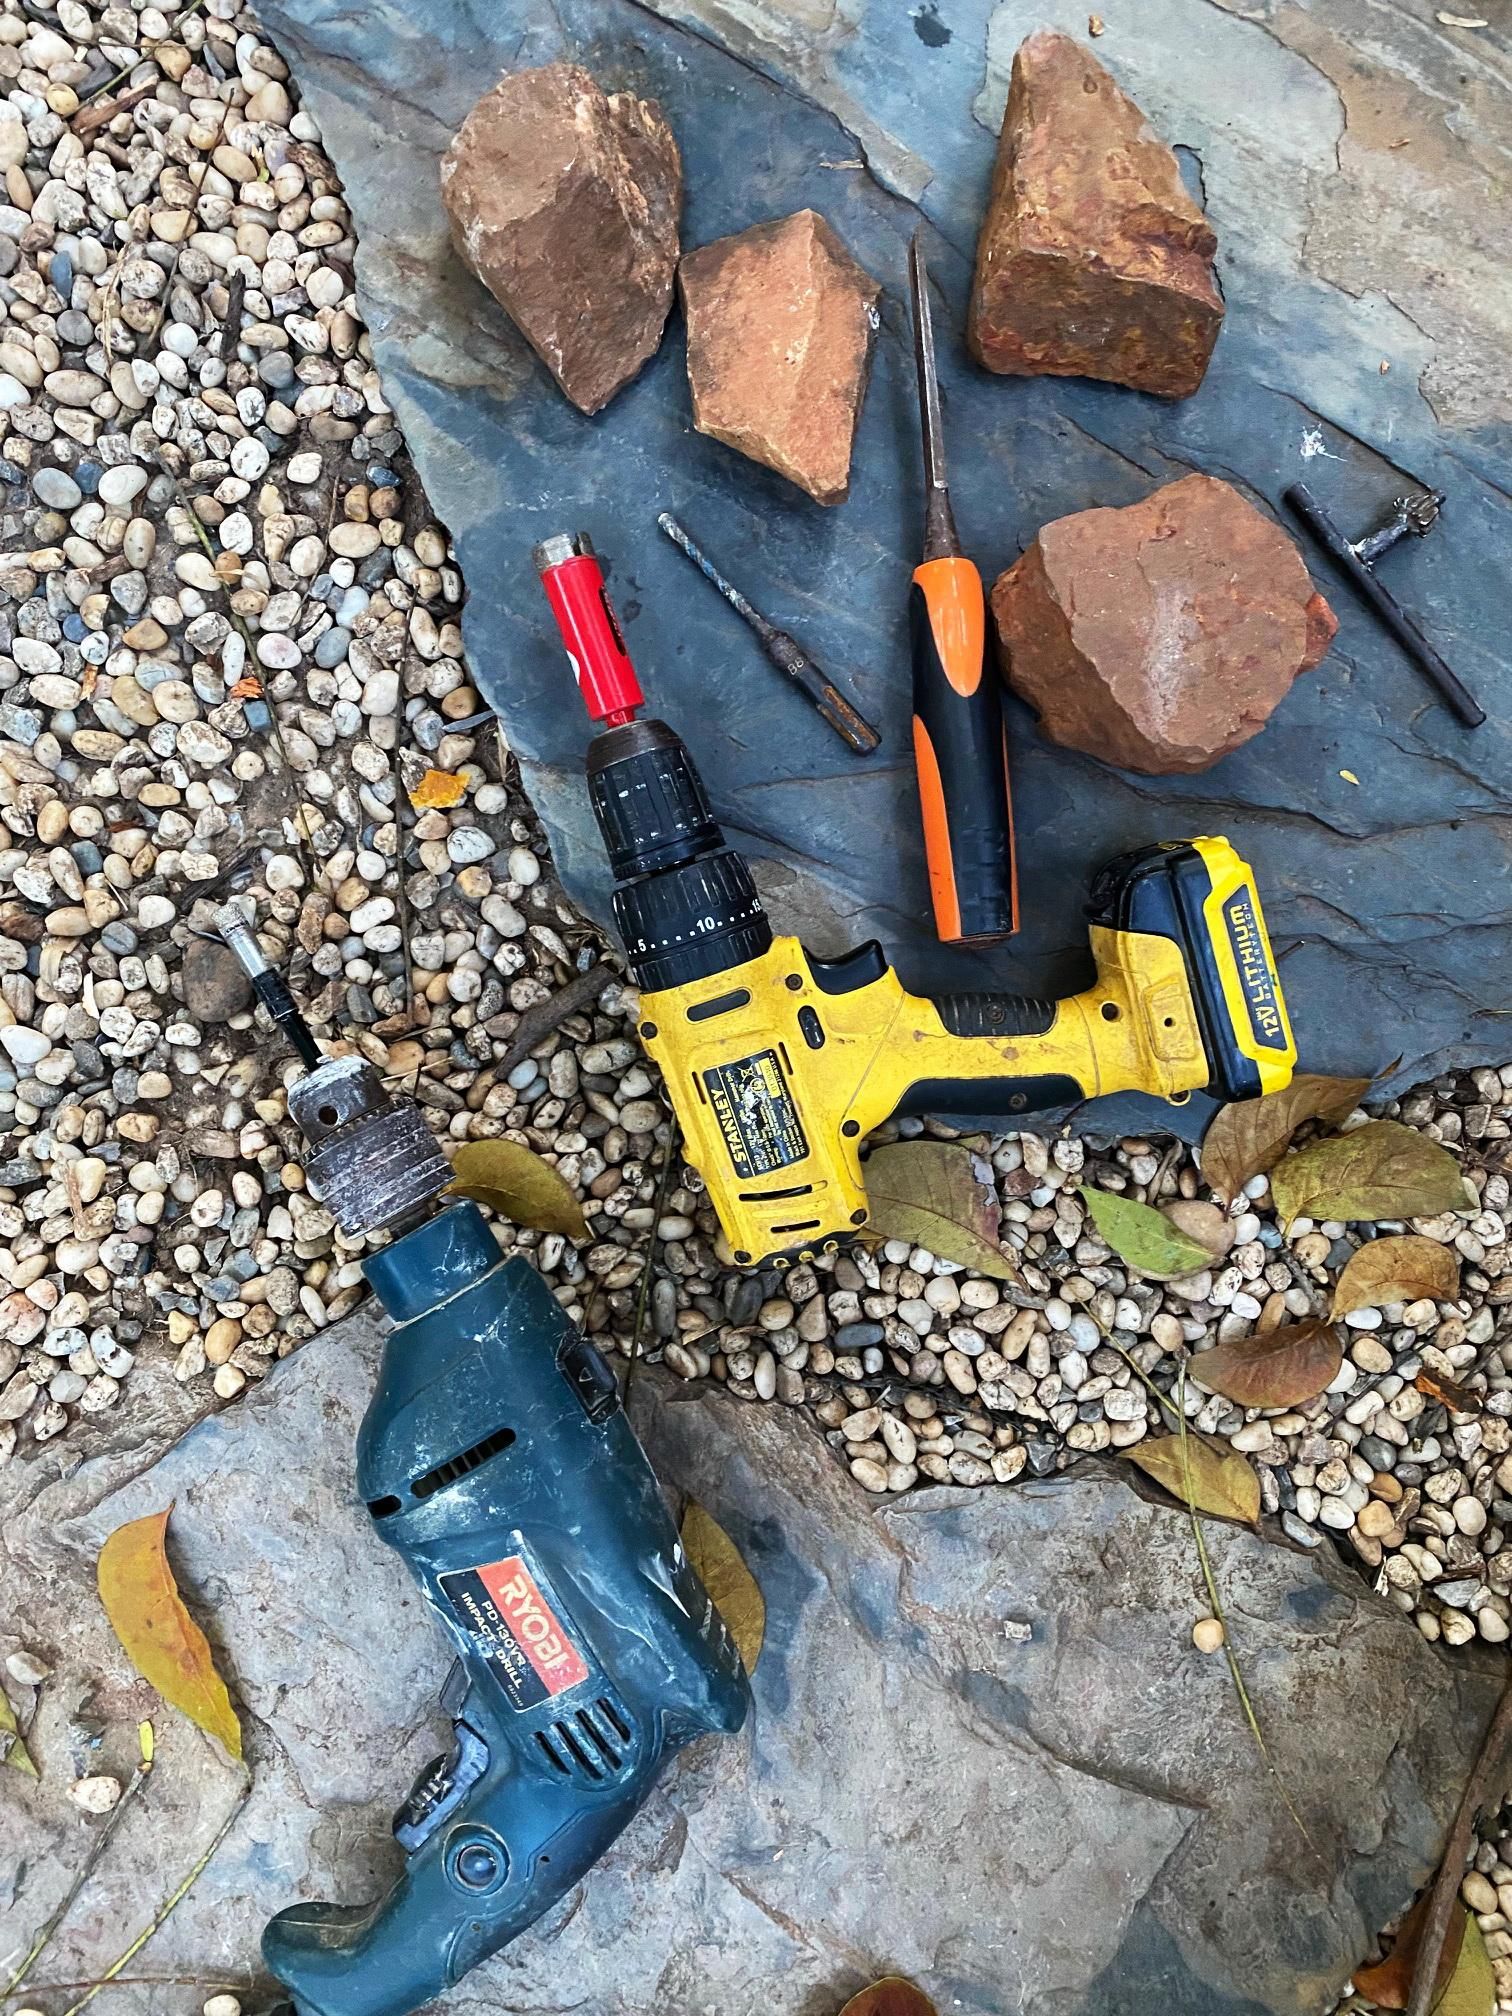
You're going to need these materials:
*rocks, preferably with at least one flat face each (more on choosing rocks later)
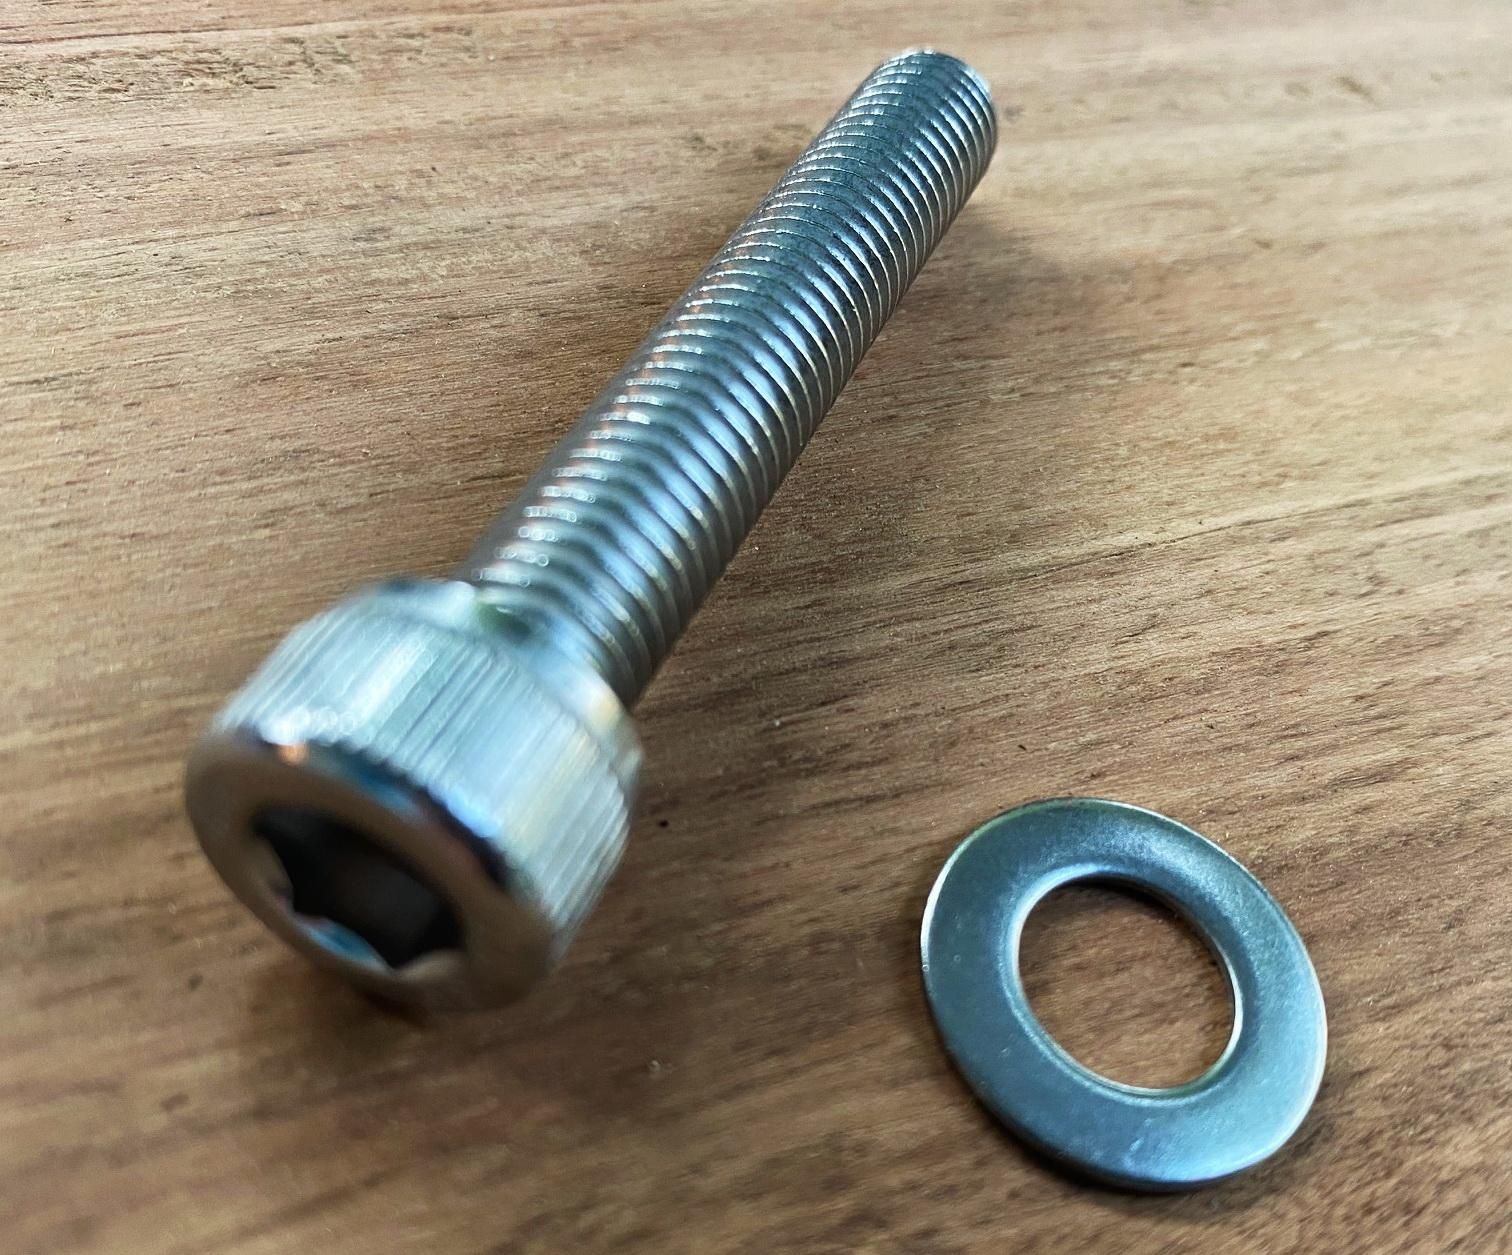
*M10 hex bolts (10mm thread diameter)
*washers (I used 1.5 mm thick, 20mm outer diameter washers with inner holes that fit my bolts)
...and these tools:
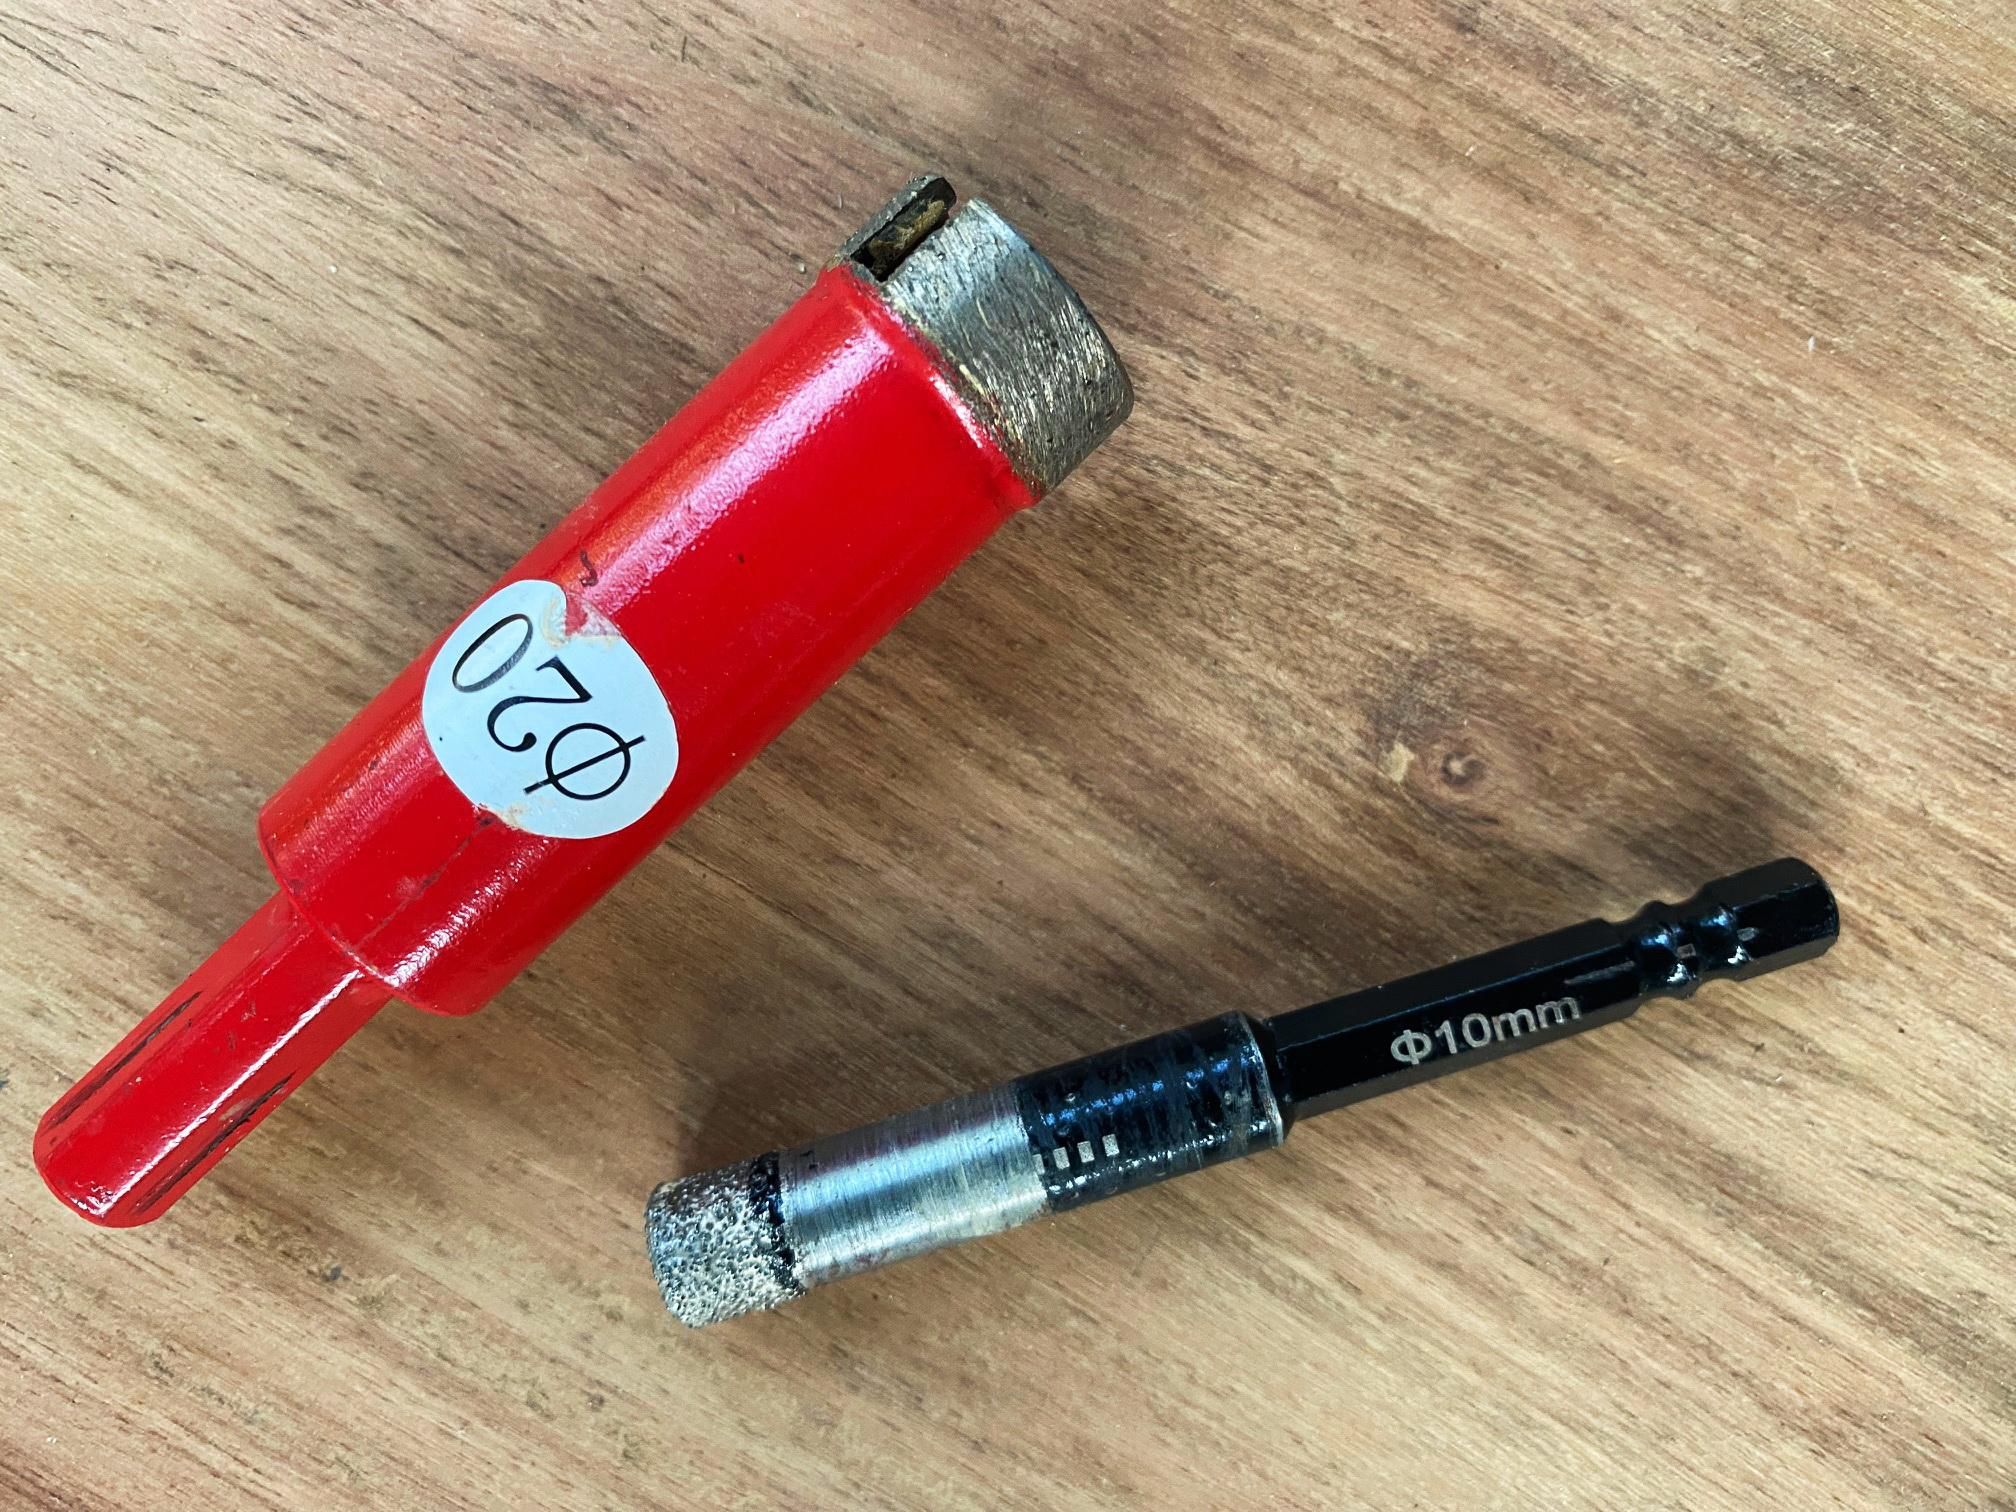
*10mm diamond-surfaced coring bit
*20mm diamond-surfaced coring bit
*drill
*a long nail (I actually used an old broken masonry drill bit)
*a hammer (or other whacker)
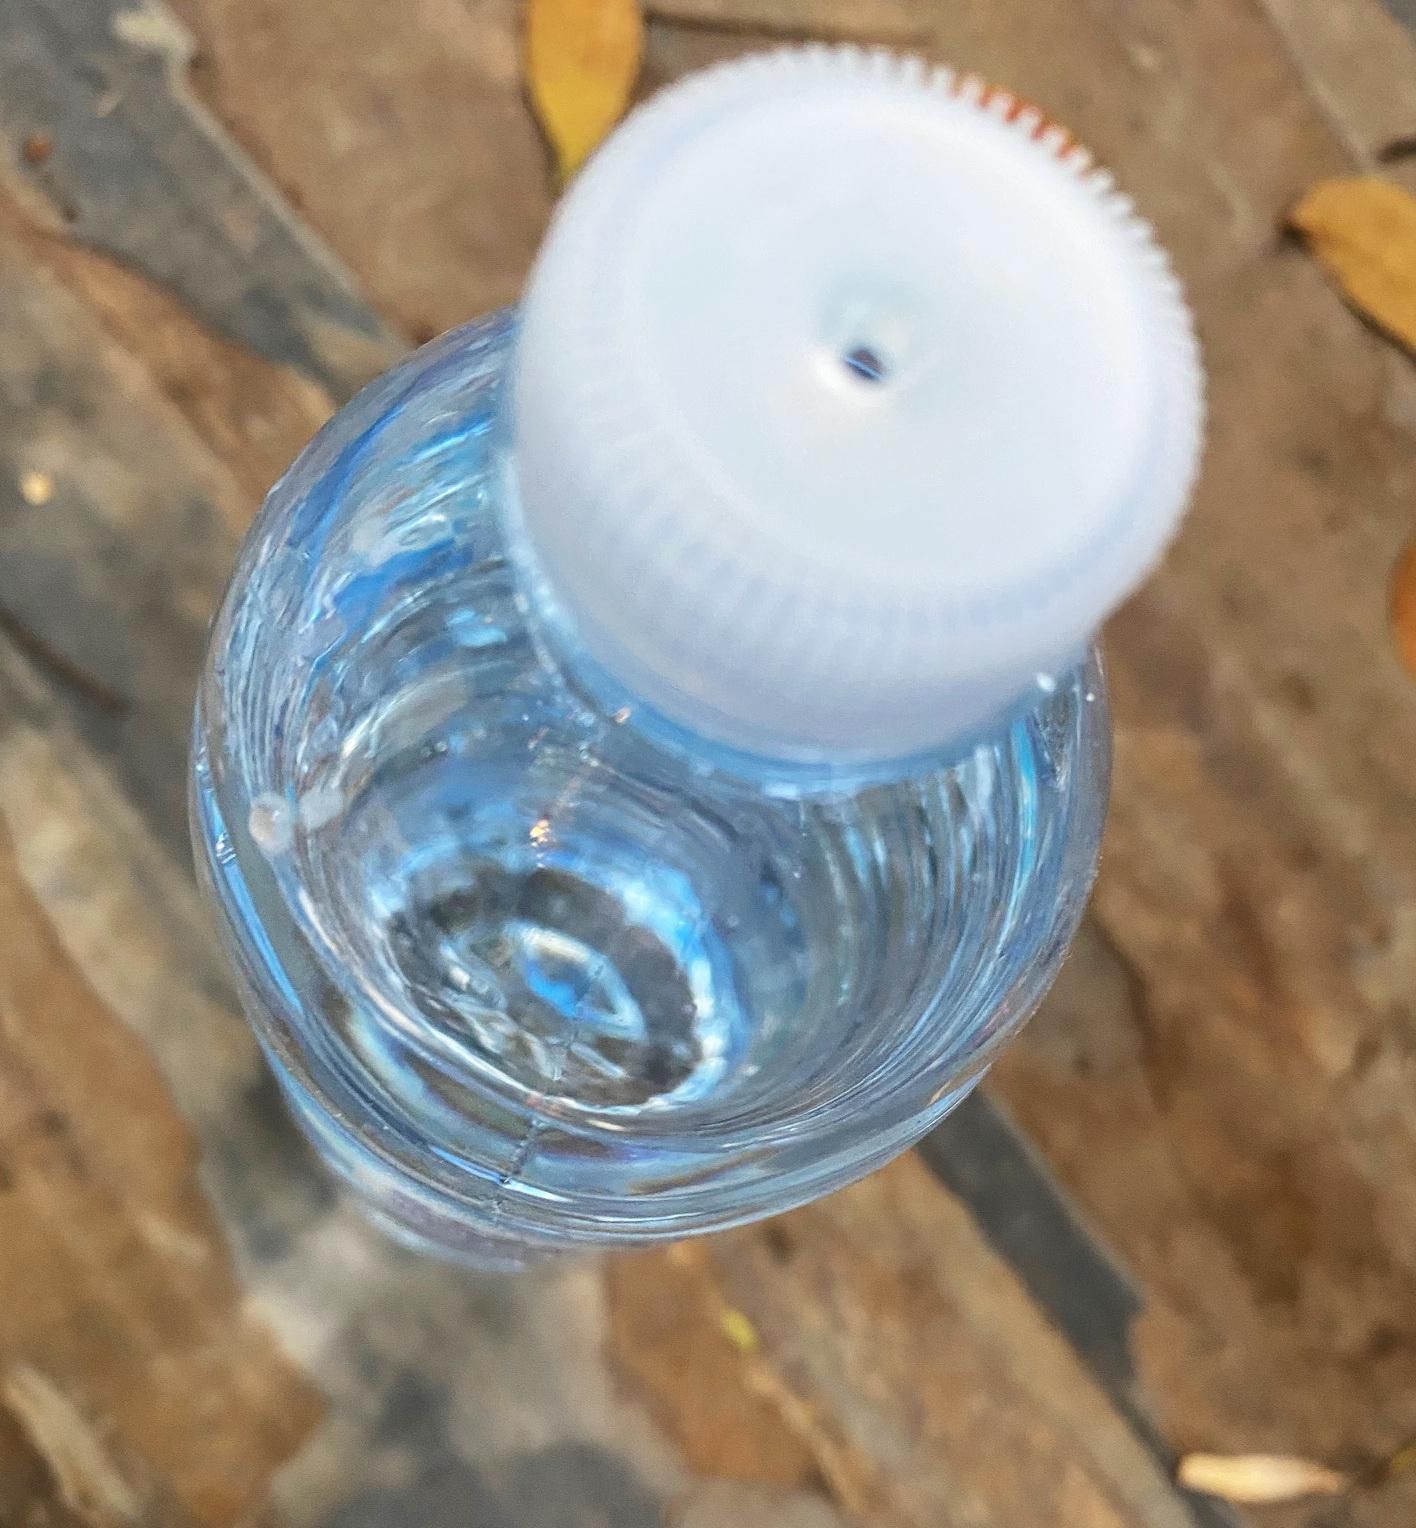
*a water bottle
To be safe, use:
*safety goggles or a face guard
*a dust mask
How to Choose Rocks (Basic)
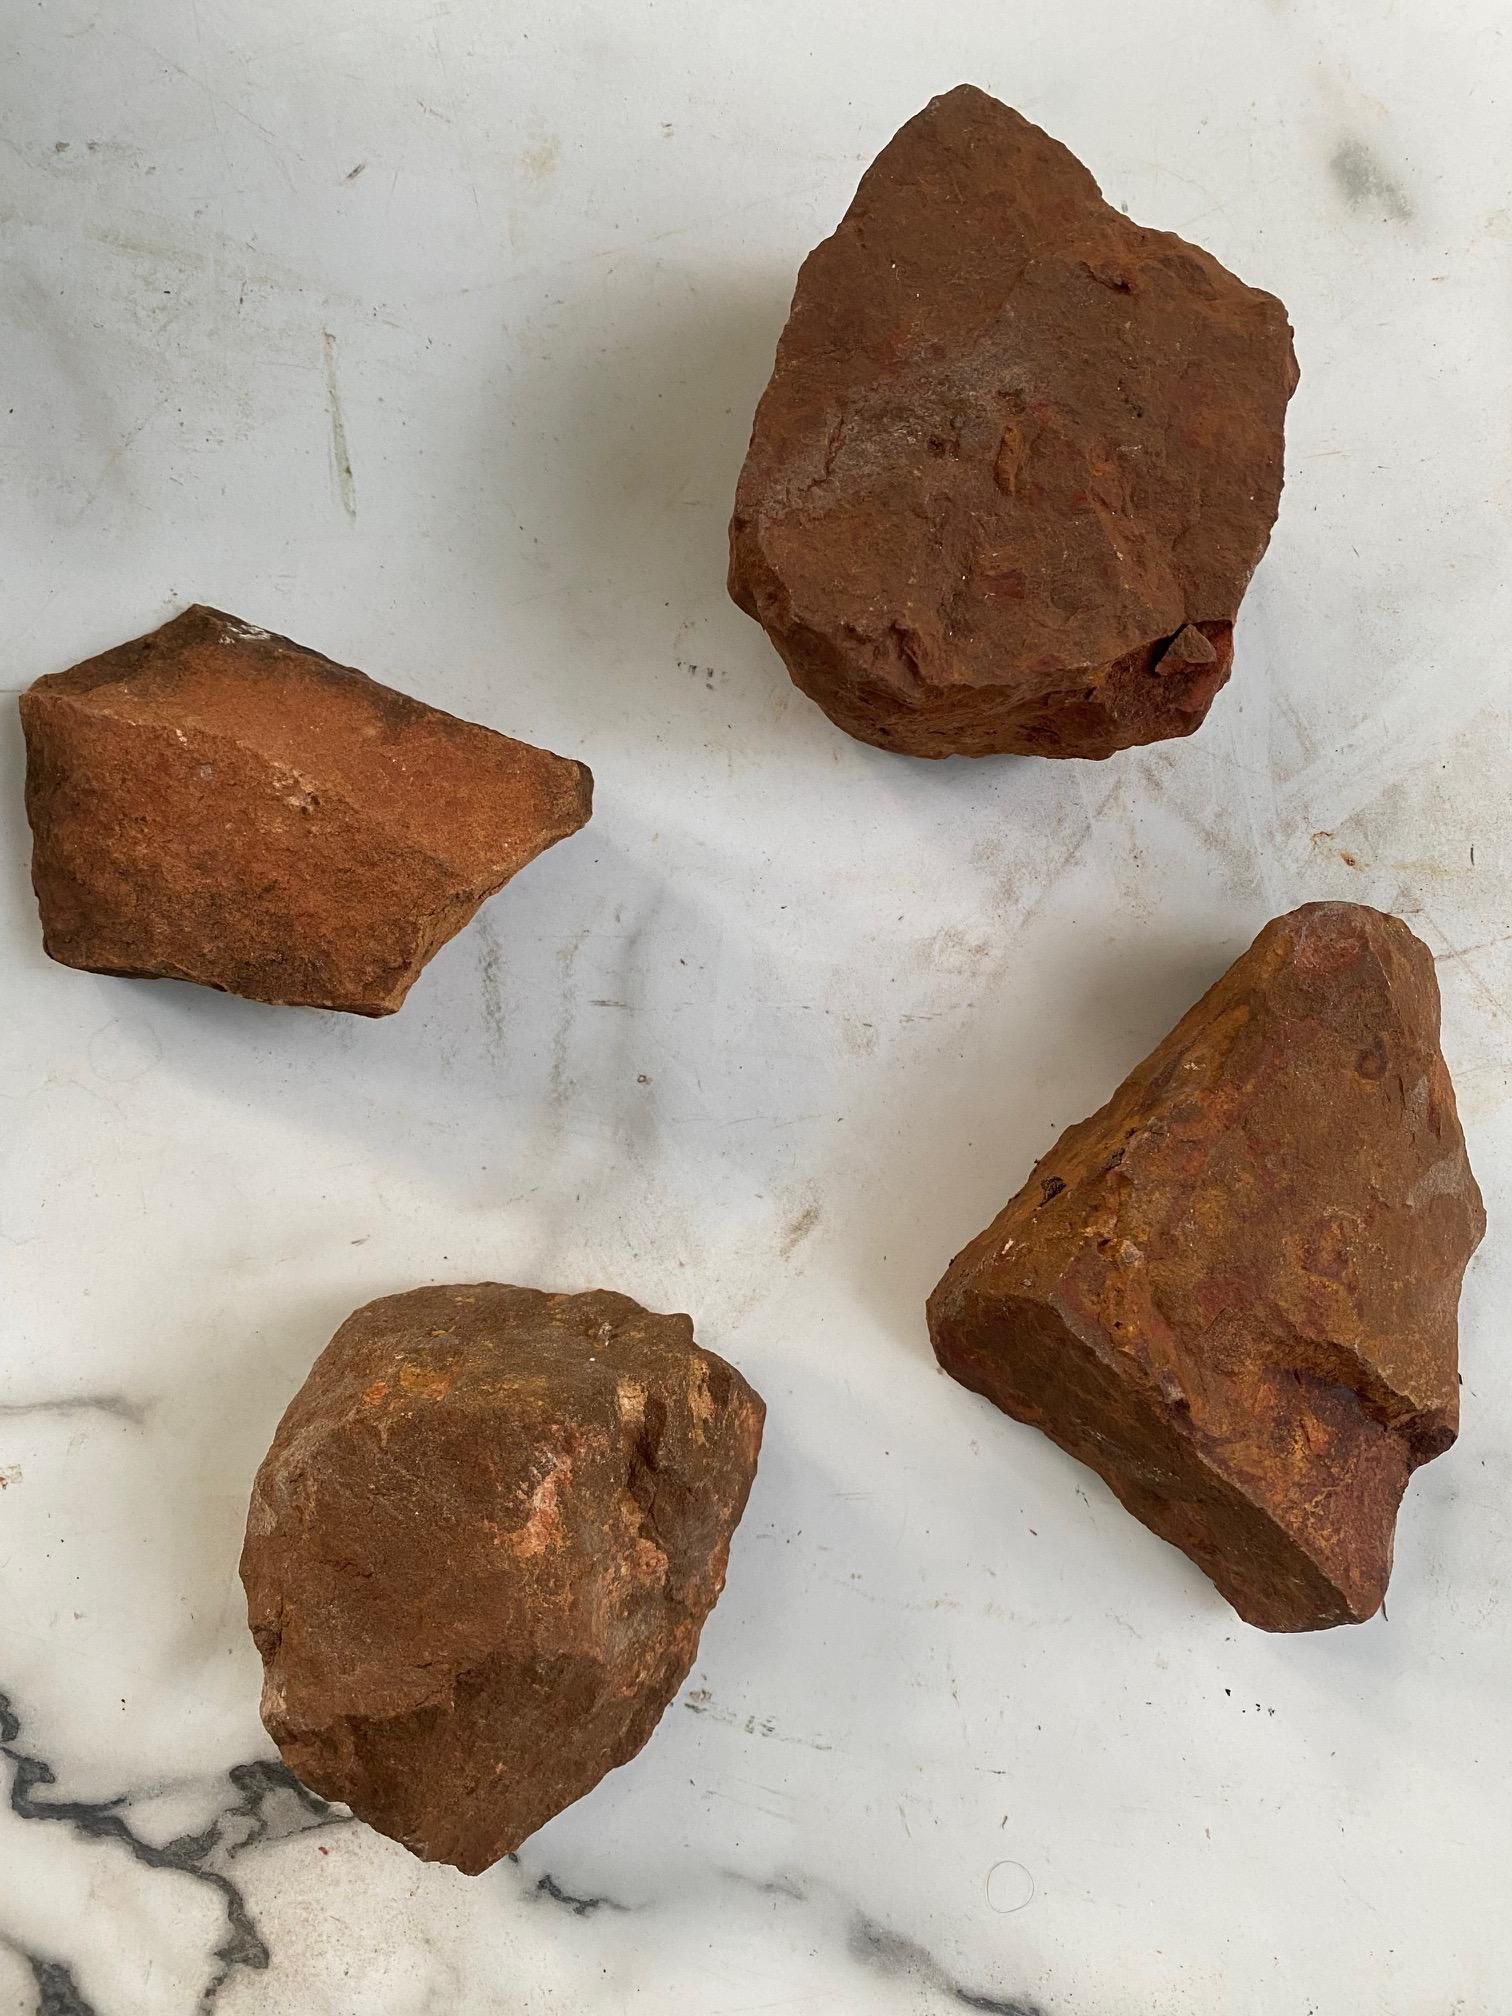
Rocks. Stones.
Call 'em what you will. We all know what we mean by "rocks", right?
Or not.
1. First of all, yes, we're talking about rocks that are big enough to drill and still have room to hold onto, but not too big or heavy to be unwieldy.
2. I also want to recommend rocks that have at least one flat, or flatish side, so that they'll snug up to your climbing wall nicely, assuming that is also flat.
3. Choose rocks that aren't thicker (or much thicker) than your thinner coring bit is long. Otherwise, you won't be able to drill through them and bolt them to your wall.
Other than these 3 basic recommendations, choose shapes and sizes that you like, with textures that are rough if you want grippy, smooth if you want slippy, or sharp if you want snippy (tried to make it rhyme, but that's more the sound of your fingers getting cut off than cut open, isn't it?).
For long-term durability and safety, however, I recommend reading on to...
How to Choose Rocks (Less Basic)
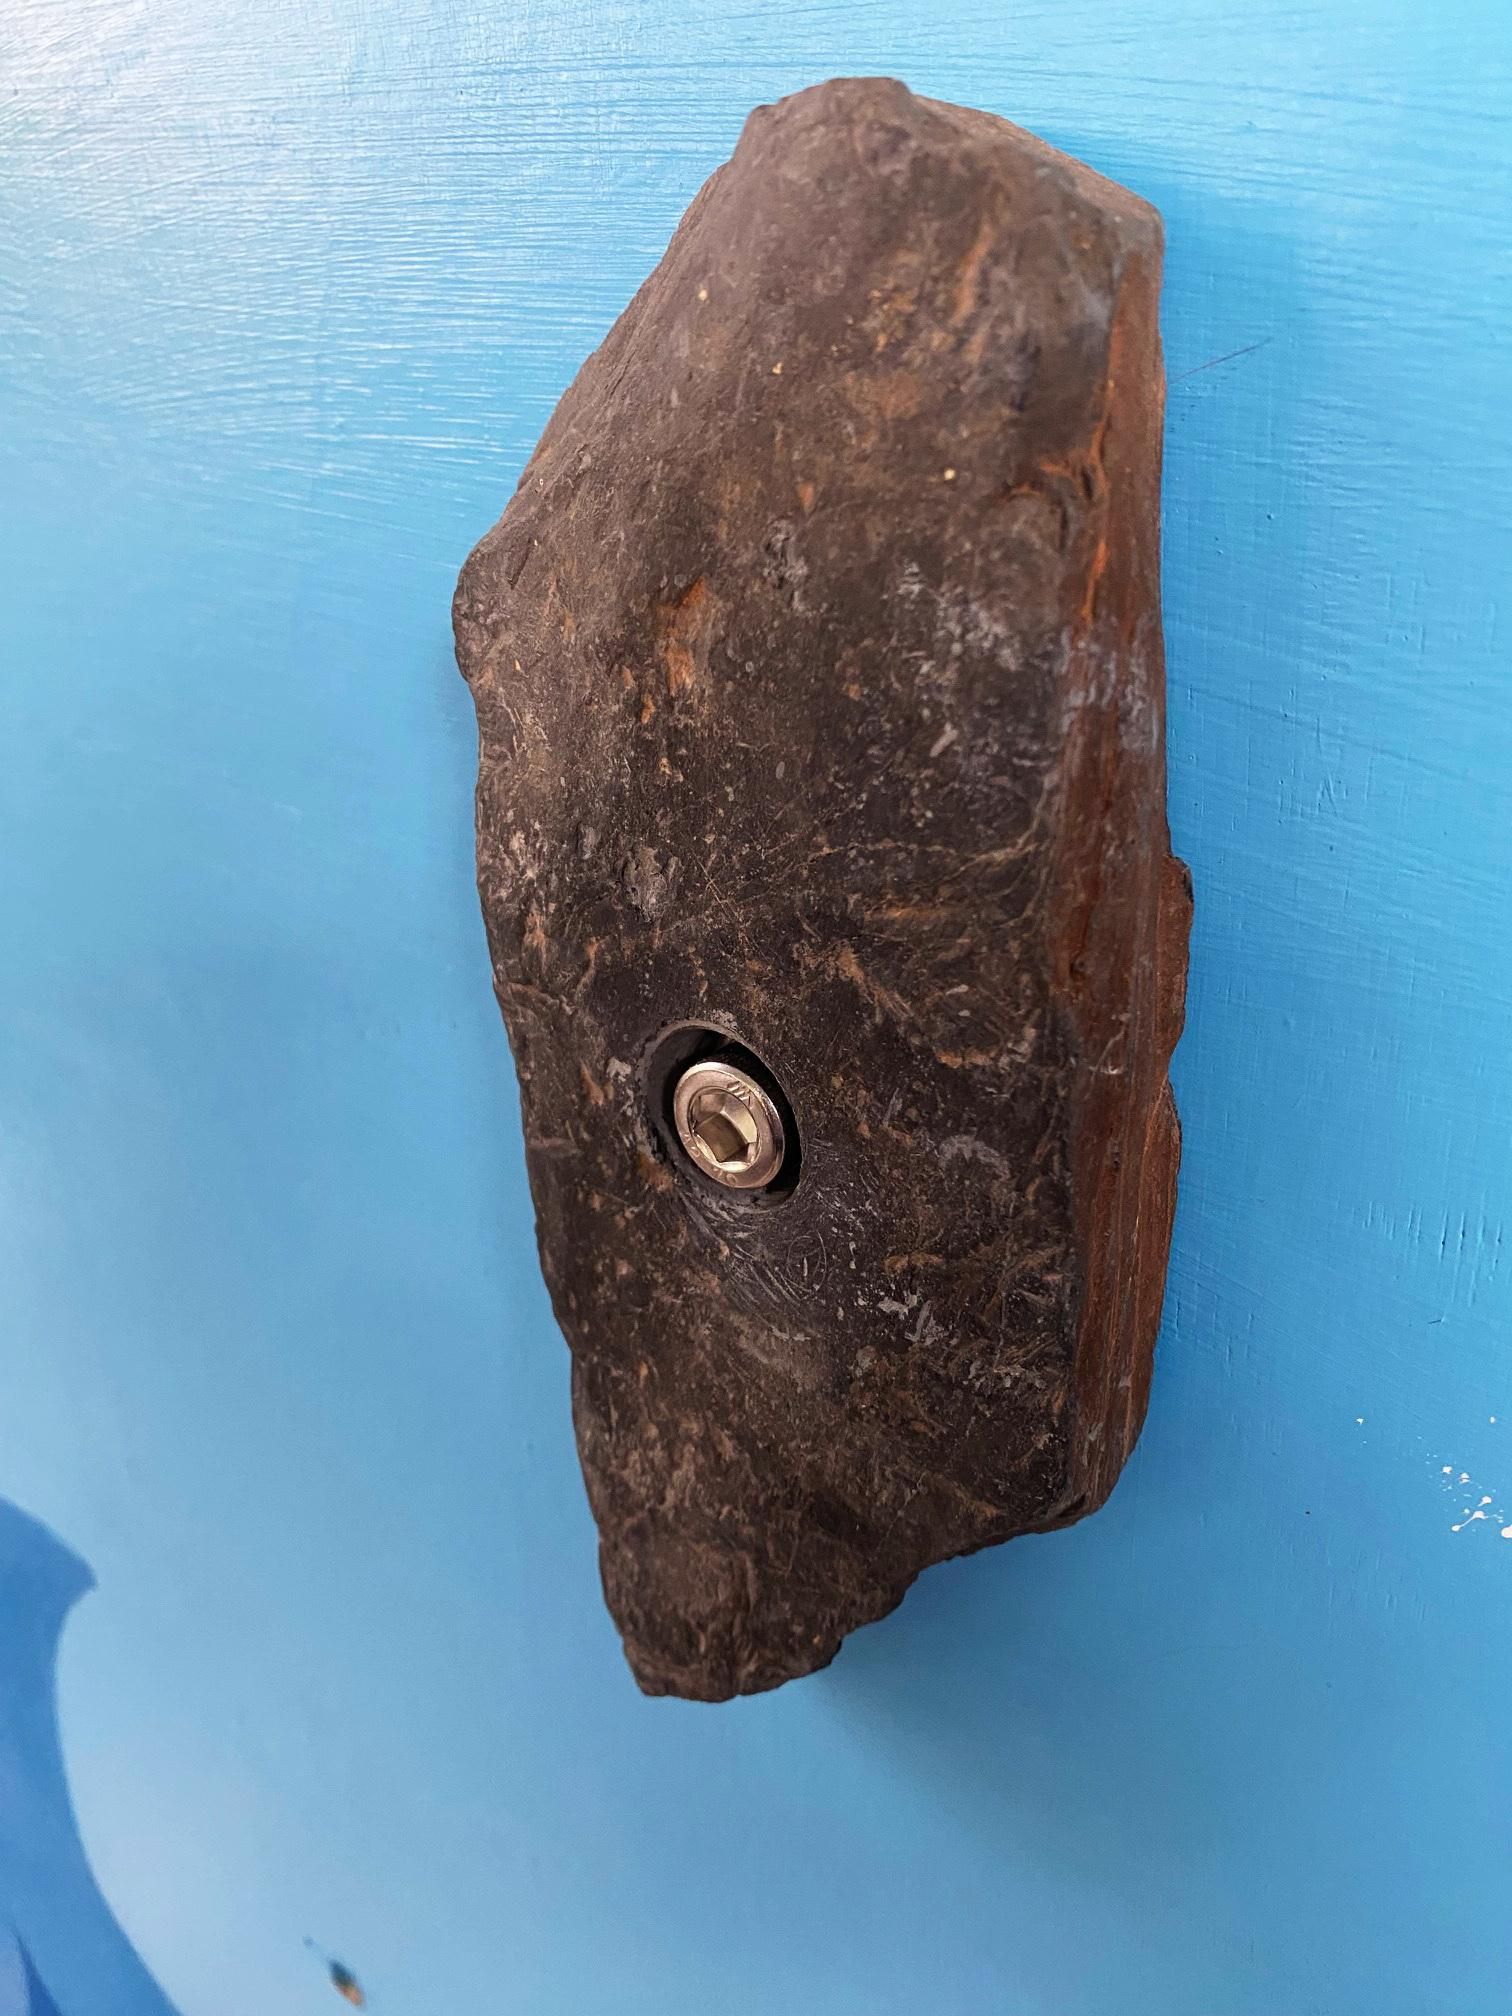
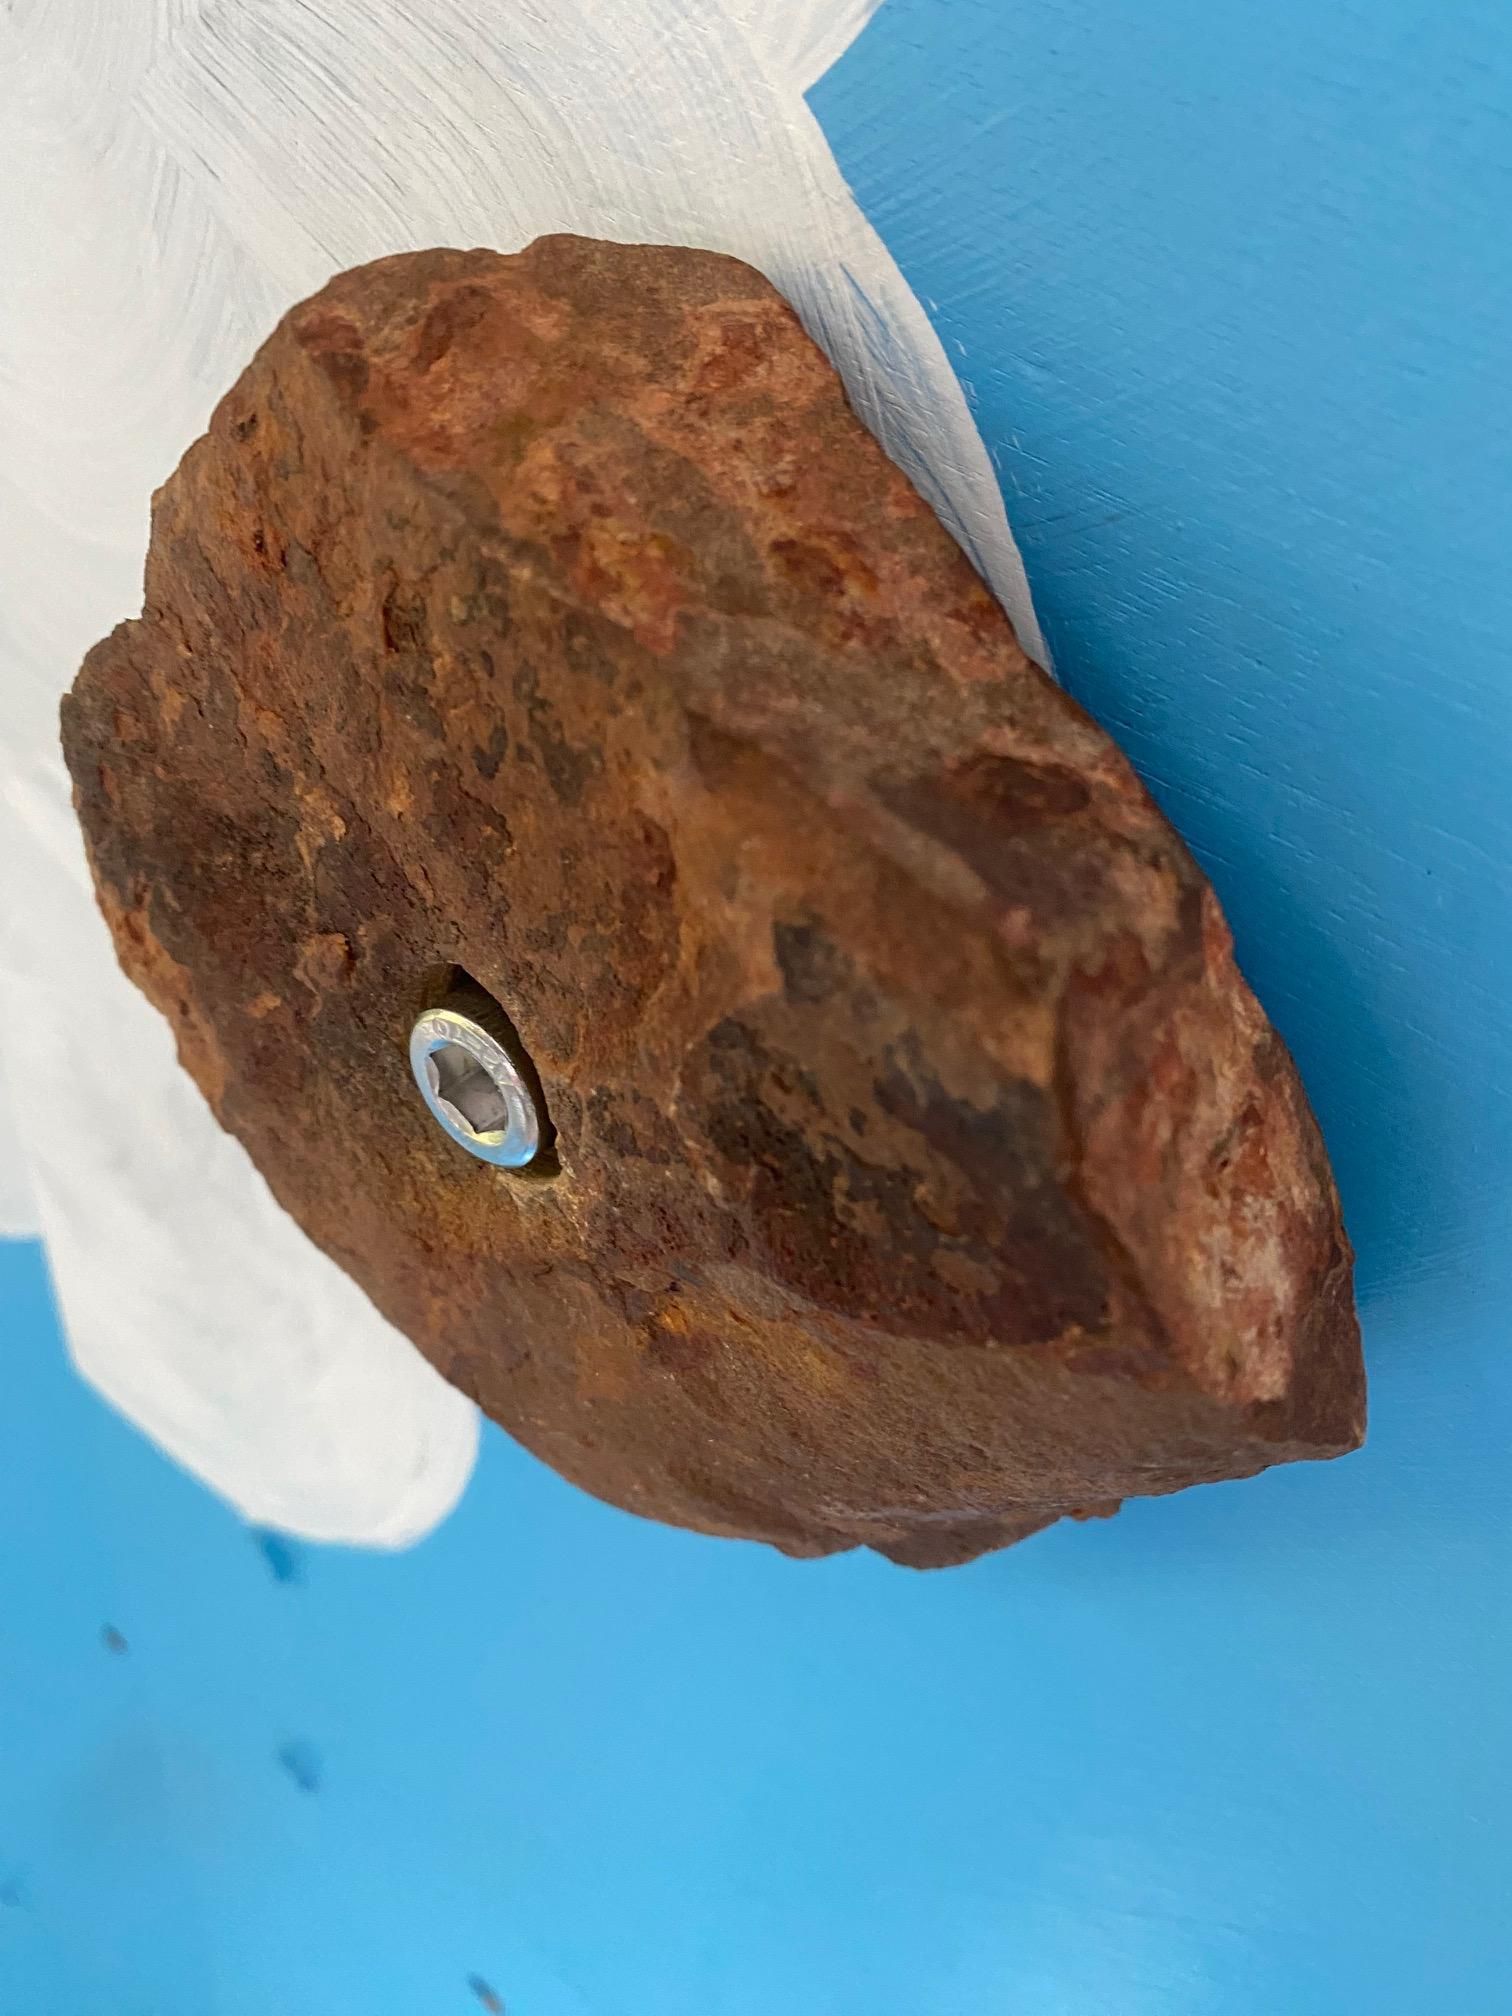
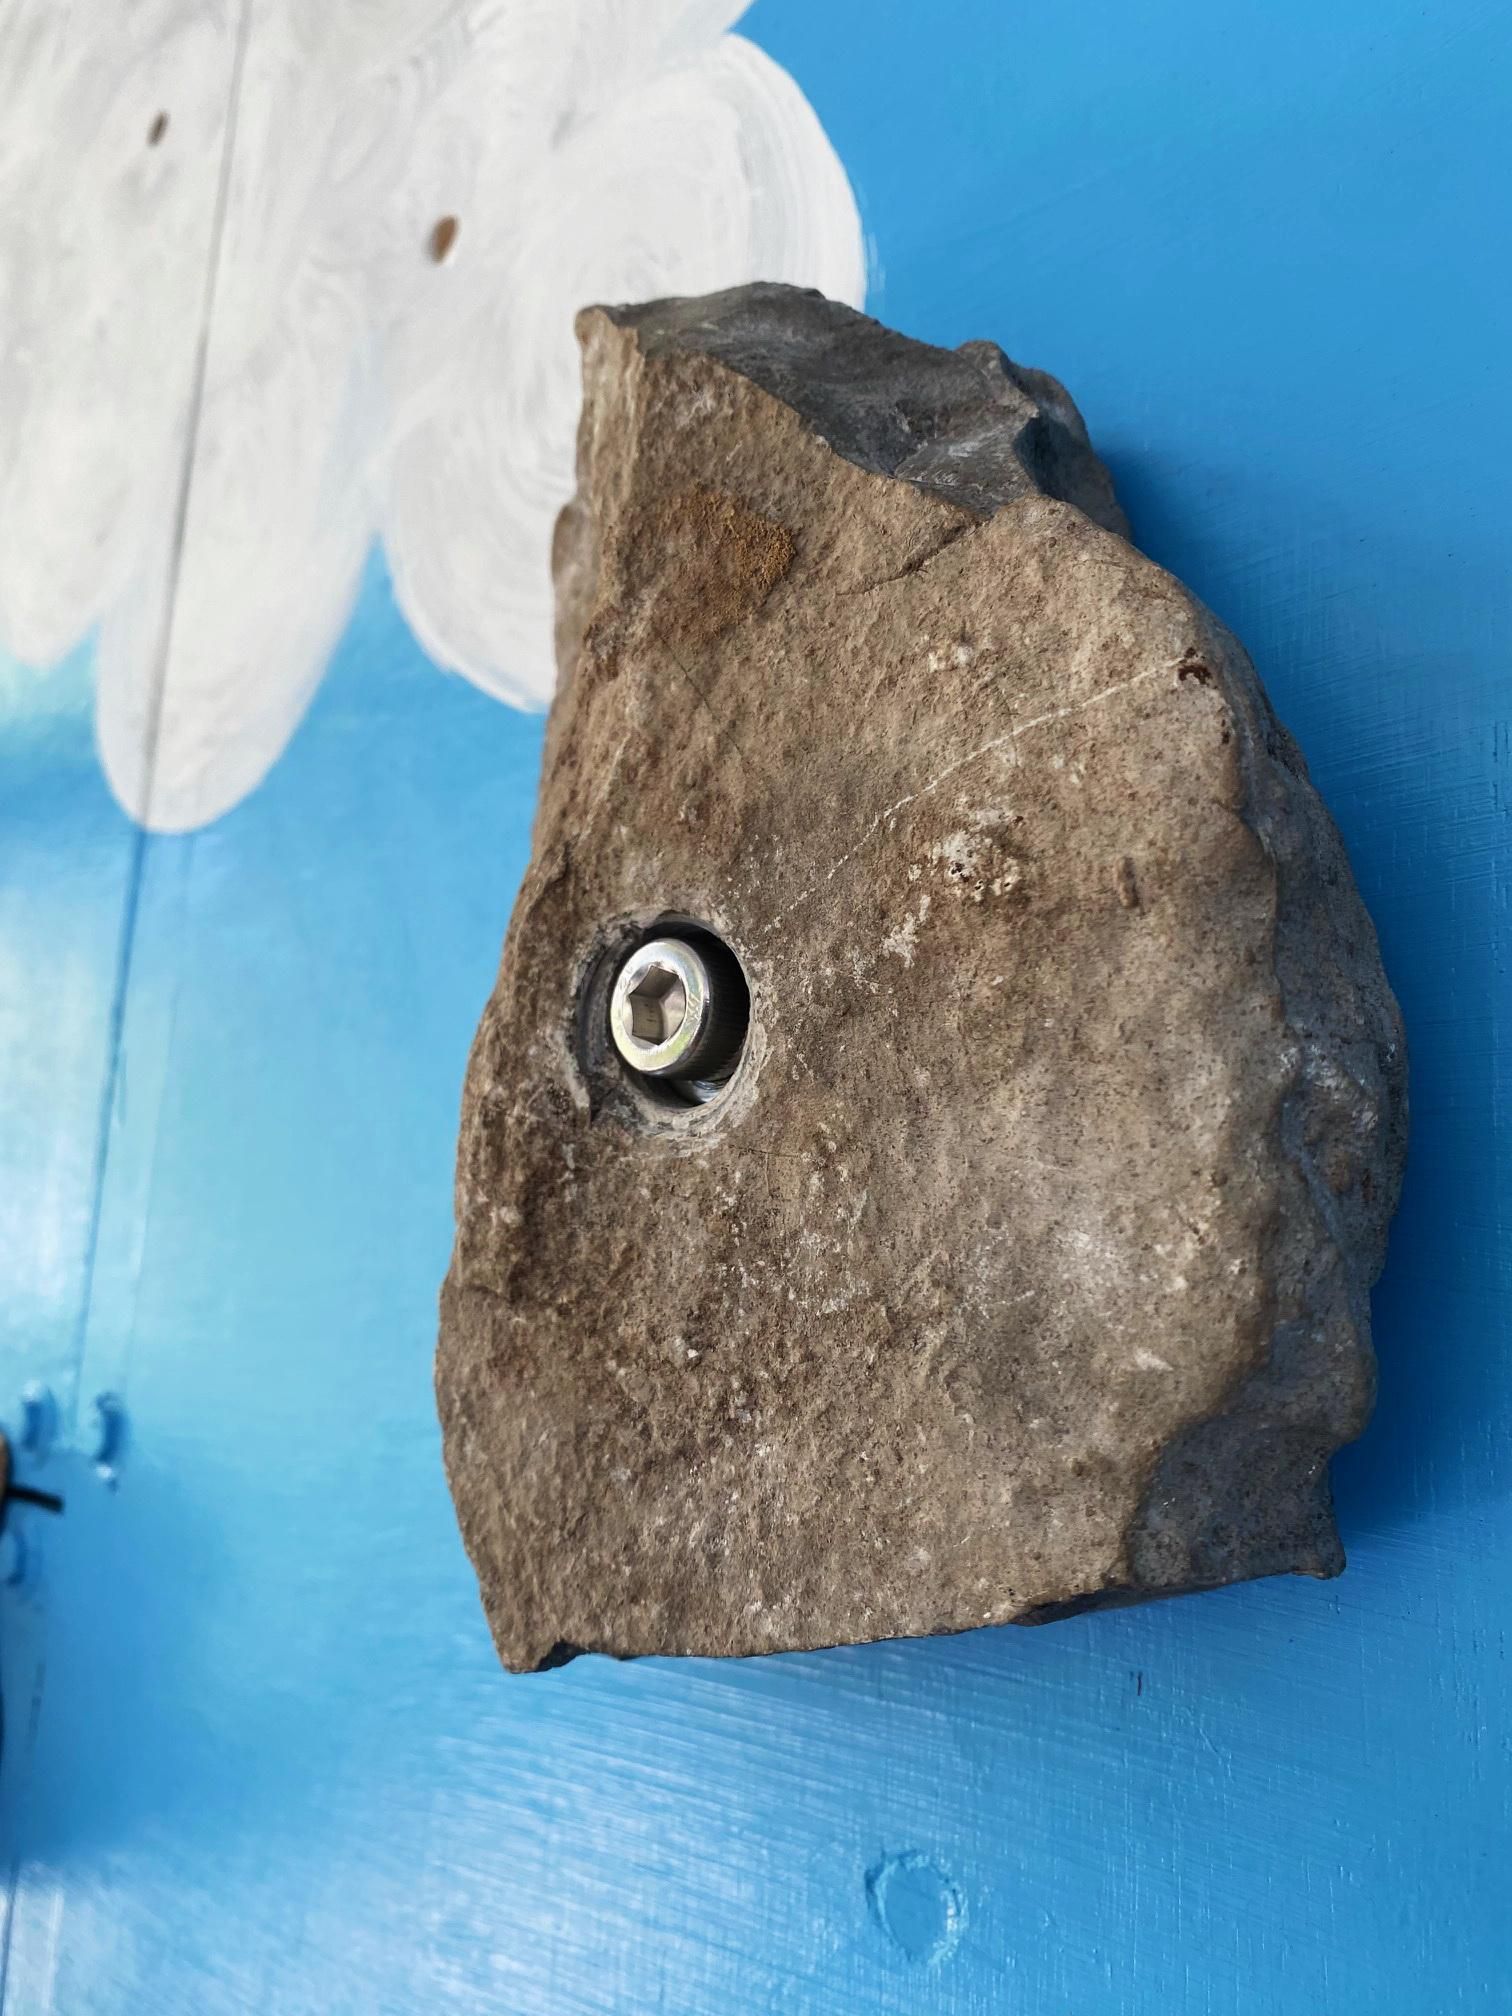
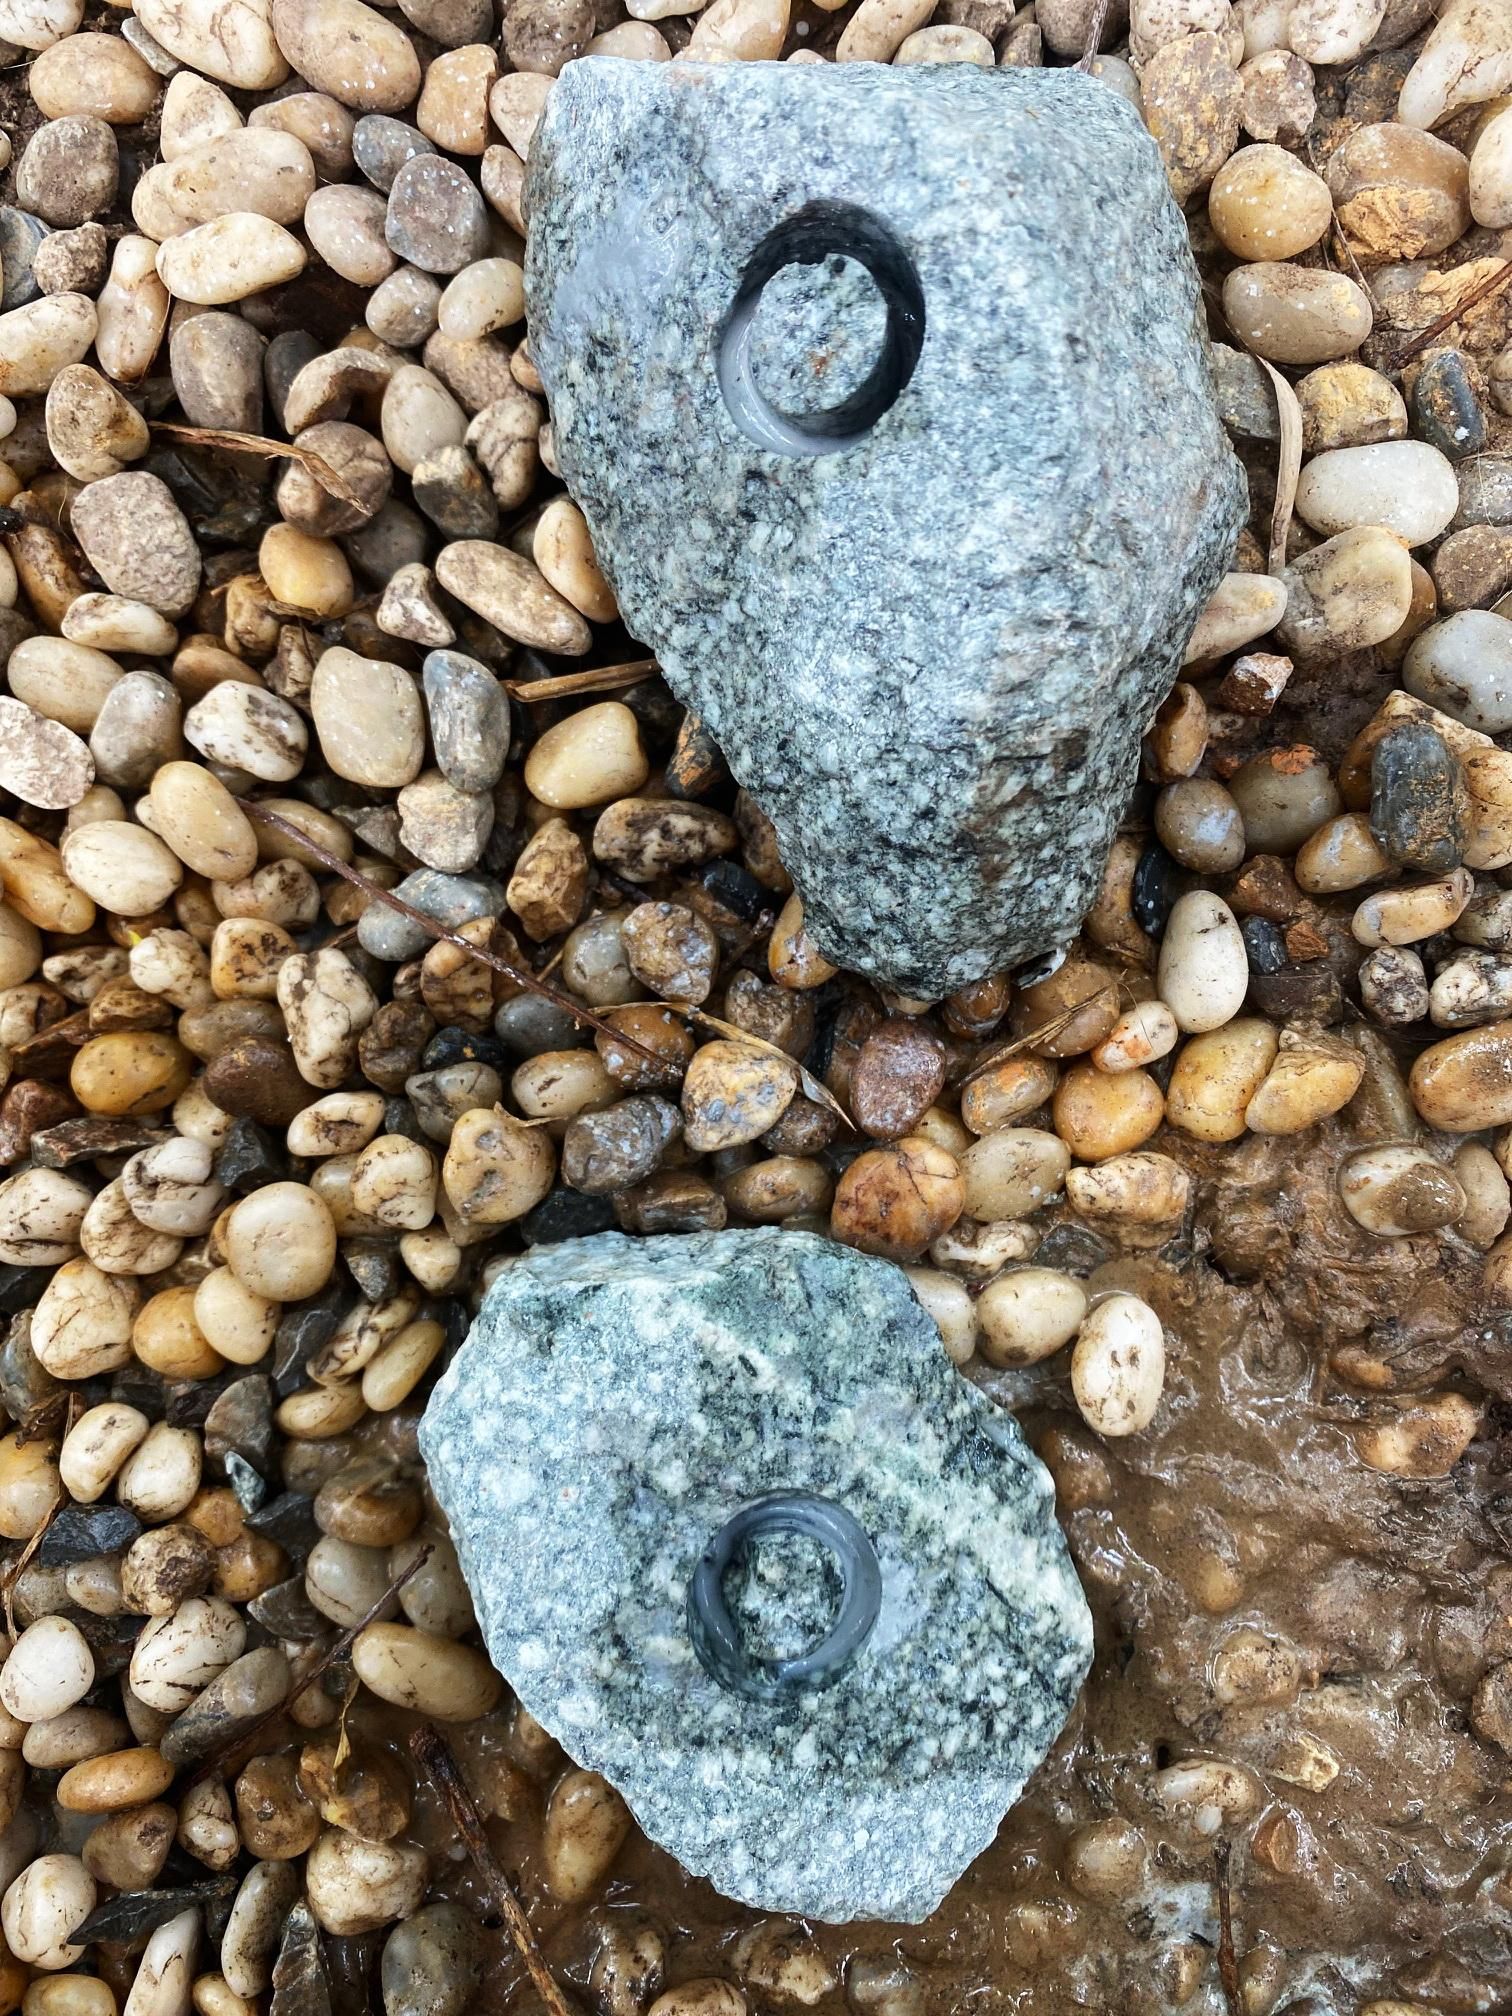
I used three main types of rocks for this project, and I'll give the pros and cons, and identification tips, for each:
1. Sedimentary rocks
To make a long story short, sedimentary rocks are made from bits of sand and mud that got buried and squished together over long periods of time and under a lot of pressure. Here's how they can differ, and how to identify them.
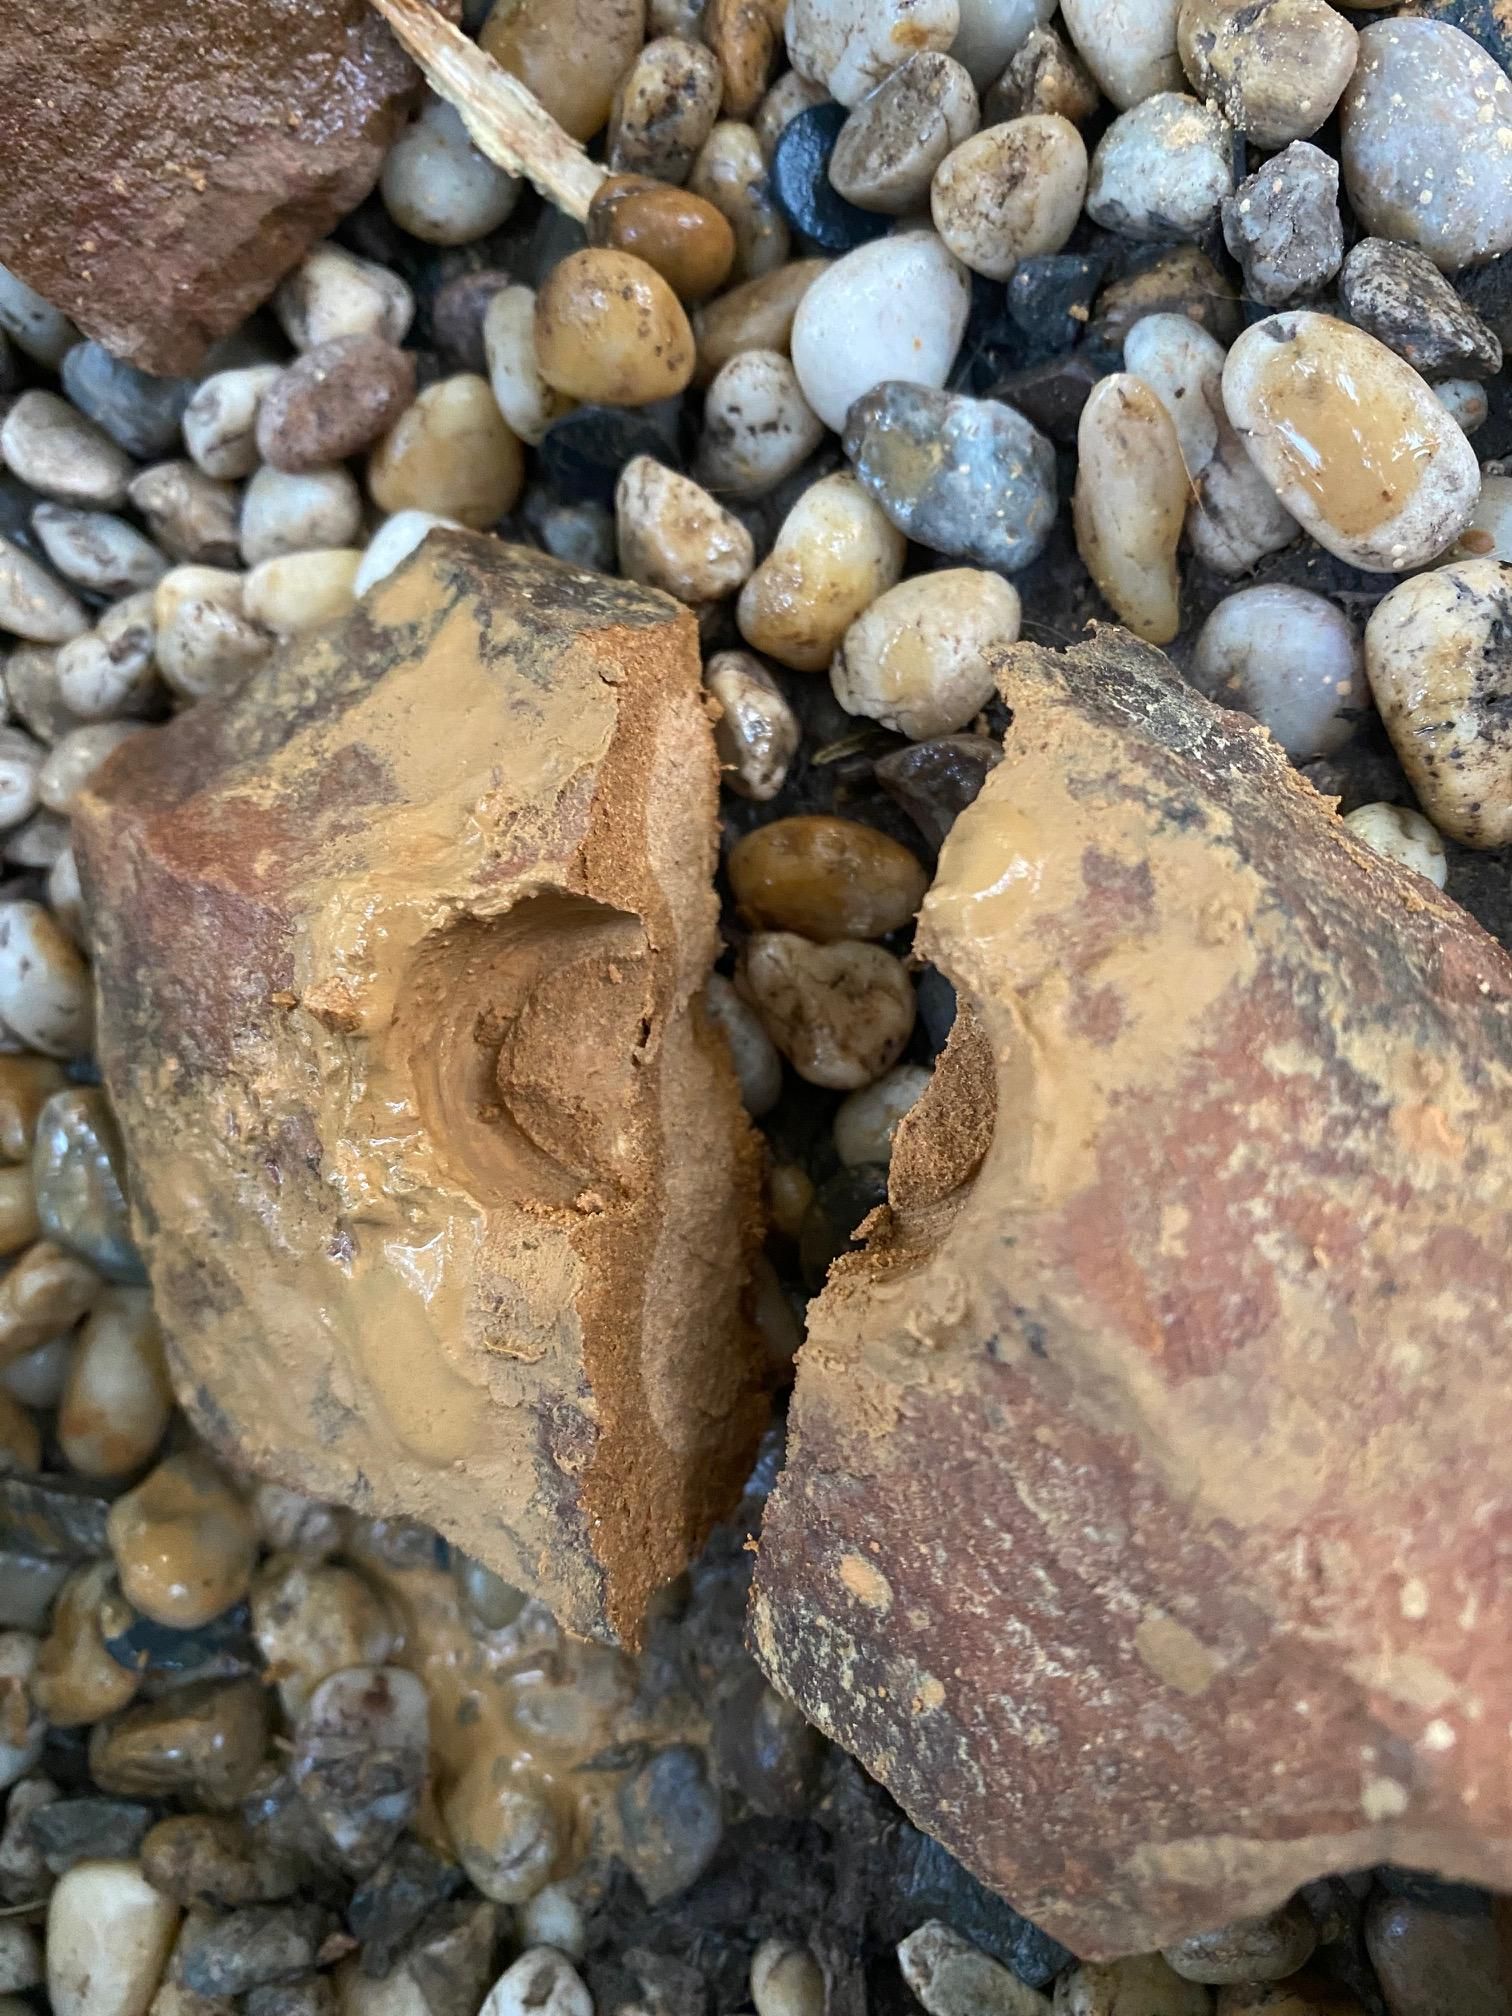
Mudstone /Shale: These rocks are usually grey, brown, or black, and have clear layers in them, often breaking easily along these layers. If you can break them apart with your hands, don't use them! Slate (actually metamorphosed shale) can be very hard, however, and I used one piece successfully.
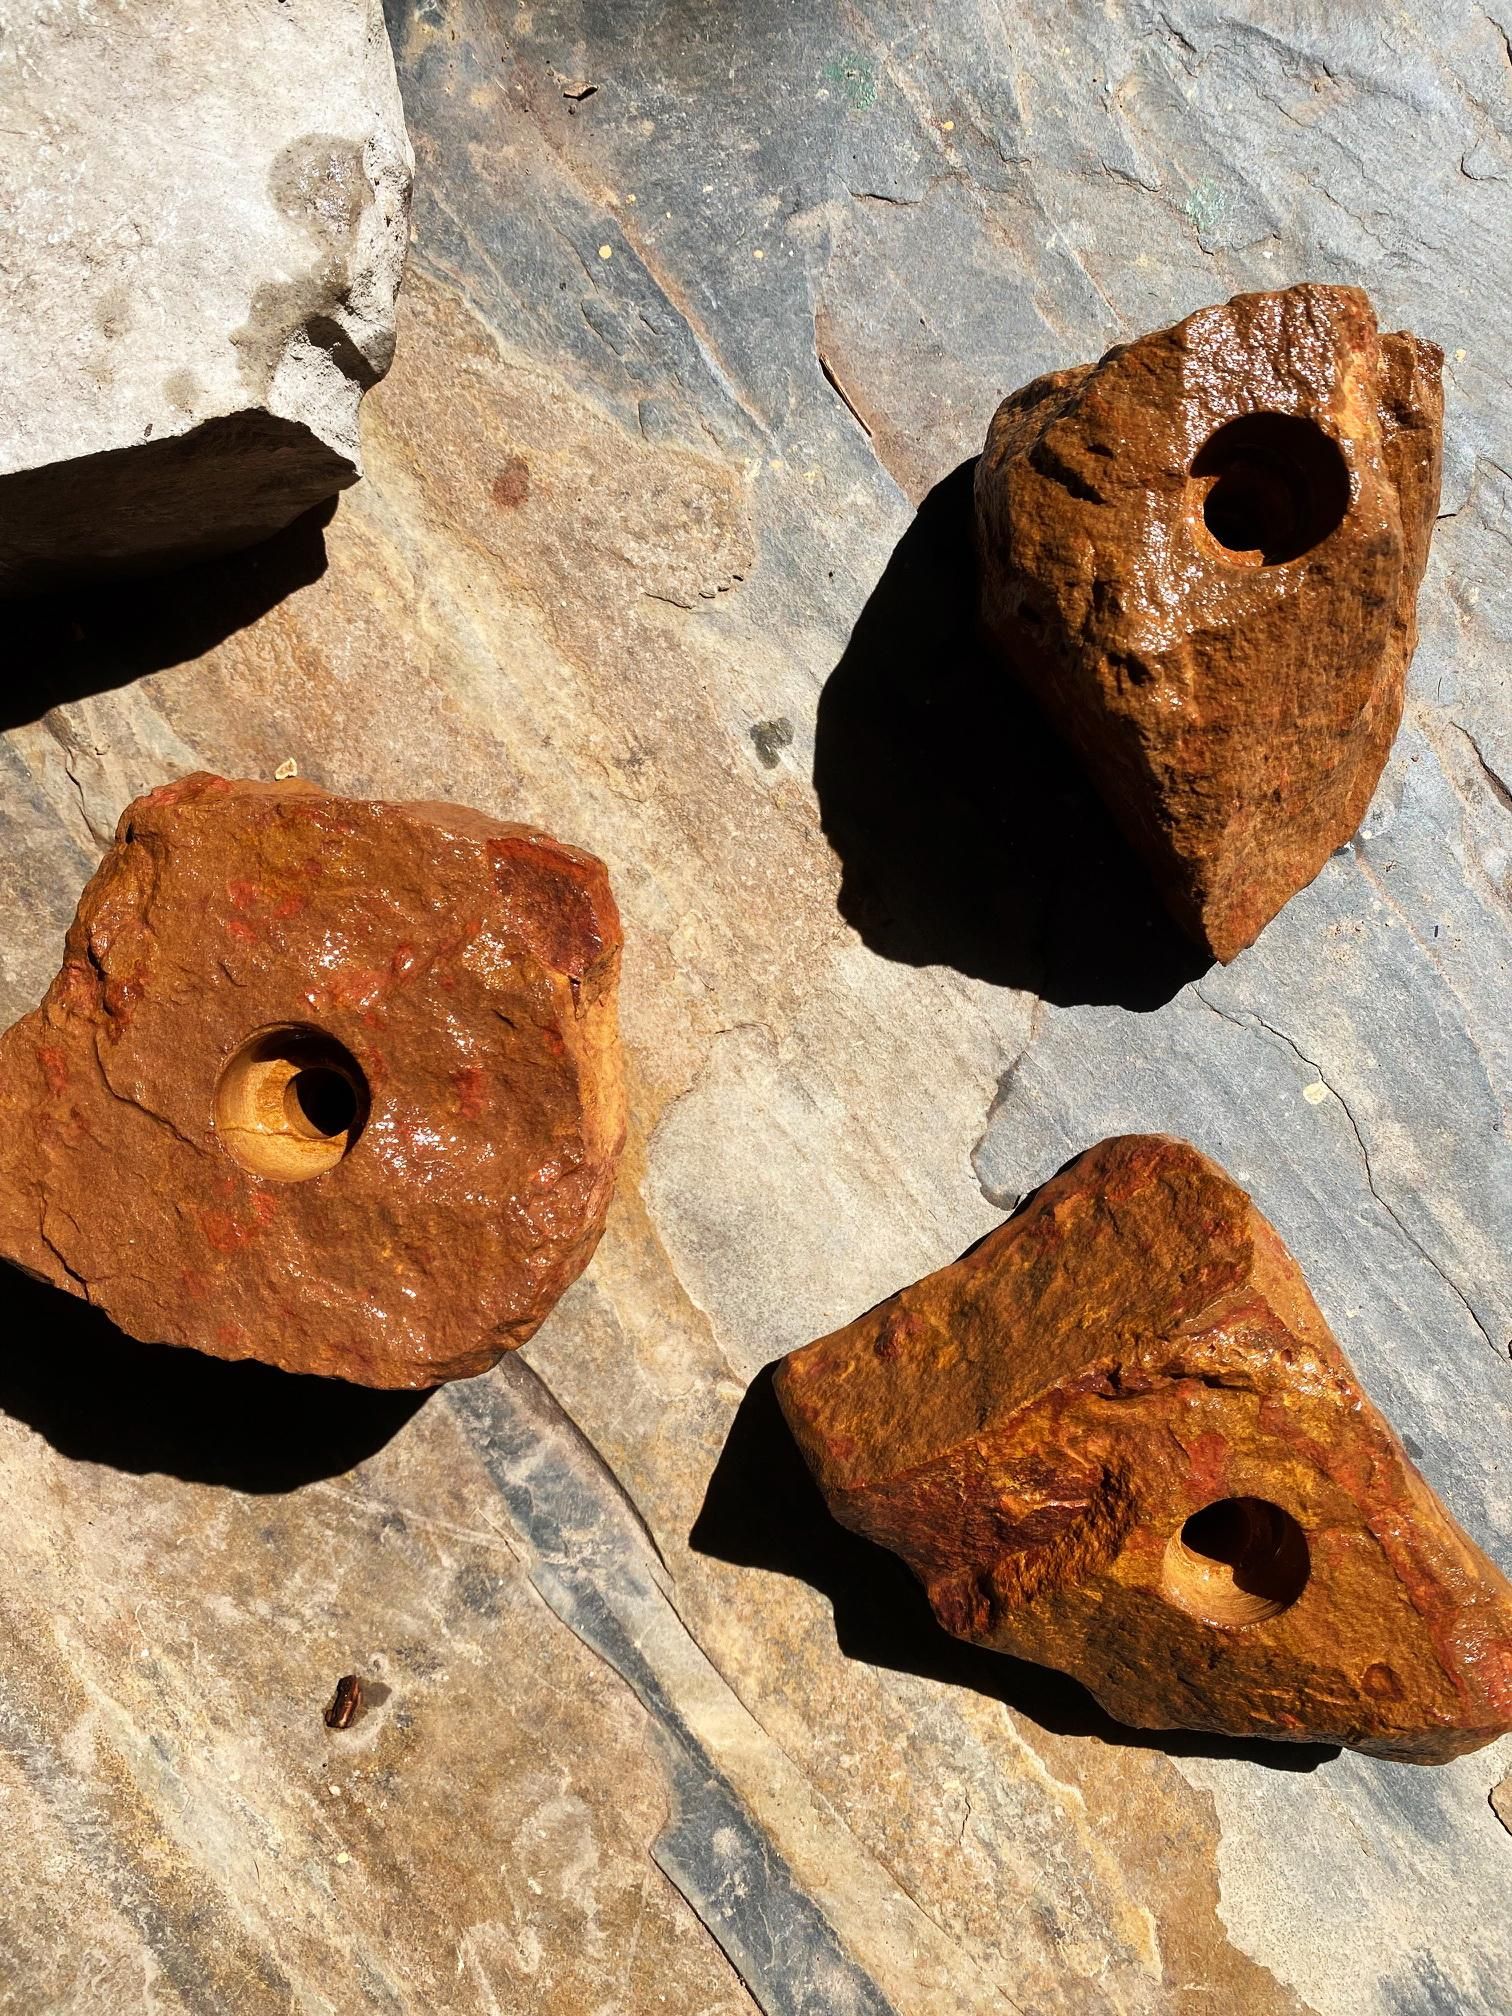
Sandstone: Sandstone is, you guessed it, made of sand, and you can usually see the individual sand grains. Some sandstone is crumbly as all get out and wants to turn back into sand ASAP. Don't use that kind. I found some very nice, hard (probably silica-cemented) sandstone (my reddish-brown rocks) and it works great!
Pros: Can be soft and quick to drill (sandstone, not so much)
Cons: Can be too soft (see picture) or break too easily along layers.
2. Chemical/Biological Sedimentary rocks
Let's face it, I'm pretty much talking about limestone here. Most limestone is made from calcium carbonate that either fell out of solution in the ocean or was pulled out of solution by little creep-crawlies in the ocean, like coral. This stuff varies from whitish to grey, but is usually grey. Breathe on it, and it will smell musty. Pour acid on it, and it will dissolve. That's your limestone.
Pros: Probably the softest and quickest to drill.
Cons: If too soft, it can crack.
3. Igneous/Metamorphic rocks
Wait, didn't your 9th-grade science teacher tell you these were two different types? Well, yeah, but they're usually pretty hard to tell apart for the layperson. Igneous rocks form from lava or magma as it cools (at or below the Earth's surface, respectively). Metamorphic rocks are rocks that only partially melt and recrystallize due to the immense heat and pressure of being buried. So, we're talking full melt and partial melt, that's all.
You can often see the crystals in these rocks, and they're normally speckled because different kinds of crystals grew in them in different colours and shapes. Granite is the one everyone seems familiar with.
Pros: While they can also get old and crumbly, many are REALLY tough and durable
Cons: Can be hardest and slowest to drill
Whatever you have access to, try to choose rocks that can get bashed and beaten around a lot and not break. If in doubt, actually try it. Smash some rocks into each other or put them in a sack and drop them down the stairs. Well, maybe not in the house. Harder rocks will take longer to drill, but they will likely last your lifetime and not break!
Drill
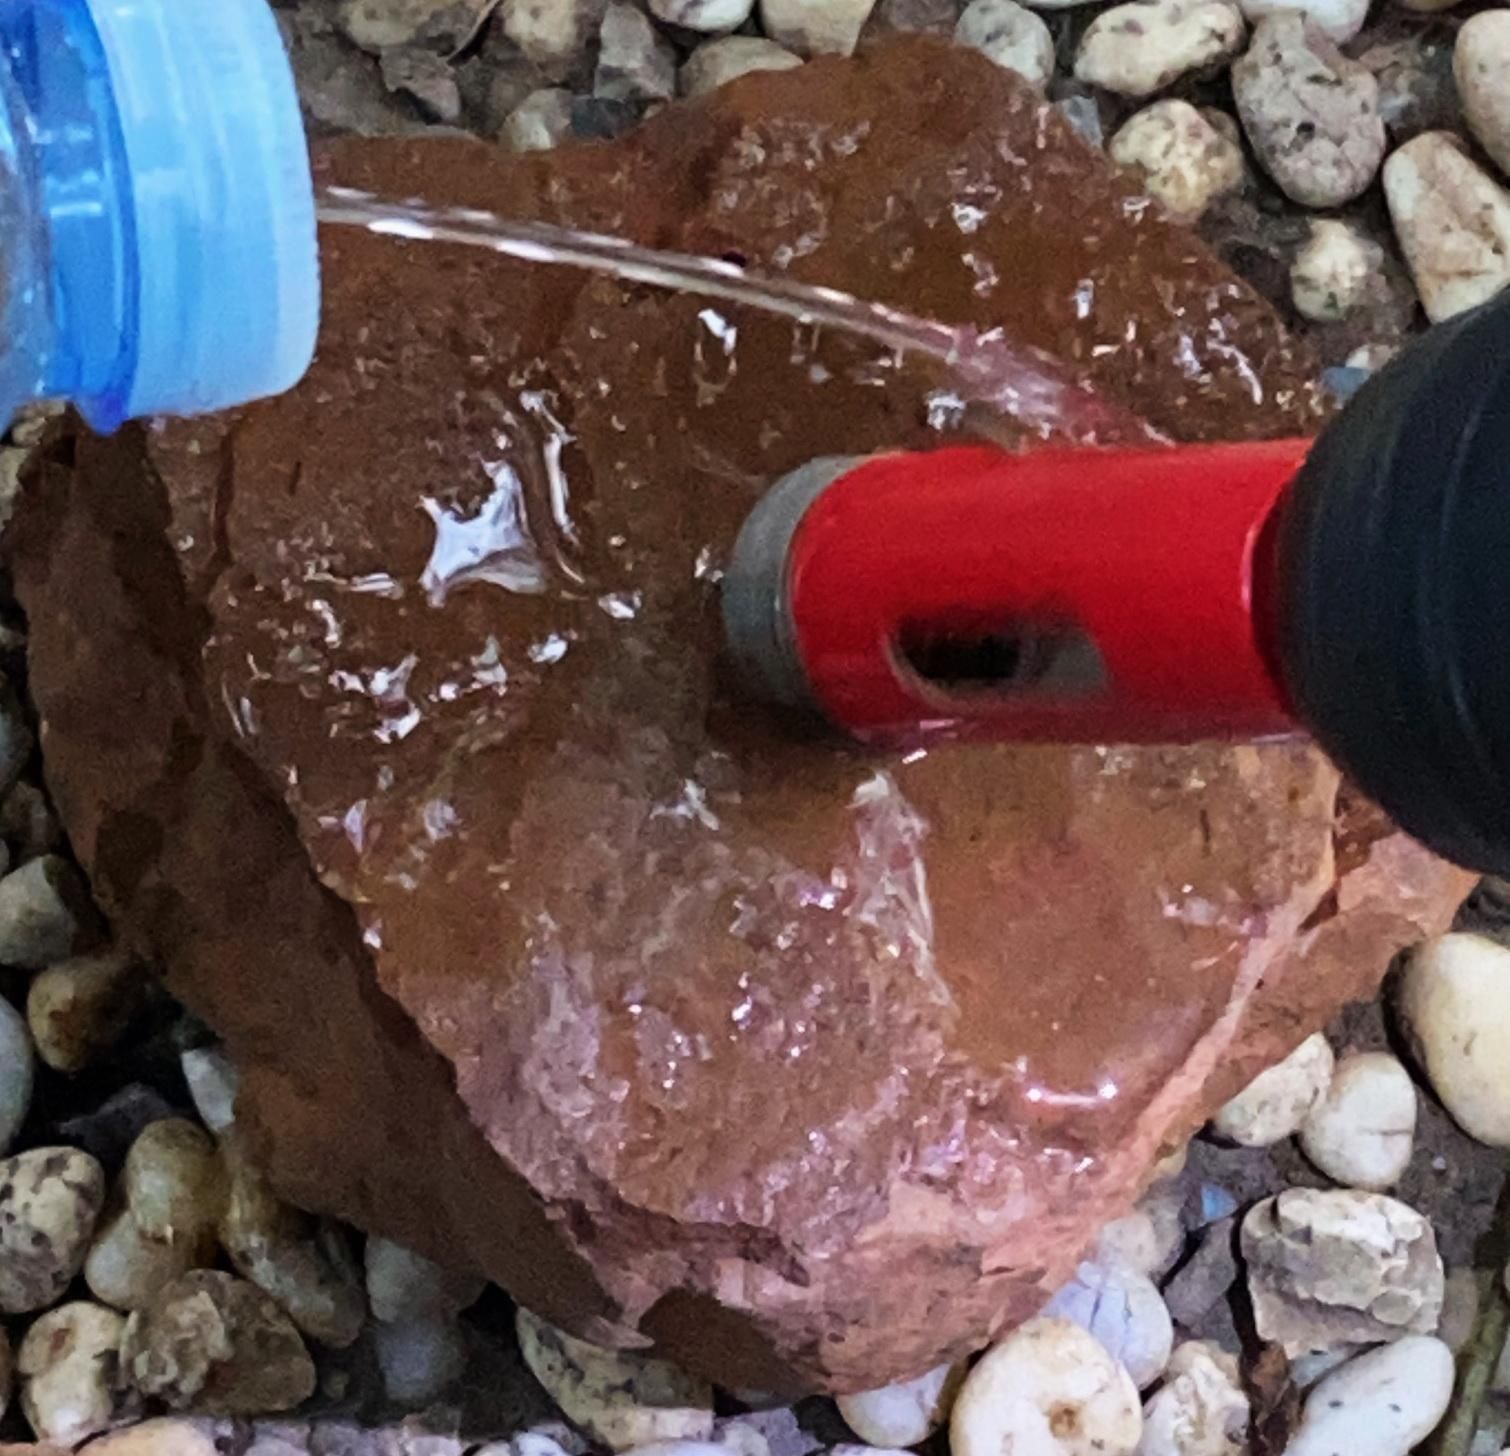
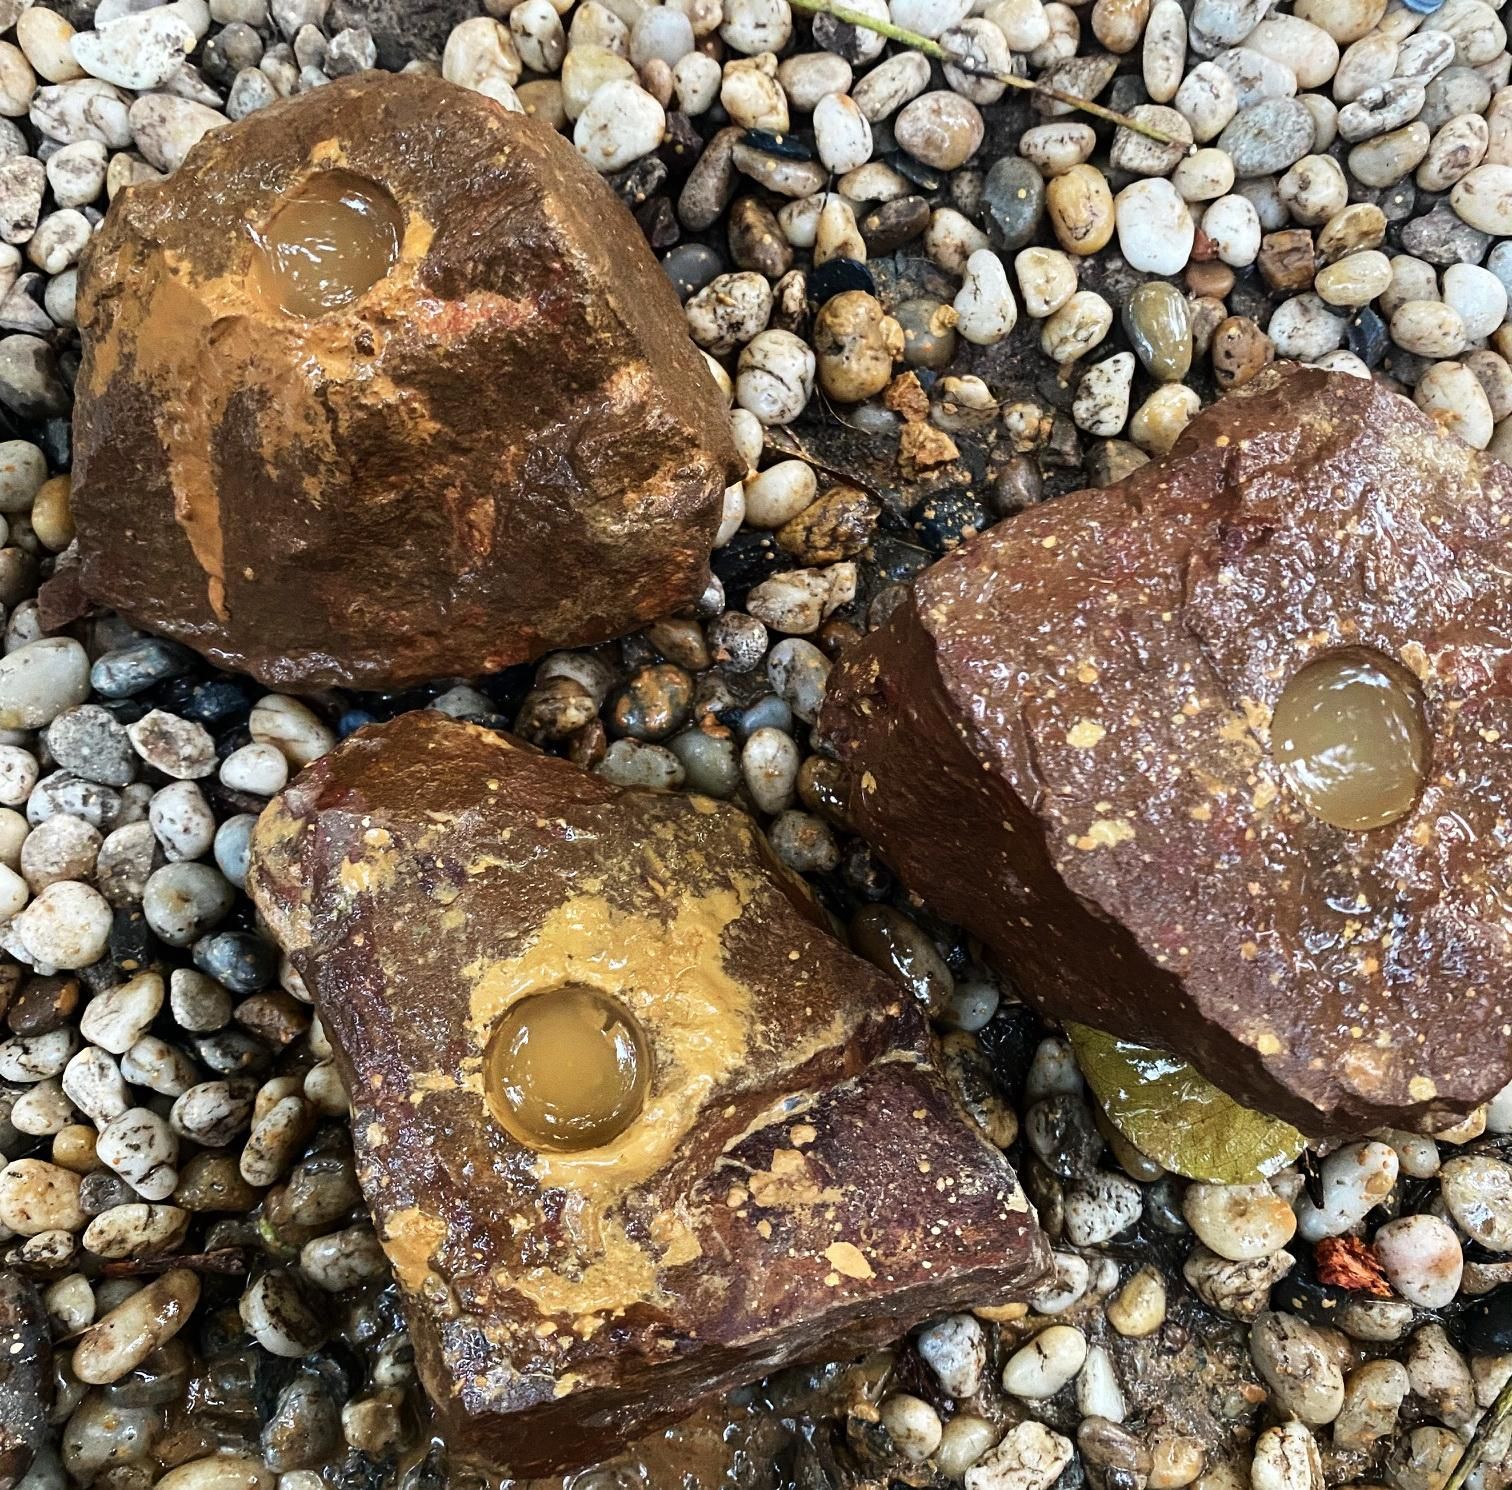
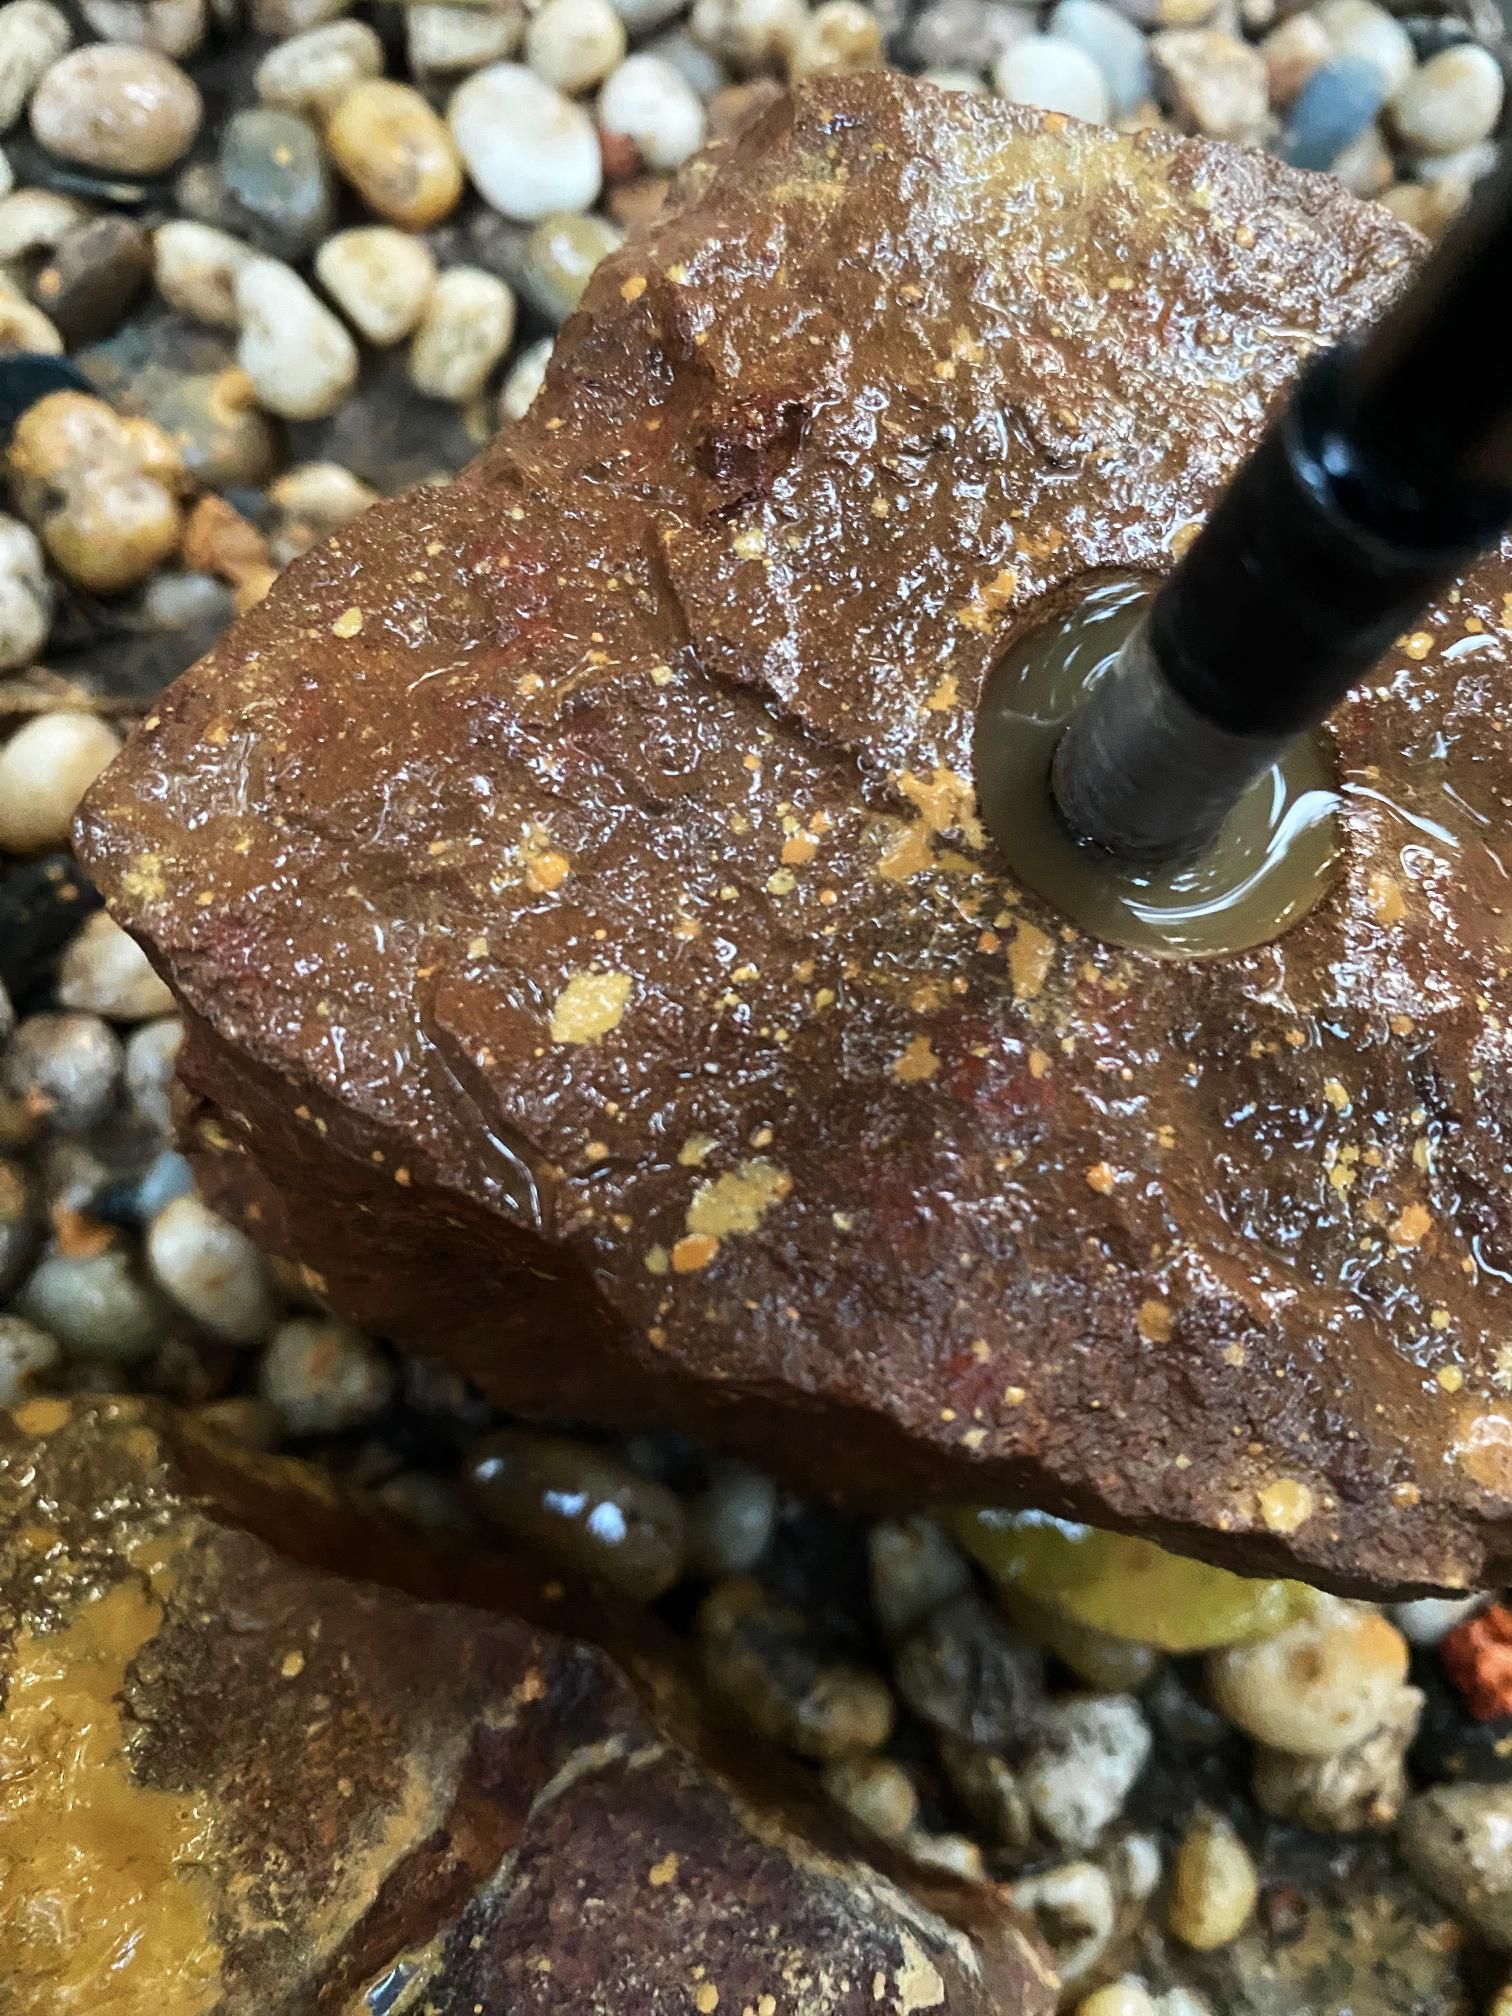
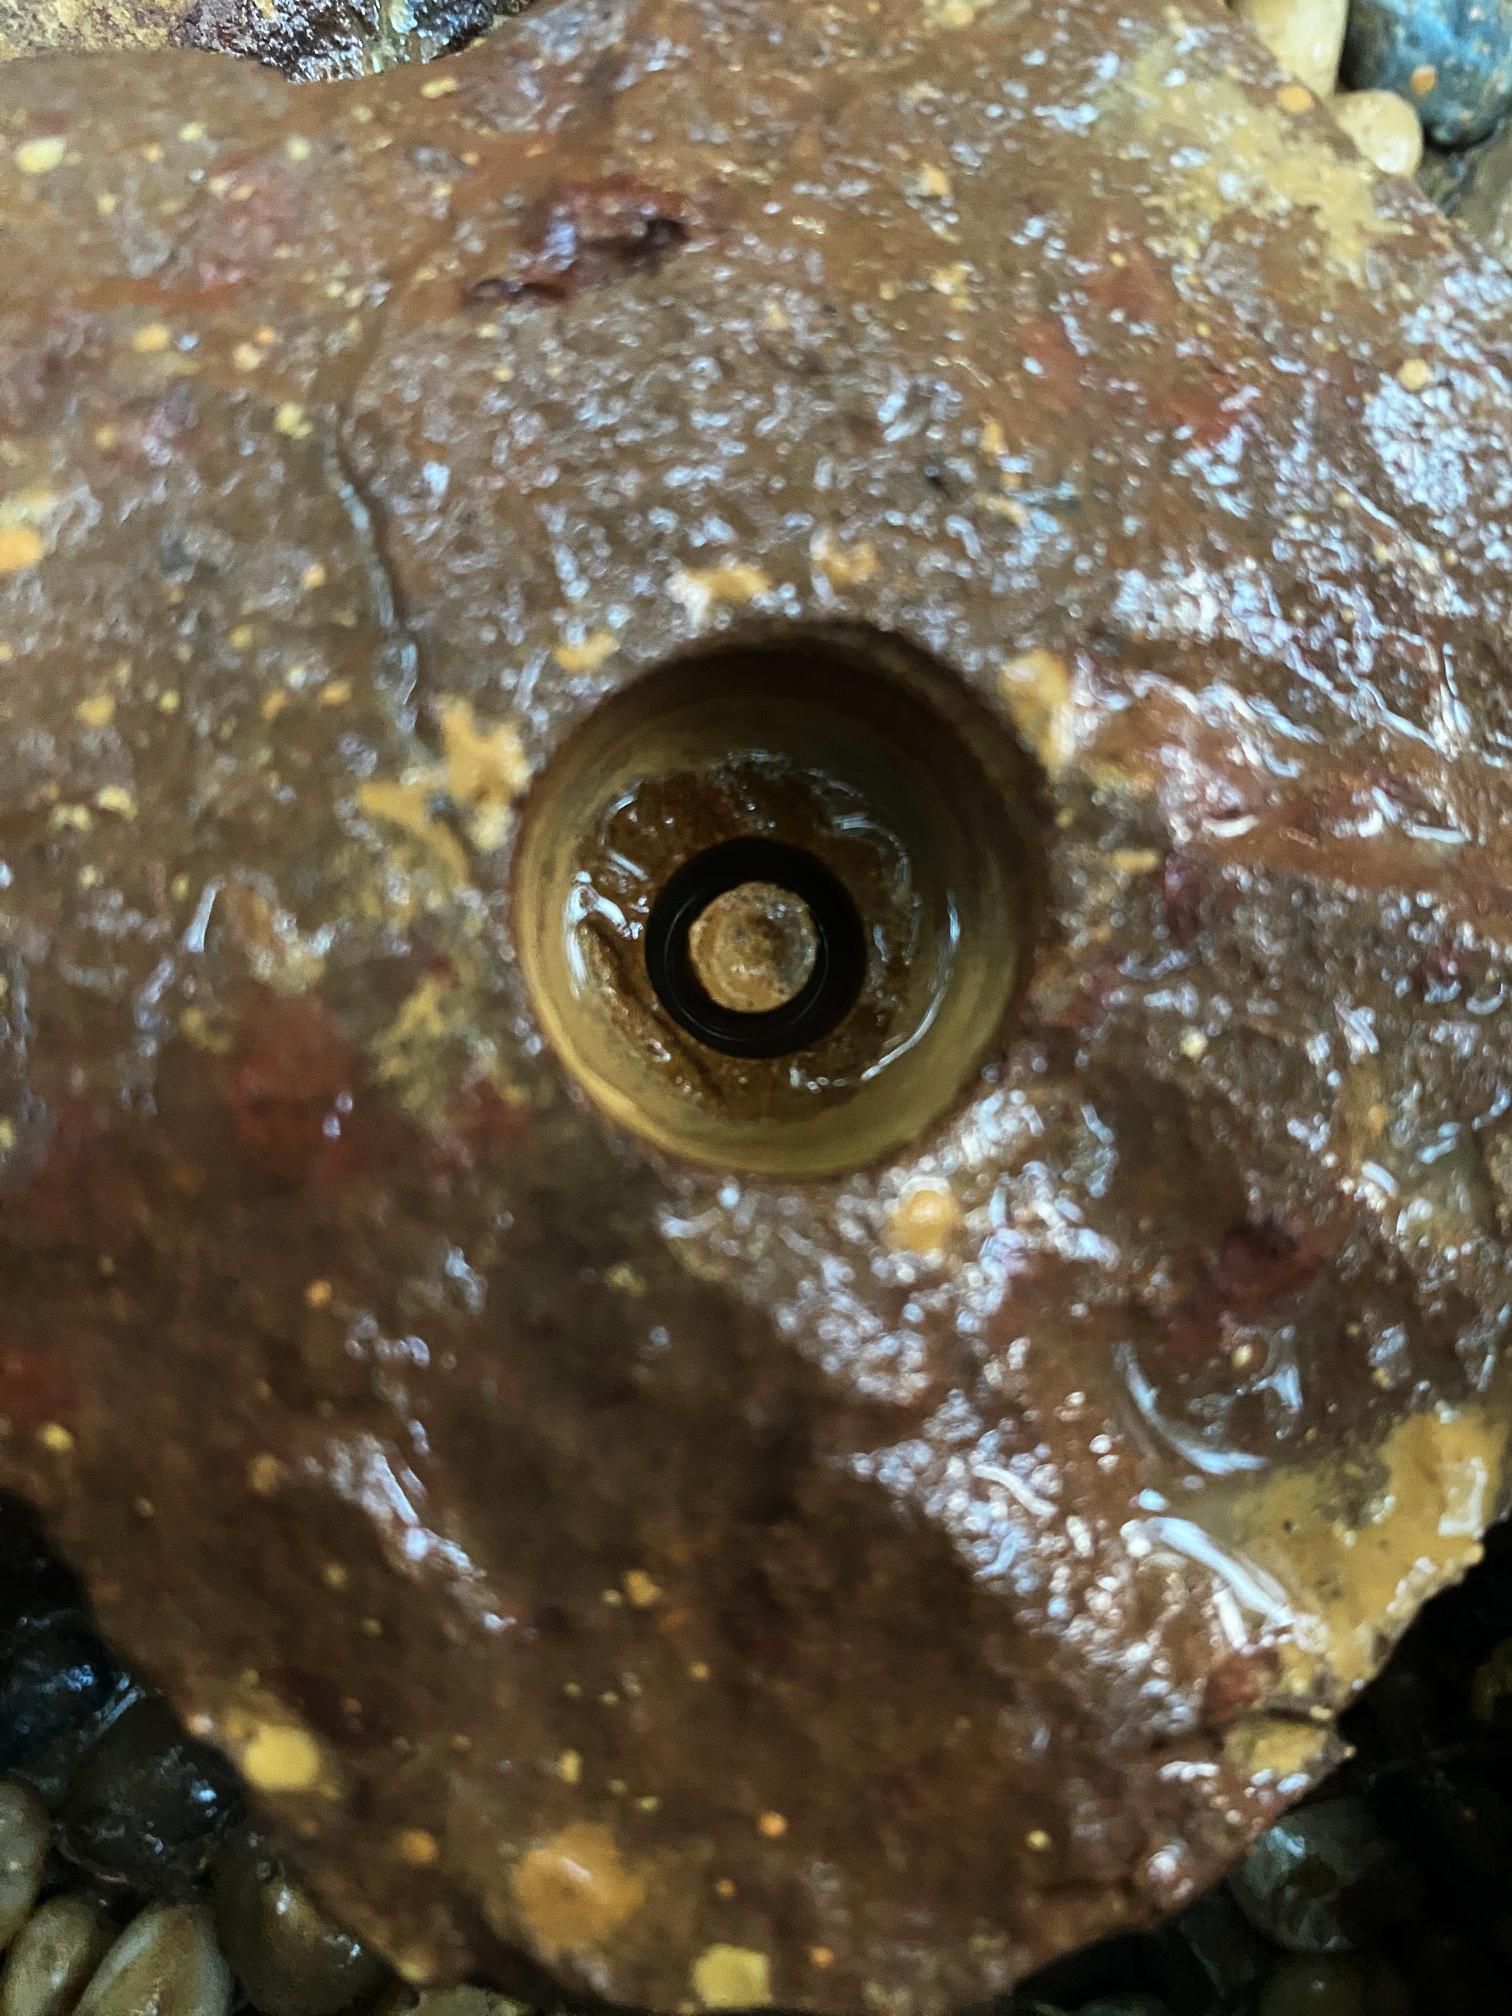
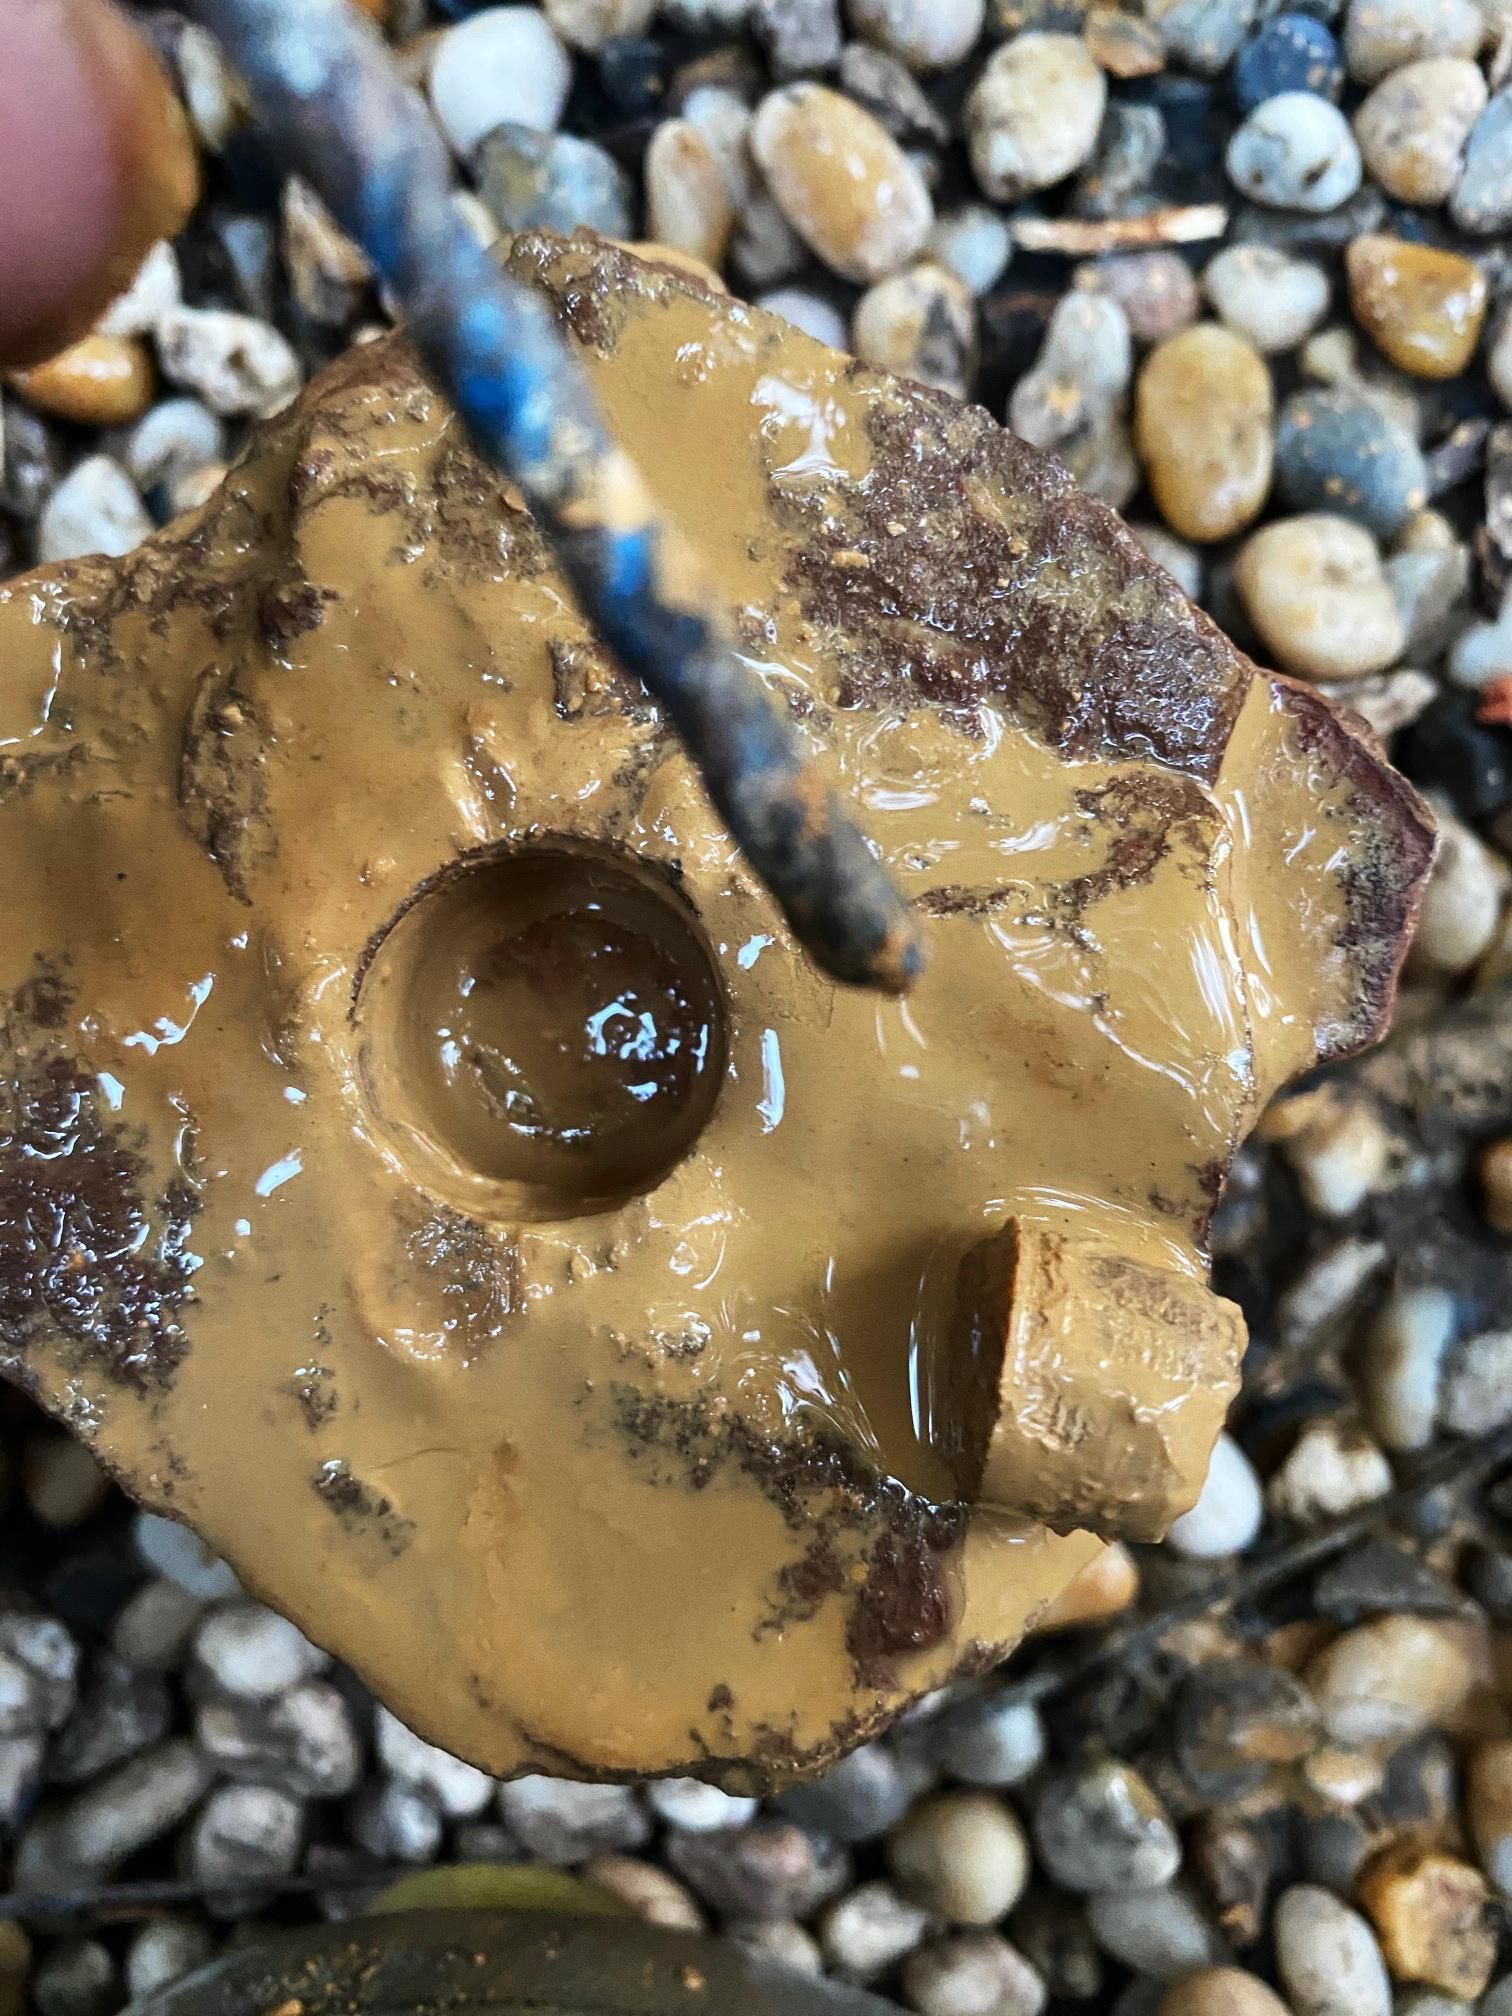
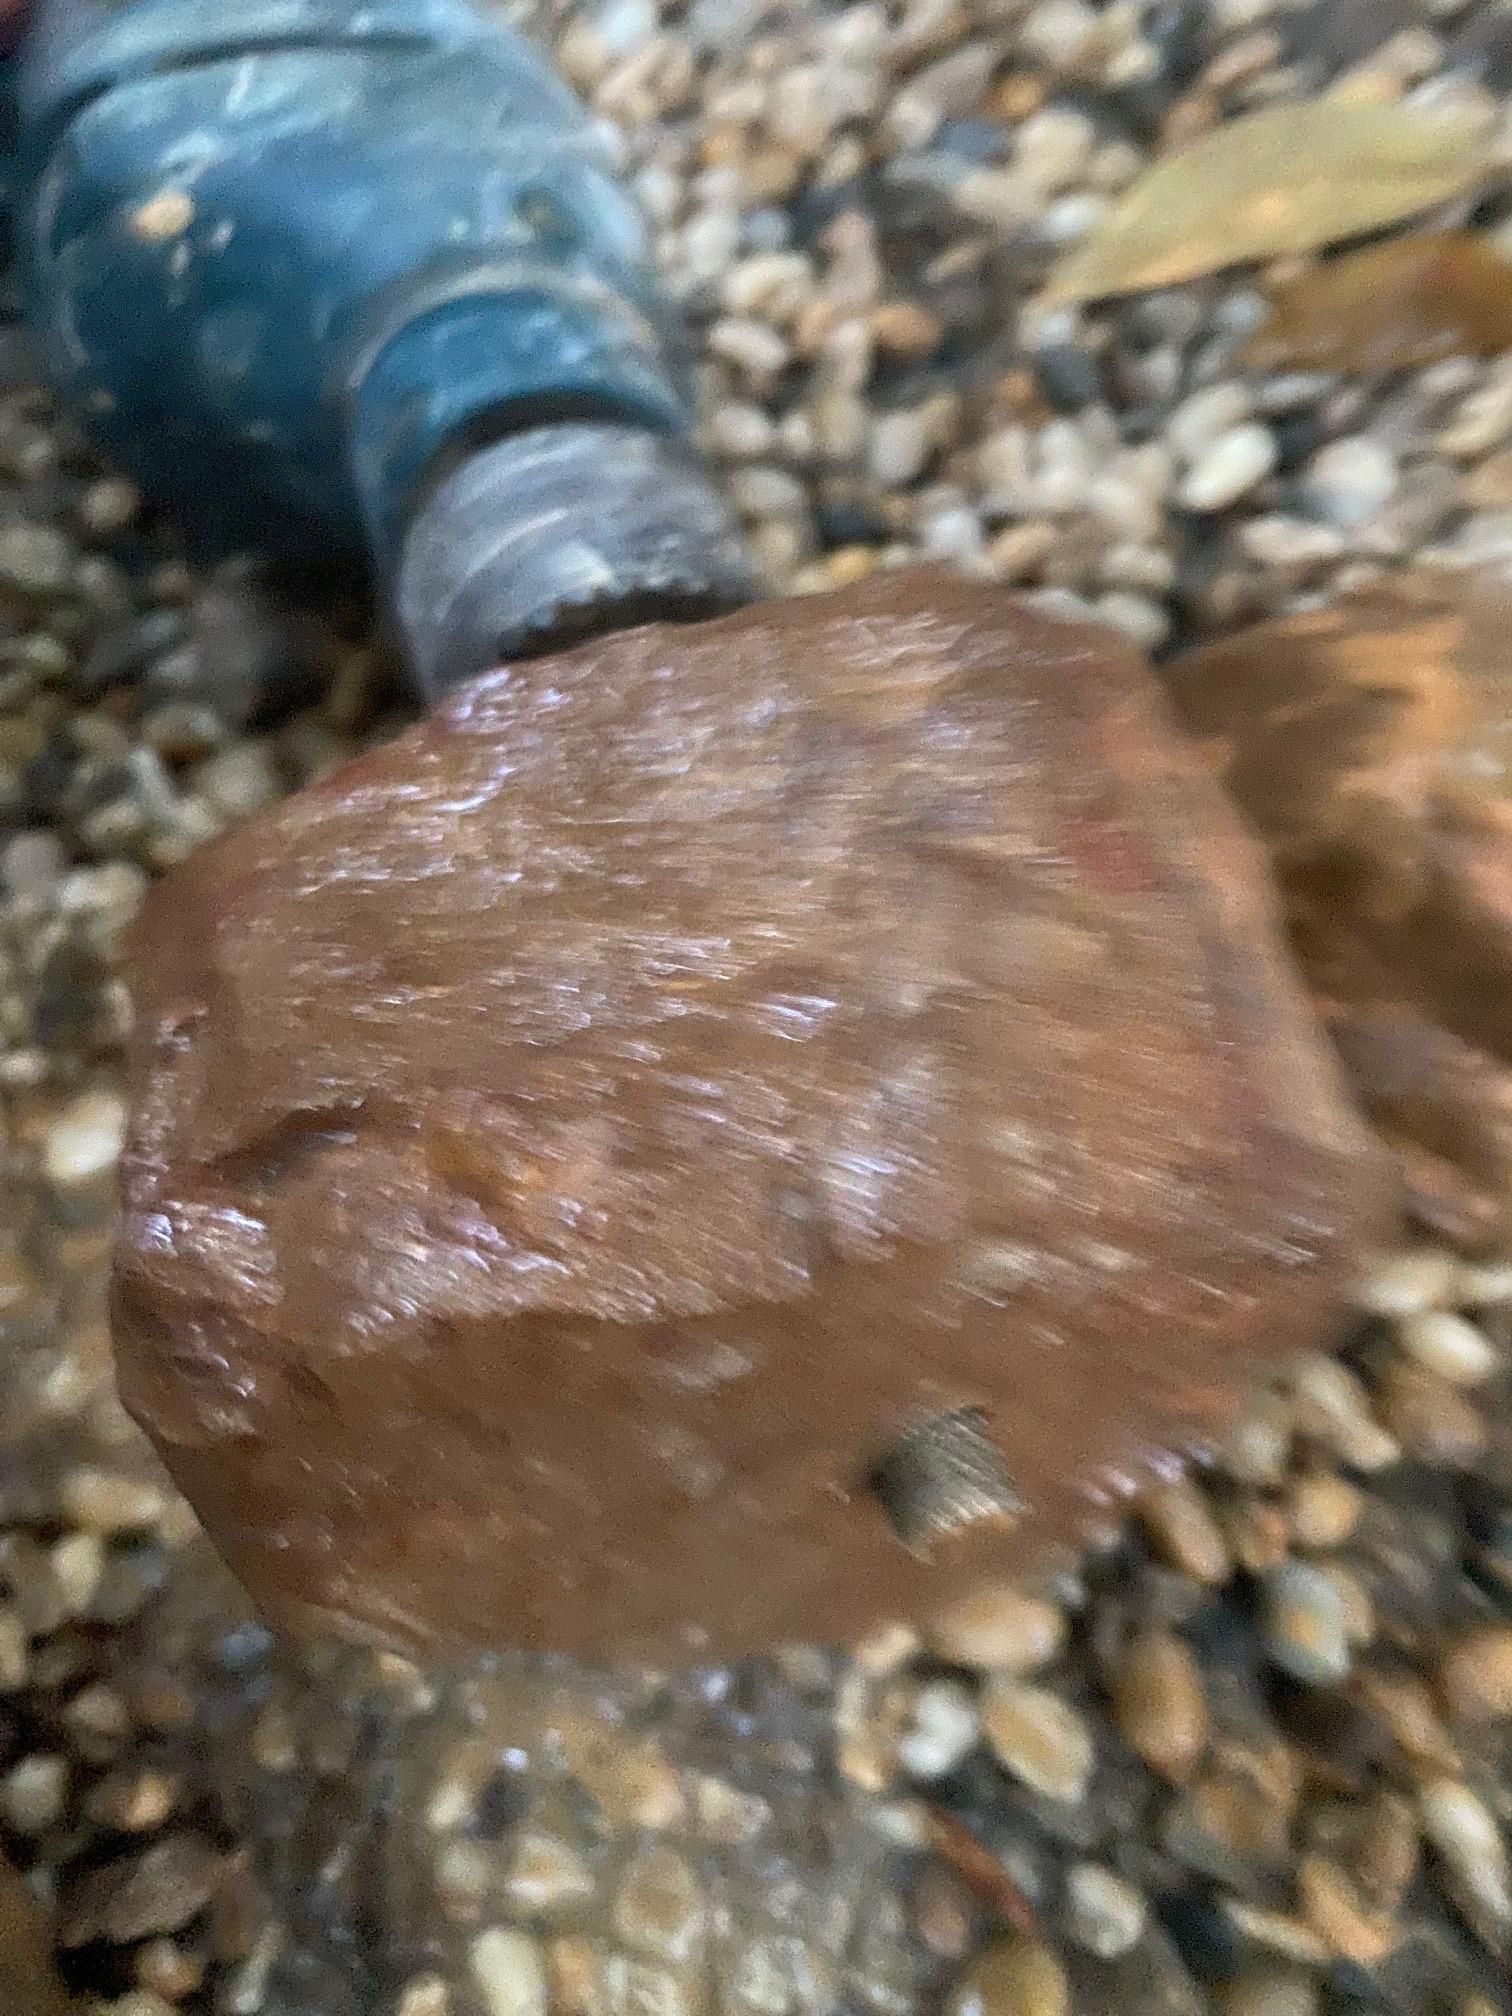
Drilling rocks* is actually super-easy, even if you've never done it before.
Steps:
- Find a place you can get dirty and a surface (like a board, or just gravel like me) you can drill into.
- Put your rock flat side down.
- Choose a good spot for the bolt hole. The center is often, but not always, the best spot.
- Fill up a bottle and poke a hole in the lid with a nail.
- Wet the rock, and keep wetting it, either with a constant stream or smartly spread out squirts.
- Chuck in your wider (20mm) coring bit and start your drill. DON'T go in straight down! Instead, come at an angle until you have a significant groove, then straighten the drill to vertical. It should catch that groove and go in straight.
- Drill down just a little bit deeper than the head of your hex bolt. Stop drilling.
- Use your hammer and nail to remove the core you just cut if needed. Mine always came out on its own.
- Change bits to your thinner (10mm) coring bit. Find the center of your hole and, again, start at an angle until you can catch your groove and drill straight.
- Stop every 5-6mm (quarter inch). If you have a small core of rock still attached at the base, use your nail and hammer to knock it out - otherwise, it might get stuck in your coring bit, and you don't want that.
- Keep drilling until you get through the rock.
- Try your bolt in the hole and washer in the larger space. If necessary, grind out more material.
2 BIG General Tips
#1 - It's probably easiest to drill all the big holes first and then the small ones. I even used 2 drills, so I didn't have to re-chuck.
#2 - Keep it wet and sloppy. Diamond-coated bits will get clogged if you don't keep them clean. They can also get really hot and even melt if you don't keep them wet. Keep them wet.
*Drilling rocks can splatter mud or chips into your eyes. Wear eye protection. If you keep the rocks wet, you won't need to worry about inhaling dust, because you will only have mud. If you worry about inhaling mud, wear a mask.
Finish and Install
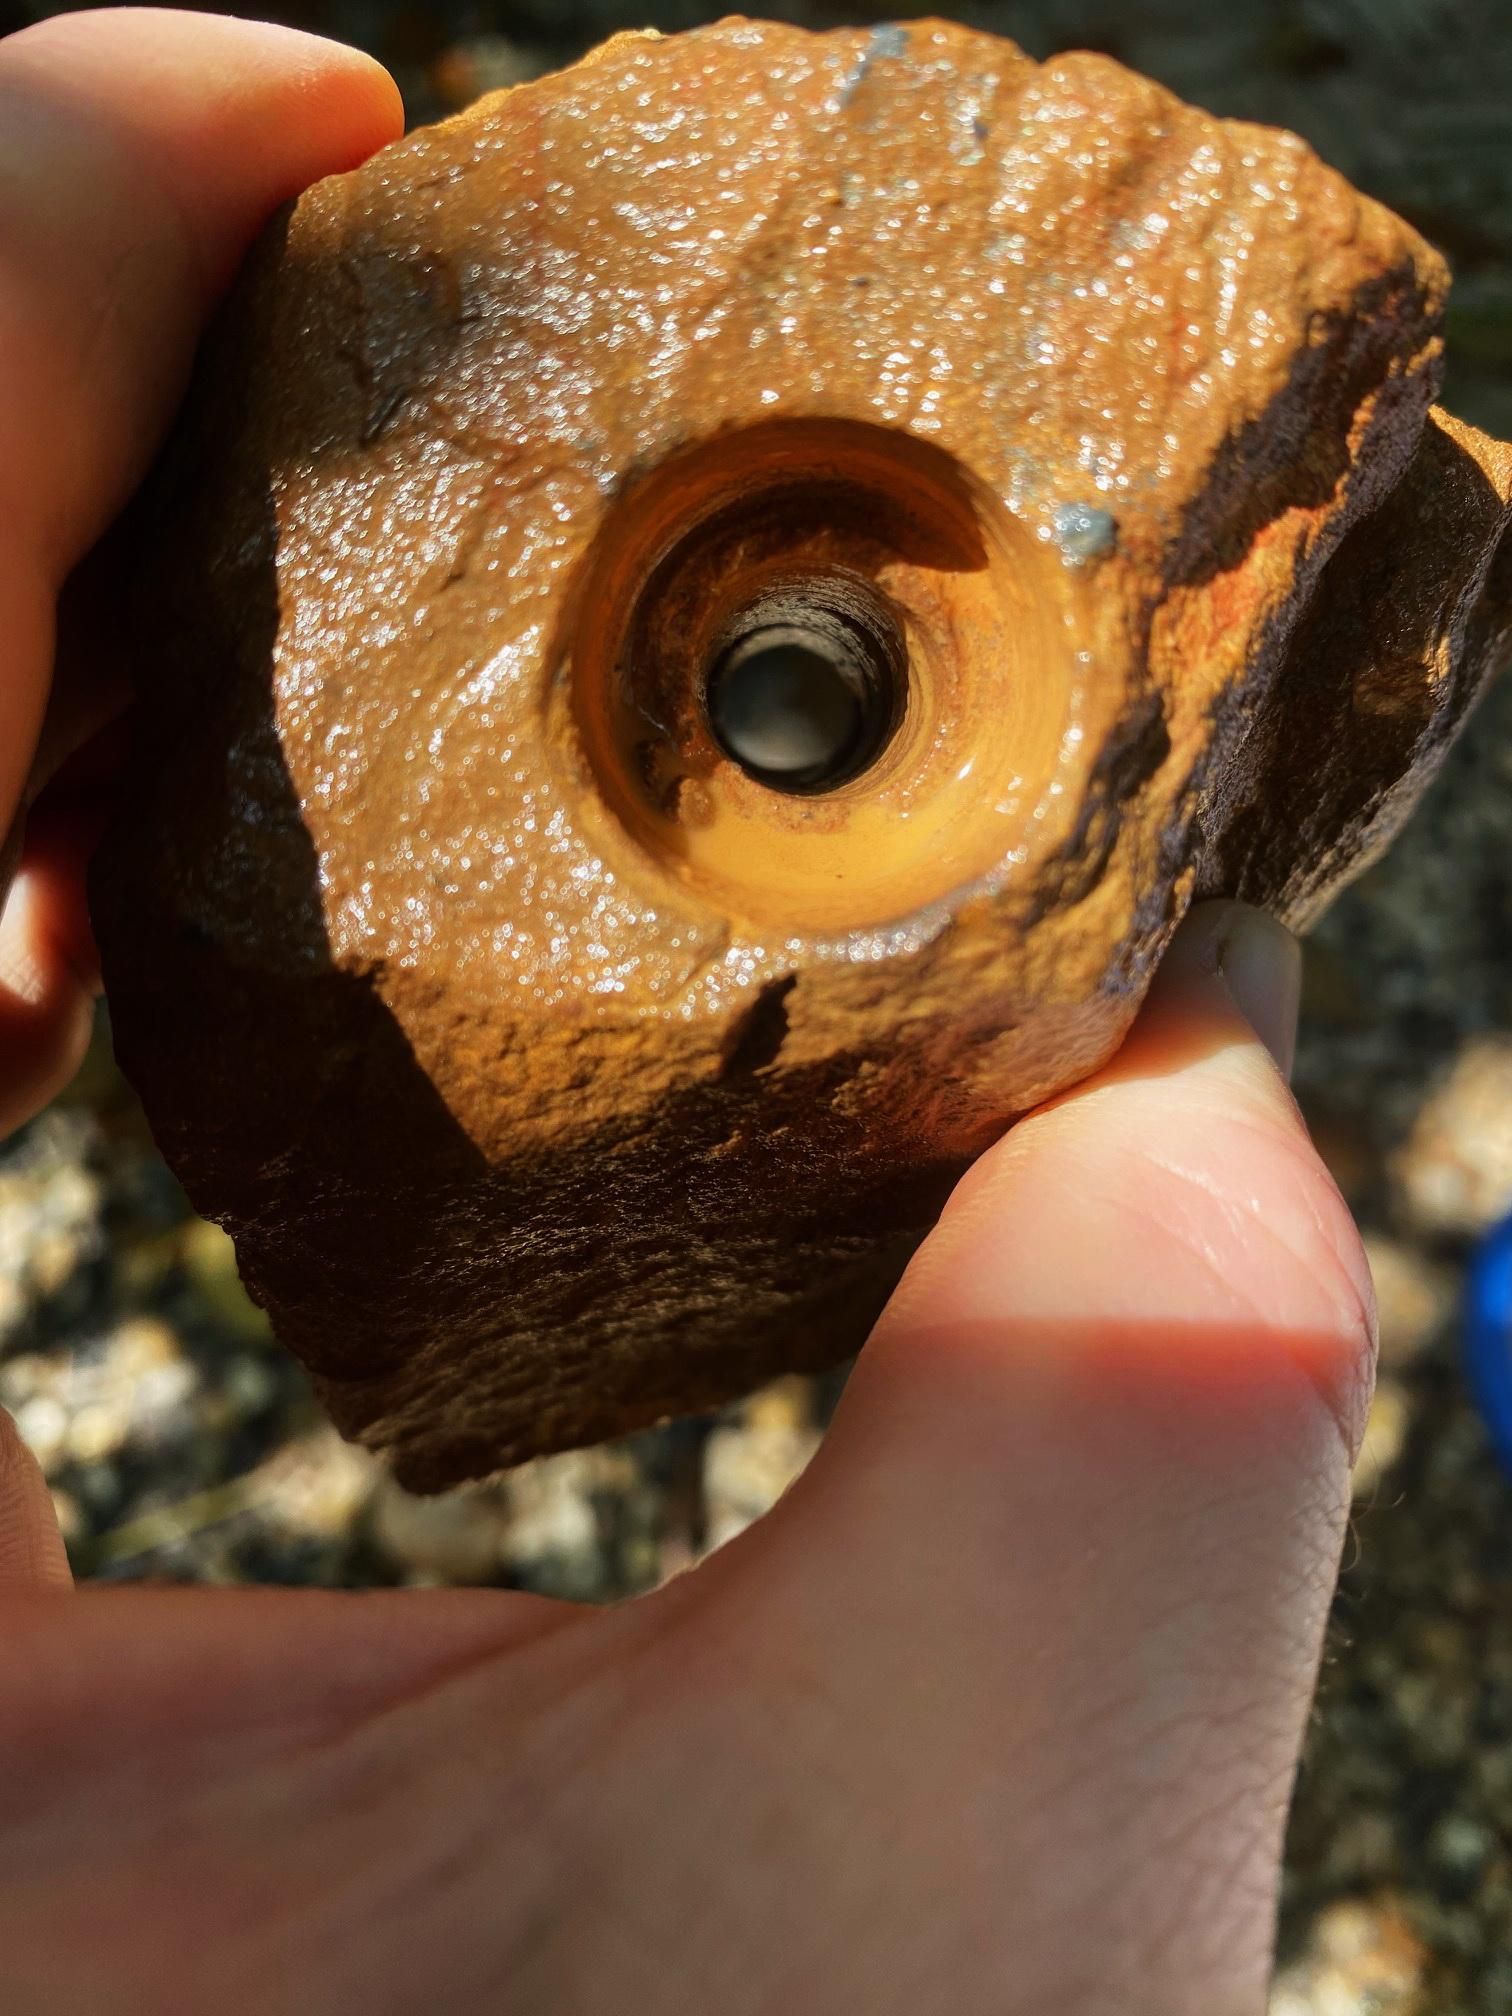
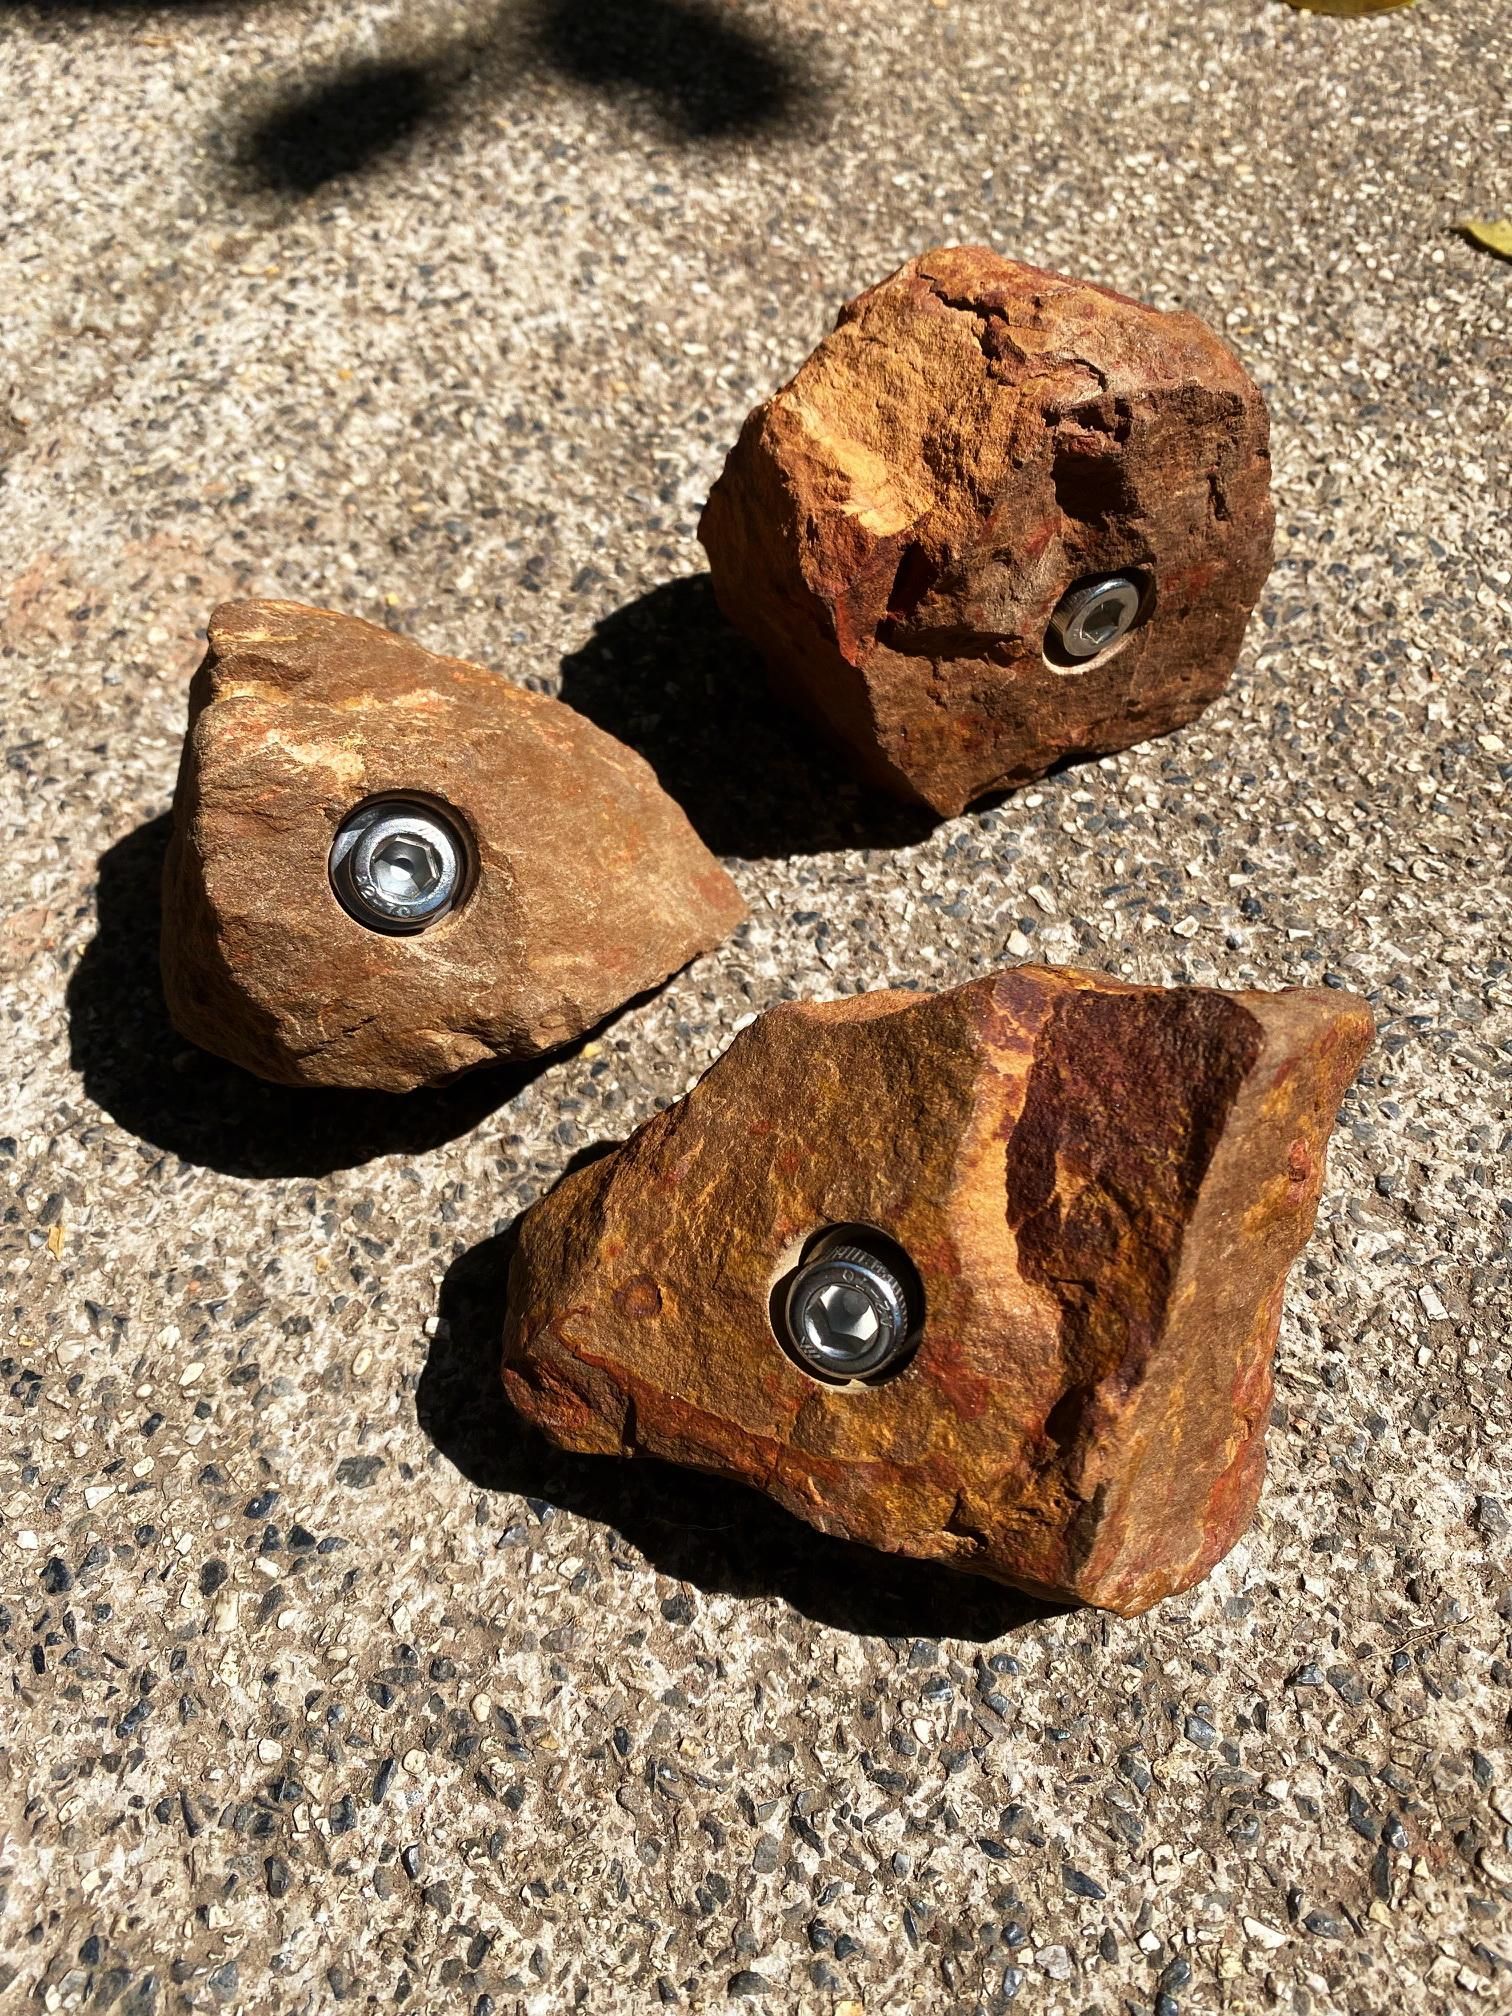
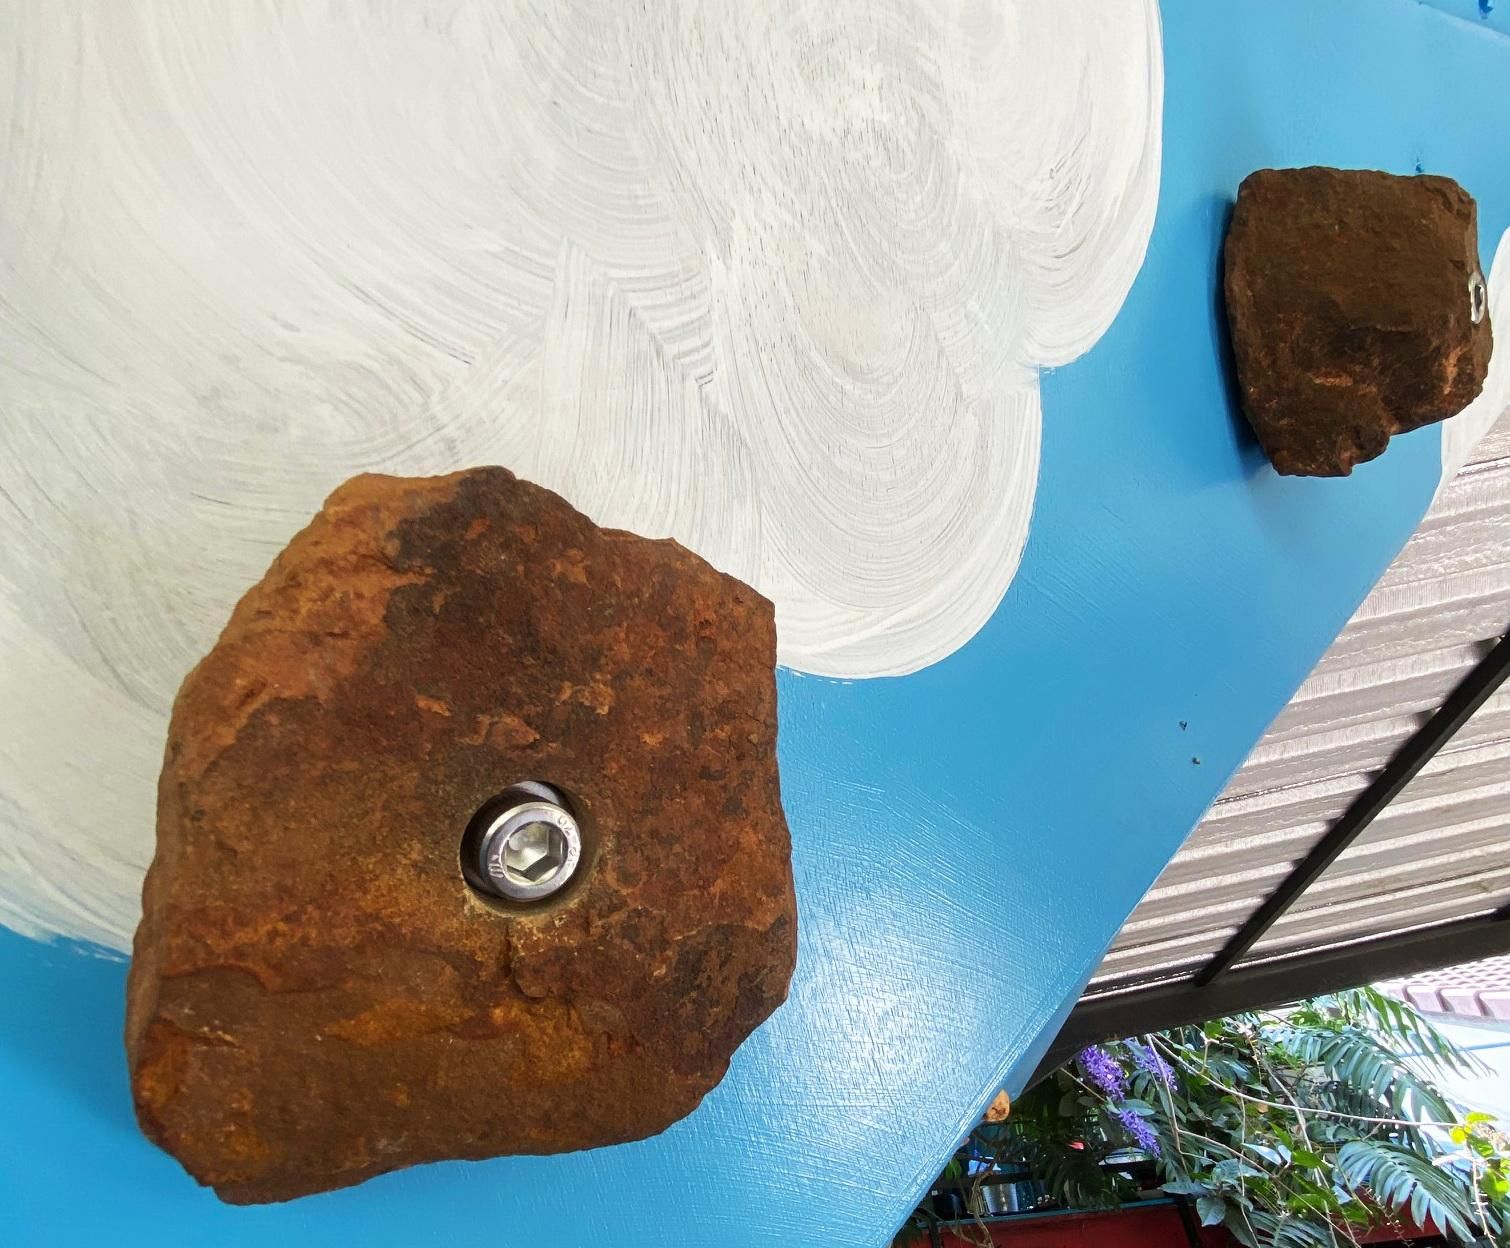
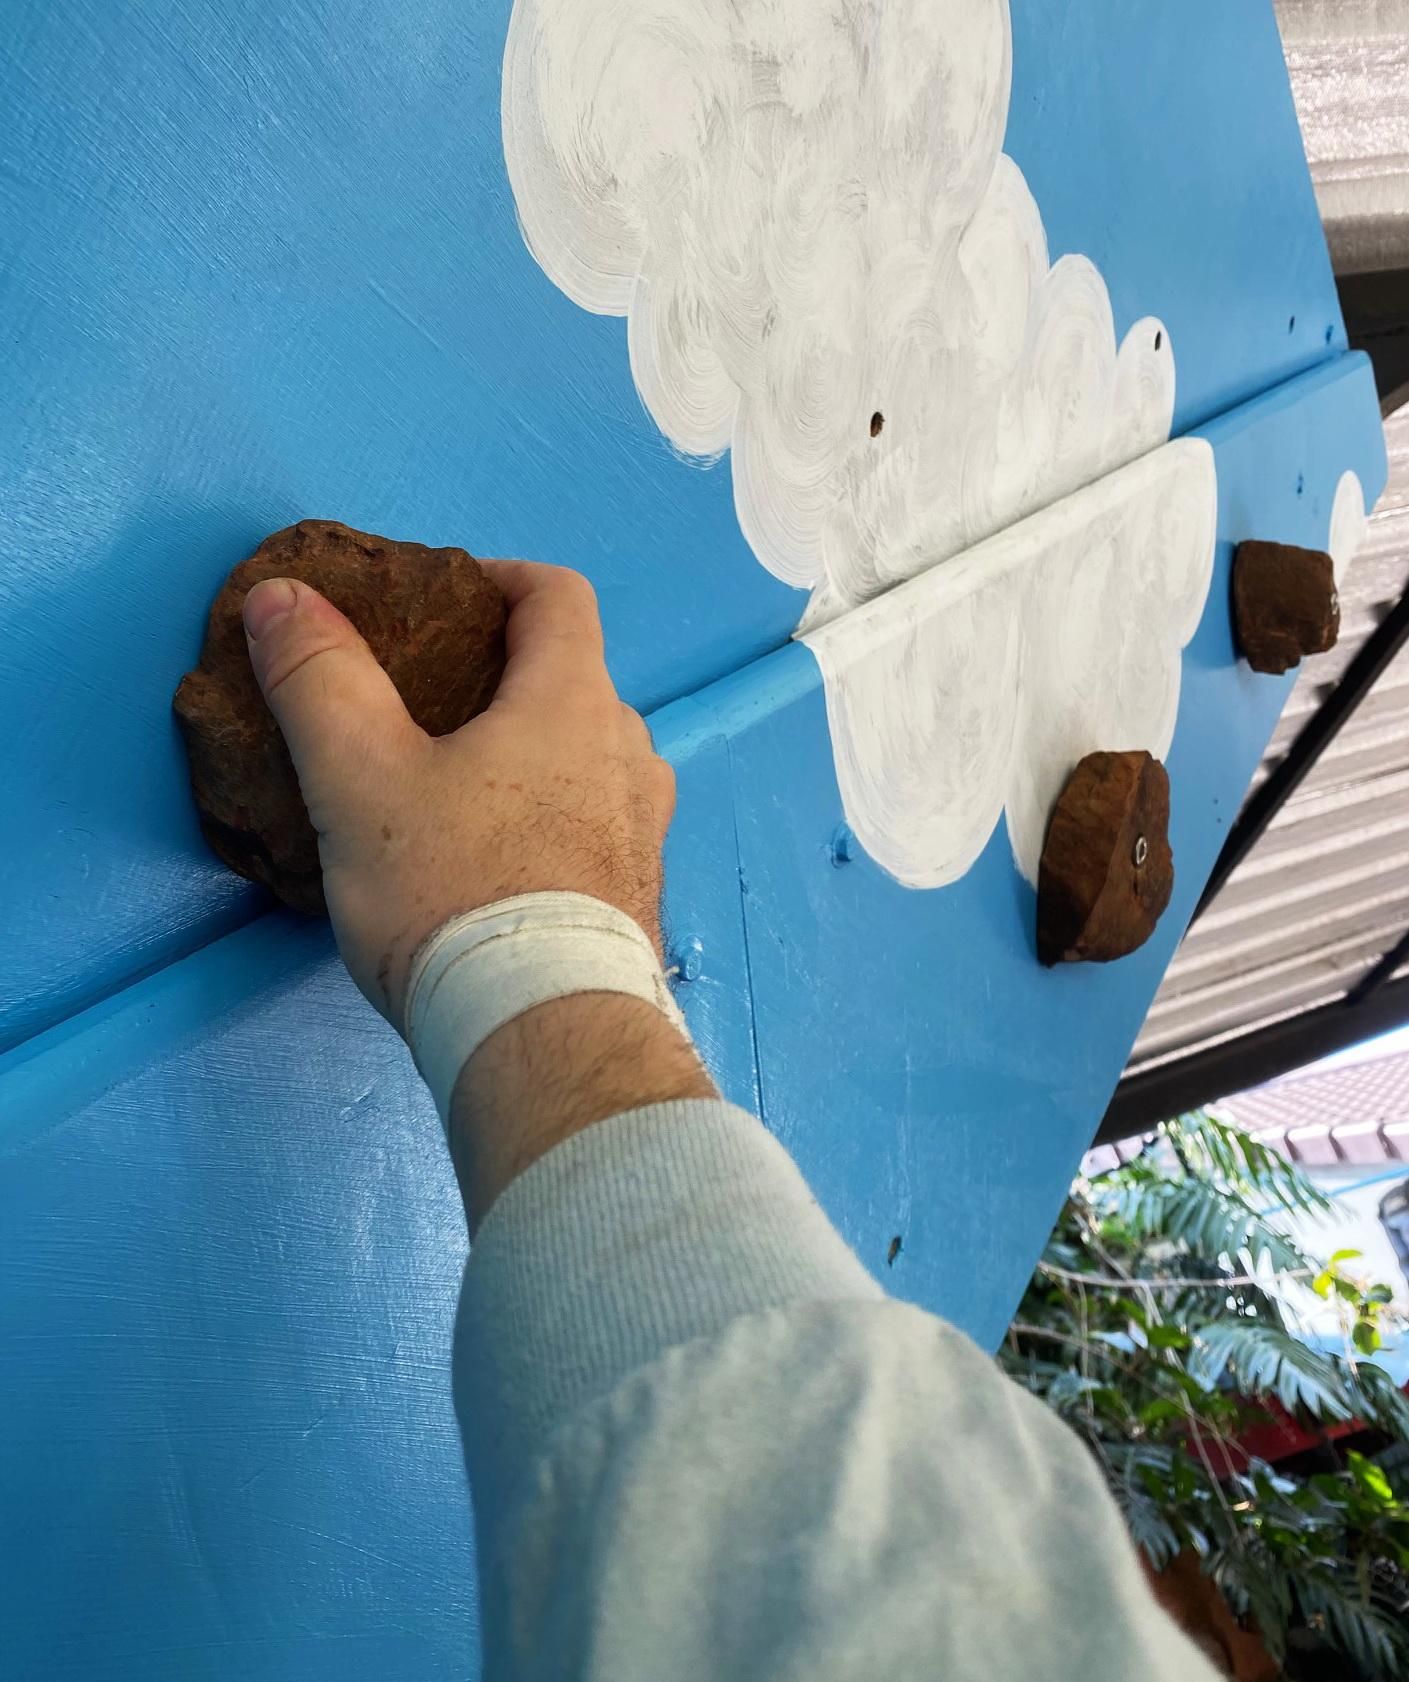
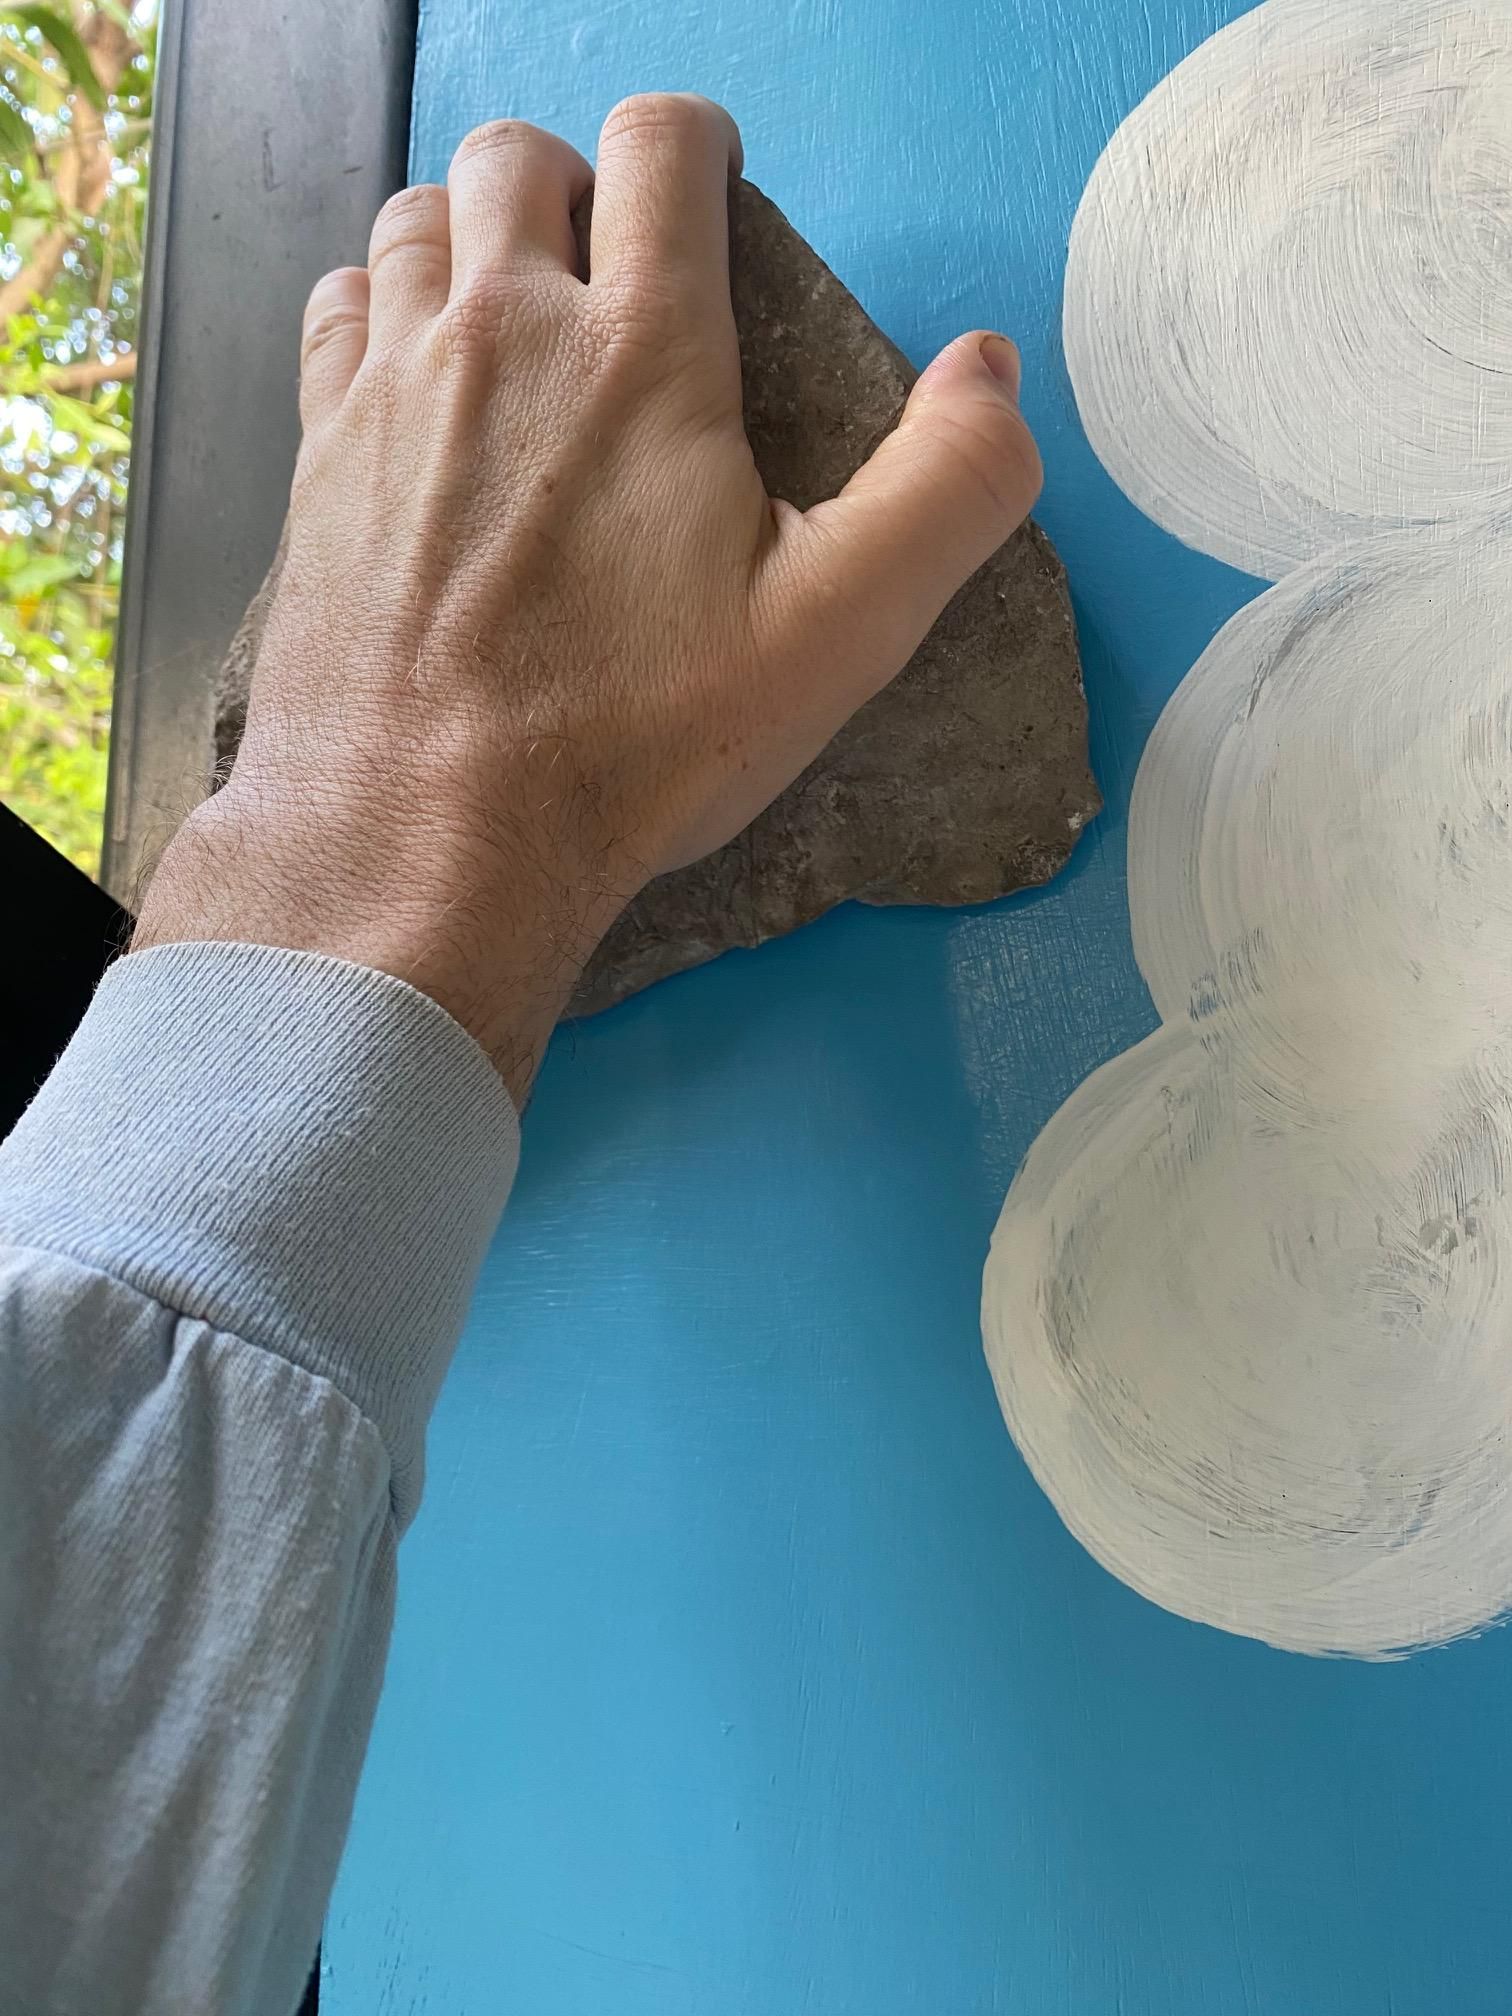
After cleaning your rocks off and letting them dry (didn't I say to do that!?!?), it's time to use them, because they're no longer rocks but REAL ROCK CLIMBING HOLDS!
Put a washer on each bolt, then poke the bolt through the REAL ROCK CLIMBING HOLD of your choice.
Attach them to your wall (which obviously has standard M10 threads already installed), and find the best location and orientation for each. Most REAL ROCK CLIMBING HOLDS can be used in several different orientations, which makes them super-versatile!
Now, you, too, can climb on the real rock holds you've always dreamed of!
Troubleshooting
My rock broke!
Get another one.
That broke, too!
Use a different kind of rock.
It takes a long time to drill rocks!
Be more patient, or use softer rocks.
My drill bit is getting hot!
Use more water.
I drilled all my rocks on the wrong side!
Don't do that.
My rocks aren't perfectly flat on one side! Can I do something about that?
Yes. Great question!
Natural rocks are almost never perfectly flat. If they're close, they might dig into your wall a bit, especially if it's made from plywood, like mine. This is good. It gives them 'tooth' and helps keep them from spinning.
If you need to flatten a rock out more, I'd suggest using a concrete cutting blade on an angle grinder. This should cut through any rock you can find. WEAR EYE PROTECTION and a DUST MASK!!
My hold spins on the wall!
If you have room on the rock, choose a spot near a corner and drill through with the small (10mm) coring bit. You can then use a wood screw in this hole. It won't catch a lip, but it will keep your hold from being able to spin around the central bolt.
My rock is too rocky!
???
I guess that about covers it.
Have fun climbing!