Makey Makey Gaming Controller Diplegia (Utilizes Both Hands)
by Alex_Bartolomei in Circuits > Assistive Tech
1704 Views, 4 Favorites, 0 Comments
Makey Makey Gaming Controller Diplegia (Utilizes Both Hands)

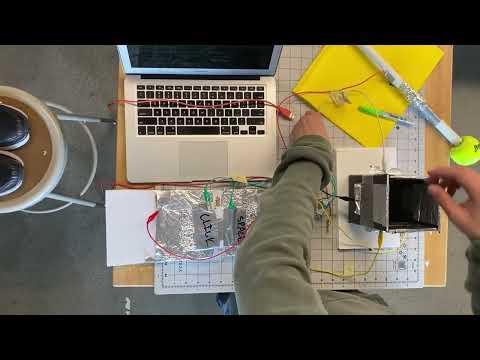
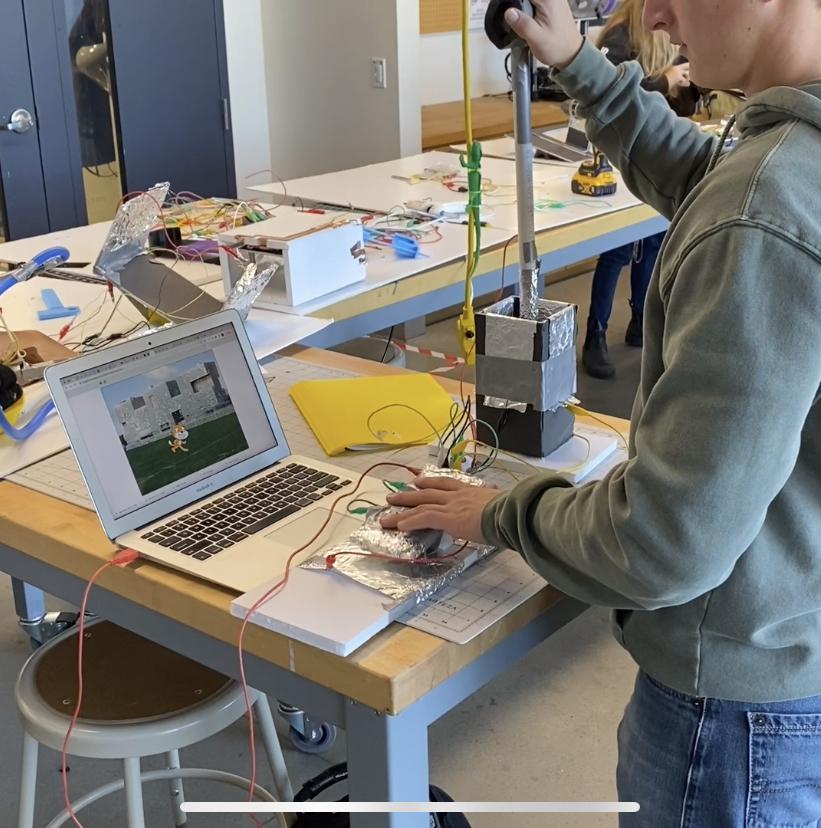
This controller utilizes the movement of both arms to make gaming accessible to individuals with Spastic Diplegia. It consists of two components, and offers the left, right, up, down, space, and click commands. The first component contains all of the direction commands through a large and easy to use joystick, while the second component offers the space and click commands through a seesaw.
I first created this controller in my AS Engineering for Social Good class, a class which is focusses on creating assistive technology for those in need. At the beginning of the project, we watched My Left Foot, a film starring Daniel Day Lewis that tells the story of artist and writer Christy Brown, and details how he navigated the world living with Cerebral Palsy. This film gave me a lot of insight into the isolation and frustration that people with Quadriplegia feel on a daily basis, which motivated and inspired me to build this comprehensive controller.
Supplies
Here are the supplies I used to create my controller:
- Duct Tape
- Foam Core
- Rubber Bands
- Wood Skewers
- Aluminum Foil
- Alligator Clips
- Makey Makey
- 3/4 inch PVC Pipe (length depends on necessary joystick height, but mine was around 20 in.)
- Tennis Ball
- Springs
- Small piece of Foam Noodle/Foam Pipe Insulation
Here are the tools I used:
- Xacto Knife (comes w/ extra blades)
- Hot Glue Gun (comes w/ extra hot glue)
- Ruler
- Pen/Pencil/Writing Utensil
- Step Drill Bits
- Regular Drill Bits
- Drill Press (hand held drill should work fine)
Cad Files:
Building the Handle


- Cut a piece of foam pipe insulation about 5 or 6 inches.
- Tape it securely to the top of your PVC pipe so that the insulation is perpendicular to the pipe, and even on top.
- Use your step bit to drill a hole in the tennis ball, so that the other end of the pipe fits snugly.
Building the Base Direction Module


- Cut a piece of foam core that is about 16 inches long and 7 inches tall (height may differ based on PVC pipe length, but it should be about 40% of it).
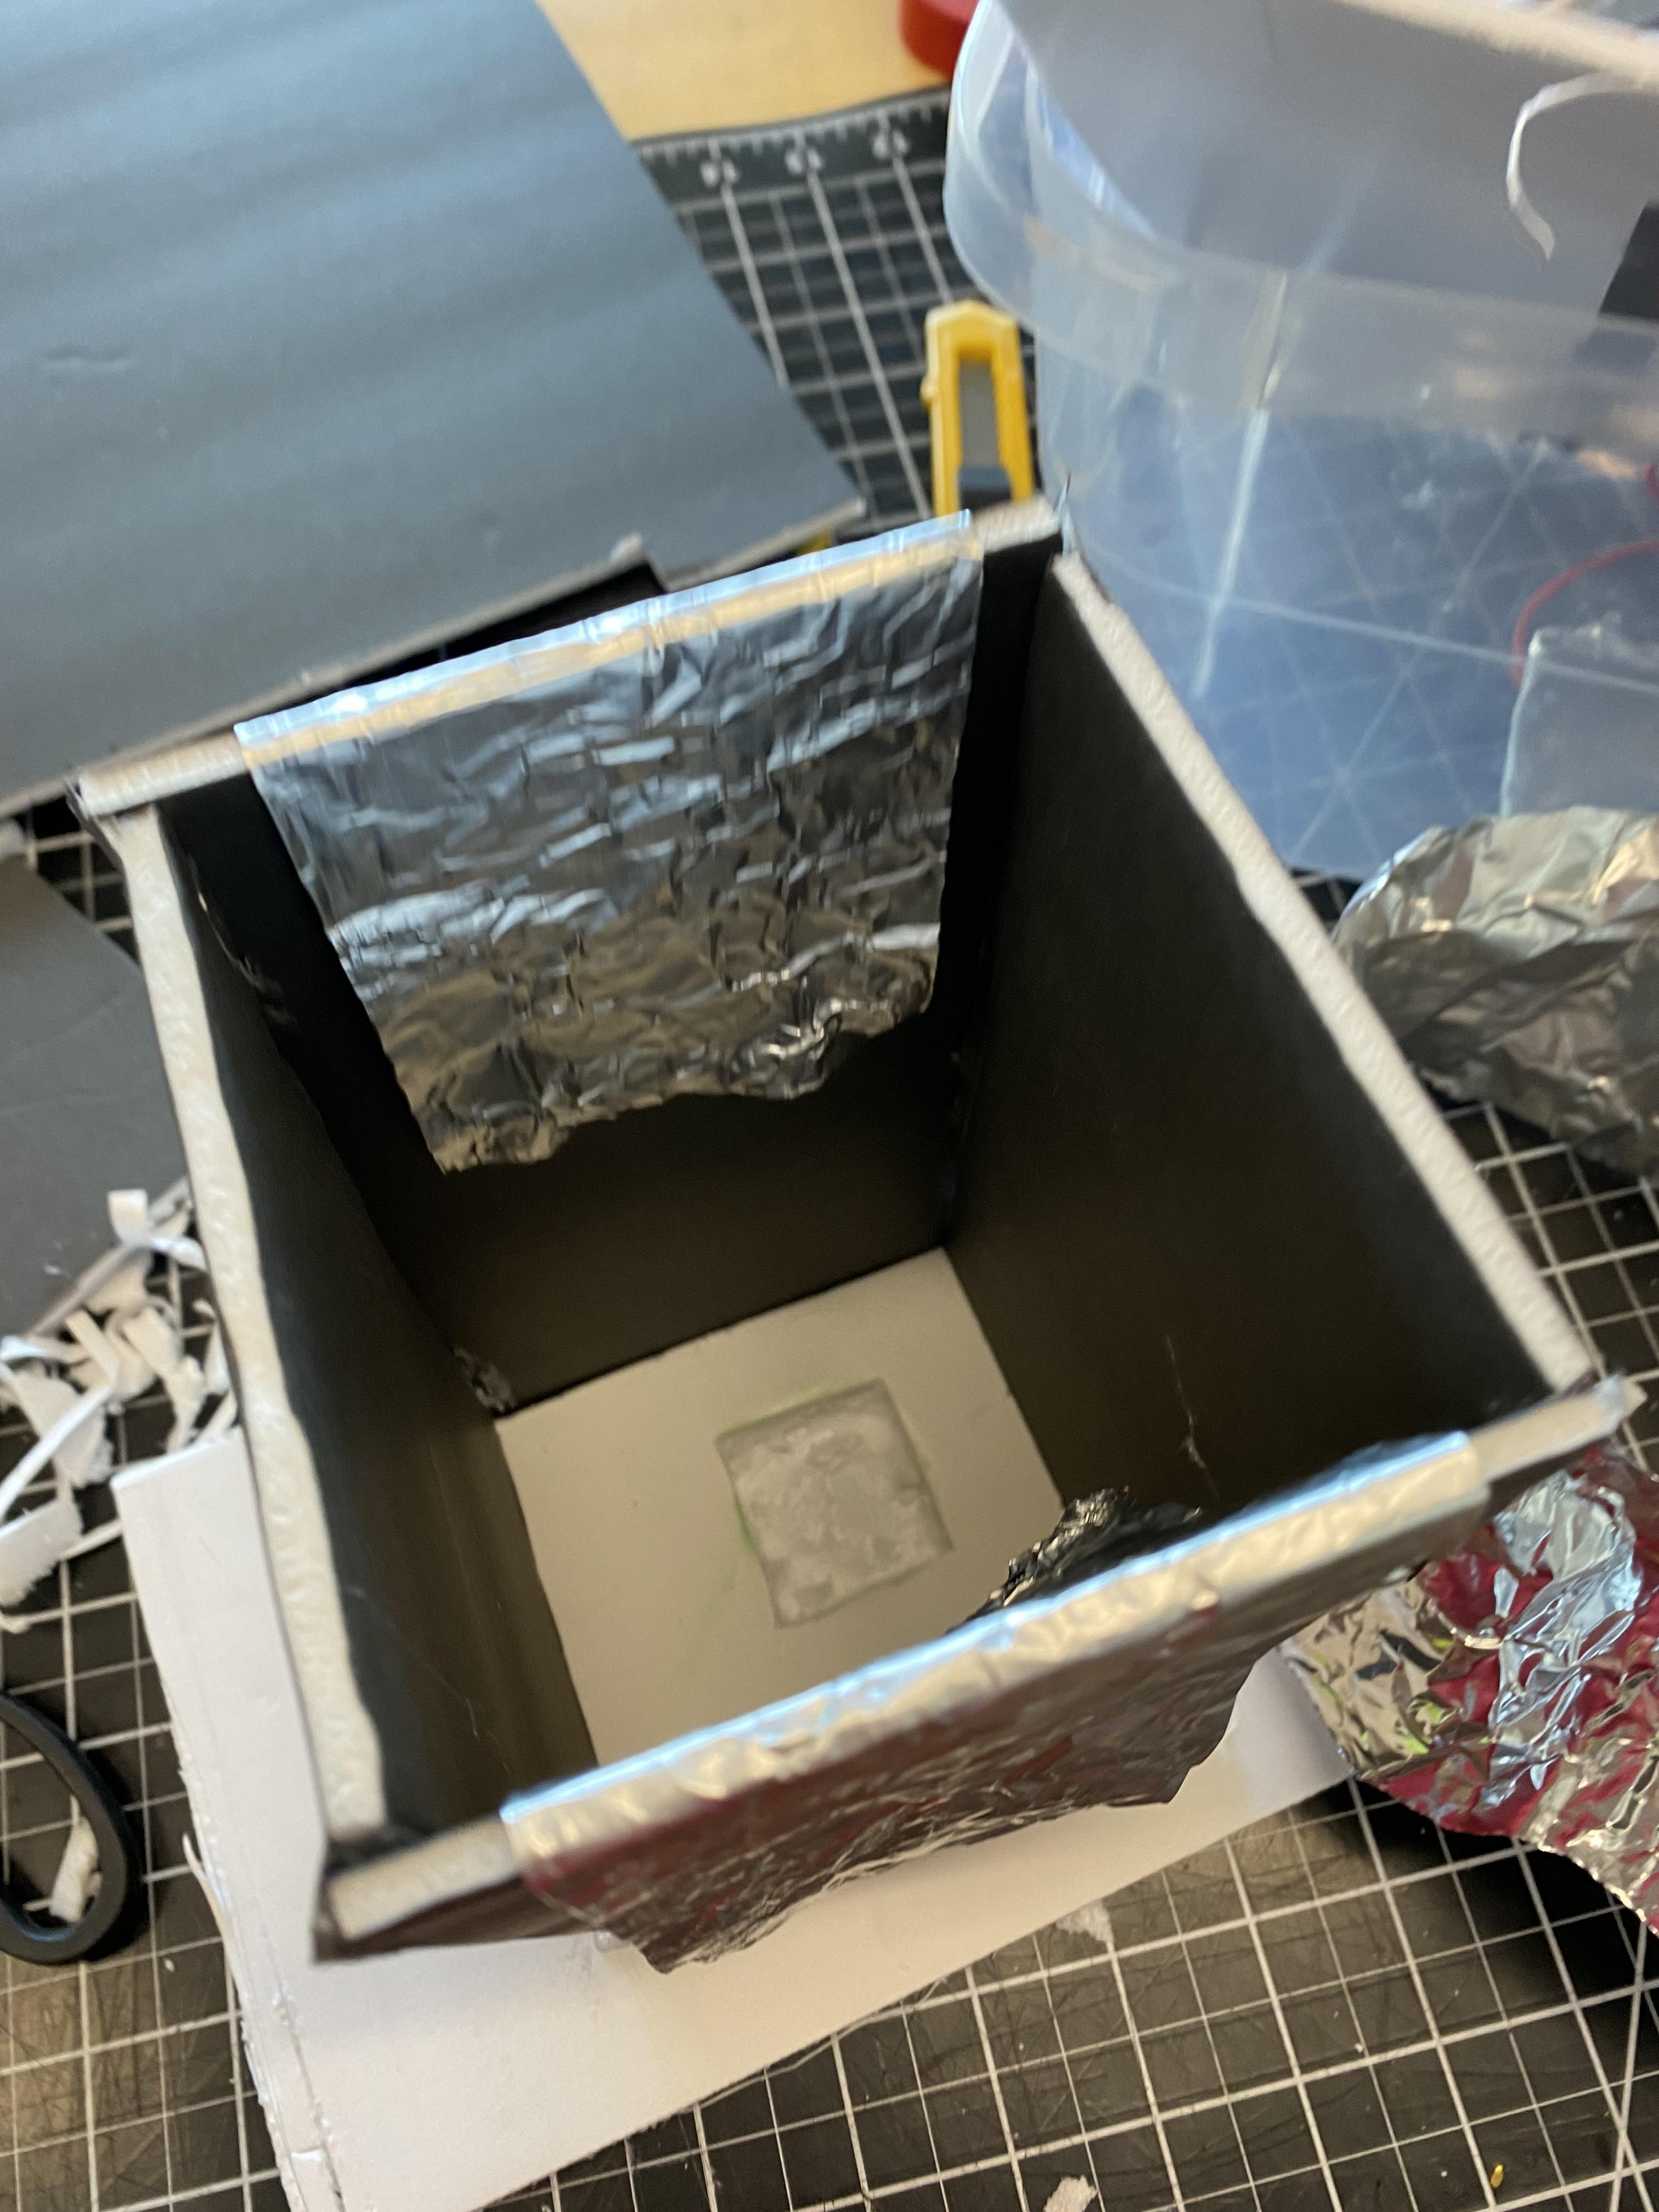
- Measure out the piece of foam core into 4 evenly spaced rectangles, and mark each boundary with a line. Then, use a spare piece of foam core to make each of these boundary lines foam core width, and cut through the first two layers of the foam core (reference first image) so that you have 3 flexible seams in the body of your foam core, and one on an edge.
- Apply hot glue to these areas, and fold your foam core into a 3 dimensional rectangle.
- tape Aluminum foil individually to all four sides of your new cuboid, so that each piece starts within, wraps over the top, and goes a bit down the outside. The aluminum foil should be almost as wide as each side, but leave some room on the edges so that the foil from each side does not touch.
Building the Handle Base


- Cut a large foam core square or rectangle with your Xacto out of thick foam core. Mine was 6 in. x 9 in., but I would definitely recommend making yours larger for more stability, as this will be the base.
- At the center of your base, cut a shallow square that is about 1.5 in. on each side. Do not cut all the way through the foam core, but rather through only the first two layers of foam core. Scrape out all foam from within this square so it is empty.
- Align your direction rectangle so that this new square is at the center of it. Then, trace the inner and outer edges, and shallowly cut them out, going through only the first two layers of the foam core. By the end of this step, your module should fit snugly onto your base.
- Use hot glue to attach your module to the base, resting it in the area that you just cut.
Making This Work

- Place the handle in the module, so the tennis ball rests in the carved out square.
- Mark where PVC is at the same level as the top of the direction module.
- Tape aluminum foil to this area, so that this foil will contact the foil on the direction box when the handle is moved. Clip an alligator clip to the top of this foil prior to taping the top.
Creating the Space/click Seesaw


- Print the 3D printable components linked under Supplies.
- Use a skewer, and some rubber bands as an axel to secure the top to the bottom. These work well because they are secure, but easily removable.
- Apply tin foil to both sides of the seesaw plate, so that it wraps around each end. Ensure that the foil on each side does not touch. You will want to tape down the tin foil, but make certain to apply alligator clips before doing so. I recommend applying the clips on the same edge, as close to the middle as possible before taping.
- Label one side space, and the other click.
- Glue an inch long spring onto each corner of the seesaw so that each side of the seesaw has two springs, on the outside corners.
Creating the Space/click Base


- Cut a foam core rectangle. I would recommend it be about 6" x 12".
- Hot glue the bottom of the seesaw to the center of the rectangle.
- Tape aluminum foil to each side, with a piece on the bottom to connect them.
- Mark where the springs on the seesaw contact the base, and drill holes there.
Wiring

- Attach on end of an alligator clip to the foil on each side of the direction module, and to the foil at base of the space/click module.
- Connect the other end of these clips to their designated area (ie. "space"; up arrow) on the Makey Makey. Clip the alligator clip on the handle, and the clip on the base of the space/click module into the "Earth" section at the bottom of the Makey.
- Use tape and a pen to label the all of the alligator clips with their functions, so as to make wiring easier in the future.
- Plug one end of the red cord from your Makey kit into your Makey, and the other into the USB port on your computer.
Set Up/Testing

- To set up your controller, rest both modules on a table, or whatever surface is convenient. Operate the space/click module with one hand, and the joystick module with the other.
- To test your controller, use this link. It will bring you to a scratch game that I created that will allow you to test all of the functions.
If You Need Anything...
If you would like to modify the commands on the Makey, instructions to do so are here. I would also love feedback, so if you have any questions, concerns, or advice feel free to comment on this page. I can also print and send any 3D printed pieces if you need them. Thank you so much!