Making Colorful Small Stools From Birch Plywood
by baitwood in Workshop > Furniture
10 Views, 0 Favorites, 0 Comments
Making Colorful Small Stools From Birch Plywood
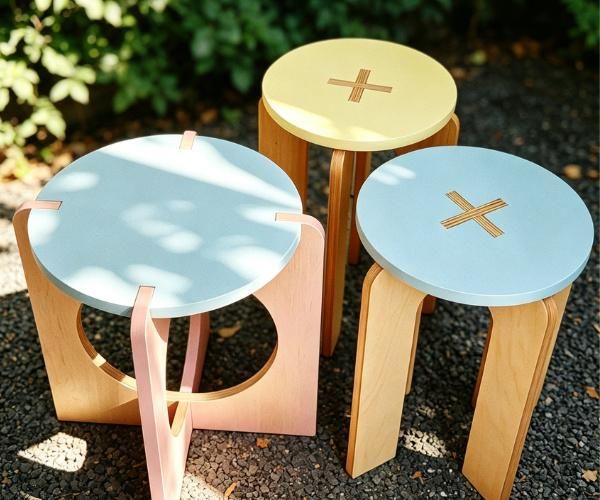
You don’t‑need fancy tools to build a sturdy, good‑looking little stool! In this tutorial, we’ll use smooth‑grained birch plywood to cut, sand, paint and assemble a bright‑coloured stool that’s both stylish and solid. Every step comes with clear photo instructions, so even total beginners can follow along. Let’s get started on our DIY project.
Supplies
- Sandpaper
- Birch plywood:https://baitwood.com/product/birch-plywood/
- Water‑based wood paint
- Water‑based colour tint
- White water‑based paint
- Satin clear topcoat
Plywood Cutting According to Drawing Specifications
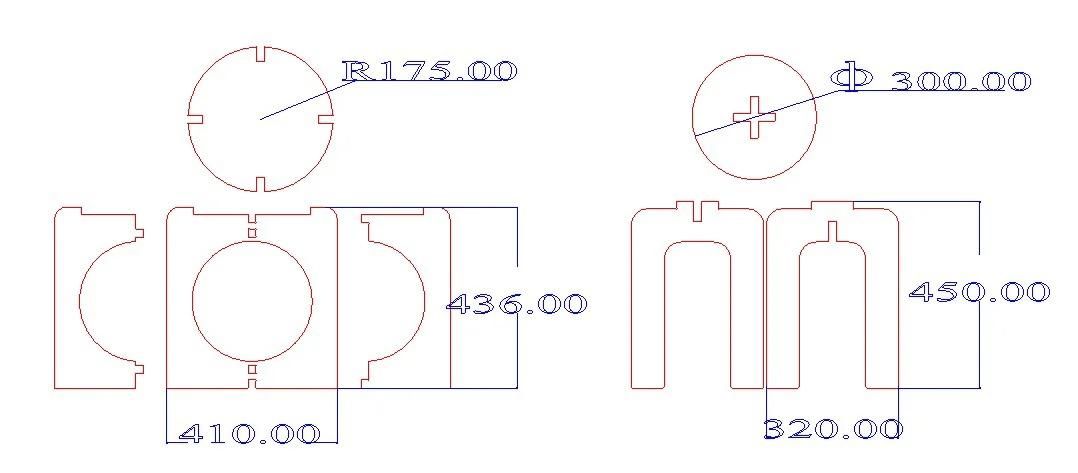
Cut all components from 18 mm birch plywood. All cutting dimensions shall strictly follow the CAD drawing. Machining tolerance: ±0.5 mm. All connecting notches and slots need to achieve tight‑fitting assembly. Deburr and smooth all cut edges, keep surfaces clean, no splinters.
Sand‑down Birch Plywood
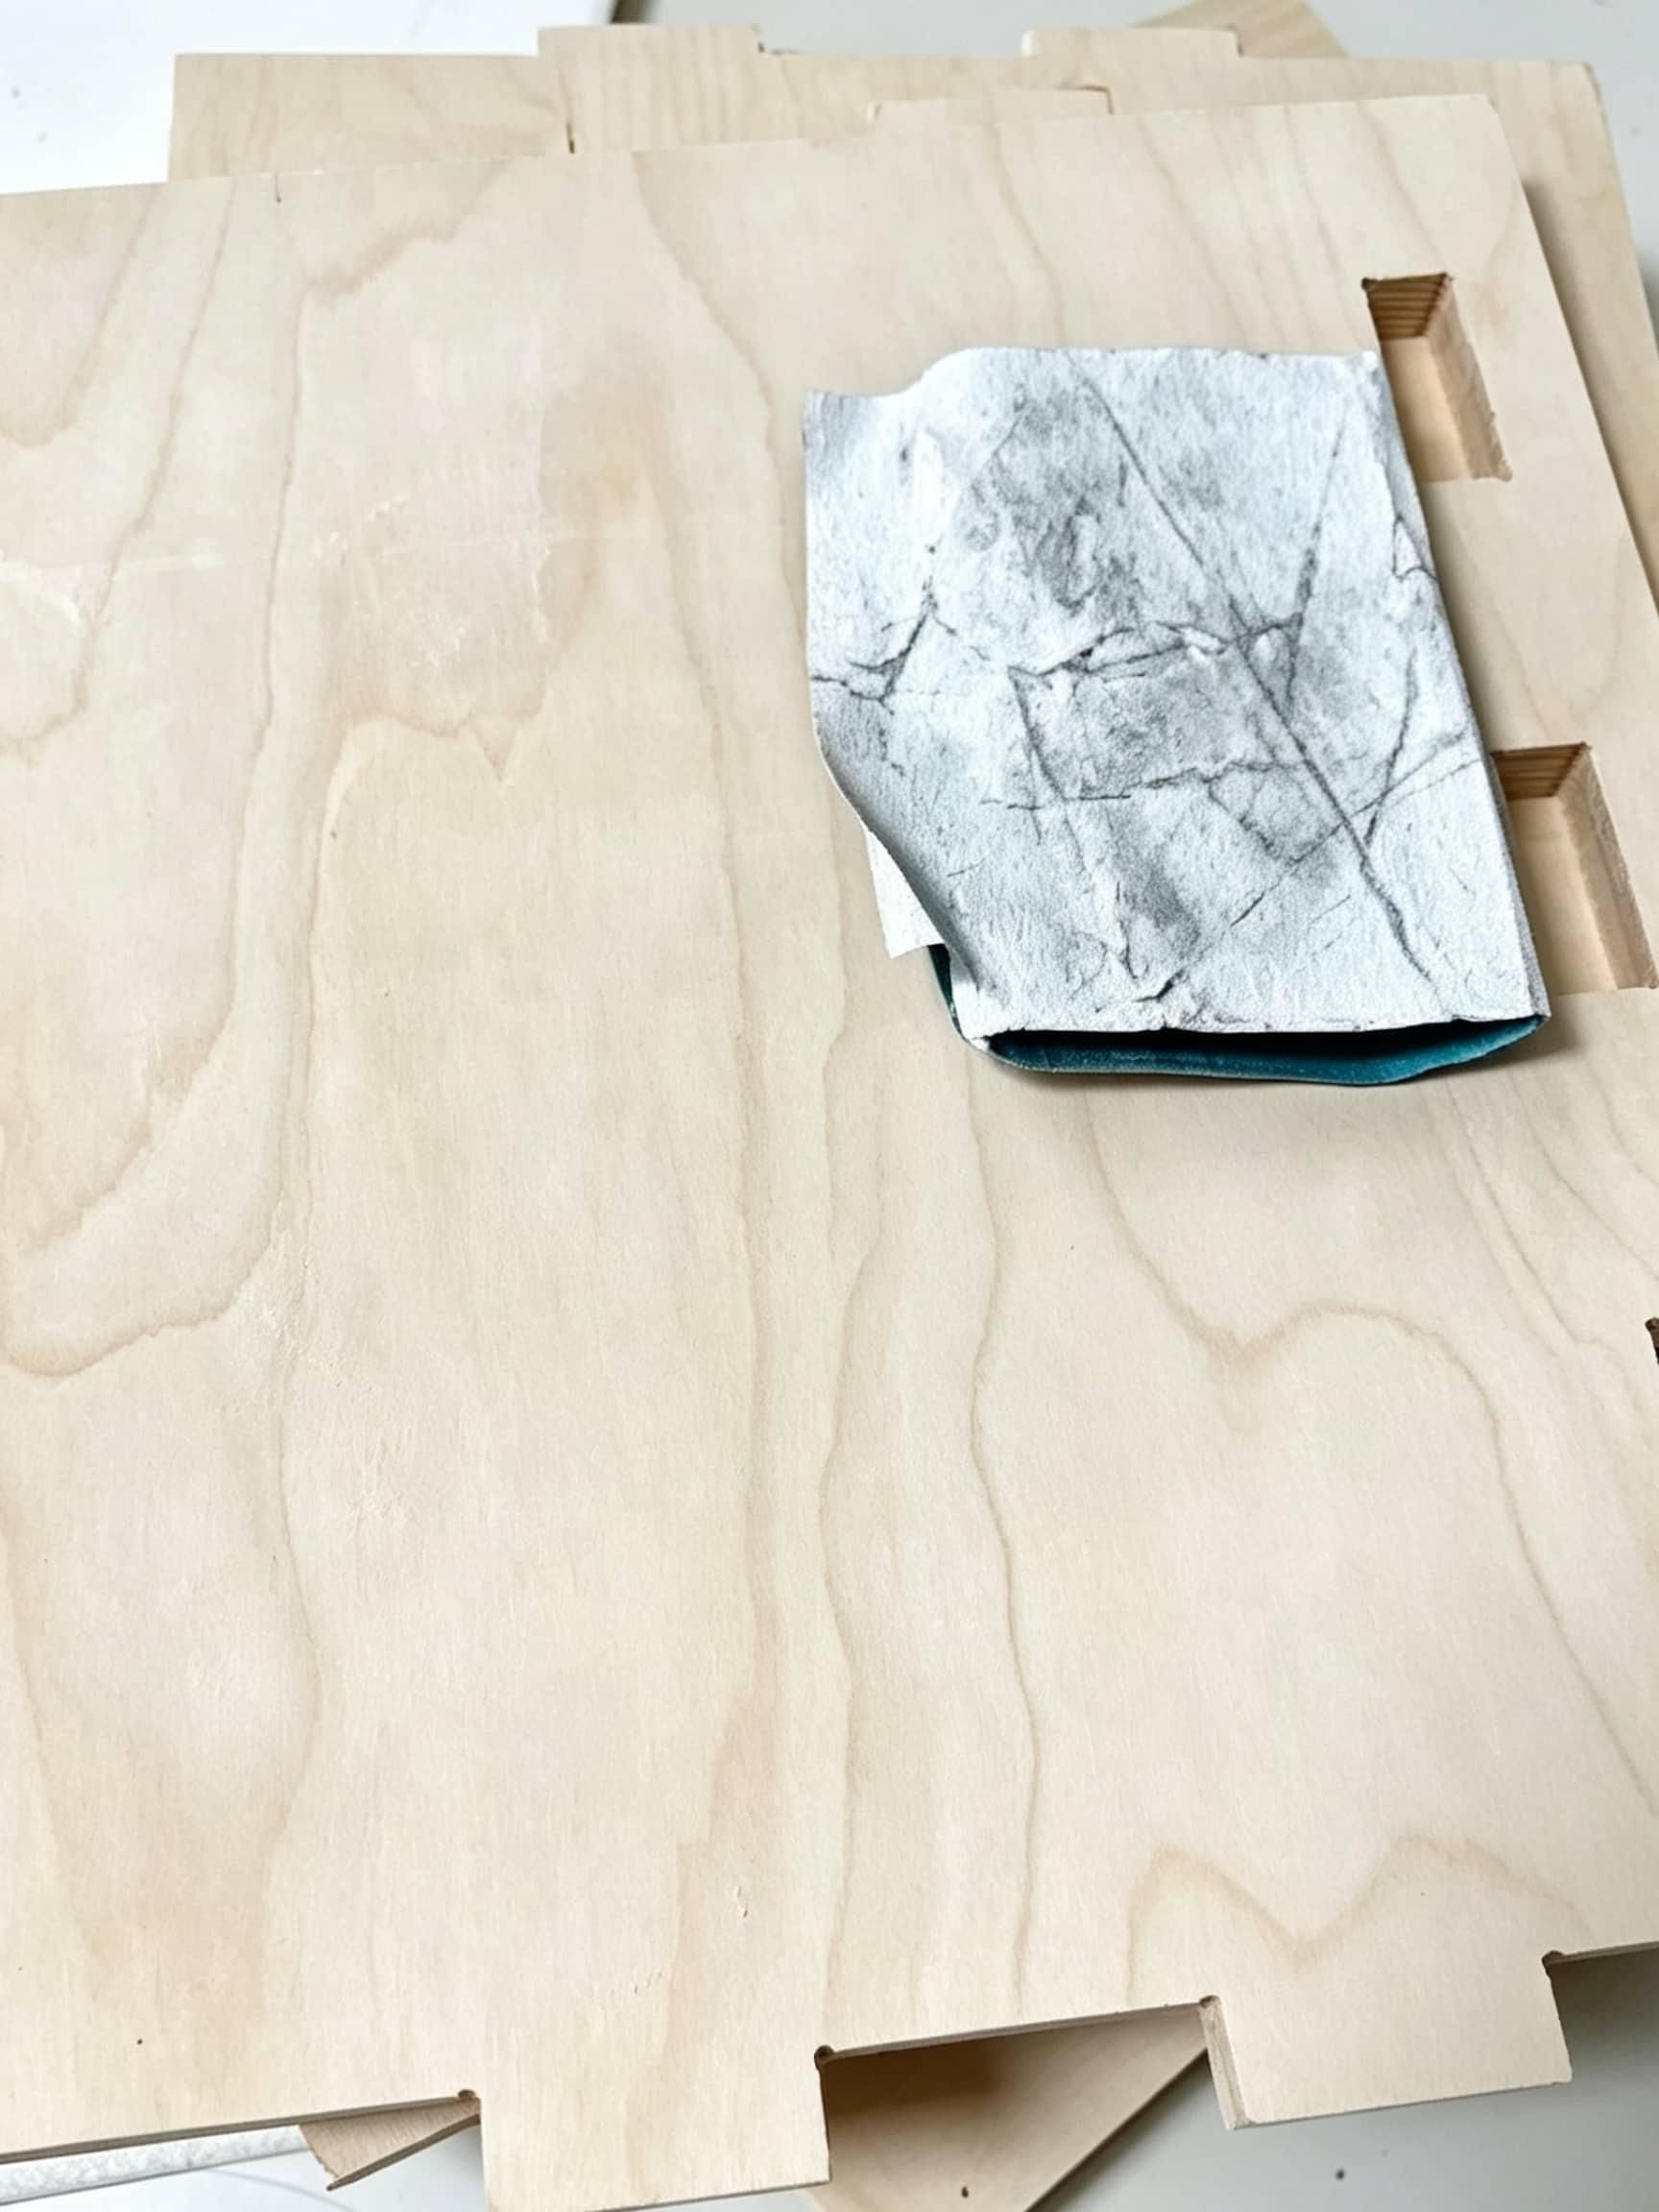
Sand all surfaces and cut edges of 18 mm birch plywood. Sanding sequence: 240‑grit sandpaper for fine, smooth finish. Sand along wood grain, remove splinters, burrs and sharp corners. No deep scratches on veneer surface. Clean all dust completely after sanding.
1st‑Coat Water‑Based Wood Paint
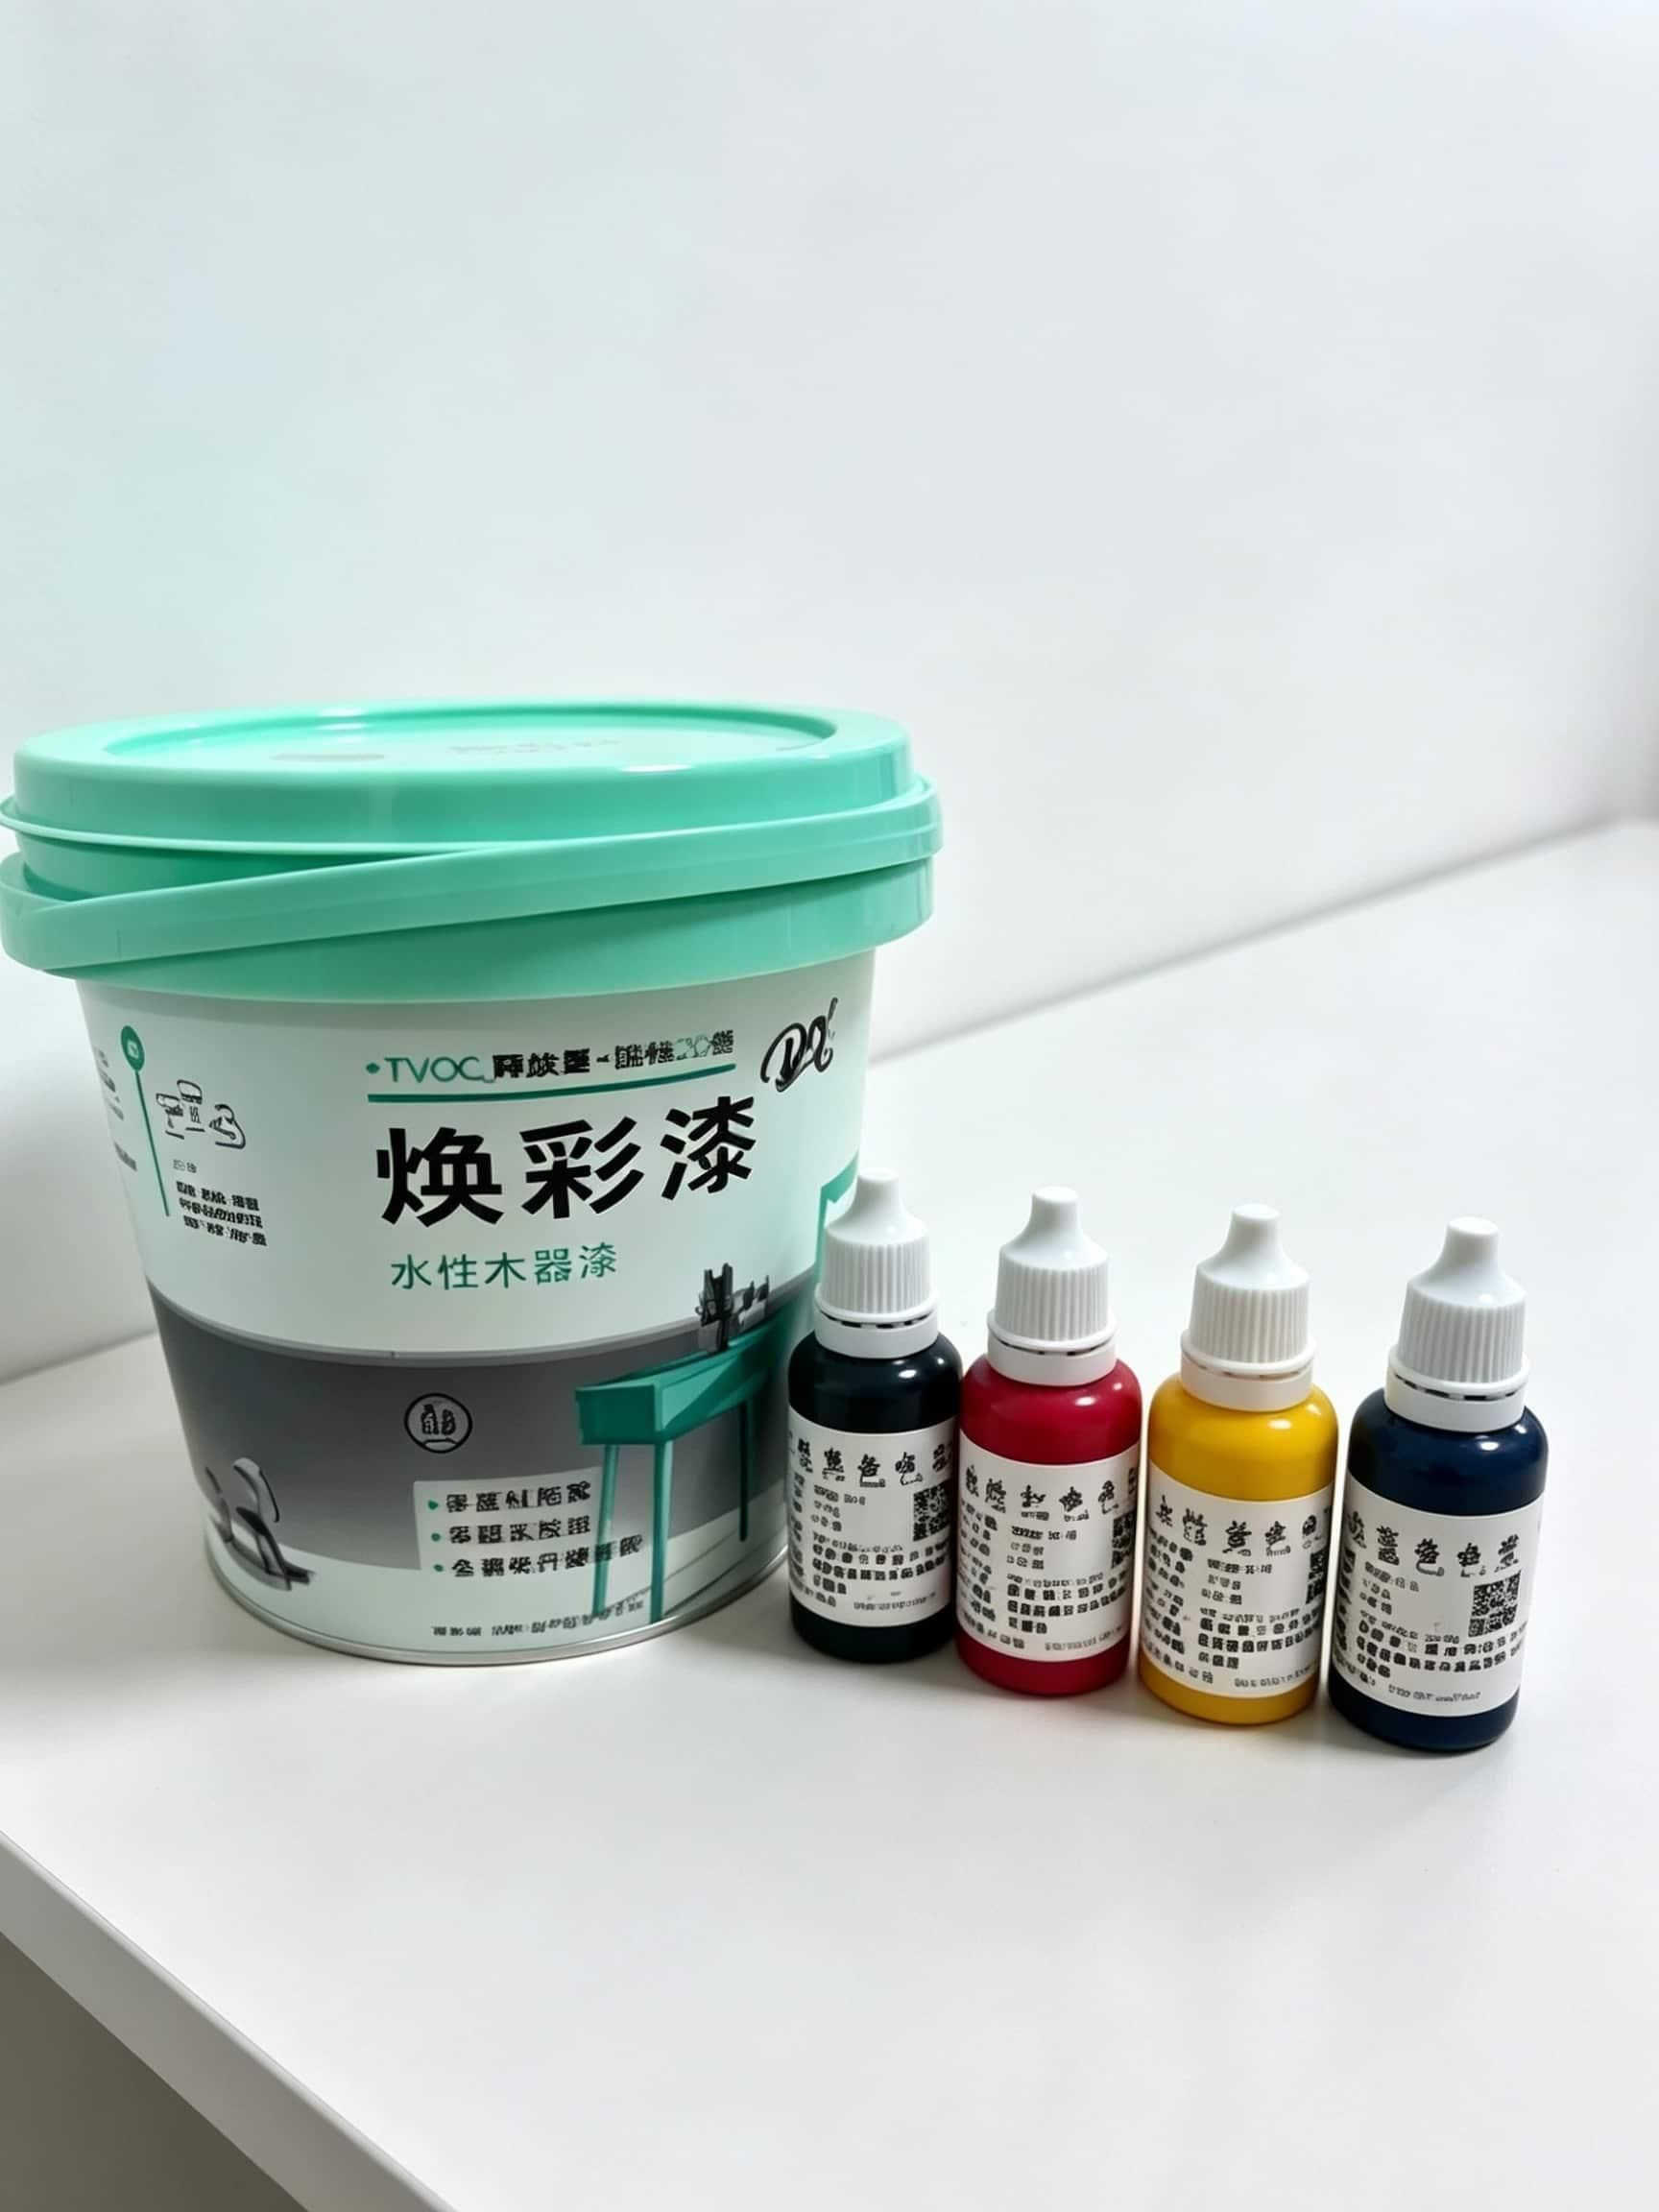
Apply the first coat of water‑based wood paint. Mixing ratio: 20 % primer + 80 % clean water by volume. Note: This paint is water‑dilutable; water can be used as thinner.
Colour Mixing & Painting
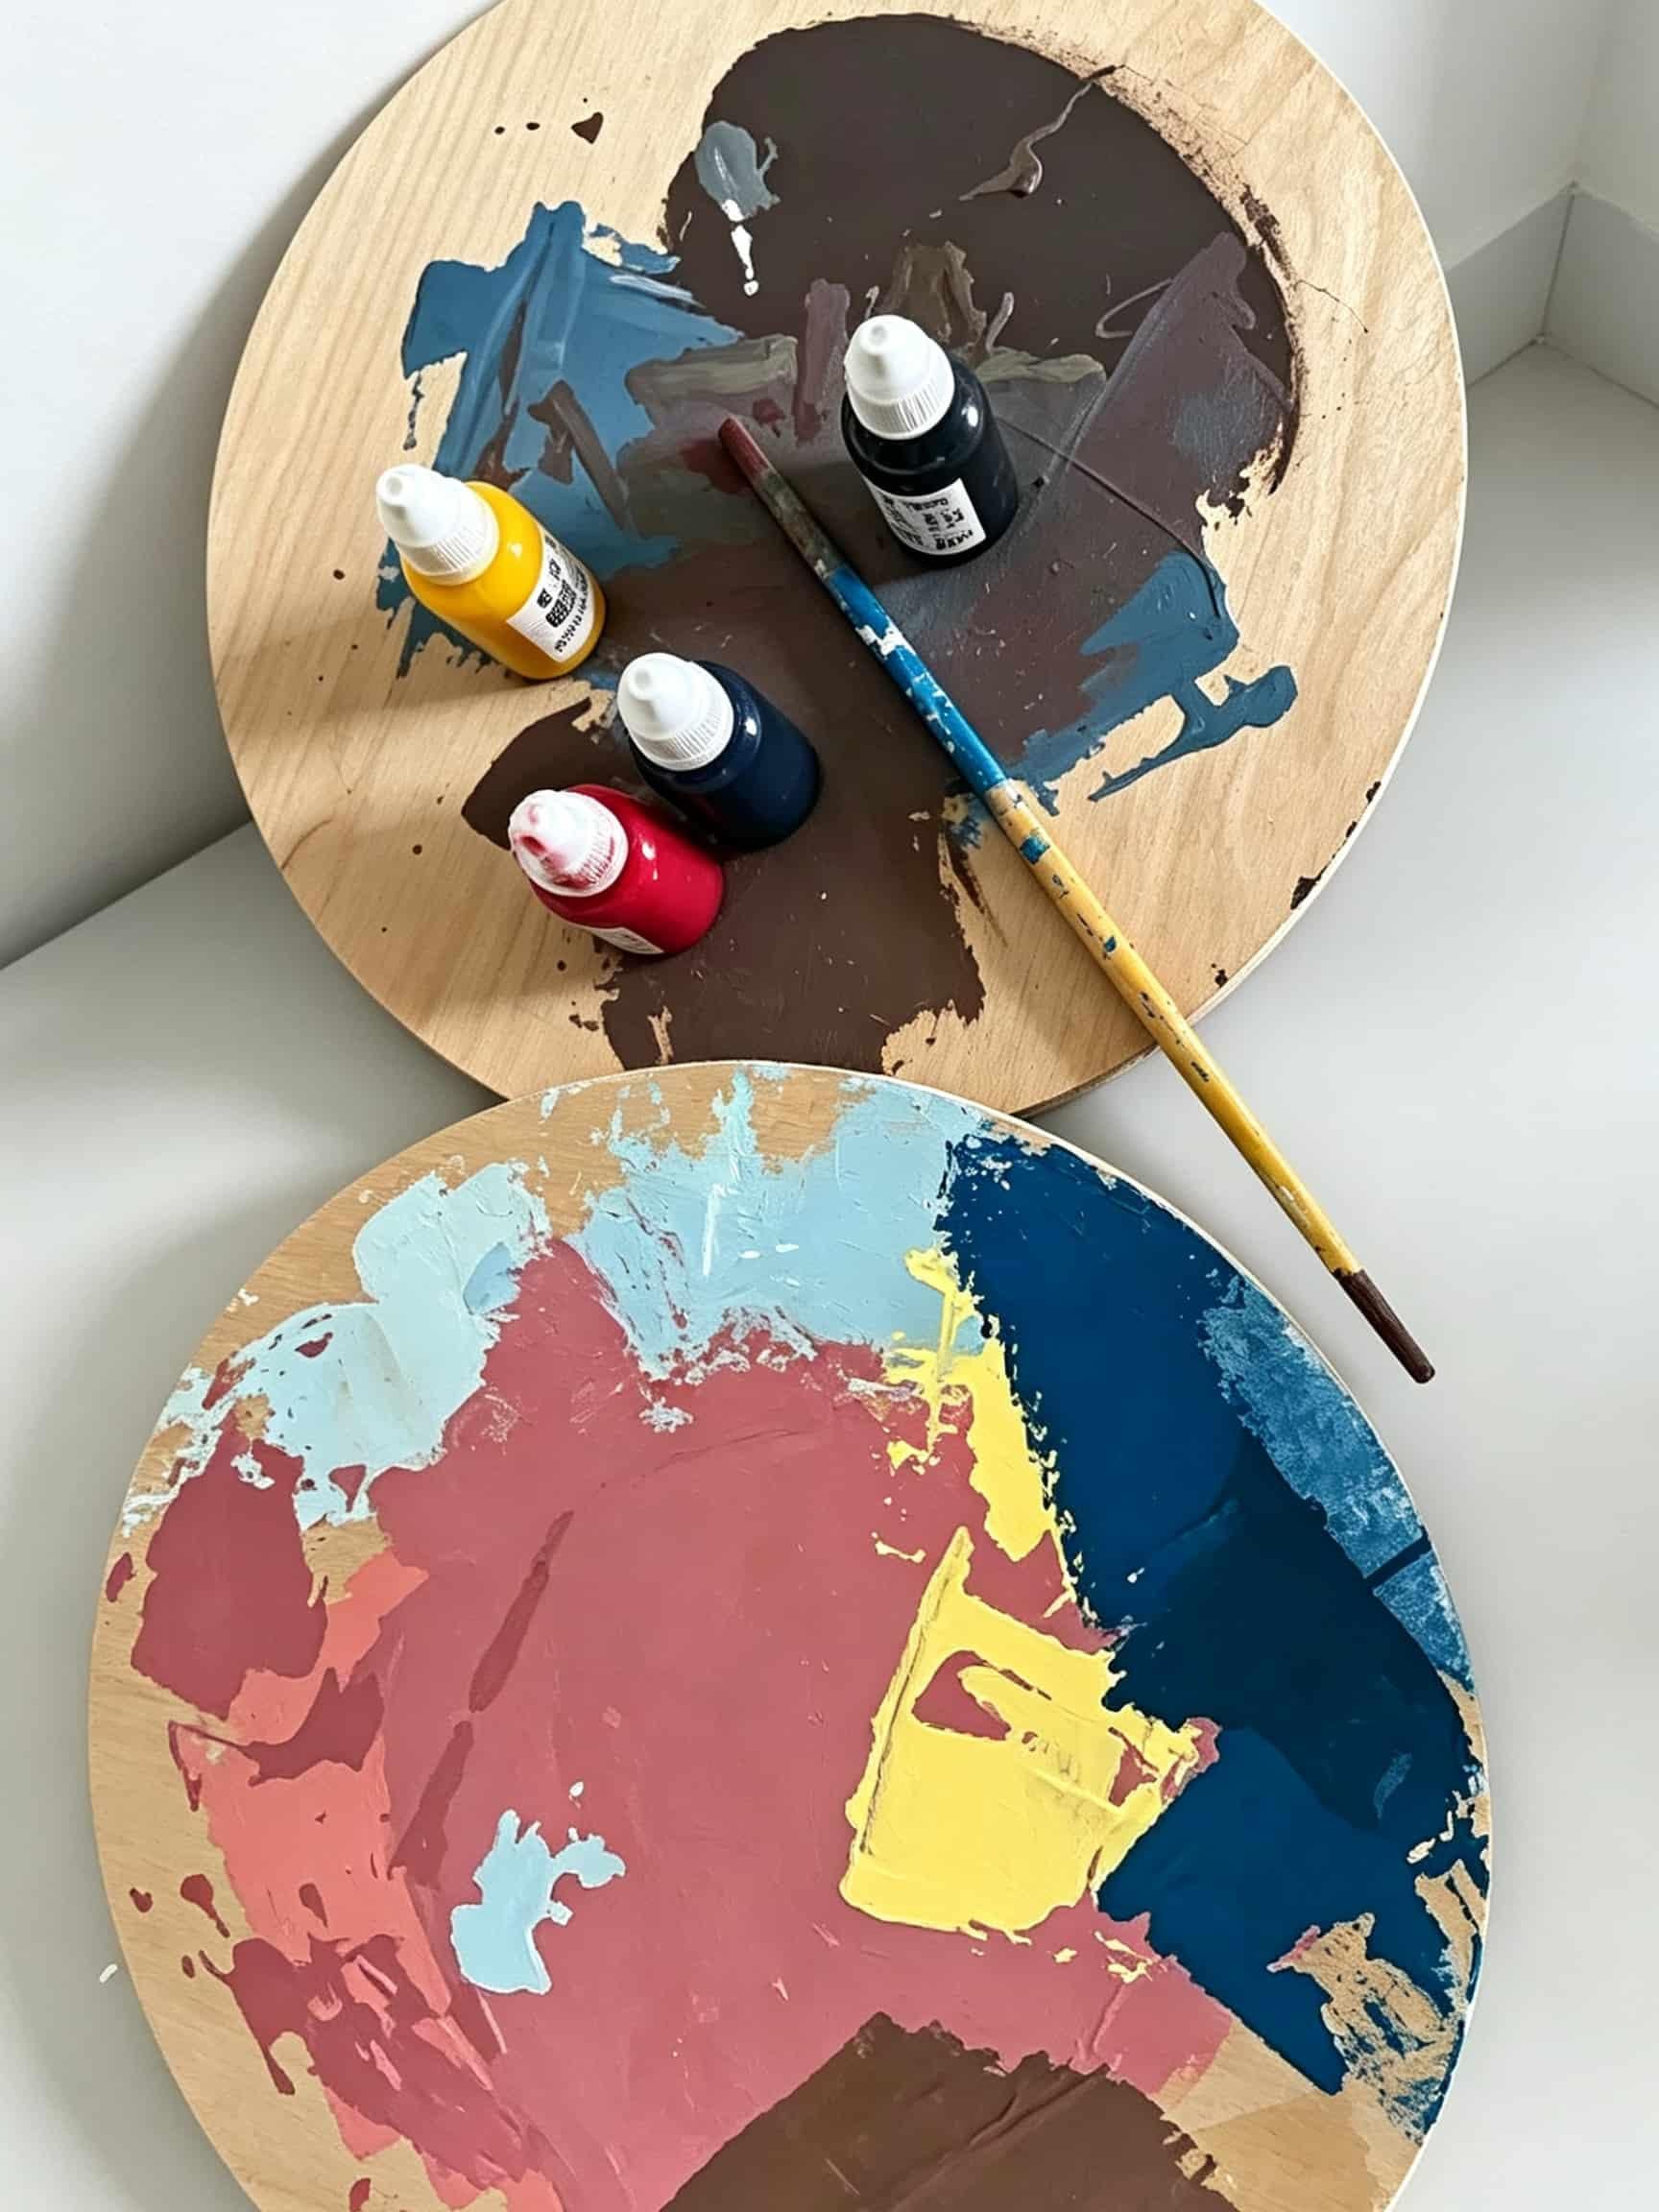
Mix water‑based colourant with white water‑based wood paint to create your preferred colour. You may mix macaron pastel shades or canelé‑brown tone. Apply the thoroughly mixed paint evenly to all desired surfaces.
Assembly & Final Topcoat
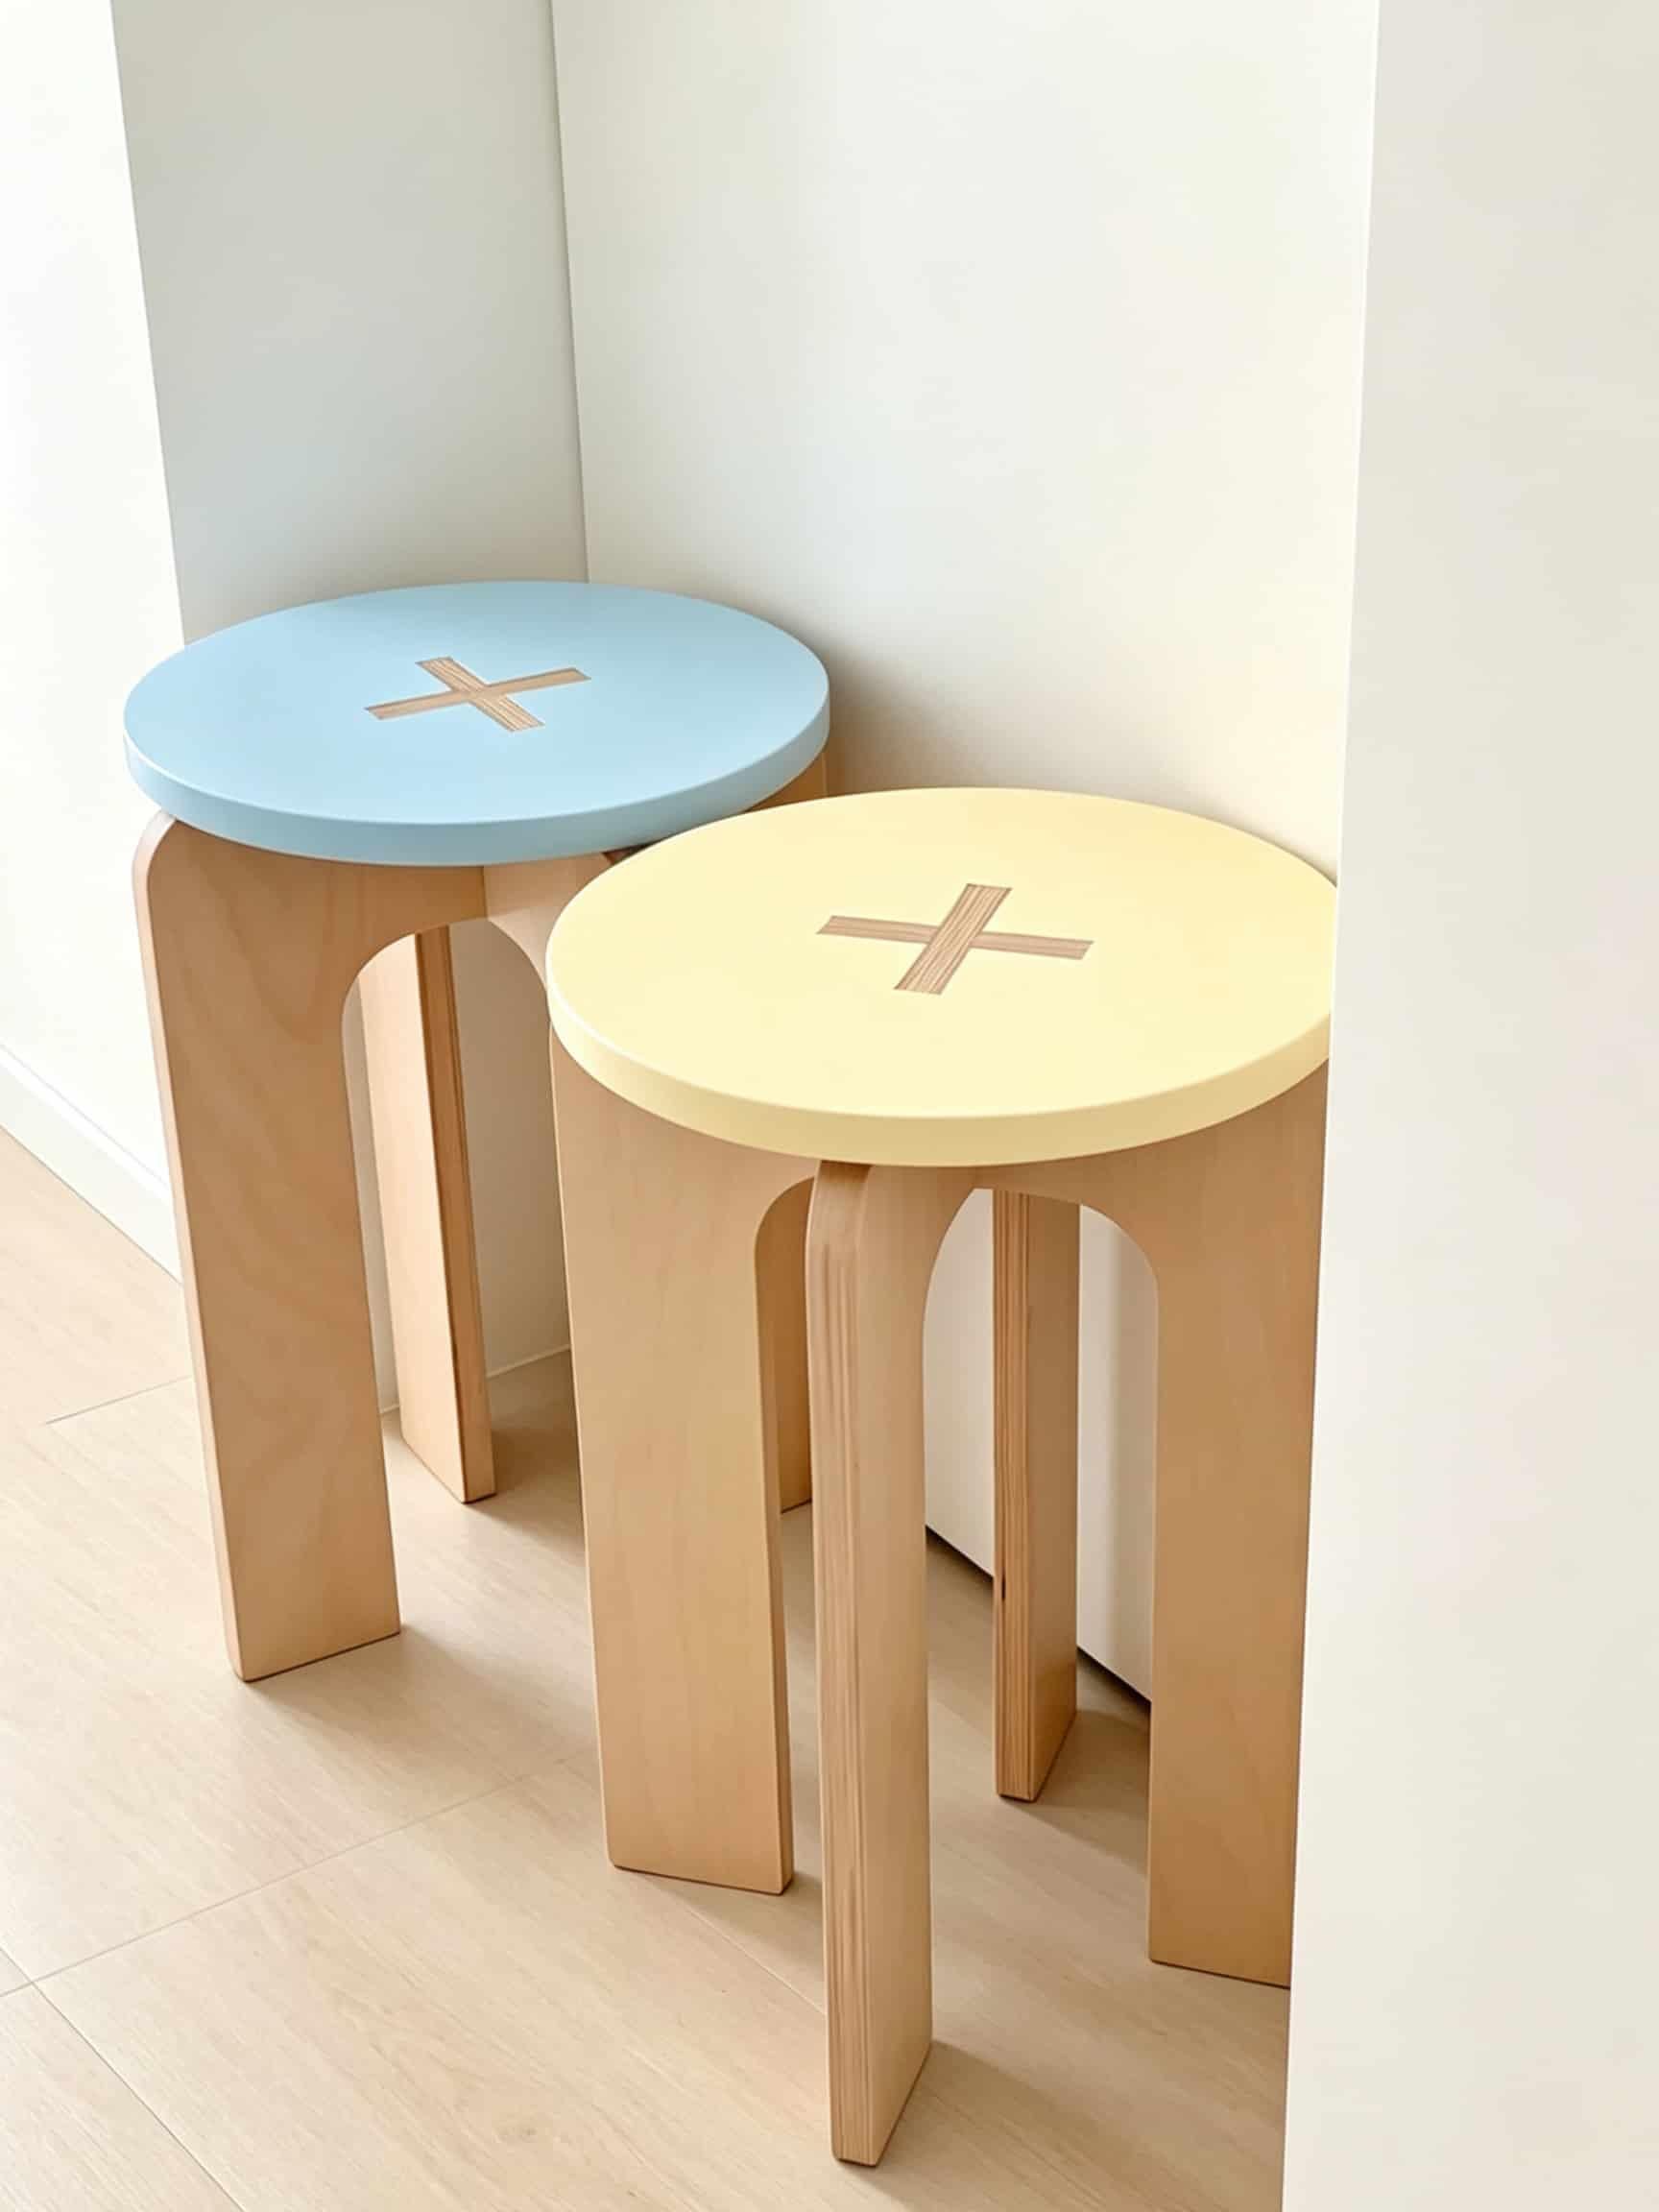
Leave the coloured plywood pieces to dry for 24 hours. Assemble all parts together after full drying. Apply one final coat of semi‑matte topcoat over the finished assembly. Work completed.