Making a Notebook by Using Discarded Cardboard
672 Views, 13 Favorites, 0 Comments
Making a Notebook by Using Discarded Cardboard

.jpg)

Hi!
I tried a couple of things with cardboard to create new textures by using papier-mache technique. I will show my trials with paper pulp and how I ended up using cardboard as layers to create a notebook cover.
I used these projects as a starting point for mine: https://www.instructables.com/Pulp-It/
https://www.instructables.com/Recycle-Cardboard-Into-Anything-With-3D-Printing/
I was also inspired by the creative use of paper with the following designs: https://www.designboom.com/design/newspaperwood-at-dutch-design-week-08/
https://retaildesignblog.net/2011/05/19/recyclable-magazine-furniture/
Supplies
20x30 cm2 corrugated cardboard
PVA glue
A6 size yellowish paper.
Metal loops
Making Paper Pulp


I created a dough with 2 simple ingredients: an egg carton and PVA glue. I soaked the carton overnight to get a smoother dough. However, the food processor I used was not sufficient to create a smooth texture. I drained the water from the cartons then add a spoon of PVA and mixed it with the food processor. Be careful to have some water while mixing it to not burn out the machine!
After mixing I used a net to squeeze and remove the excess water to decrease the time needed for drying. As a mold, I made use of plastic cups.
Trying to Mix Paper Pulp With Other Materials


I tried first to create layers of paper pulp and colorful sheets of paper. The result was not that good, maybe adding more and thicker colorful paper could ended up with more interesting section view.
Second, I used to add a fabric mesh to get a more durable material even in the thin end product, however plastic based fabric mesh did not work well with paper pulp :( The coaster I made is the best version I could get with mesh and paper pulp.
Making Notebook: Creating a Sheet Material


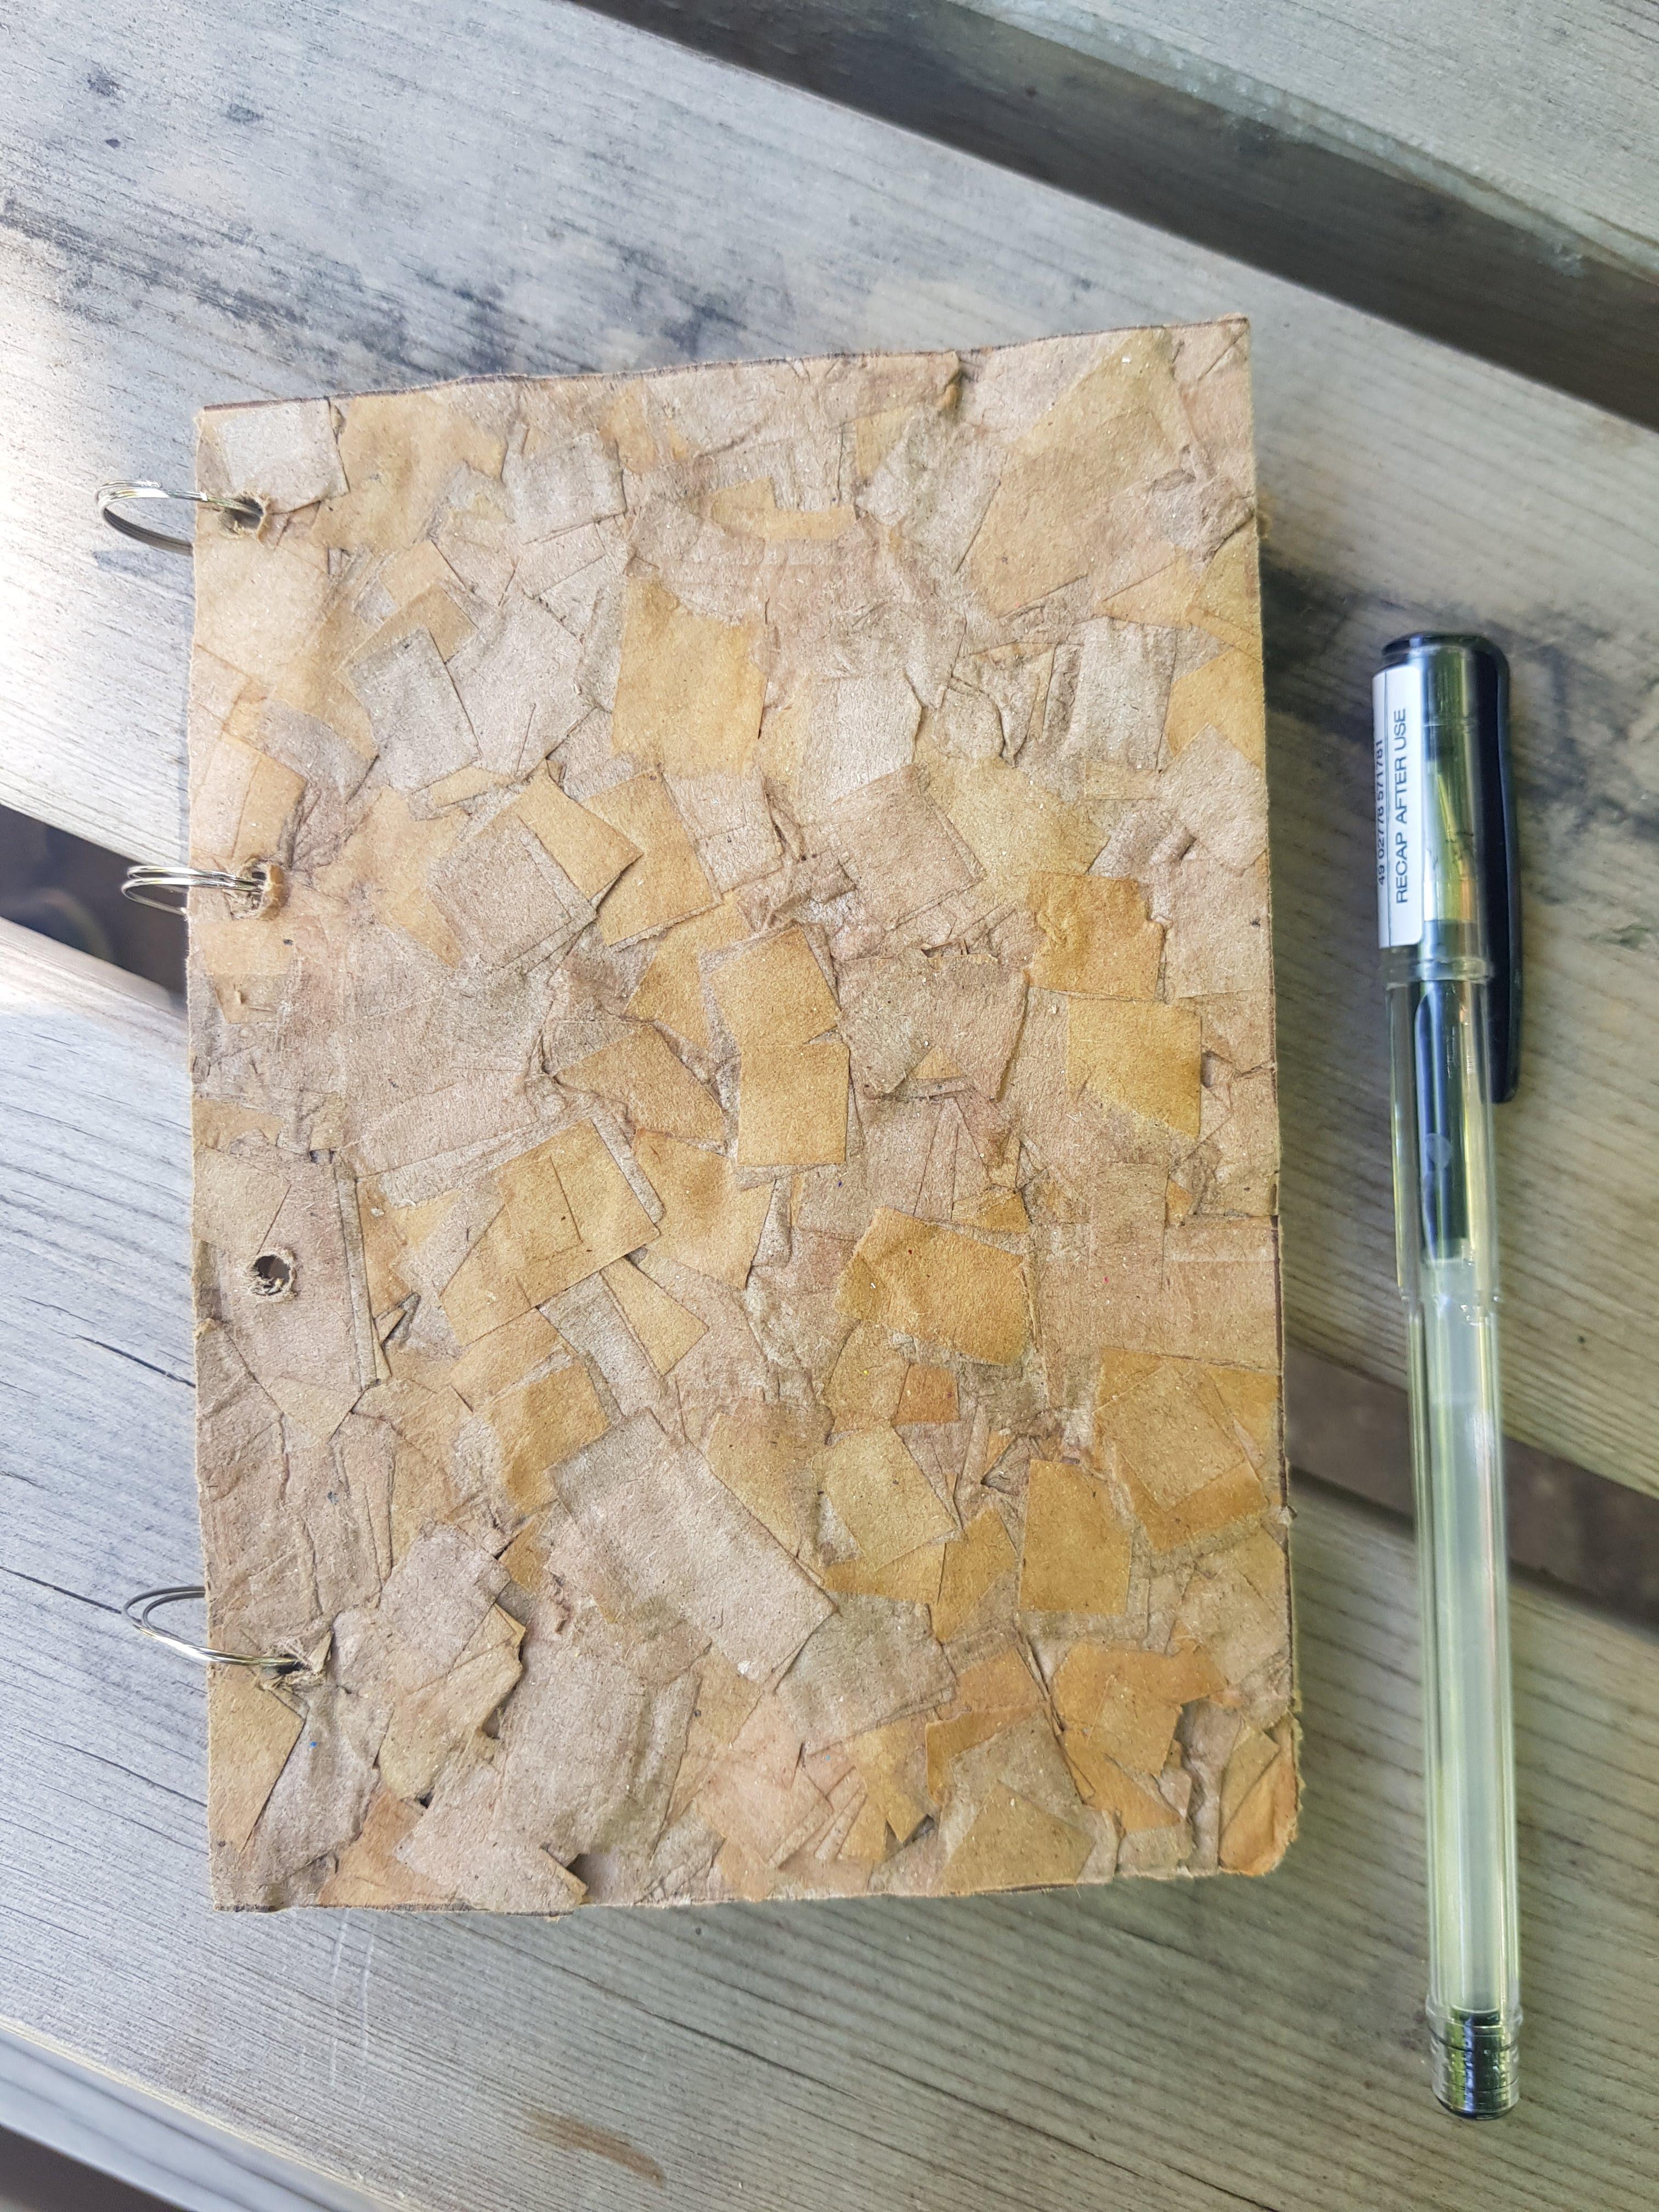
I wasn't happy with the papier pulp trials, therefore I thought about using corrugated cardboard as it is without making it a pulp. I shredded a discarded cardboard piece into small rectangles. I preferred to shred them by using cutting board, cutter, and a ruler, however, I wasn't trying to achieve equal size pieces which would take ages to do :)
Later, I laid a mesh on the table and but a layer of PVA glue, then added corrugated cardboard rectangles as a thin layer. I repeated layering (one PVA, one cardboard) 5 times. and used a roller to create an even section. I let it sit by putting some books as weight over the surface to prevent uneven section. However, it prevented it to dry properly and I removed the weights to let it breathe, as a result the end surface was a bit wavy.
Making Notebook: Processing the Sheet Material


To achieve the covers of an A6 size notebook covers, I sanded the edges of the sheet material first, then cut it in half, and sanded it again. After marking the spots, I used a drill to get holes for binding covers with the papers. While drilling, however, the material got peeled off a little bit, maybe a thicker section with more glue could have worked better.
Binding All Together


Finally, I bind the covers and papers together with the help of metal loops.
Here is the end result!
About This Project

This open design project was done as part of the ID736 Open Design and Distributed Creativity course, at the Department of Industrial Design, Middle East Technical University, in the 2021-2022 Spring semester. The purpose was to carry out a small project to openly share online.